4. Embedded programming
Group AssignementThis week I learned about several microcontrolers and how to use them. First, I understood that there are different processor families that may be programmed in various languages. They also have many different elements and features that can be identified in the DATASHEET, a document that can tell us about the processor's speed, memory, volaje, periferrals, components, communication characteristics, etc.
Some of of my learnings:
- It is very important to explore microcontroler options according to the project's objetives, some might be overkill or others might not be enough.
- There are different types of memories, each can serve better for certain purposes.
- Identify how many PINs are needed, and how much power would be required to run them.
- Commercial processors can also be recreated manually for a lower price.
- C++ and Python are the most common programming languages, each has it's advantages and disadvantages. (They can both be used at the same time in specific cases).
- AI can help with the coding, but it wouldn't be smart to leave it by itself as it still makes mistakes.
- There are several development environments out there that can facilitate the process (like Arduino).
- Debugging and changes can be monitored easily with printed statements and LEDs.
- Using simluators before actually connecting components can be VERY helpful. Some useful options: Tinkercad, Wokwi, & AVR8js
To start getting into it, I started by asking ChatGPT recommendations on microcontrolers that could work with my needs:
- LEDs
- WiFi Module
- Text display
- Buzzer
- Movement sensor
- Button
- Mexico's outlet power
Some of the options it suggested and ther characteristics are:
| Microcontroler | Architecture | Speed | RAM | WiFi Built in | Logic voltage | Community + Tutorials | Data sheet |
|---|---|---|---|---|---|---|---|
| ATmega328P (Arduino Uno/Nano) | 8-bit AVR | 16 MHz | 2 KB SRAM | No | 5V | Massive, very mature | Data sheet |
| ESP8266 (NodeMCU) | 32-bit Tensilica LX106 | 80–160 MHz | ~50 KB usable | Yes | 3.3V | Large, slightly older | Data sheet |
| ESP32 (WROOM-32 DevKit) | 32-bit dual-core Xtensa LX6 | Up to 240 MHz | 520 KB SRAM | Yes | 3.3V | Massive, very active | Data sheet |
| Raspberry Pi Pico W | 32-bit dual-core ARM Cortex-M0+ | 133 MHz | 264 KB SRAM | Yes | 3.3V | Growing fast, strong MicroPython ecosystem | Data sheet |
For my simulation, I edited an exiting project with ESP32 at WOKWI:
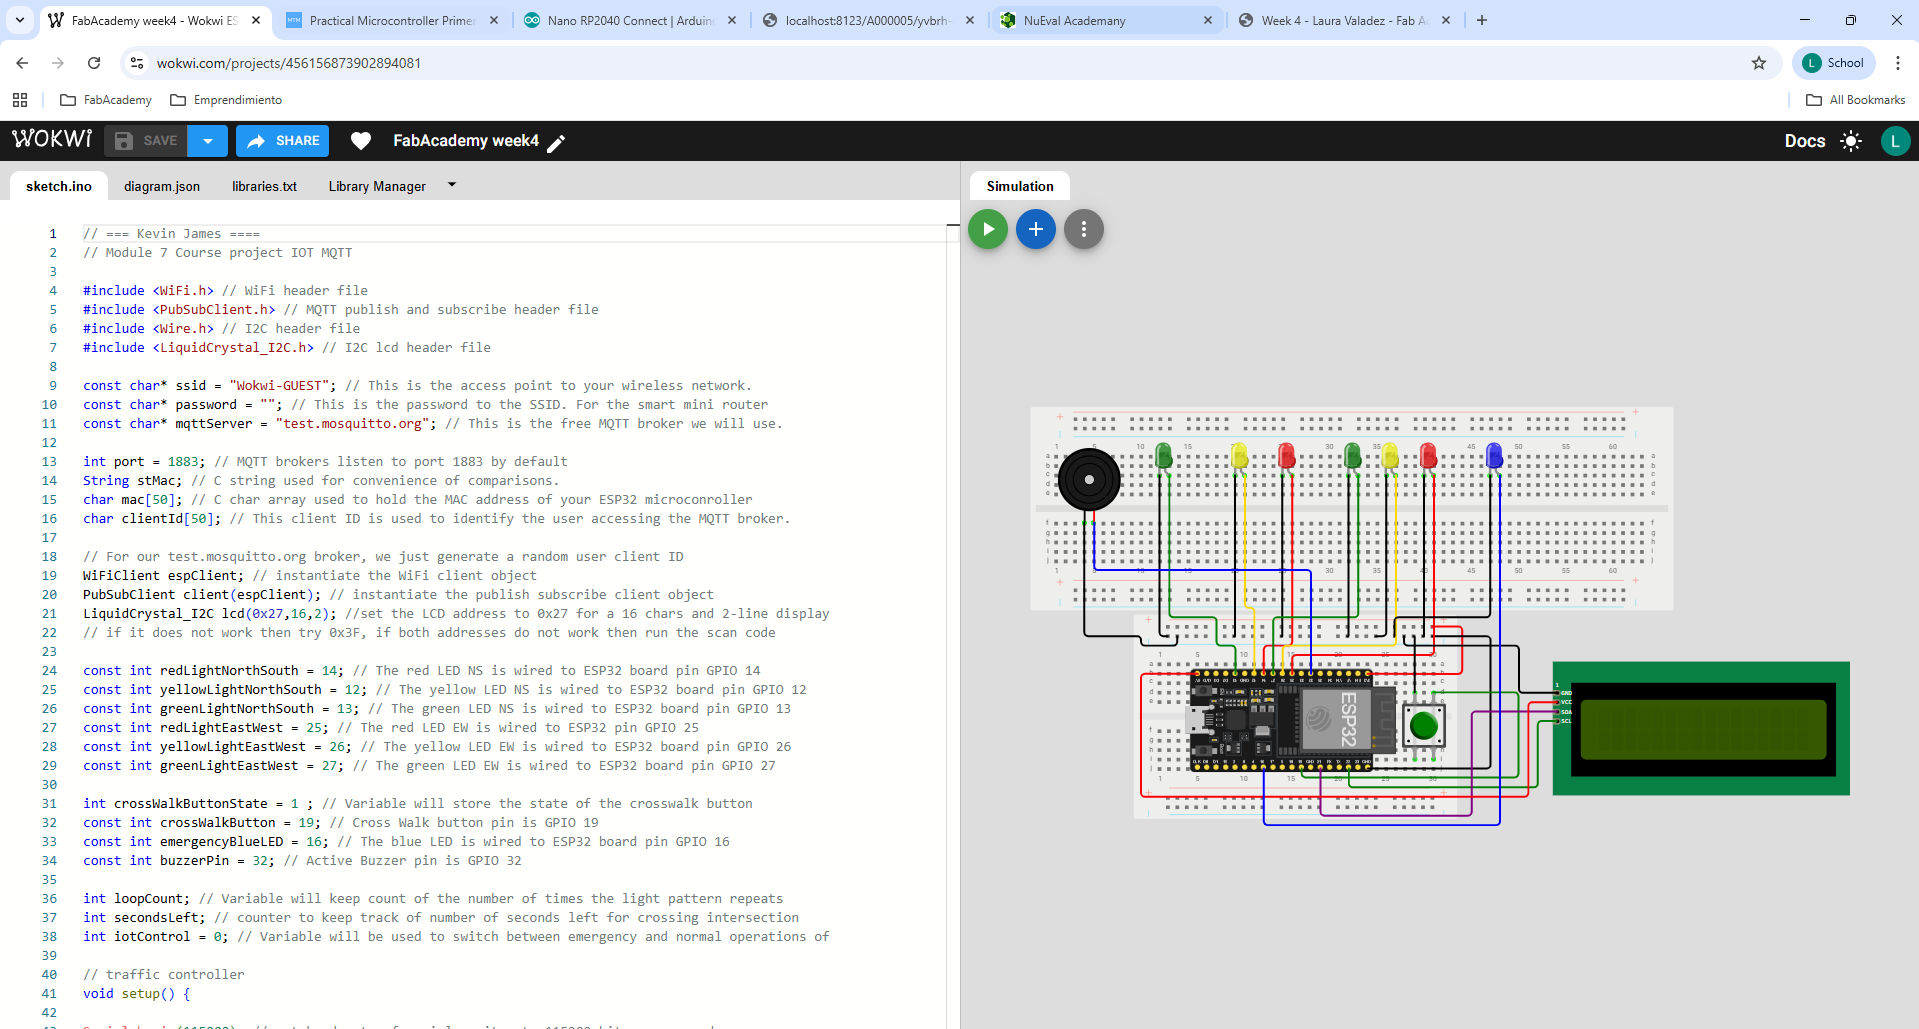
Go sheck my simulation out here
The steps to create my simulation where:
- Read the existing code to understand what it currently does. In my case, the existing project was a traffic light simulator with pedestrian crossing (activated with a button).
- Identify unnecessary and missing components. In my case, some LEDs where unnecessary and a movement sensor was missing. Also, for the time being, I decided to leave the WiFi part of my project for later.
- Define variables, add libraries and start coding.
- Study the logic behind the program so order and loops work perfectly. In my case, I asked ChatGPT for a draft to work with.
- Add comments along the way to keep track of each step.
- Teste changes and make them visible with LEDs and messages. (DEBUGGING)
- Compile code to simulate.
- Simulate and correct any mistakes until the outcome results as planned.
Some of the corrections I had to make where:
- Errasing the extra components and onnecting new ones.
- Adjusting the buzzer sounds and timing to one I liked.
- Correcting the sequence of cases so the idle-motion-registration logic would work as I intended.
- Editing the messages for the display.