17. Wildcard week
3D printing on fabric
For this week I decided to try out something I had in mind for a while: 3D printing on fabric to later termoform.
I had a very clear idea in my mind: a flower bowl.
It took several tests and tries, but I made it happen and loved the result. Here are the steps I took:
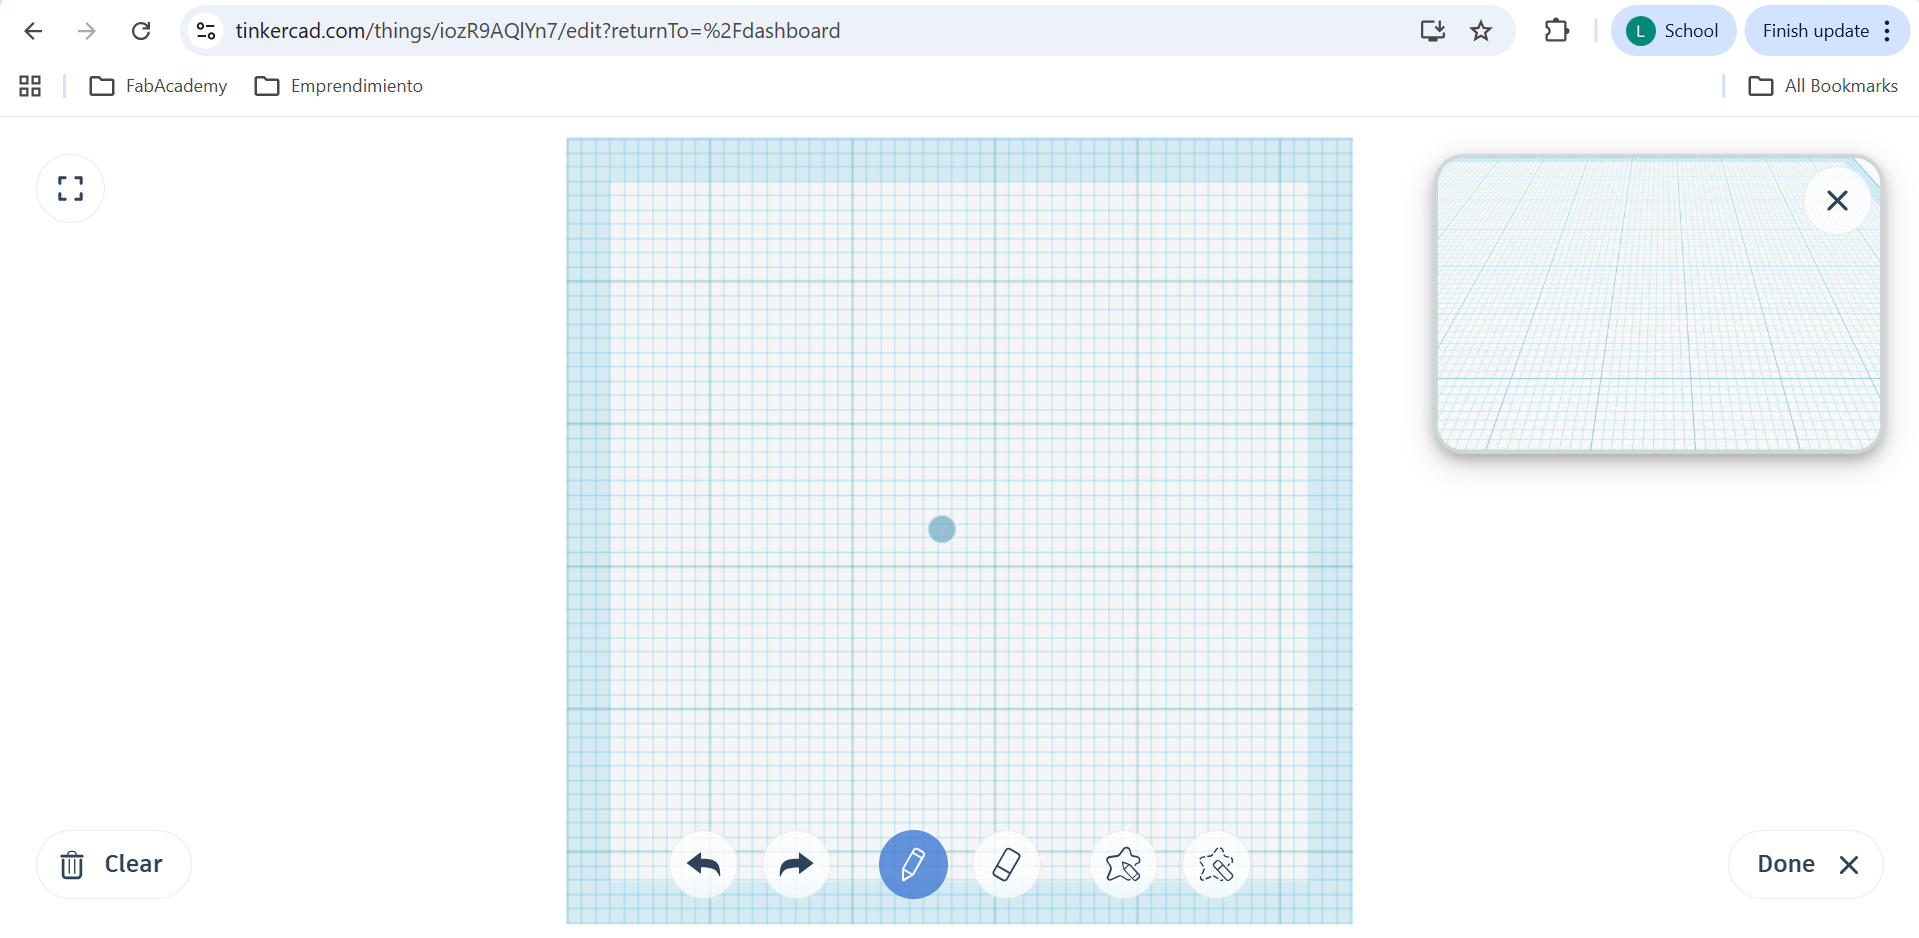
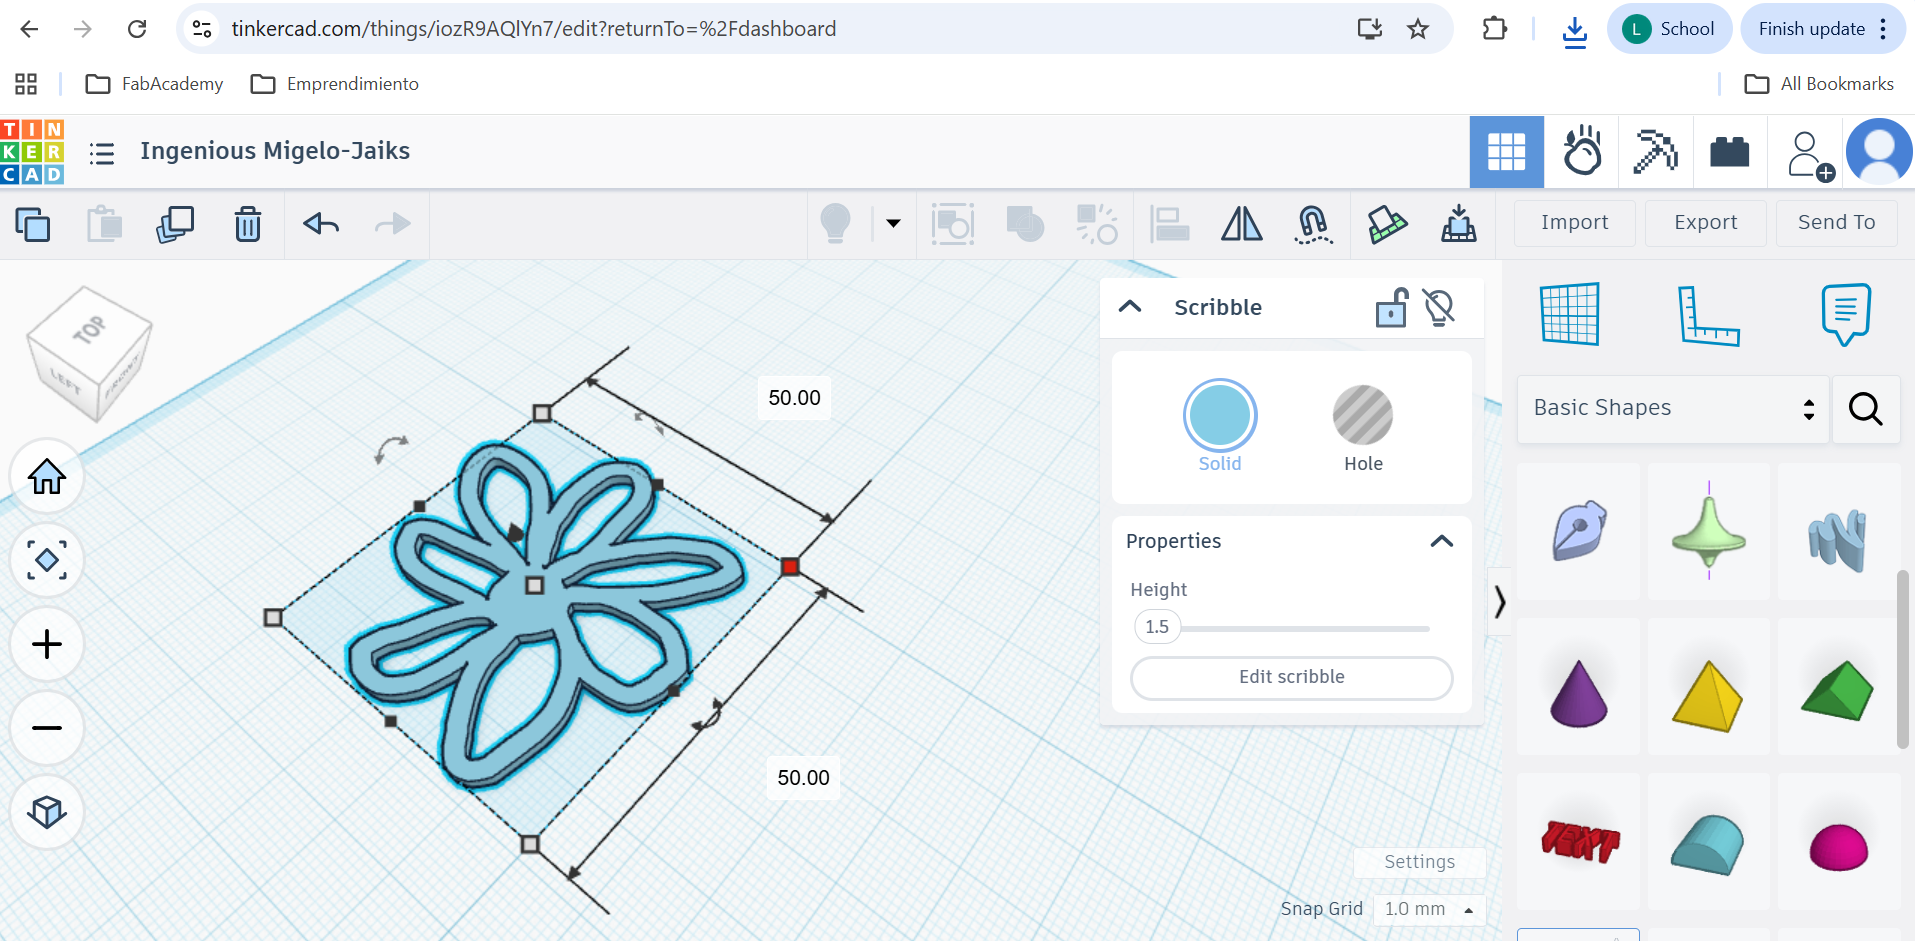
- First I doodle a small version of the flower in tinkercad with the free hand tool and gave it the right dimensions.
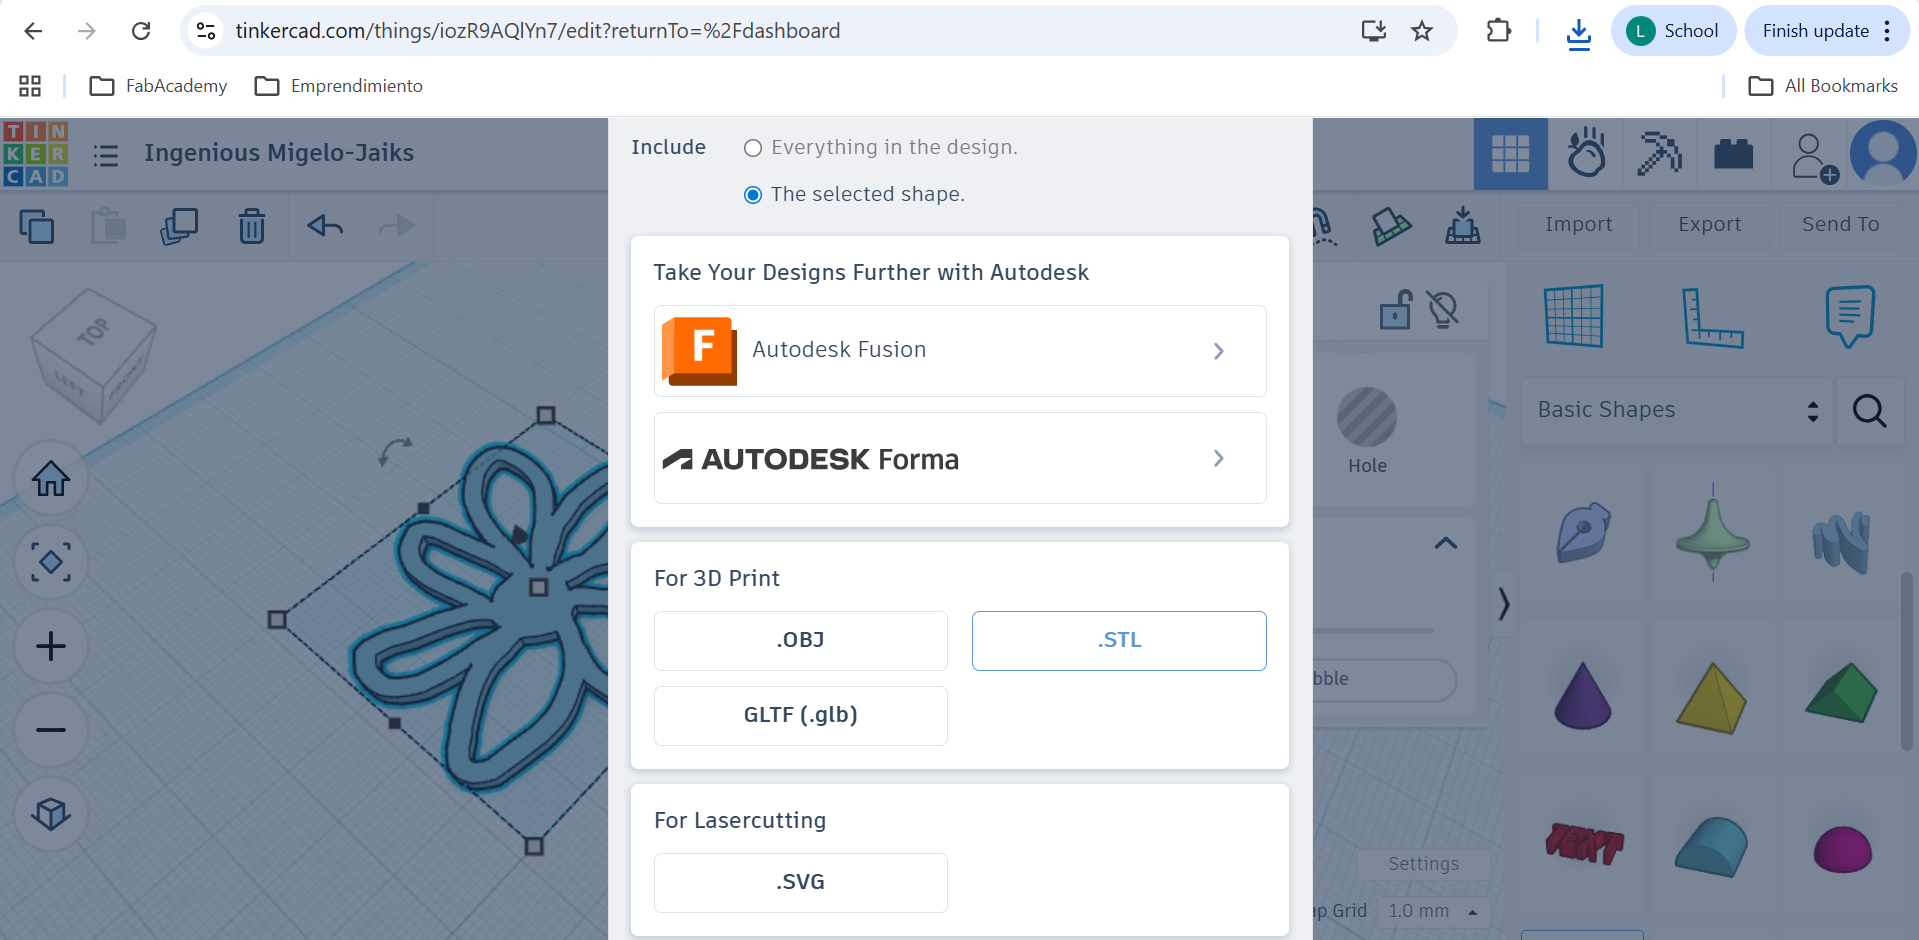
- I exported the file as STL.
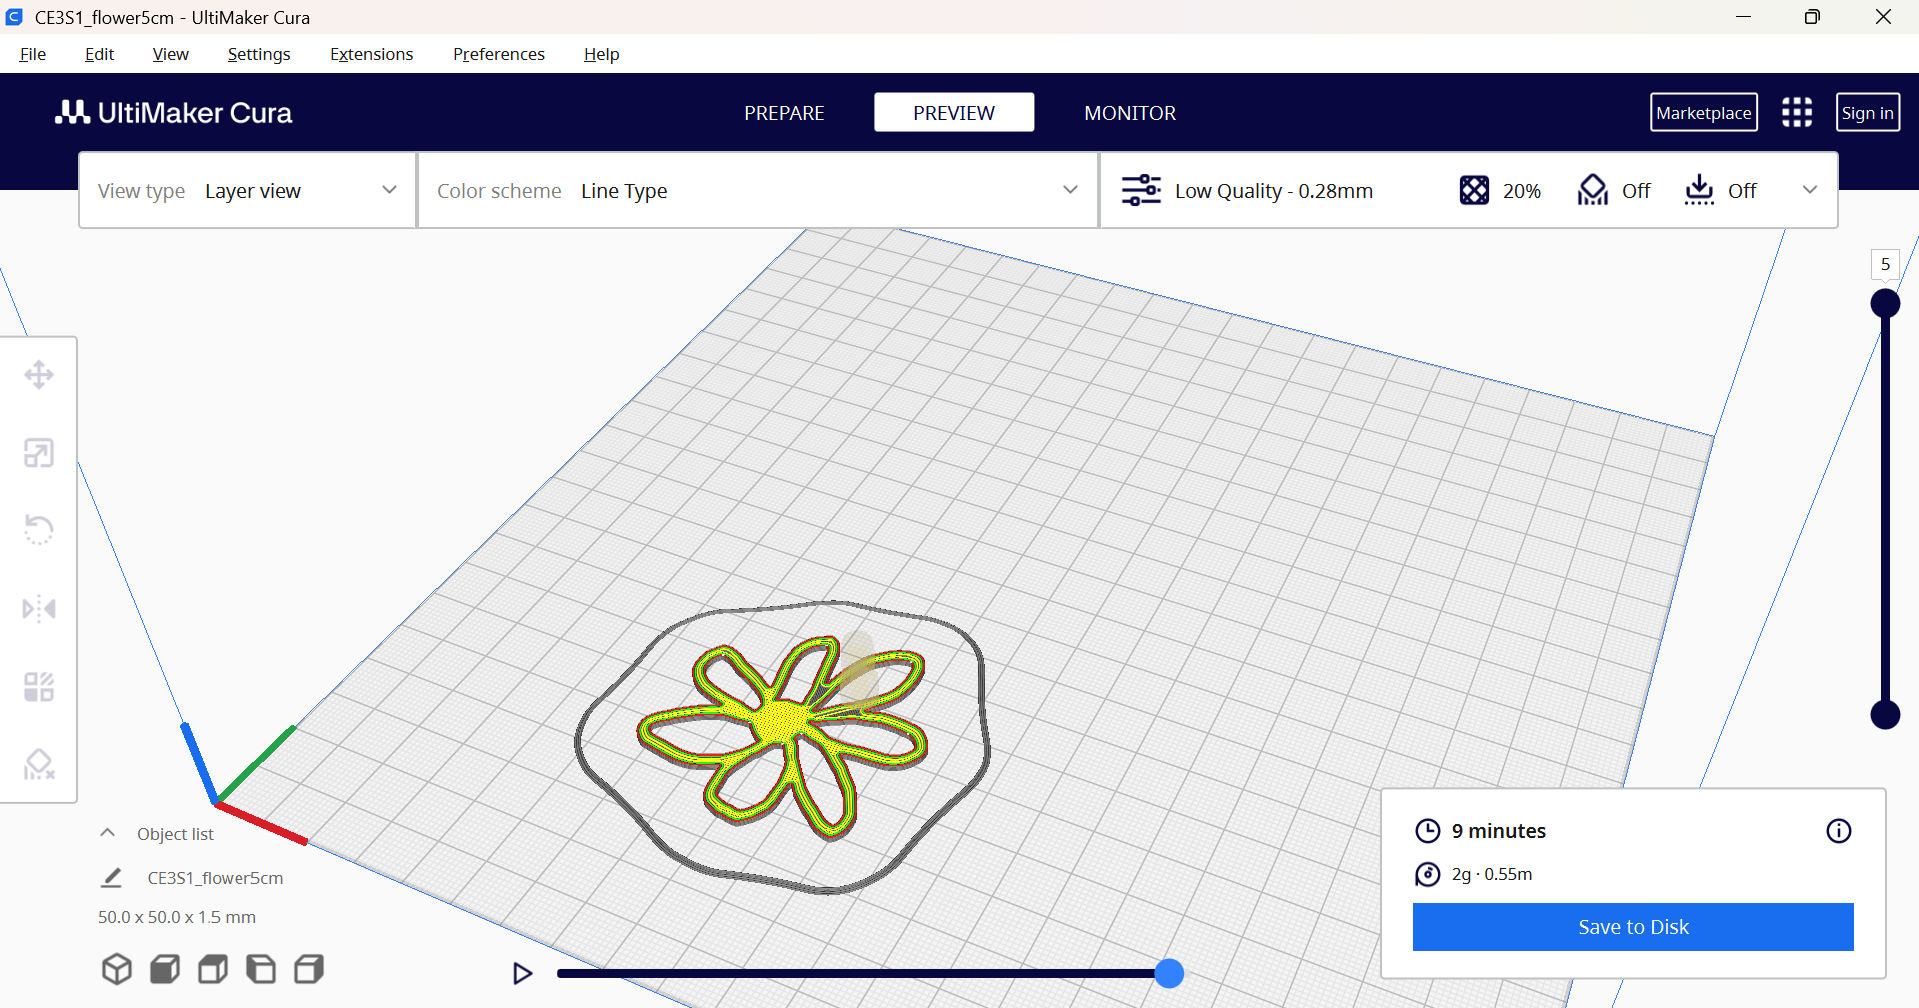
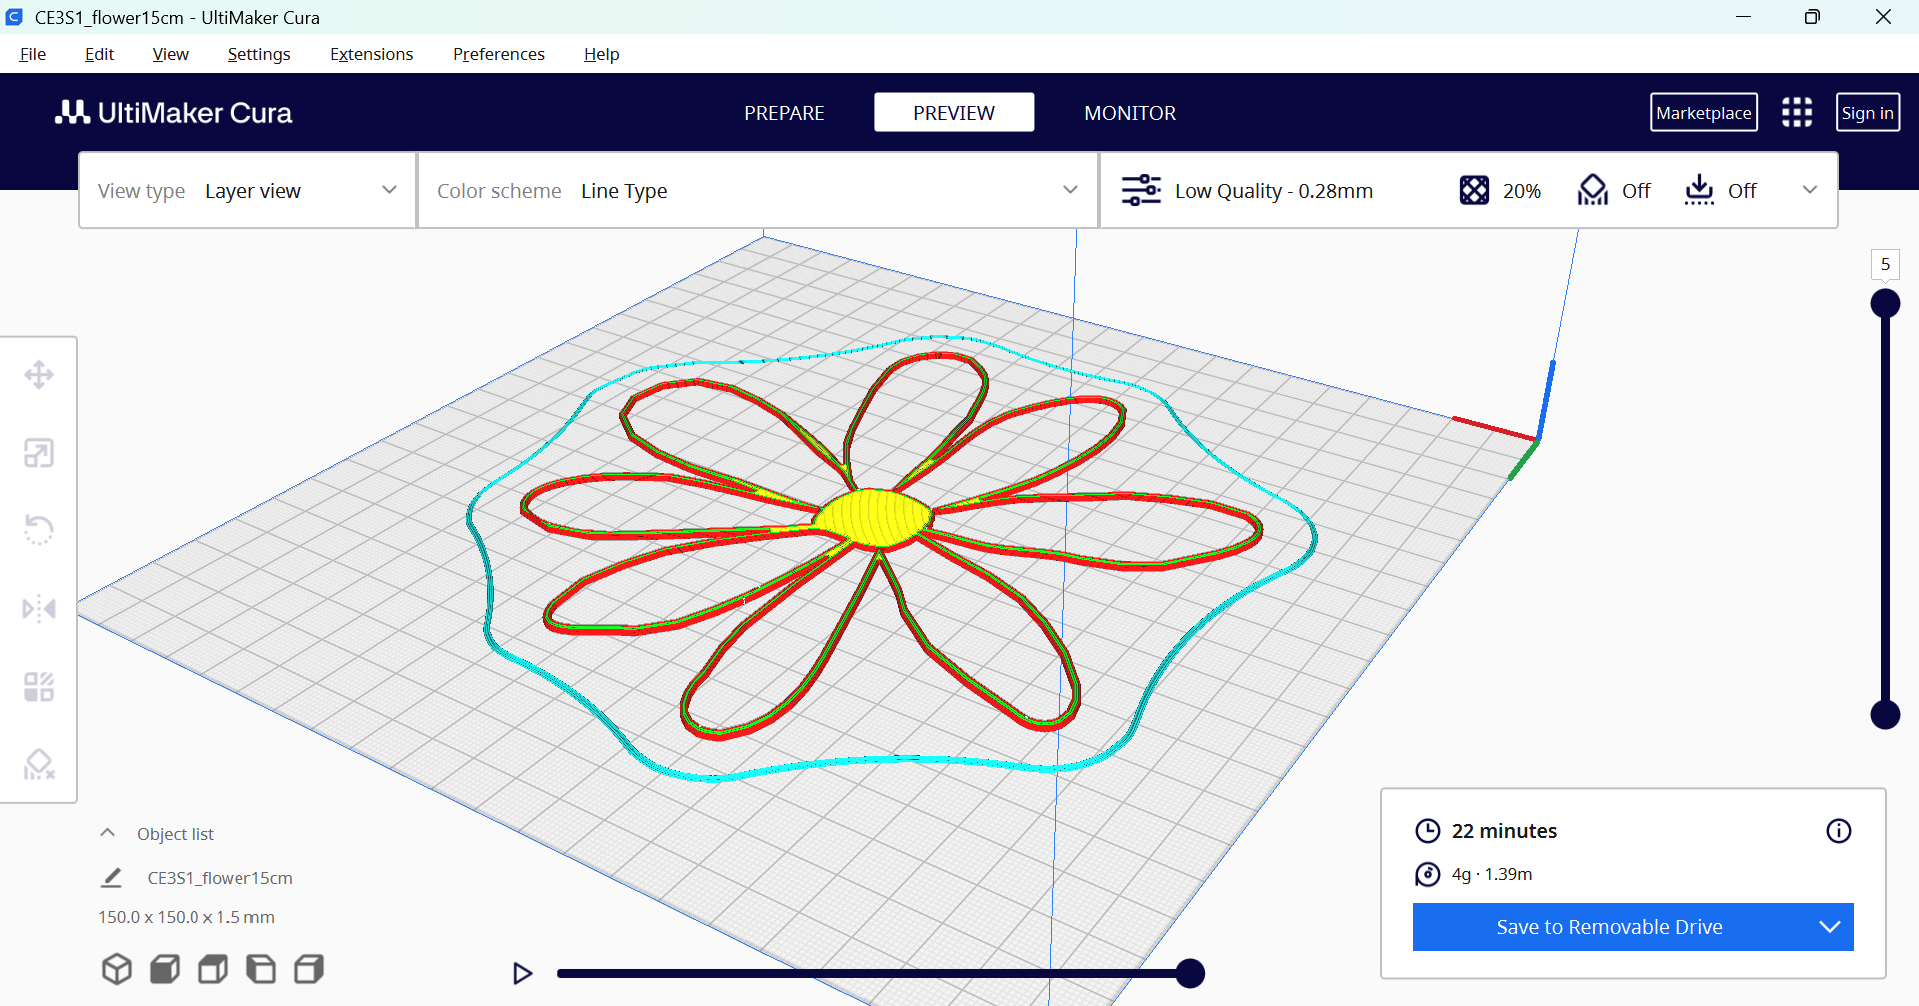
- Imported the STL in Cura to slice it for printing.
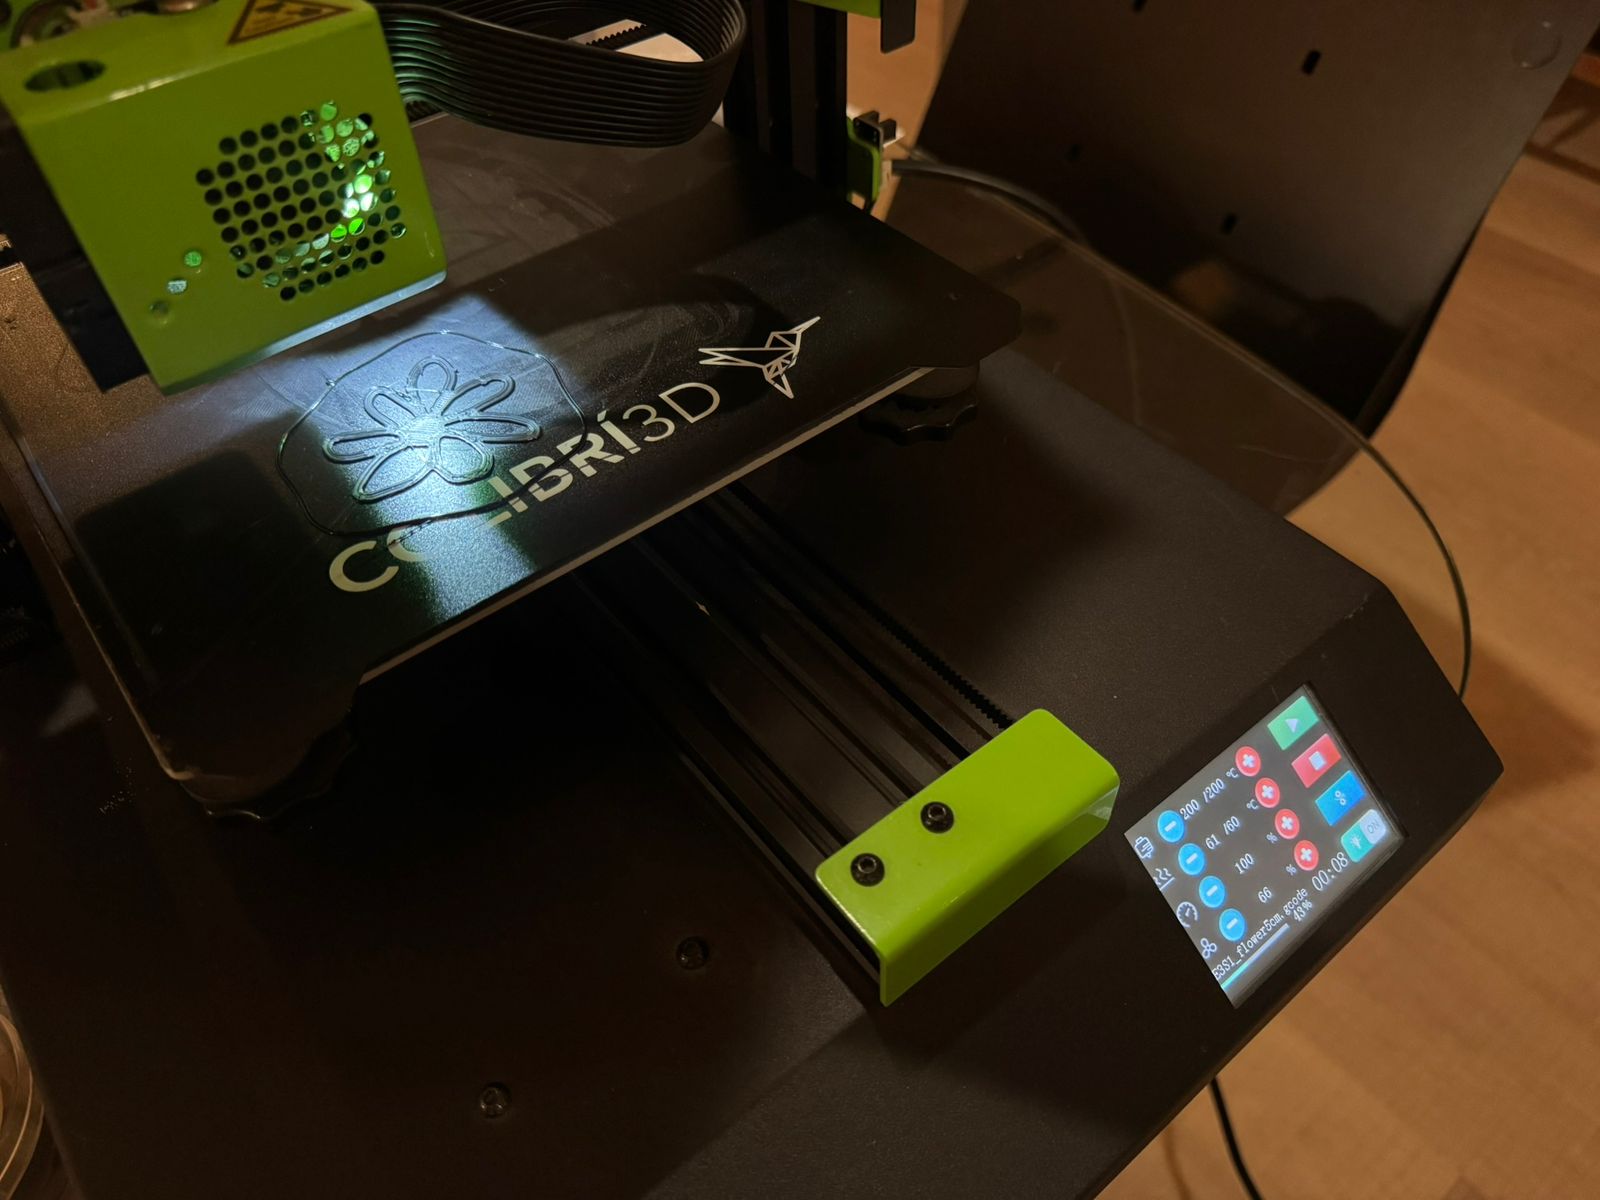
- Started printing as usual and paused mid-print.
- Pasted a square of some fabric just by the corners and continued printing
- Did the same print, pause and this time secured the fabric all around the edge before resuming the print.
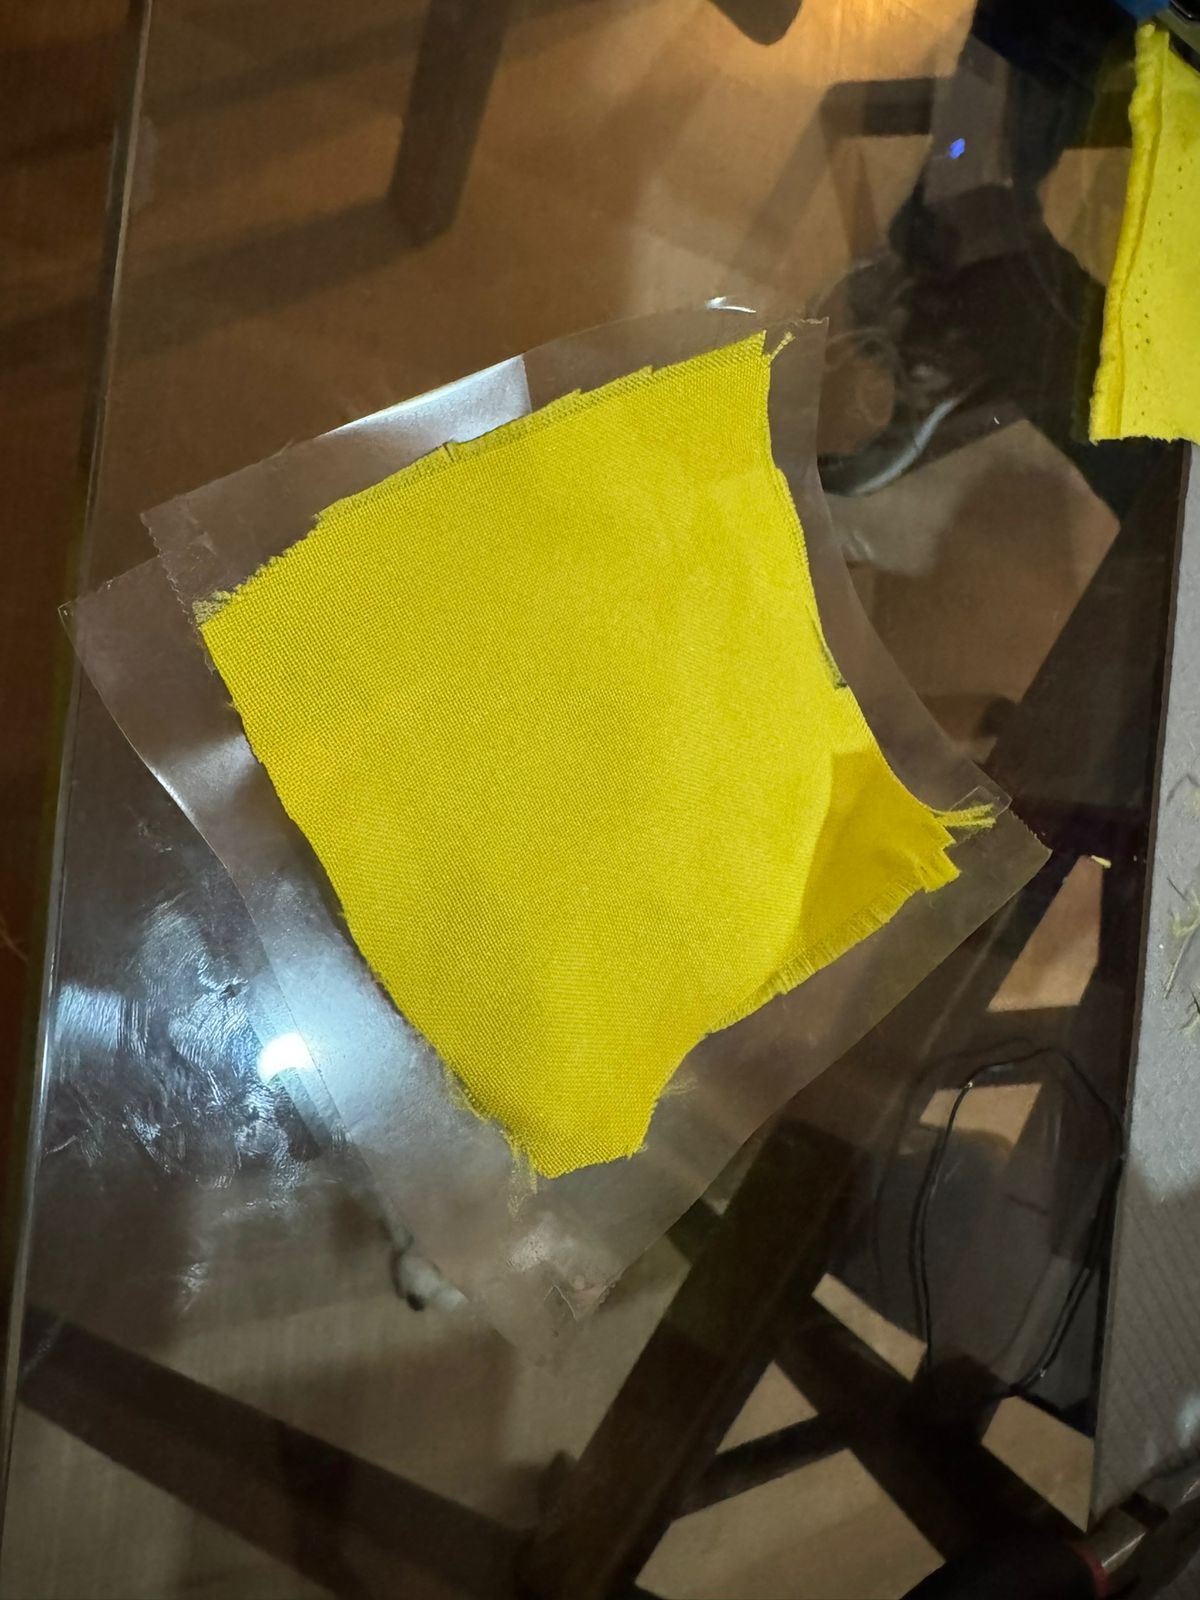
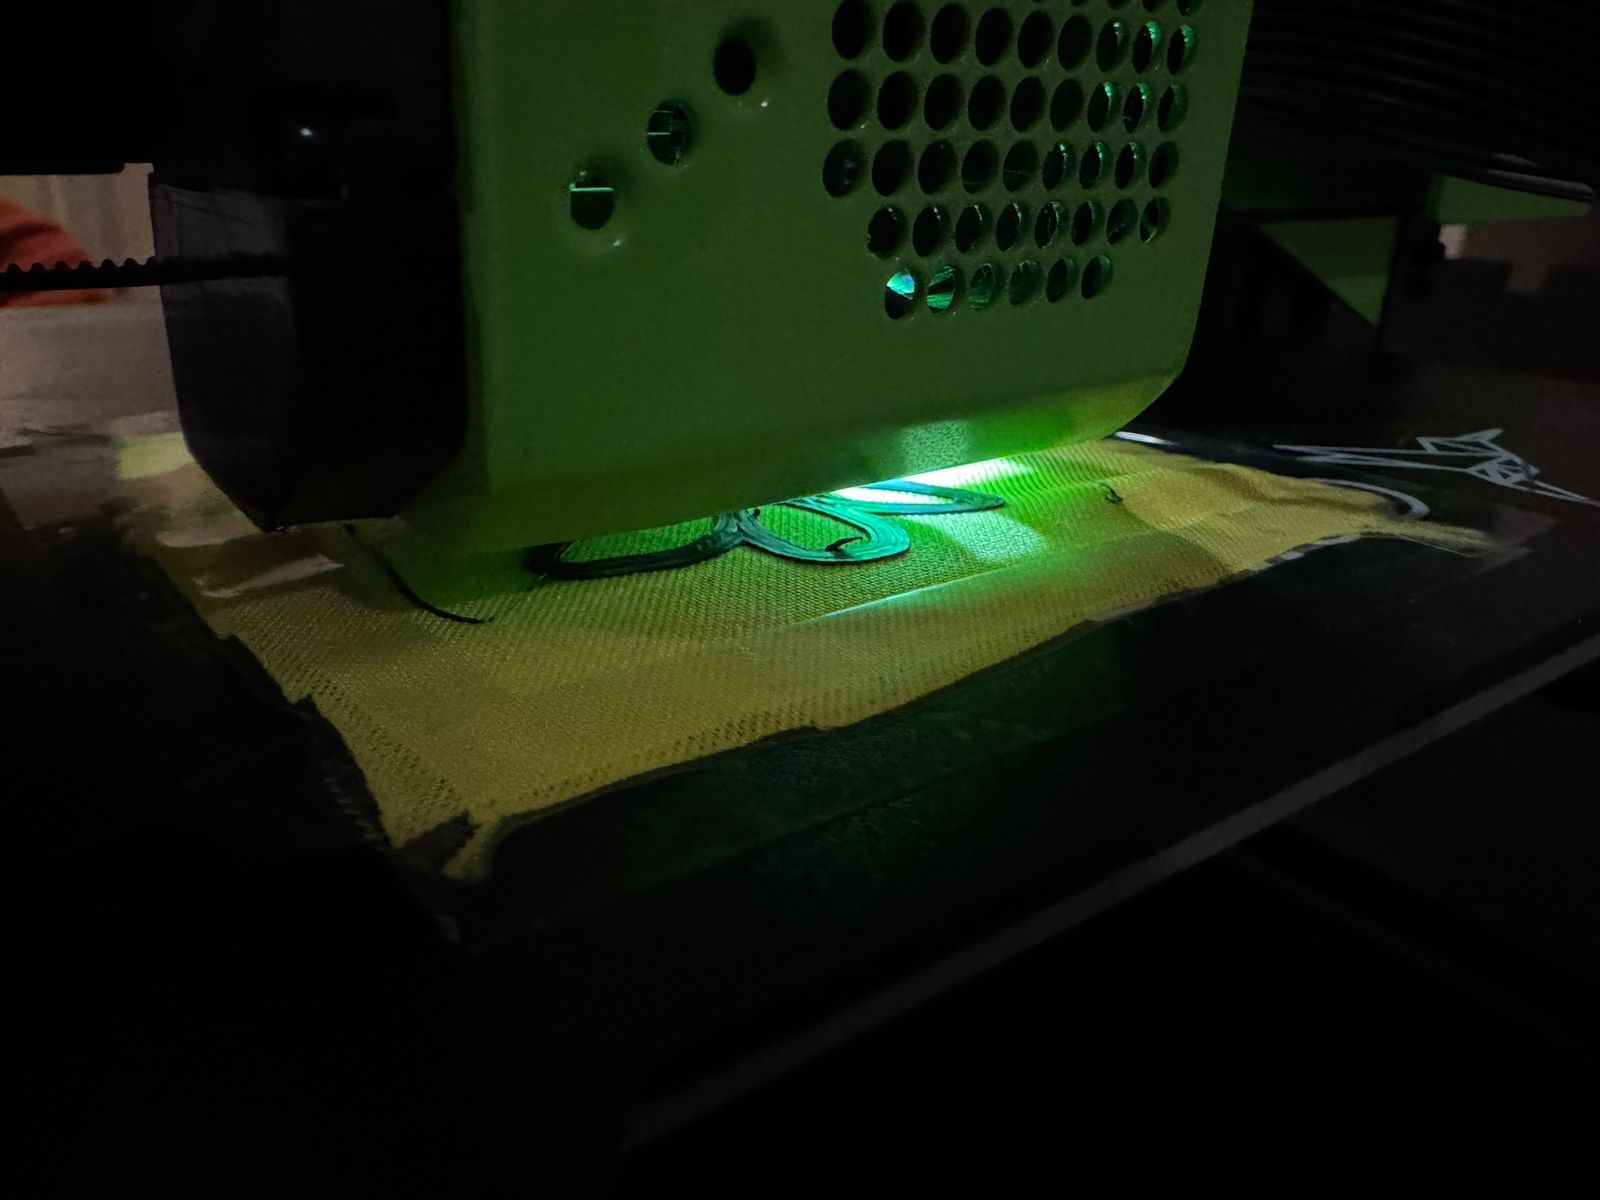
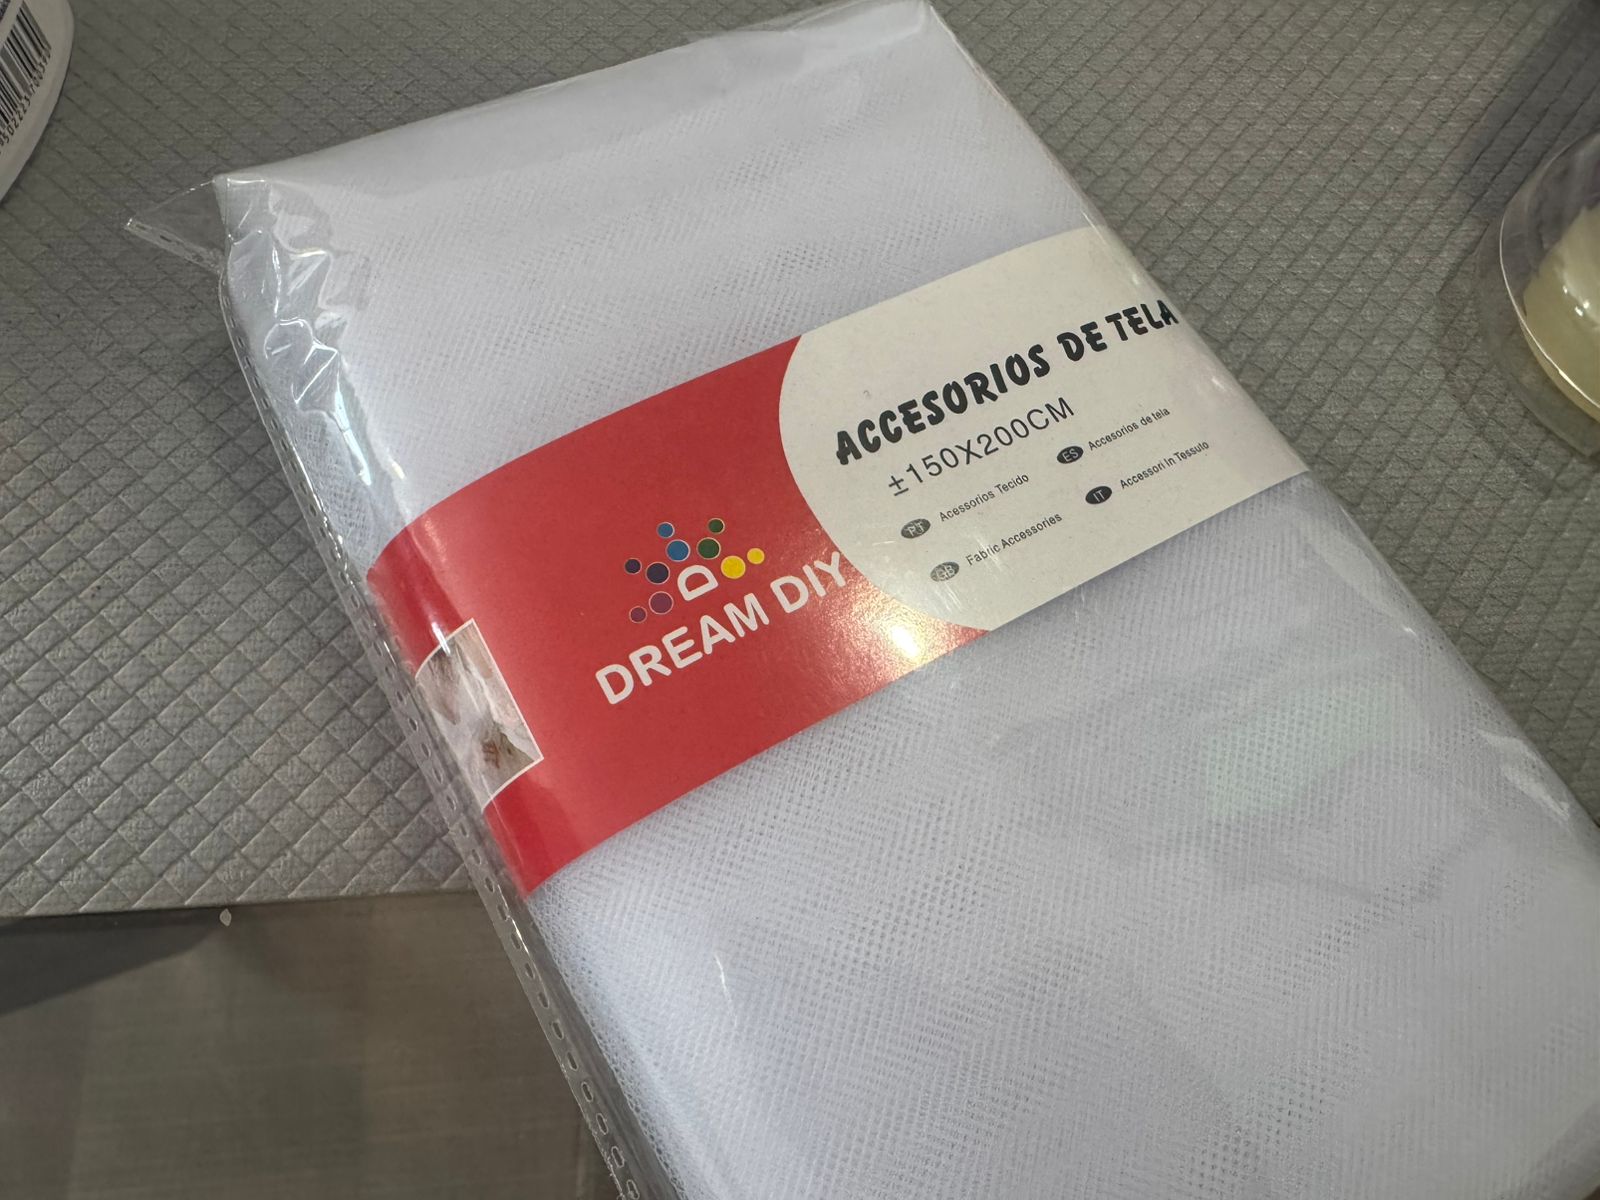
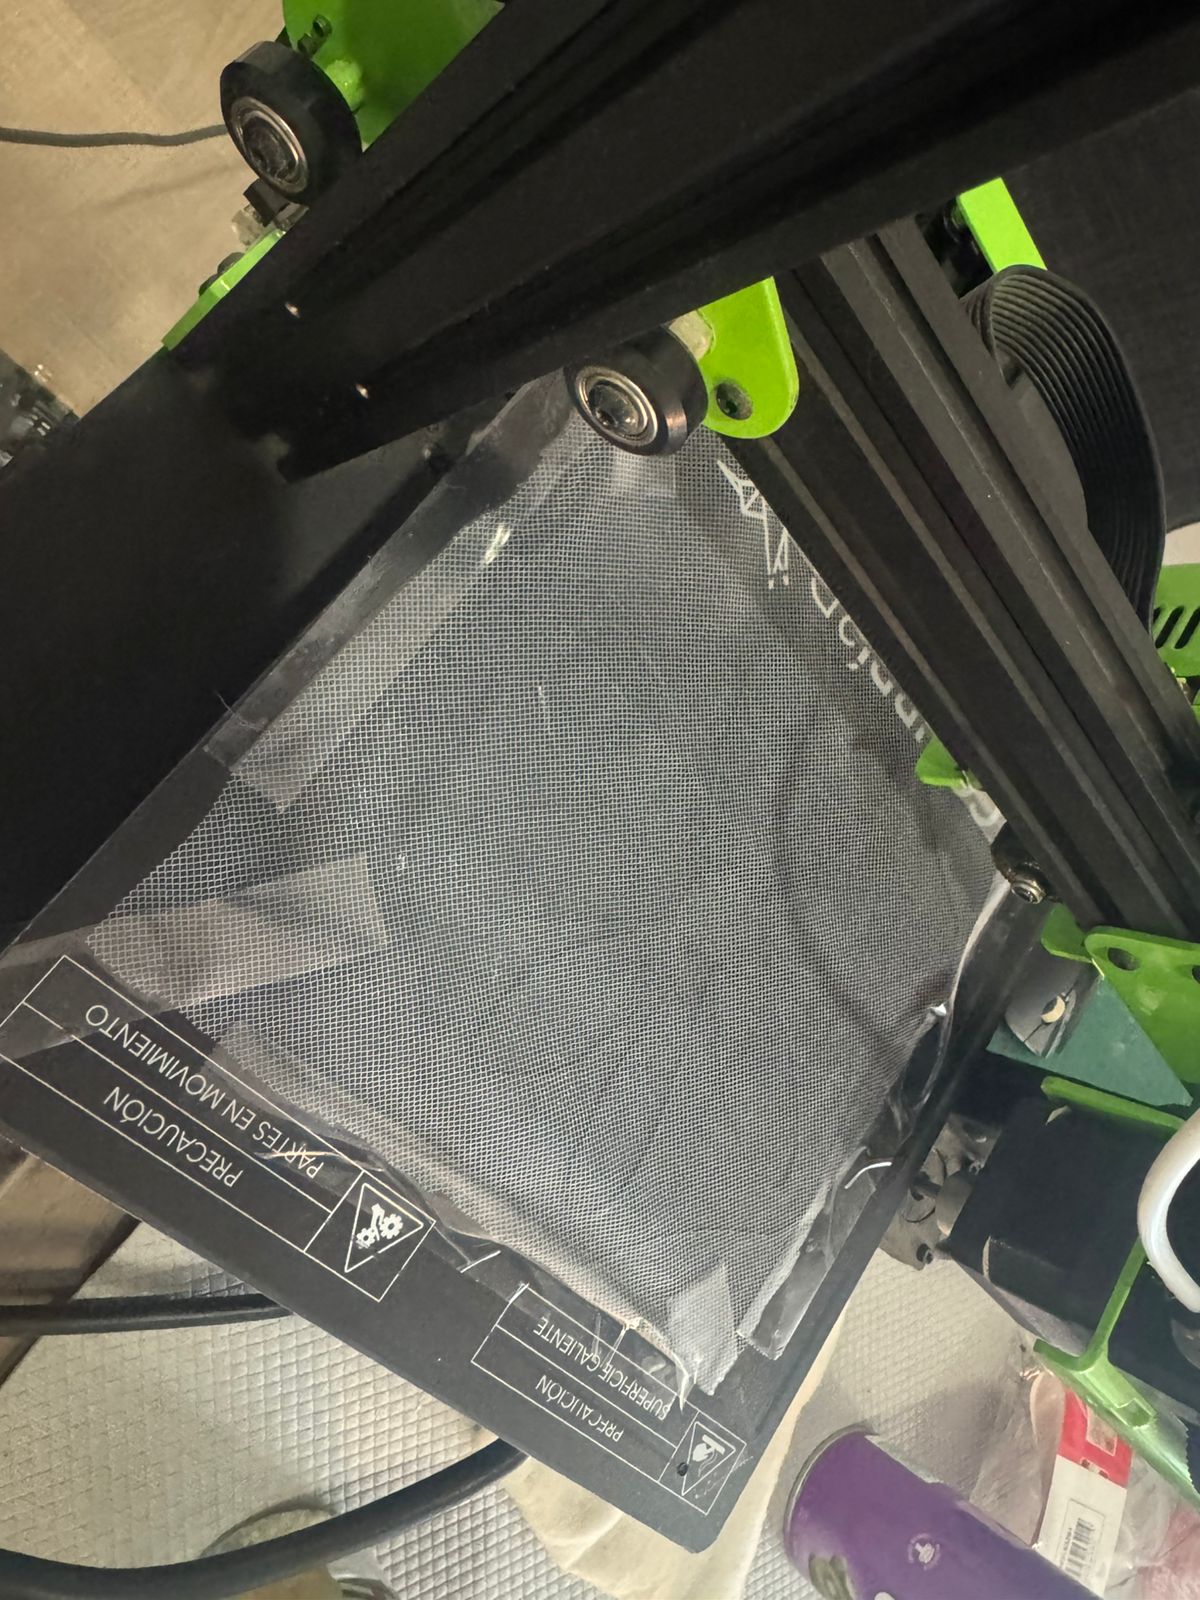
- I decided I needed a more porous fabric, so I got one:
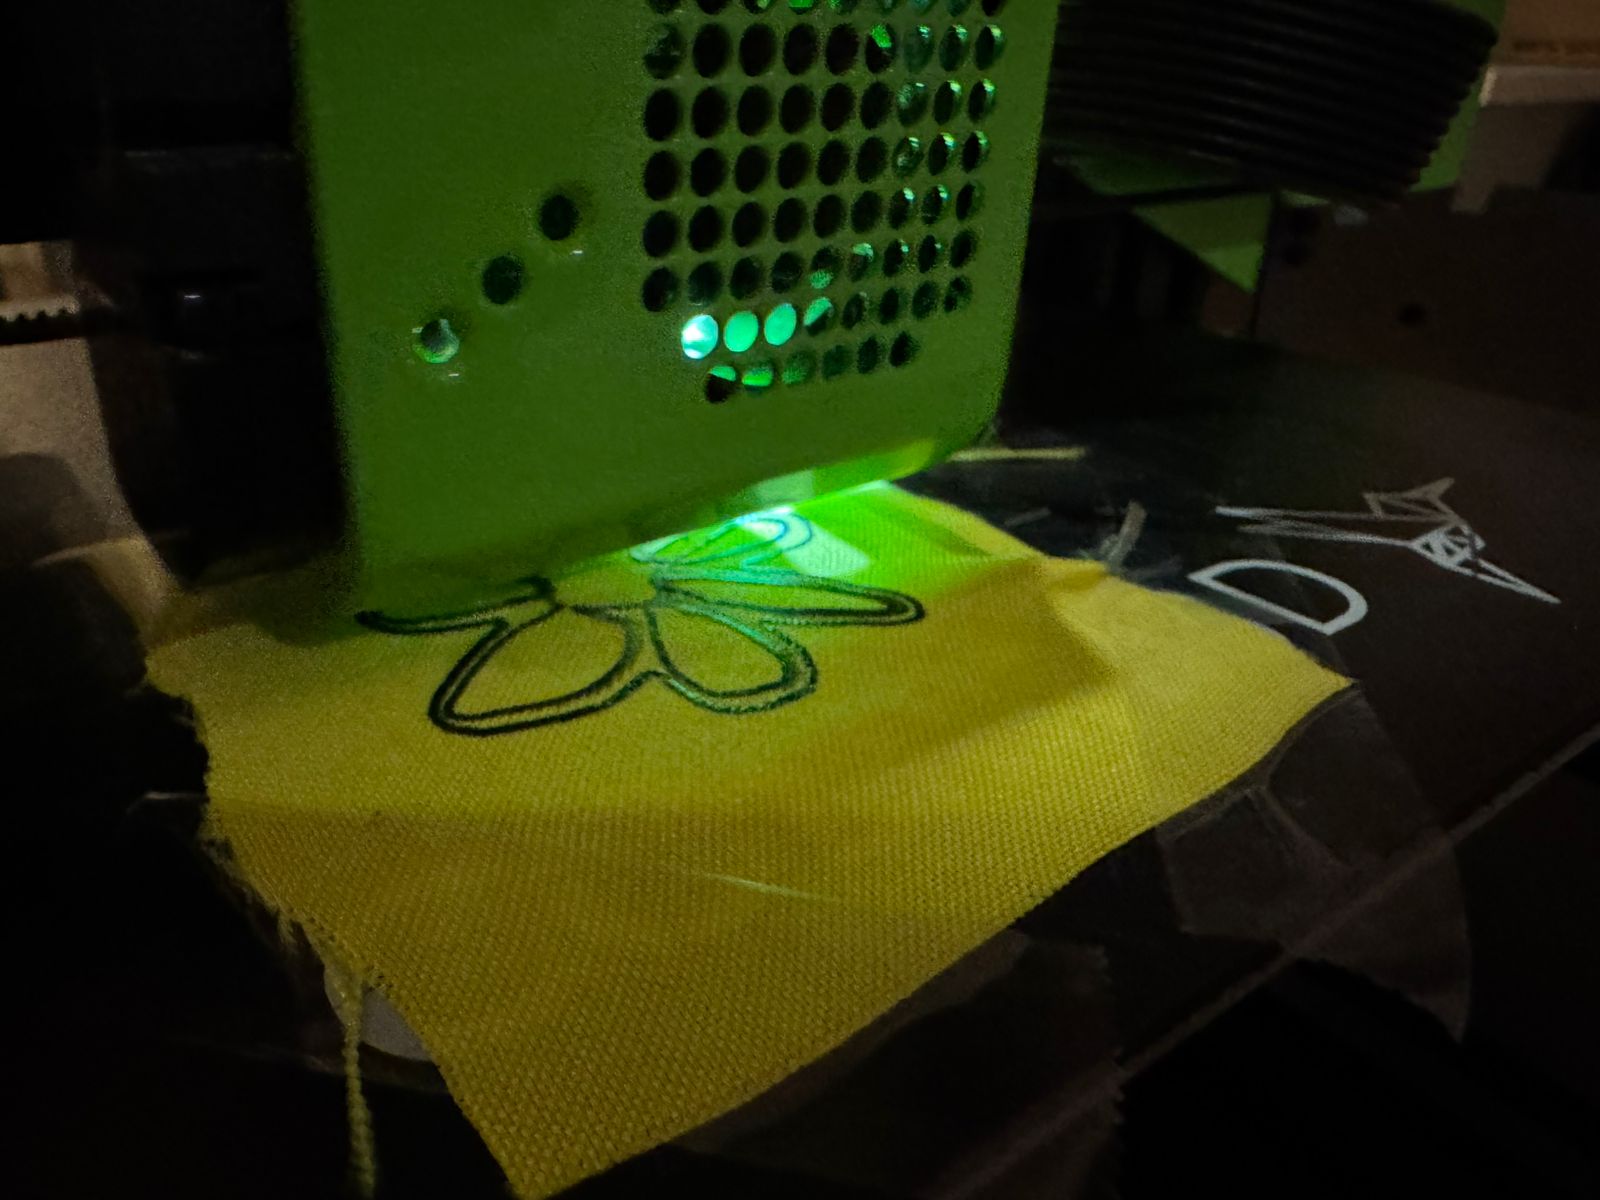
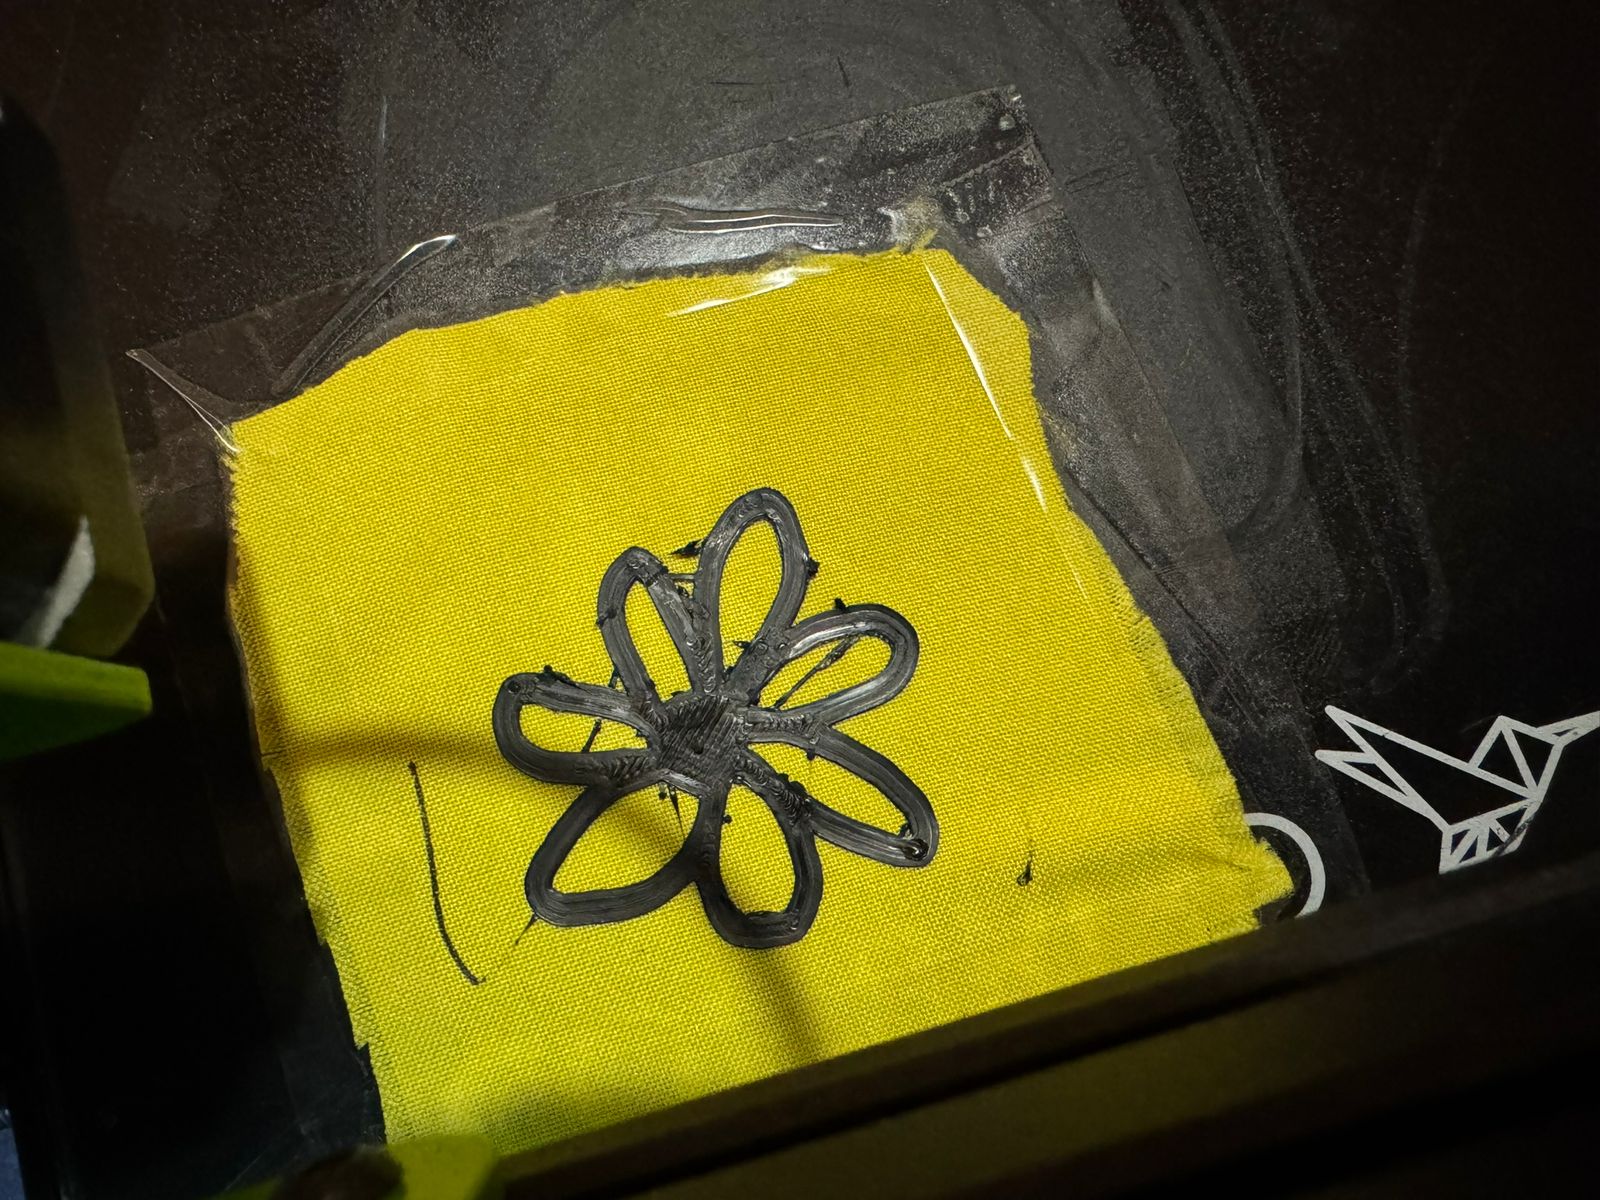
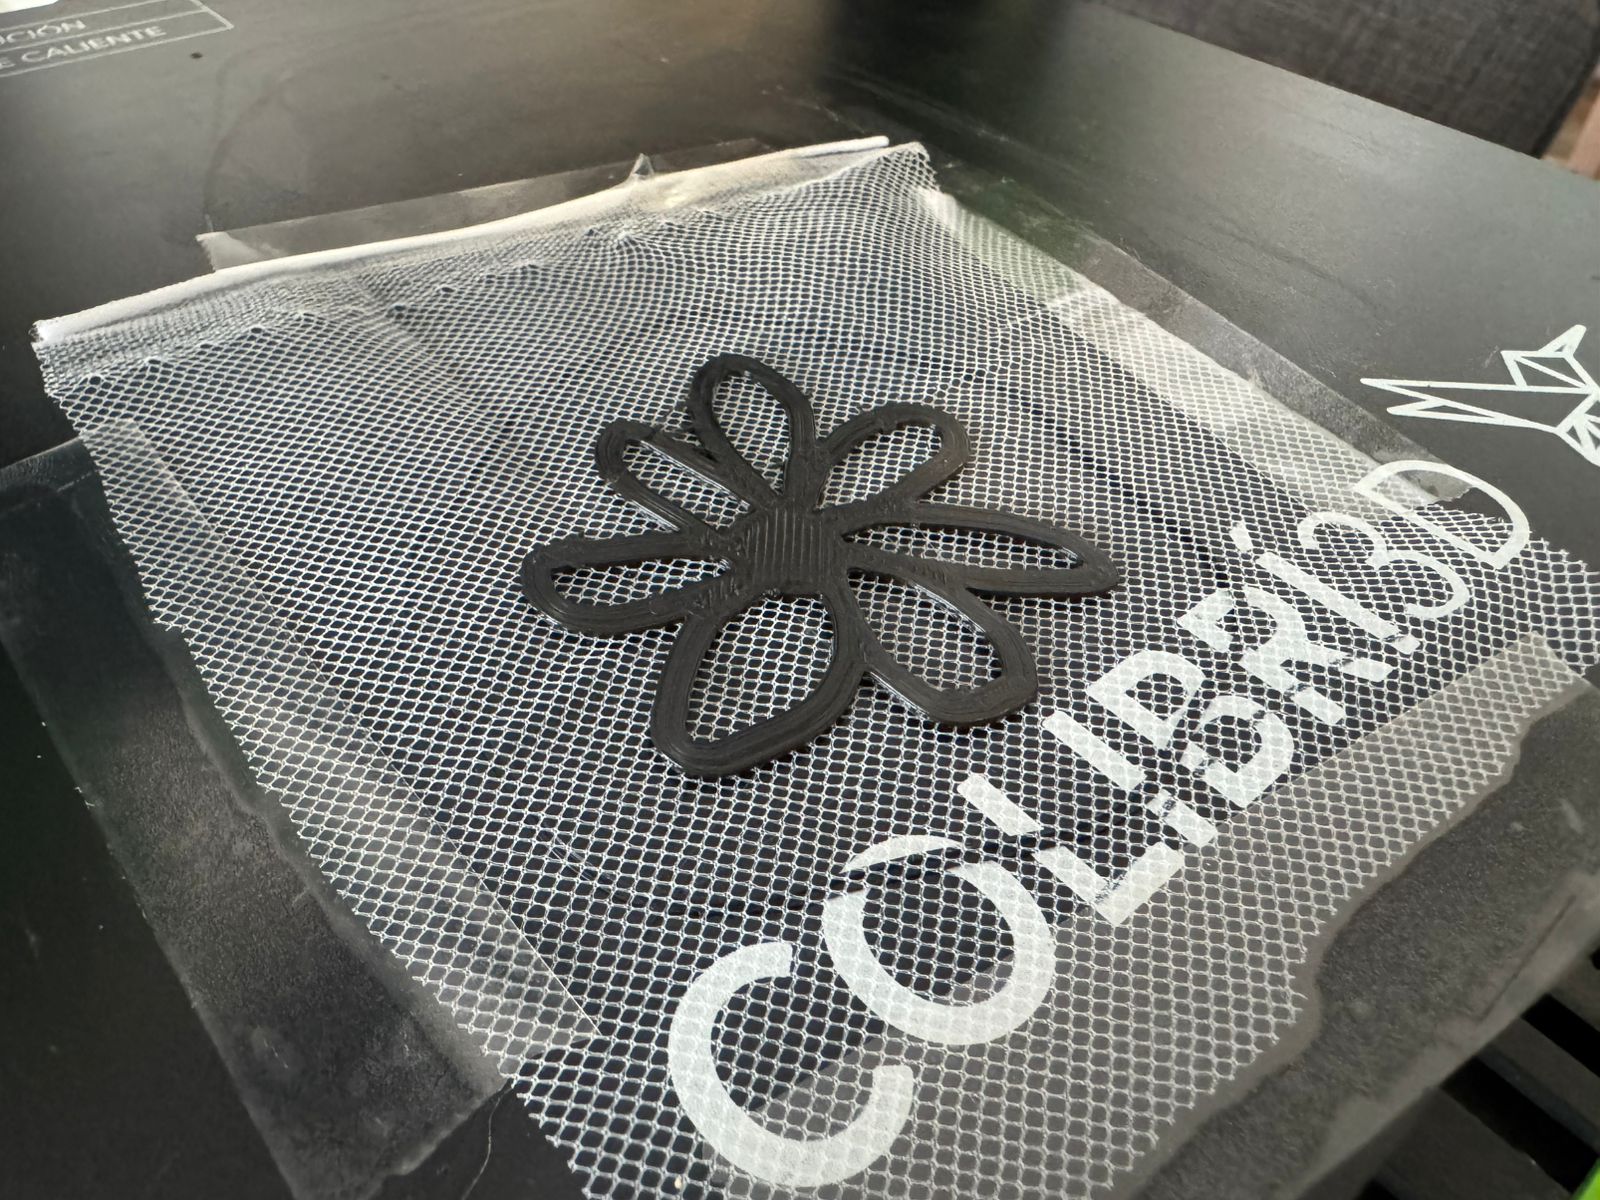
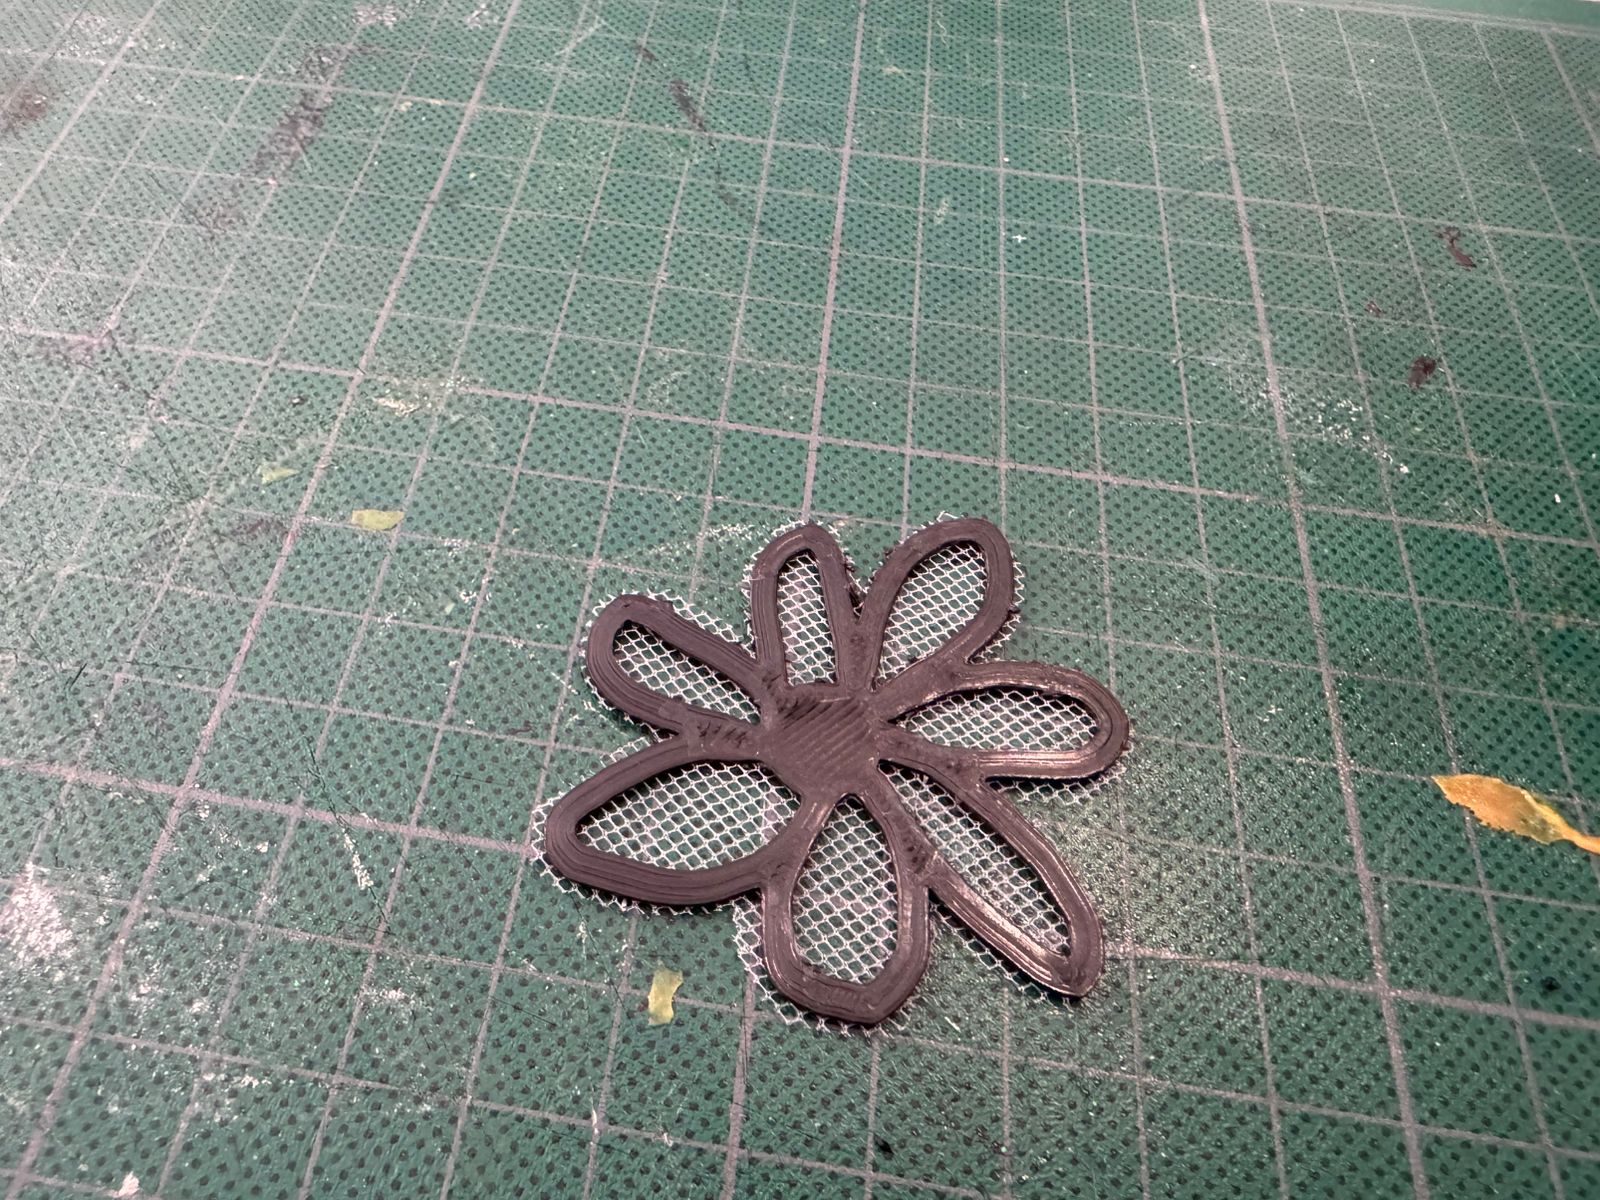
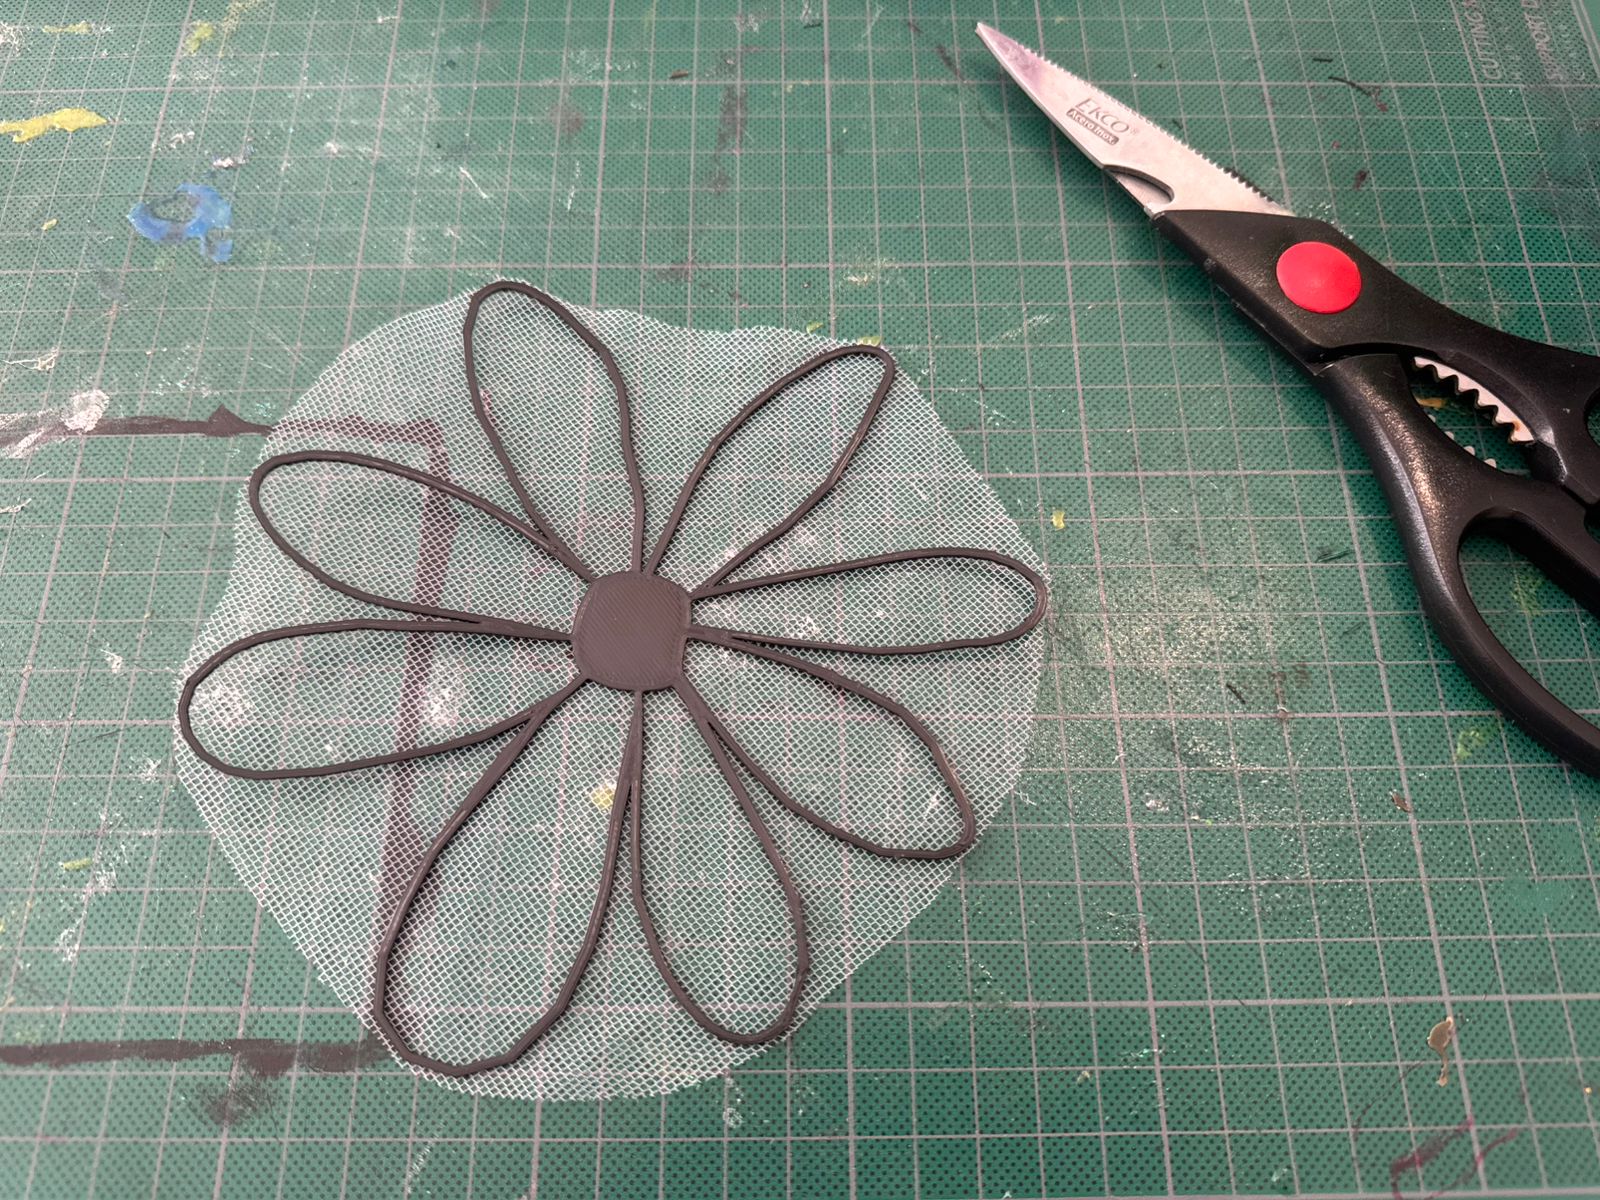
- I repeated the small flower test: printing half, pausing, adding the new fabric and resuming the print.
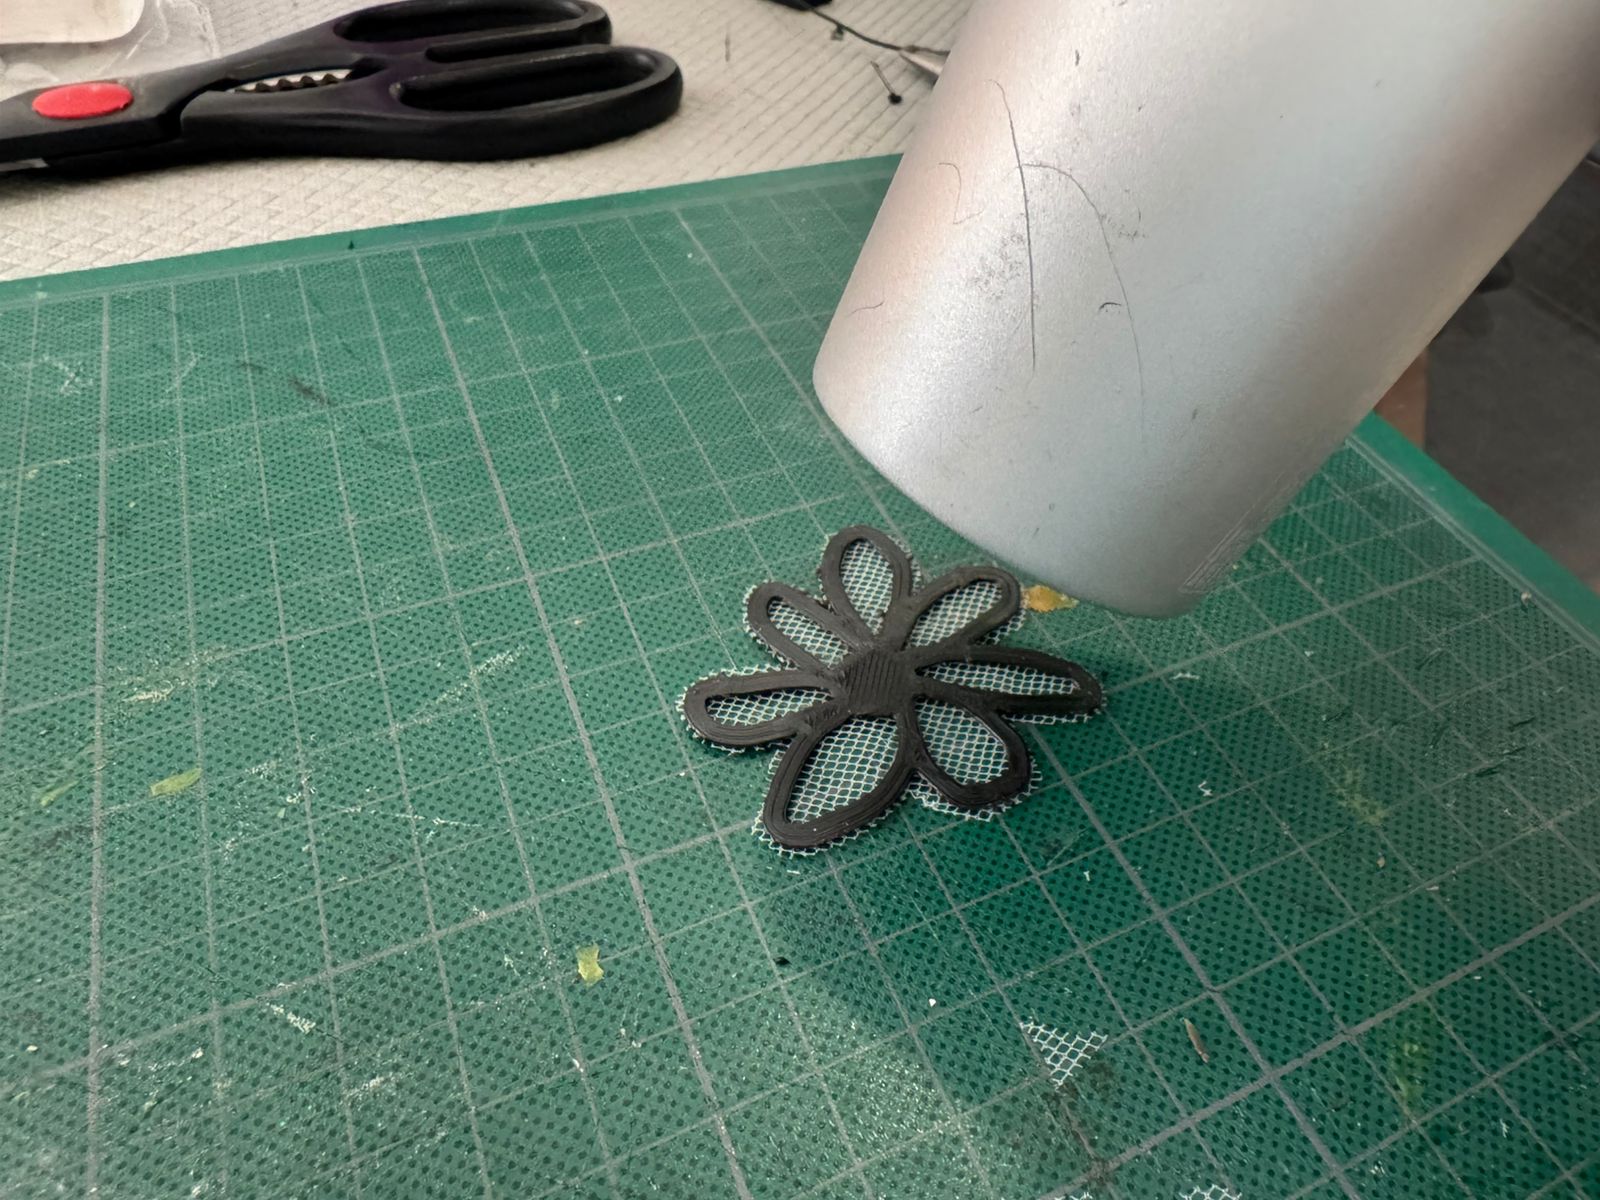
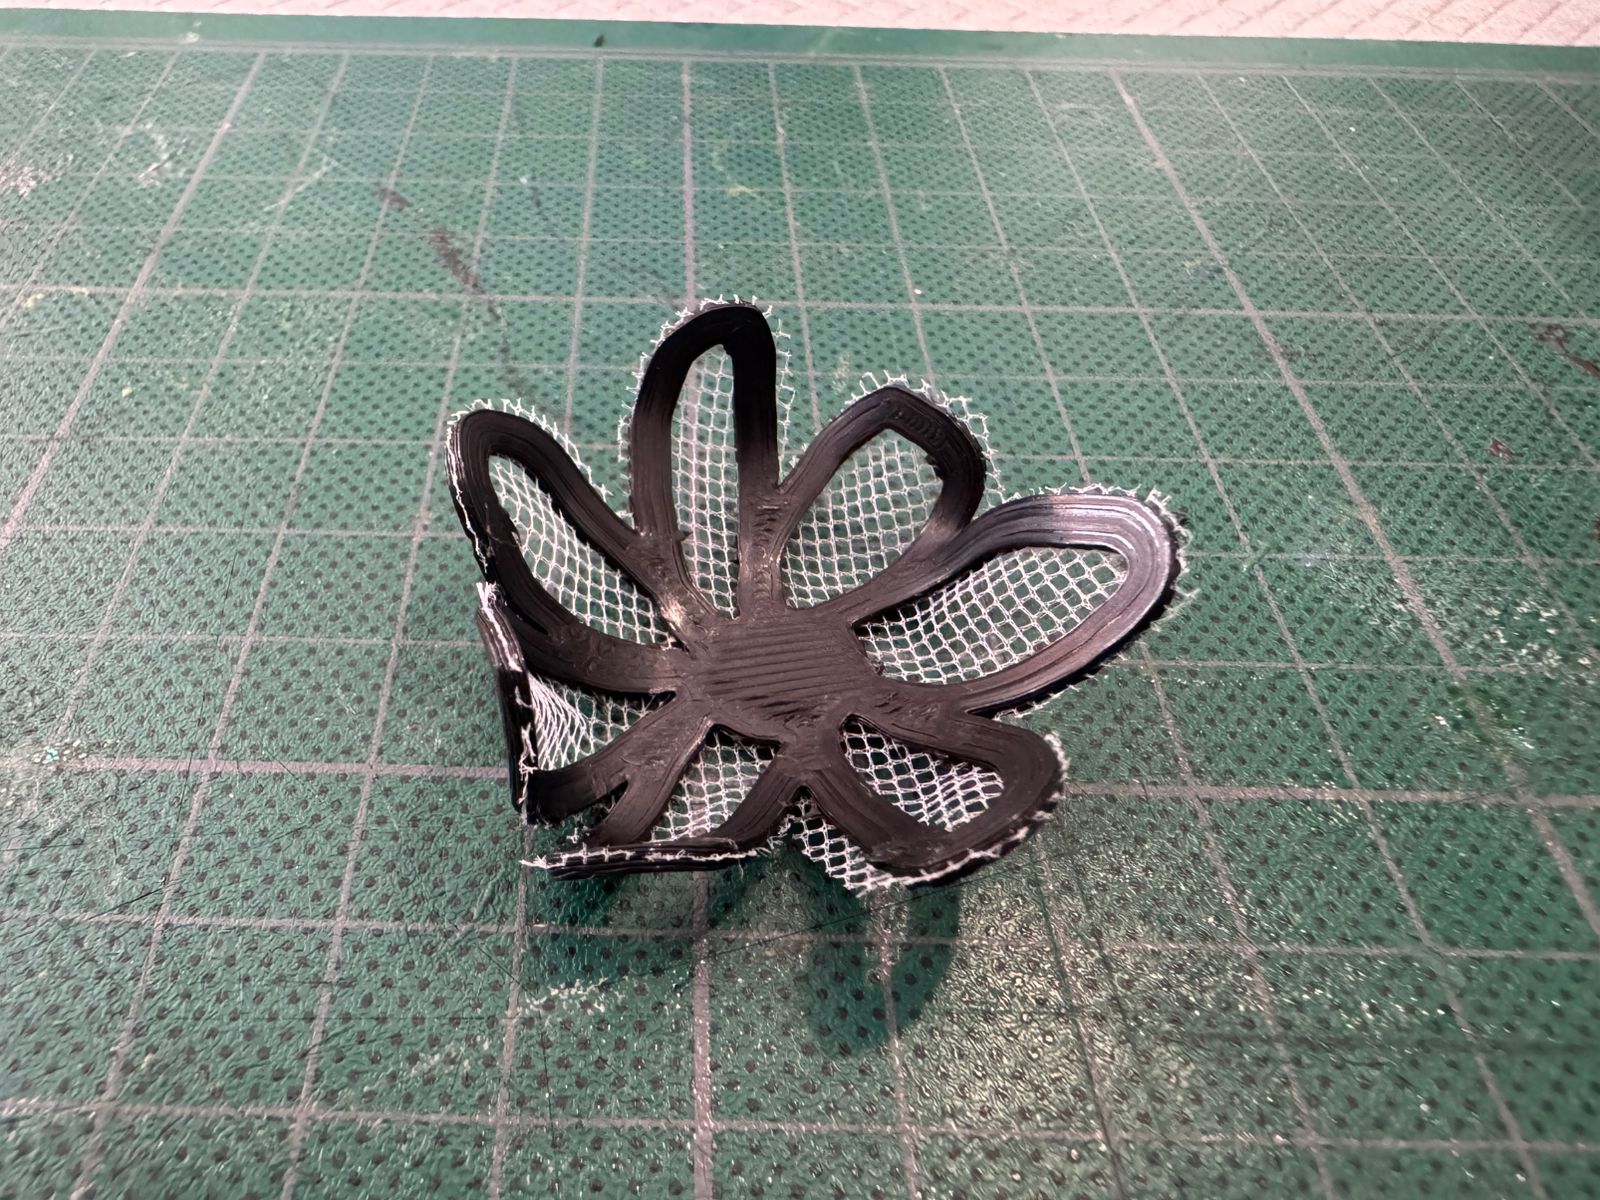
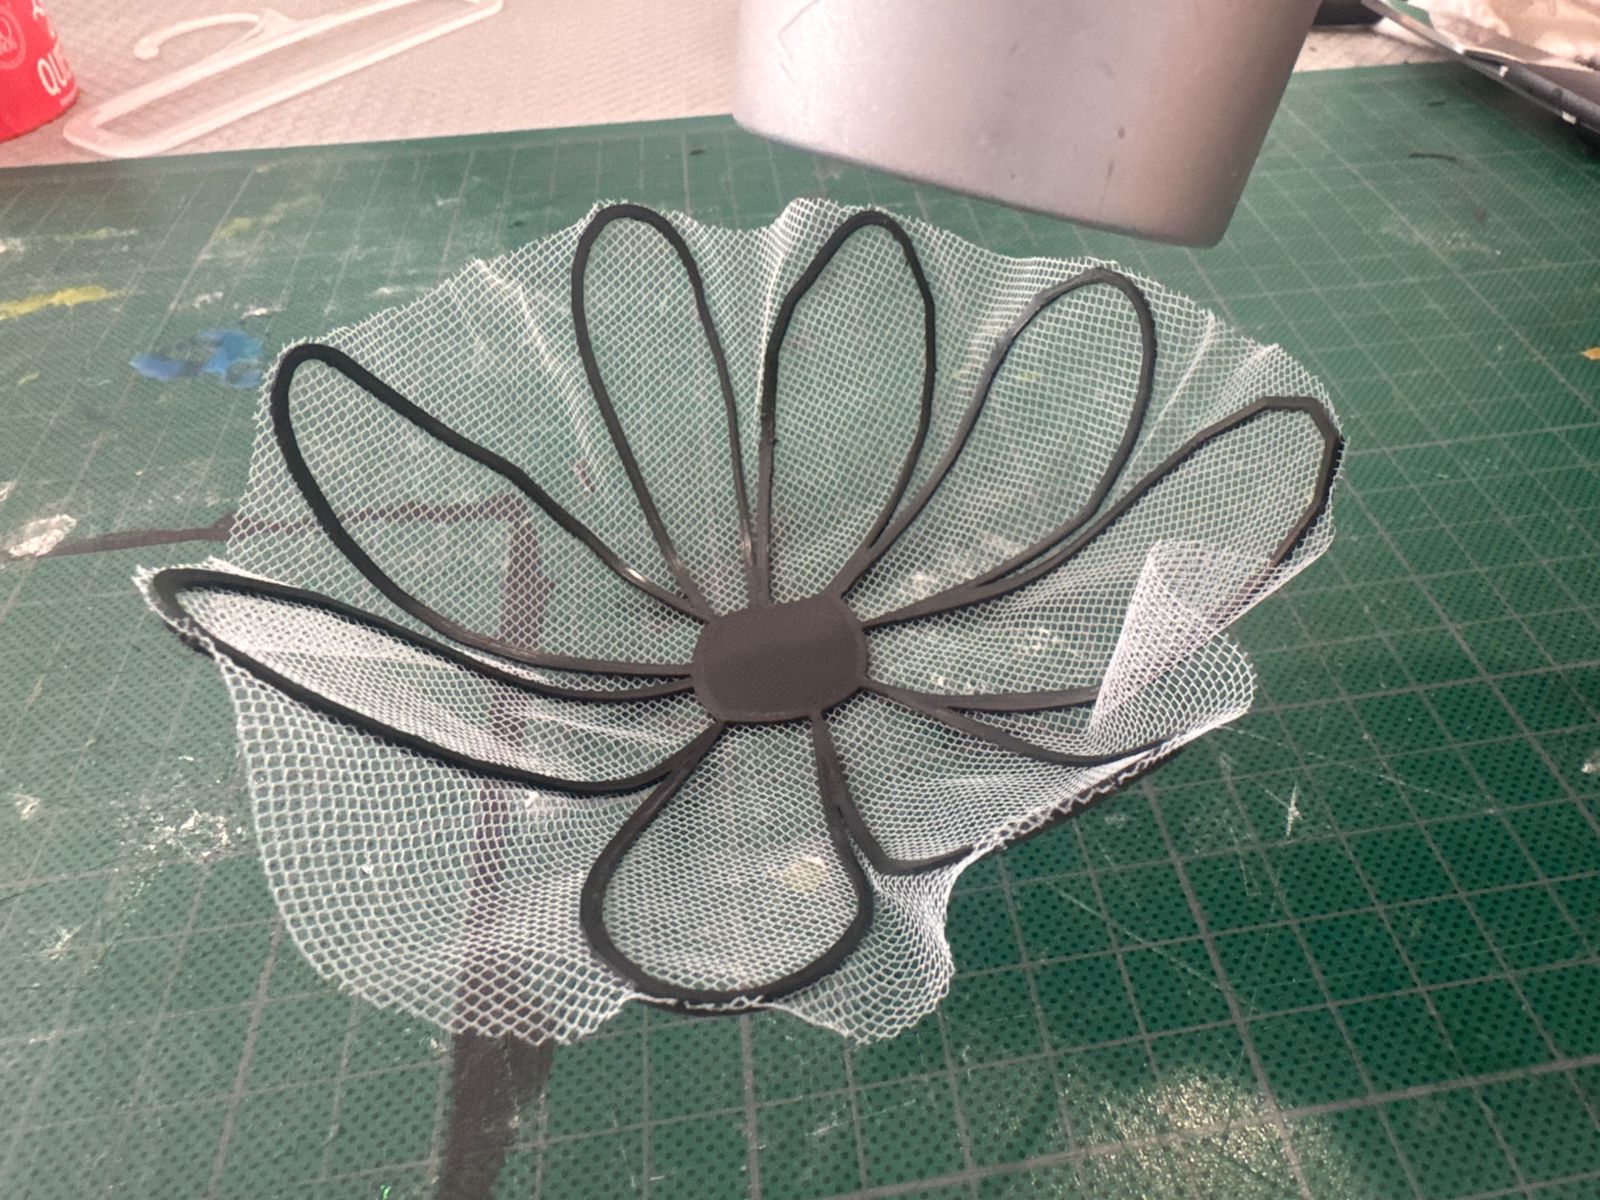
- Then I had to try the termoformig, so I heated up the little flower and gave it the final shape:
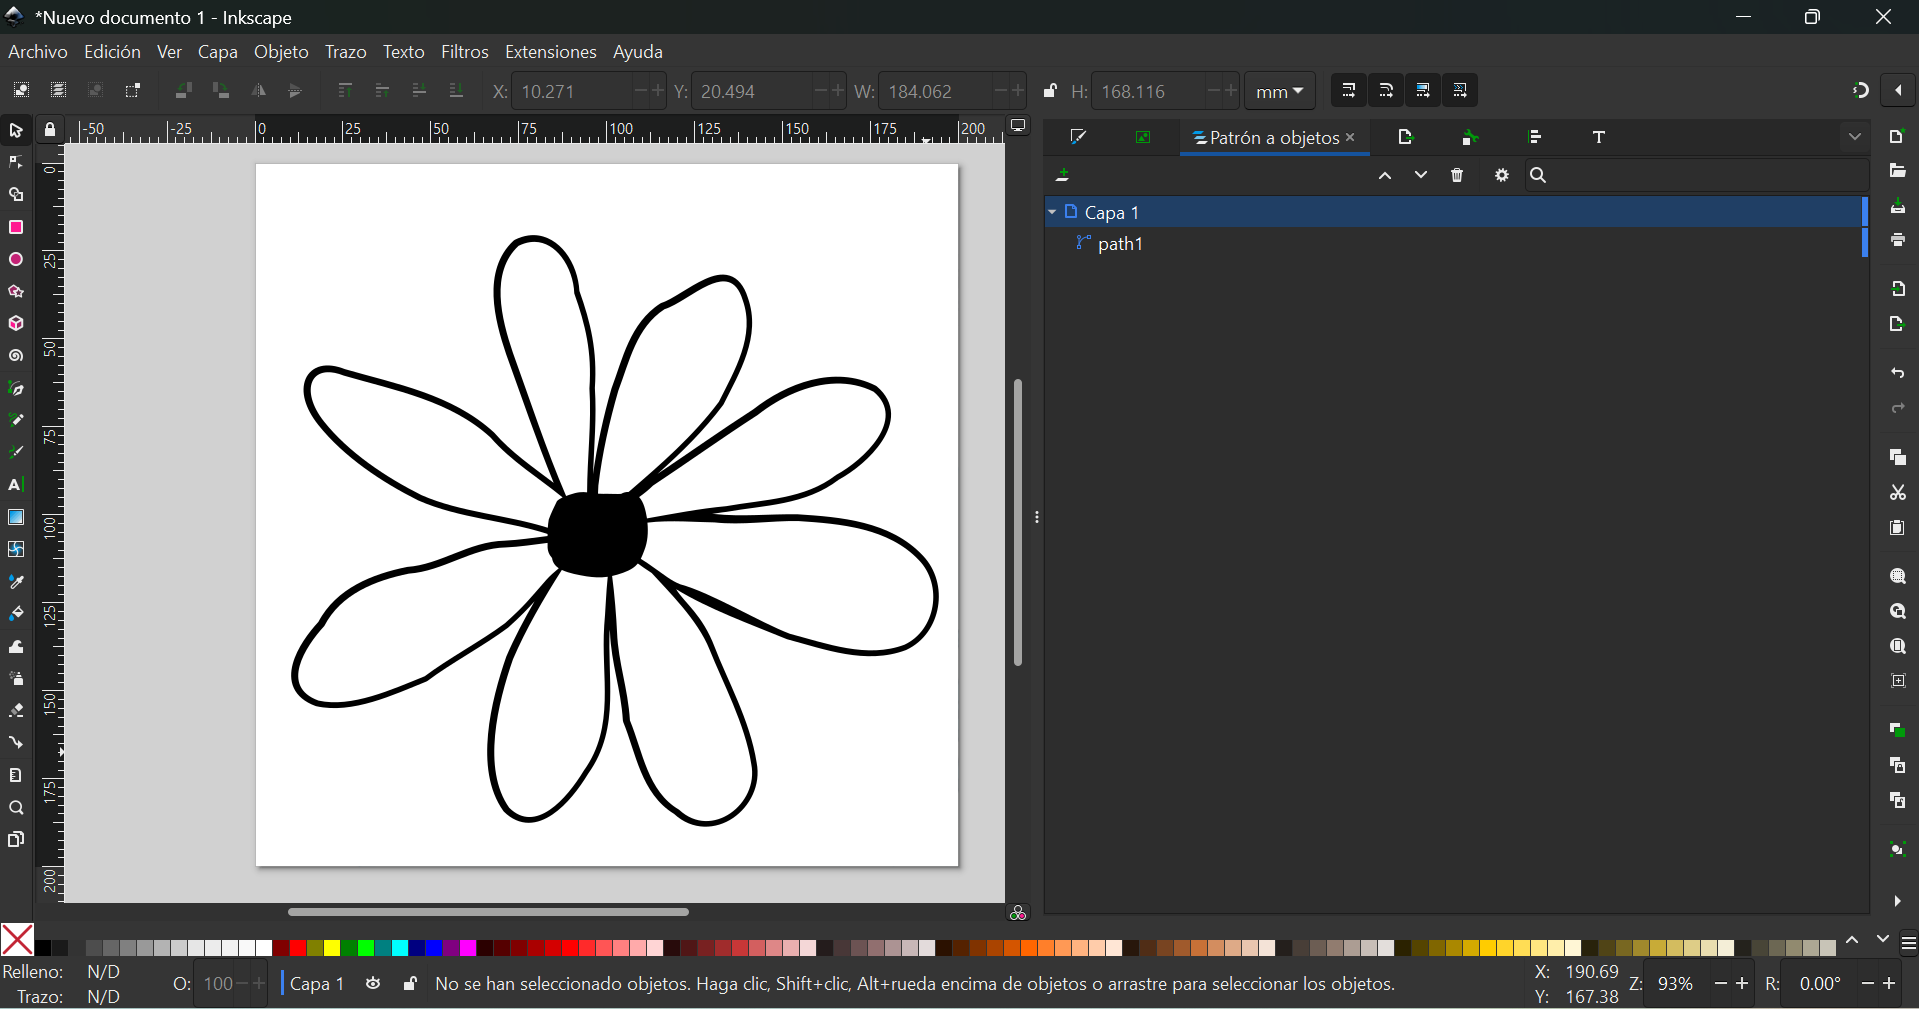
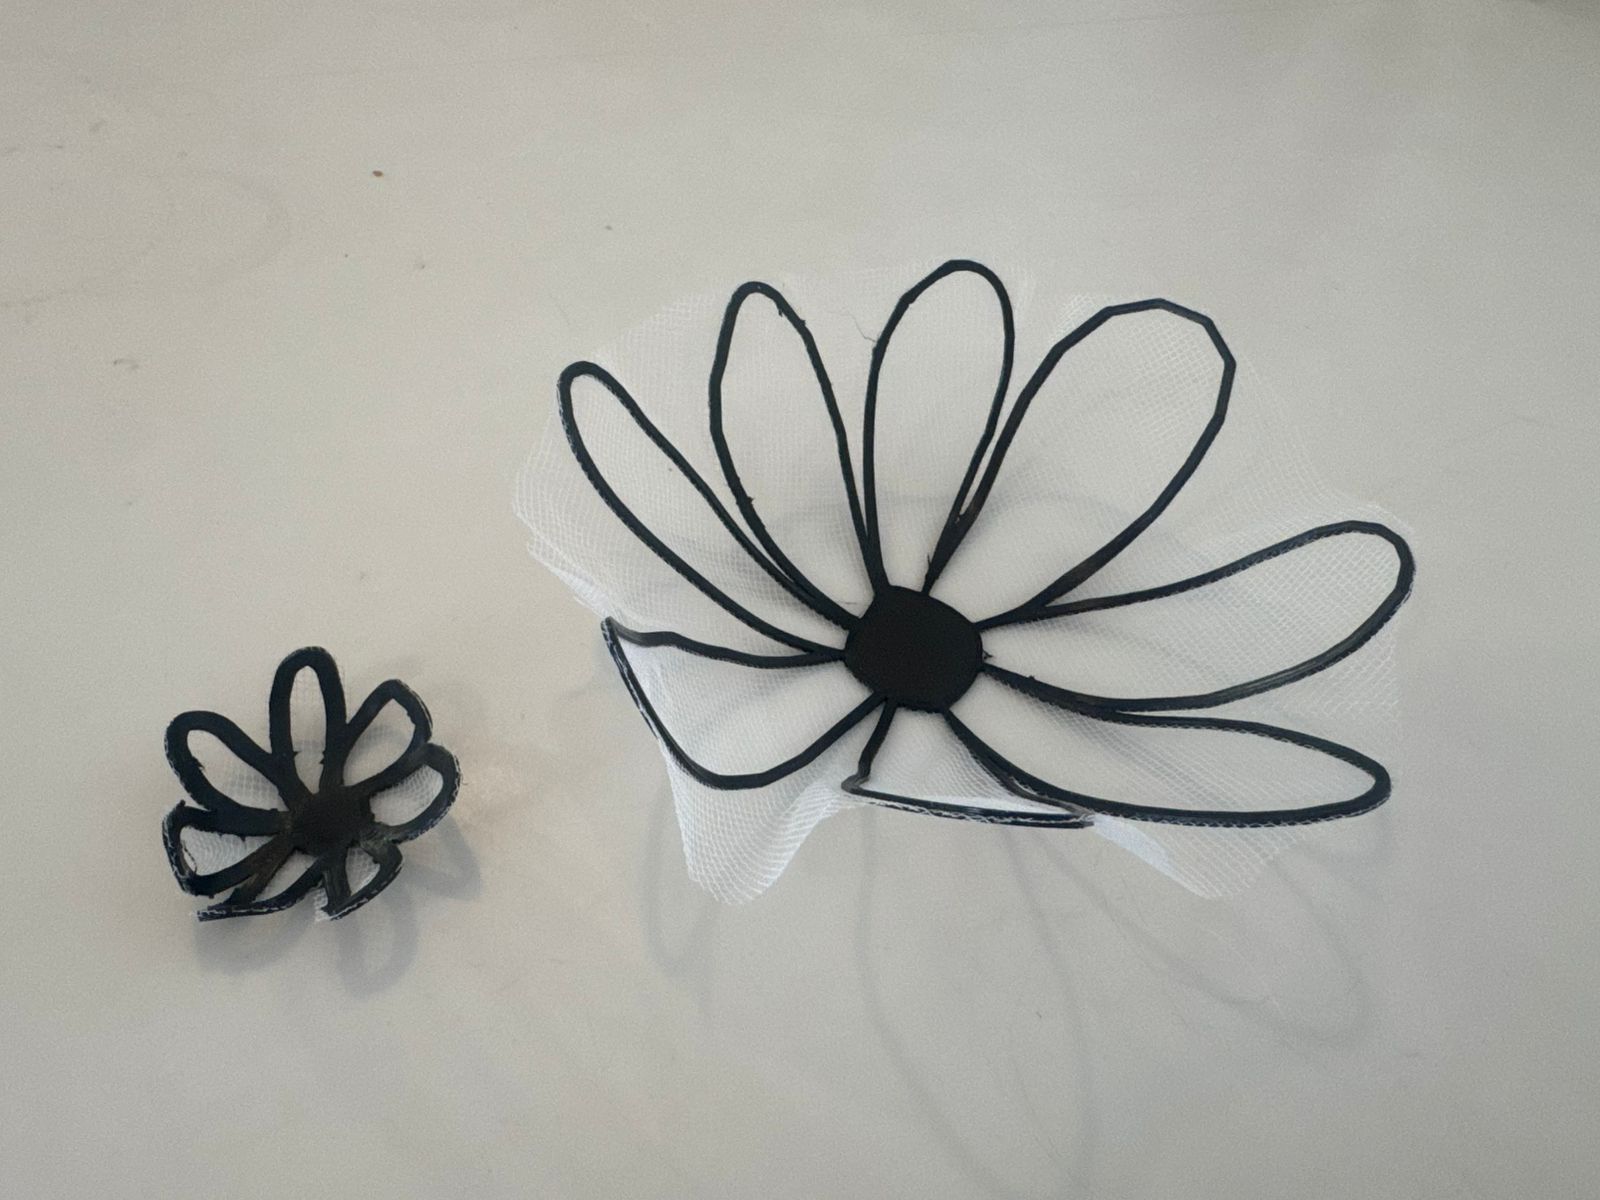
- Having all steps clear, I went on and designed the final bigger flower in InkScape:
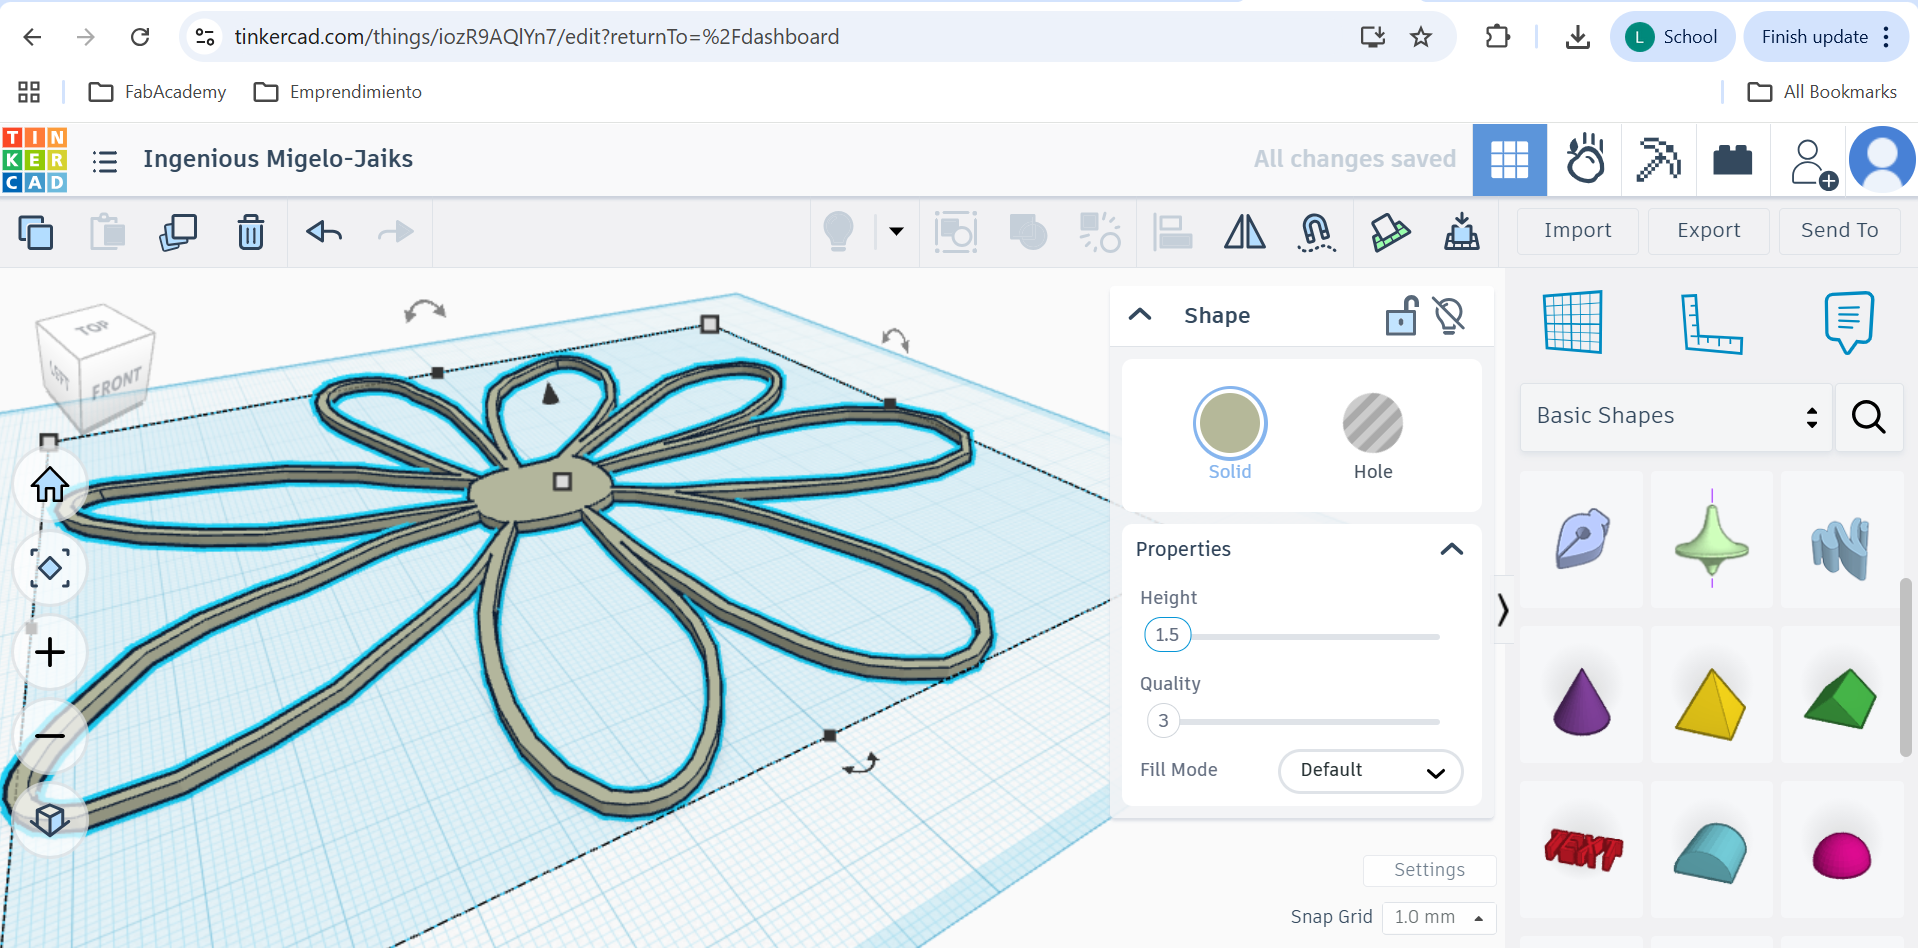
- Again, I gave the right dimensions in TinkerCad.
- Exported the STL and opened it in Cura for slicing.
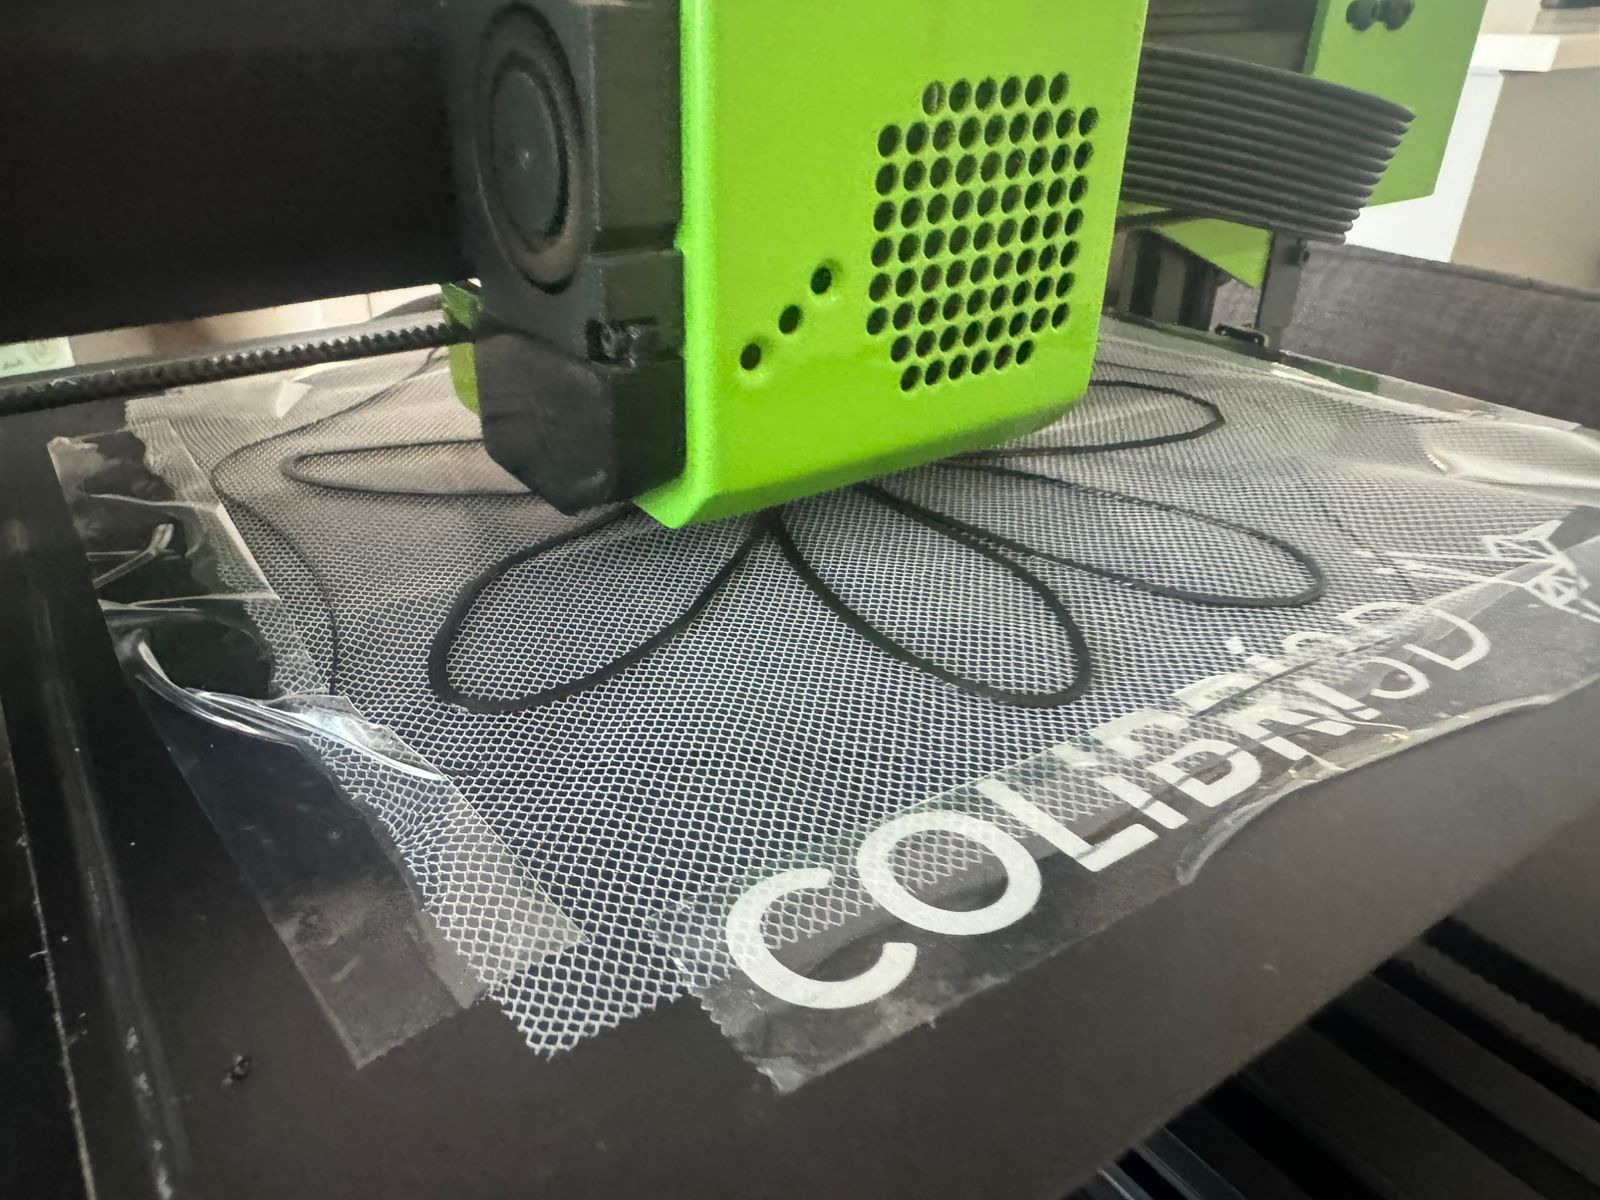
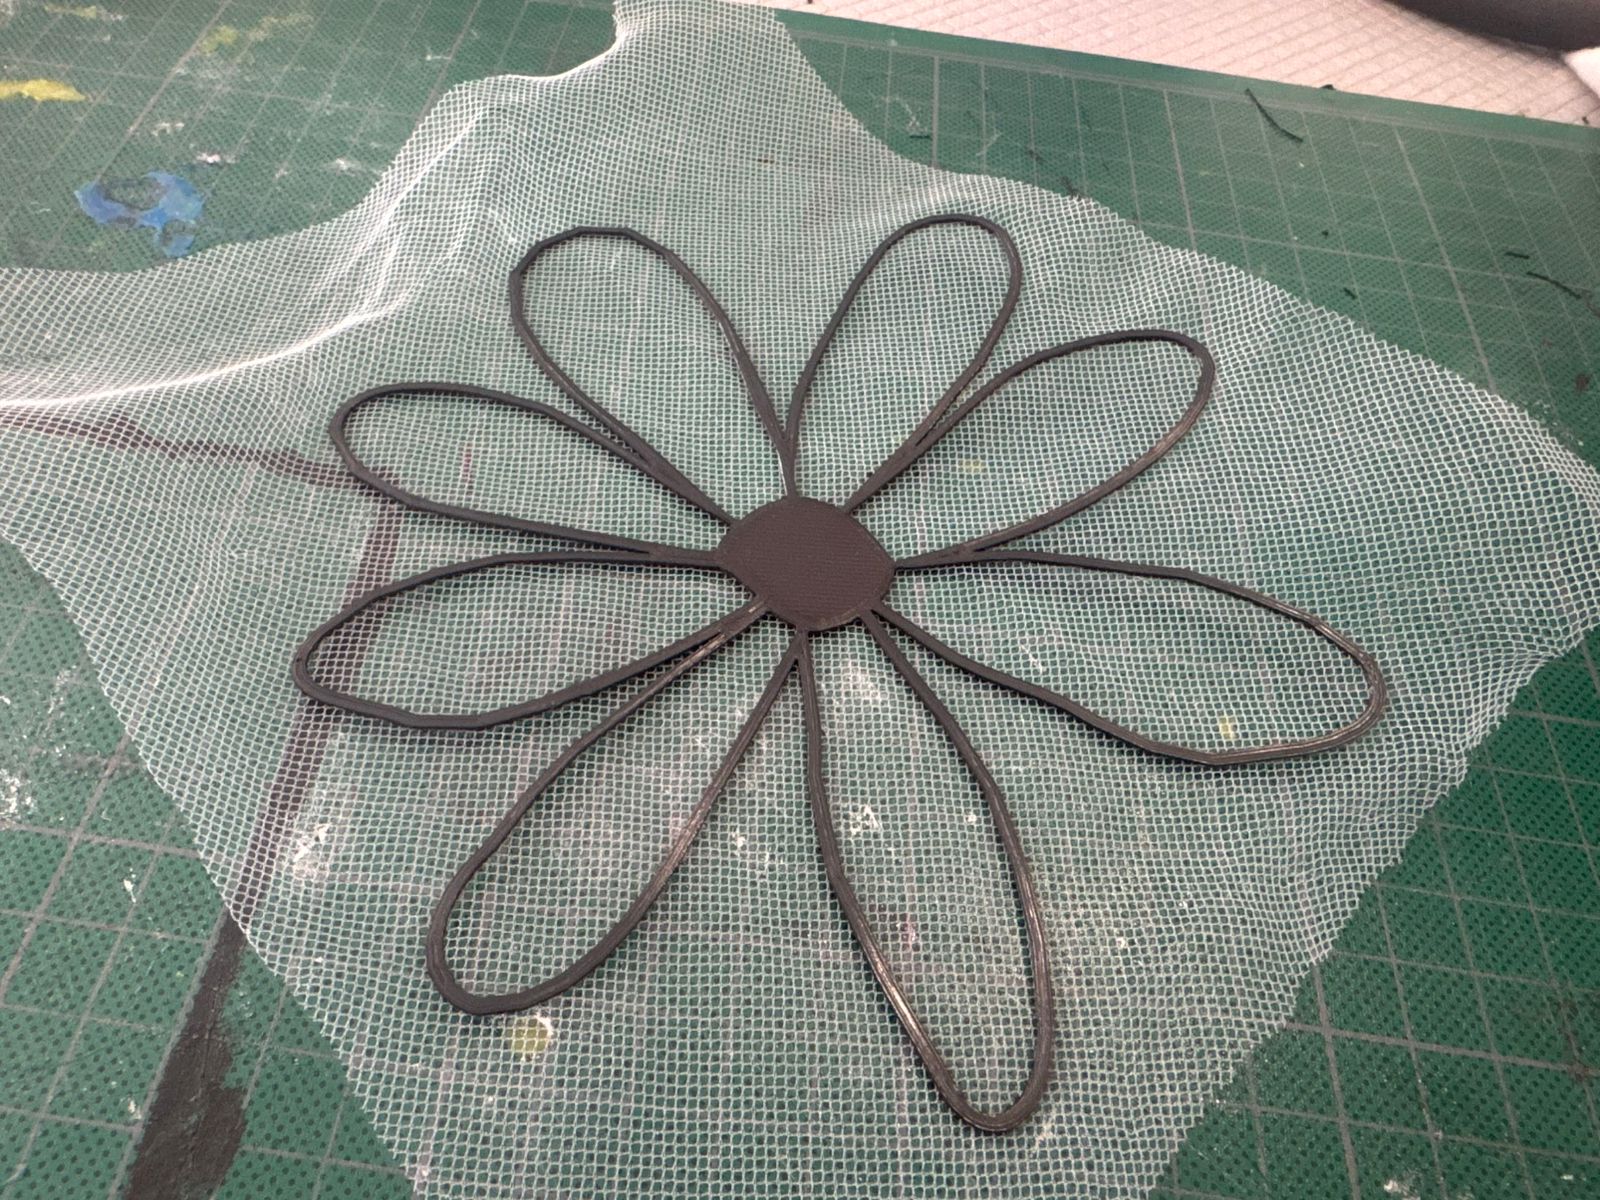
- I repeated the print, pause, add fabric, resume steps for this final design:
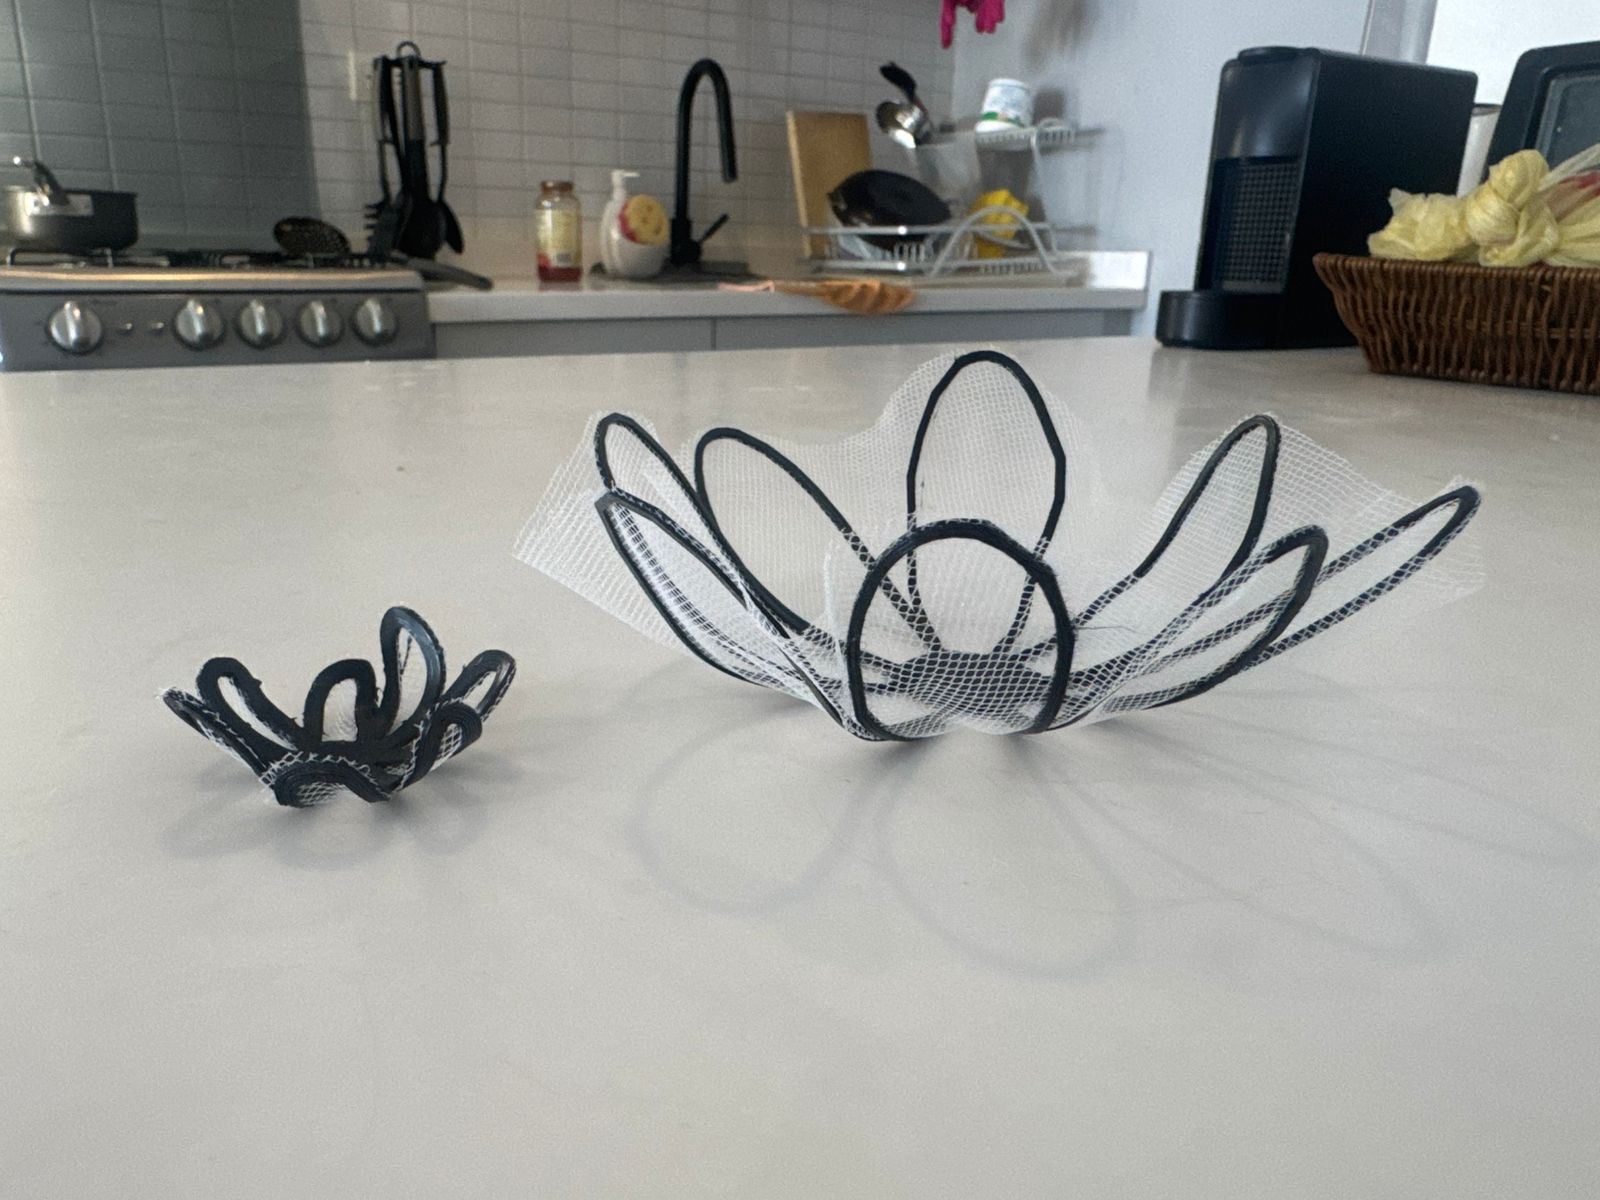
- Finally I heated up the flower and gave it the bowl shape:
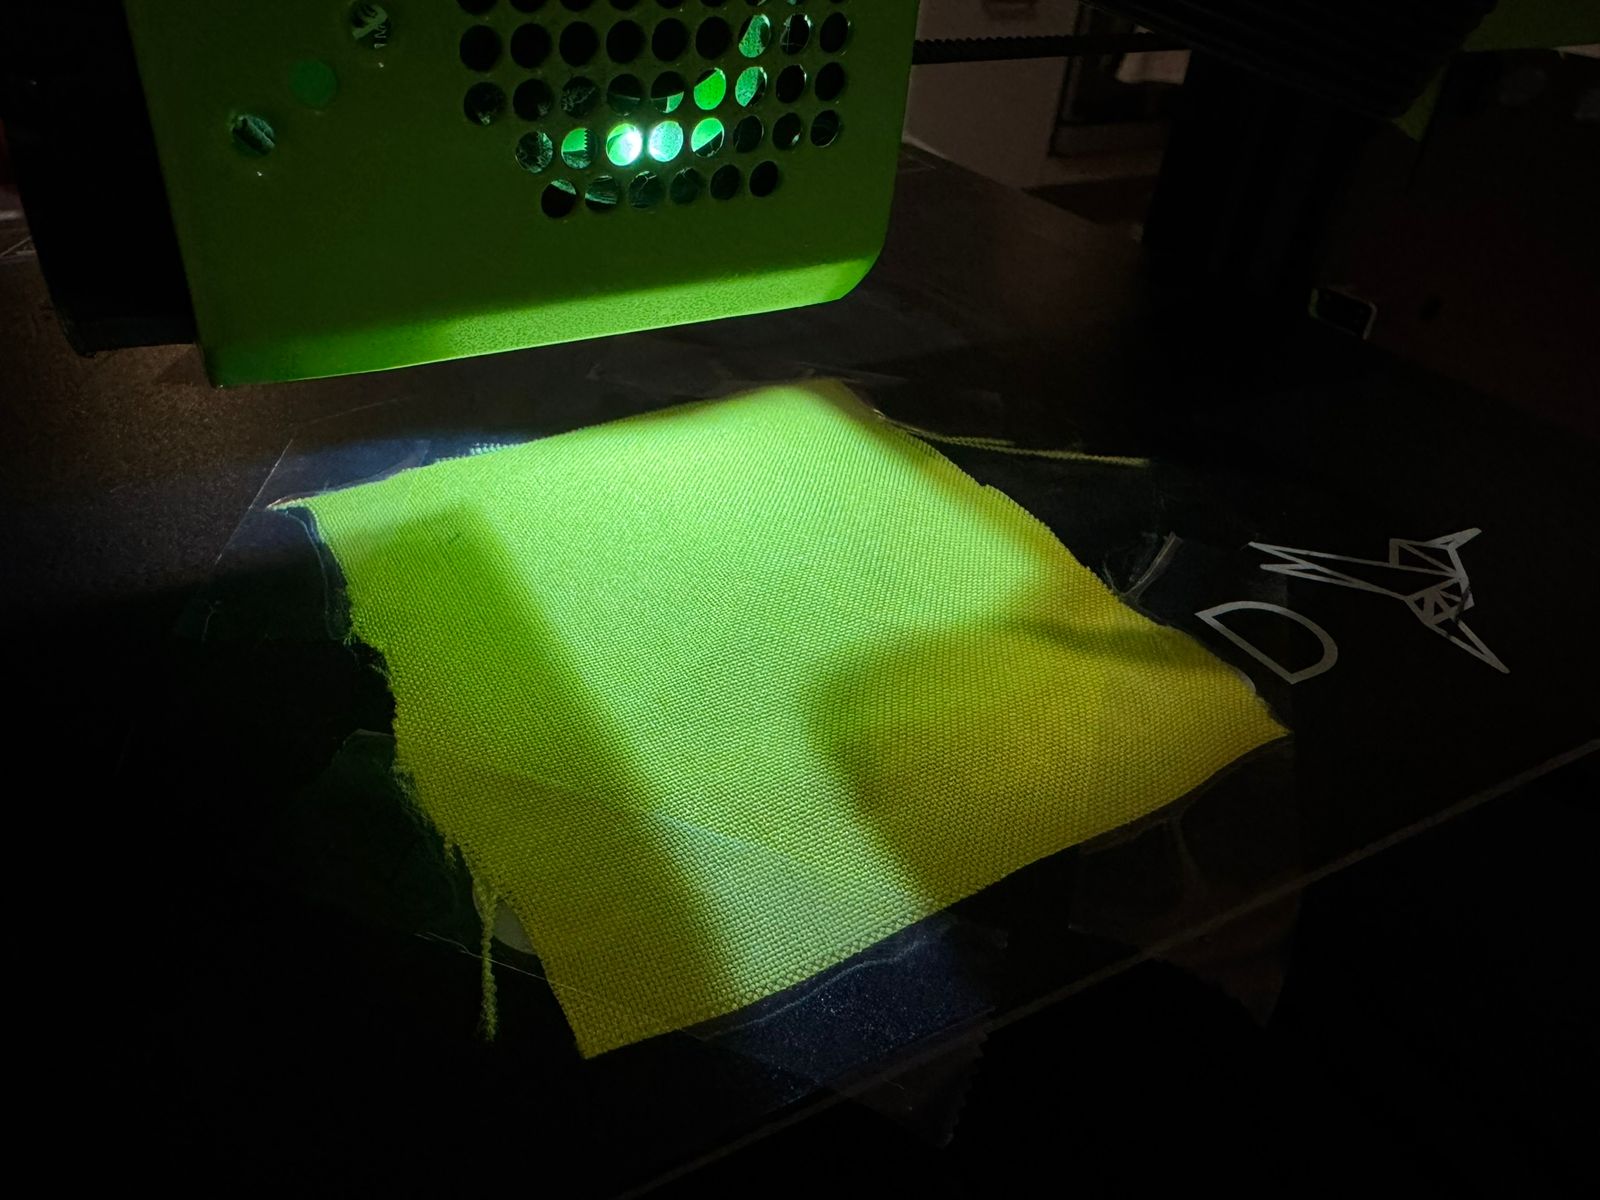
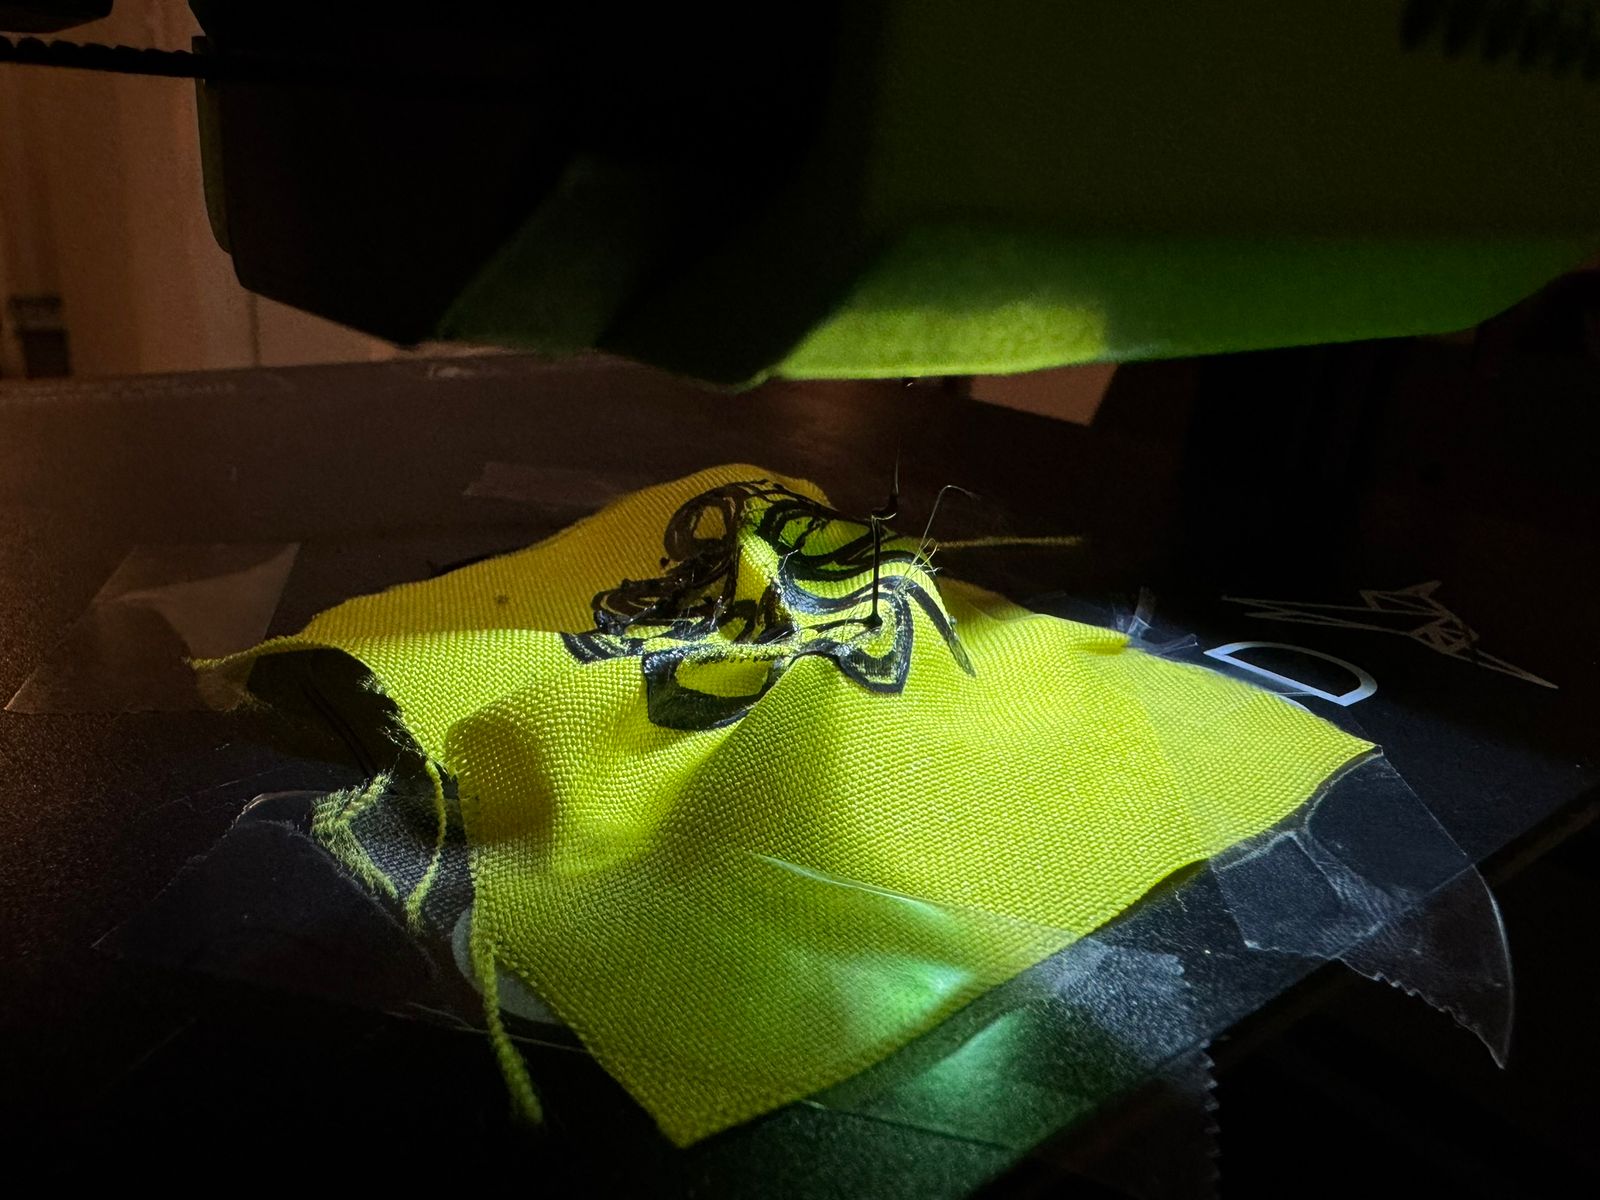
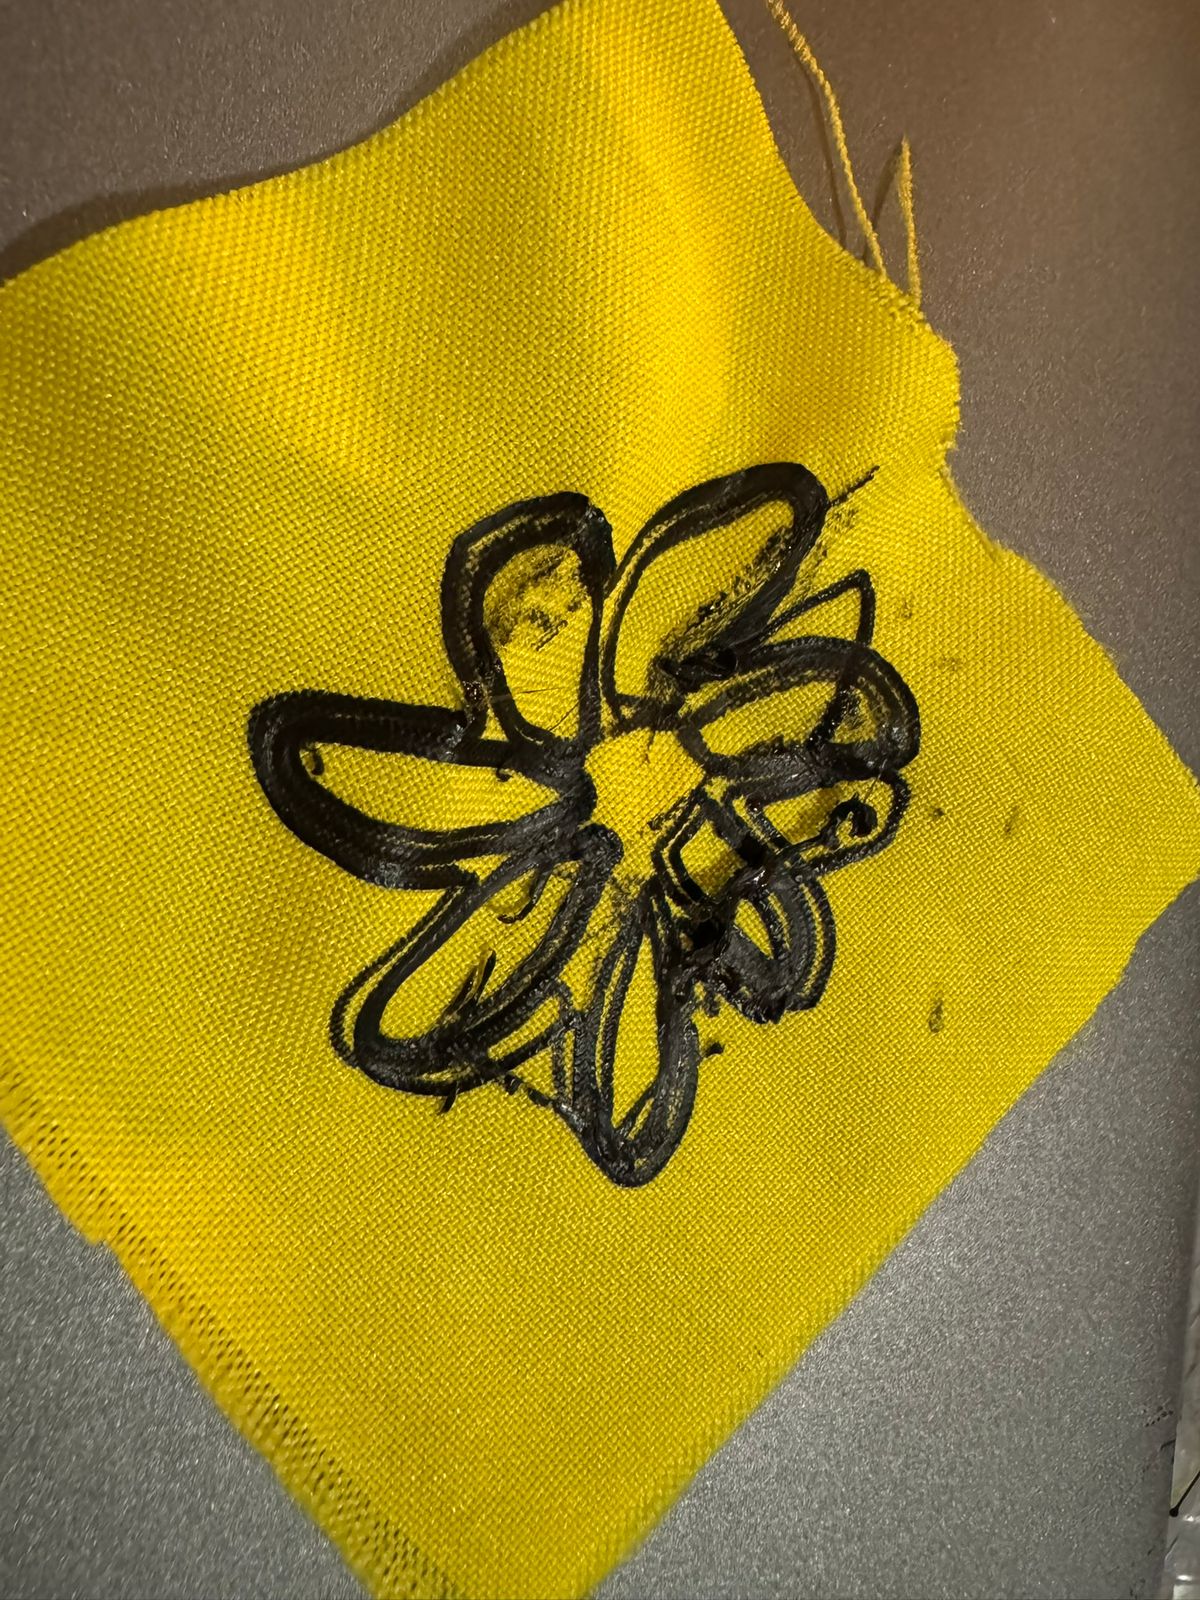
*Clearly the fabric was not secured enough.
*This time it came out better, but once I pulled the fabric a little, it came off.
*This time it worked!
File here.
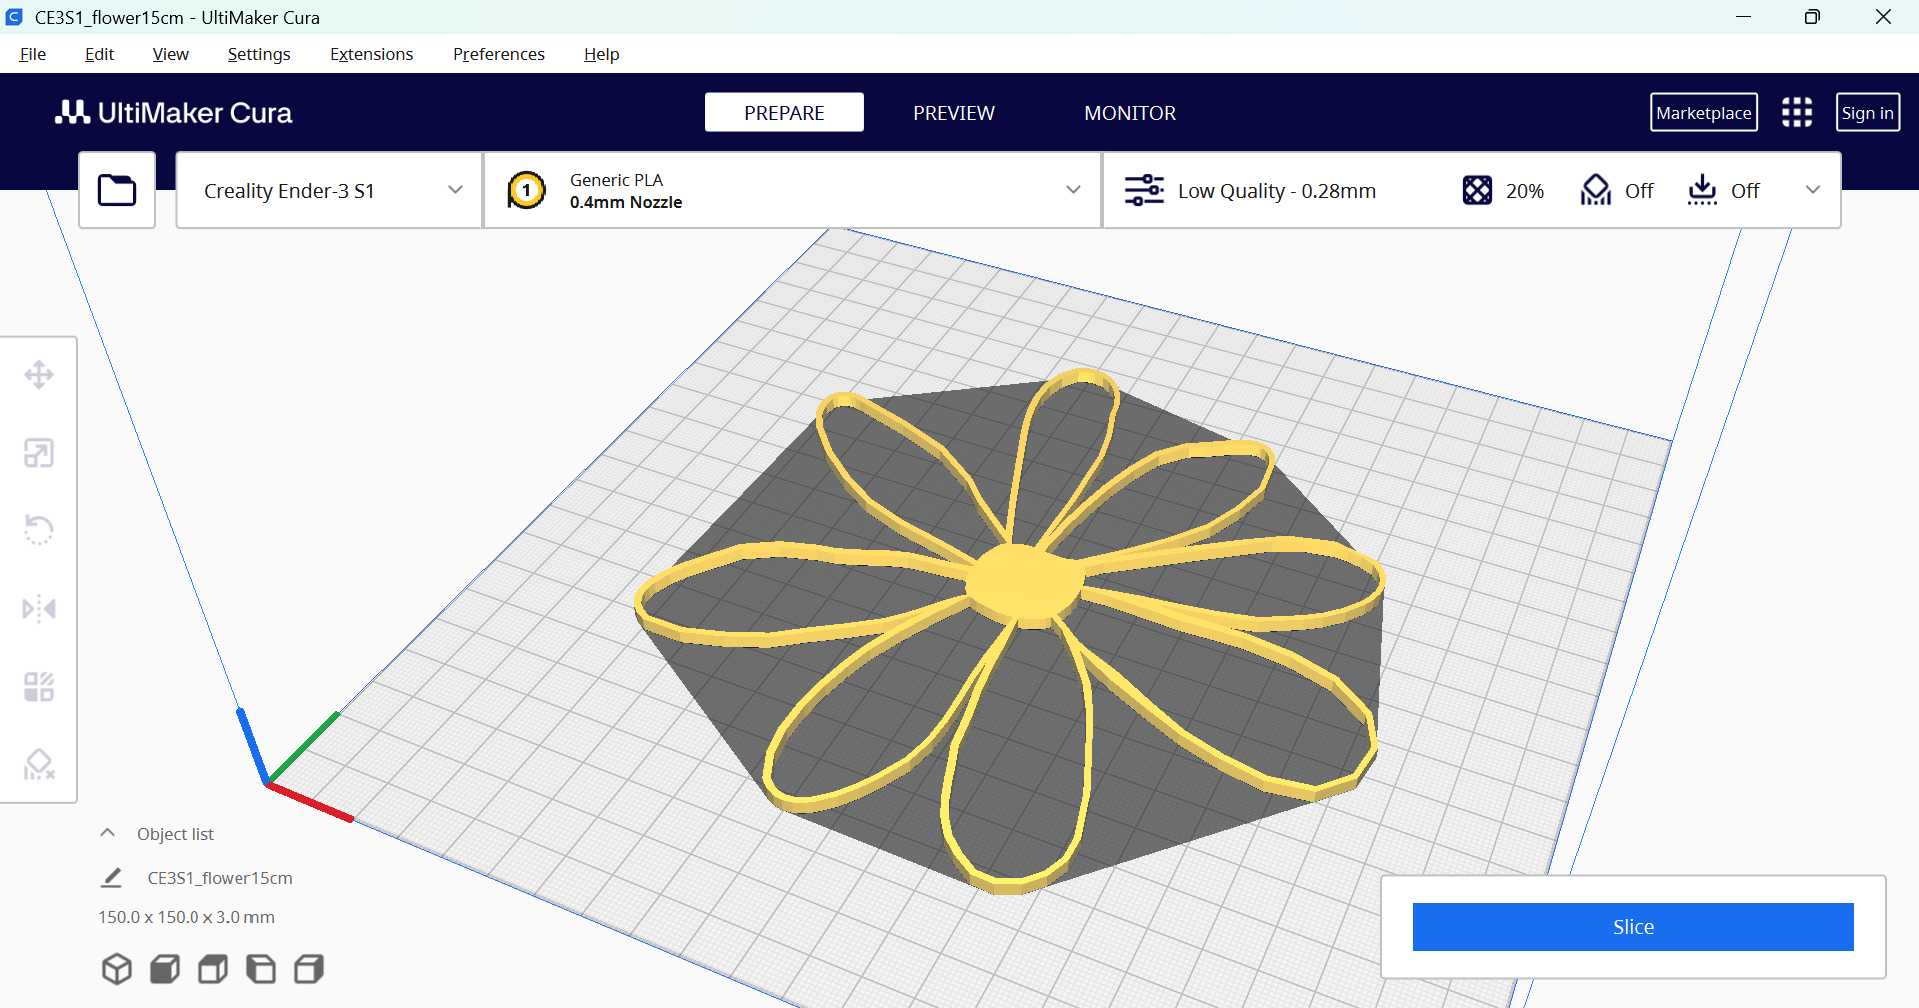
*I noticed the height was too much, so I went back and made it thinner in TinkerCad to come back to Cura with the right measurements.
Final STL here.
Final result:
 Download all files