
Week 17 — Wildcard Week
Group assignment
- There was no group assignment for this week.
Individual assignment
- Design and produce something with a digital process not covered in another assignment, documenting the requirements that your assignment meets, and including everything necessary to reproduce it.
Learning outcomes
- Demonstrate workflows used in the chosen process.
- Select and apply suitable processes and materials to do the assignment.
Checklist
- Documented the workflow and process used.
- Explained how the process is not covered in other assignments.
- Described problems encountered and how I responded to them.
- Included original design files.
- Included hero shots and process photos of the result.
Documentation
For this wildcard week I wanted to experiment with a process that combines digital 3D design, 3D printing, fabric forming, and resin hardening. My idea was inspired by examples I saw online where folded fabric is held by a 3D structure, and the fabric becomes part of the visible shape instead of only being a cover or decoration.
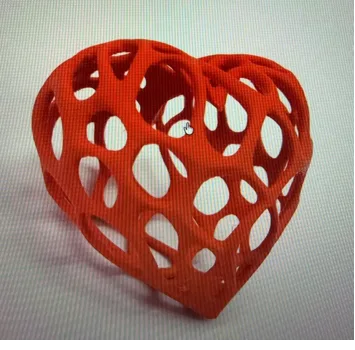
I decided to make a heart-shaped object with organic holes. The printed frame would define the main geometry, while the fabric or paper inside would fall, stretch, and harden into a softer surface. This was interesting for me because it was not just a normal 3D print, and it was also not normal molding and casting. The result depends on the relationship between the printed form, the textile material, and the resin.
Inspiration and first shape idea
These are a few examples from the internet that helped me understand the visual direction I wanted to try. The important part was the tension between a rigid frame and a soft material. I wanted to keep that feeling, but make it connected to my heart-related final project theme.
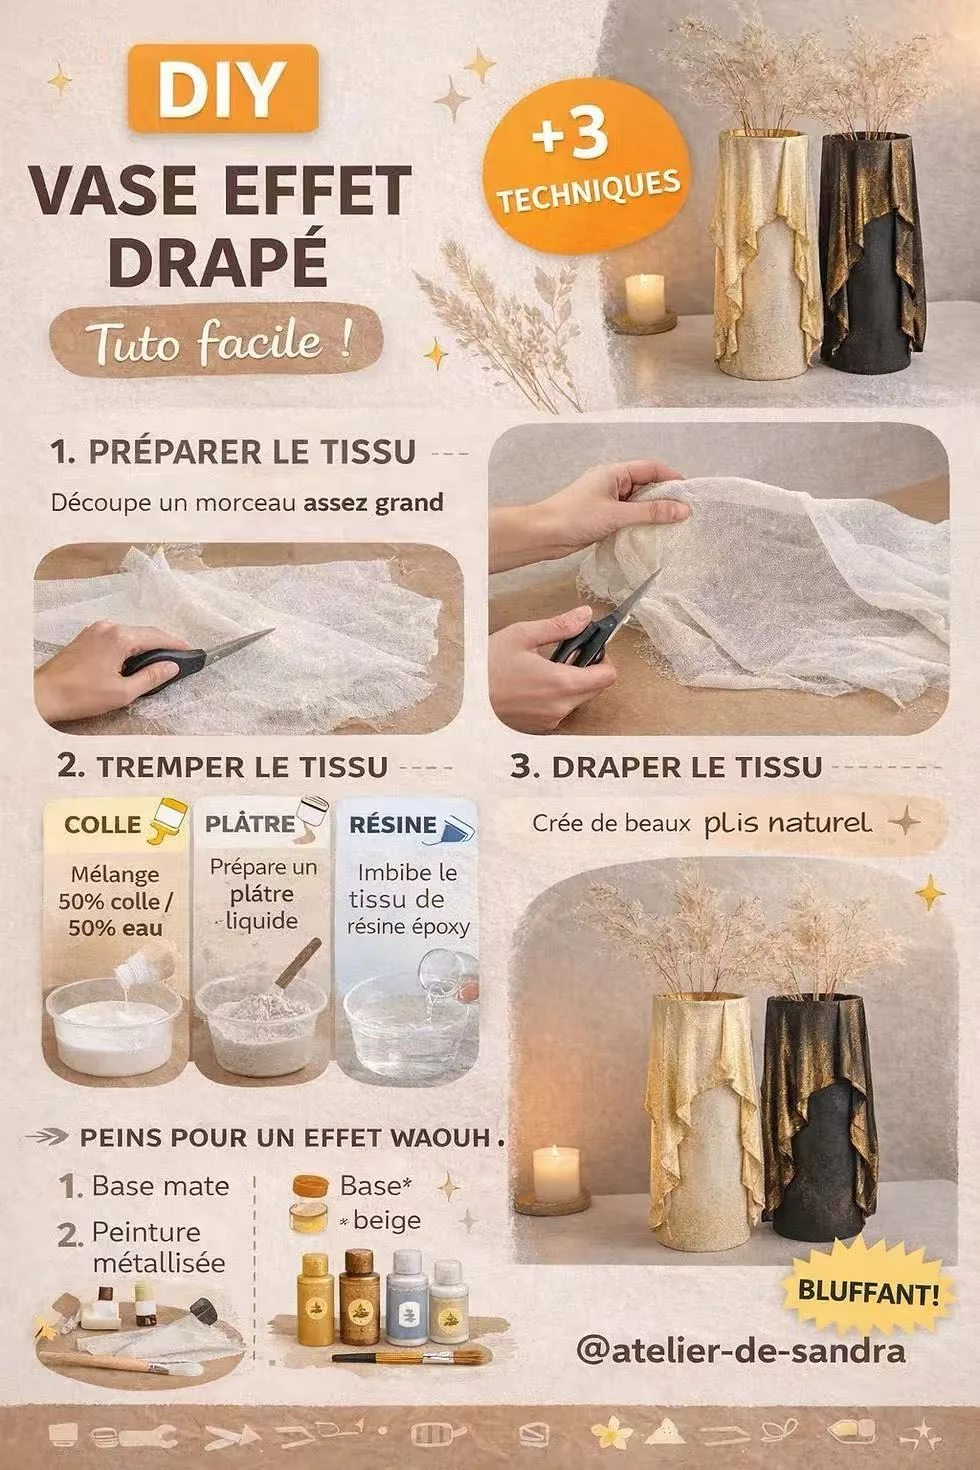
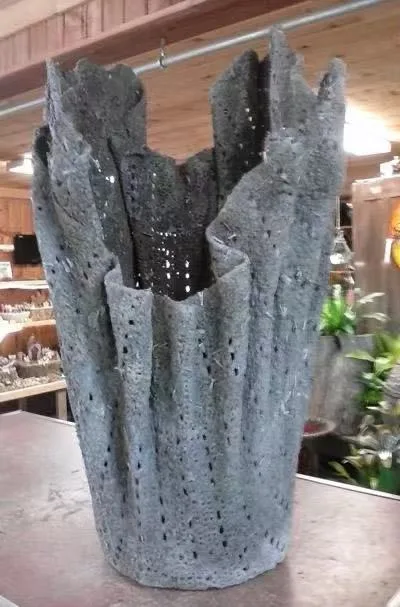
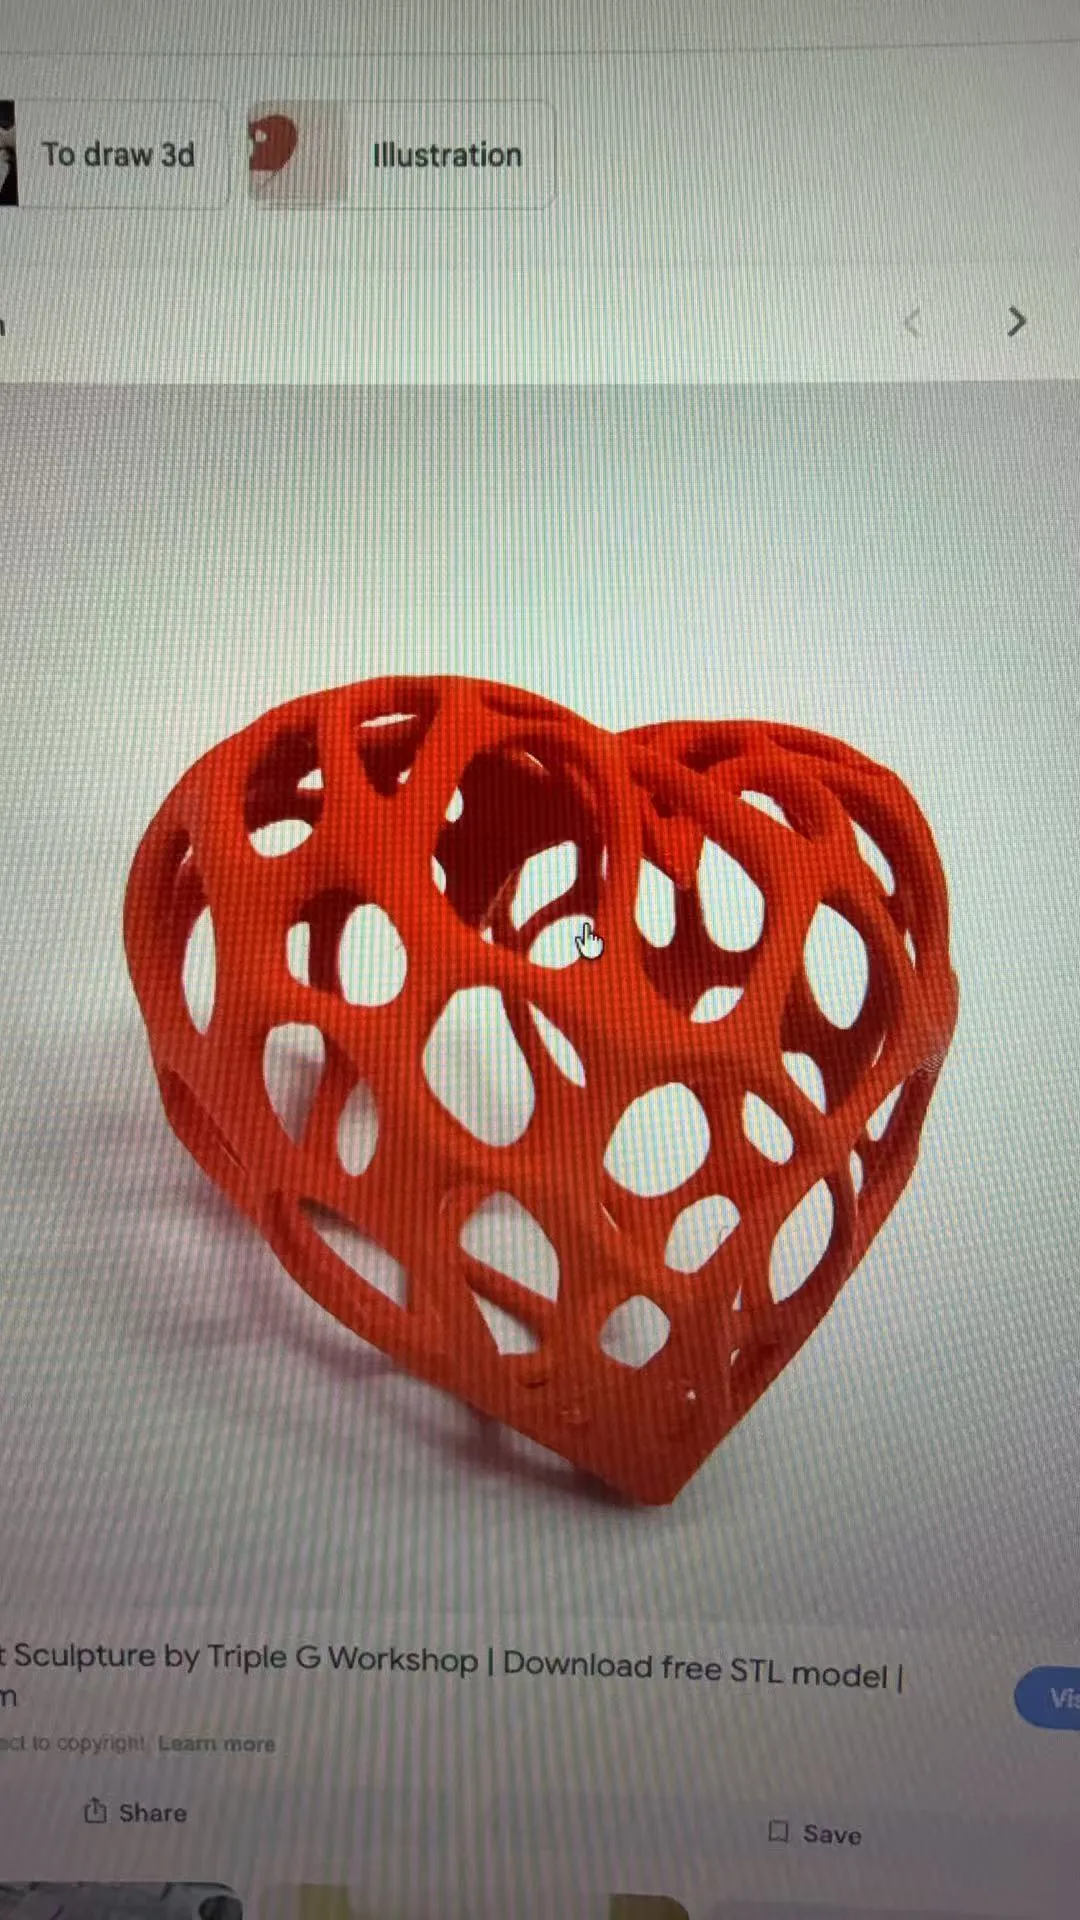
For the shape itself I wanted to use a heart shape with organic holes. At the beginning I thought the holes could be irregular and natural, almost like a biological structure. I also considered making the holes a little bit bigger and maybe making only half of a heart shape, because the bottom half would be hidden under the fabric.
Fusion 360 3D design
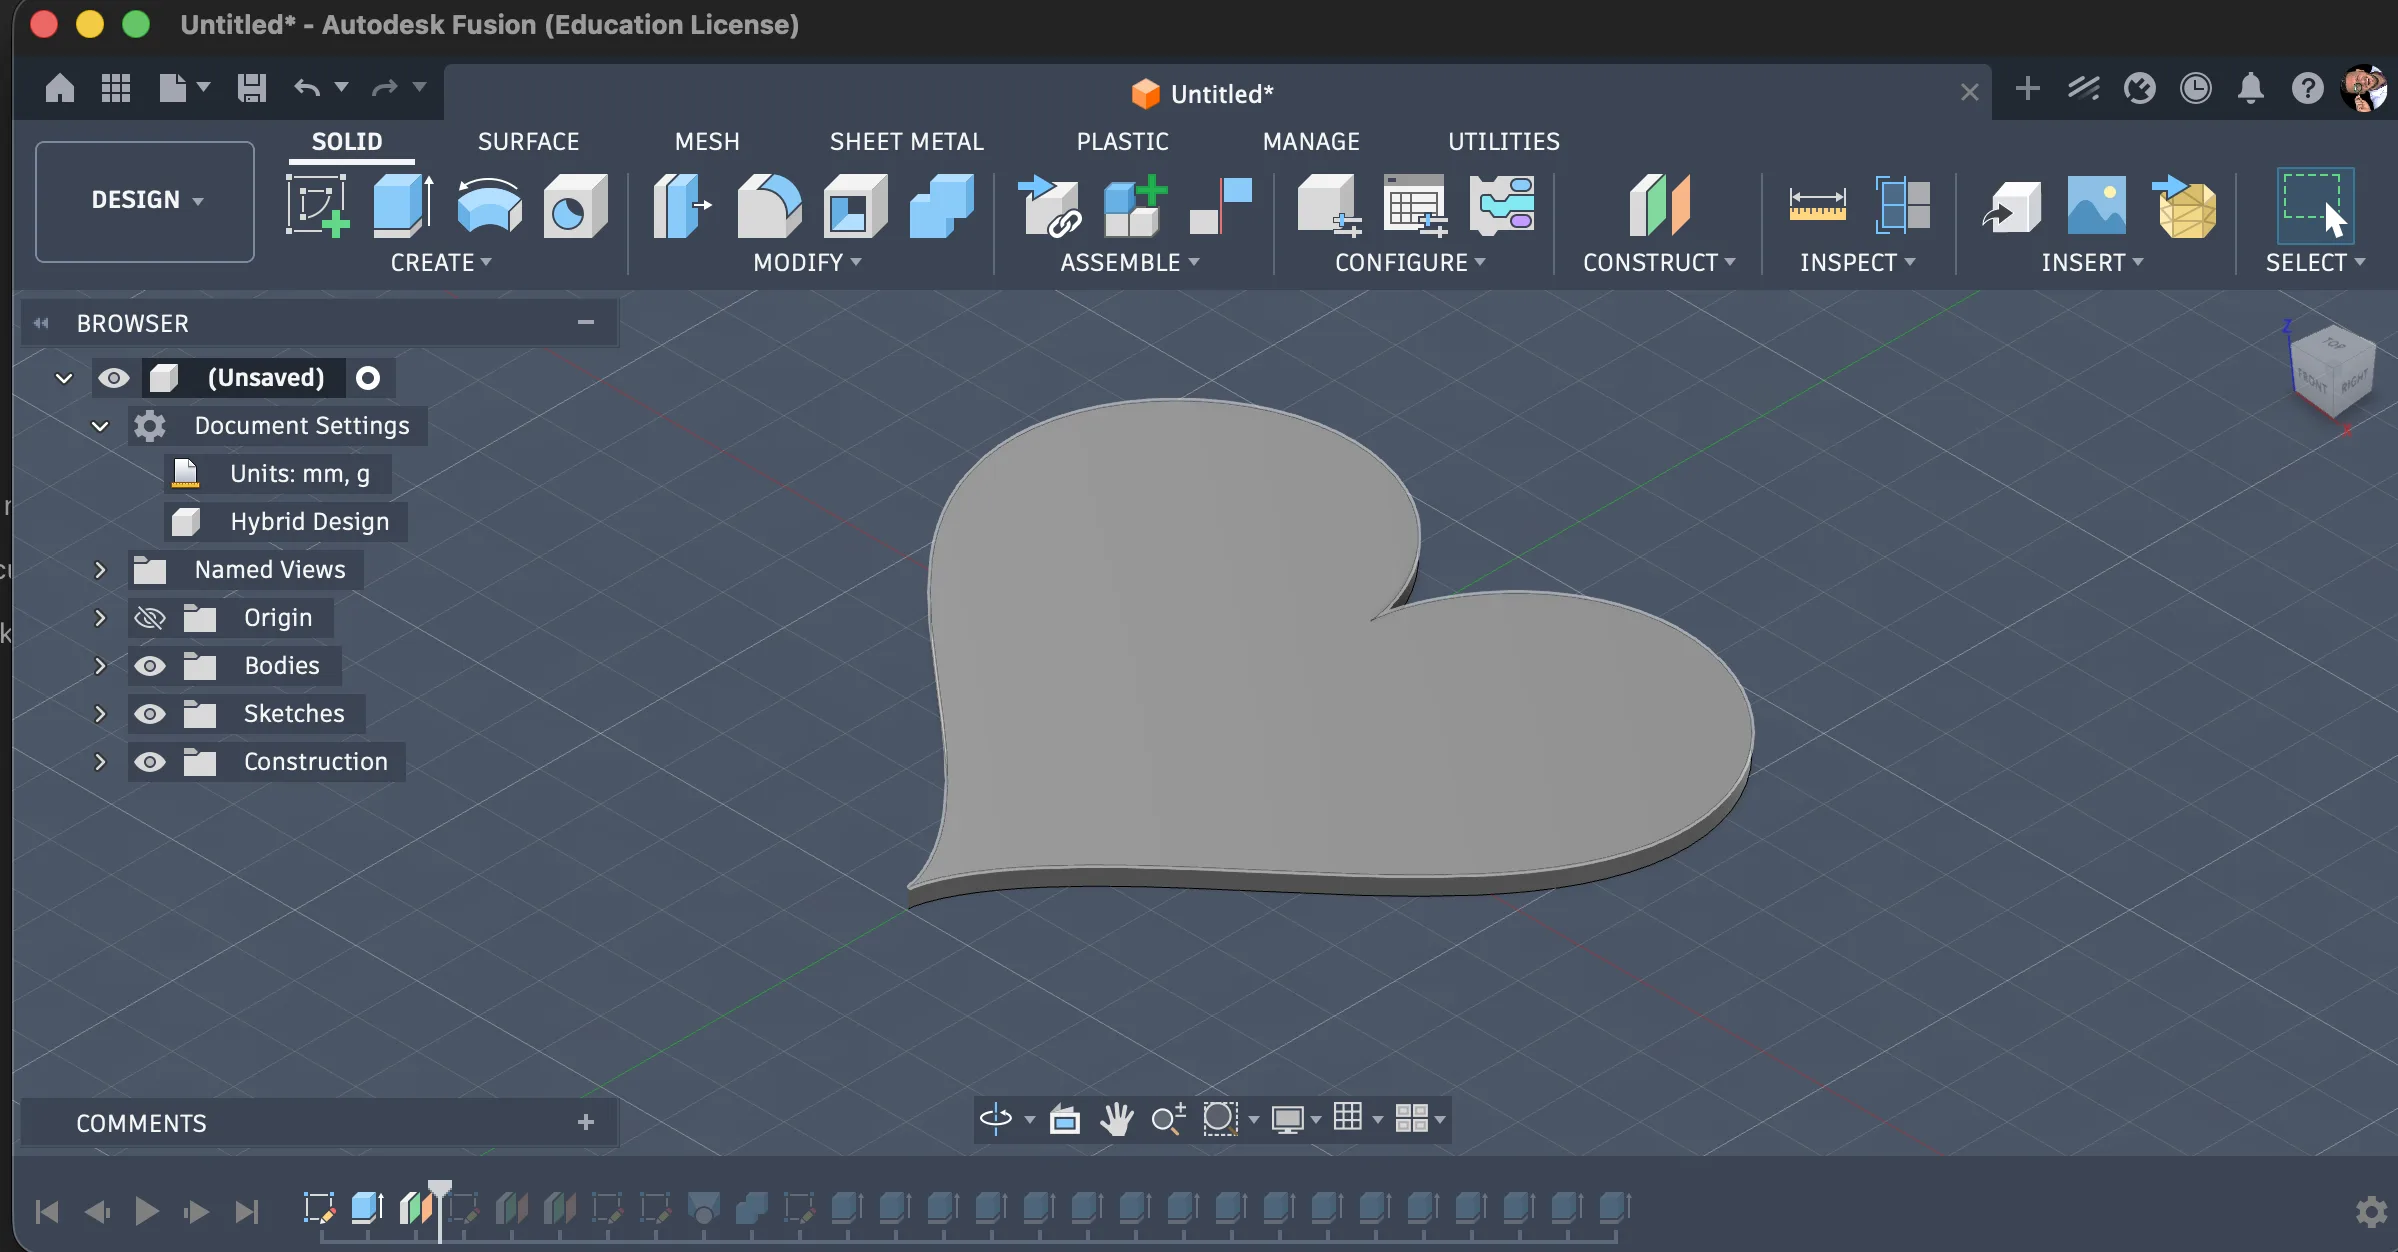
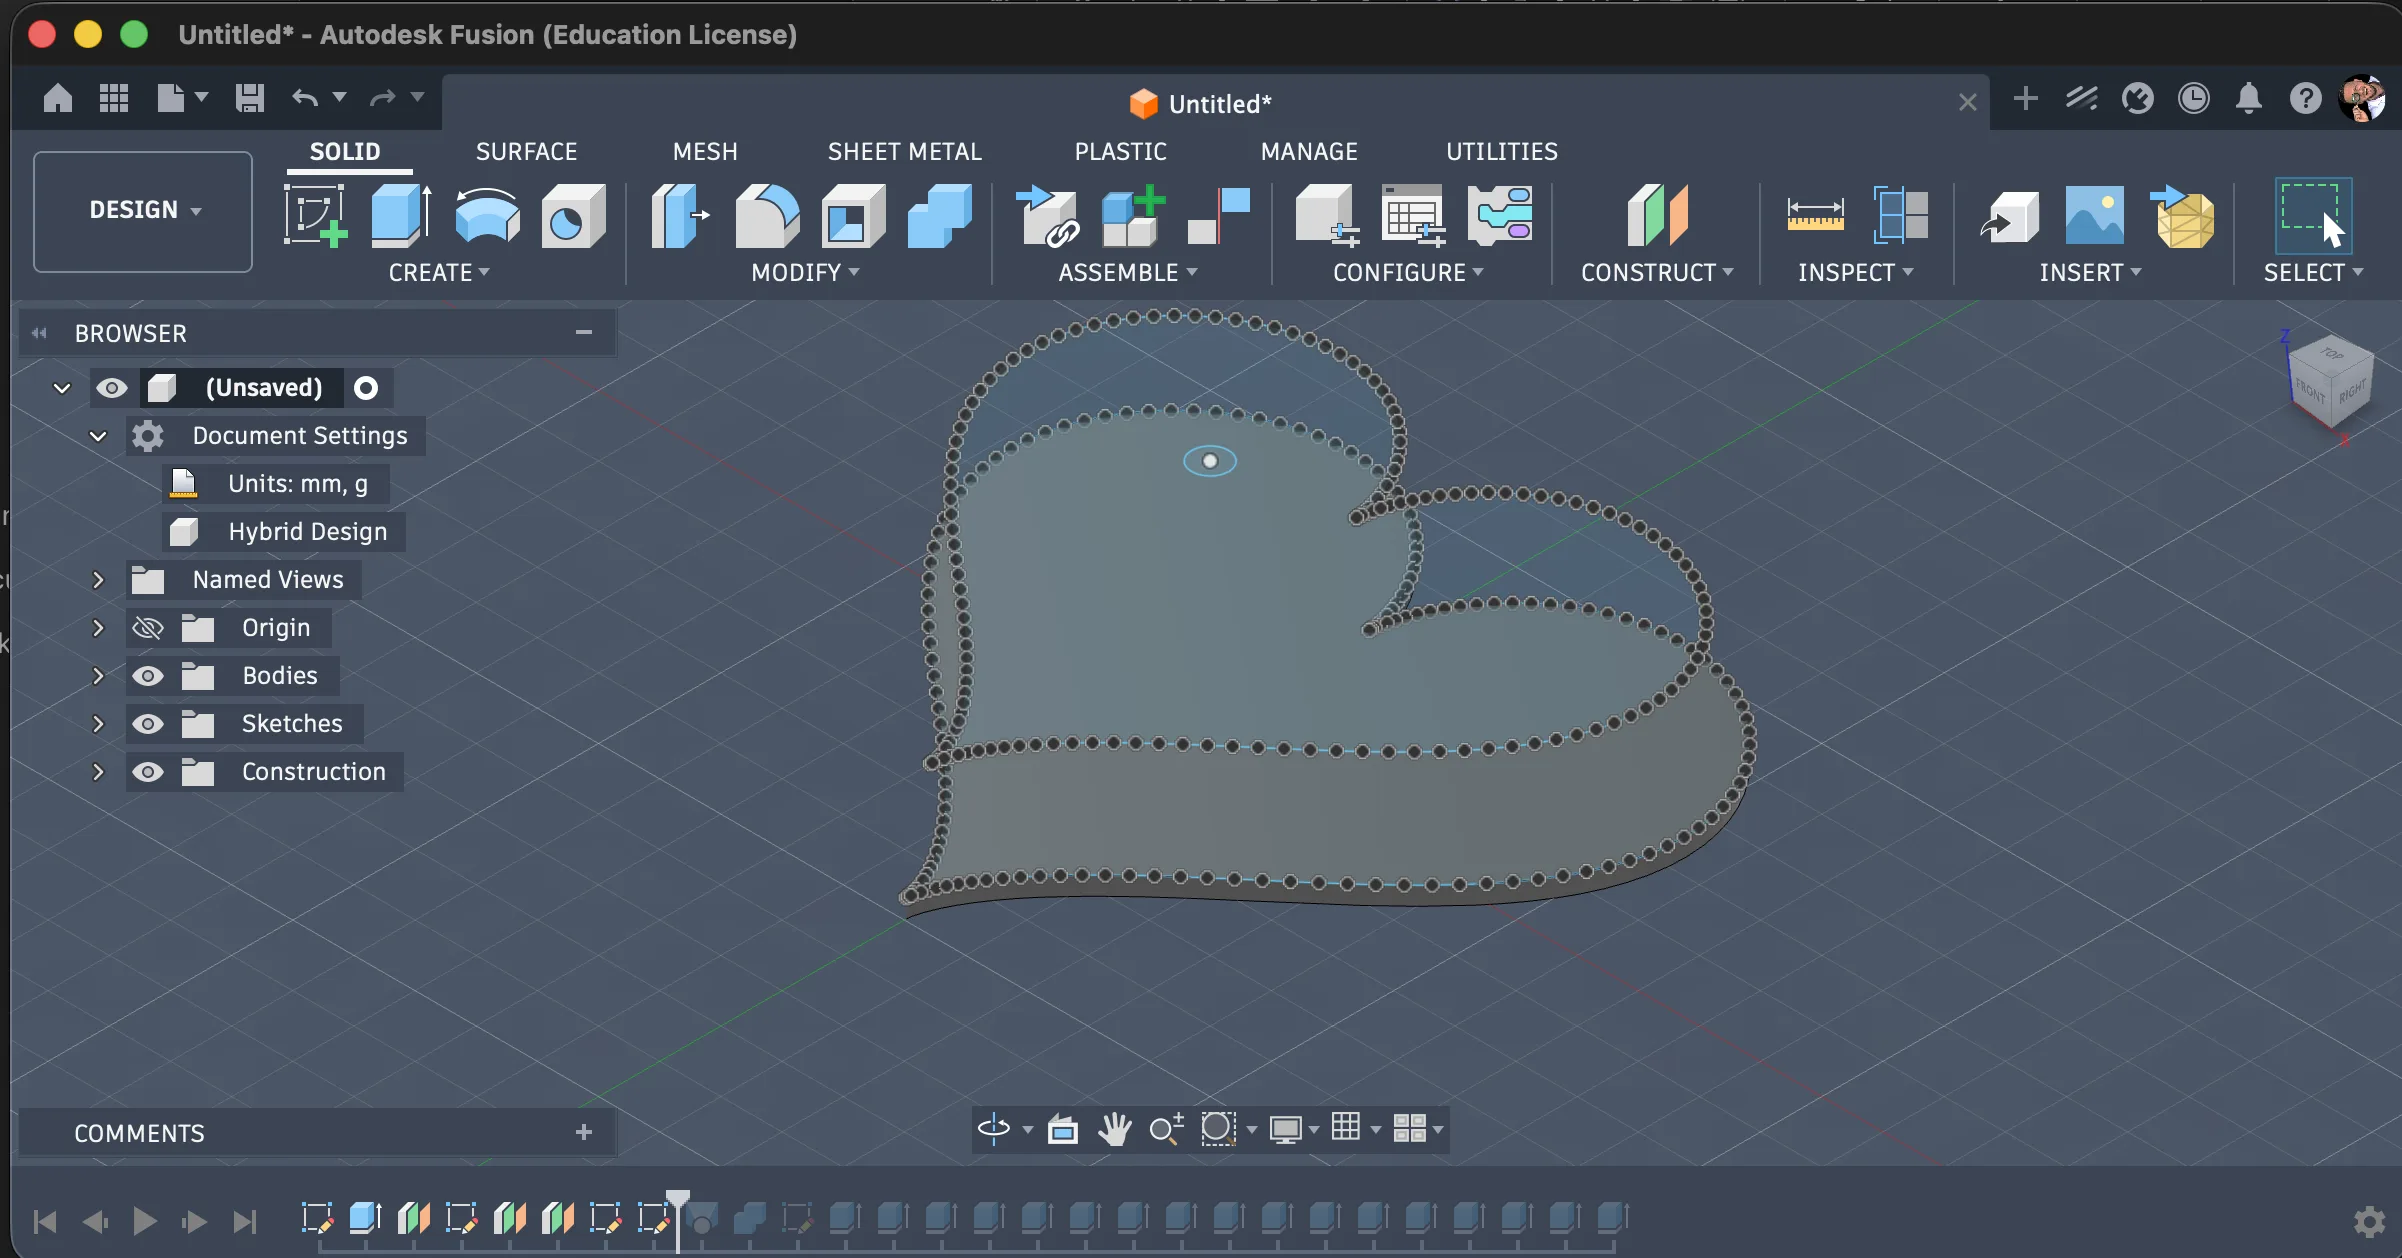
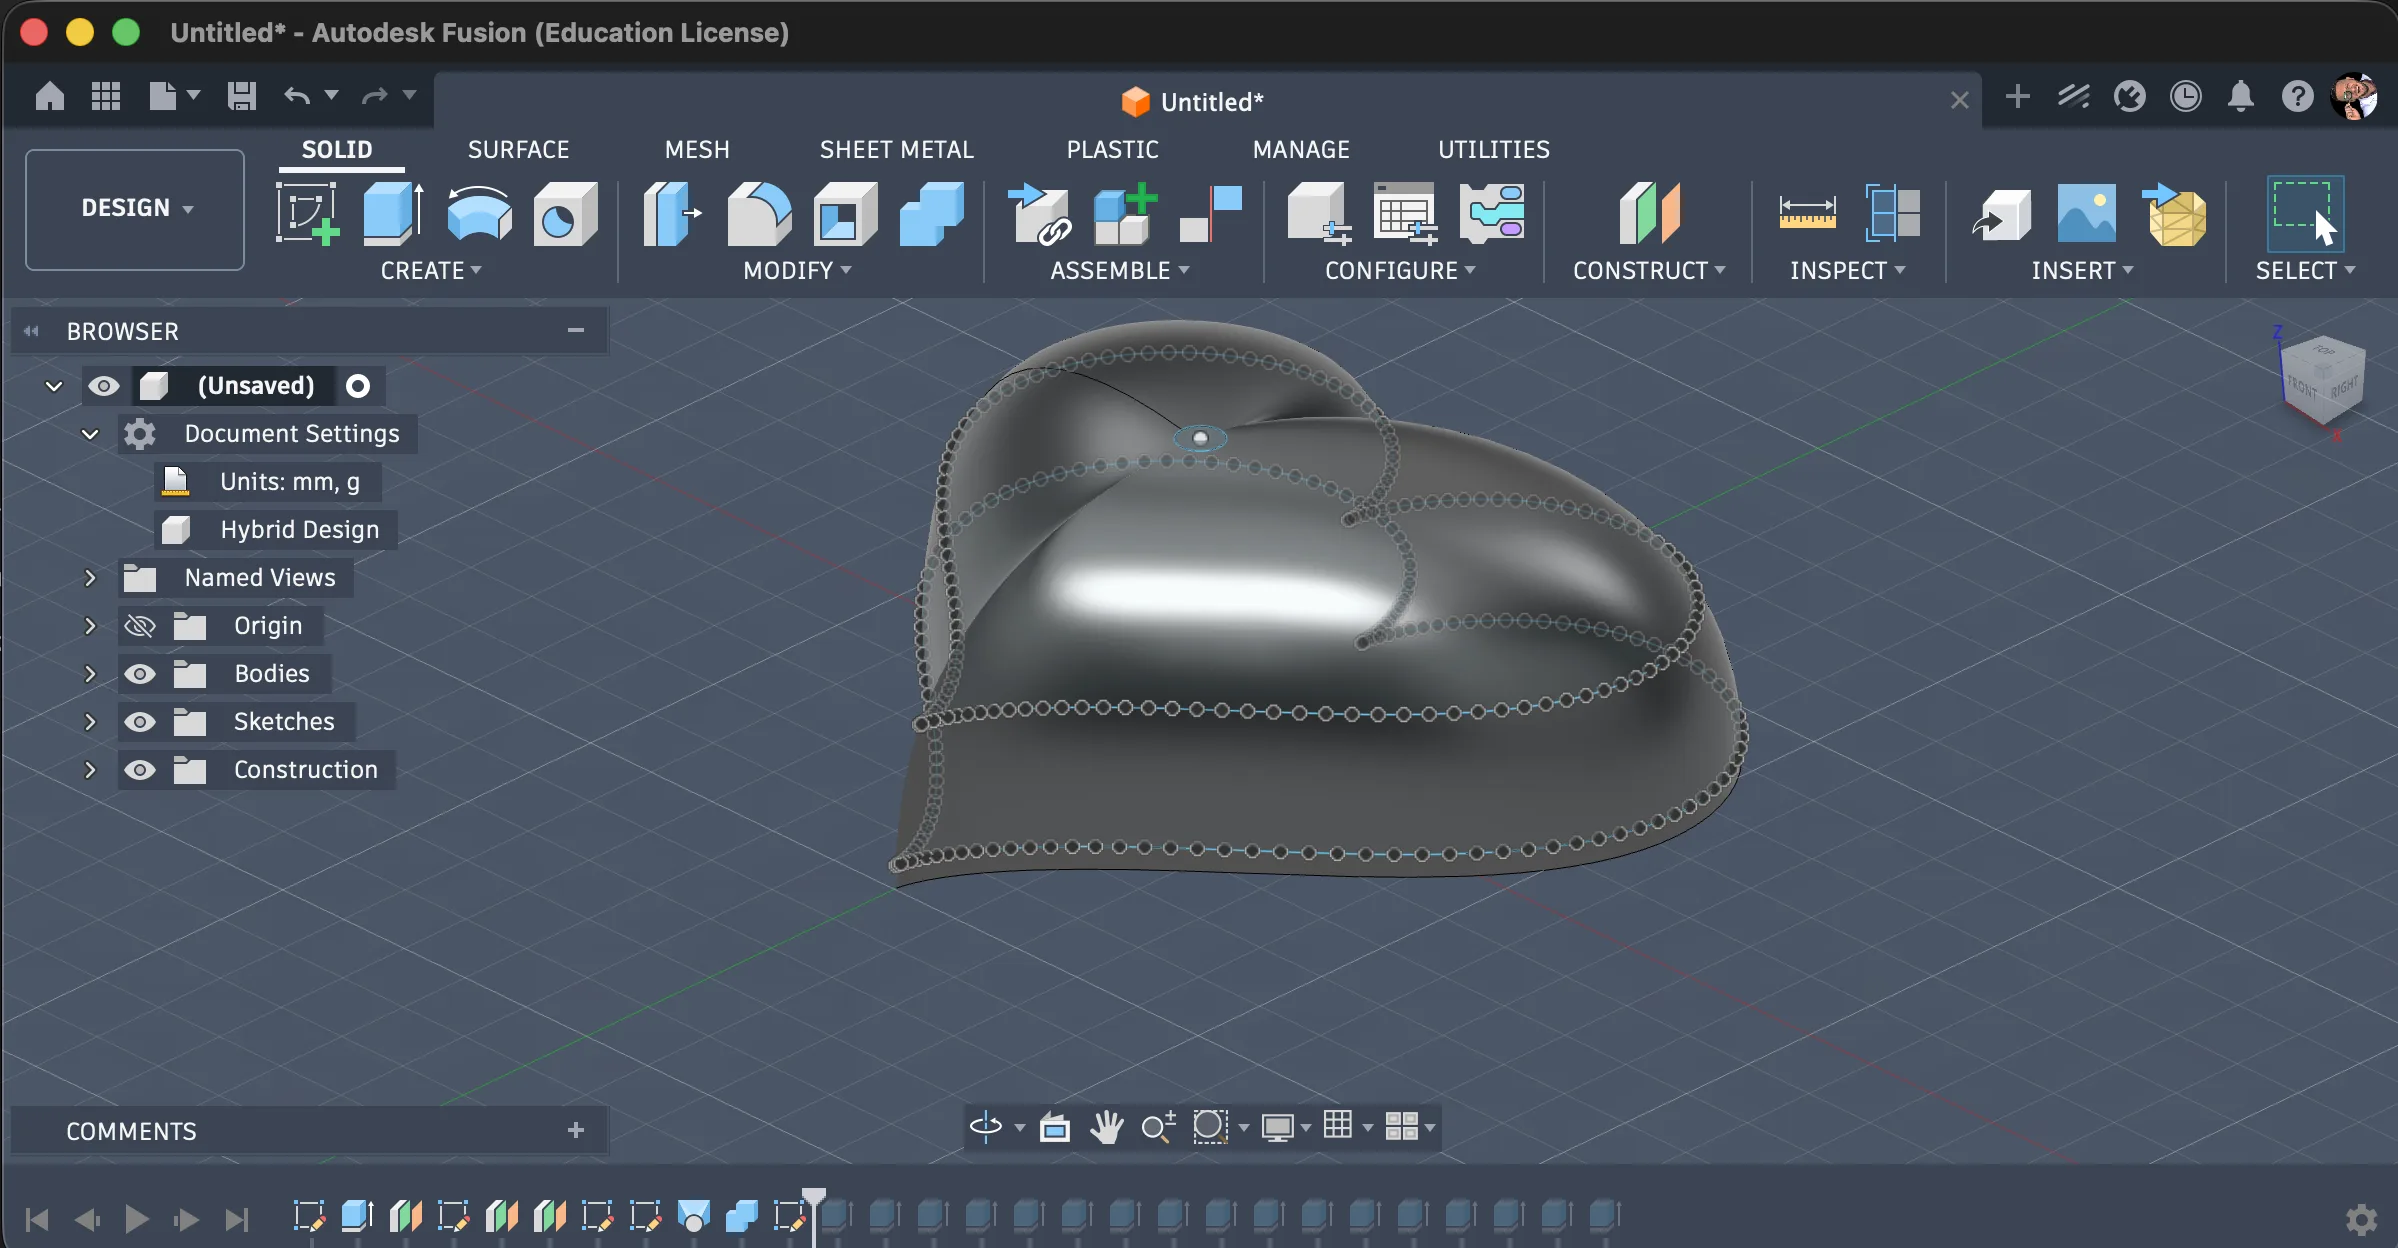
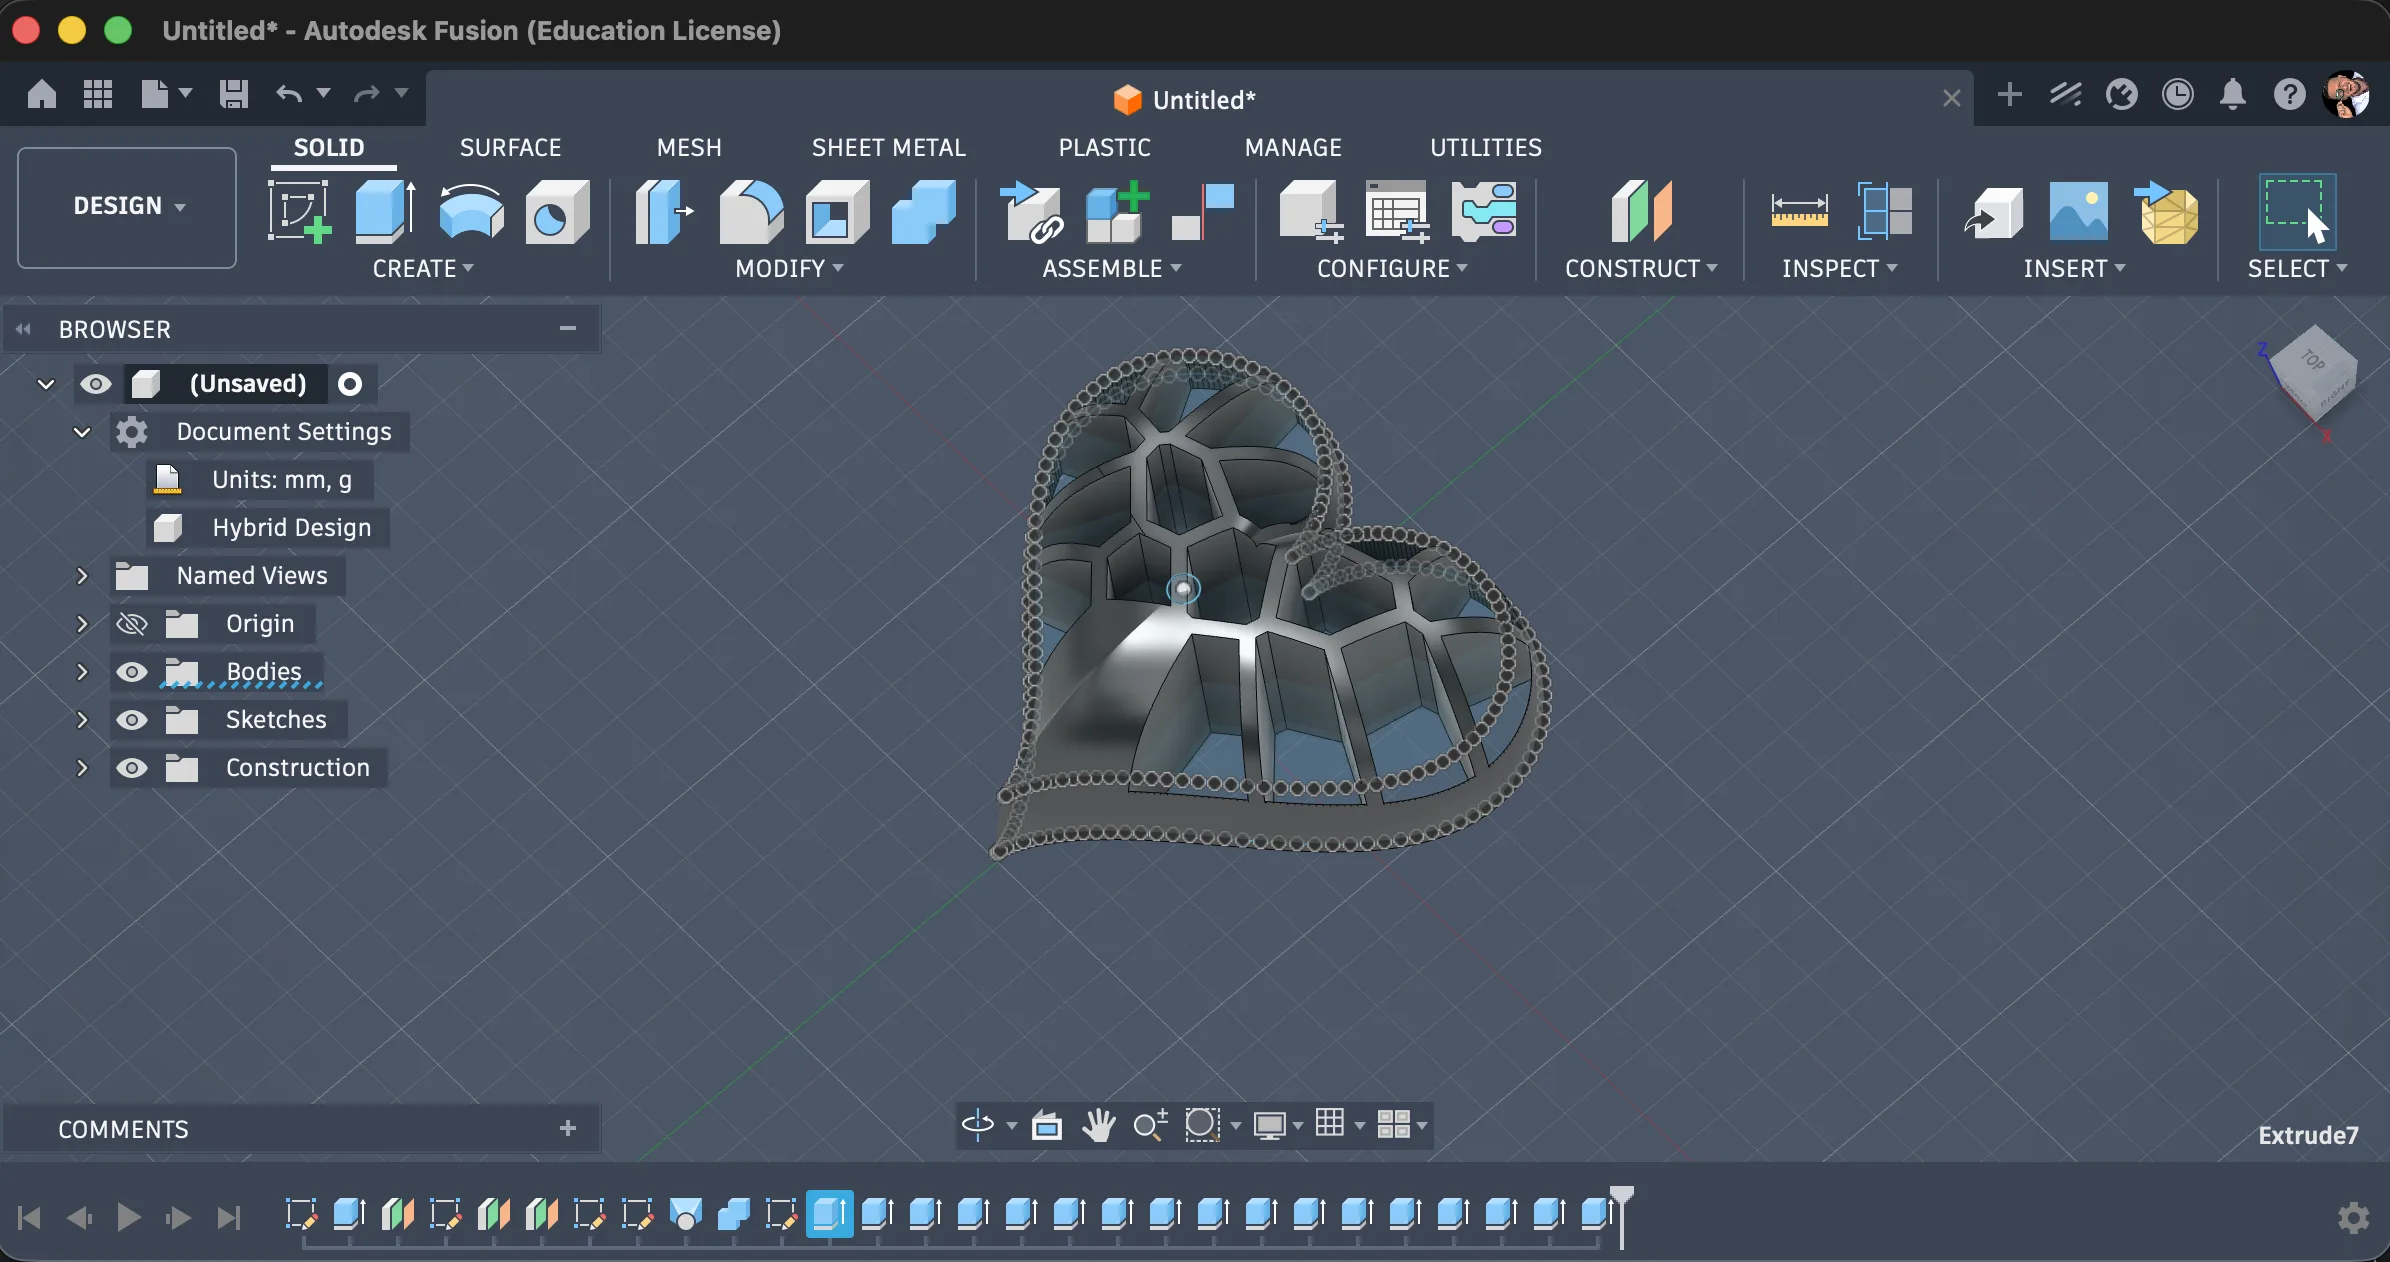
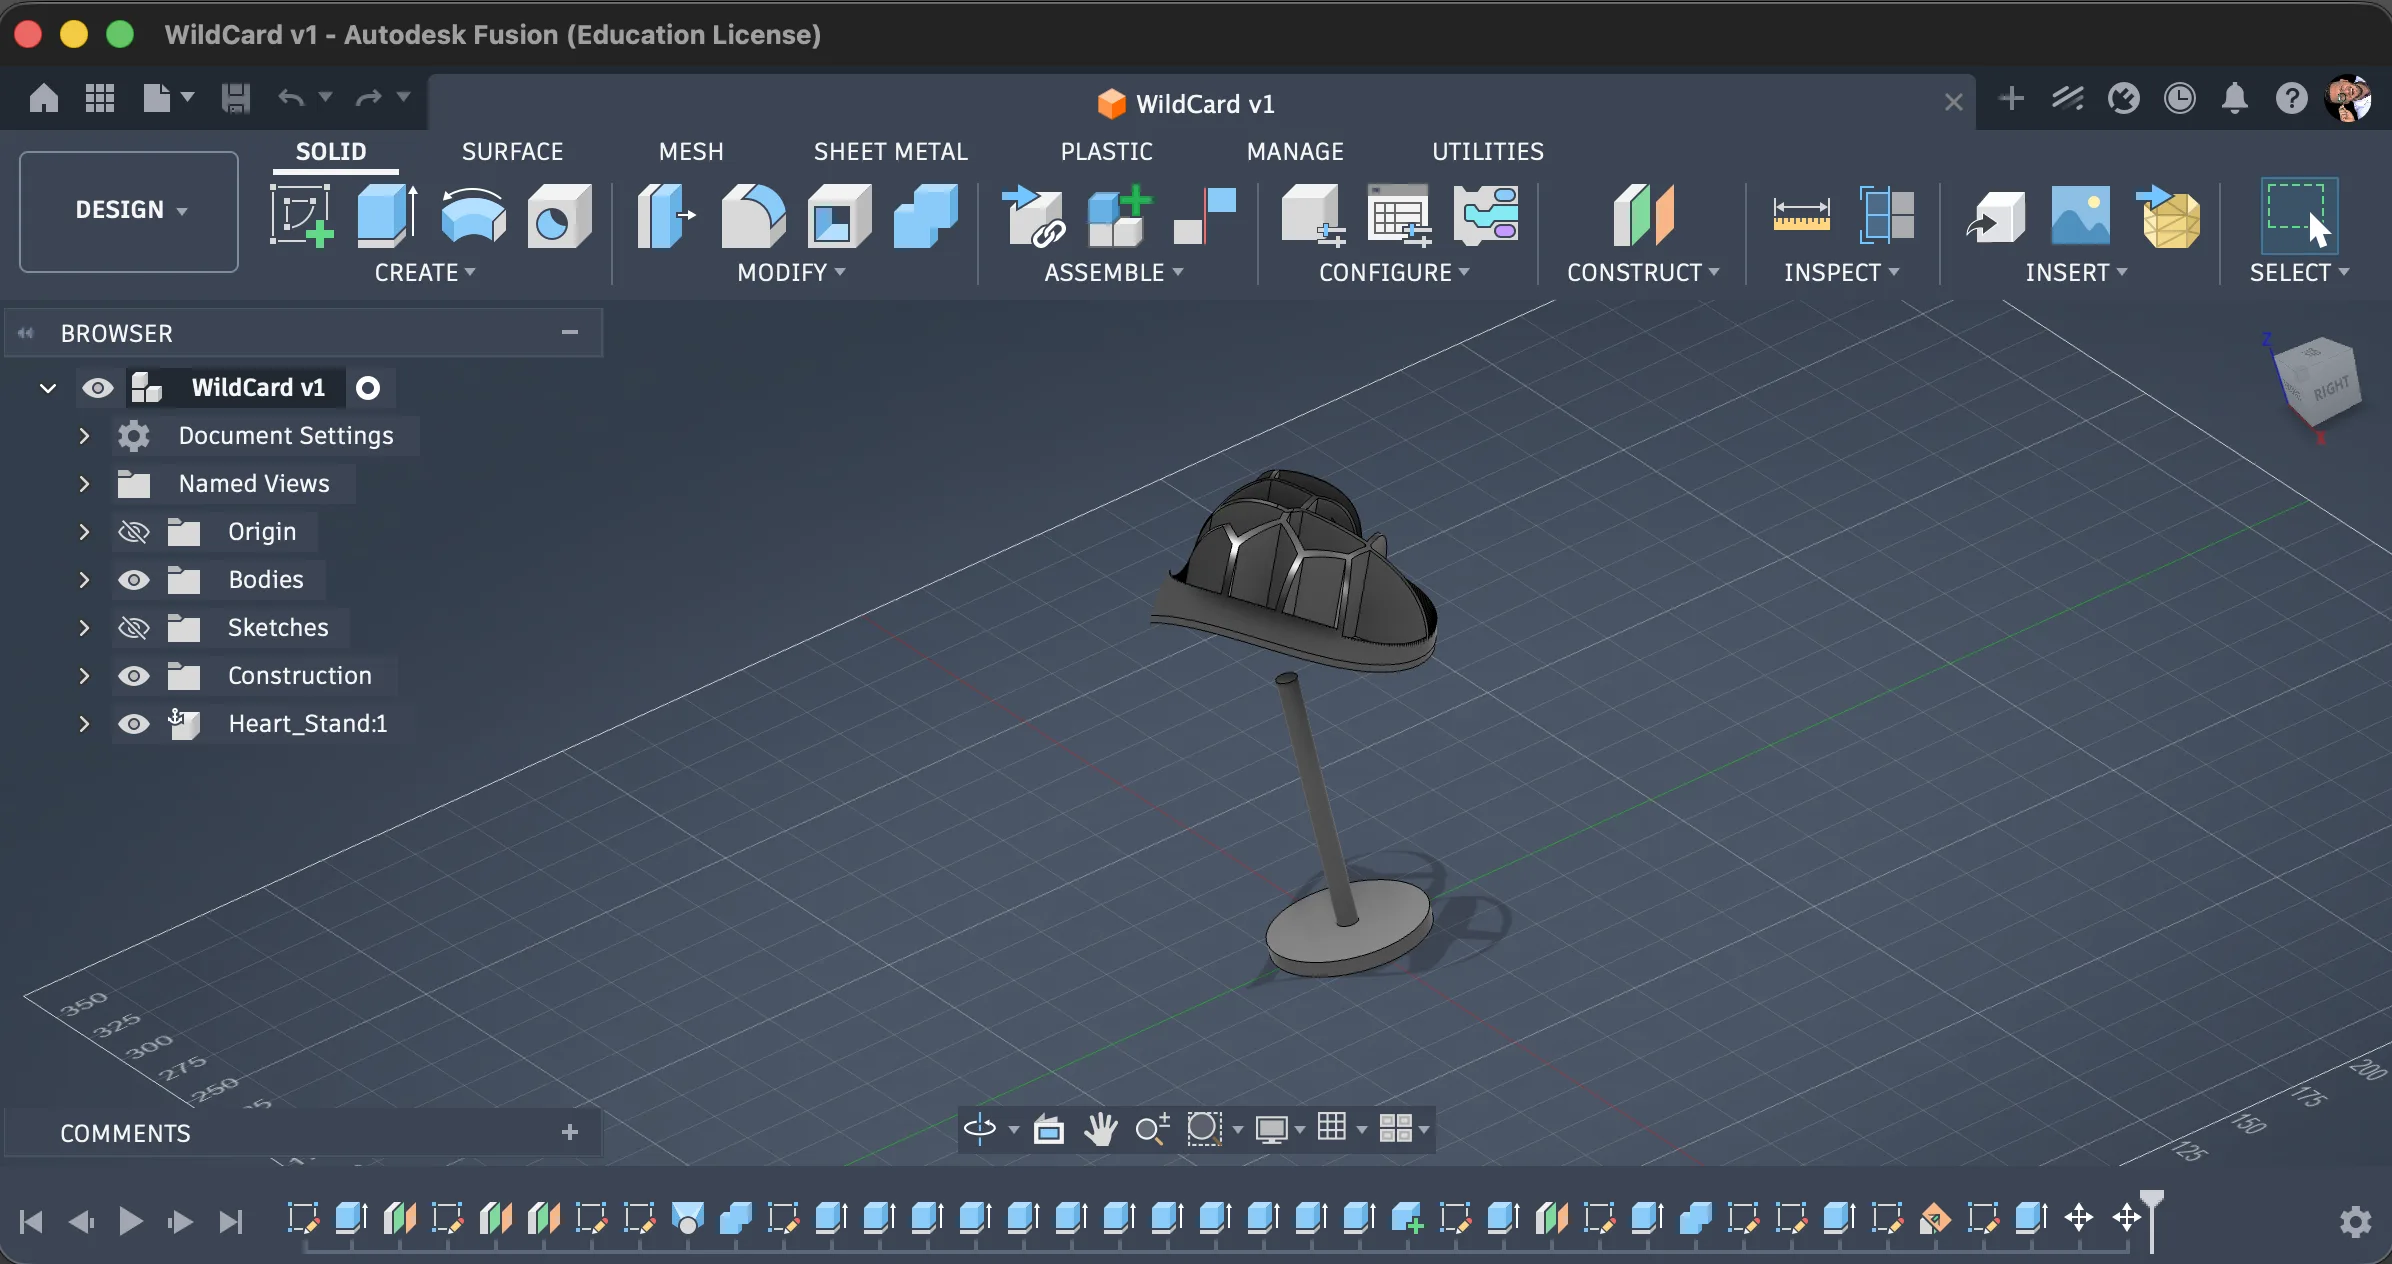
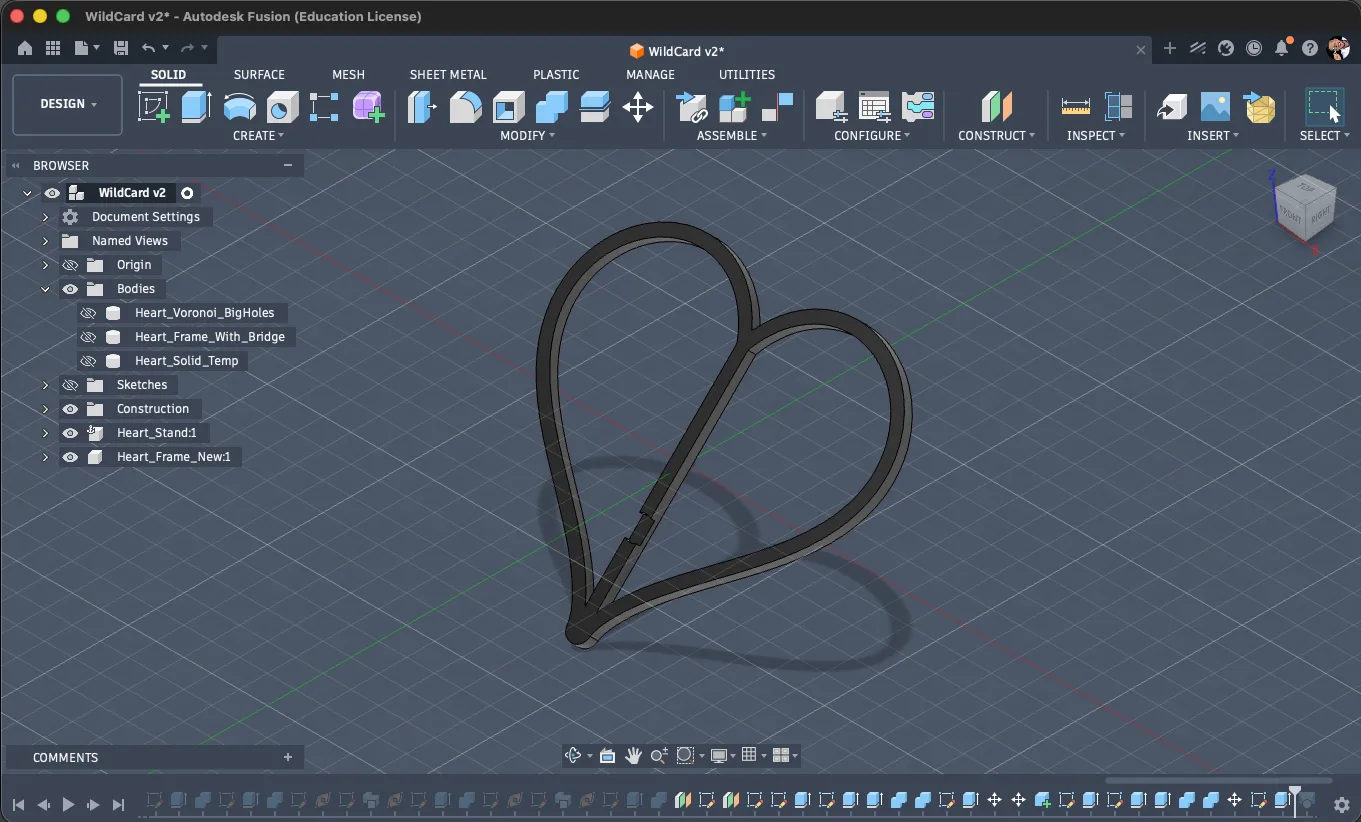
I modeled the first version in Fusion 360. The workflow started from the heart outline and then I built the internal organic openings. I used the loft function while shaping the model because I wanted smoother transitions and a more sculptural body rather than a flat plate.
The first digital model looked interesting on the screen, but this week also showed me that the digital model was only one part of the problem. The holes, supports, fabric size, fabric elasticity, and resin behavior all needed to work together.
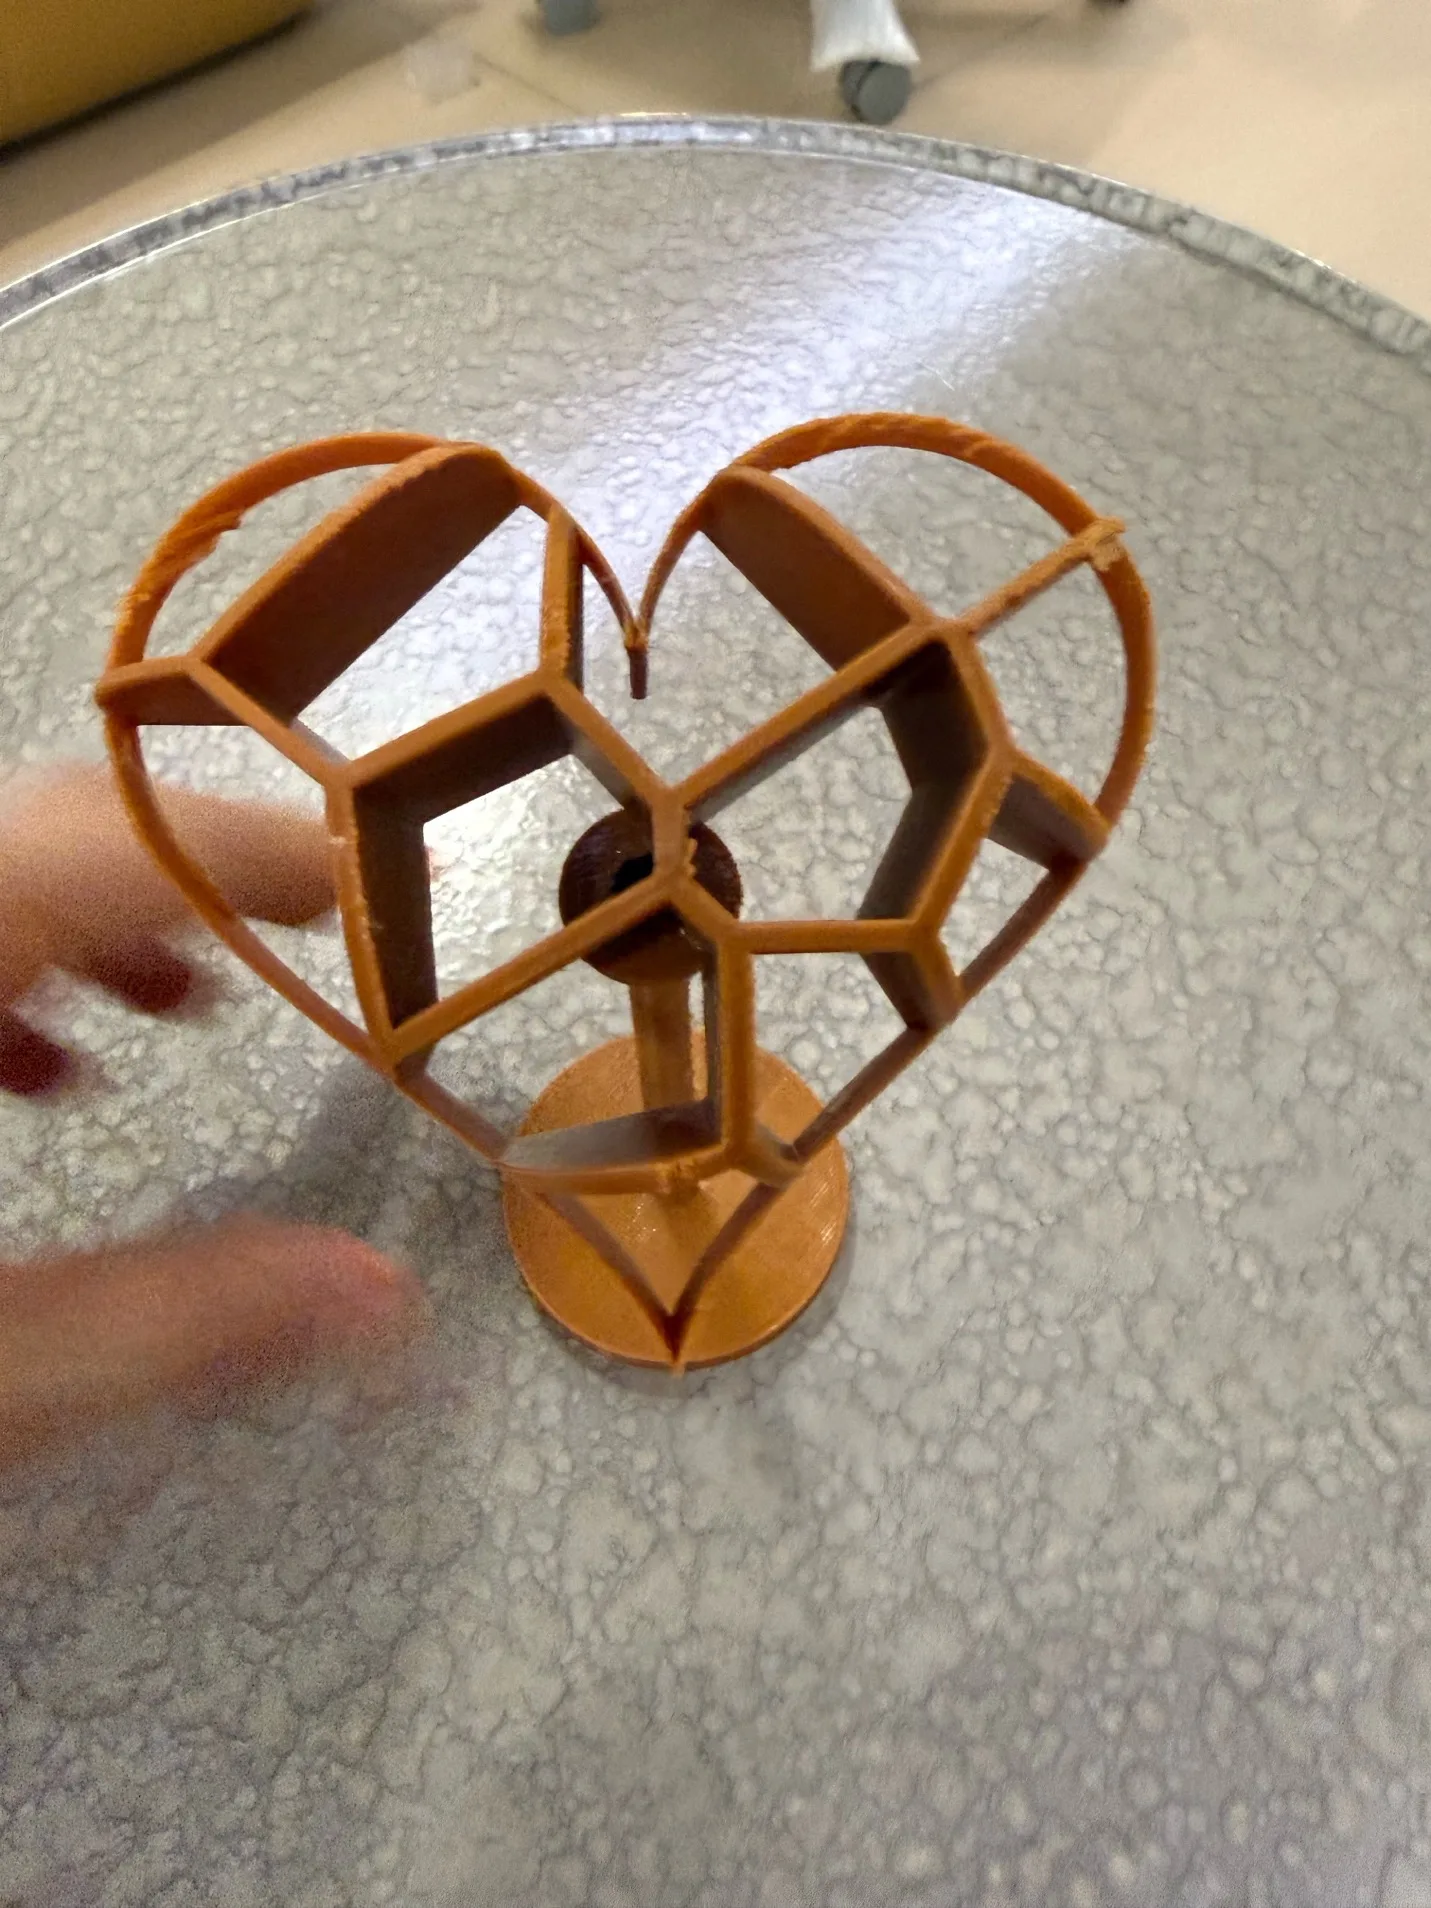
First printed model and material test
After printing, I realized that the holes were a bit smaller than I expected. The model was still usable, so I wanted to try to fit some fabric or paper inside and then use resin on it. At this point I was trying to understand what material could actually take the shape of the heart.
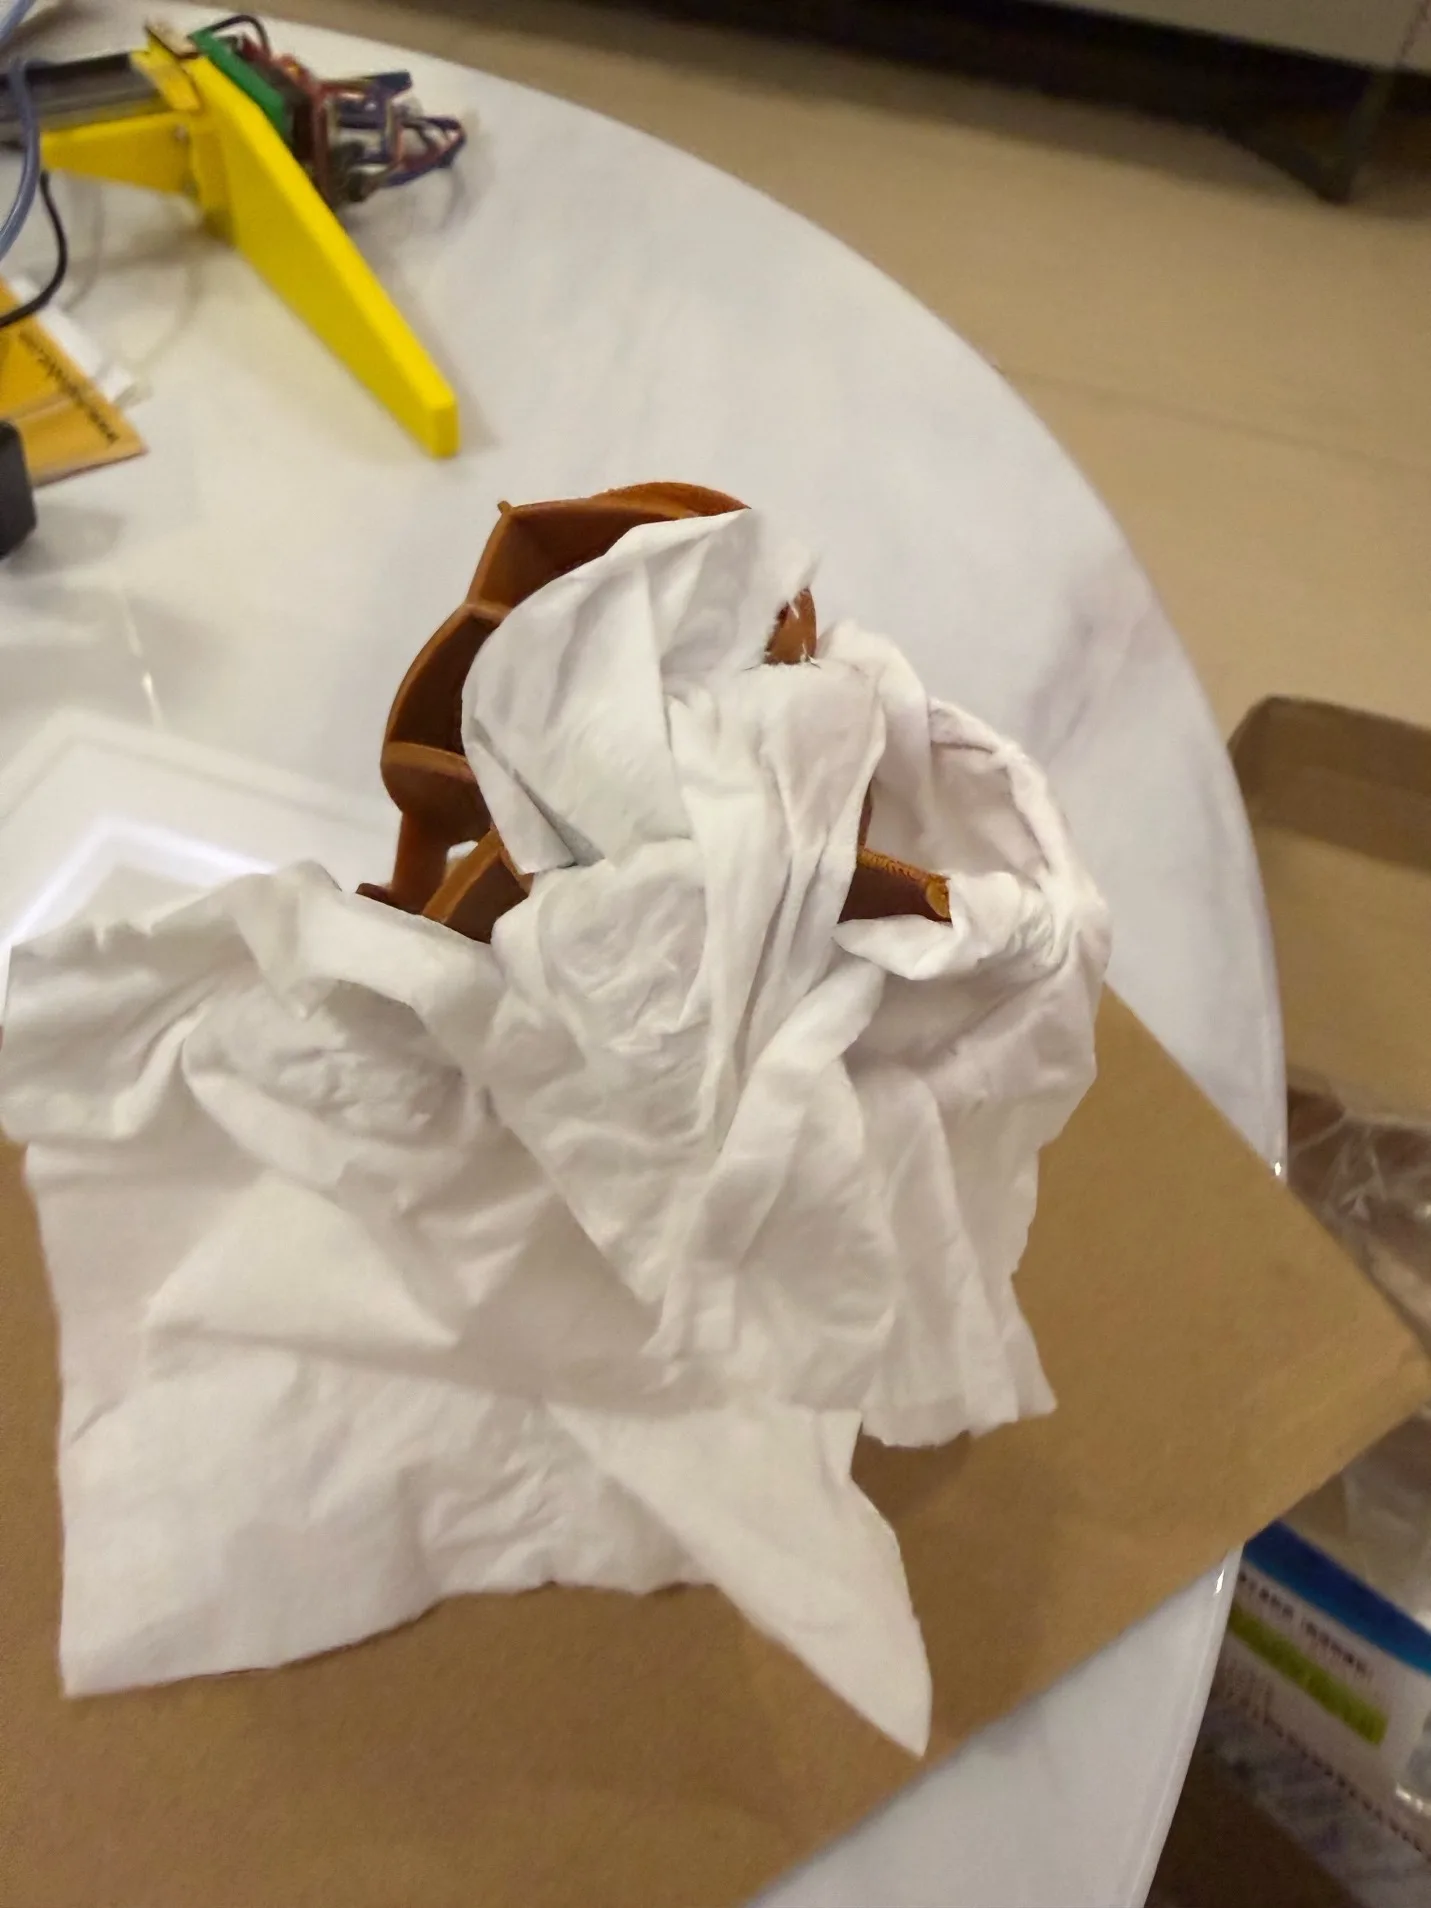
The first attempt was paper tissue, but it was not really good looking. It did not naturally follow the right form, and I probably needed to make it wet to be sure it would fall into the shape. It was not really a good solution, so I decided to look for a medical bandage or something with more textile behavior.
Bandage and patch experiments
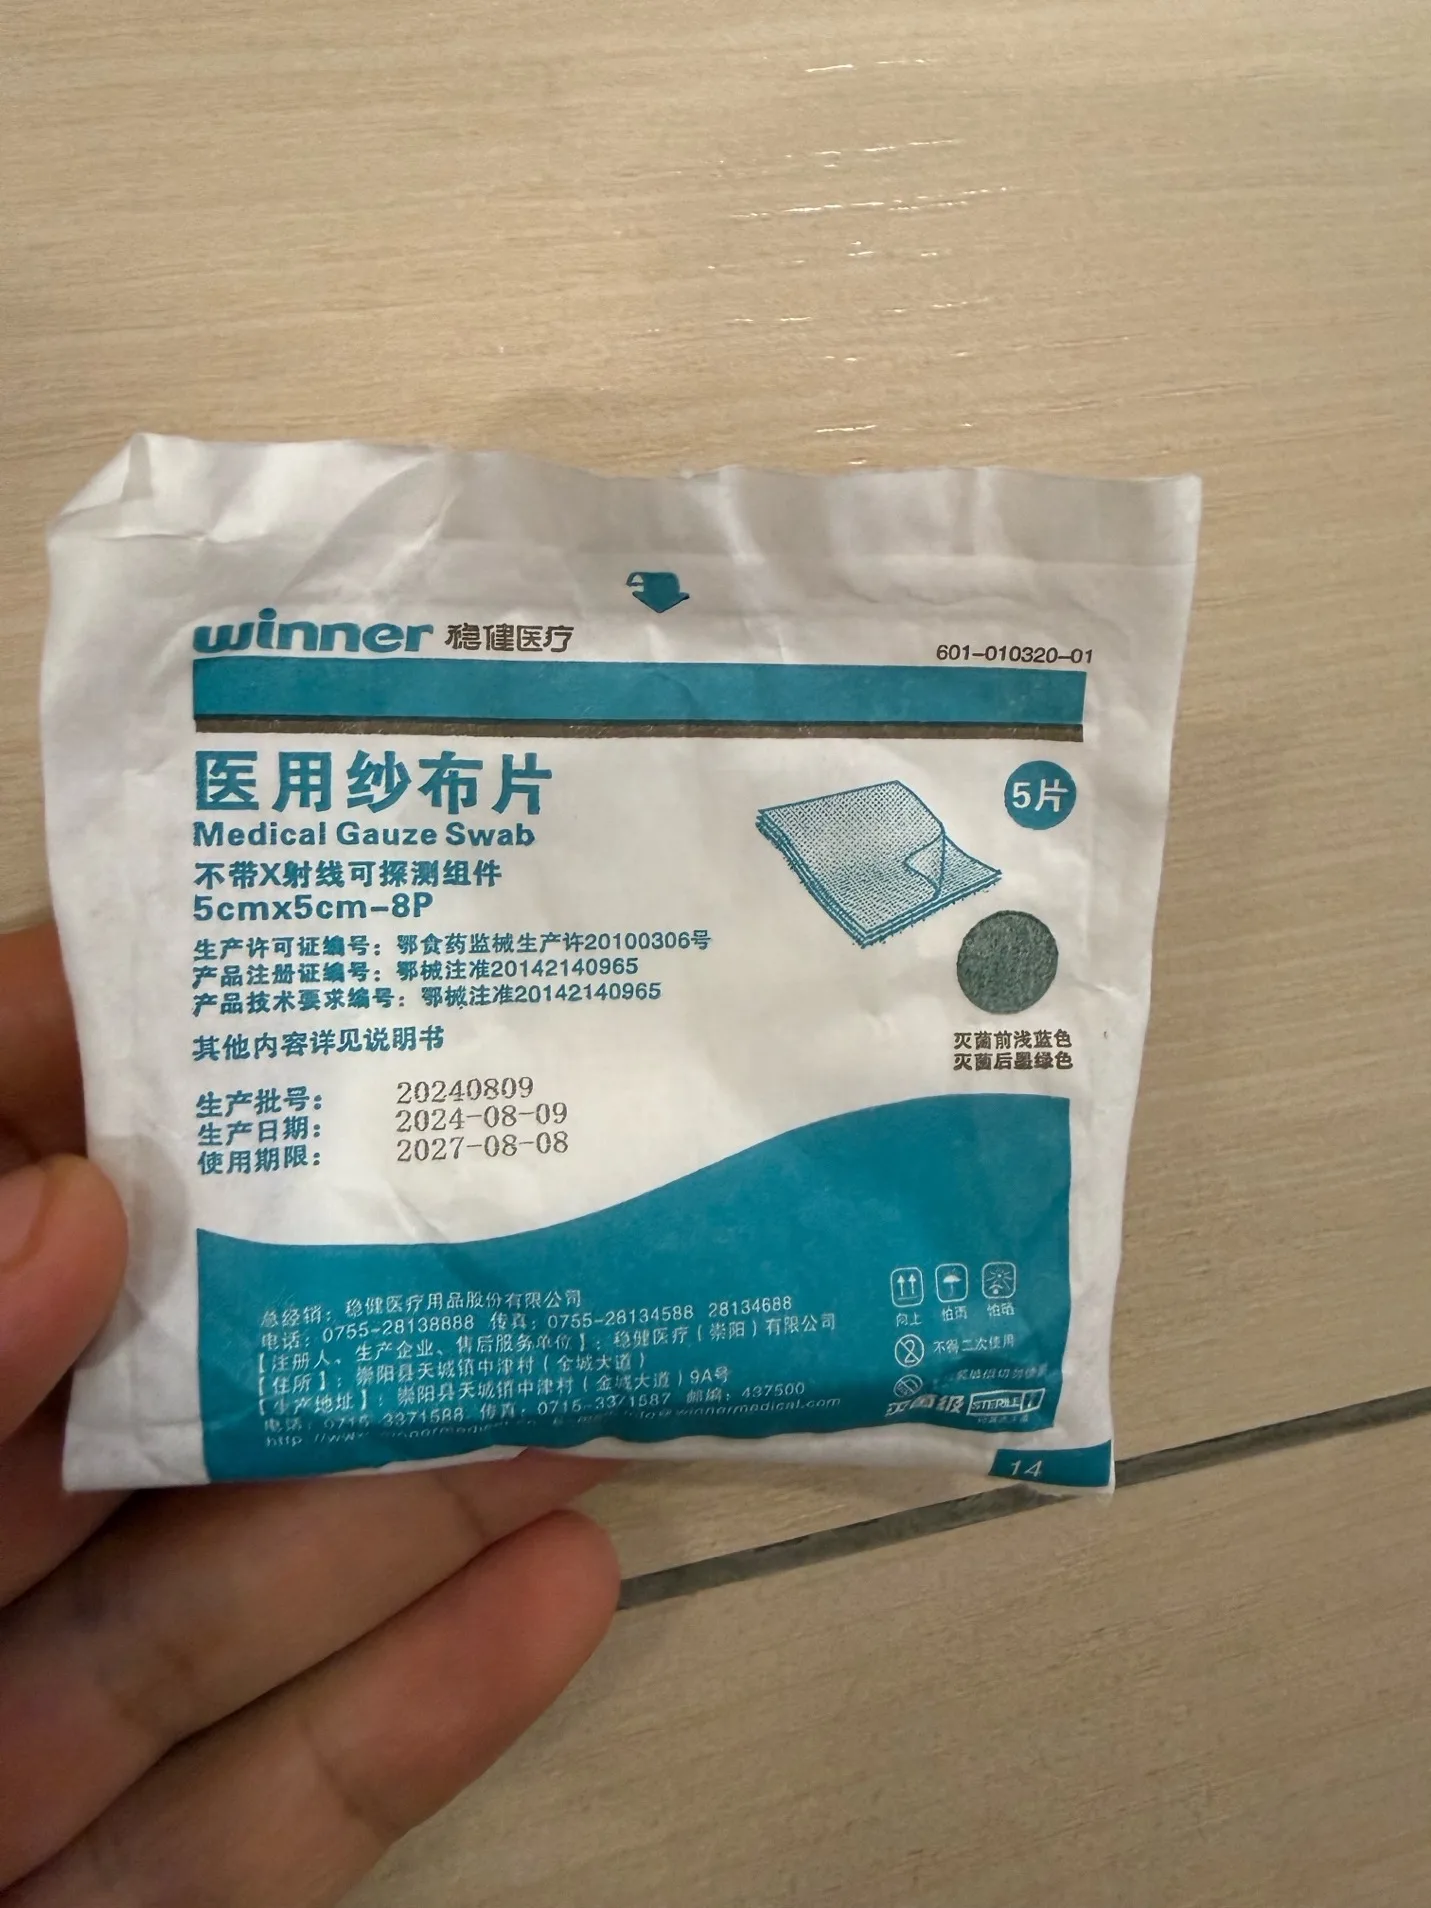
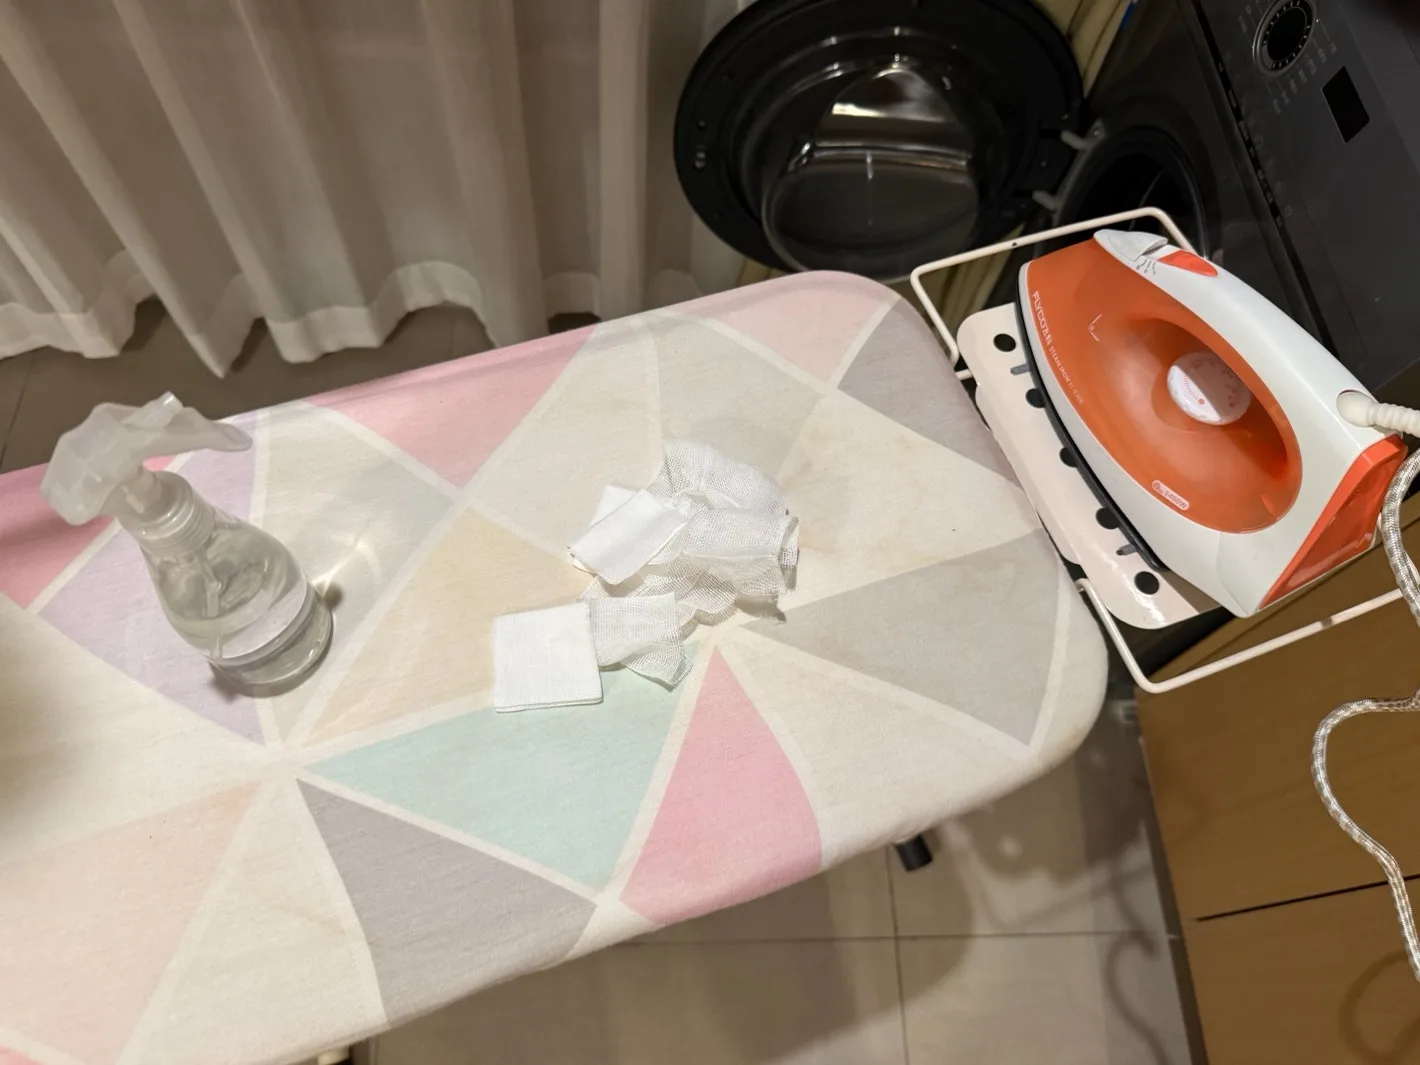
I found some medical patches and tried to use them as the fabric layer. To make the patches smoother, I decided to iron them so they would become flat and easier to add into the heart shape. After ironing it was much better, because the patch became easier to control and did not have as many wrinkles.
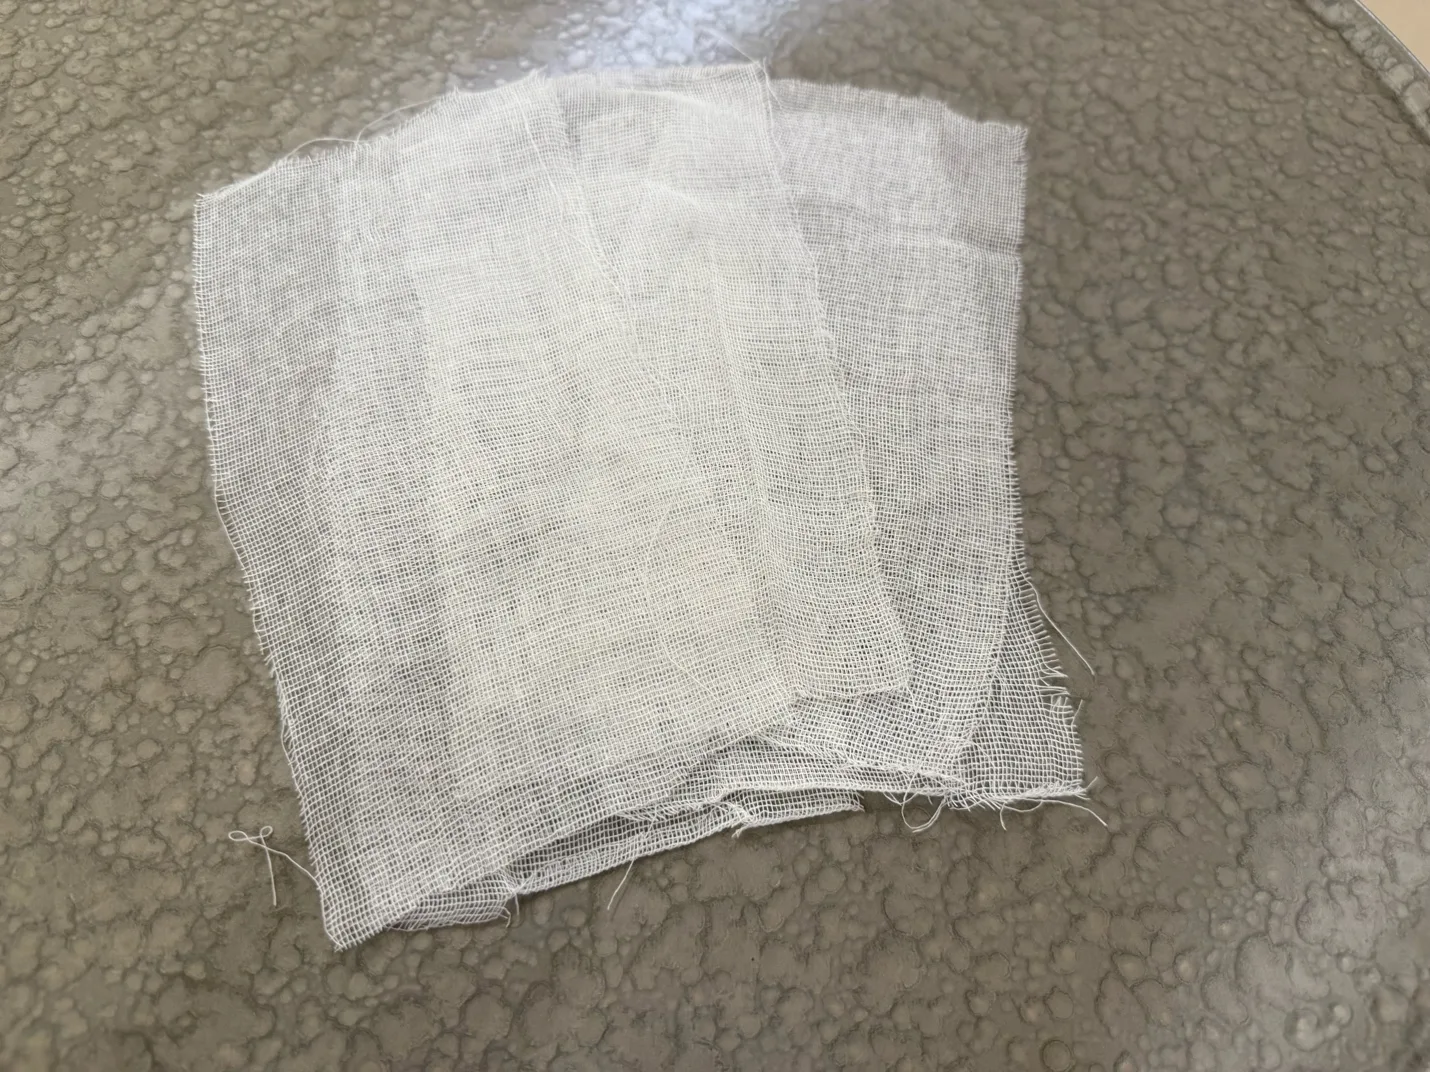
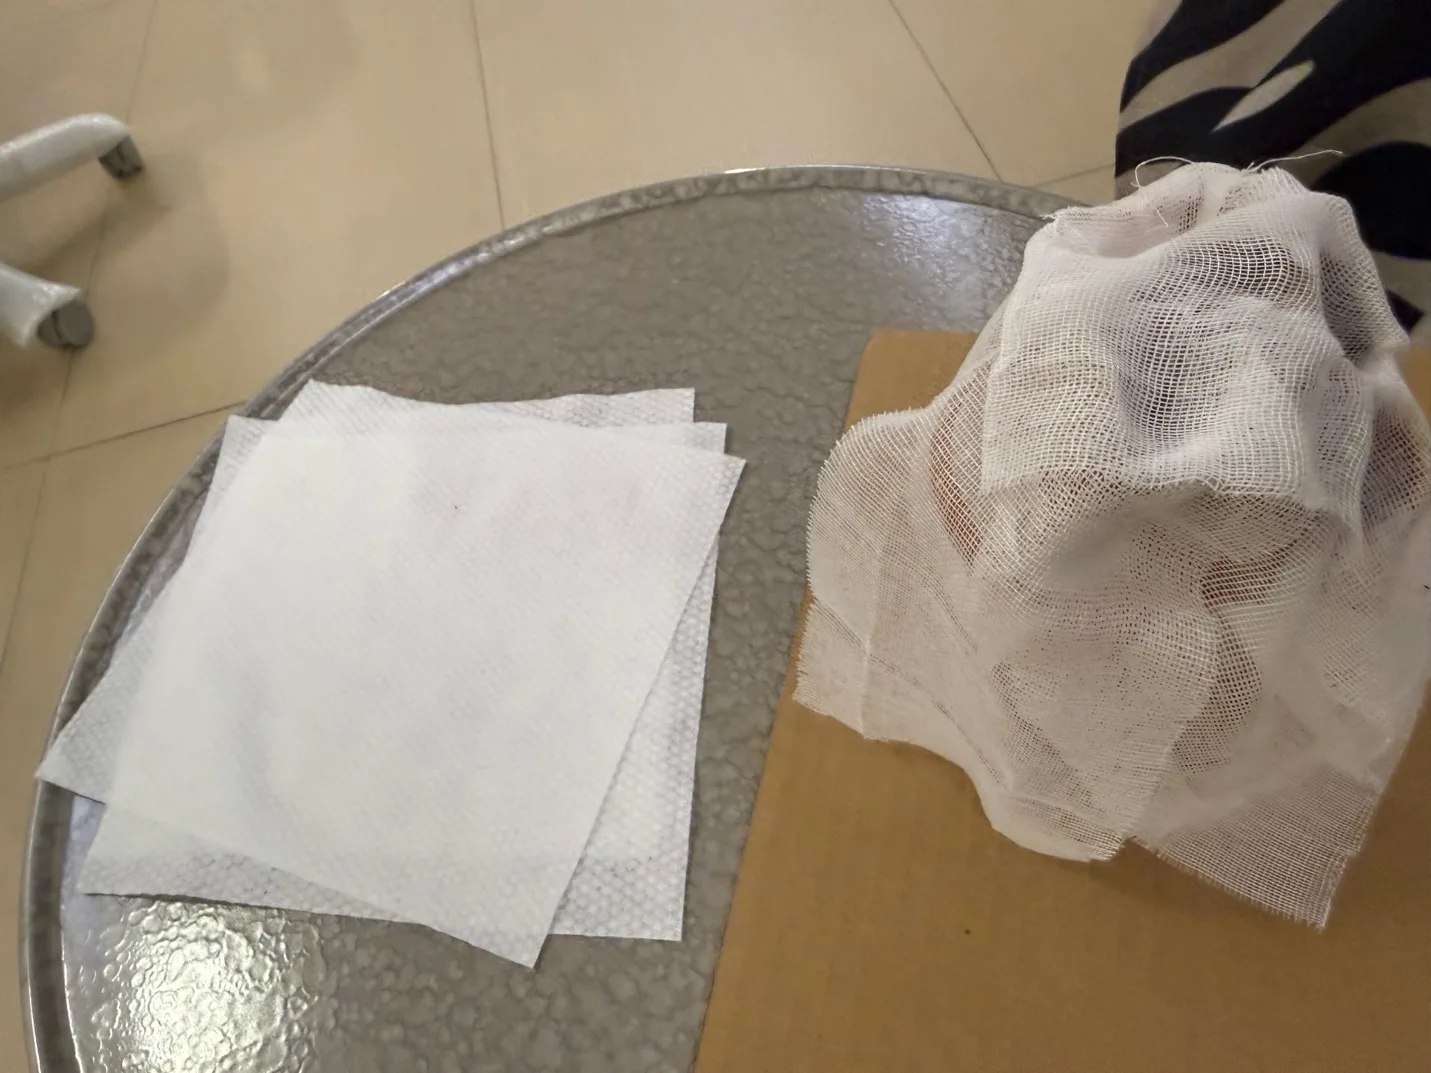
But the size of the patches was still not big enough. This was one of the main practical limitations of the week. I had limited resources, so instead of buying the ideal fabric immediately, I kept testing what I could find around me.
Second model and larger tissue surface
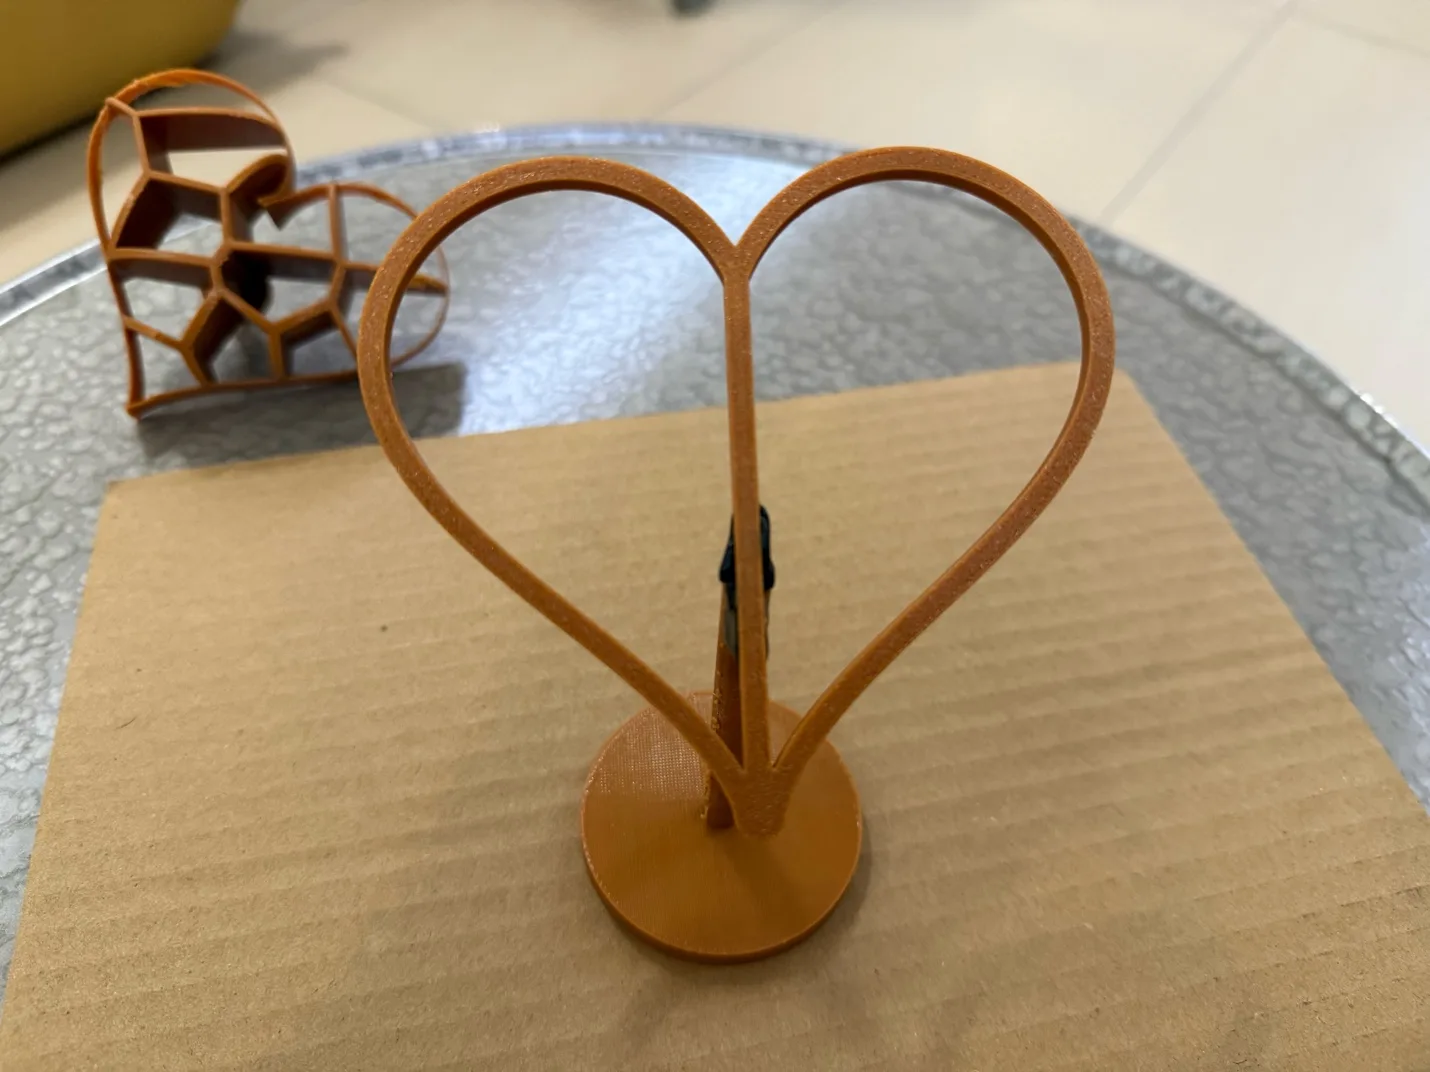
Because the first organic holes were too small and the available patch material was not large enough, I changed the design of the heart. I decided to make semi-heart shapes on the left and right side, with a bar in the middle where I could connect the support. This made the model more open and gave the fabric a better chance to show the shape.
I also found facial tissues, and just a few of them could cover the whole heart. This was not the perfect material, but it was larger than the medical patches and it allowed me to continue the experiment. For this process the fabric choice is very important: it needs enough elasticity to stretch and fall down into the frame, but it also needs enough structure to keep a good shape after the resin is applied.
Preparing for resin
Because I was working with liquid glue and resin, I made a tray from cardboard in case something leaked. The liquid glue changes the shape of the fabric tissue, so I had to be careful while applying it. If the material becomes too wet too quickly, it can lose the shape instead of forming a smooth surface.
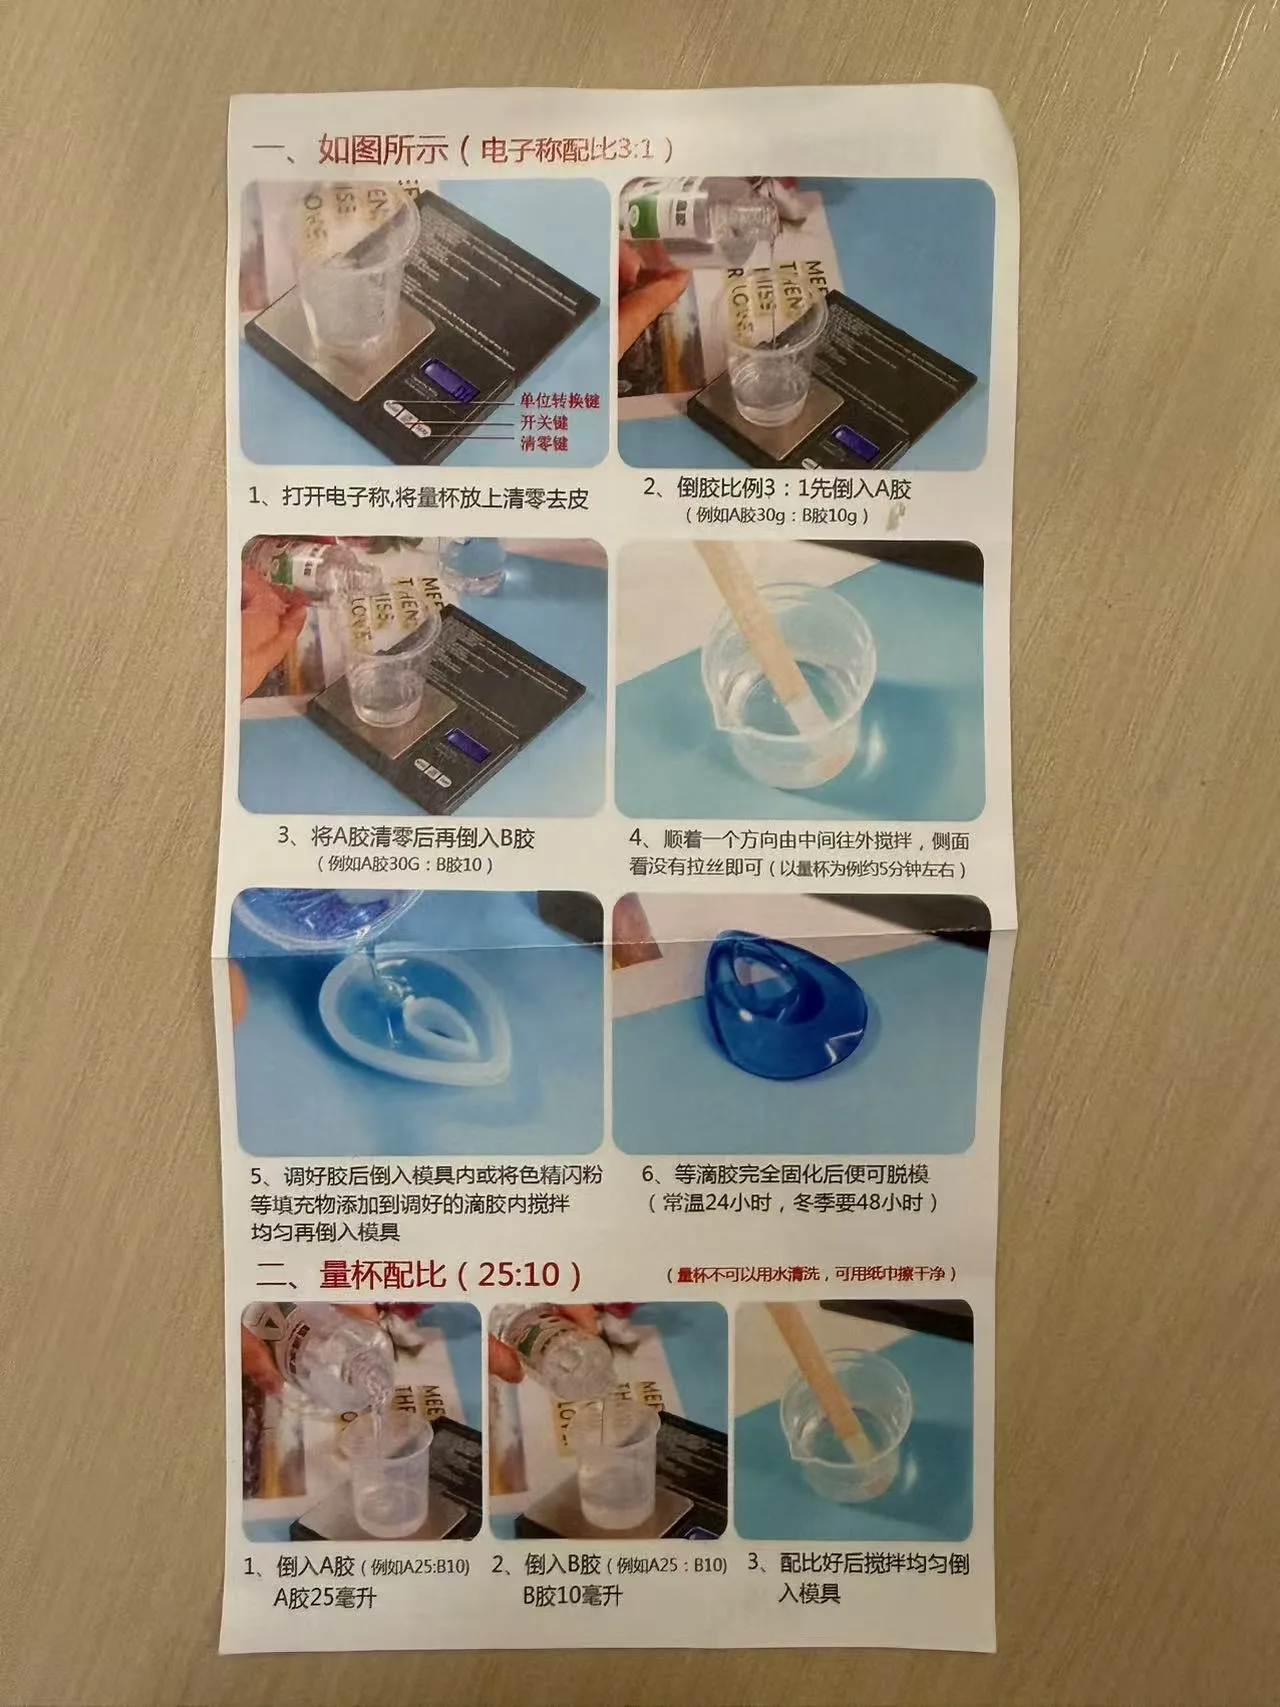
For the next part I prepared a resin solution. The mixing ratio was 2.5 parts A solution to 1 part B solution. I used 40 ml of A solution and 16 ml of B solution, mixed it, stirred it for several minutes, and then applied it to the fabric.
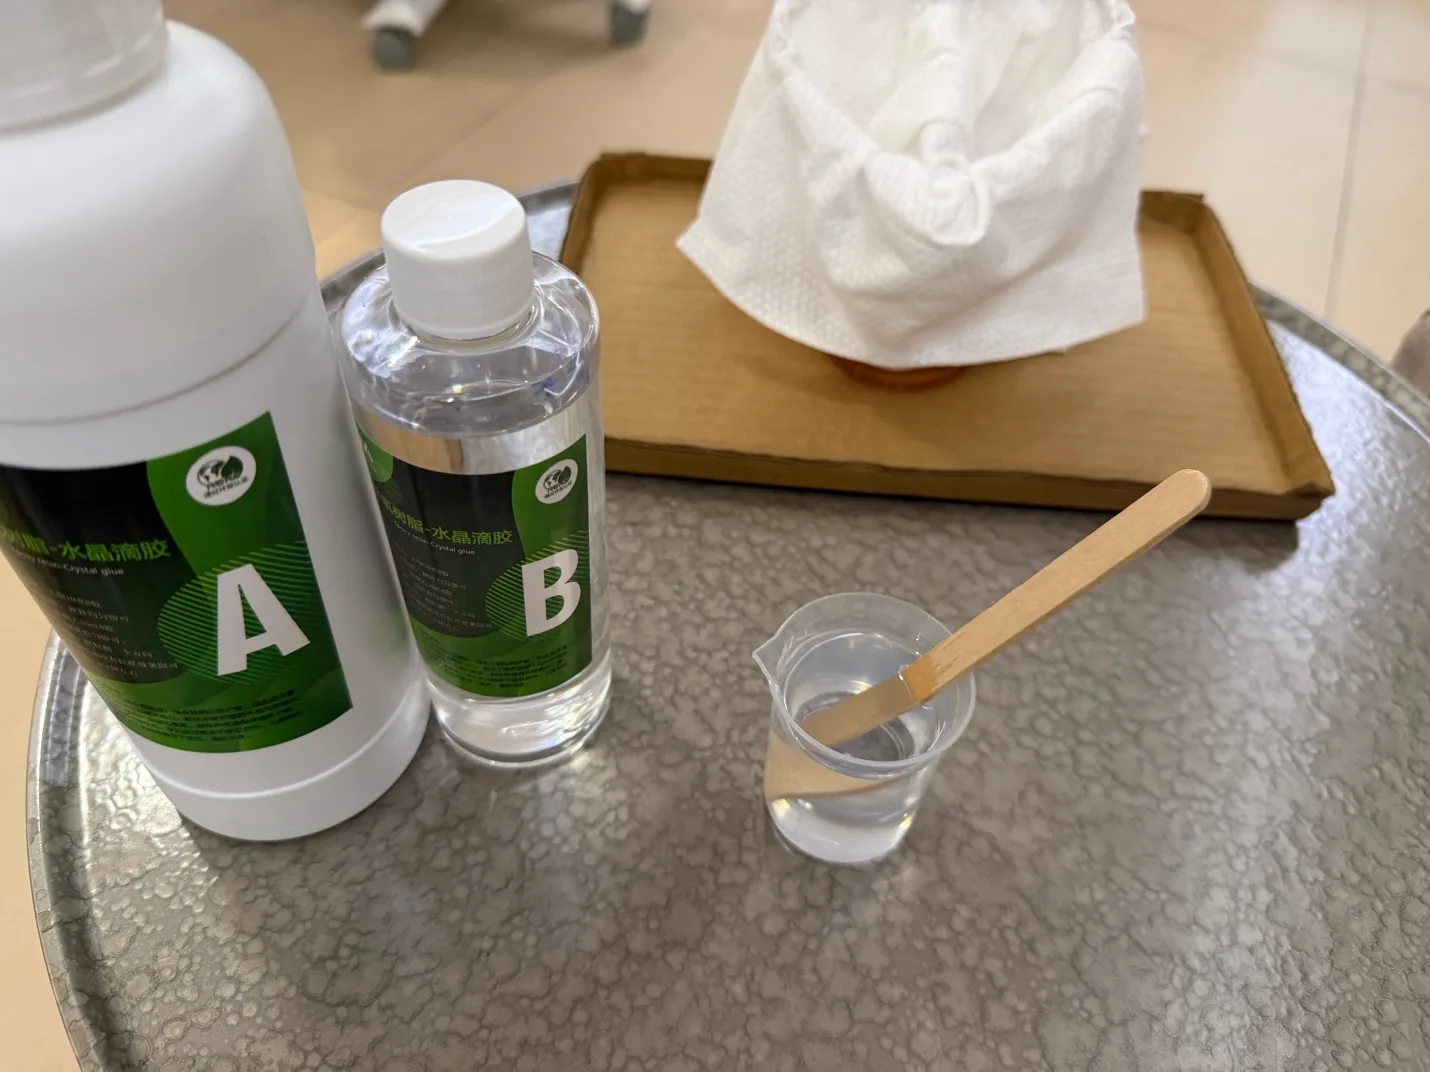
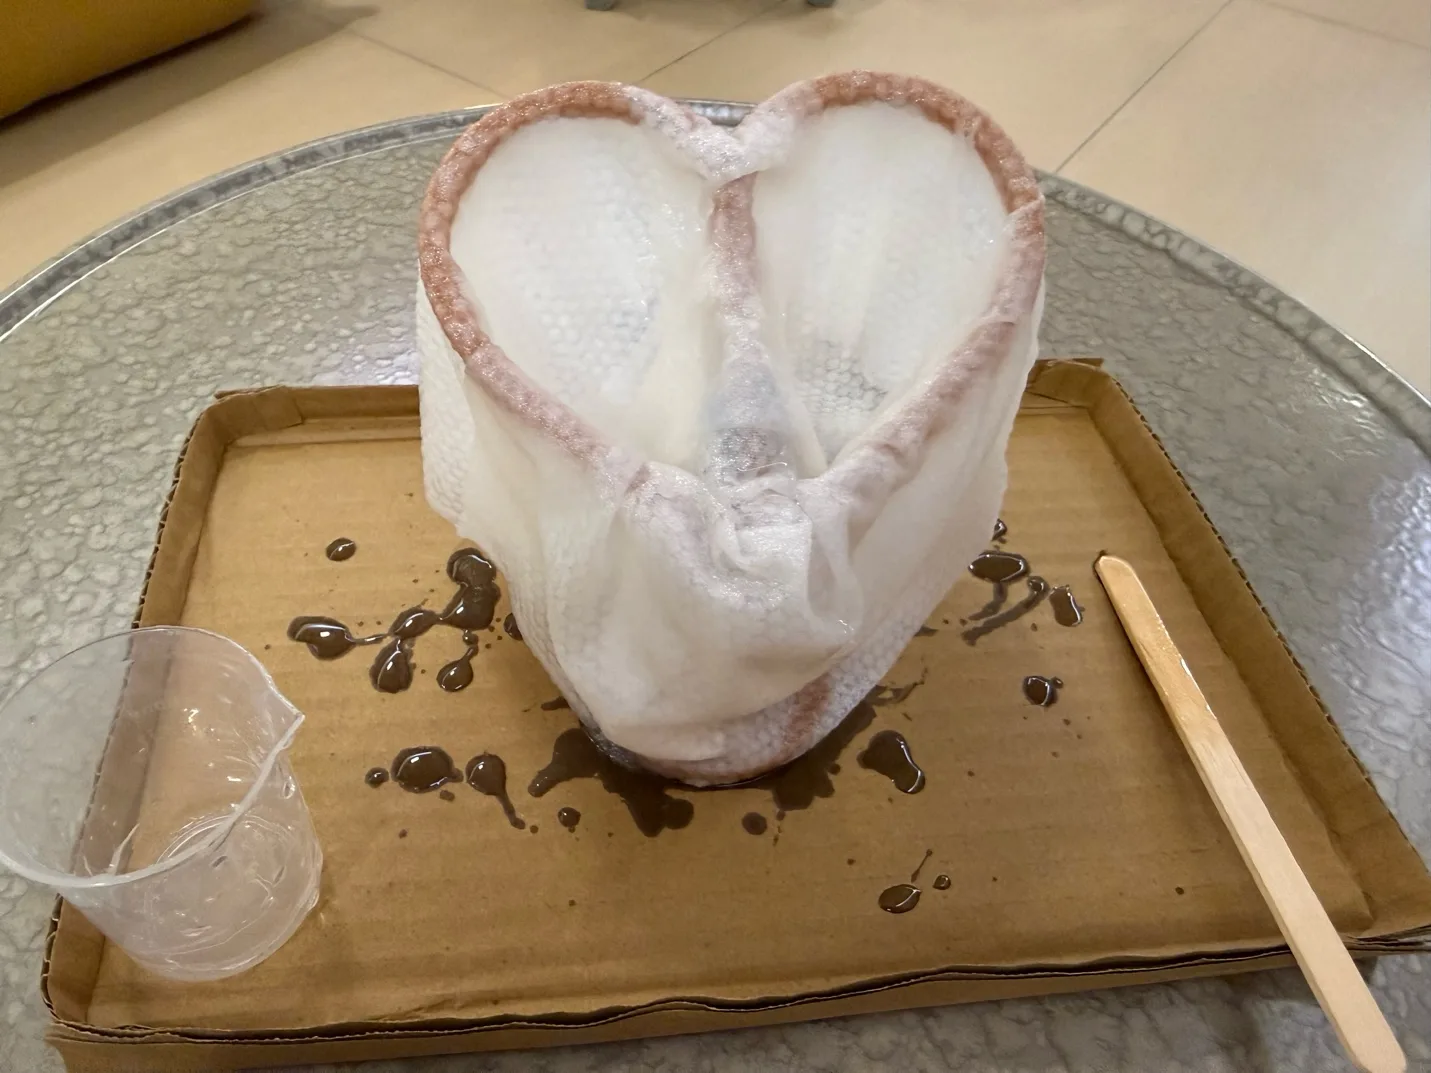
After applying the resin, the piece needed time to cure. I needed to wait about 24 hours to make it solid, and 48 to 72 hours to finish the drying process. This waiting time is part of the process because the final form is not fully visible immediately after applying the liquid.
Final lamp test with heartbeat light
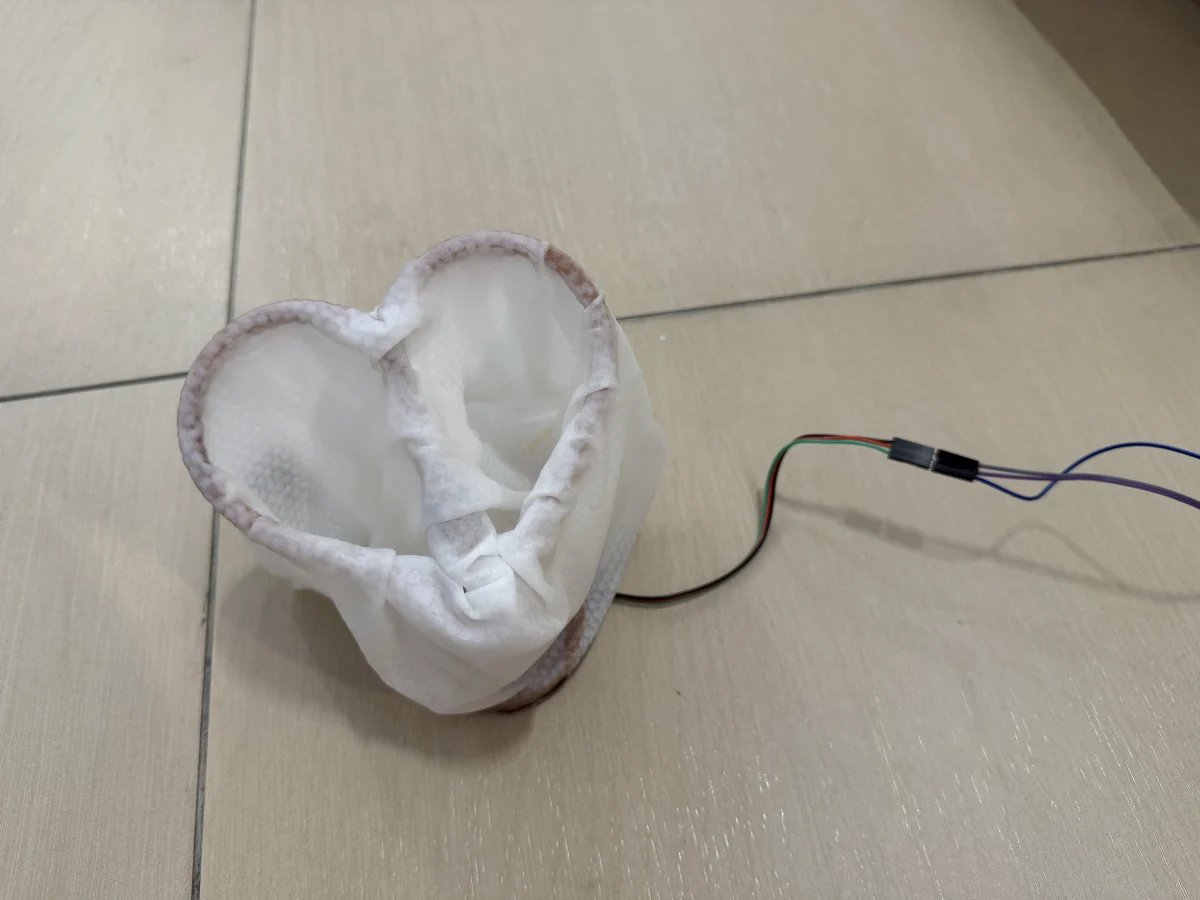
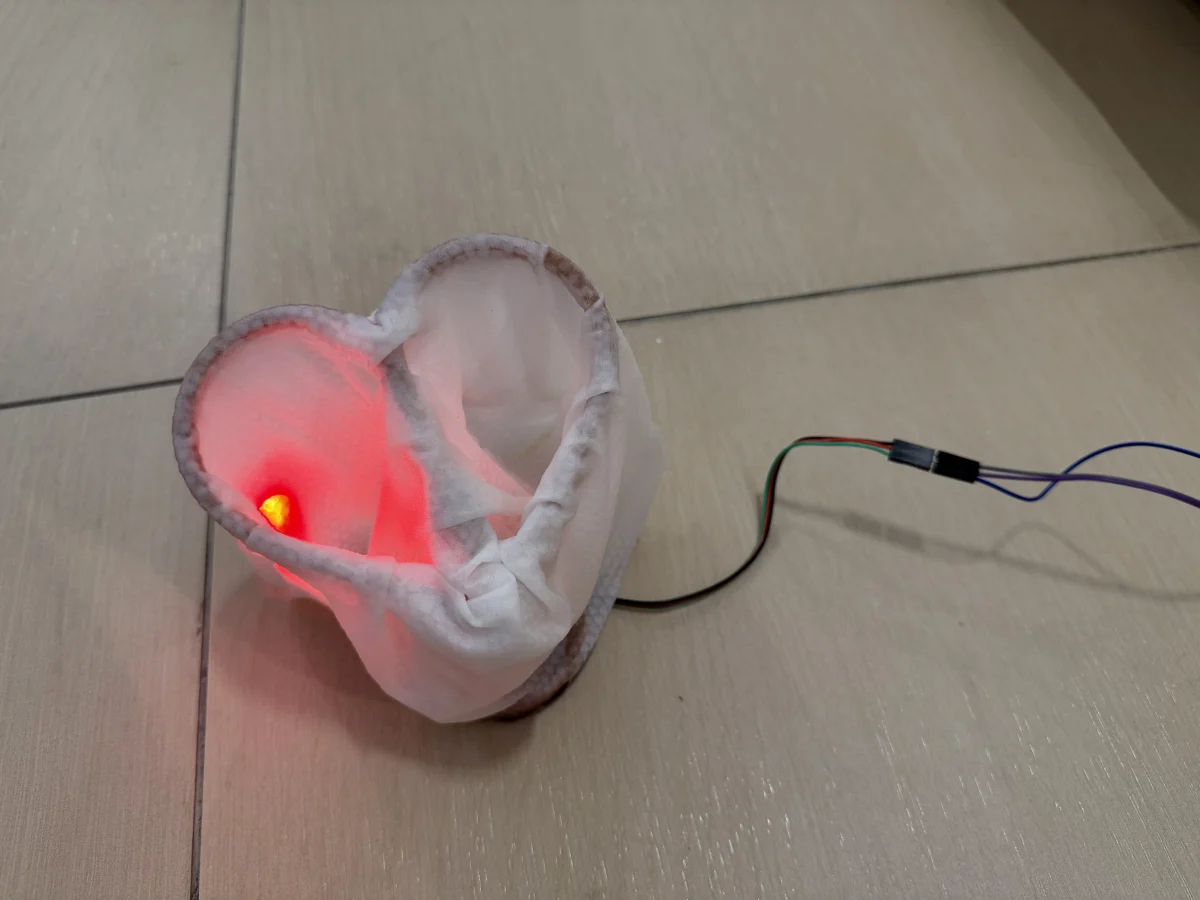
After the resin cured, I disassembled the piece from the cardboard base. Some leftover material and falling components did not look very clean, but the hardened heart shape was strong enough to continue the experiment. I then installed lights inside the object and connected the light to a controller that can receive heartbeat signals.
Finally, the object started to look like a small lamp that imitates the heartbeat. The light program can still change later: it could blink directly, fade softly, pulse with a different rhythm, or use another type of LED light. The important part for this wildcard experiment was proving that the hardened fabric/resin form could become a physical light object for the Seebscribe heartbeat idea.
Why this fits wildcard week
This process was different from my earlier weeks because the output was not produced only by a 3D printer, a mold, a PCB machine, or a normal casting workflow. The digital part created the rigid guide, but the final surface was formed by the soft material, gravity, manual placement, and resin curing. The final object was therefore a hybrid of digital fabrication and textile/resin forming.
Reflection
It was complicated to come up with something interesting with my limited resources. The hardest part was not only designing a nice 3D model, but designing the right kind of model for the material I actually had. The first heart with small organic holes looked good as a printed object, but it did not leave enough room for the fabric to express the shape.
It was also difficult to find the right fabric. For this idea, the fabric needs good elasticity, enough size, and enough flexibility to show the shape of the heart. The medical patches were smoother after ironing, but they were too small. The facial tissue was bigger, but it was still not the ideal material because it does not behave like a proper stretch fabric.
Next time I should think about the fabric earlier and buy a special fabric in the correct size before designing the final frame. I may also need to design the printed shape differently so that the fabric can fall down better and make a clearer heart surface. This week taught me that for flexible material experiments, the model and the material must be designed together.
Design files for download
These are the available 3D files for this wildcard experiment.