Week 05 — 3D Scanning & Printing
Group assignment
- Test the design rules for your 3D printer(s).
- Document your work on the group work page and reflect on your individual page what you learned about the characteristics of your printer(s).
Individual assignment
- Design, document, and 3D print an object (small, few cm3, limited by printer time) that could not be easily made subtractively.
- 3D scan an object (and optionally print it).
Group Assignment (Formshop)
For the group assignment, we met together in Shanghai and worked on the printer characterization and design rule testing as a team.
In our case, Winnie Sun documented the three printer tests on her page. I participated in the group work and used the results and observations to better understand printer behavior and limitations for my own print.
- Group assignment reference: Winnie Sun — Week 05 3D Scanning and Printing
What I learned from the group printer tests
- Printer settings and material behavior matter as much as the CAD model.
- Support strategy strongly affects success rate, print time, and cleanup.
- Long prints increase risk, so process planning is important.
- Different materials behave very differently, especially moisture-sensitive support materials like PVA.
Individual Assignment — 3D Printing
3D printed object (not easily made subtractively)
For this week, I used a 3D model that I designed earlier in Week 02 (CAD) and printed it as my additive manufacturing task.
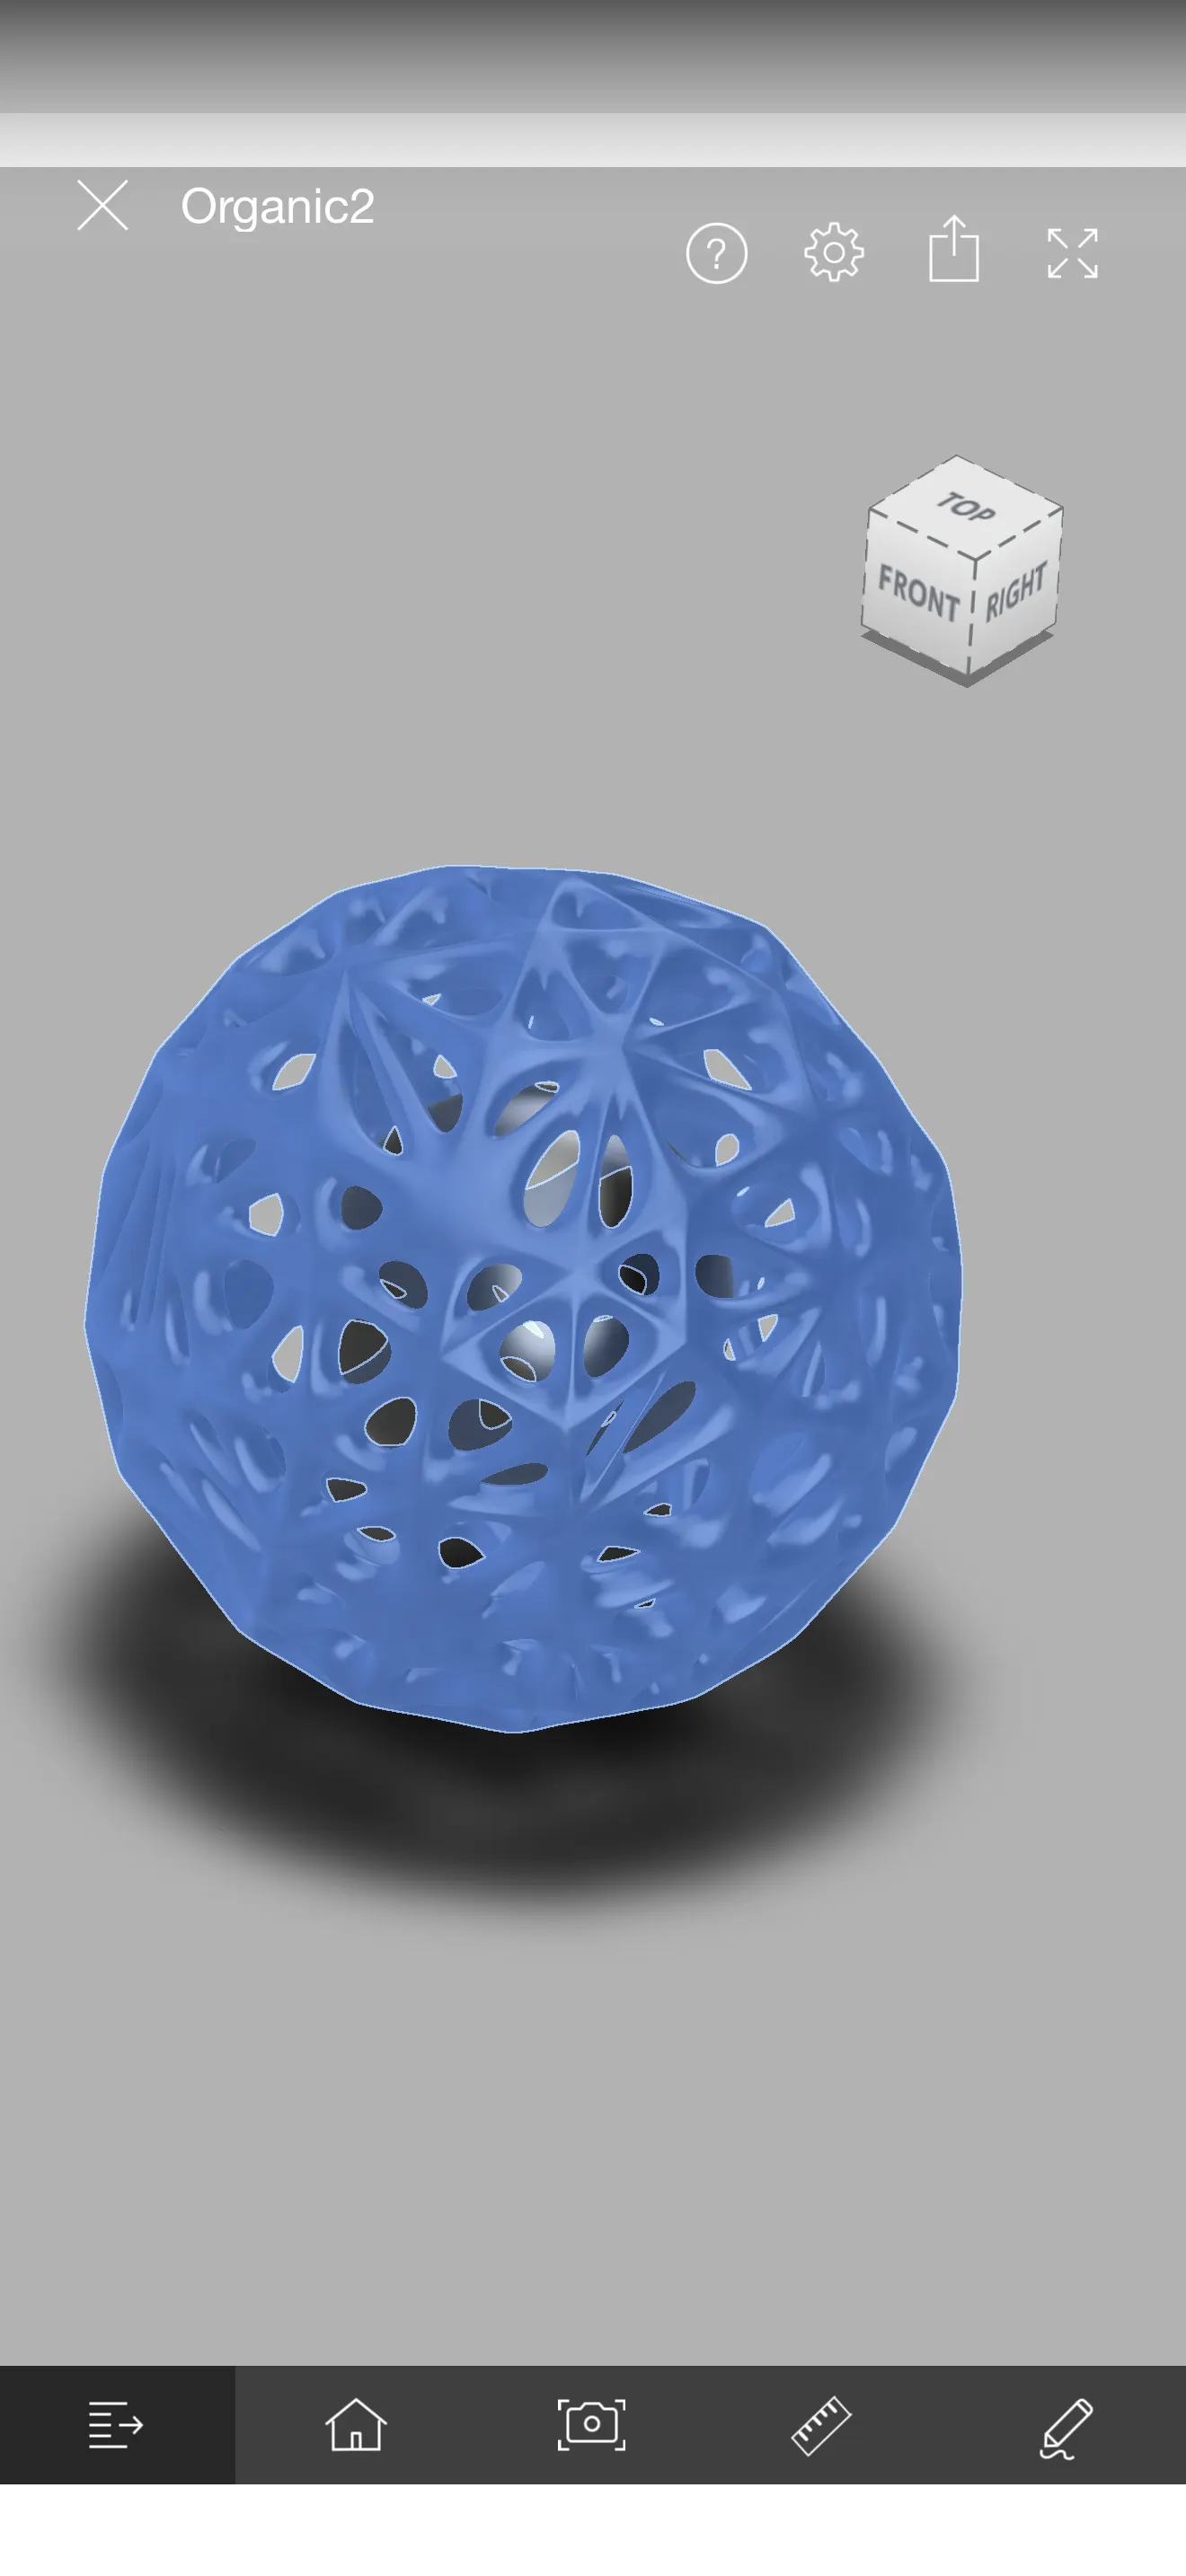
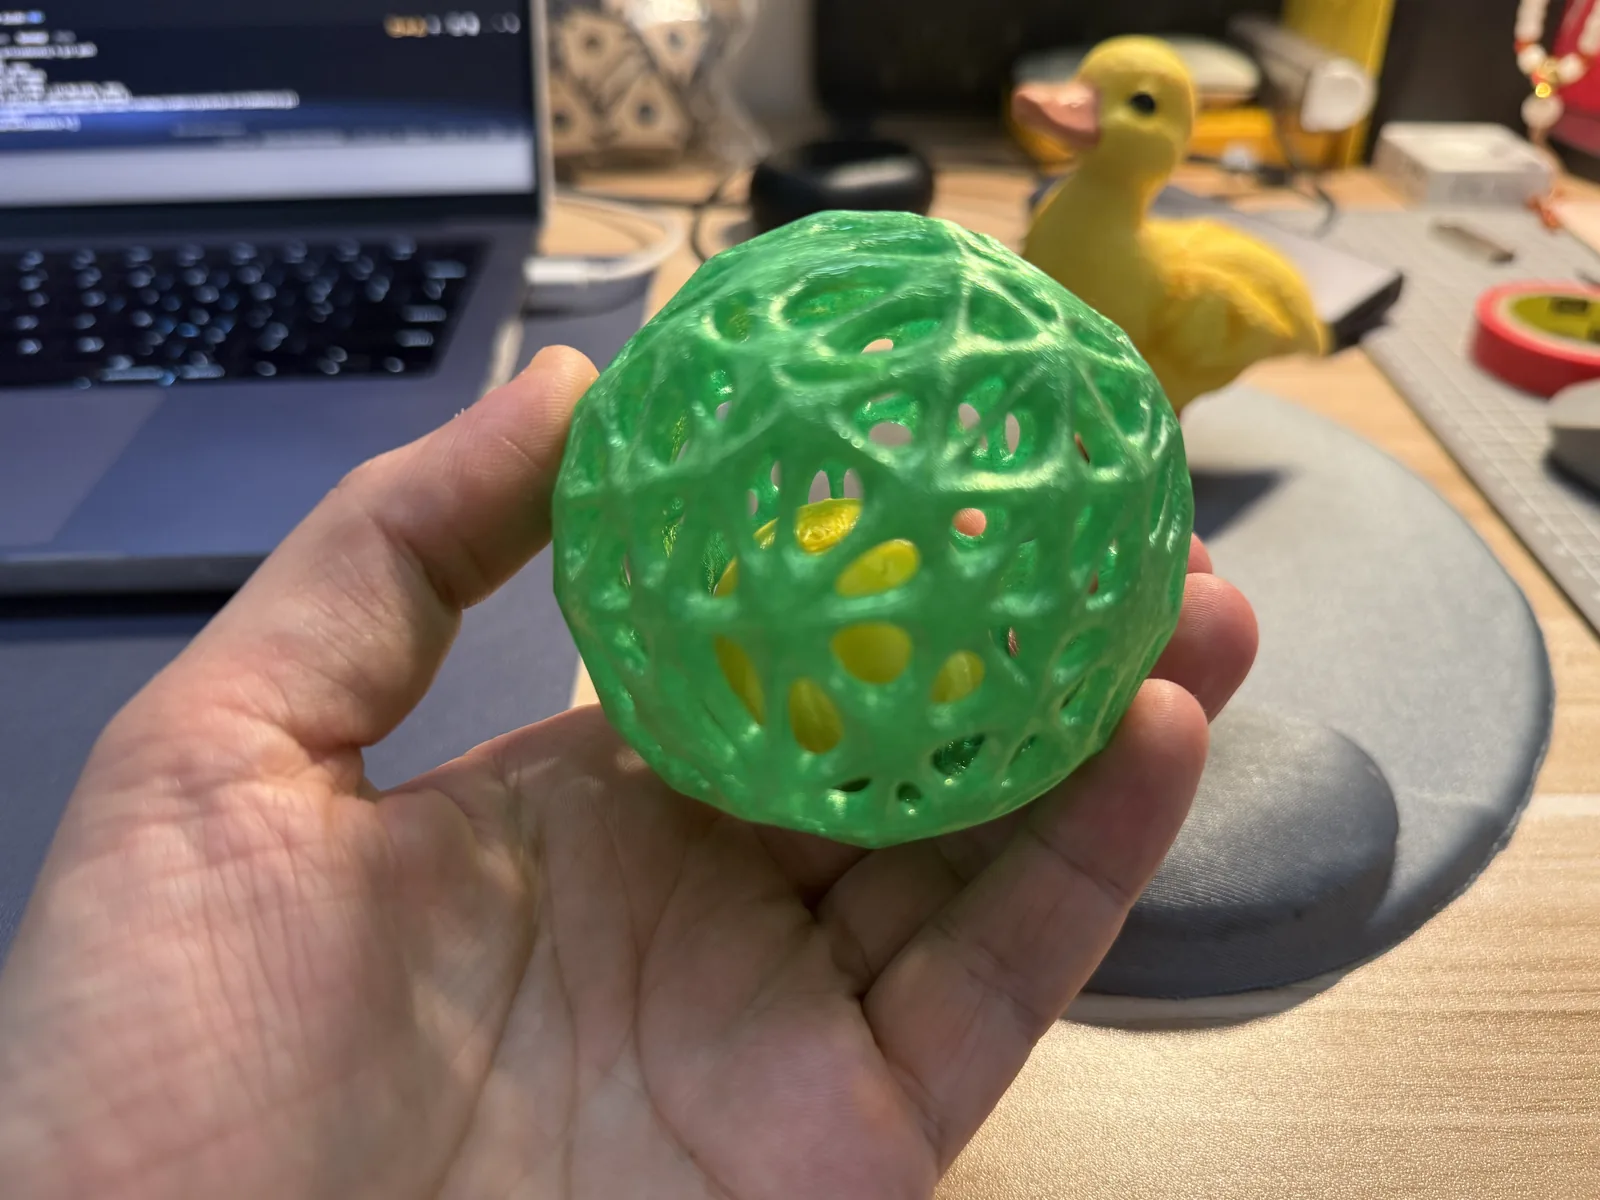
The object is an organic lattice ball with an internal ball trapped inside. This object is a good example of something that cannot be easily made subtractively because it includes organic internal connections, enclosed geometry, internal cavities, and a trapped inner part.
Design concept (from Week 02)
In Week 02, I designed an organic spherical structure with openings and smooth branch-like connections. The goal was to create a shape that demonstrates the strengths of additive manufacturing: complex curves, internal geometry, nested parts, and difficult-to-machine topology.
I already documented the CAD design in Week 02, so here I focus on the 3D printing process and fabrication results. The original design documentation is linked here: Week 02 Attempt 3 organic ball geometry. The design files are also available as the Fusion 360 source file and the 3MF print file. In Fusion 360, we can export files to .3mf or .obj files. So, 3mf is a project file with some pre-settings and/or several objects, and obj is just an object.
Bambu Studio Slicer
In the lab at my school and even at home, I use Bambu printers, and they work with Bambu Studio slicer software. It helps prepare prints by selecting the printer, material, print quality, support strategy, and slicing settings before sending the file to the printer.
Brief Interface Guide
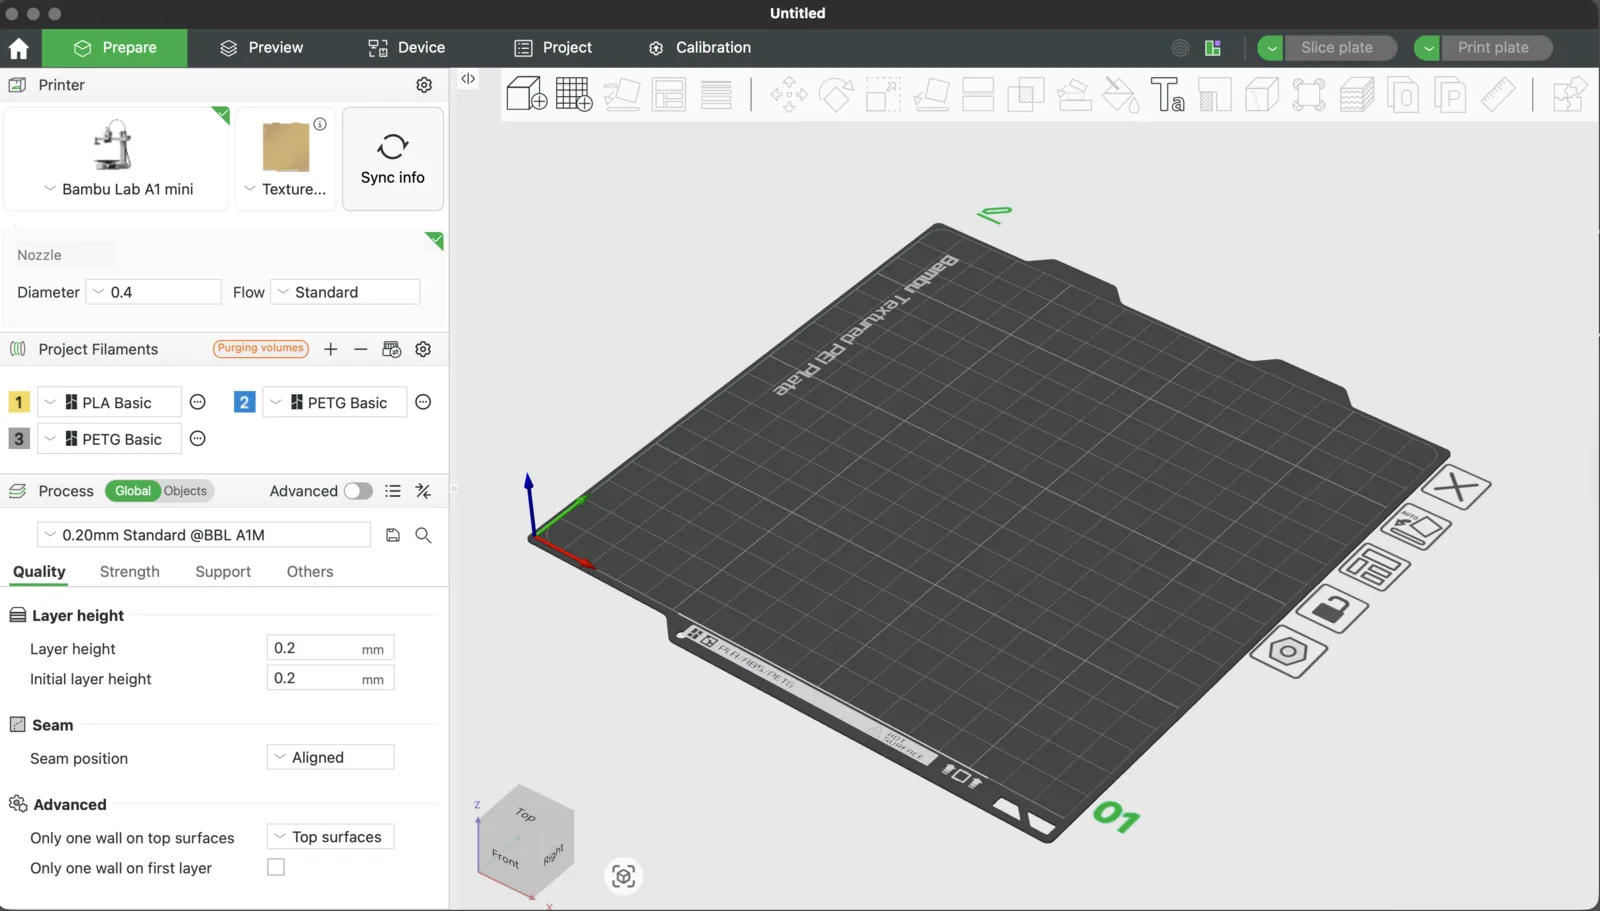
Bambu Studio is used to prepare 3D models for printing. It allows printer selection, filament setup, slicing, preview, and print transfer.
- Interface: the left panel contains printer, filament, and print options, while the right side shows the virtual build plate.
- Printer: the correct machine profile must be selected, for example Bambu Lab A1 mini.
- Plate: the model is positioned on the virtual print bed and checked to stay inside the printable area.
- Filament materials: the selected material, such as PLA or PETG, controls the proper print settings.
- Quality options: smaller layer height gives smoother surfaces, while larger layer height gives faster prints.
- Nozzle options: nozzle diameter affects detail, speed, and part strength.
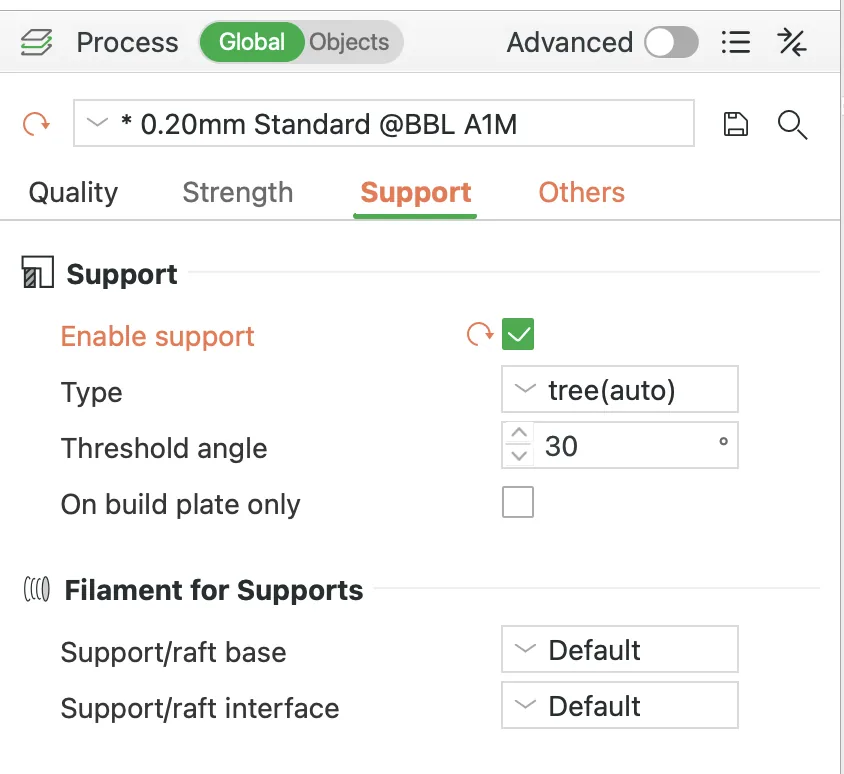
- Support options: used when parts of the model cannot be printed in mid-air.
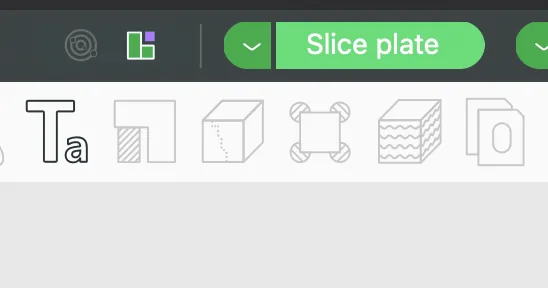
- How to slice: after setup, the model is sliced to generate toolpaths, print time, and material usage.
- How to print: after preview, the print file is sent to the printer with the selected setup.
Bambu documentation: Bambu Studio quick start guide.
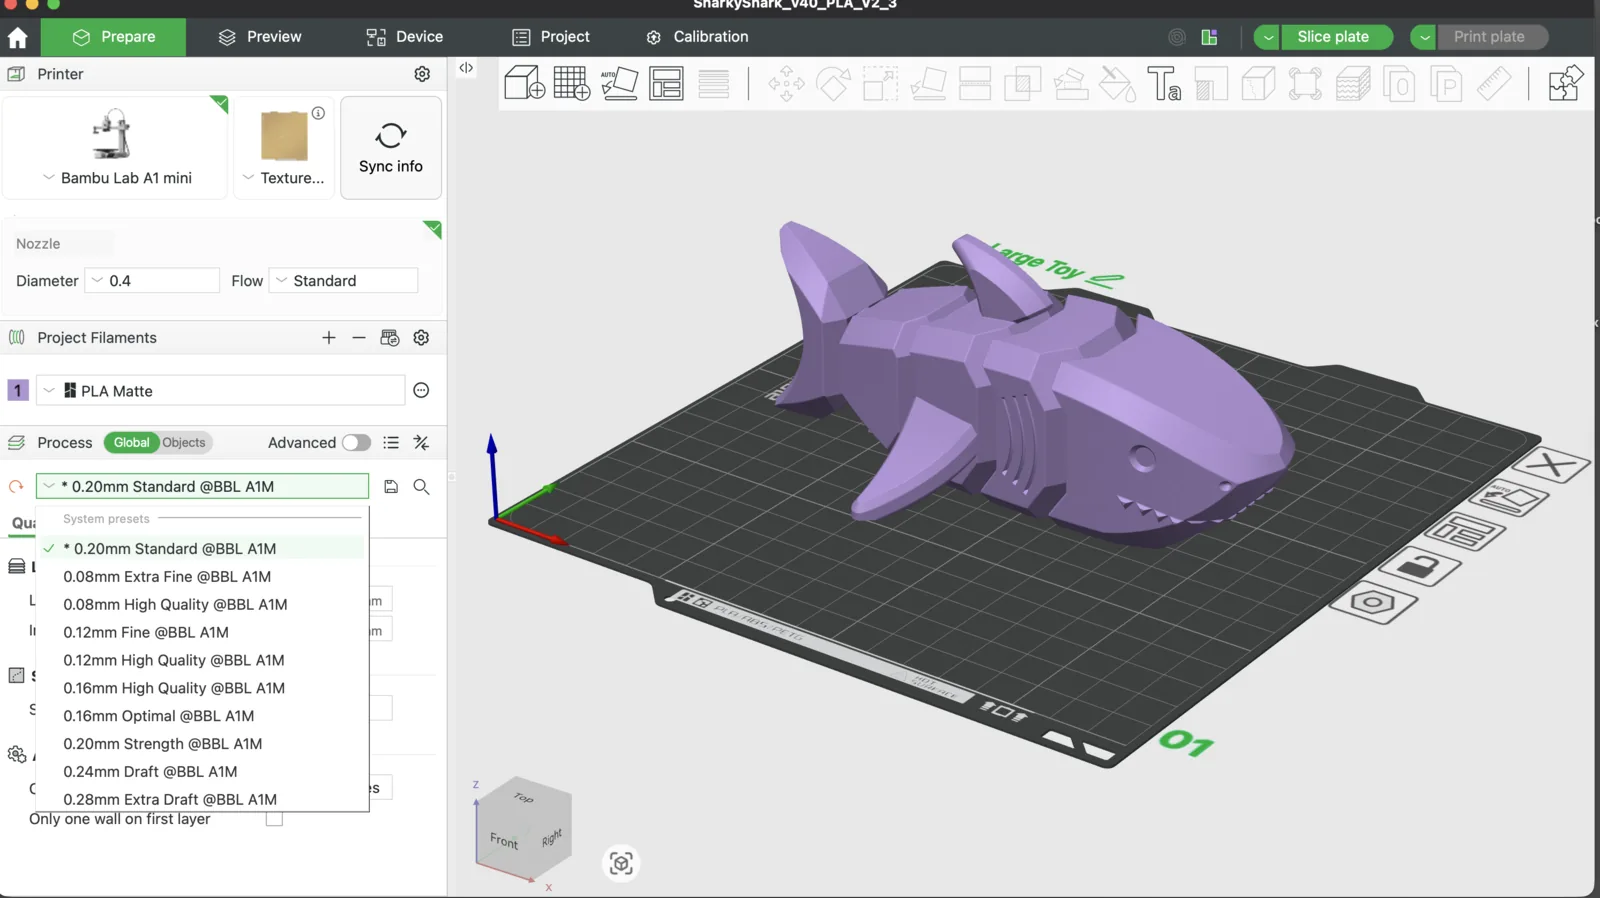
After exporting the objects, I can choose print quality presets. I usually start with the standard profile, but for draft or finer output it is easy to switch to other presets.
Support also needs to be considered, because some objects cannot be printed in the air. If support is missing, the slicer warns that it should be configured before printing.
At this stage, I also check the dimensions of the model and then move on to slicing the object or the whole print plate.
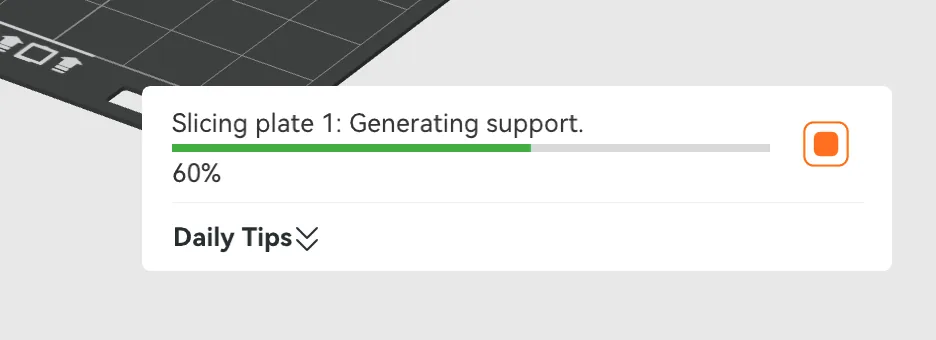
Slicing is the process of converting a 3D model into printable layers and generating the instructions the printer follows. Usually, these machine instructions are written as G-code.
Depending on model complexity, slicing may take longer, but for a simpler model the preparation is relatively fast.
After slicing, the view moves from the prepare section to the preview section. There I can inspect the support structures, printing time, and filament usage.
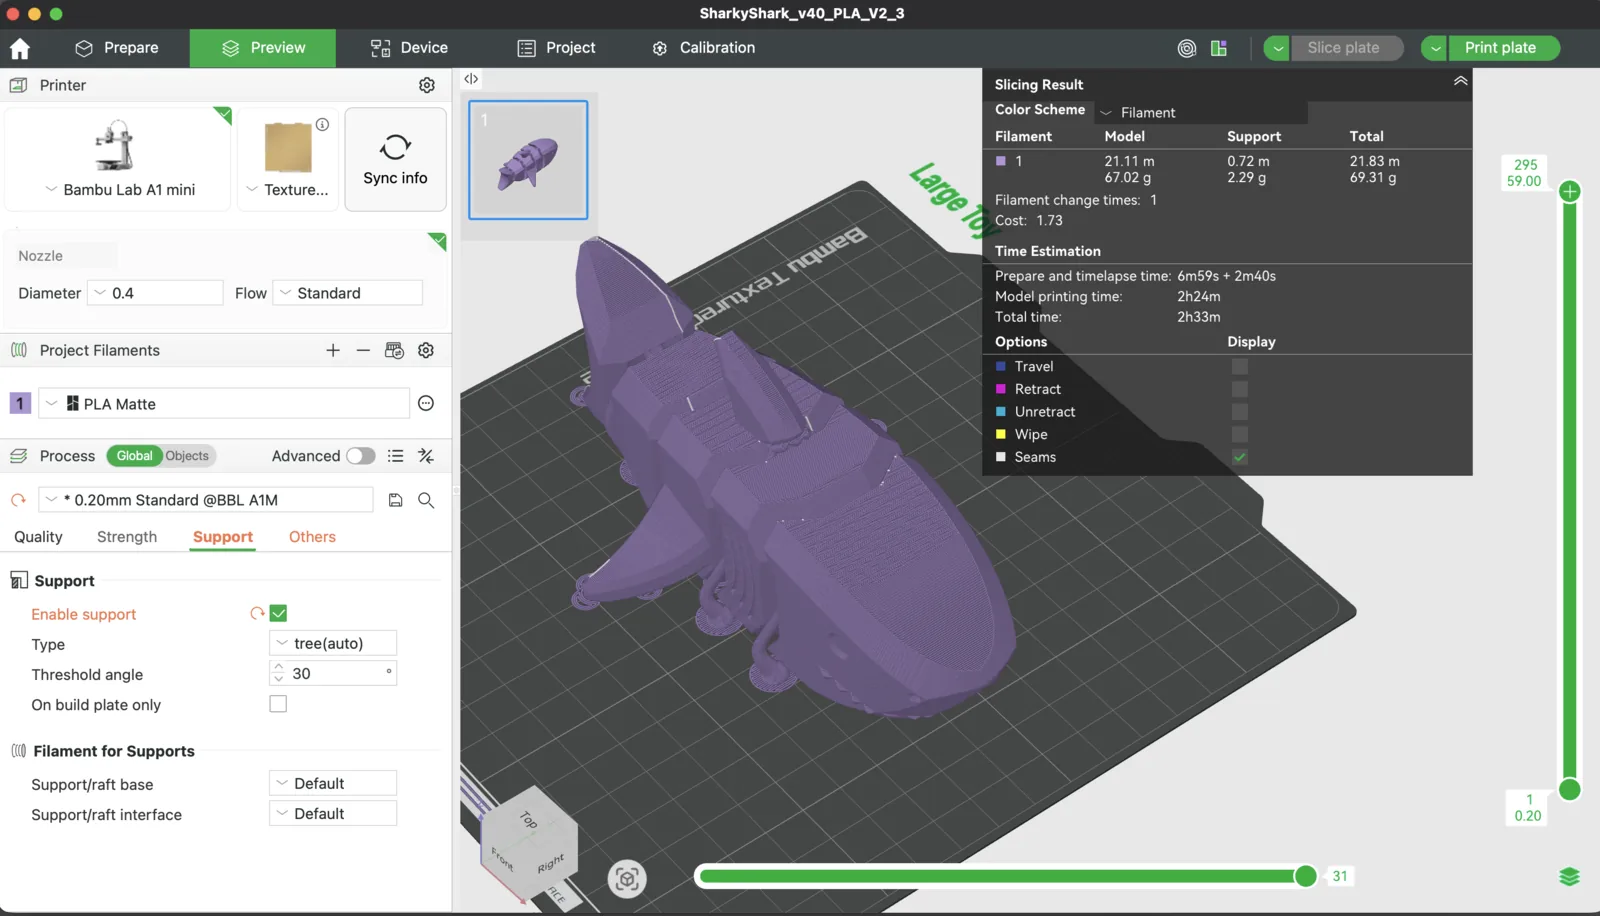
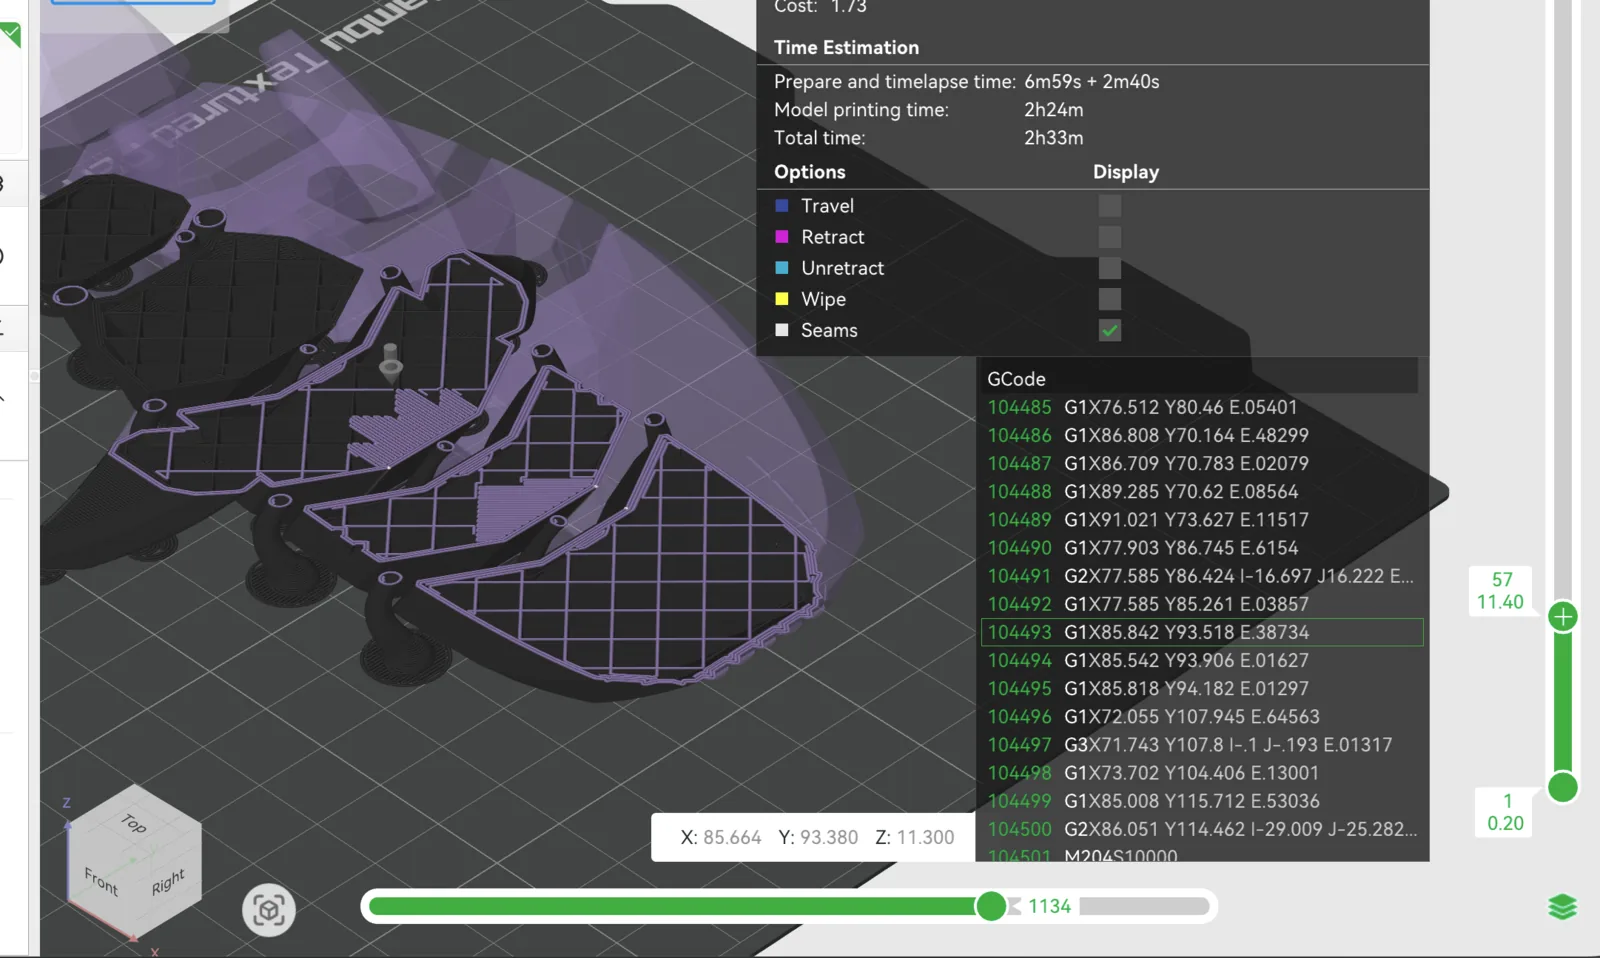
By moving the vertical and horizontal preview controls, I can inspect each printed layer and see how the toolpath will be executed.
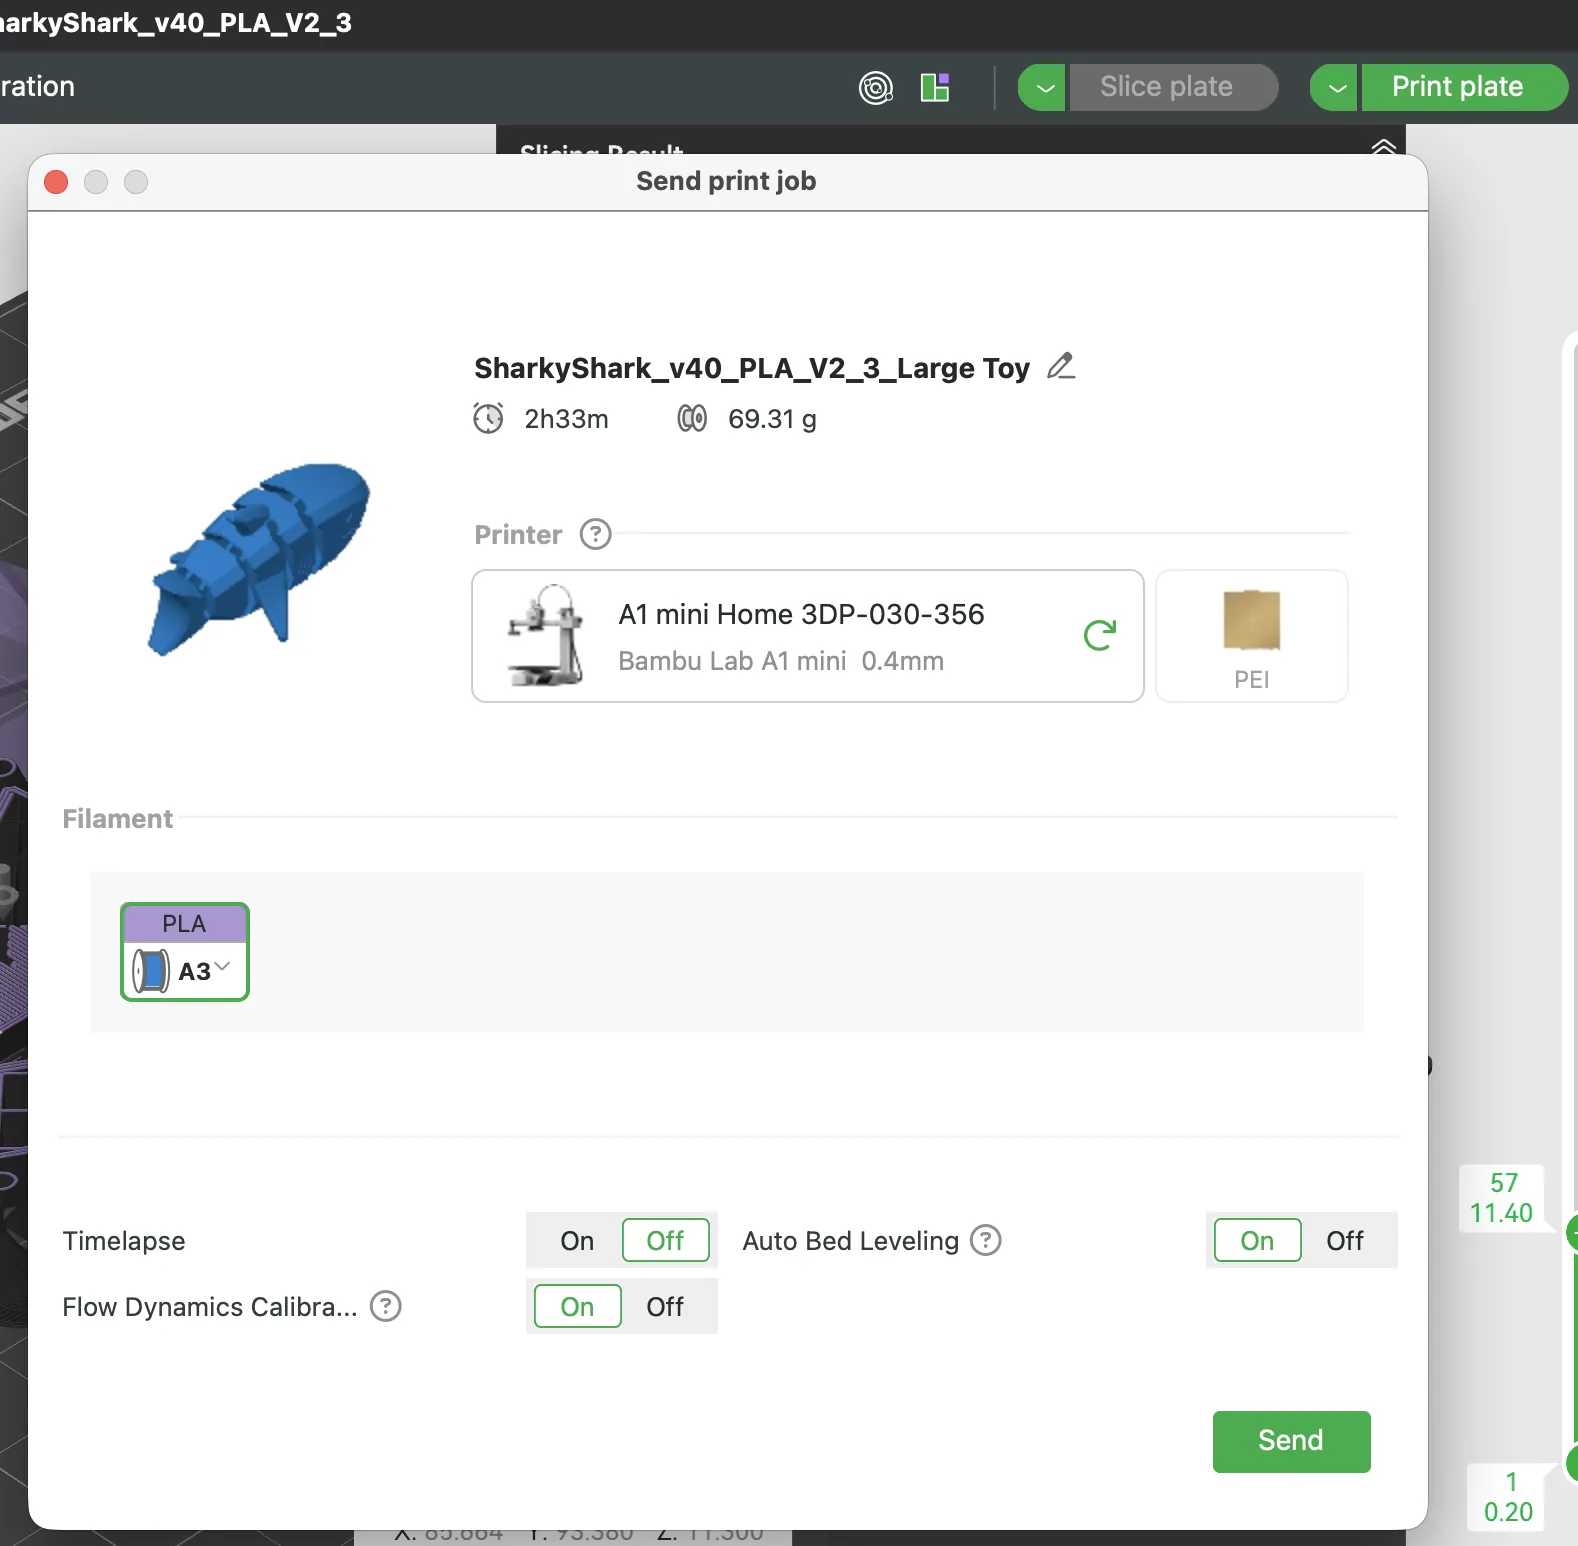
If everything looks correct, I can press the print plate button and send the file to the printer. At that point I can also enable options such as dynamic calibration, auto bed leveling, and time-lapse recording.
First printing approach (dual-material support)
For the first attempt, I tried to print the object using two materials:
- PLA-CF (carbon fiber PLA) for the main structure
- PVA for dissolvable support
The reason for choosing PVA was that the geometry contains complex overhangs and internal areas where normal supports would be difficult to remove cleanly.
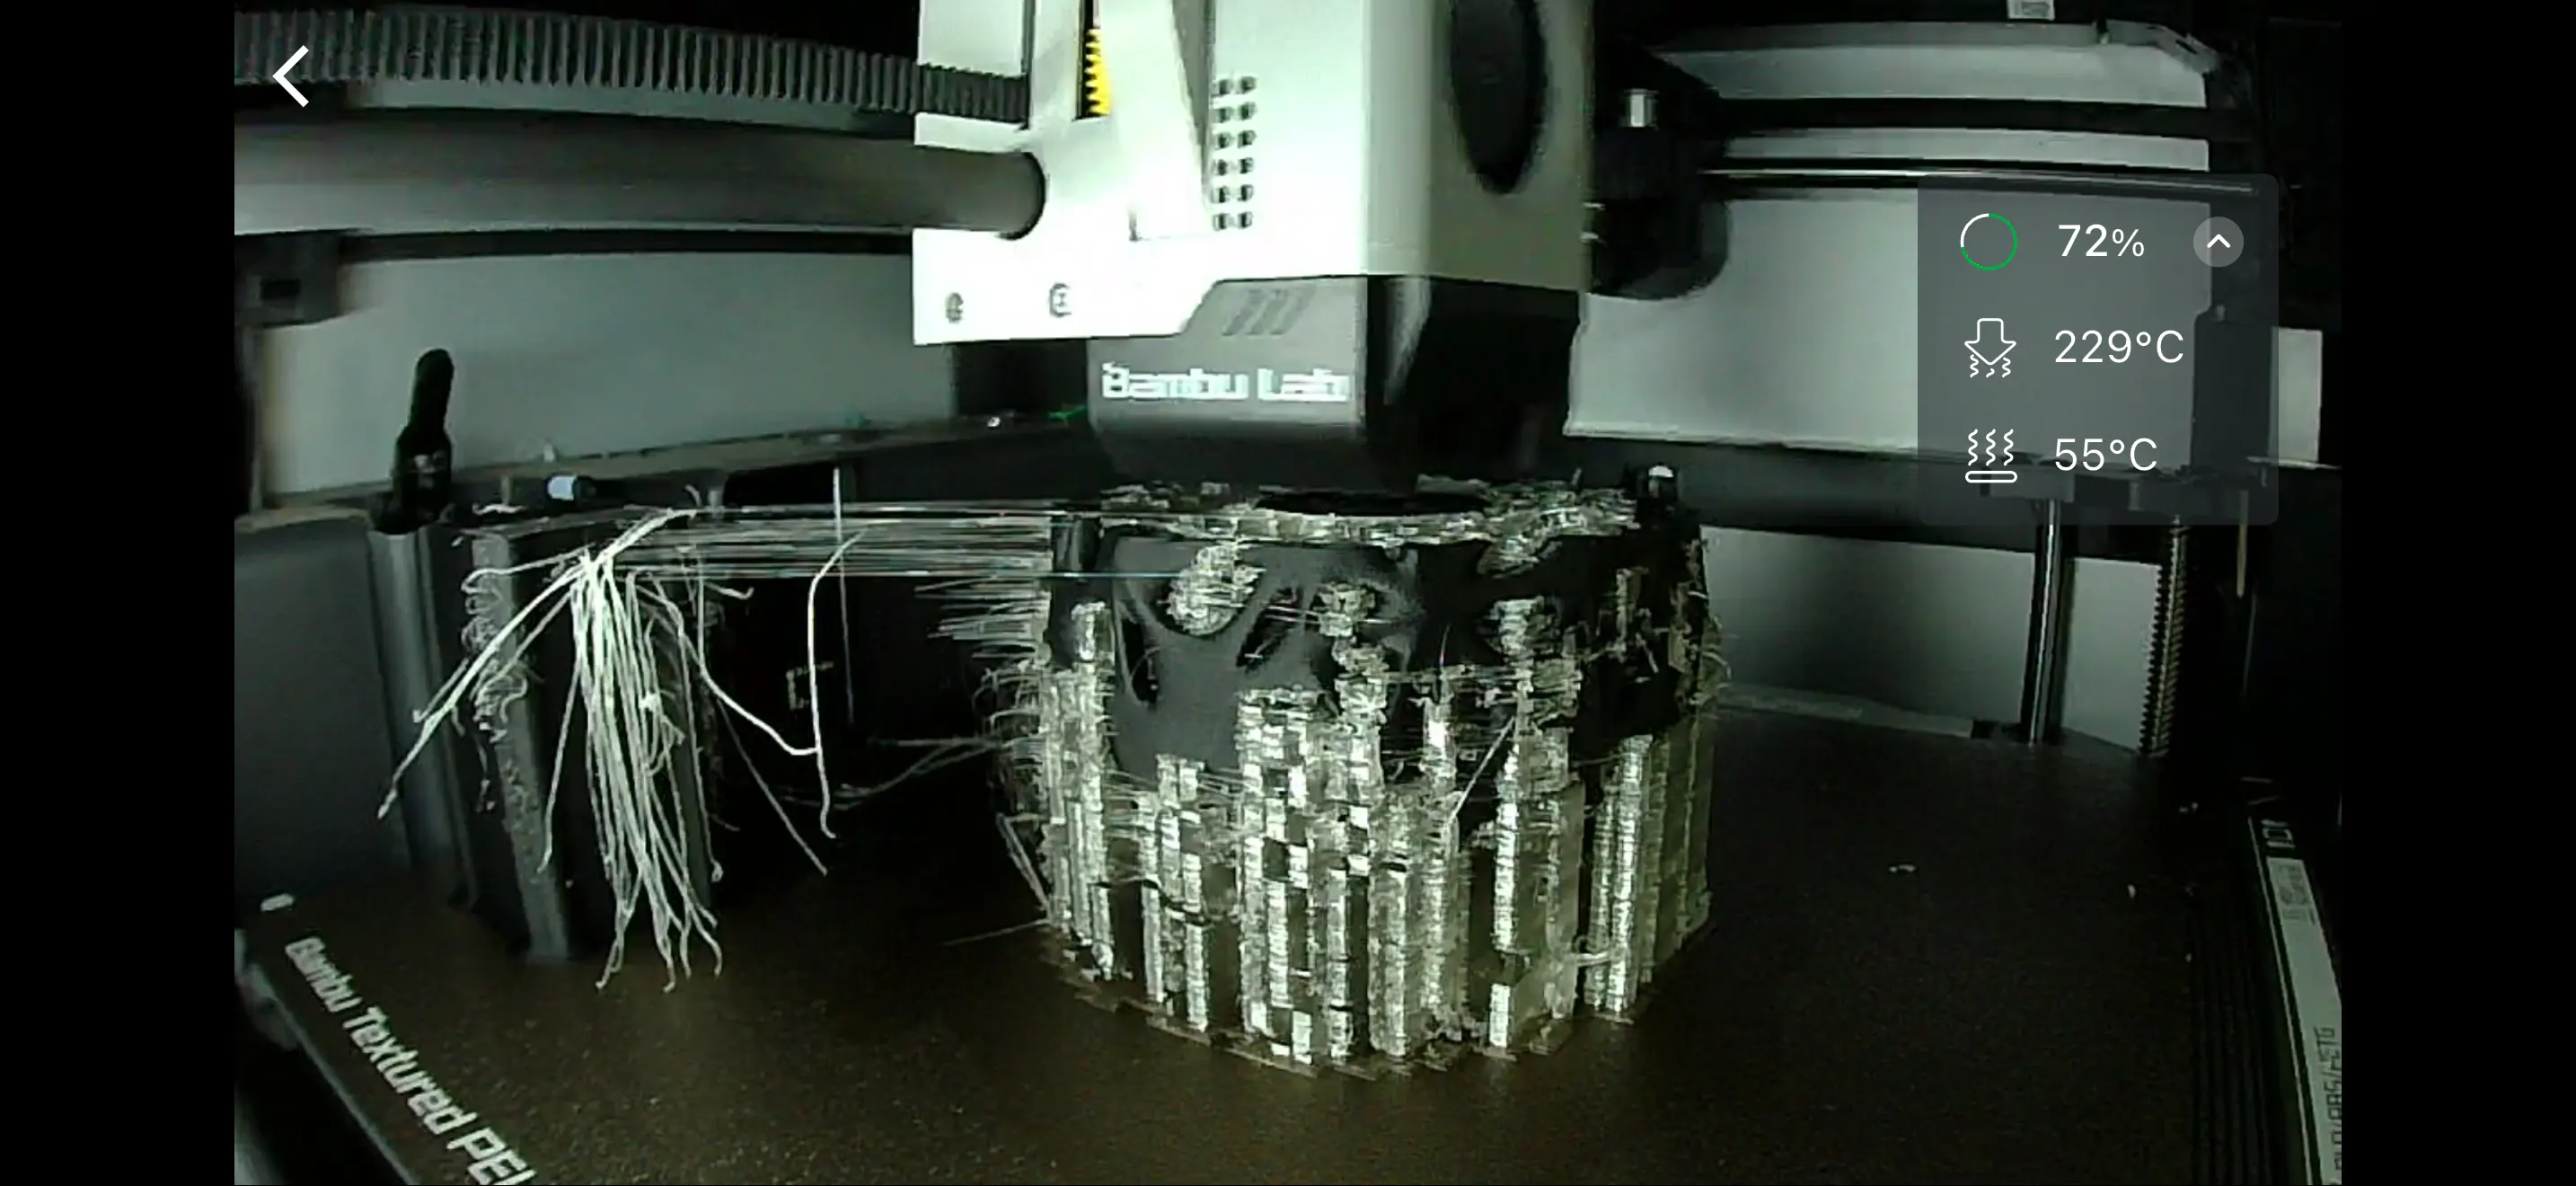
First attempt — failed print
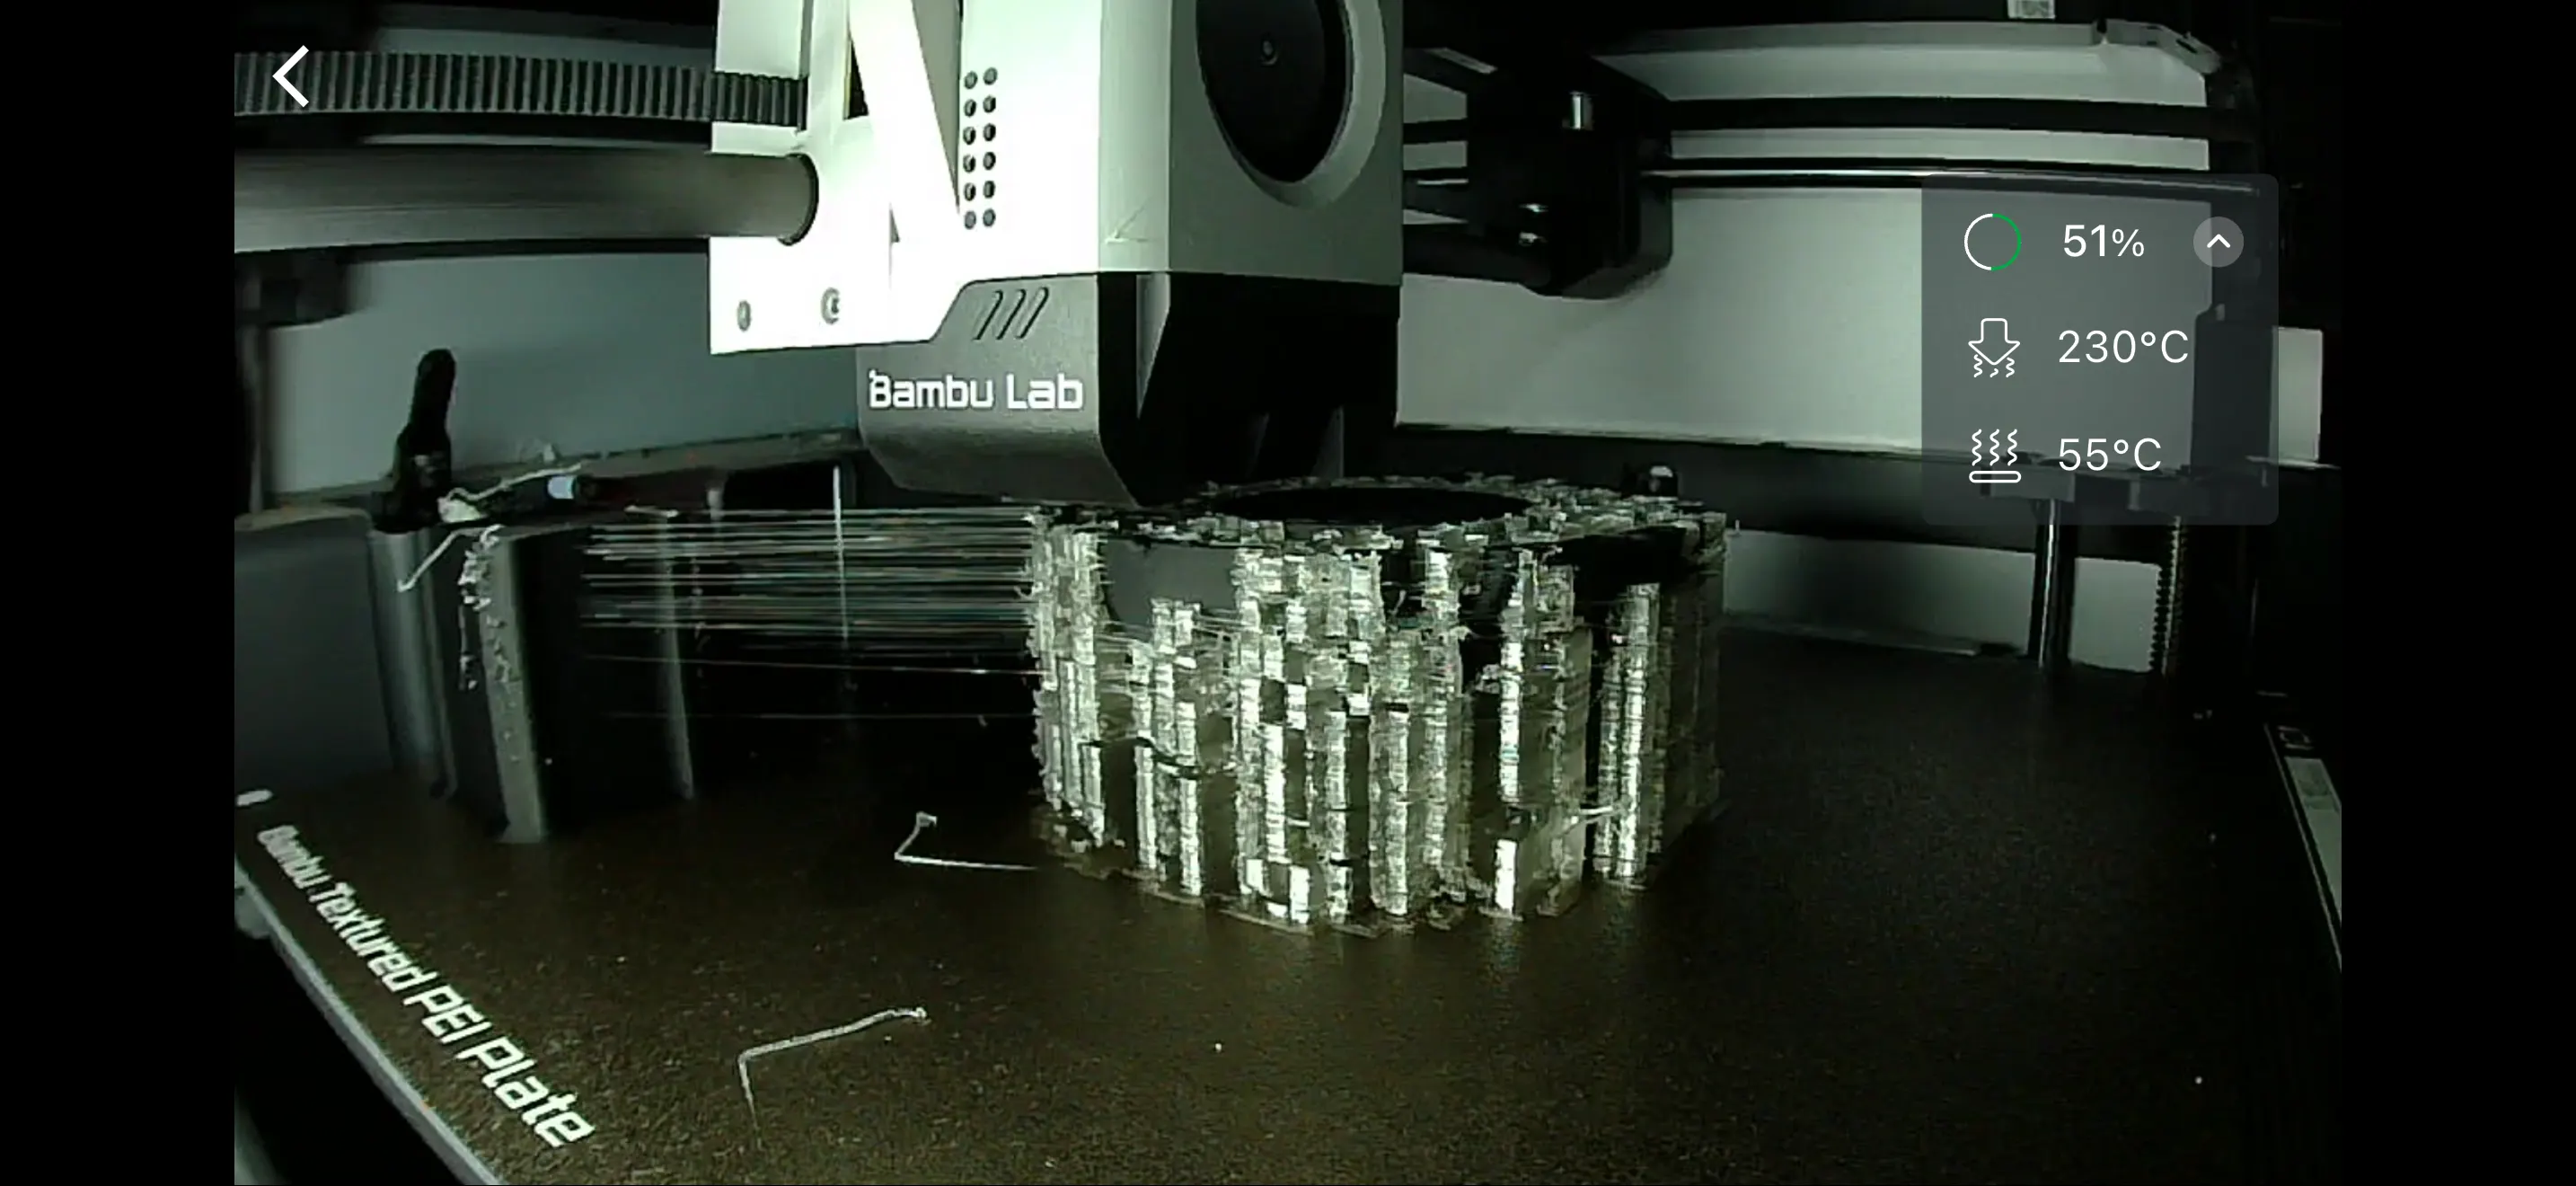
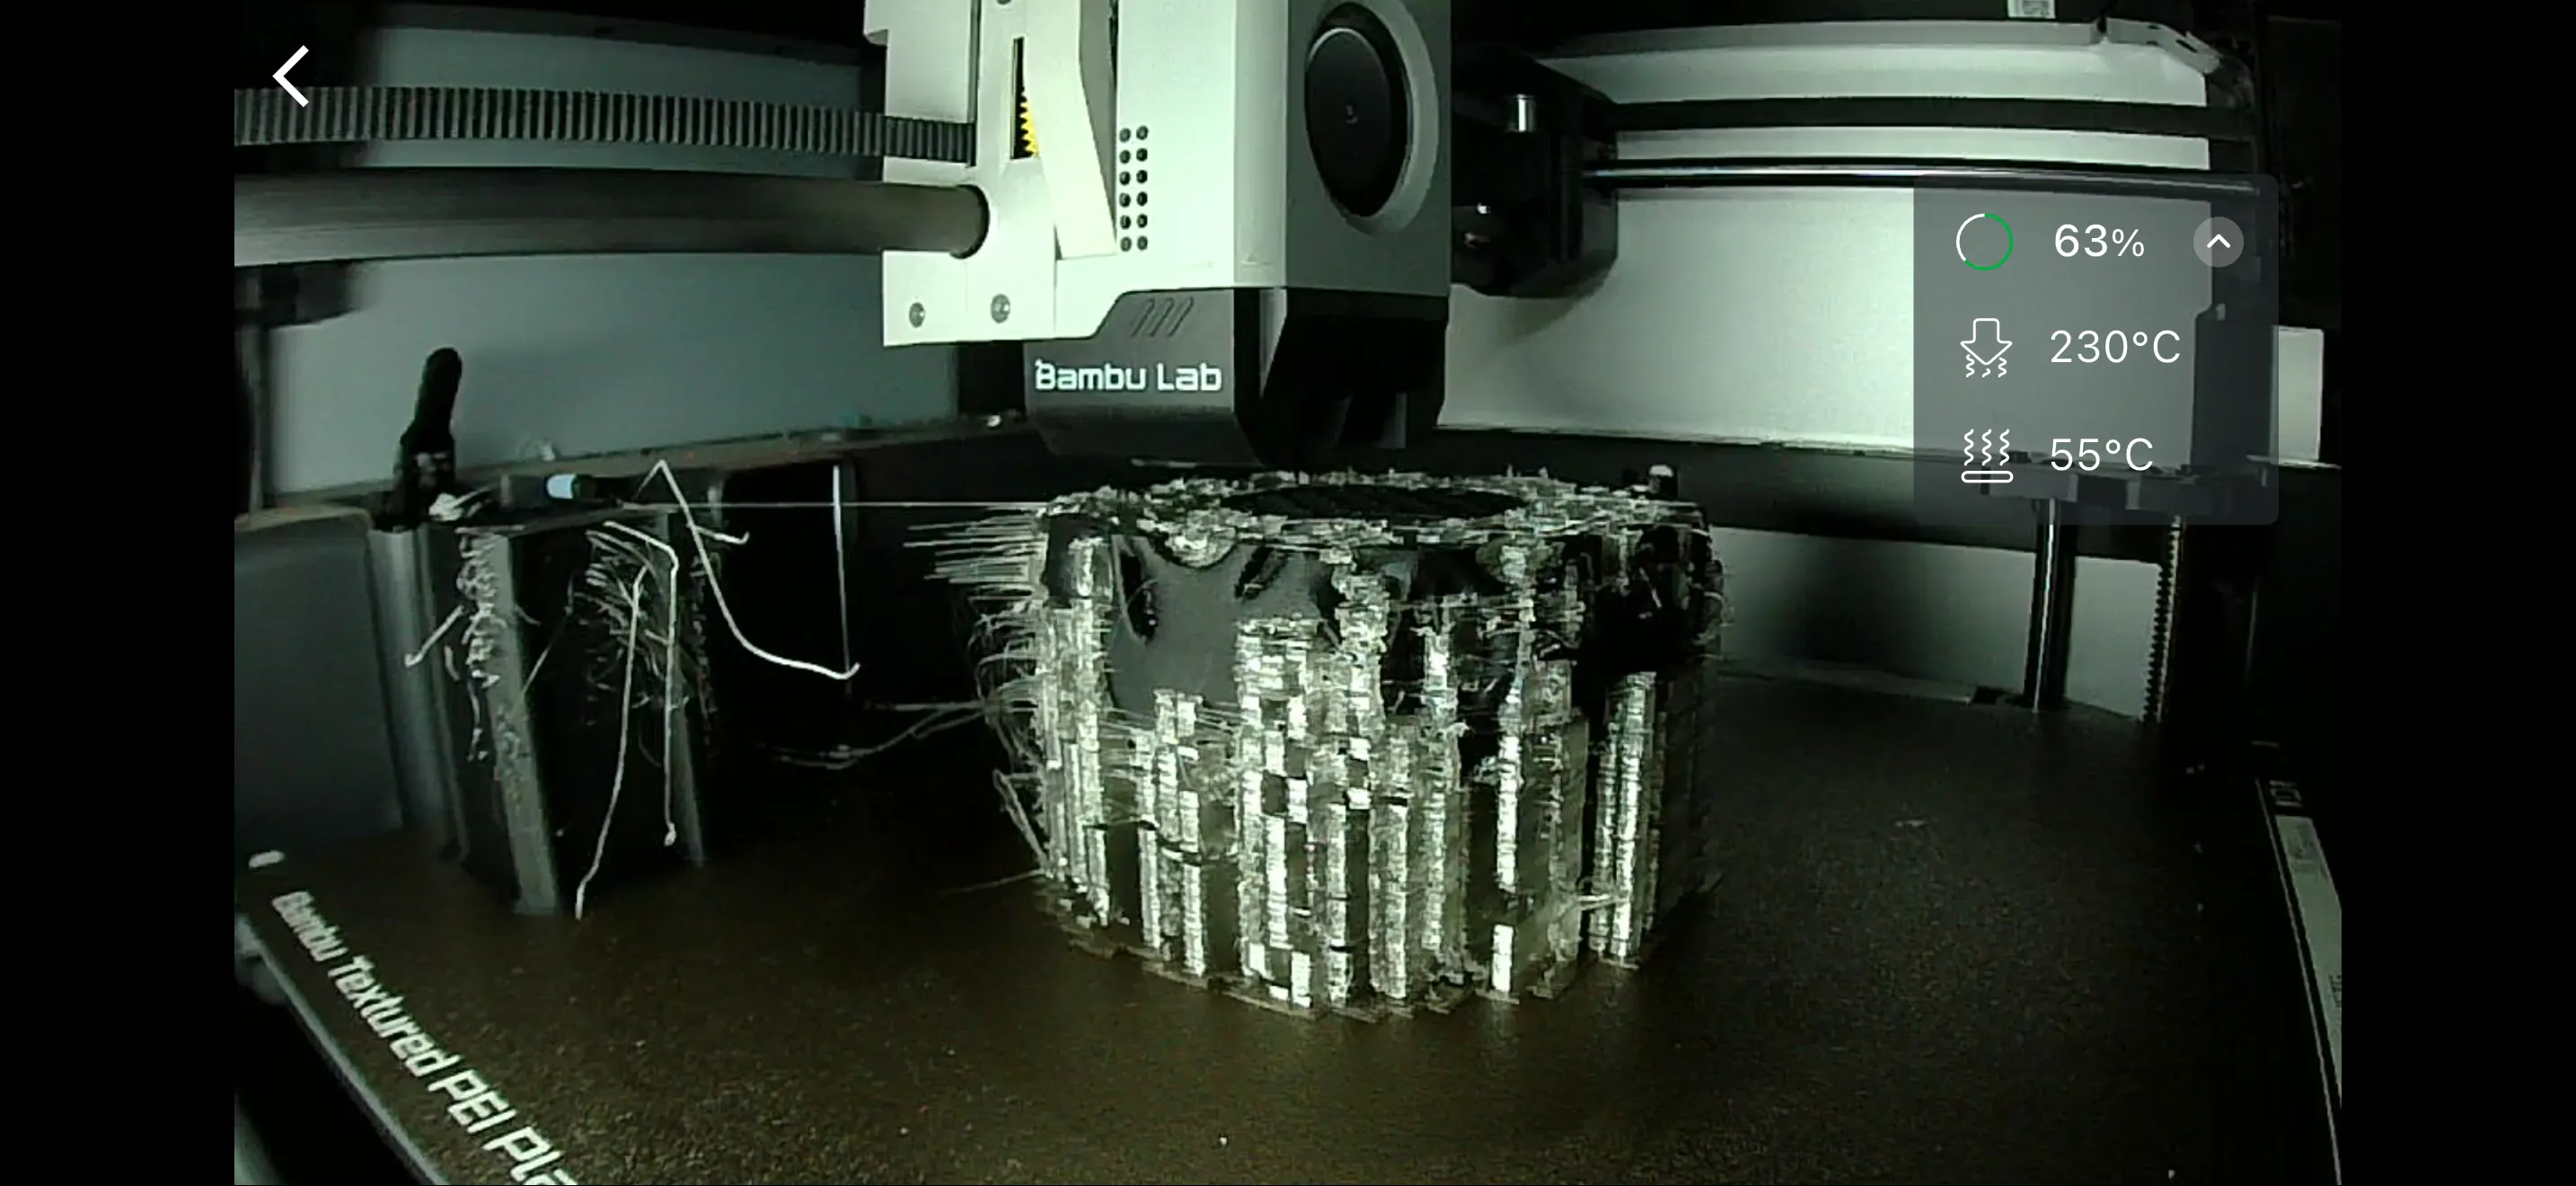
The first print attempt failed. The main problem was switching between PLA-CF and PVA during the print. Because I used a setup that required material switching on a single printing system, it created waste and unstable transitions.
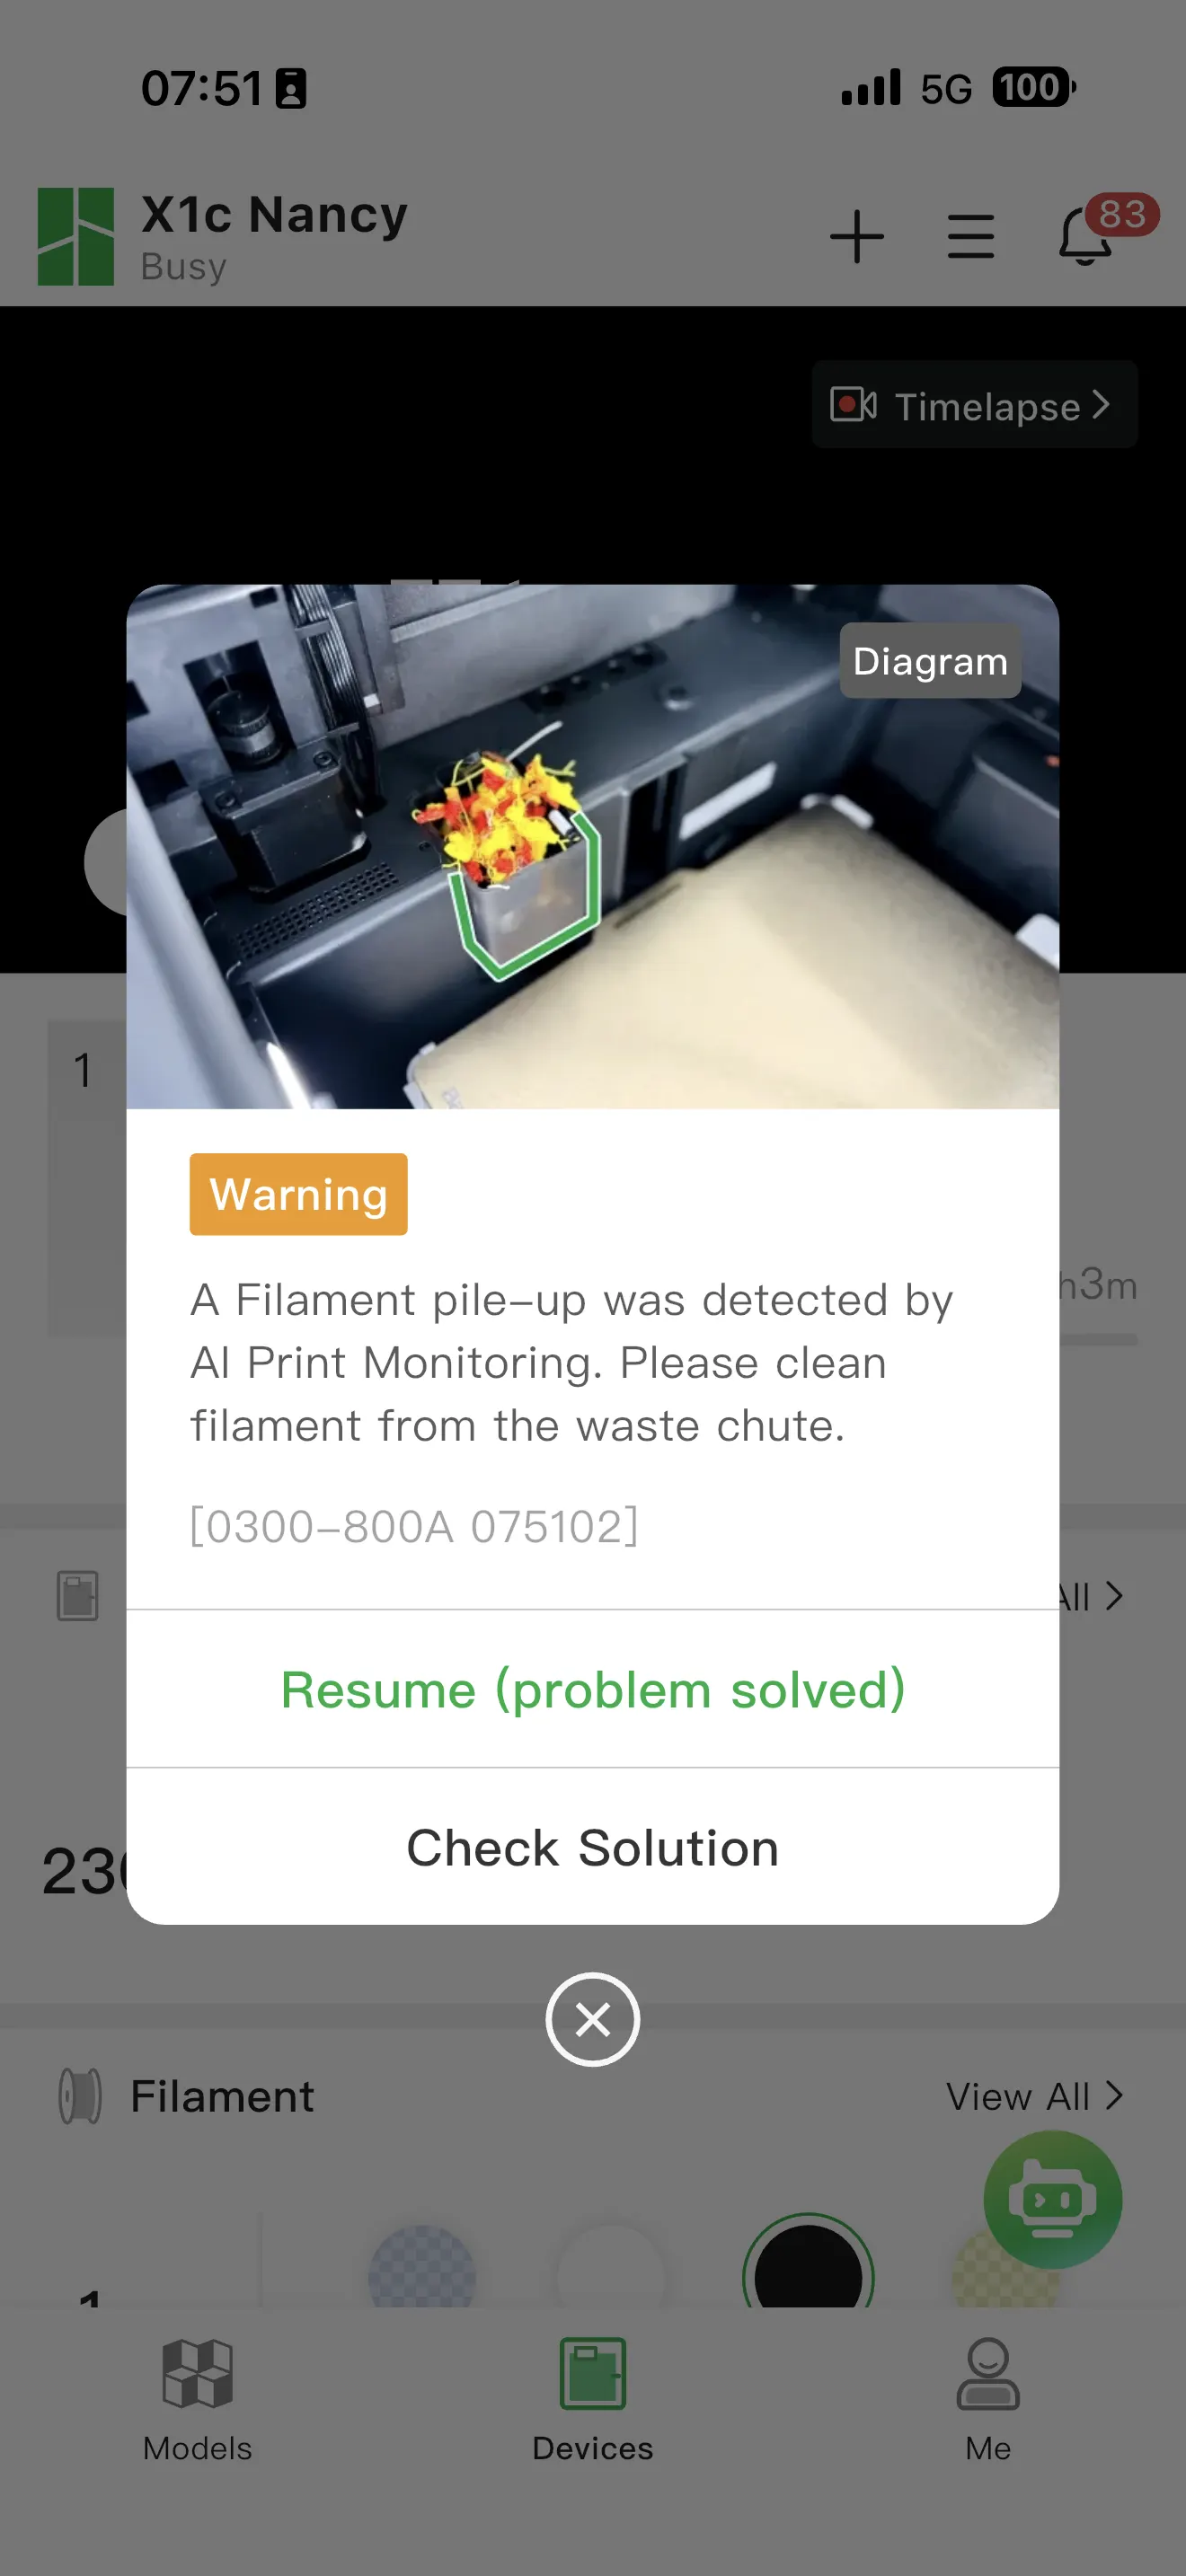
PVA is softer and very sensitive to humidity, so during switching I got stringing, blobs, messy support extrusion, and unstable support generation. The total print time was also very long (about 25 hours), which made the process risky and required supervision.
Problems identified (lessons from the failed print)
1) PVA + another material needs a reliable setup
Using PVA is useful for complex supports, but it needs dry filament, good support settings, stable material changes, and correct temperature and purge tuning.
2) Single-head / single-nozzle switching wastes material
When the printer must switch materials frequently, there is a lot of purge waste and transition time. This causes longer print times, more material waste, and more risk of failure. A dual-head / dual-nozzle printer is better for frequent switching between model and support materials.
3) Long print time increases the failure risk
A 25-hour print means any small issue can become a major failure. For long prints, monitoring and print strategy are very important.
Notes on using PVA support (dissolvable supports)
PVA is a water-soluble support material that is useful for complex prints, internal cavities, and delicate structures.
Why use PVA support
- Supports are inside the object
- Supports are hard to remove manually
- The printed shape is fragile
- Cleaner support contact surfaces are needed
Important requirements for PVA
1) Keep PVA dry
PVA is highly hygroscopic (absorbs moisture from air very easily). If it becomes wet, it can cause stringing, poor extrusion, unstable support quality, and print failure risk.
Best practice:
- Store in an airtight container
- Use desiccant
- Keep humidity low
- Dry filament before printing if needed
2) Check compatibility and slicer setup
- Model material compatibility (commonly PLA + PVA)
- Nozzle temperatures for both materials
- Support interface settings
- Purge and transition settings
- Support density and pattern
3) Multi-material hardware matters
If possible, use a dual-nozzle printer or a well-optimized multi-material system to reduce waste and improve switching reliability.
How to remove PVA support after printing
- Remove loose support by hand gently.
- Put the part in water (room temperature or warm water).
- Wait for the PVA to dissolve.
- Change the water if it becomes cloudy.
- Use gentle brushing or rinsing if needed.
- Dry the part completely.
Tips:
- Warm water usually dissolves PVA faster.
- Avoid very hot water if your main print material can deform.
- Internal cavities may need more time to fully dissolve.
- Agitation and changing water improve cleanup.
Second printing approach (successful method)
Printing setup
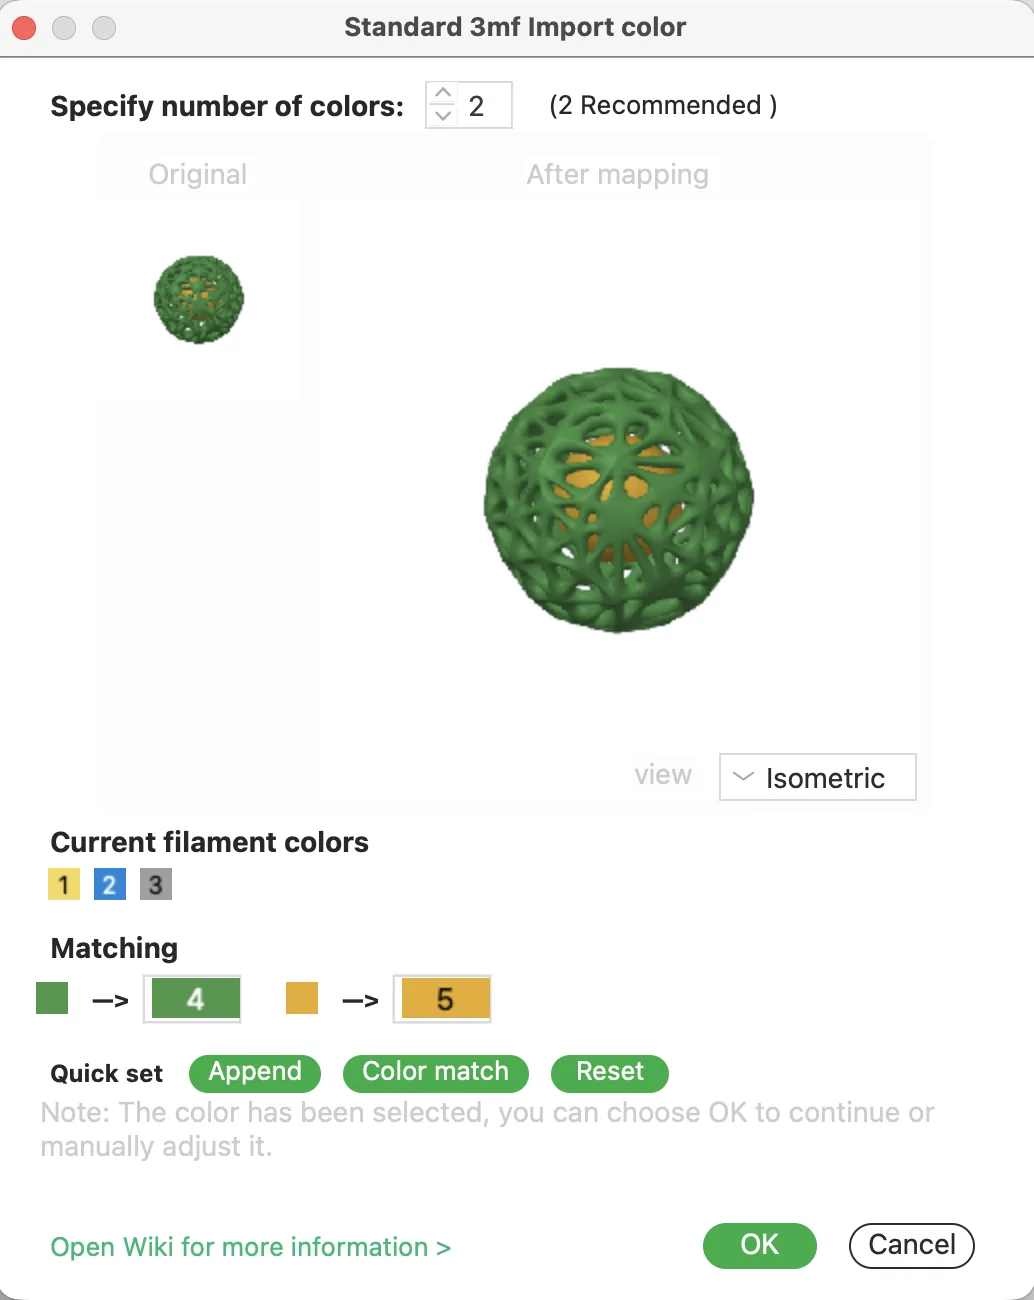
During import into Bambu Studio, the slicer asked me to match colors because the model contained two objects. I selected green and yellow, which matched the filament I had available.
Because the file contained two parts, the slicer also asked whether to import it as a single object or as multiple parts.
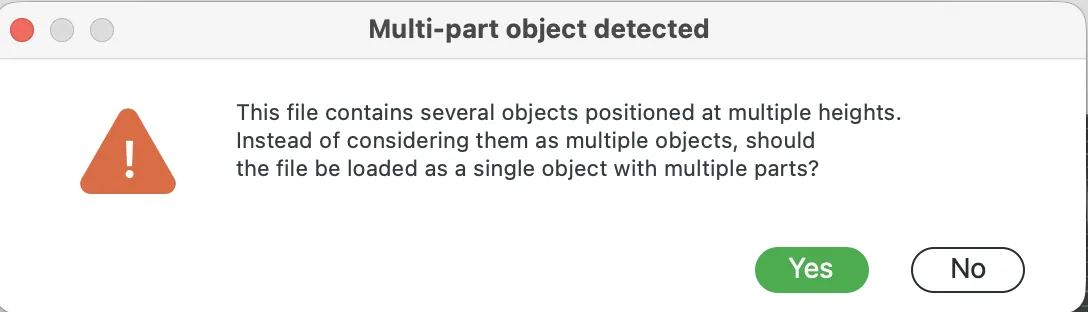
I wanted to print the parts separately, so I kept them as separate objects.
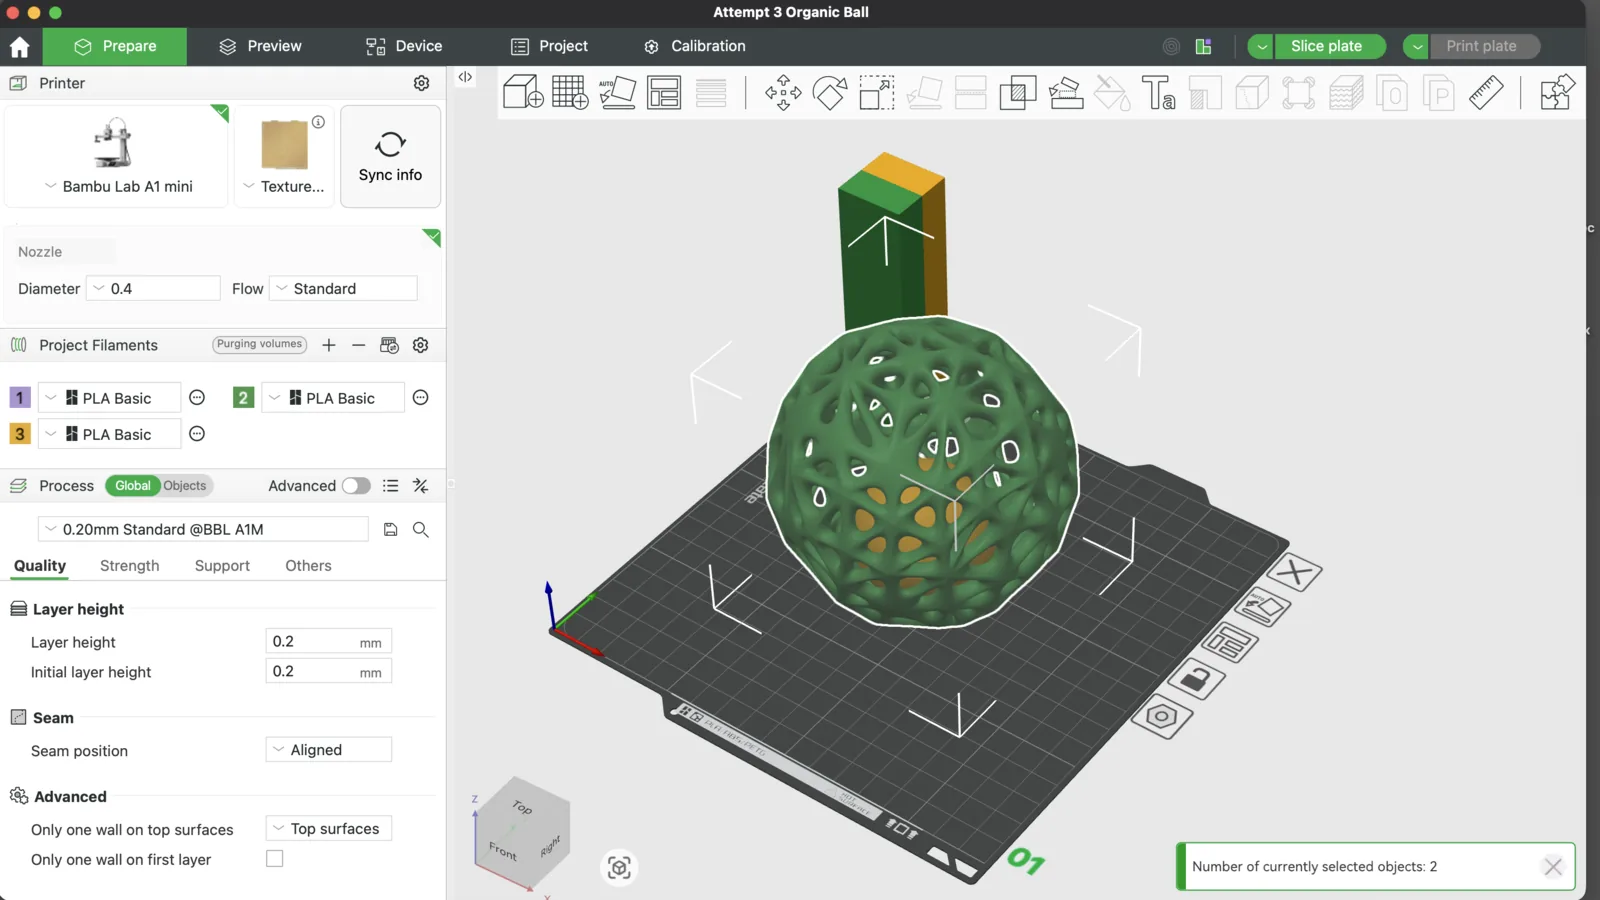
After creating one more plate, I could move one object away from the other so they would not print together on the same setup.
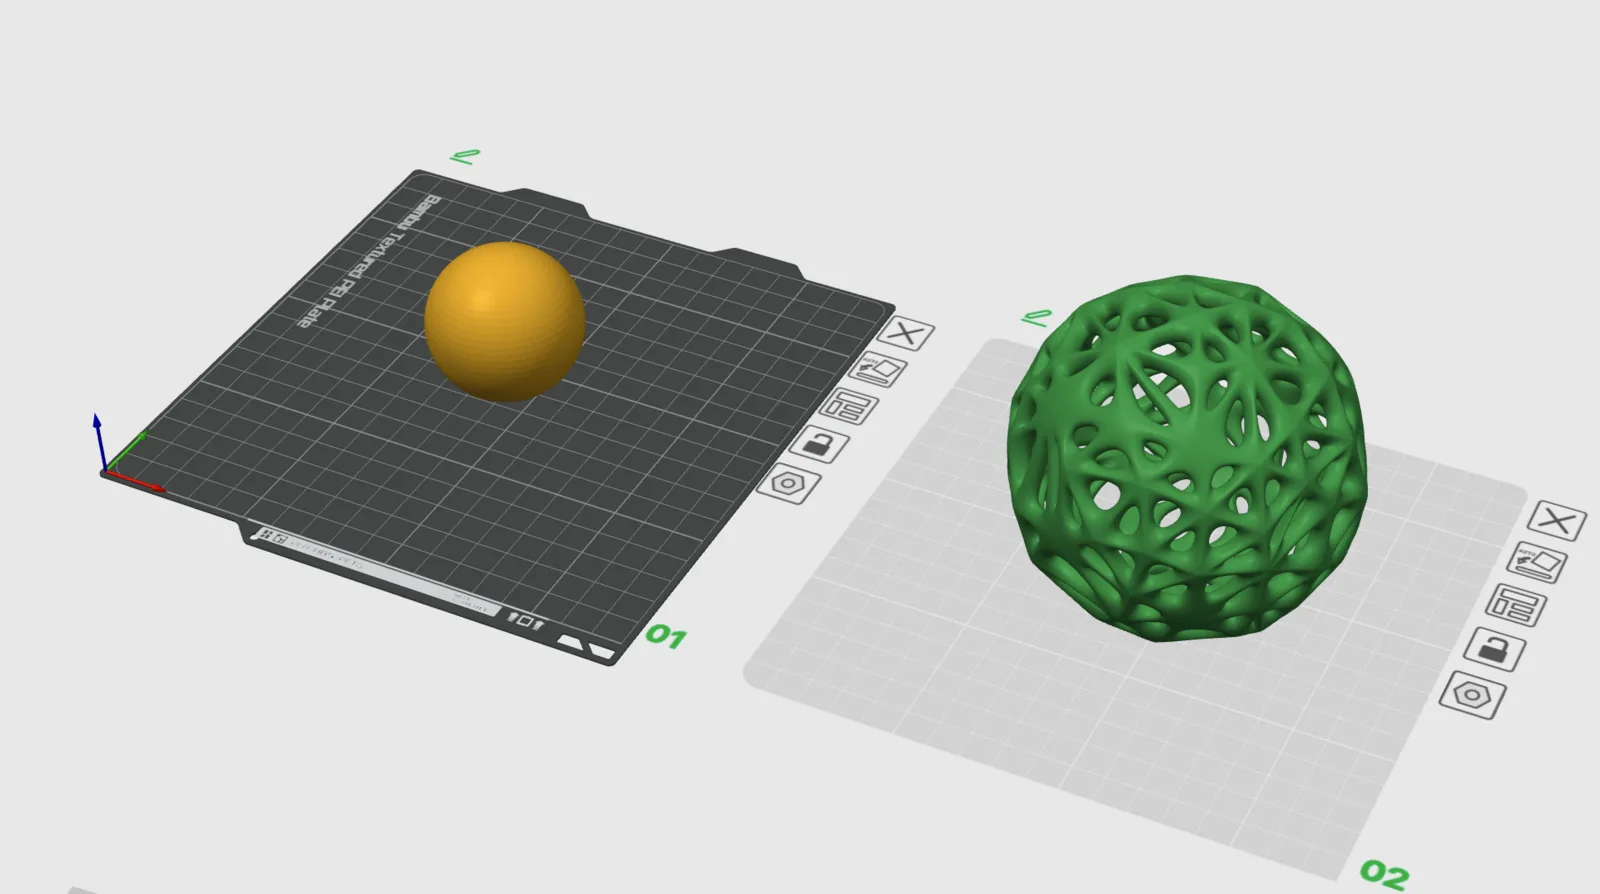
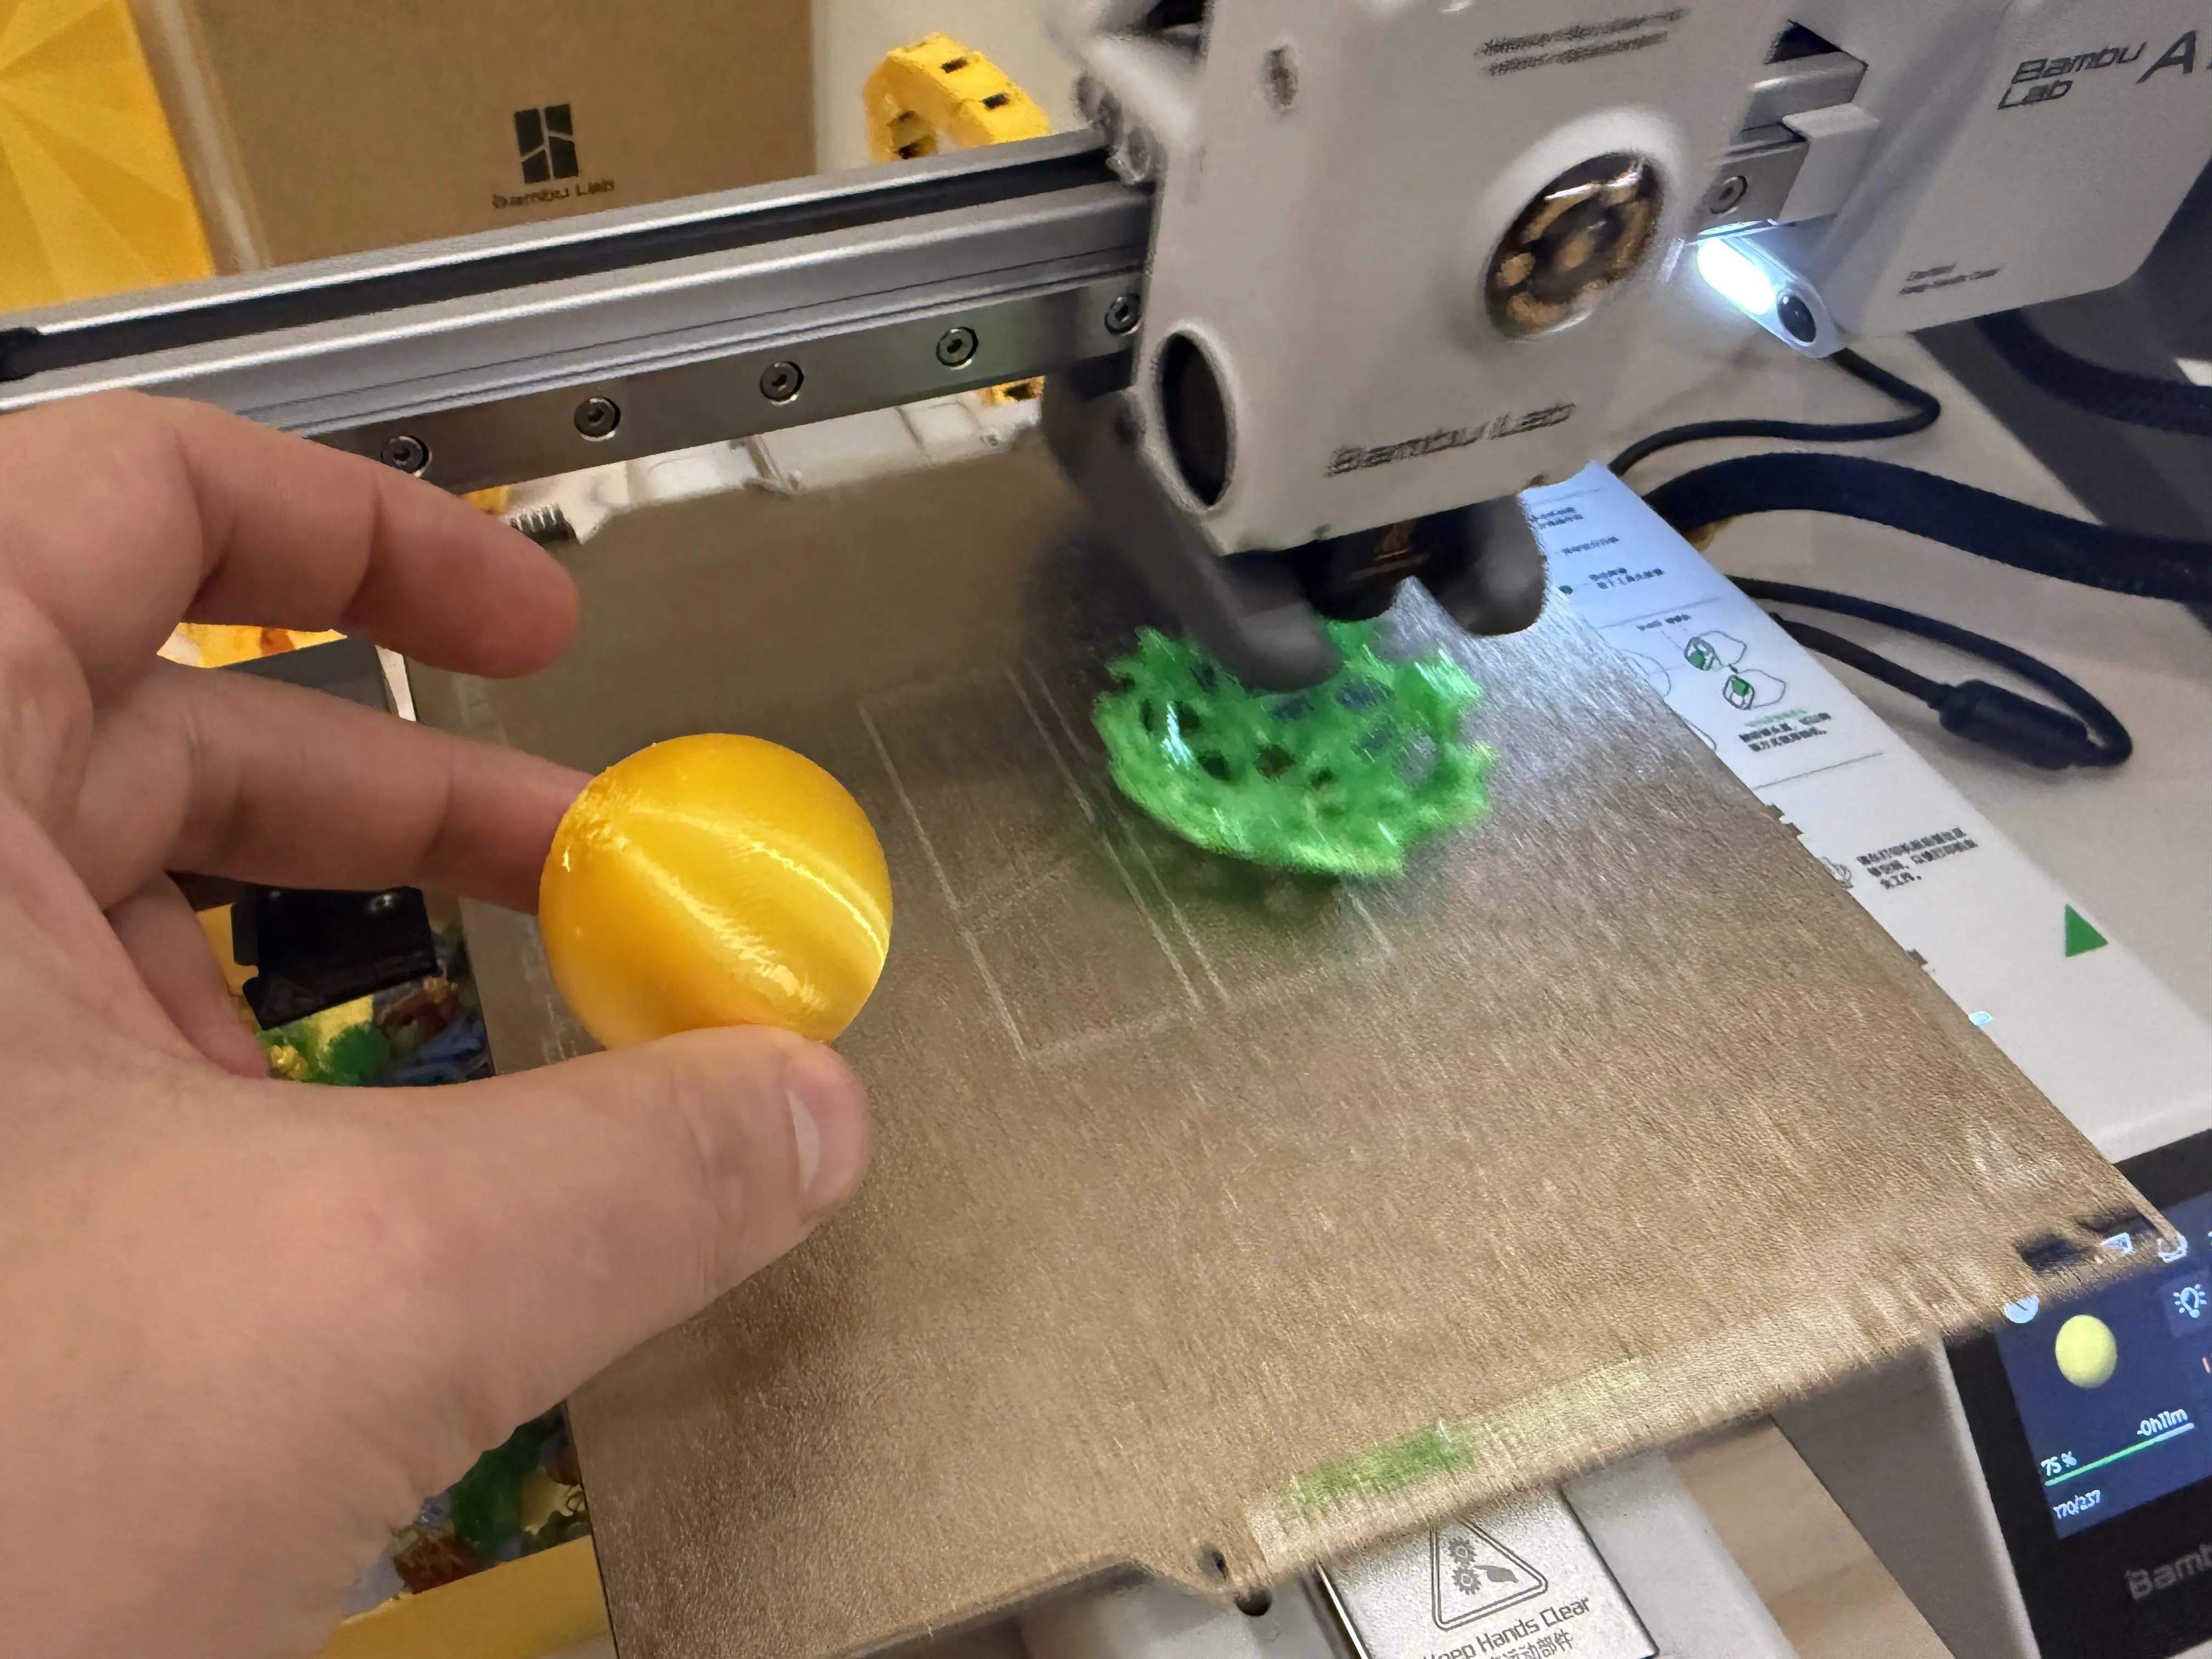
After the failed attempt, I changed my strategy. Instead of printing the entire object in one dual-material process, I printed the inner ball separately and the outer shell as a separate print.
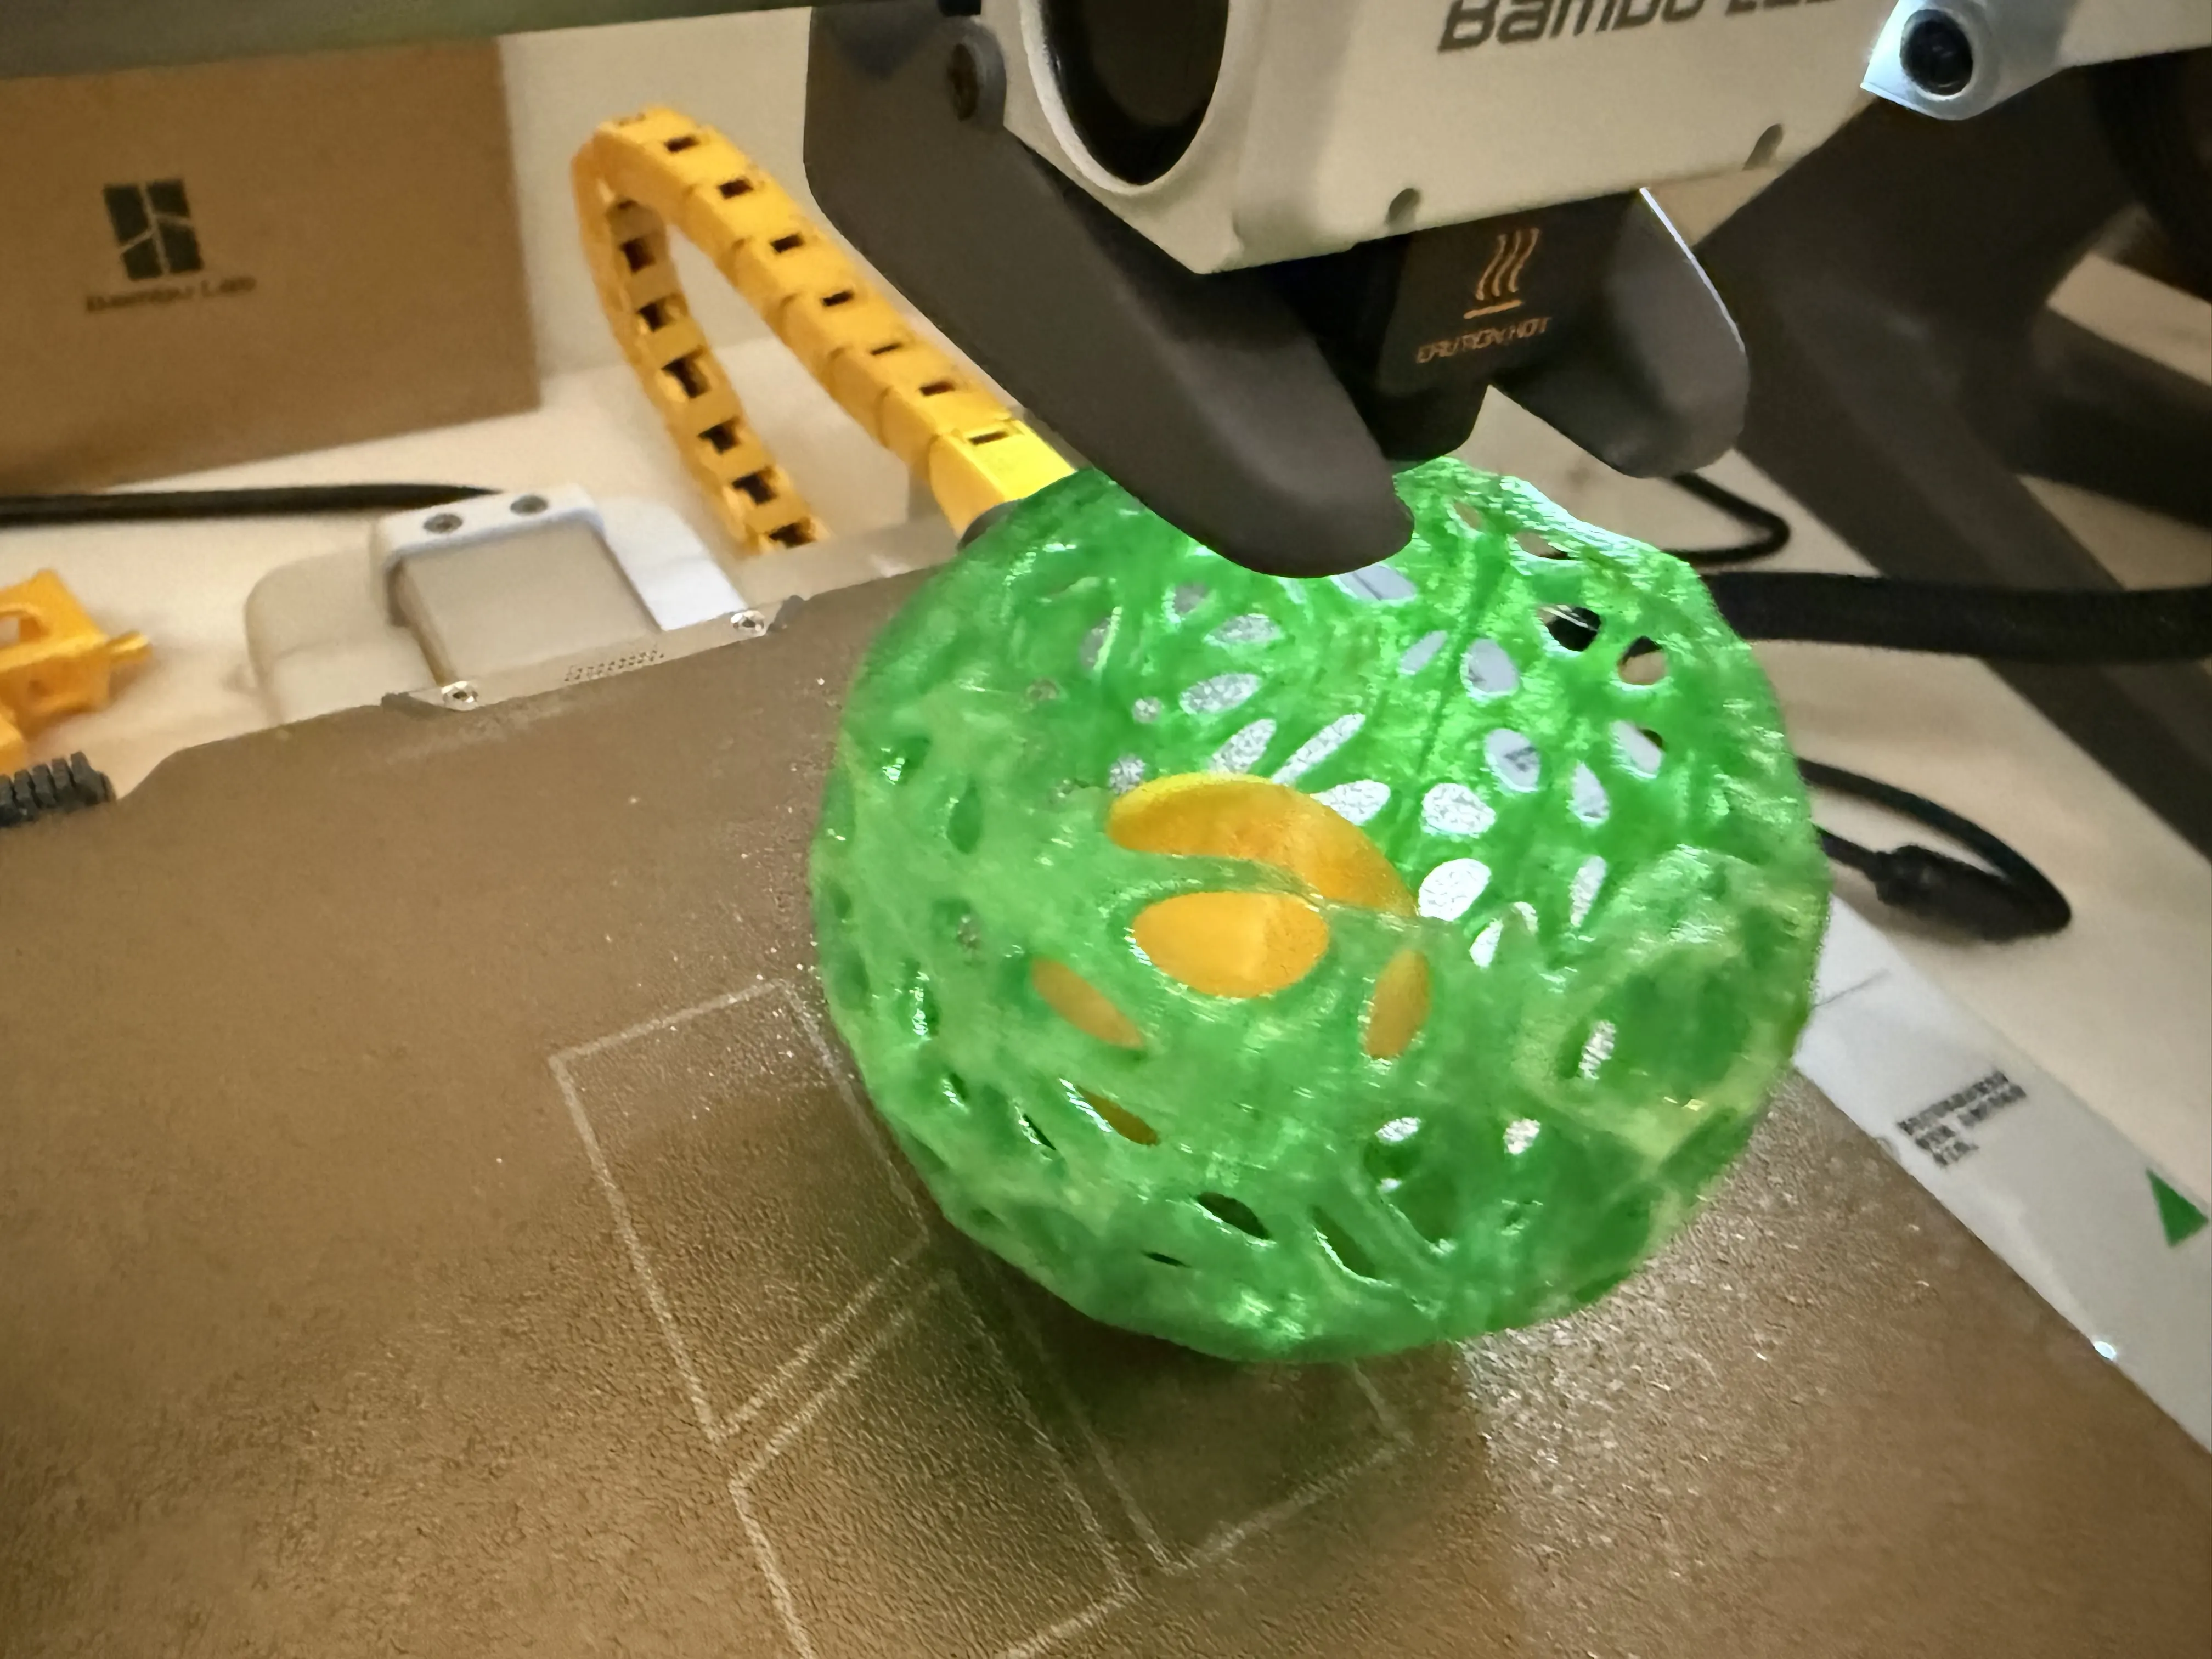
During the outer shell print, I paused the printer, inserted the inner ball, and resumed printing to close the outer shell. This method was much more reliable and gave a successful result.
Why this object is not easily made subtractively
- Nested parts (inner ball trapped inside)
- Enclosed geometry
- Organic lattice form
- Internal spaces that are very difficult to machine subtractively
It would be extremely difficult, or impossible as one piece, to make this object by CNC milling or other standard subtractive processes.
What I learned from the 3D printing task
- Design for additive manufacturing is not only geometry, but also fabrication planning.
- Soluble supports are powerful but require good material handling.
- PVA support can improve support removal for complex geometry, but only if the process is stable.
- A hybrid strategy (separate parts + insert during print) can be more reliable than full dual-material print.
- Long prints need risk reduction through tests, smaller sections, or staged printing.
Individual Assignment — 3D Scanning
Scanning goal
For the 3D scanning part of Week 05, I tested three mobile scanning apps using the same object to compare workflow and results:
- Polycam
- Luma 3D
- Scaniverse
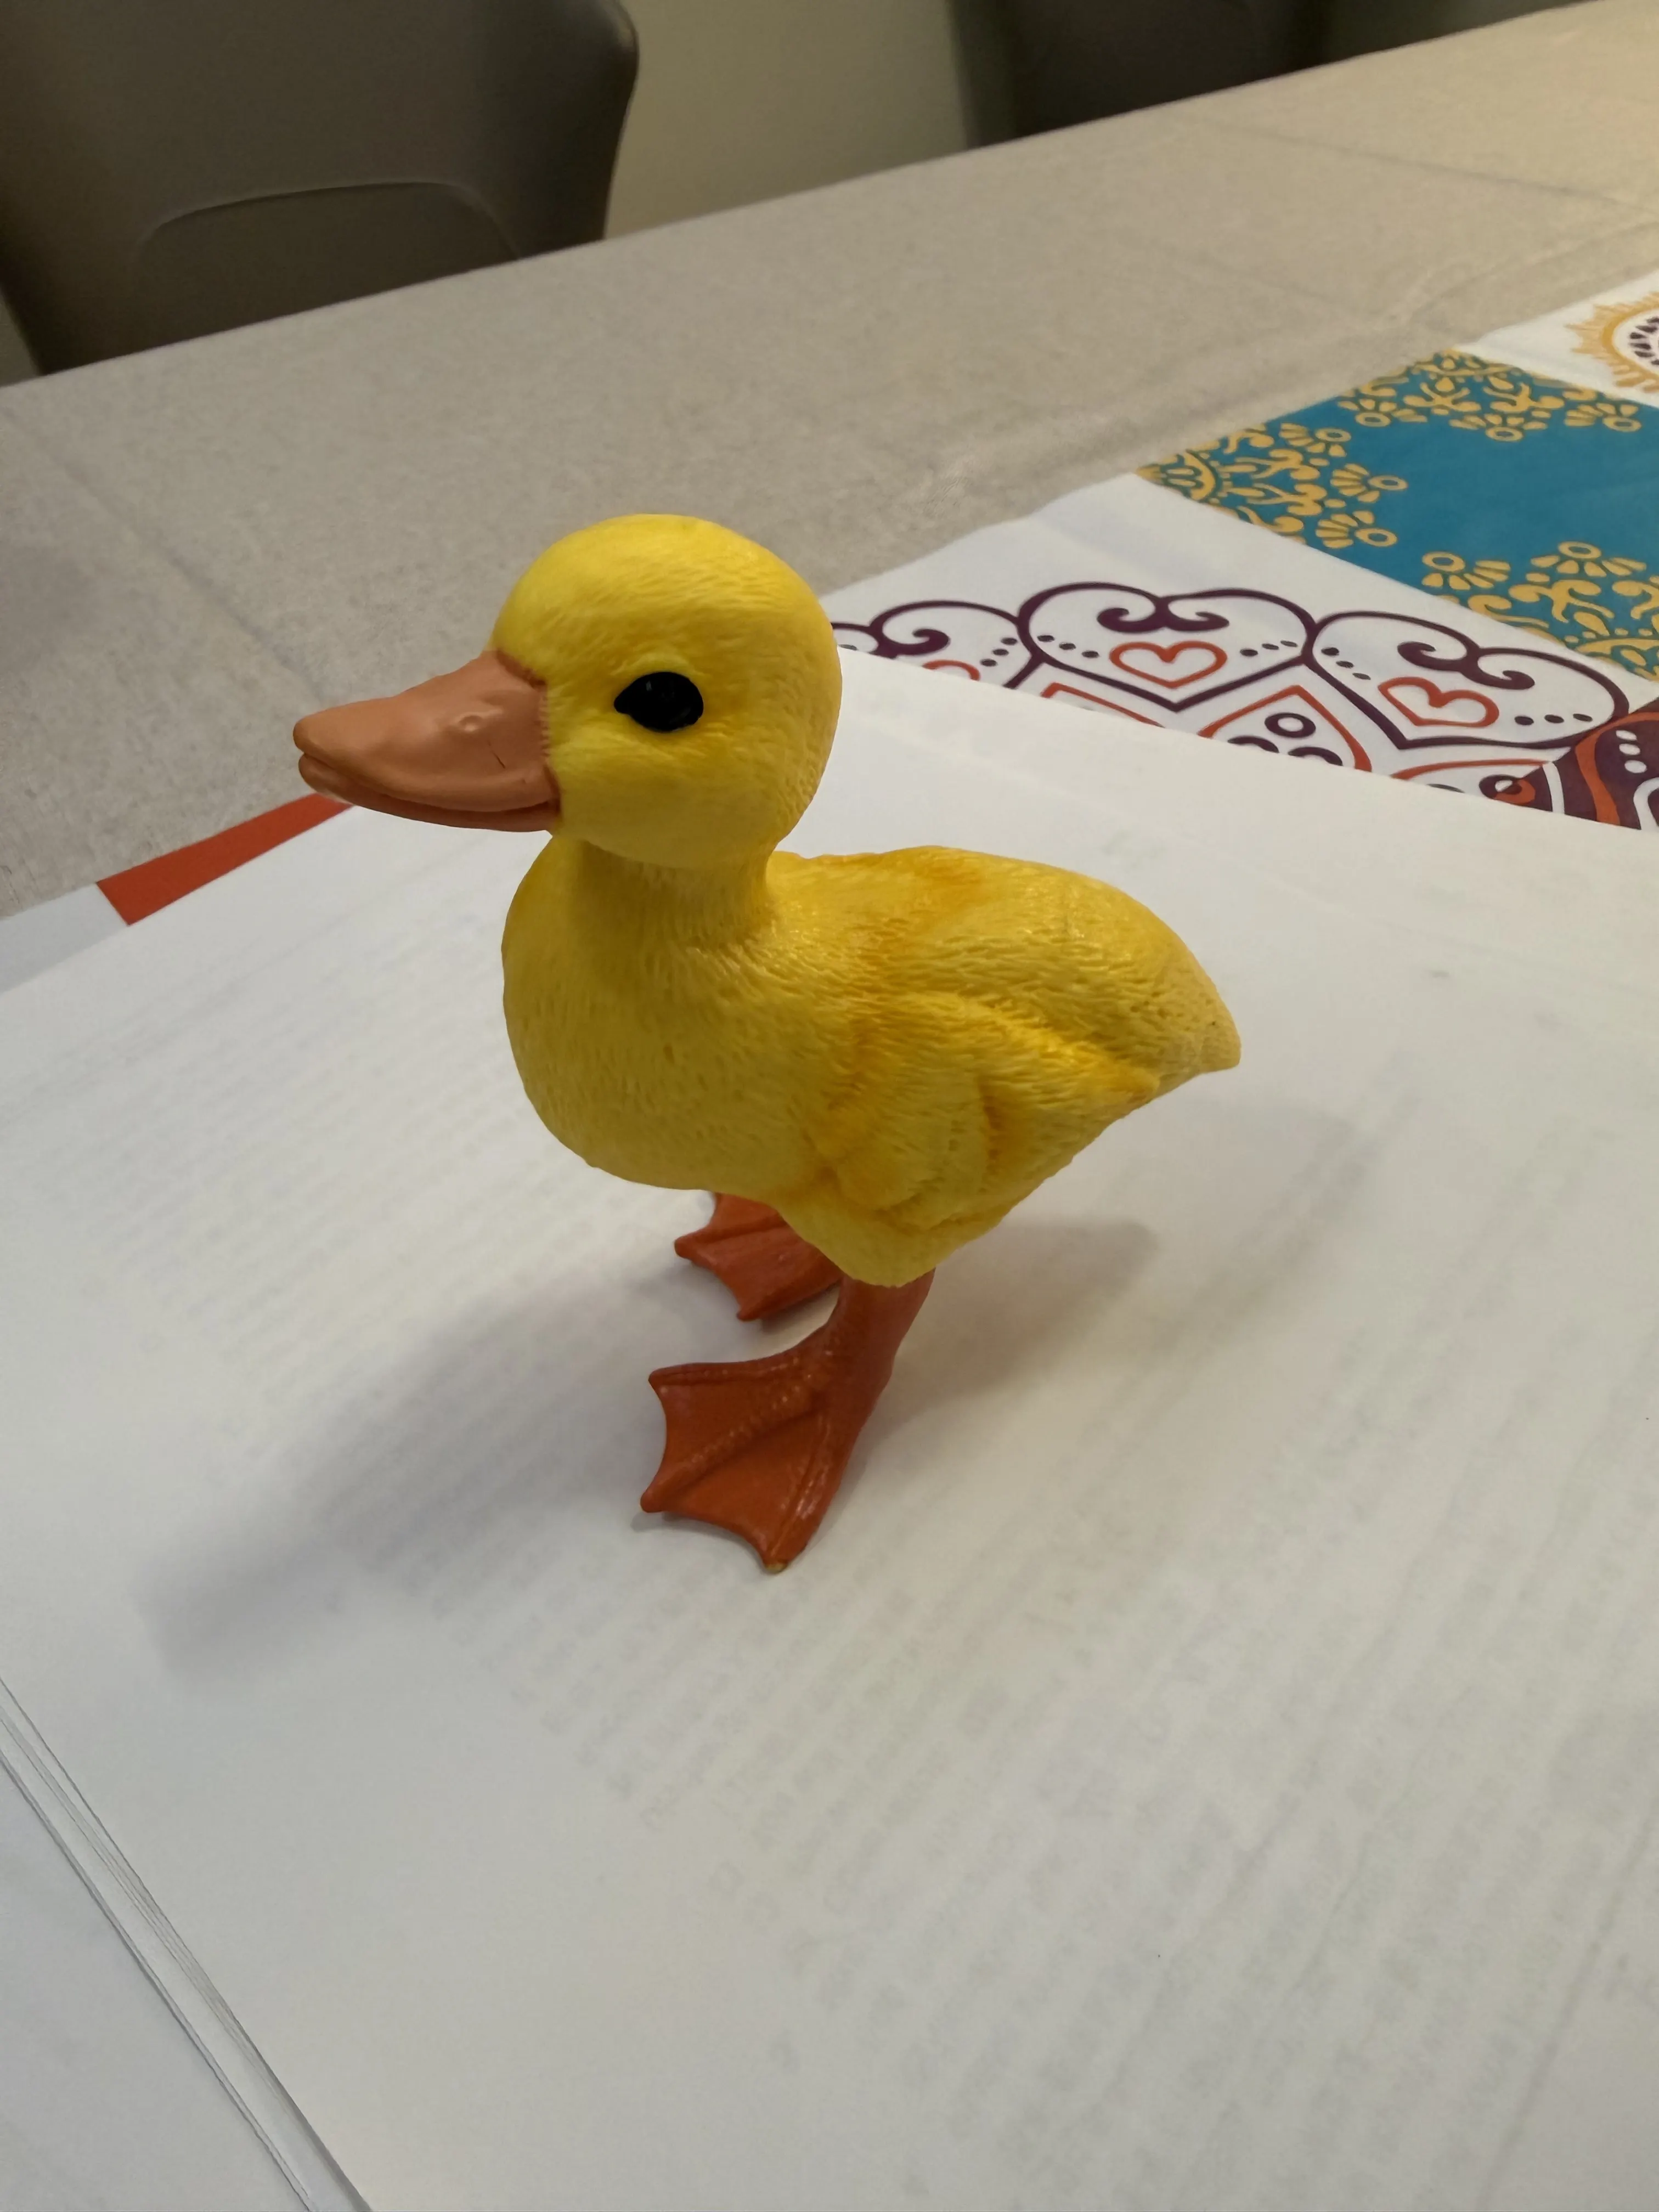
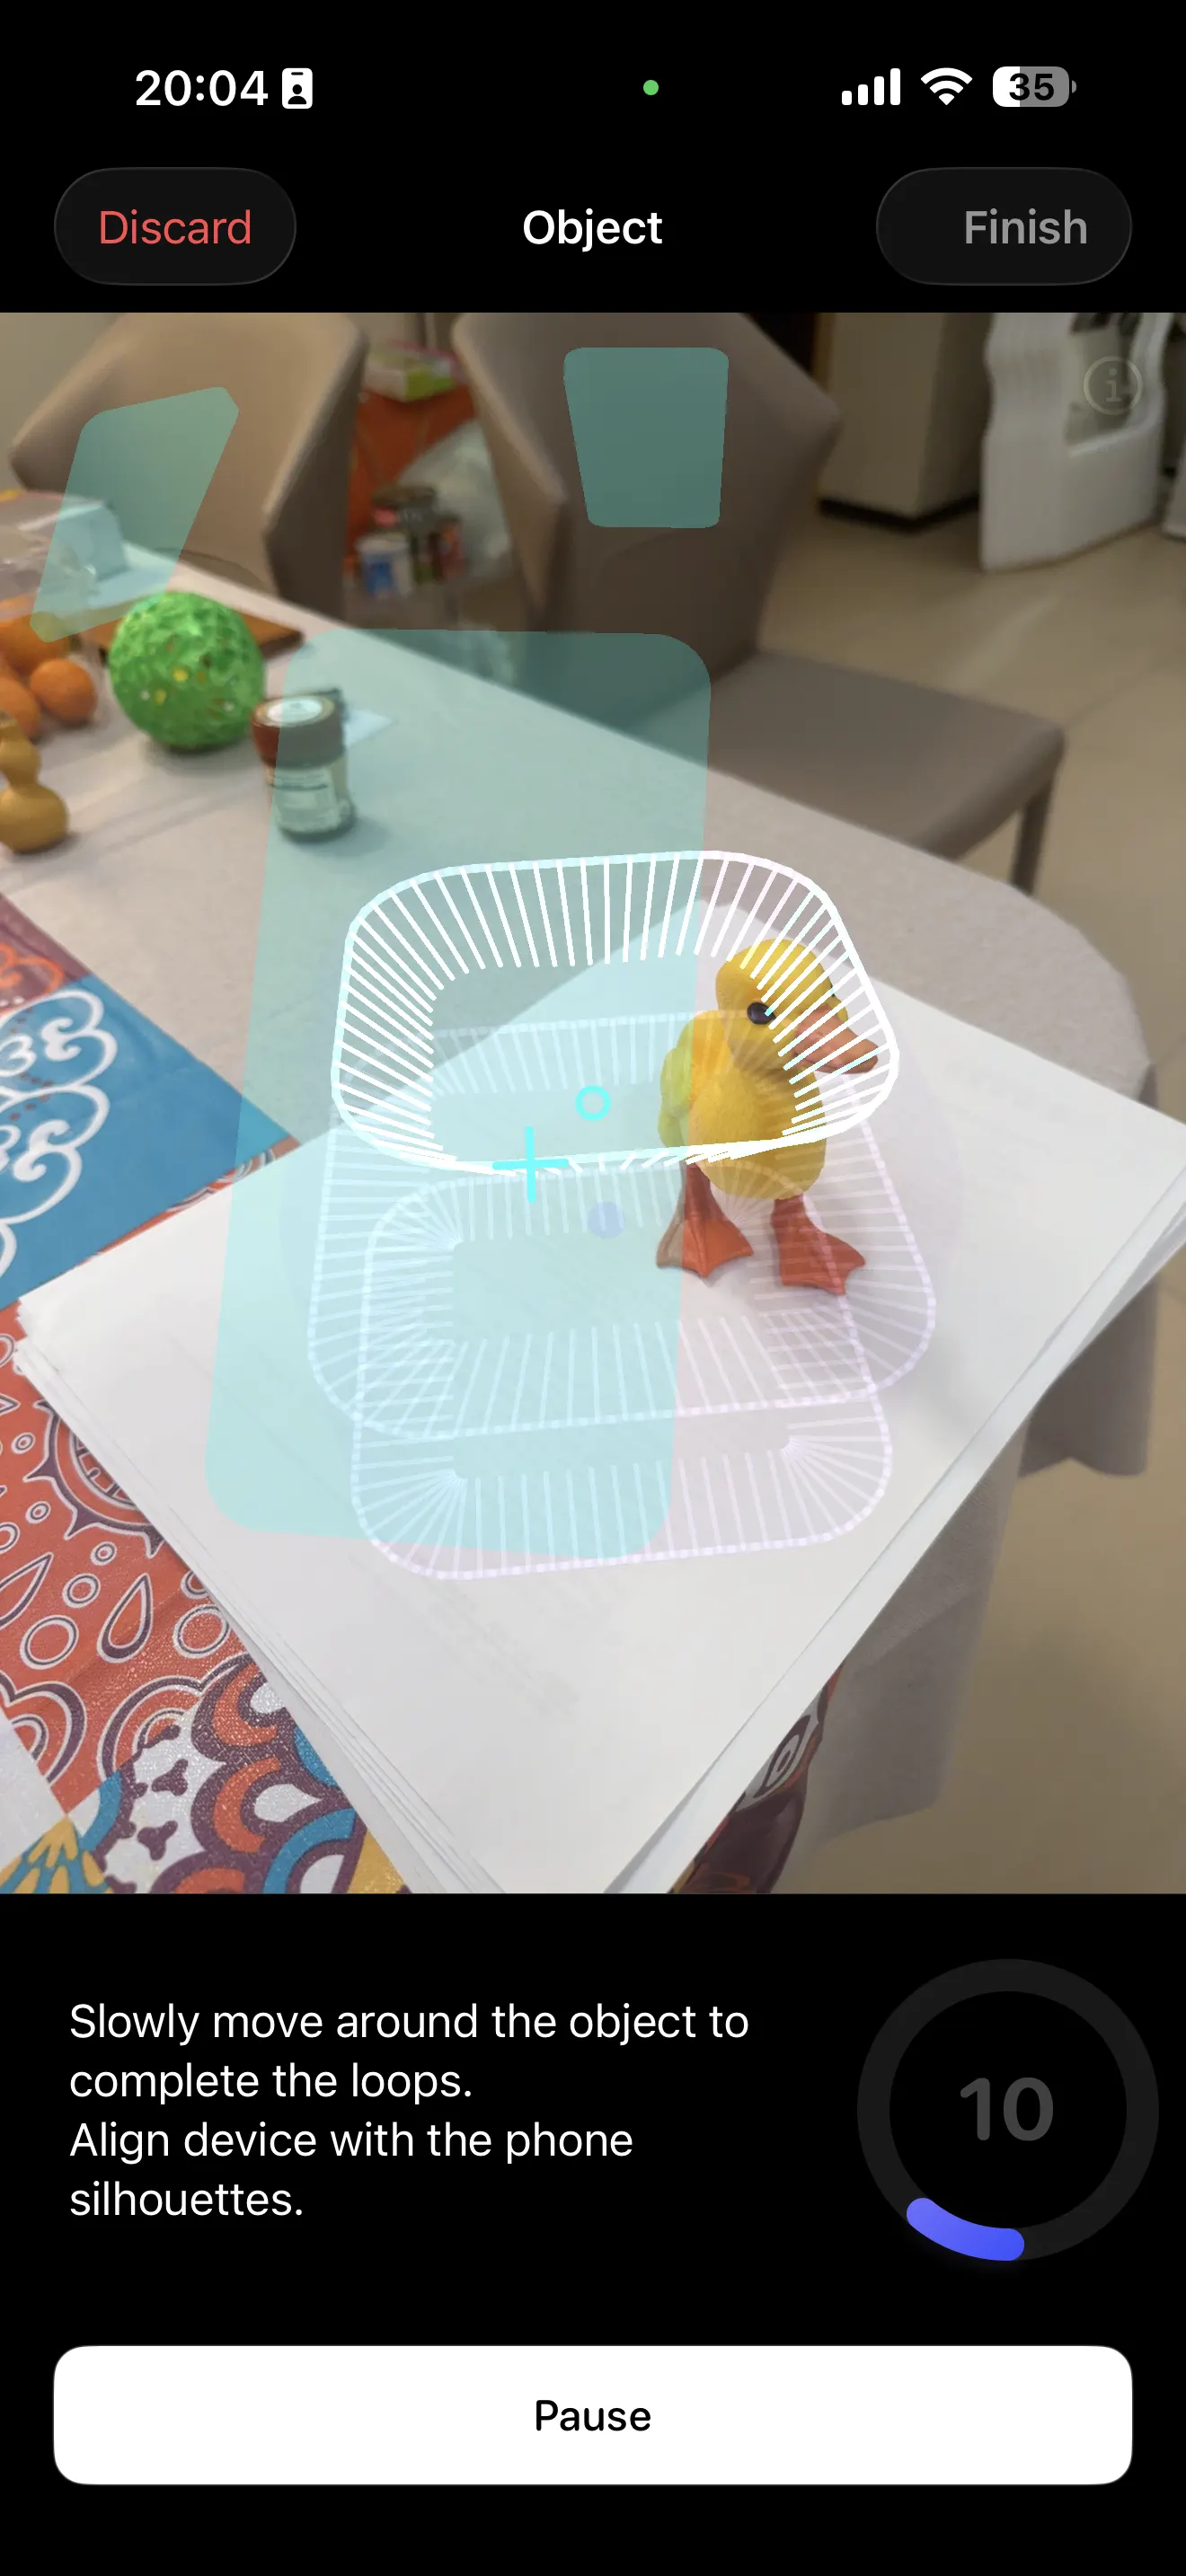
I used a yellow duck as the scanning object.
Scanning setup
To improve contrast and make tracking easier, I placed the duck on white paper, near the edge of the table, in open space with enough room to capture from multiple angles.
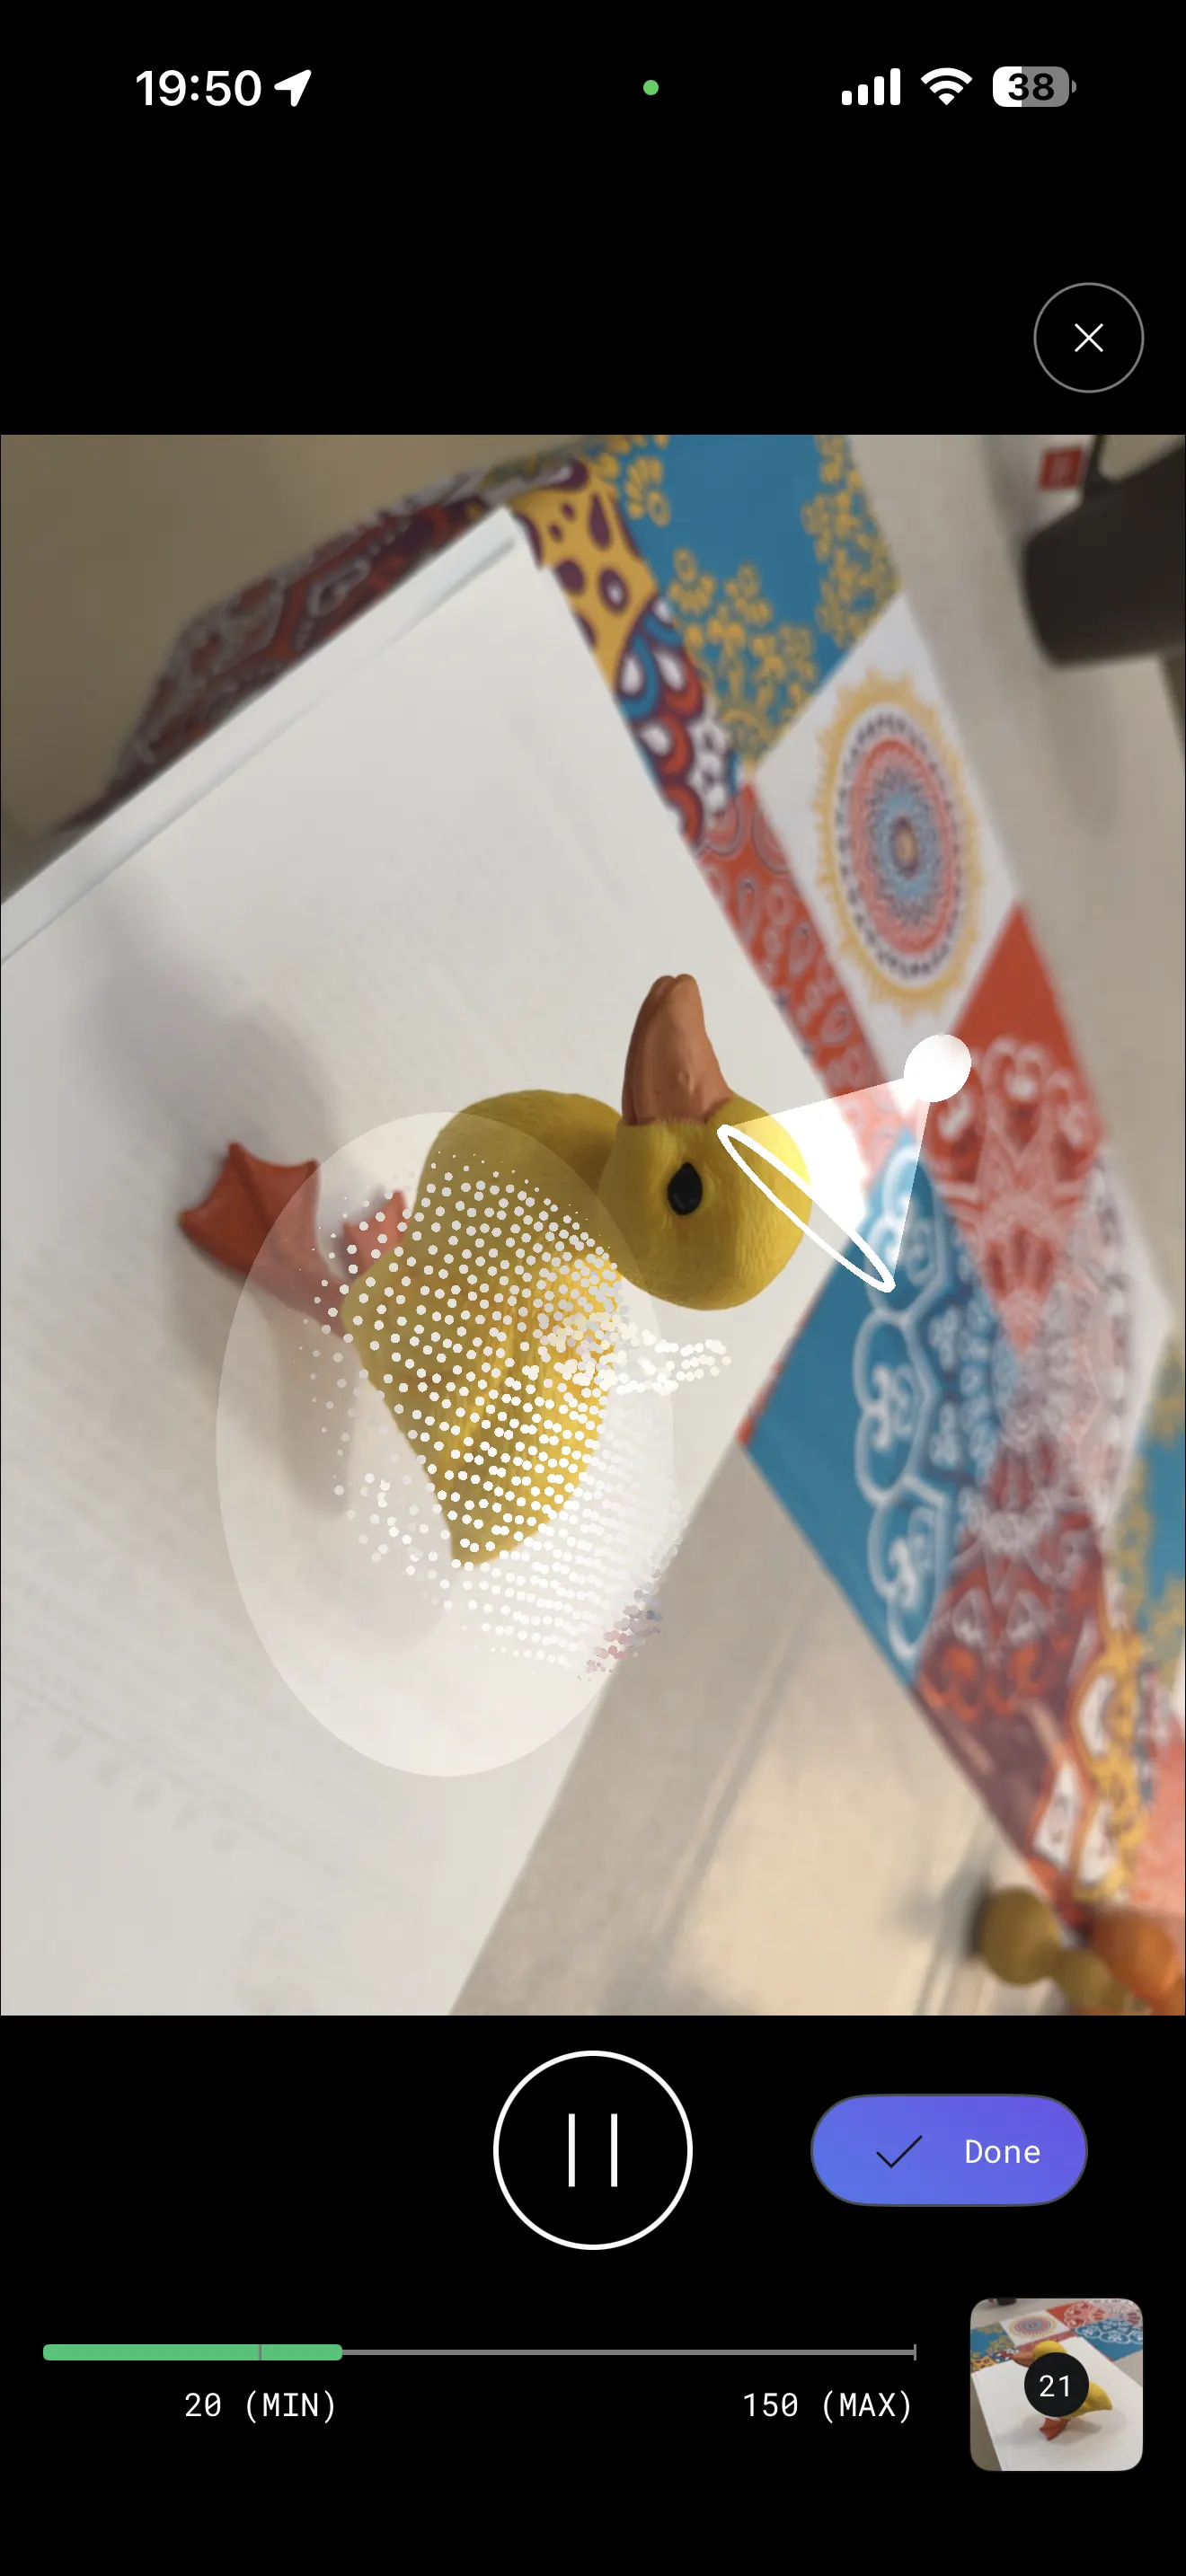
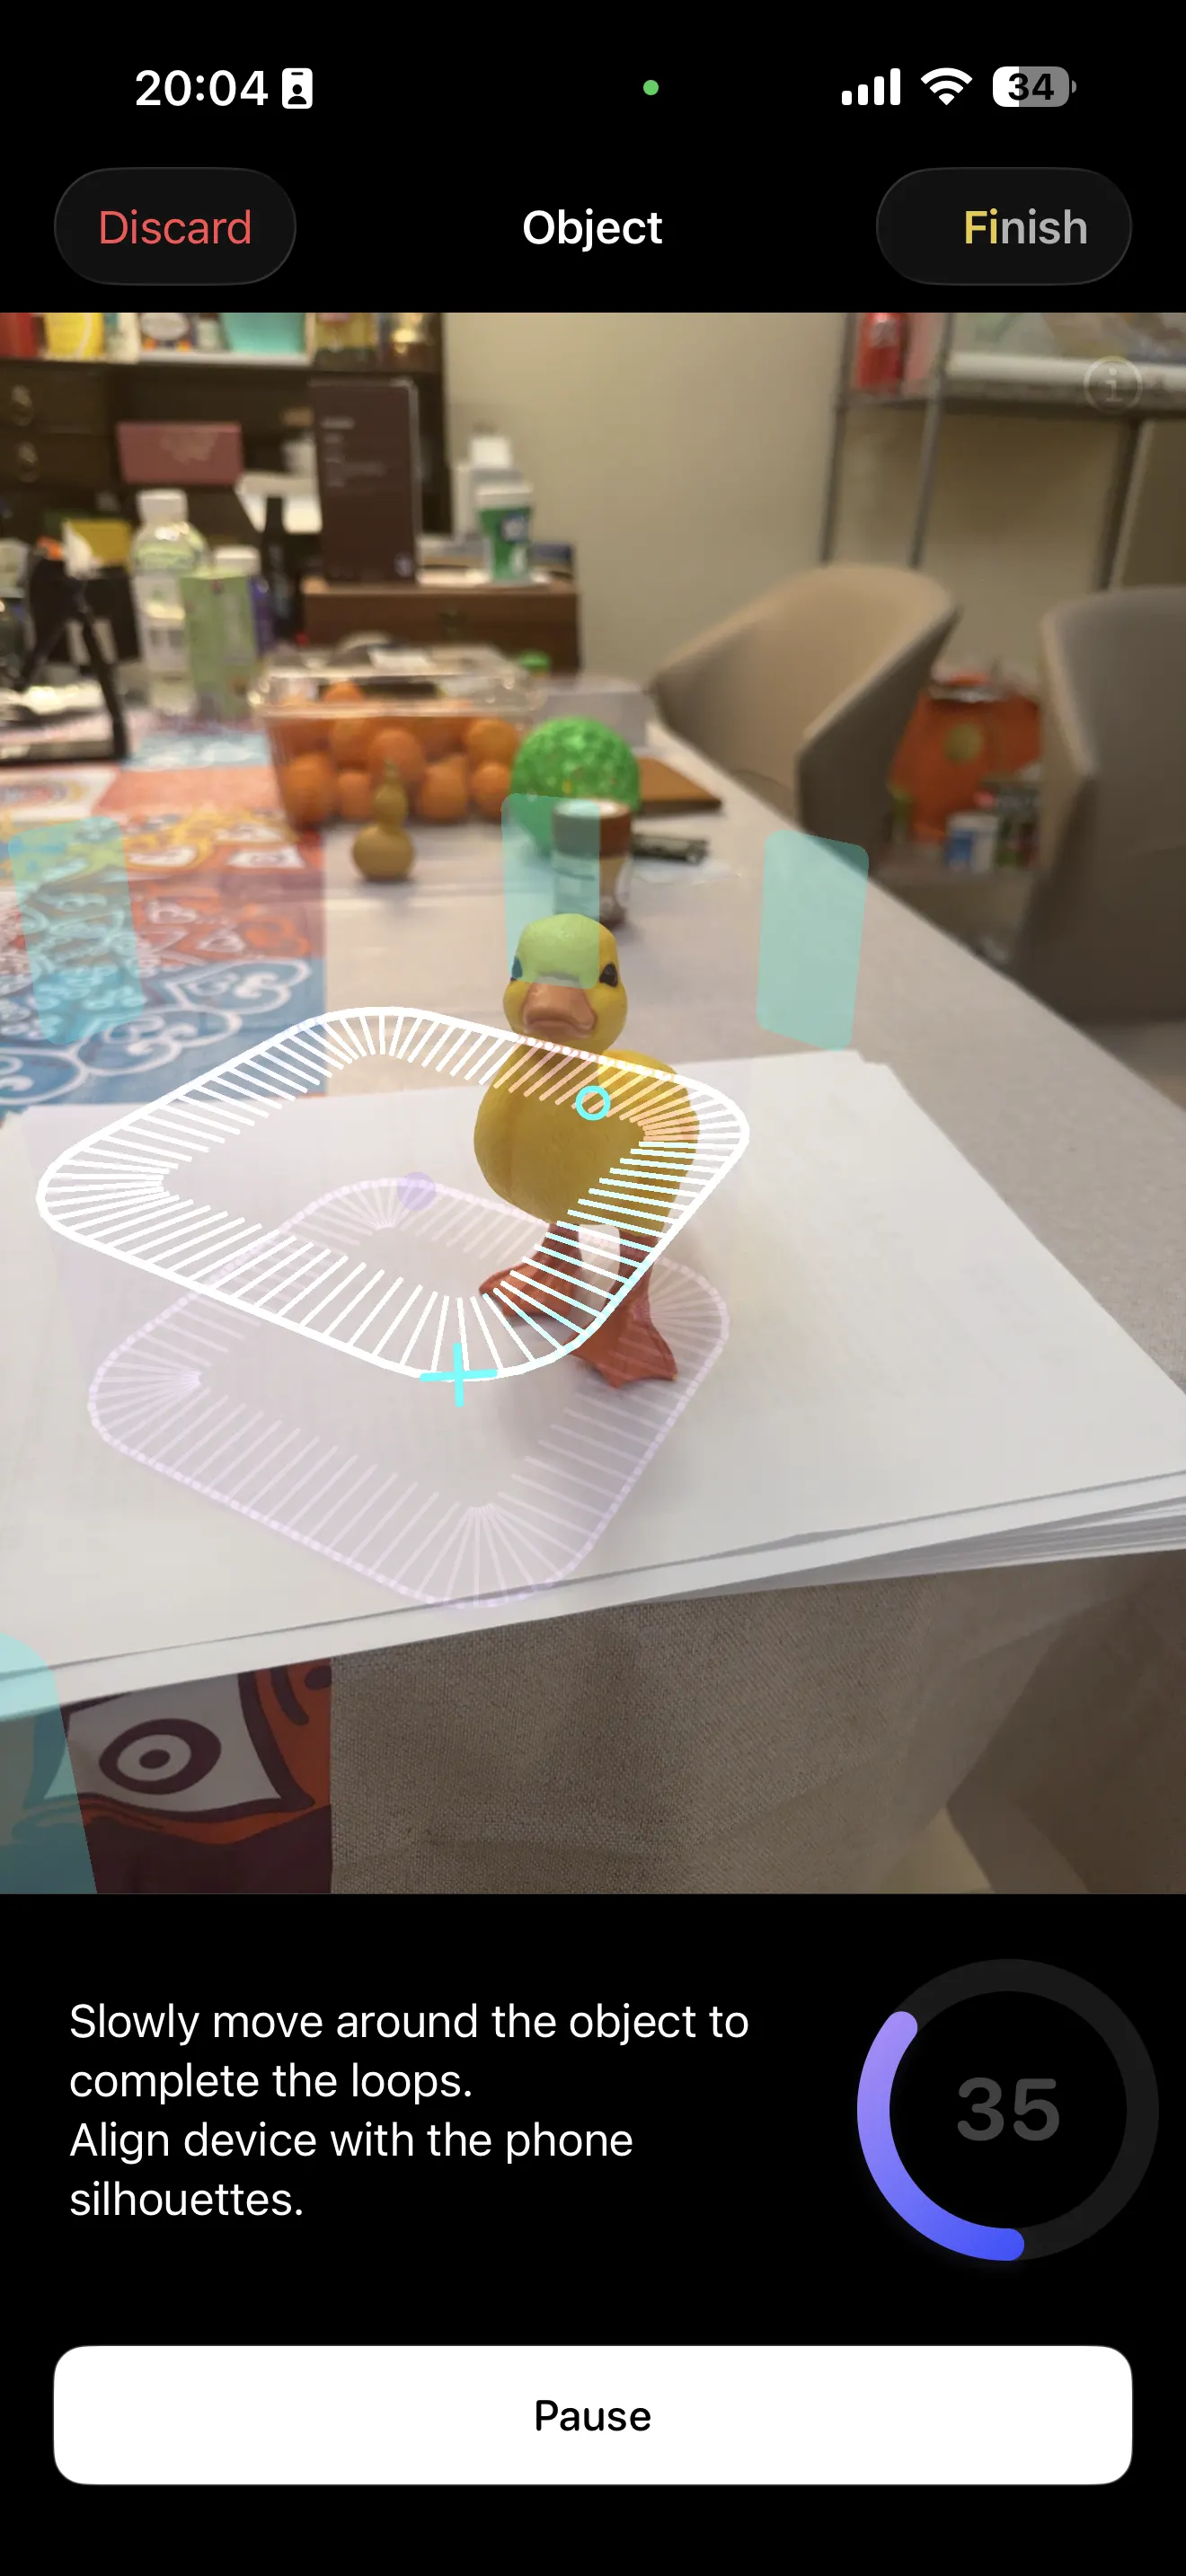
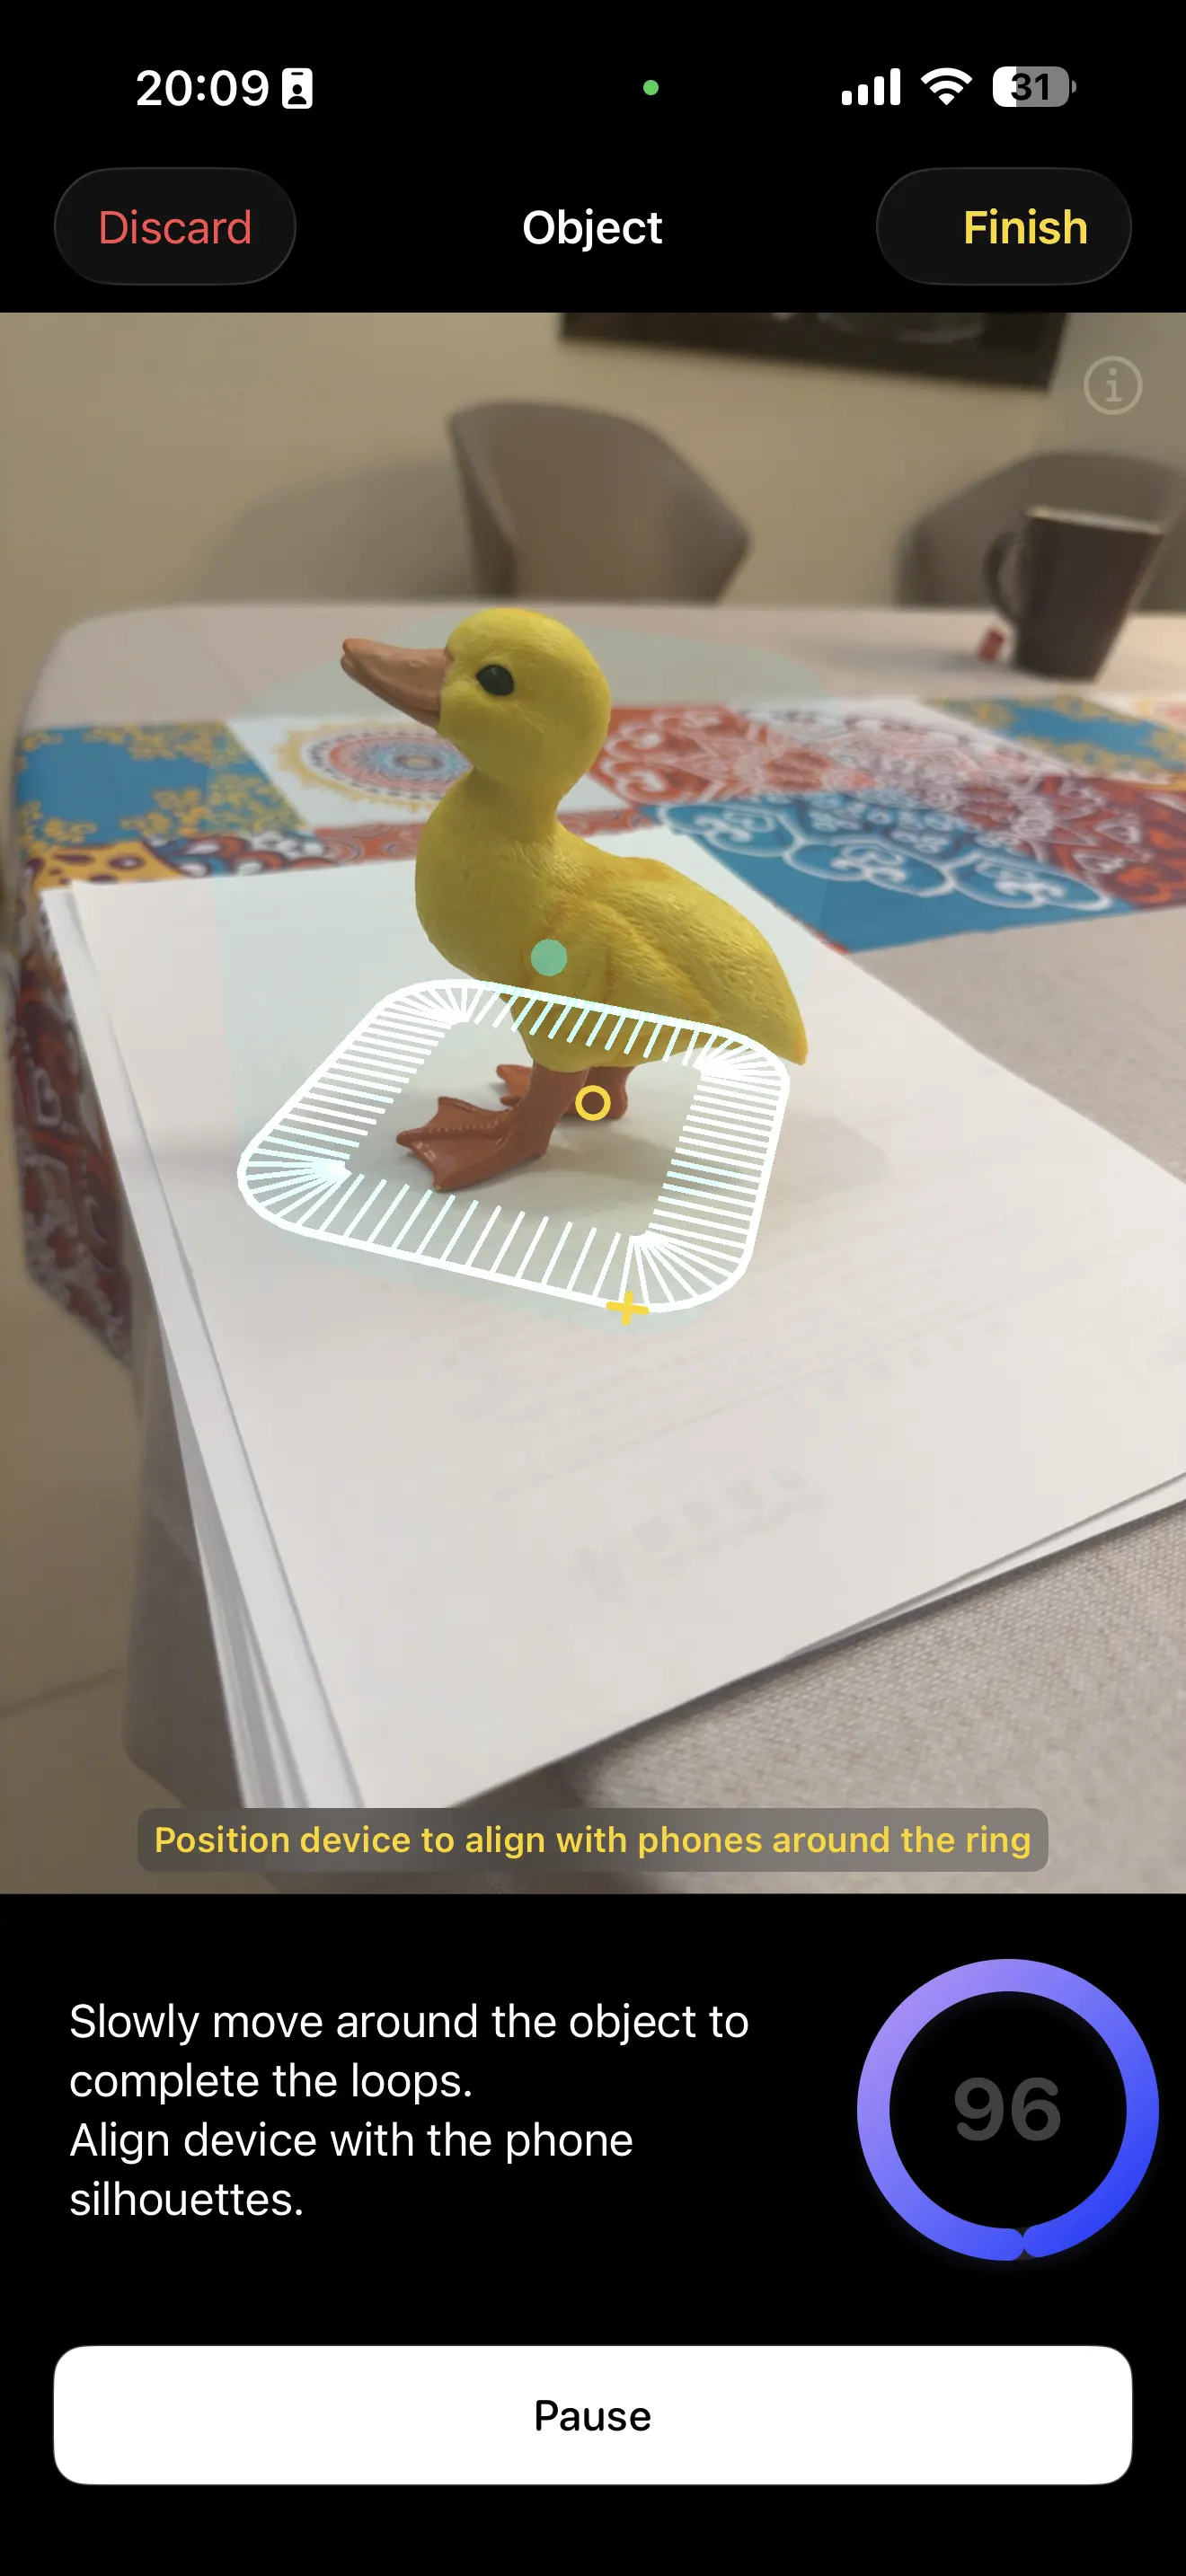
General scanning workflow (all 3 apps)
- Capture the object with phone camera (photos or video)
- Track the object from multiple angles
- Process data into a 3D result (mesh, splat, or scene)
Some workflows may use LiDAR on supported devices, while others can also work with regular photo-based capture. In my test, I mainly compared practical workflow and output quality for simple object scanning.
App 1 — Polycam
Polycam is a popular mobile 3D scanning app that supports photo-based capture and LiDAR workflows (depending on the device).

App 2 — Luma 3D (Luma 3D Capture)
Luma 3D Capture uses an AI-based workflow to create 3D scenes and objects from phone capture. I tested Luma 3D with the same duck object to compare ease of capture and final visual result.

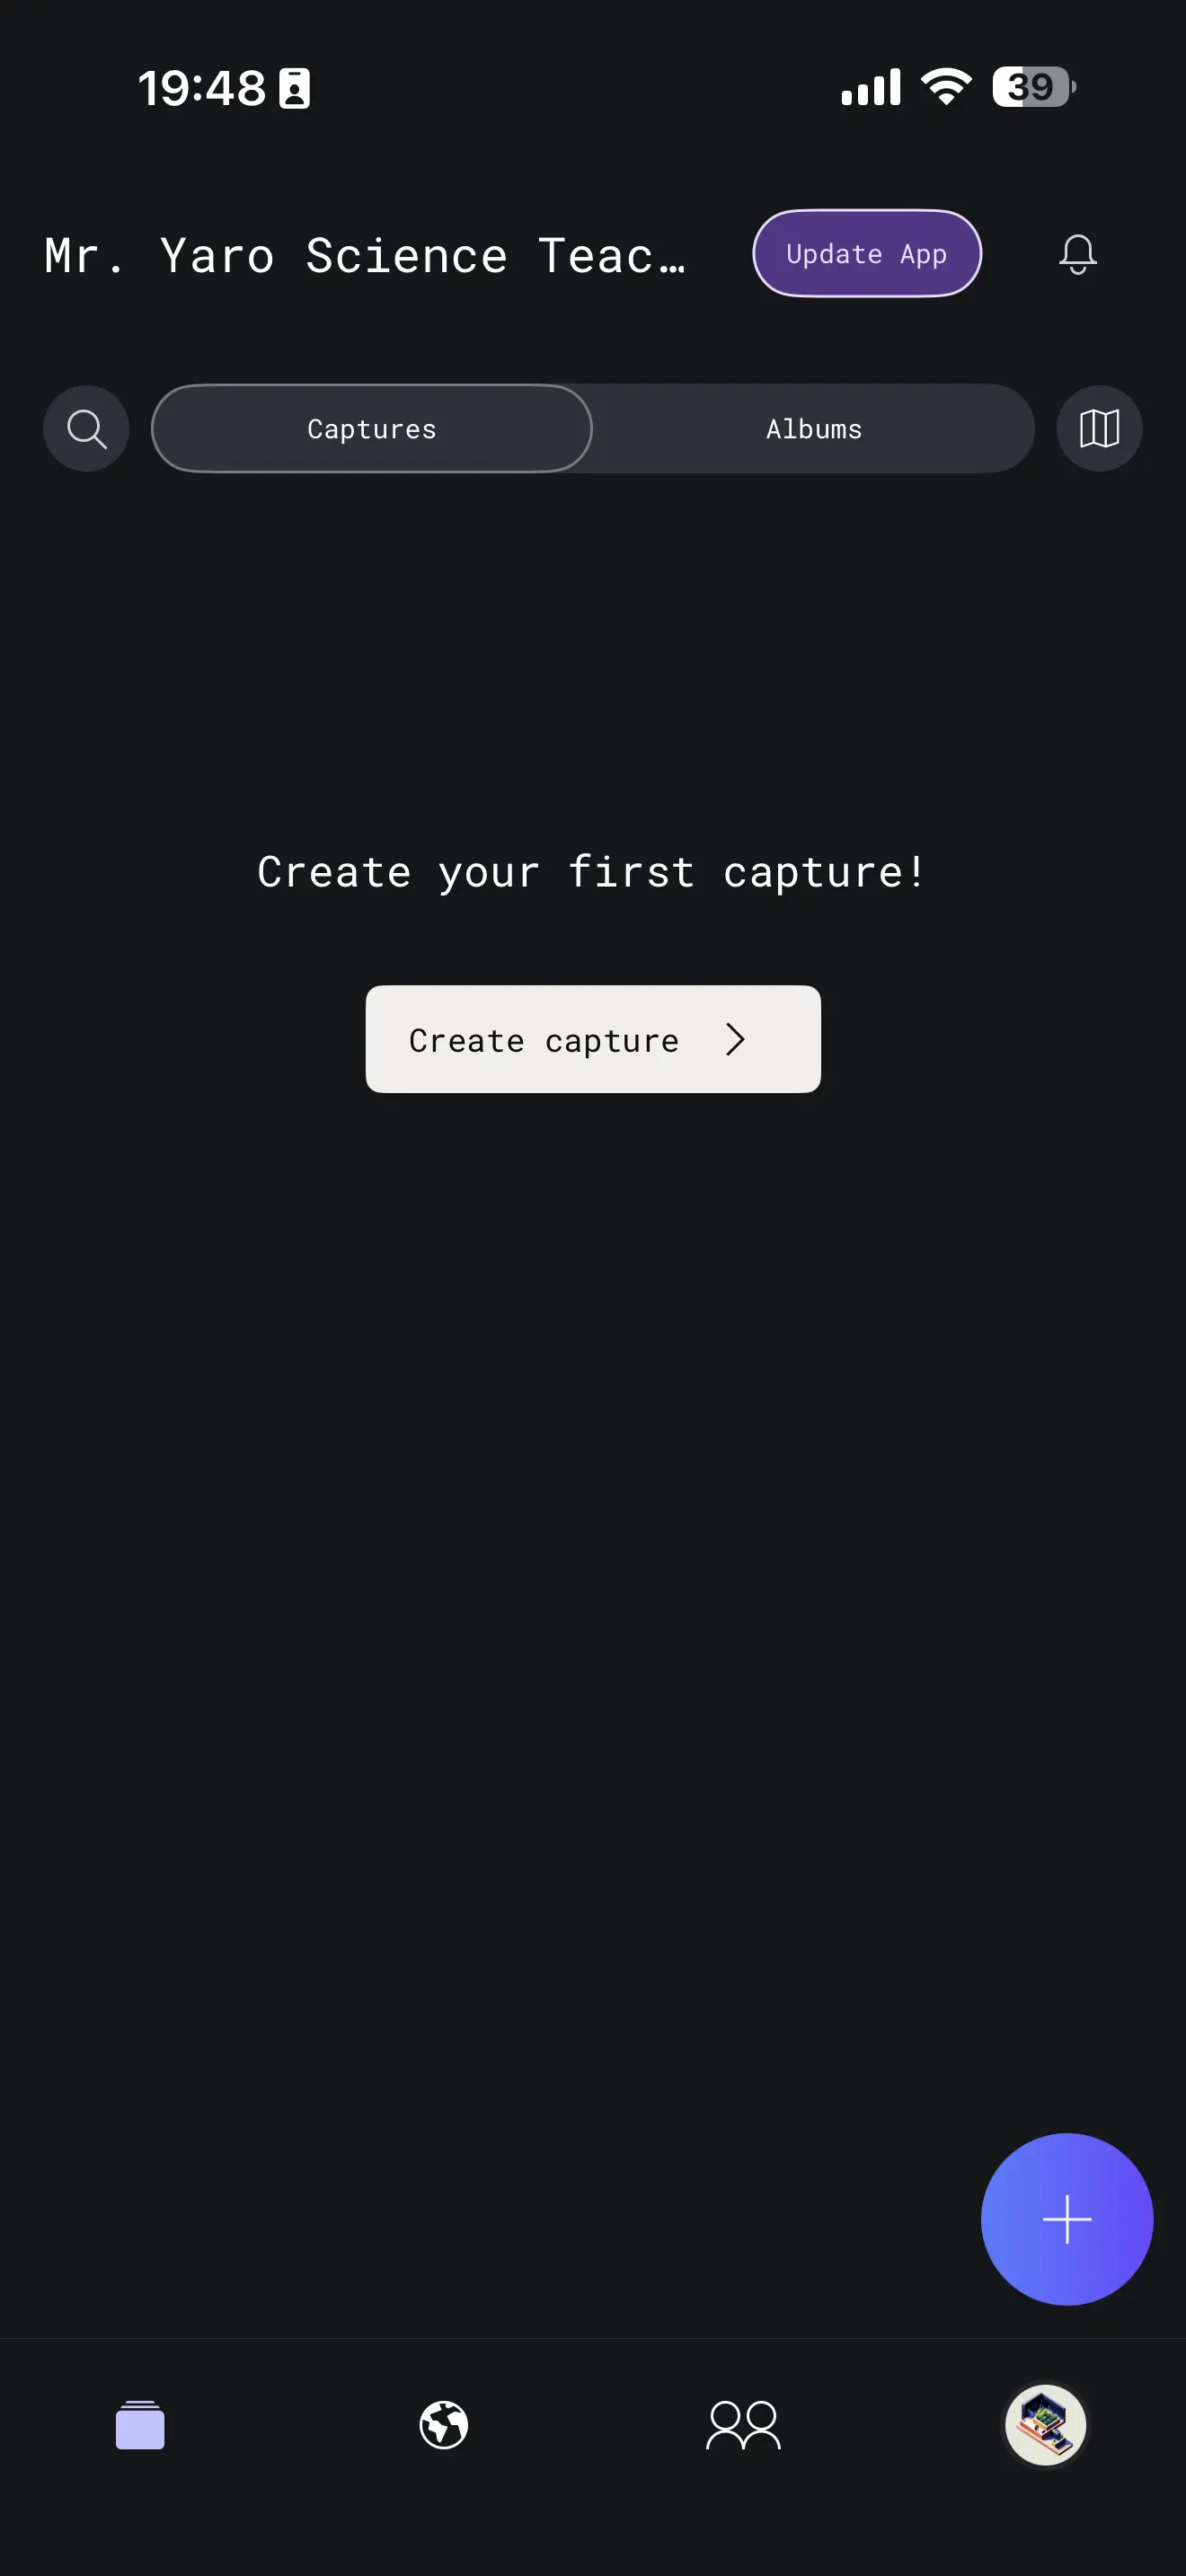
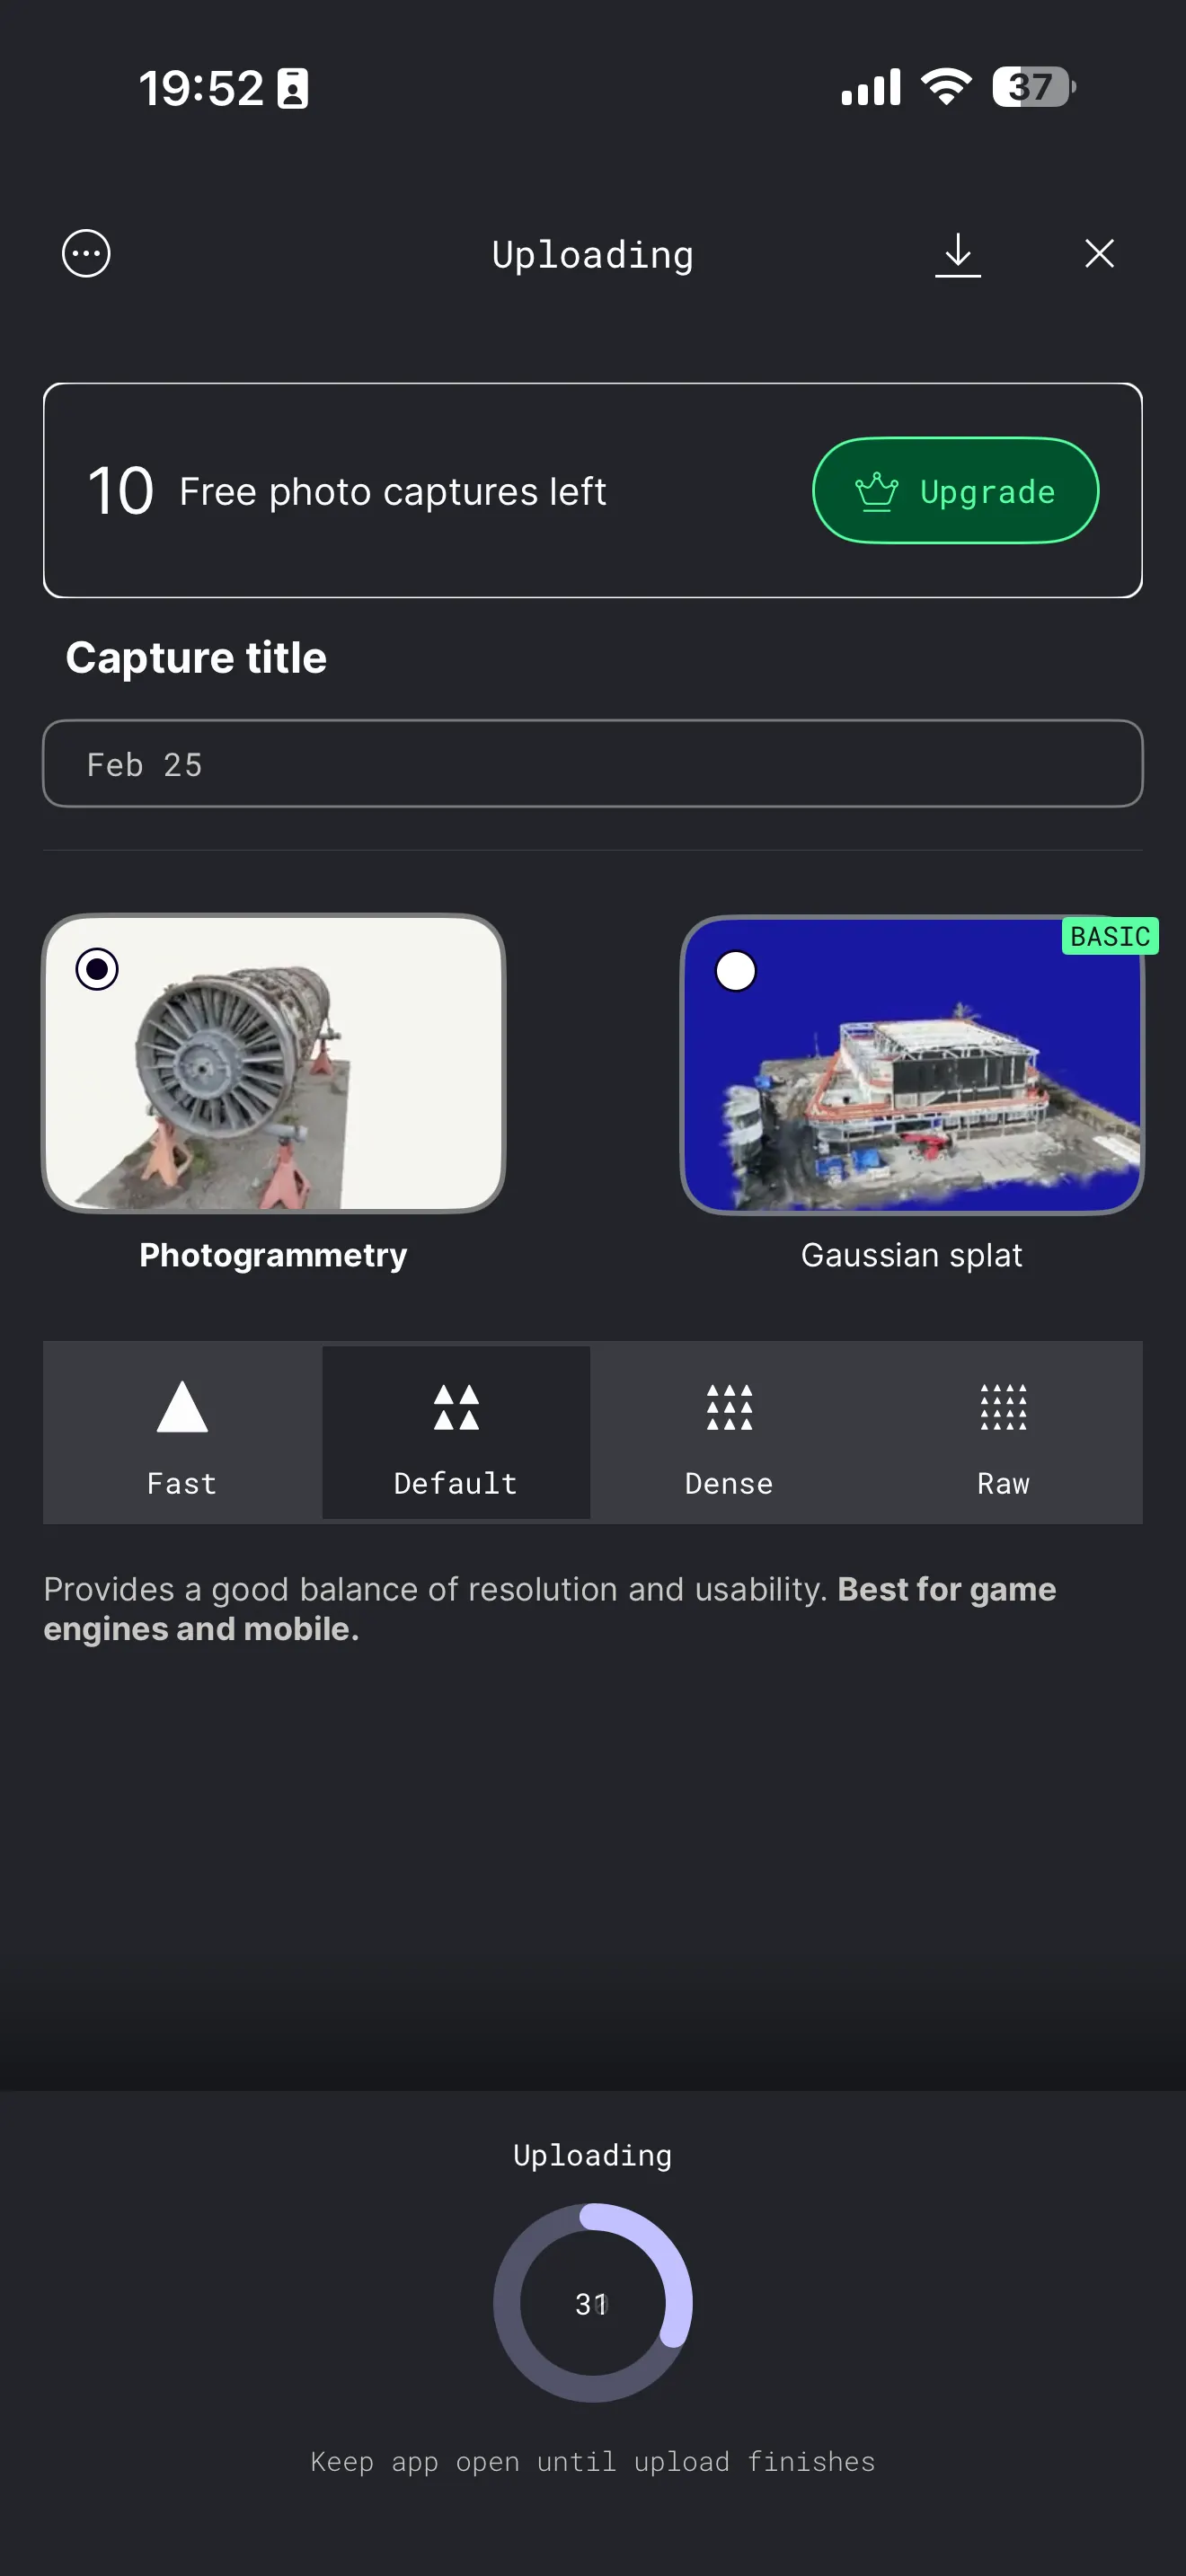
App 3 — Scaniverse
Scaniverse is another mobile 3D scanning app that supports scanning and Gaussian splatting style workflows. I tested it with the same object and setup to compare capture and processing flow.
Exported Scaniverse files: OBJ and MTL and WebP.
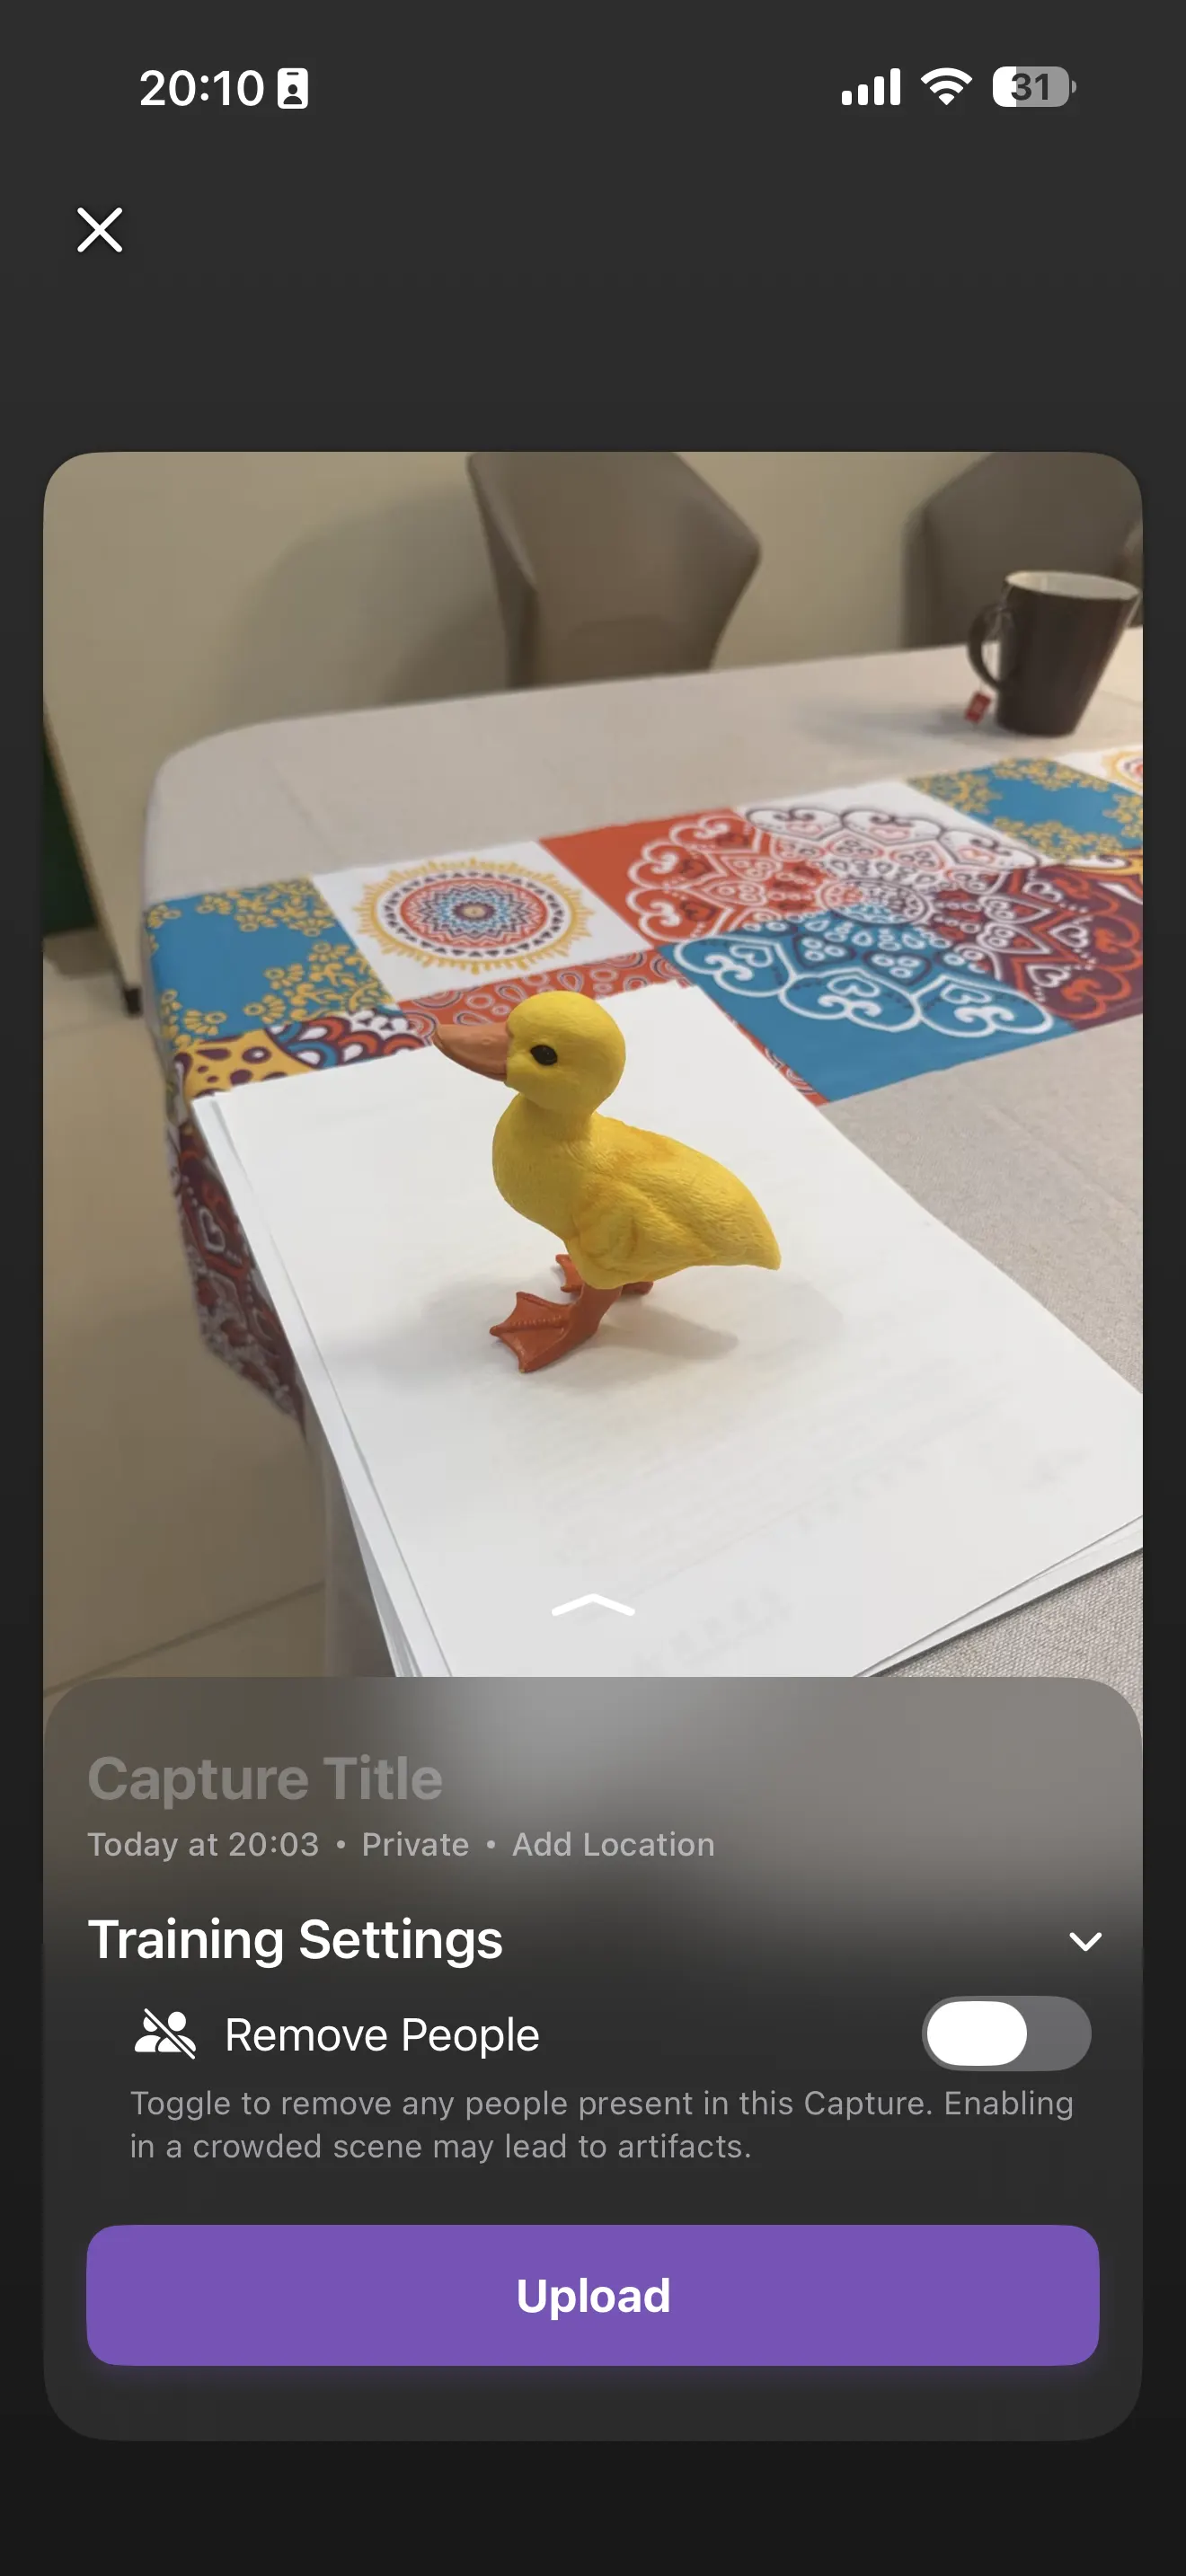
My observations from the 3 scanning apps
What worked well
- Strong color contrast (yellow duck on white background) helped tracking.
- Placing the object at the table edge made it easier to move around.
- All apps made scanning workflow accessible from a phone.
Limitations I observed
- Free versions are limited for export options.
- Object scanning quality depends heavily on lighting, movement speed, background contrast, and angle coverage.
- Small details and thin features are harder for mobile scans.
Practical lesson
For Fab Academy documentation, even if export is limited in free versions, screenshots of the scanning process and result are enough to document workflow and learning outcomes.
Reflection (Week 05)
This week was useful because it combined both sides of digital fabrication: making geometry (3D printing) and capturing geometry (3D scanning).
3D printing reflection
I learned that complex geometry is possible, but print strategy matters a lot. My first multi-material print failed, but the second strategy (printing inner part separately and inserting it during printing) worked well.
3D scanning reflection
Mobile scanning is fast and convenient for documentation and experiments, but scan quality depends heavily on setup (contrast, lighting, object position, and motion path). Testing three apps helped me understand workflow and limitations.