Week 01 — Principles & Practices / Project Management
Goal for Week 01: set up a clean documentation workflow (website + Git) and make my first real edits/commits. This page is written as a documentation log: steps, commands, problems, and fixes.
Week 1 assignment
Checklist
- Install Git on macOS
- Understand the GitLab workflow (edit → commit → push → website updates)
- Clone my repository locally
- Set up VS Code for editing
- Prepare SSH key for GitLab (recommended)
Key idea (how I want to work each week)
A useful pacing strategy I found:
- Wed/Thu/Fri: learn tools & techniques
- Fri/Sat/Sun: design
- Mon/Tue: build & iterate
- Wed: present
Tip: This structure helps reduce stress and keeps progress steady.
First things first
As a first milestone, I uploaded my student agreement. You can find it from the main page or open it directly here: student-agreement.md.
Step-by-step setup
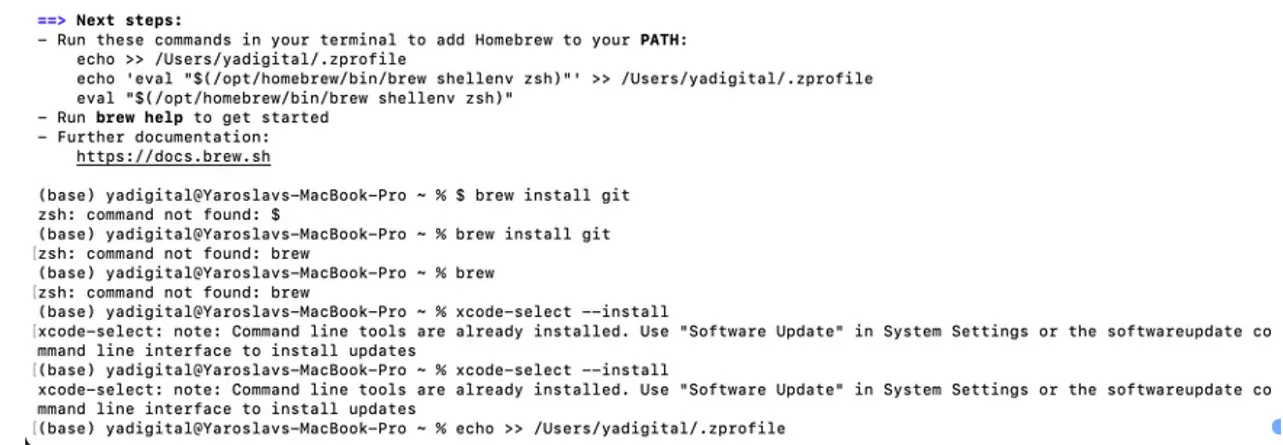
1) Install Git on macOS
I followed the official Git install page for macOS. It requires Homebrew. Official guide: git-scm.com/install/mac
Problem 1: the installation didn’t work smoothly on the first try (I missed a few commands).
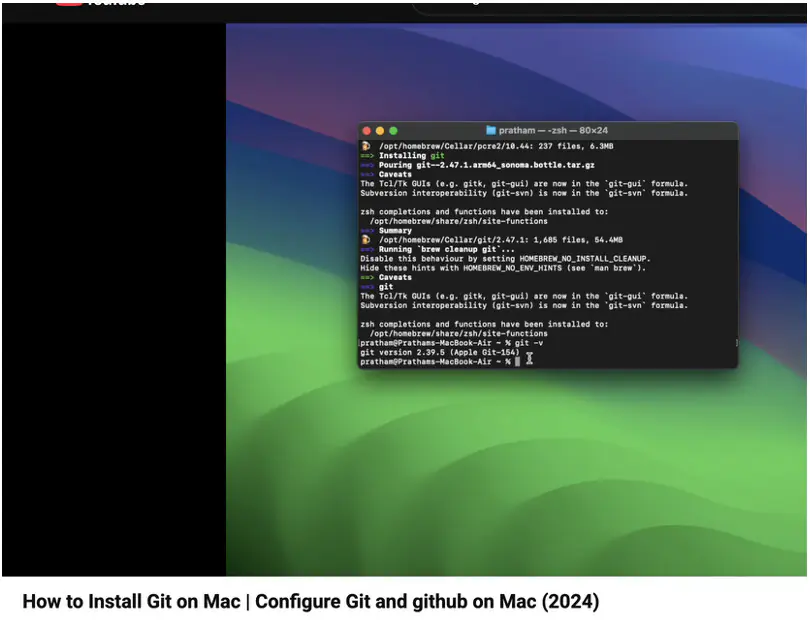
Solution 1: I followed a YouTube tutorial and carefully repeated the missing steps. Link for the reference https://www.youtube.com/watch?v=9GZmaxaQV0c
Result: Git installed successfully ✅
2) Understand “good documentation” (examples)
Before writing my own pages, I studied a few strong documentation examples to understand structure and clarity.
- Visual Cinnamon — Fab Academy notes
- Elena Cardiel — diary example
- Nadieh Bremer — documentation example
Clue: It’s easy to get overwhelmed by too many sources. What helped me most was doing one full cycle: edit → commit → push → see website update. After that, the “blur” disappears.
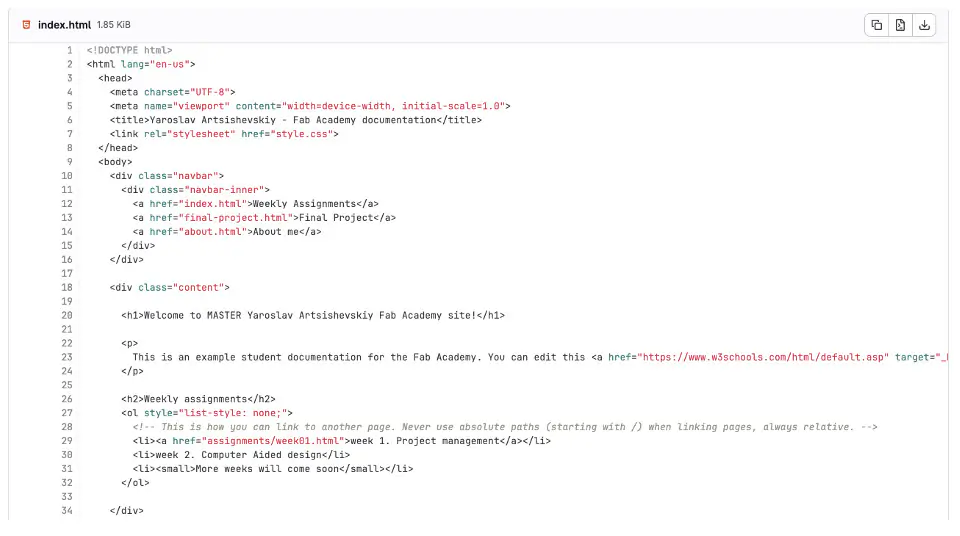
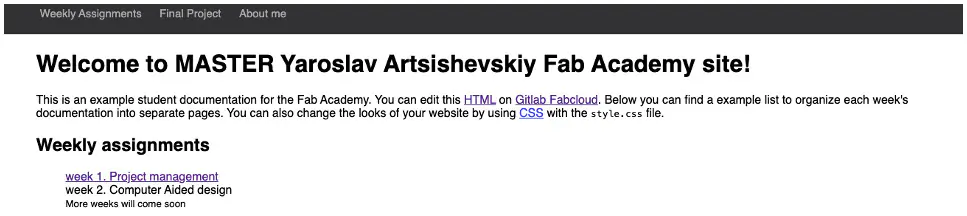
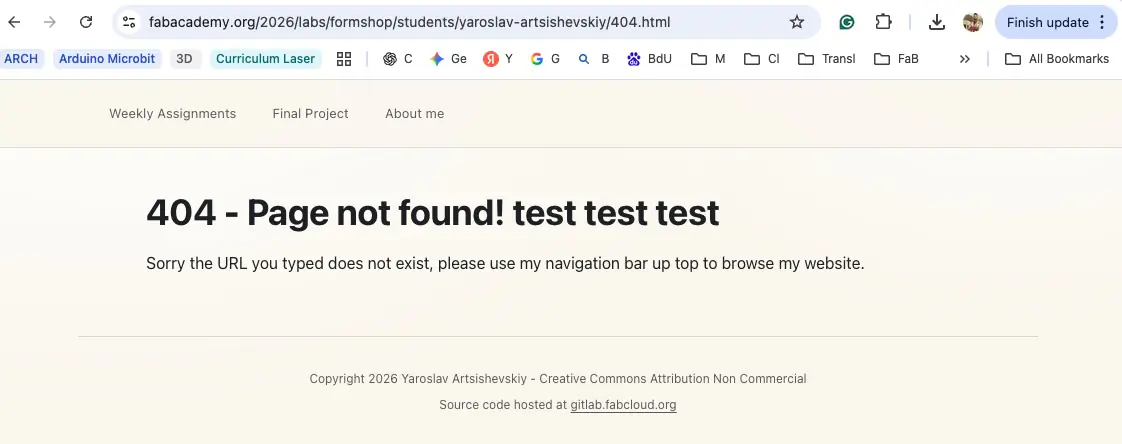
3) Make the first website edit + commit
During Global Open Time, Adrian Torres explained the basics of making website changes and committing them correctly. After that session I made my first commit (I even added the word “MASTER” as a test) and saw the site update.
Mini checklist for a safe edit:
- Edit one small thing (a word or heading).
- Save and preview (locally if possible).
- Commit with a clear message.
- Push and verify the website updated.
4) Clone the repository locally
Web editing worked, but I wanted a faster workflow: edit locally and push from my computer.
Problem 2: Git asked for login/password. I expected fablab.io auth to work, but it didn’t in my case.
Solution 2: I set up a password on gitlab.fabcloud.org and then git clone worked.
Command (example)
git clone <YOUR_REPO_URL>
cd <YOUR_REPO_FOLDER>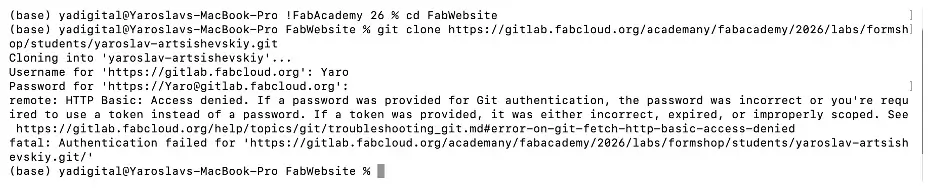

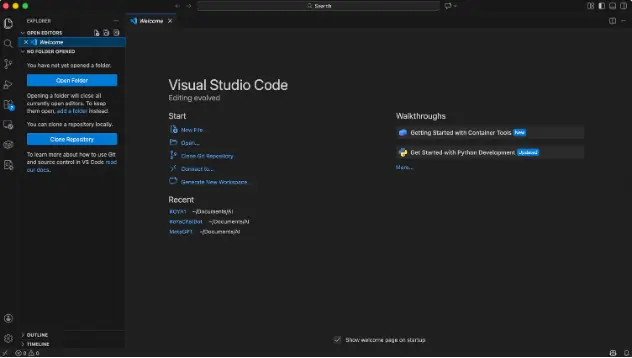
git clone in terminal5) Install VS Code
I installed VS Code to speed up editing and make file management easier.
- Result: Editing locally became much faster ✅
6) Generate an SSH key for GitLab (recommended)
To avoid repeated password prompts, I generated a dedicated SSH key for GitLab.
Command I used
ssh-keygen -t rsa -C "yadigital@gmail.com" -f ~/.ssh/id_rsa_gitlab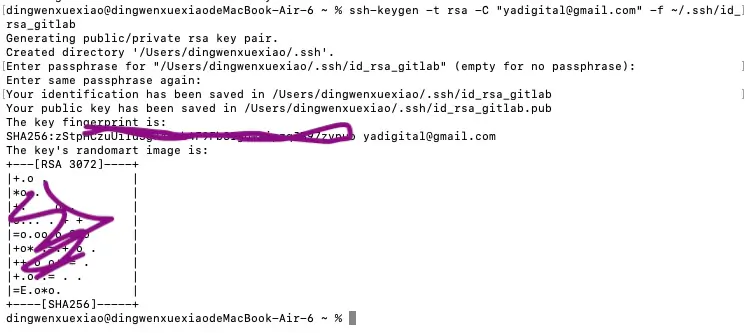
Problem 3: SSH generation didn't fit. Don't know what to do next
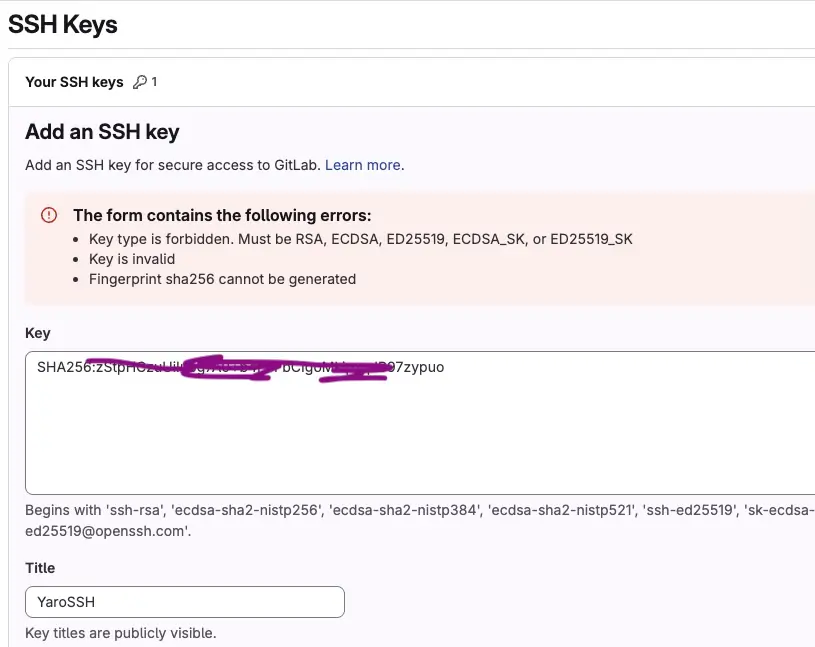
Solution 3: Study more and check with instructor. Later on I got feedback to check recitation video from the last year or wait for the session on Monday evening
Practice with Git ( push / pull / SSH)
Practice with git clone

Result: Repository cloned locally ✅
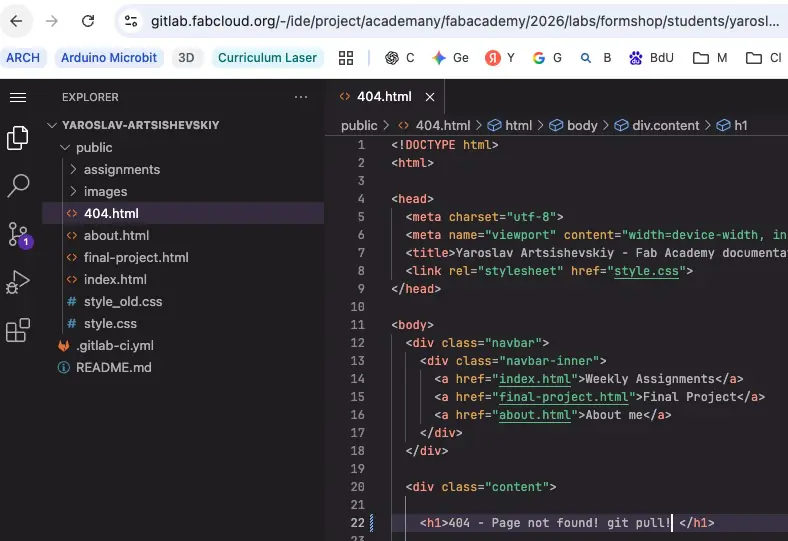
Practice with git push
I changed some text in 404.html and pushed it to the remote repository.


Result: Changes pushed to the remote repo✅
What git add . means?
git add . stages everything I changed in this folder (and all subfolders) for the next commit.
Git has 3 main states
- Working directory = files you edited (not yet staged)
- Staging area (index) = files selected to be included in the next commit
- Repository (commits) = saved snapshots
Example workflow
git status                      # see changes
git add .                       # stage all changes (select files)
git status                      # now they’re “staged”
git commit -m "Update week 1"   # save a snapshot
git push                        # push from local to remote repo
Safer alternatives (when you don’t want to add everything)
- Stage one file:
git add index.html - Stage interactively (choose hunks/lines):
git add -p
Tip for my Fab Academy site: be careful with git add . if I have big folders
(e.g. node_modules/), exported build folders, or huge videos. Always check first:
git status.
Practice with git pull
I updated remote file by WEB IDE and commited remotely. Then pulled locally
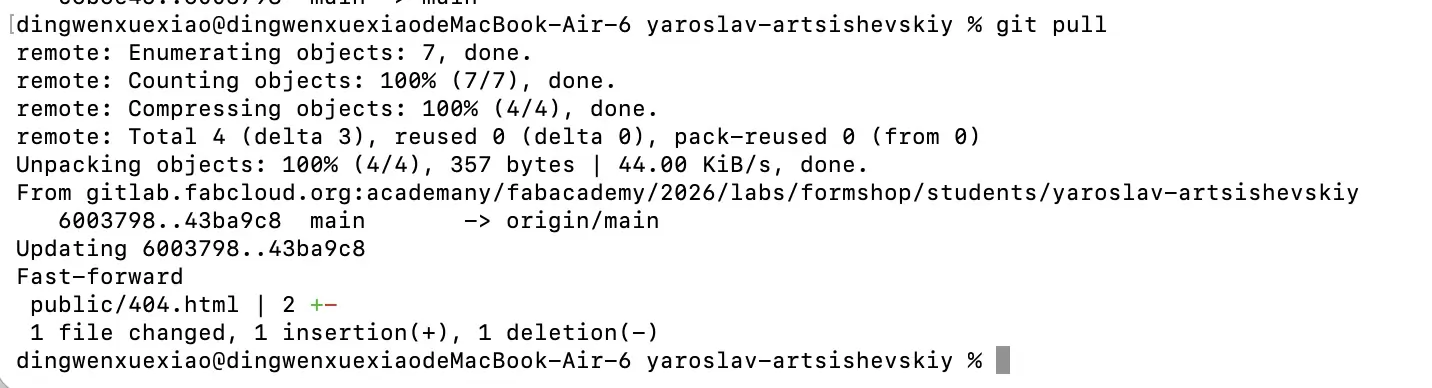
Result: Local repository updated with remote changes ✅
It can also be done step-by-step:
git fetch # download without merge
git diff main..origin/main # compare local vs remote after fetch
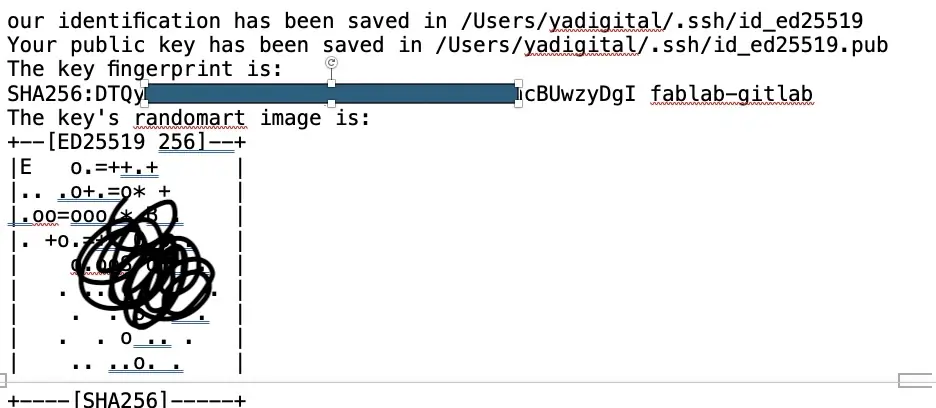
git merge # merge changes into local branchPractice with SSH key creation. Attempt 2
Create a new key:
ssh-keygen -t ed25519 -C "fablab-gitlab"
Add the private key to the system SSH agent:
ssh-add ~/.ssh/id_ed25519
Copy the public key (.pub) to the clipboard (macOS):
tr -d '\n' < ~/.ssh/id_ed25519.pub | pbcopy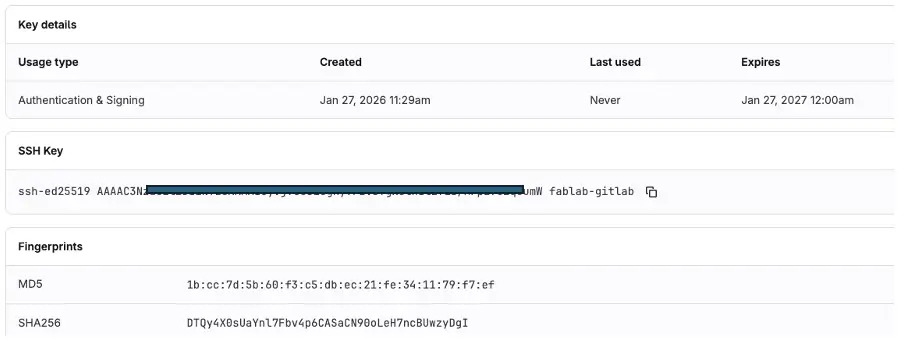
Verify SSH connection
ssh -T git@gitlab.fabcloud.orgProblem 4: I got a “Connection closed” message (GitLab was reachable, but SSH didn’t complete).
Solution 4: I copy passed error message to ChatGpt and we had a debug dialogue.
Here is the extracted text from the image:

(base) yadigital@Yaroslavs-MacBook-Pro yaroslav-artsihevskiy % ssh -T git@gitlab.fabcloud.org
Connection closed by 13.59.248.79 port 22

(base) yadigital@Yaroslavs-MacBook-Pro yaroslav-artsihevskiy %
I generated and added SSH key to FabLab GitLab, and I also saved private SSH key locally.
Now I'm trying to verify my SSH connection, as it was in the manual, but I get message like connection closed.
What does it mean?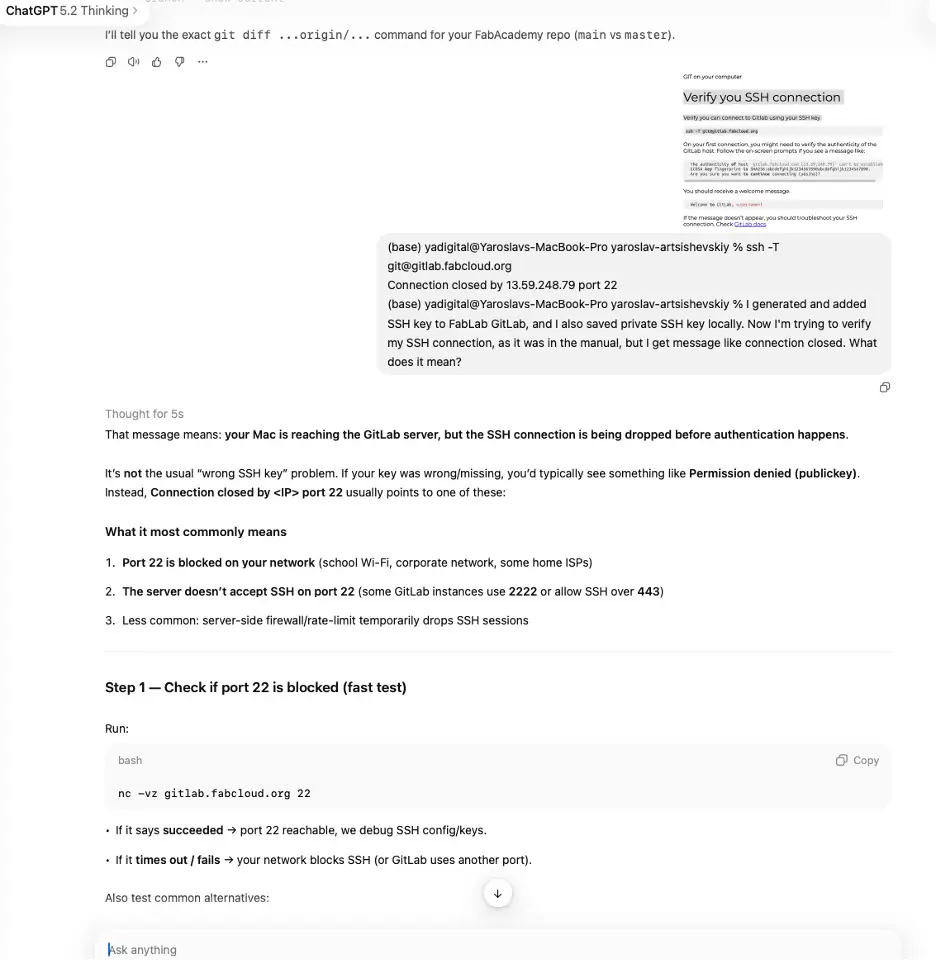
ChatGPT suggested command
Debug command:
ssh -vvv -T git@gitlab.fabcloud.orgSolution 4: During the dialogue I figured out that it might be connection problem. And decided to turn off VPN on Mac and on Router — and it worked ✅

What I learned
- Git becomes easy after one complete real workflow end-to-end (edit → commit → push → website update).
git add .stages everything under the current folder — useful, but risky if there are big/unwanted folders.- Git has three practical “zones”: working directory, staging area, and commits (repository).
- A clean workflow is:
1. cd yaro_fabwebsite #Open your local files.2. git add * #Propose changes.3. git commit -m "Commit massage" #To actually commit these changes.4. git status #Displays the state of the working directory and the staging area. It lets you see which changes have been staged, which haven't, and which files aren't being tracked by Git. Status output does not show you any information regarding the committed project history.5. git pull #is used to fetch and download content from a remote repository and immediately update the local repository to match that content. Merging remote upstream changes into your local repository is a common task in Git-based collaboration workflows.6. git push origin master #To send those changes to your remote repository. - To sync safely I can use
git fetch+ compare +git merge, or simplygit pull. - SSH keys are the best long-term solution for authentication; network/VPN settings can block SSH even when the website works.
- Studying good documentation examples helps a lot, but action matters more than reading.
- Upload problems and small question to LLM (GhatGPT, NotebookLM) can help to understand and learn more productivly.
References
- Fab Academy 2026 schedule
- Install Git on macOS (official)
- Visual Cinnamon — Fab Academy notes
- Elena Cardiel — Fab Academy diary example
- Nadieh Bremer — documentation example

Week 01 Reflection
Learning process and time spent (rough log)
Because I work full-time, I did most of this work at night. I didn’t track minutes perfectly, but these estimates are close enough to learn from:
| Task | Time (approx.) | Notes |
|---|---|---|
| Reading examples + understanding “good documentation” structure | 2–3 h | Helpful, but easy to over-consume sources. |
| Git install + basic setup on macOS | 1–2 h | Small blockers at the beginning. |
| First edit → commit → push → verify site updates | 1 h | The biggest “aha moment” — after one full cycle everything became clearer. |
| Clone repo locally + credential / password setup | 1–2 h | Confusing at first, but solved after setting GitLab password correctly. |
| VS Code setup + local workflow improvements | 1 h | Fast win: editing became much smoother. |
| SSH key setup (attempts + debugging) | 3–5 h | The most time-consuming part due to uncertainty + troubleshooting. |
| Git practice (add/commit/push/pull, remote vs local) | 2–3 h | Repetition made it stick. |
| Writing documentation + screenshots | 3–4 h | Takes time, but it’s “real work” that I can reuse later. |
Total: ~13–21 hours (spread across multiple late evenings)
What was productive
- Doing one complete workflow end-to-end (edit → commit → push → website update). After that, the process felt “real” and less scary.
- Small achievements give energy. Every solved problem (even a small one) reduced stress and increased motivation.
- Writing notes during the online sessions helped me remember the steps and made troubleshooting easier later.
What I struggled with (and where I wasted time)
- Uncertainty / open-ended problems (especially SSH + network/VPN issues). The hardest part was not knowing how long it would take.
- Over-researching (reading too many examples or sources). I noticed I can lose time when I keep searching instead of shipping a “good enough” version.
- Late-night troubleshooting is effective sometimes, but energy drops fast and mistakes increase.
Mindset note
This week I felt the Fab Academy reality: “done is when it’s done.” It’s not about finishing fast — it’s about finishing correctly.
Because I’m working full-time, I decided to push through many tasks at night until they were truly done, even if the time was unpredictable.
Plan to manage time + energy better (Week 02)
Feedback I got: manage time and manage energy. So next week I will:
-
Timebox learning vs doing
- 20–30 min: learning / watching / reading
- 60–90 min: building + committing
- If I’m still stuck after ~30 min on one issue → ask instructor / classmates / use a focused question to ChatGPT.
-
Define the “minimum done” early
- First aim: meet the assignment requirements with a simple version.
- Then improve: add polish only after the core is submitted.
-
Daily micro-progress
- Even on busy workdays: one small commit (documentation, photo, paragraph, or a fix).
- This keeps momentum and reduces weekend panic.
-
Plan rest like a task
- If it’s past a certain time and I’m not making progress, I stop and sleep.
- Better energy = faster debugging the next day.
-
Keep a simple time log
- Quick notes: what I did, how long it took, what blocked me.
- This will help me estimate future weeks more realistically.