Week 5 - 3D Scanning and Printing
Assignment
Group assignment:
Test the design rules for your 3D printer(s)
Document your work on the group work page and reflect on your individual page what you learned about characteristics
of your printer(s)
Individual assignment:
Design and 3D print an object (small, few cm3, limited by printer time) that could not be easily made subtractively
3D scan an object (and optionally print it)
Group Page 3D printer Testing
3D printing
Design
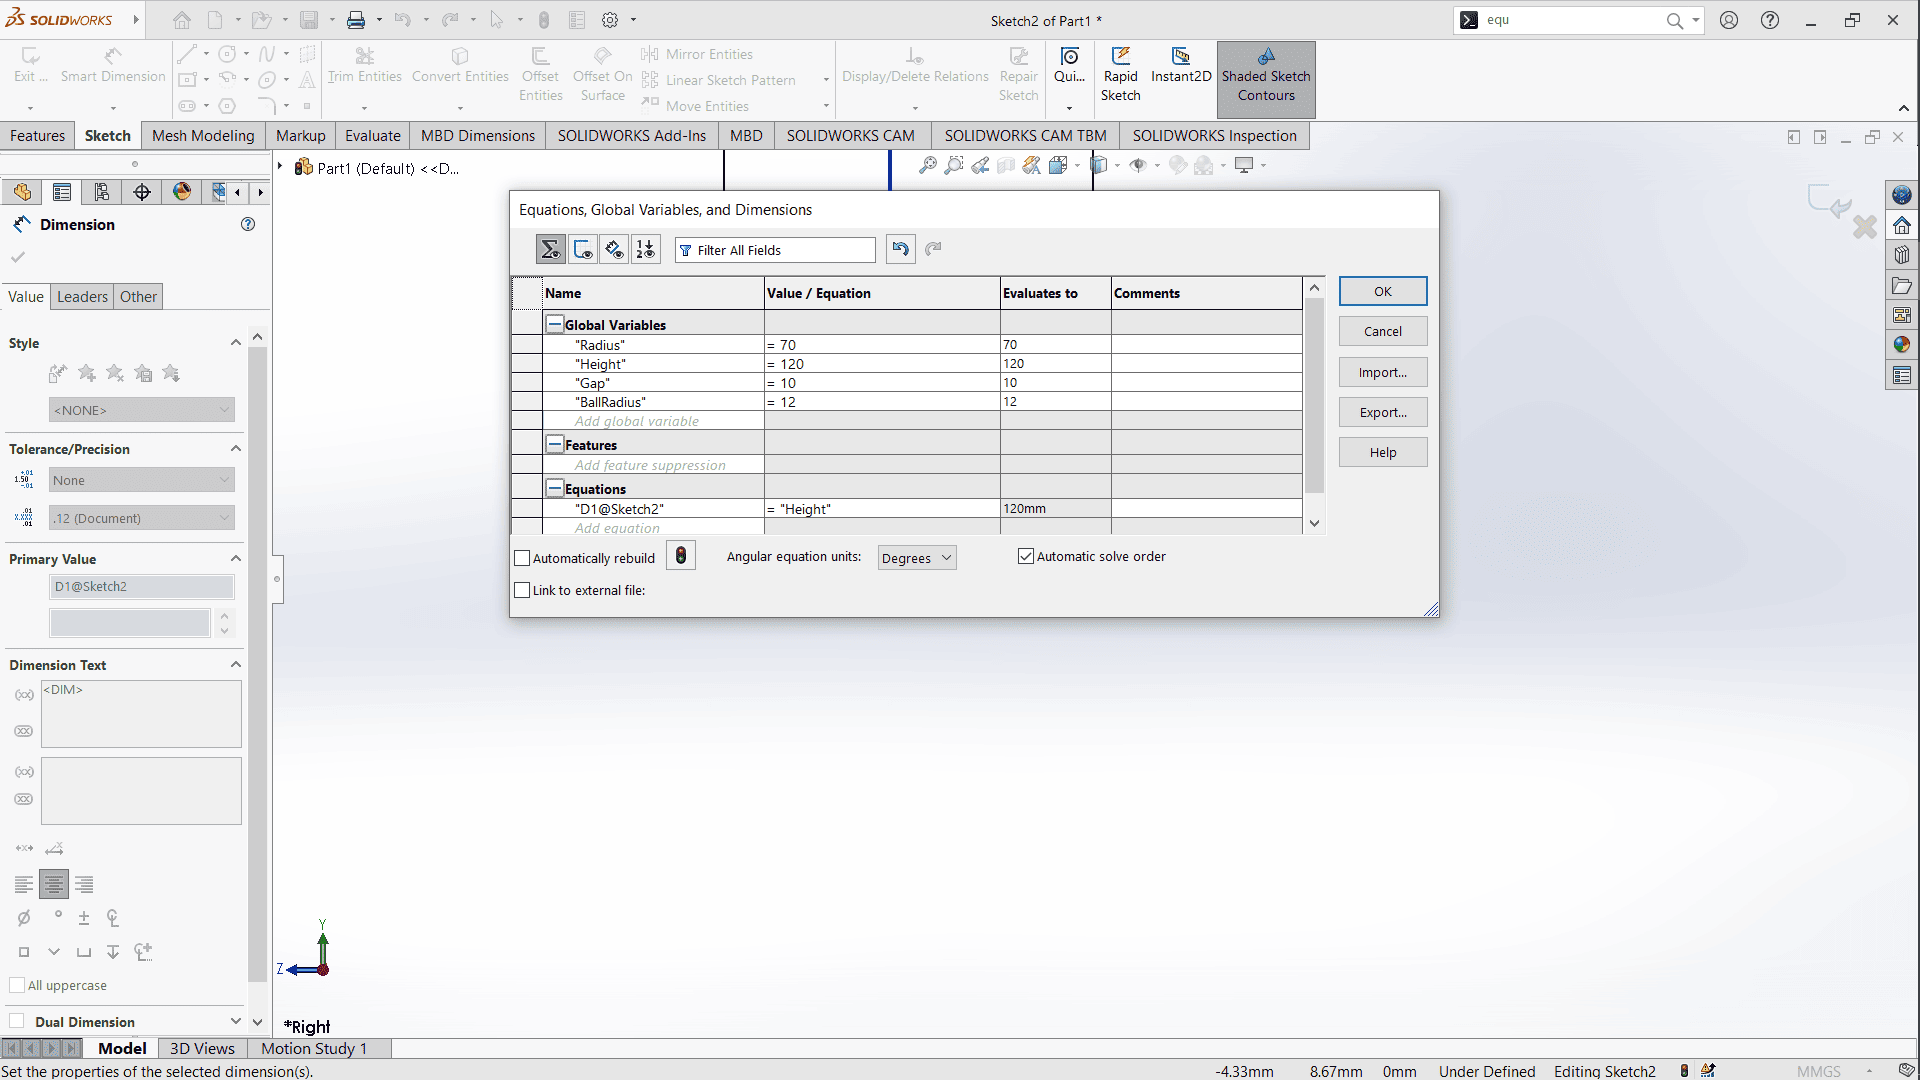
I started by designing the model using SolidWorks. After launching the software, I selected the Front Plane and proceeded to set Global Variables for the measurements I planned to use.
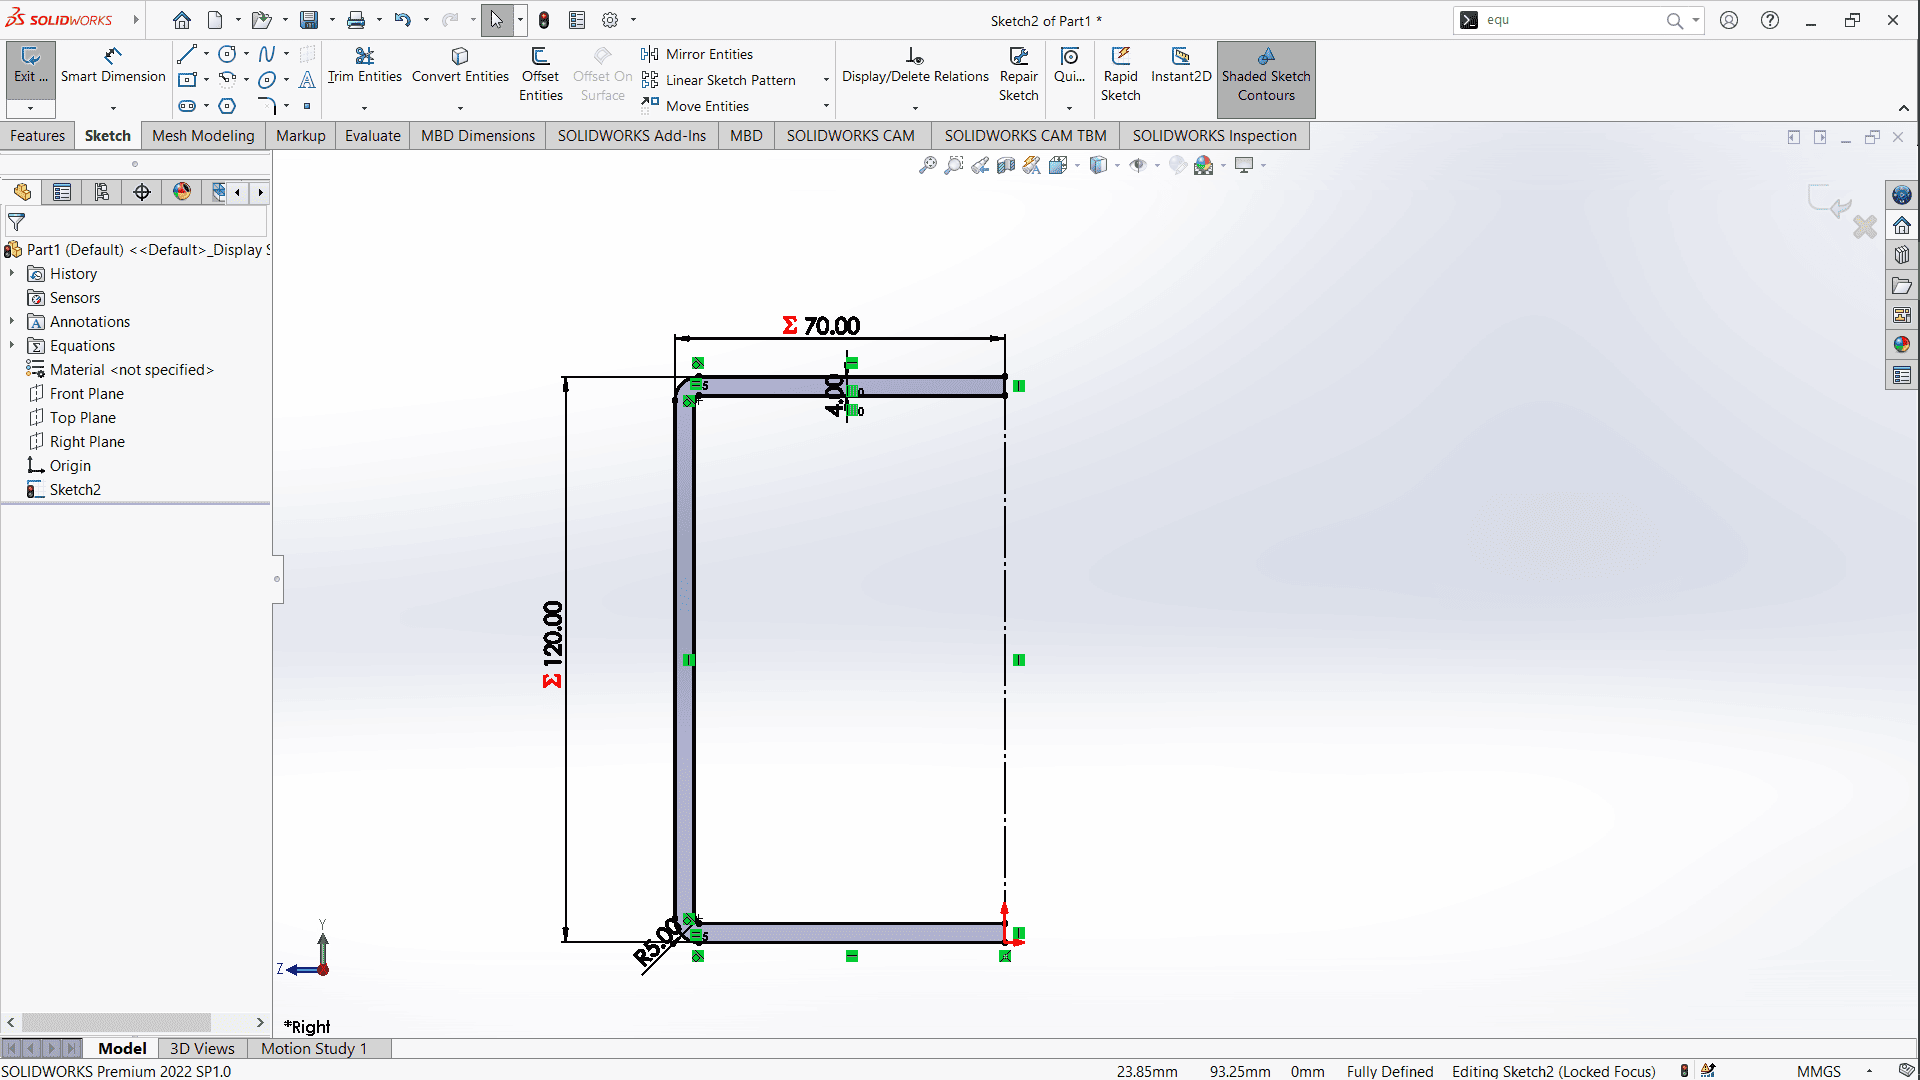
Using the Line Tool, I sketched half of a cylinder, adding height and width measurements. I applied a 5mm fillet and used the Offset Entities tool to create an inner boundary before closing the shape.
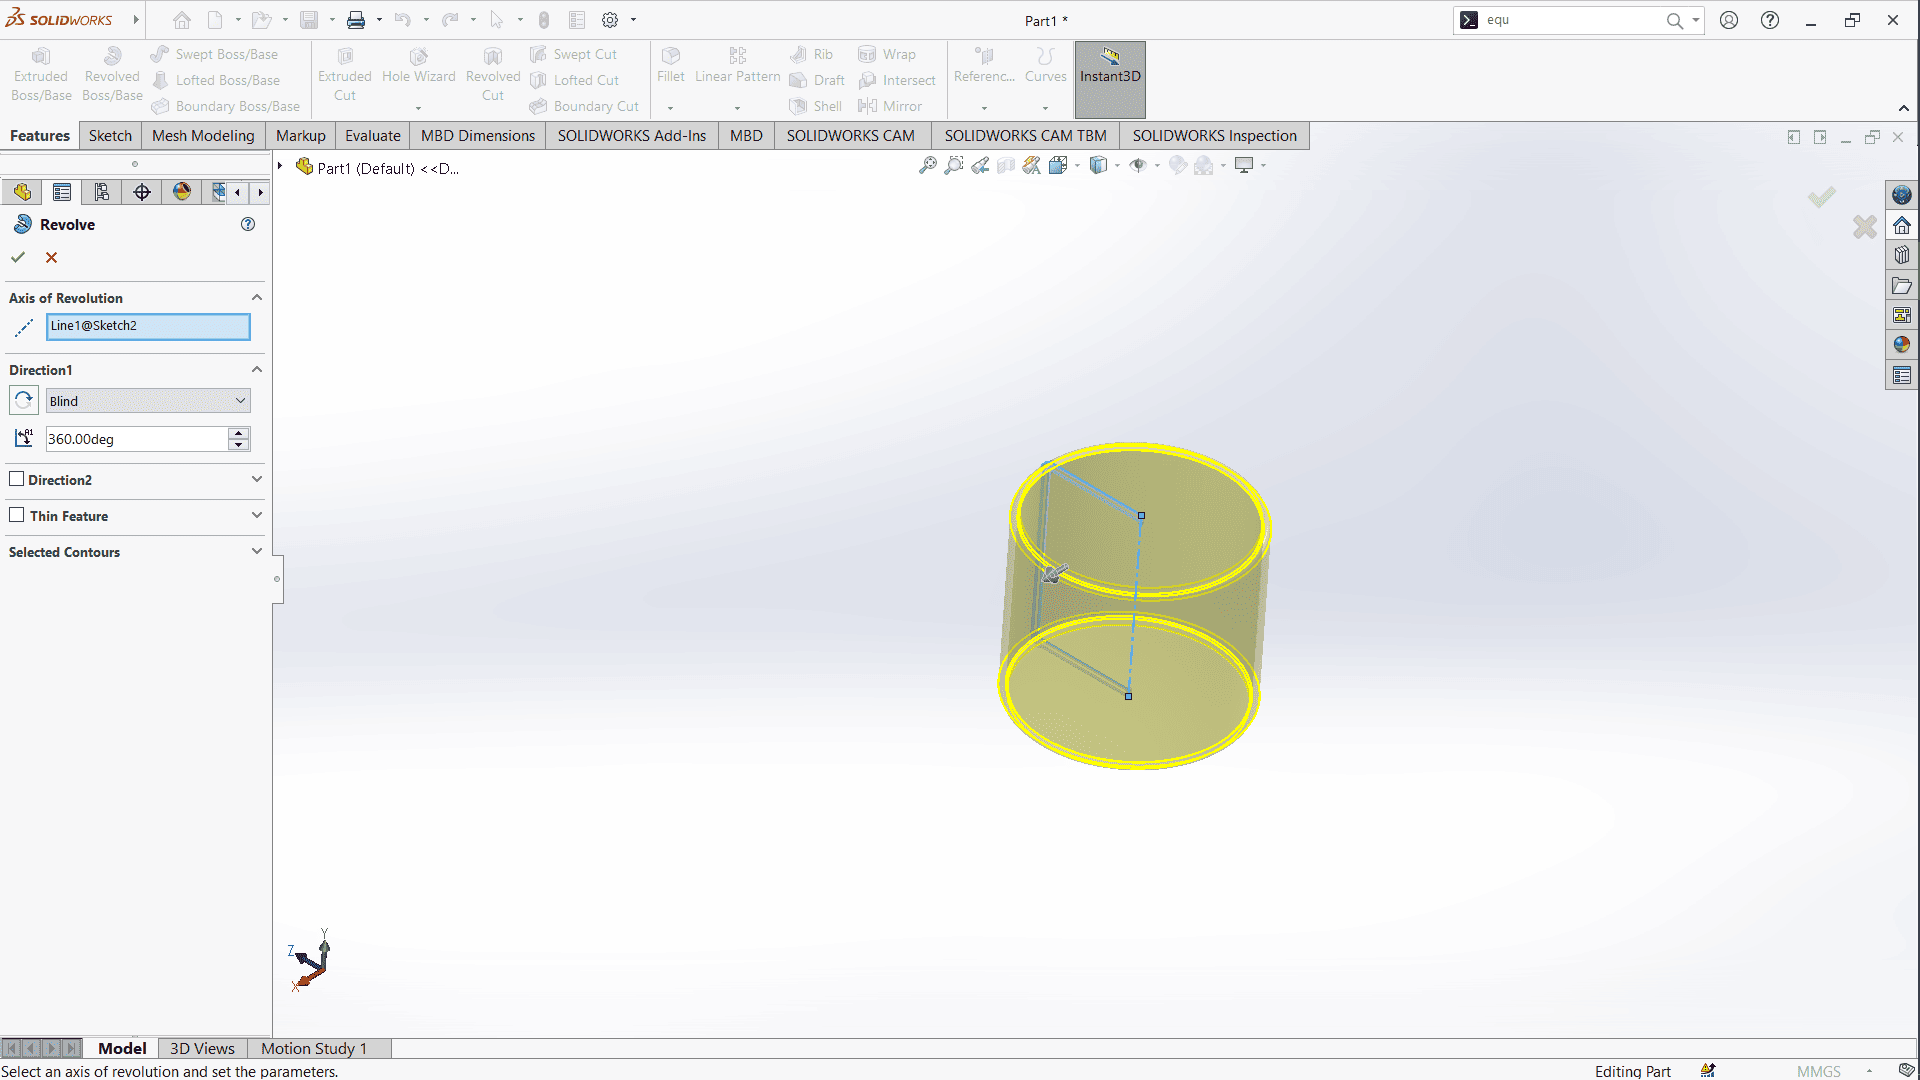
Next, I applied Revolve Boss/Base to the sketch, forming a fully defined cylinder.
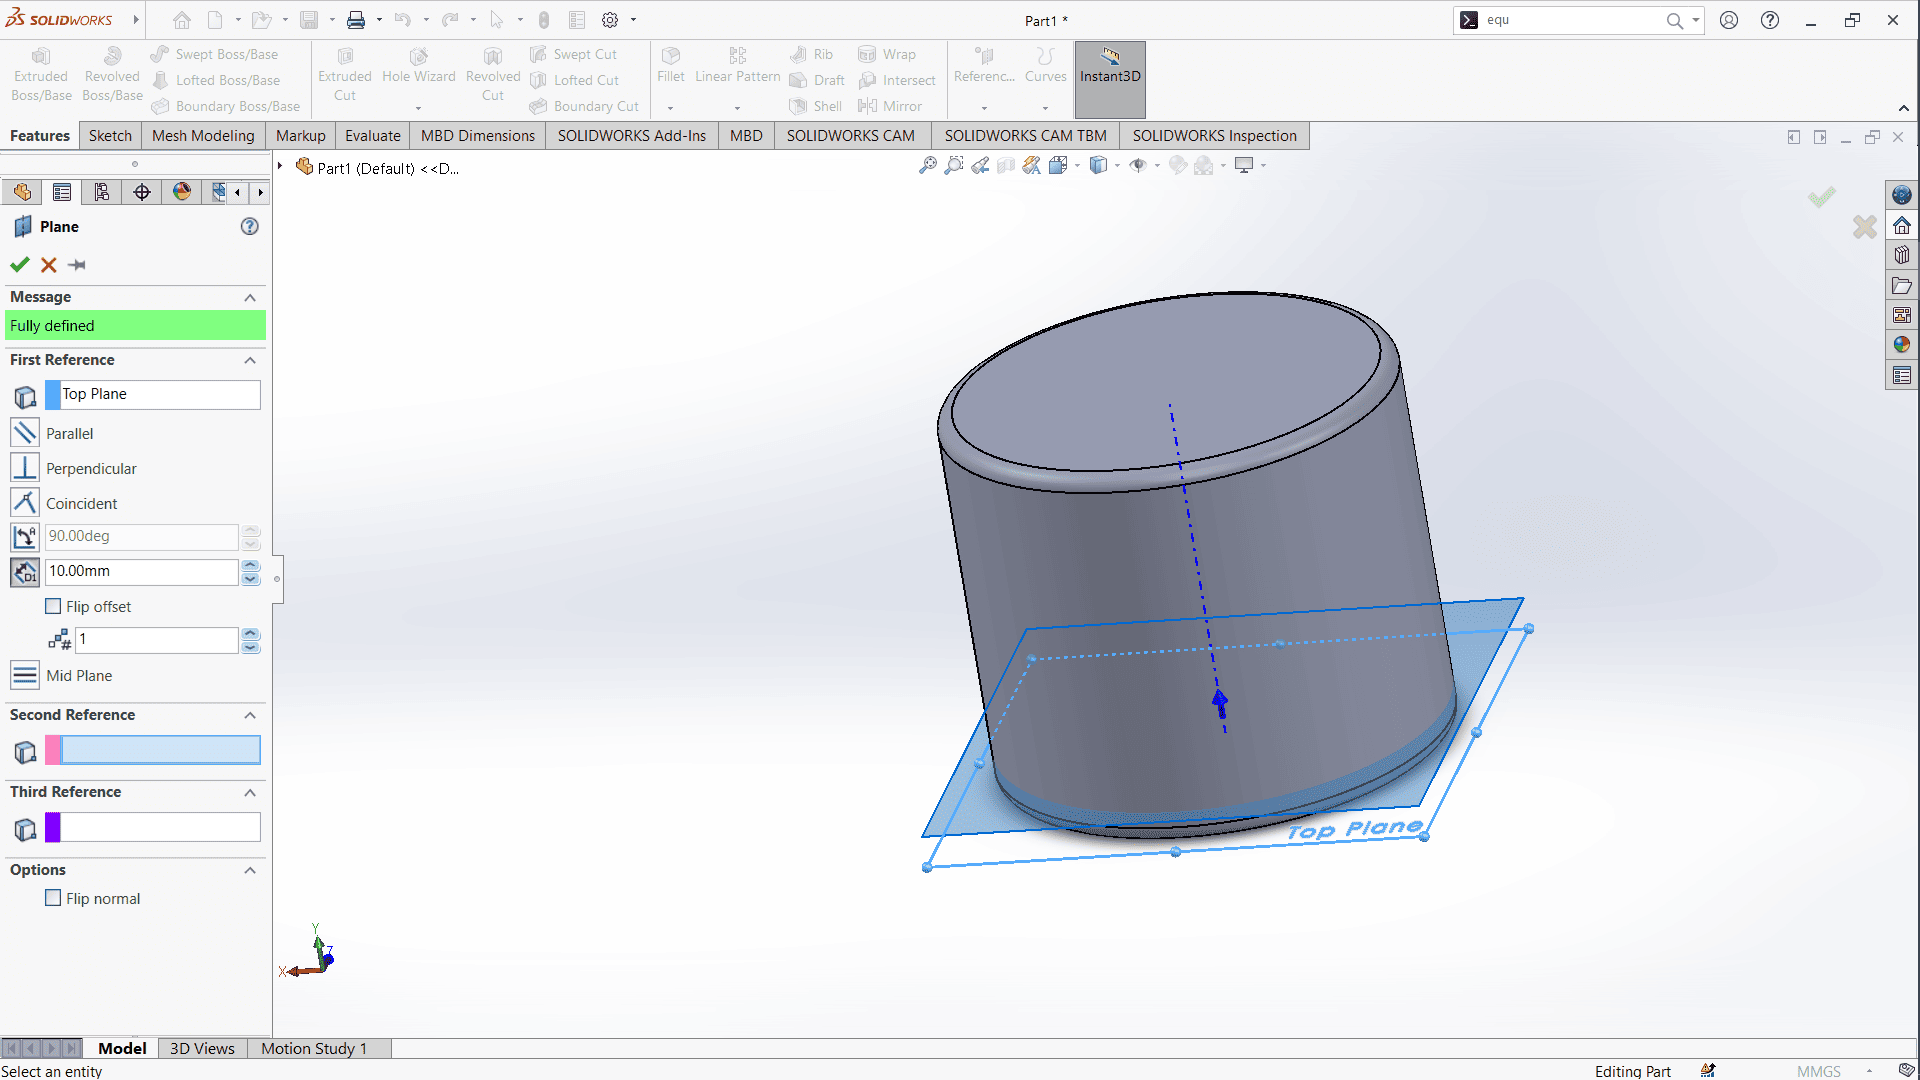
To facilitate further modifications, I created a new plane positioned 10mm above the top plane.
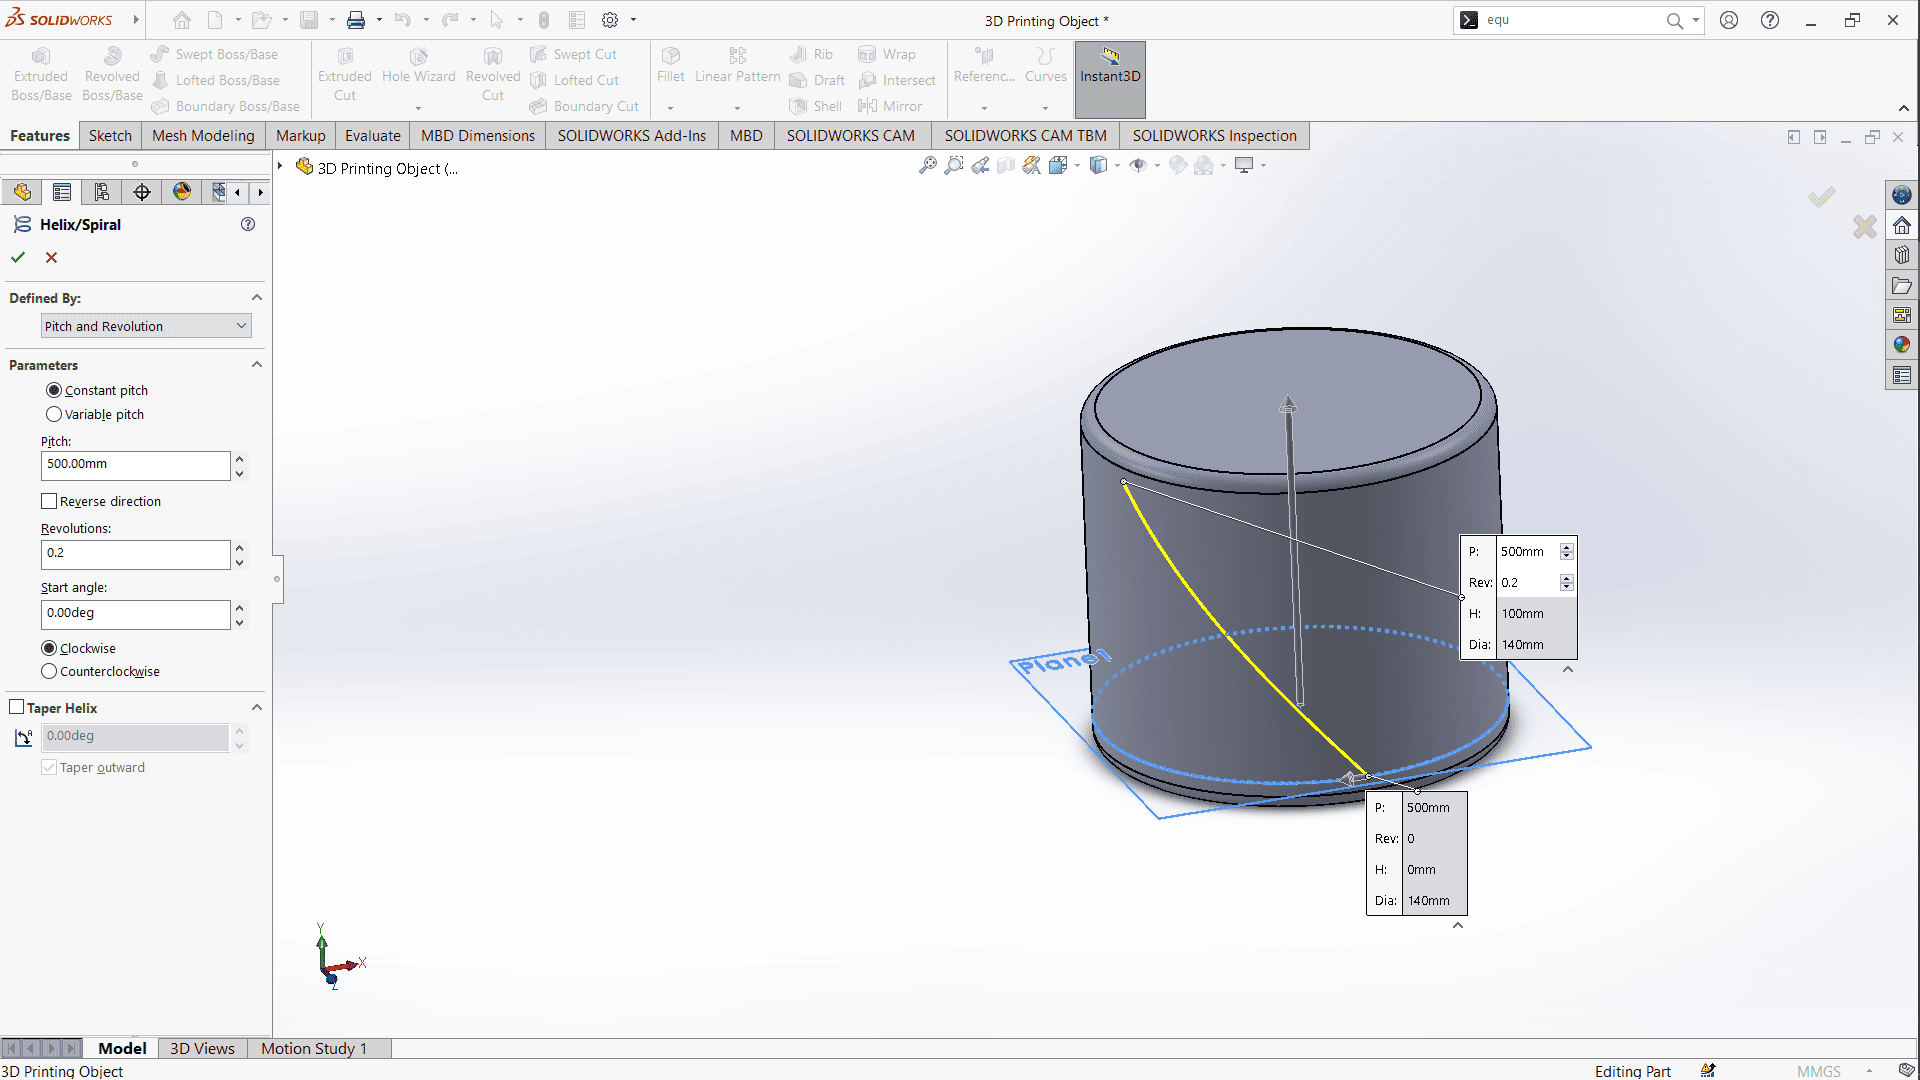
Using the Convert Entities tool, I generated a copy of the circular edge. Then, with the Helix/Spiral tool, I created a helical curve along the cylinder’s surface.
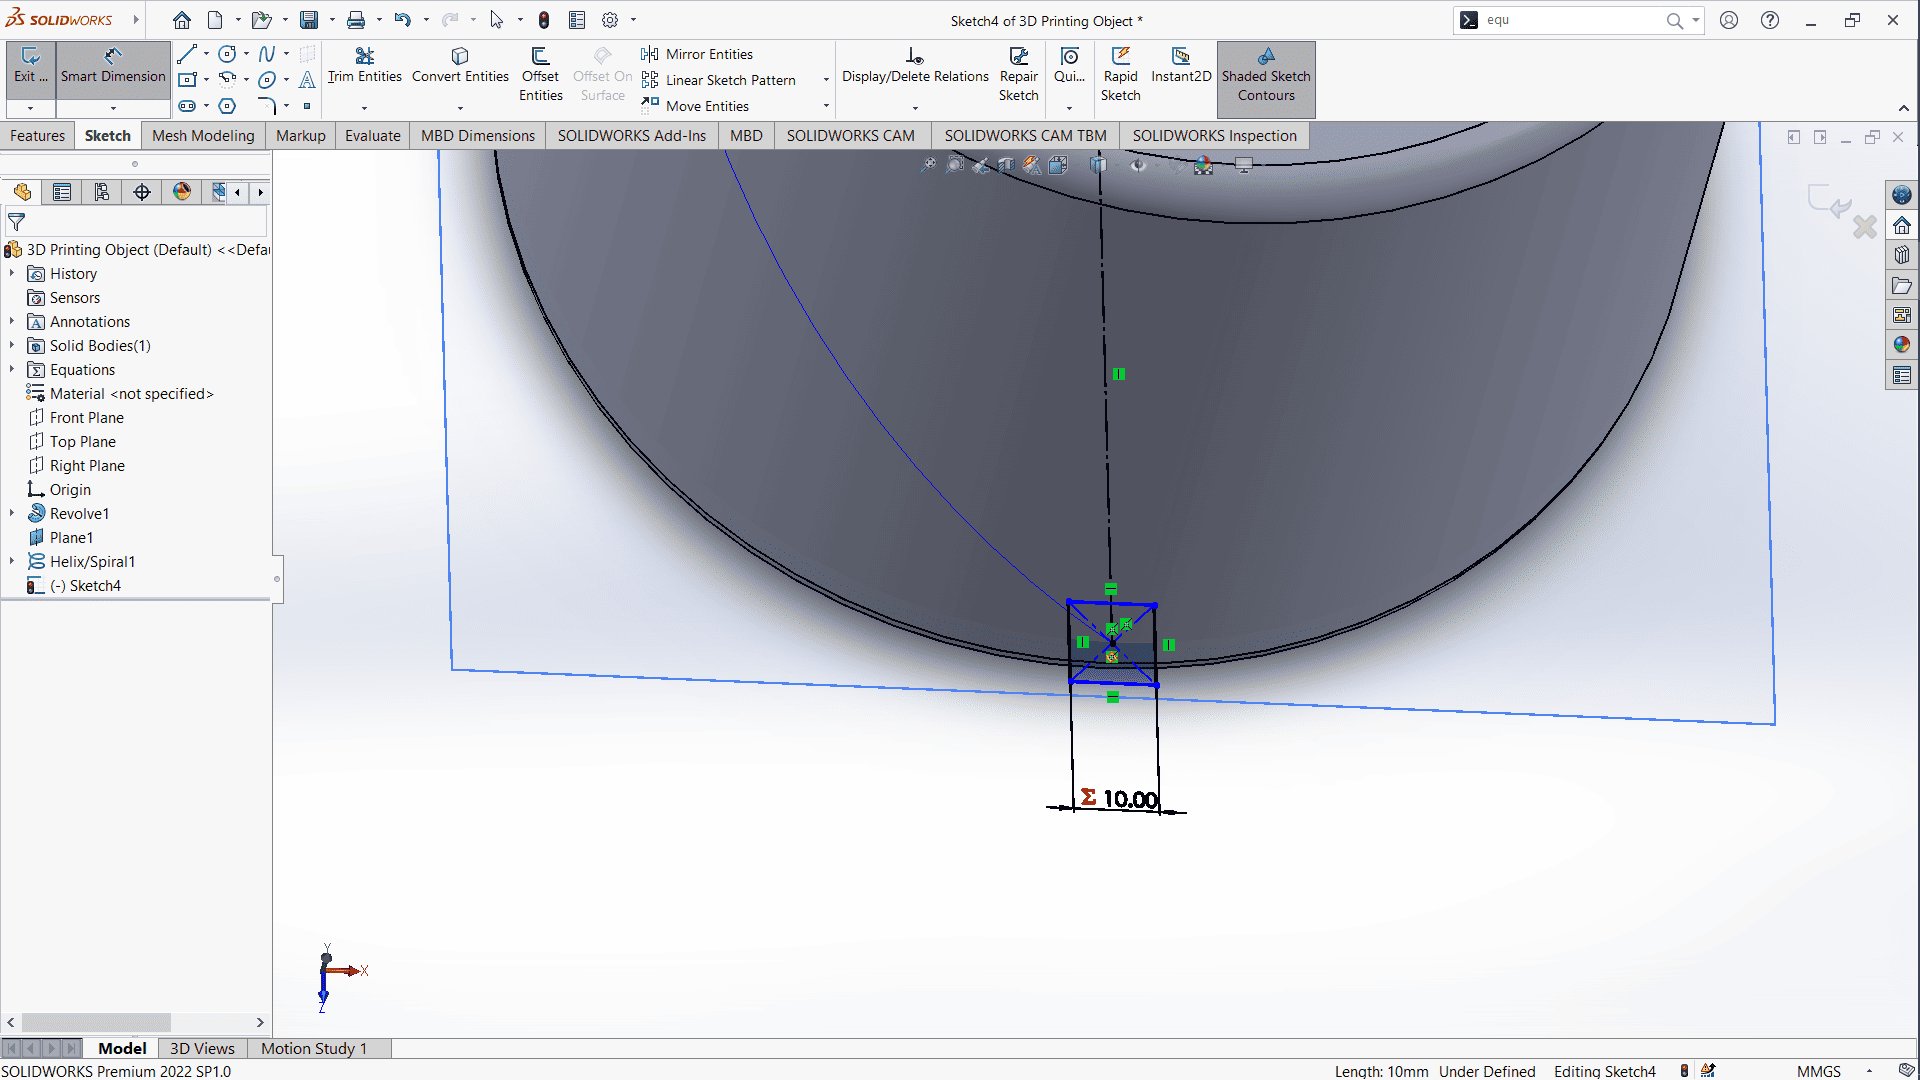
At the endpoint of the spiral, I sketched a 10mm rectangle to serve as a cutting profile.
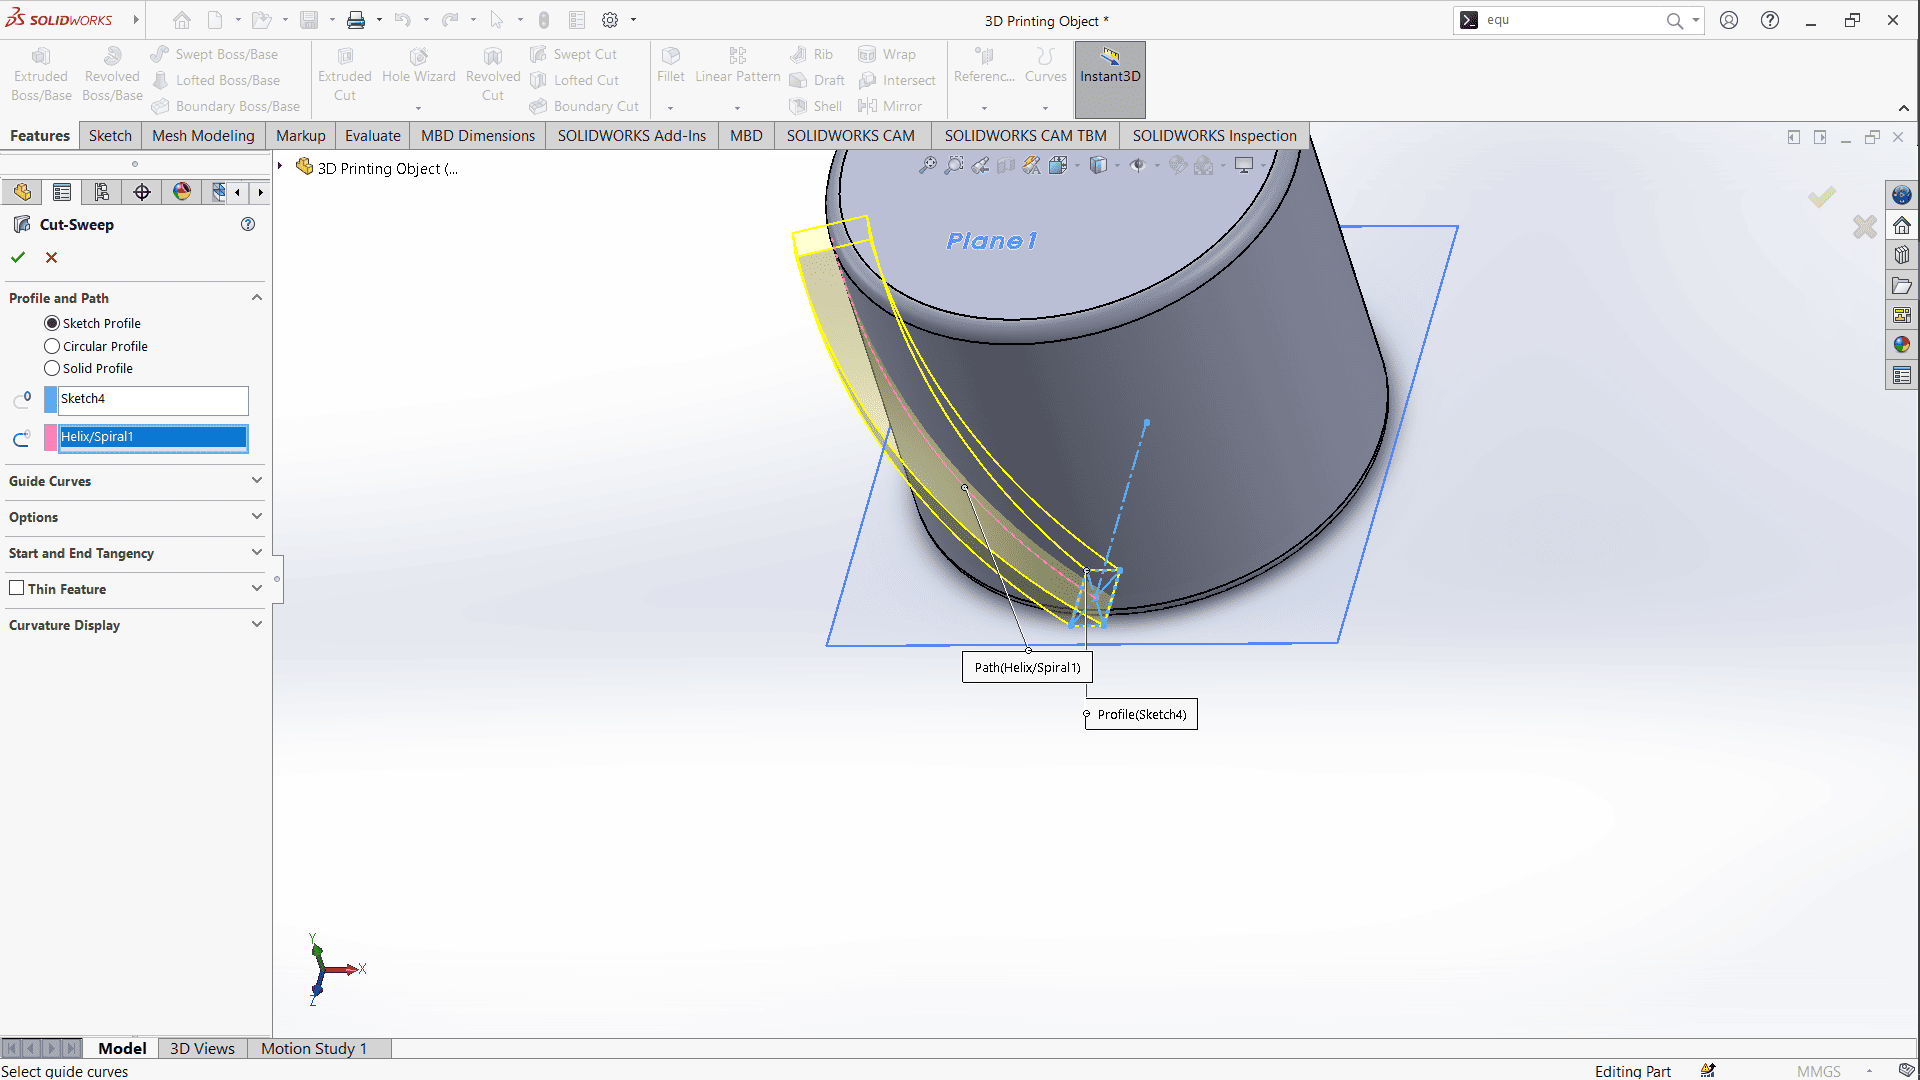
Exiting the sketch, I used the Swept Cut tool to carve through the cylinder.
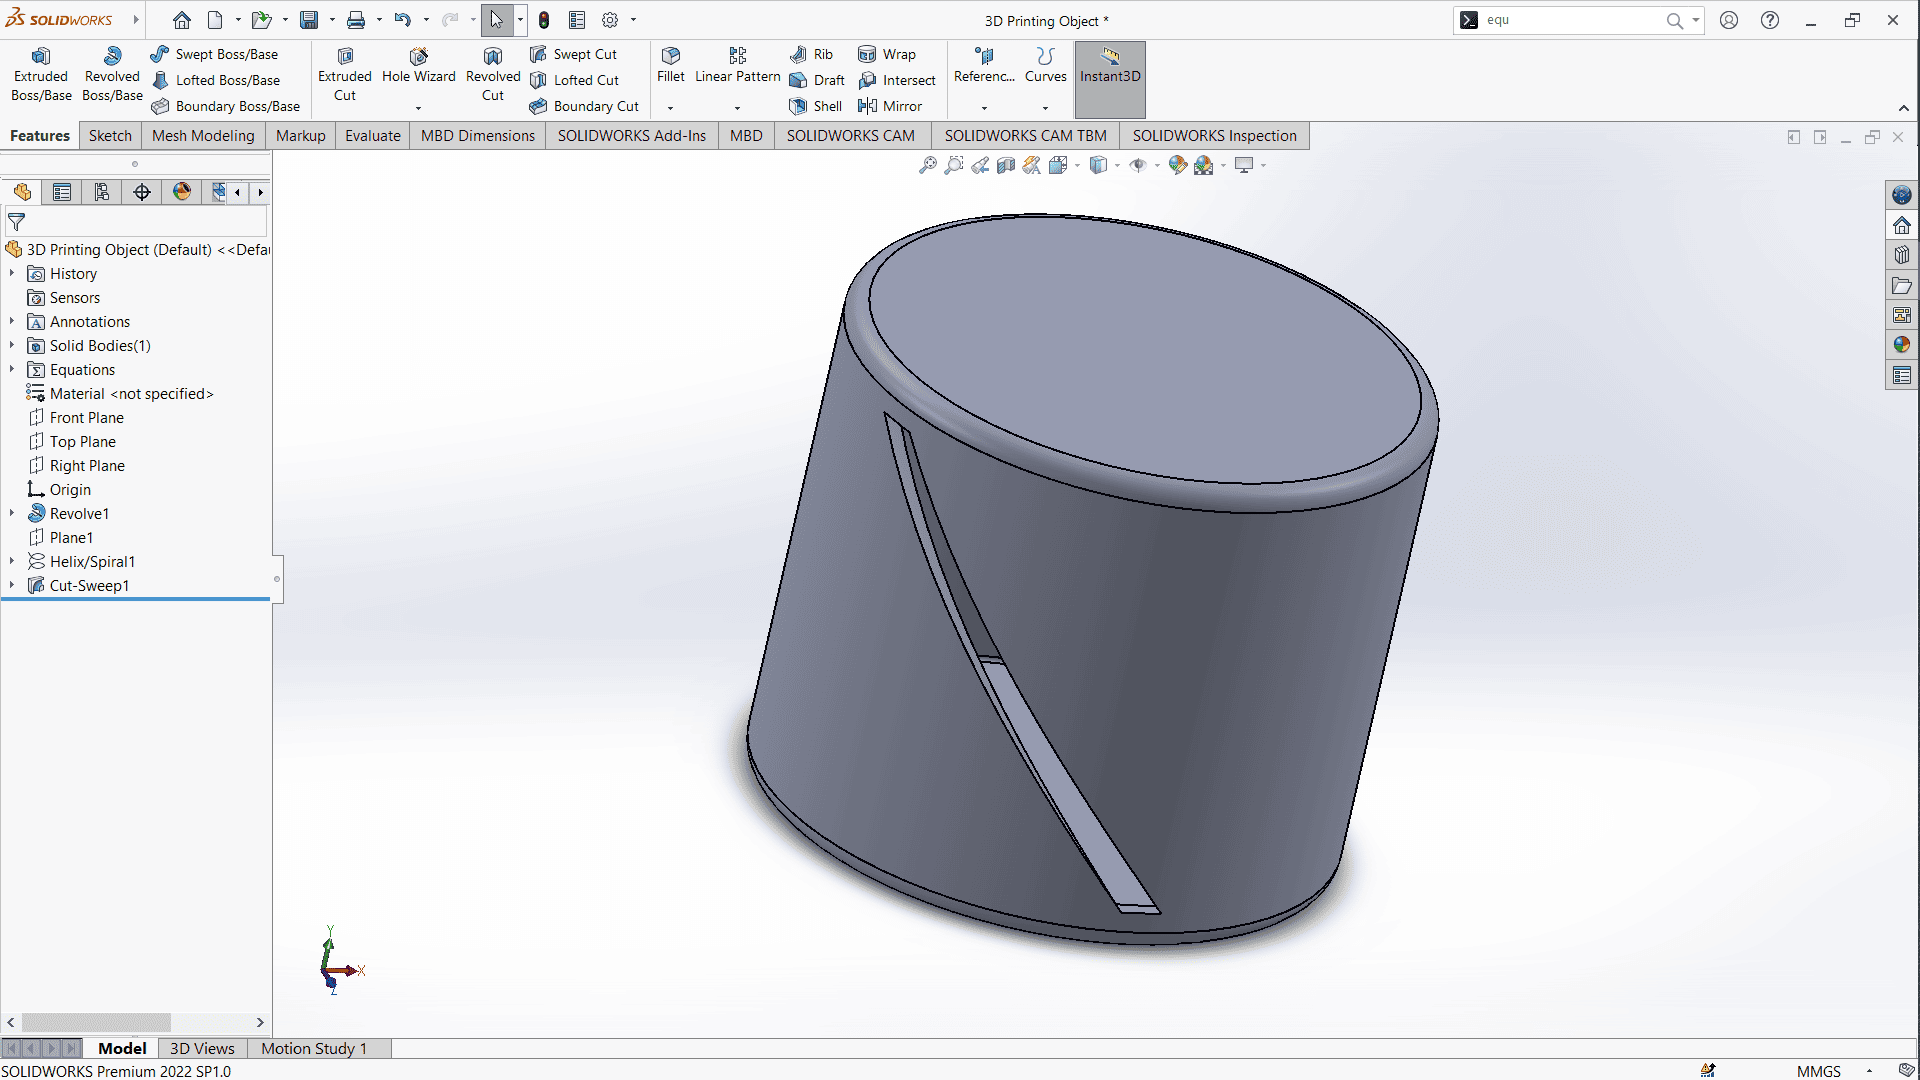
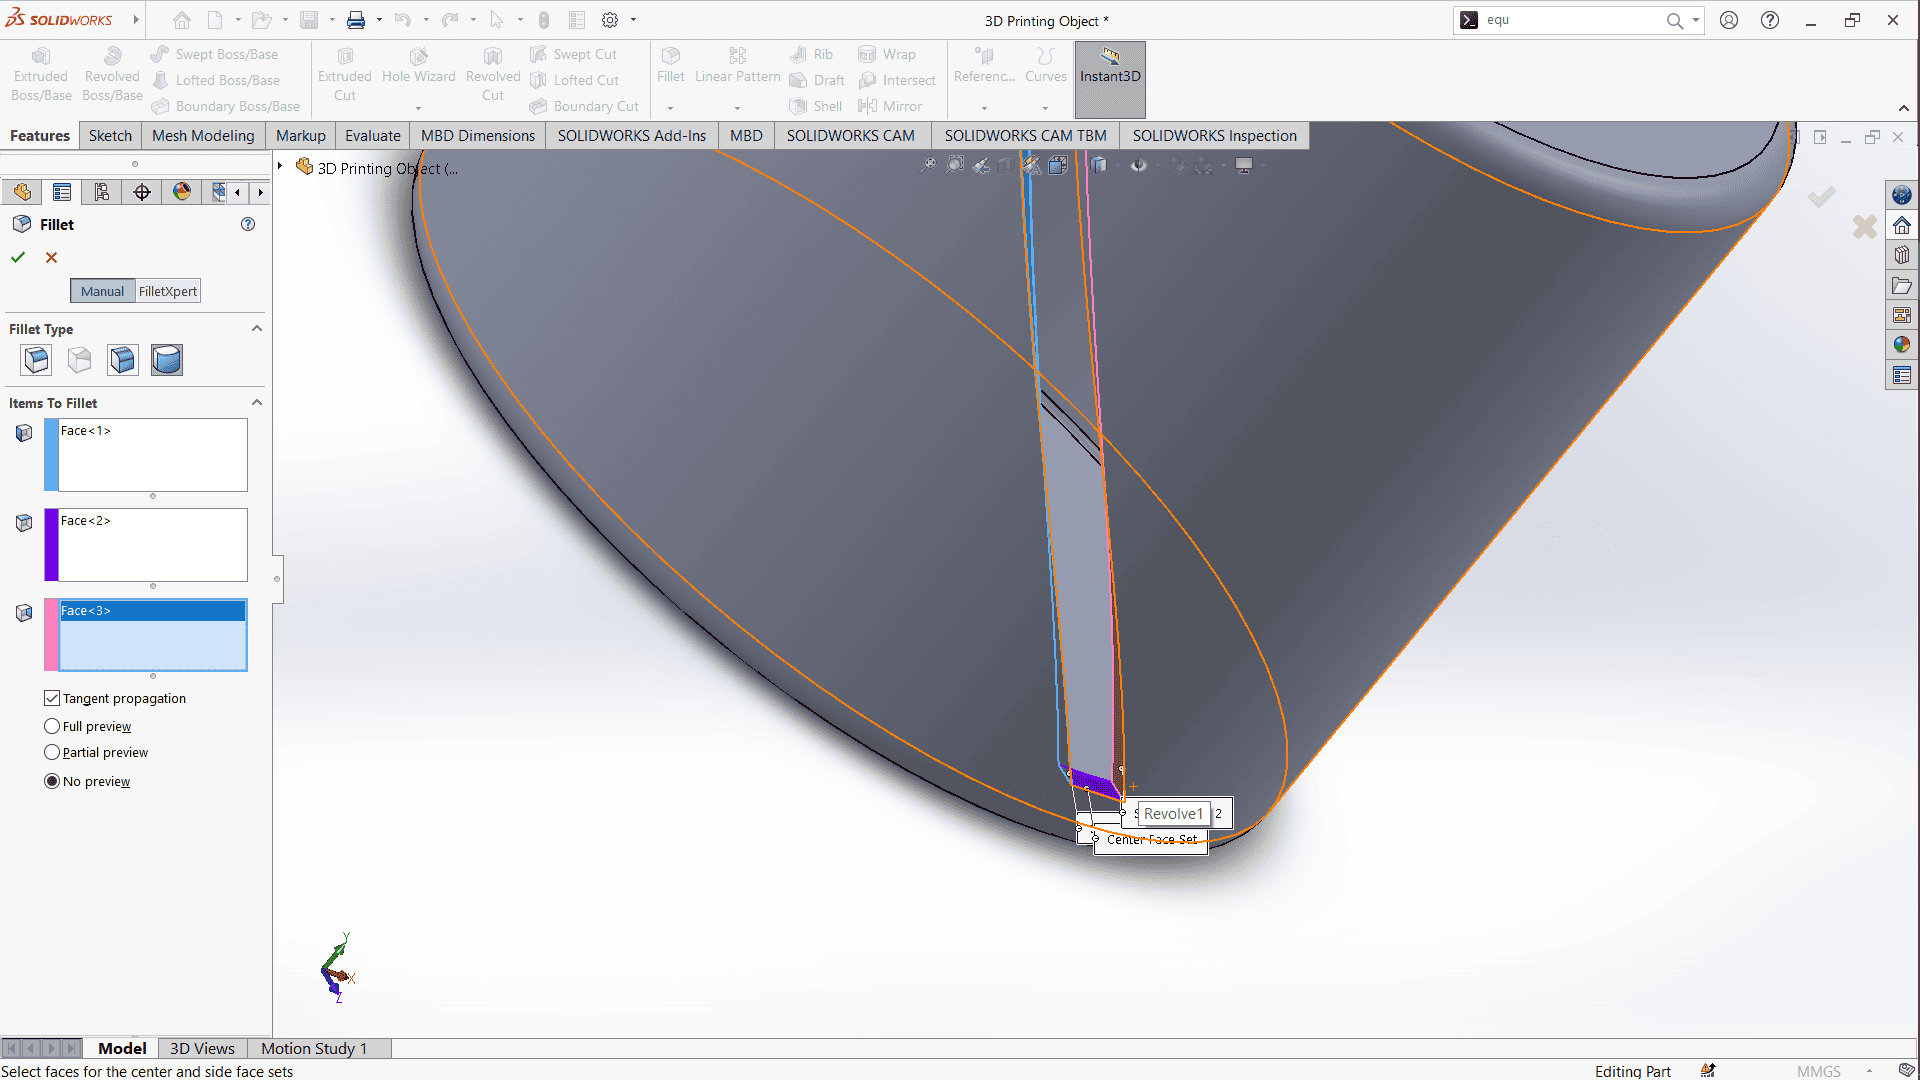
After cutting, I applied a Face Fillet to smooth the edges.
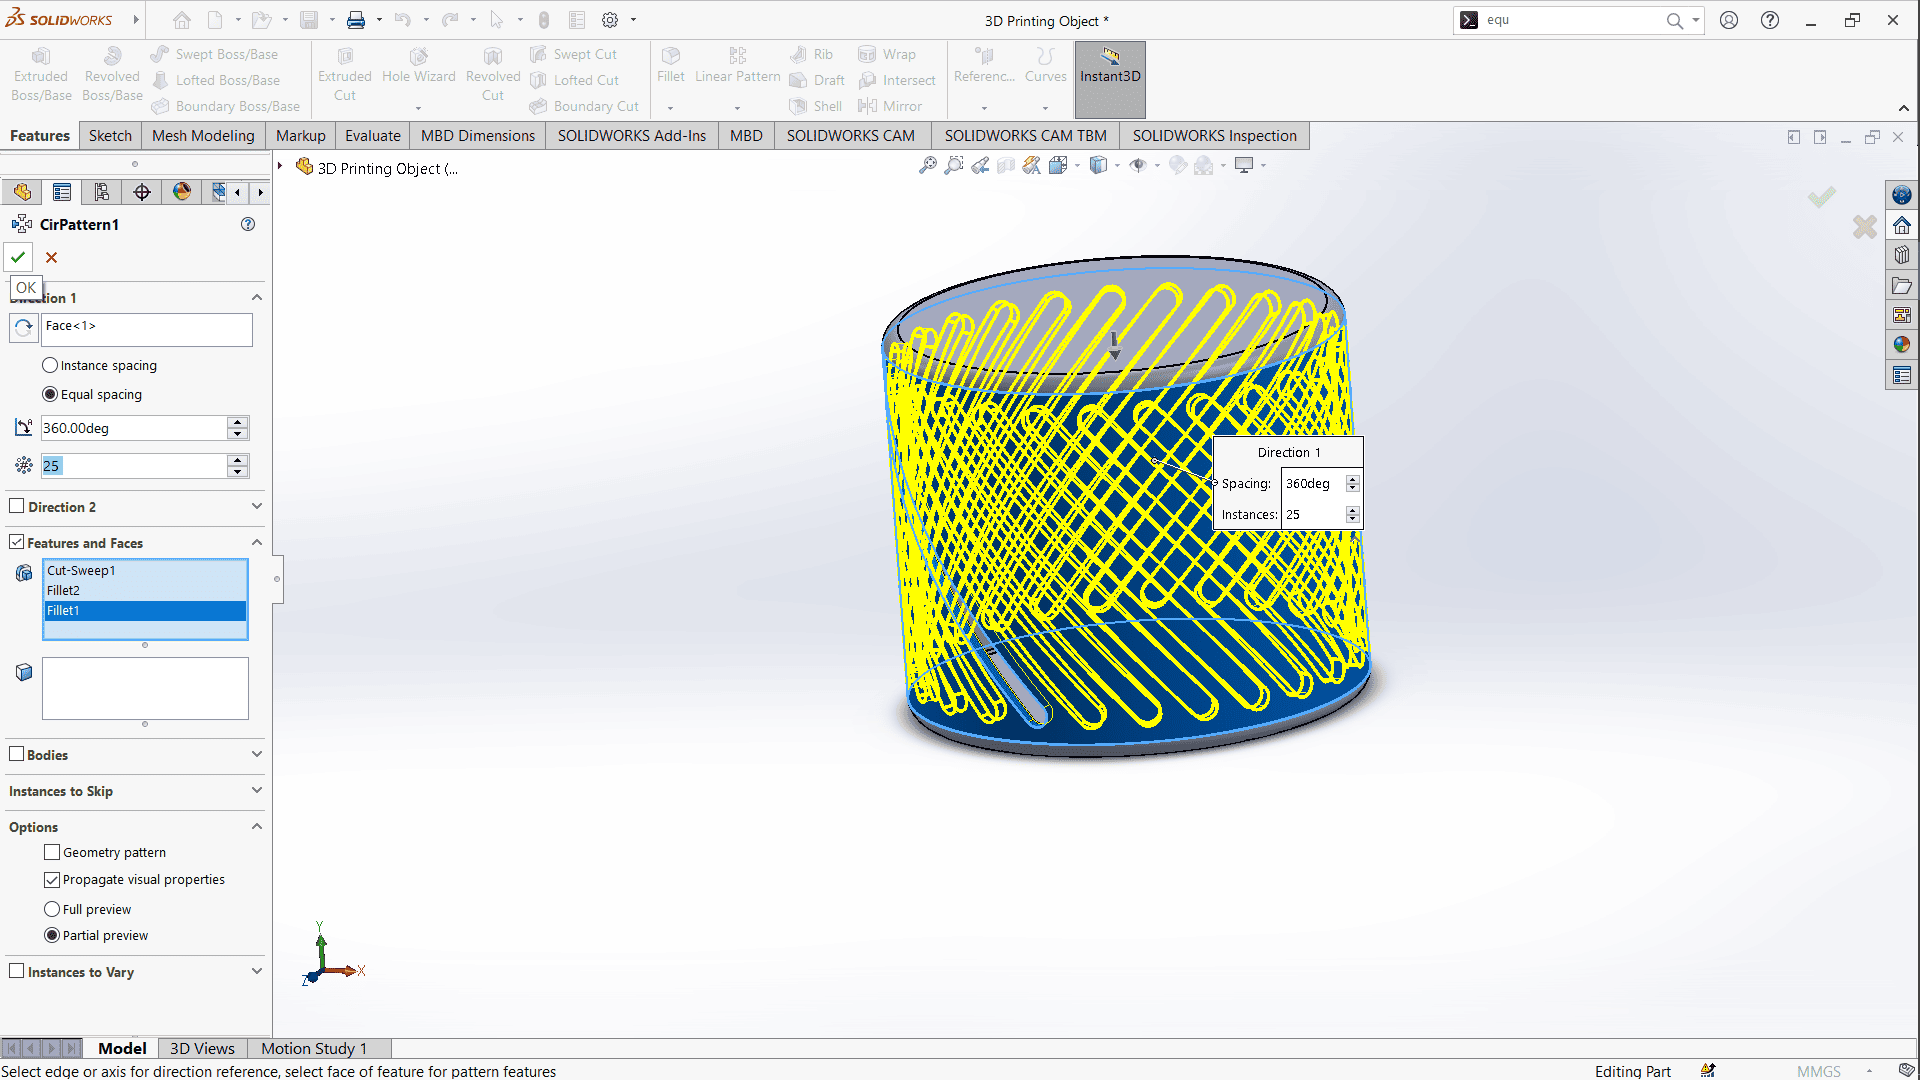
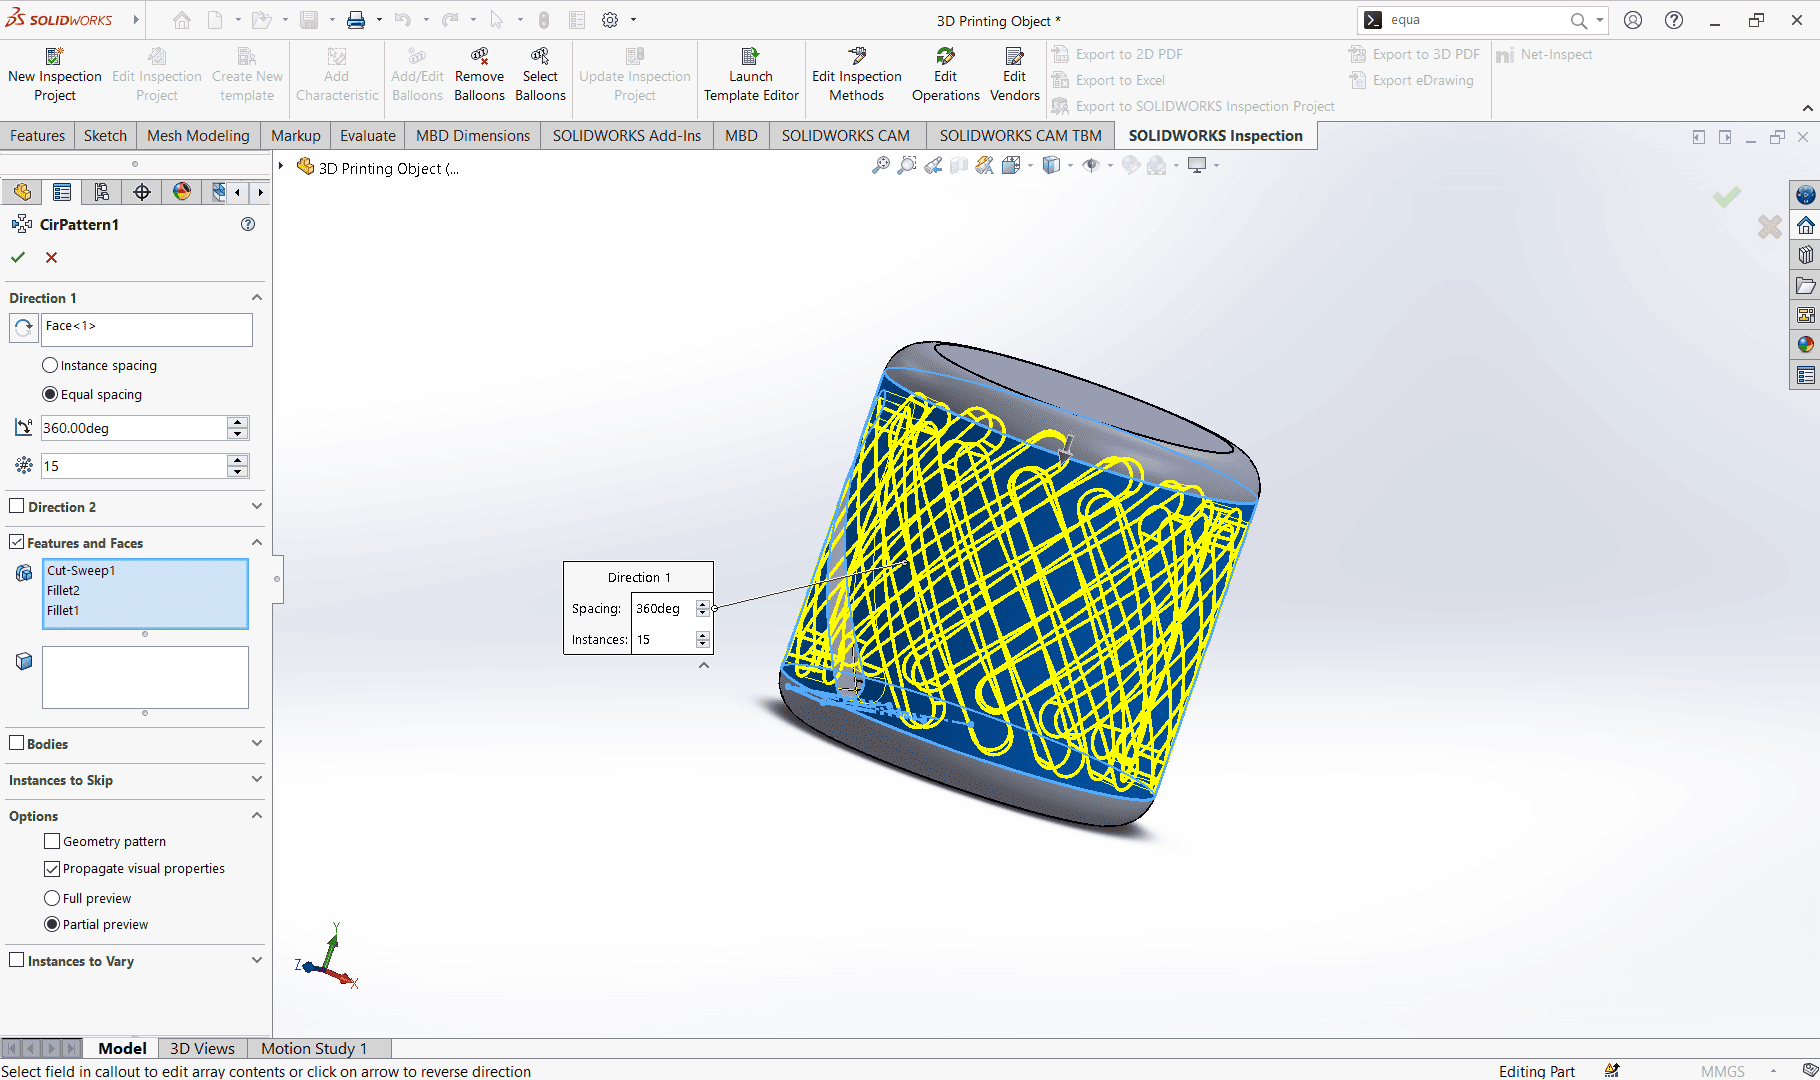
Next, I used the Circular Pattern tool to create multiple cuts around the cylinder, initially setting 25 gaps.
At this stage, the cylinder was fully designed, but it was too large.
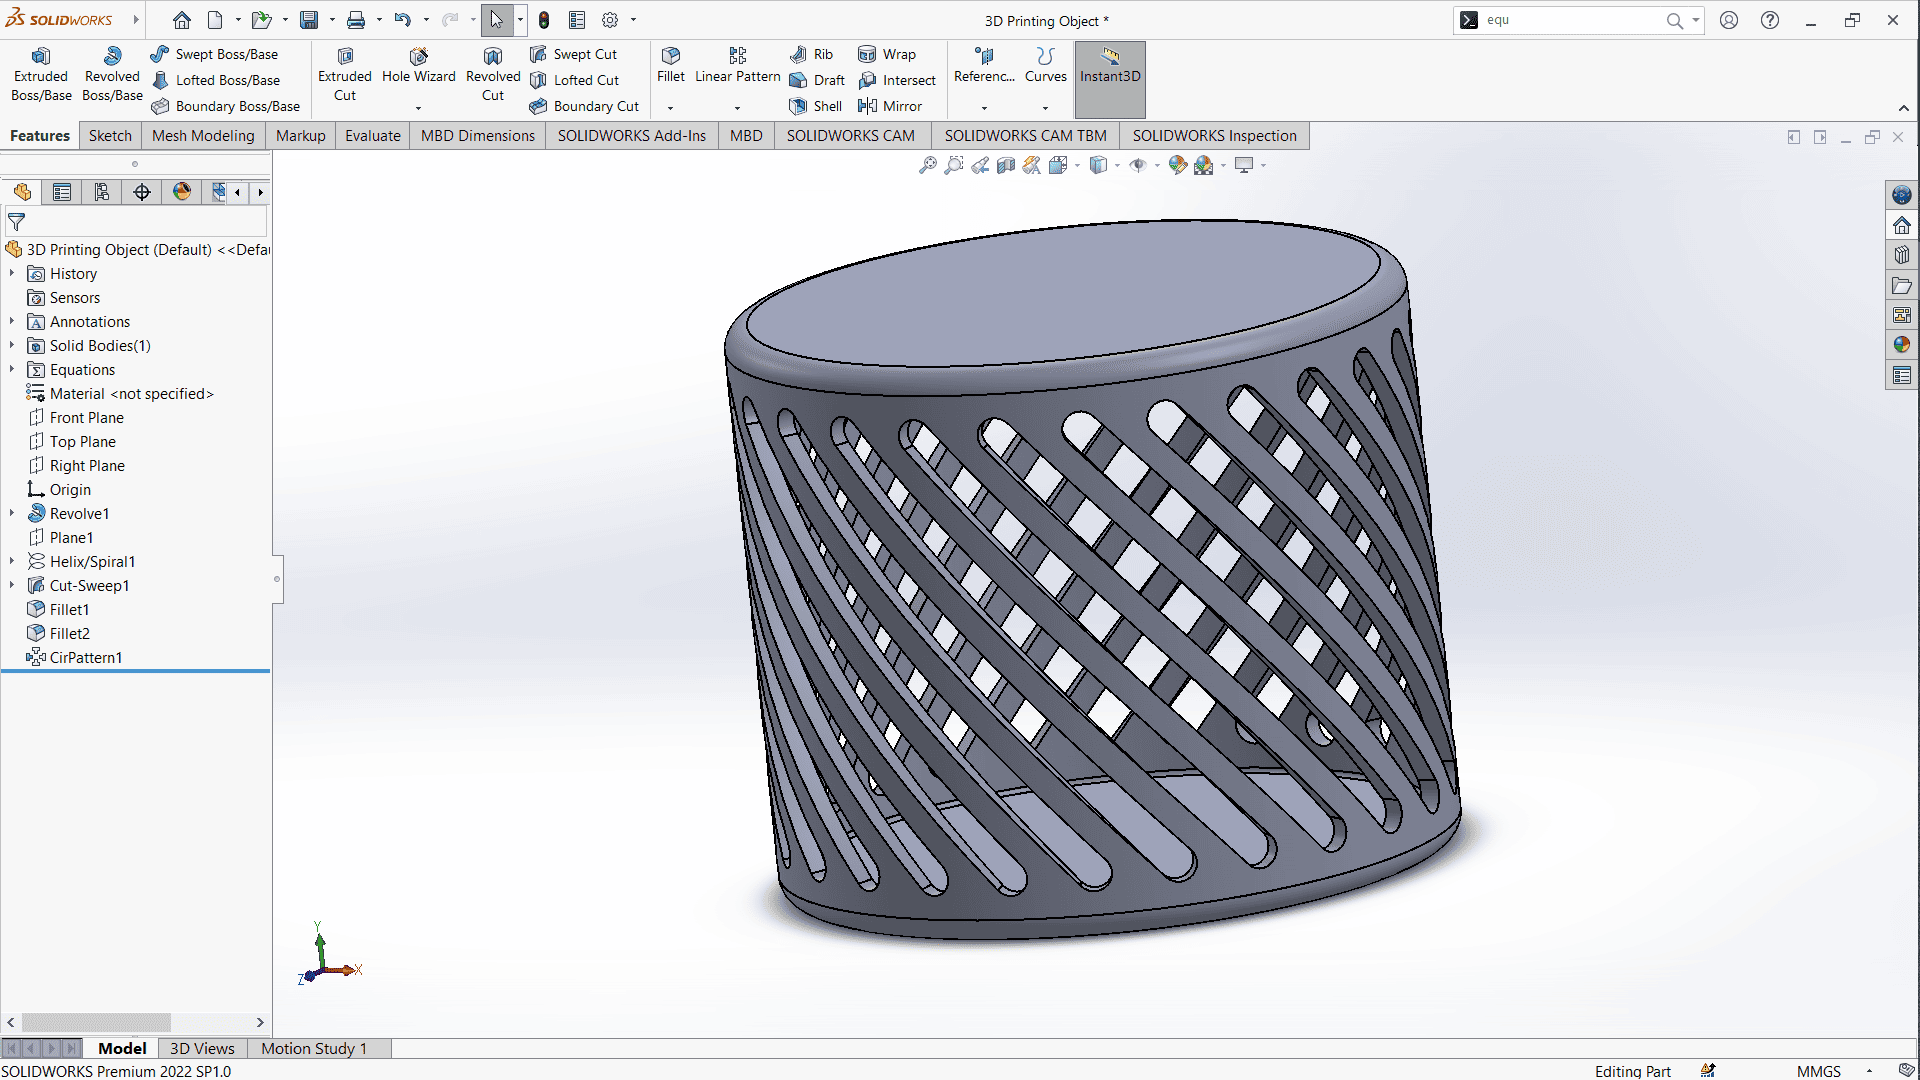
To resize it, I adjusted the Global Variables, reducing both height and width to 5mm.
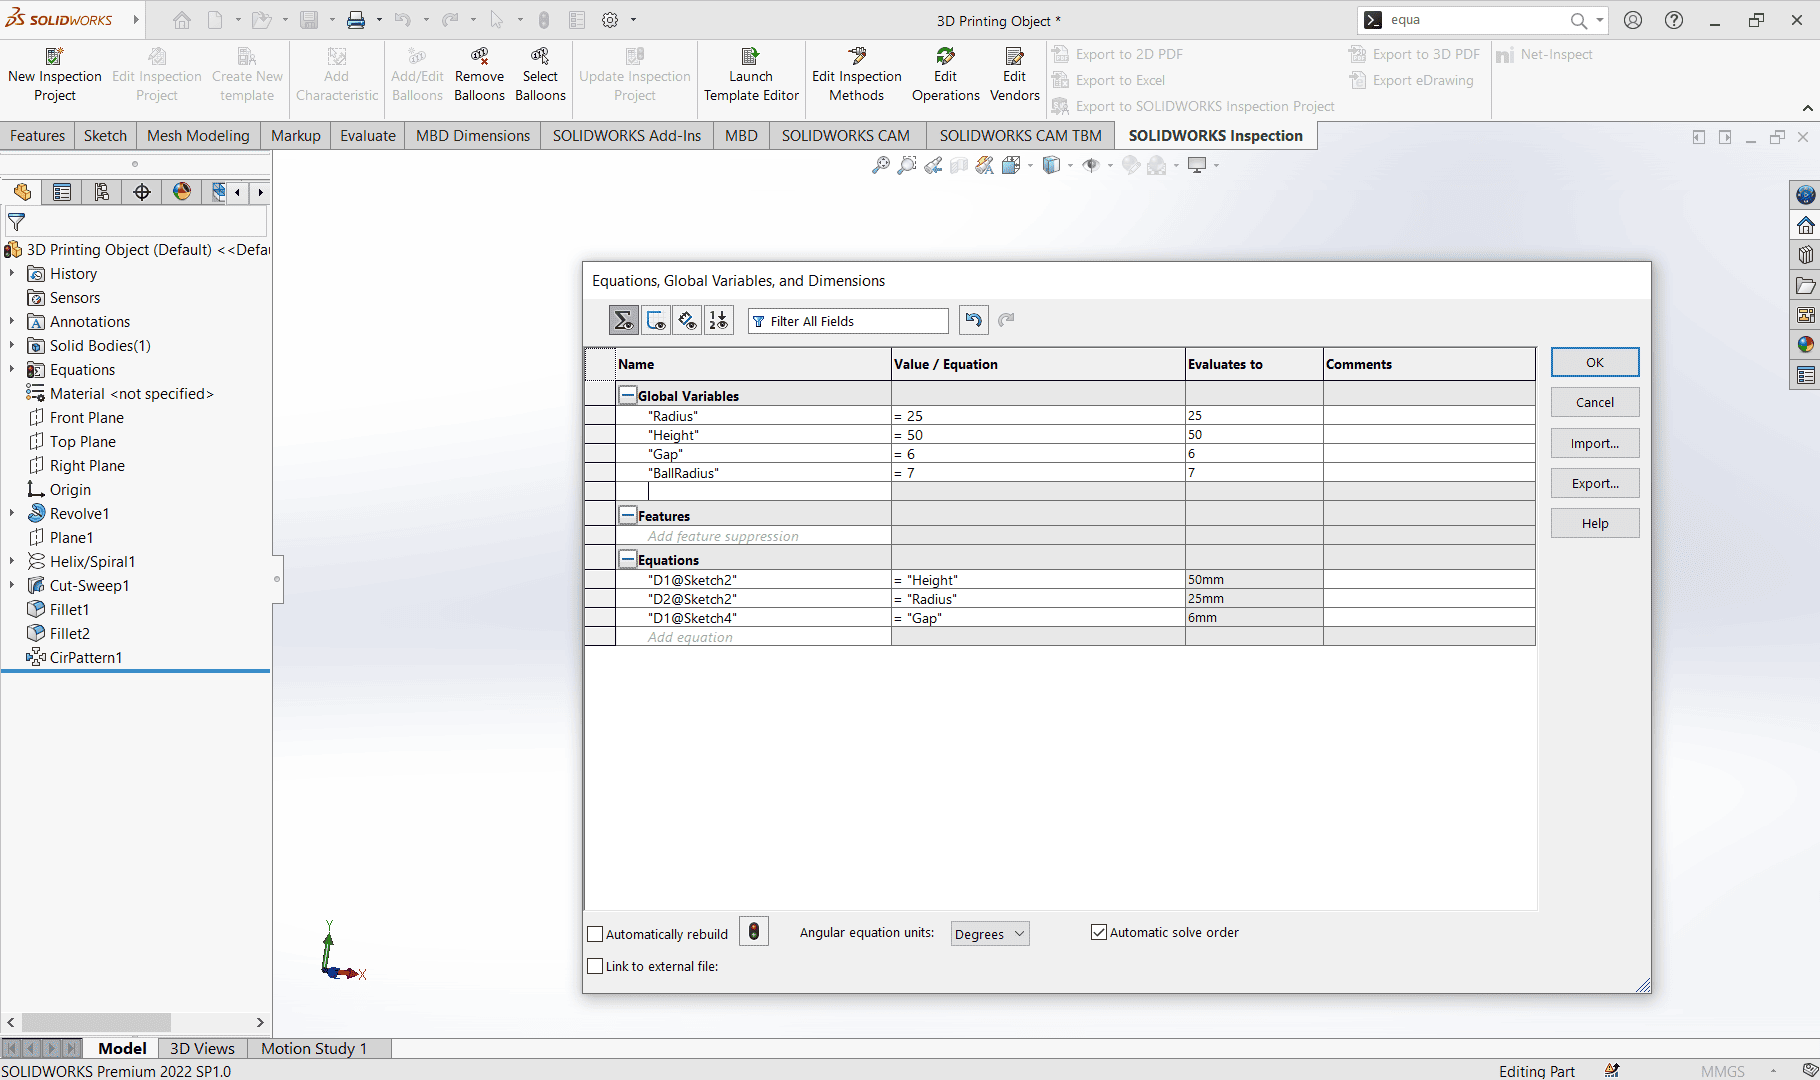
This modification affected the previously created circular pattern—the 25 cutouts exceeded the cylinder's surface.
To fix this, I edited the circular pattern and reduced the cutouts from 25 to 15.
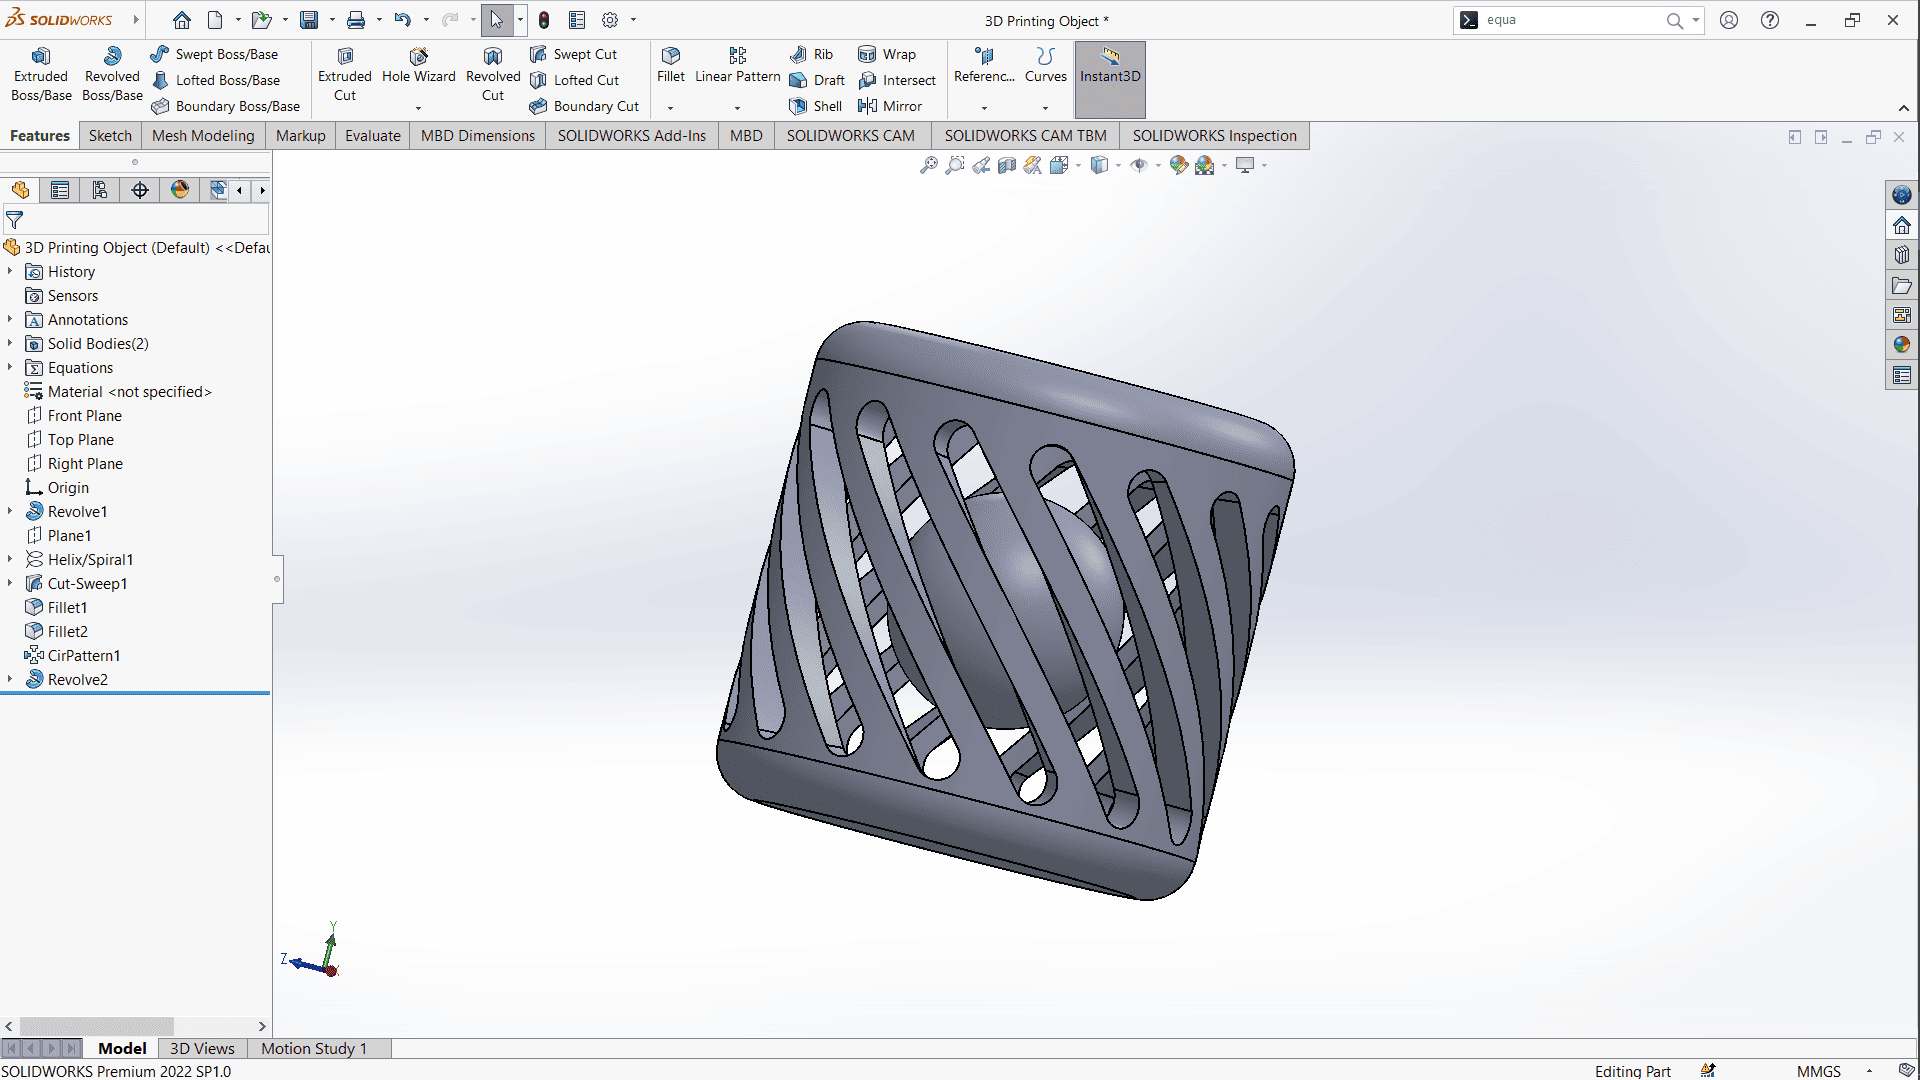
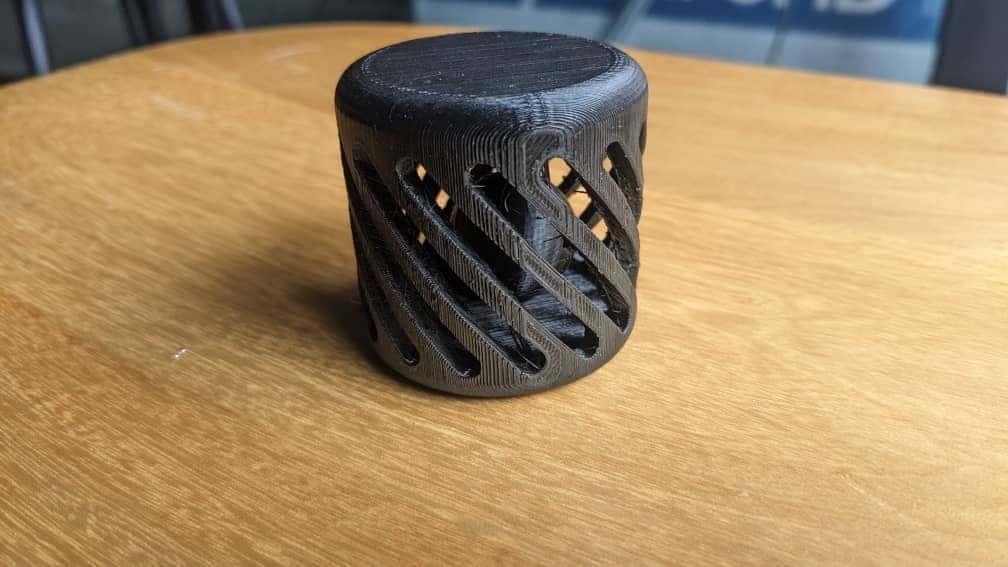
I then proceeded to design a ball inside the cylinder by drawing a centerline and adding a semi-circle at the middle of the cylinder.

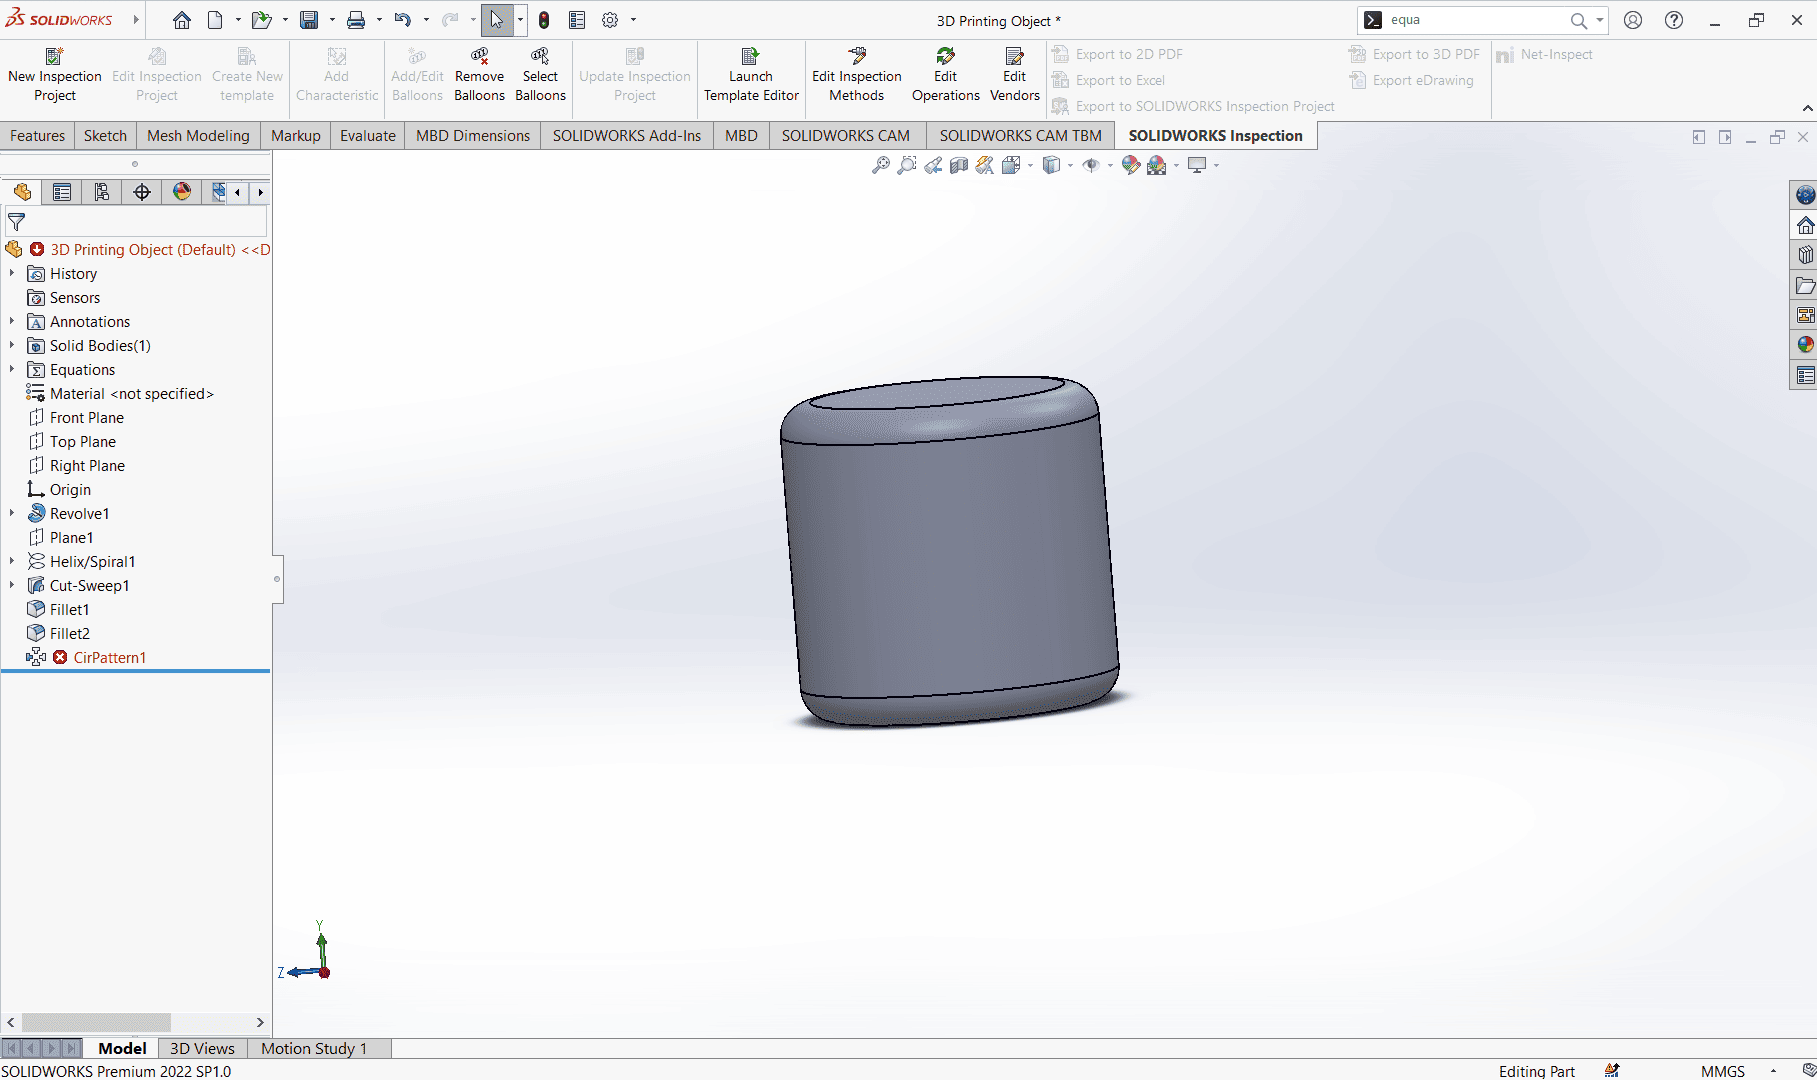
Applying Revolve Boss/Base, I finalized the design, a cylinder with a ball inside.
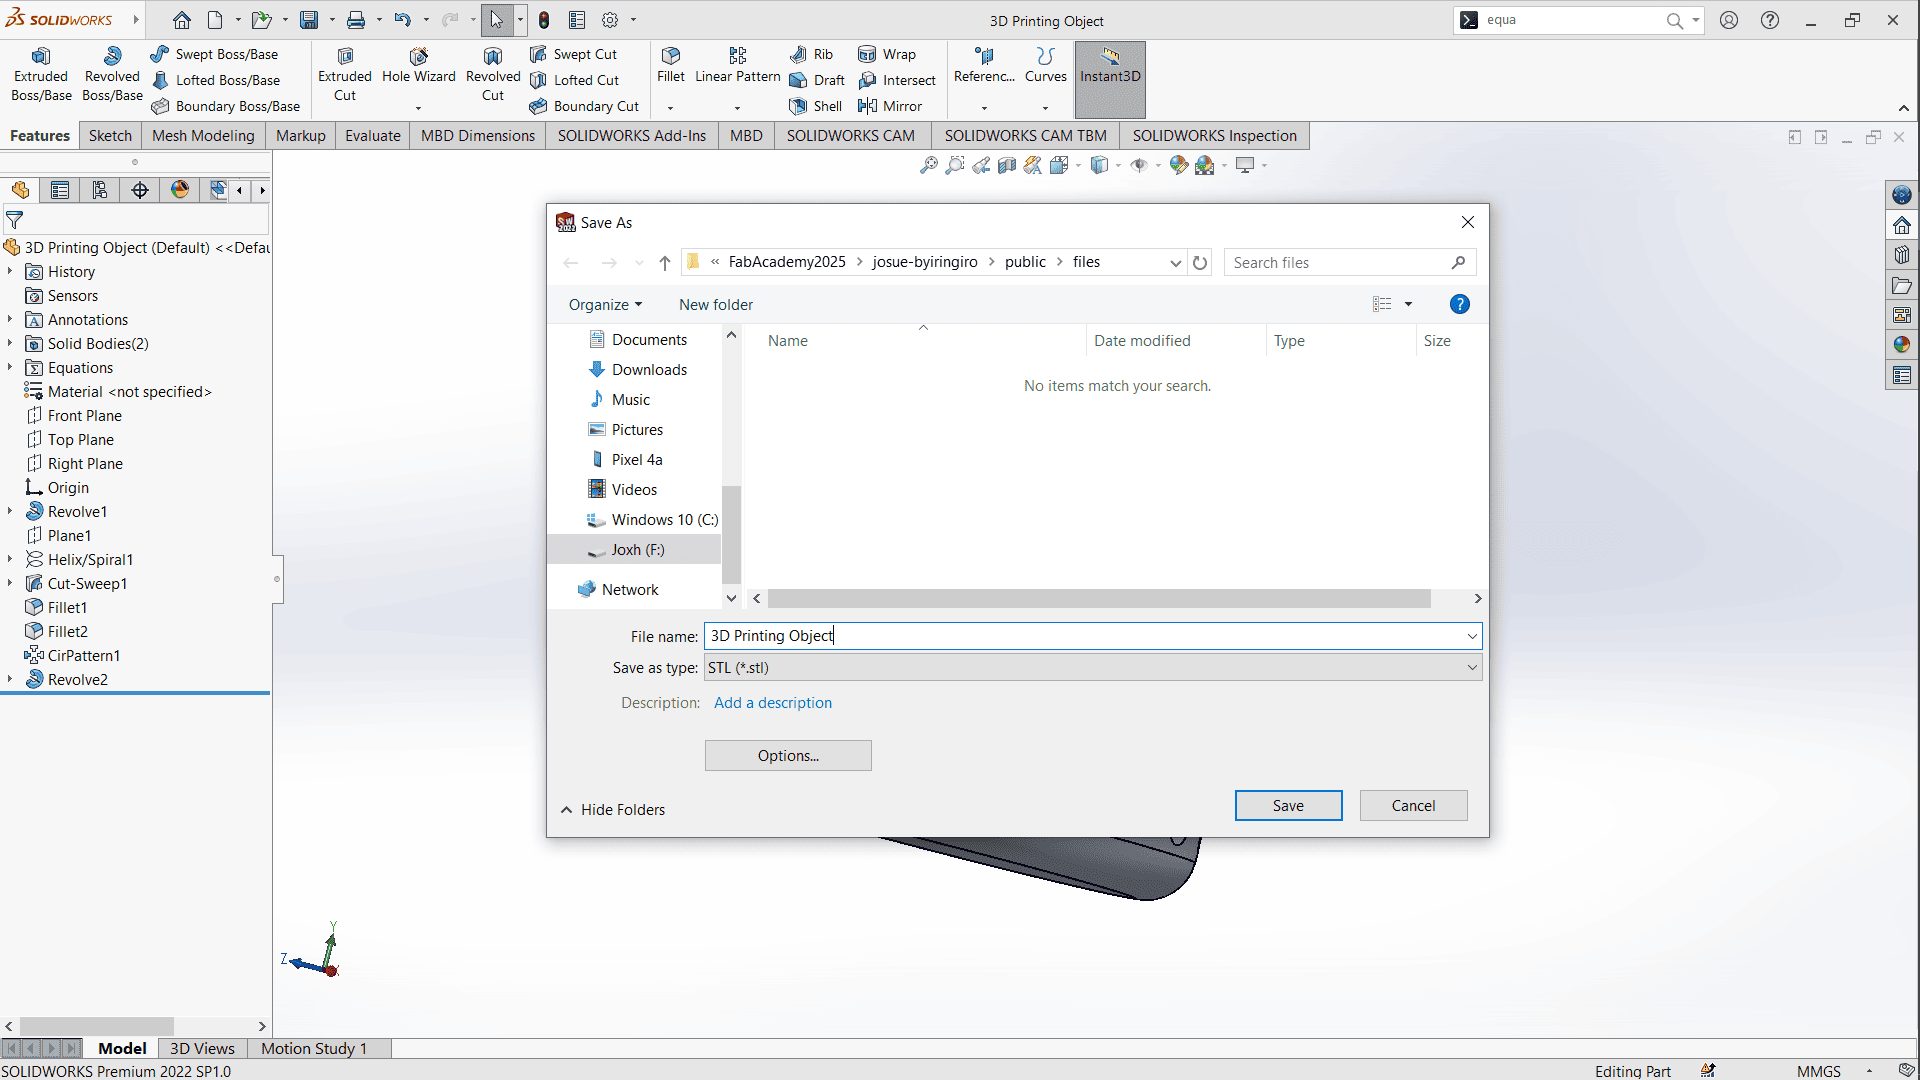
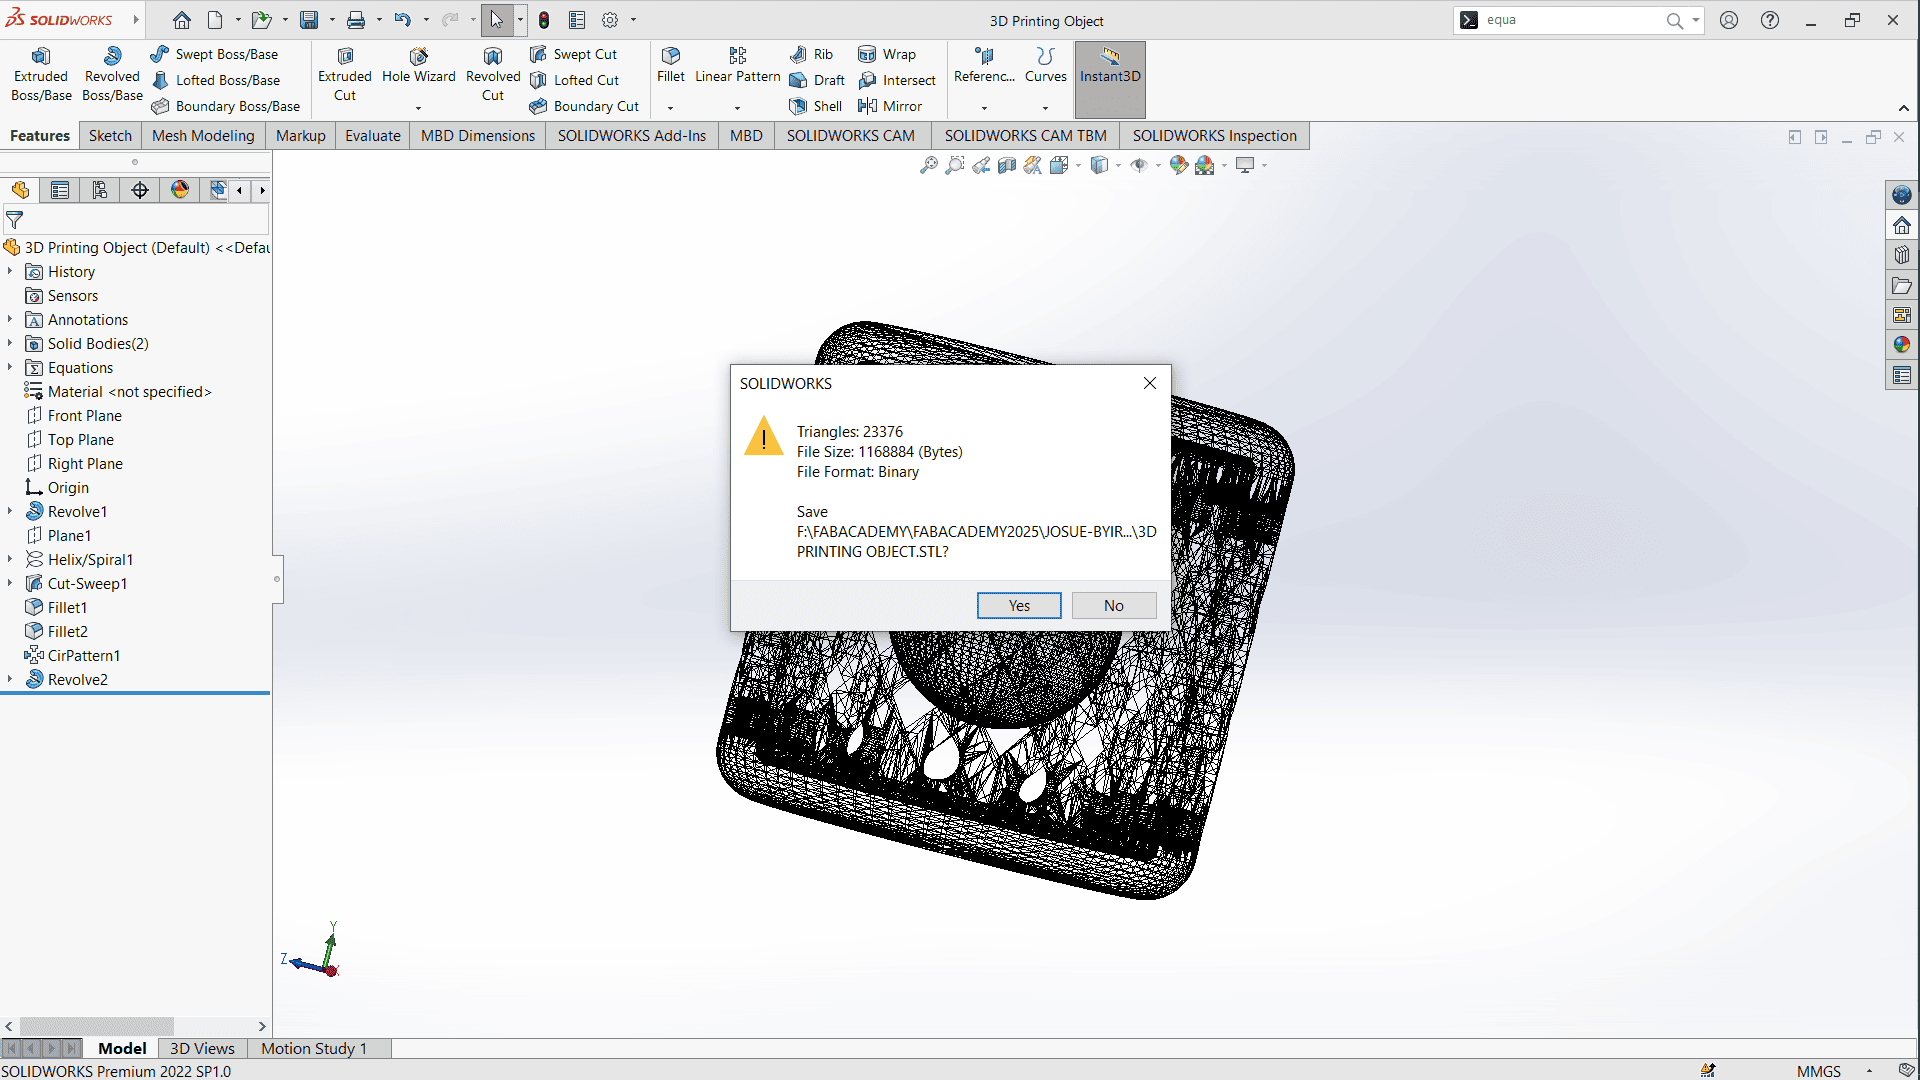
After completing the design, I saved it as an STL file to prepare for slicing.
Slicing with Creality Slicer
Creality Slicer Download
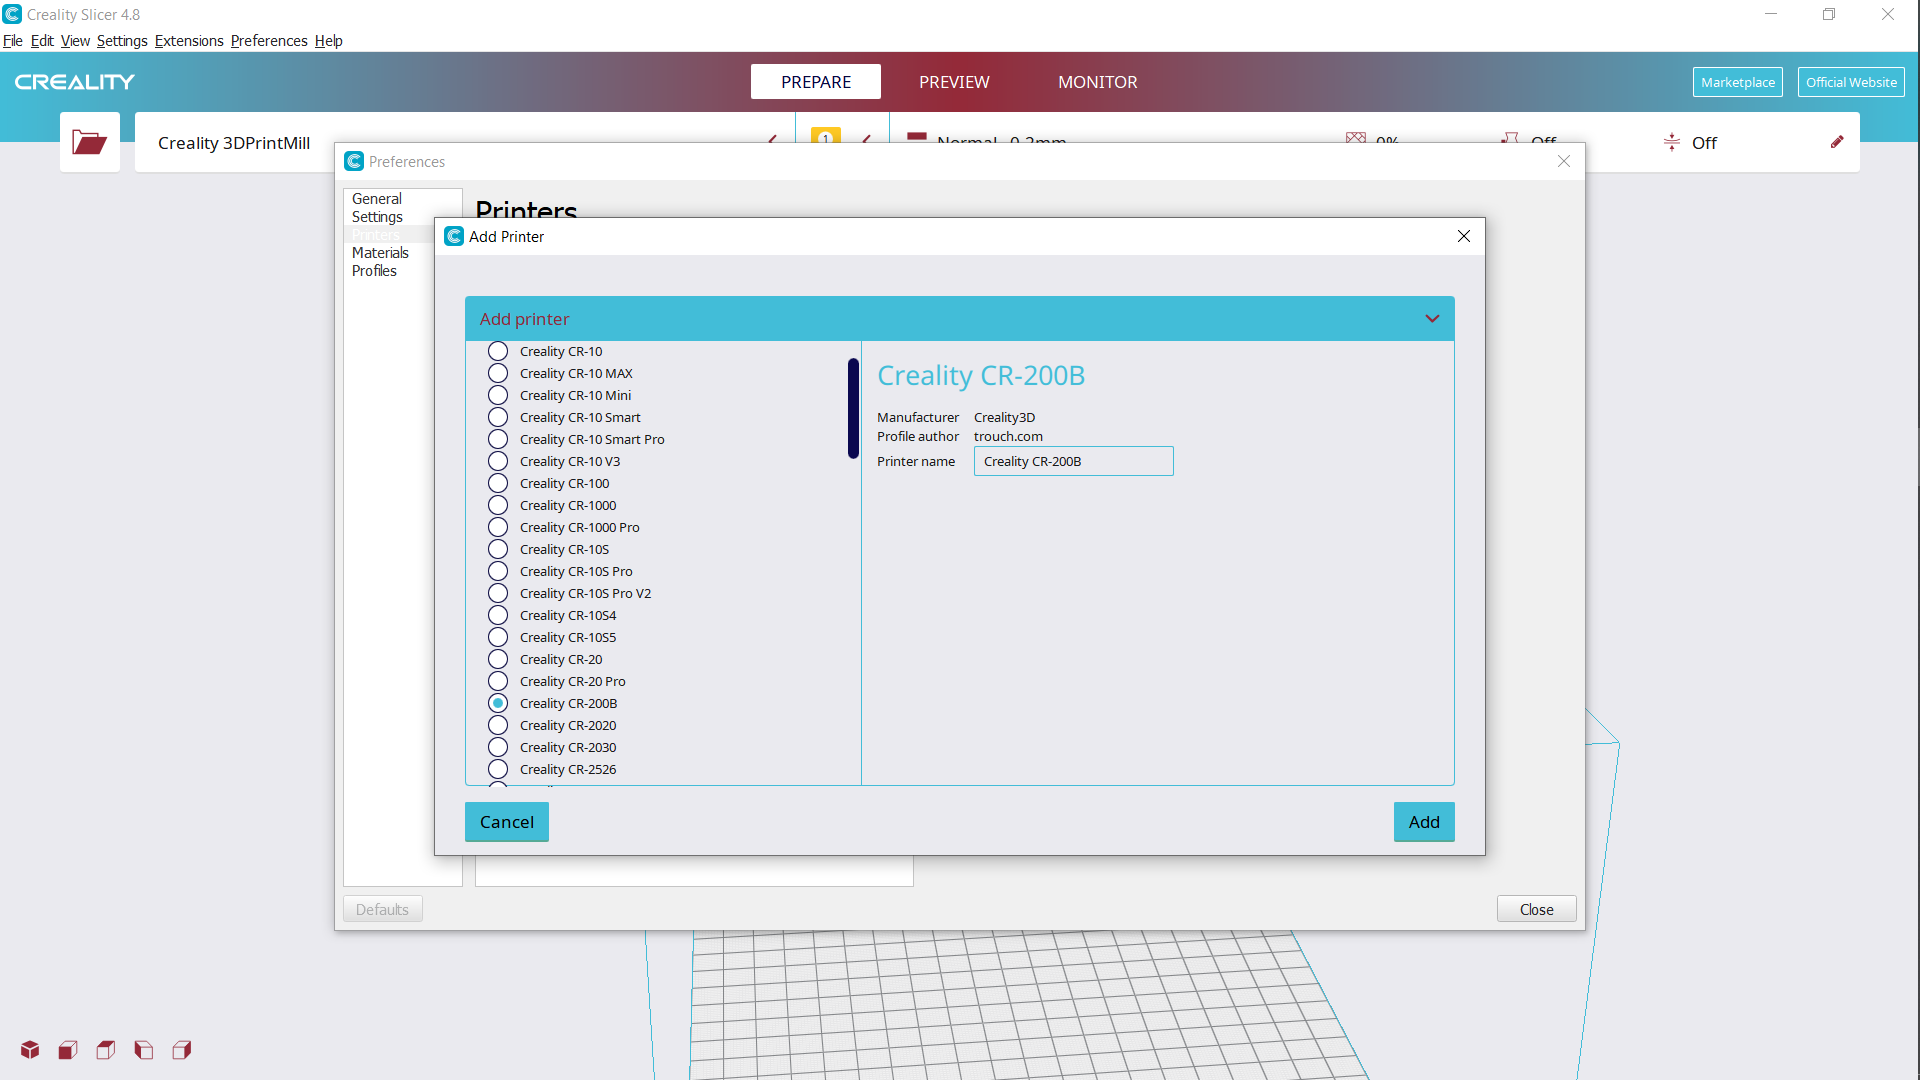
To prepare for 3D printing, I opened Creality Slicer and added my printer (Creality CR-200B).
The software allows adding multiple printers if needed.
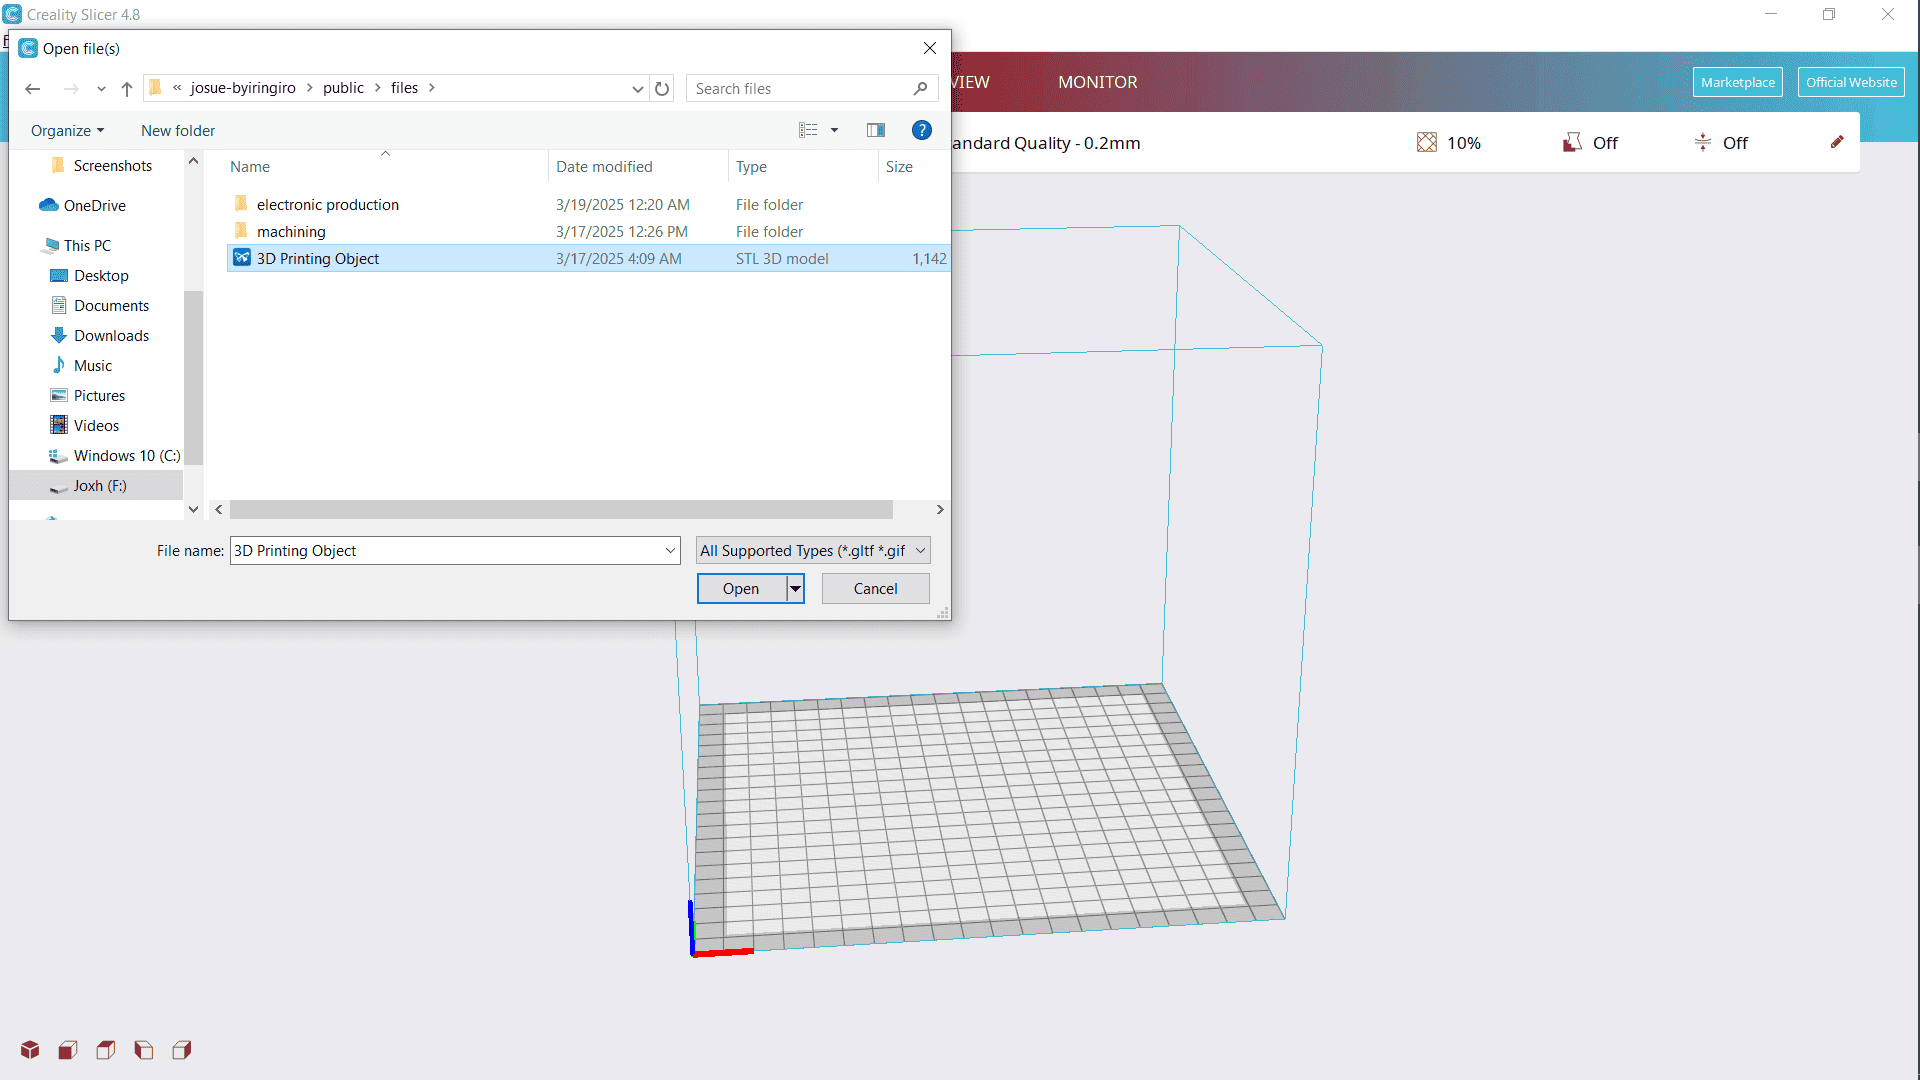
After configuring the printer, I imported the STL file from SolidWorks.
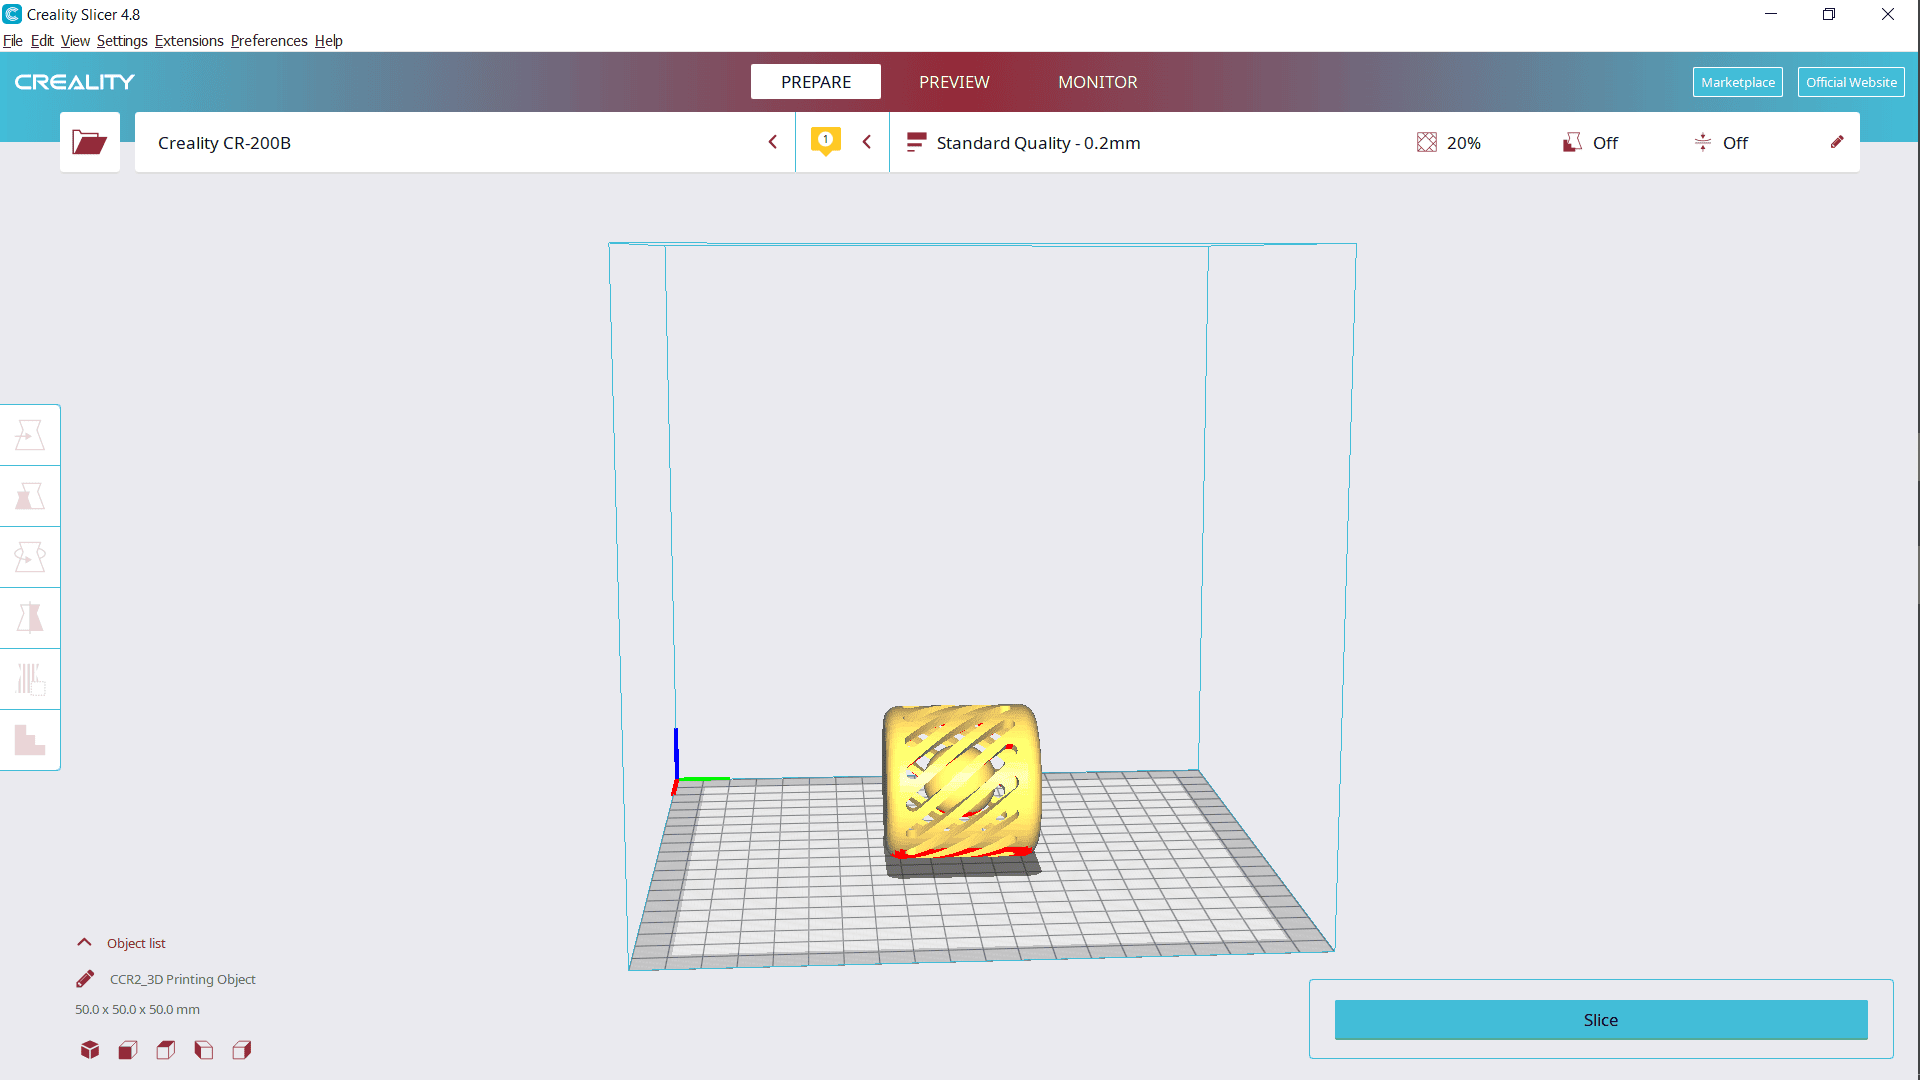
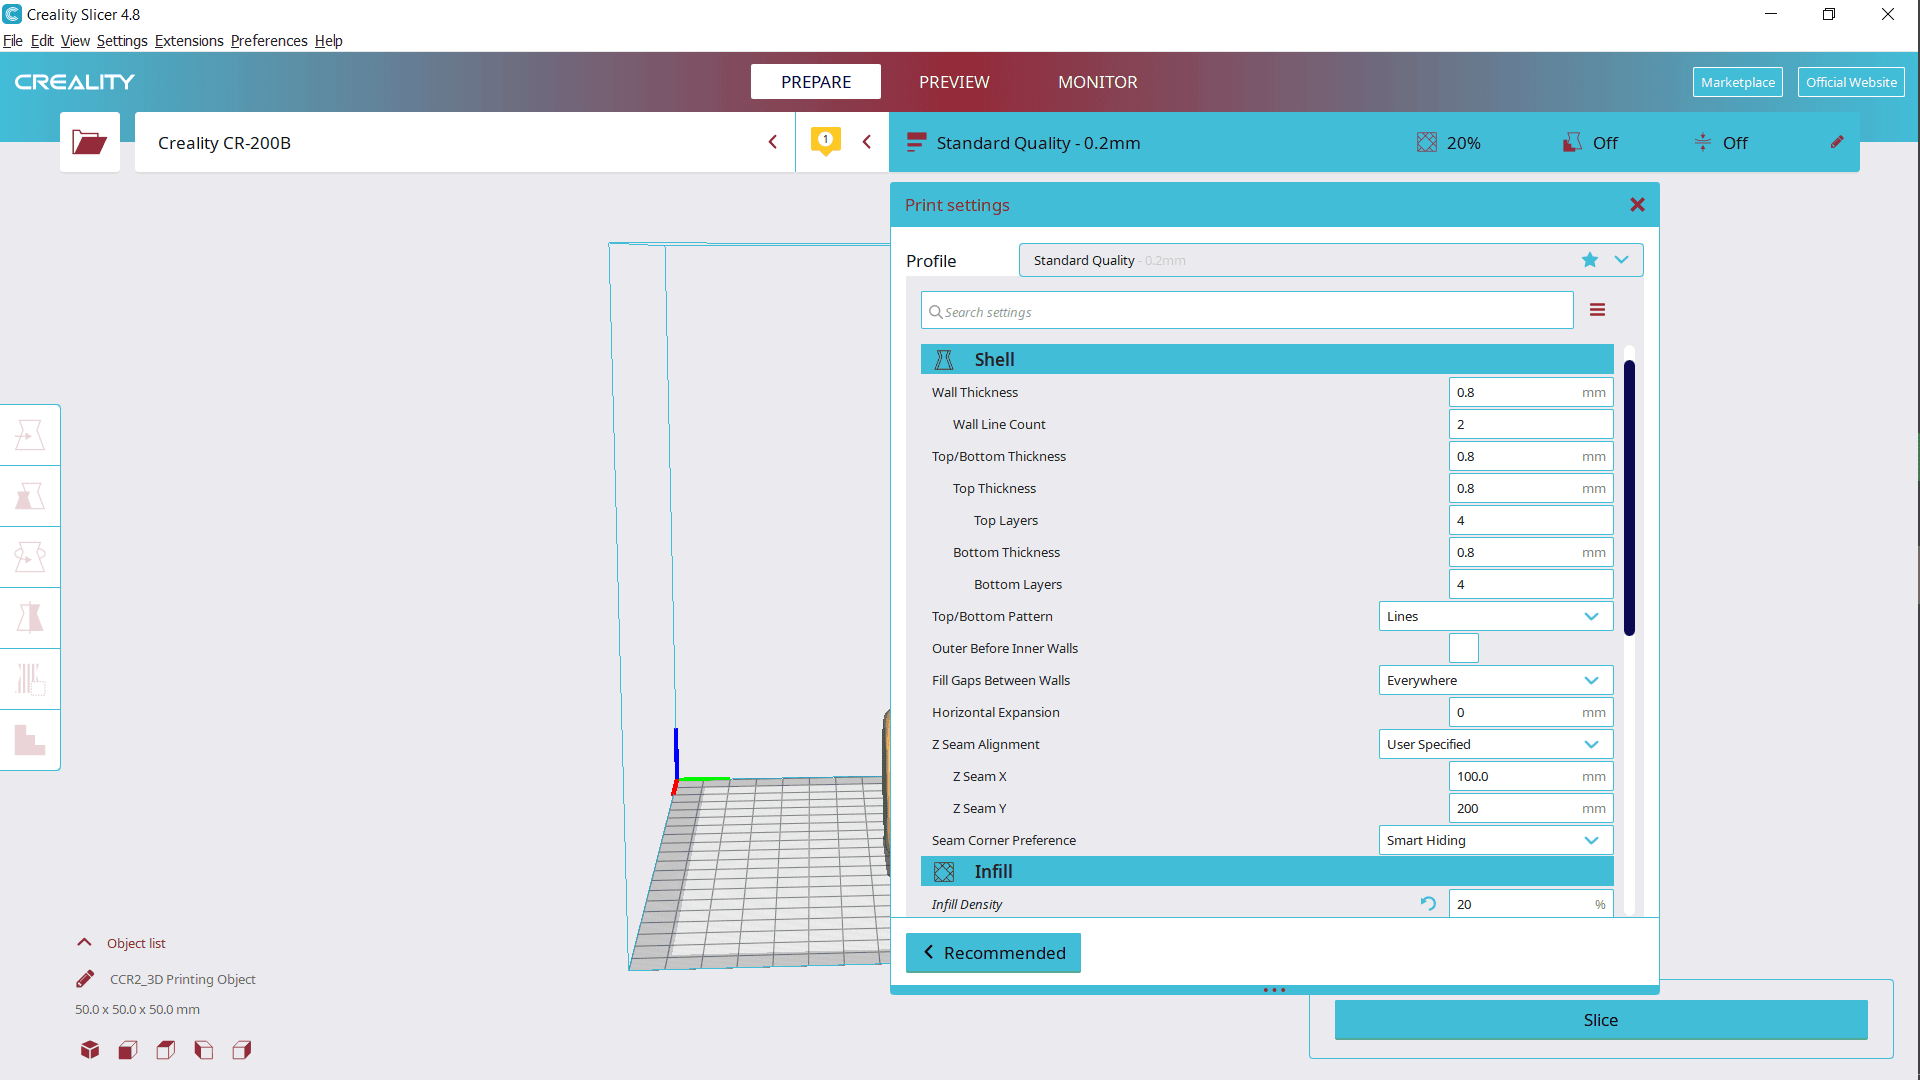
I went on with printing settings where I set my material as PLA and chose Standard Quality and edited its settings to have a good printed object I used 0.8mm walls, added brim and support to hold upper parts to prevent defects during printing. Also changed the fill in percentage to 20% to my object light and reduce printing time.
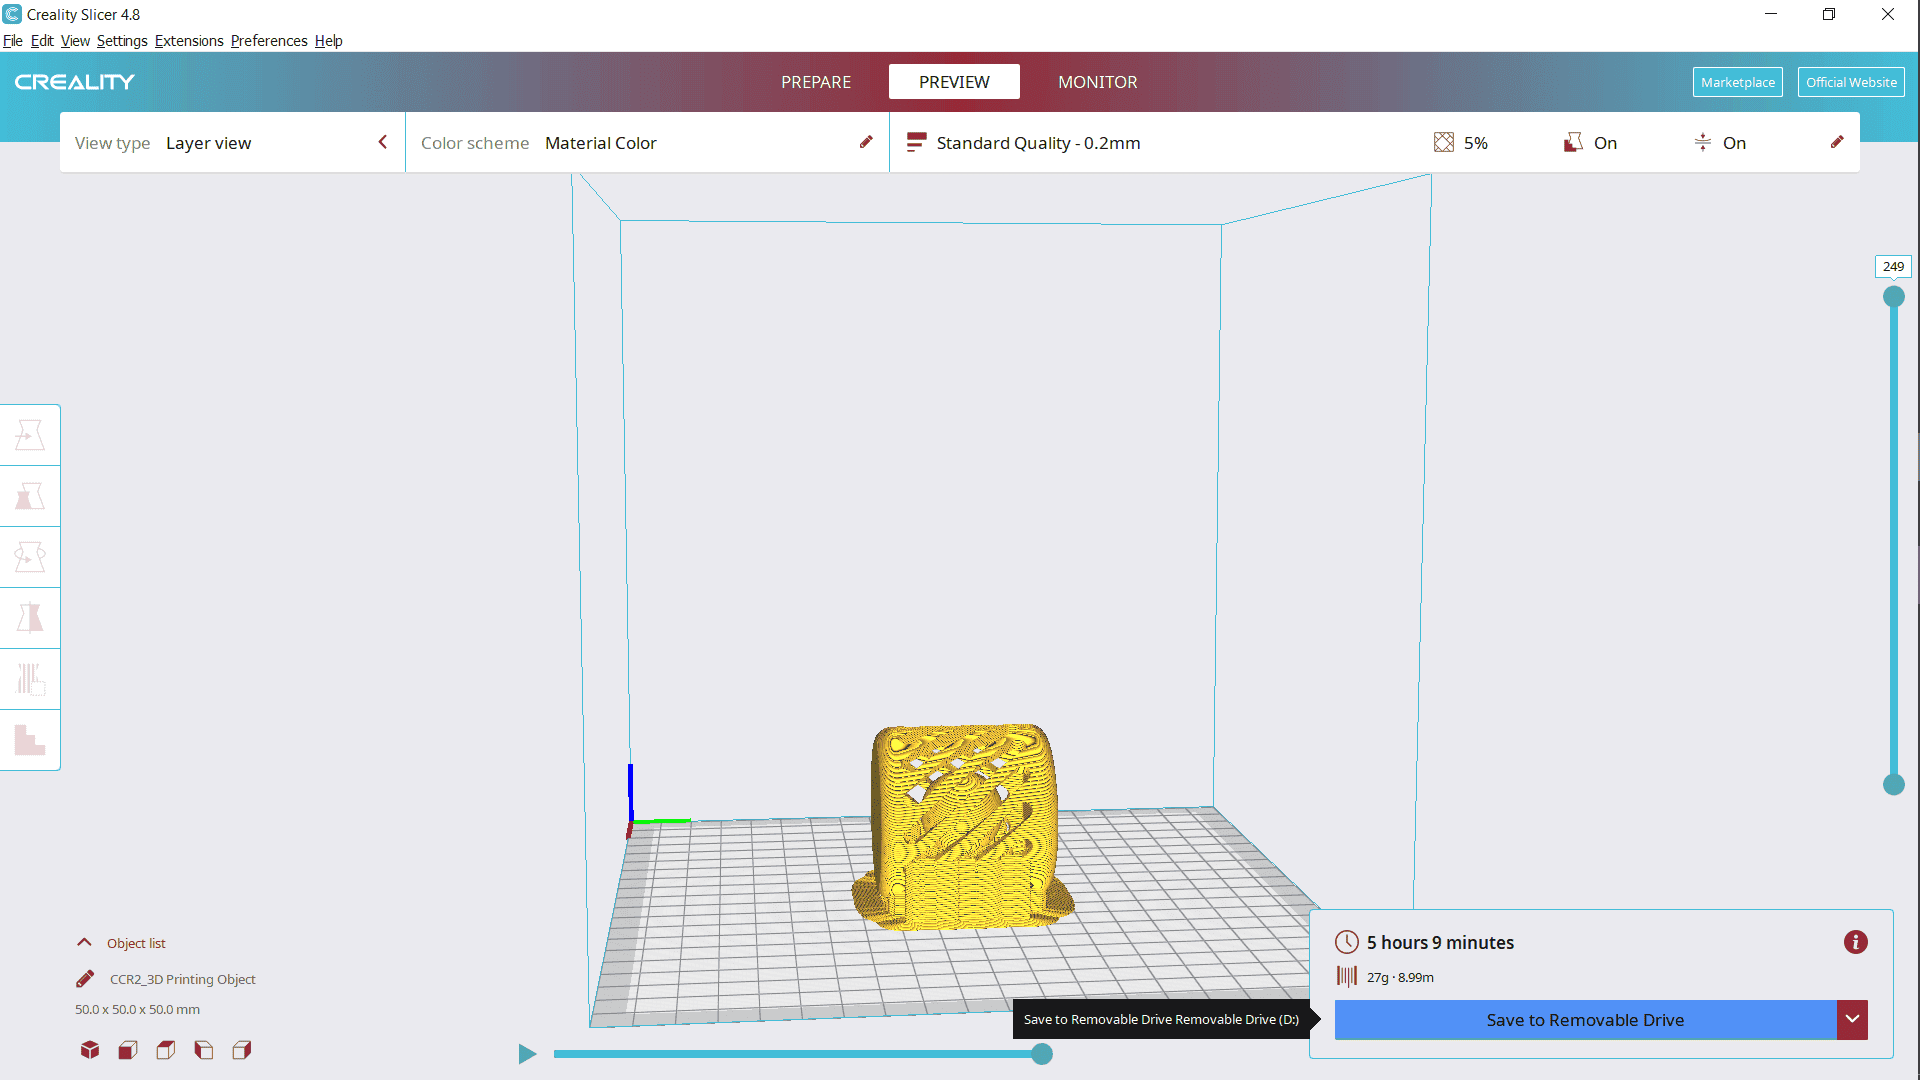
After defining my settings, I sliced and reviewed my object then saved it to the removable disk
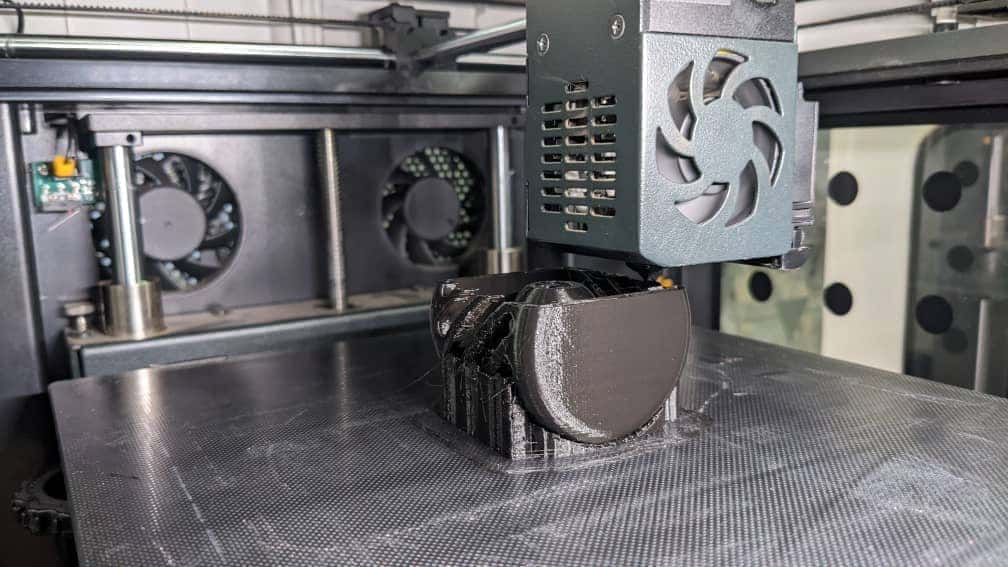
Printing
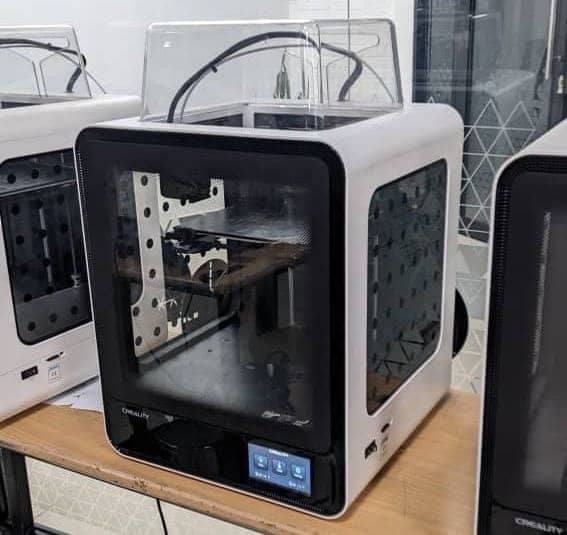
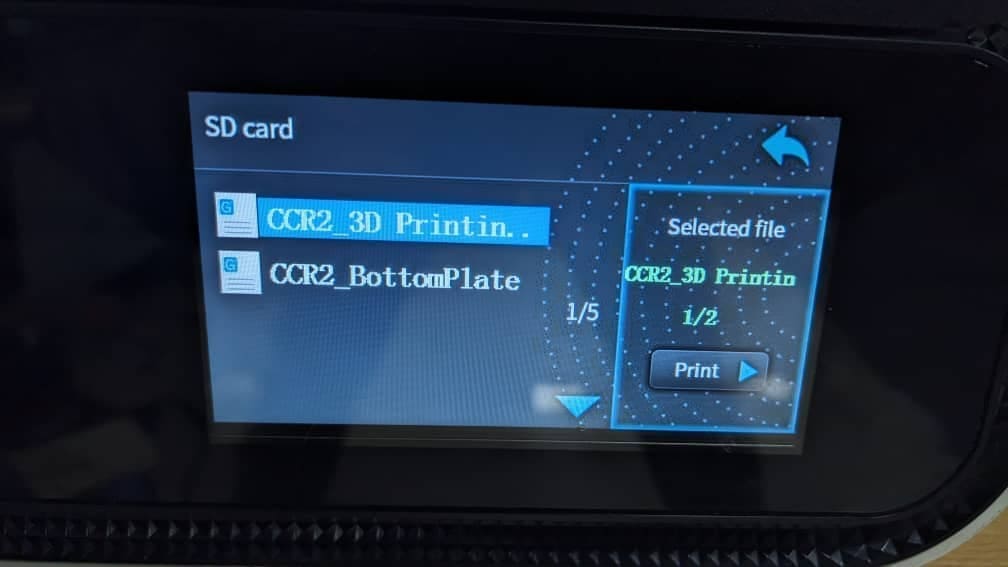
Moved to my Creality CR-200B, turned on and inserted my removable disk with the sliced object.
I first checked the printer leveling and it was okay.
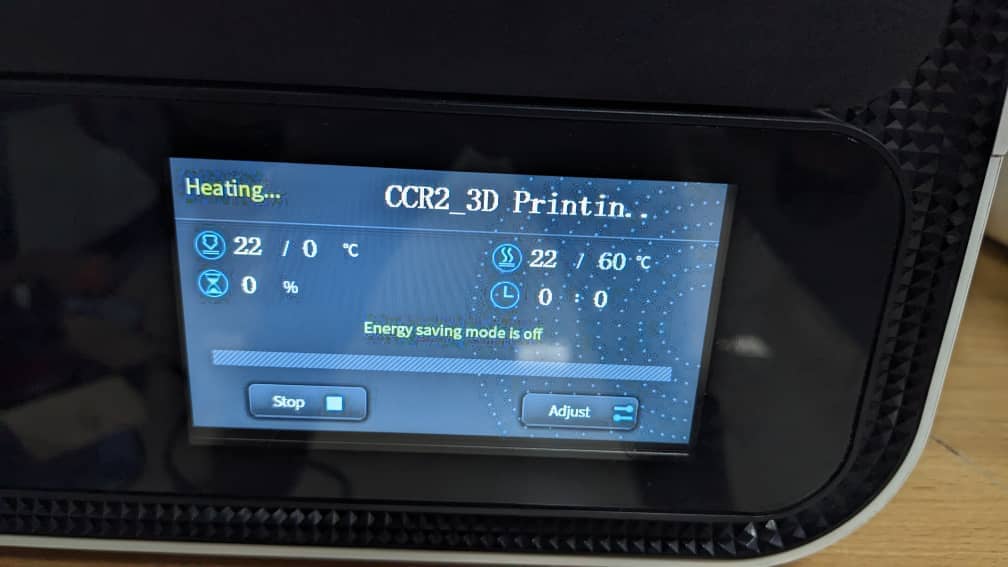
Heated the nozzle to test the filament then loaded my job from the disk
Started printing. My PLA heating was 220 ℃
3D Scanning
After learning about 3D printing, I moved on to 3D scanning, which involves capturing the shape and details of an object or environment and converting it into a digital 3D model.
To carry out my 3D scanning smoothly, I used an app called KIRI Engine. This app offers various scanning options such as scene, photo, object, and environment scanning. For my project, I focused on object scanning and chose to scan a small soldering station.
Scanning Process
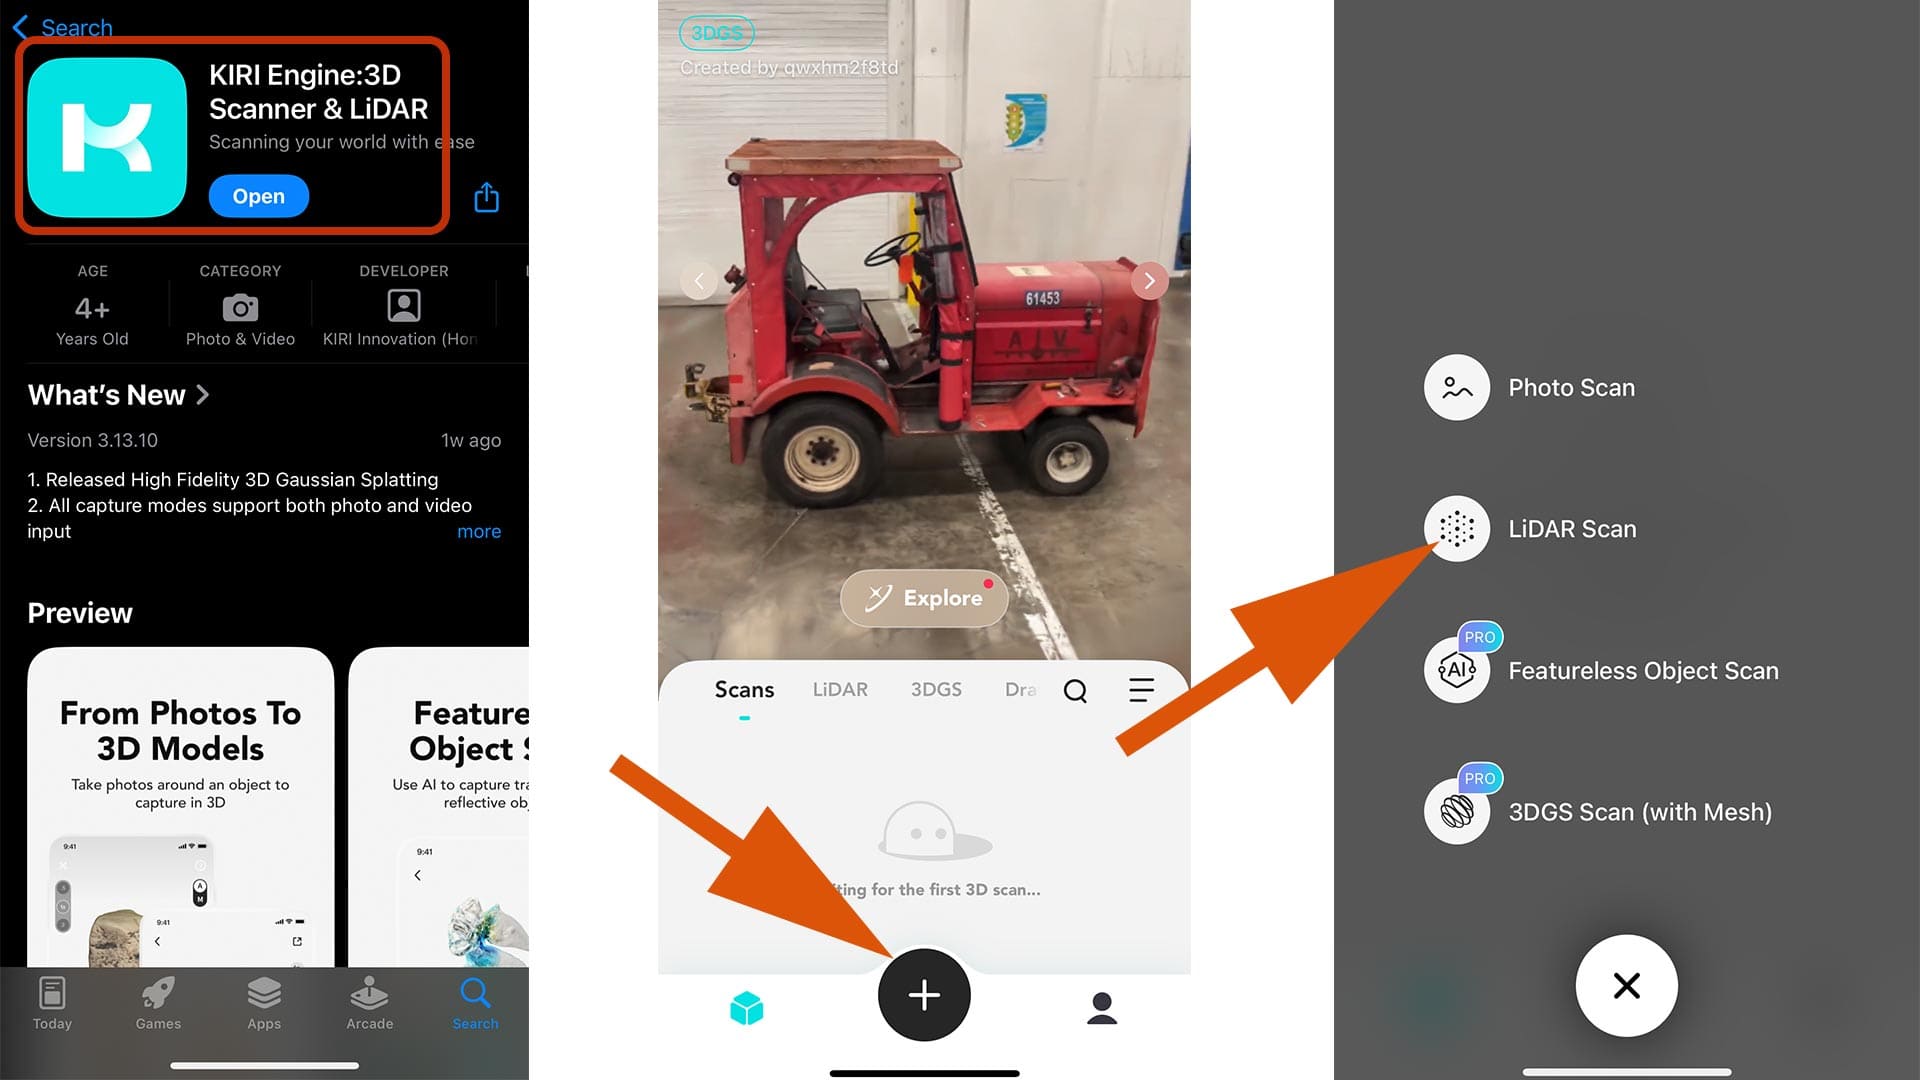
I downloaded the KIRI Engine app, which is available on both the App Store and Play Store.
After launching the app, I explored some of the sample scans.
I then created a new project and selected Lidar Scan mode.
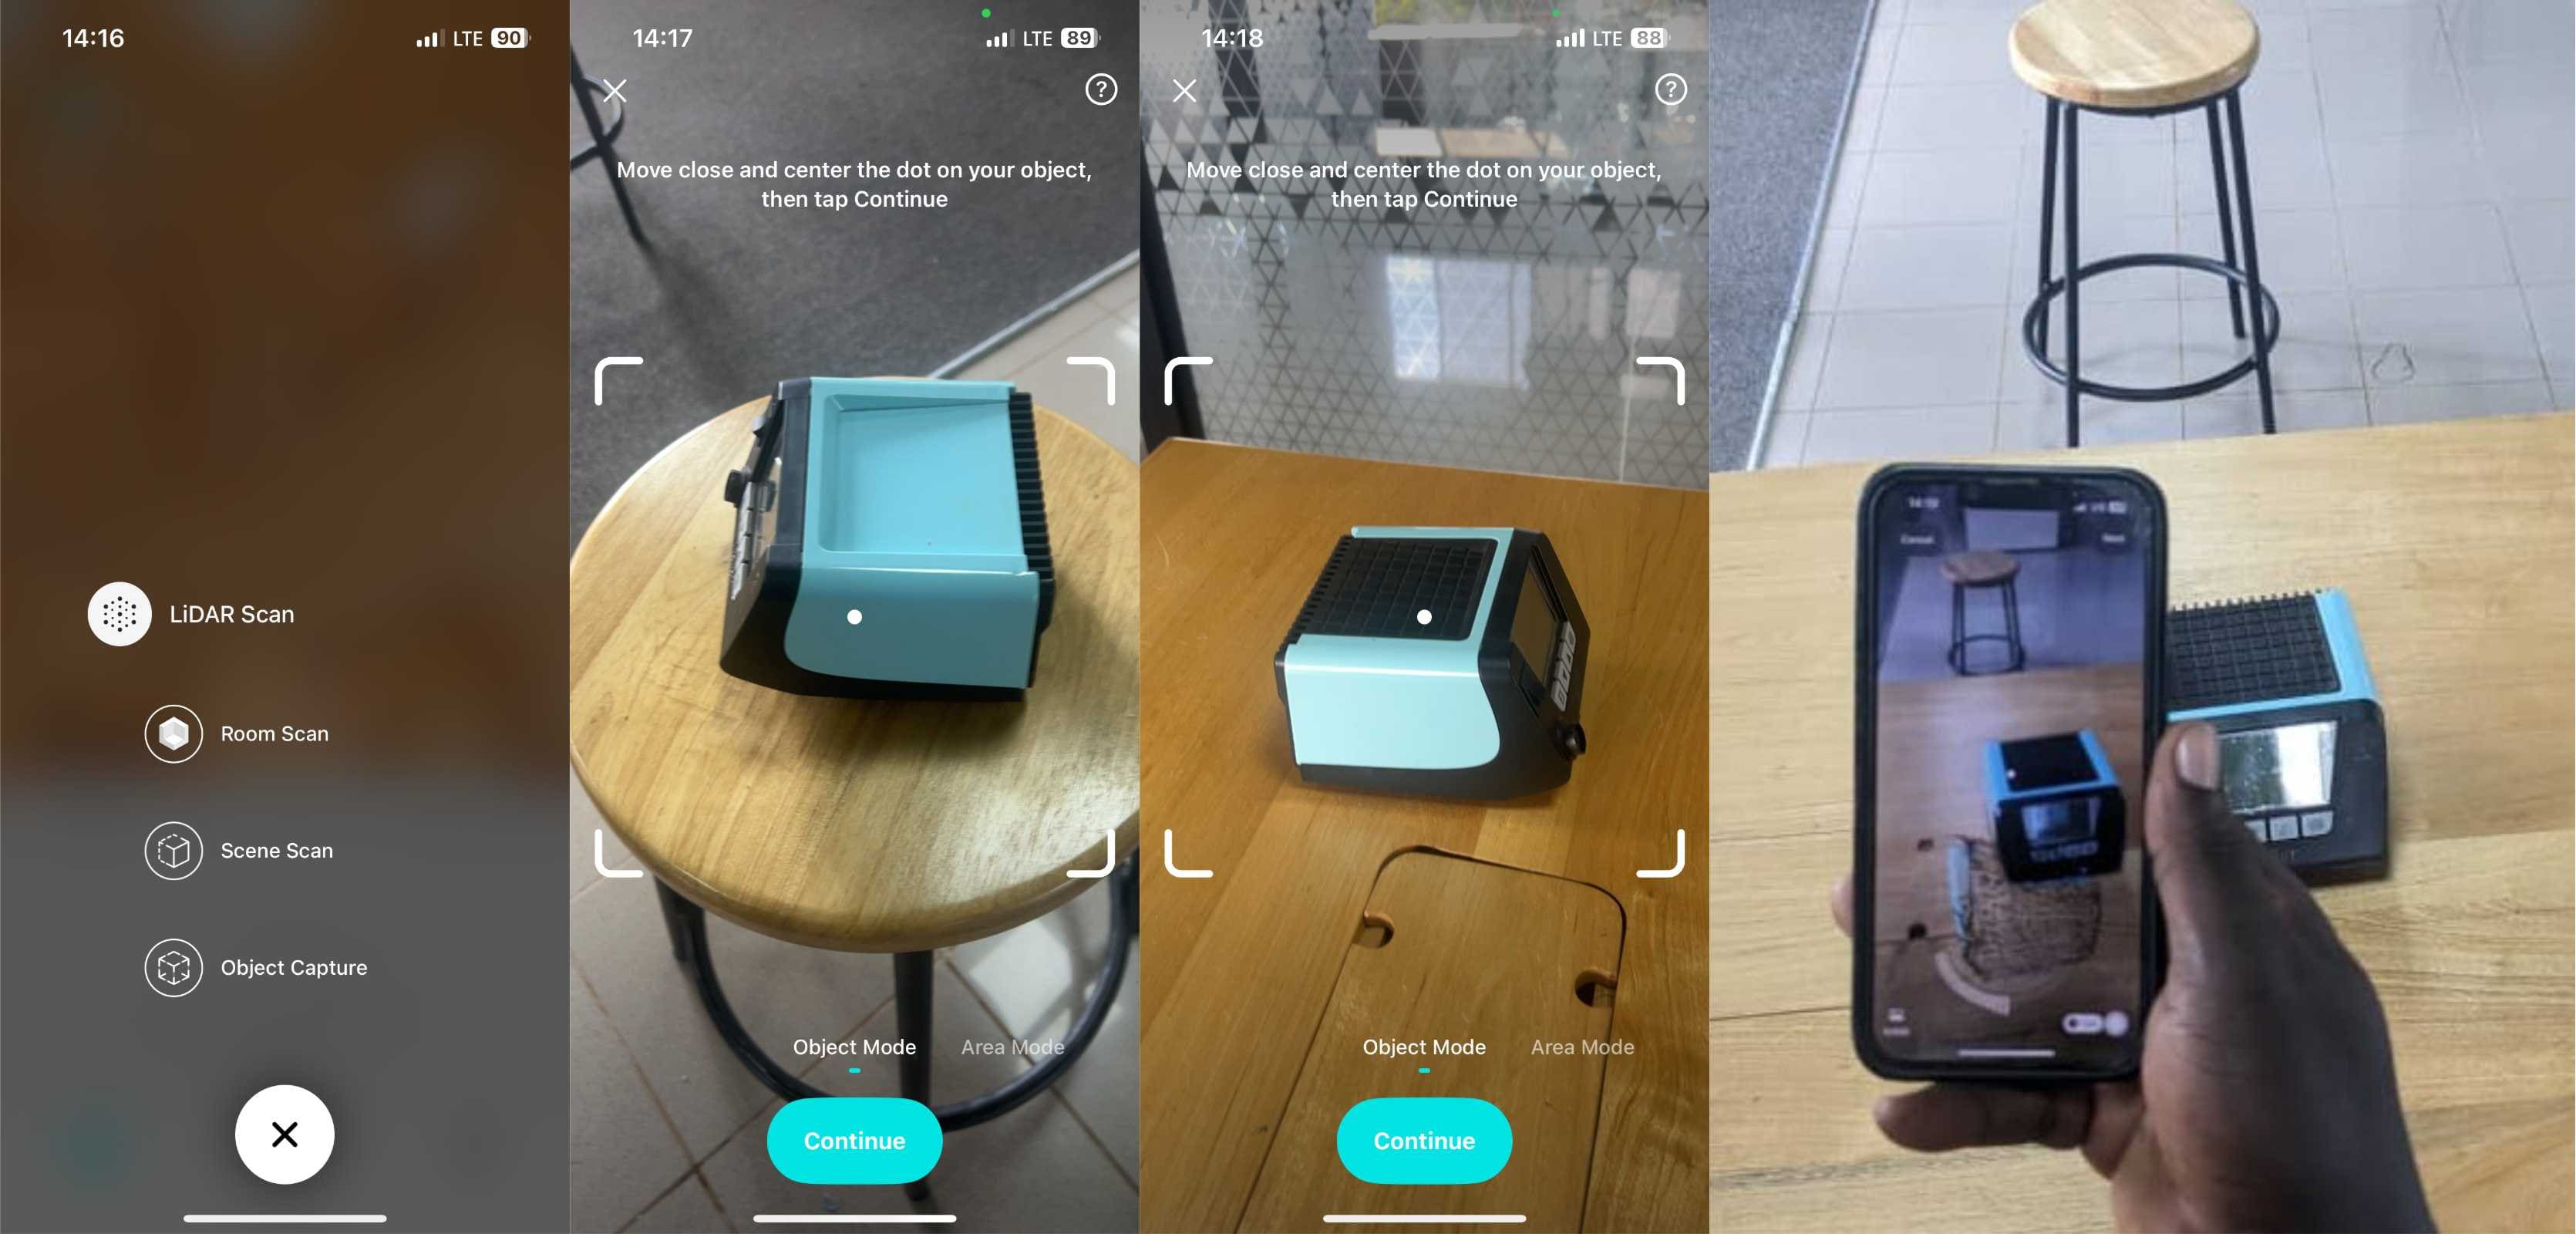
Under the Lidar options, I chose Object Capture, since I was scanning a small device.
I placed the soldering station on a stool top and began the scanning process by centering the object in the frame.
I followed the instructions provided by the app to ensure proper scanning.
However, I noticed that the stool was too small and the scanner was capturing surrounding objects as well.
To solve this, I moved the setup to a table top to give the scanner more space and eliminate background interference.
I re-centered the soldering station and scanned around it—starting with the sides, then the top.
I also rotated the object to capture the underside for a complete scan.
After completing the scan, the app automatically began processing and merging the multiple views into a single 3D model.
Once the processing was complete, I named the model and exported it to my device (KIRI also supports cloud export).

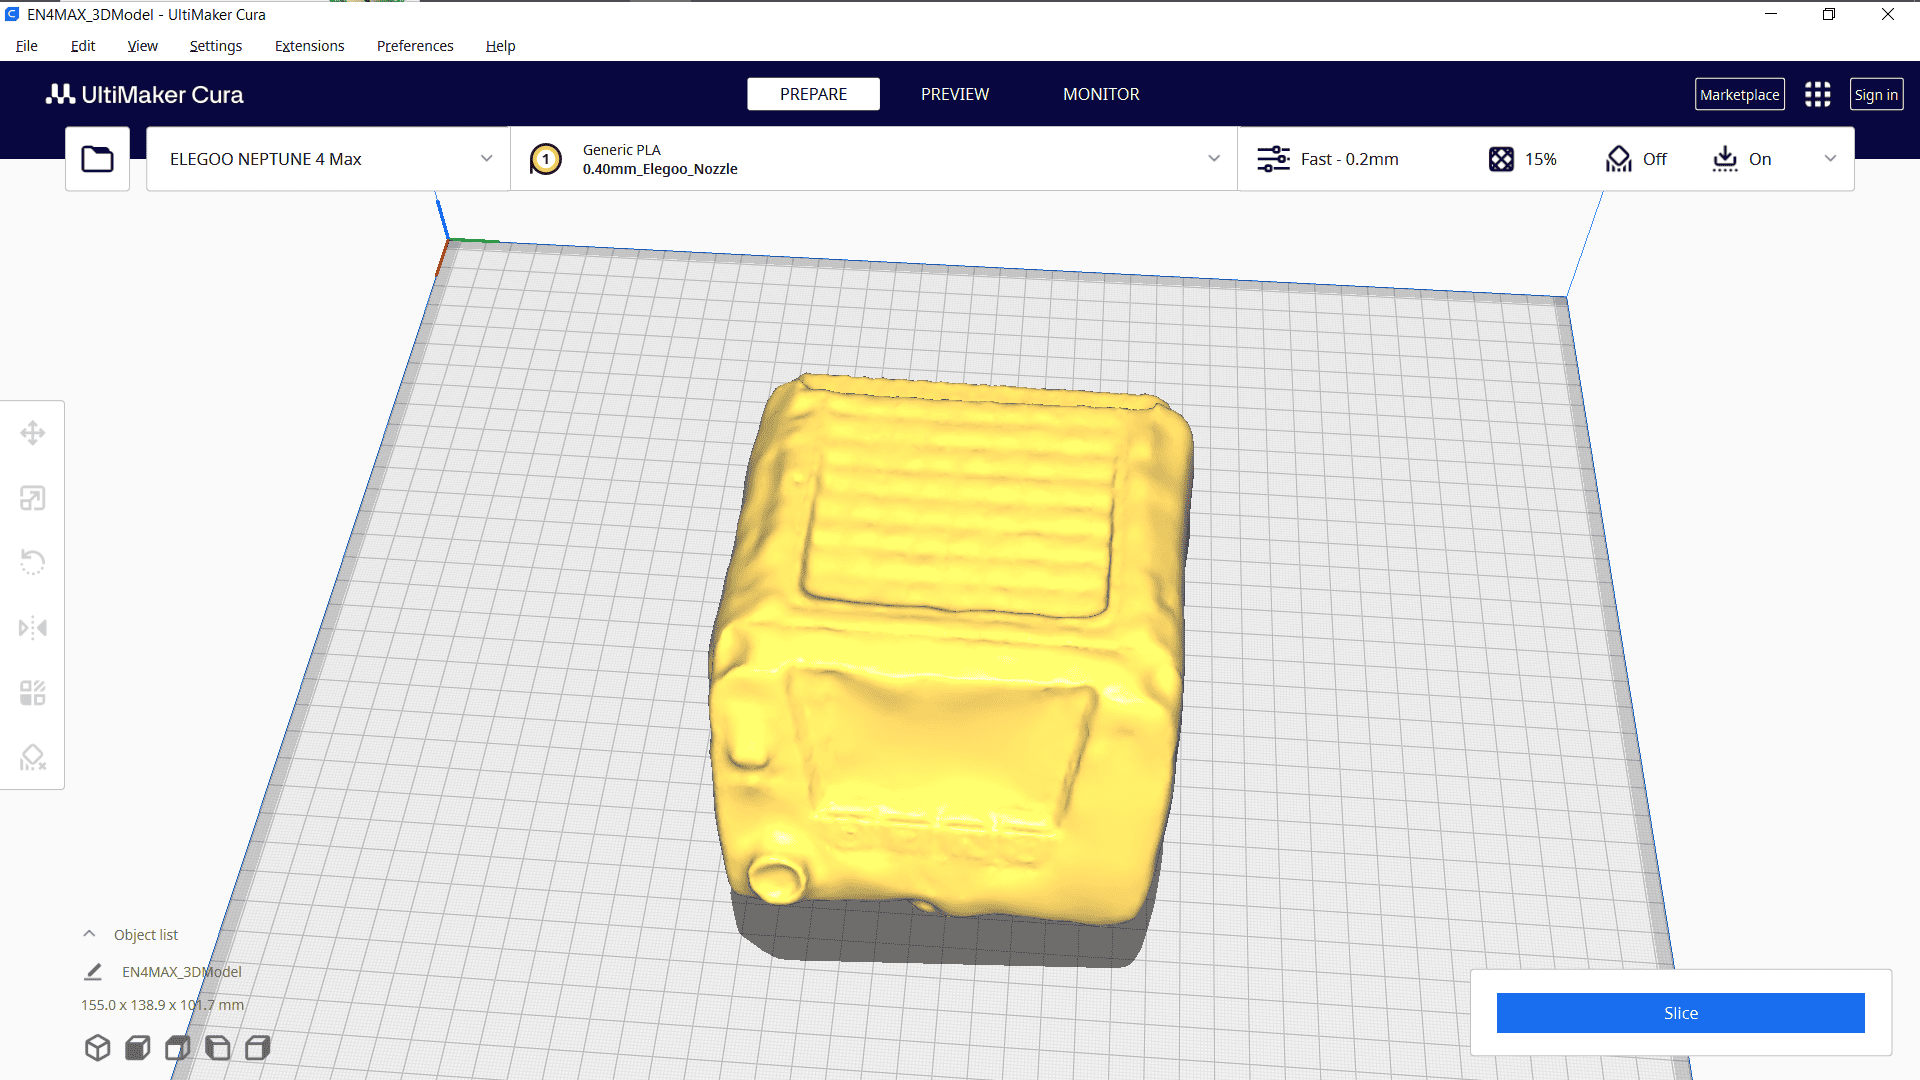
After exporting the scan, I opened the model in UltiMaker Cura, a slicing software for 3D printing. The model loaded correctly confirming the success of the scanning process. This scanned object can now be edited using 3D modeling tools like SolidWorks or Blender, or sent directly to a 3D printer.