Week 13 - Mold and Casting
Assignment
Group assignment:
Review the safety data sheets for each of your molding and casting materials
Make and compare test casts with each of them
Compare printing vs milling molds
Individual assignment:
Design a mold around the process you'll be using, produce it with a smooth surface finish that does not show the production process, and use it to cast parts.
Summary
During the molding and casting week, I was inspired by an image of a bird bath and decided to design and create a small version of it using molding and casting techniques. I designed the model in SolidWorks, 3D printed the mold, and used wax as the casting material.
Designing stage
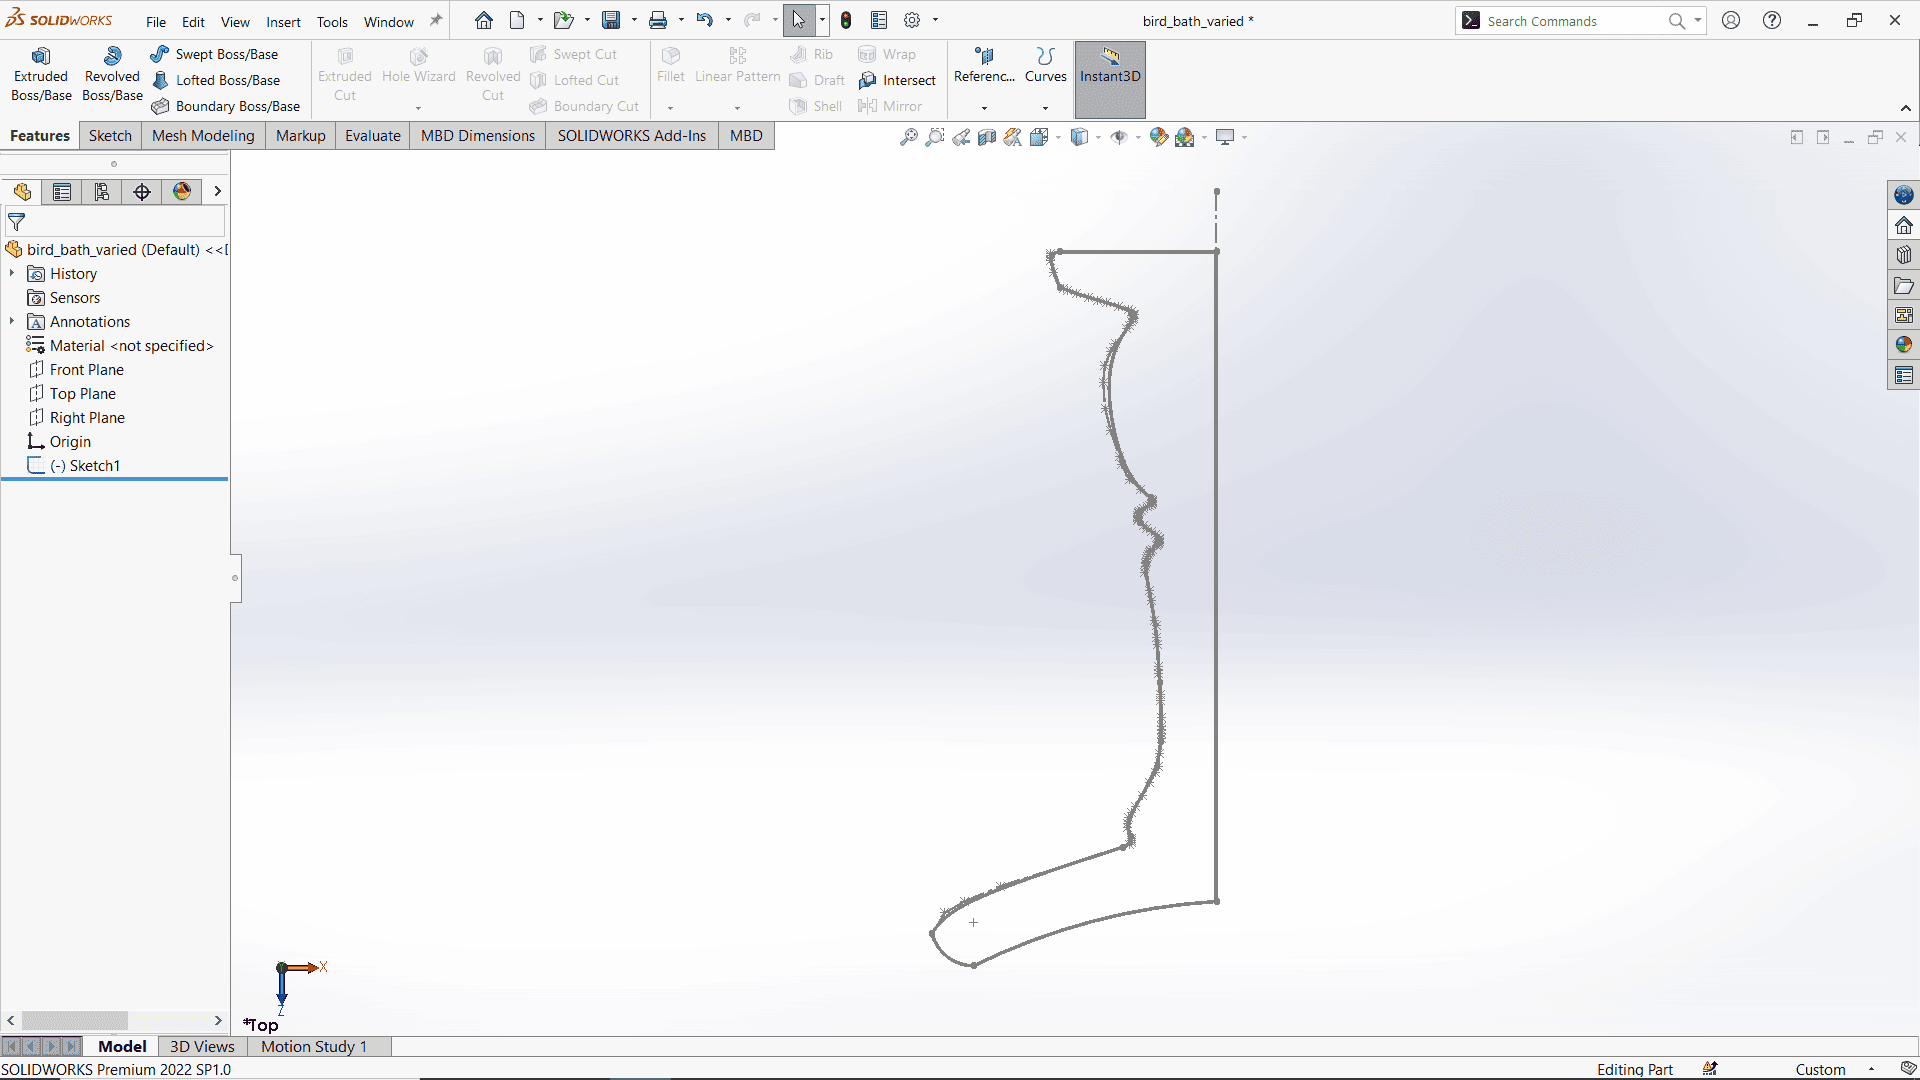
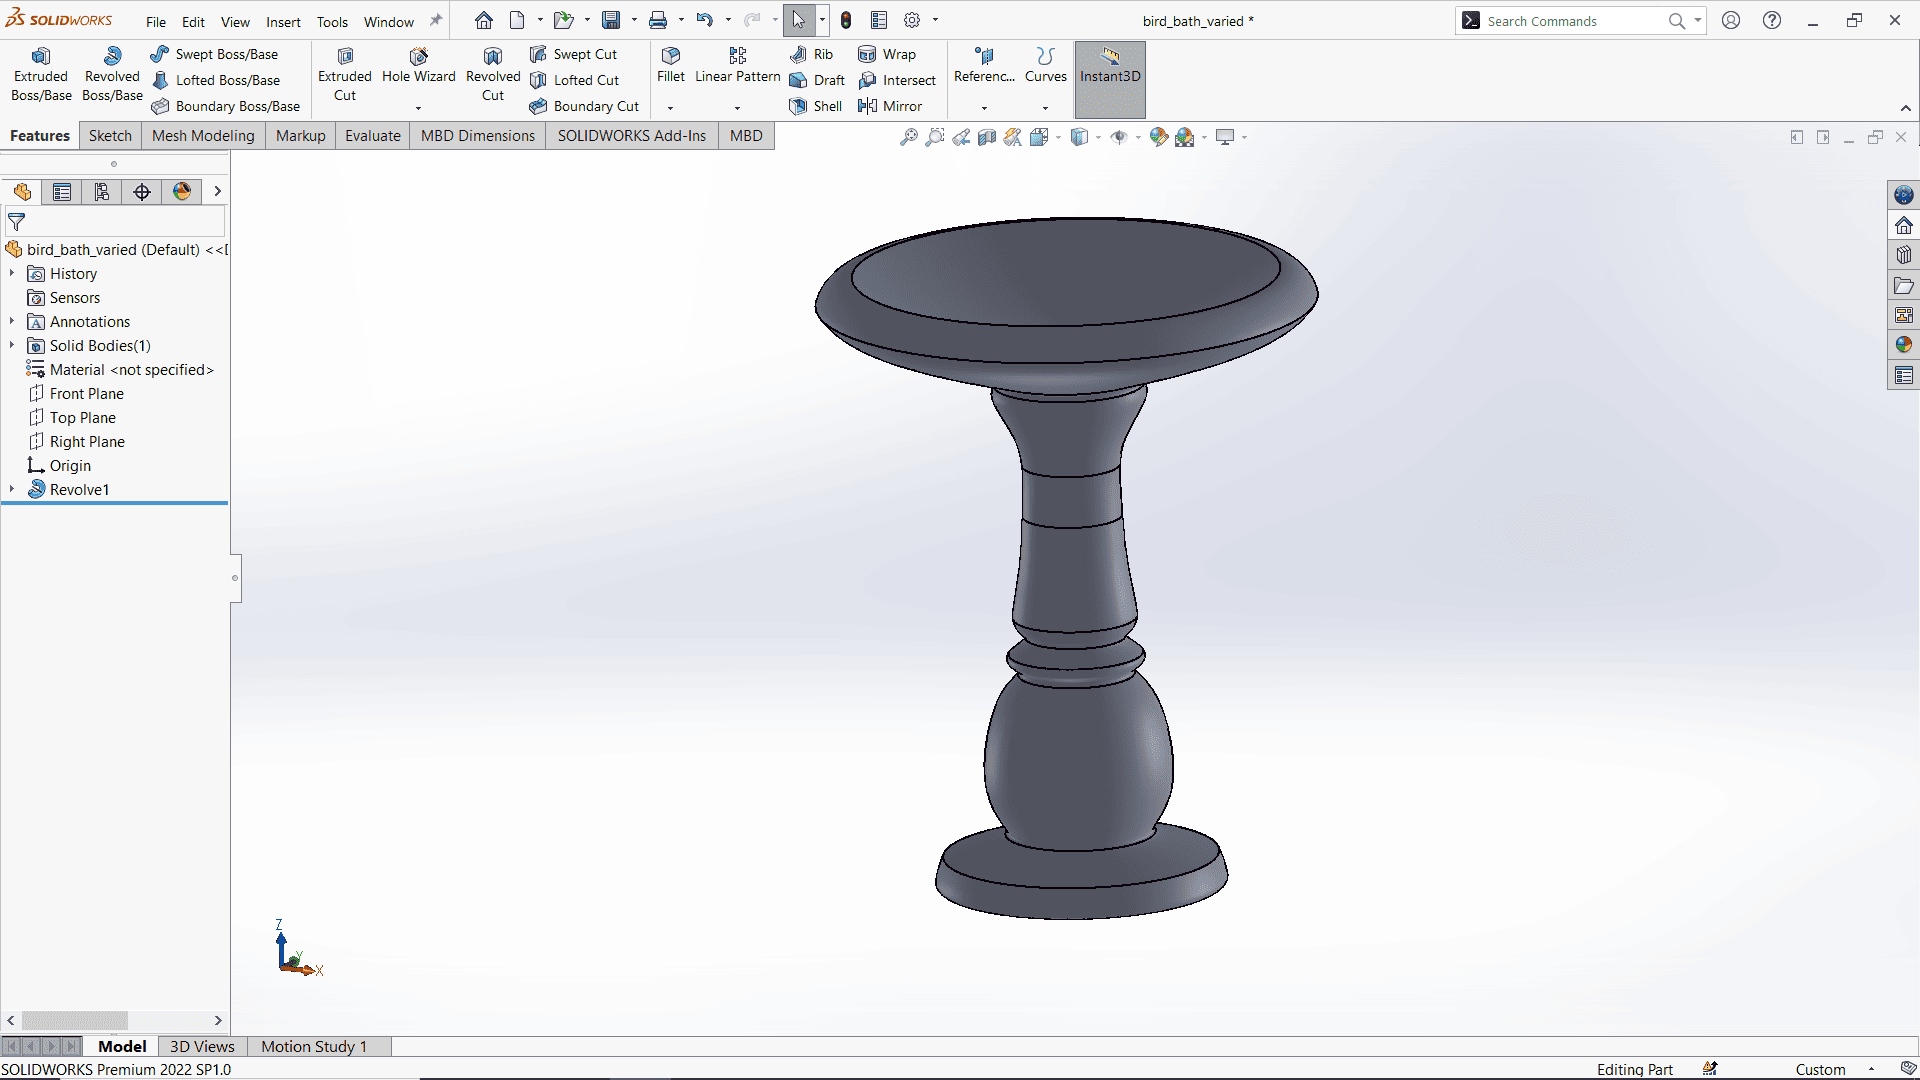
Using SolidWorks, I modeled the bird bath by applying the Revolve feature around a central axis to create a symmetric shape.
Creating Mold
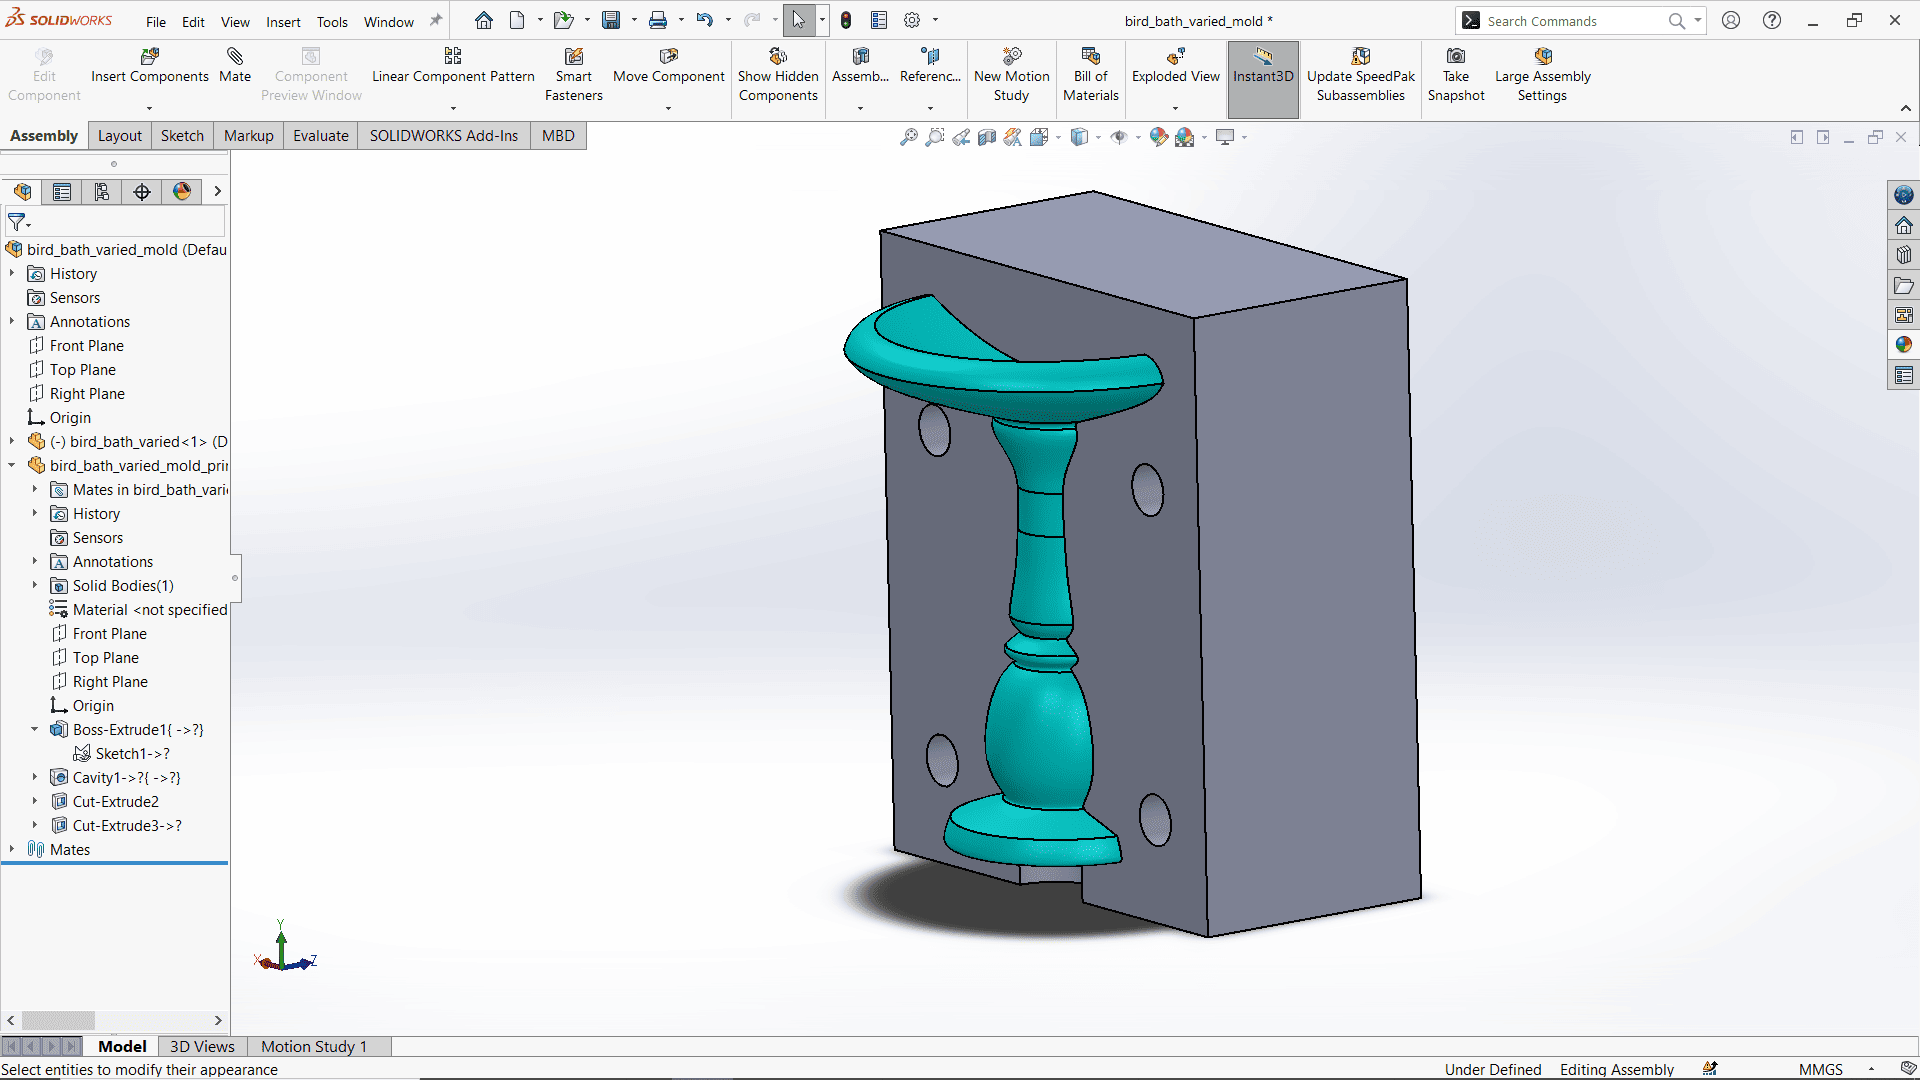
I imported the bird bath model into a SolidWorks assembly and created a rectangular extruded sketch to surround it. Using the Cavity feature in the assembly environment, I generated the negative mold.
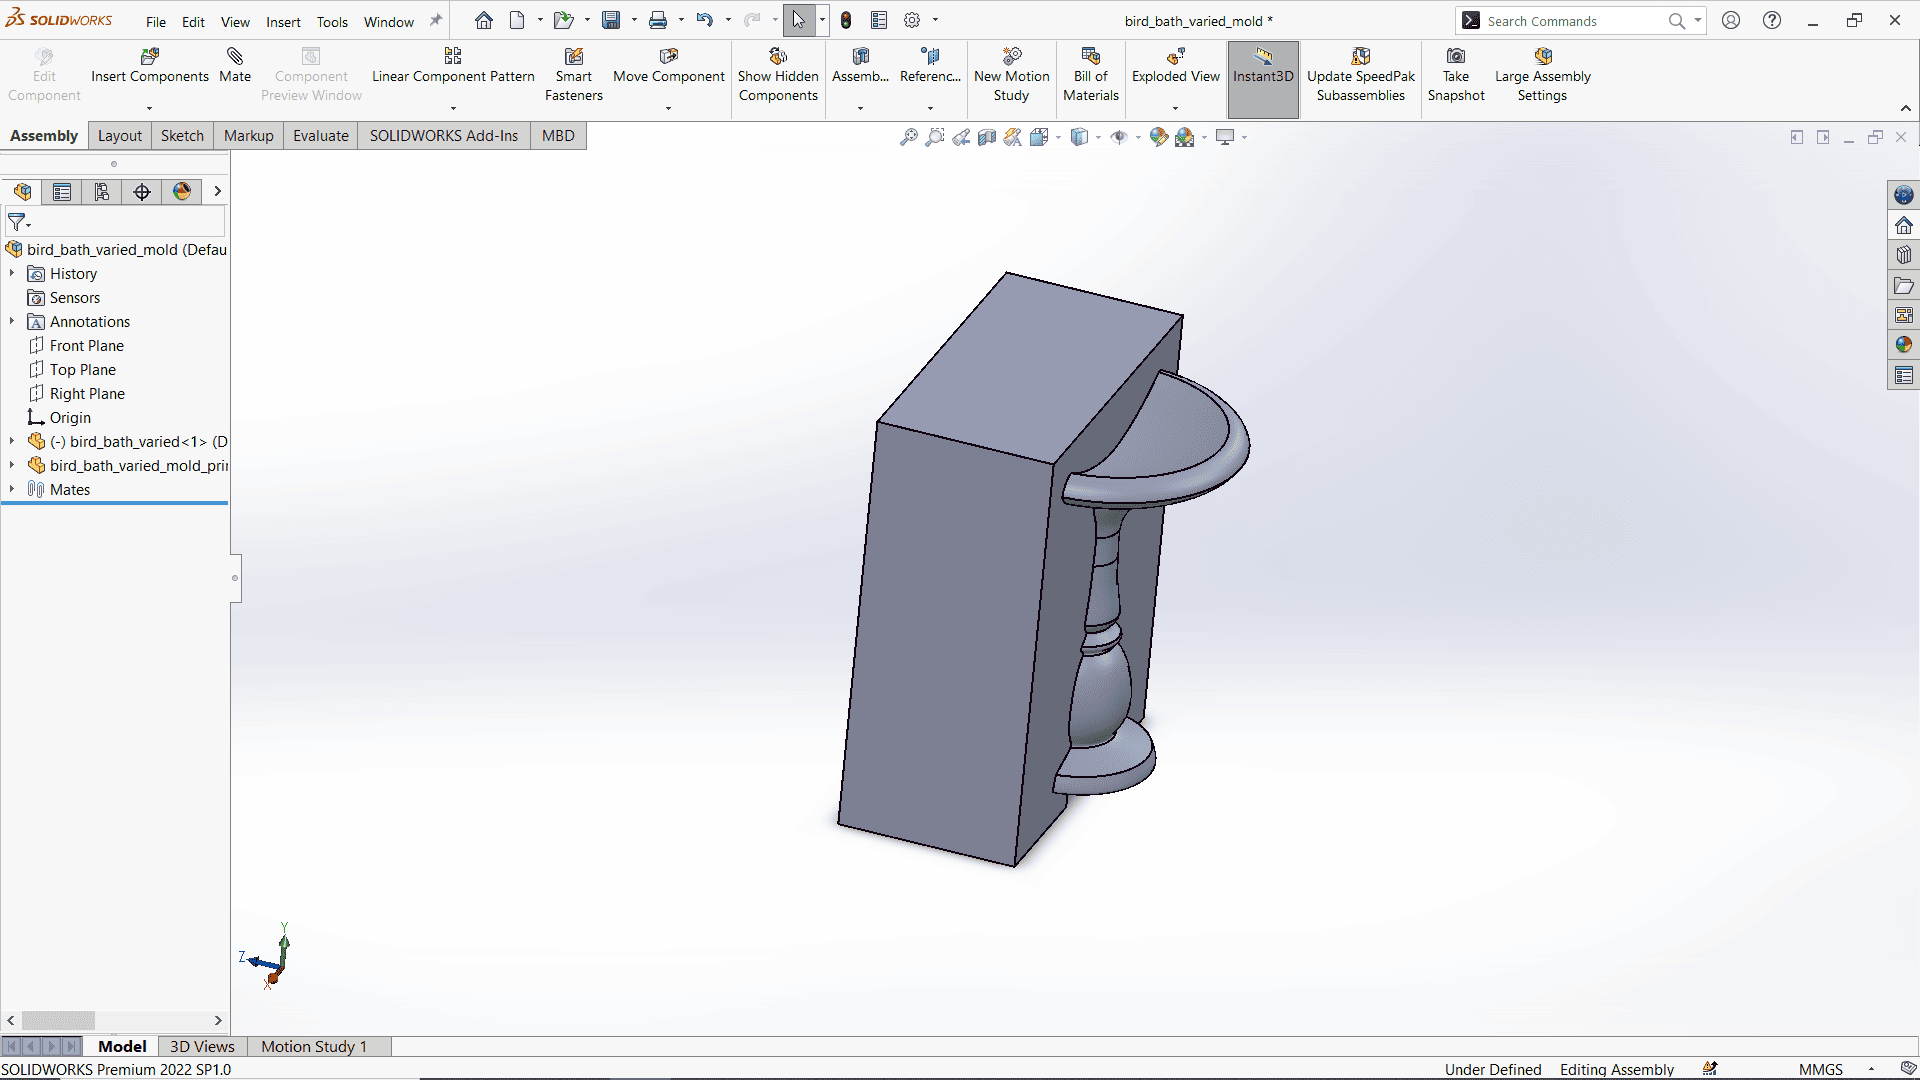
To ensure precise alignment and ease of assembly, I added positioning holes and tightening slots to one part of the mold.
Then, I used the Mirror feature to create the second half of the mold.
I also added inlet and overflow holes on the sides to allow for easy wax pouring and air escape.
Once the design was complete, I exported both parts as STL files for 3D printing.
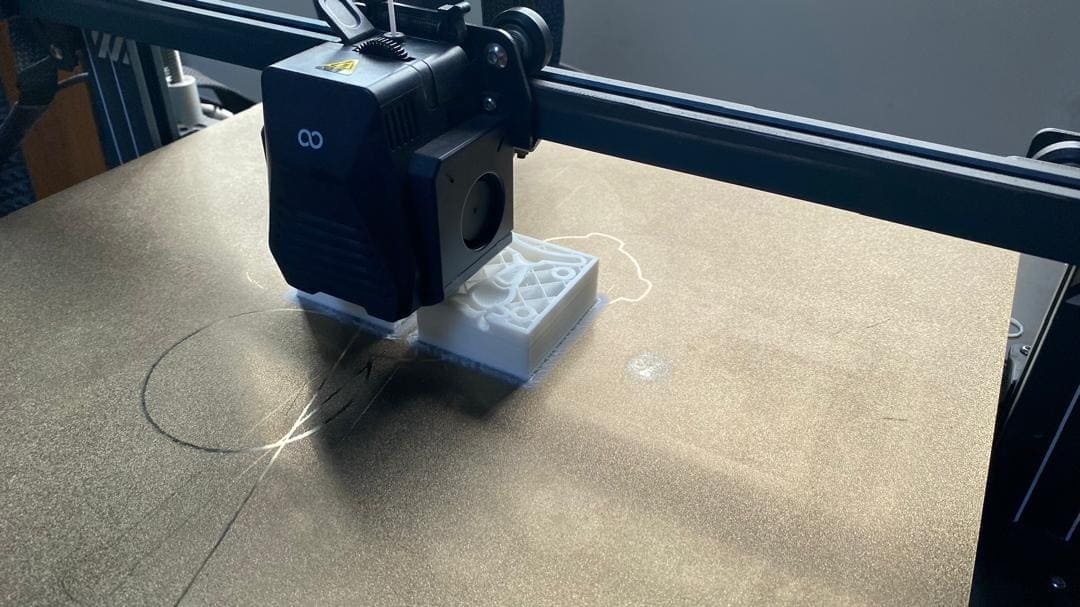
Slicing and 3D Printing
I used Cura to slice the mold files and optimized the print settings for smooth surfaces by setting the layer height to 0.1 mm, reducing the print speed, and increasing wall thickness.
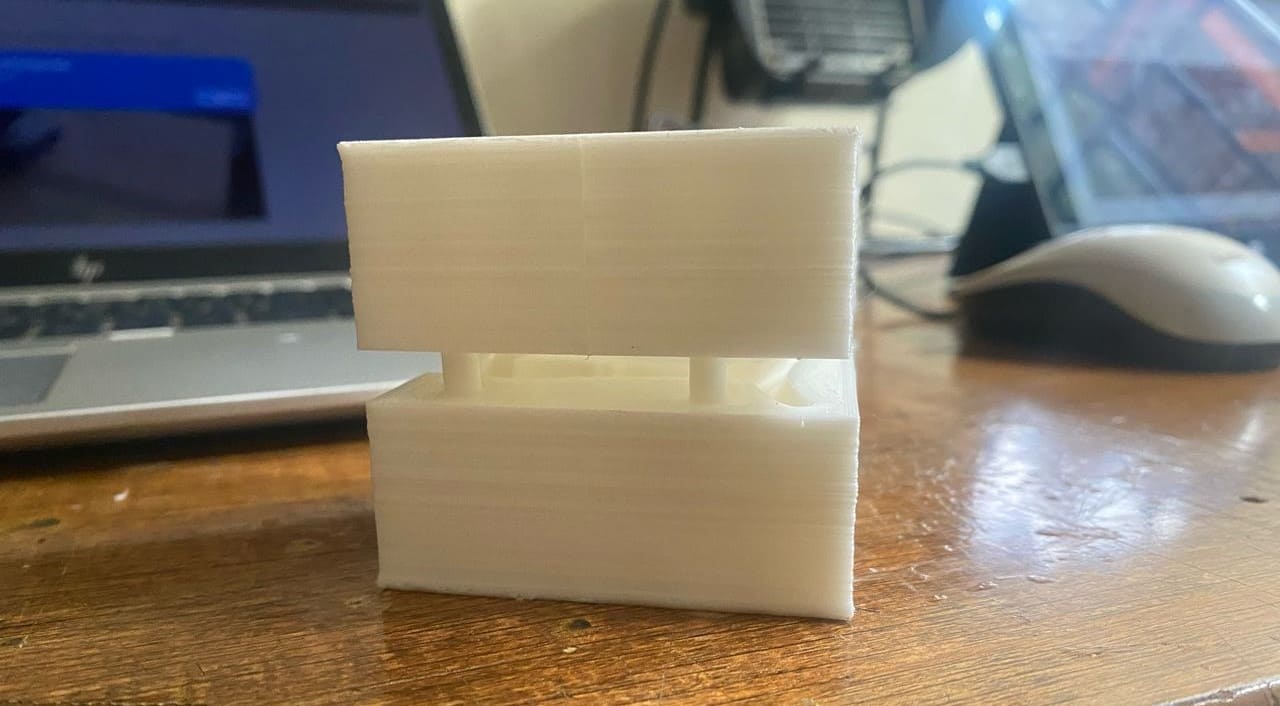
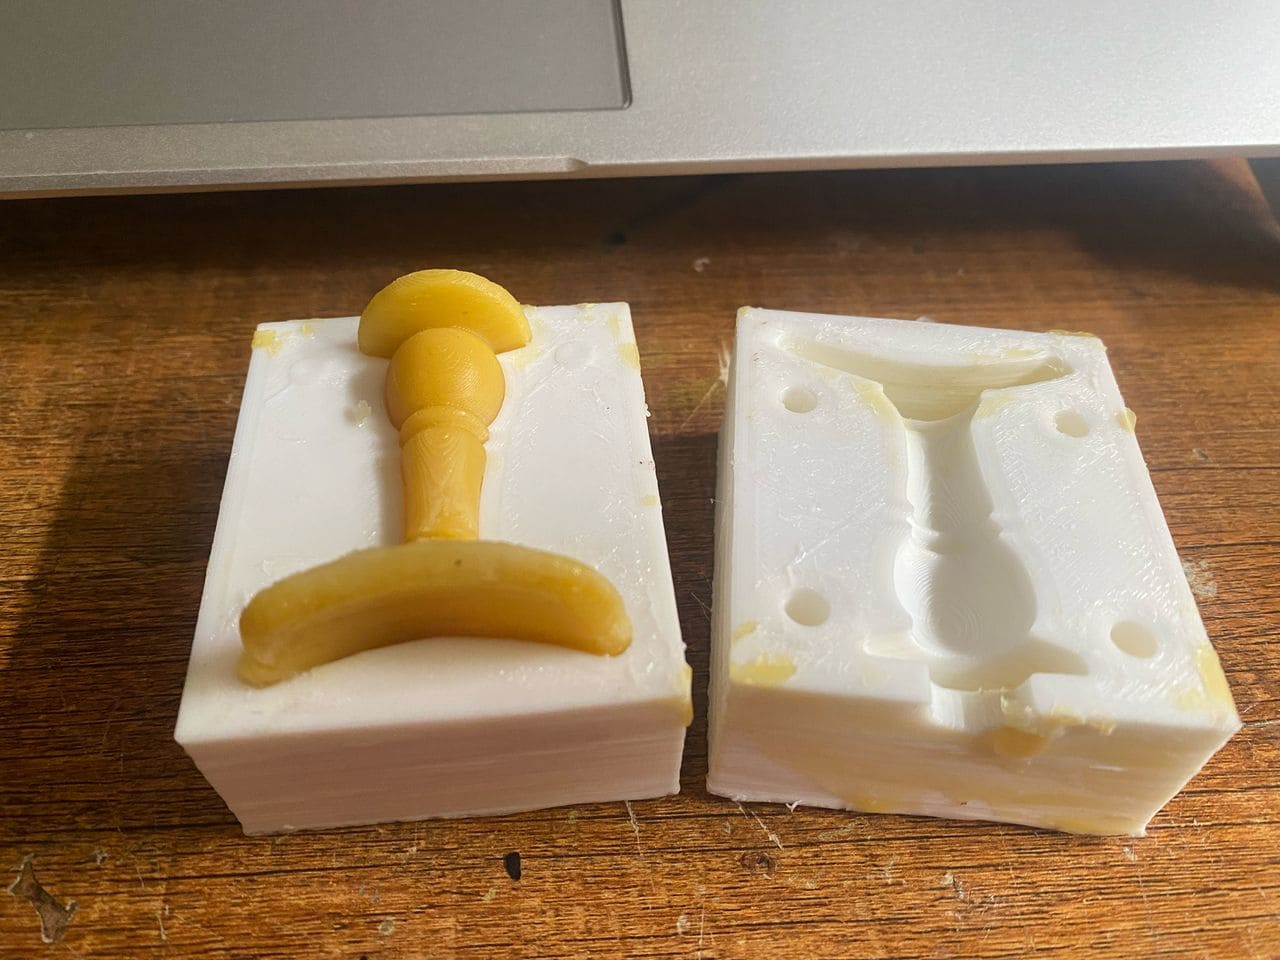
Testing molds and adding wax
After printing, I first tested the molds to ensure they fit together properly. I did small sanding since the joint were very tight
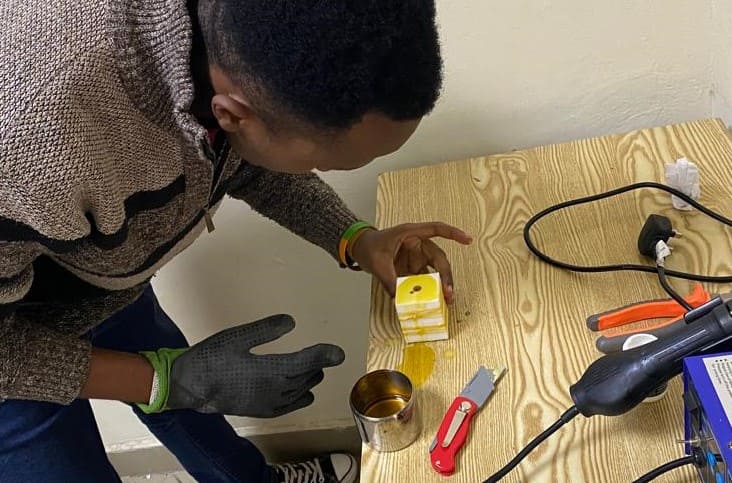
Before casting, I melted the wax and applied oil inside the mold to prevent the wax from sticking.
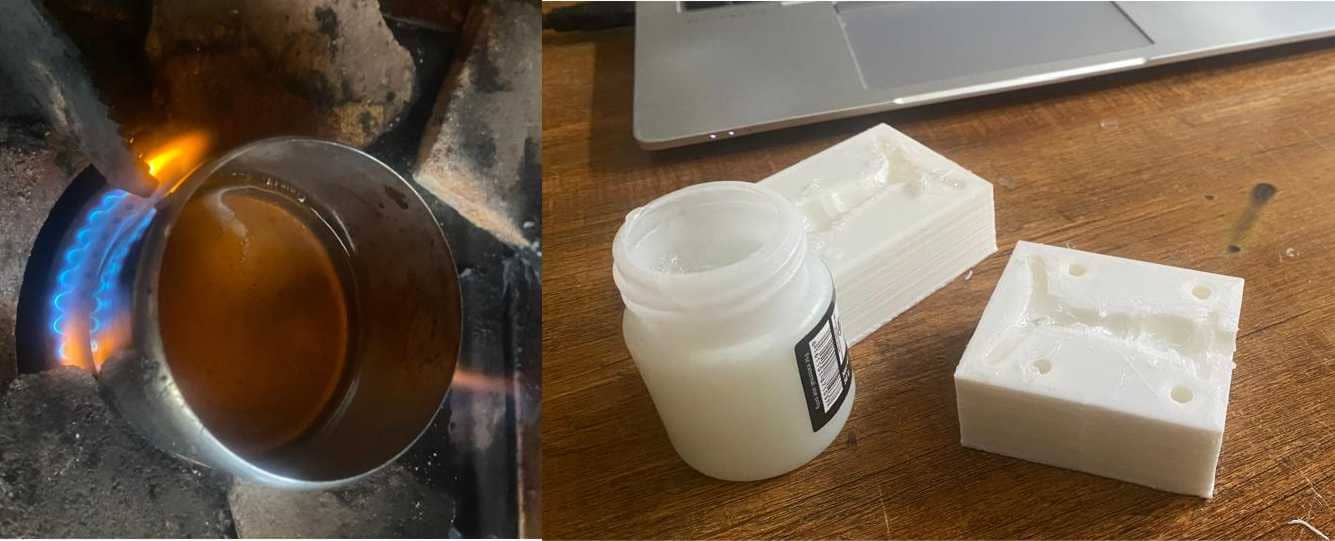
Once the wax was fully melted, I poured it into the mold, allowing it to fill the cavity and overflow sections. I then let it cool and solidify.
Here is the final wax-cast bird bath made using the 3D printed mold.

Reflection
This week, I learned a new feature in Solidworks, cavity which helped to quickly create molds from my part design.
I also learned the importance of choosing the right materials for molding and casting.
Using hard wax with a rigid mold made demolding difficult, I even broke one of the casts trying to remove it.
I realized that waiting for the wax to fully harden made it easier to take out. (but not for all designs), mine hard an outer part to pull.
Initially, I had planned to use silicone, which would have been better, but I didn't have the hardener.
I will try again with silicone in the future. Overall, it was a valuable hands-on experience.
Files
Molds
Part1 and Part 2
Bird bath
CAD design
STL Files