Week 4 - Embedded Programming
Assignment
Group assignment:
Demonstrate and compare the toolchains and development workflows for available embedded architectures Document your work to the group work page and reflect on your individual page what you learned
Individual assignment:
Browse through the datasheet for your microcontroller Write a program for a microcontroller, and simulate its operation, to interact (with local input &/or output devices) and communicate (with remote wired or wireless connection)
Summary
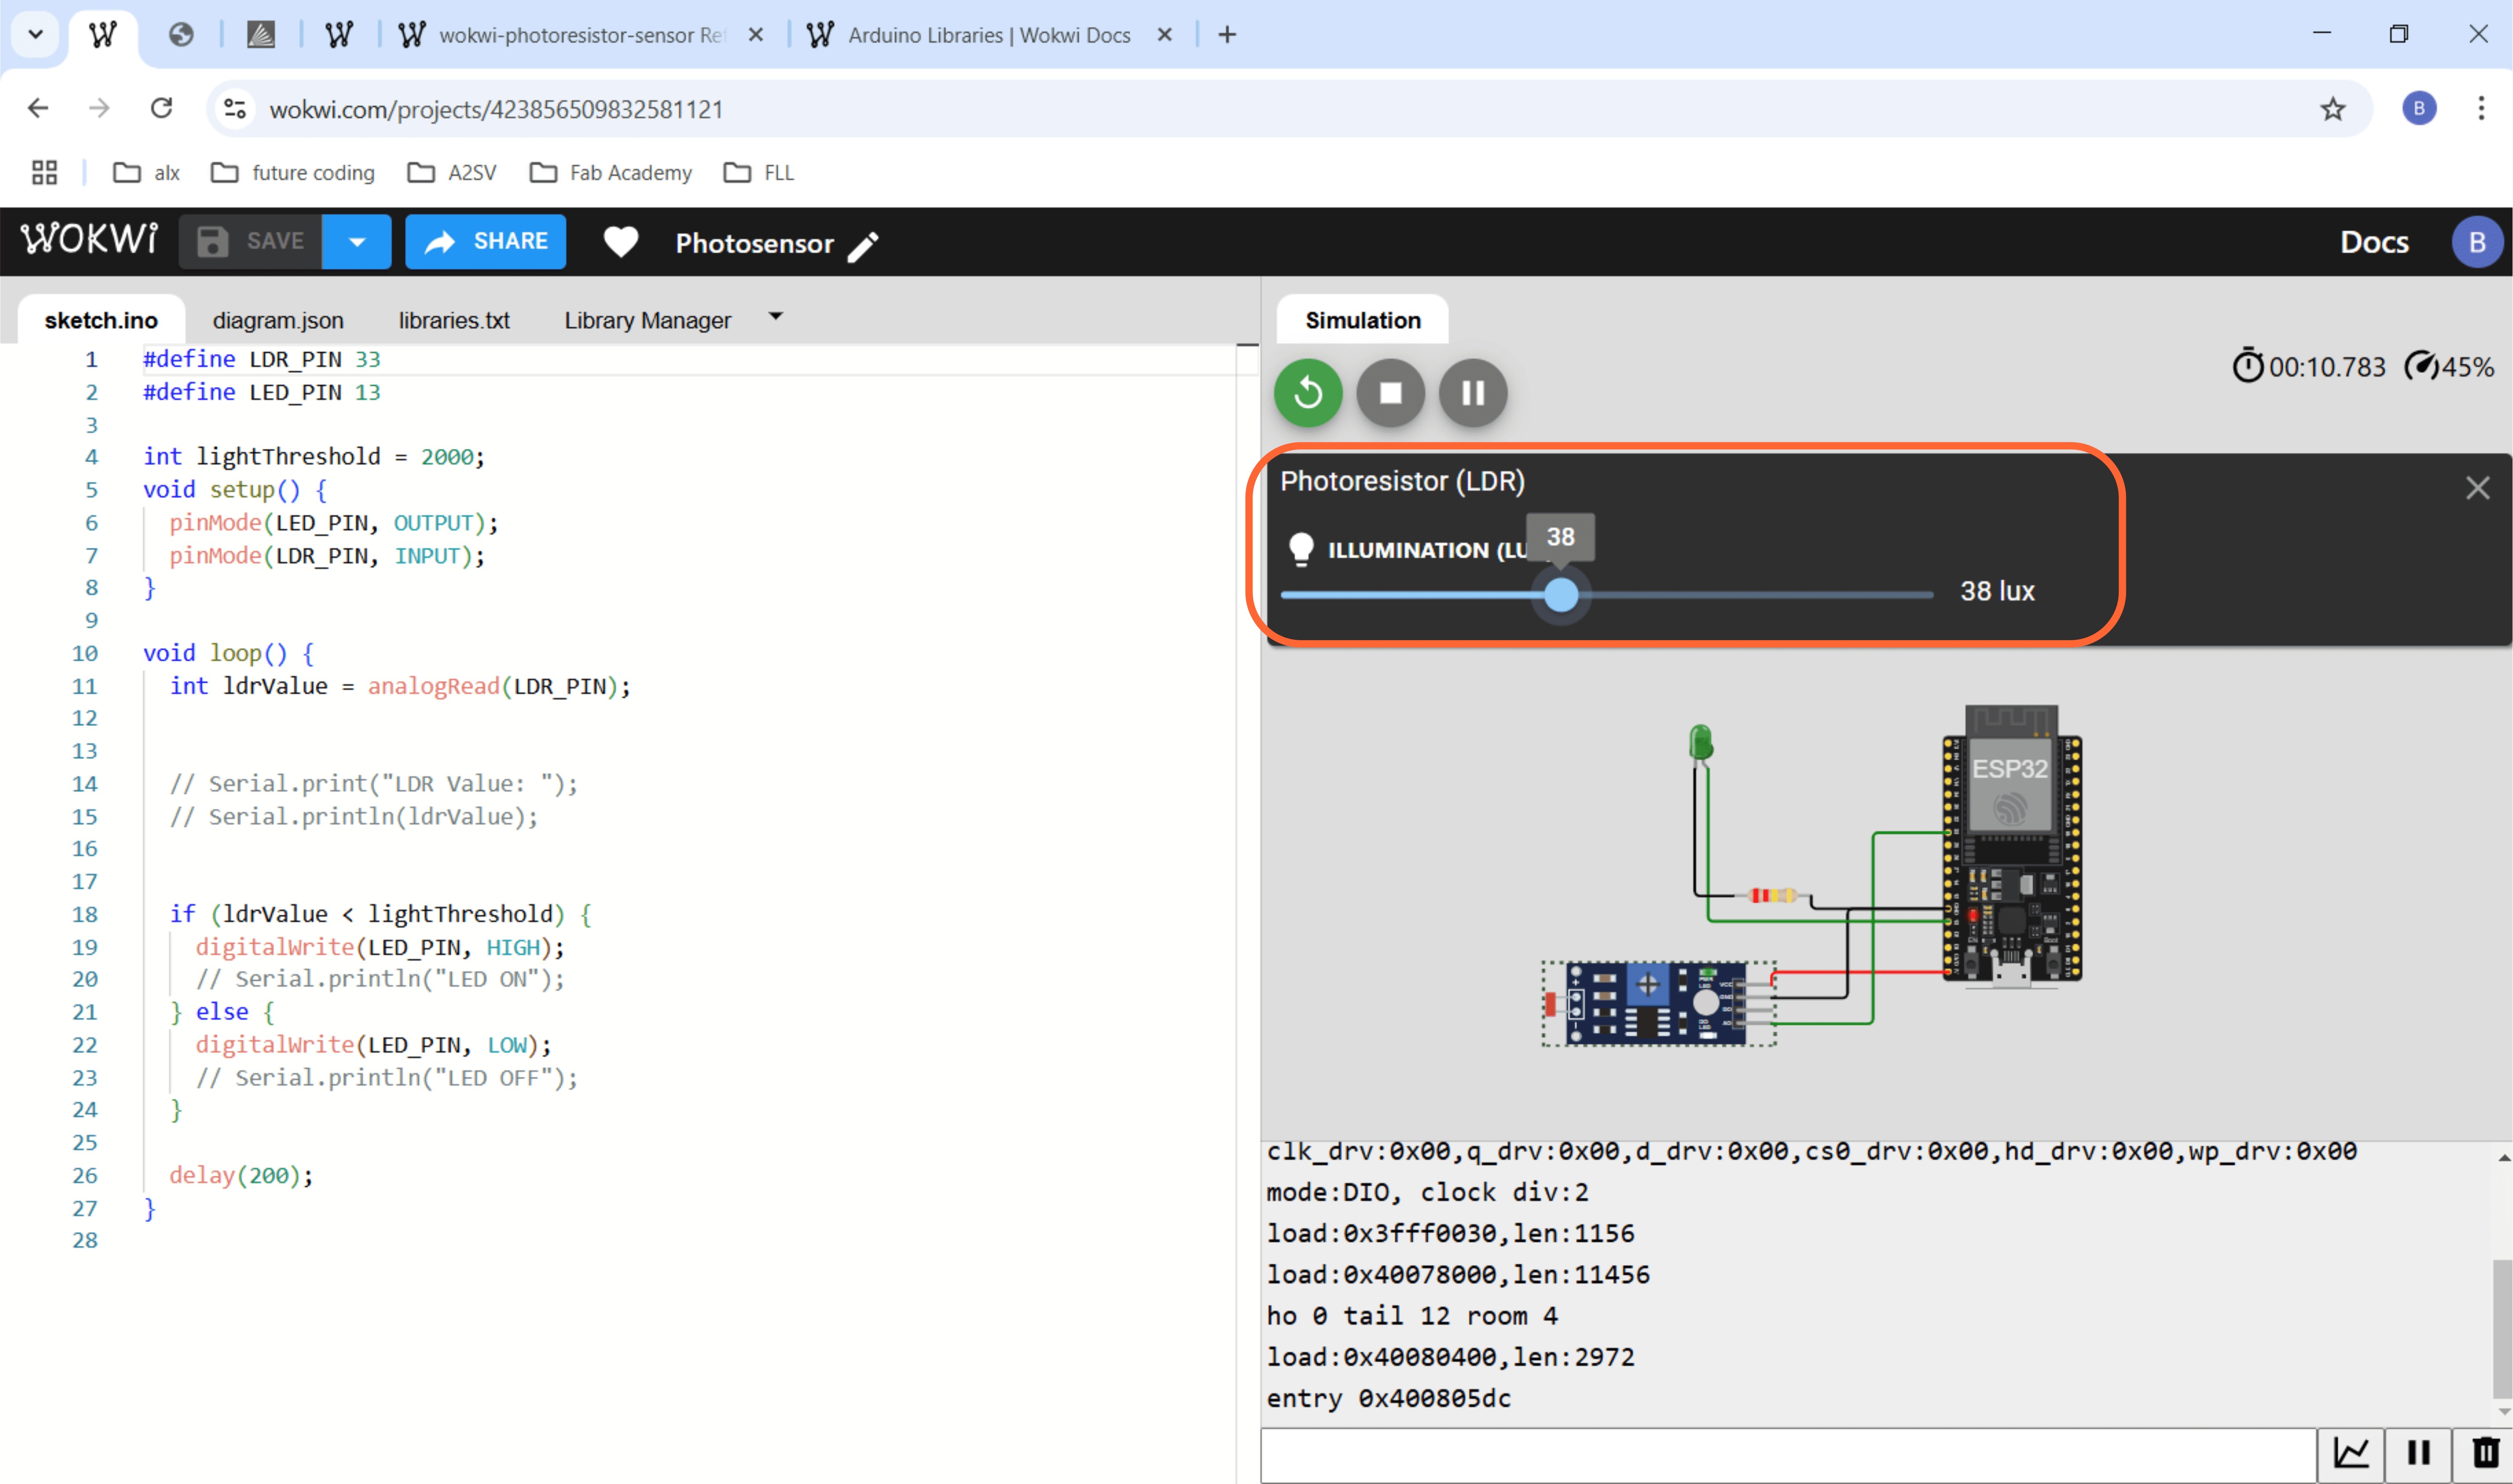
During embedded programming week I focused on the ESP32 where I looked at its properties and using the wokwi website I designed a simple program using an ESP32, photosensor, LED and a resistor of 220 Ohms where LED get switched on/off according to the values read by the photosensor. When the light threshold is below 2000 the LED turns on and viceversa.
In short ESP32 is a chip with 2.4 GHz wifi and bluetooth present and its highly recognised for its best performance in terms of reliability,
power and robustness in its applications.
ESP32 has various series basing on the chip revisions(ESP32-D0WDQ6-V3, ESP32-D0WD,...)but all have common peripherals which includes GPIOS, touch sensors, and interfaces.
Also with the team we explored different microcontroller with simple projects.
Visit the Group Page
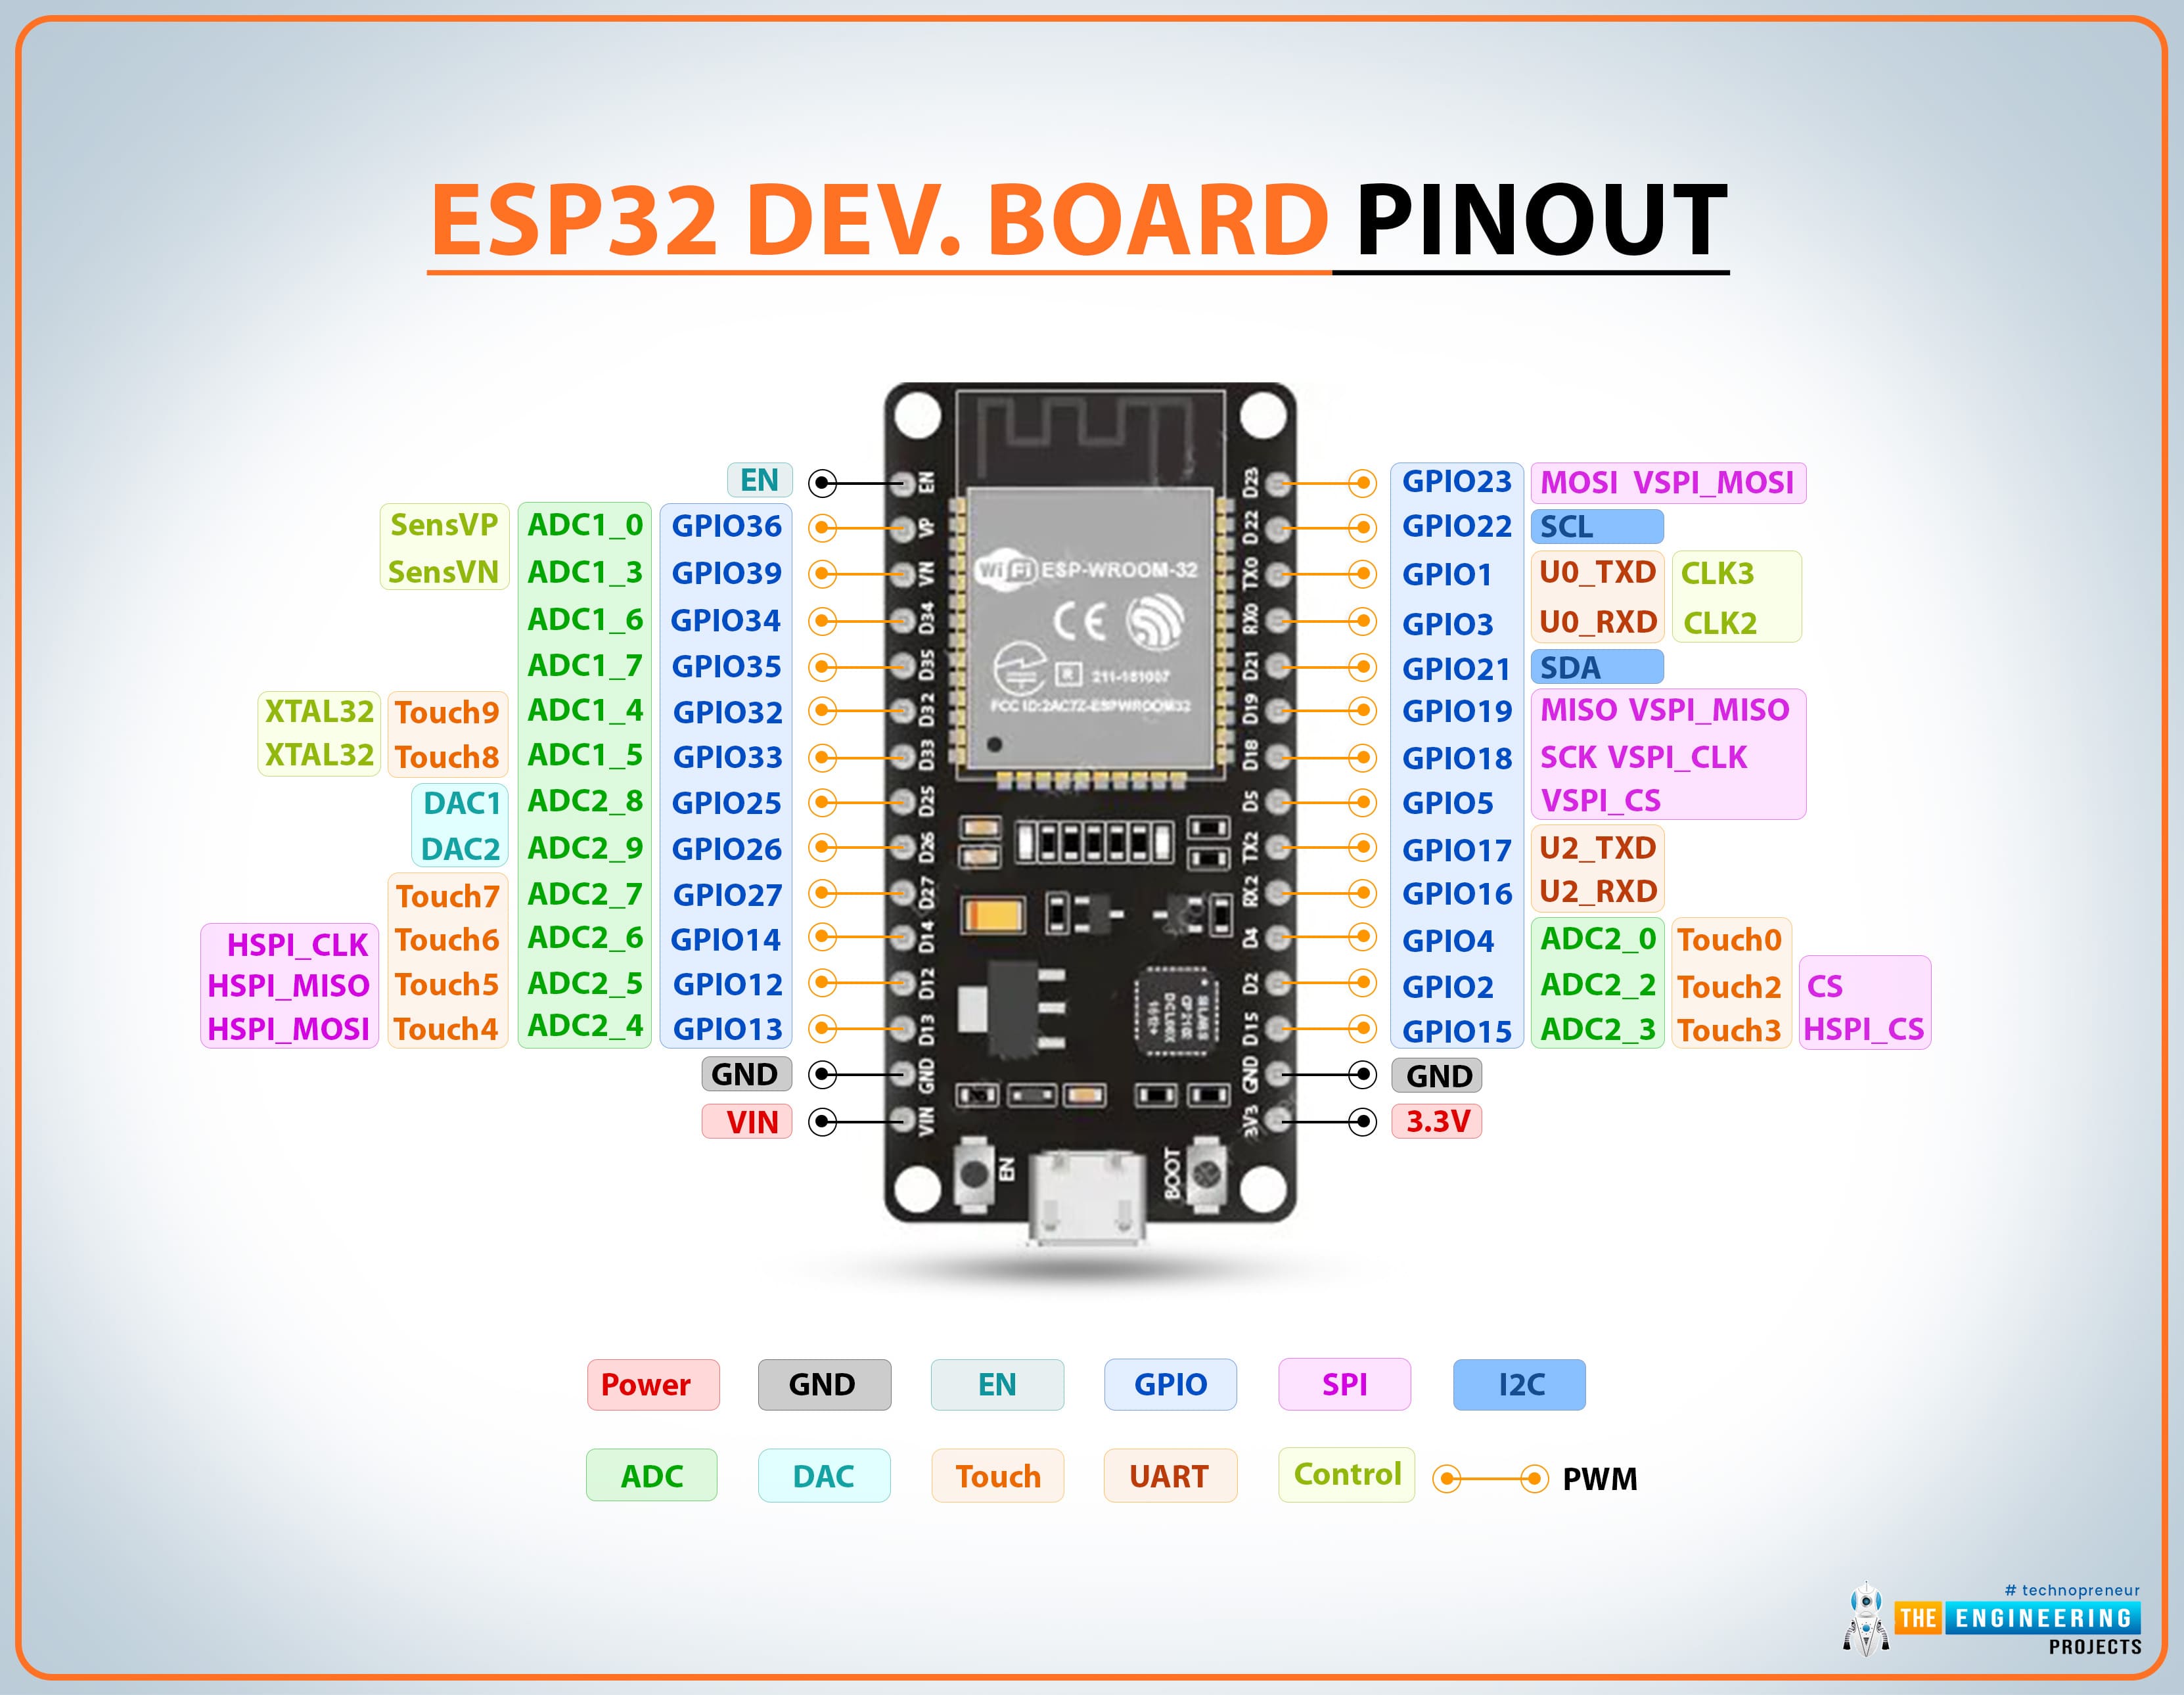
I got to know much about ESP32 from this datasheet: ESP32 Series Datasheet and The Engineering Project
Using Wokwi platform
Visit: Wokwi Simulator
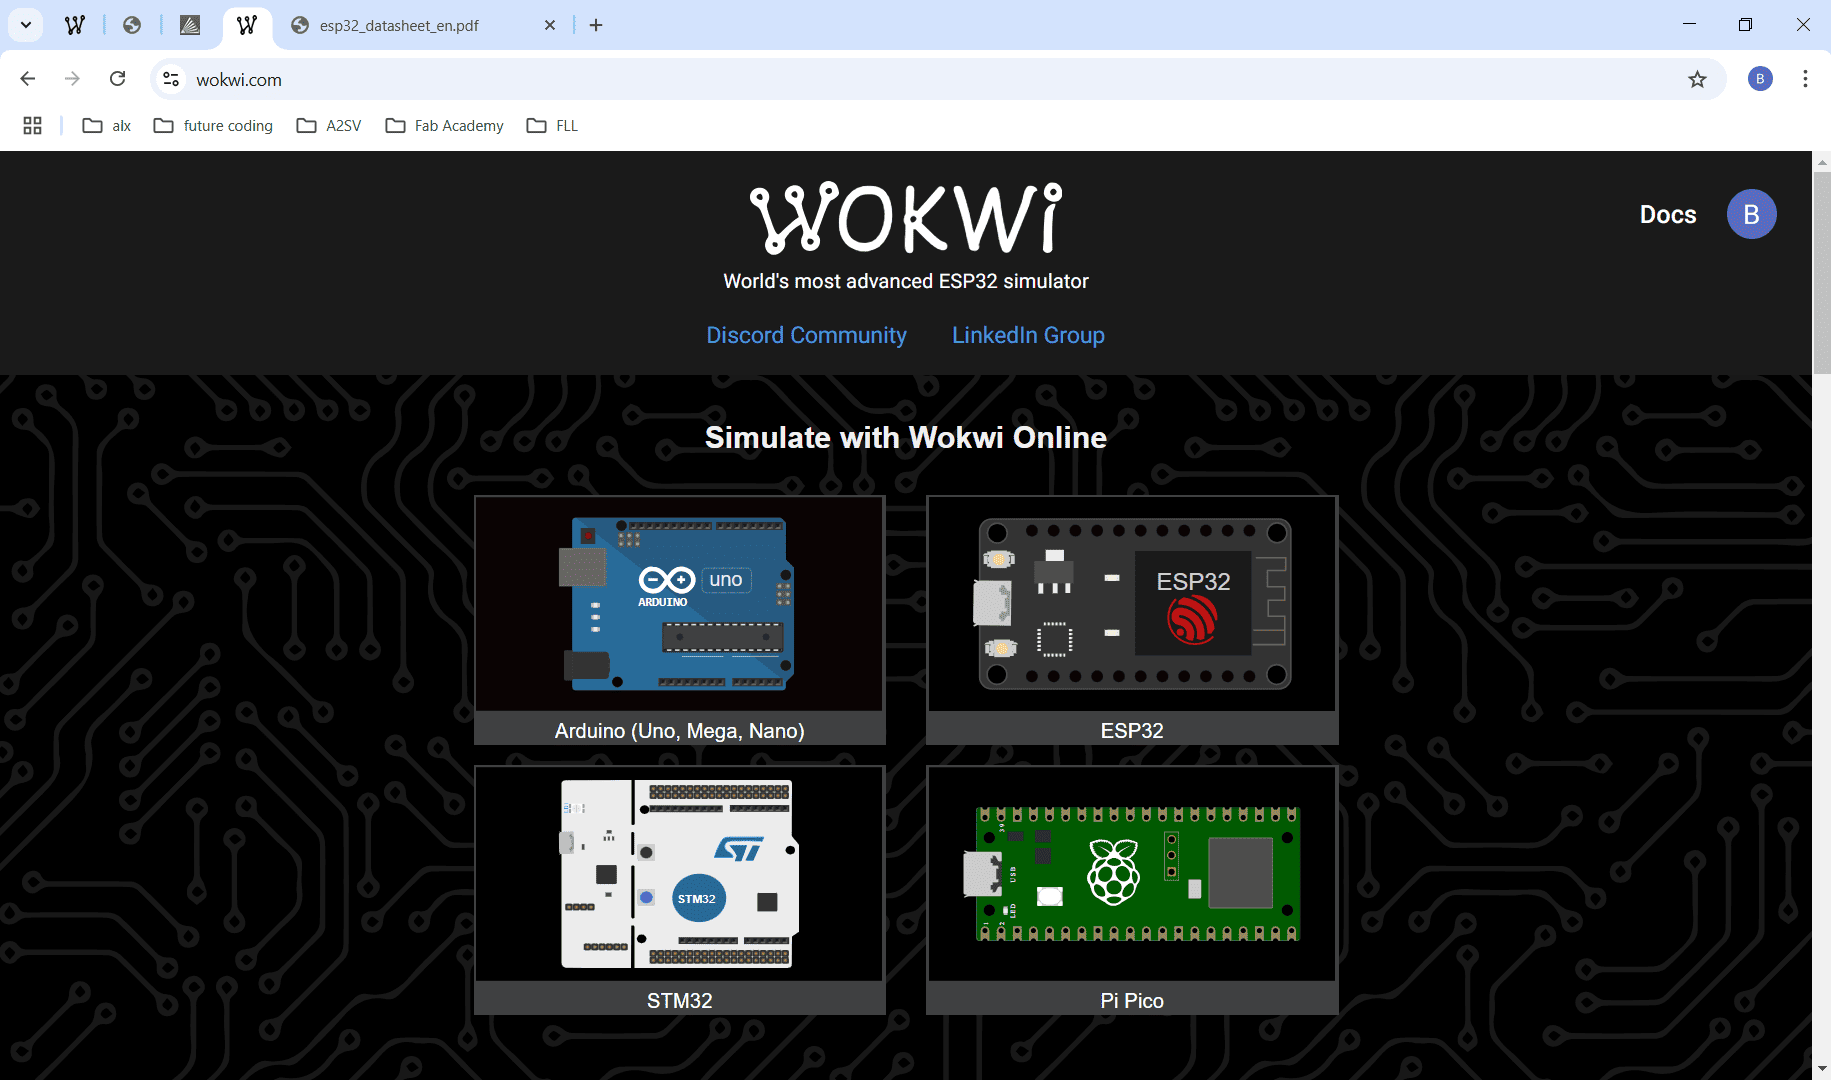
Wokwi is a platform that helps with simulating electronic projects. I began by creating an account, signing in with either Google or GitHub. Once logged in, I accessed the dashboard, where I could select the controller for my project. I chose the ESP32.
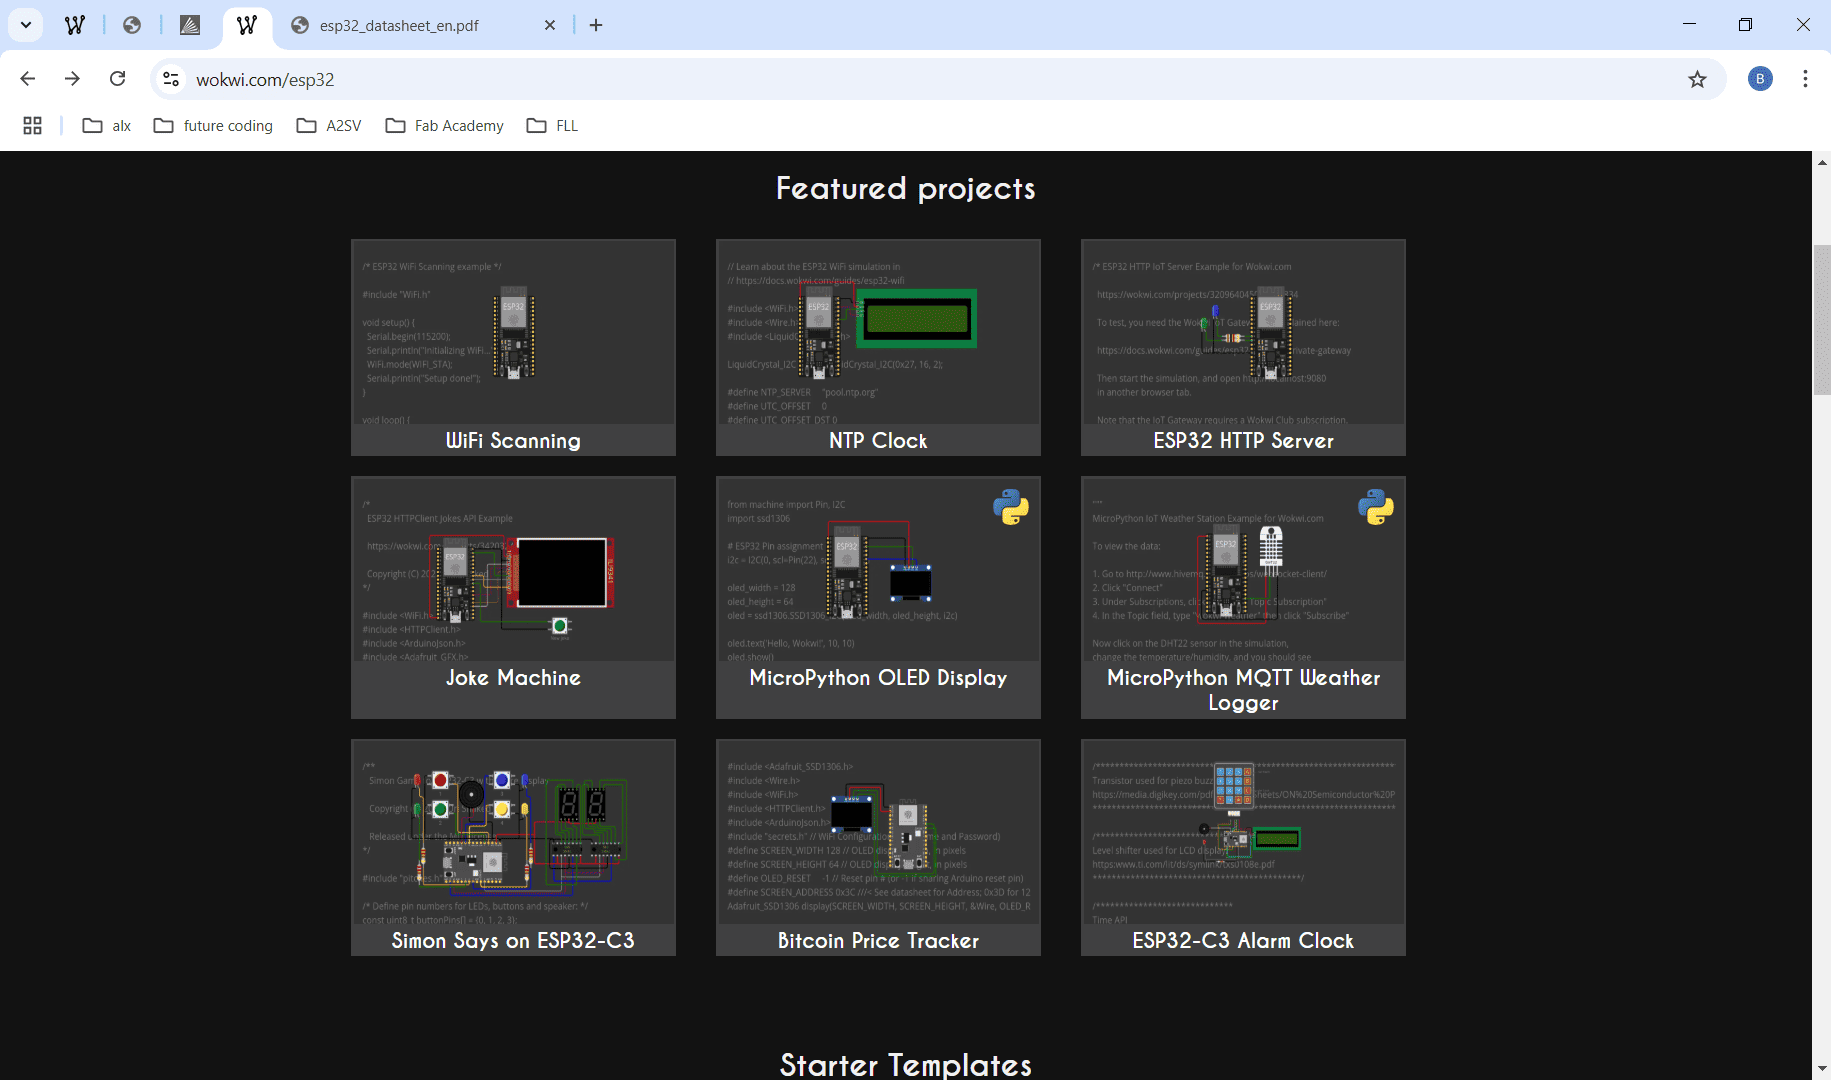
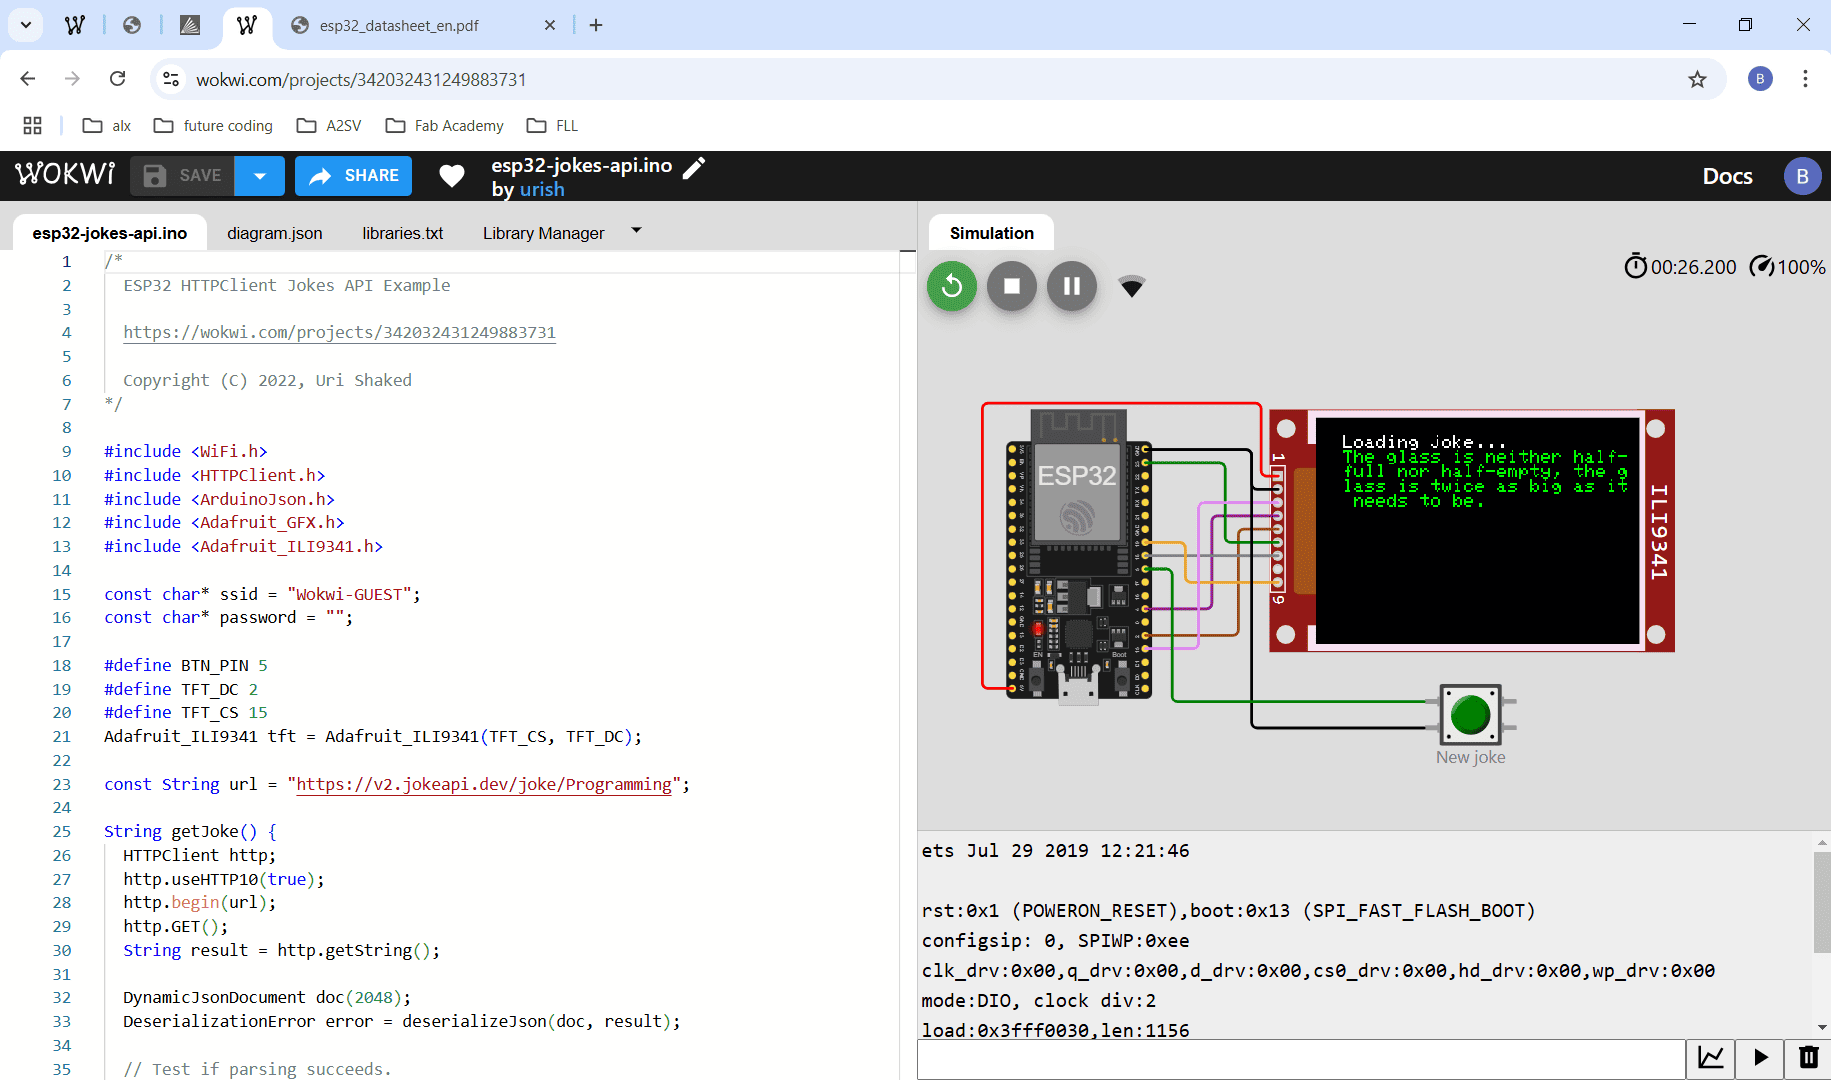
Under the ESP32 microcontroller, I first explored the features section, where I opened the Joke Machine project template.
I explored the Joke Machine, which consists of a button and an LCD-TFT display with an SPI interface, all connected to the ESP32
microcontroller. By pressing the button, a joke is generated.
The controller first connects to Wi-Fi to access the JokeApi, which provides the jokes.
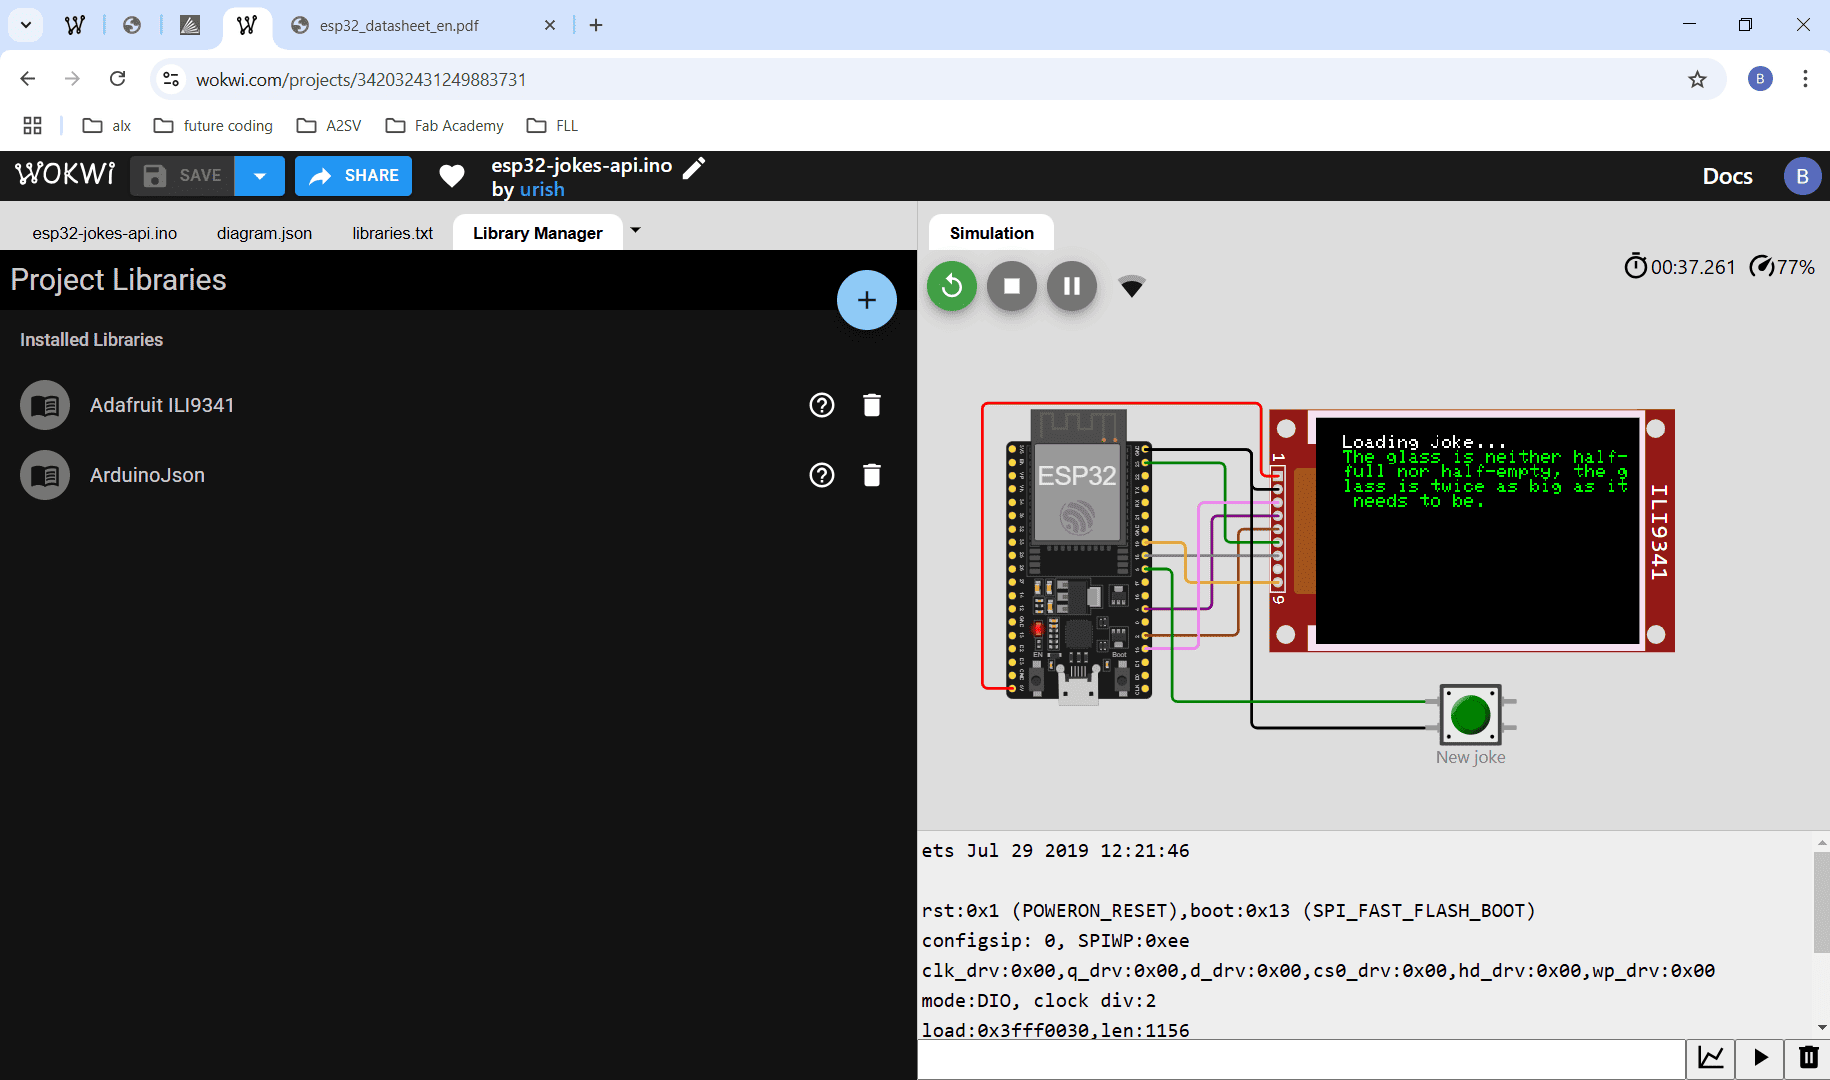
The libraries used include Adafruit ILI9341 for controlling the LCD and ArduinoJson for handling JSON data, as the jokes are fetched
from a web API.
Open: JokeApi Documentation
Lighting up LED with photosensor Program
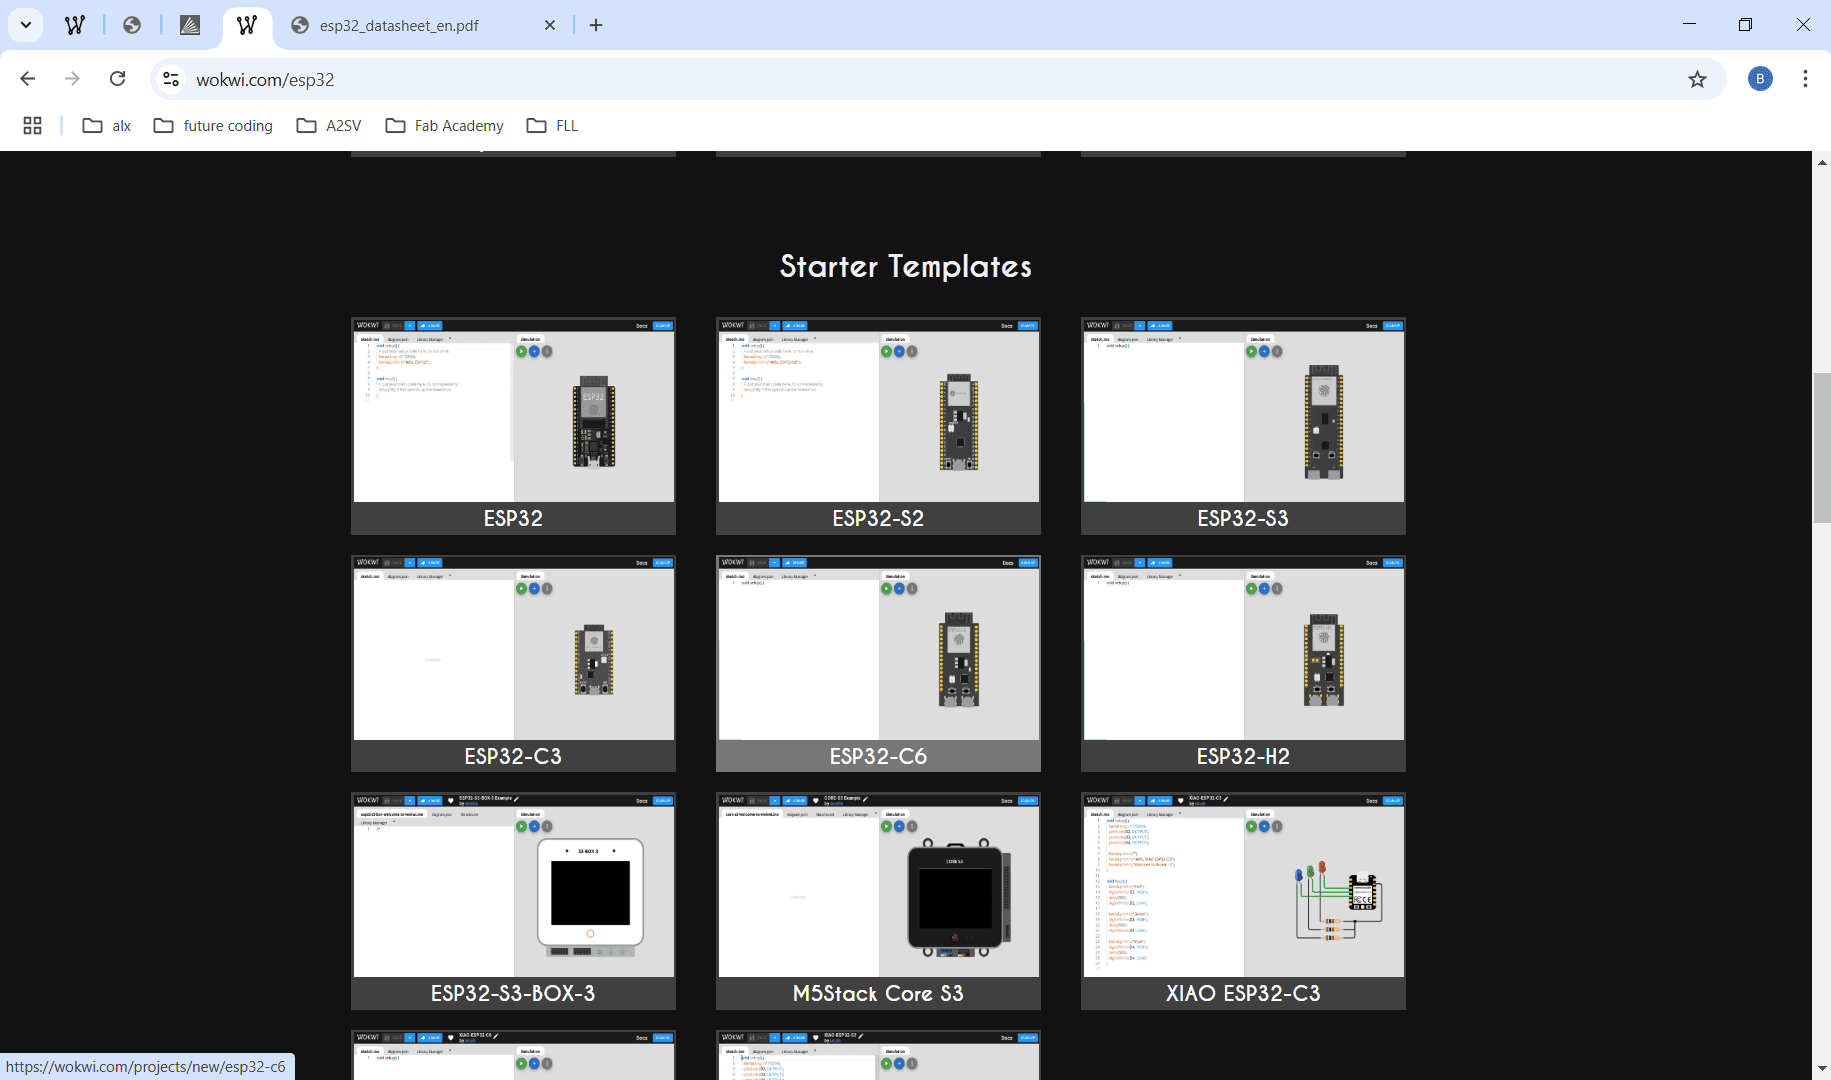
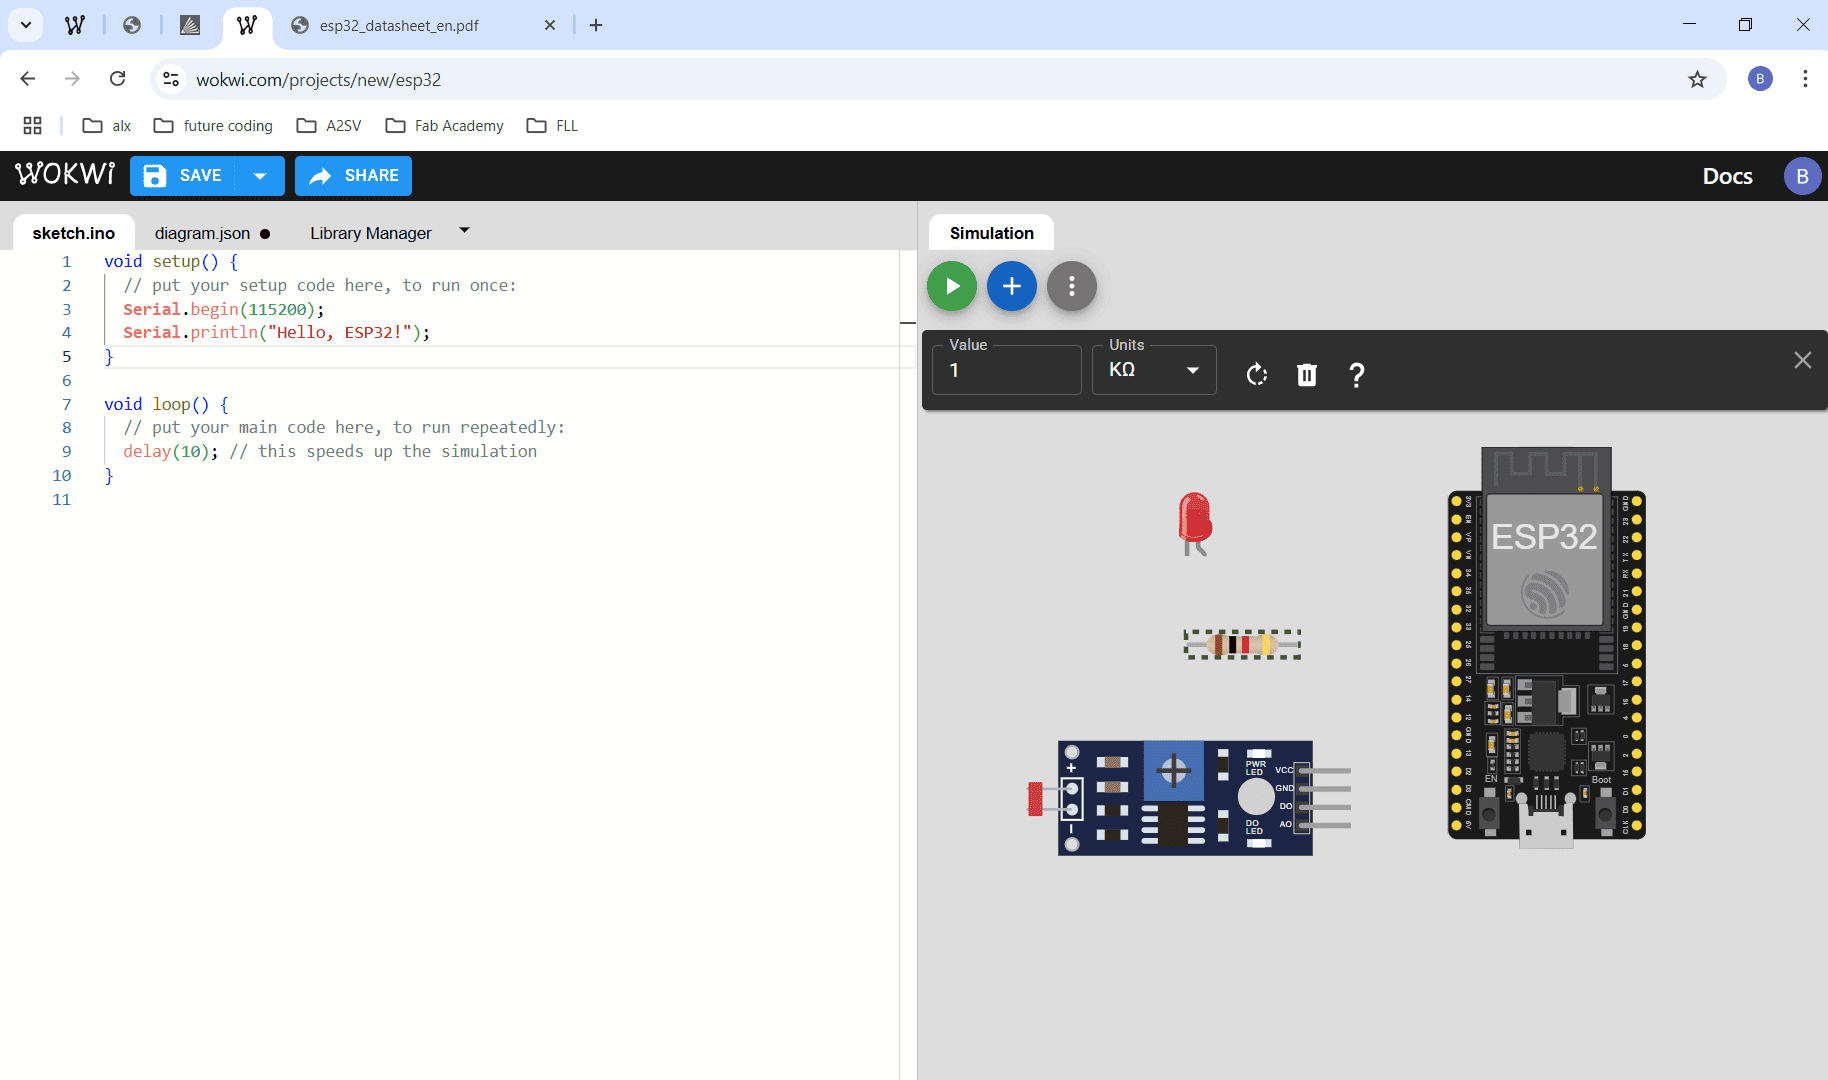
After exploring the joke machine I went back and created a starter template with ESP32.
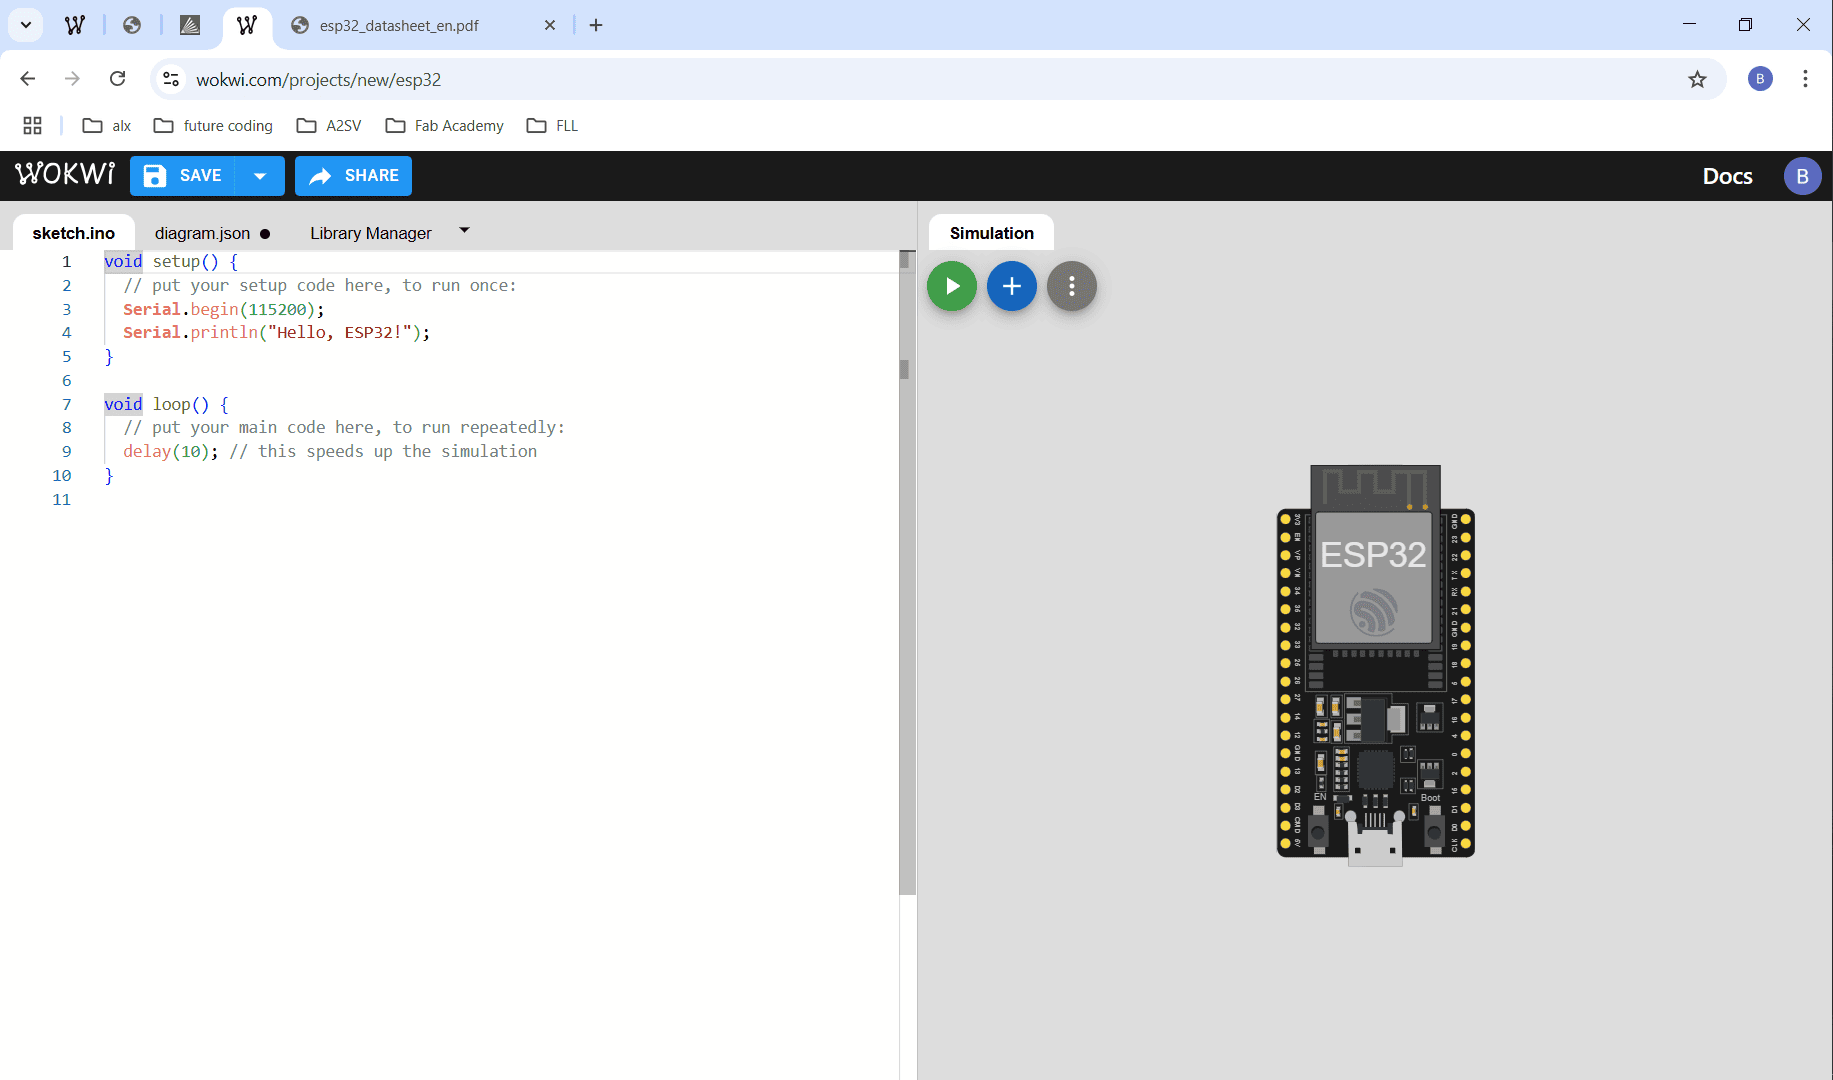
I added the photosensor, LED and a resistor of 200 Ohms
Connection and Programming
I connected the LED's cathode to ground through a resistor and the anode to a GPIO pin13
For the photosensor connections to the ESP32:
VCC is connected to the 5V pin to get power
GND is connected to GND
A0 is connected to GPIO 33 (since A0 provides an analog signal)
GPIO: General Purpose Input/Output
For the programming part, I set a time threshold, and the ESP32 reads the values from the photosensor and compares them to the threshold. When the value is below the threshold, the LED turns ON; when the value is above the threshold, the LED turns OFF.
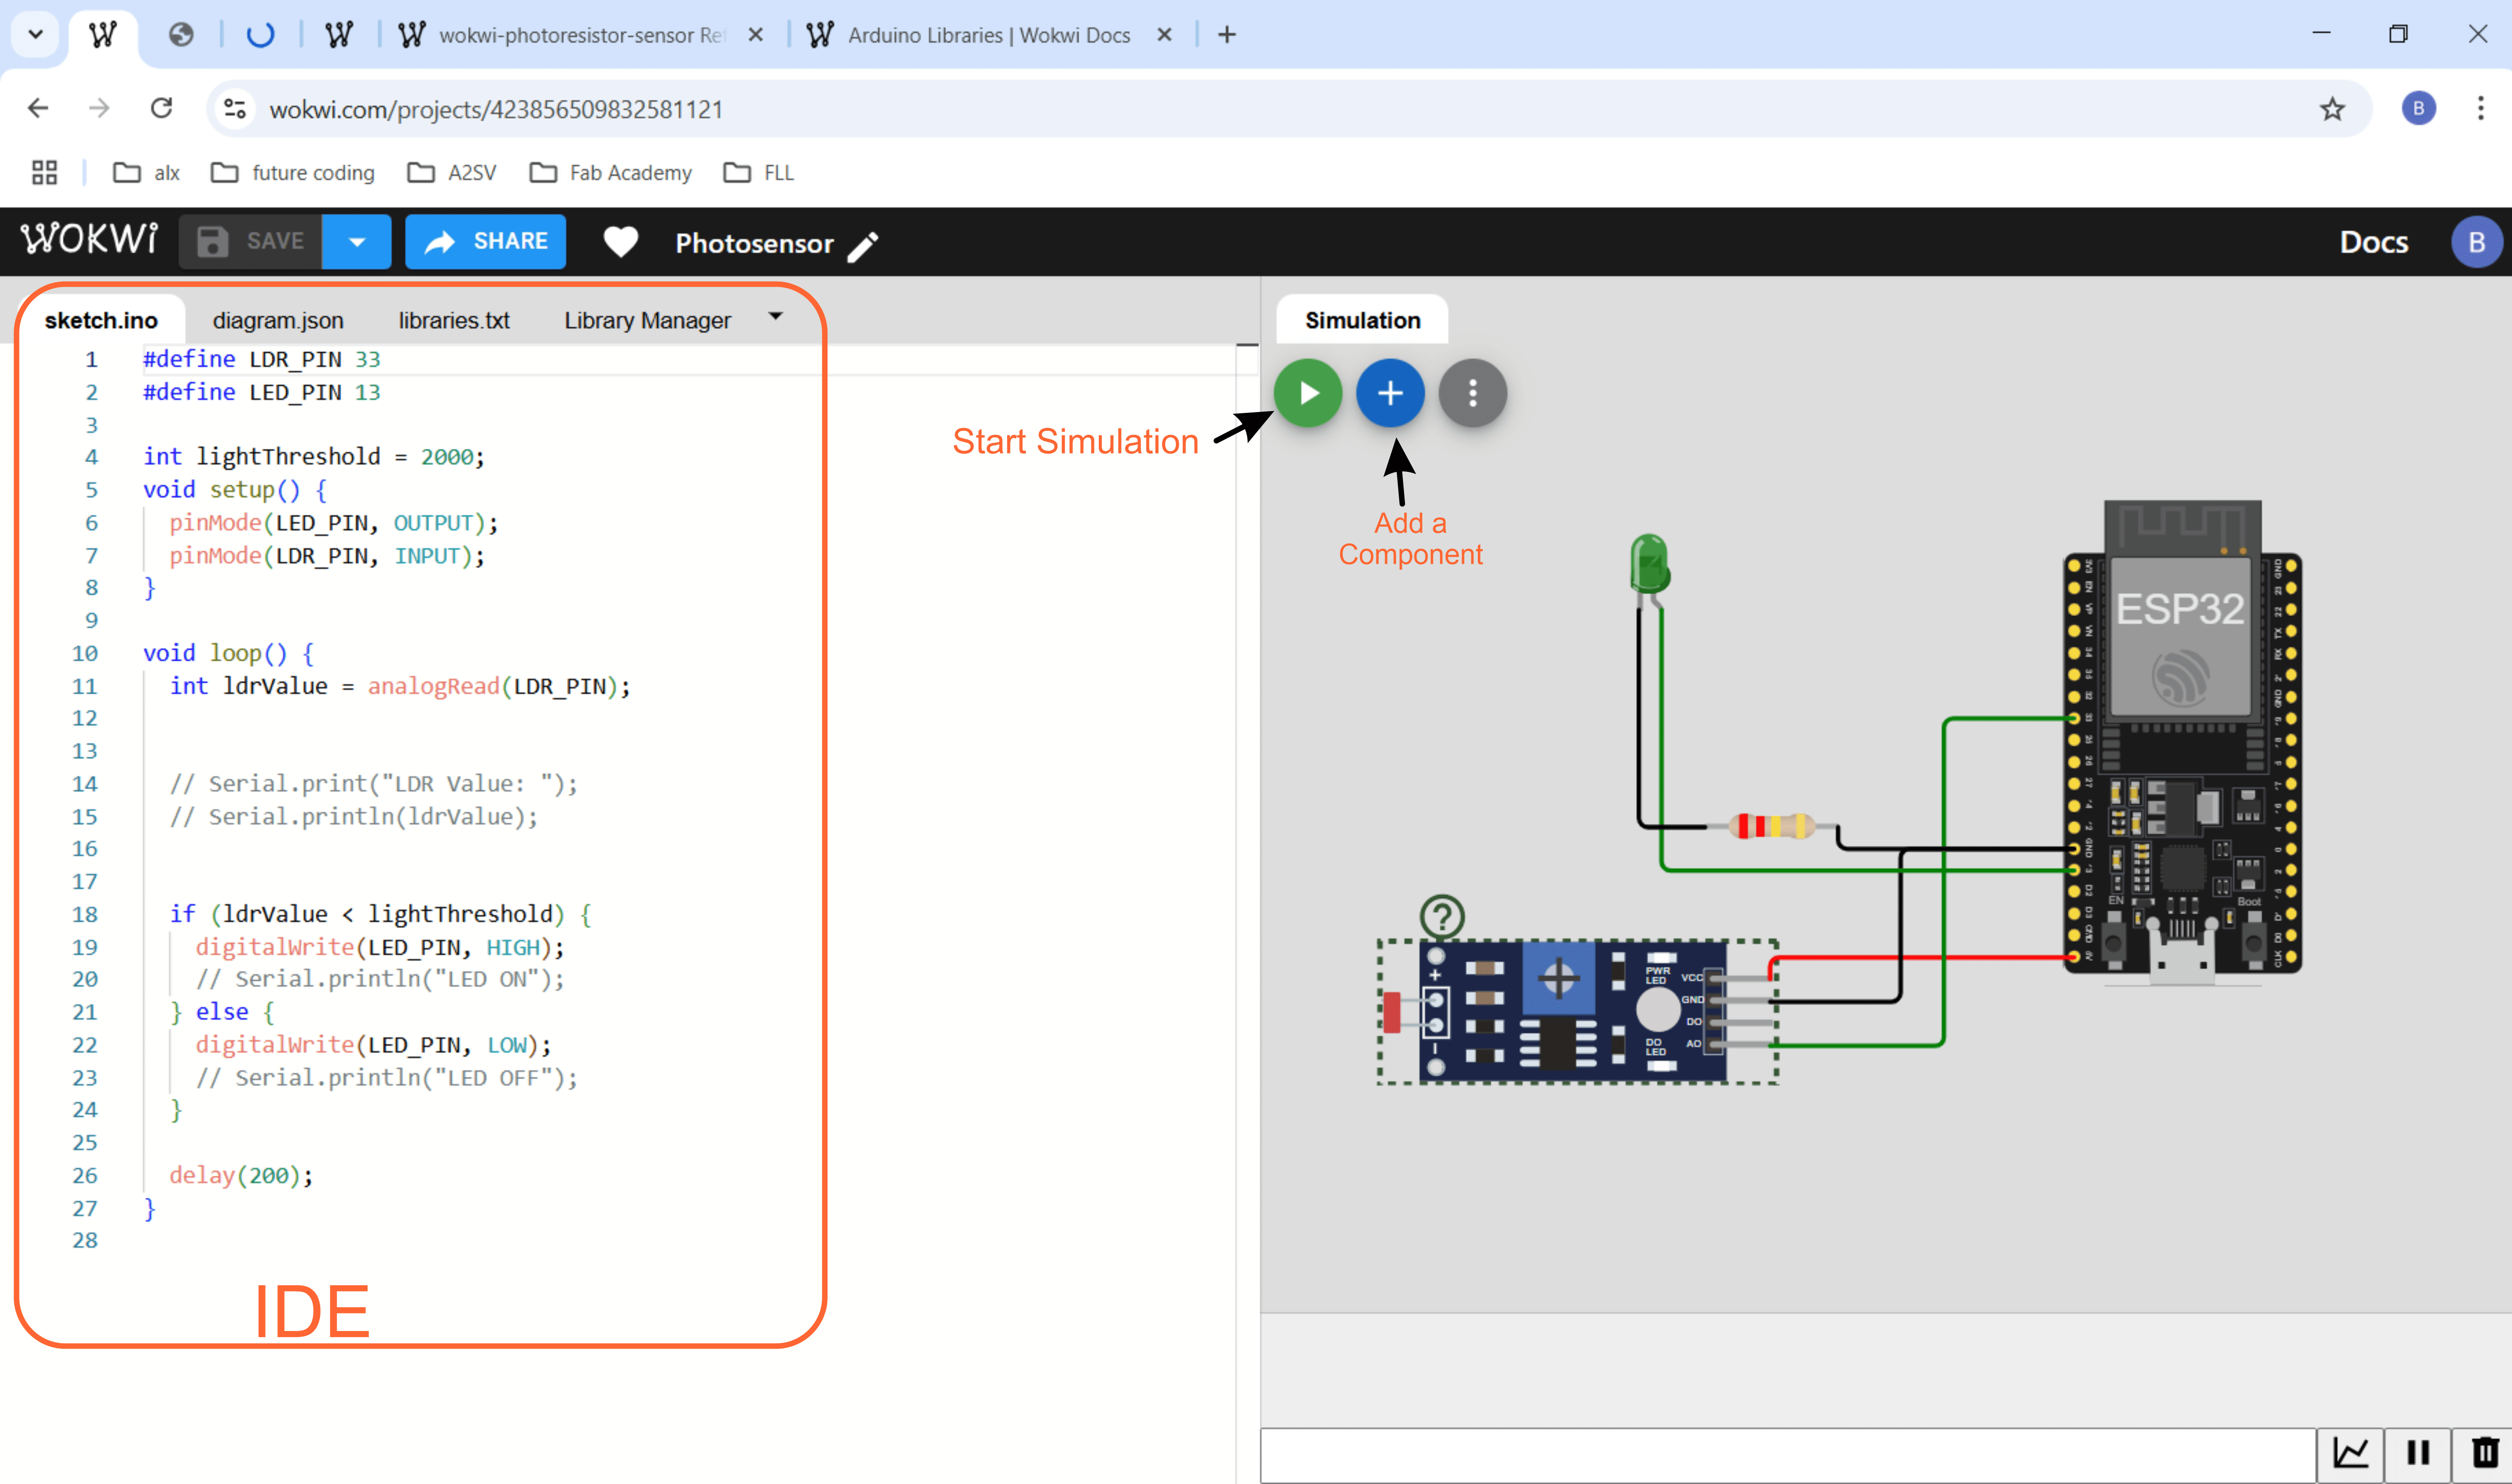
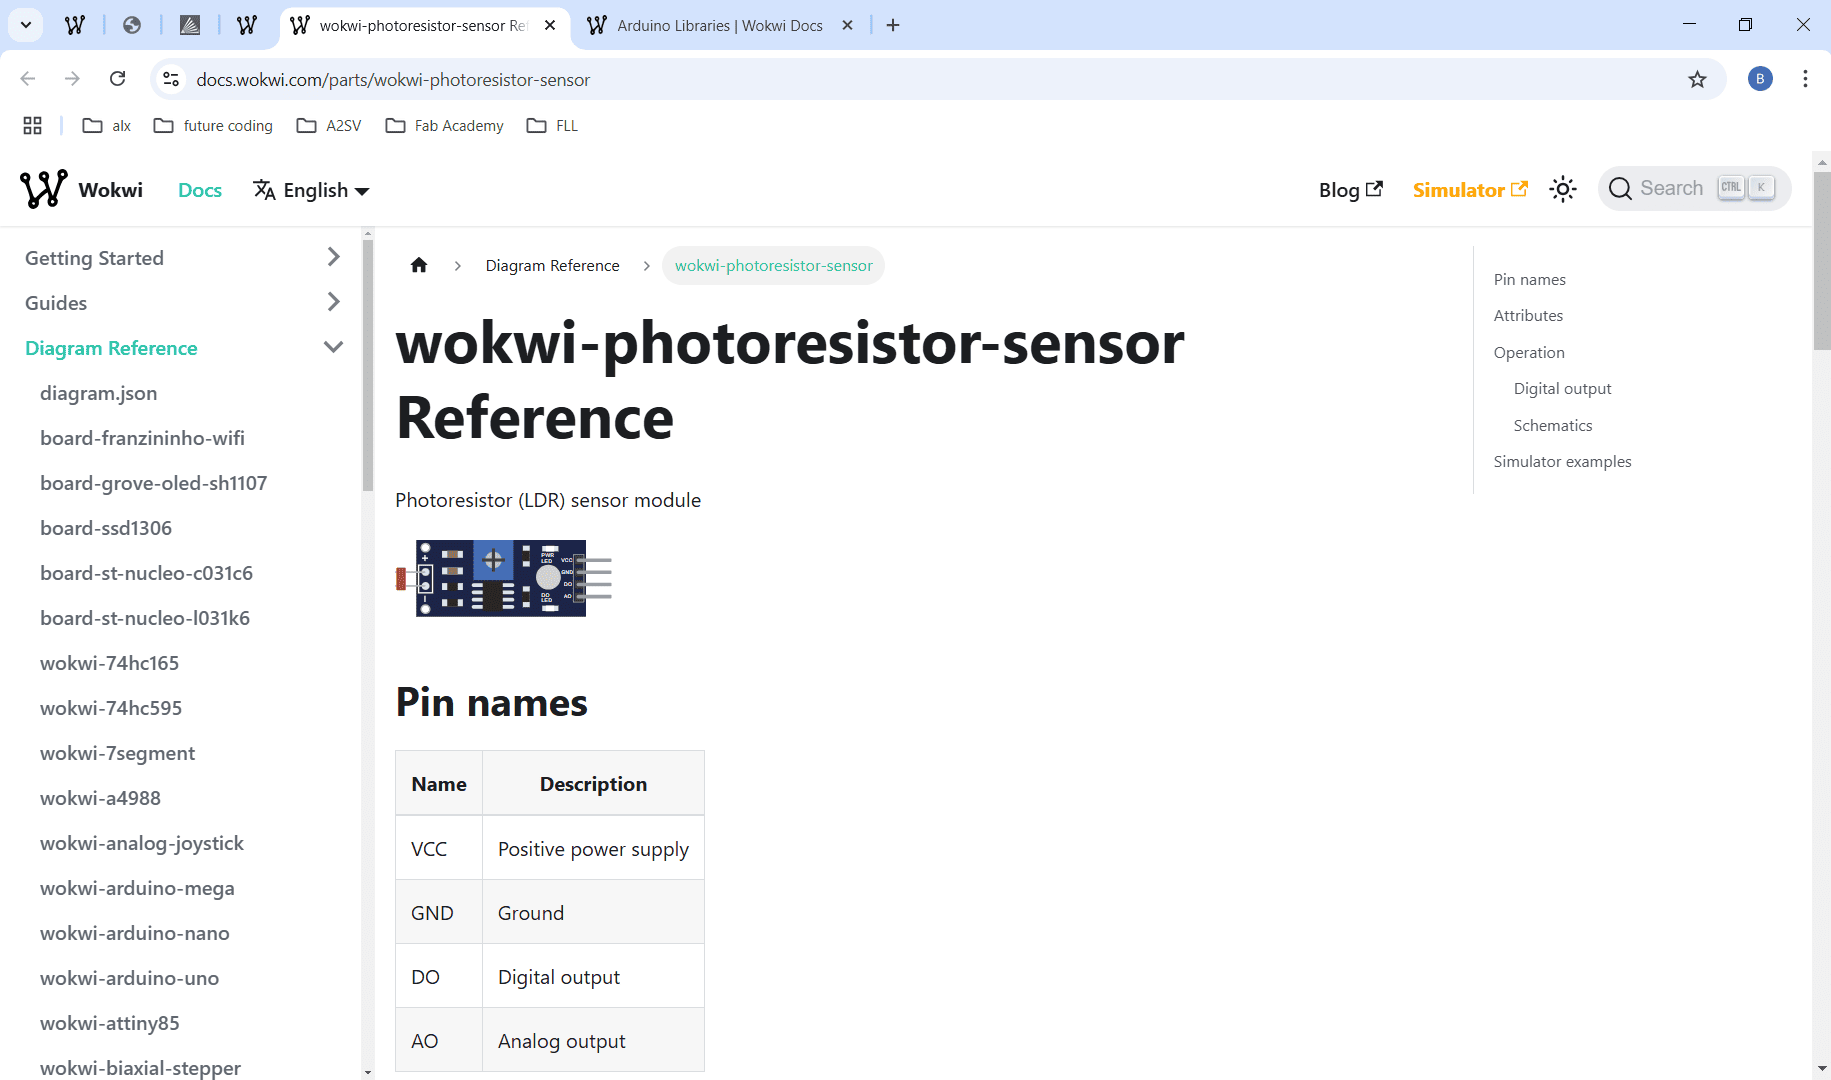
The great thing about Wokwi is that if you're unsure about a component, you can simply select it and click the question mark for help. It will provide you with relevant information and data about that component.
After making the connections and programming the project, I tested it, and the LED started blinking.
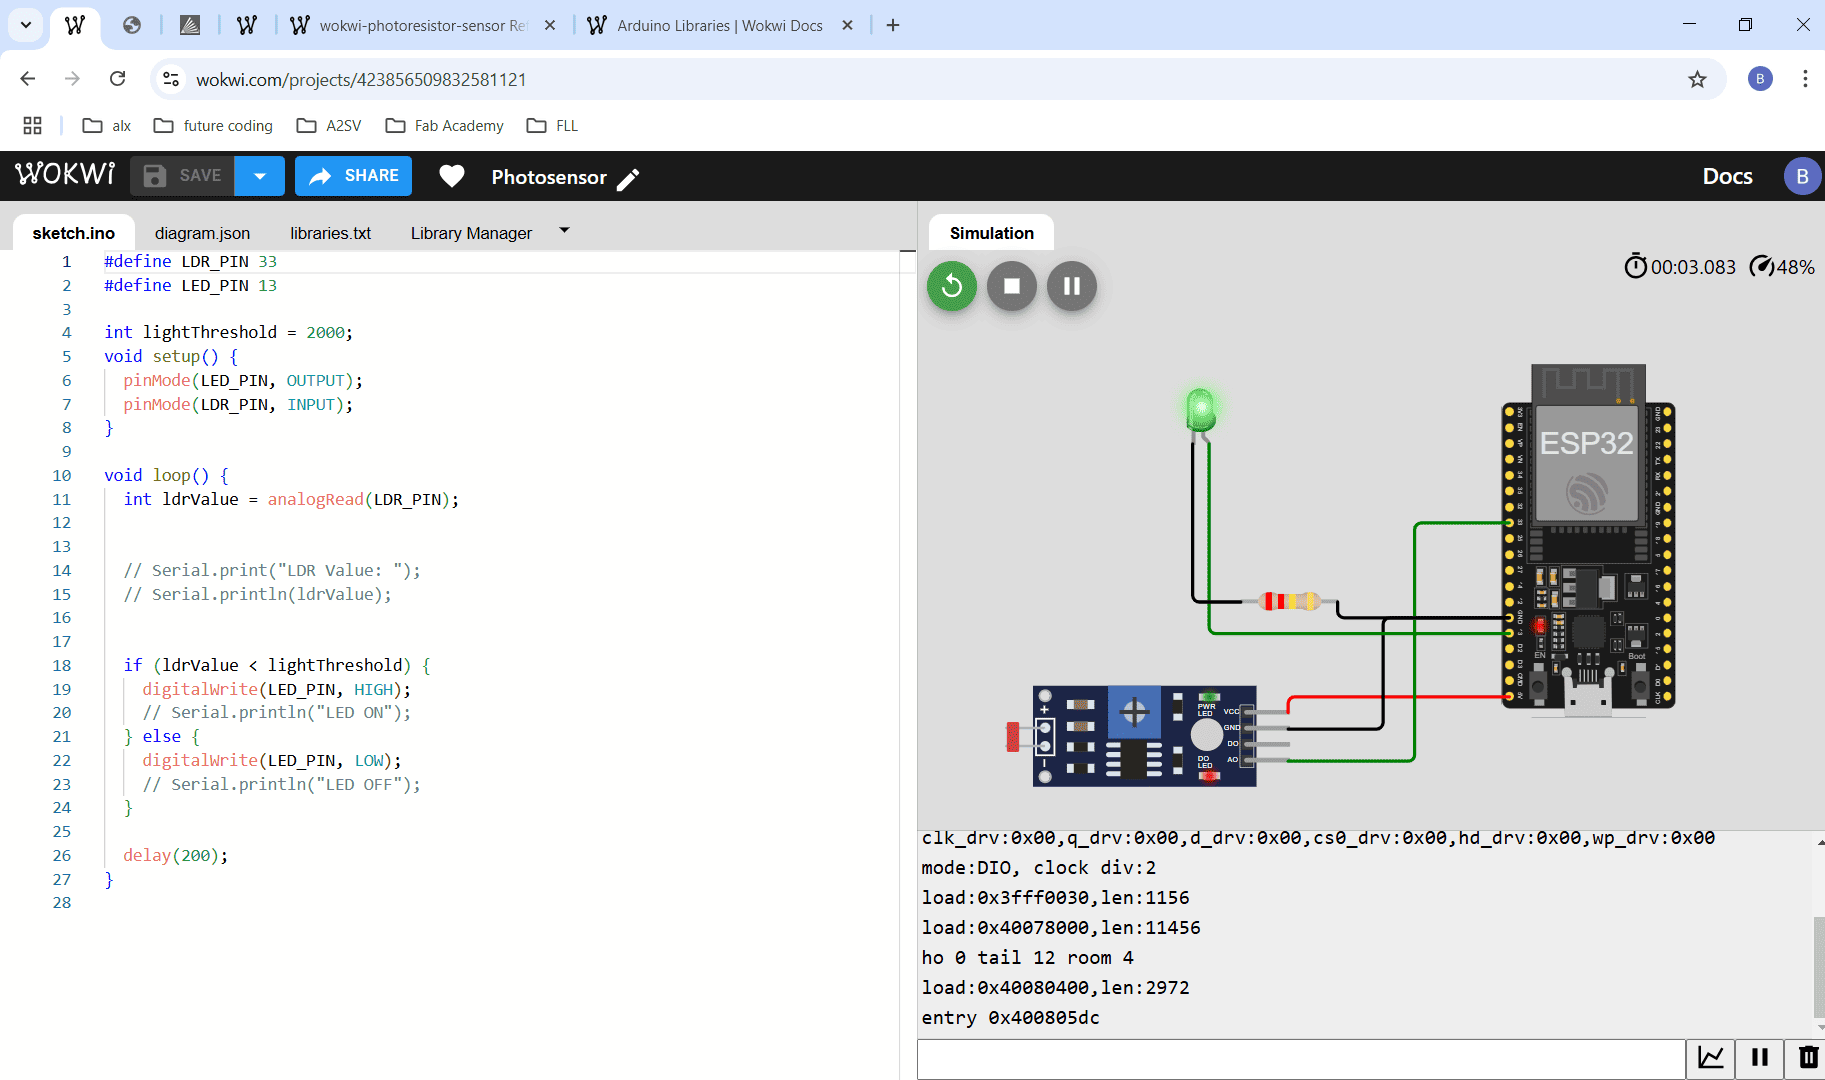
I adjusted the lux values to observe the effects. When the lux level dropped below 105, the LED turned OFF, and when the lux level exceeded 105, the LED turned ON, as I had set the threshold to 2000.
