Week 16 - Wildcard Week
Assignment
Design and produce something with a digital process (incorporating computer aided design and manufacturing) not covered in another assignment, documenting the requirements that your assignment meets, and including everything necessary to reproduce it. Possibilities include but are not limited to wildcard week examples.
Summary
For this wildcard week, I explored plasma cutting, a digital fabrication process not covered in previous assignments. My project involved cutting the Fab Lab logo out of a 3mm thick iron sheet using a plasma cutter.
Task covered:
Designing the cut file in CorelDRAW
Generating G-code in Aspire using a Lincoln plasma post-processor
Preparing the plasma machine and executing the cut
Applying safety protocols and performing initial finishing
Design
I began by downloading the Fab Lab logo in bitmap format and opened it in CorelDRAW. Using the trace tool,
I converted the bitmap to vector format. To prepare it for cutting and mounting:
I added a rectangle outline around the logo.
Included four circular holes for mounting the cut metal plate on a wall.
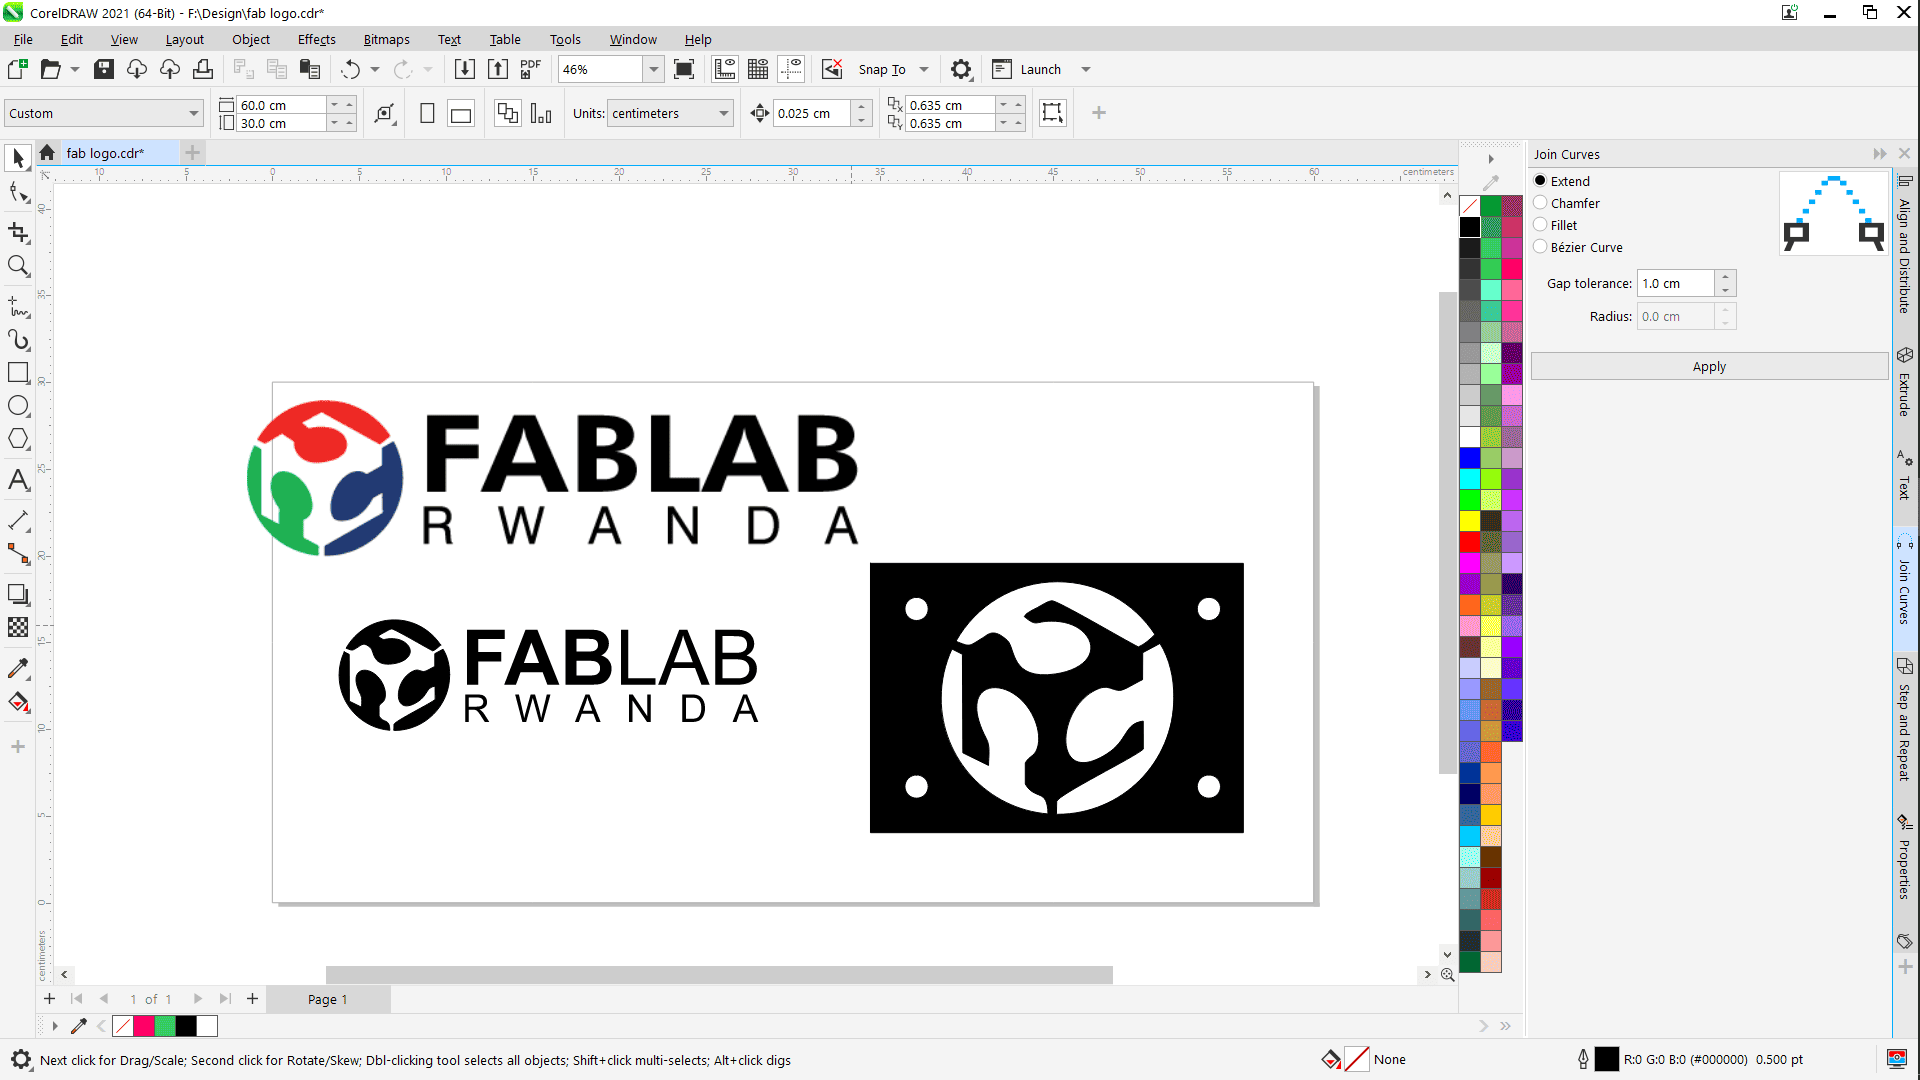
I then exported the design as a dxf file to be used in the CAM software.
Toolpath Generation
I imported the dxf file into Aspire.
In Aspire:
I used the Profile Toolpath function to define the cutting path.
Selected the Lincoln Plasma Post Processor to generate plasma compatible G-code.
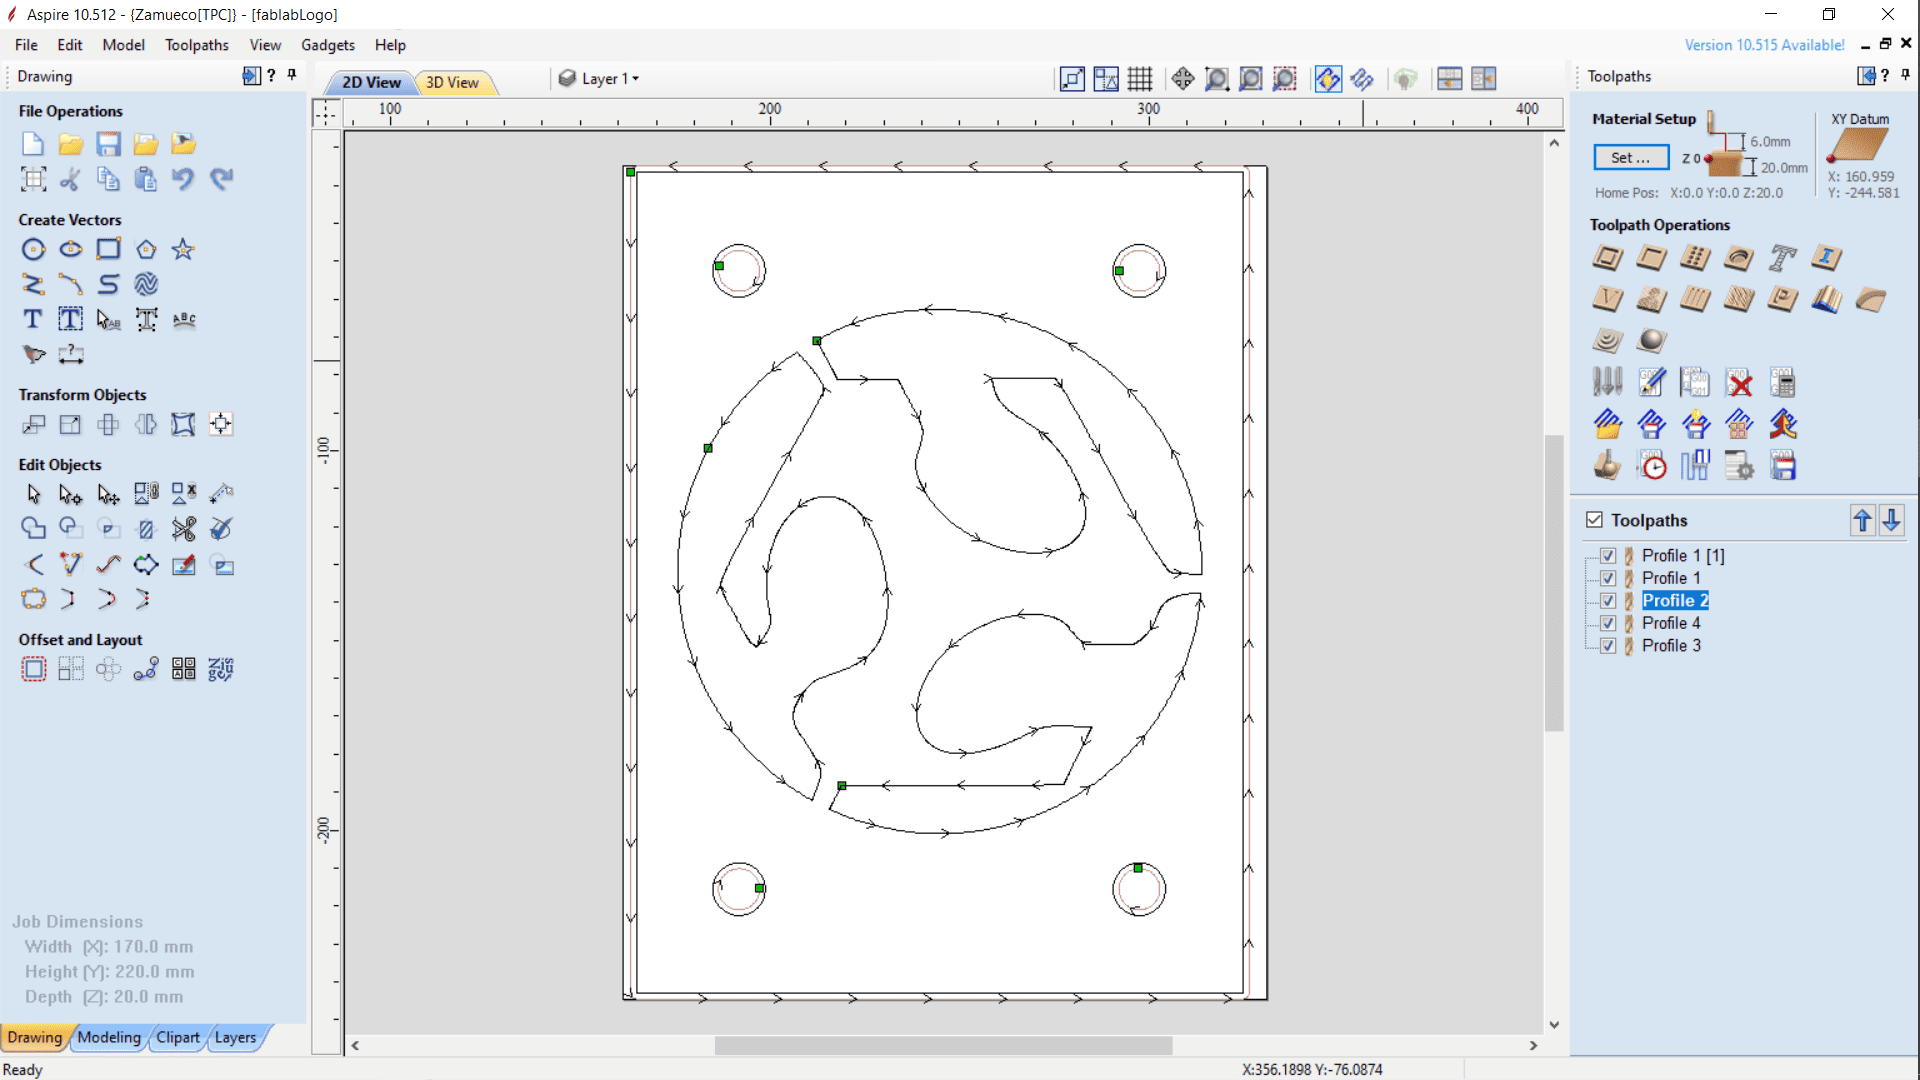
The G-code was saved to a USB drive for use in the workshop.
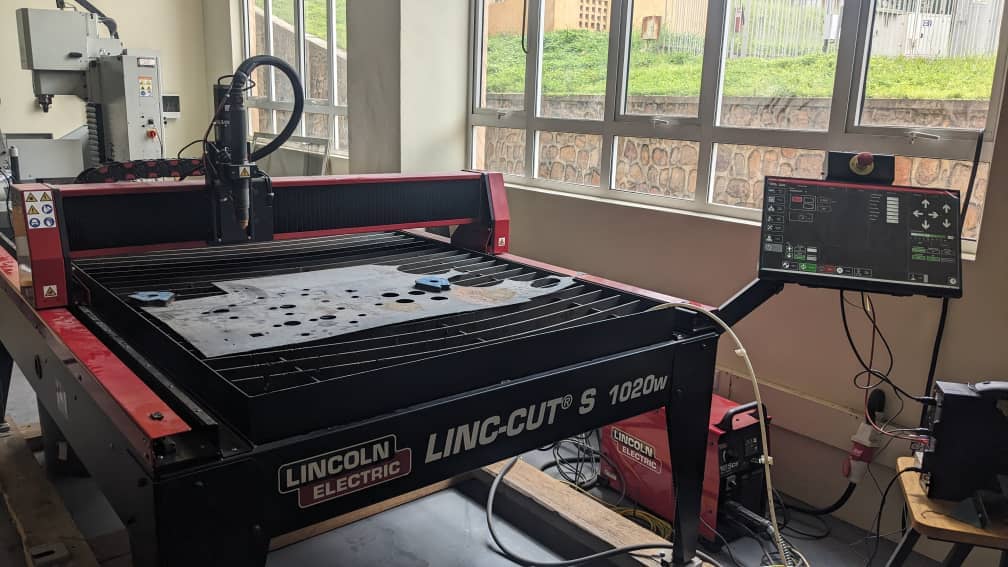
Plasma Cutting Process
At the workshop, I prepared the plasma cutter by:
Verifying all connections: air compressor, cutting head, power cables
Adding water to the plasma table for fume suppression and cooling
Powering on the plasma cutter and setting up the machine
I placed the iron sheet onto the cutting bed and used the control software to:
Set the origin point (job zero)
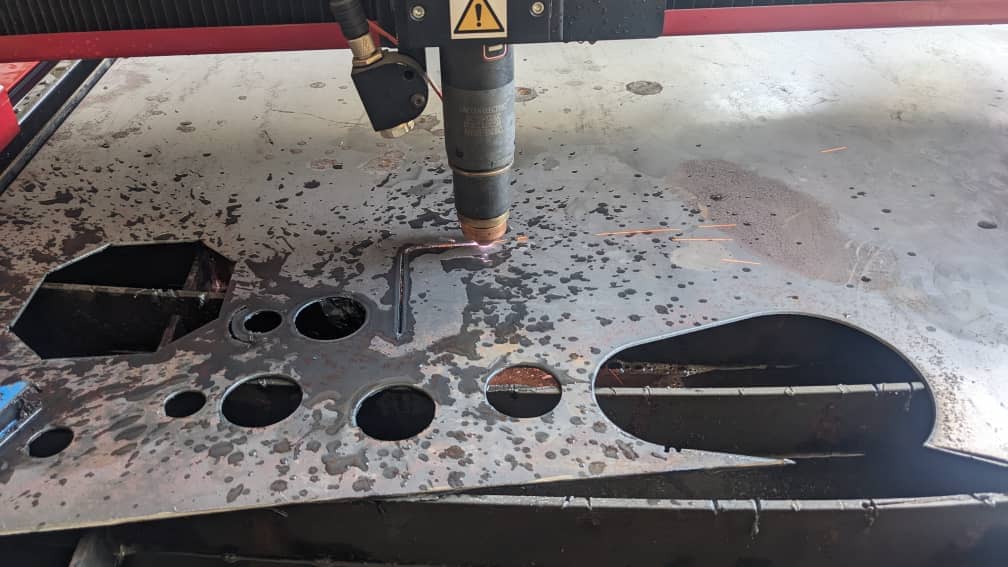
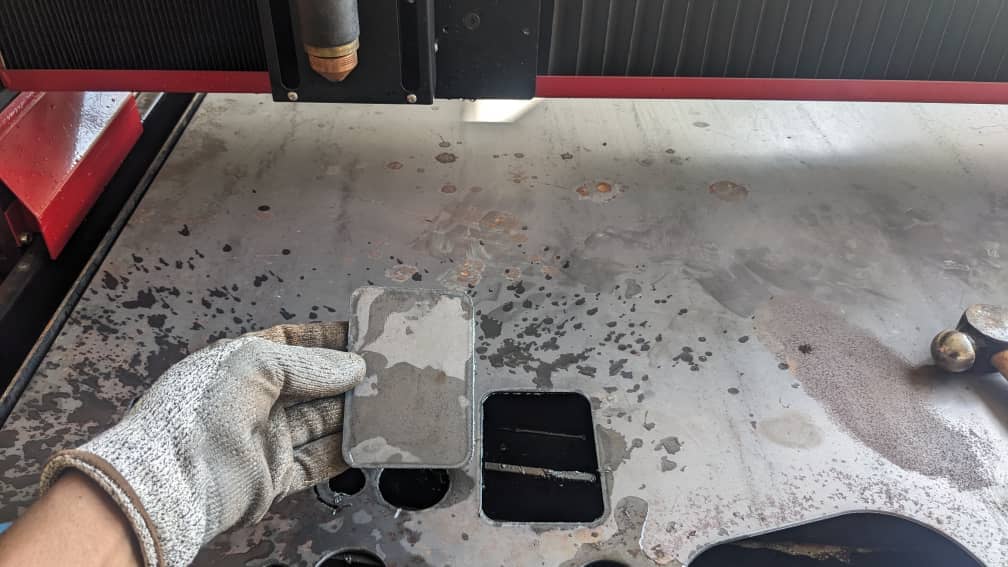
Perform a sample cut using built-in shape templates for calibration and familiarization
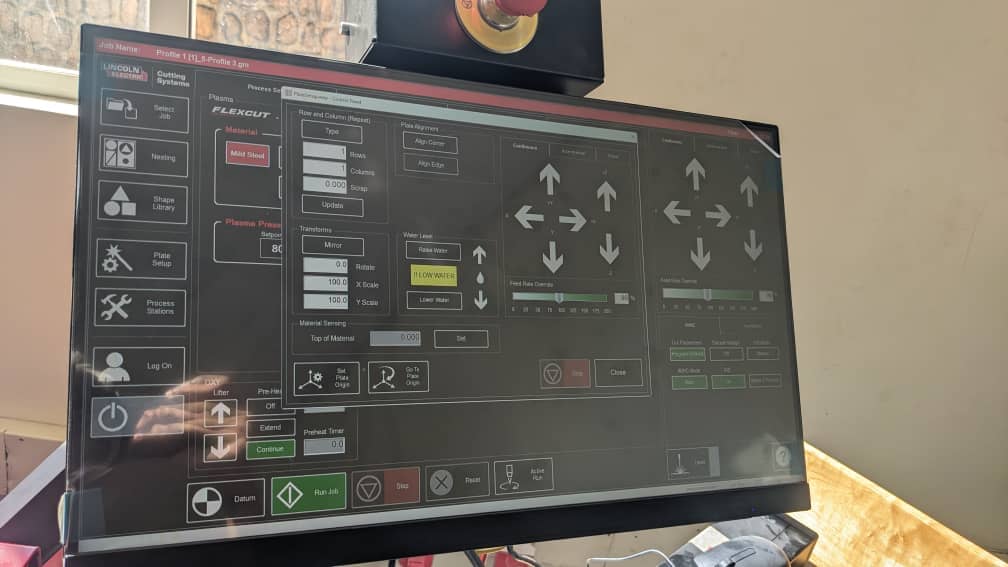
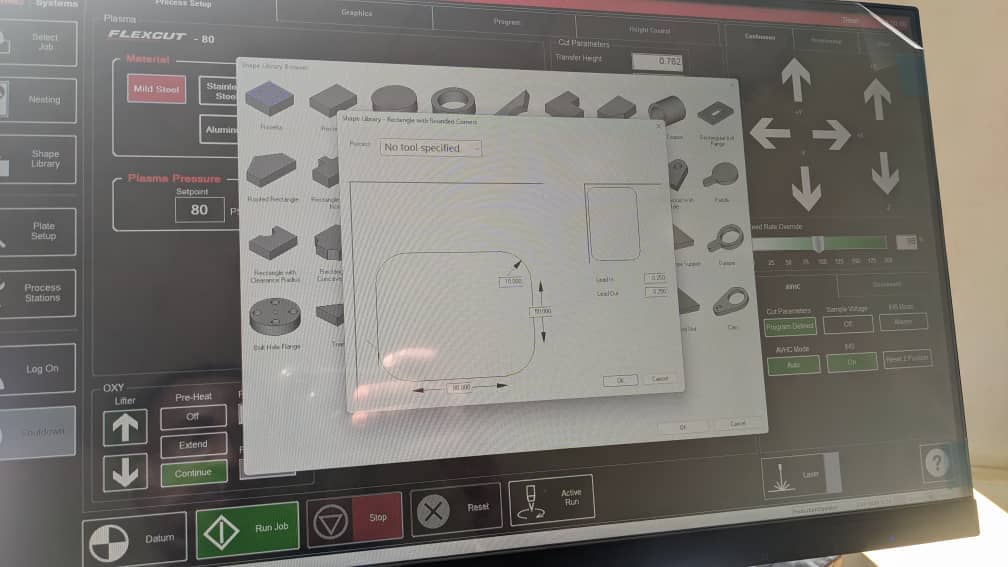
Machine Modes
Dry Run: Simulates movement without cutting (no torch activation)
Active Run: Full cutting mode with torch enabled
After confirming accuracy with the sample, I loaded my actual Fab Lab logo G-code and proceeded to cut the design.
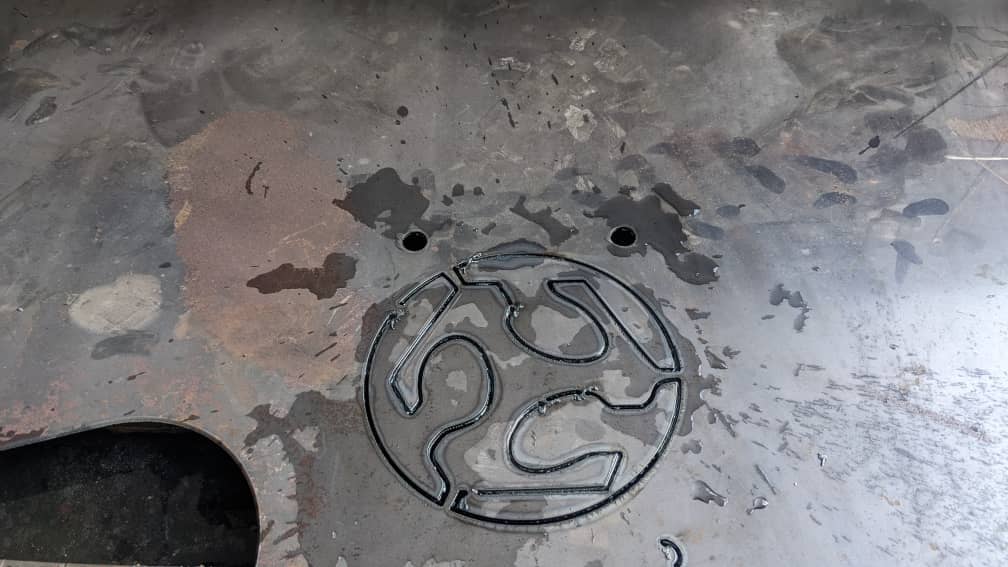
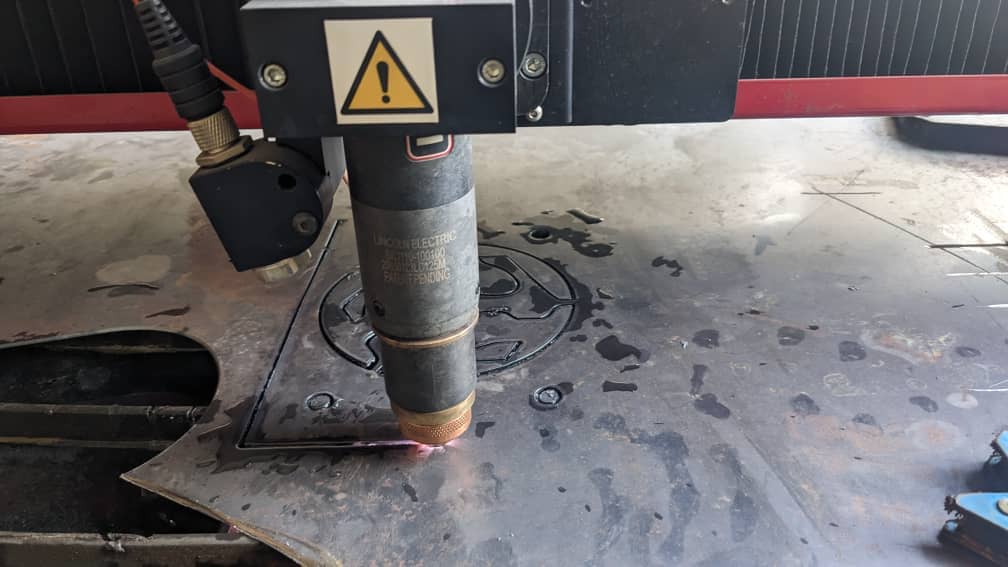
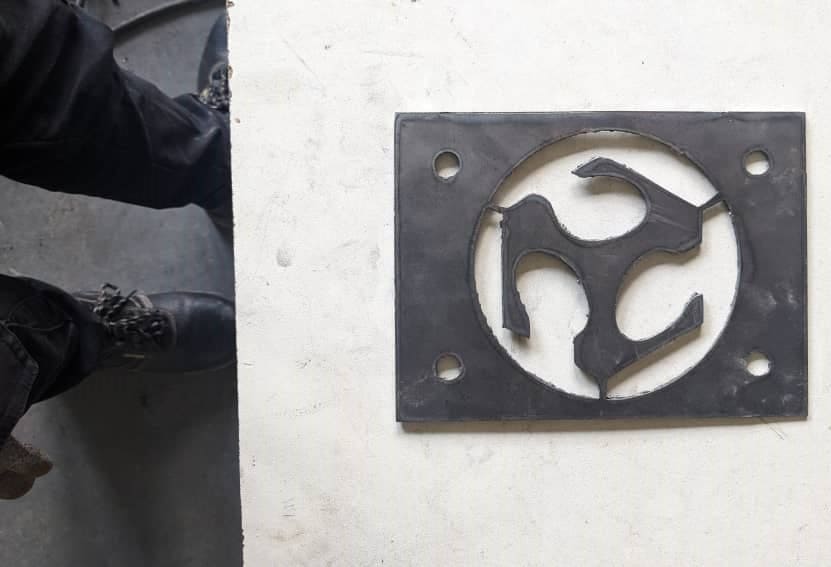
The plasma cutter successfully cut the FabLab logo and its outline. The next steps involve finishing the piece and painting.
Remainder
Safet First
When working with plasma cutter, always wear protective gloves and Safety goggles or face shield
Acknowledgements: I deeply appreciate Dominique Savio for his guidance and for providing the Lincoln plasma post-processor, as well as the best practices for operating the plasma machine safely and effectively.
Files
Design file: fablab.dxf