Week 1 - Project management
Assignment
Plan and sketch a potential final project
Read, sign (add your name to) the student agreement and commit it to your repo
Work through a git tutorial.
Build a personal website in the class archive describing yourself and your final project. Refer to the lecture material for examples.
Upload parts 1 and 2, to the class archive.
Summary
This week, I focused on defining my final project idea and familiarizing myself with the documentation process. Additionally, I dedicated time to learning about GitLab and version control, setting up my own GitLab environment, and customizing my default GitLab webpage with my personal content.
-
Principles and Practices
-
Learning About GitLab
I started by diving into some helpful resources from the GitLab YouTube channel. The playlist covered the basics of GitLab, how it works, and its various features. I followed the tutorials in the playlist to build a foundational understanding of version control and GitLab's role in collaborative projects.
Git is a version control system that helps track changes in code or files. It also enables multiple people to collaborate on a single project.
Gitlab is a platform that helps store and manage documentation, ensuring all changes are saved and organized.
In short, Gitlab helps developers to develop, deploy and secure software and easy collaboration.
-
Signing In & Setting Up GitLab
I signed into Gitlab using with Fablabs account then started editing my profile (location,organization,timezones,..)
Created SSH key
SSH Key (SSH - Secure Shell) is a cryptographic key that helps to securely connect my local computer to the Gitlab without using password every time.
To create ssh key I used Git bash terminal(You can also use other terminals such as: command prompt)
- Opened terminal - Gitbash
- Run
ssh-keygen -t ed25519 -C - Accepted directory and left blank passphrase (you can set one for extra security)
- Navigated to the location where I stored SSH key and copied the text from there
- Pasted it into my Gitlab
- Set Title, Usage type, Expiration date
- Clicked Add key
In my case I choosed ED25519 key type (It is faster and require fewer resources in terms of time and space)
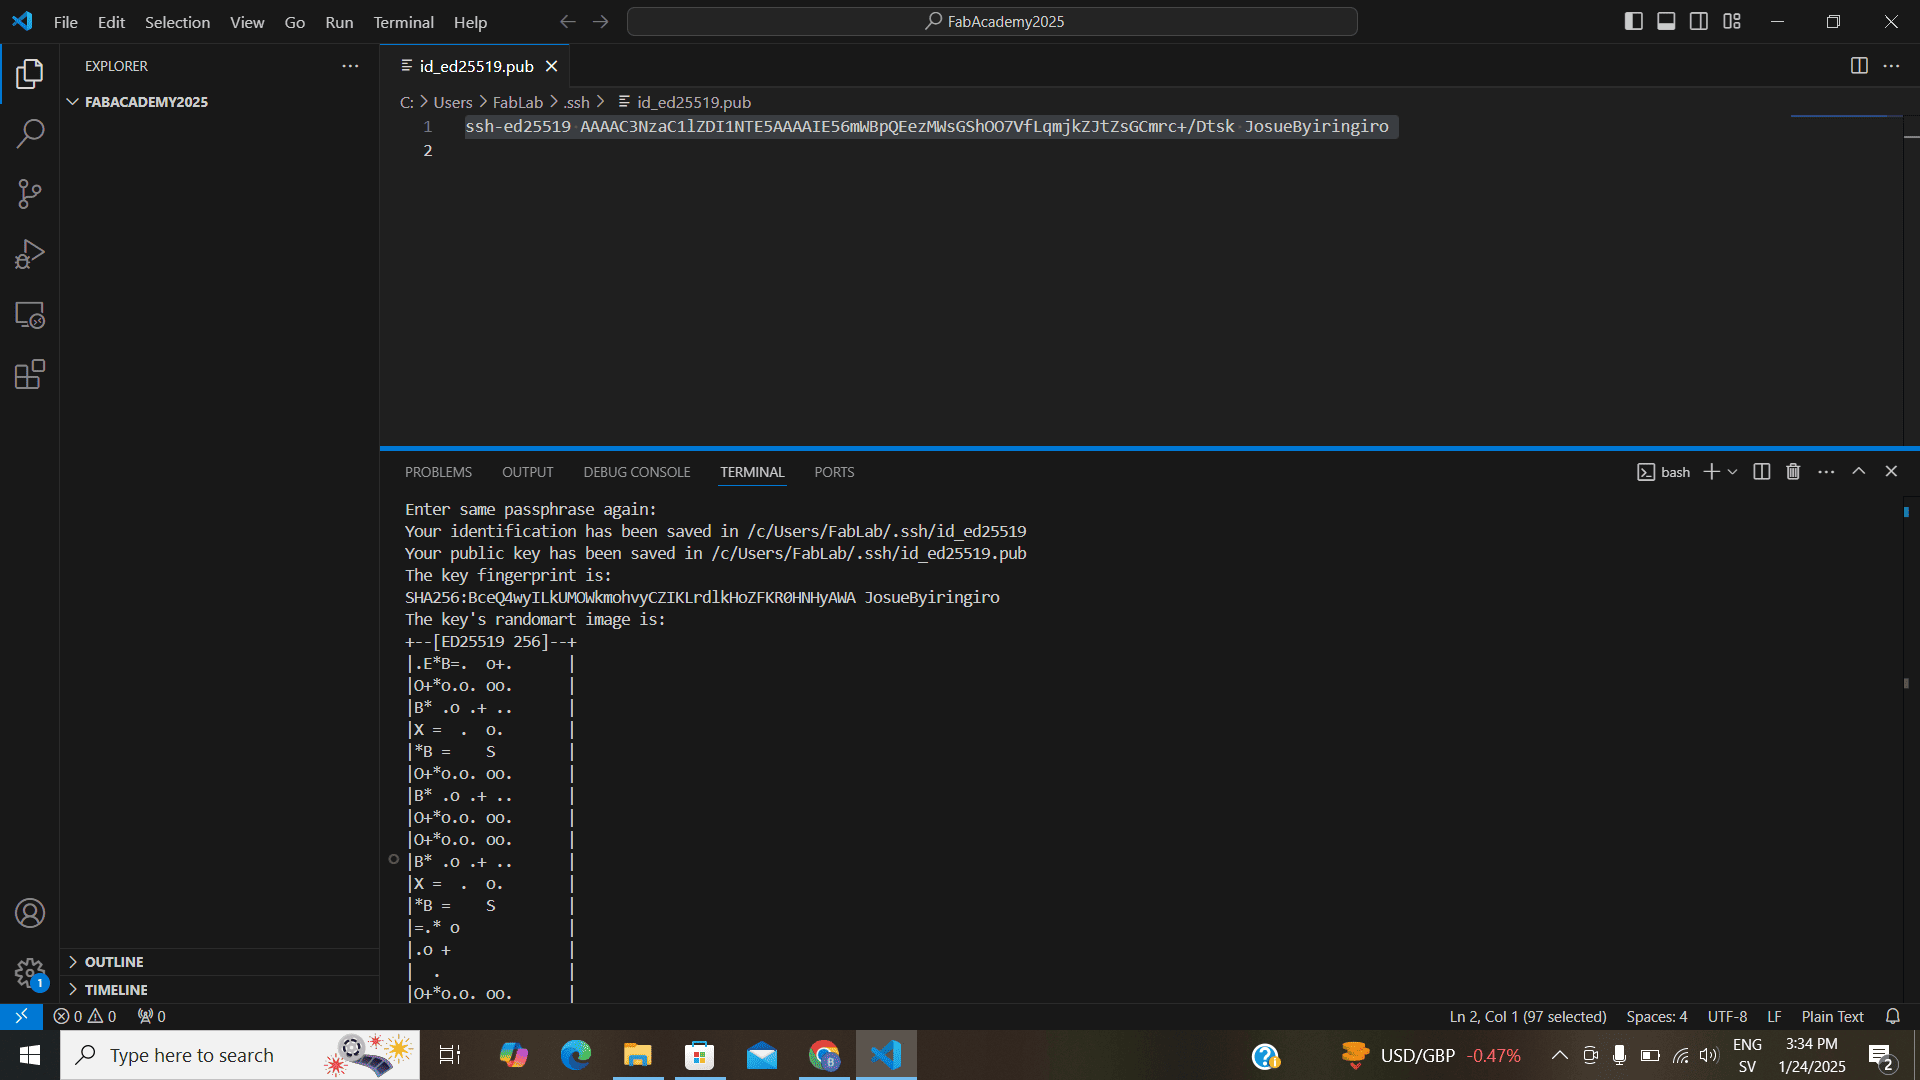
Photo: Creating SSH key from Gitbash Terminal in vs code 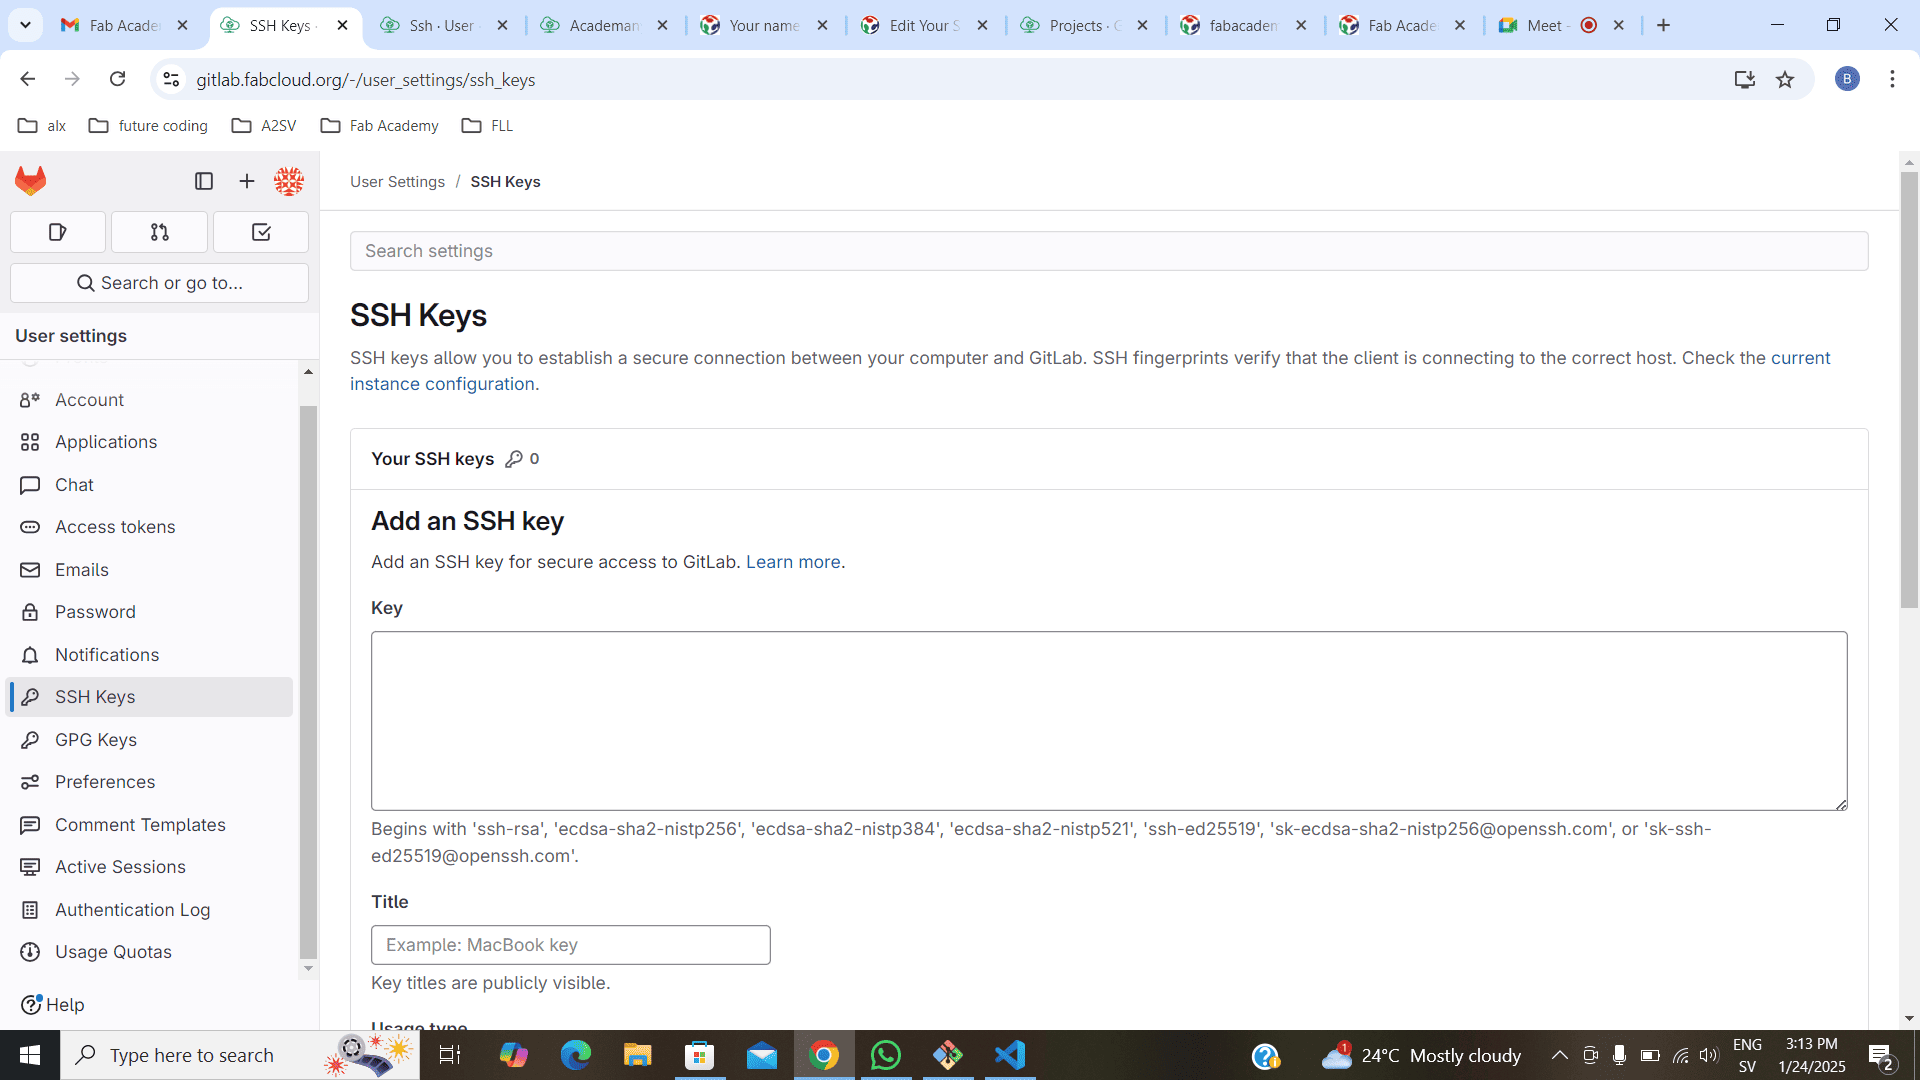
Photo: Pasting SSH key on my Gitlab I choose Authentication & Signing, No expiration date(to set this, leave the box empty)
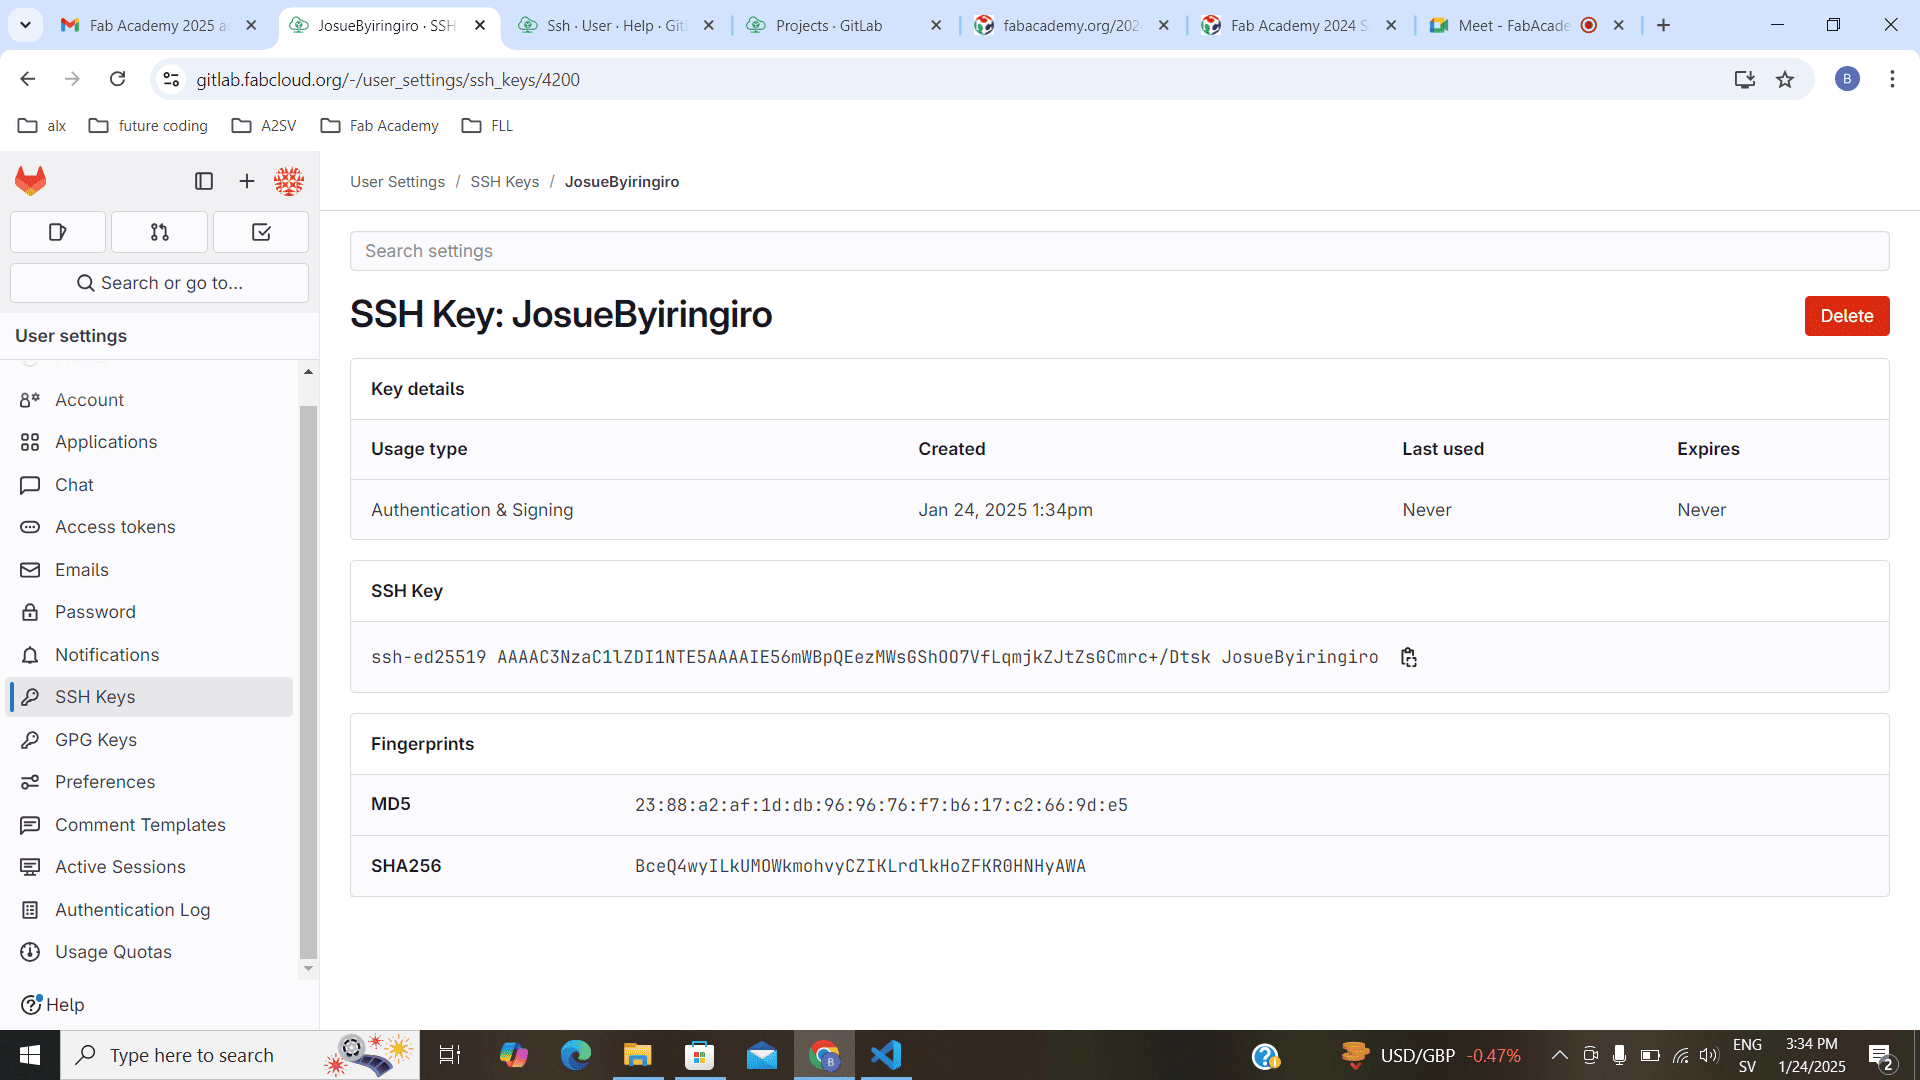
Photo: Created SSH Key
- Gitbash is command-line interface which helps to run Git commands.
- Visual Studio Code is a code editor that provides developers with the tools they need to write, debug, and manage code effectively.
VSCODE alternatives: Sublime Text, Atom
-
Cloning Repository
Cloning refers to creating a local copy on a pc of the remote repository(Gitlab repository).
Key terms
- Repository - is a collection of files and their history. (It stores files and also tracks changes to those files over time, enabling collaboration, versioning, and tracking history)
- Directory - (folder) is a container used to organize files and other directories.
- Opened my gitlab repository
- Under code tab
- Copied link under Clone with SSH (You can also use link under clone with HTTPS)
- Opened Gitbash terminal in vscode
- Navigated to the location to store my project
- Pasted the link after git clone command
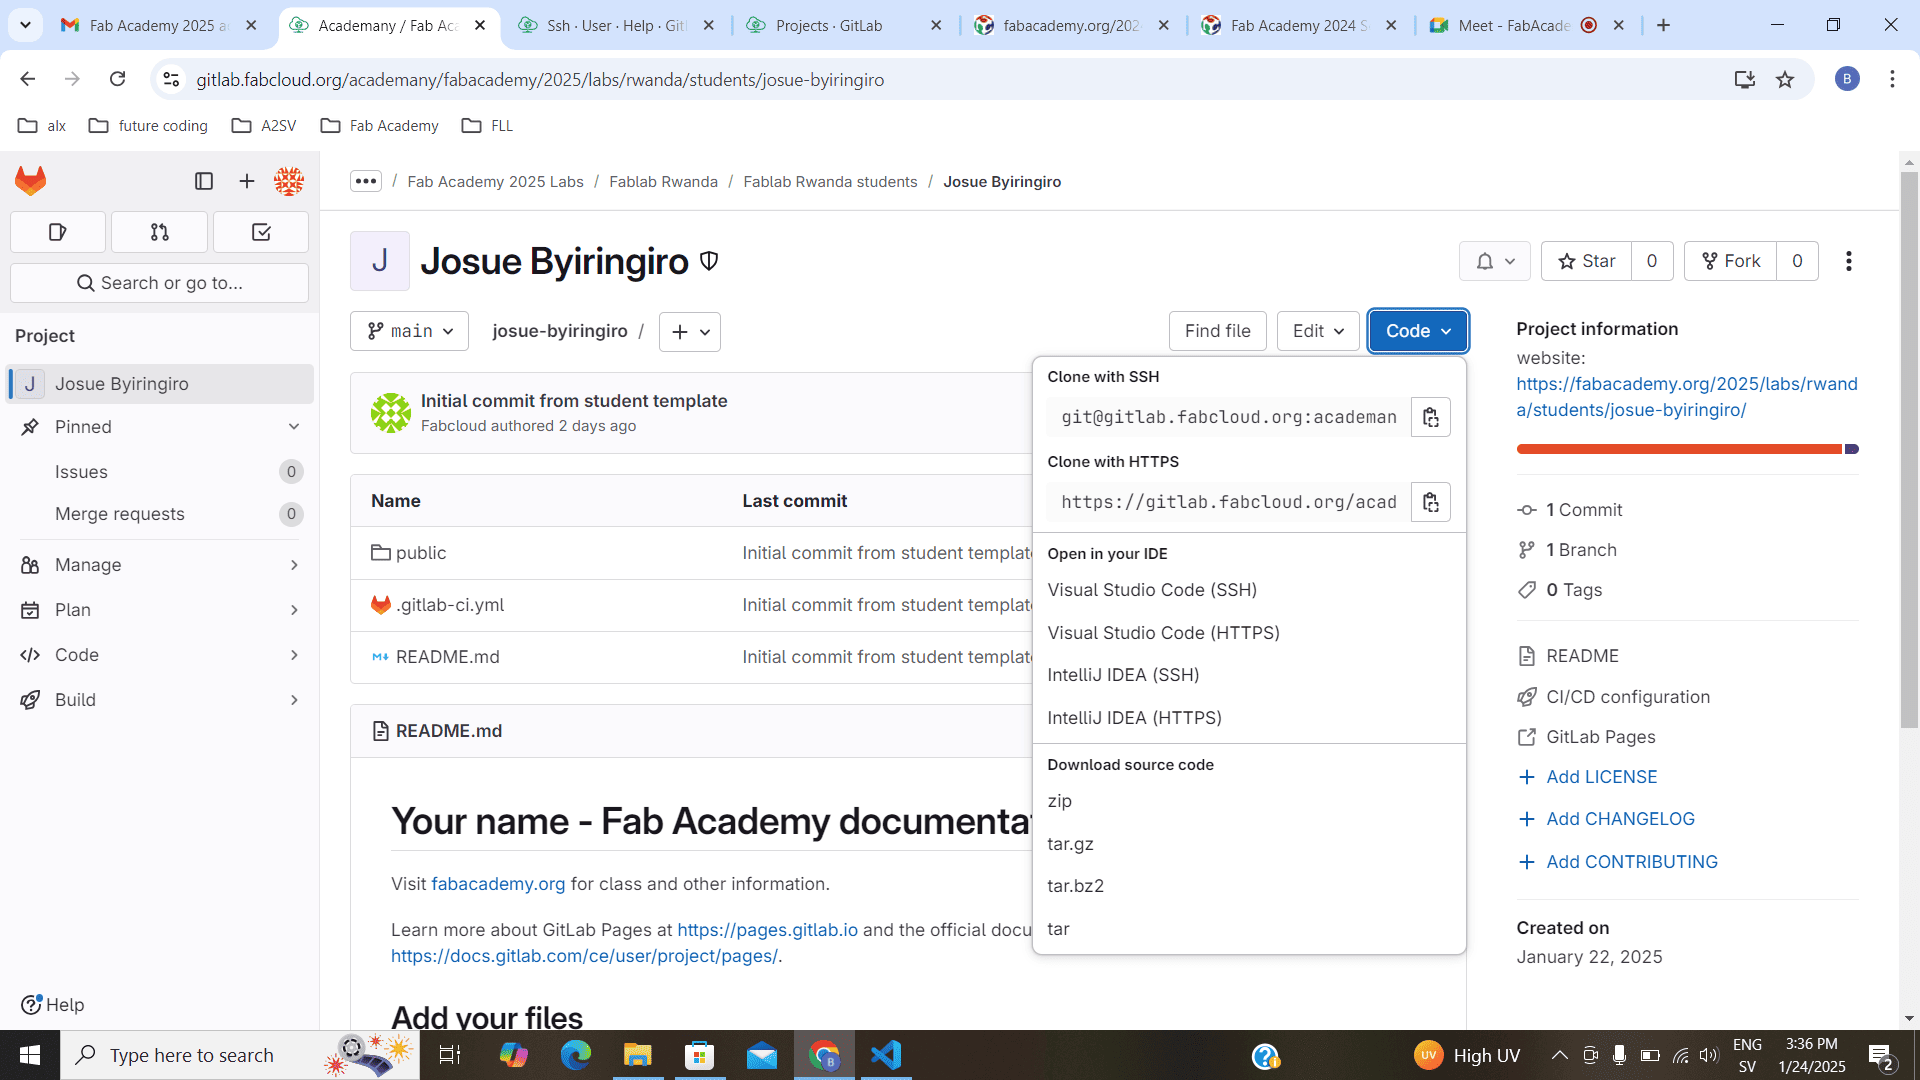
Photo: Pushing to Gitlab git clone git@github.com:username/repository-name.git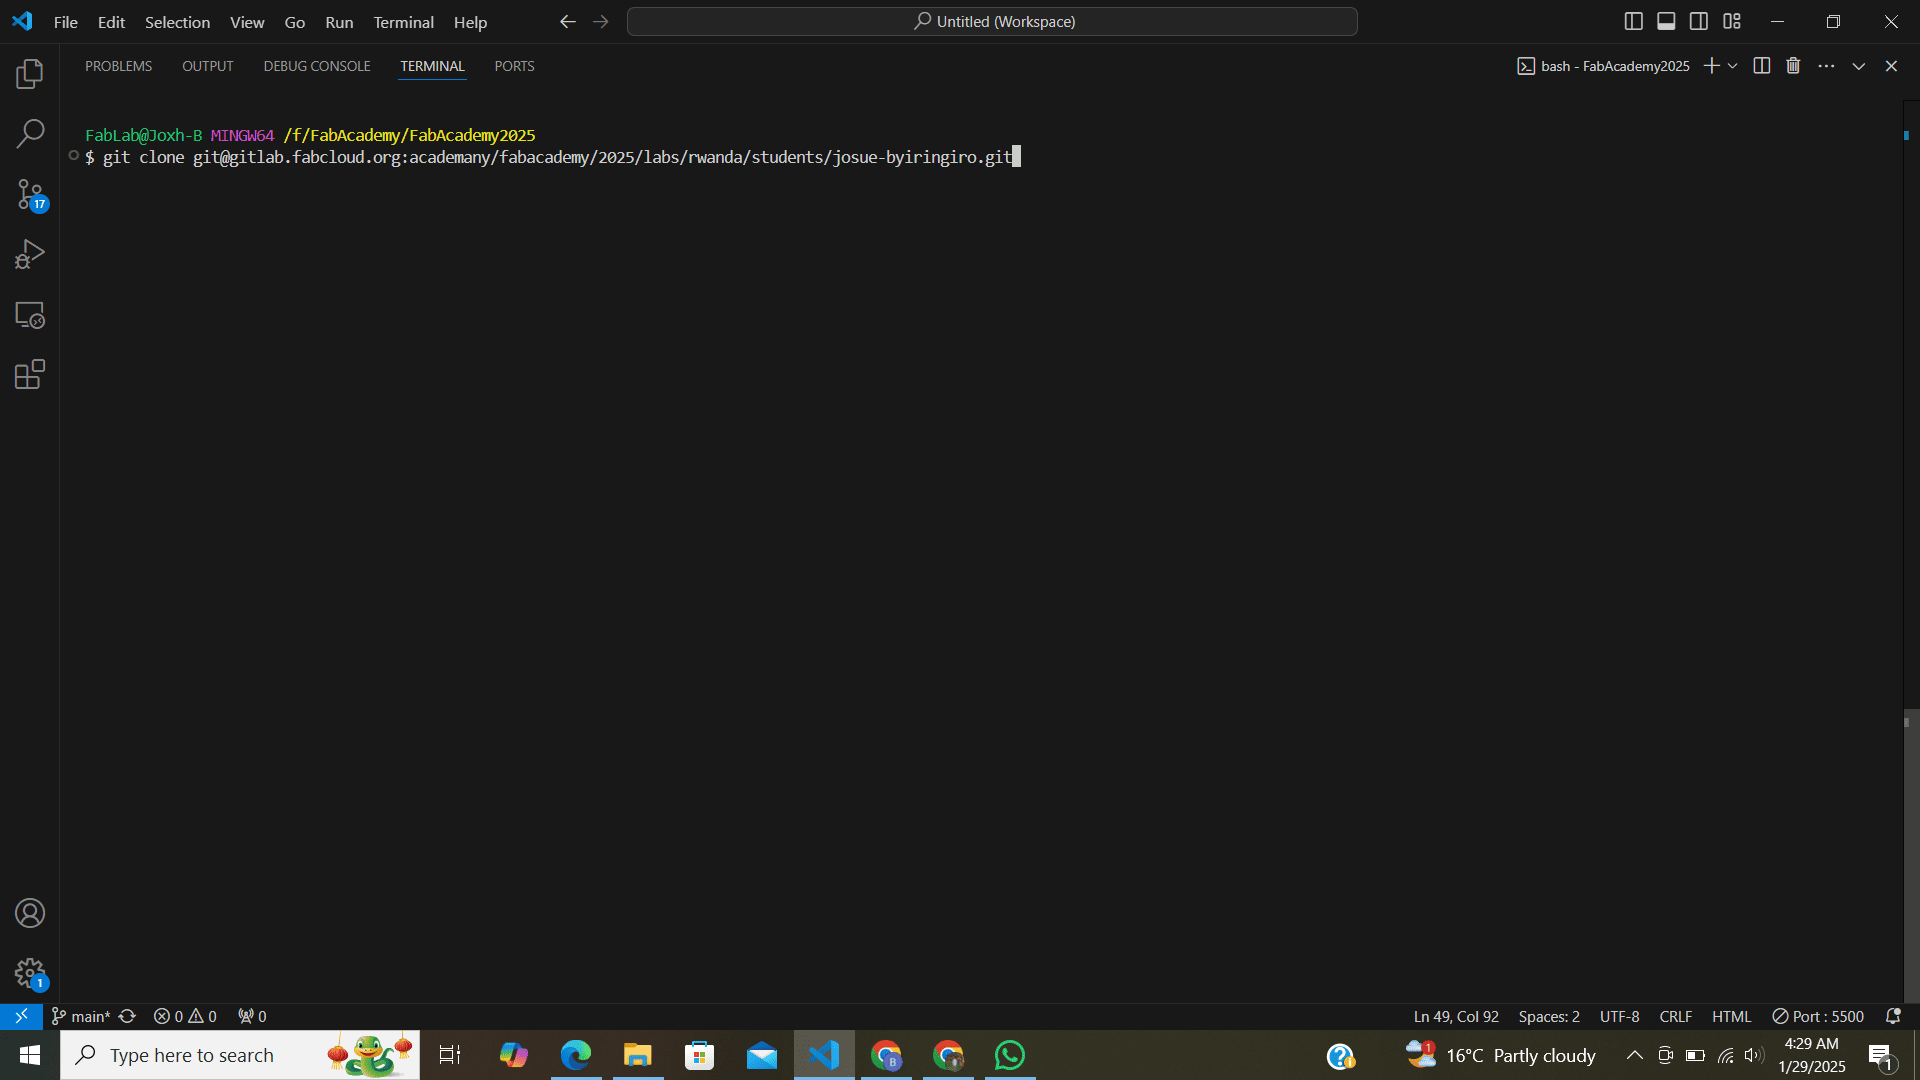
Photo: Cloning my repository from Gitlab -
Modifying my webpage
After cloning, I started customizing the default webpage on my GitLab by replacing the placeholder content with my own stories.
Using my web development skills in HTML and CSS, I modified the page, adding personal details and applying stylish elements to improve its overall look.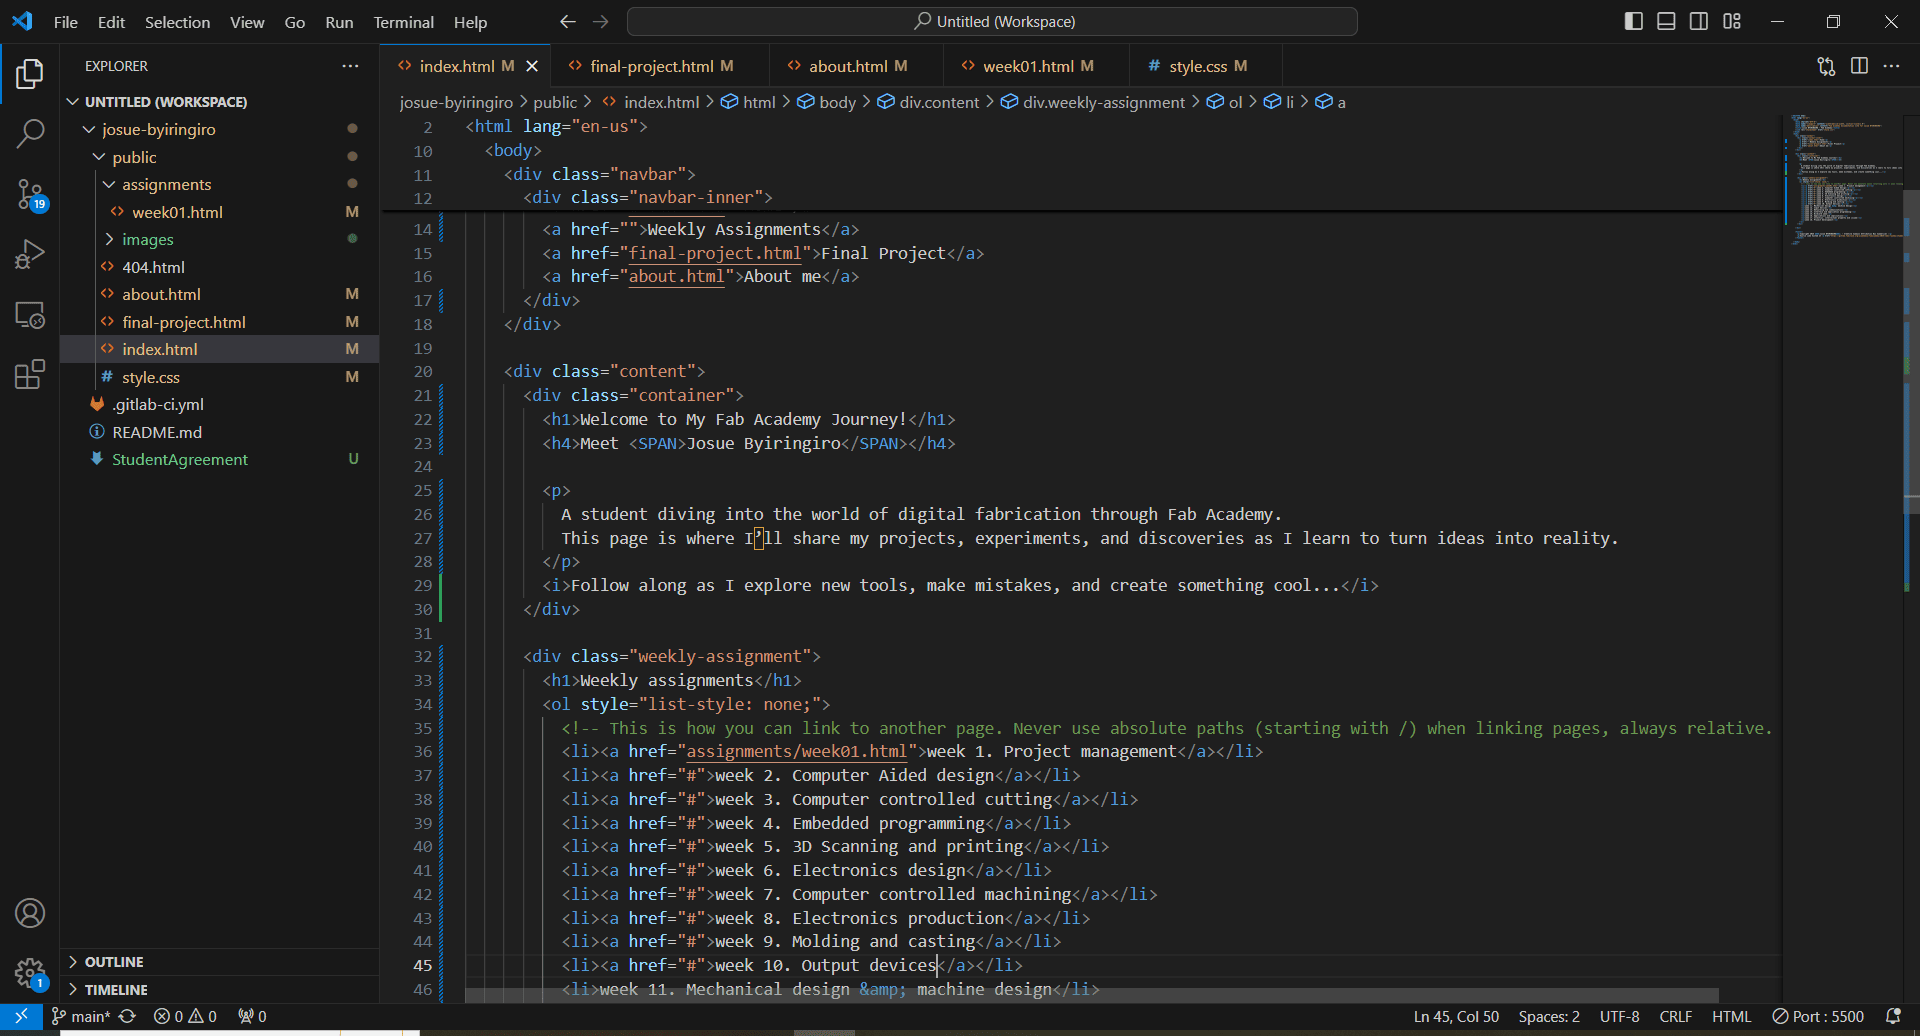
Photo: Modifying the default webpage on my GitLab -
Adding Student Agreement
I created a file for Fab Academy Student Agreement and signed it by adding my names
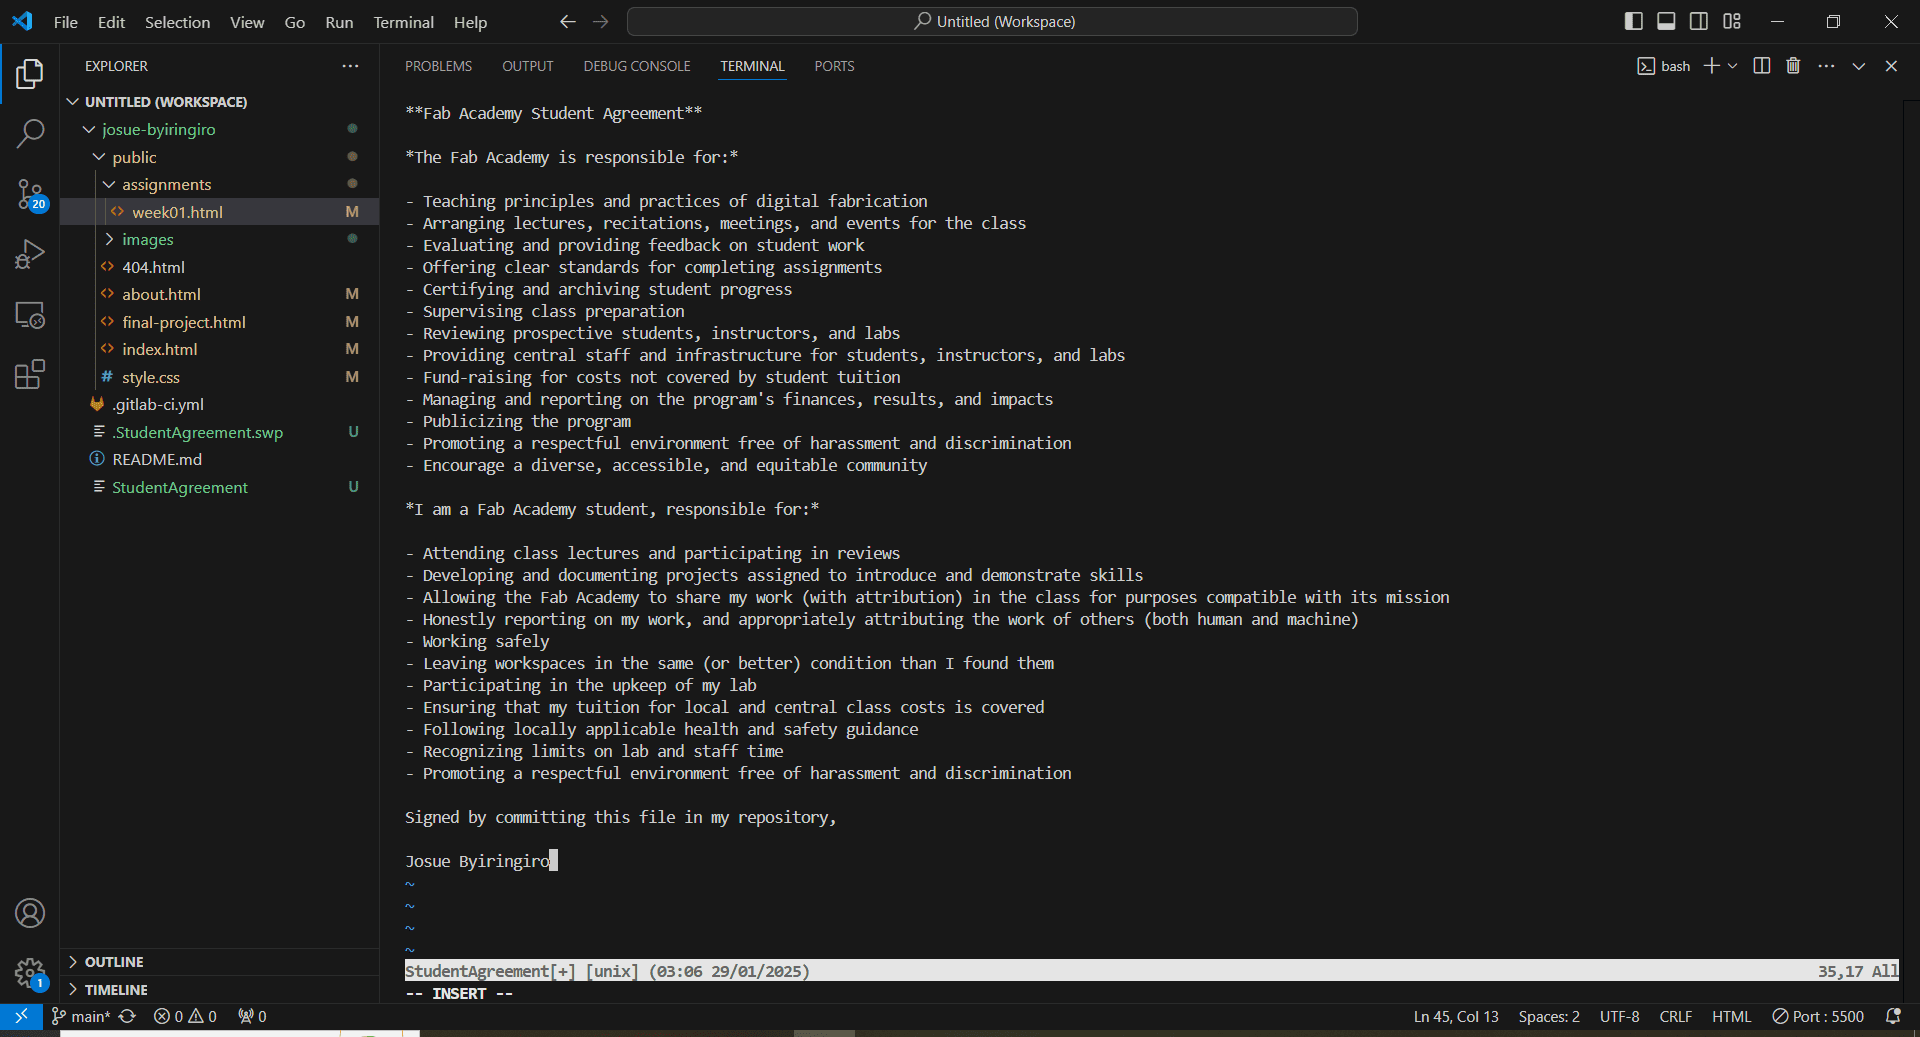
Photo: File for Fab Academy Student Agreement 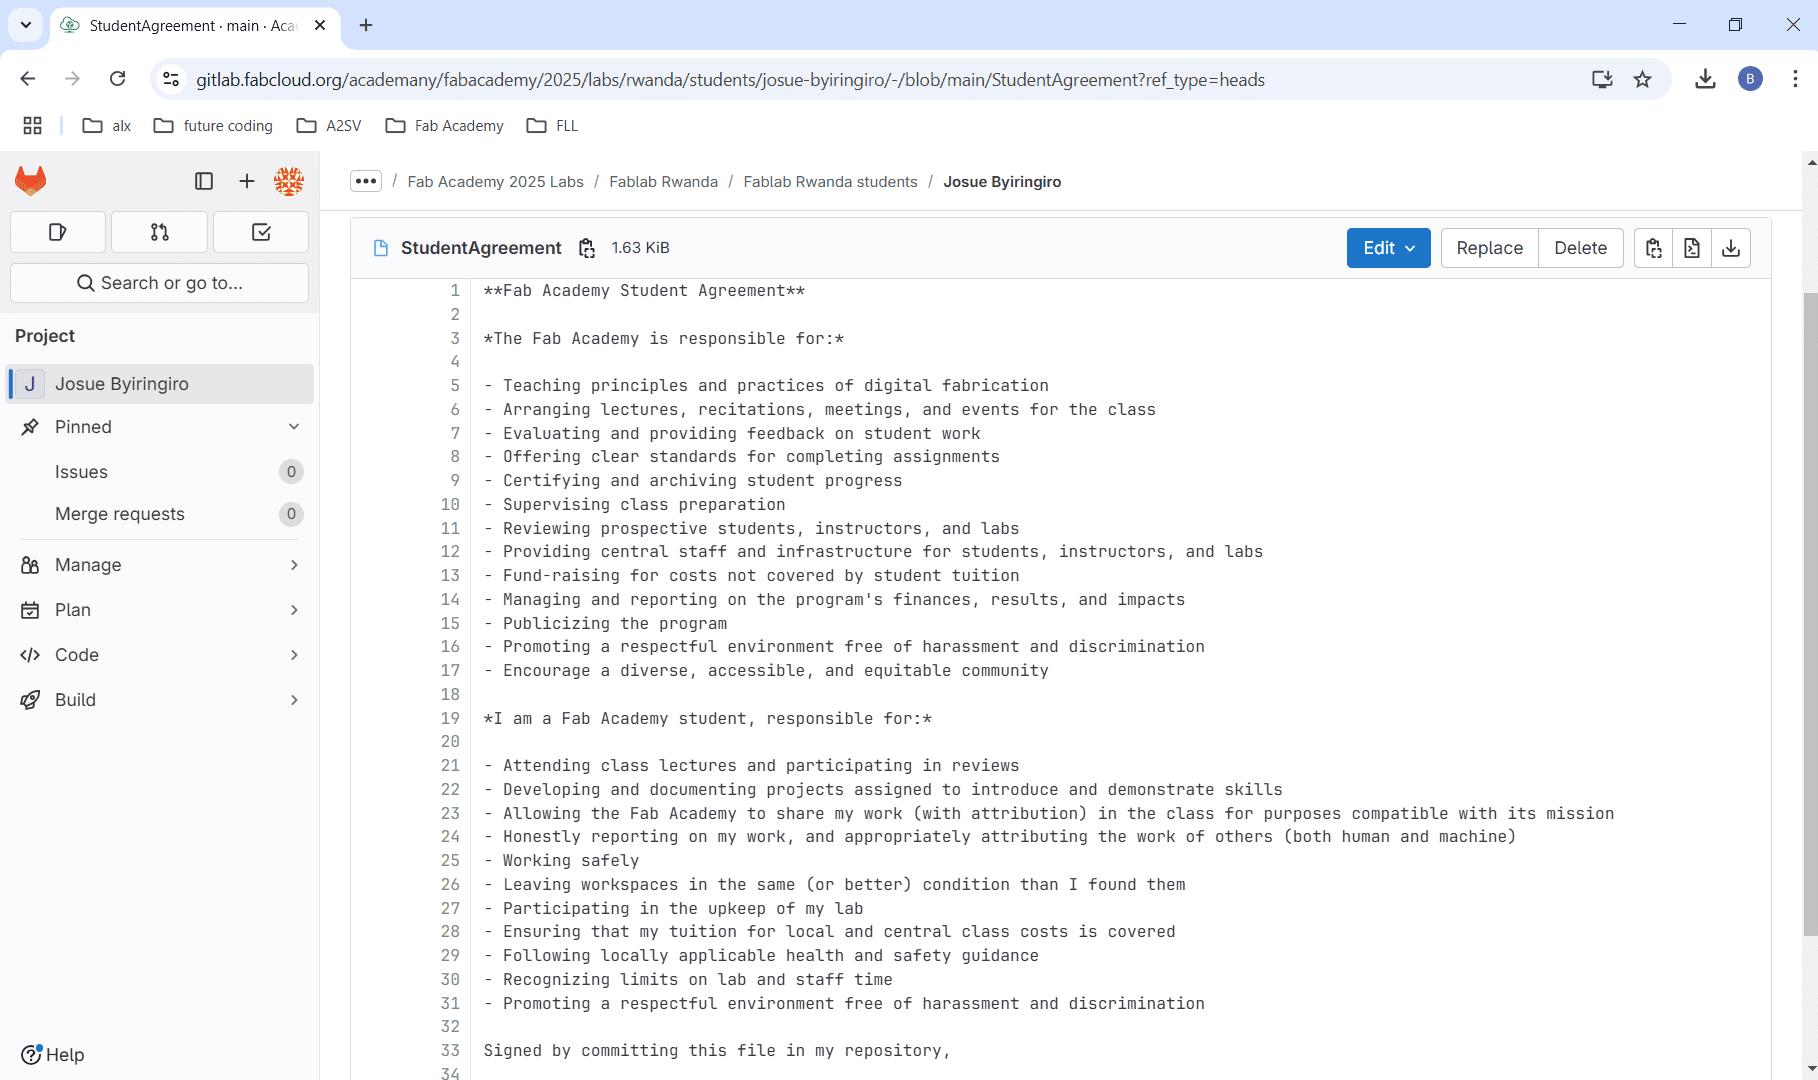
Photo: Gitlab file for Fab Academy Student Agreement FabAcademy Student Agreement File -
Adding changes to Gitlab
-
Pulling is downloading changes from the remote repository(Gitlabs) to local repository(PC)
Steps to pull- Open terminal
- Navigate to the local project
- Use command
git pull For the latest changes - Pushing is uploading local changes to the remote repository.
Steps for adding changes to Gitlab
git status To check modified filesgit add . To add all modified filesgit add <filename> To add a specific filegit commit -m "Your commit message here" Commit message should be clear and describing the changes you made
For instance: Fix broken image links on the homepagegit push To Upload changes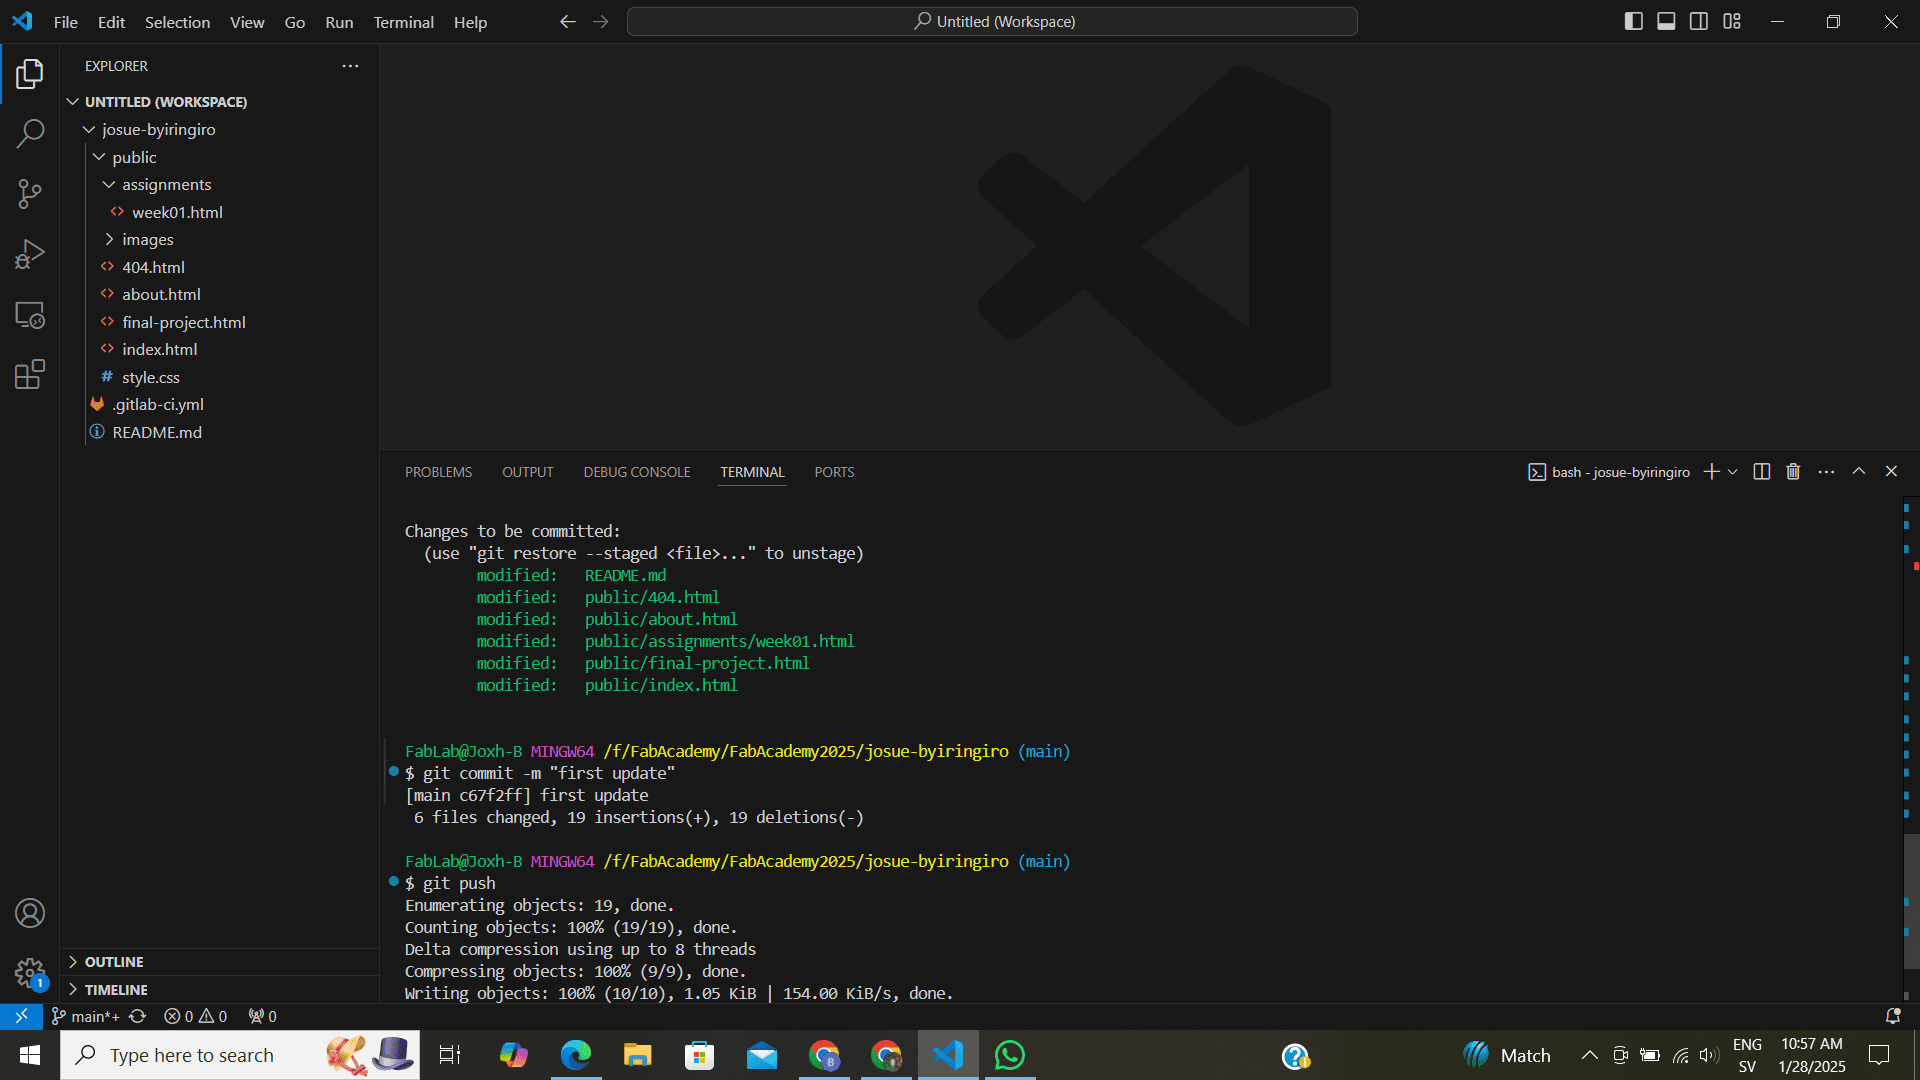
Photo: Pushing to Gitlab 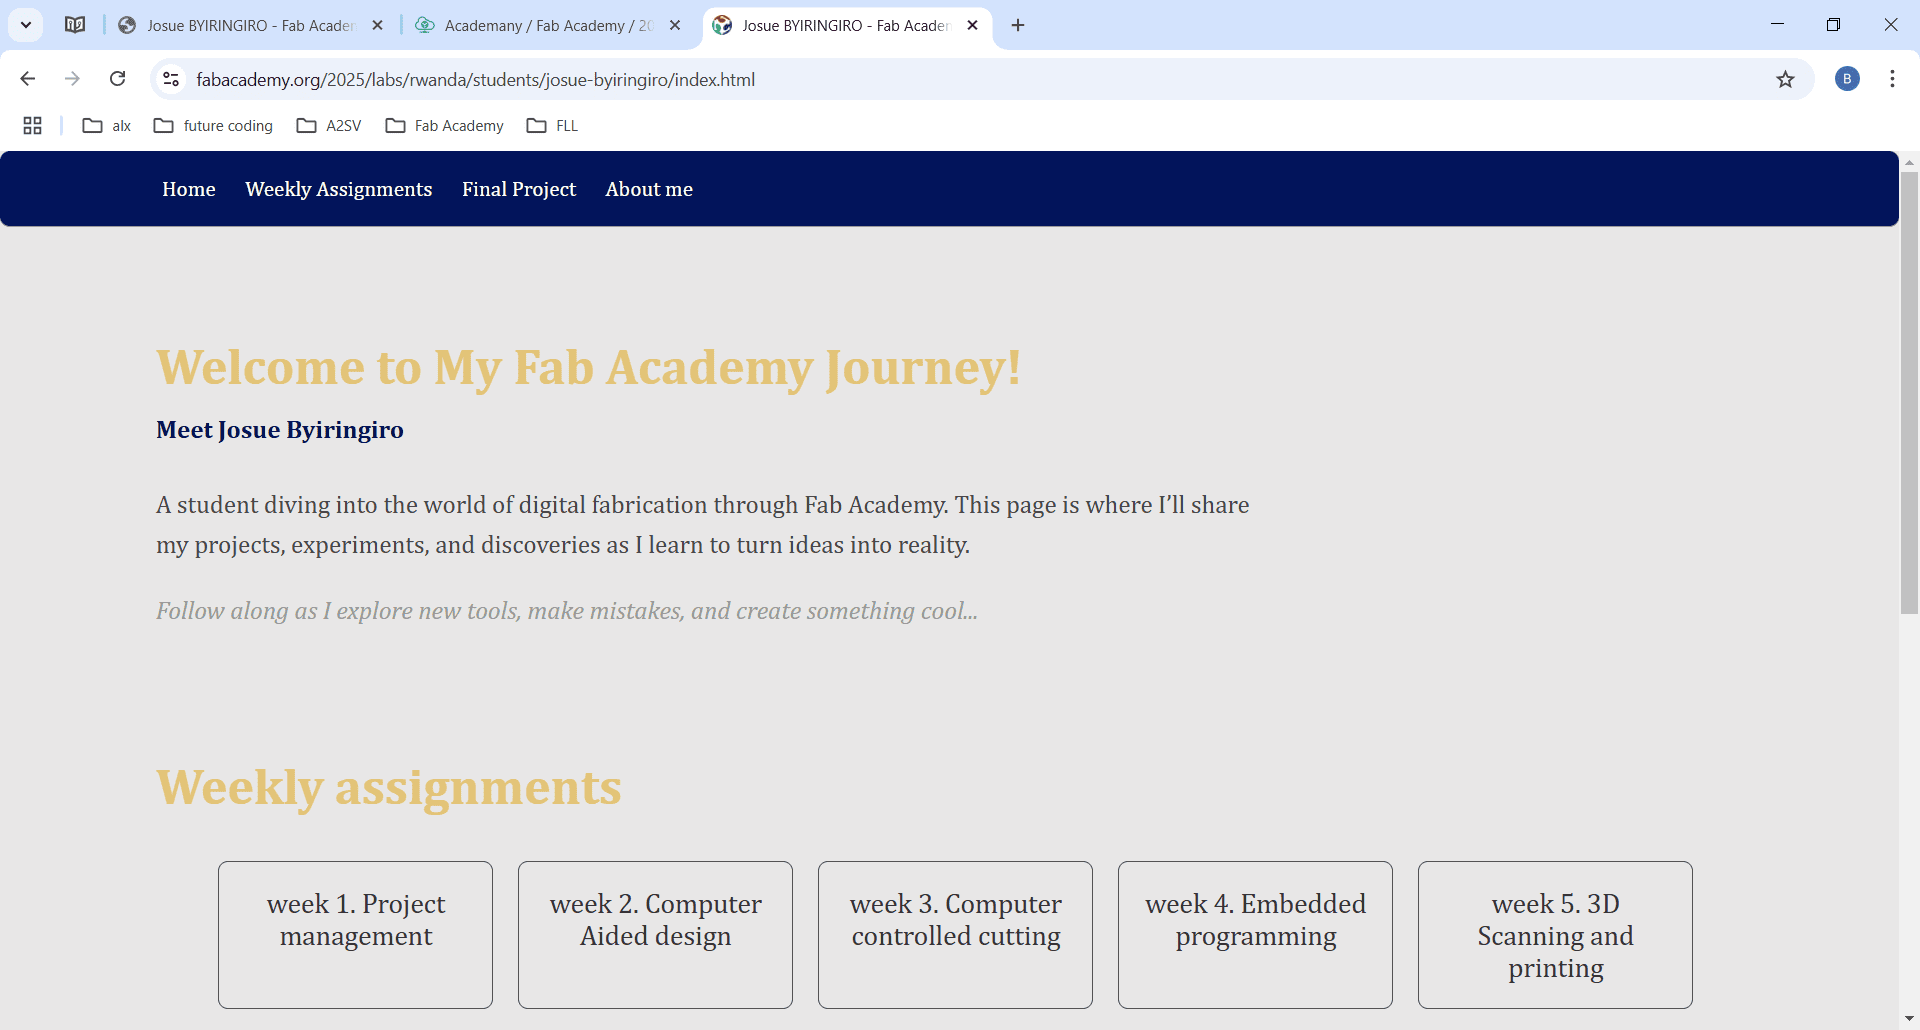
Photo: New webpage -
Pulling is downloading changes from the remote repository(Gitlabs) to local repository(PC)