Assignments
Assignment:
- Design and produce something with a digital process (computer-aided design and
manufacturing) that is not covered in another assignment.
- Document the requirements that your assignment meets.
- Include everything necessary to reproduce the result.
Week 16. Wildcard Week - Machine Embroidery
Introduction
For this wildcard week, I decided to try machine embroidery. I used
Inkscape with the Ink/Stitch extension
to turn vector drawings into embroidery files for a Brother machine. It was something
completely new for me — and very different from the
other digital fabrication processes we’ve been working with during the course.
Most of the tools we’ve used, like 3D printers, laser cutters, or CNC machines, work
with hard materials like plastic, wood, or metal.
They either add or remove material in a precise way. Embroidery is different. It works
with soft materials — fabric and thread — and instead of cutting or melting, it
stitches.
This changes everything: the way the design is built, the way the material behaves, and
even how you think about the final result.
Planning the stitch direction, choosing the right fabric, and controlling the tension
are all part of the process.
I was also drawn to this project for personal reasons. My family has a deep connection
with textile work. My grandparents used to make
ruanas (traditional wool garments) by hand in Boyacá, Colombia. My mother is a
dressmaker, and since I was a kid, she taught me
how to sew and use sewing machines. So embroidery felt familiar in some way — not
because I had done it before, but because it reminded me of home.
Bringing together those traditional techniques with digital tools was very meaningful
for me. It helped me connect what I’ve learned in the Fab Academy
with something that has always been part of my life. In the next sections, I’ll share
what I experienced while working on this assignment — what worked, what I learned,
and how it all came together.
Step 1: Install Inkscape
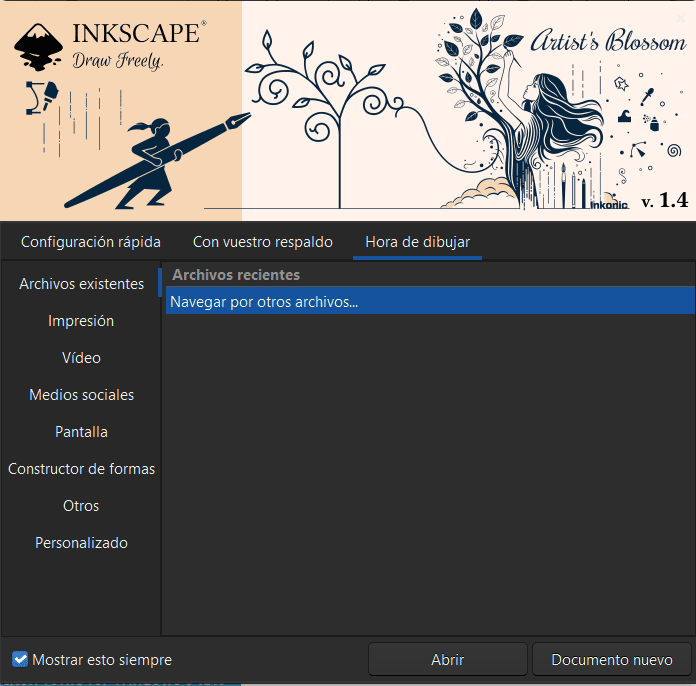
Download Inkscape from inkscape.org and install it according to your operating system. Inkscape is essential for vector editing and serves as the base software for Ink/Stitch.

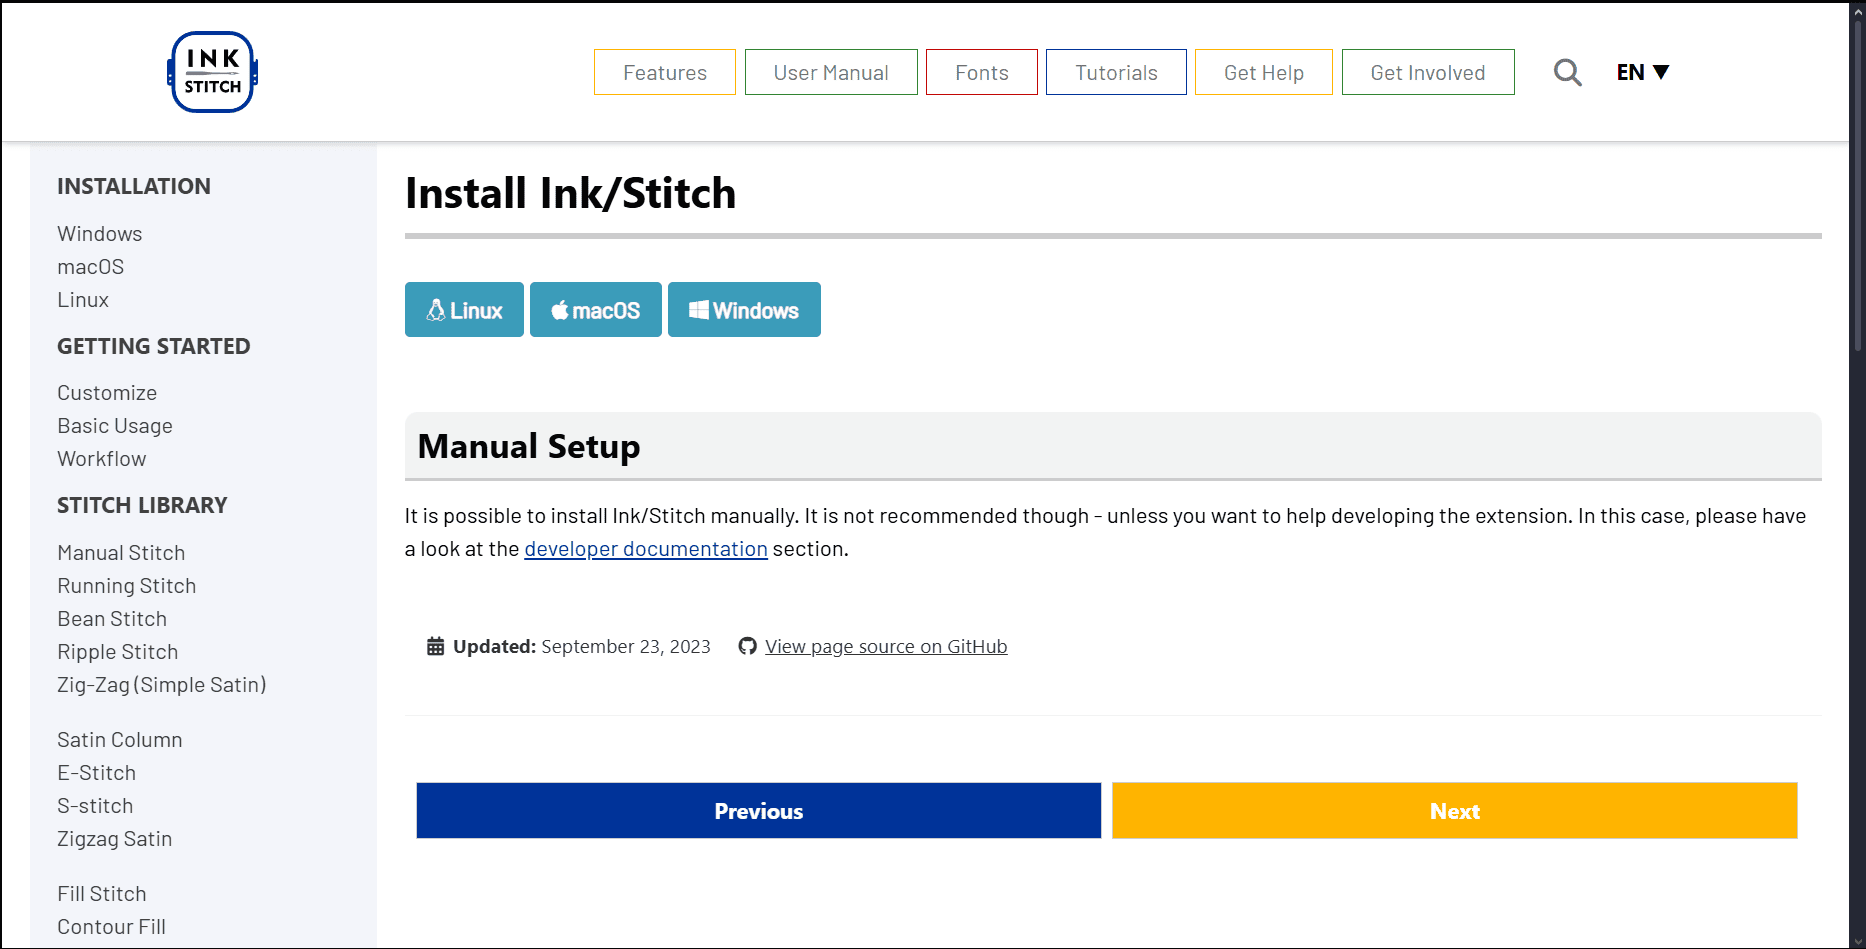
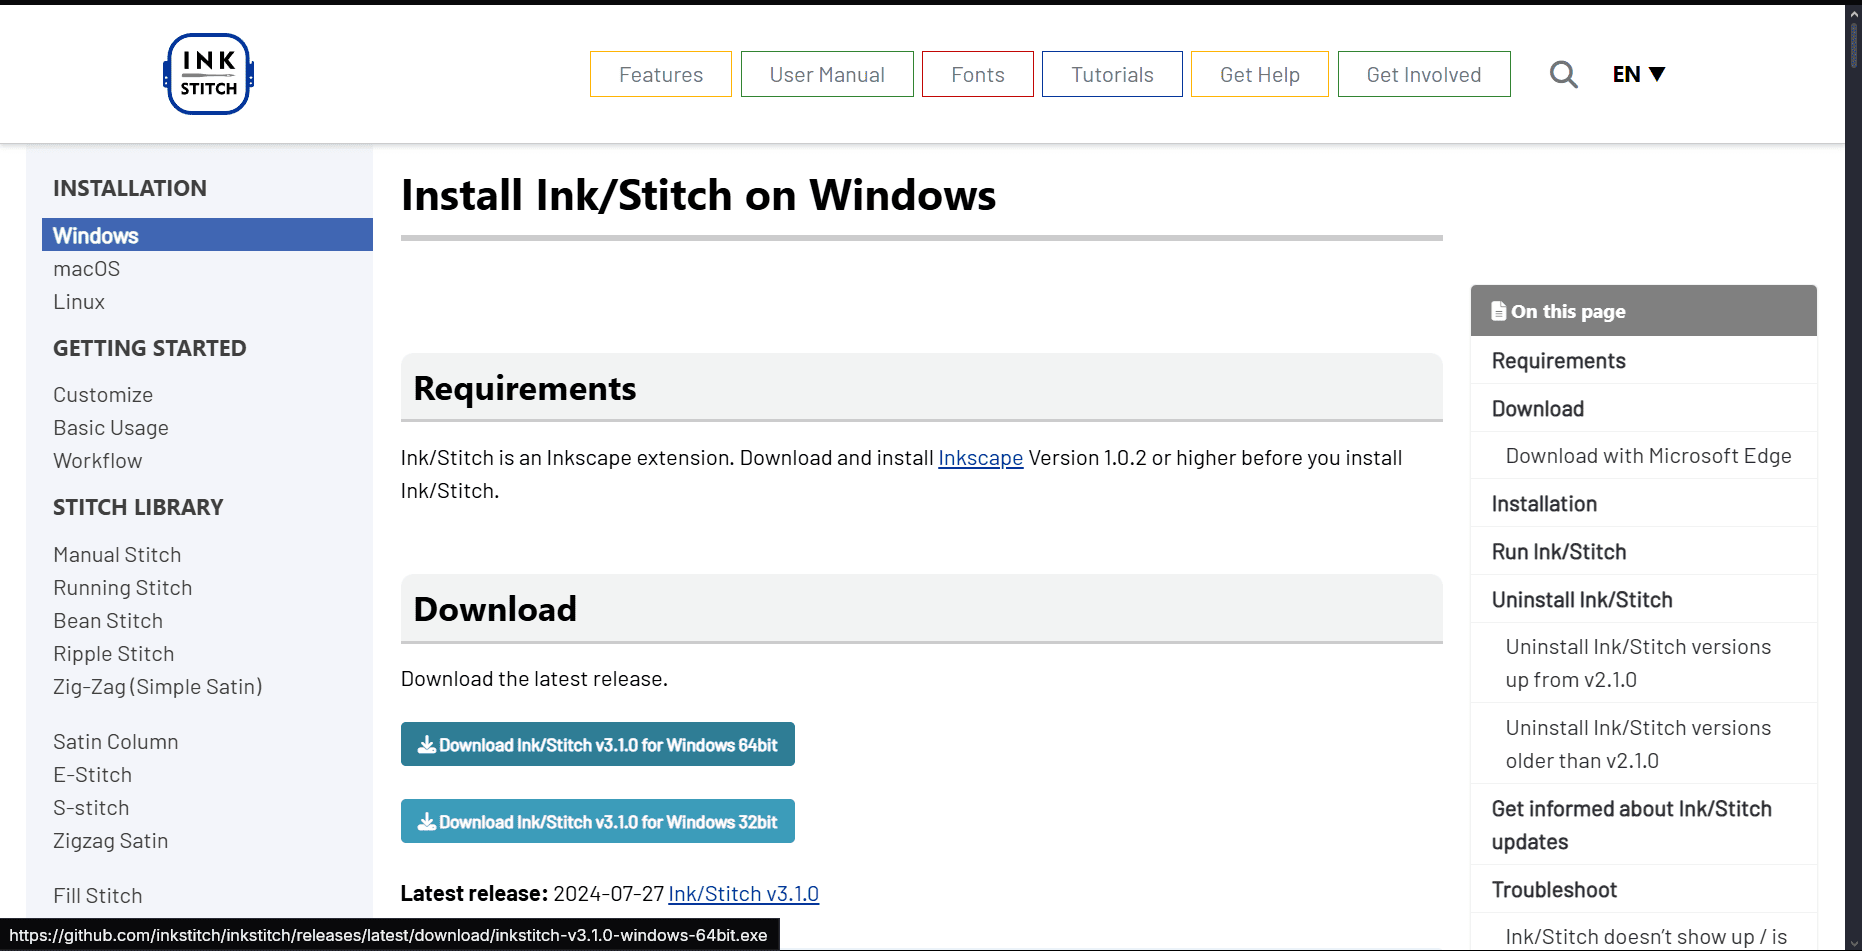
Step 2: Install Ink/Stitch Extension
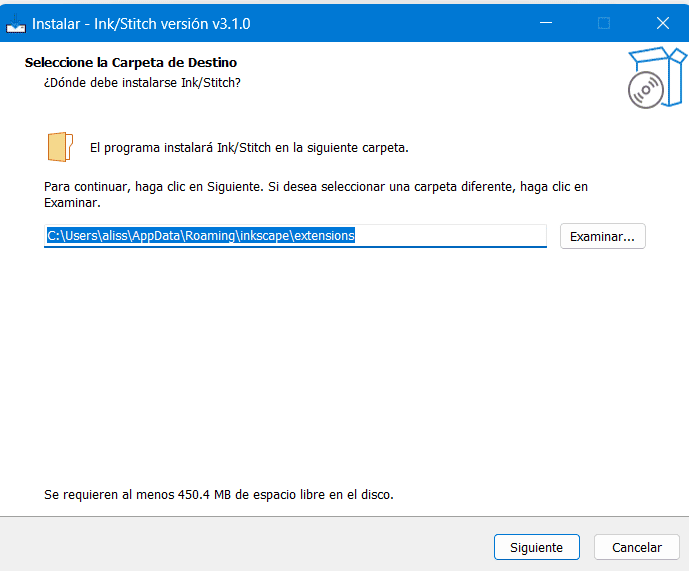
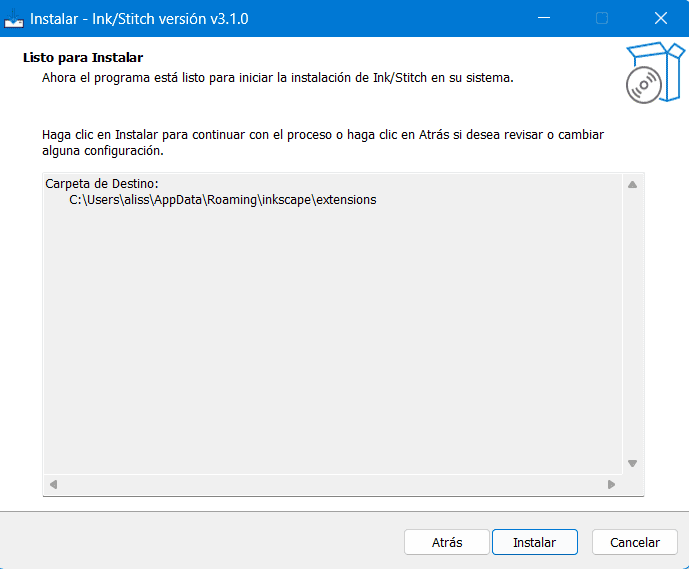
Go to inkstitch.org and navigate to the “Download” section. Select your OS (e.g., Windows) and download the installer. Once downloaded, execute the file and follow the installation instructions. After finishing, restart Inkscape to activate the extension.
|
Install Process
|
|
|
|
|

|

|
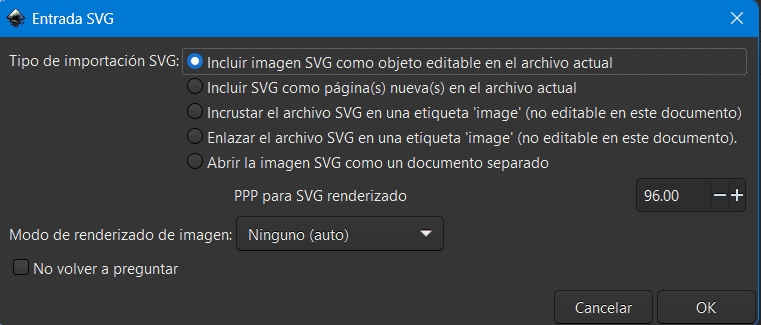
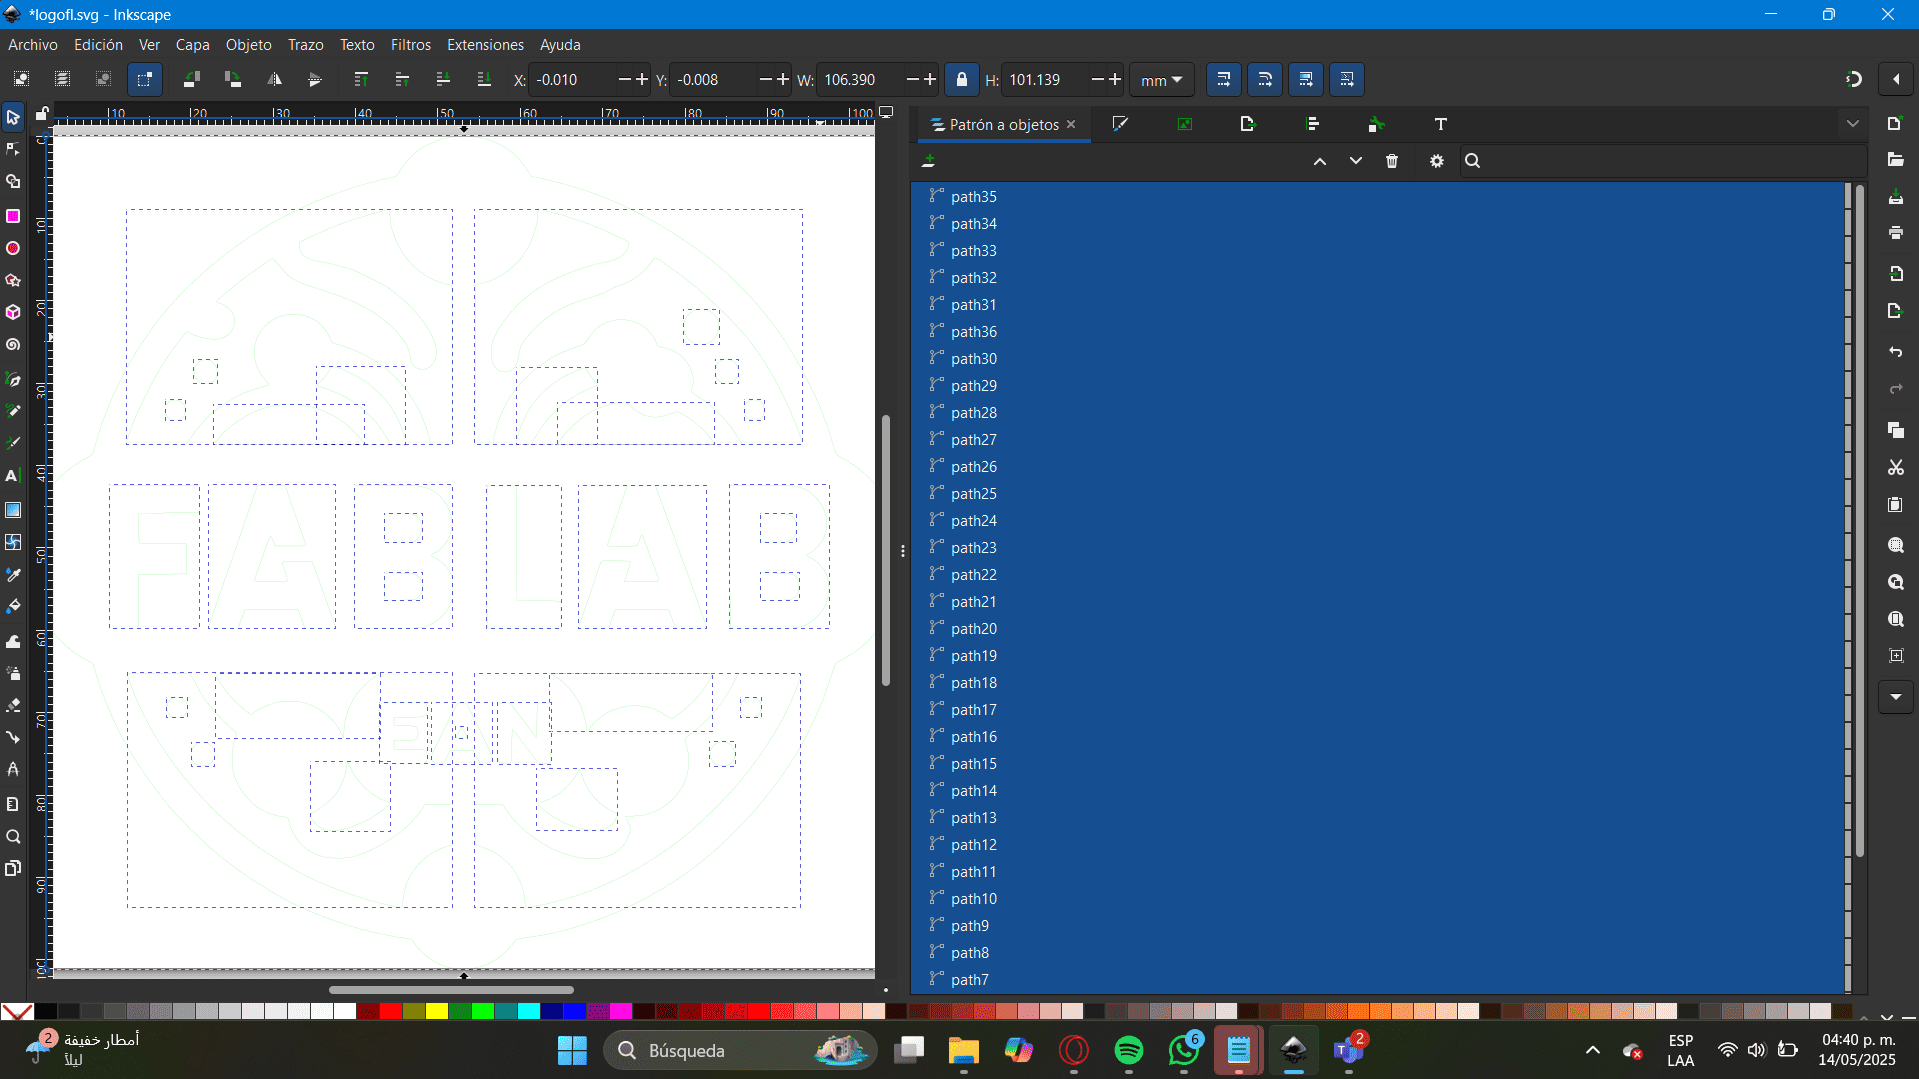
Step 3: Import and Prepare Your Vector
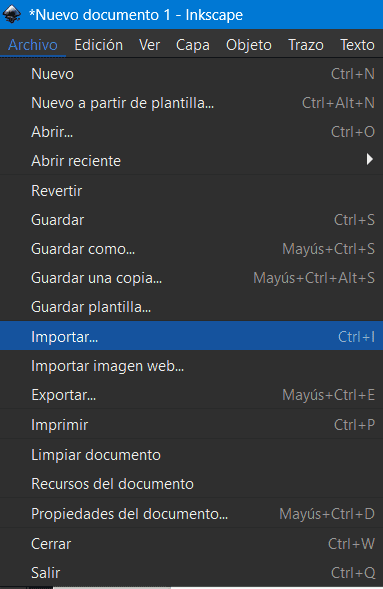
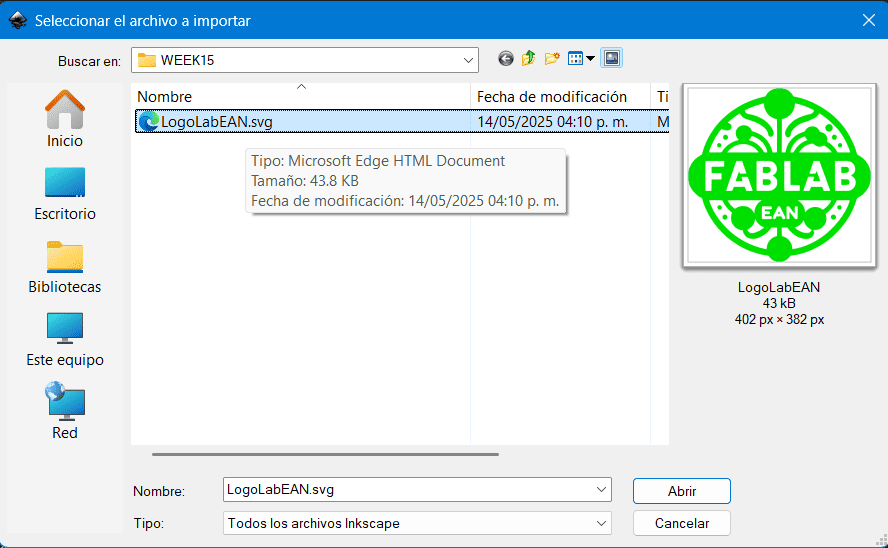
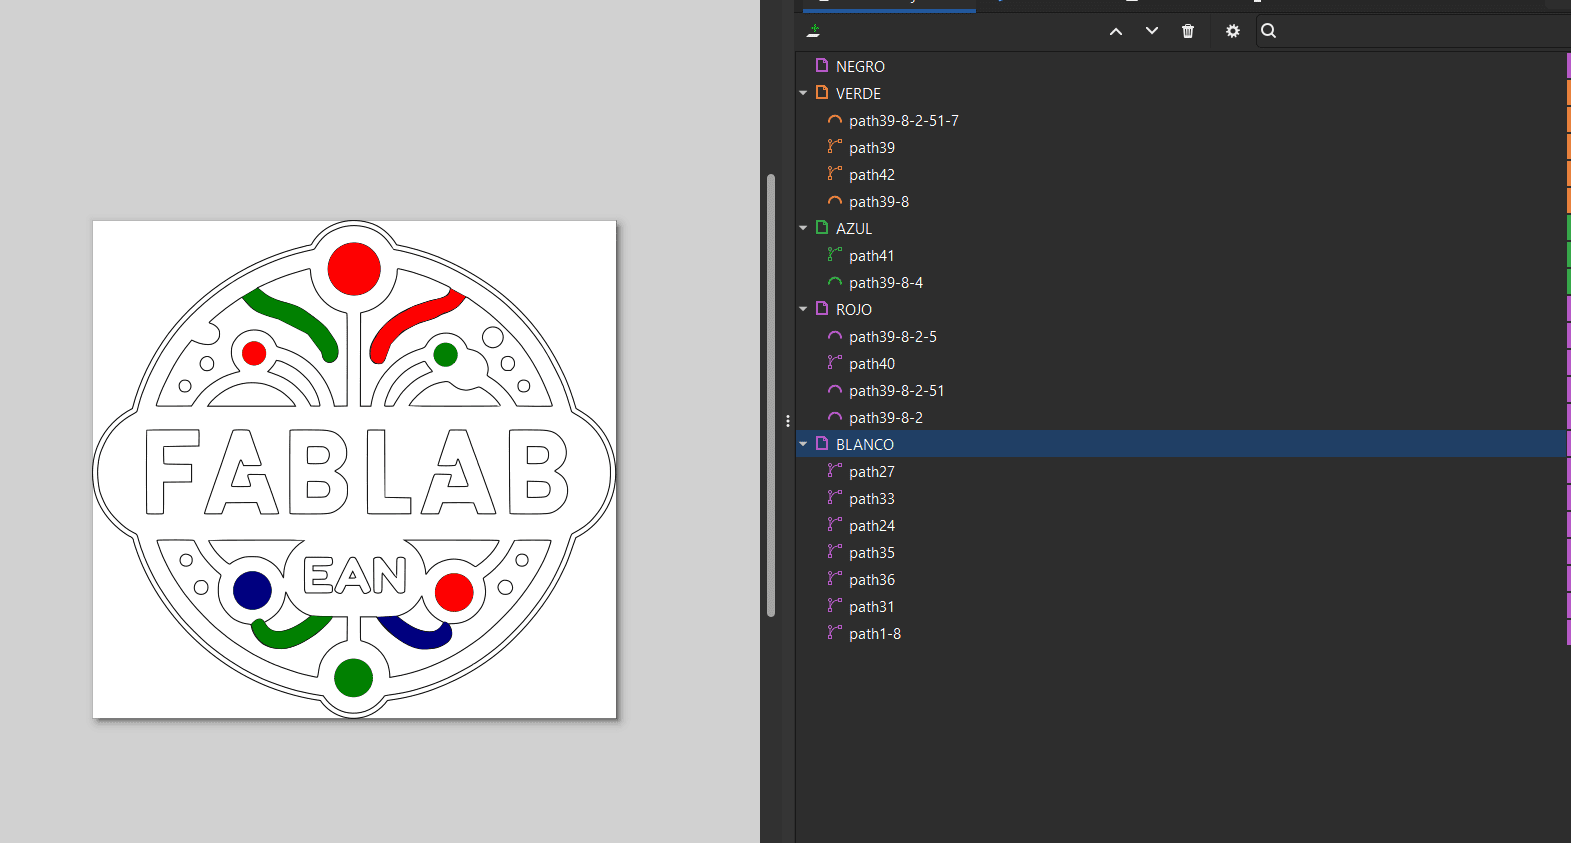
Open a new Inkscape file and import your vector. It is essential that each color in your embroidery is grouped or layered separately. On the right-hand side of Inkscape, you can view the object list to ensure that each section is correctly separated.
|
|
|
|
|
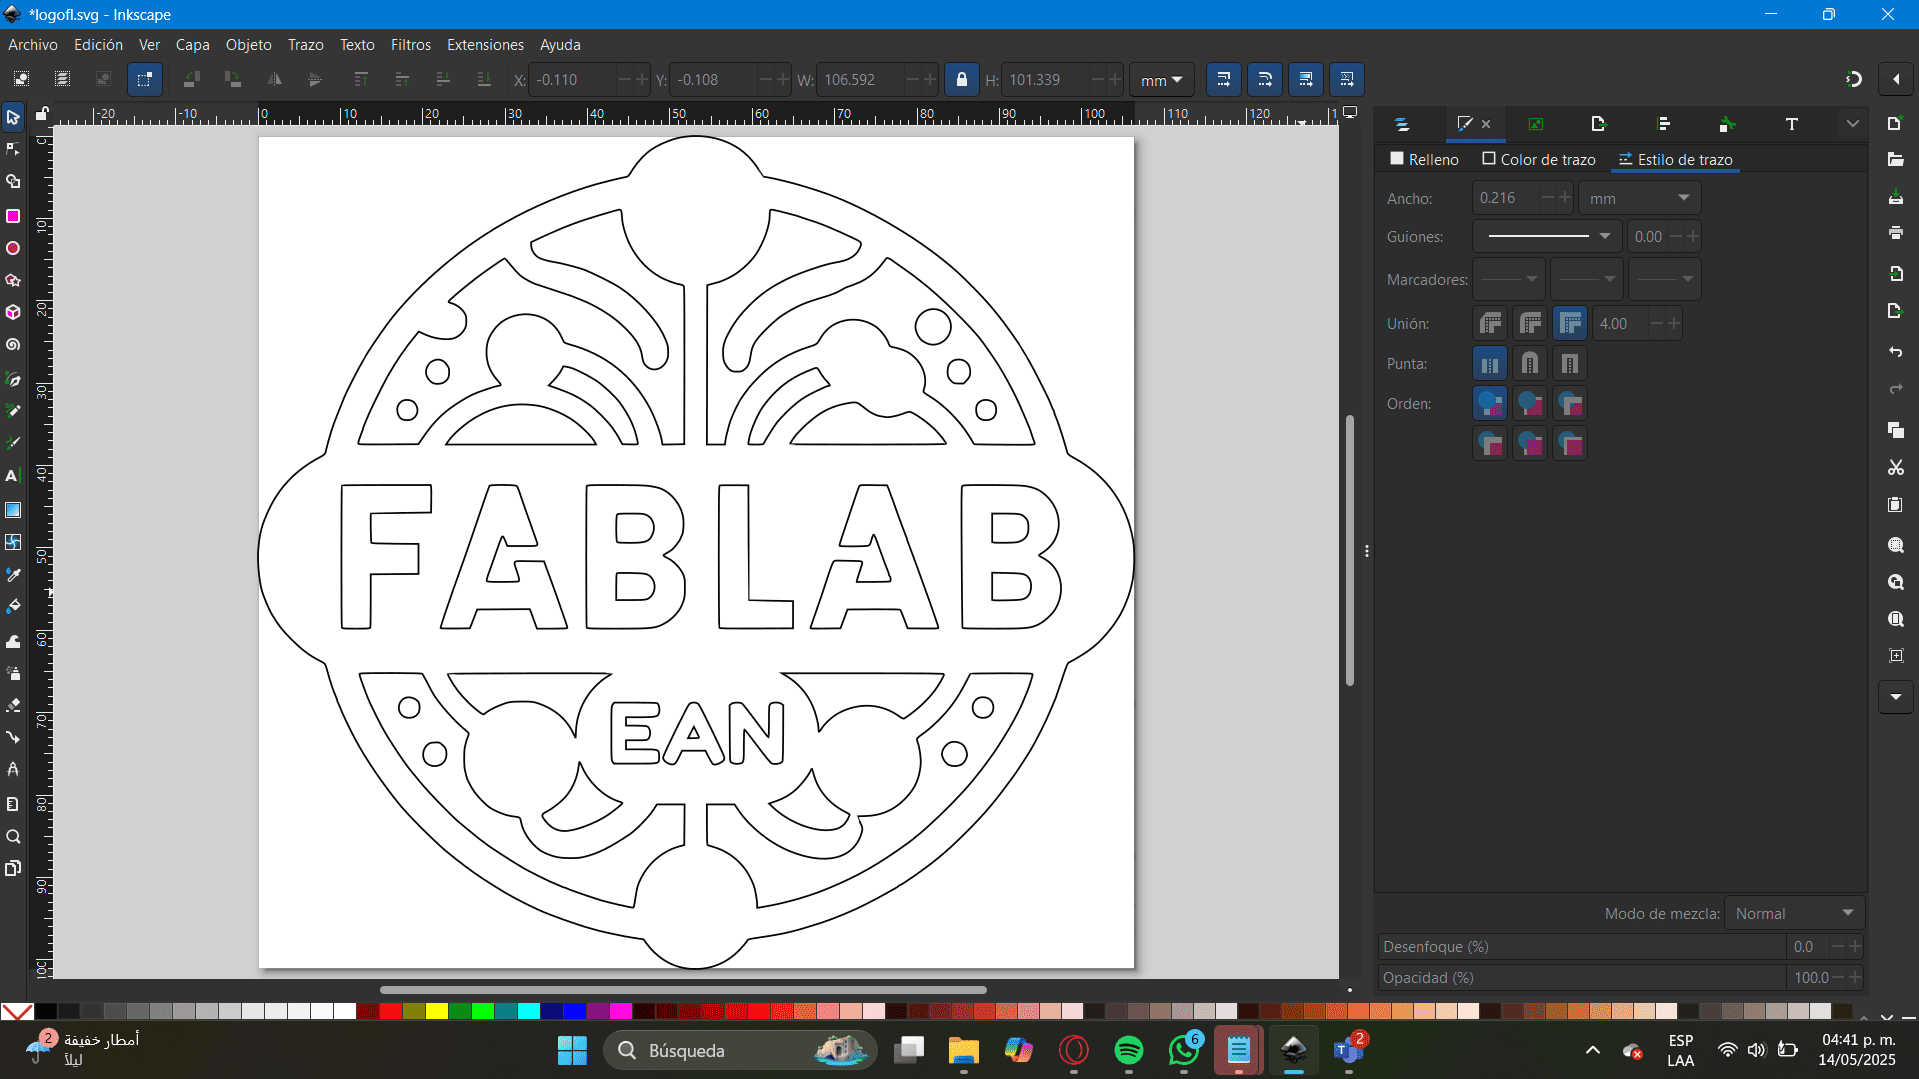
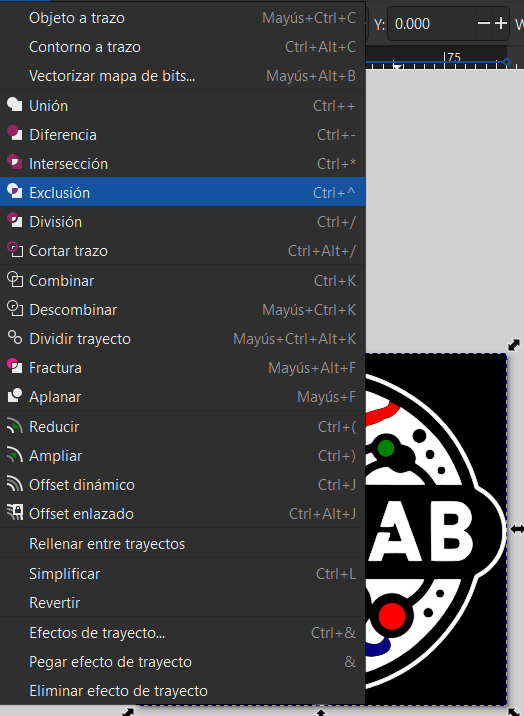
Step 4: Clean the Design and Organize by Color
Use Path → Combine to merge paths of the same color. In cases where internal shapes exist (like letters or outlines), you might need Path → Difference. This is important for achieving clean embroidery transitions. Each group should correspond to one thread color.
|
|
|
|
Tip: If you see small lines or connectors between colors during simulation, it often means the path has an unintended stroke color. Correct this by unifying strokes or removing them entirely.
Step 5: Simulate the Embroidery
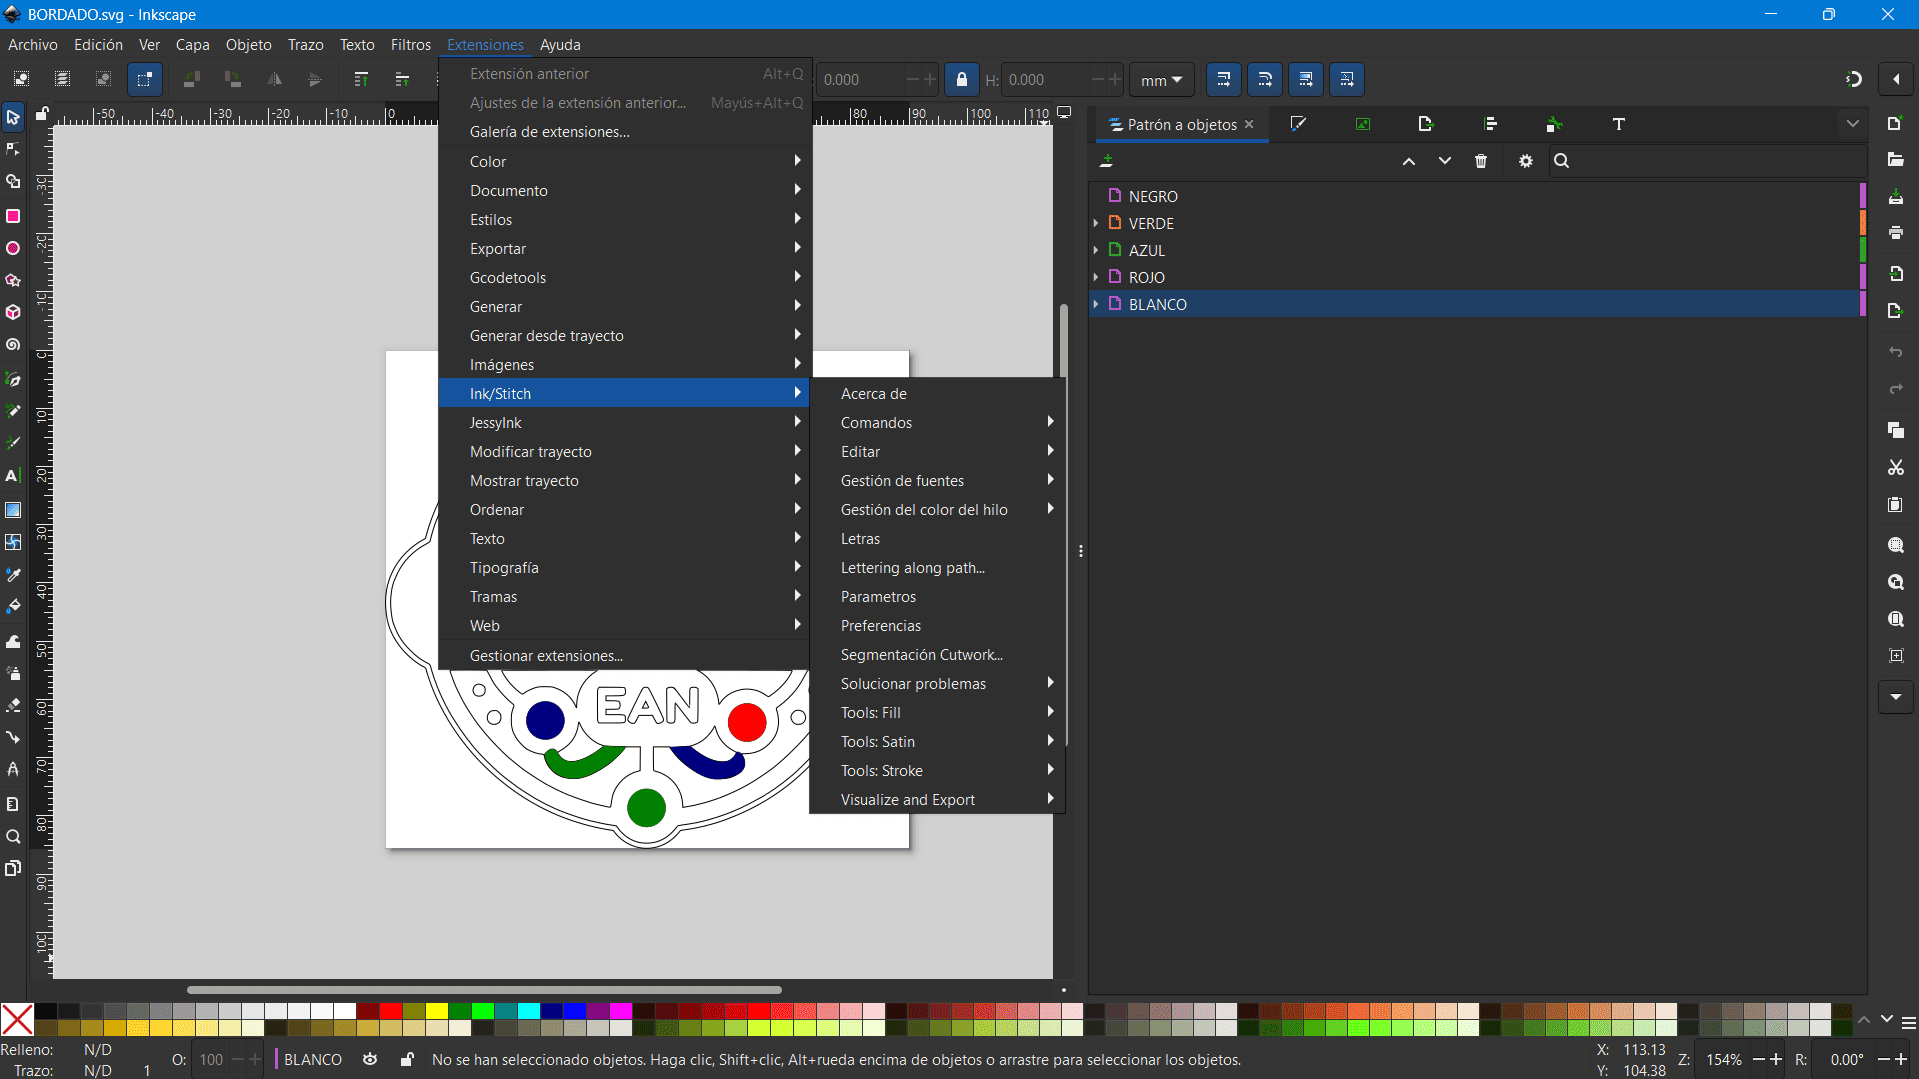
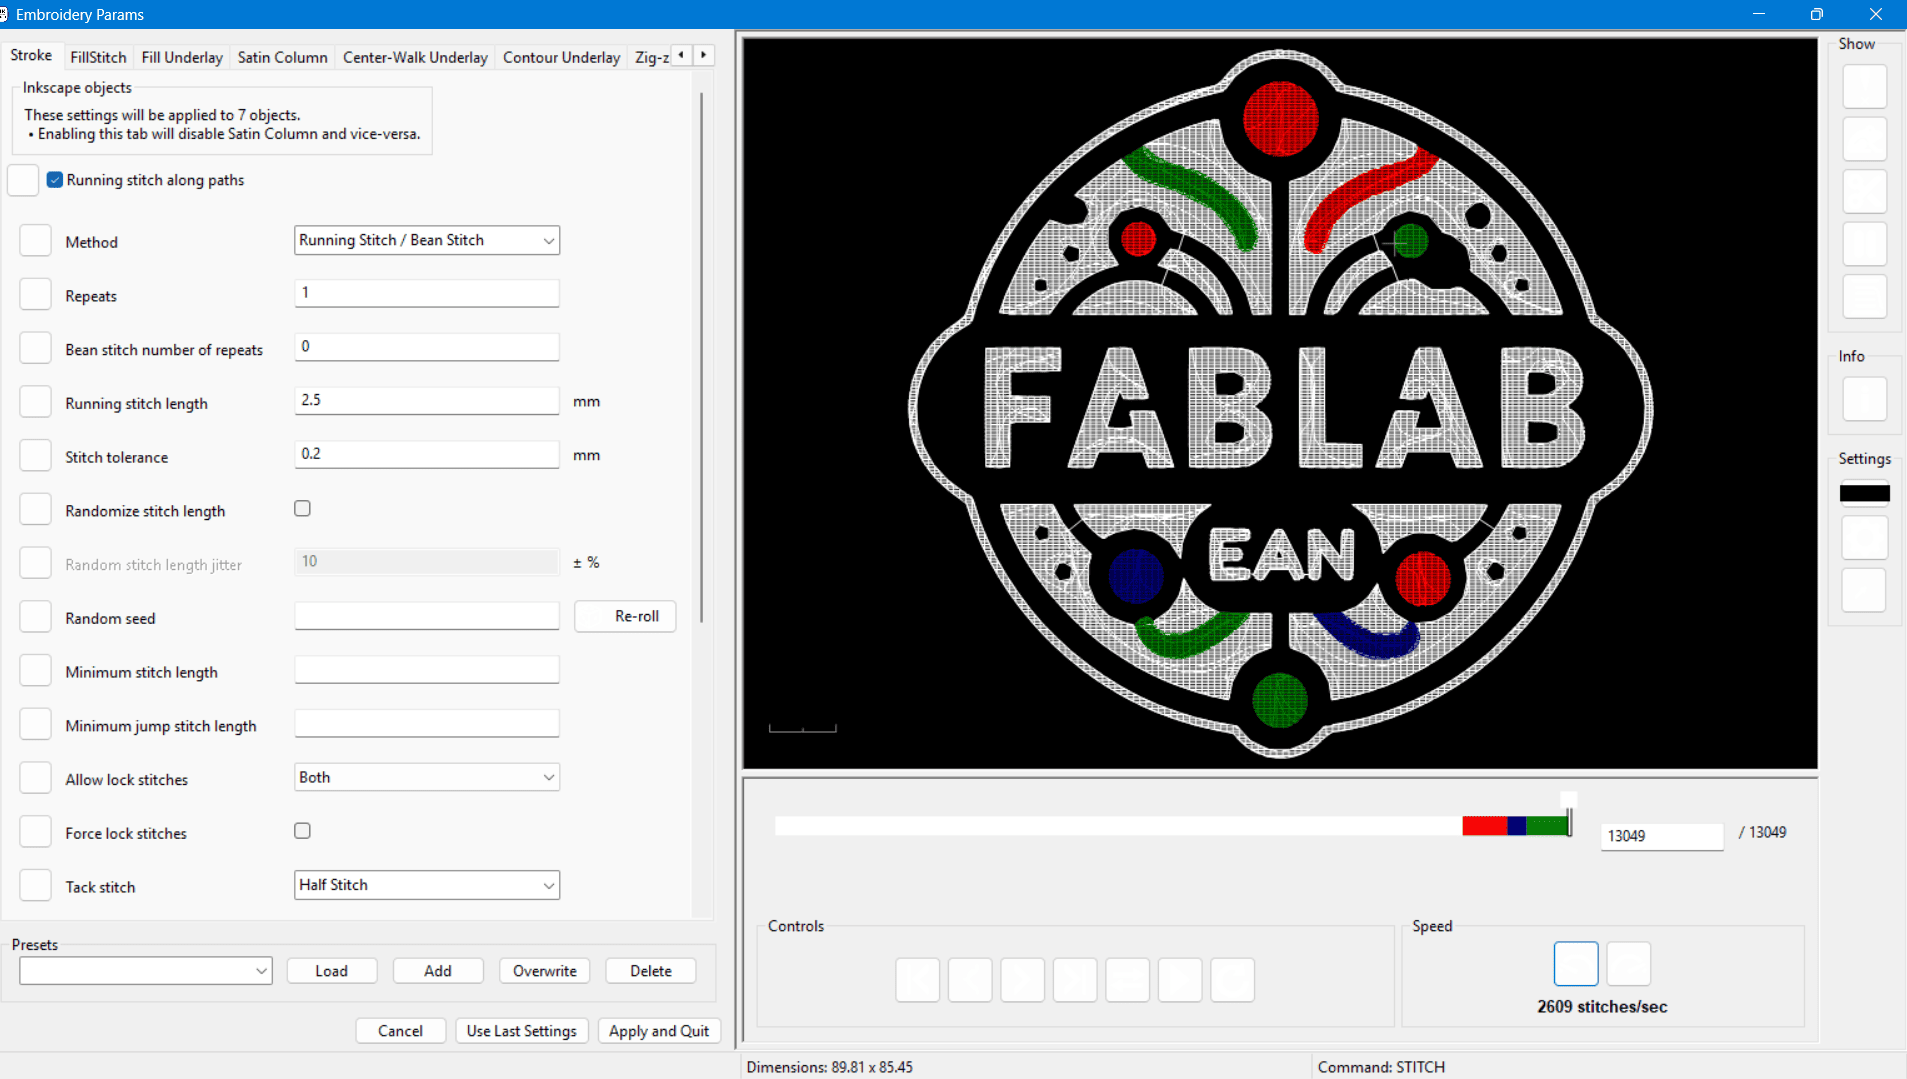
Navigate to Extensions → Ink/Stitch → Params. The simulation window opens, showing the stitch sequence and color transitions. Carefully review this simulation: if unnecessary thread changes appear between similar sections, return to your vector and check for hidden stroke colors or unmerged paths.
Here you can also configure parameters such as:
- Stitch type (satin, fill, running stitch)
- Stitch length and density
- Underlay and travel stitch settings
|
|
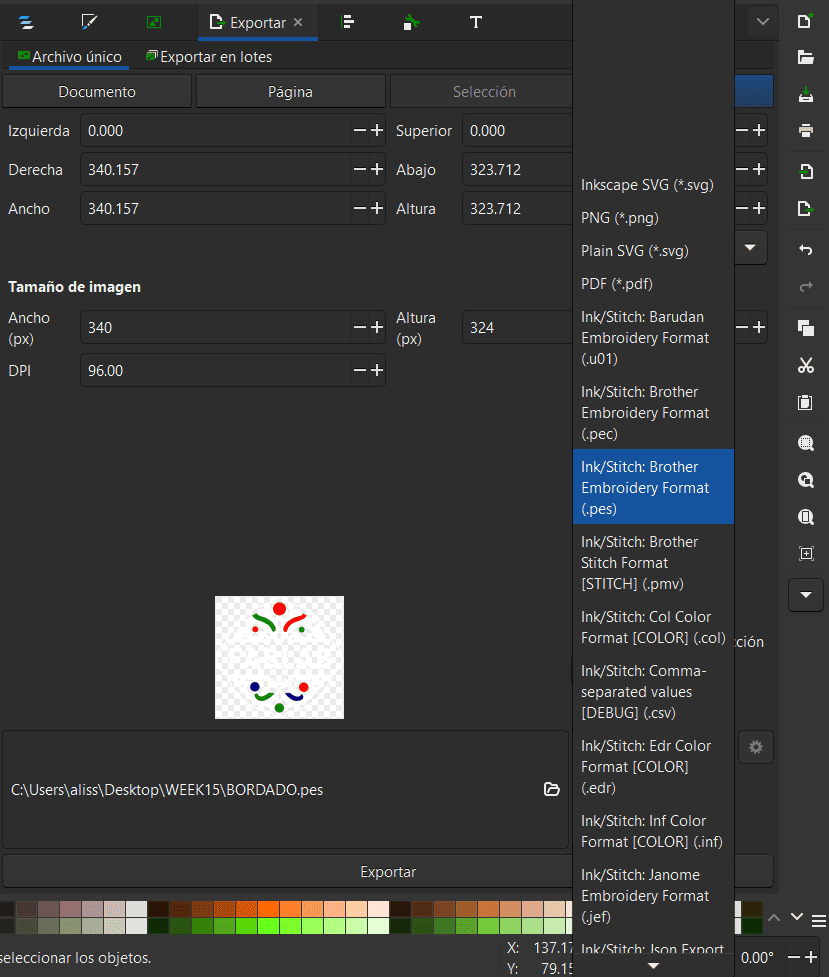
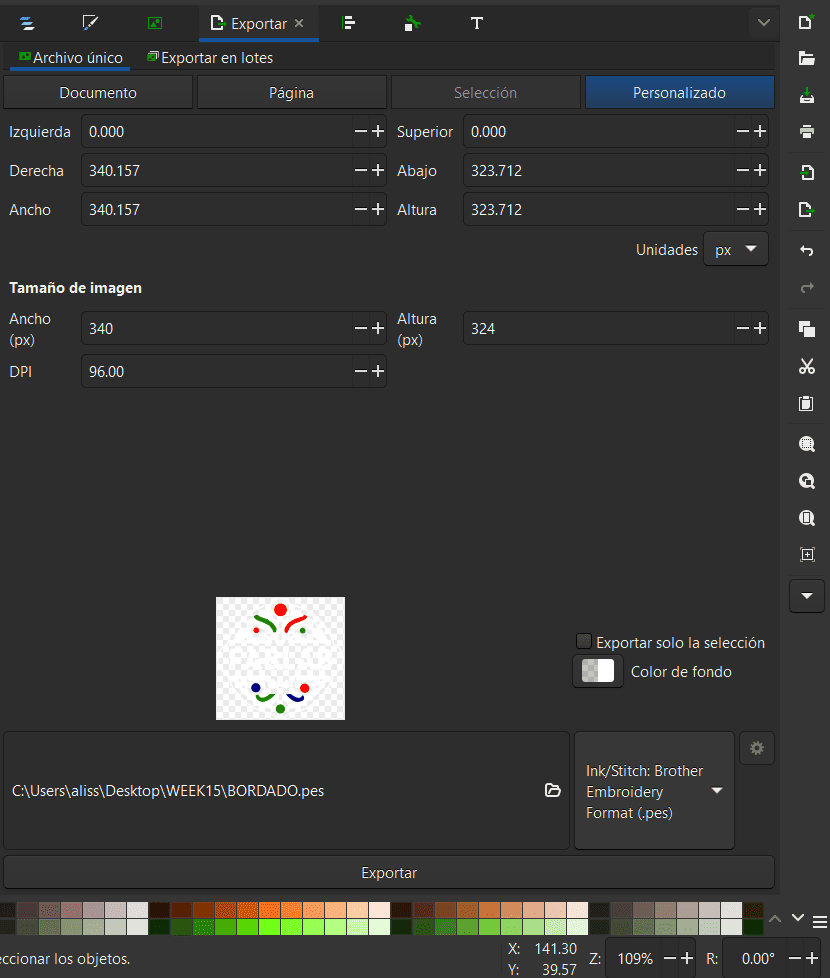
Step 6: Export to .PES Format
Once you are satisfied with the simulation, go to File → Save As and choose the .PES format (Brother Embroidery). Save the file to a USB drive formatted in FAT32 for compatibility with the embroidery machine.
|
|
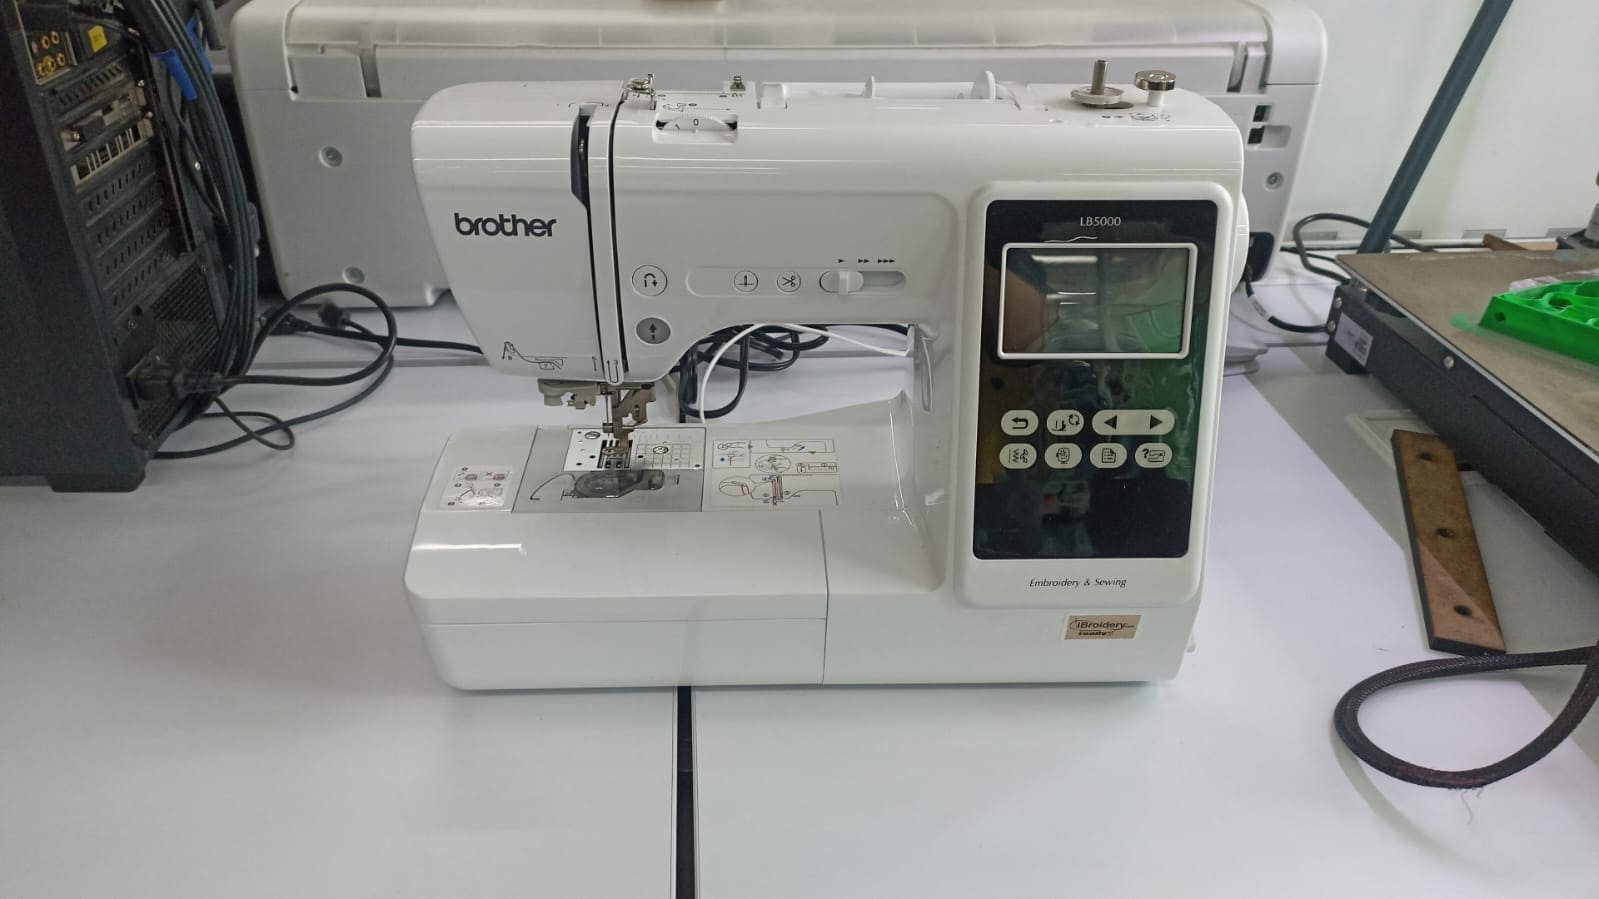
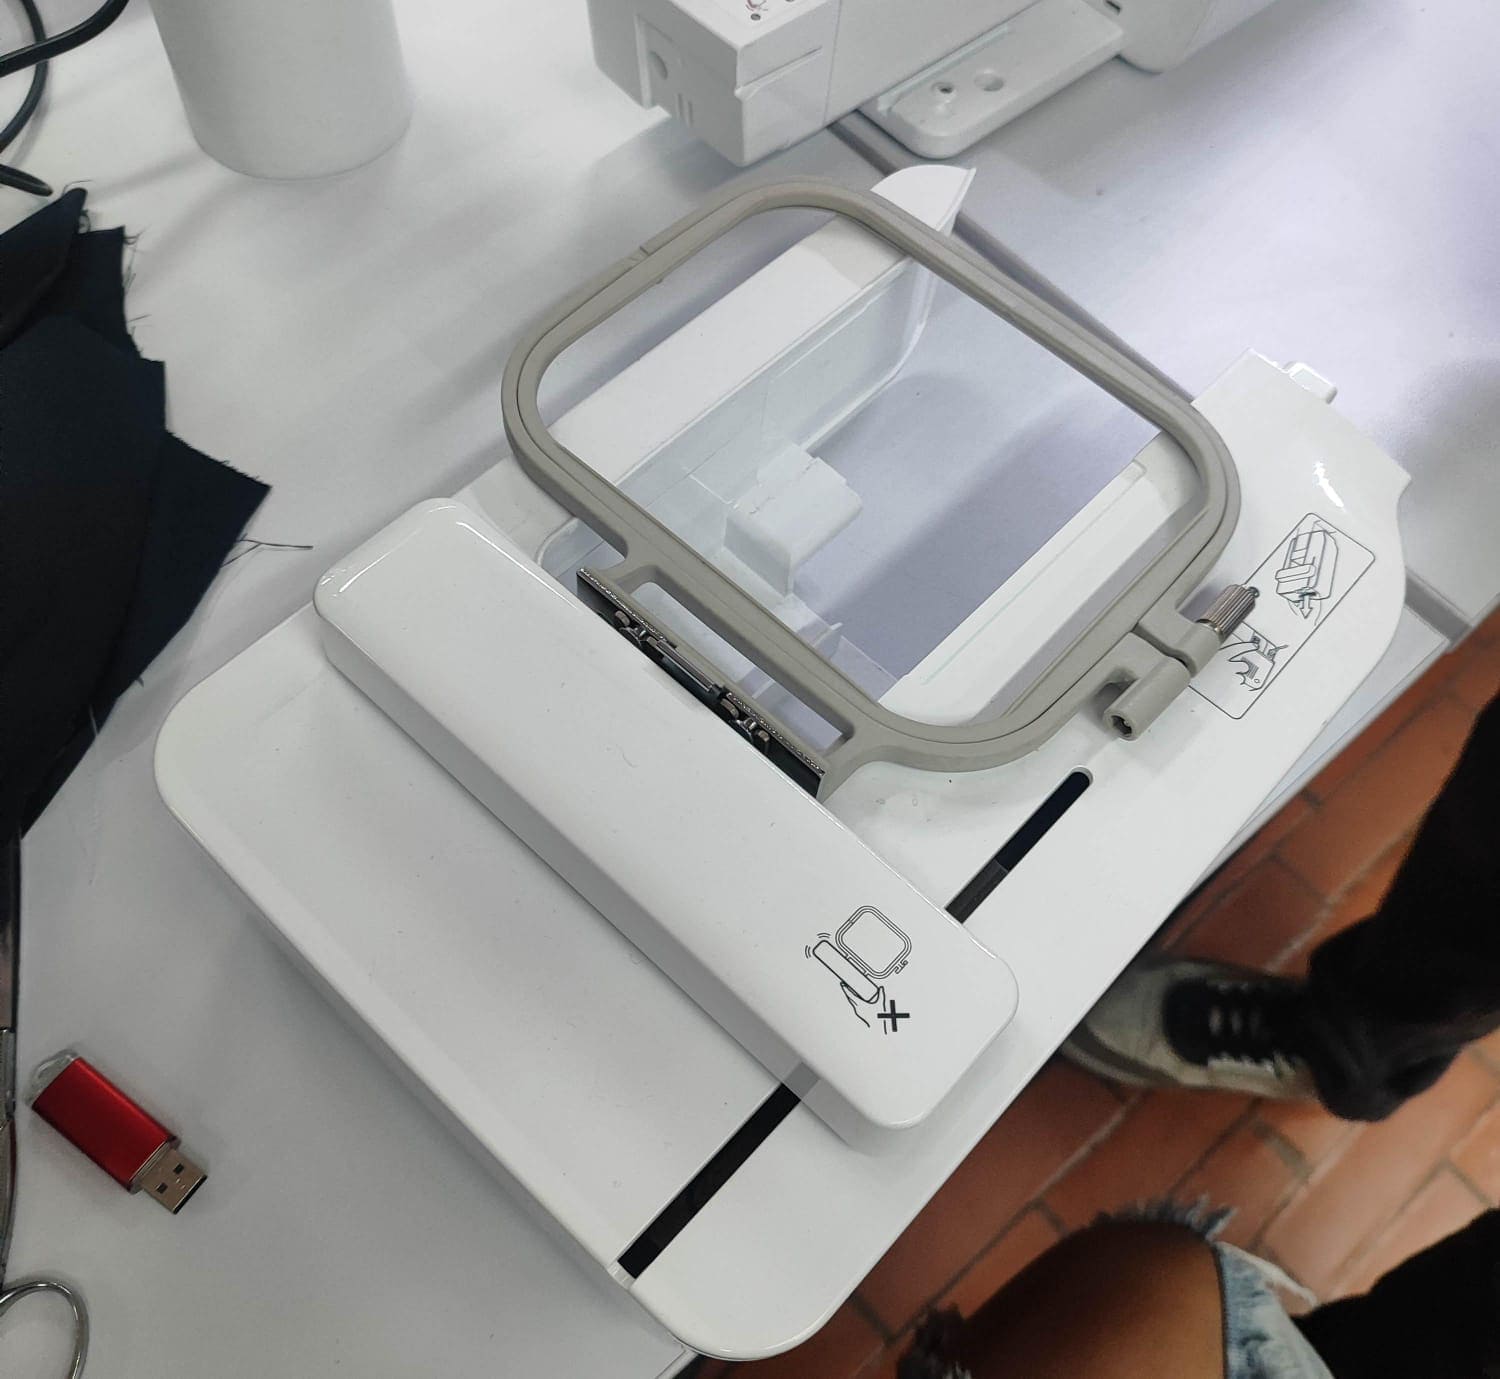
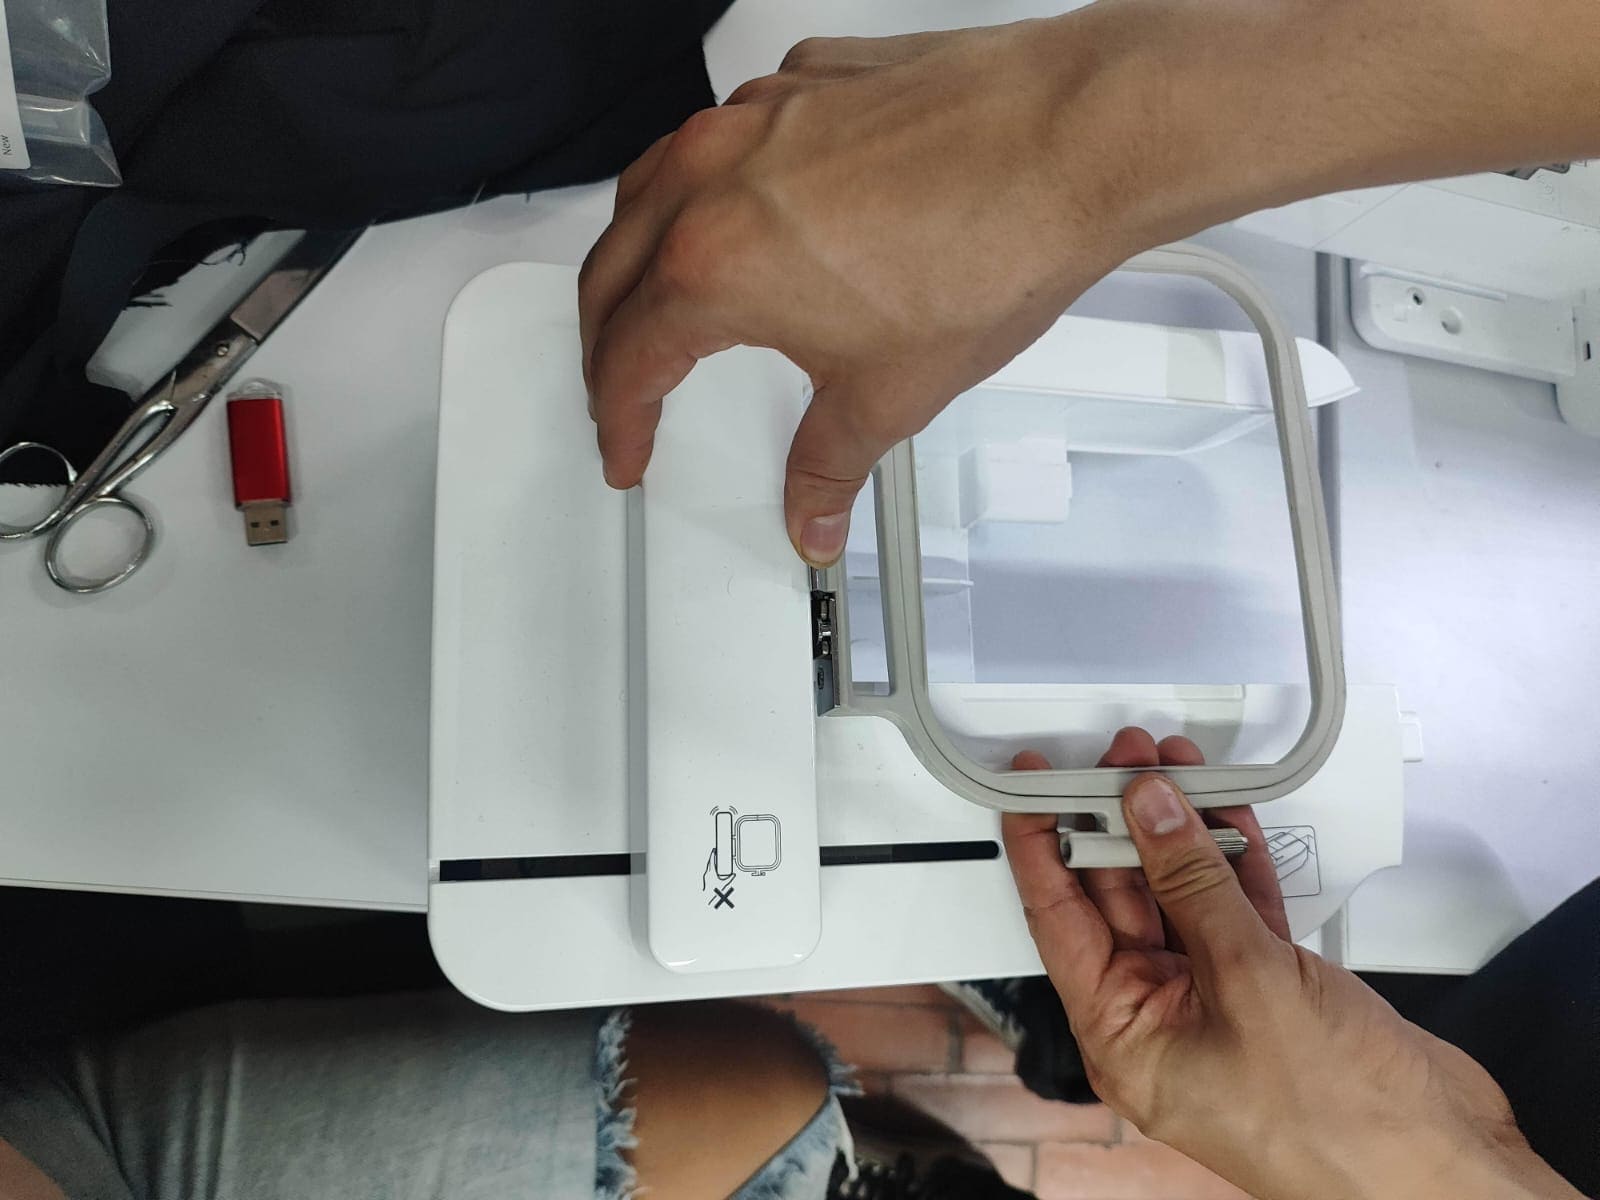
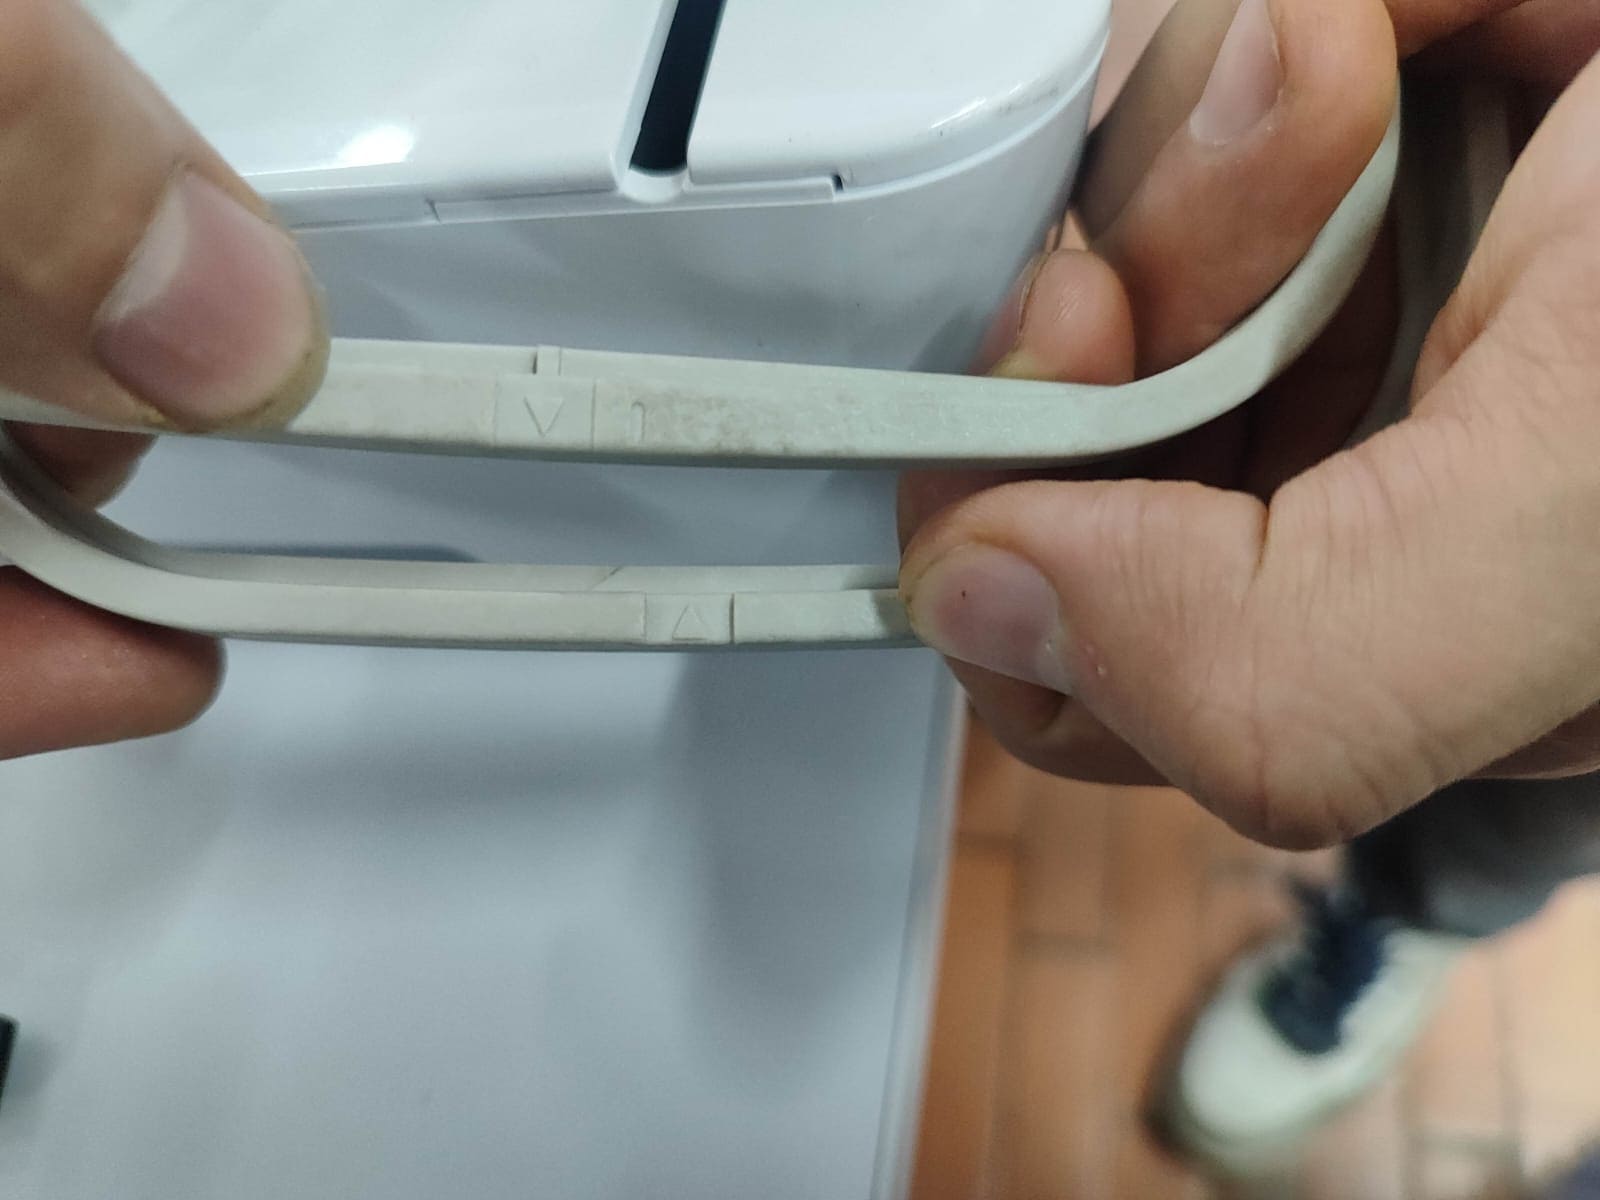
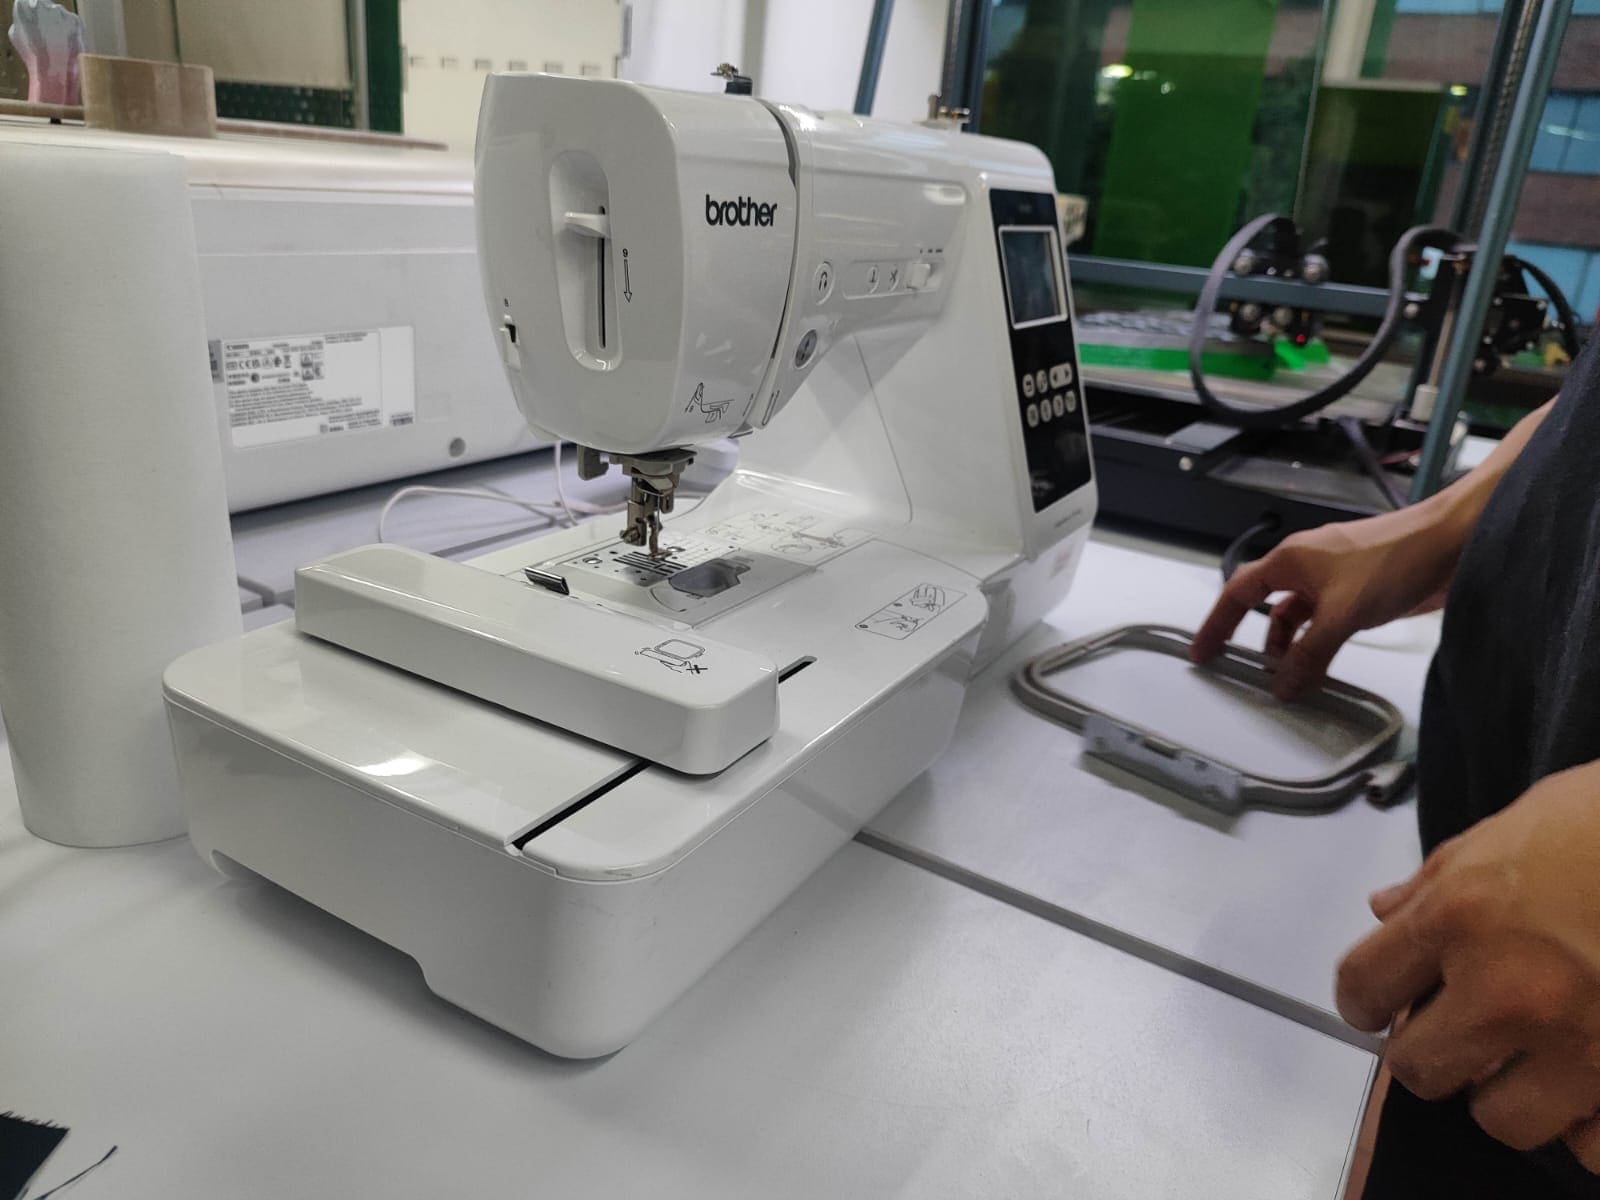
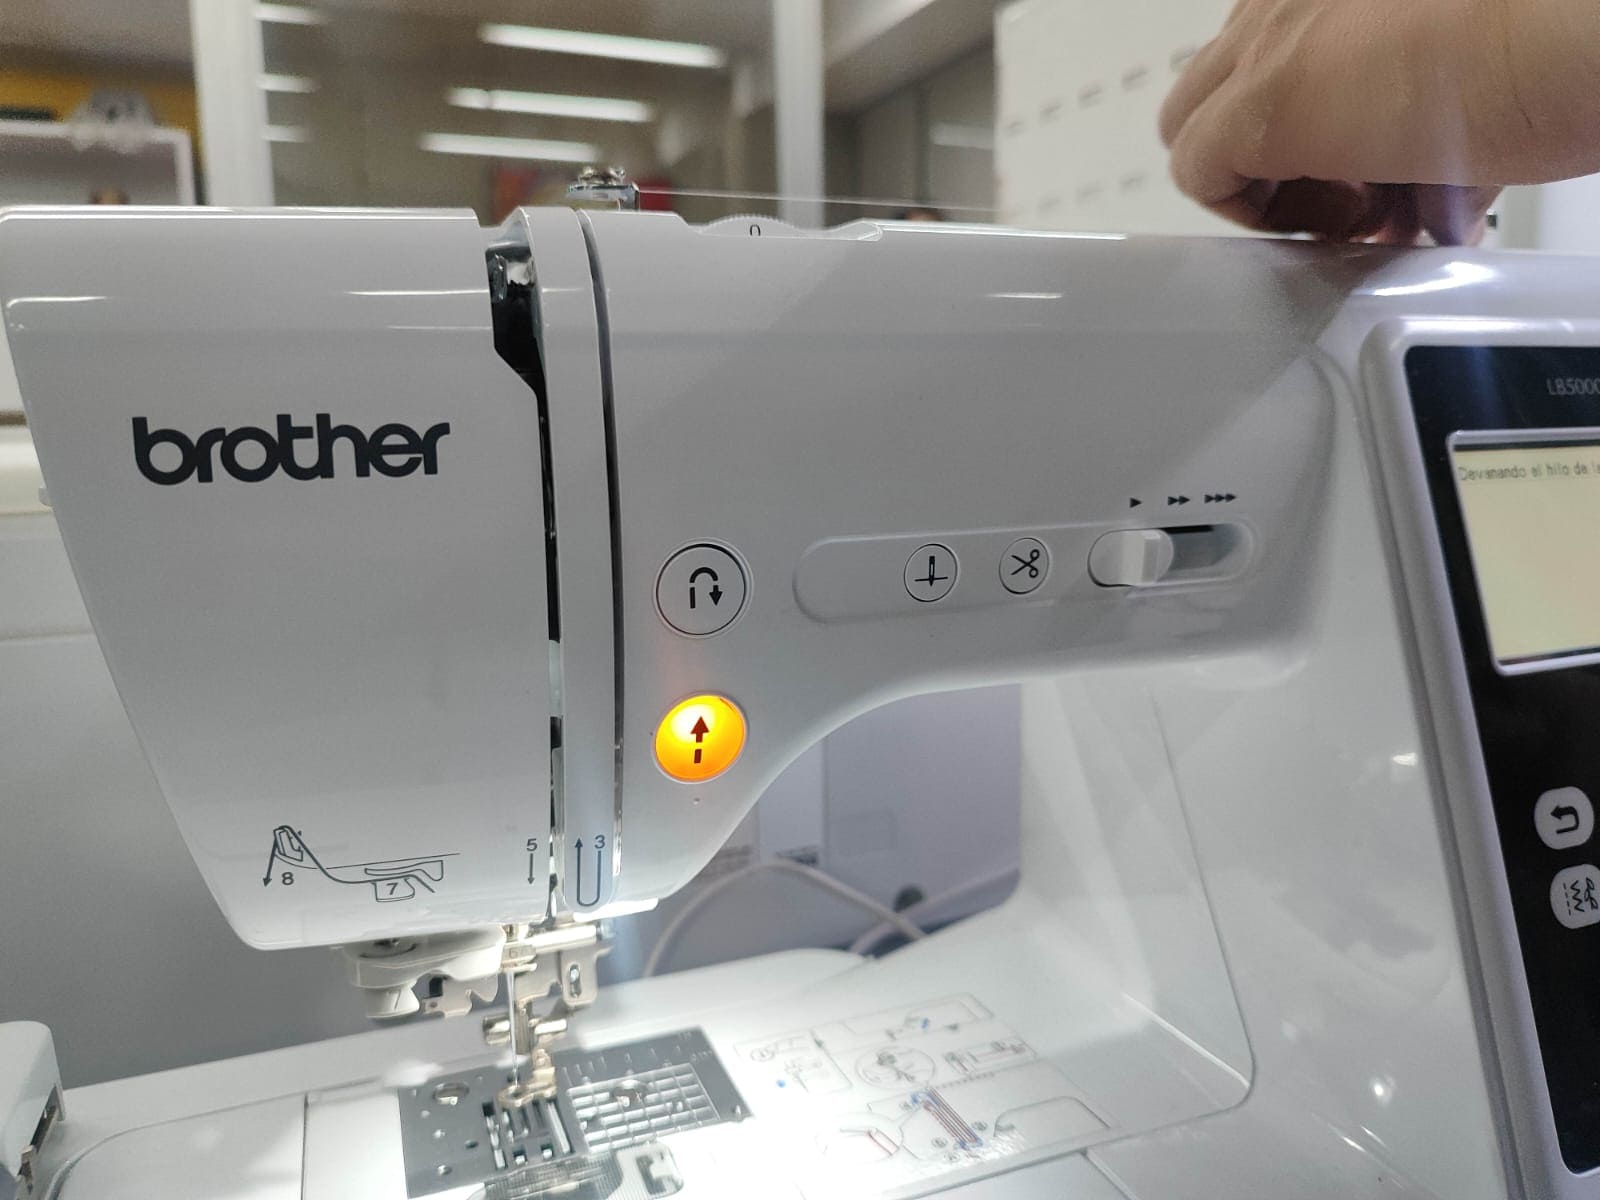
Step 7: Prepare the Brother Embroidery Machine
Power on the Brother machine. If it’s in sewing mode, remove the flat base and attach the embroidery arm and hoop. These components include arrows and grooves to guide correct placement. Ensure the embroidery hoop clicks into the arm firmly.
|
|
|
|
|
|
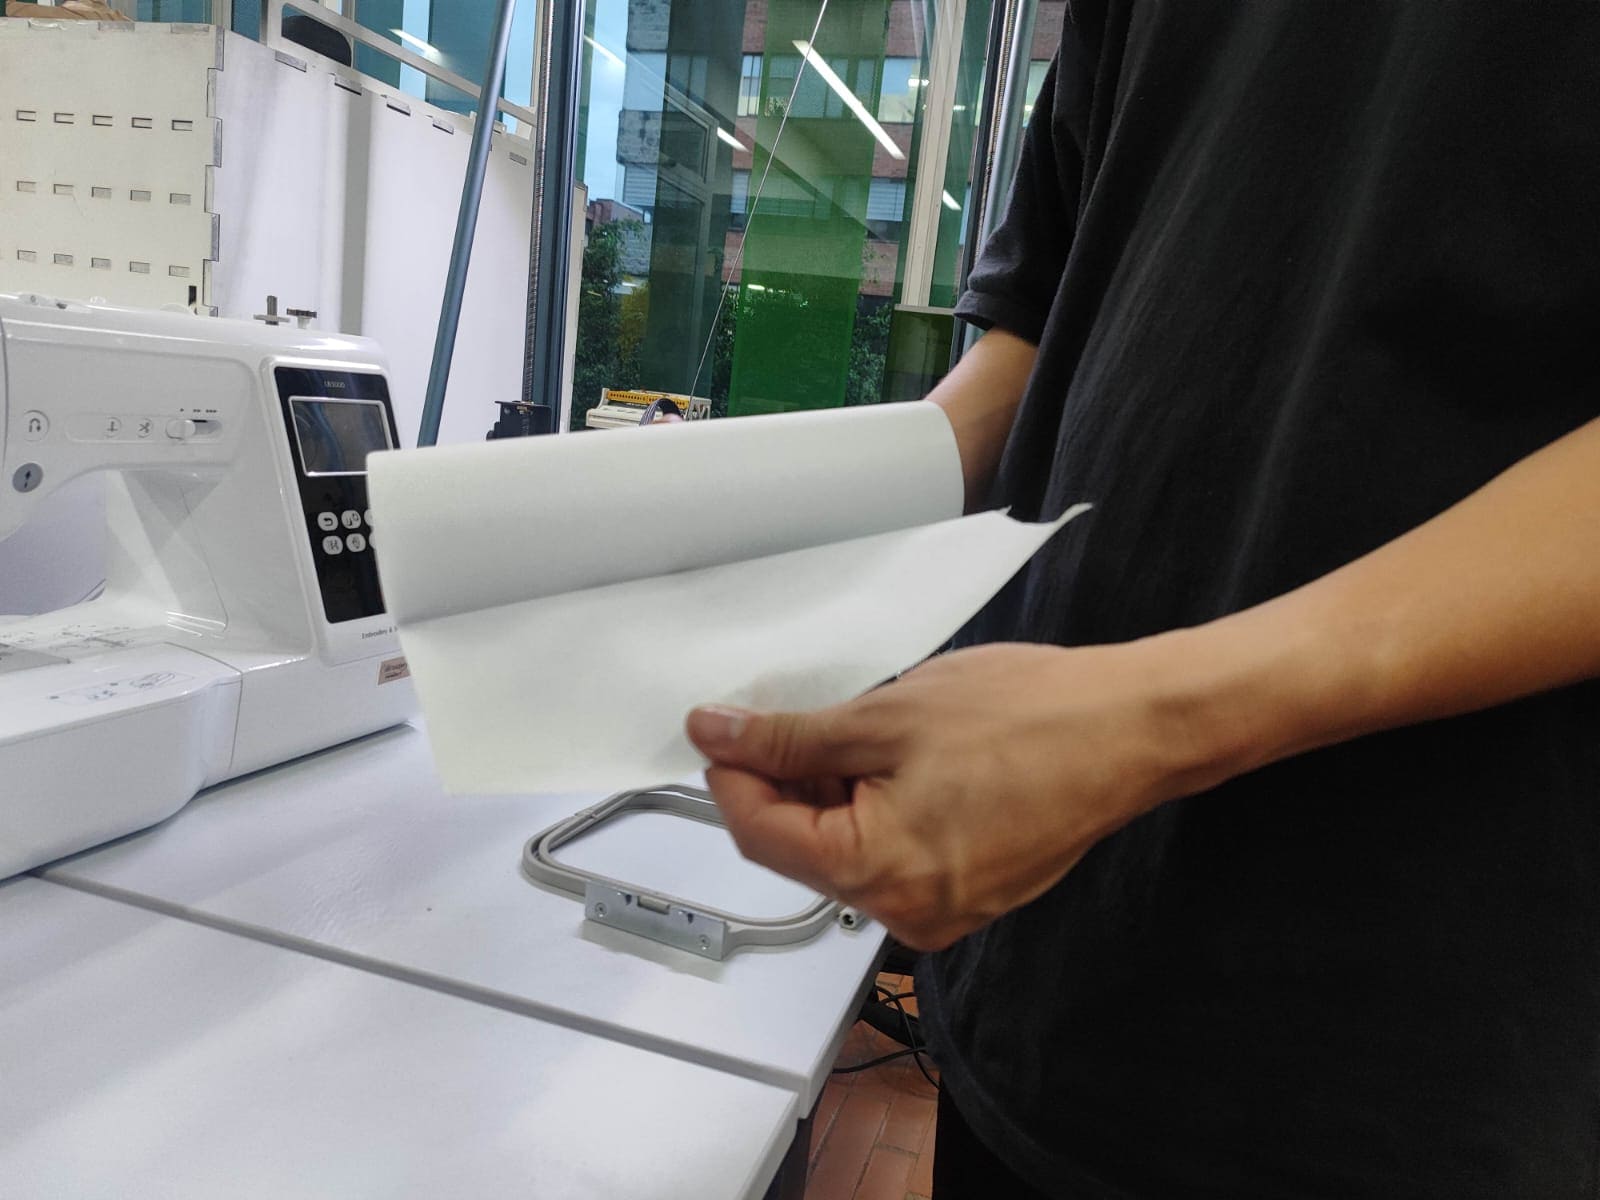
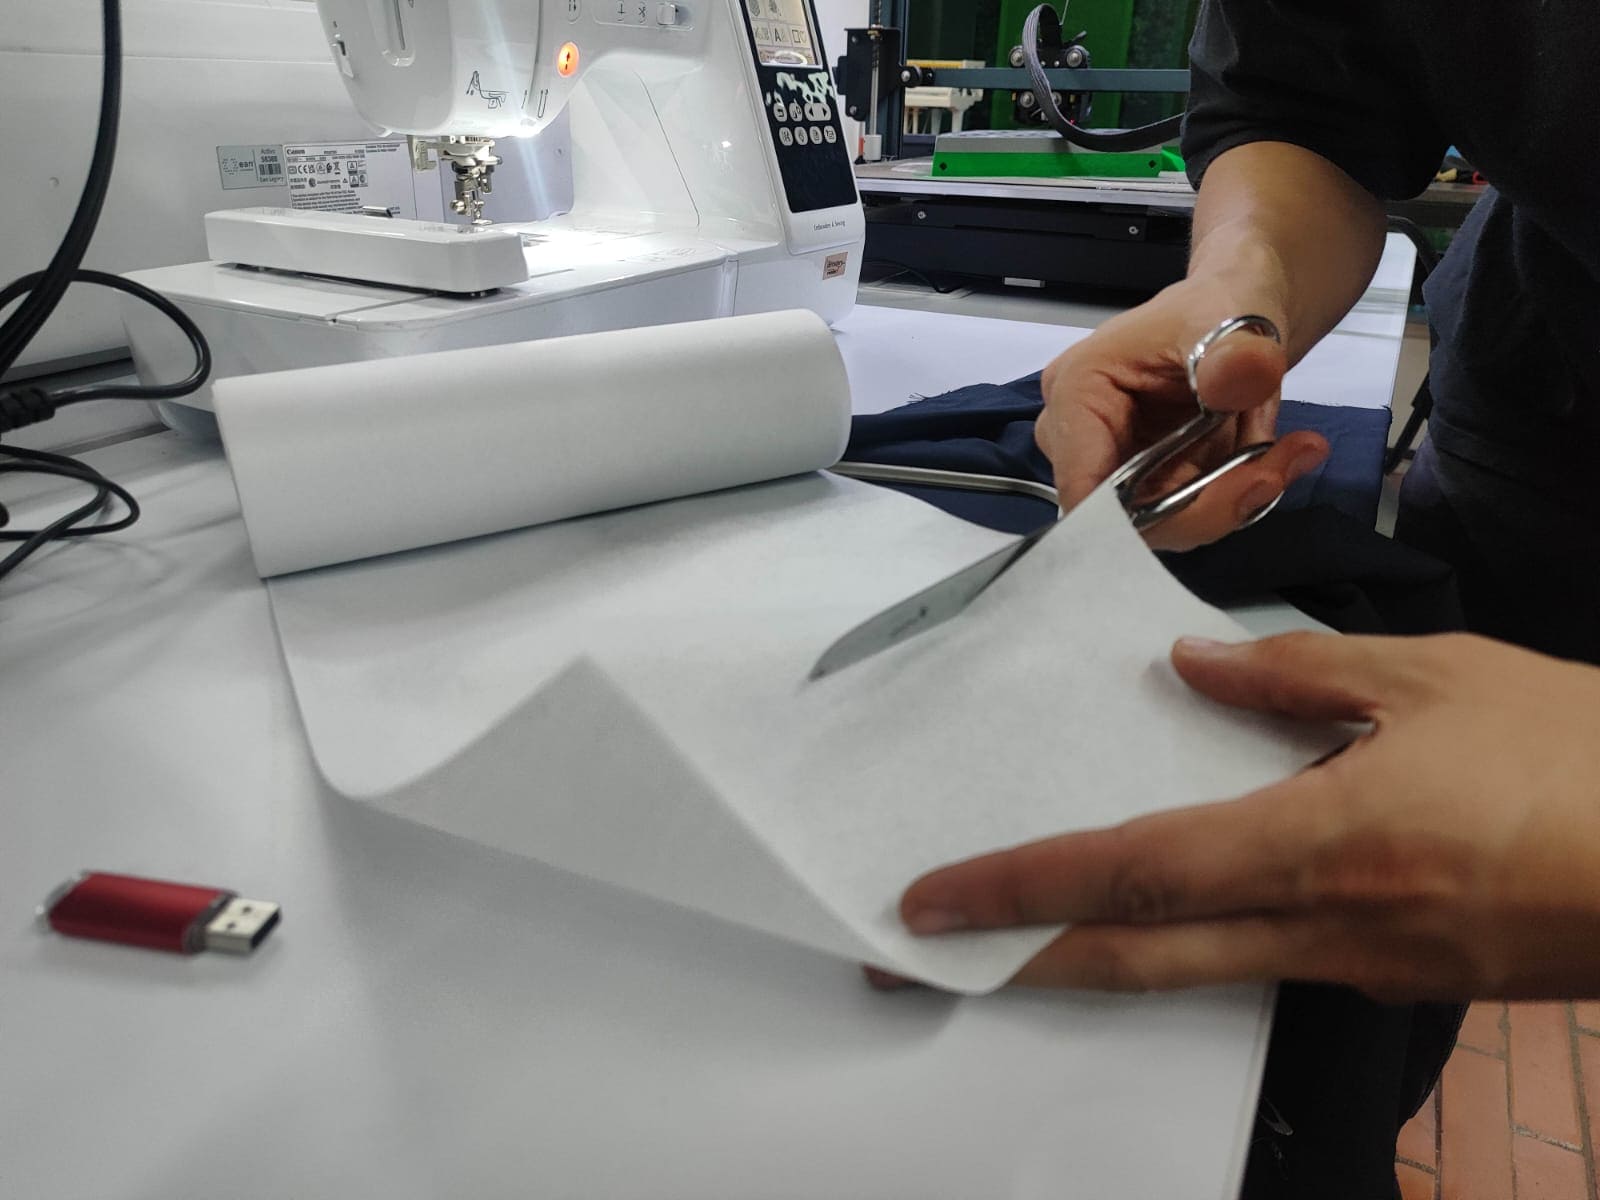
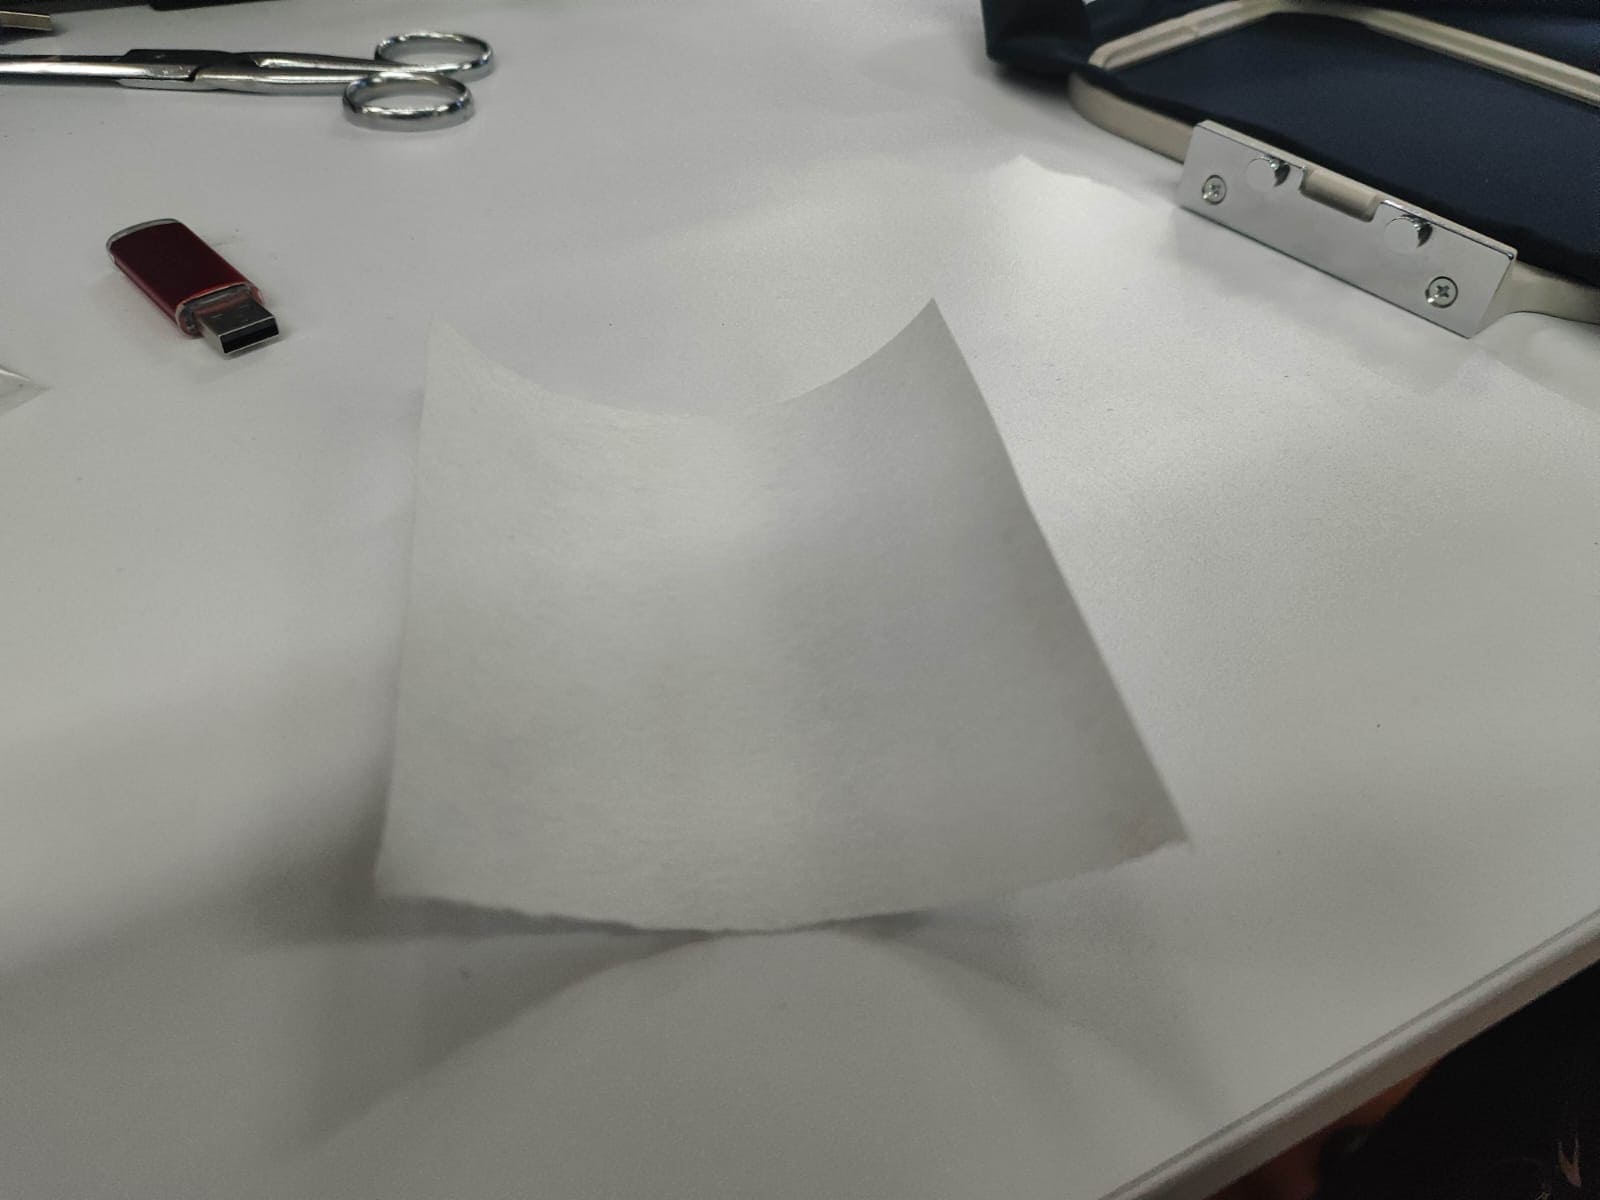
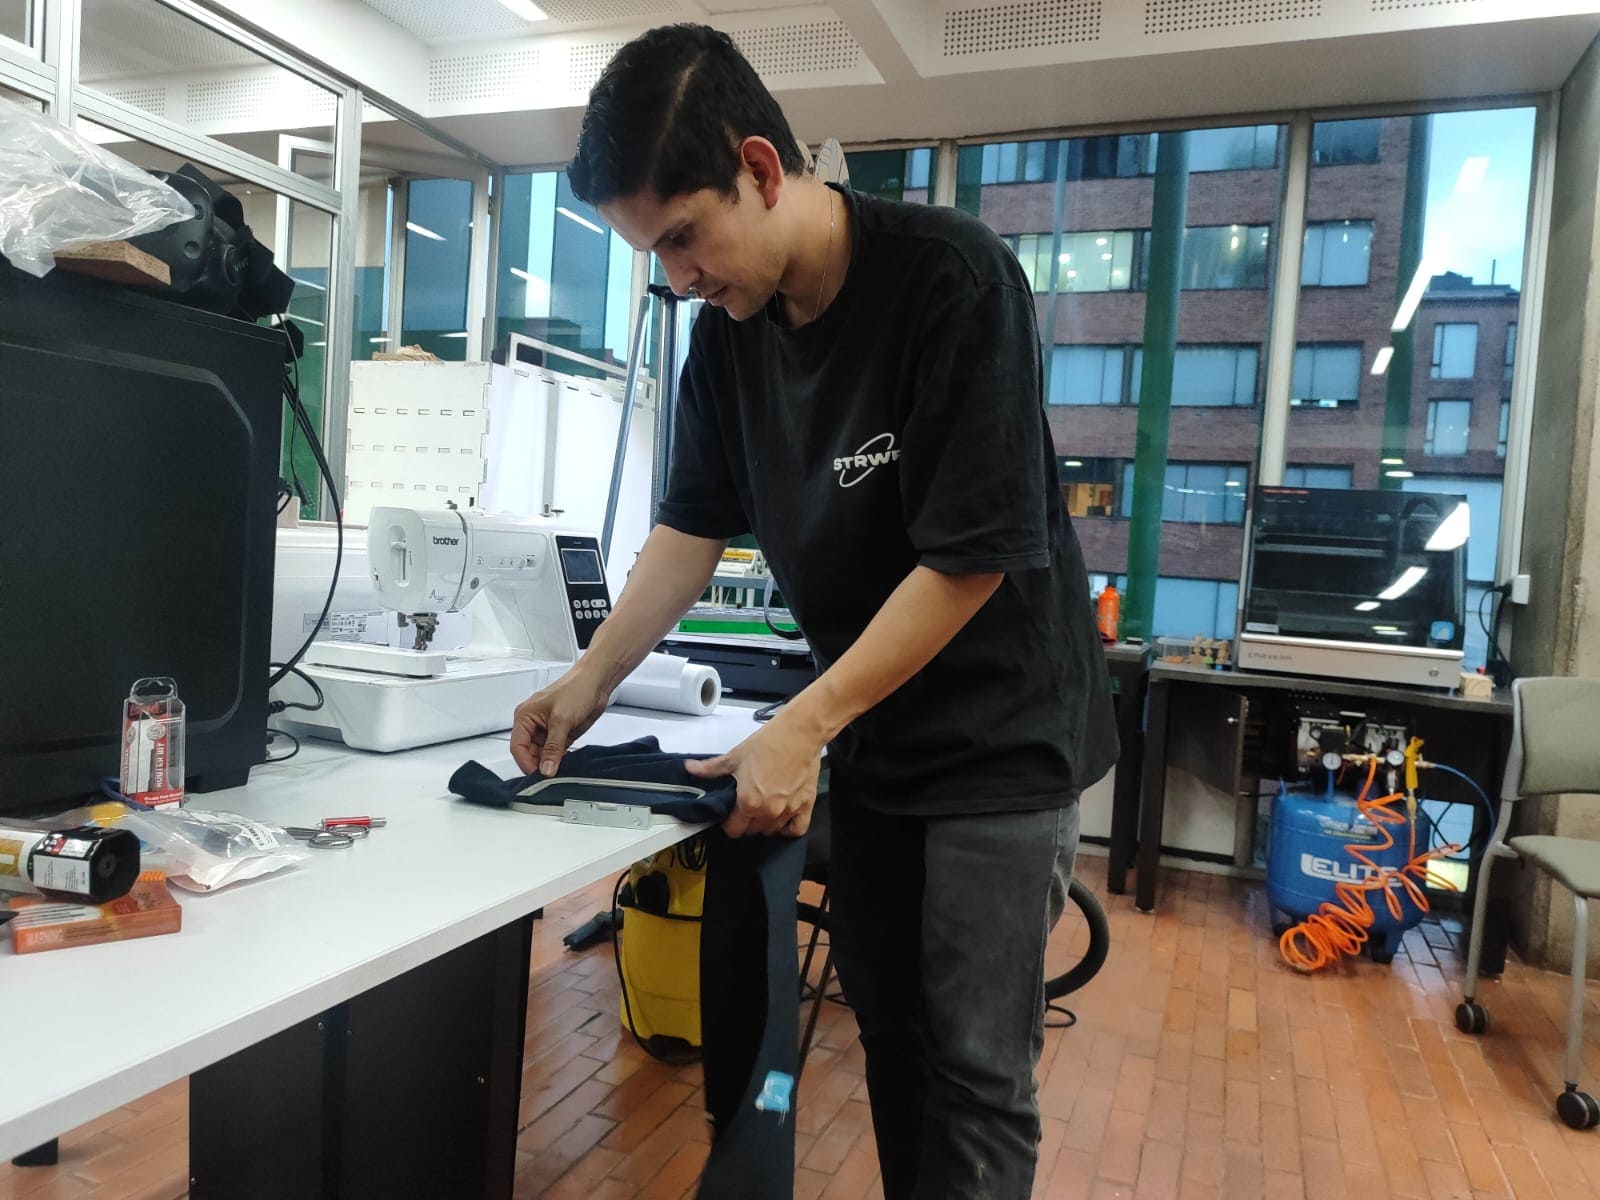
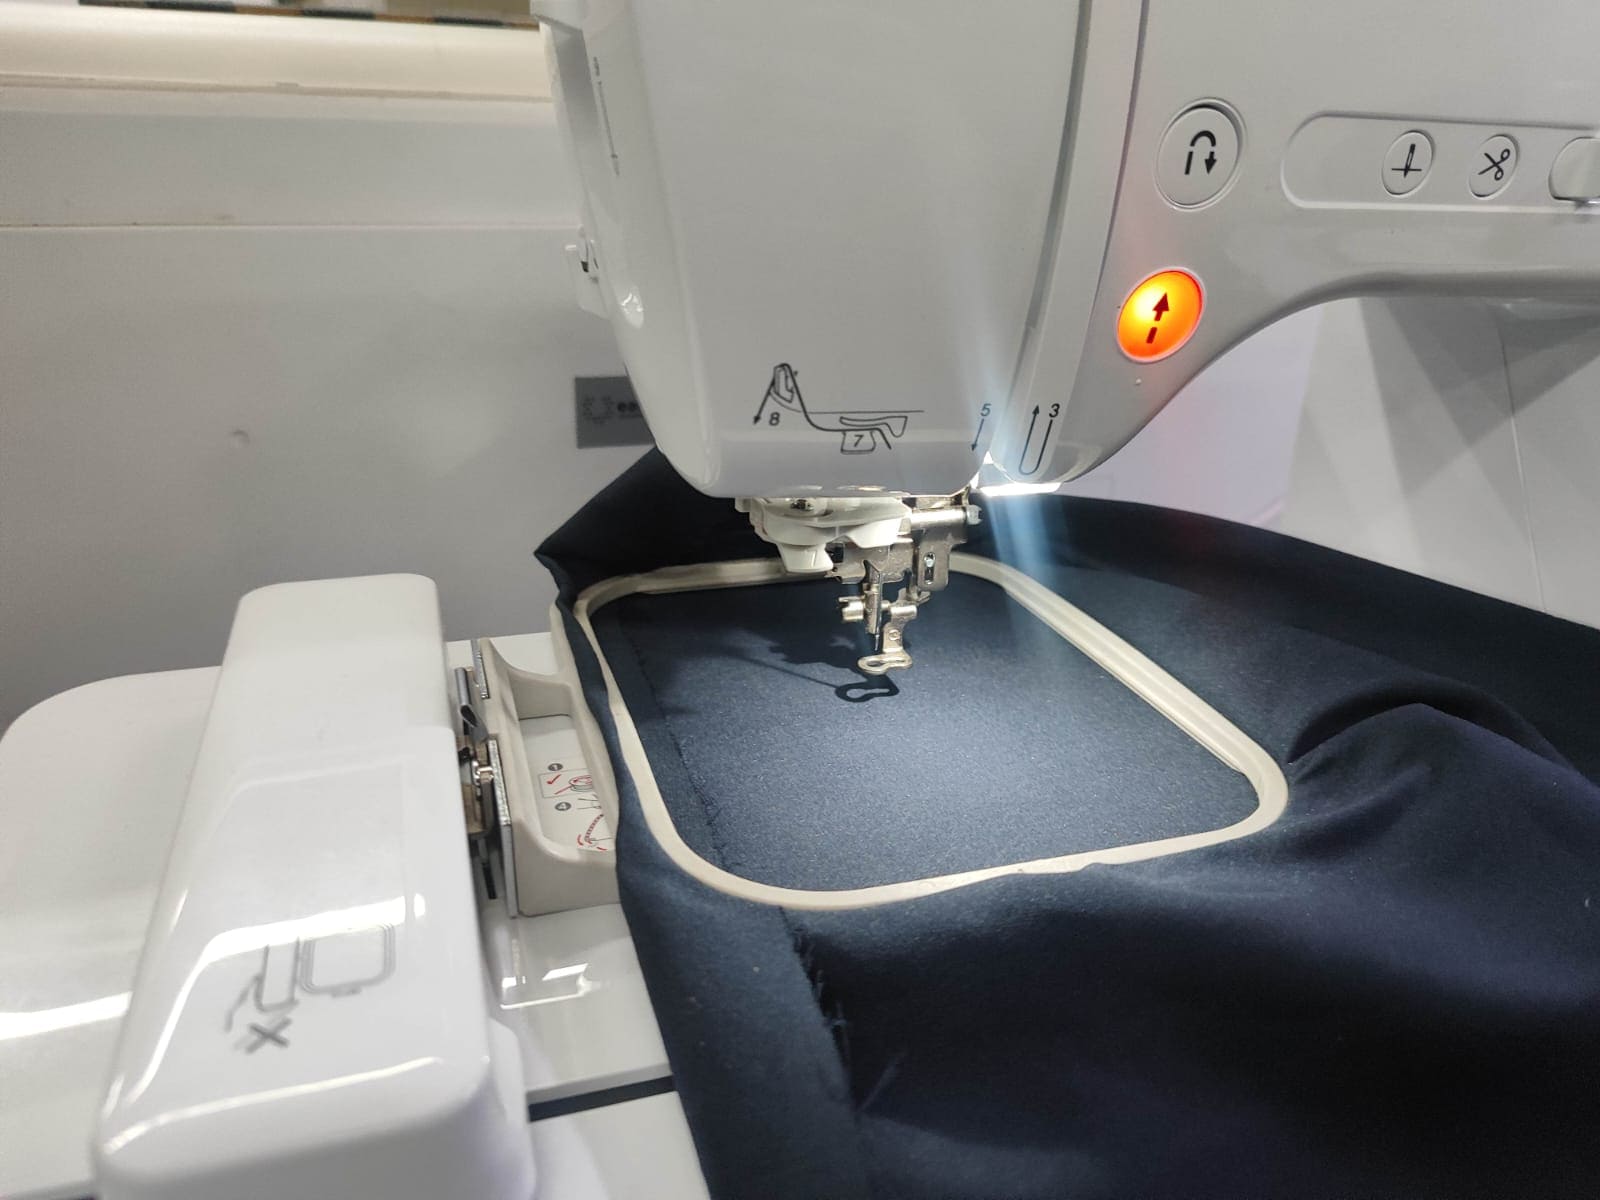
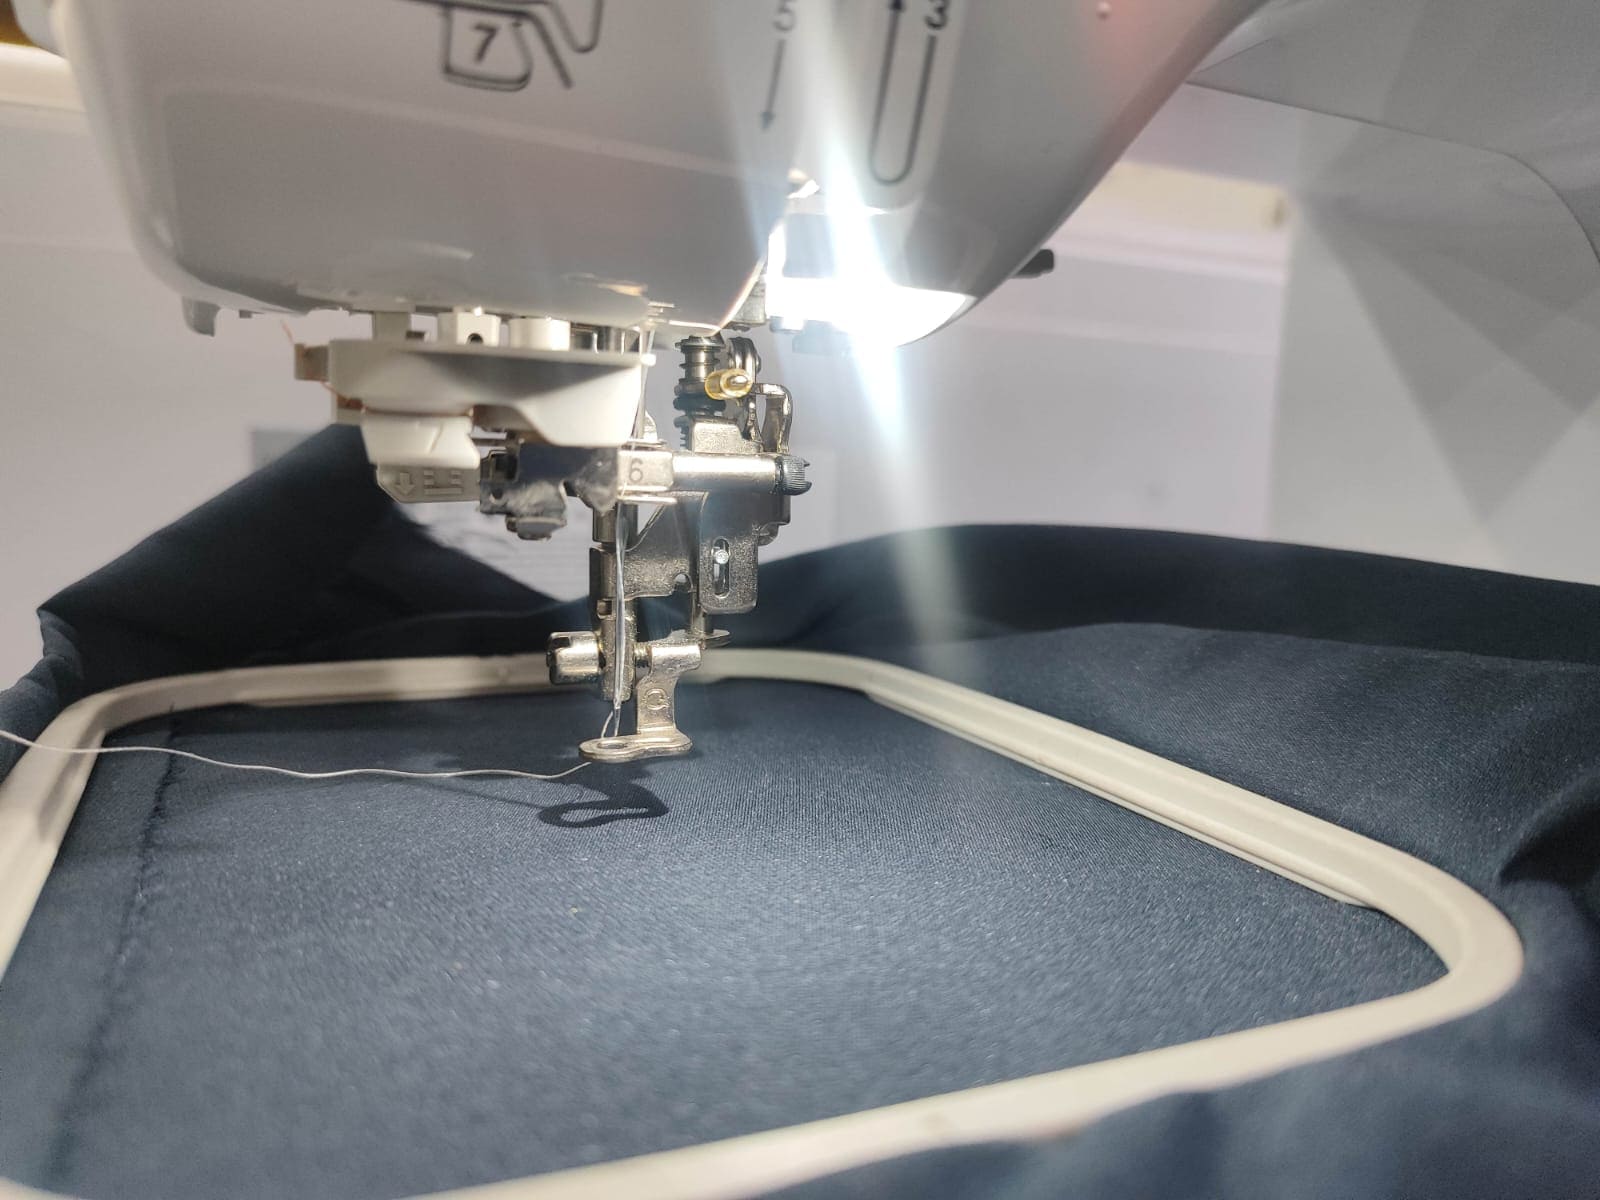
Step 8: Stabilize and Mount the Fabric
I chose to use antifluid fabric for this test because I’m planning to create a jacket with this material. It’s a thin, synthetic fabric often used in clothing and uniforms due to its water-resistant properties. However, working with antifluid fabric has its challenges — it’s delicate, slippery, and can stretch or deform under the needle. Based on my previous experience with textiles and embroidery, I knew that stitching directly on this type of fabric would produce poor results: the design could shift, pucker, or even damage the material. That’s why I decided to use a thick stabilizer (interfacing) underneath, to keep the fabric firm and avoid distortions during embroidery. This choice helped reduce errors and allowed the machine to produce cleaner and more consistent stitches, even though the result still had some flaws.
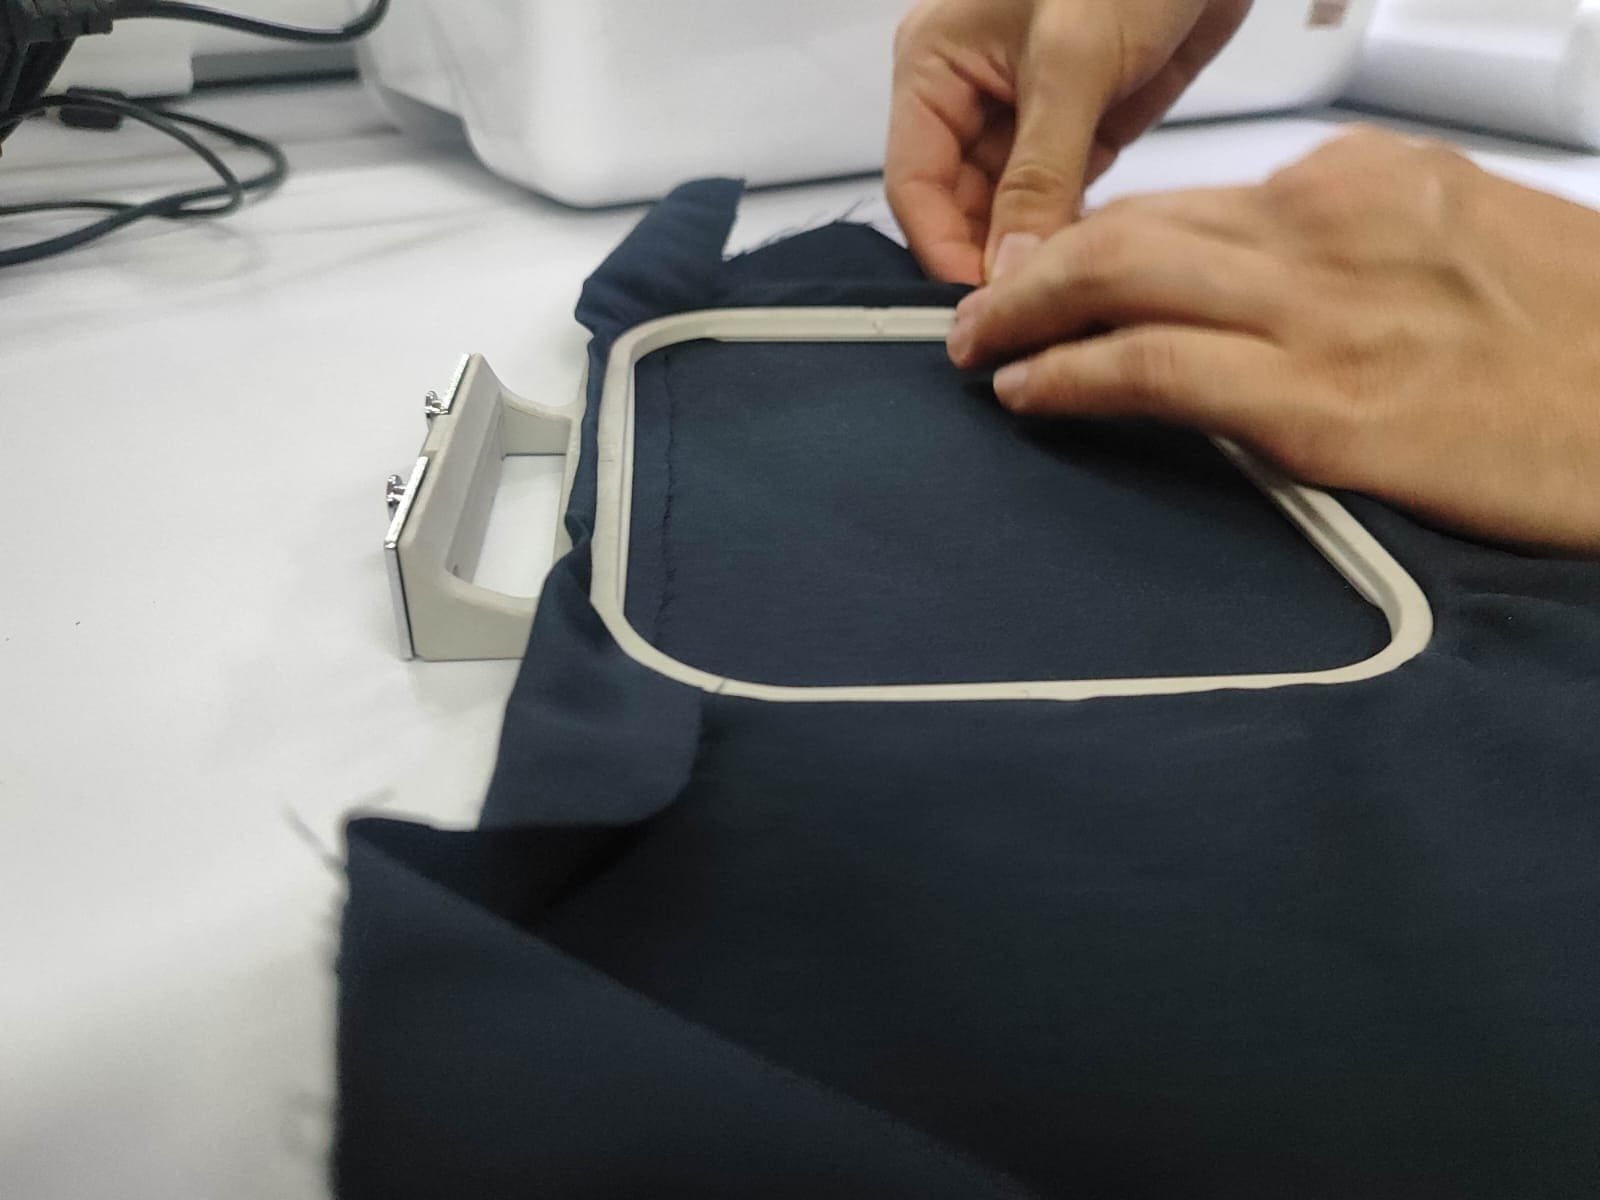
For thin or elastic fabrics, use a stabilizer (also known as interfacing or "interlón"). Cut it to match the size of your fabric plus 2–3 cm extra on each side. Layer it beneath your fabric, place both in the hoop, and tighten it until the material is stretched without wrinkles or slack.
|
|
|
|
|
Tip: If the fabric slips or lacks tension, fold and double the fabric edges or add tape to increase grip inside the hoop.
Step 9: Wind the Bobbin and Thread Preparation
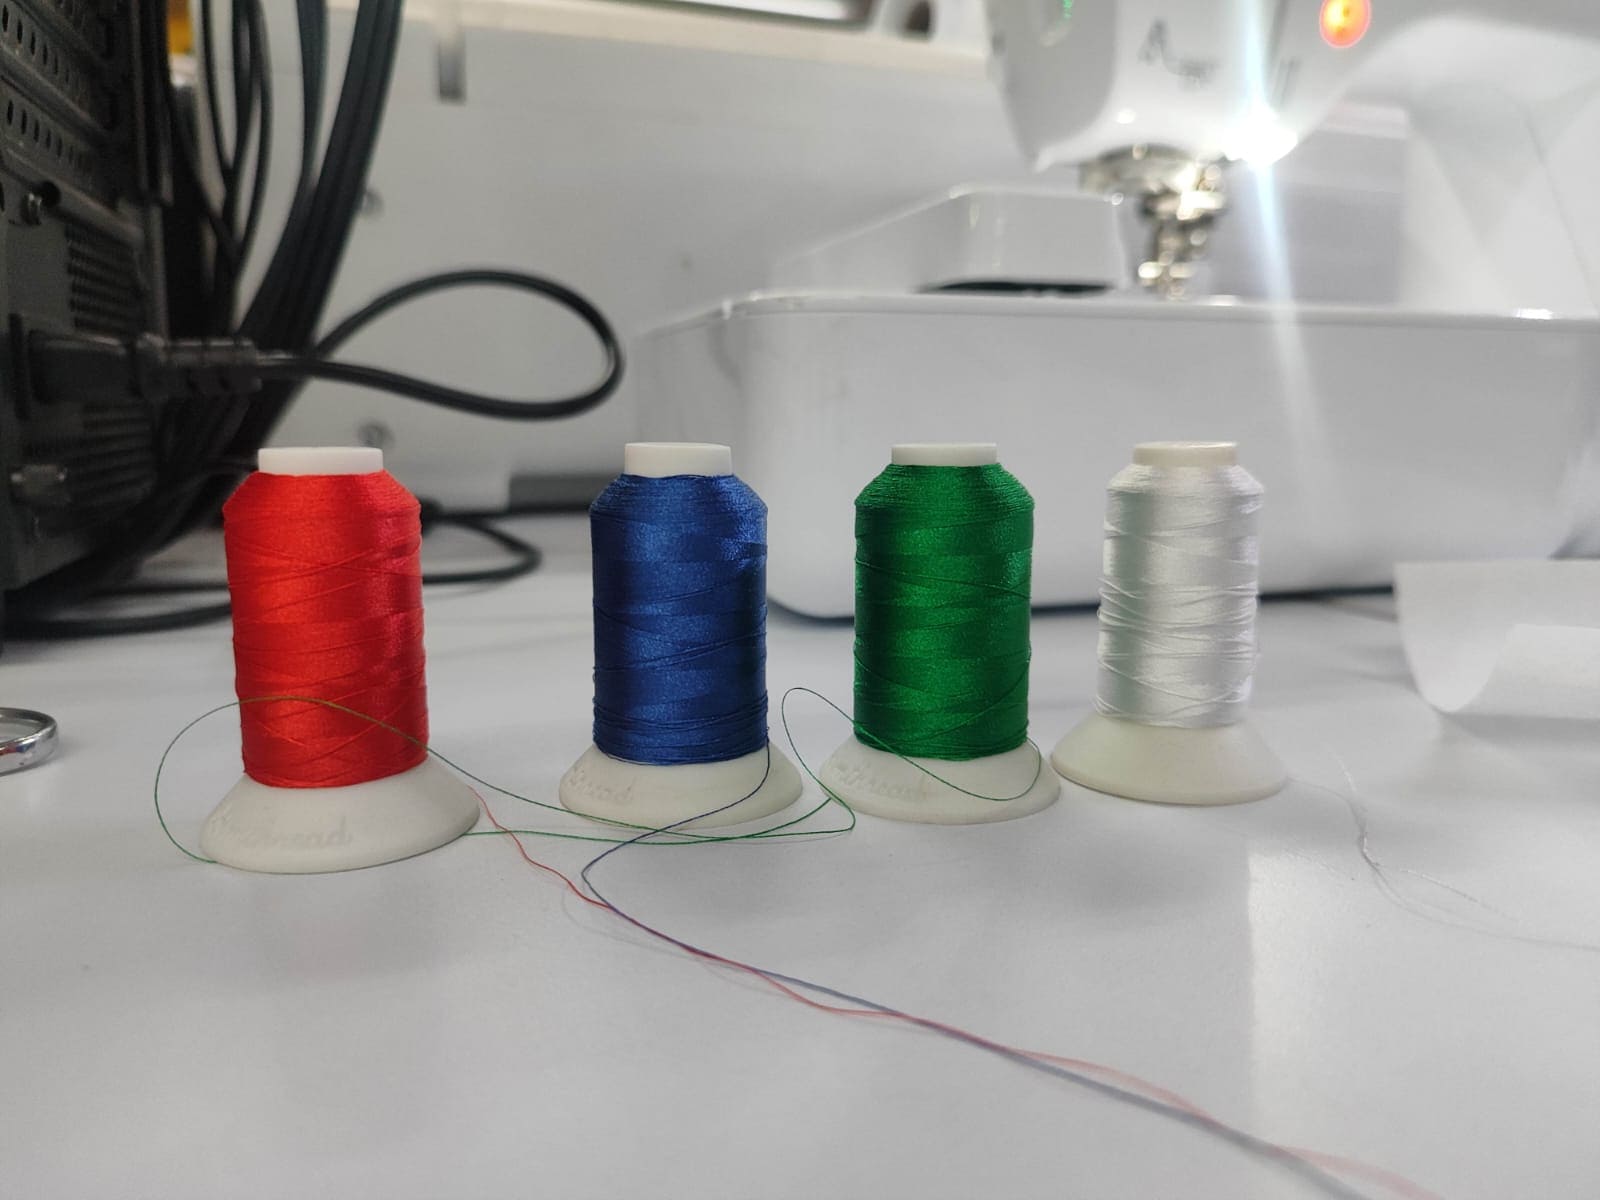
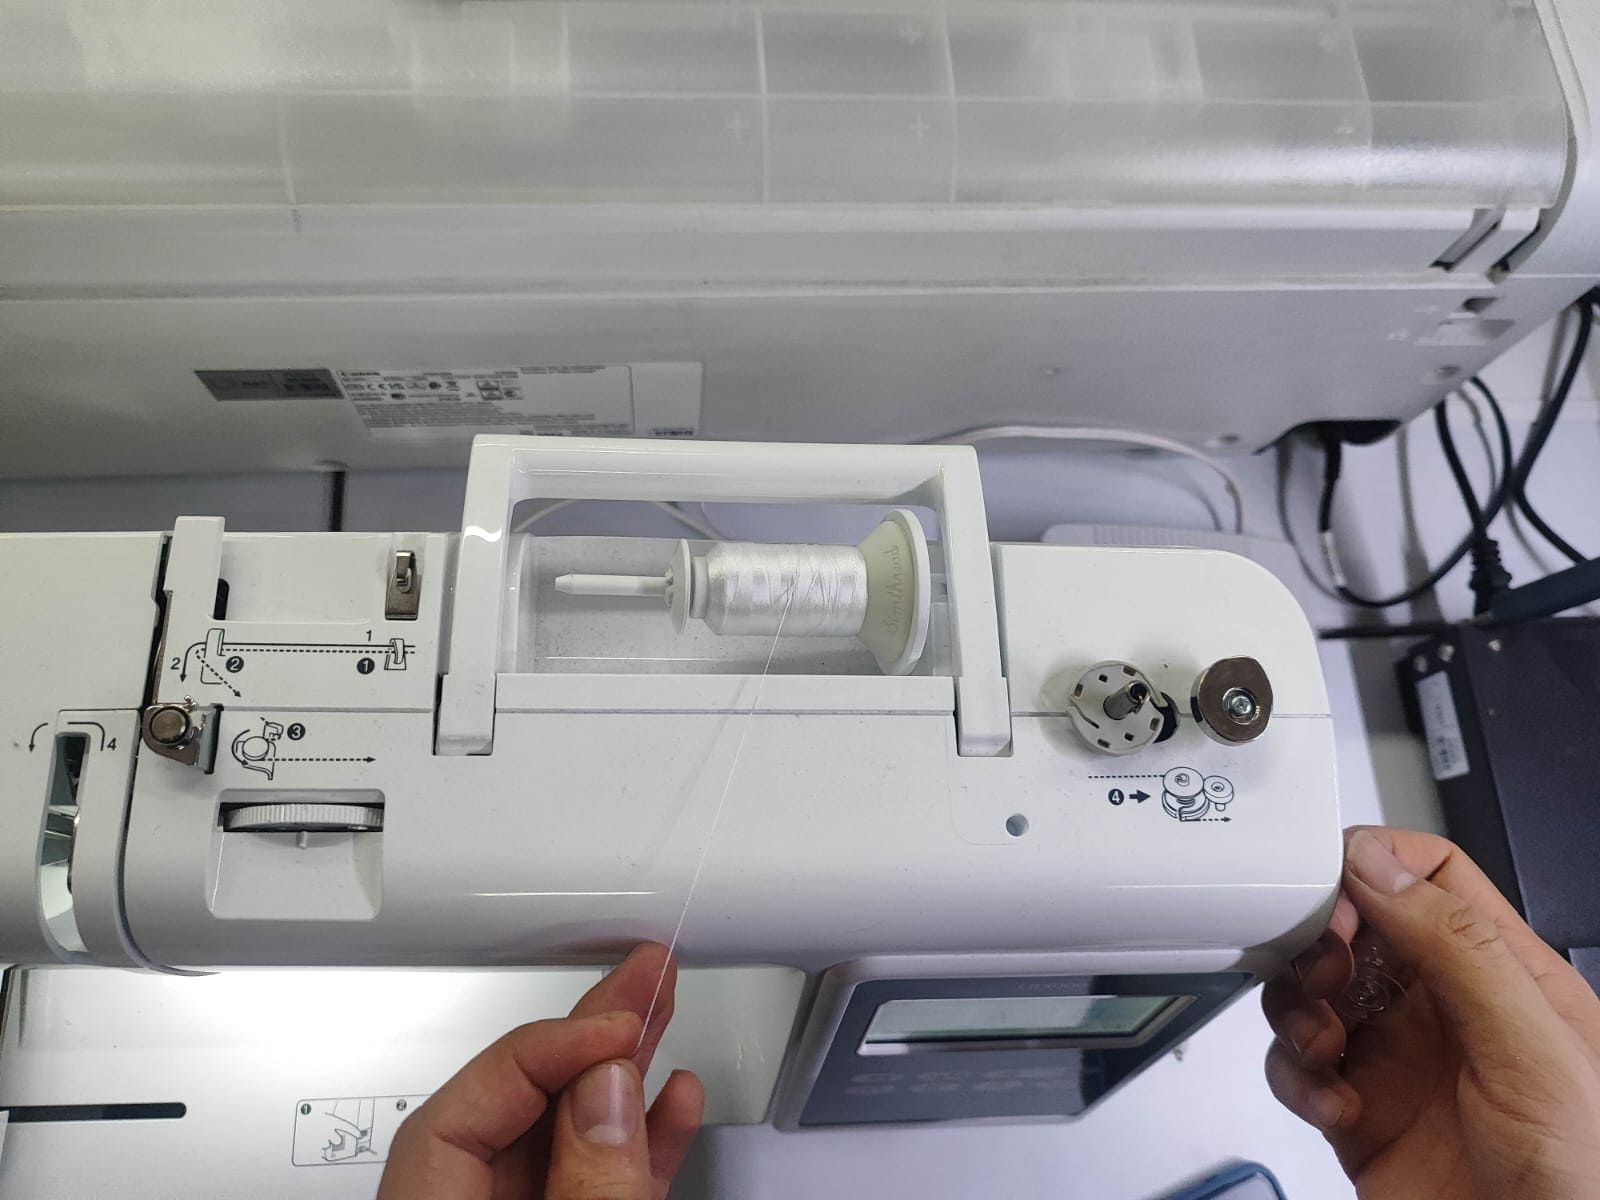
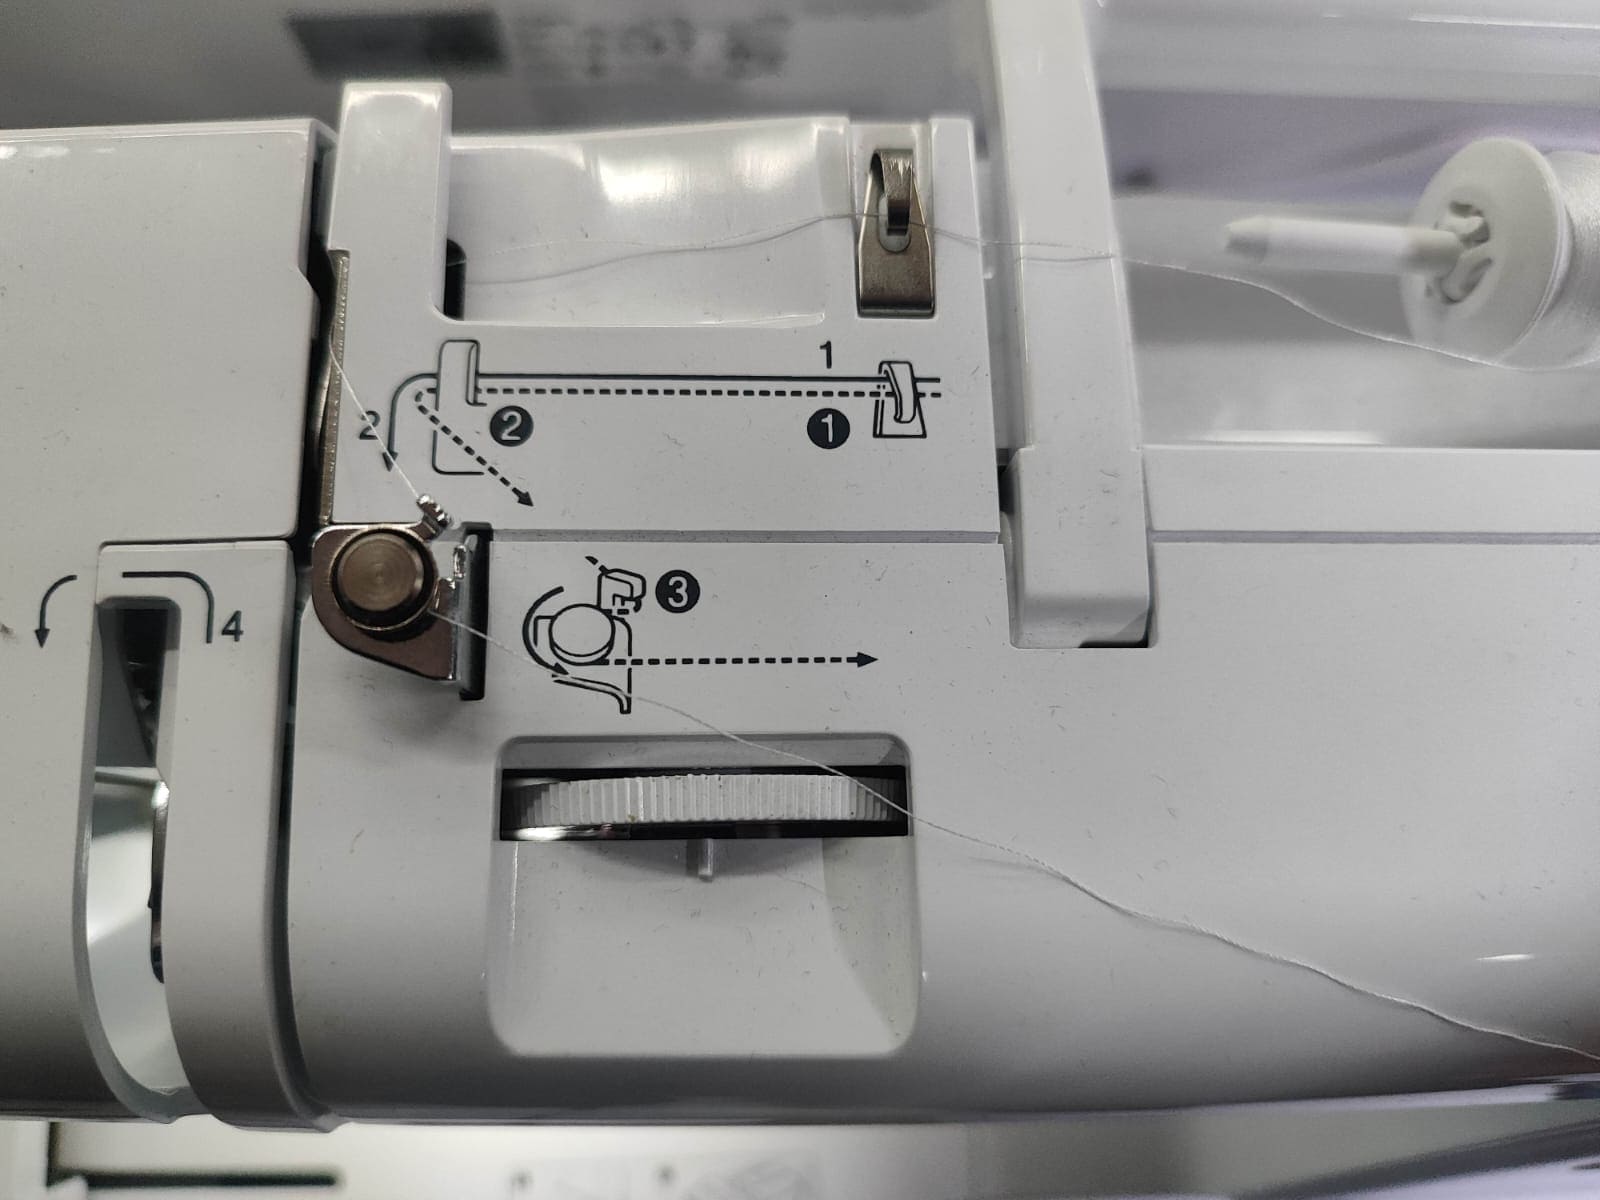
Thread colors required for this design: White, Blue, Green, and Red. Begin by placing a bobbin thread (usually white) into the machine’s winding system. Follow the path diagram on top of the machine to wind it automatically.
Once the bobbin is filled, insert it into the lower compartment. Then, install your top thread (color #1) by following the illustrated guide on the machine to route it through tension discs and down to the needle.
|
|
|
|
|

|
|
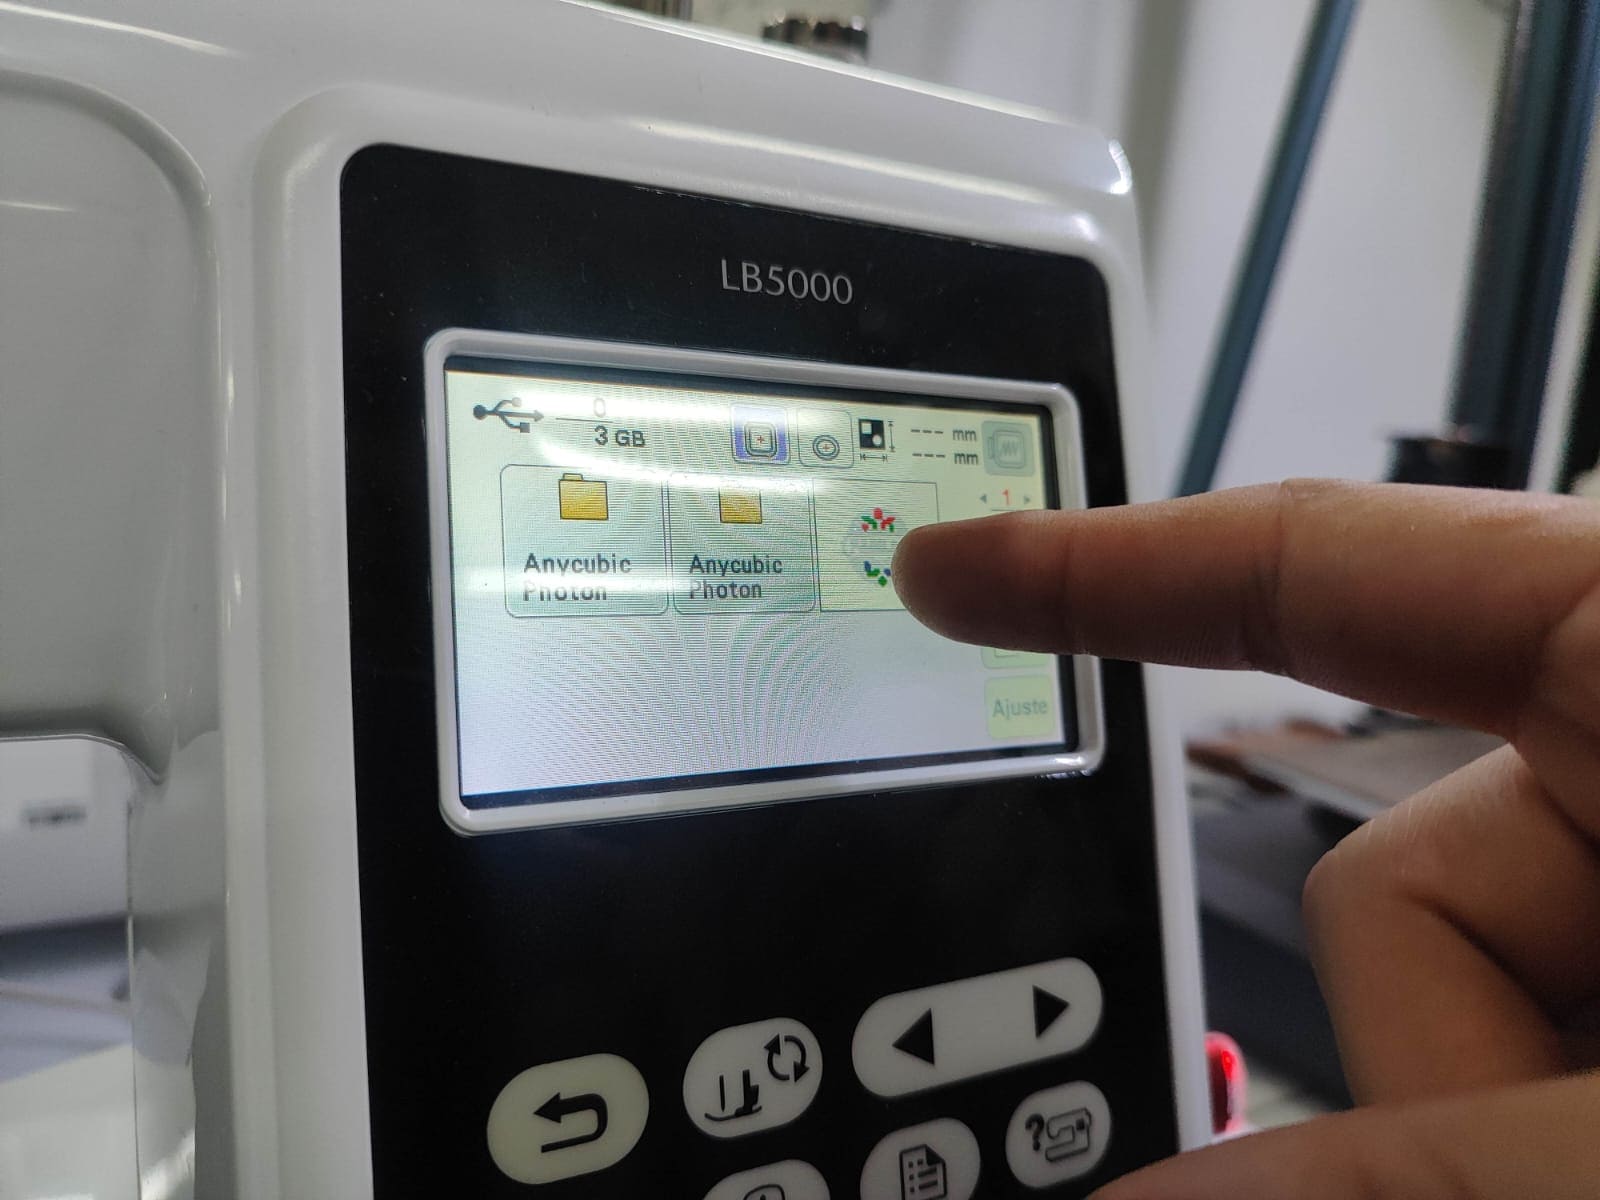
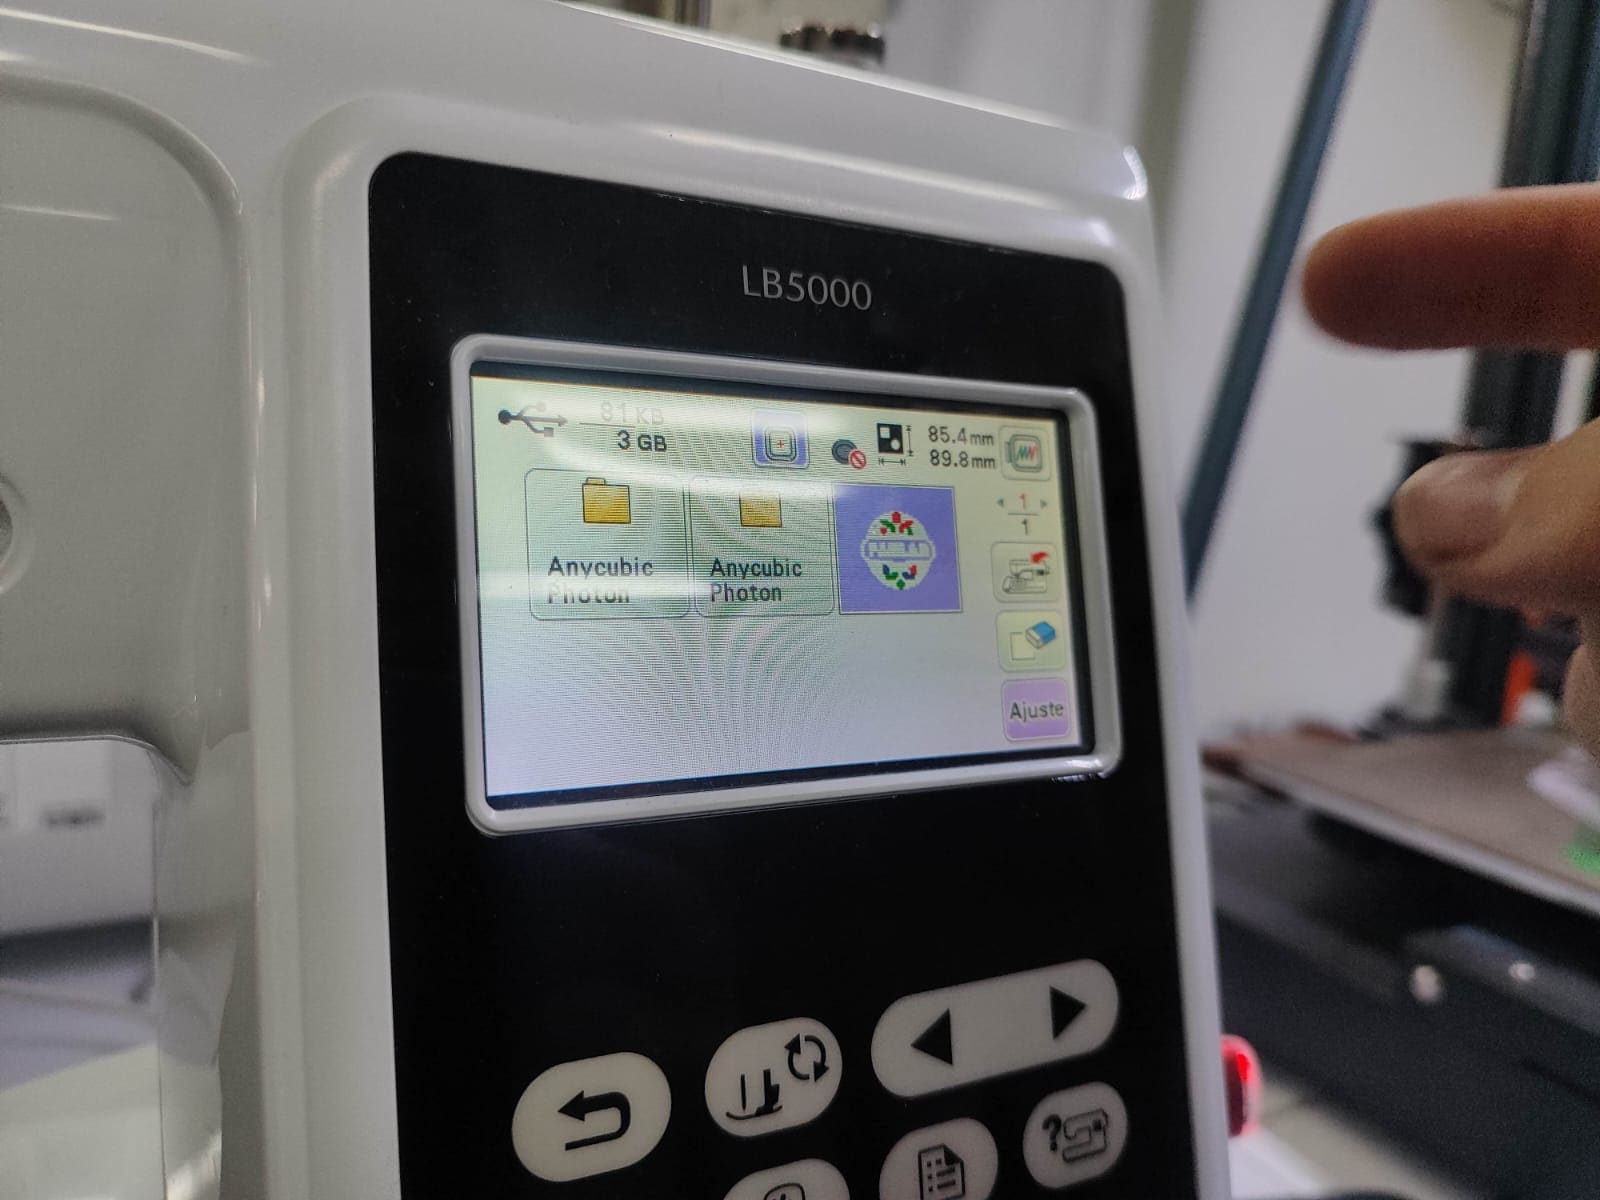
Step 10: Load the File and Start
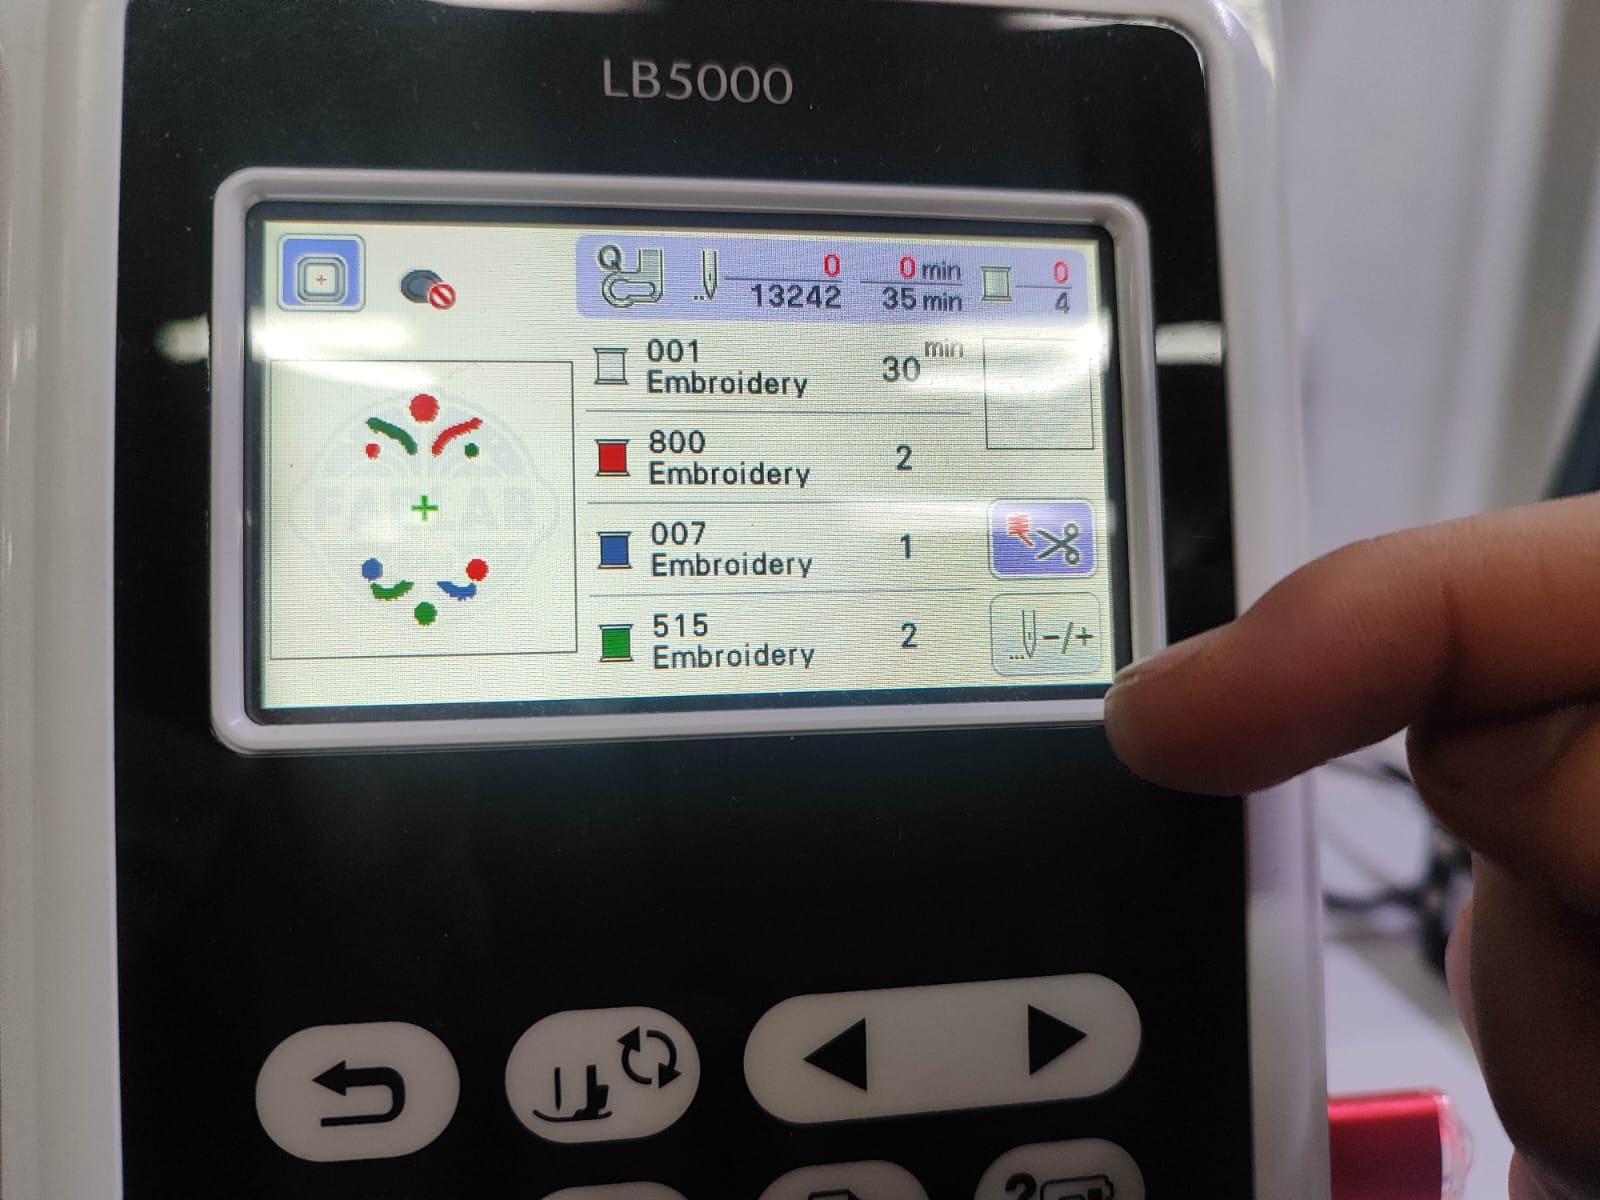
Insert the USB drive into the side port. Select your design from the interface. The machine will show:
- Total stitching time
- Estimated thread changes
- Real-time preview of the design
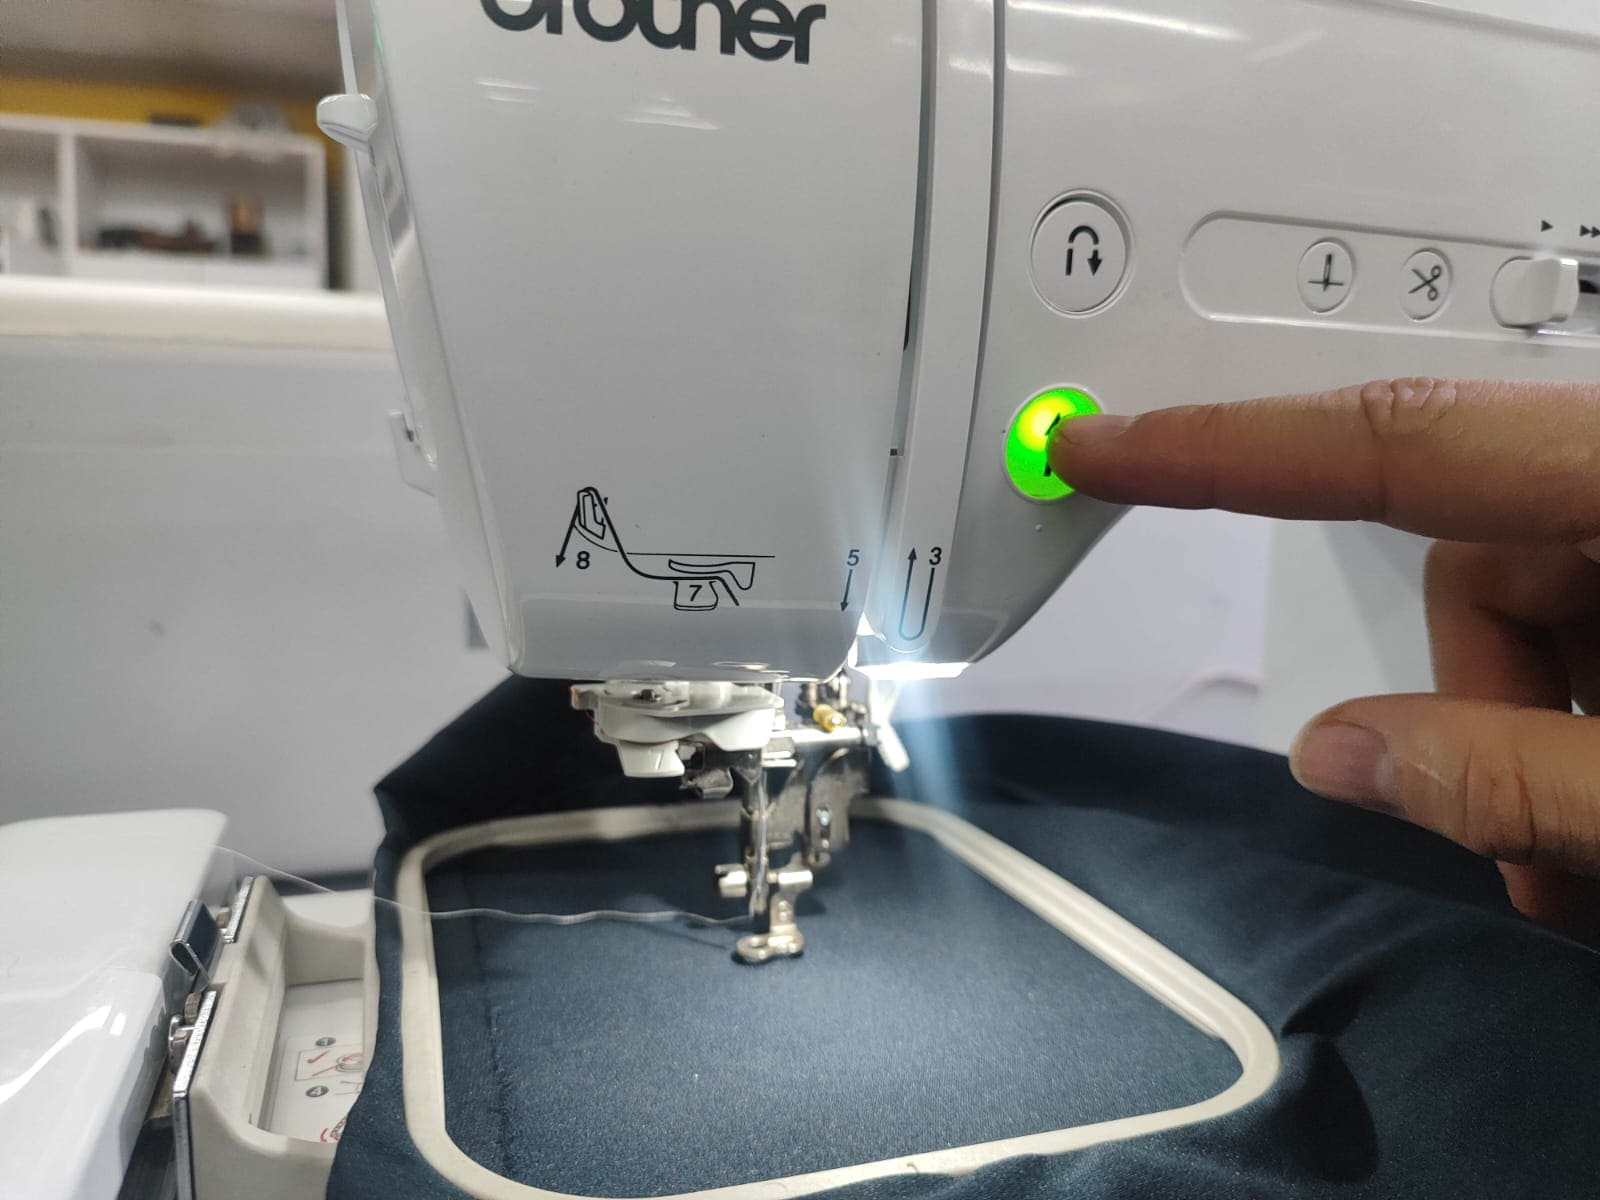
Once you confirm everything is correct, press the green start button to begin the embroidery. Monitor the machine as it works, especially when it pauses to prompt for thread changes.
|
|
|
|
Step 11: Thread Changes and Monitoring
After completing each color, the machine stops and prompts you to switch the thread. Cut the previous color, replace it with the next one, and press start again. This step is repeated until all colors are stitched.
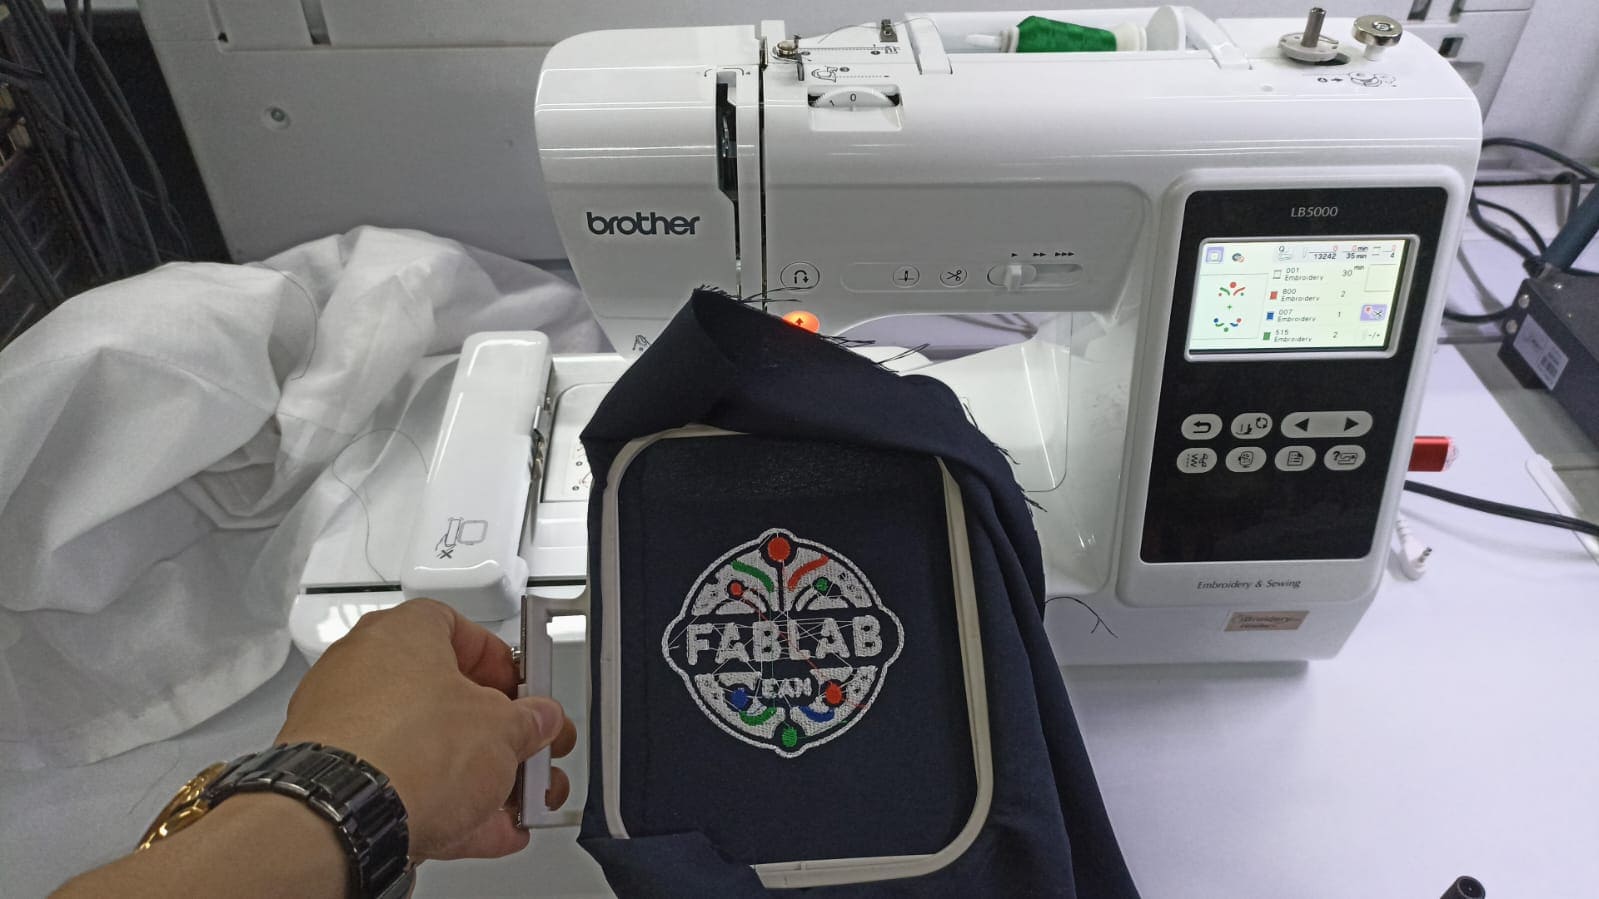
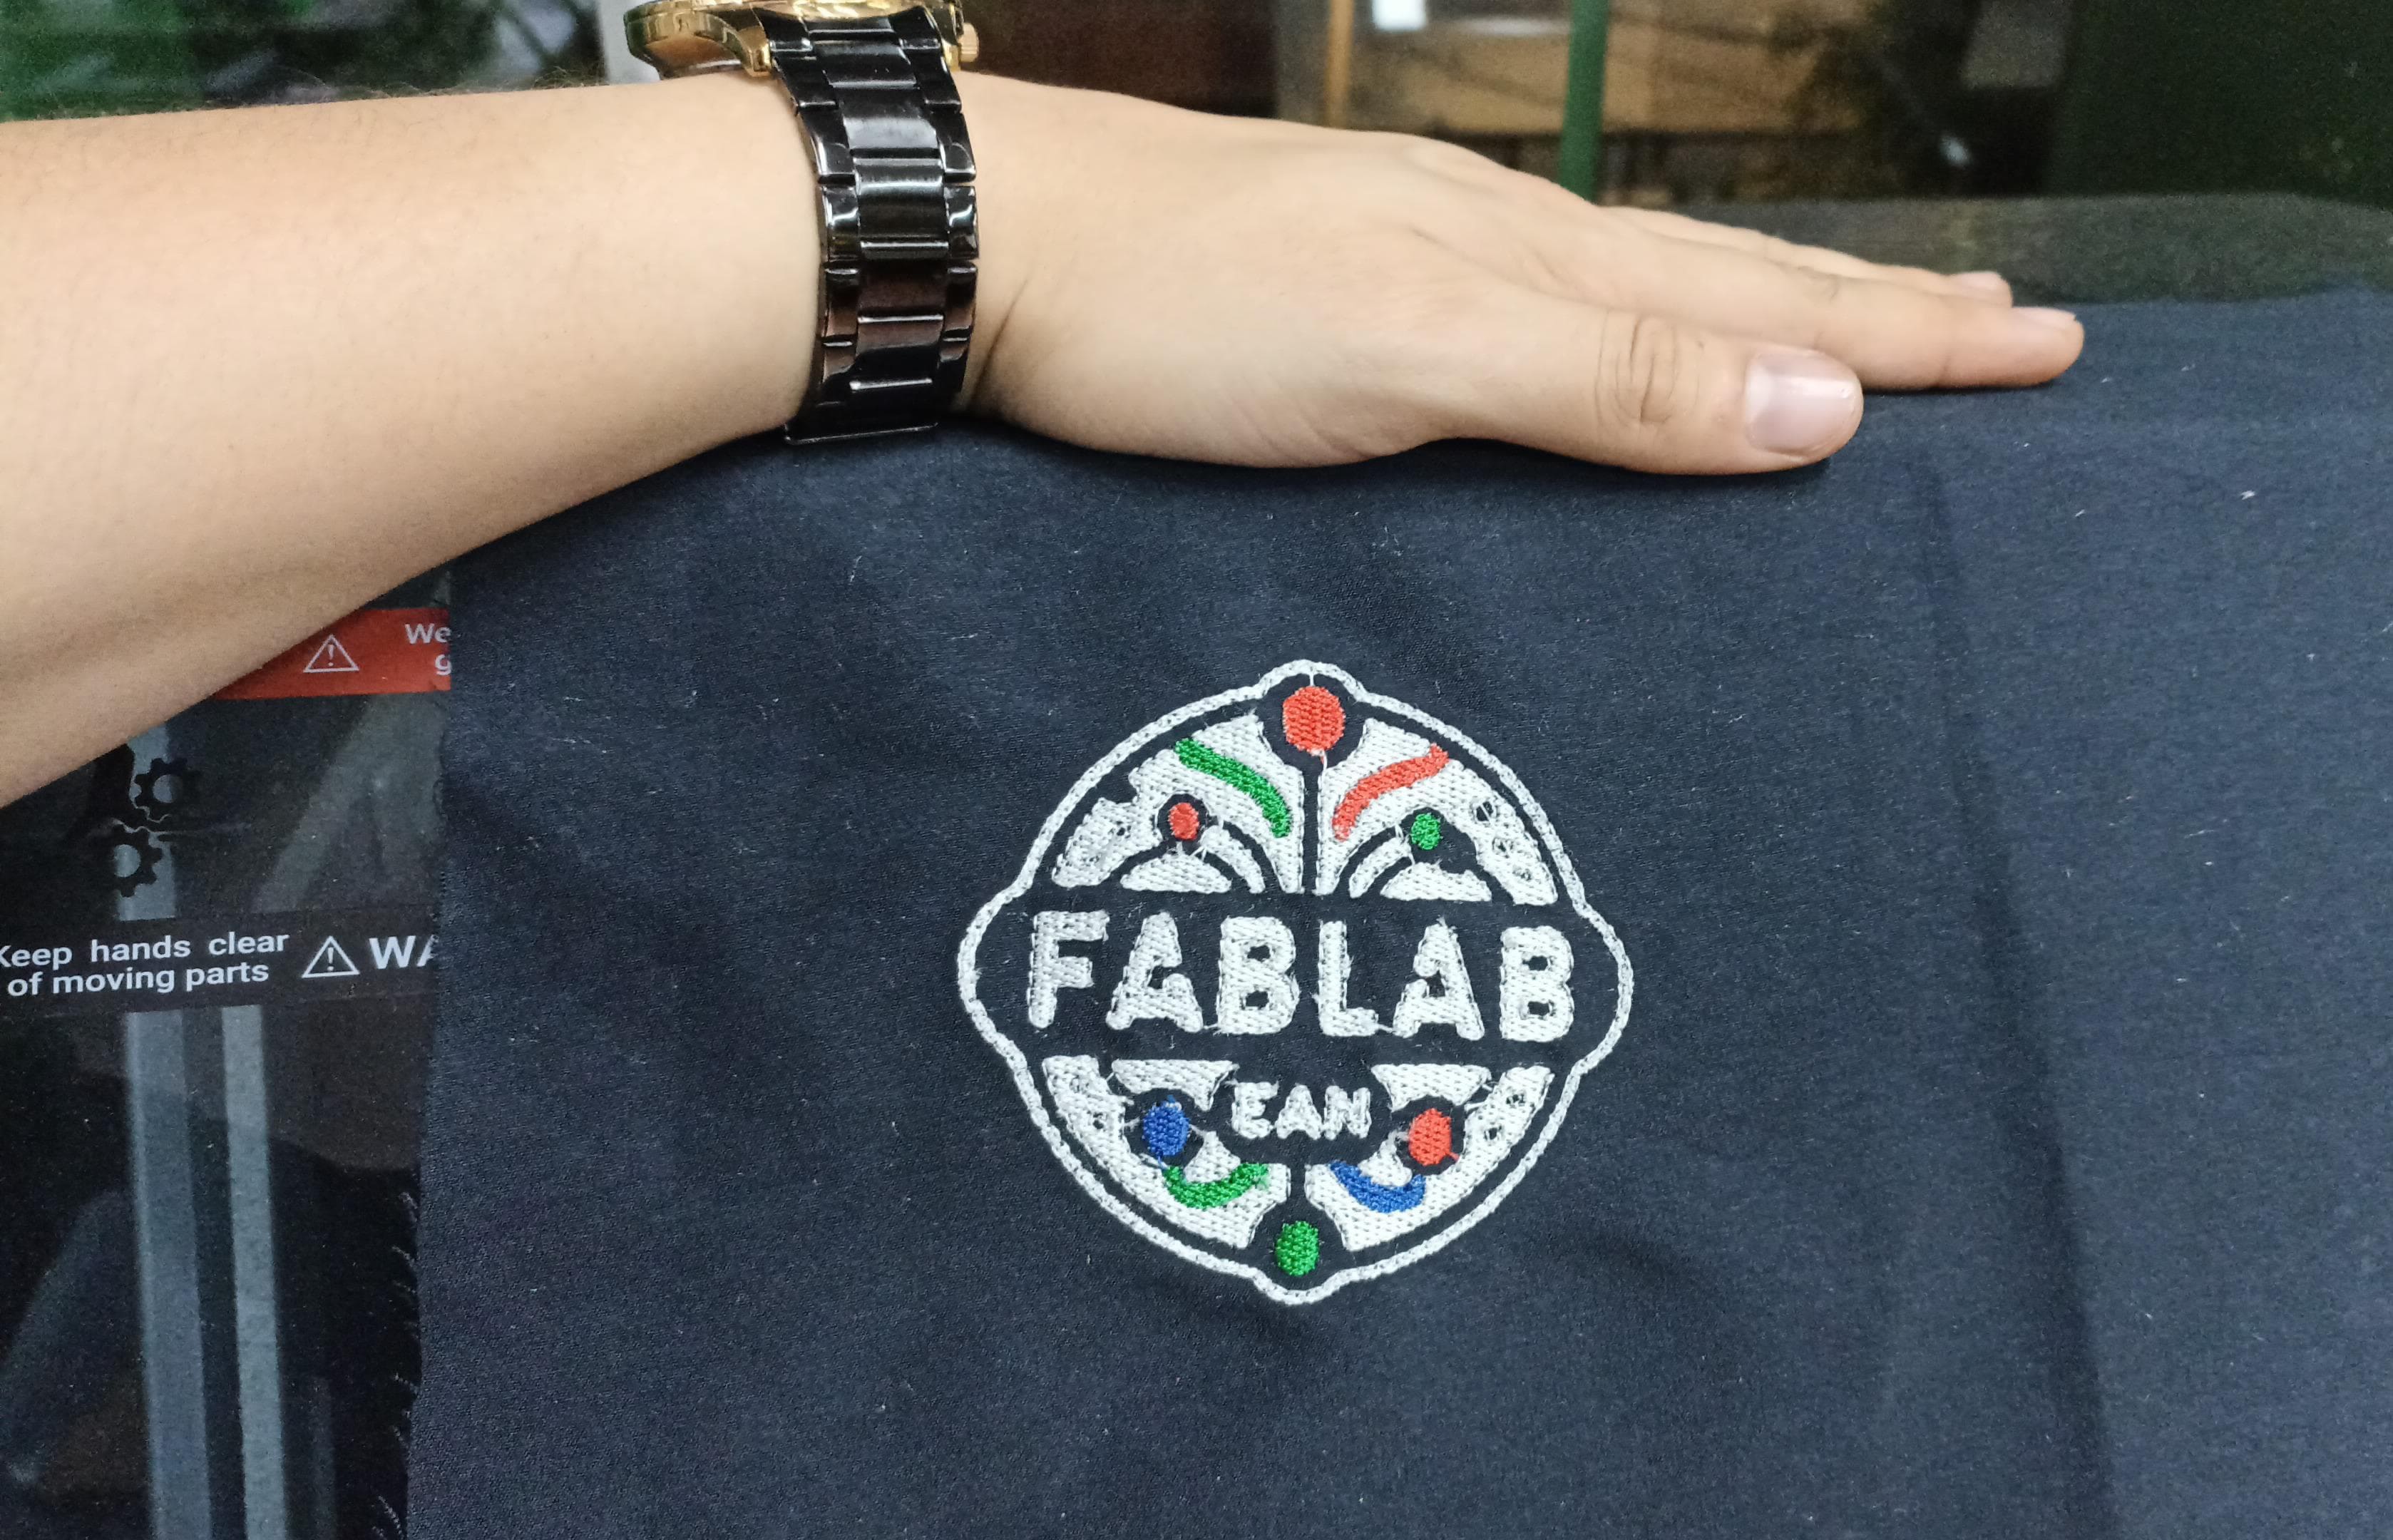
Step 12: Finishing the Process
Once the design is complete, remove the hoop carefully. Trim excess threads on both sides and cut away the stabilizer backing. Inspect the embroidery for alignment or tension errors. Your piece is now finished and ready for use.
|

|
|
Conclusions and Reflections
This embroidery assignment allowed me to explore a different realm of digital
fabrication, combining vector design with textile art. I learned how important it is to
maintain organization and structure in digital files when working with hardware that
translates those designs into stitches. Each software step—from preparing layers in
Inkscape to simulating in Ink/Stitch—impacts the final result.
One of the biggest lessons was the necessity of patience and accuracy, especially when
preparing the machine. Simple mistakes, like improper thread tension or fabric slippage,
can compromise hours of work. Moreover, understanding how each stitch behaves on
different materials helped me appreciate the subtleties of embroidery.
In my case, the final embroidery didn’t come out perfect. The stitches were slightly
misaligned,
and some areas lacked definition. This was likely due to how I configured the design in
Ink/Stitch
and the properties of the antifluid fabric. I realized that better stitch calibration,
like adjusting
the density or order of stitches, could improve the quality a lot. Also, using more
stable fabrics like
cotton or thicker synthetic materials would give more professional results.
Despite the imperfections, I’m happy with the experiment and how it connects digital
fabrication with
my personal and family background. I now see embroidery as not just a creative outlet,
but also a potential
tool for wearable tech, branding, or even storytelling through fabric.