Assignments
Principles and Practices (part 1 of 2):
-Plan and sketch a potential
final project
Project Management (part 2 of 2)
-Read, sign (add your name to) the student agreement and commit it to your repo.
-Work through a git tutorial.
-Build a personal website in the class archive describing yourself and your final
project. Refer to the lecture material for examples.
-Upload parts 1 and 2, to the class archive.
Week 1. Principles and Practices, Project Management
Fab Academy Student Agreement
Jhonatan Estiven Cortes Ceron - Fab Academy Student
The Fab Academy is responsible for:
- Teaching principles and practices of digital fabrication
- Arranging lectures, recitations, meetings, and events for the class
- Evaluating and providing feedback on student work
- Offering clear standards for completing assignments
- Certifying and archiving student progress
- Supervising class preparation
- Reviewing prospective students, instructors, and labs
- Providing central staff and infrastructure for students, instructors, and
labs
- Fund-raising for costs not covered by student tuition
- Managing and reporting on the program's finances, results, and impacts
- Publicizing the program
- Promoting a respectful environment free of harassment and
discrimination
- Encouraging a diverse, accessible, and equitable community
I am a Fab Academy student, responsible for:
- Attending class lectures and participating in reviews
- Developing and documenting projects assigned to introduce and demonstrate
skills
- Allowing the Fab Academy to share my work (with attribution) in the class
for purposes compatible with its mission
- Honestly reporting on my work, and appropriately attributing the work of
others (both human and machine)
- Working safely
- Leaving workspaces in the same (or better) condition than I found them
- Participating in the upkeep of my lab
- Ensuring that my tuition for local and central class costs is covered
- Following locally applicable health and safety guidance
- Promoting a respectful environment free of harassment and discrimination
Signed by committing this file in my repository,
Jhonatan Estiven Cortes Ceron
Project Description: IoT Security Device (FabSafe)
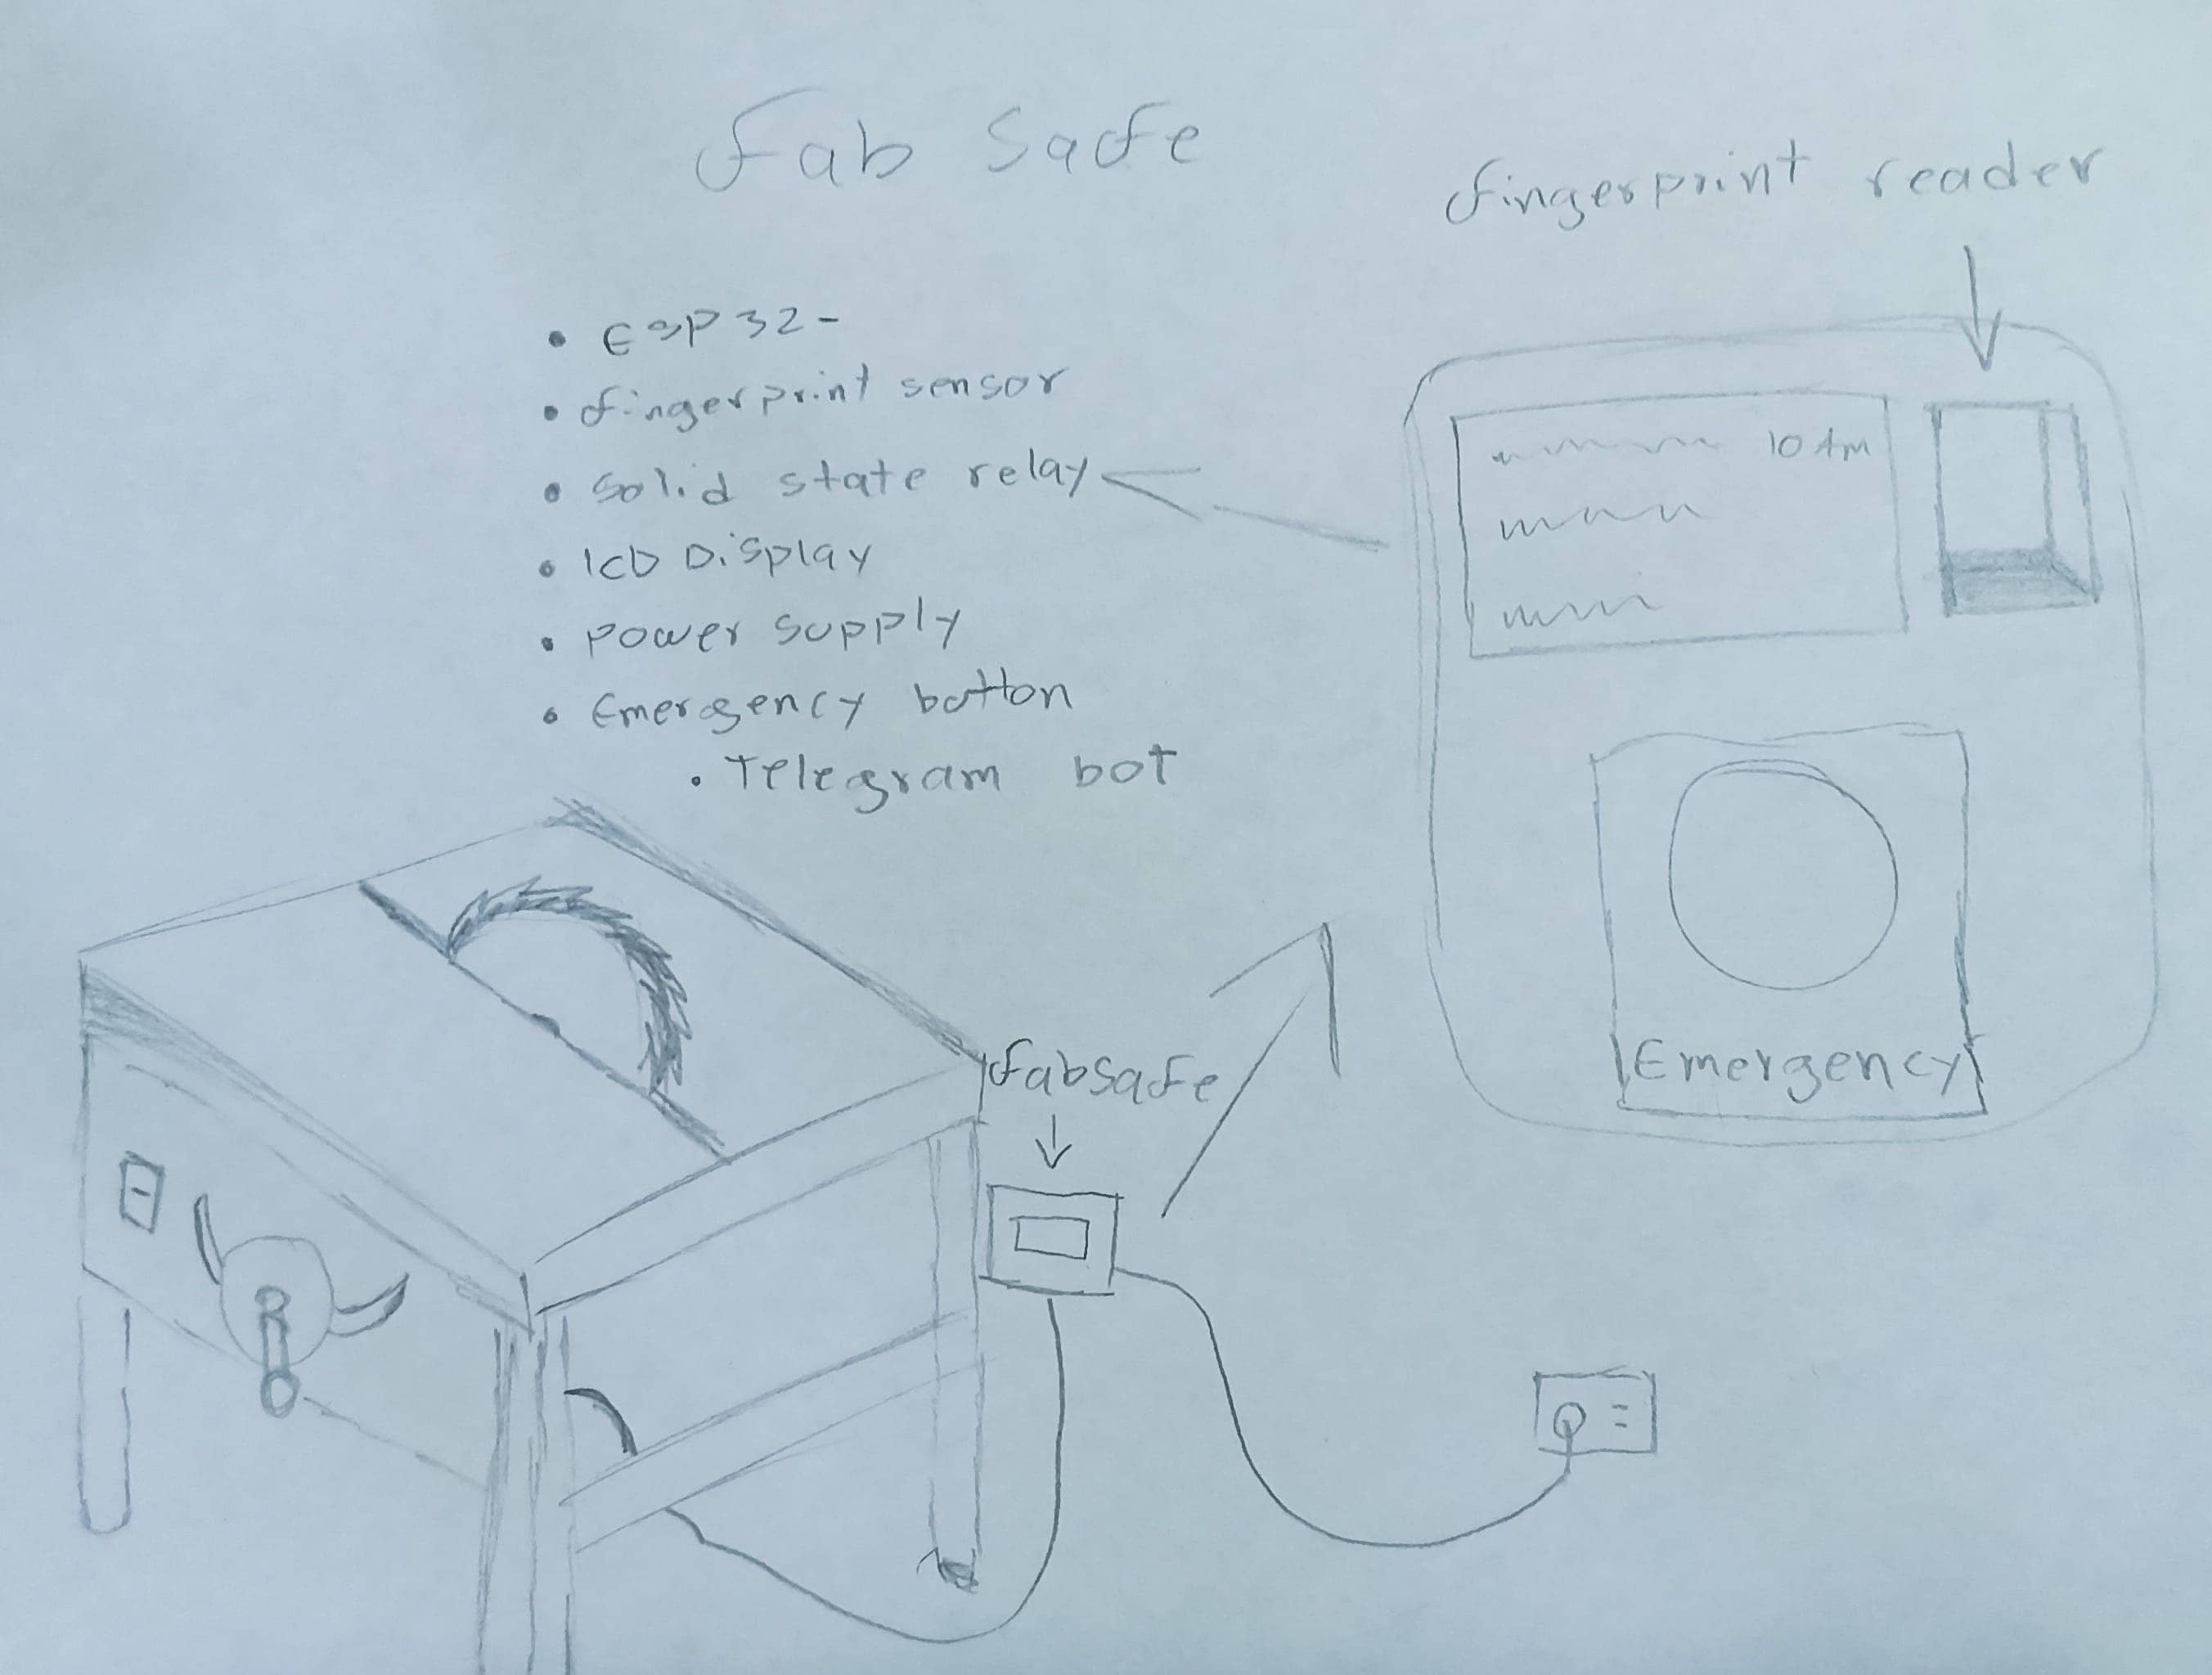
What is it?
The project consists of an IoT security device designed to block the activation of dangerous machinery in a FabLab. It only allows access through fingerprint recognition or an administrator command sent via interface. This device reduces accident risks by preventing unauthorized personnel from operating equipment. It additionally requires periodic confirmations to ensure machines aren't left unsupervised, and includes a notification system that alerts administrators when machines are activated, enabling real-time control and emergency lockdown capabilities.
Device Components
- ESP32: Controls the relay system that blocks machine activation
- Relay: Interrupts electrical power to the machine
- LED Display: Shows current system status
- Fingerprint Reader: Enables authorized access
- WiFi Antenna: Enables communication with admin interface
- Buzzer: Emits audible alerts
- Protective Case: Houses all internal components
- Custom PCB: Organizes electrical connections
- Vinyl Signage: Displays proper usage instructions
- Laser-Cut Acrylic Screen Protector: Provides durable display protection
Who Will Use It?
Primarily designed for FabLab administrative and operational staff, the device serves two key purposes:
- Enhances safety by ensuring only trained personnel operate machinery
- Prevents unauthorized activation by any lab visitors
Importance and Benefits
Importance:
- Safety: Reduces risks with dangerous equipment
- Control: Enables effective usage monitoring
- Prevention: Blocks unauthorized access
Benefits:
- Personnel Protection: Ensures only certified operators
- Real-Time Alerts: Instant admin notifications
- User-Friendly: Intuitive fingerprint interface
- Customizable: Adapts to various machines
This project not only improves FabLab safety but sets a new standard for responsible management of hazardous equipment in educational and manufacturing environments.
Website Development Justification
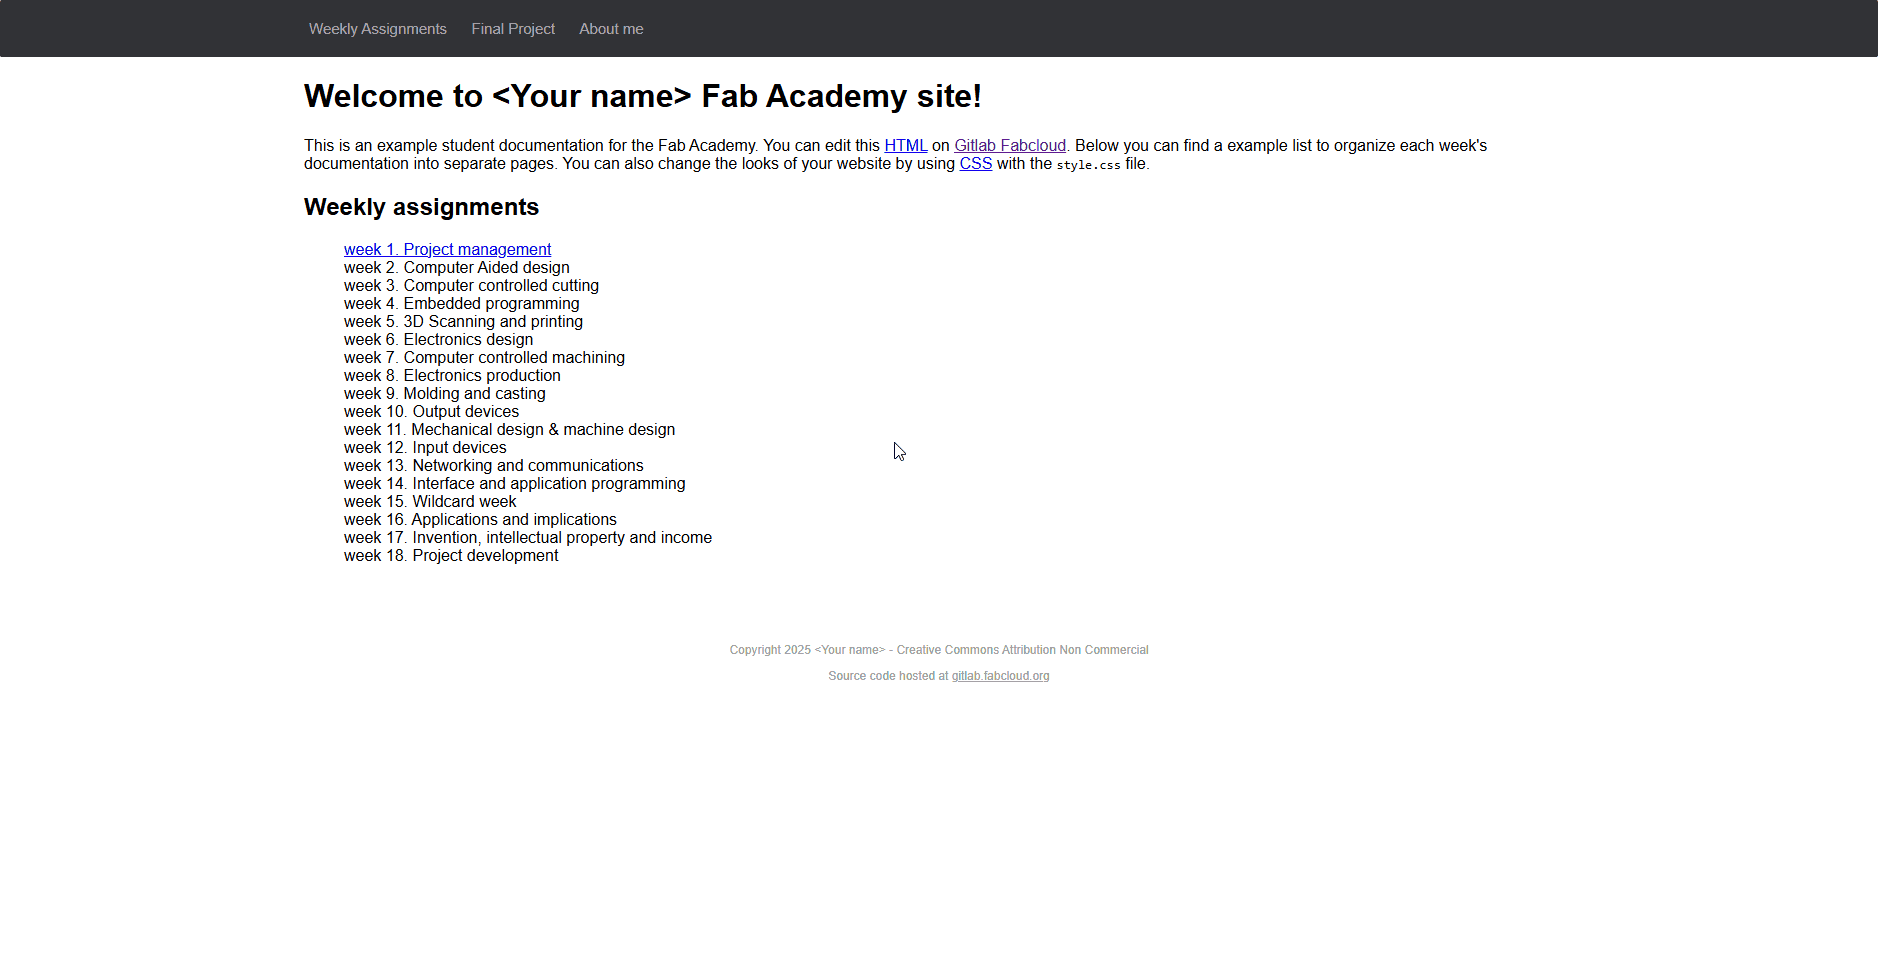
As a Systems Engineer and Developer, I created this website to showcase my weekly progress in the FabAcademy program. Using an HTML template with Bootstrap, CSS, and JavaScript allowed me to accelerate development while maintaining professional standards. My workflow was optimized through Visual Studio Code with preconfigured extensions and code snippets, enabling efficient content updates and version control integration.
Step-by-Step Website Setup Guide
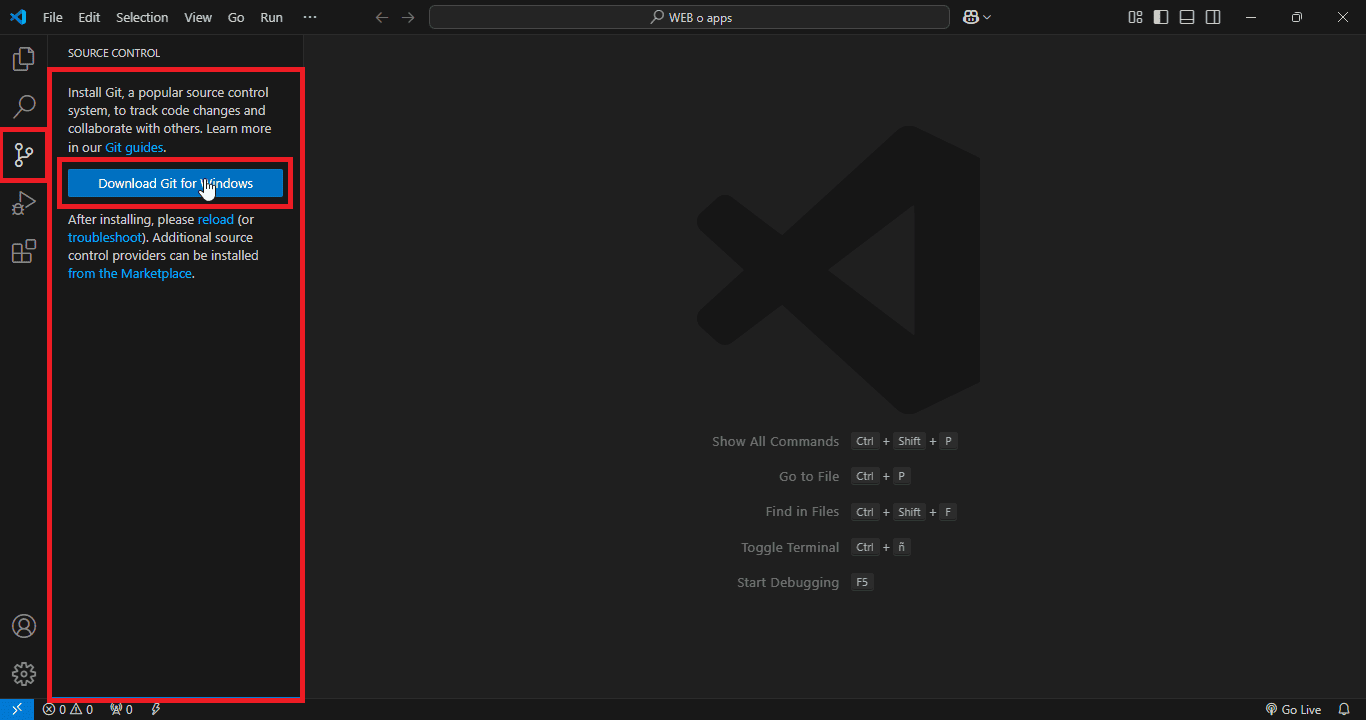
1. Development Environment Setup
Tools: Visual Studio Code (VSCode) as primary editor
Productivity Boosters: Preconfigured code snippets -+nd
extensions
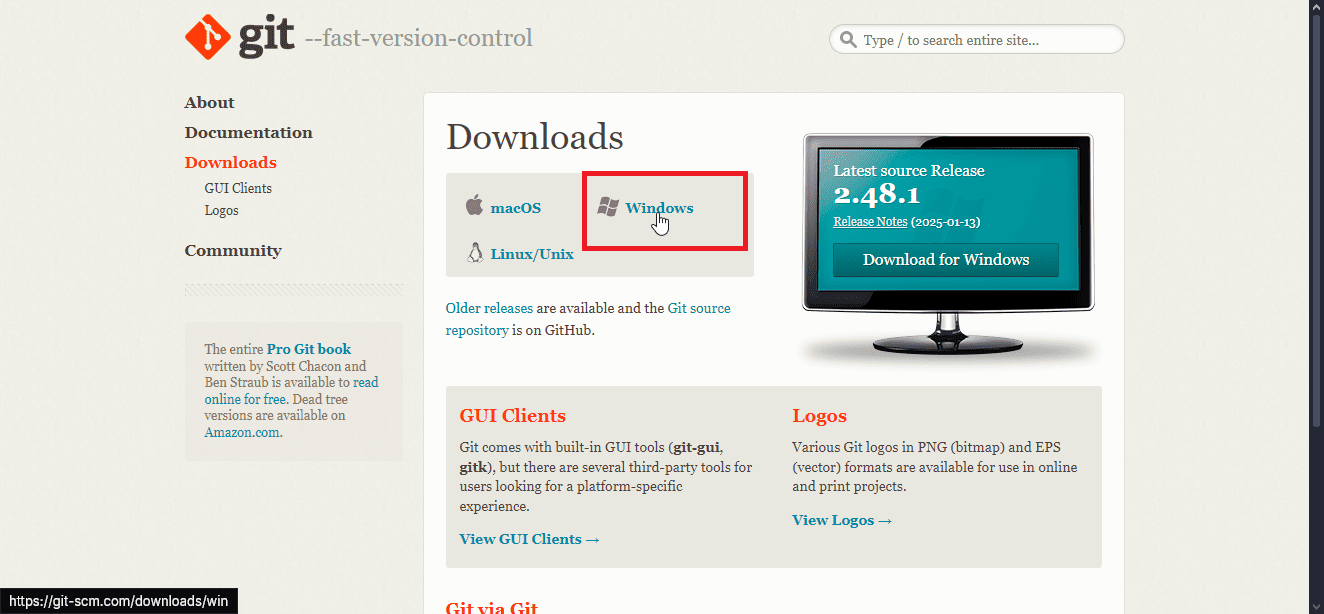
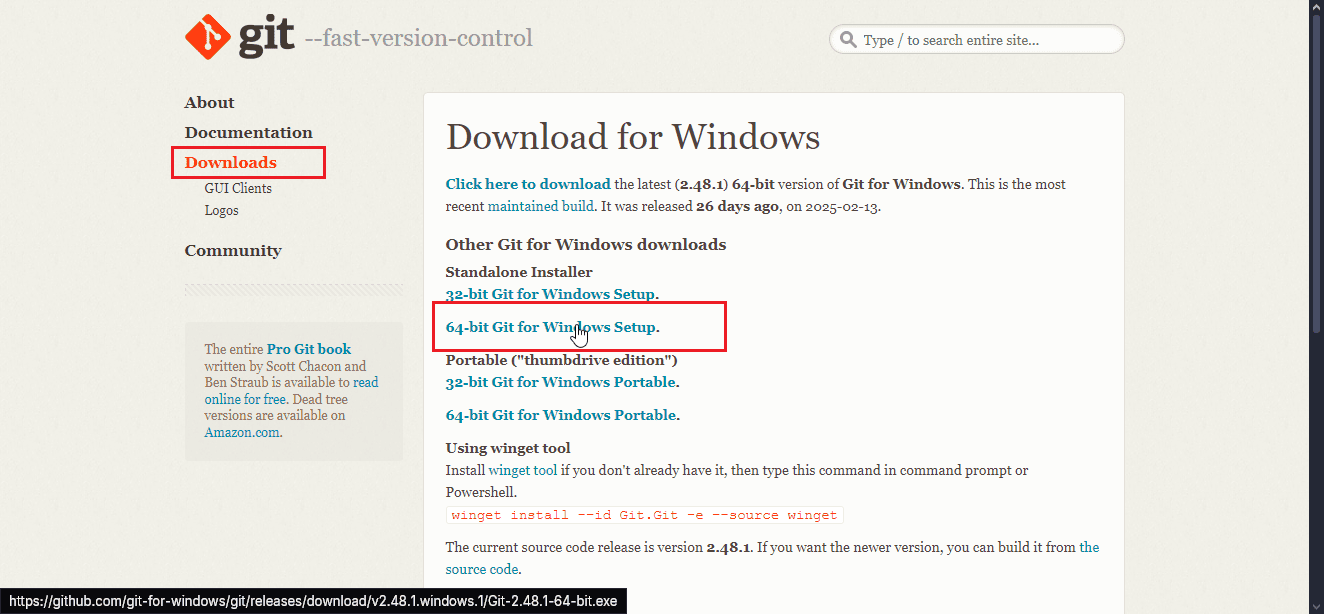
2. Git Installation
- Launch VSCode and navigate to Version Control panel
- Follow prompts to install Git for 64-bit systems
- Complete installation and restart VSCode
|
STEP 1
|
|
STEP 2.1
|
|
STEP 2.2
|
|
STEP 3
|
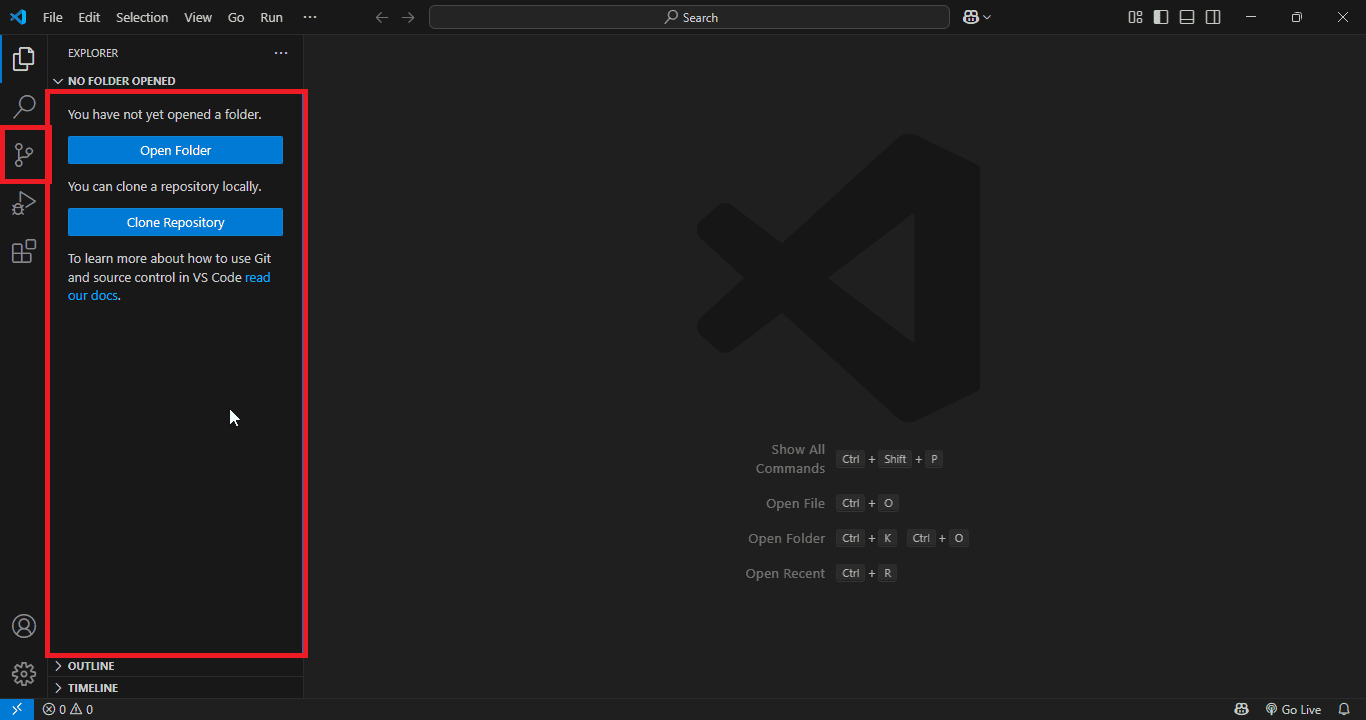
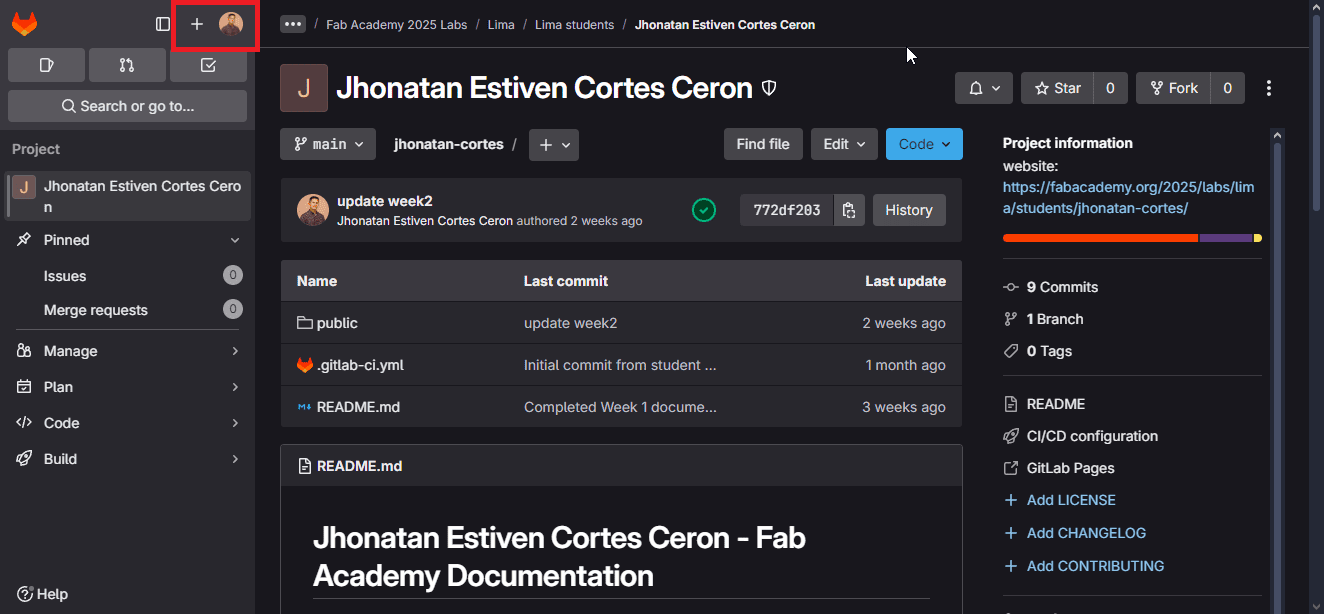
3. Repository Cloning
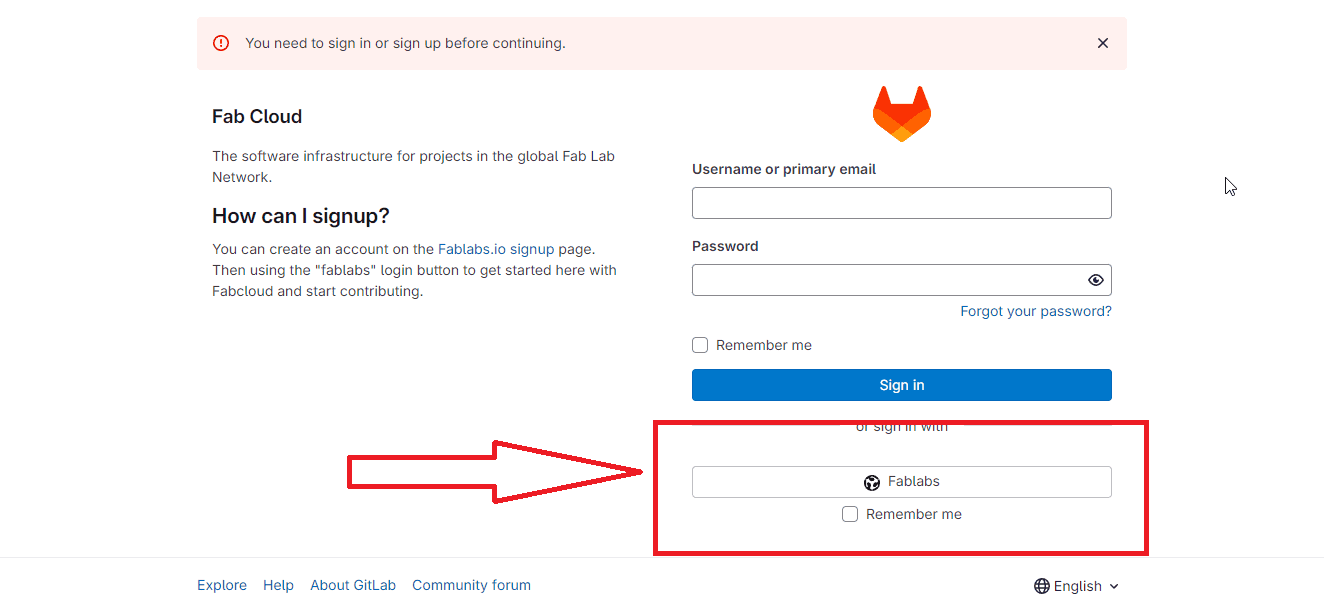
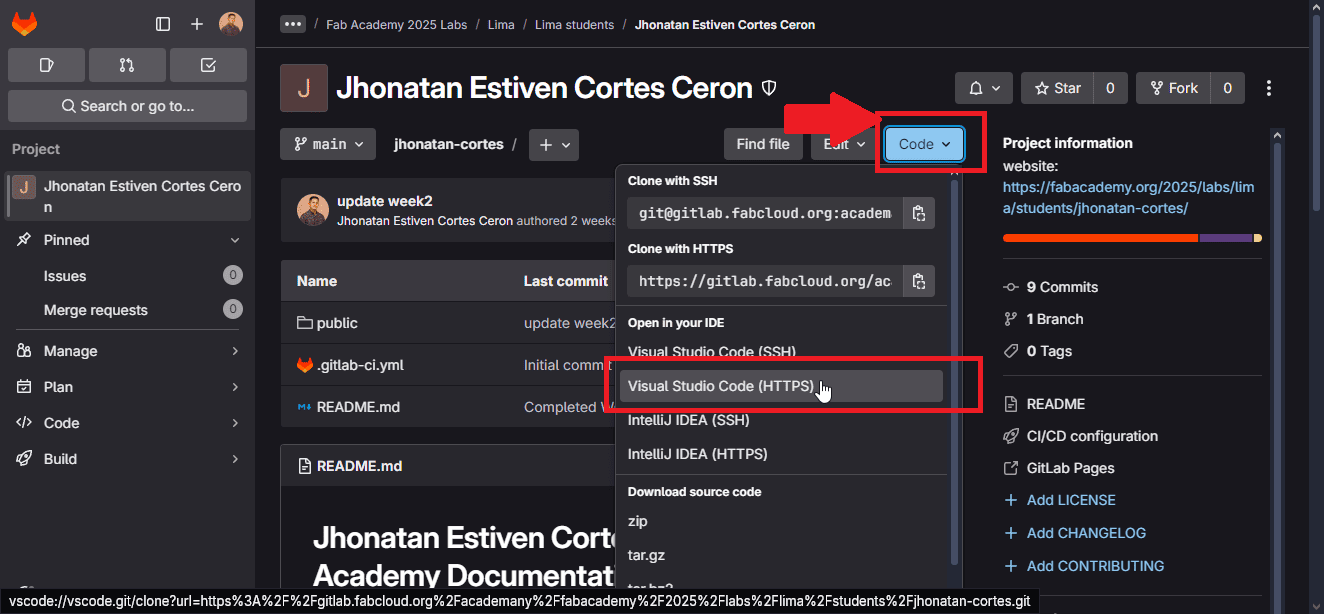
- Select "Clone Repository" in the version control section, or use the easier option of cloning directly from your repository on GitLab.
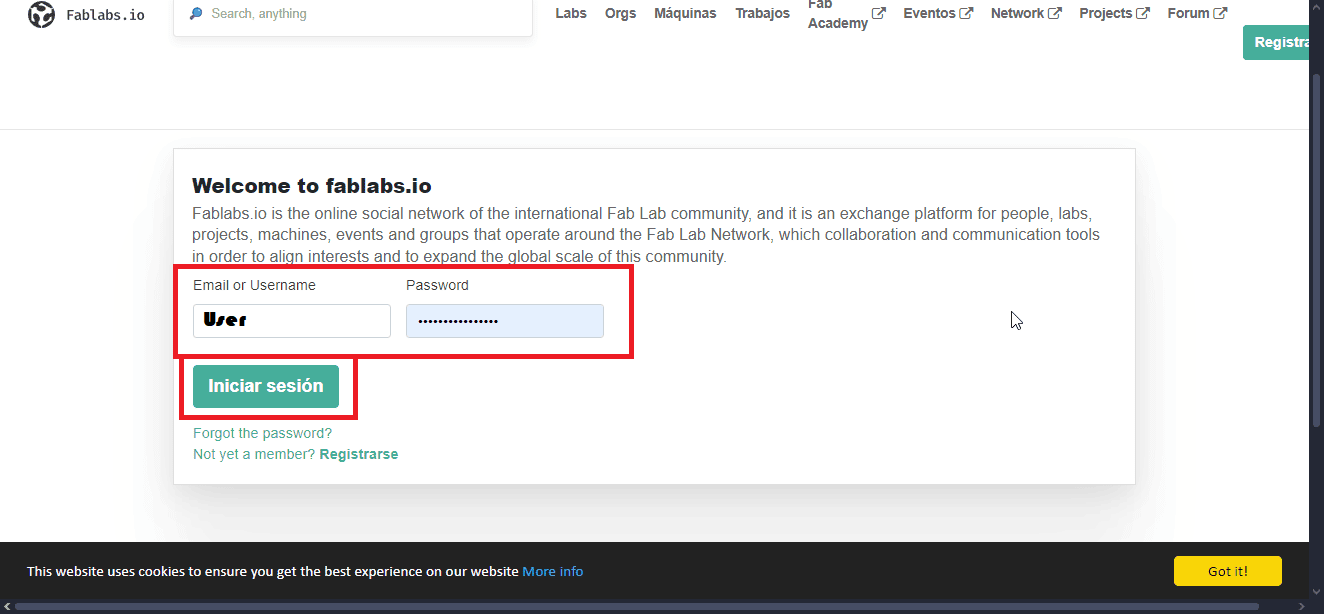
- Access the FabLab Git repository by logging in with your FabLab credentials.
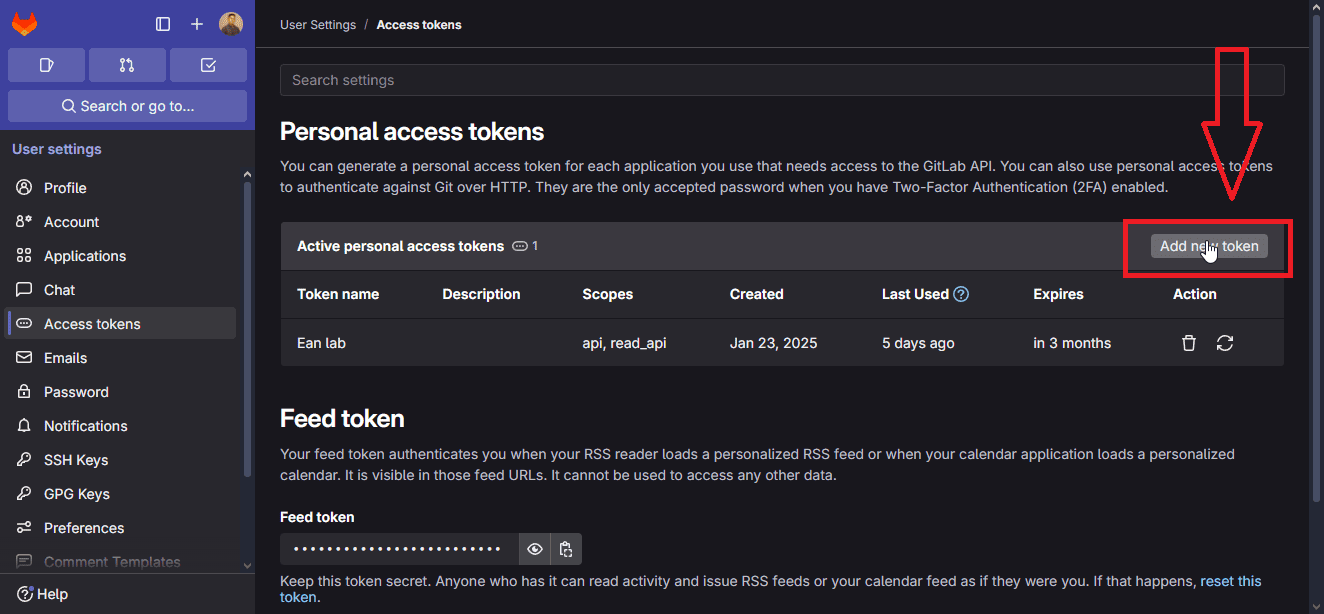
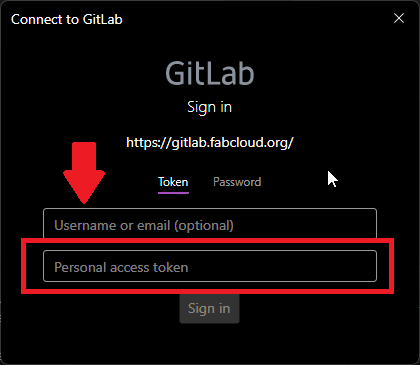
- Generate access token in Git account settings
|
STEP 4
|
|
STEP 5
|
|
STEP 6
Slide 1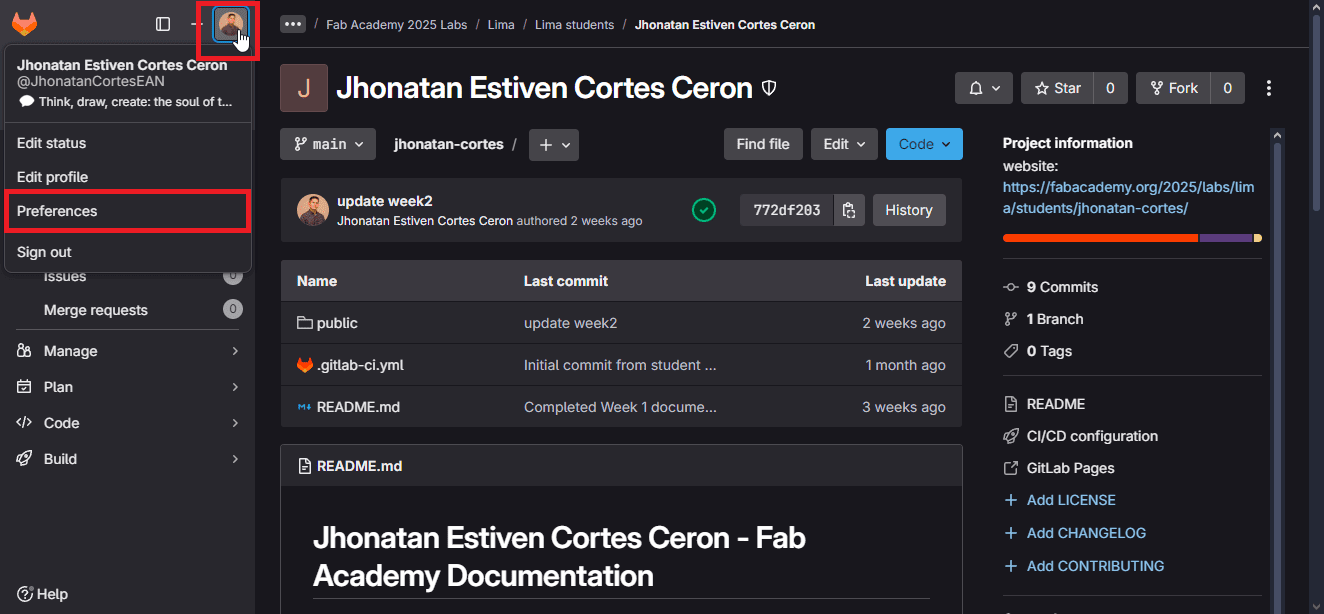
Slide 2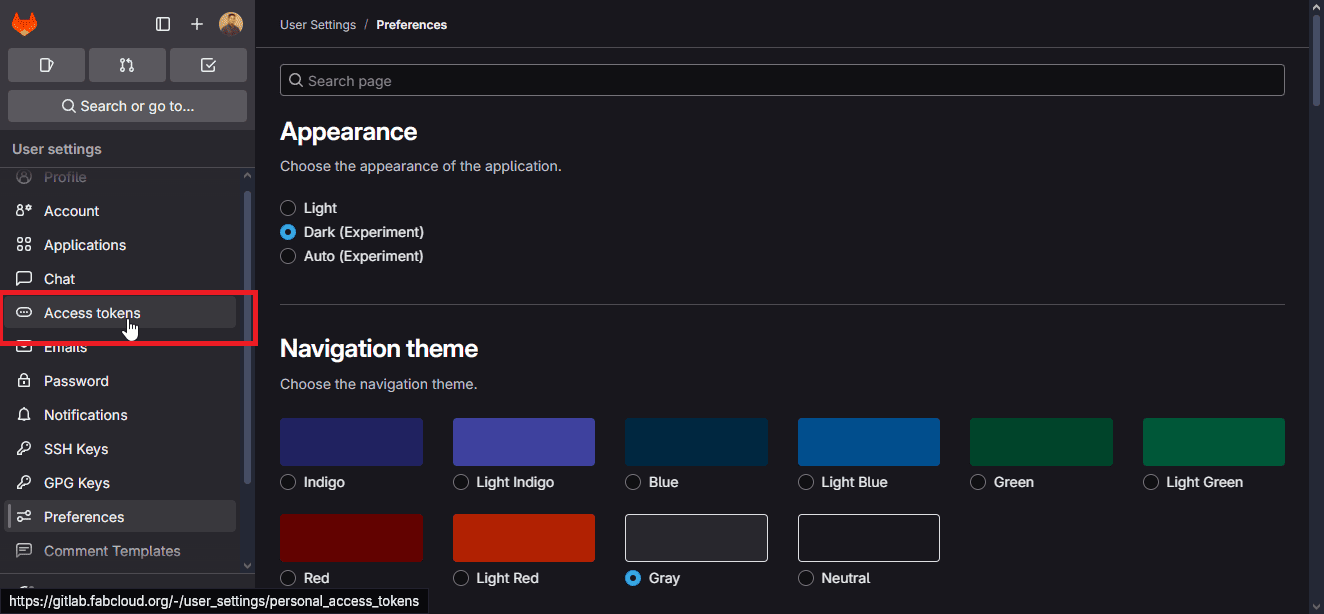
Slide 3 |
4. Access Token Configuration
- Create new token with read/write permissions.
- Go to your GitLab profile, click on the dropdown menu, and select "Clone" using HTTPS to avoid network blocks.
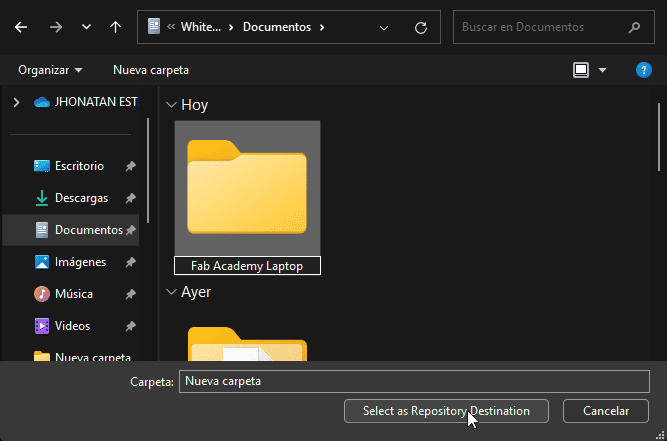
- Select the local folder where you want to clone the repository in VSCode.
- When prompted to authenticate, use your FabLab username and the previously generated token (created for this PC) to complete the process.
|
STEP 7
Slide 1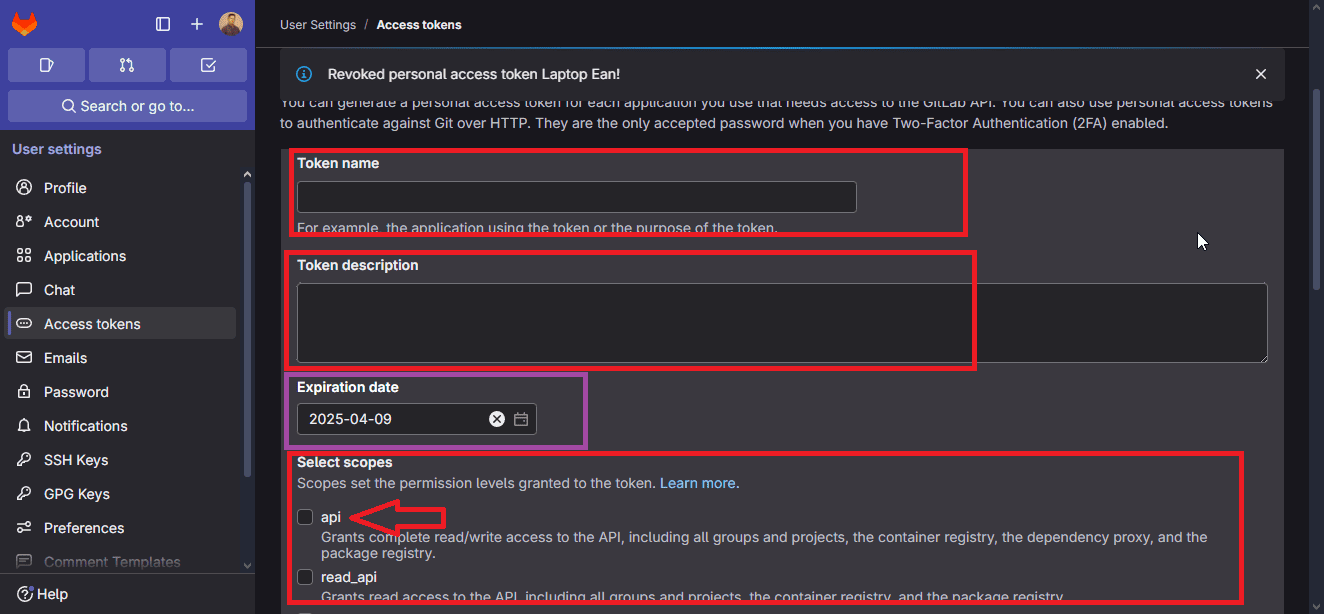
Slide 2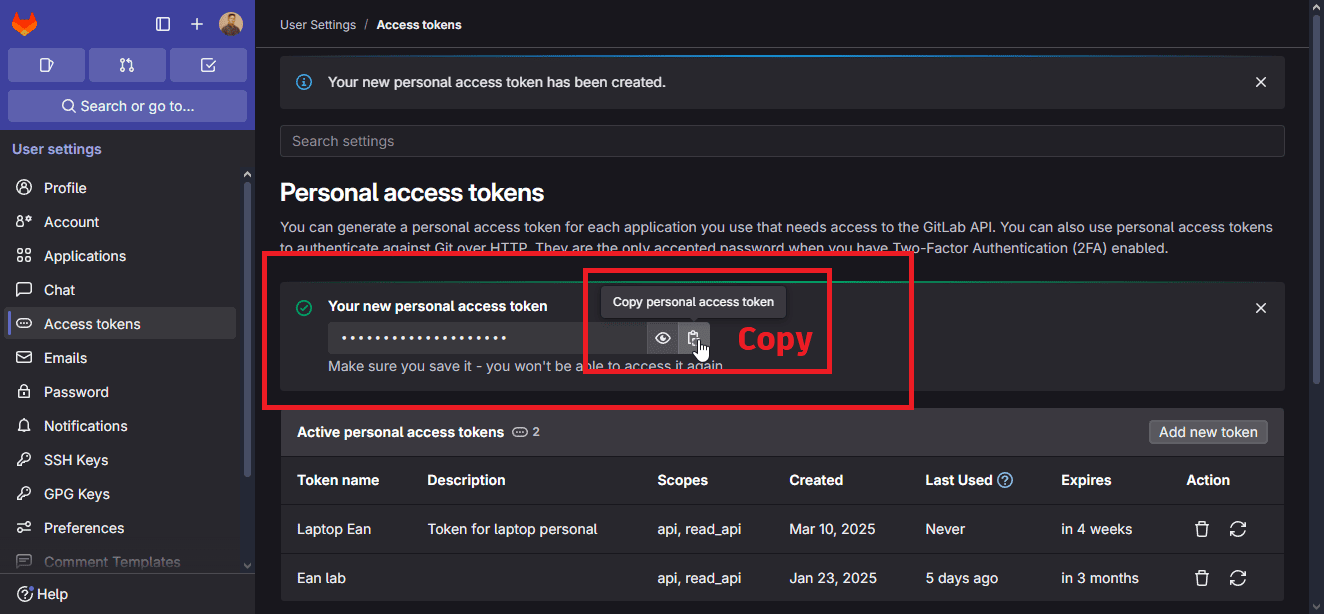
Slide 3 |
|
STEP 8
|
|
STEP 9
|
|
STEP 10
|
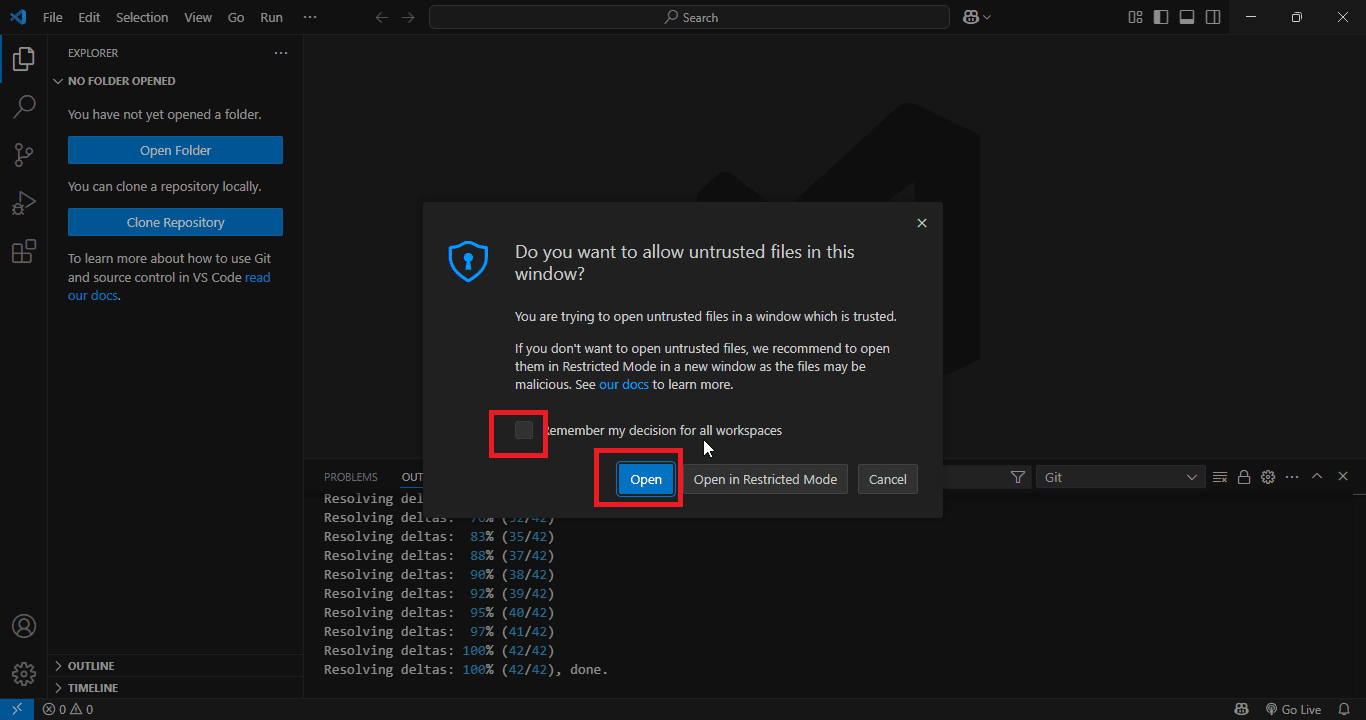
5. Final Setup
- I accepted the authors and verified that all files were cloned correctly.
- I opened the cloned HTML file to view the webpage.
- I verified the website's functionality and ensured everything was working as expected.
- I implemented modifications to the HTML template as needed.
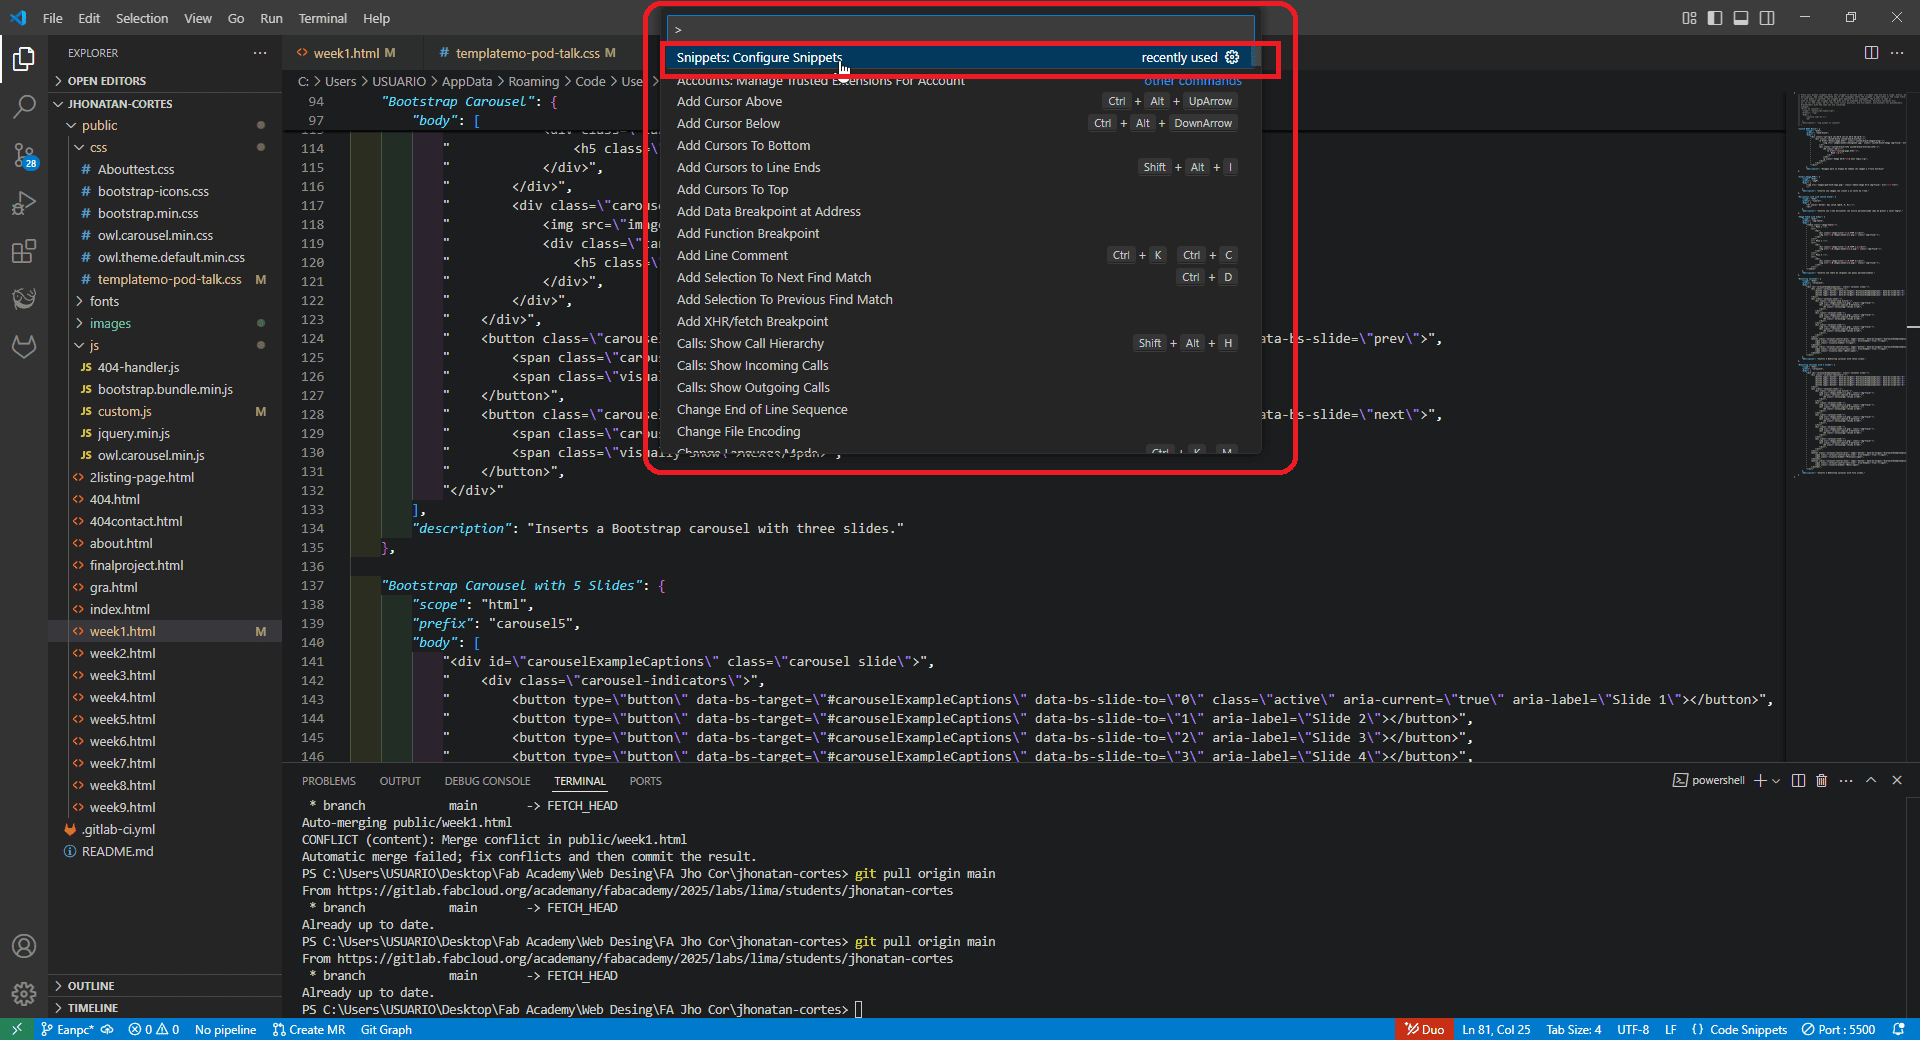
- I configured custom code snippets to speed up development.
|
STEP 11
|
|
STEP 12
|
|
STEP 13
|
|
STEP 14

|
|
STEP 15
Slide 1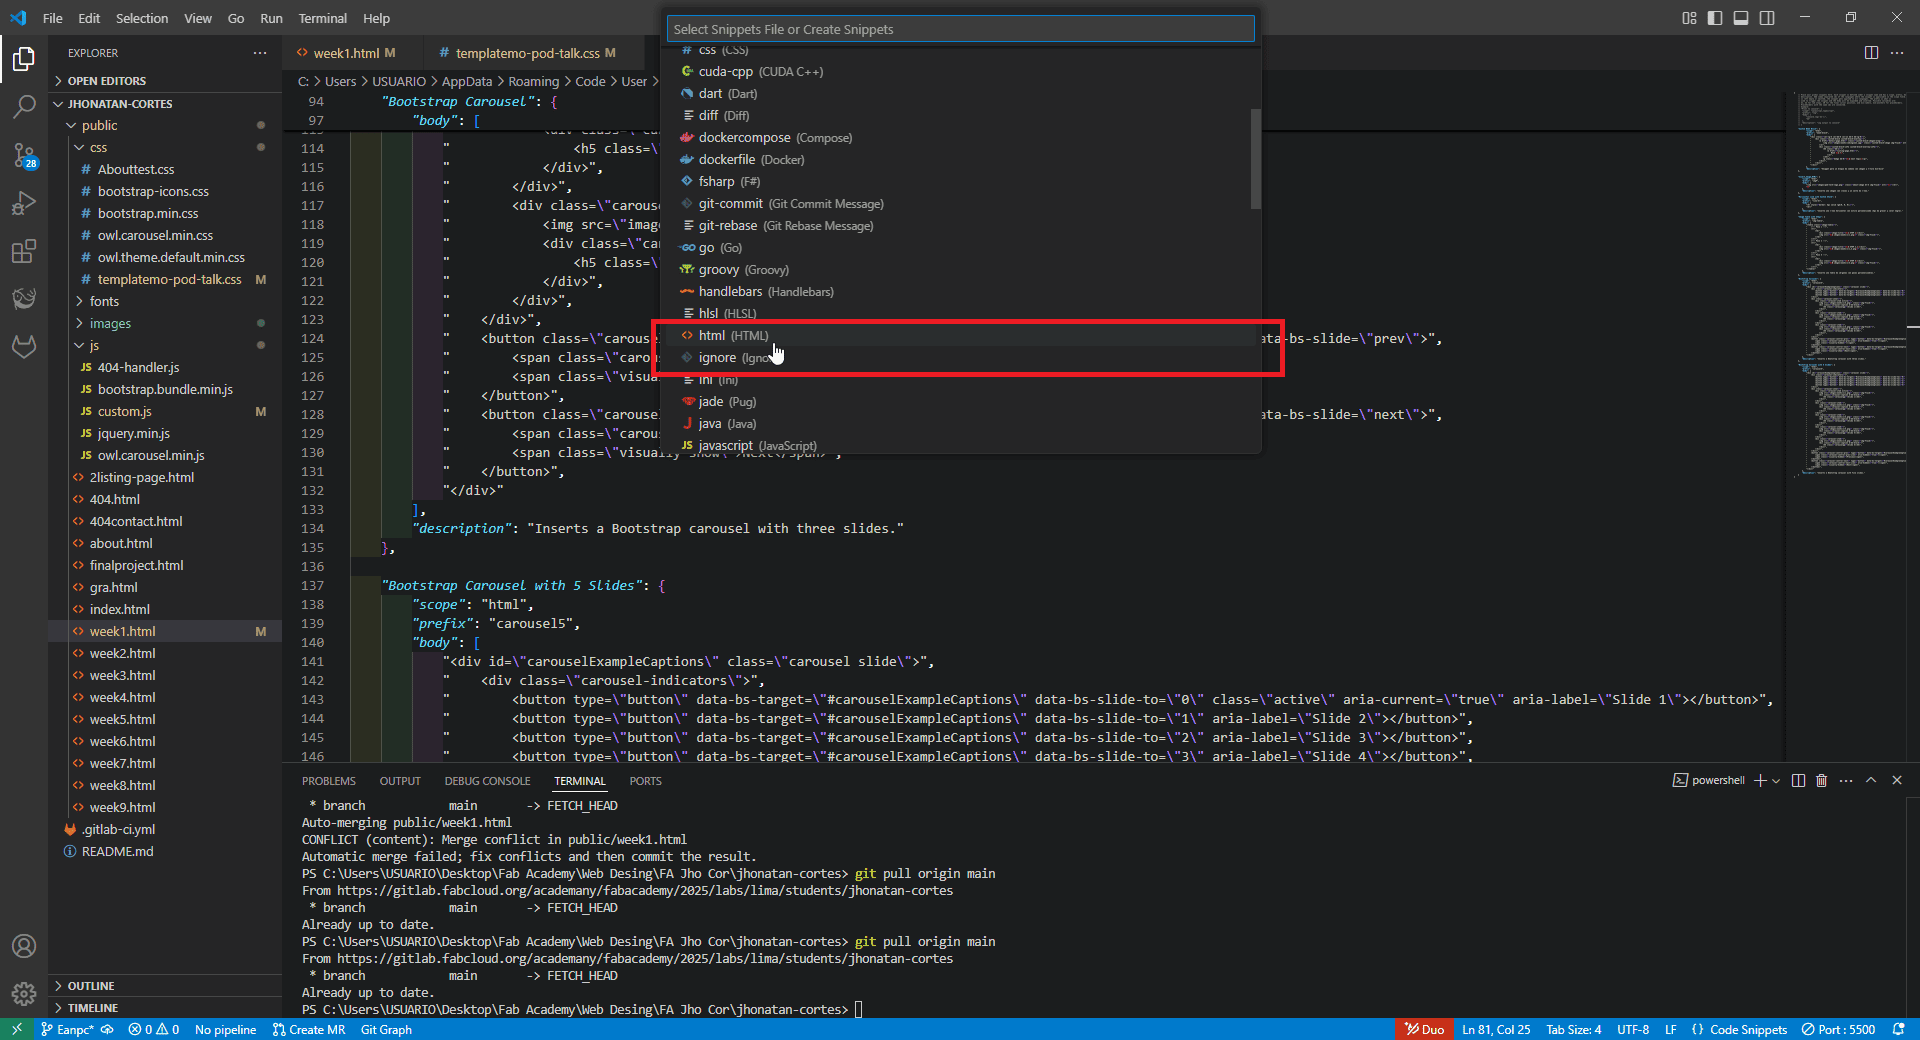
Slide 2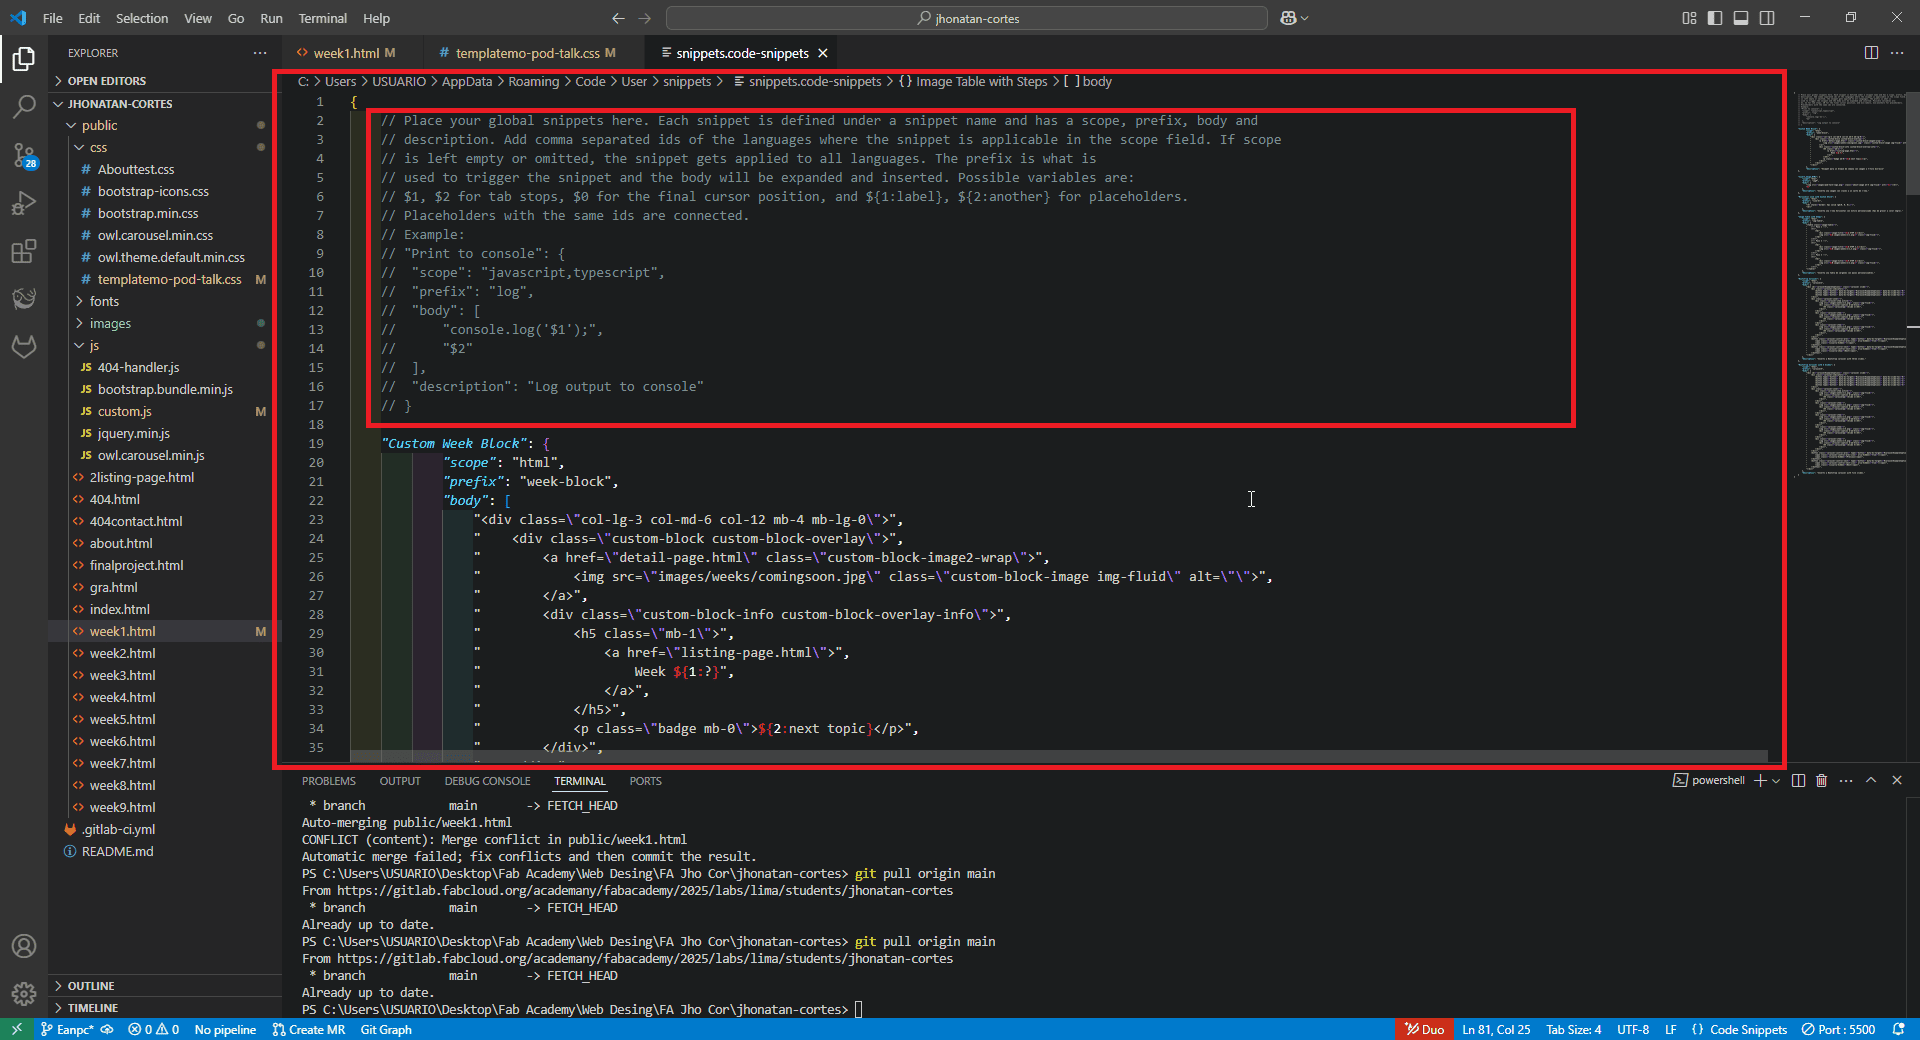
Slide 3 |
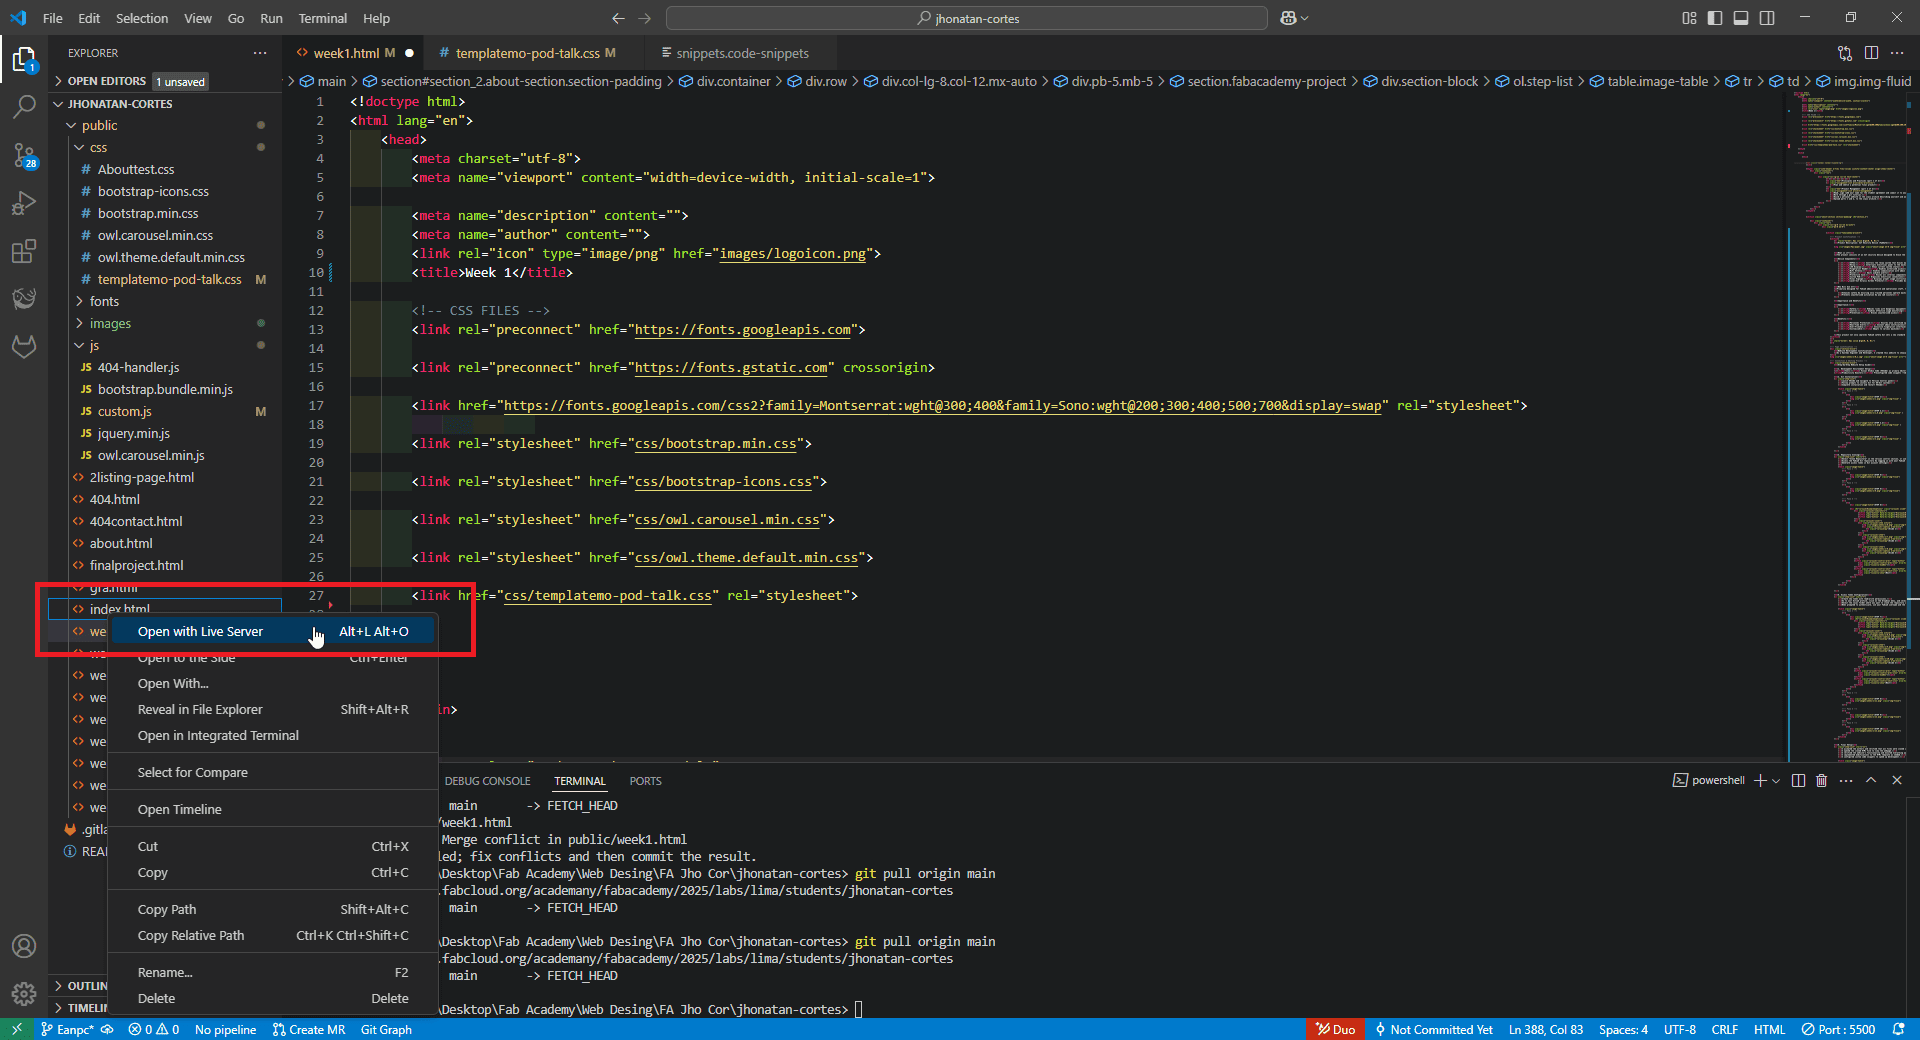
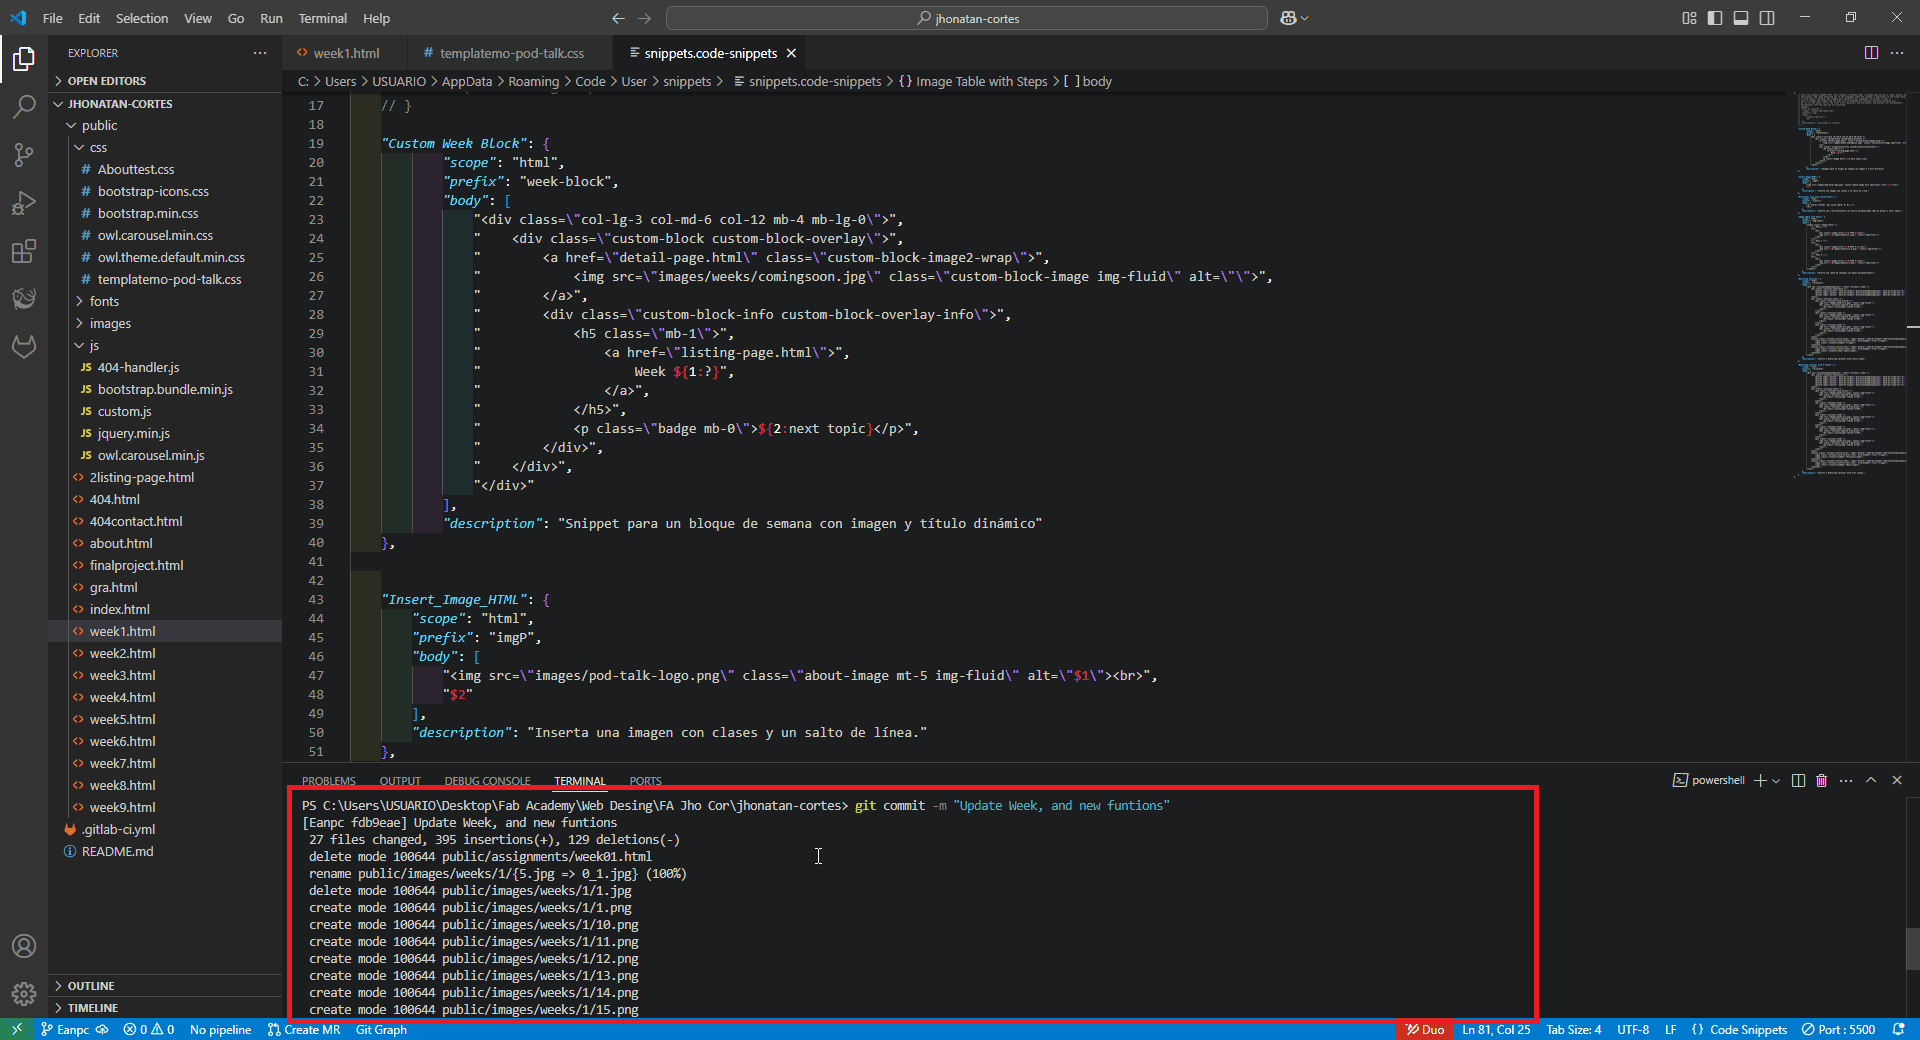
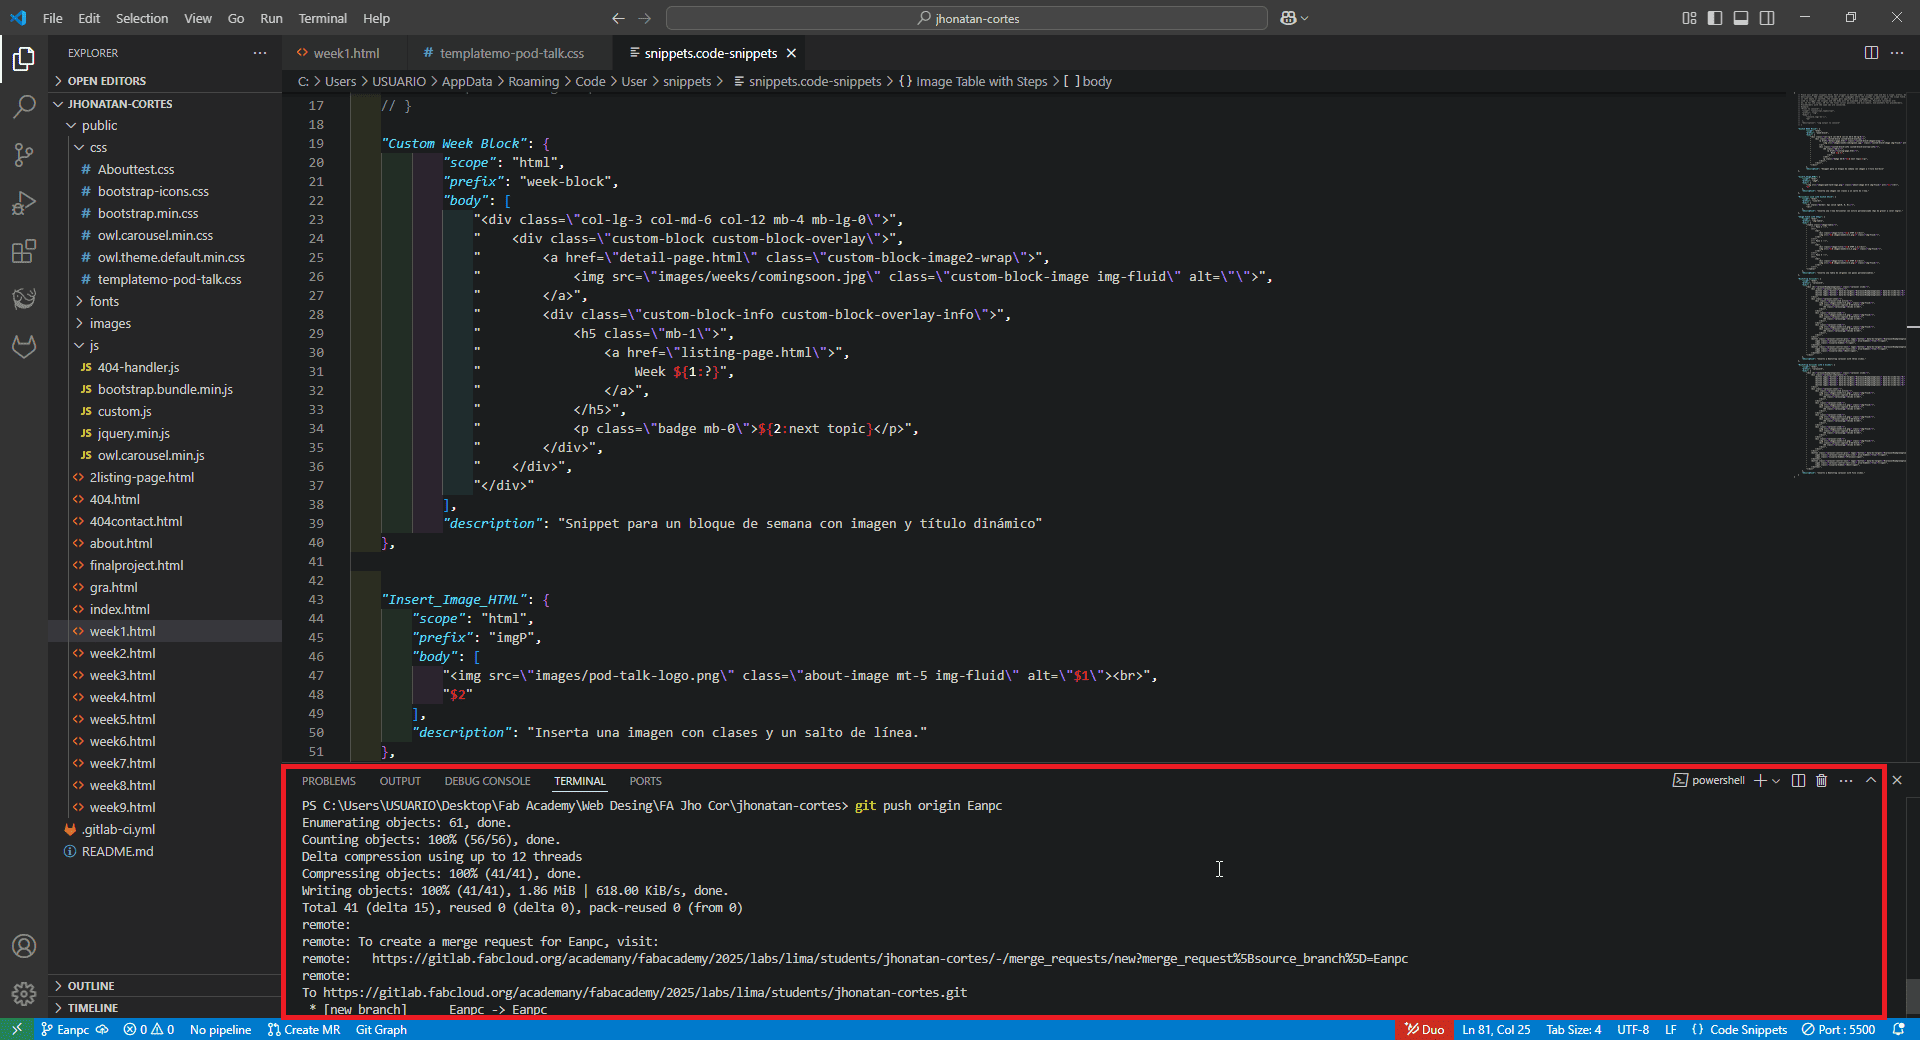
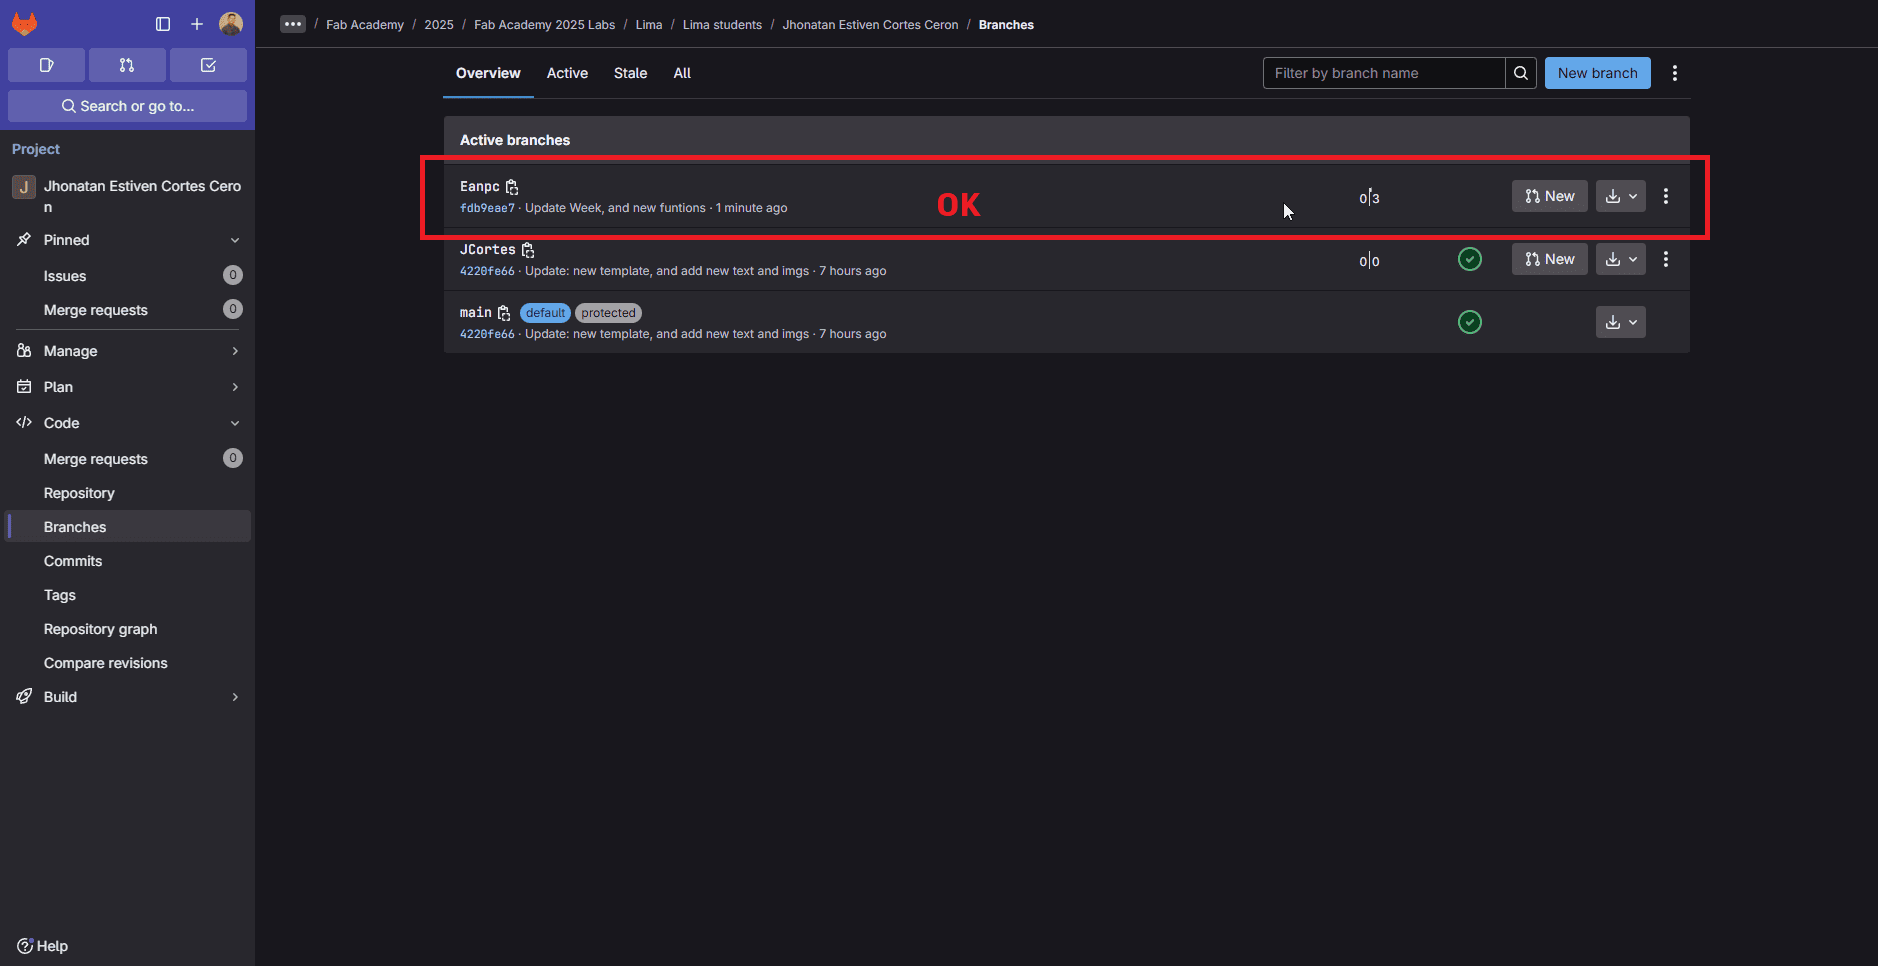
6. Upload Changes to the Repository
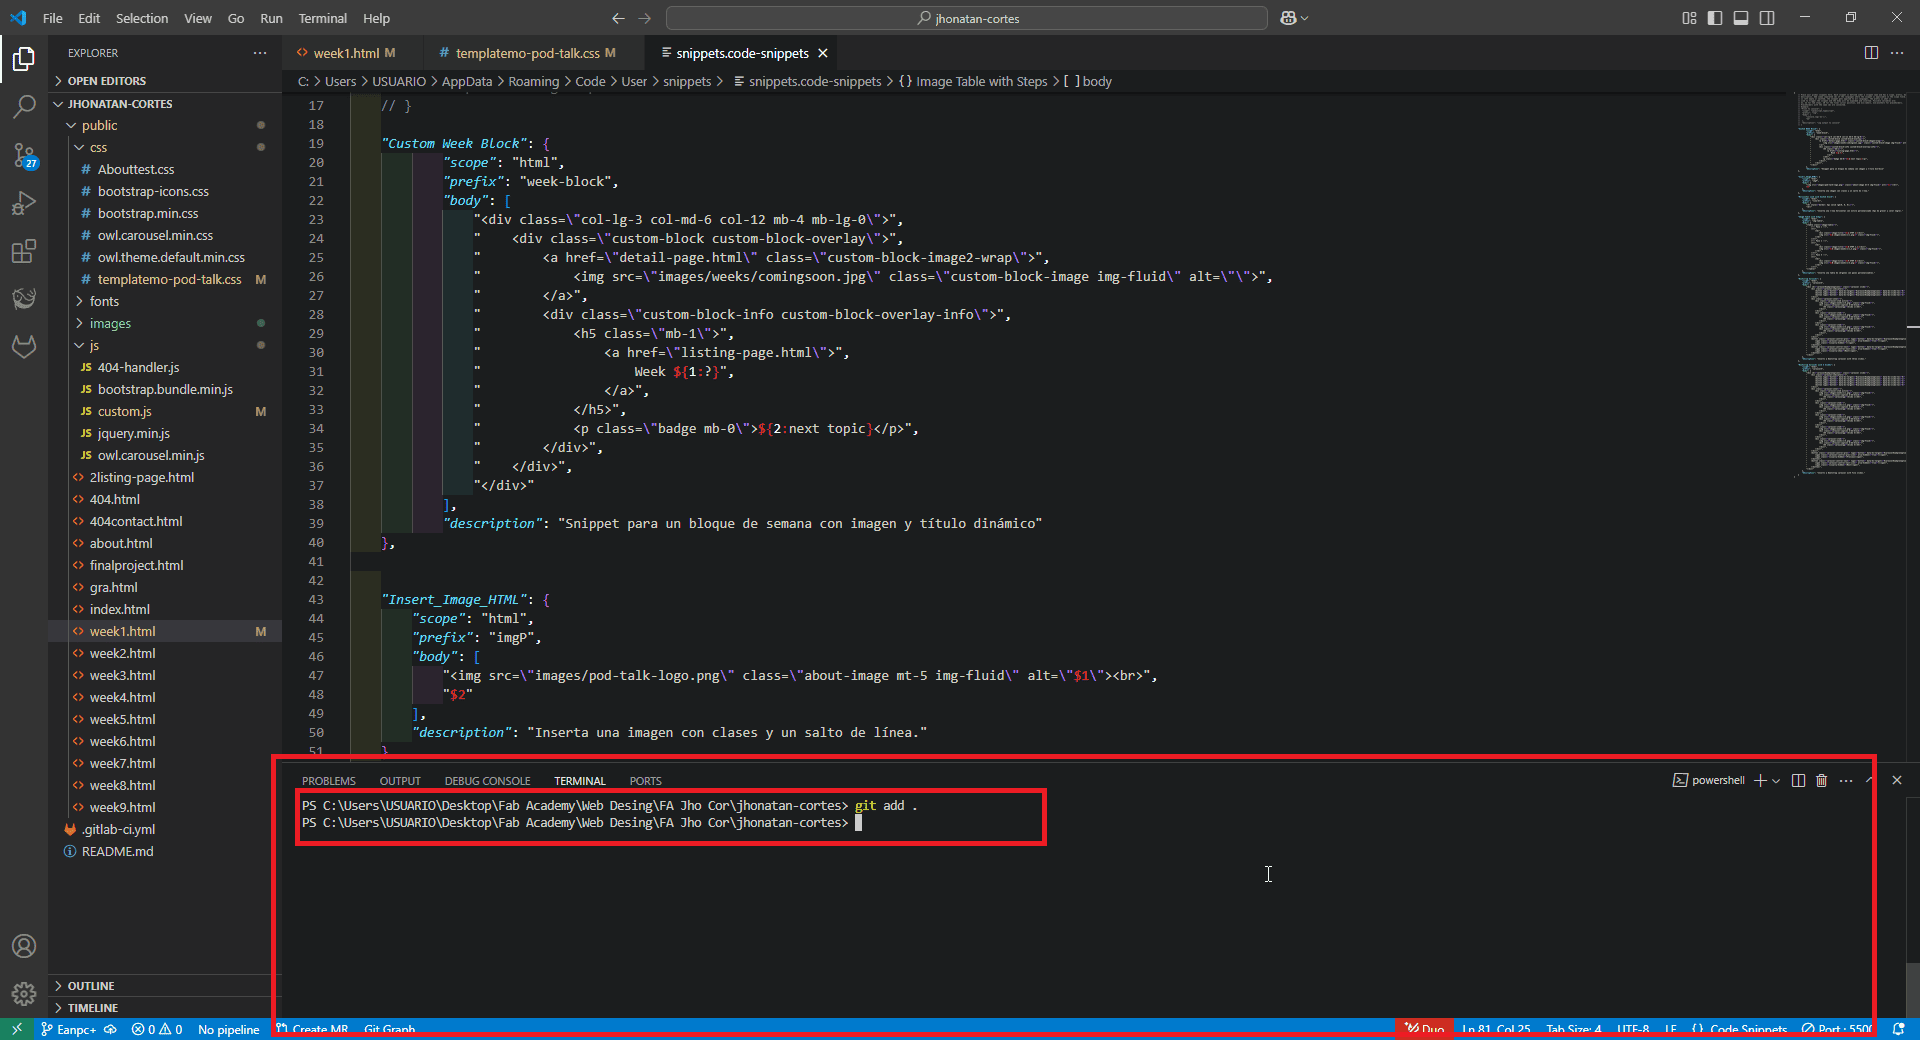
- I staged the changes using
git add .in the terminal or through VSCode's Source Control interface. - I committed the changes with a descriptive message using
git commit -m "Descriptive message here". - I pushed the changes to the remote repository using
git push origin main(replacingmainwith my branch name when necessary). - I verified on GitLab that the changes were successfully uploaded.
|
STEP 16
|
|
STEP 17
|
|
STEP 18
|
|
STEP 19
|
Personal conclusions from this week
This week, I learned a lot by reinforcing several key skills—from cloning a
repository and properly structuring a project to generating web pages using
HTML, CSS, and JavaScript.
Getting into the rhythm of the Fab Academy was a real challenge for me. Due to
personal reasons, I initially started with complex templates, which slowed down
my progress. However, as the days went by, I refined that template until I
created a base that truly convinced me.
Here are some tips that could have made my work easier from the beginning:
1)Choose a simpler template, preferably one based on Bootstrap.
This allows for faster and more efficient page layout and structure.
2)Study Bootstrap (or any similar framework). It
streamlines development so you can focus more on the weekly assignment than on
web development itself.
3)Define a clear roadmap for how you will develop and
document each week's assignment. In my case, the following structure helped me a
lot:
3.1)Review the assignments in detail and understand the
requirements and recommendations from the Fab Academy website.
3.2)Explore what previous students have done in other years
and nodes.
3.3)Once I have all that input, I define what I need to do
and how I can approach it. Then, I set my own objectives.
3.4)As I complete each objective, I document it in real
time. Documentation is the most important part—trying to recall steps later is
the worst.
3.5)Upload and update your website as soon as each goal is
completed. It may seem like it slows down the process, but it's the best way to
keep your documentation up to date and catch any issues early on.
3.6)Ask for feedback and support from your tutors. This
will help you improve your work and ensure your page reflects your best version.
Some of these tips I discovered in later weeks. But as I mentioned in the
last one—there’s always room for improvement, and that’s why I decided to
enhance this week’s work.