What is EDUCANSAT?

EDUCANSAT is an educational CanSat system designed to teach students about
satellite technology, telemetry, and real-time environmental monitoring.
The project consists of two main components:

  • CanSat Module: A small-scale satellite that collects and transmits data on temperature, pressure, humidity, and GPS location.
  • Ground Station: A tracking and visualization platform that displays real-time CanSat data on a map.
  • Rocket
  • Satellite
  • Code

Week 1 Project management:

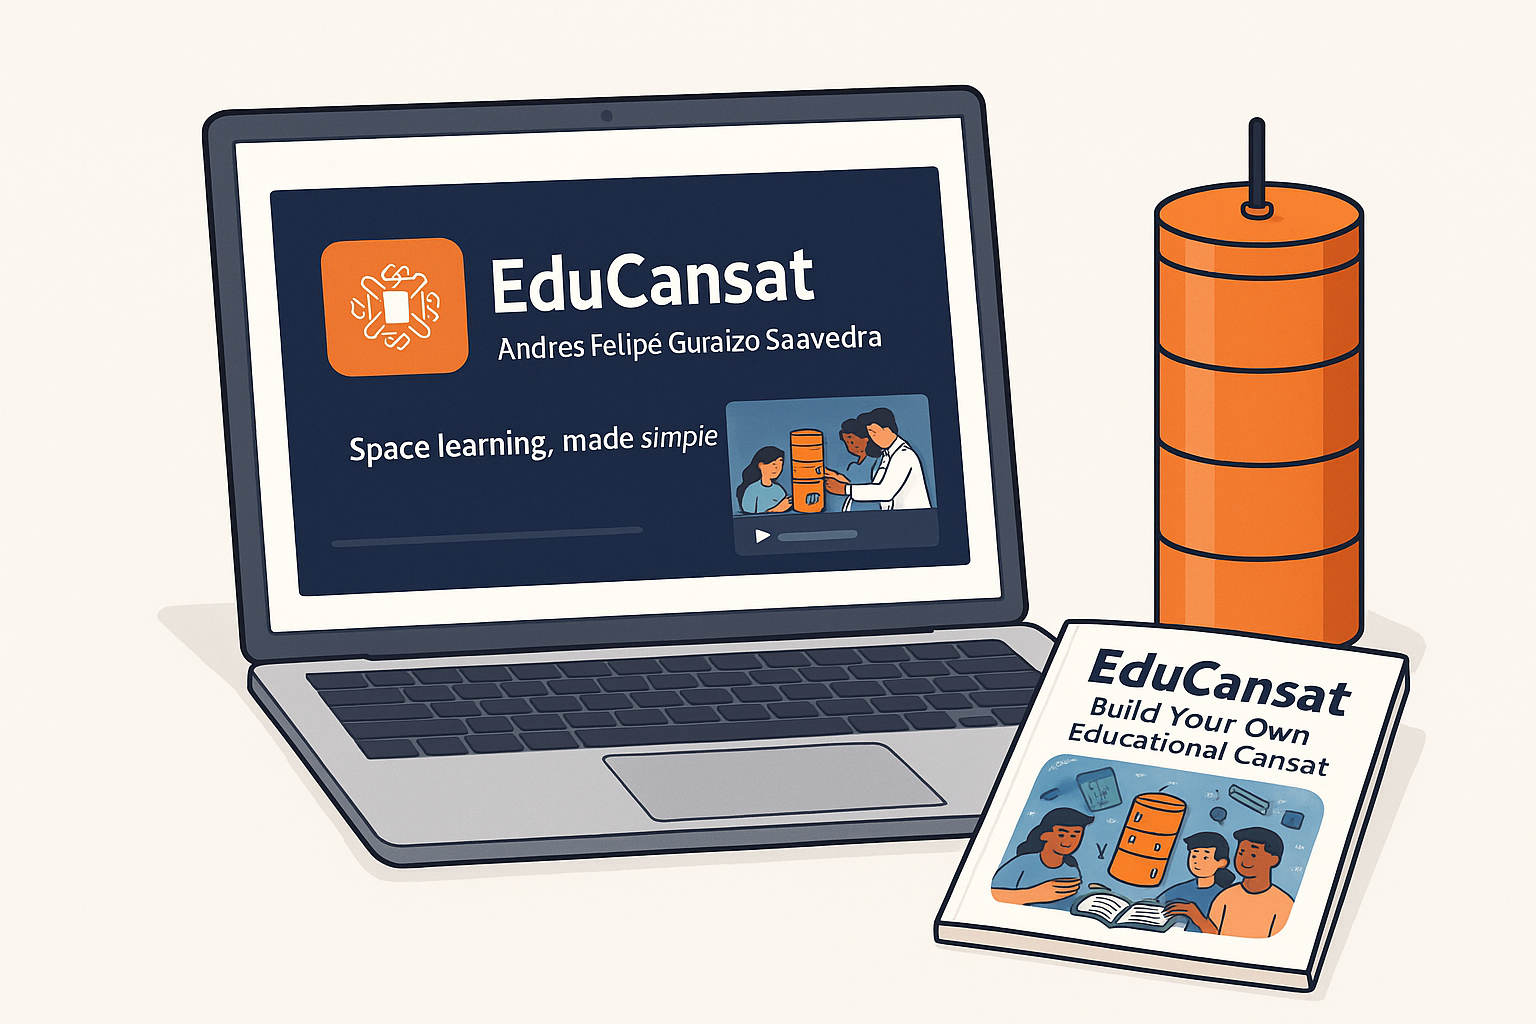
In the first week, the focus was on setting up the documentation site, configuring version control with Git, and outlining the EDUCANSAT project. This includes an initial sketch, key components, and its intended functionality. The page also details the process of website development and project management.

Week 02
Computer-Aided Design

This week focused on 2D and 3D modeling for the CanSat project. Different software tools were explored to create vector and raster-based designs, along with basic 3D models using AutoCAD and SolidWorks. Additionally, image and video compression techniques were applied to optimize documentation.

Week 03
Computer-Controlled Cutting

During this week, the focus was on digital fabrication through cutting technologies. The activities involved operating both a vinyl cutter and a laser cutter, designing vector-based files, and creating a parametric construction kit. These tasks contributed to understanding machine capabilities, material responses, and the importance of accuracy in design and fabrication.

Week 04
Embedded Programming

This week centered on embedded programming. Various microcontrollers were studied and compared, and a basic program was developed to interact with input and output components. The experience combined simulation and real-world implementation to reinforce core concepts in microcontroller-based systems and digital logic.

Week 05
3D scanning and printing

Week 5 included the calibration of the 3D printer through overhang, bridging, clearance, and angle tests using PLA material and the Ender 3 V3 SE. A decorative vase was designed in Fusion 360 using T-spline tools and printed at a smaller scale. Additionally, 3D scanning was explored through mobile photogrammetry by capturing everyday objects and generating their digital versions.

Week 06
Electronics Design

This week focused on designing a custom PCB using KiCad, from schematic creation to final layout, including routing techniques, footprint setup, and 3D visualization.

Week 07
Computer-Controlled Machining

This week focused on designing and fabricating a large object using CNC machining, including toolpath setup, machine operation, and teamwork.

Week 08
Electronics Production

During this week, a custom PCB was designed, manufactured, and tested. The process involved component selection, PCB milling, soldering, and troubleshooting, leading to an optimized second version that improved track widths, clearances, and overall assembly quality.

Week 09
Input Devices

During this week, work focused on exploring input devices by connecting and testing different sensors, such as a gas sensor (MQ3) and a touch sensor, using the XIAO ESP32 C3 board. Simulations, real-world tests, and documentation of the results were conducted to understand how to integrate and read sensor data effectively.

Week 10
Output Devices

Activities focused on integrating and controlling output devices, including a LED matrix and a servo motor, as well as measuring their voltage, current, and power consumption.

Week 12
Electronics Production

During this week we developed FabTraceX, a 2-axis CNC plotter that draws shapes using G-code. Built with recycled components and powered by an ESP32 running FluidNC, it turns digital paths into physical traces.