Week 1
Project Management
Summary of Activities
This week, I focused on setting up my Fab Academy environment, learning about Git version control, and planning my potential final project: EDUCANSAT. This project aims to develop an educational CanSat that allows students to learn about satellite technology, telemetry, and real-time environmental monitoring.
Part1: Project Idea Sketch
What is EDUCANSAT?
A CanSat (short for Can-Satellite) is a miniature satellite built to fit within the size of a standard soda can (350-500ml). It is commonly used in educational settings to introduce students to space technology, satellite communication, and telemetry systems in a hands-on, cost-effective way.
Key Features of a CanSat-
📡 Real-World Applications
CanSats provide experience in data collection, telemetry, and satellite operations.
-
🛠️ Modular & Scalable
CanSats use real satellite principles but on a smaller scale, making them affordable and practical for students.
-
🚀 Launch & Recovery
CanSats are deployed using rockets, drones, or balloons to simulate real satellite missions. In my case I will use a ballon for deploy
-
Hands-on experience
Hands-on experience with electronics, sensors, programming, 3d design and data transmission
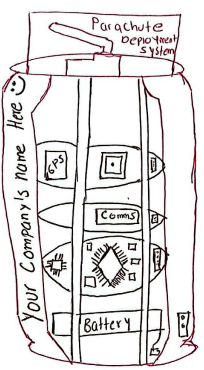
🛰️ CanSat Full Design
This is the preliminary design of the CanSat, including its modular structure and essential components. The design follows a compact form factor to fit within a standard soda can, ensuring lightweight and efficient deployment.
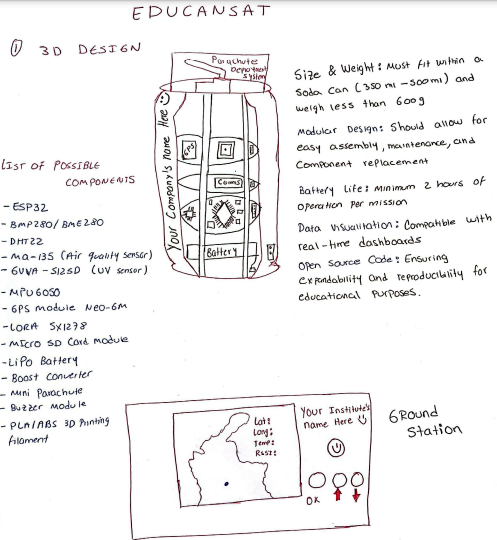
Cansat Module Structure
A compact satellite-in-a-can that collects and transmits data, including
- Temperature
- Air Pressure
- Humidity
- GPS Location
- Air Quality & UV Radiation
Designed with modular construction, allowing for easy assembly, maintenance, and component replacement.
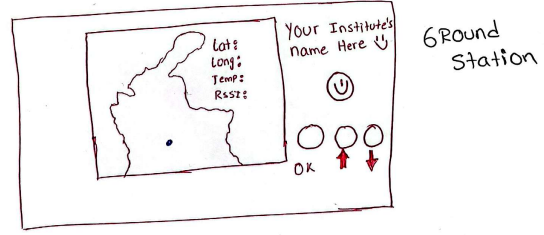
Cansat Ground Station
The Ground Station is a 3D-designed system that enables visualization of all environmental variables measured by the CanSat. It provides real-time tracking of the CanSat’s location in the field, ensuring accurate data collection and analysis.
List of Components
This table describes the key components used in the EDUCANSAT CanSat system and their corresponding functions.
| Component | Function |
|---|---|
| ESP32 | Main microcontroller for processing and communication. |
| BMP280 / BME280 | Measures atmospheric pressure and temperature. |
| DHT22 | Measures humidity and temperature. |
| MQ-135 | Detects air quality and gas concentration levels. |
| GUVA-S12SD | UV sensor for measuring ultraviolet radiation. |
| MPU6050 | Gyroscope and accelerometer for motion detection. |
| GPS Module NEO-6M | Provides real-time location tracking. |
| LoRa SX1278 | Long-range wireless communication module. |
| Micro SD Card Module | Stores sensor data for later analysis. |
| LiPo Battery | Provides power to the entire system. |
| Boost Converter | Regulates voltage levels for stable operation. |
| Mini Parachute | Ensures safe descent and landing. |
| Buzzer Module | Audio feedback for alerts and status indication. |
| PLA / ABS 3D Printing Filament | Used to fabricate the structural components. |
Part 2: Project Management
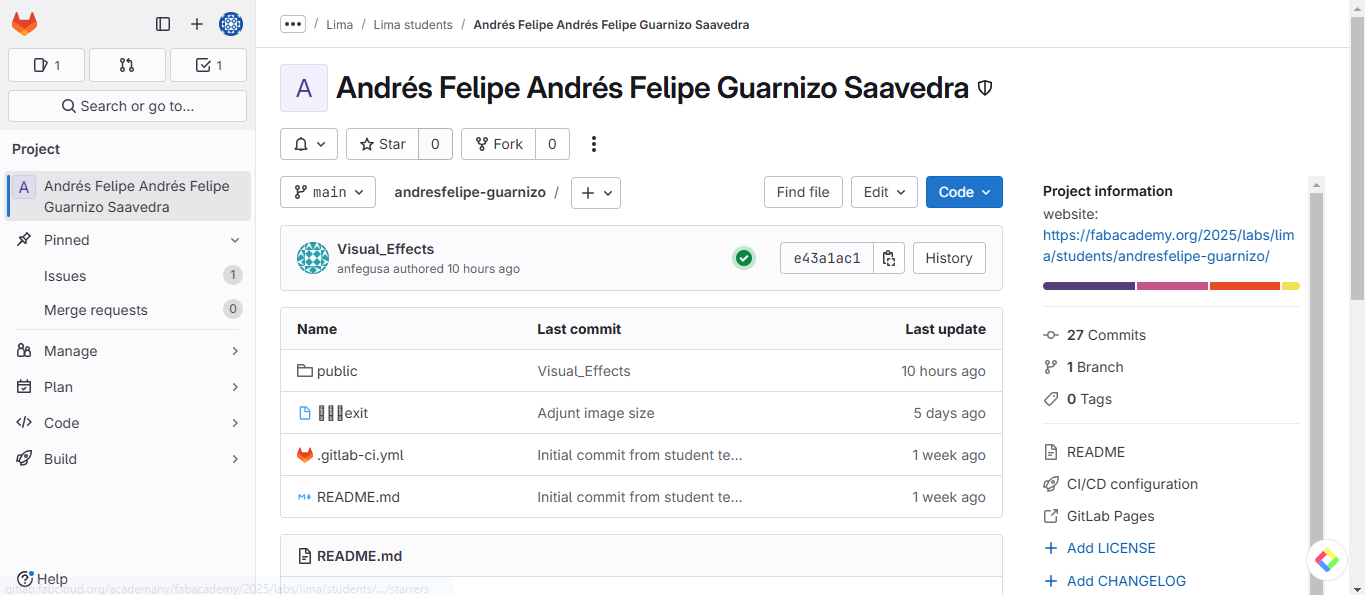
Access and Initial Setup
- Logged into GitLab FabCloud using the provided credentials and ensured proper access.
- Reviewed the GitLab repository structure, identifying my personal repository and the location of other students' projects.
- Explored the available tools, including the issue tracker, project hosting, and GitLab Pages for website deployment.
Local Environment Configuration
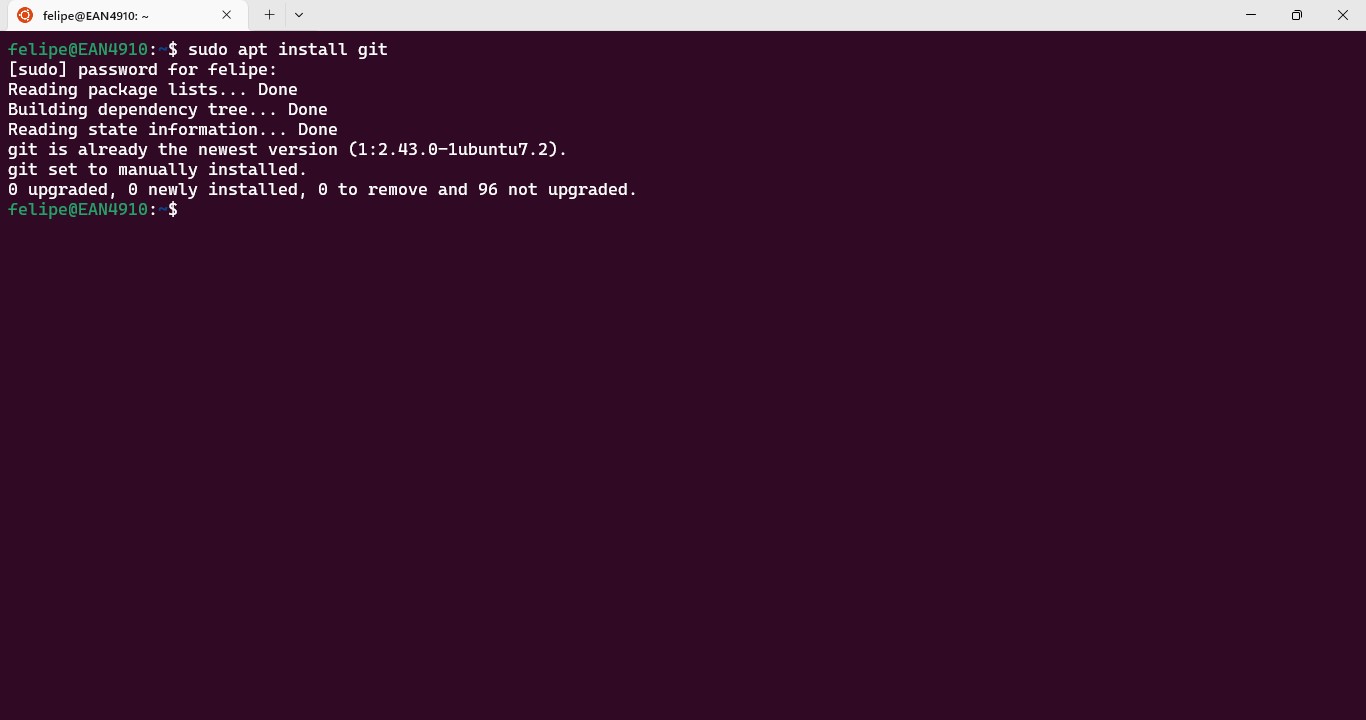
- Installed Git on my local machine and configured my username and email for version control tracking.
- Generated an SSH key, added it to GitLab, and verified secure authentication.
- Cloned my repository to my local system, ensuring seamless interaction between local and remote versions.
To work with GitLab and publish my Fab Academy website, I first installed Git on my computer. Since I use Visual Studio Code, Git integrates well and allows version control directly from the terminal or editor:
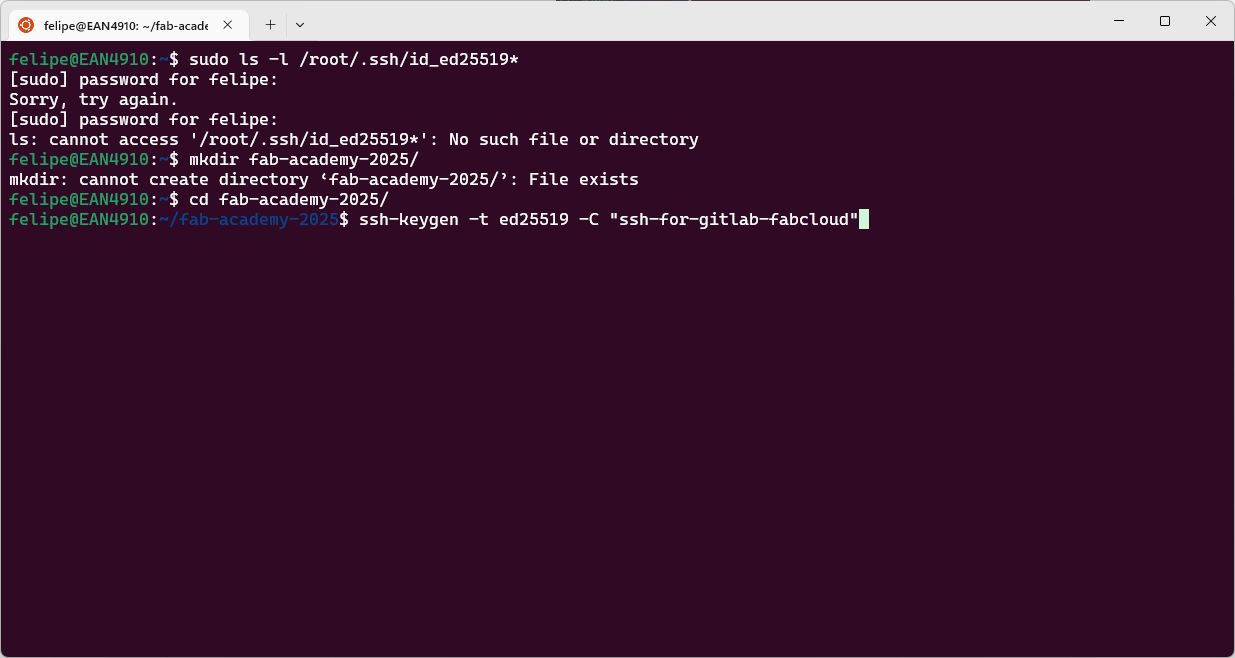
I generated a new SSH key to authenticate with GitLab, using the following command:
ssh-keygen -t ed25519 -C "ssh-for-gitlab-fabcloud"
id_ed25519_Fab_Academy_2025) and a public key (id_ed25519_Fab_Academy_2025.pub) stored in the ~/.ssh/ folder. I copied the public key using:
cat ~/.ssh/id_ed25519_Fab_Academy_2025.pub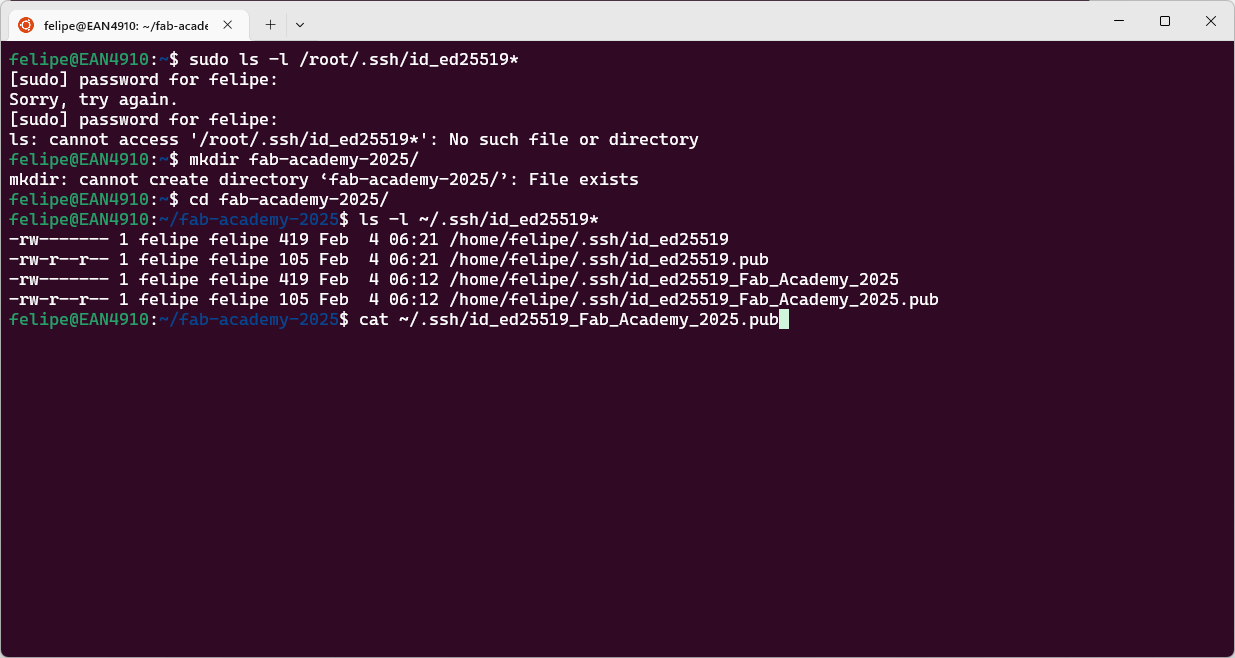
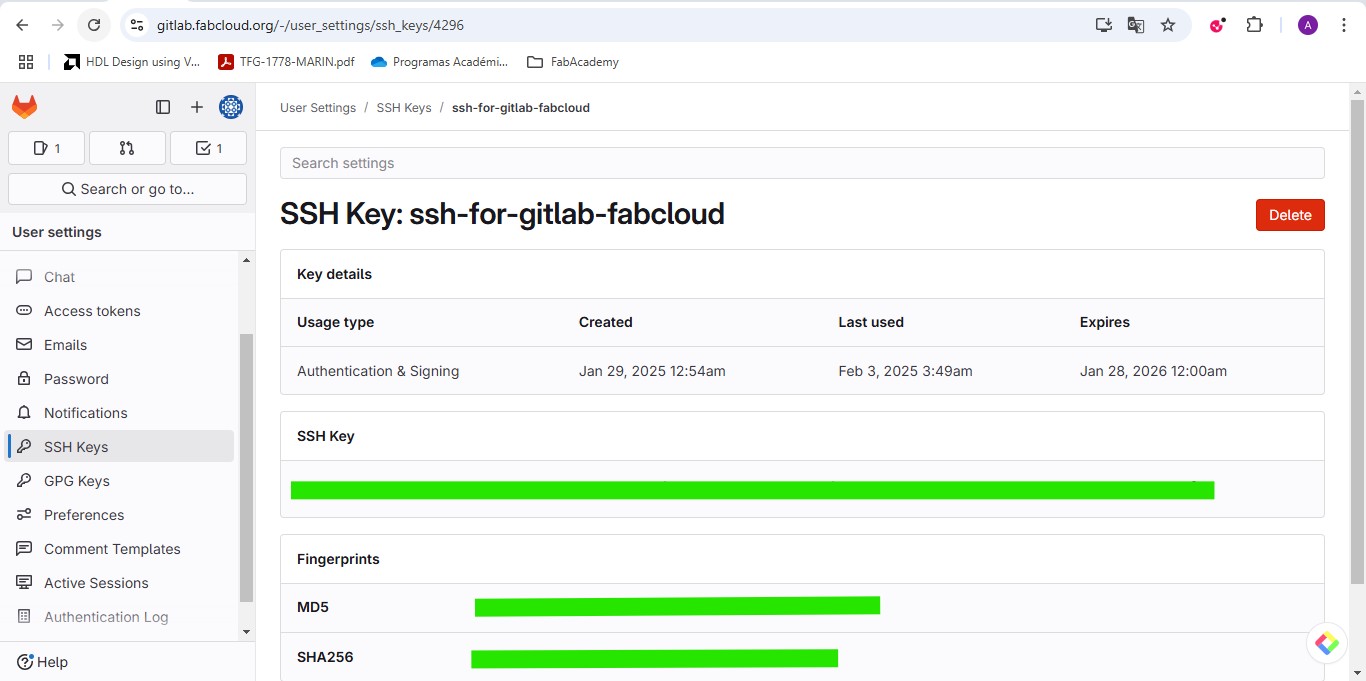
I logged into GitLab, went to Preferences > SSH Keys, and pasted the public key there. This allows me to push and pull from the repository without entering a password each time.
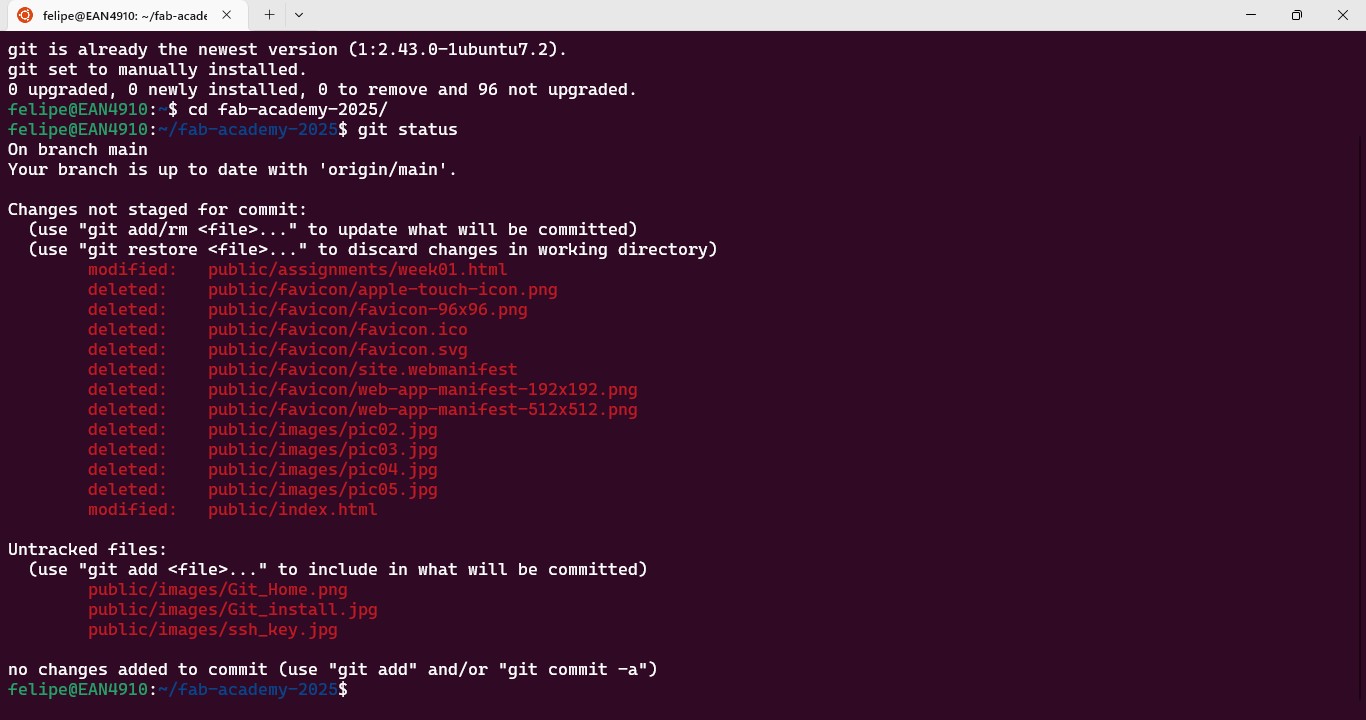
Common Git Commands Used
Once Git and SSH were ready, my typical workflow included the following commands:
	git clone git@gitlab.fabcloud.org:academany/fabacademy/2025/labs/lima/students/andresfelipe-guarnizo.git
	# After making changes:
	git add .
	git commit -m "Update week 01"
	git push
	git pull
Creating my first web site
Exploring Web Development Options
Since the final website had to be hosted through GitLab Pages, the options for building it needed to be compatible with Git version control and static site deployment. I looked into several alternatives such as using static site generators like Jekyll or Hugo, which are designed to work well with Git and GitLab environments. These tools can simplify page management and offer templates, but they also require some initial configuration. In the end, I chose to work directly with HTML and CSS files because it gave me full control over the structure and allowed me to understand how each part of the website worked, which I found important for learning and long-term flexibility. This approach also fits naturally with the Git-based workflow required in the Fab Academy.
To better understand which tools could be used for building the Fab Academy website, I explored different static site development options that are compatible with GitLab Pages. Below is a comparison of the most relevant ones:
| Tool | Requires Installation | GitLab Integration | Technical Complexity | Best Use Case |
|---|---|---|---|---|
| HTML + CSS (manual) | No | Full | Low to Medium | Direct editing with full control over content and structure |
| Jekyll | Yes (Ruby & Bundler) | Native support | Medium | Blogs or documentation sites with templating |
| Hugo | Yes (Go-based) | Compatible (via CI/CD) | High | Fast websites with modular components and themes |
In this section, I will explain how I set up my personal website for the Fab Academy assignments. I used Visual Studio Code with WSL Ubuntu on Windows and a free HTML template called Spectral from HTML5 UP. Below, I detail the steps I followed to configure and customize the website.
Step-by-Step Process
To ensure clarity and structure, I divided the process into four main parts
- Setting Up the Working Environment.
- Choosing and Downloading a Template
- Editing the Template and Organizing the Files
- Previewing and Testing the Website
Step 1: Setting Up the Working Environment
Before working on the website, I needed to ensure that my development environment was ready.
1.1 Installing and Configuring WSL (Windows Subsystem for Linux)
I used Windows Subsystem for Linux (WSL) to run Ubuntu inside my Windows machine. This allowed me to use Linux commands seamlessly in Visual Studio Code.
Commands used:
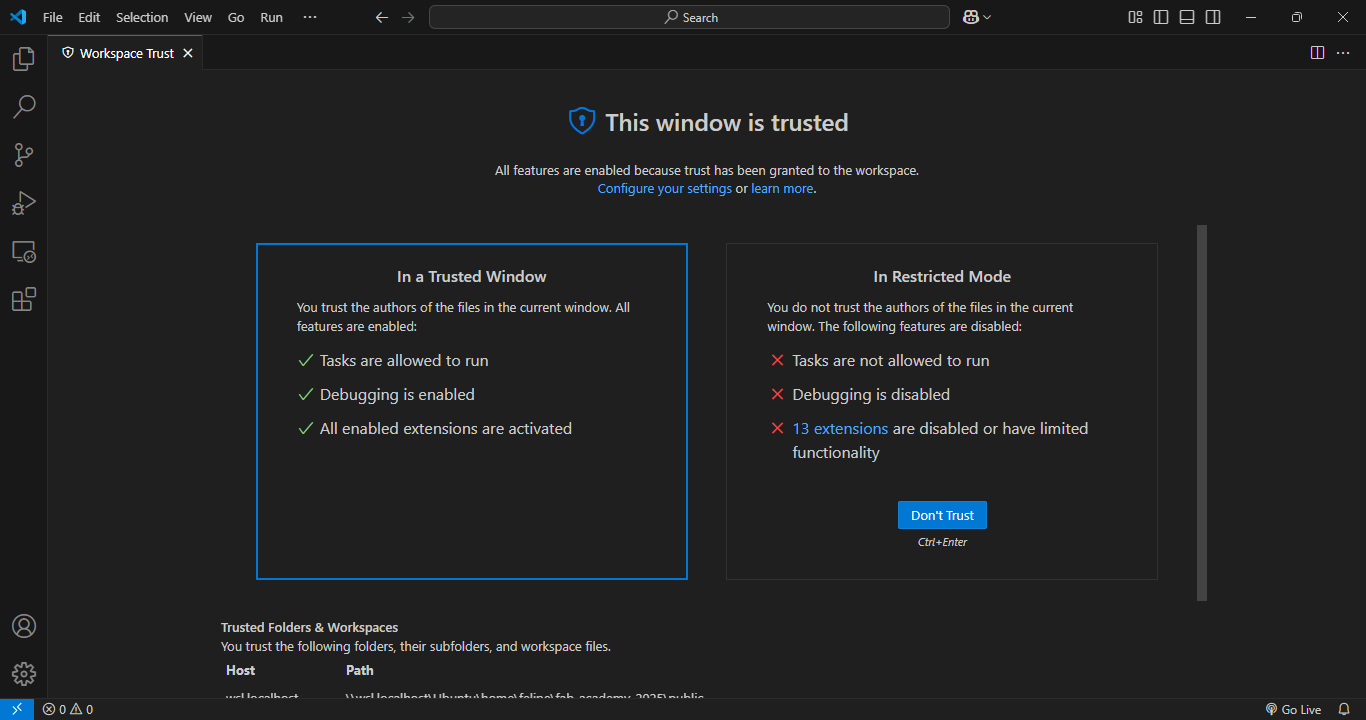
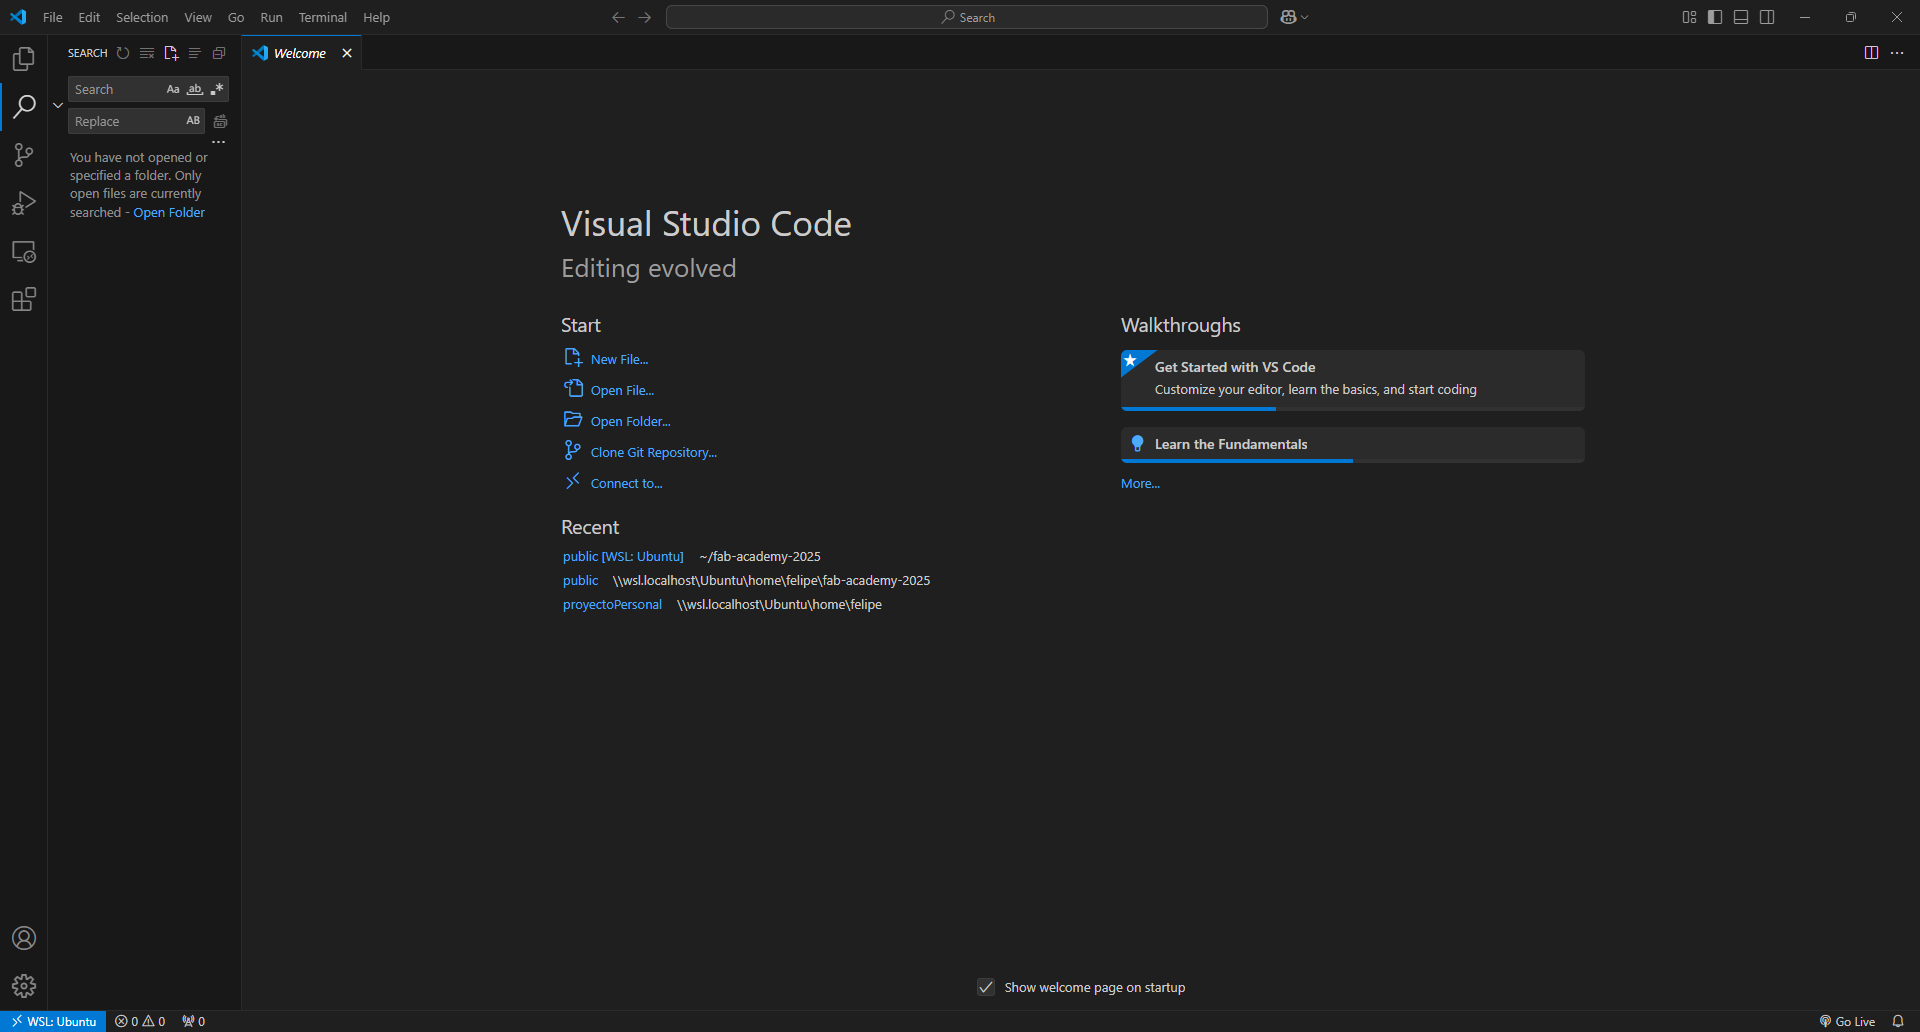
wsl --install1.2 Installing Visual Studio Code and Connecting to WSL
I installed Visual Studio Code and opened my WSL environment inside it. To do this, I installed the Remote - WSL extension in Visual Studio Code.
Steps- Open Visual Studio Code.
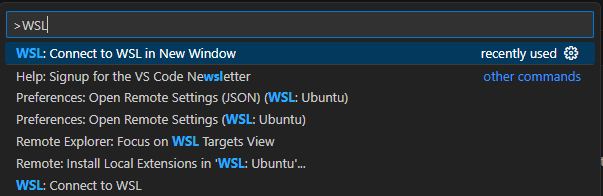
- Install the WSL extension
- Open the Command Palette pressing f1 and typing in WSL
- Open the folder containing the project files and modify the files as required
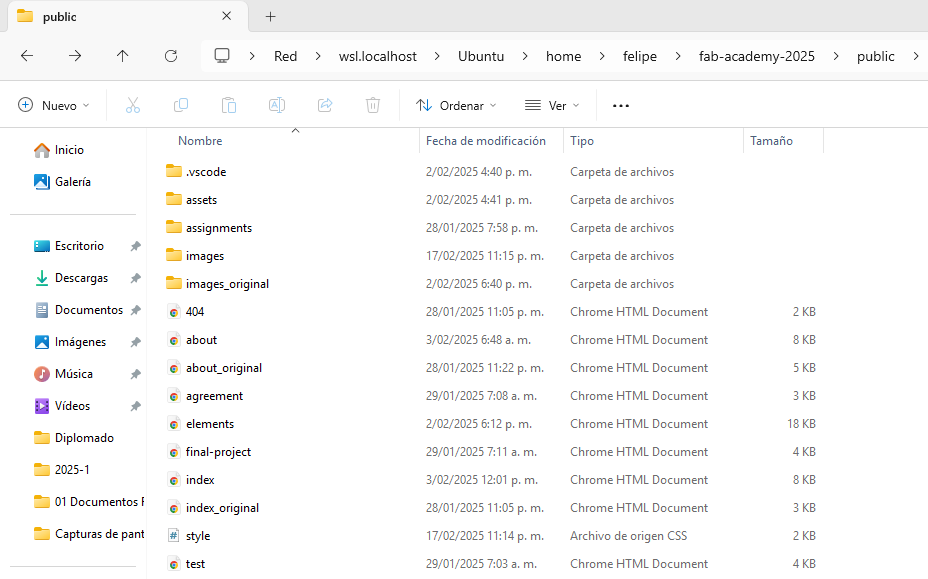
Step 2: Choosing and Downloading a Template
Instead of designing the website from scratch, I chose a professional-looking free HTML template from HTML5 UP called Spectral (link)
2.1 Installing Visual Studio Code and Connecting to WSL
I downloaded the Spectral template as a .zip file and extracted it inside my project folder.
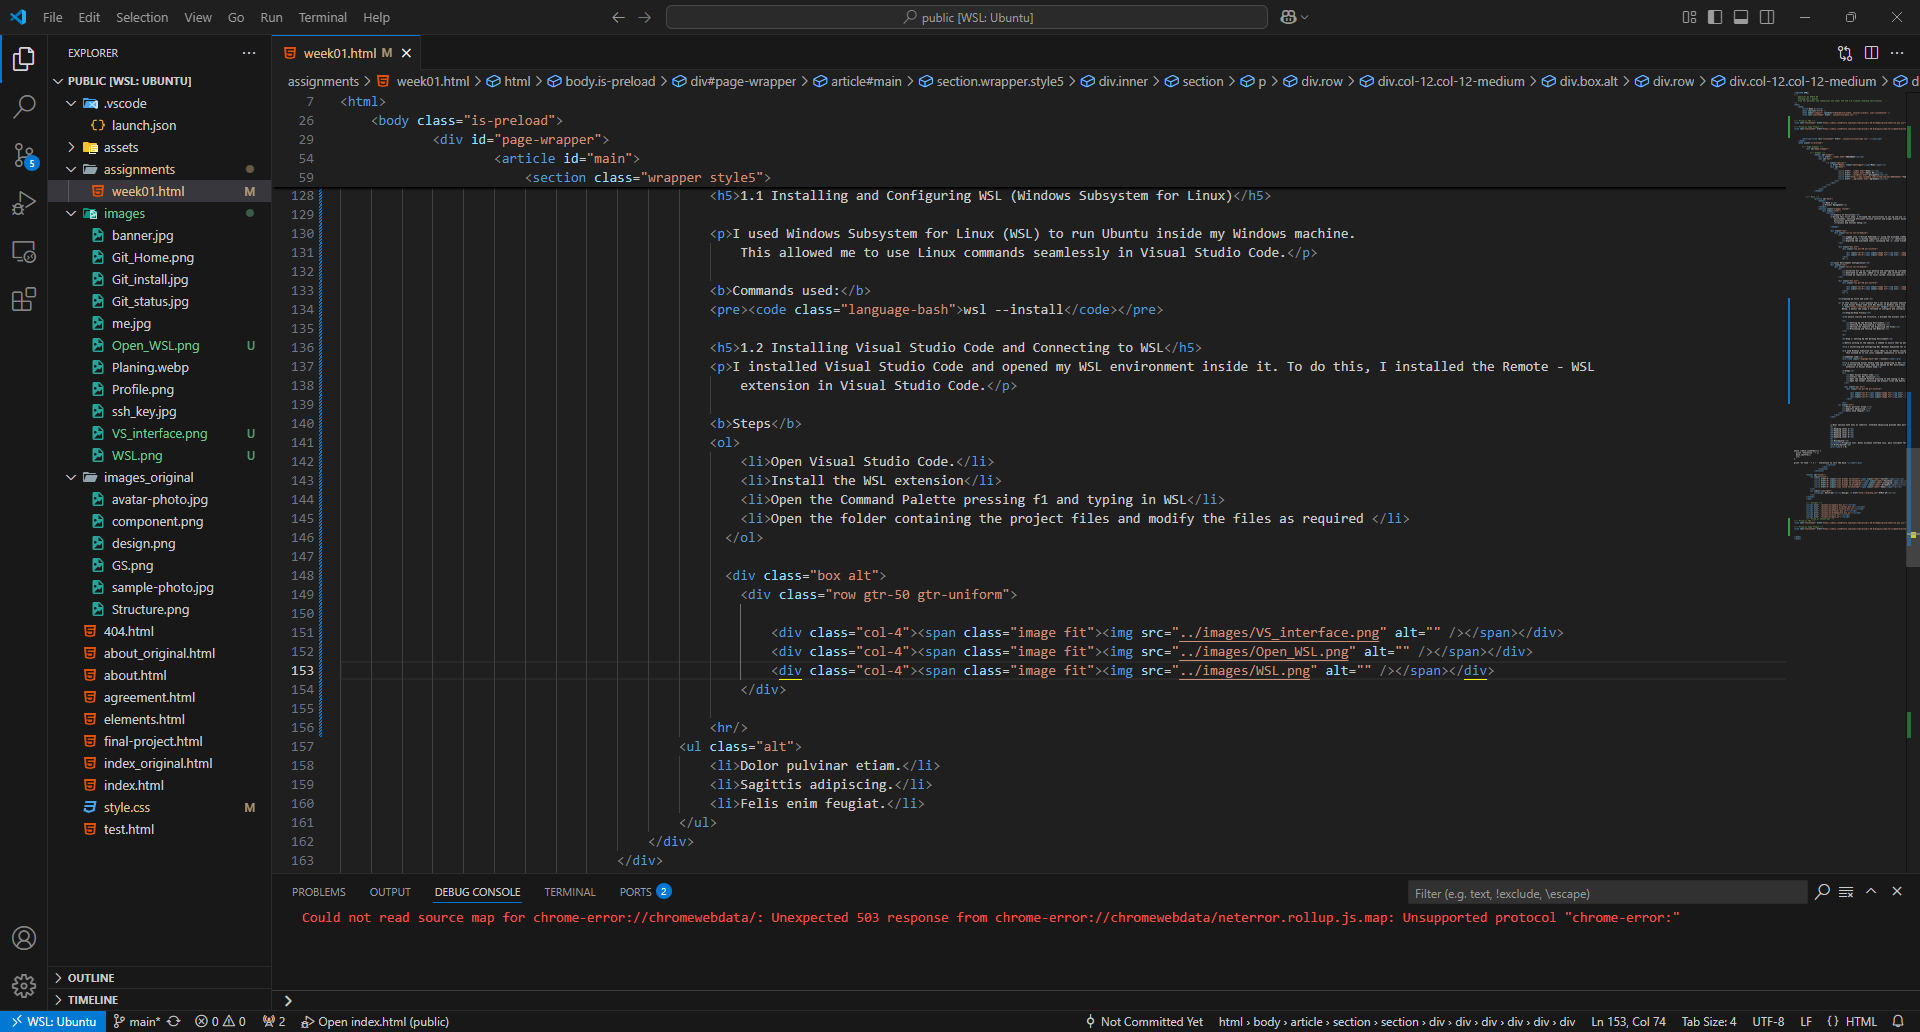
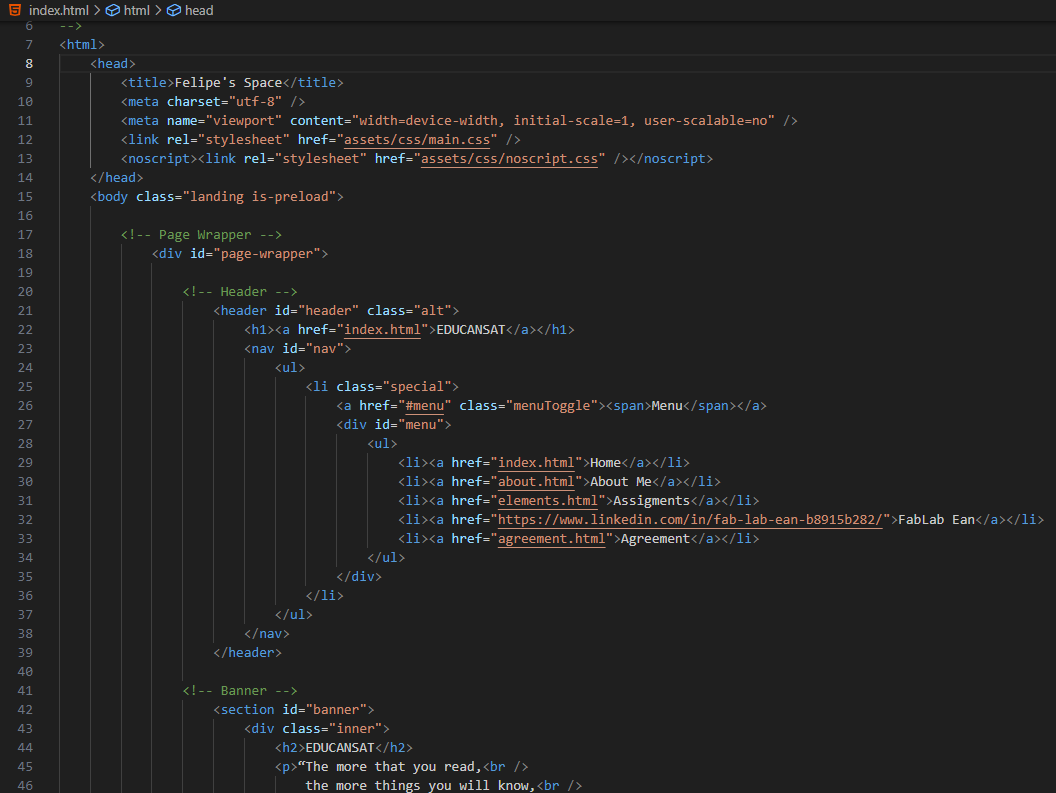
Step 3: Editing the Template and Organizing the Files
I edited the index.html file to change the website title and content. I opened index.html in Visual Studio Code and modified the code:
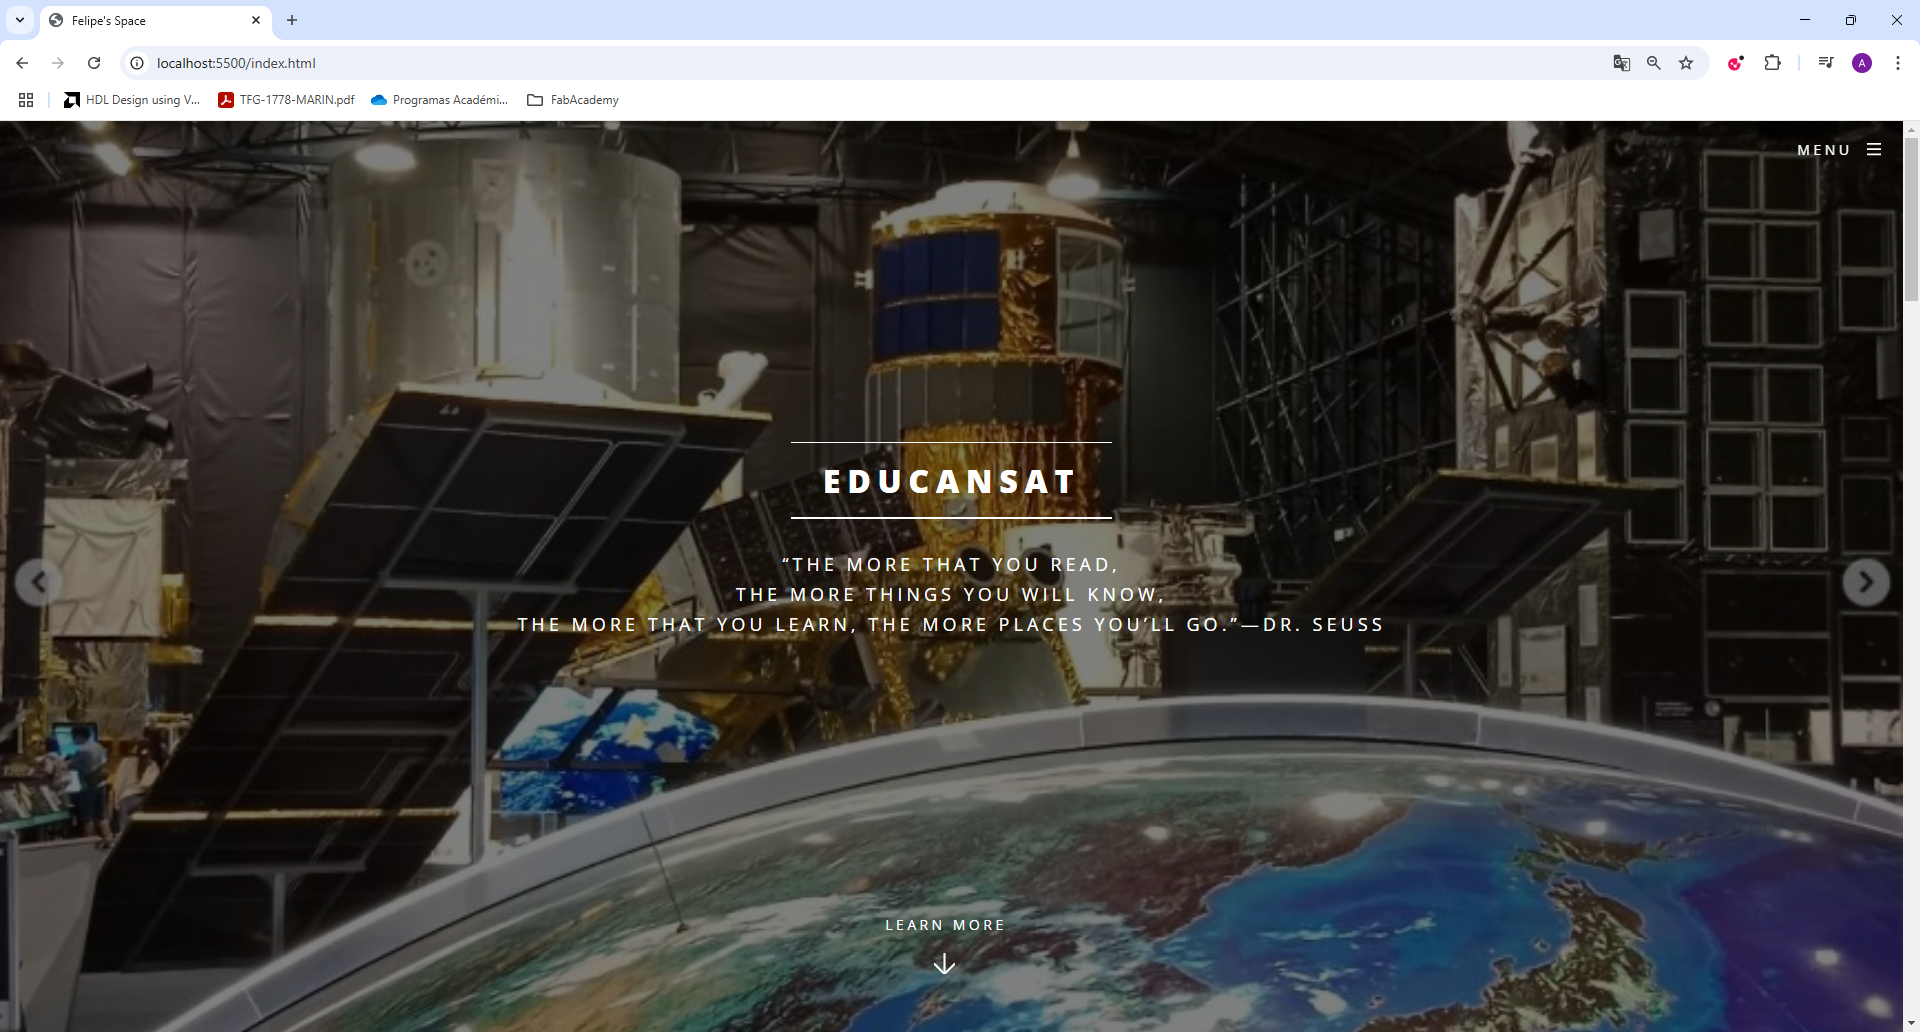
Step 4: Previewing and Testing the Website
After editing the template, I needed to preview it before uploading it to GitLab. I used the live server extension for check my changes in my browser.
Final Thoughts
After completing these steps, my personal Fab Academy website was ready. This website will serve as the main hub for my weekly assignments and documentation.
Key Learnings:- Using WSL with Visual Studio Code.
- Managing a project folder inside WSL Ubuntu
- Customizing an HTML5 template
- Running a local development server