Week 16
Wildcard Week
Wildcard Week: Embroidered Logos Using Computer-Aided Design and Manufacturing
For Wildcard Week, the assignment was to design and produce something using a digital process not covered in previous weeks, documenting the requirements and all necessary steps to reproduce the process.
Idea and Concept
For this week, I decided to use a digital embroidery machine to create custom embroidered logos on t-shirts. I embroidered the Fab Academy logo (in green, red, and blue) on a black cotton t-shirt, and the Santa Fé football club crest on a sports (super dry) t-shirt. The goal was to explore digital embroidery workflows and personalize clothing using computer-aided design and manufacturing.
Materials and Equipment
- Brother embroidery machine (compatible with .PES files)
- Inkscape (for vector logo preparation and conversion)
- Black cotton t-shirt
- Sports "super dry" t-shirt
- Embroidery thread (green, red, blue, and others for the Santa Fé crest)
- Standard embroidery machine accessories (needle, bobbin thread, embroidery hoop, “Q” foot, etc.)
Design and Digitalization Process
The first step was to prepare the logo designs using Inkscape. I imported the logos (Fab Academy and Santa Fé crest) and converted them into vector graphics suitable for embroidery. Using Inkscape's tools, I adjusted the colors and scaled the designs to fit the desired areas on the t-shirts.
After finalizing the vector graphics, I exported the designs in a format compatible with the embroidery machine’s software, and then converted them into .PES files. I made minor adjustments for color selection and stitch size to ensure a good result.
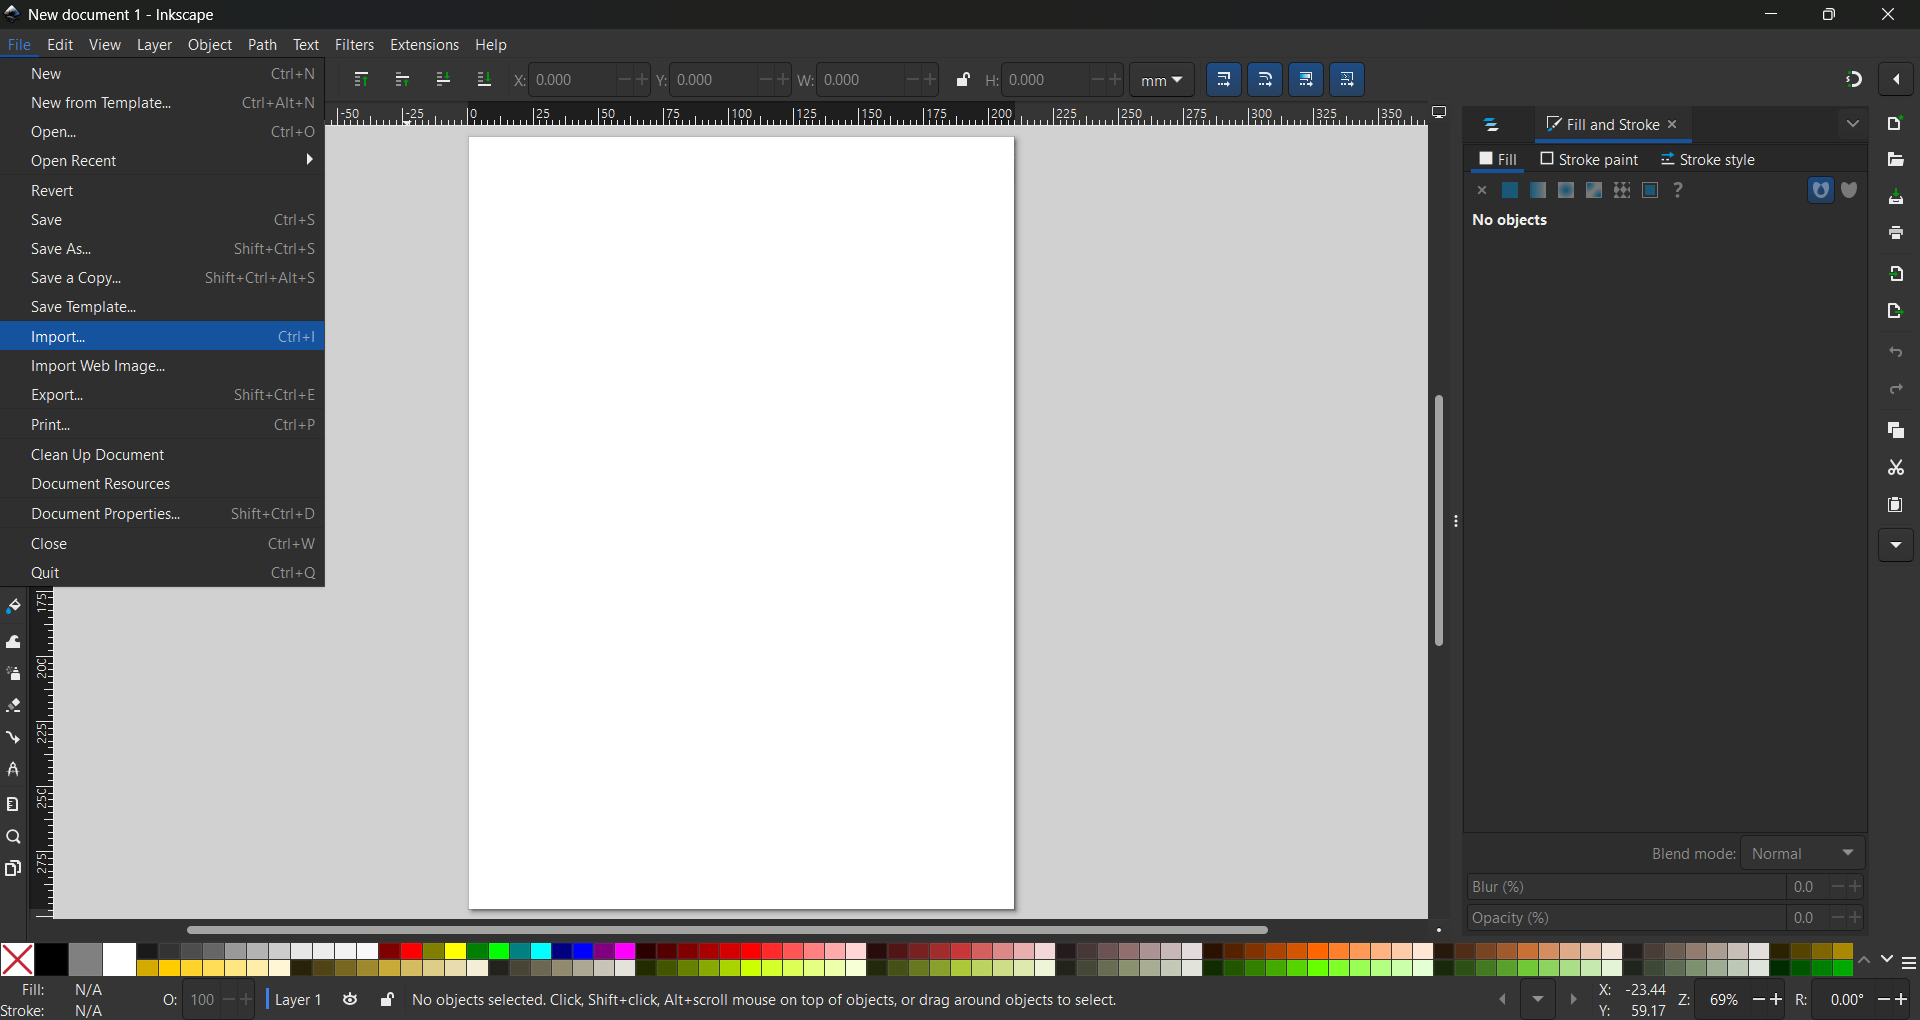
Importing the logo
When prompted, I selected the option “import SVG image as editable object”. This ensures that all elements of the imported SVG can be manipulated, adjusted, and prepared specifically for embroidery requirements (such as resizing, color editing, and converting to paths). This is a key step because having the image as an editable object allows for greater control over each component in the embroidery design.
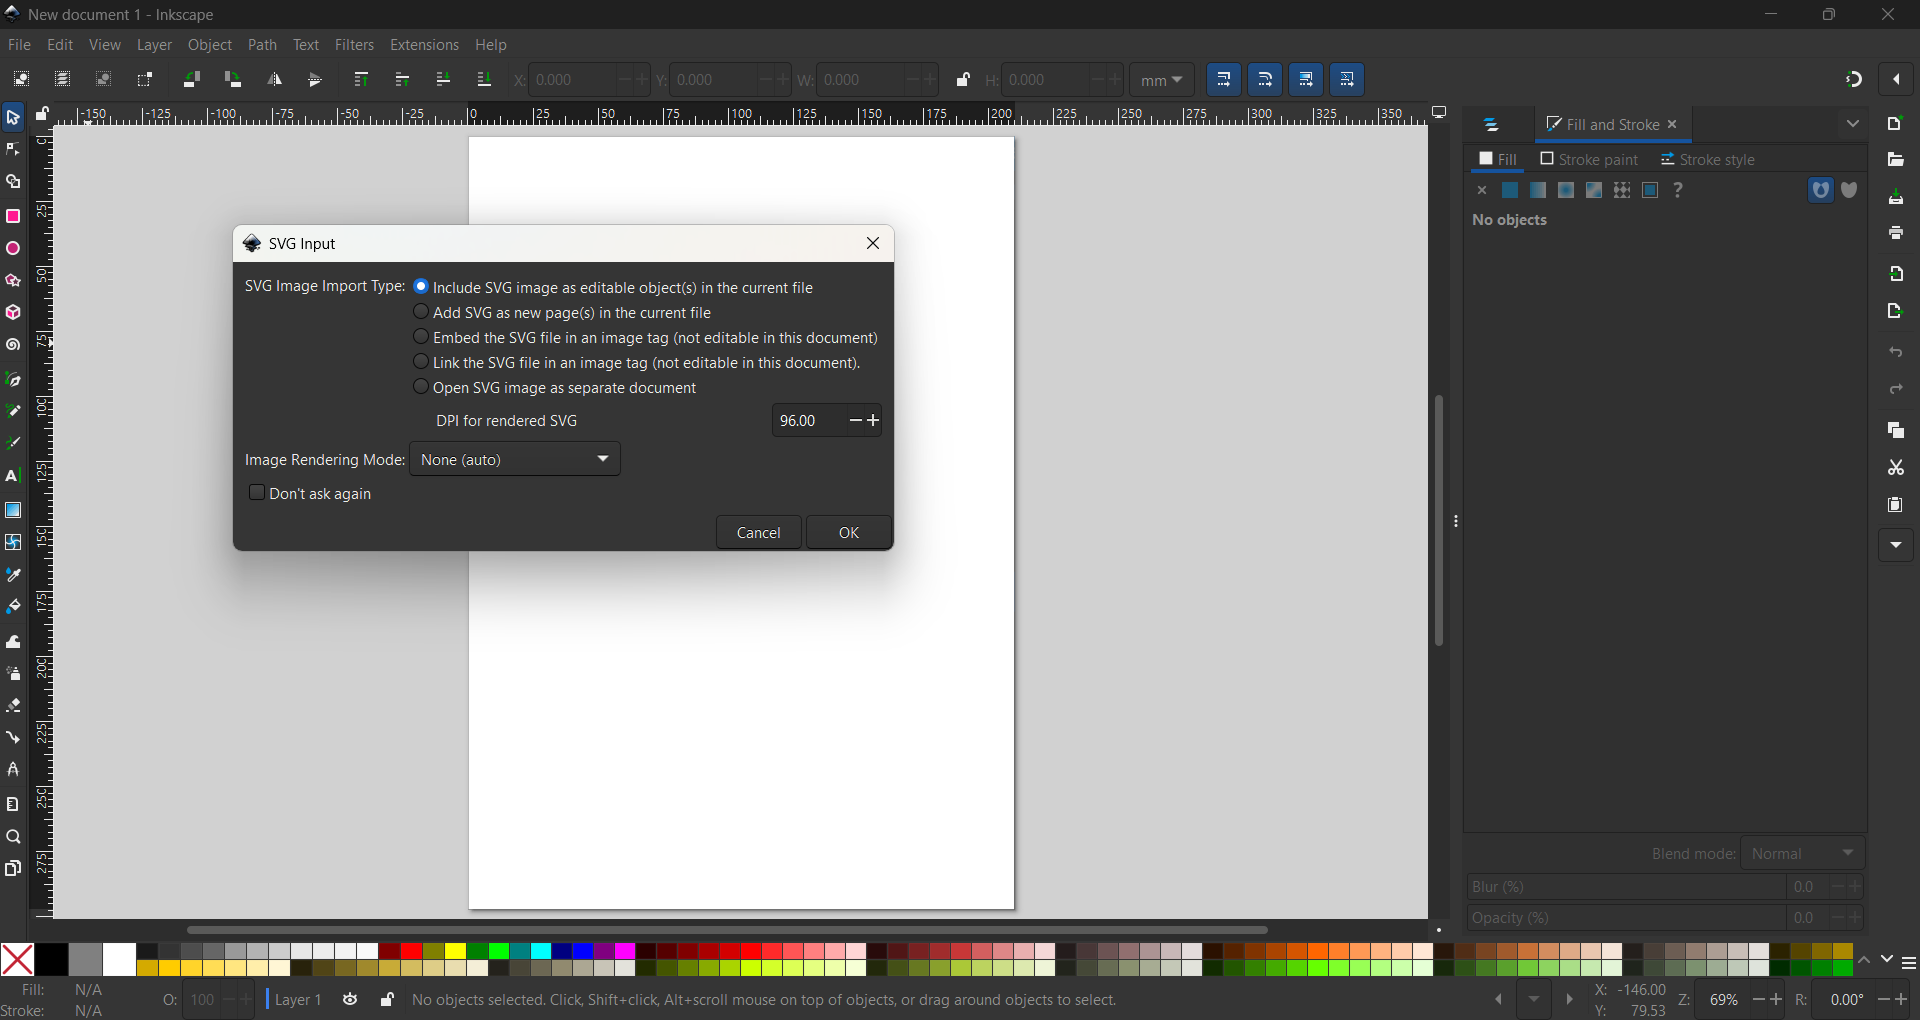
Import dialog in Inkscape: choosing to import SVG as an editable object.
After importing the SVG as an editable object, I used the Object to Path option in Inkscape. This step converts all shapes and text into editable vector paths, which is essential for embroidery preparation. By converting objects to paths, each segment of the design can be accurately interpreted by embroidery software, ensuring the machine follows the exact outlines and fills during stitching.
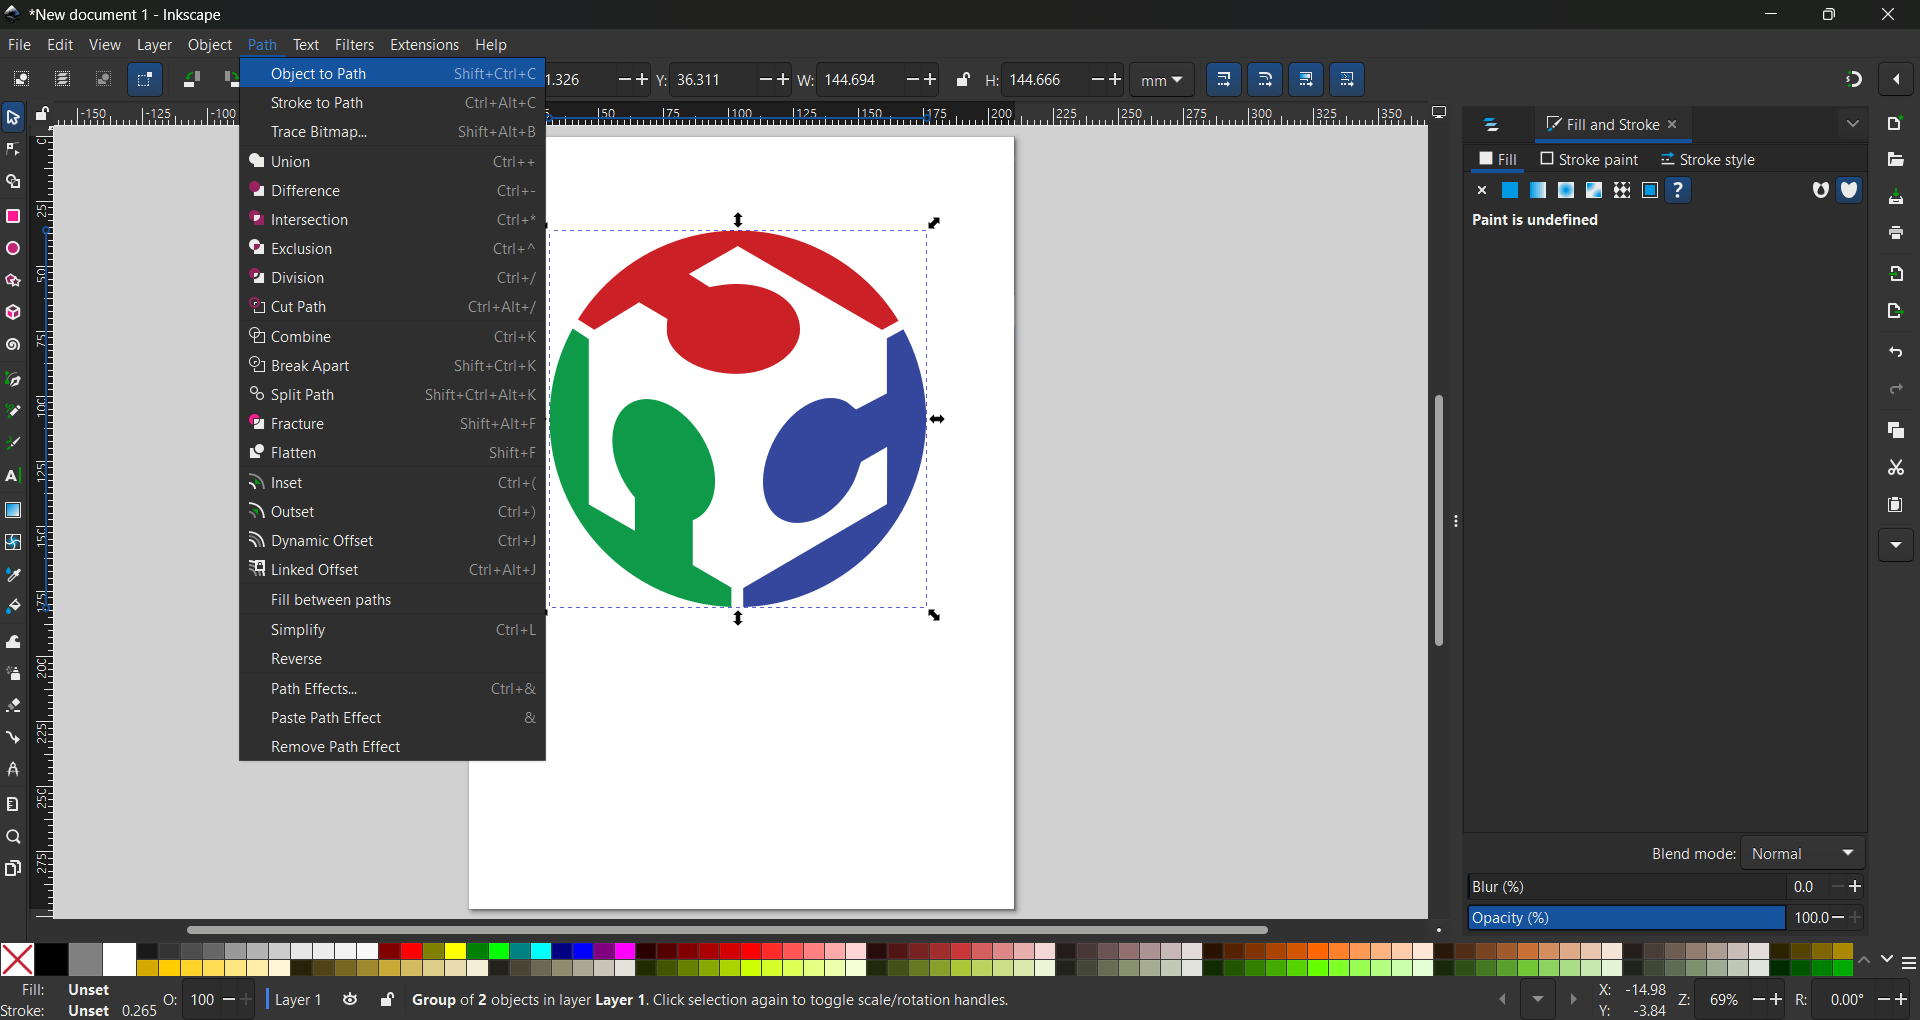
Using the Object to Path option in Inkscape for embroidery vector preparation.
On the right side of the Inkscape interface, three separate paths are now visible in the objects panel—each one representing a different color in the design. In embroidery, each path will be interpreted as a single stitching segment. This separation is critical because, during the manufacturing process, the embroidery machine will recognize each path as a cue to change thread color, allowing for precise and efficient color transitions in the final stitched logo.
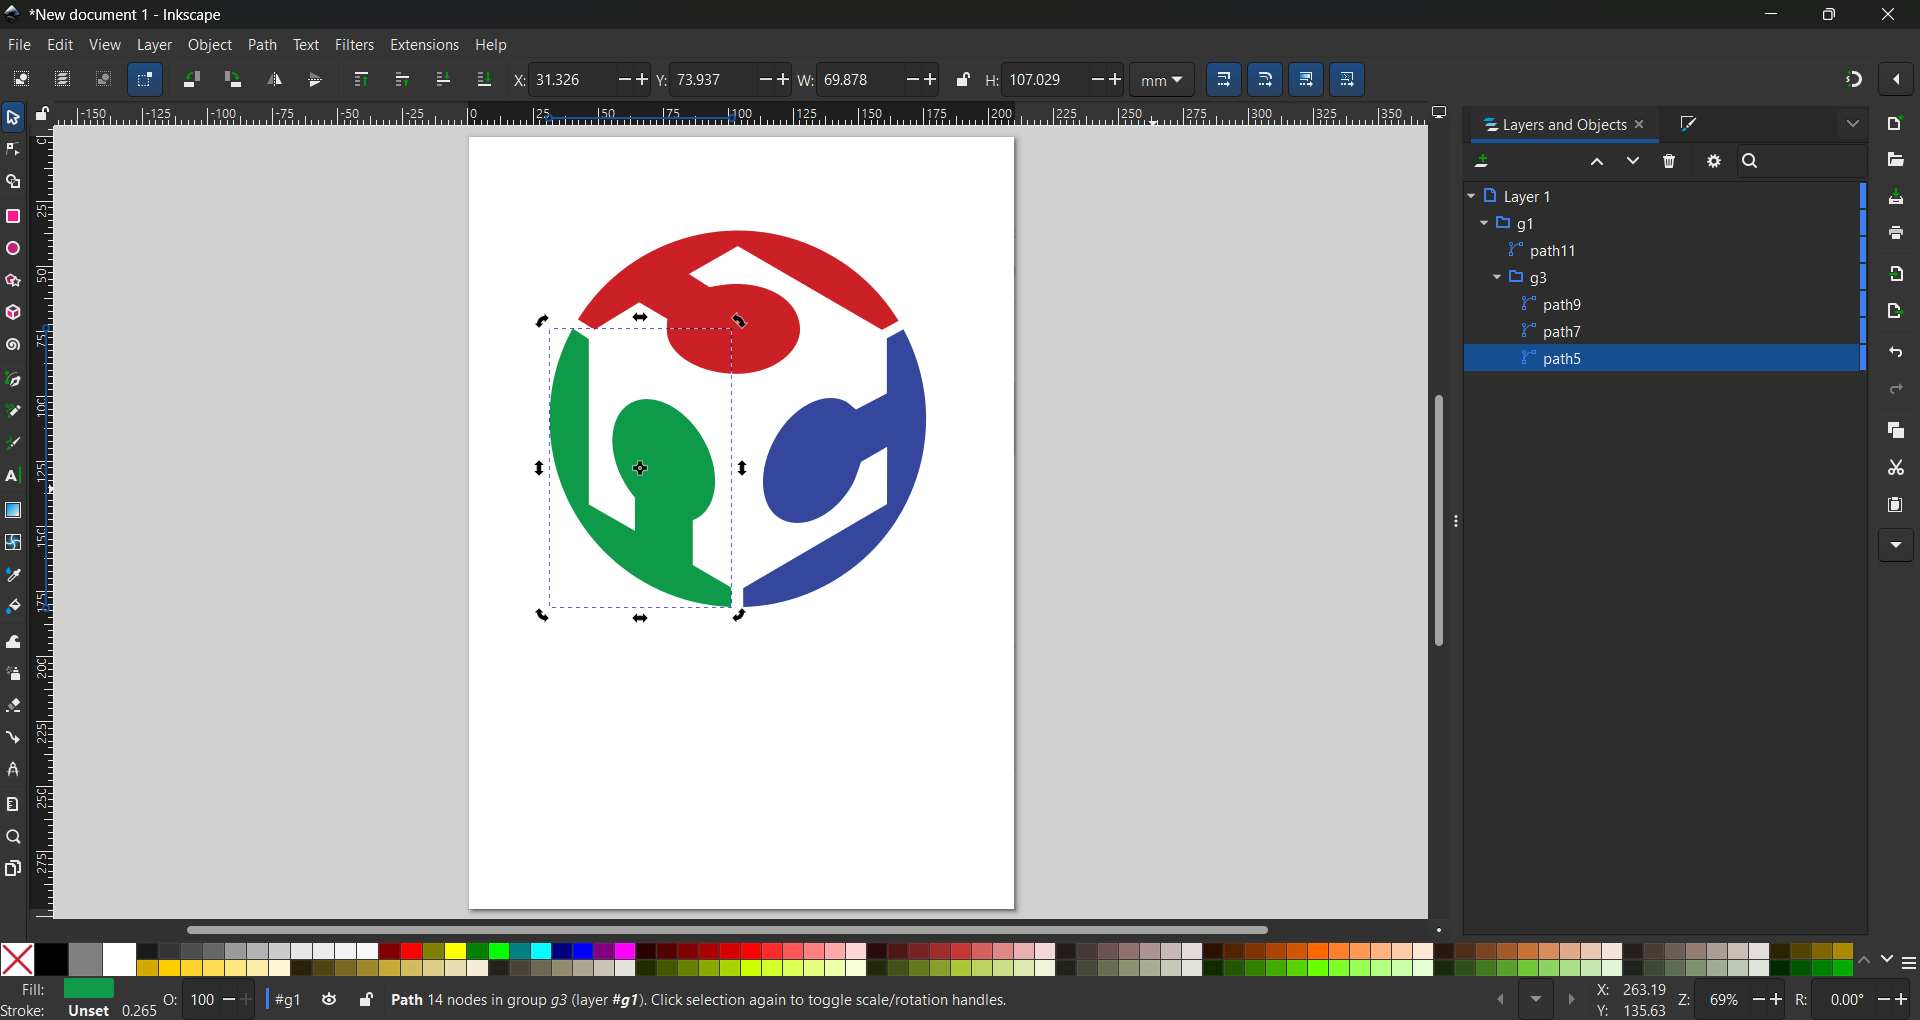
Objects panel in Inkscape showing each color as a separate path for thread color management.
Once the paths were created, I renamed each one to make identification easier (for example, “green,” “red,” and “blue”). Then, I selected each path individually and set the appropriate color for both the fill and stroke properties in Inkscape. This ensures that every segment will be stitched with the correct thread color during the embroidery process, and it also improves compatibility with embroidery conversion software.
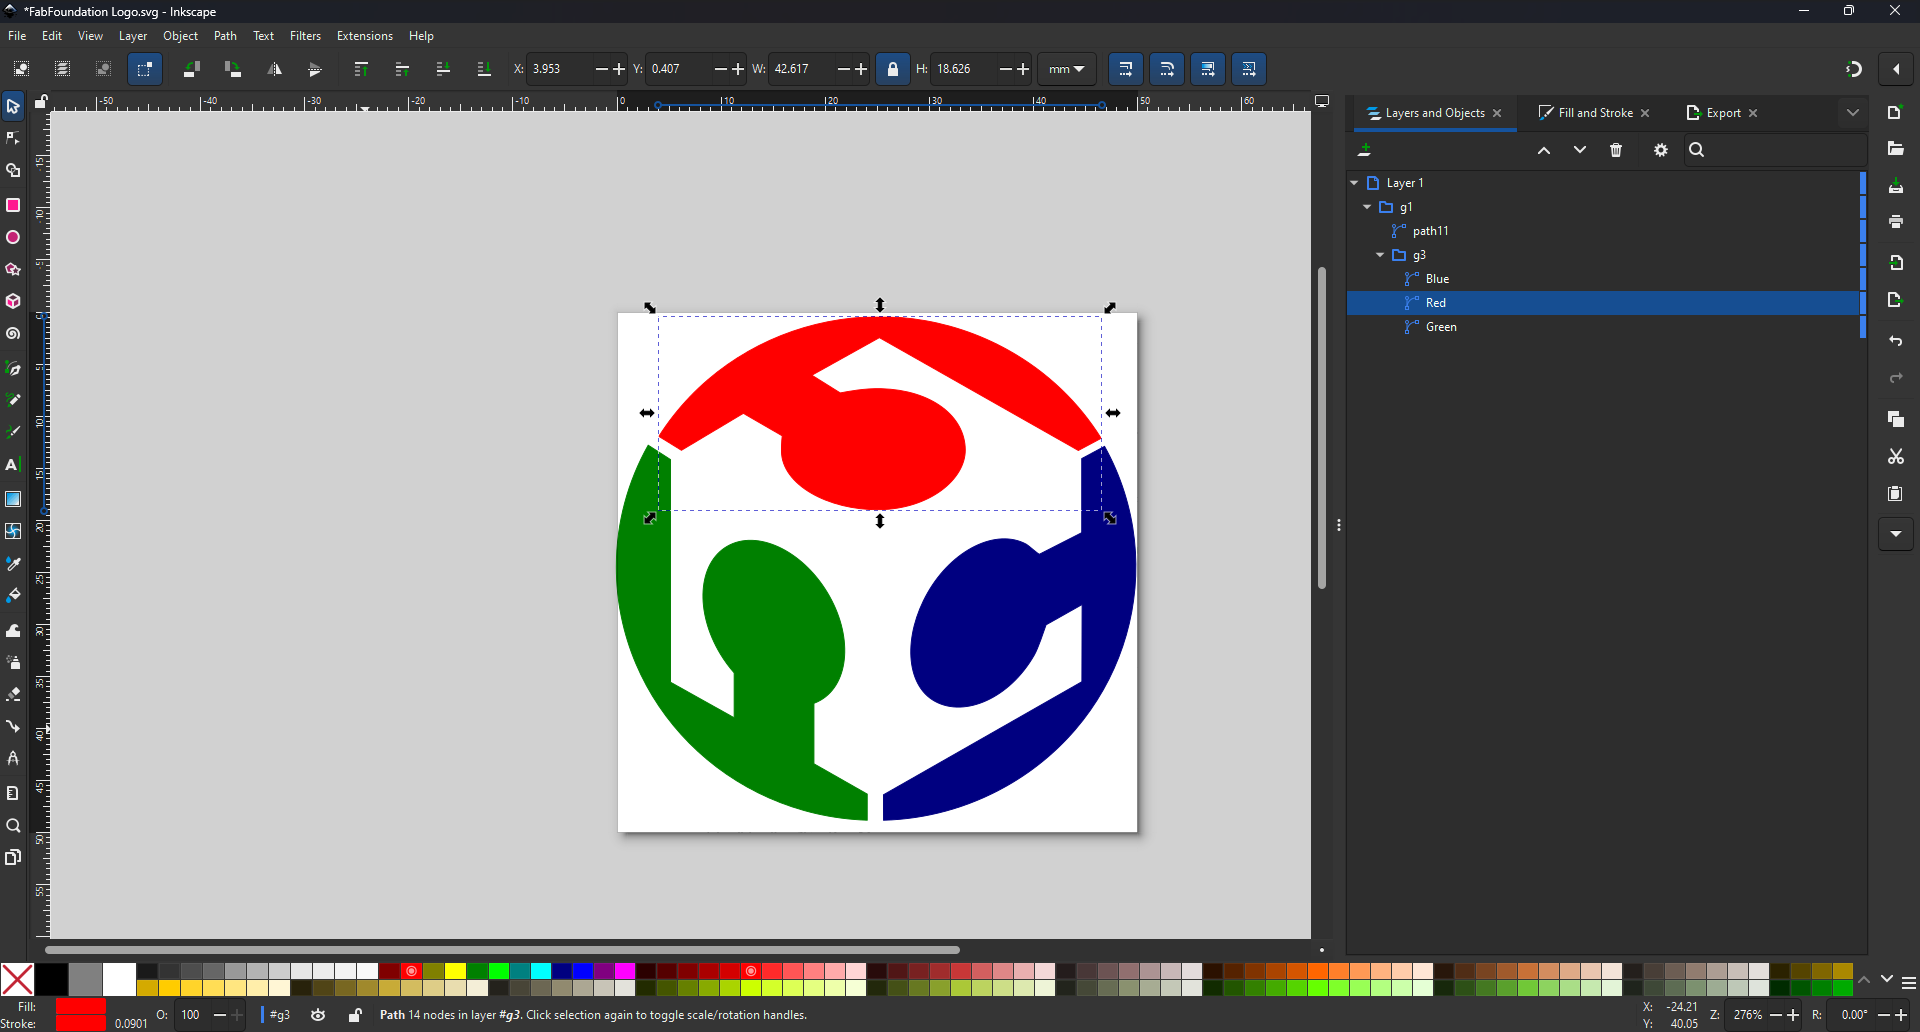
Renaming each path and setting both fill and stroke colors to match thread selections.
To convert vector designs into embroidery files, I installed the Ink/Stitch extension for Inkscape. Ink/Stitch is an open-source add-on that enables Inkscape to simulate, preview, and export embroidery designs in various machine-compatible formats such as .PES, .DST, and others. This extension adds specialized embroidery tools directly to Inkscape, allowing users to assign stitch types, adjust parameters like stitch length and density, visualize thread paths, and export the final design for use on digital embroidery machines. Since Ink/Stitch is not included with Inkscape by default, I documented the download and installation process as part of this assignment.
The first step was to visit the official Ink/Stitch website at inkstitch.org. On the homepage, I selected the Downloads option to access the latest version of the extension for my operating system.
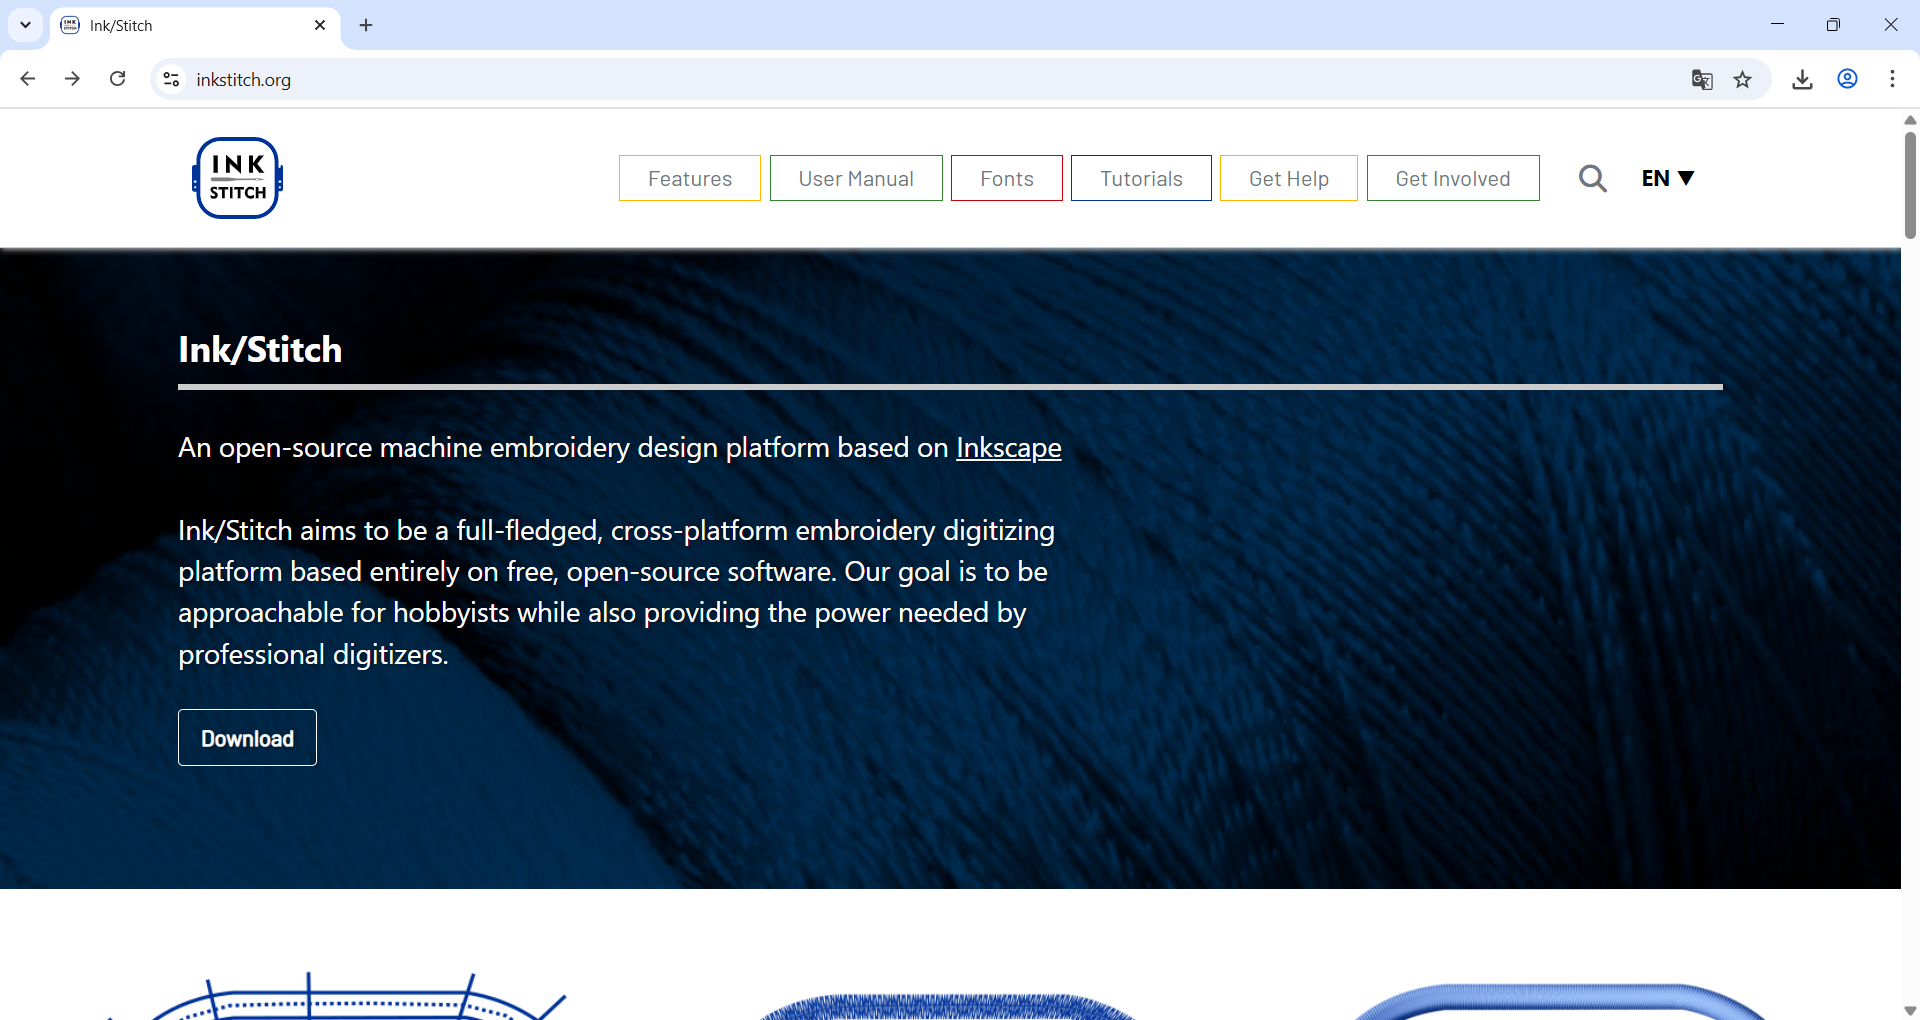
Accessing the Downloads section on the Ink/Stitch website.
I then selected the appropriate operating system and version, checked its specific features and requirements, and initiated the download of the Ink/Stitch extension package.
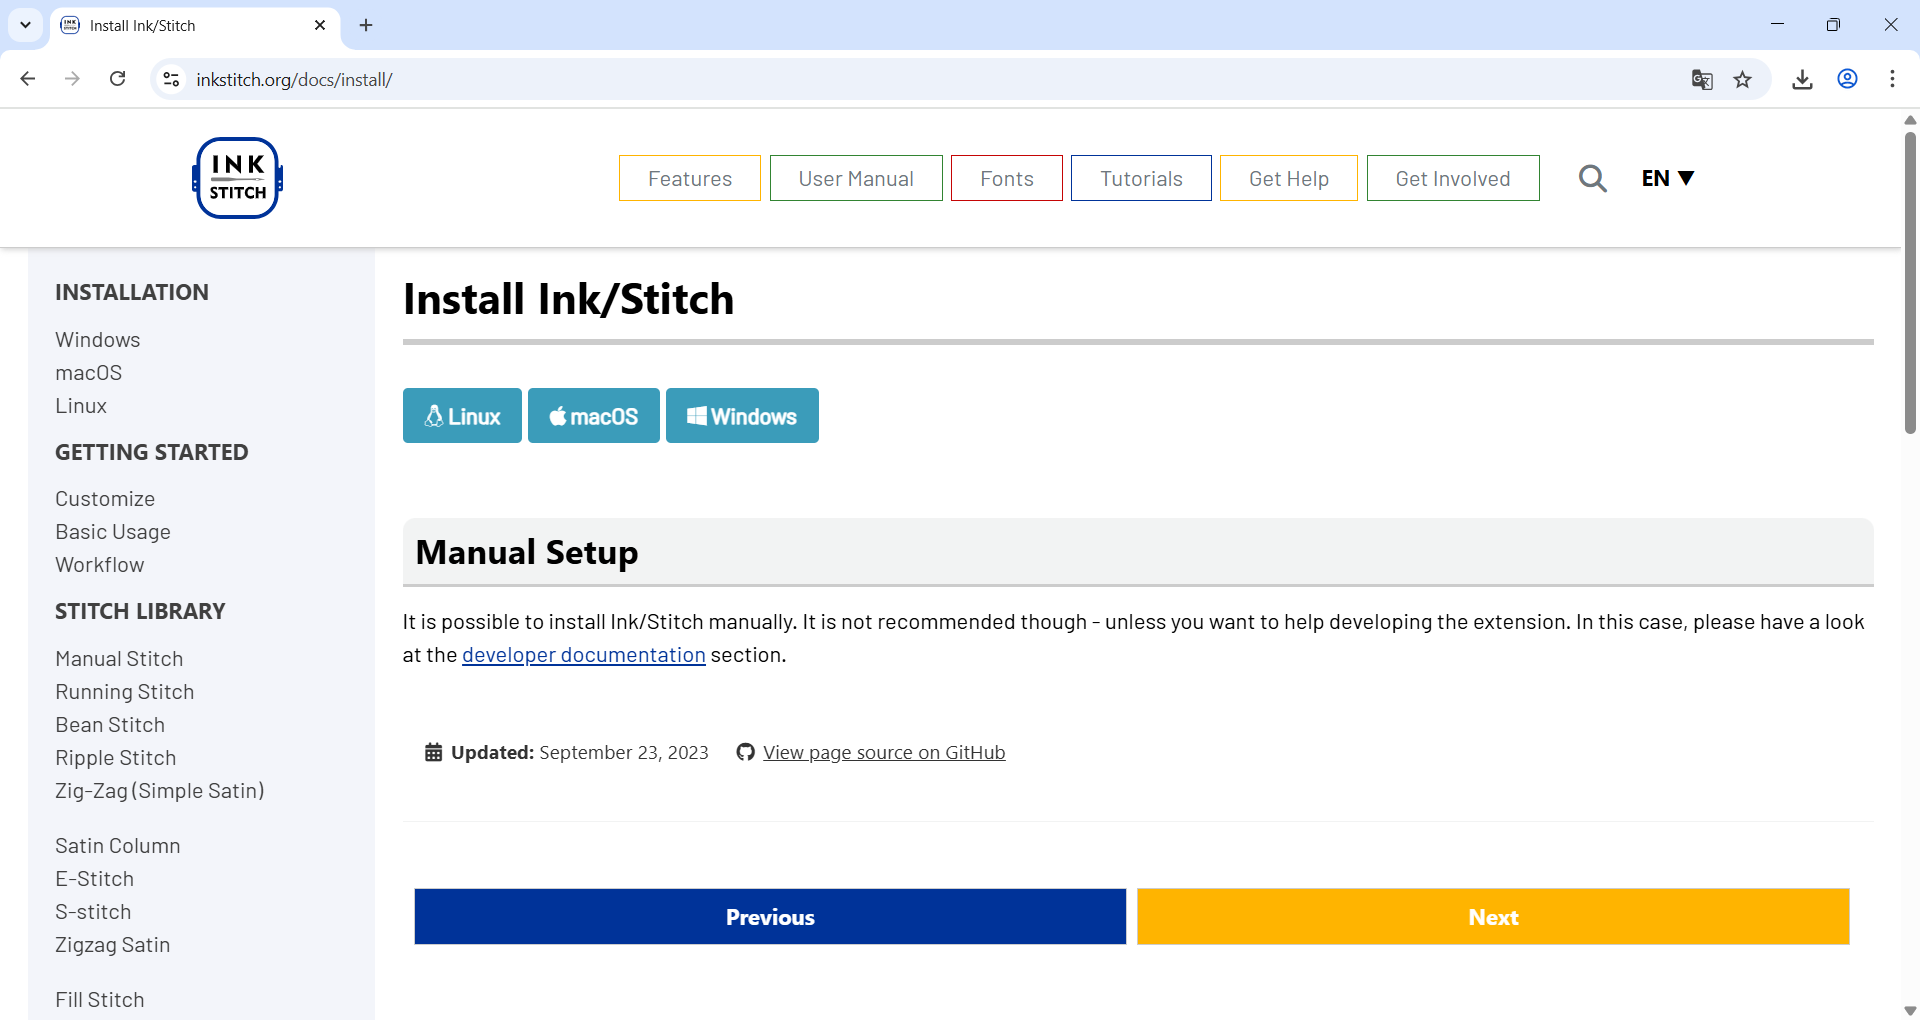
Selecting the correct operating system and starting the Ink/Stitch download.
After downloading the package, I followed the installation steps as indicated for my operating system. Once the installation was complete, I restarted Inkscape to enable the Ink/Stitch extension.
Restarting Inkscape after installing Ink/Stitch to activate the extension.
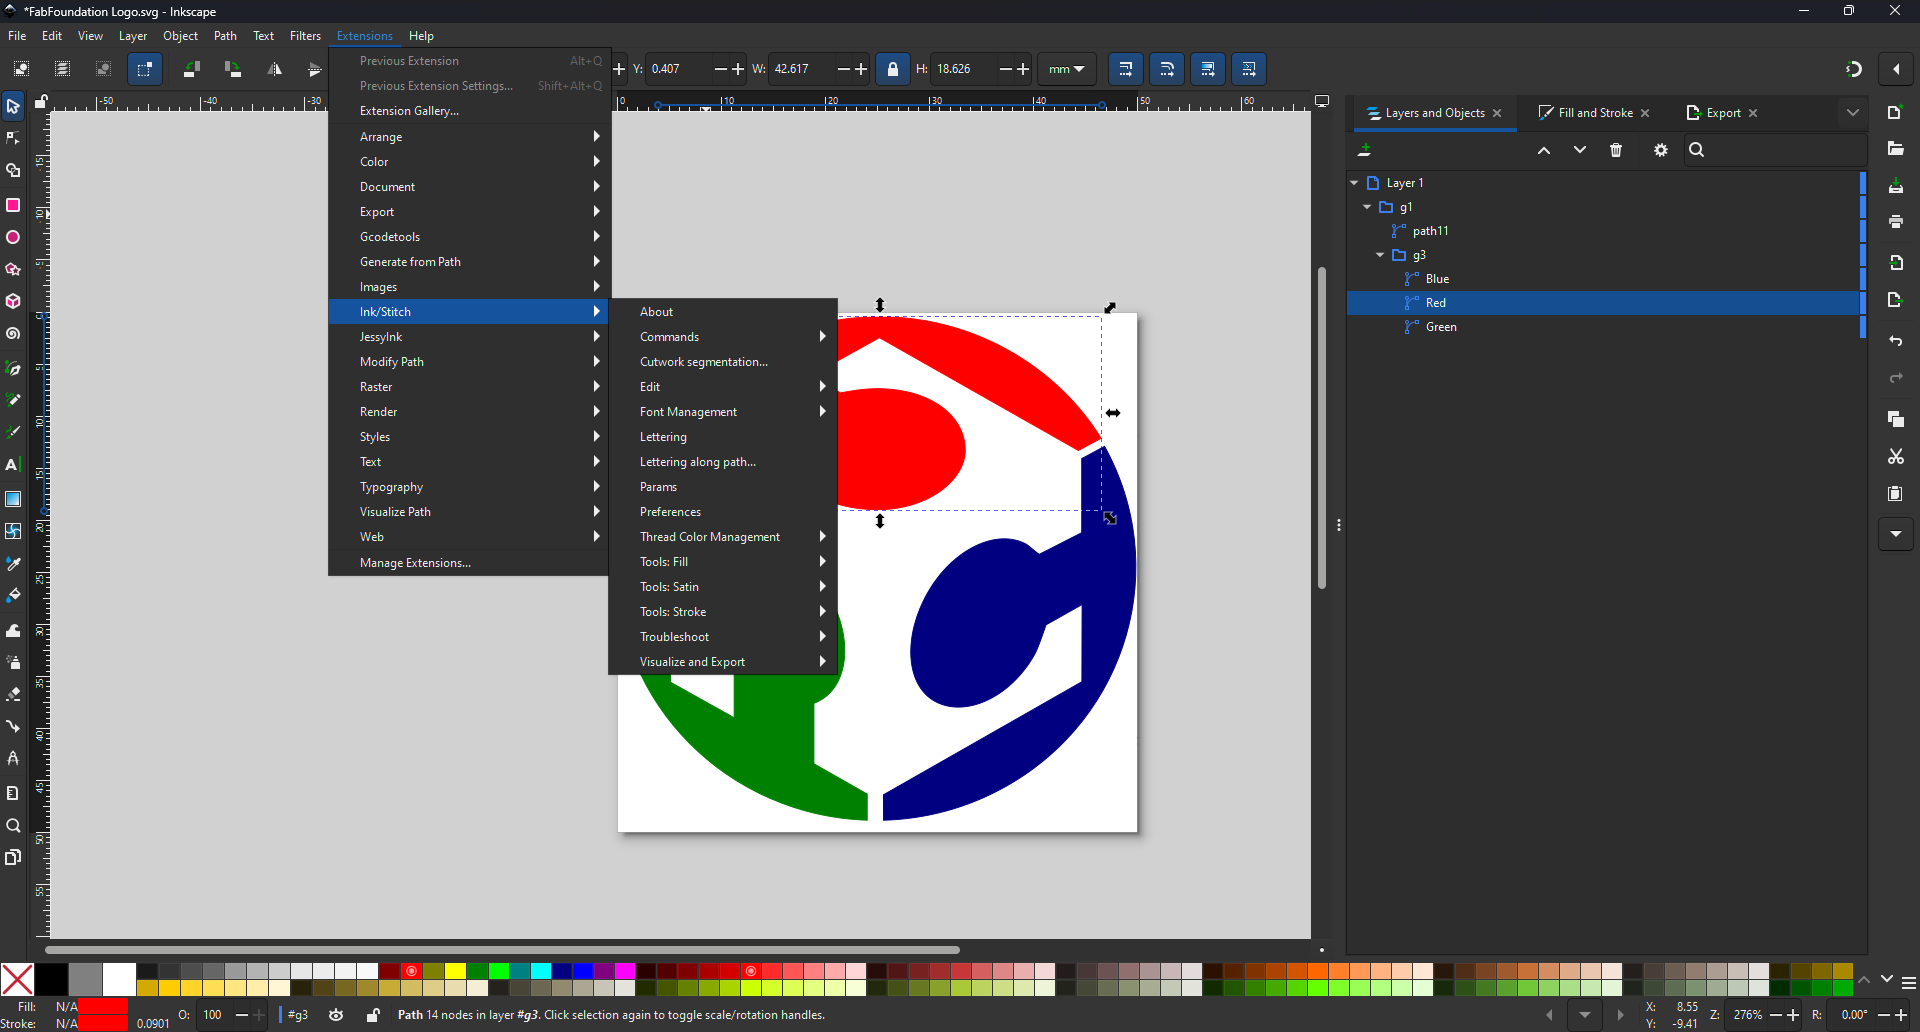
Within the Ink/Stitch extension, the Params option allows you to configure detailed embroidery parameters for your selected paths or objects. This feature provides control over key stitch settings such as stitch type (e.g., fill, satin, running), stitch length, density, underlay, angle, and thread color assignment. Adjusting these parameters is crucial for optimizing the quality and appearance of the final embroidery, as it ensures that each part of the design is produced with the correct technique and finish, tailored to the fabric and design complexity.
After selecting each path in my design, I accessed the Params menu from the Ink/Stitch extension. In this menu, I could define the stitch type (such as fill or stroke), set the stitch length and density, and assign thread colors for each segment. These adjustments help optimize the embroidery outcome by matching the stitching style and parameters to the design's needs and the fabric being used.
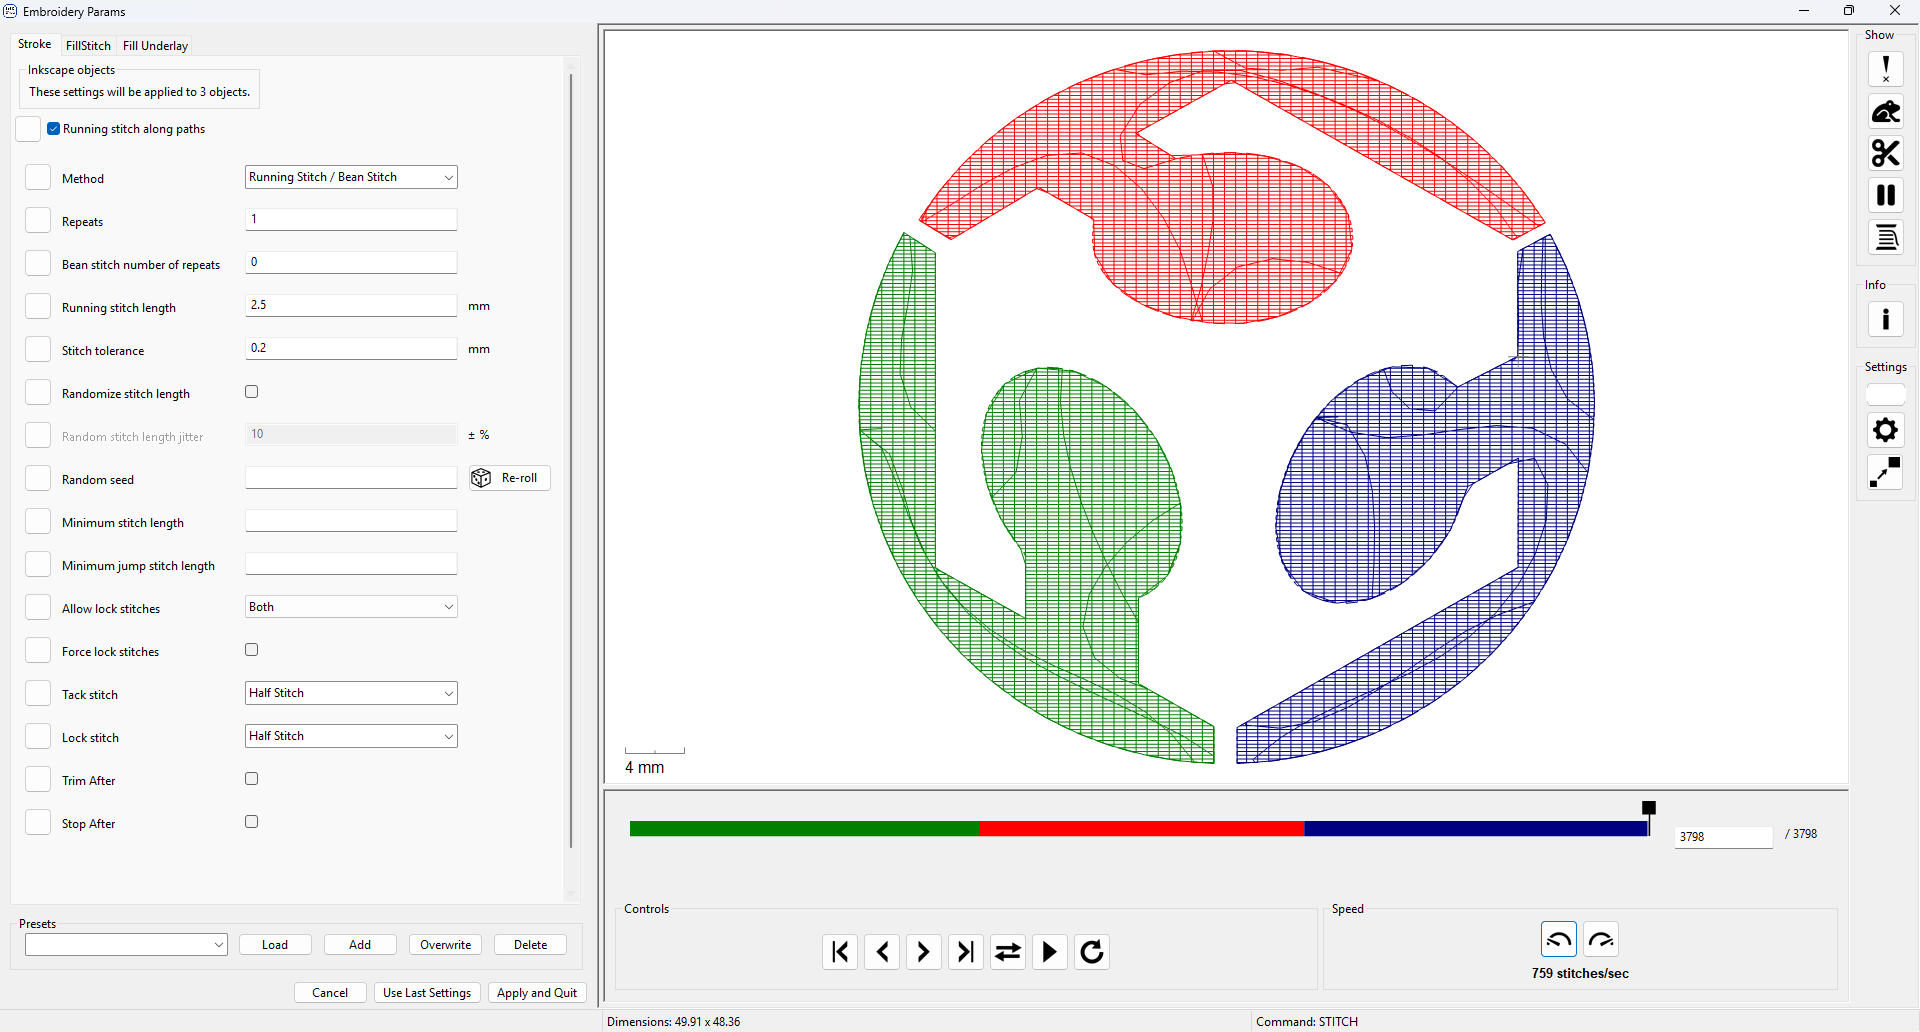
Configuring stitch parameters and colors for each path using the Ink/Stitch Params menu.
Once all embroidery parameters were set, I proceeded to export the design for the embroidery machine. Using the Ink/Stitch extension menu, I selected the option to Export and chose the .PES file format, which is compatible with Brother embroidery machines. This step generates a machine-readable file containing all the stitch instructions, color information, and layout needed for the embroidery process.
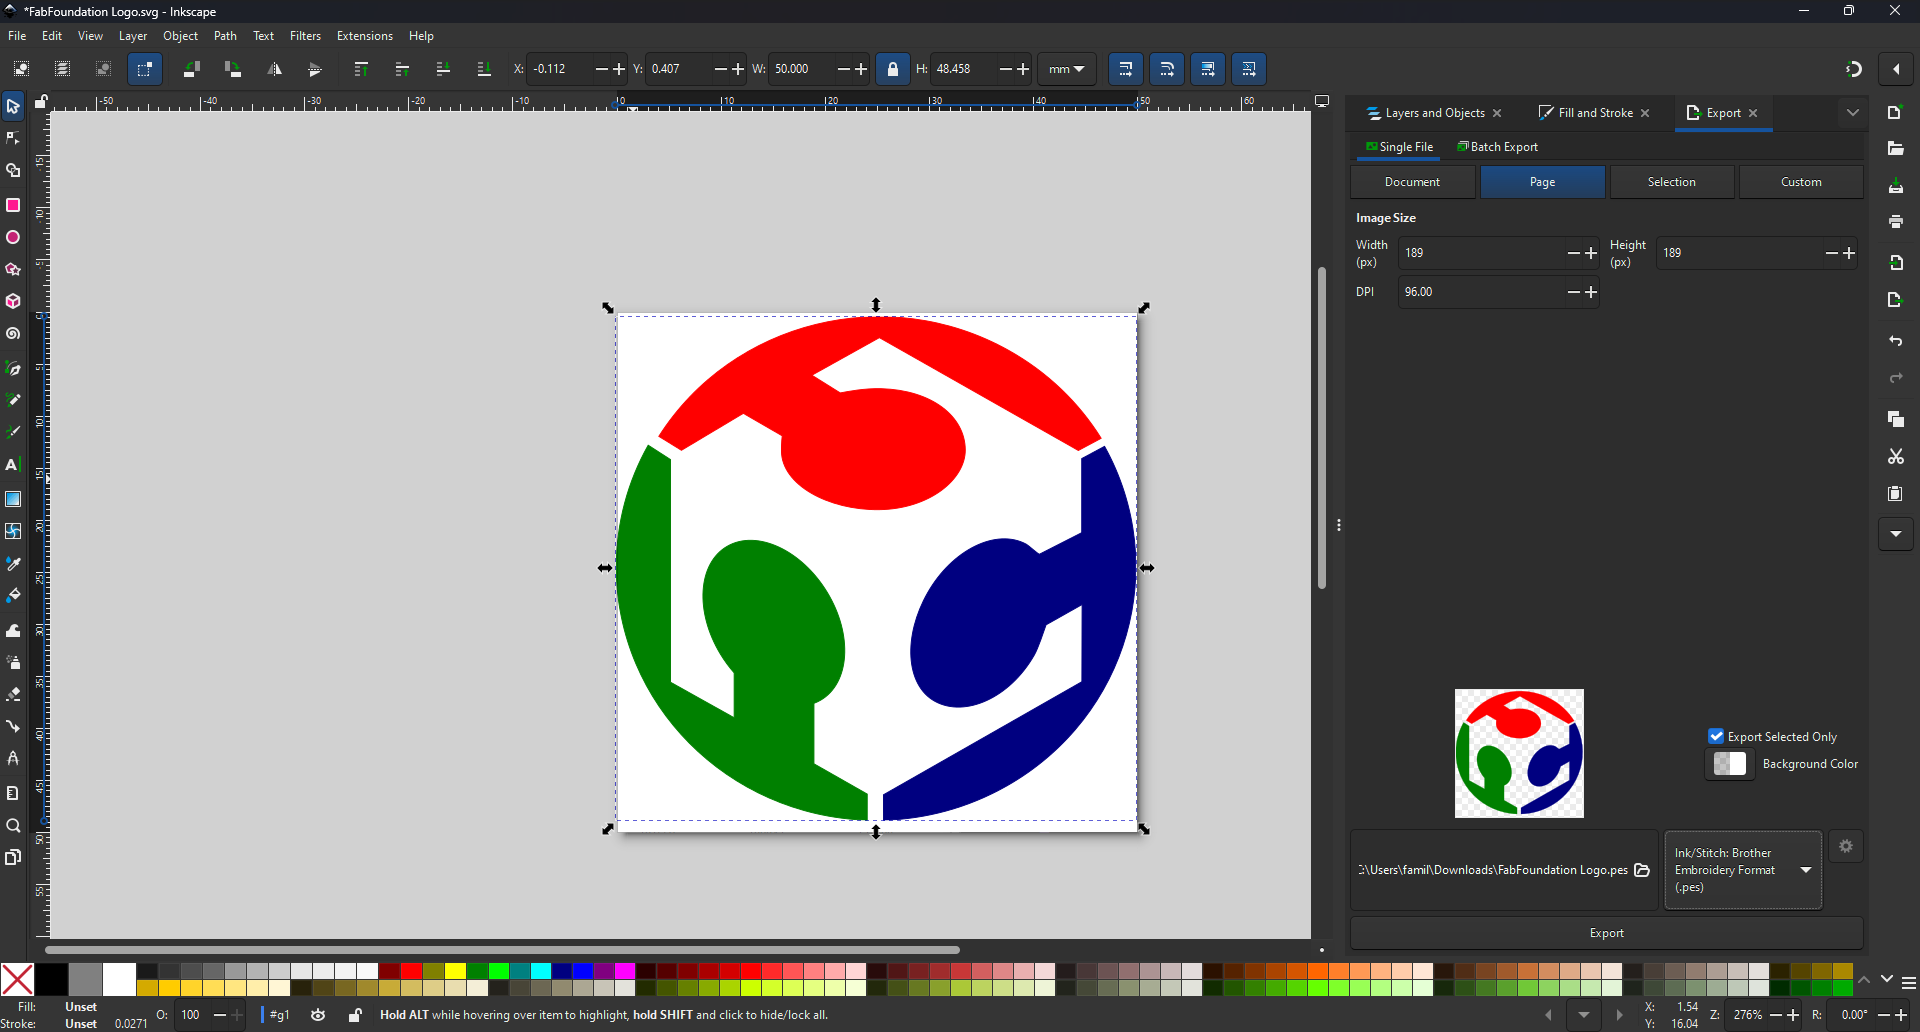
Exporting the finished design as a .PES file for use on the embroidery machine.
To avoid issues with sizing or unwanted objects in the exported file, it is highly recommended to select the option to export only the selected object(s). This ensures that only the intended design area is included in the final .PES file. Additionally, in this dialog you can choose the destination folder for saving the file, which is especially convenient if you want to export directly to a USB drive for use with the embroidery machine.
Machine Setup and Embroidery Process
Thread Preparation
Before starting the embroidery process, I selected the appropriate thread colors for each segment of the design. Having a wide variety of thread colors allows for precise matching to the digital design and ensures a vibrant final result. It is important to organize the thread spools in advance, as the embroidery machine may require several color changes during stitching.
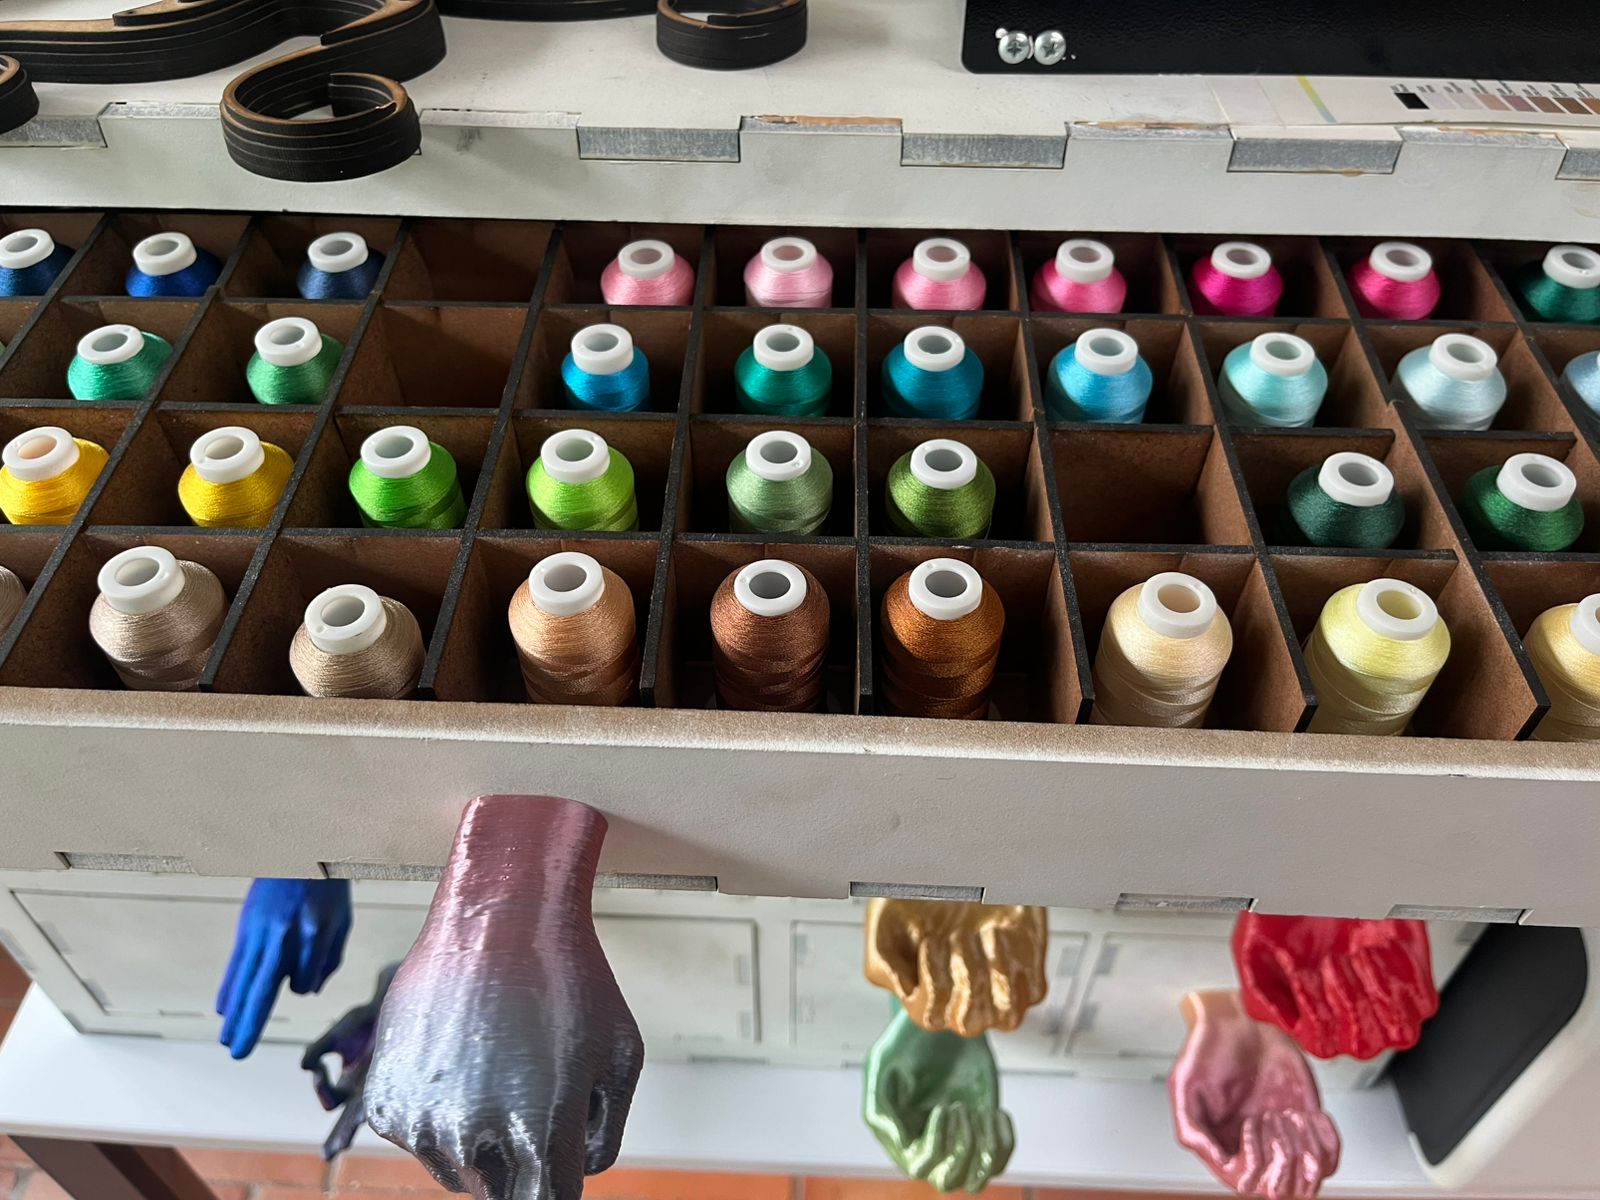
Selecting and organizing thread colors before starting the embroidery process.
Machine Setup & Accessories
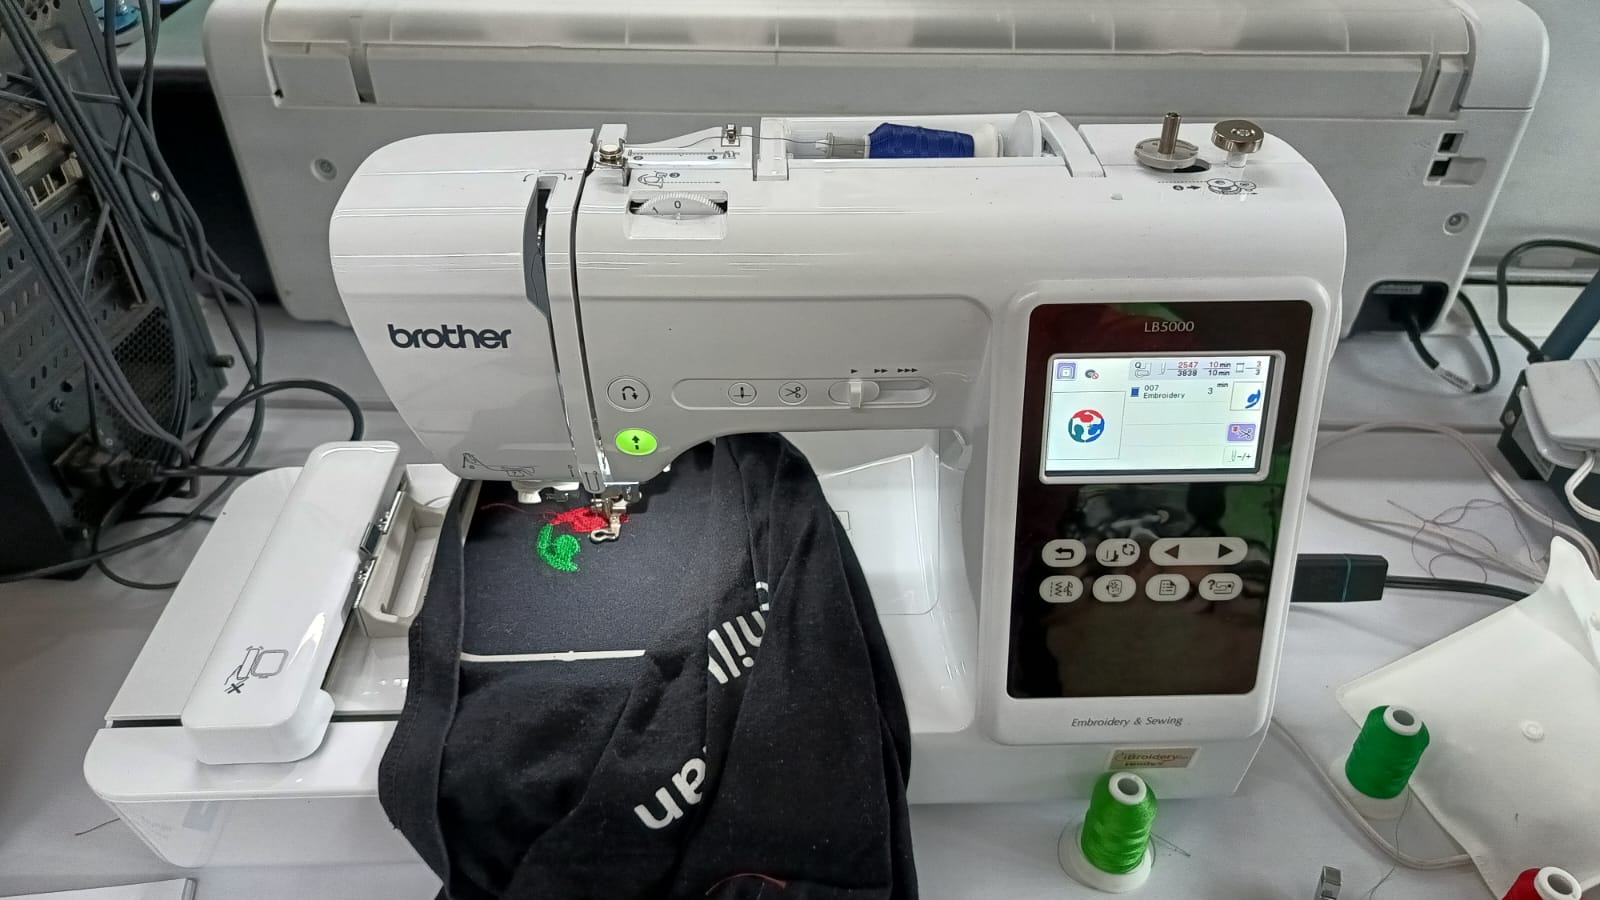
With the thread colors prepared, I proceeded to set up the Brother LB5000 embroidery machine. This included attaching the embroidery foot (“Q” foot), ensuring the needle and bobbin were correctly installed, and confirming that the upper and lower threads matched the requirements of the design. Proper setup of the machine and accessories is critical for a smooth and trouble-free embroidery process.
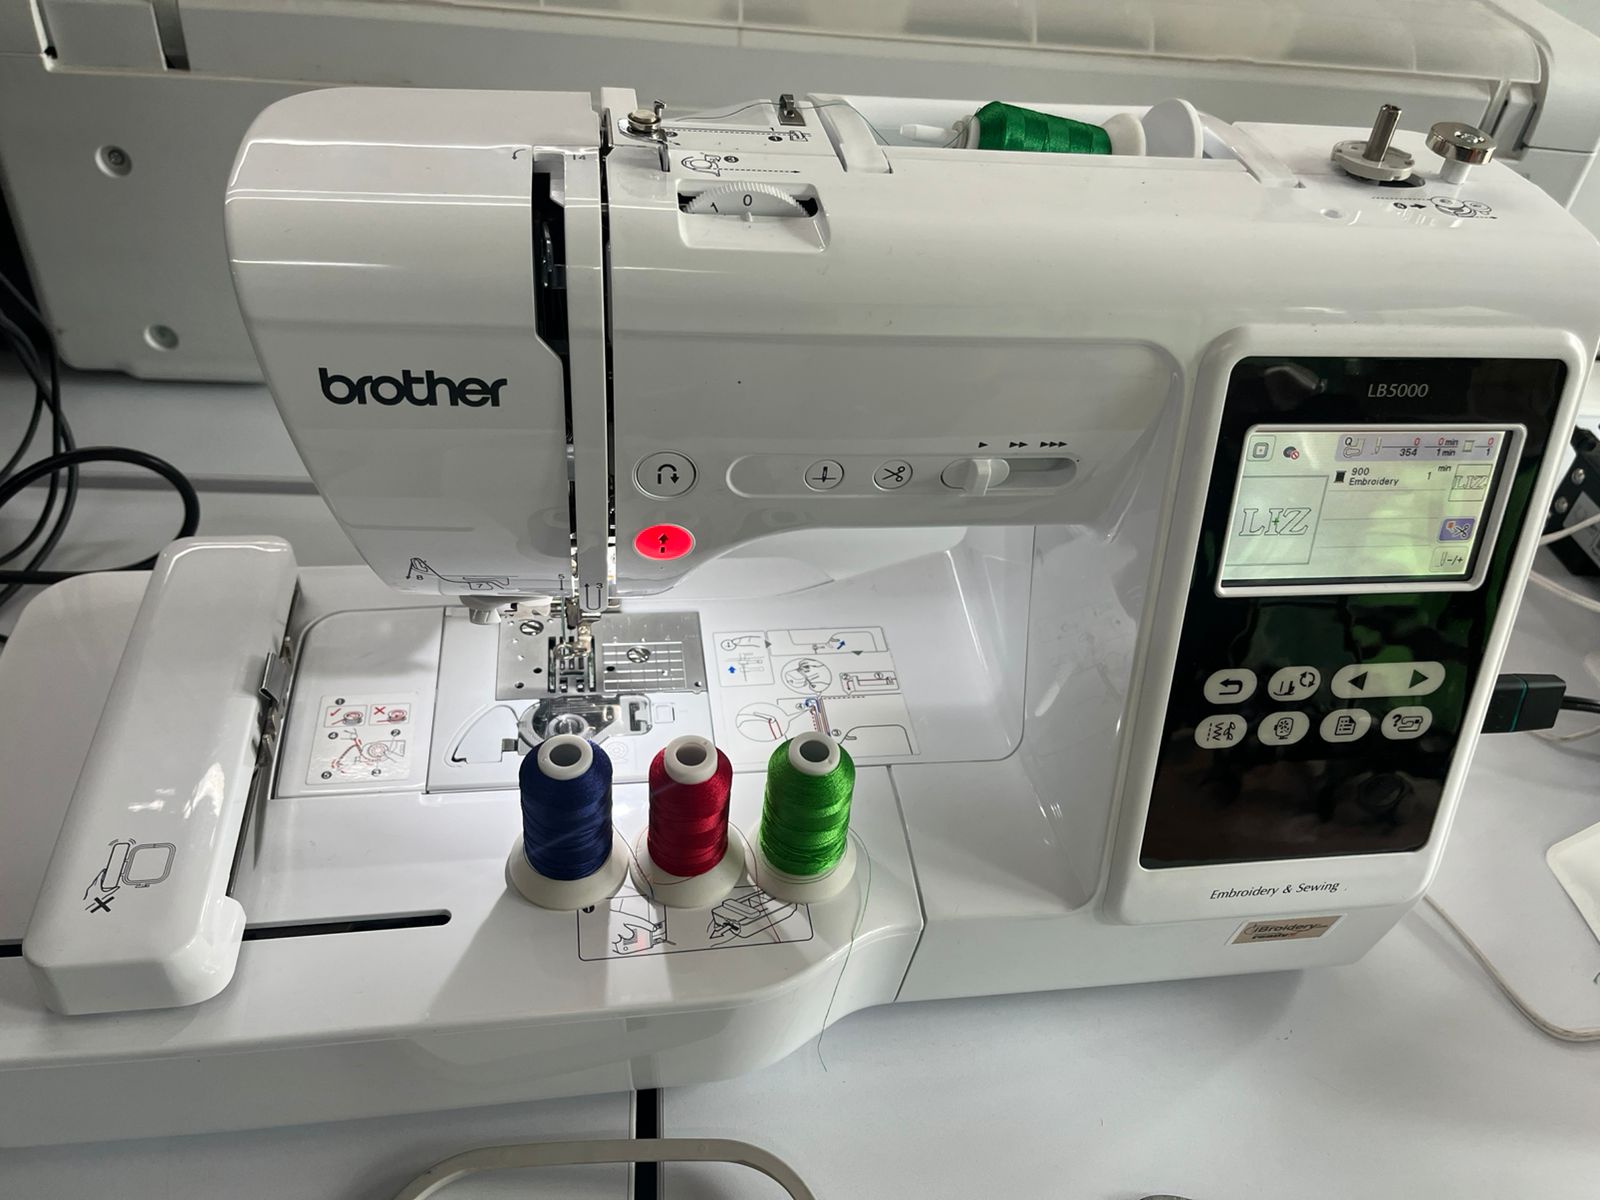
Brother LB5000 embroidery machine prepared with selected threads and accessories.
It is important to ensure that the needle is in the highest (up) position before starting the embroidery process or performing any setup steps, such as changing the hoop, threading the needle, or replacing the bobbin. This prevents accidental needle breakage and ensures the embroidery arm can move freely without obstruction. On the Brother LB5000, the red button indicates that the machine is not ready to sew—this can be due to several reasons, such as the presser foot not being lowered, the needle not being in the correct position, a thread error, or the machine awaiting user confirmation to start the next stage. Always check and resolve any warning before proceeding.
Loading the Embroidery File
After setting up the machine, I inserted the USB drive containing the exported .PES embroidery file. Using the touchscreen display of the Brother LB5000, I navigated to the USB device and selected the correct design. The machine provides a preview of the loaded embroidery pattern, including the sequence of colors and the estimated stitching time, which allows for one final check before starting the process.
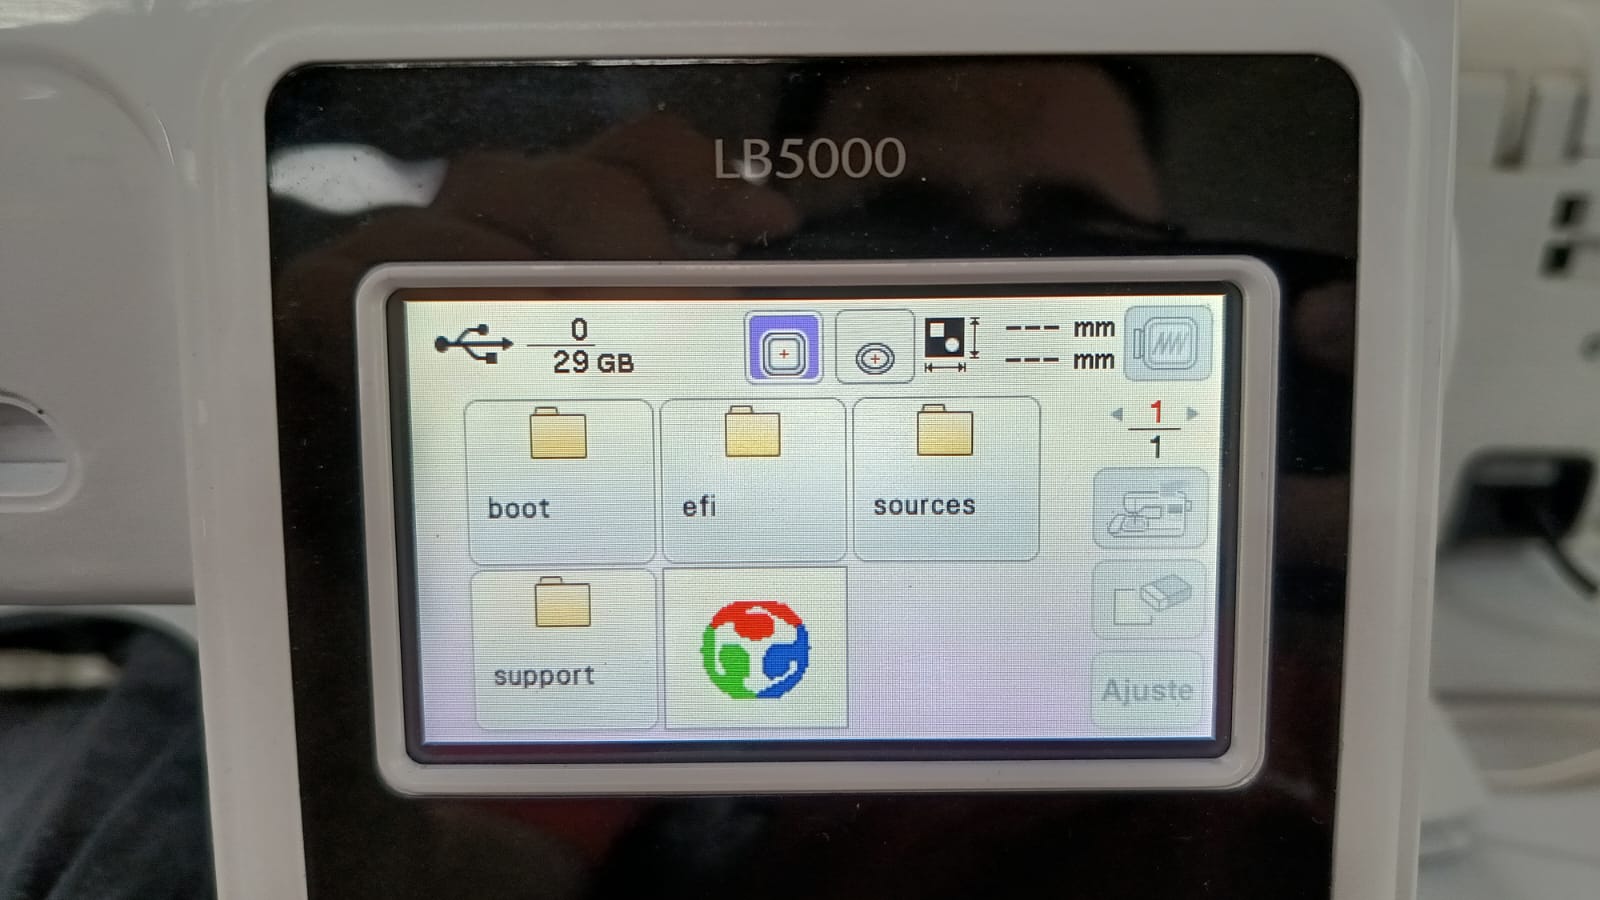
Loaded .PES file and color preview on the embroidery machine display.
Preview & Settings on the Machine
Before starting the embroidery, I used the touchscreen interface to review the preview of the loaded design. The machine displays each segment with its assigned color, allowing me to confirm that the correct threads are prepared and that the stitching sequence matches the digital plan. This step is crucial for avoiding mistakes during the embroidery process, such as incorrect color assignment or missed segments.
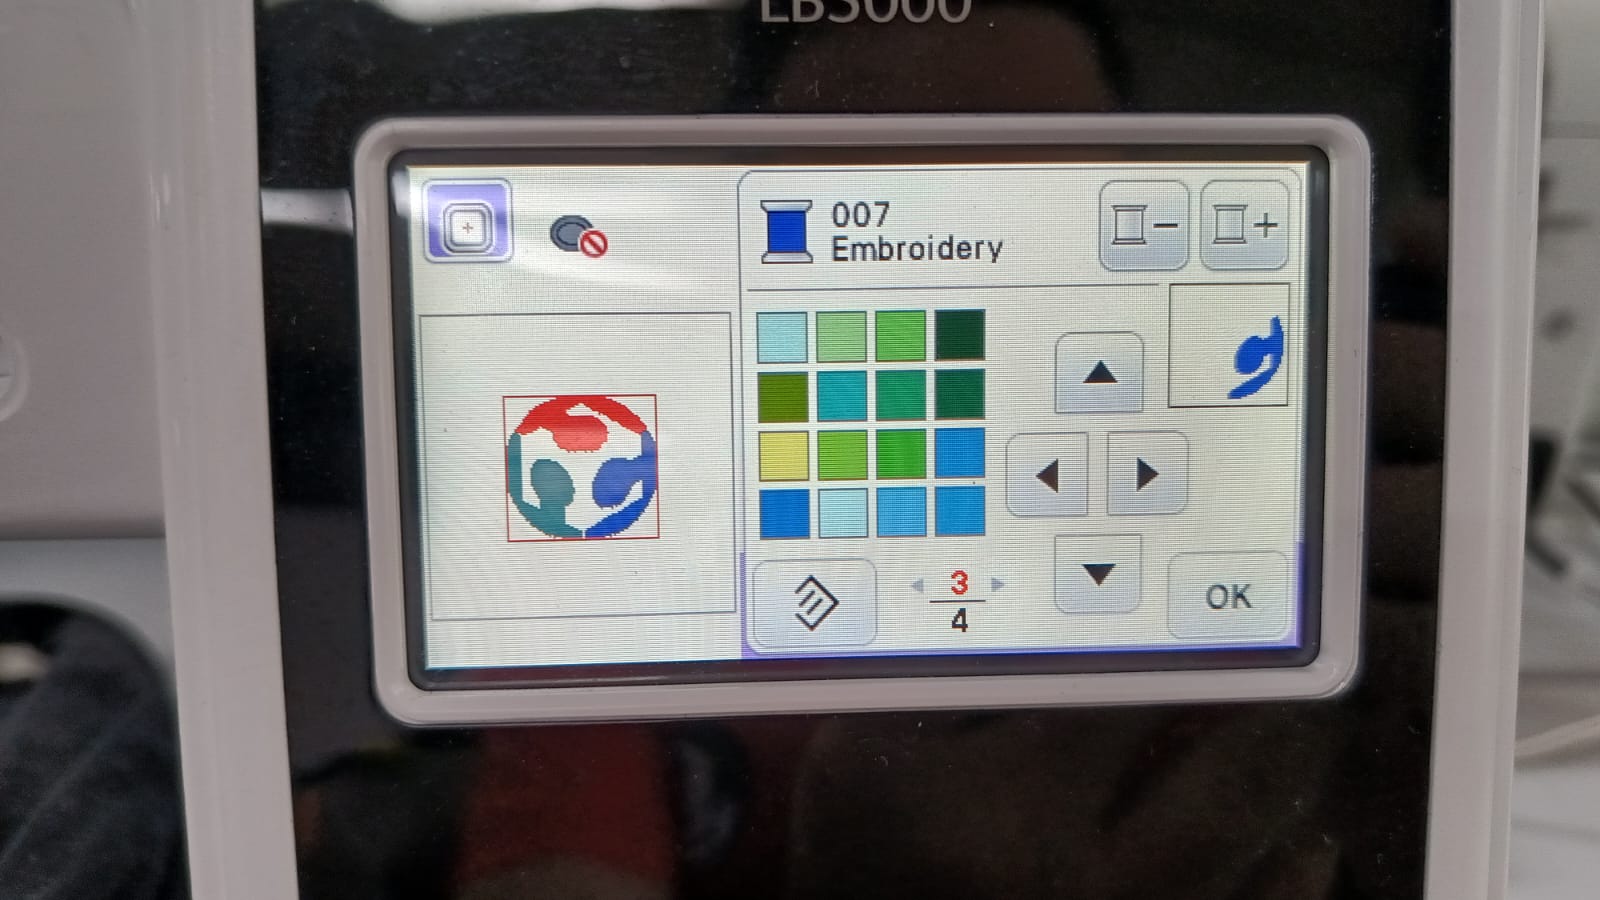
Segment preview: Reviewing the blue thread section on the embroidery machine display.
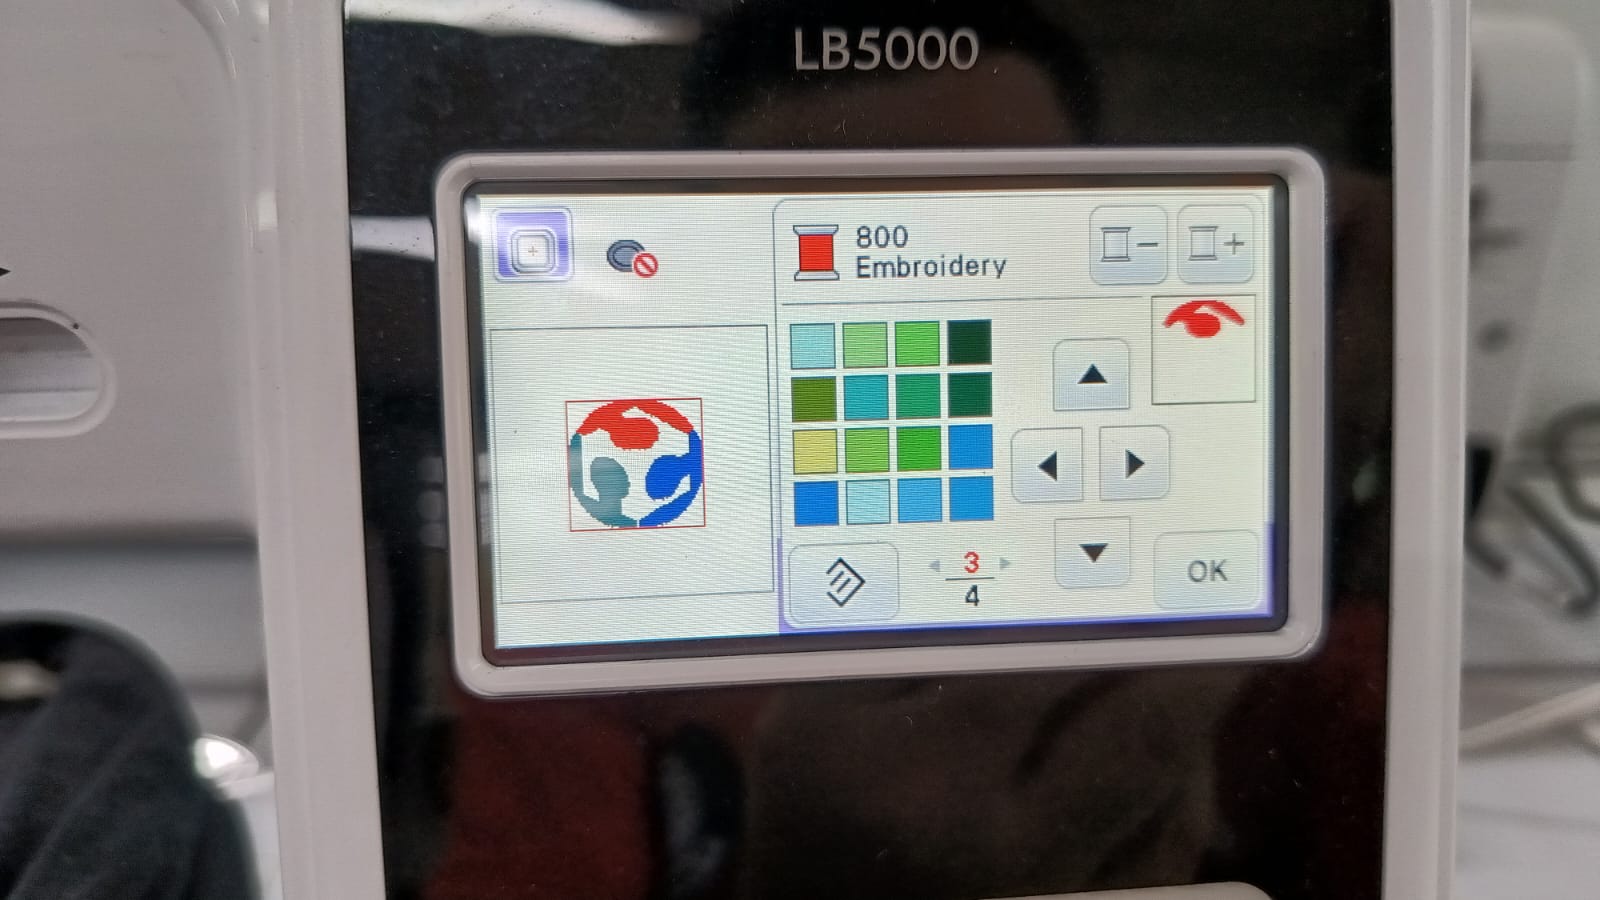
Segment preview: Reviewing the red thread section for the logo.
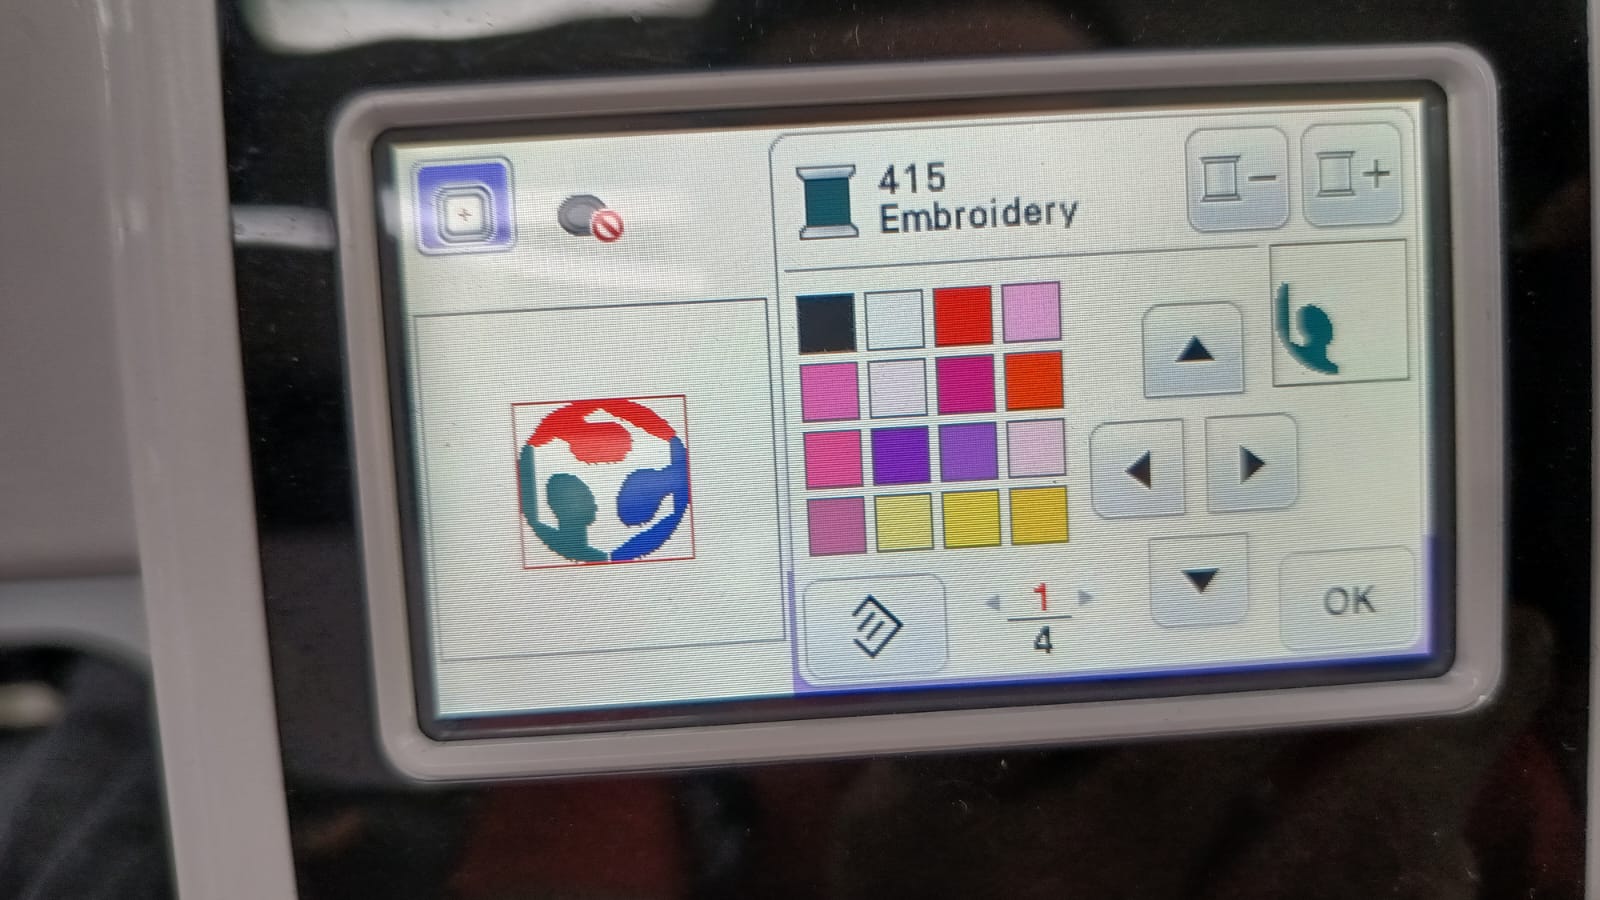
Segment preview: Confirming the green thread section is set correctly.
Hooping the Garment
Hooping the garment is a crucial step in the embroidery process. It involves placing the t-shirt (or any fabric to be embroidered) securely within the embroidery hoop—a two-part frame designed to keep the material tight and flat. The hoop prevents the fabric from shifting or wrinkling during stitching, ensuring a precise and professional result. Ideally, a stabilizer should be placed beneath the fabric for additional support, especially with stretchy or lightweight materials. Once the garment and stabilizer are properly aligned and secured, the hoop is locked and attached to the embroidery machine, ready for stitching.
Placing the t-shirt in the embroidery hoop, making sure the fabric is tight and ready for stitching.
Embroidery Process
Throughout the embroidery process, I recorded several video segments to document different stages and perspectives of the machine in action. This visual documentation helps illustrate how the design is stitched layer by layer, the thread changes, and the overall workflow on the Brother LB5000.
Embroidery machine operating - stitching the first color segment.
Embroidery machine operating - stitching additional color layers.
Final stages of the embroidery process, showing close-up detail and completion.
Final Results: Fab Academy Logo Embroidery
The final result of the Fab Academy logo embroidery on the black t-shirt was good, with the design and colors clearly visible. However, the outcome could have been improved by using a proper stabilizer (support fabric) behind the embroidery, which helps prevent fabric puckering and keeps the design flatter. Additionally, configuring a smaller stitch length and a stronger border would result in sharper edges and a more professional appearance. These adjustments would enhance both the durability and the visual quality of the embroidery.
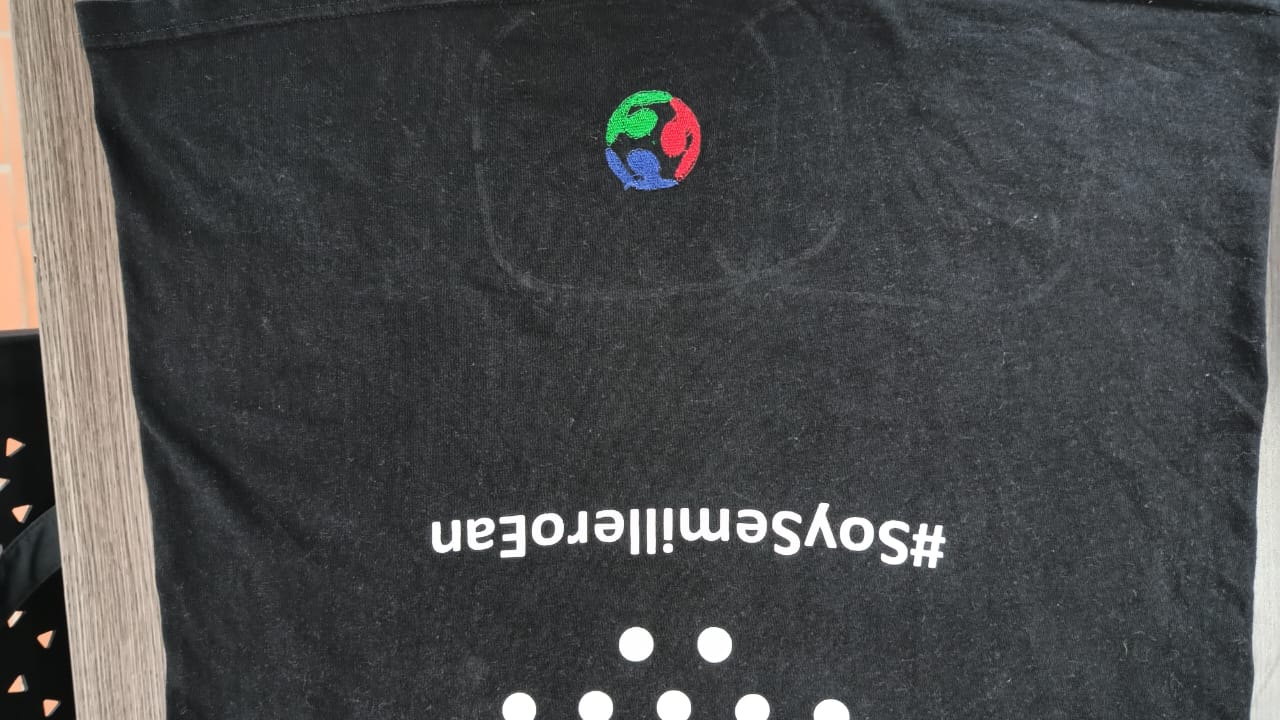
Close-up view of the Fab Academy logo embroidery with visible details and some fabric gathering.
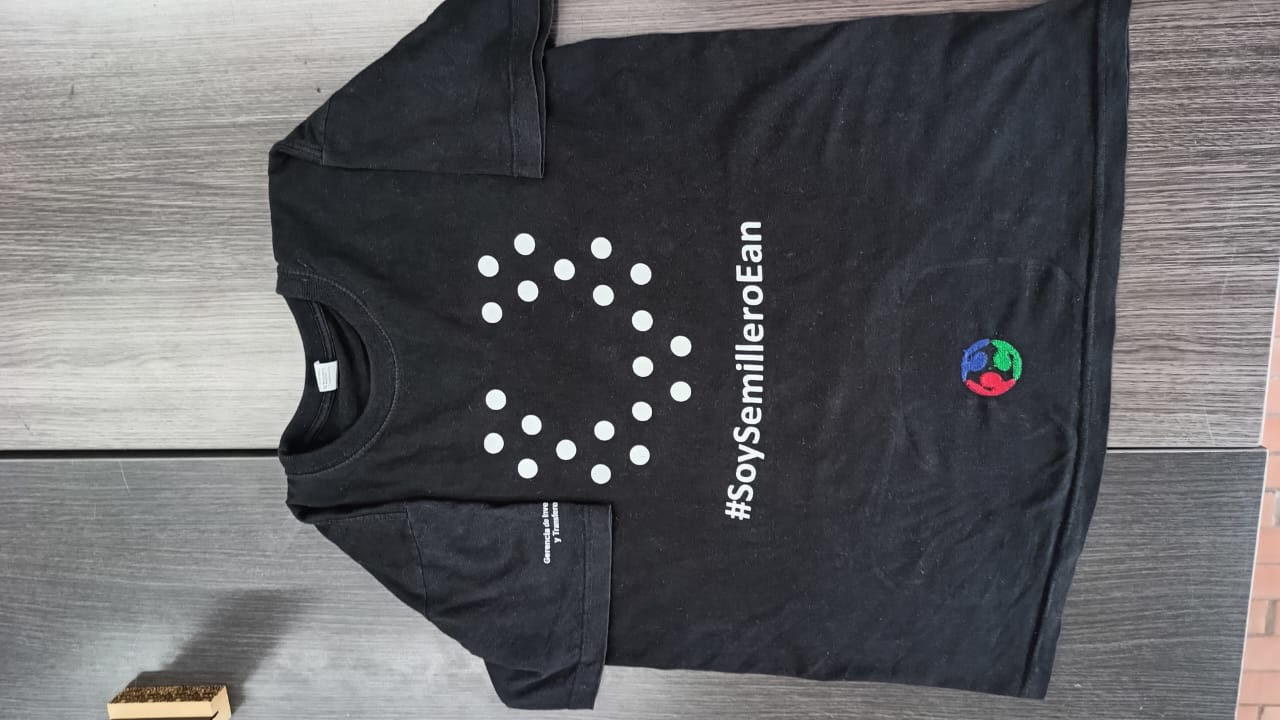
Full view of the t-shirt with the completed Fab Academy logo embroidery.
Santa Fe Crest Embroidery
After adjusting some machine parameters and experimenting with a different fabric, I decided to embroider the crest of my favorite football team, Santa Fe. The final result was visually clear and the coverage was better, but the absence of a stabilizer still led to some puckering and the border could be improved with finer settings. This exercise helped me better understand the effects of fabric type and machine adjustments on embroidery quality. The images and videos below show the result and the process in action.
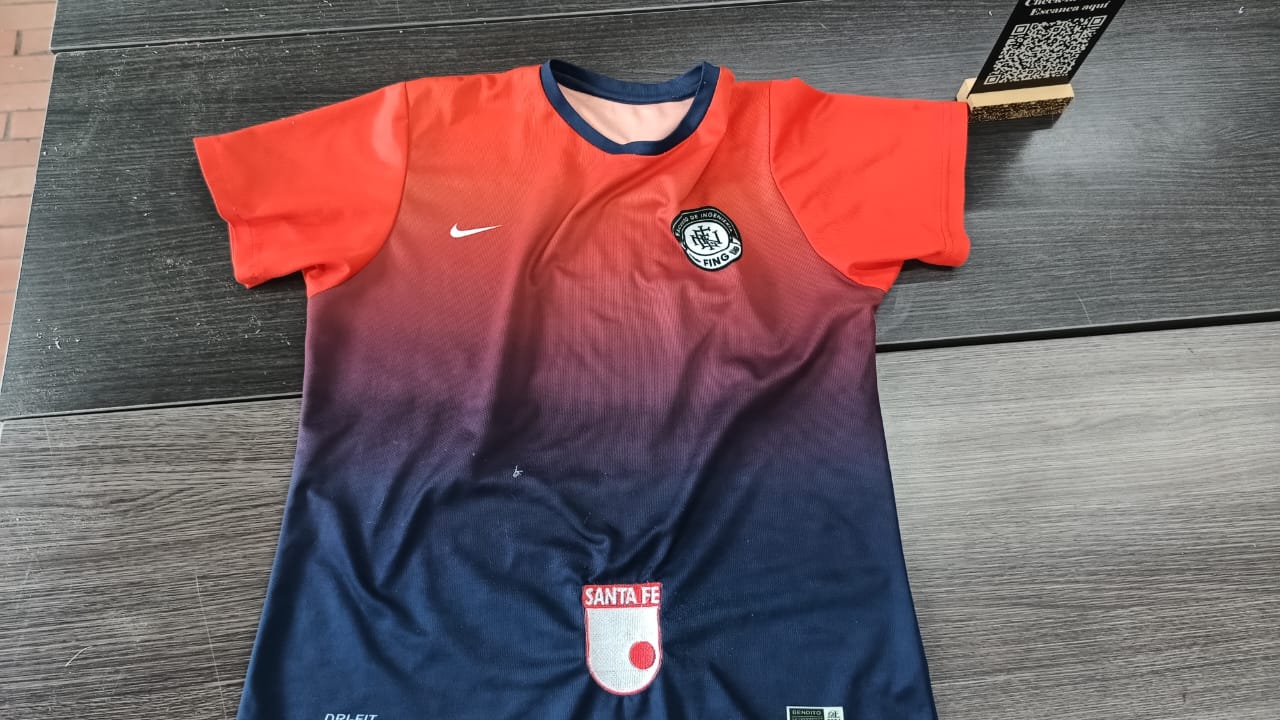
Full view of the sports t-shirt with the embroidered Santa Fe crest.
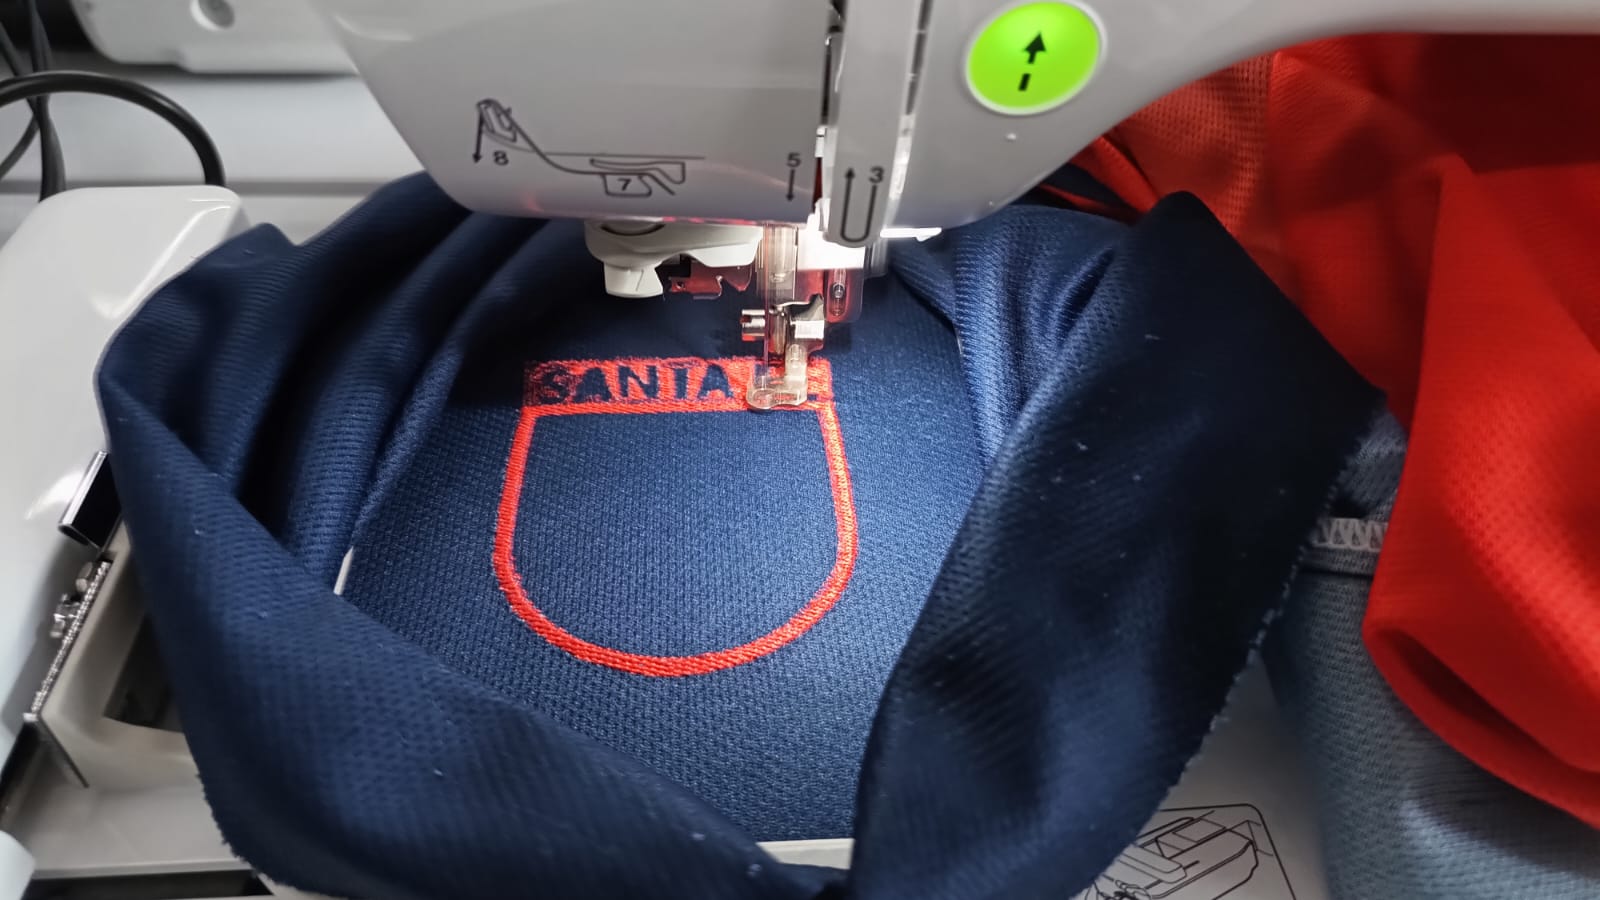
Close-up of the Santa Fe crest embroidery showing stitch detail and coverage.
Additional view of the embroidery process for the Santa Fe crest.
Reflections and Recommendations
This assignment was a valuable opportunity to explore the digital embroidery workflow, from vector design and file preparation to machine operation and finishing. I realized that each stage—from selecting the fabric and threads to adjusting machine settings—has a significant impact on the final quality of the embroidery.
One of the main challenges was the absence of a proper stabilizer (support fabric) behind the garment, which led to puckering and slight distortion of the fabric. I also learned that adjusting the stitch length and reinforcing the border can make the embroidery cleaner and more durable. The difference in results between the two shirts highlighted the importance of both material choice and careful parameter tuning.
Recommendations for Future Projects
- Always use a suitable stabilizer behind the fabric, especially for stretchy or lightweight garments.
- Test the embroidery design on a scrap piece of the same material before applying it to the final garment.
- Adjust stitch length and border thickness for a sharper, more defined design—especially for logos or fine details.
- Double-check thread tension, both upper and lower, and use high-quality thread to prevent breakage.
- Make sure the needle is suitable for the chosen fabric and replace it if worn or bent.
- Preview the design sequence and colors on the machine before starting, and keep all threads organized for quick changes.
- Be patient with the process, monitor the machine throughout, and don’t hesitate to stop and adjust settings if needed.
Overall, this experience helped me appreciate the precision and planning required in digital embroidery, and I now feel more confident to attempt even more complex designs in the future.
Further Resources
If you would like to learn more about tool changes, machine setup, or troubleshooting for the Brother LB5000 embroidery machine, you can consult the official manual available at the Brother support page: https://support.brother.com/g/b/manualtop.aspx?c=us&lang=en&prod=hf_lb5000eus
Downloads
Below you will find the digital resources used and generated in this assignment, including the original SVG designs, the exported PES embroidery files for the Brother machine, and the official Brother LB5000 manual.
| File | Description | Download Link |
|---|---|---|
| Fab Academy Logo.svg | Vector design for Fab Academy embroidery | Download |
| Santa Fe Crest.svg | Vector design for Santa Fe crest embroidery | Download |
| Fab Academy Logo.pes | Embroidery file for Brother machine (Fab Academy logo) | Download |
| Santa Fe Crest.pes | Embroidery file for Brother machine (Santa Fe crest) | Download |
| Brother LB5000 Manual | Official user and setup manual for the embroidery machine | View Manual |