Week 17. WILDCARD WEEK
WEEKLY PLAN
Individual assignment:
Design and produce something with a digital process (incorporating computer aided design and manufacturing) not covered in another assignment, documenting the requirements that your assignment meets, and including everything necessary to reproduce it.

WILDCAR DWEEK
VACUUM FORMING INTRODUCTION
Vacuum forming is a thermoforming process where a plastic sheet is heated until soft, draped over a mold, and a vacuum pulls the sheet tight to the mould’s surface.
- Fast, inexpensive tooling (moulds from MDF, aluminum, or 3D prints).
- Great for moderate depth parts and small/medium runs.
Some applications include:
- Packaging: blister packs, trays.
- Product enclosures & housings: consumer electronics, appliance covers.
- Retail & signage: point-of-sale displays.
- Prototyping/props: molds, architectural forms.
MOULD DESIGN AND FABRICATION
When designing a mould for vacuum forming there are some considerations to take into account.
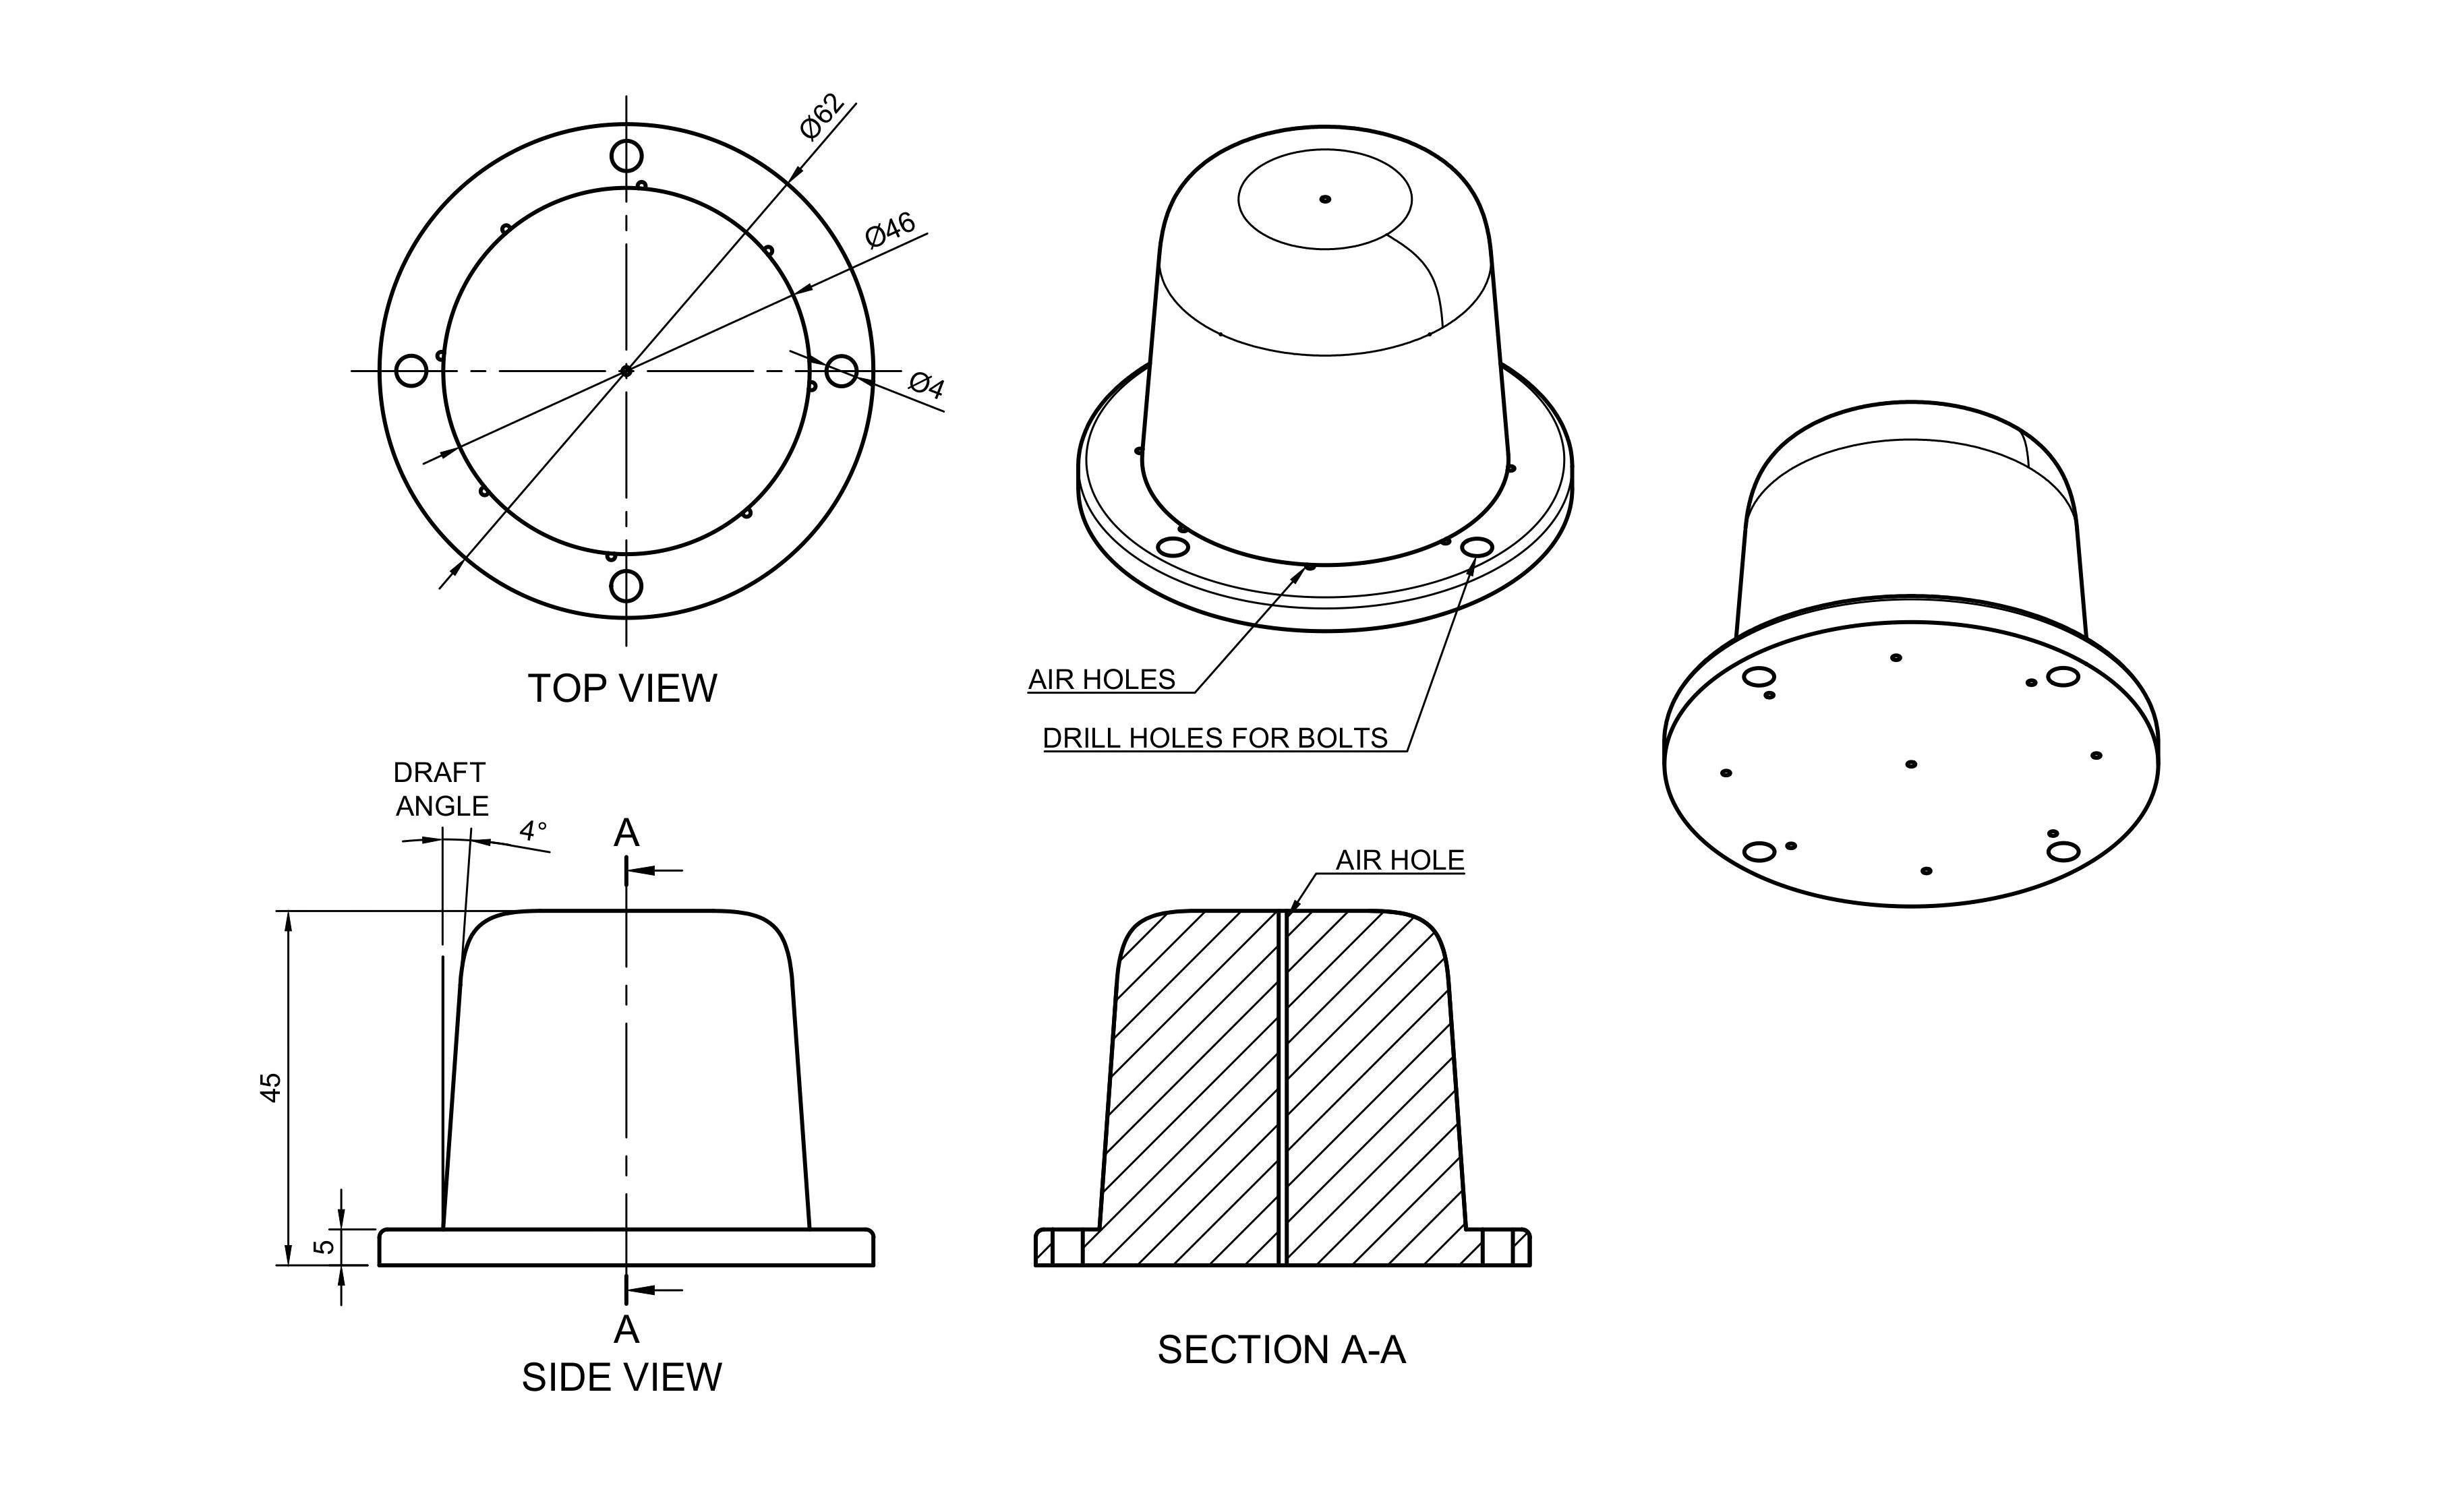
- Avoid overhangs and undercuts; otherwise the formed part may not release after cooling.
- Apply a draft angle to vertical faces to make demoulding easier.
- Surface finish: small imperfections transfer to the plastic. I sanded the surface of the 3D-printed mould to improve it.
- The quality finish of the mould's surface is also important as small imperfections will be transferred into the plastic sheet. In this case I had to sand down the surface of the 3D printed mould.
- Add small vent holes in low spots to pull crisp detail. Because forming happens quickly once the hot sheet drops, the vacuum must evacuate air from all pockets quickly. I added 1 mm vents where air could be trapped.
- Add fillets on internal an external corners to aid release.
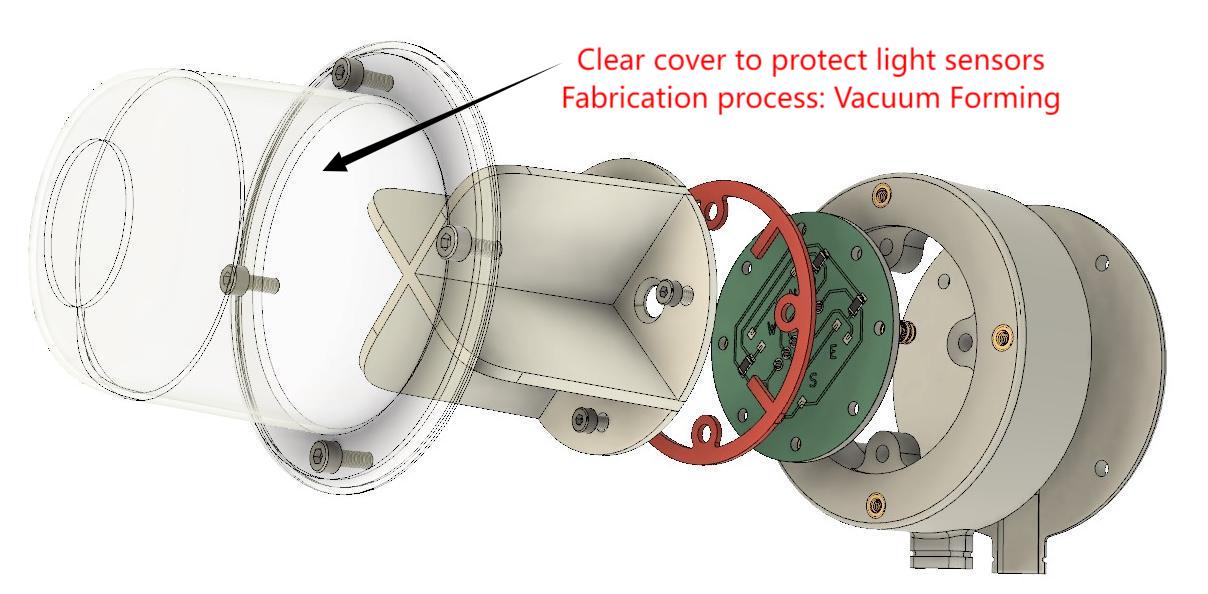
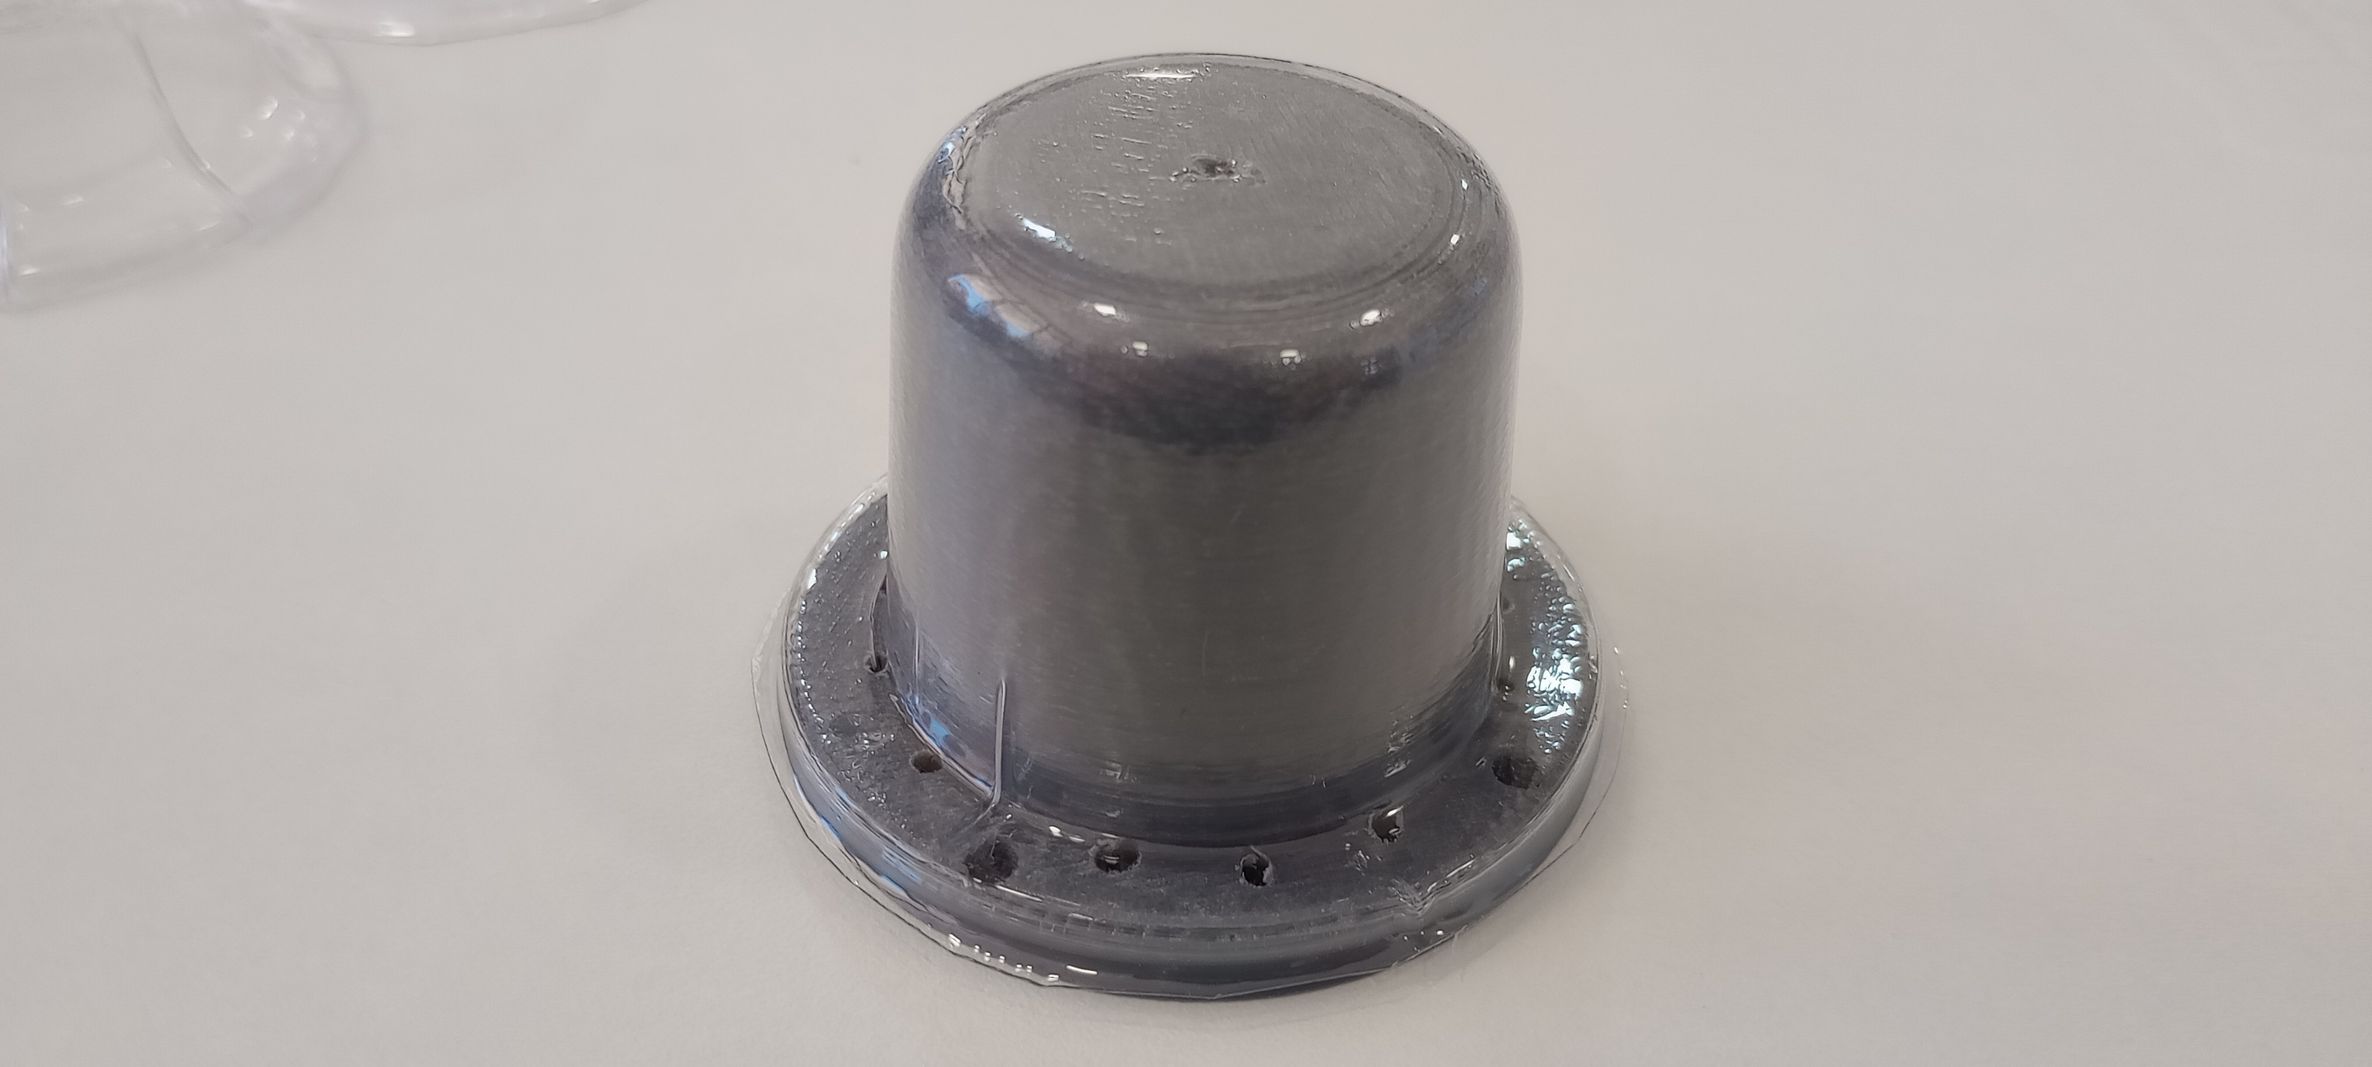
For this assignment, I designed a clear cover for the light-sensor matrix of my final project. Starting from the part geometry, I built a Fusion mould model with draft angles and proper venting for vacuum forming.
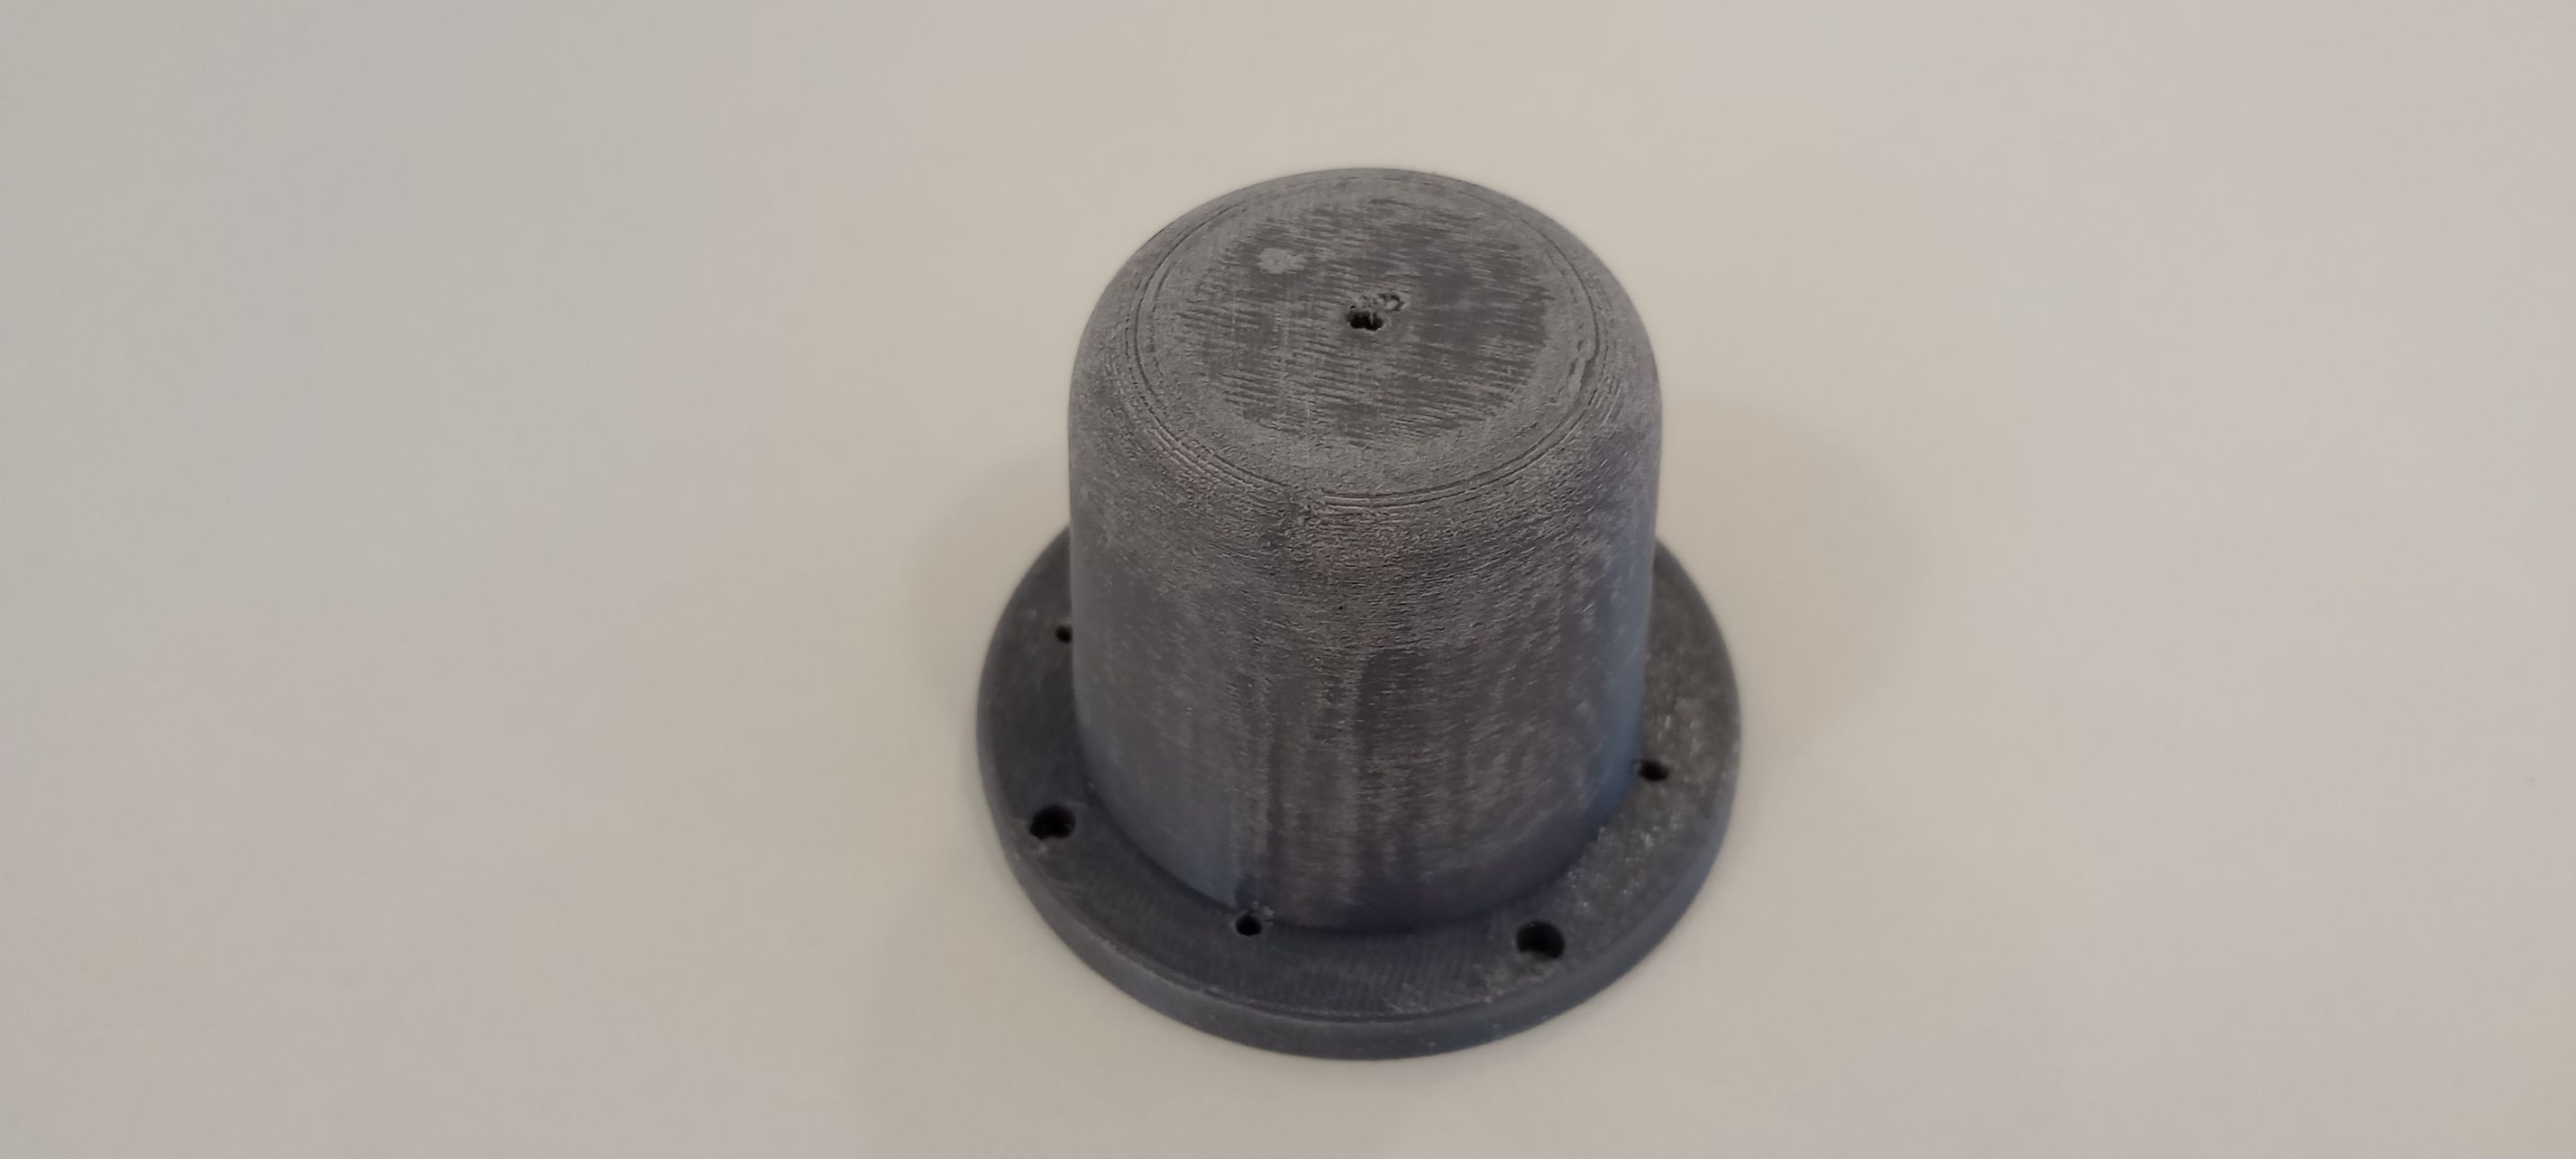
I 3D-printed the mould in PETG, which withstands higher temperatures than PLA. I sliced it with three walls (perimeters) to increase stiffness and prevent deformation during vacuum forming.
VACUUM FORMING
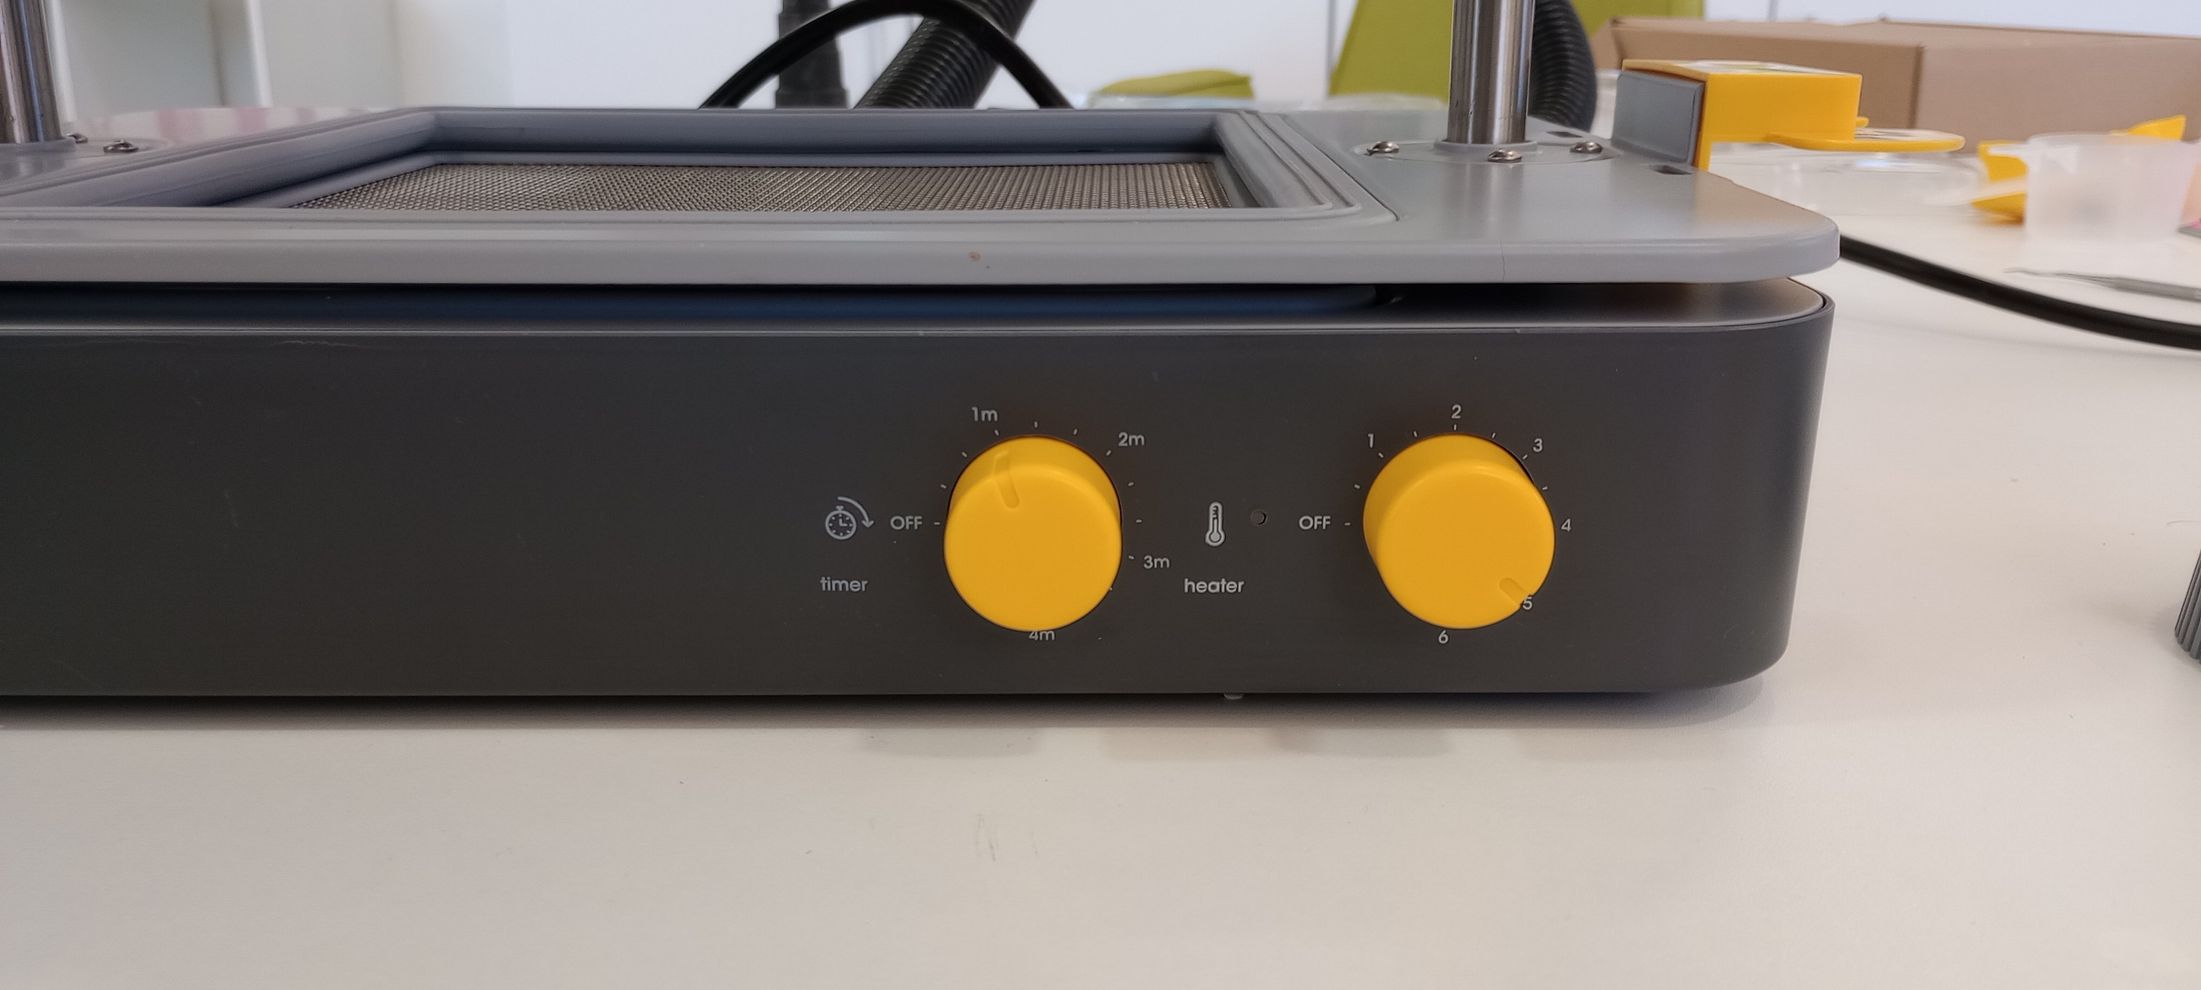
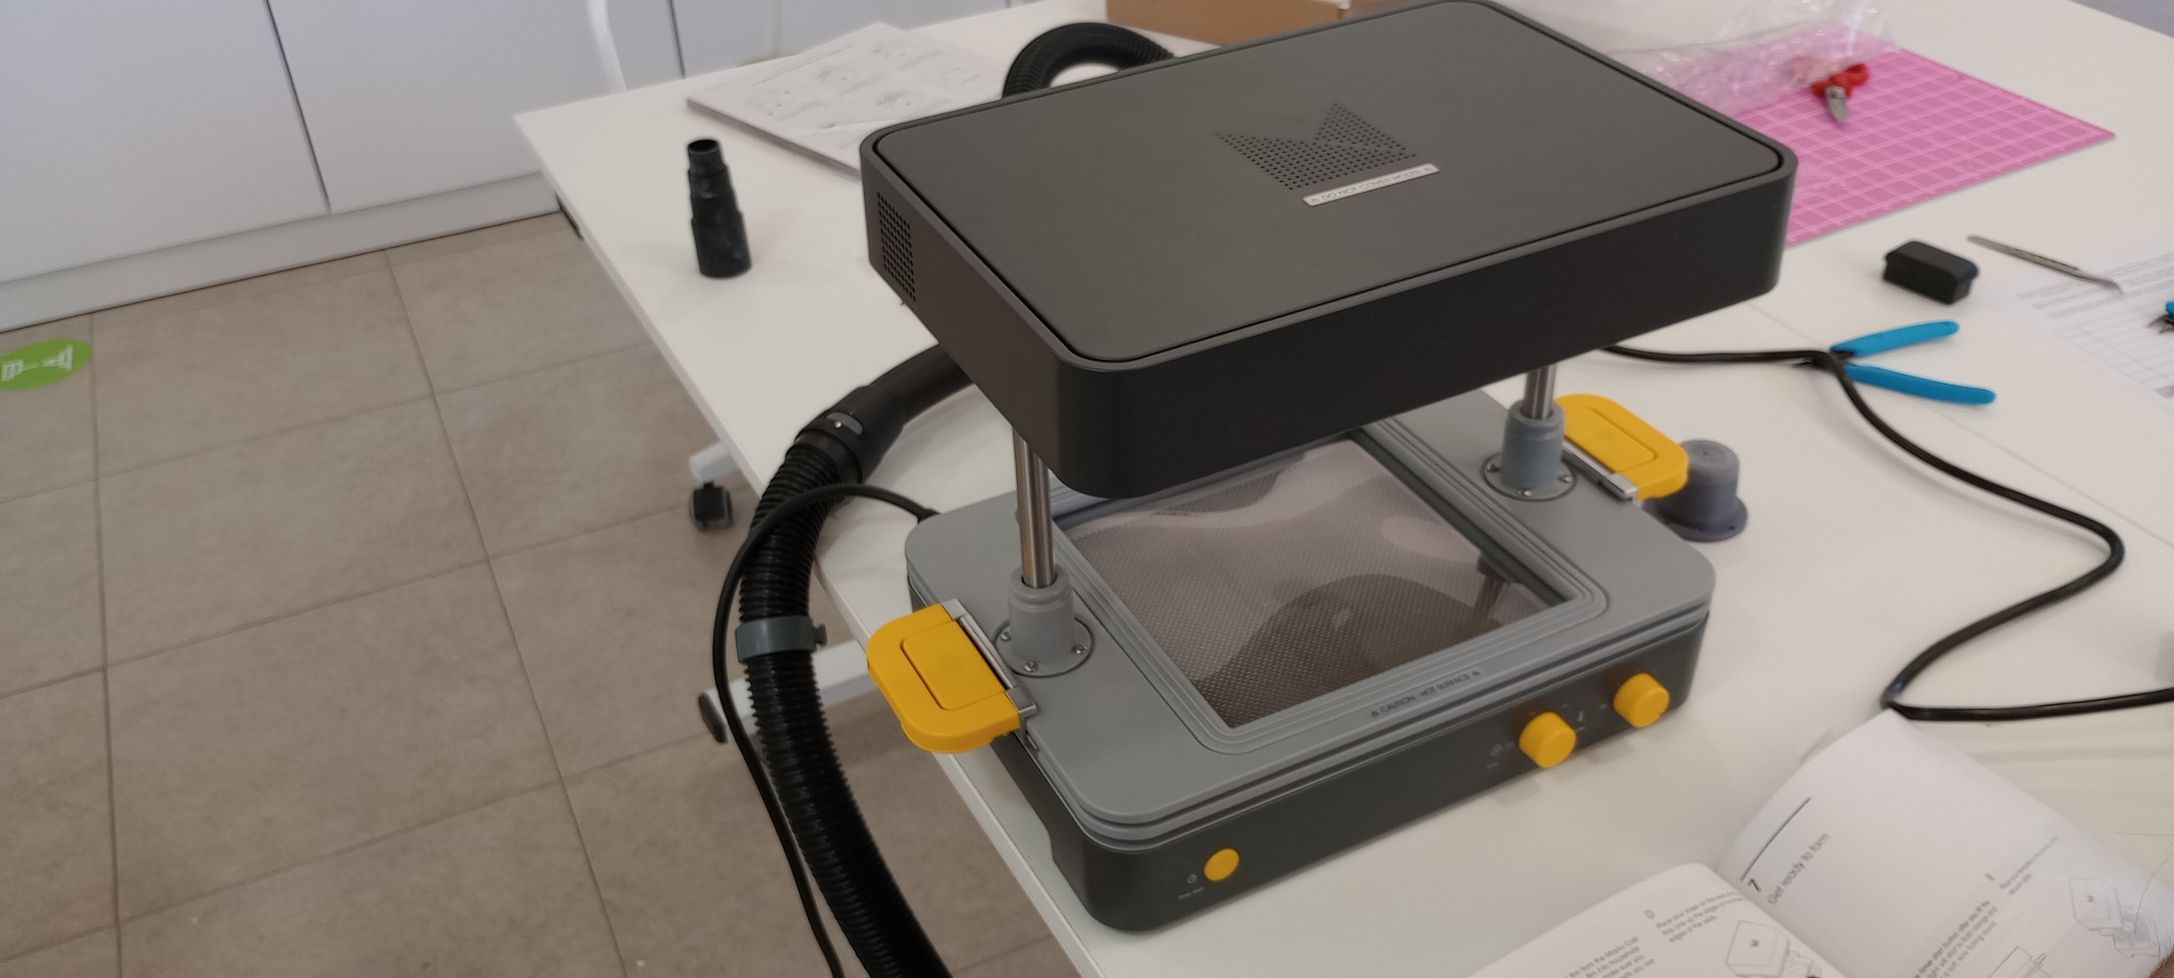
Machine: Mayku FormBox
Forming area: 200 × 200 × 130 mm
Heater range: 160 °C–340 °C
Vacuum: External vacuum source
Material: Clear PETG sheets

Process
1. Clamp the PETG sheet in the frame and raise it near the heater.
2. Heat until the sheet sags evenly across the frame.
3. Place the mould in the center of the forming bed.
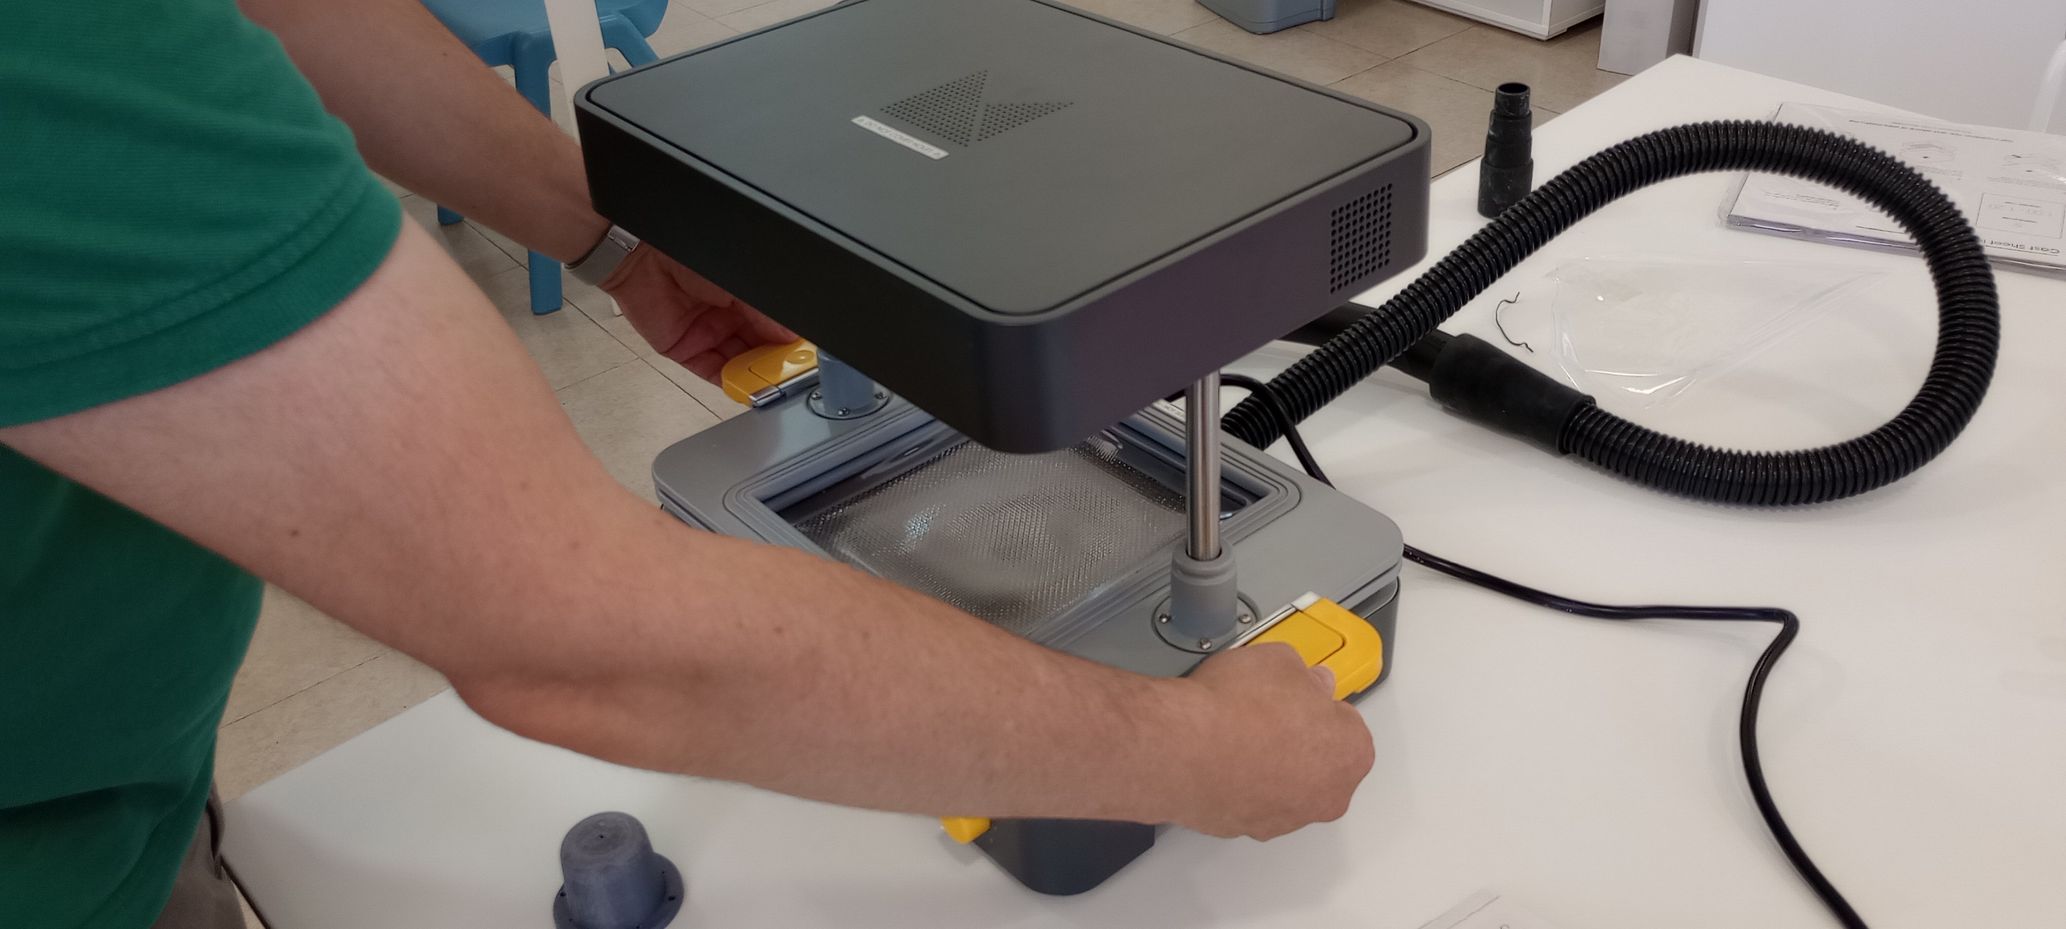
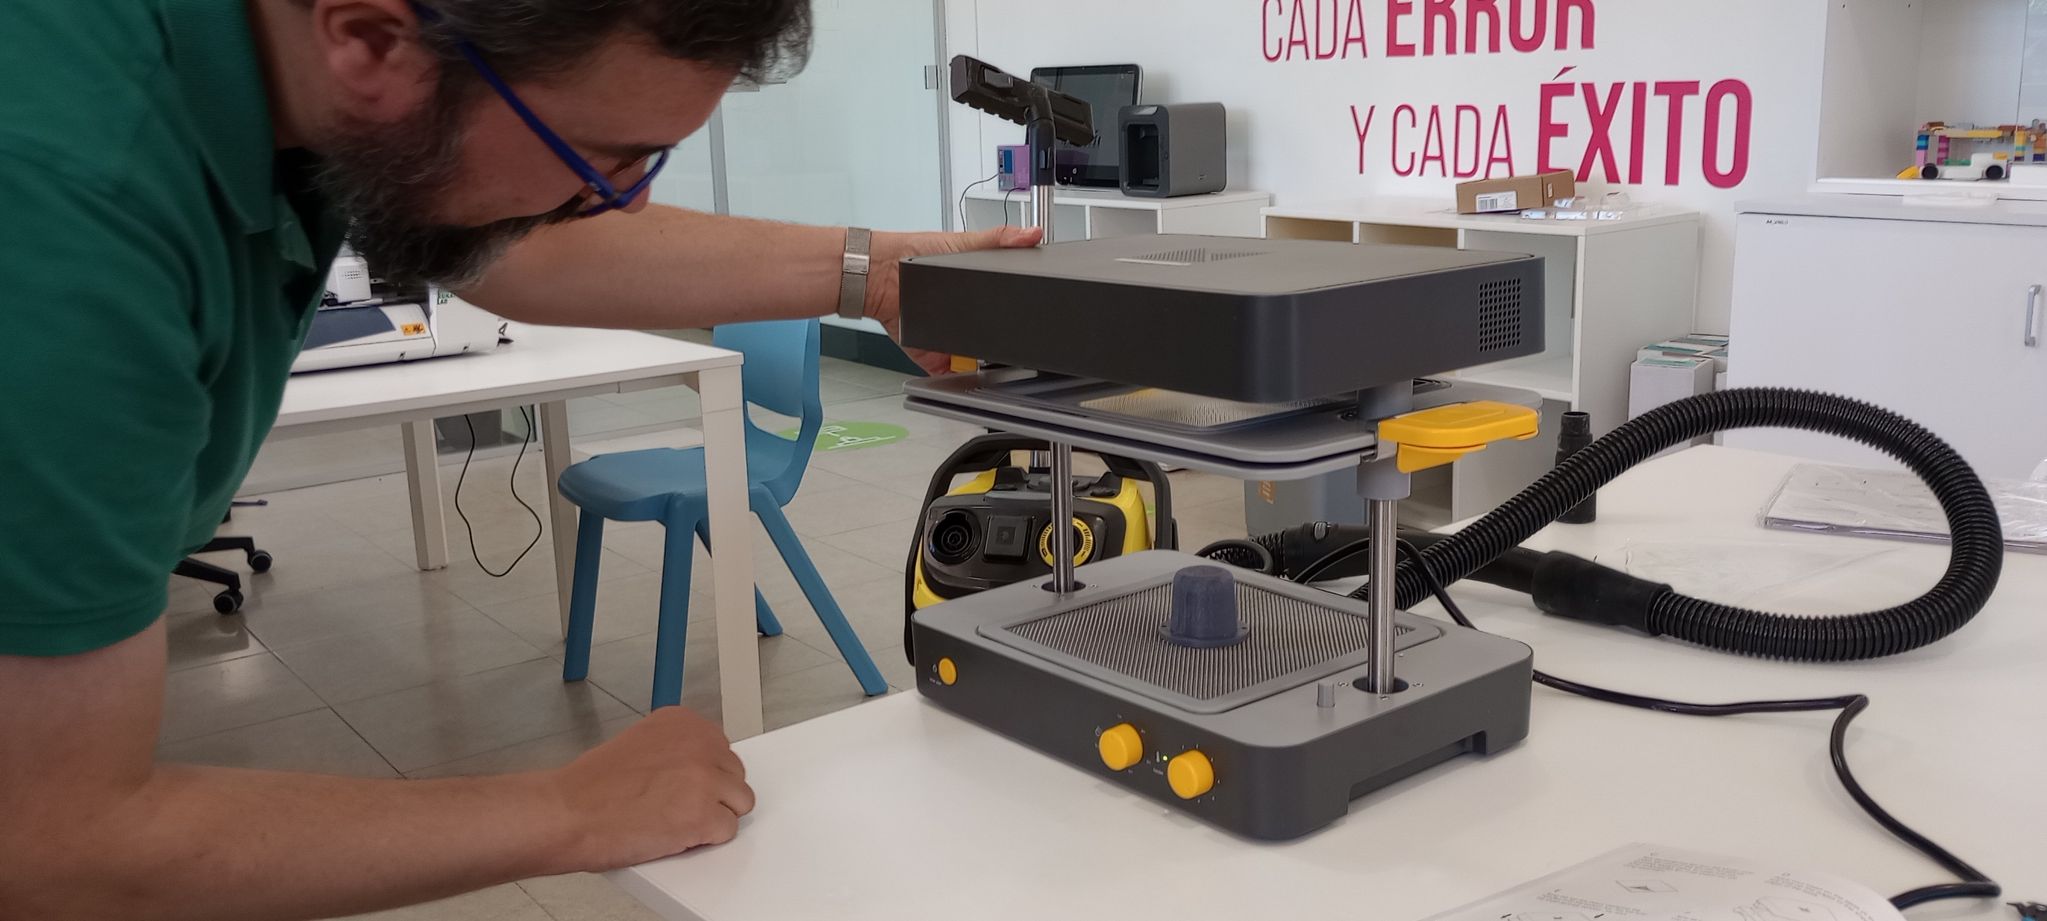
4. Drop the frame onto the bed and start the vacuum to pull the plastic over the mould.
5. Once formed, stop the vacuum and allow the sheet to cool.
6. Release the mould and trim the plastic close to the part’s edge.

Results & troubleshooting
My first two pulls showed significant webbing at the base of the part. This was caused by excess heat and time. On the next attempt I heated only until the sheet just began to sag, which eliminated the webbing and produced a clean shape.

FILES
Mould design: mould_cover_light_sensors.stl
Top