
Networking and Communication
Here's a summary about what you'll see next:
- 1) Group Assignment - UART
- 2) Individual Assignment
-
- UART with 3 boards
- BLE
- 3) Original Files
1) Group Assignment
 In this week I learned about UART communication and how to use it to communicate between two
microcontrollers. I made communication between Xiao ESP32-C3 and Arduino Uno and used some links to
help me understand and code:
Link 1
, Link
2
, Link
3
My code was about using the push button connected to the xiao to turn on the led connected to the
arduino while being pressed. And the other way around, the button connected to the arduino turns on
the led connected to the xiao.
In this week I learned about UART communication and how to use it to communicate between two
microcontrollers. I made communication between Xiao ESP32-C3 and Arduino Uno and used some links to
help me understand and code:
Link 1
, Link
2
, Link
3
My code was about using the push button connected to the xiao to turn on the led connected to the
arduino while being pressed. And the other way around, the button connected to the arduino turns on
the led connected to the xiao.
I ran into some issues while sending from the arduino to the xiao mainly because of the different speeds they are working on. My instructor Saeed helped me with making them communicate well. Also I was connecting on the main tx and rx of the arduino and it didn't work so we moved my wires to pin 2 and 3 and they worked fine. The codes we used will be in the Original Files Section.
2) Individual Assignment
1- UART with 3 boards
The main goal of this assignment is to establish communication between 2 boards or more and send messages from the master board to the slaves and only the addressed slave responds. I didn't get it at first but finally I thought of it as a teacher(Master) calls the names of students (mySerial.print) and the student(slave) who hears his name respond to the teacher.
I already used UART in the group assignment but I expanded it to have one more board as a slave and added the ESP32 DevKit to the game.
For the master board I used the fabricated board I've done for my final project you can find it Here.
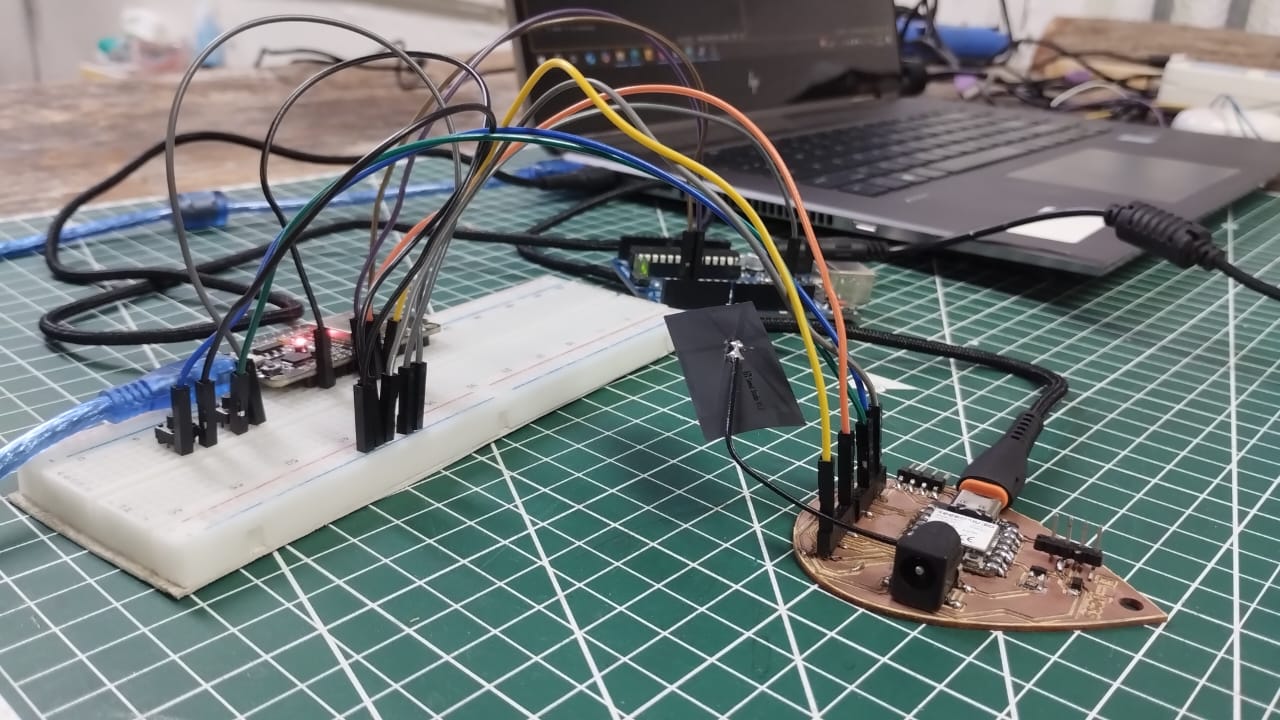
Wiring:
First Spiral (Xiao with ESP32):
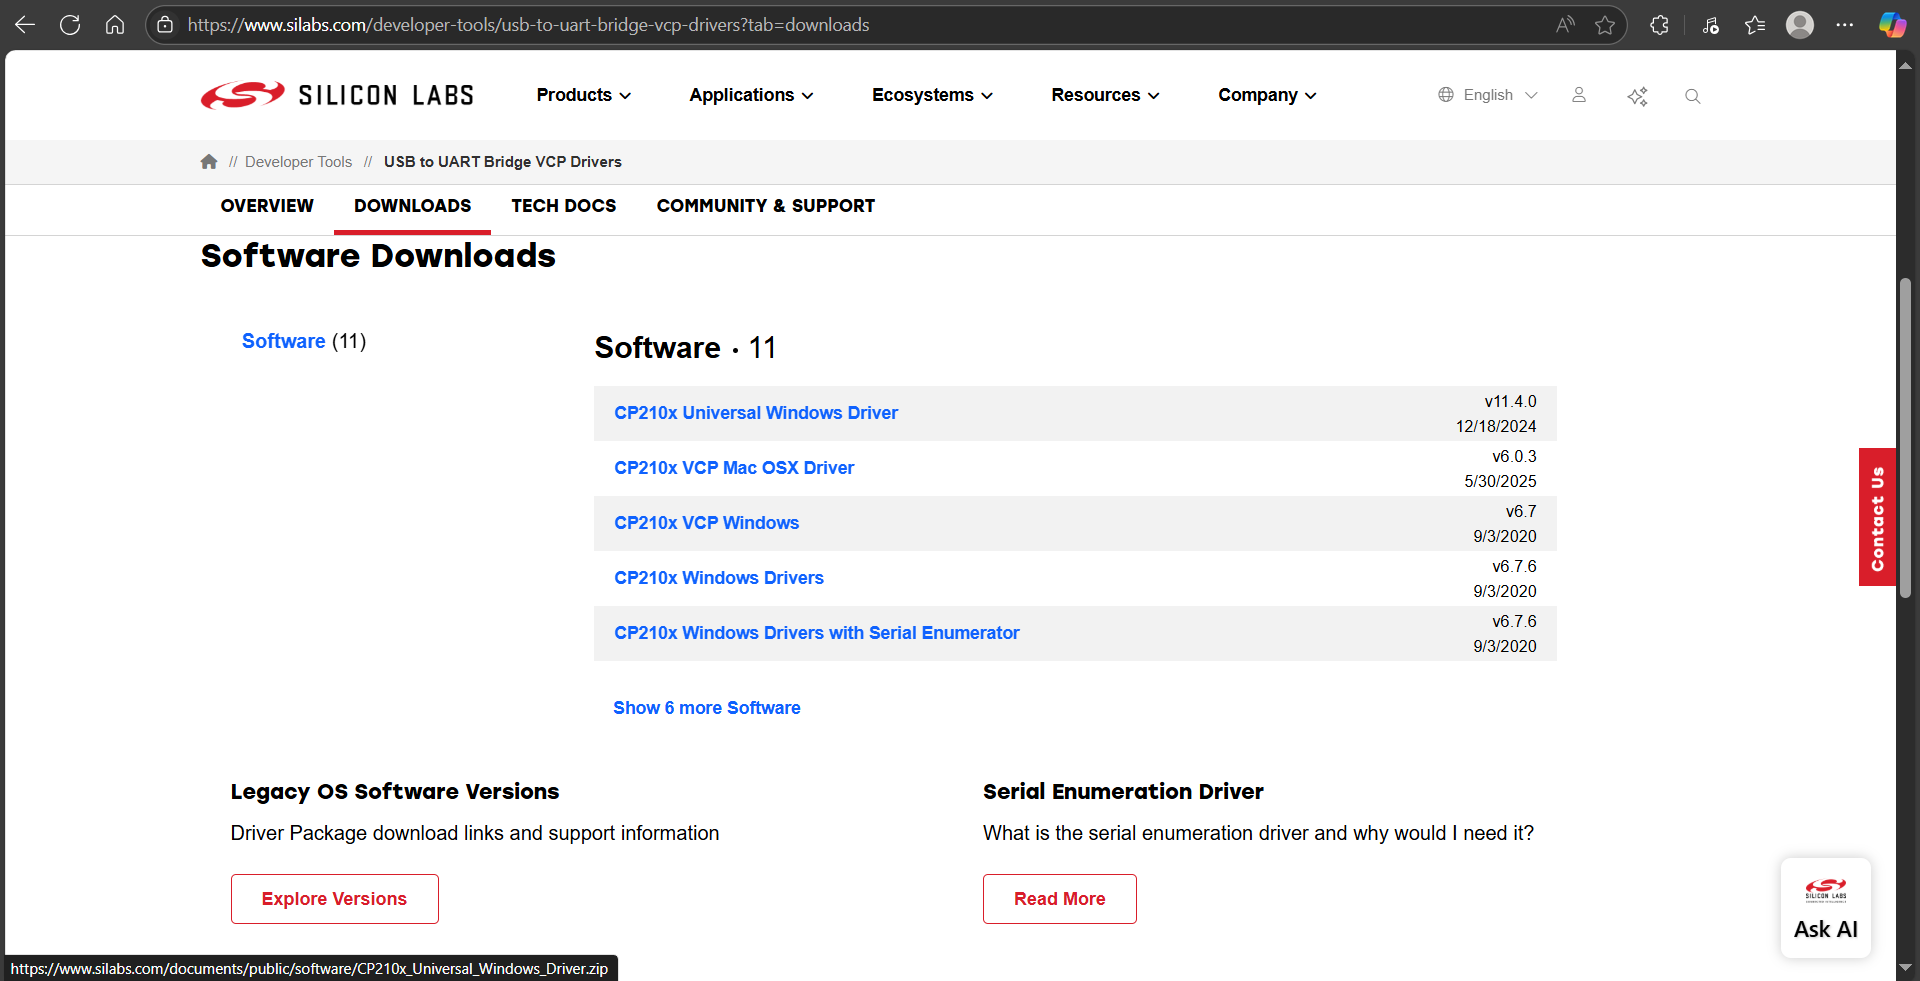
I started with the ESP32 and first I had to install it to my laptop from Here. I downloaded CP210x Windows Drivers. I looked to the rectangular chip next to the USB port on the ESP to know what driver to install. After downloading I installed CP210xVCPInstaller_x64.
Then I went to Arduino IDE and from File --> Preferences I pasted (https://raw.githubusercontent.com/espressif/arduino-esp32/gh-pages/package_esp32_index.json ) in the "Additional Board Manager URLs" then clicked OK. Then I installed esp32 from Boards Manager and now I can choose DOIT ESP32 DEVKIT V1 from boards to upload to.
This is the result of the testing at first as when I press the first button it sends 1 and when the esp recieves this 1 its built in led turns on and sends back to the xaio that ESP LED ON. Actually it sends each char in separate line which kinda furstrating but I tried different variables but none of them worked and I thought it's okay for me to read separate lines but not to try to code it :D.
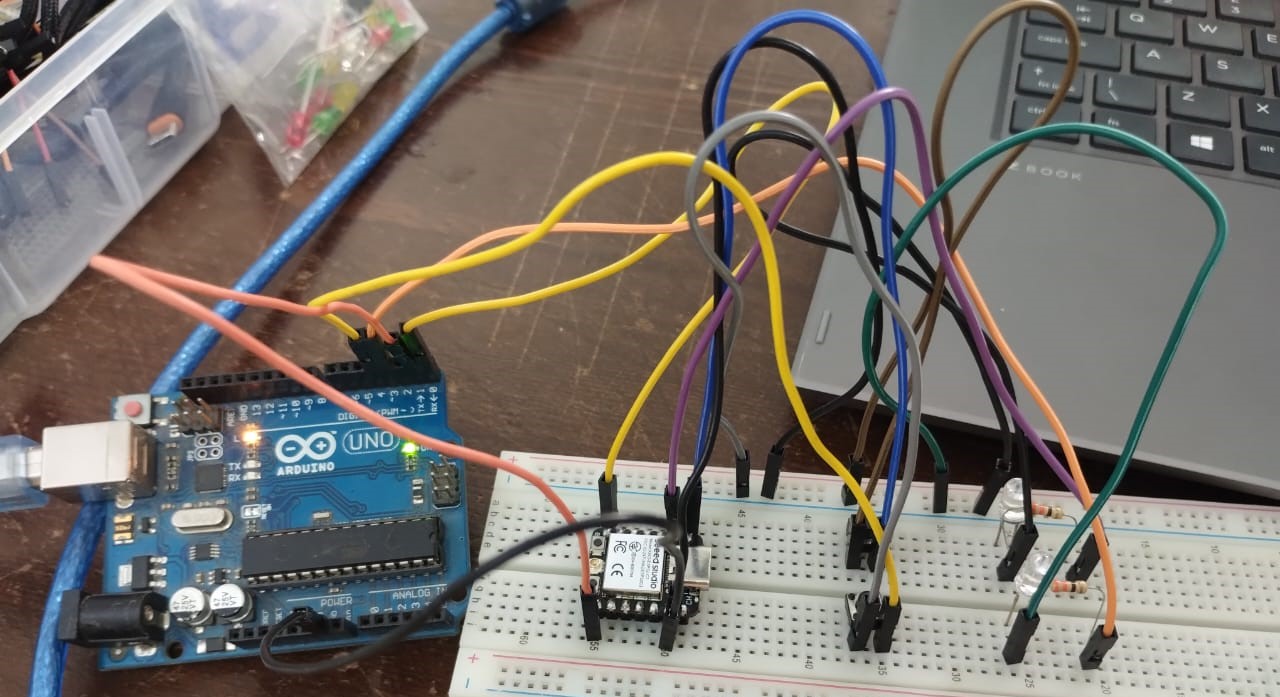
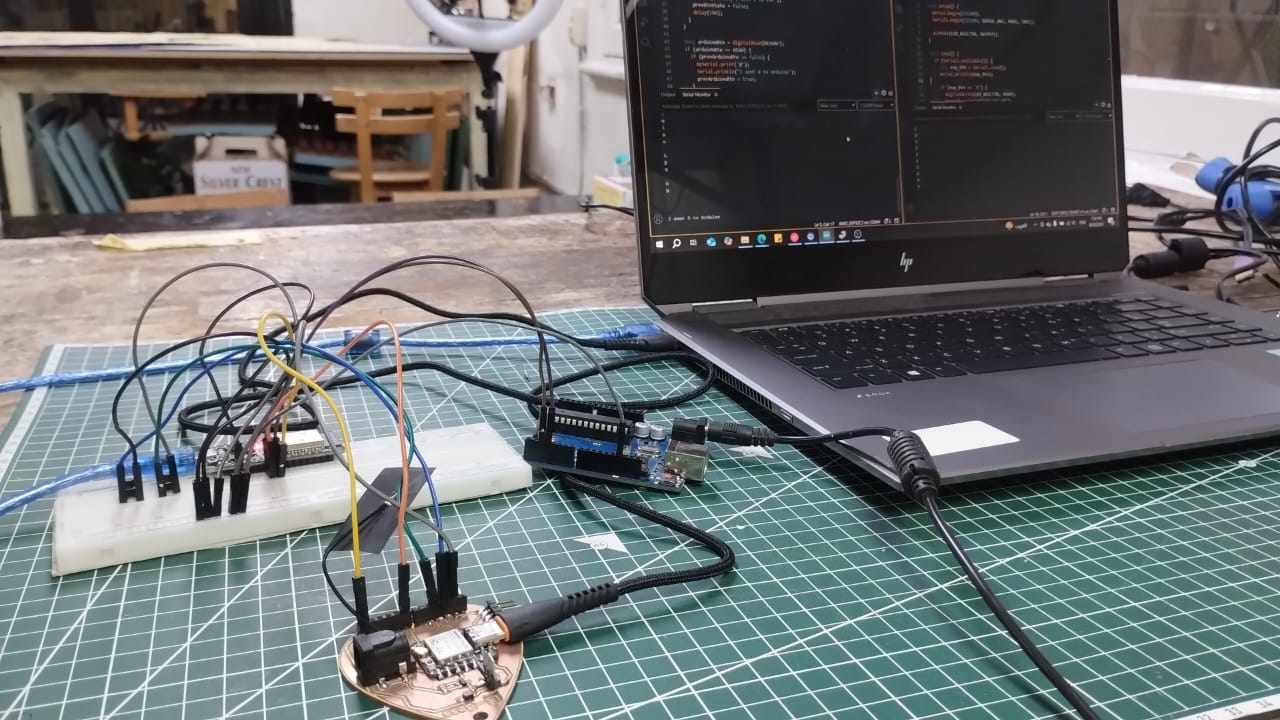
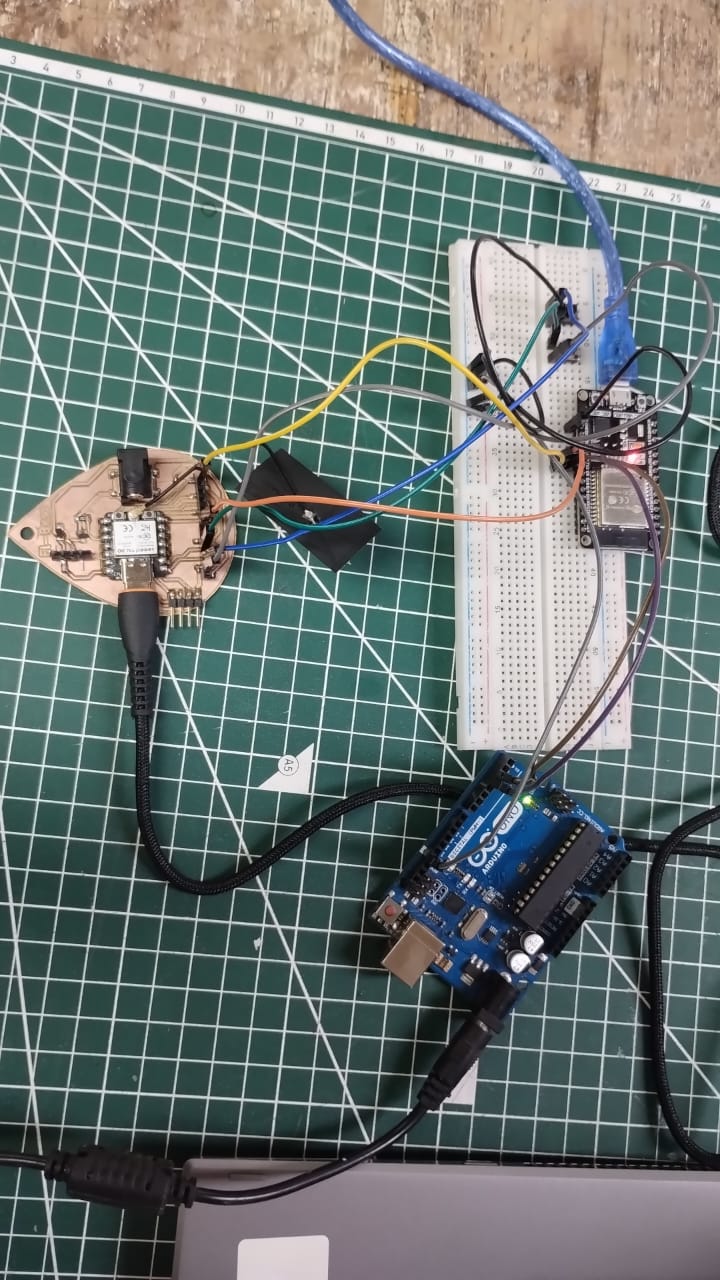
Second Spiral (Adding Arduino Uno to the game):
Master Code:
#include <HardwareSerial.h>

HardwareSerial mySerial(1);

int btn1ESP = D0;
int btn2Ar = D1;
bool prevBtnState = false;
bool prevArduinoBtn = false;

void setup() {
  Serial.begin(115200);
  mySerial.begin(115200, SERIAL_8N1, RX, TX);

  pinMode(btn1ESP, INPUT_PULLUP);
  pinMode(btn2Ar, INPUT_PULLUP);
}

void loop() {
  if (mySerial.available()) {
    char state = mySerial.read();
    Serial.println(state);
  }

  bool espBtn = digitalRead(btn1ESP);
  if (espBtn == HIGH) {
    if (prevBtnState == false) {
      mySerial.print('0');
      Serial.println("I sent 0 to ESP");
      prevBtnState = true;
    }
  } else {
    if (prevBtnState == true) {
      mySerial.print('1');
      Serial.println("I sent 1 to ESP");
      prevBtnState = false;
      delay(100);
    }
  }

  bool arduinoBtn = digitalRead(btn2Ar);
  if (arduinoBtn == HIGH) {
    if (prevArduinoBtn == false) {
      mySerial.print('0');
      Serial.println("I sent 0 to Arduino");
      prevArduinoBtn = true;
    }
  } else {
    if (prevArduinoBtn == true) {
      mySerial.print('2');
      Serial.println("I sent 2 to Arduino");
      prevArduinoBtn = false;
      delay(100);
    }
  }
}
Arduino Slave Code:
#include <SoftwareSerial.h>

#define rx 3
#define tx 2

SoftwareSerial mySerial(rx, tx);

void enableTX() {
  pinMode(tx, OUTPUT);
  digitalWrite(tx, HIGH);  // Idle high before sending
}

void disableTX() {
  pinMode(tx, INPUT);  // Tri-state
}

void setup() {
  Serial.begin(115200);
  mySerial.begin(115200);

  pinMode(LED_BUILTIN, OUTPUT);
}

void loop() {
  if (mySerial.available()) {
    char command = mySerial.read();
    Serial.println(command);

    if (command == '2') {
      digitalWrite(LED_BUILTIN, HIGH);
      enableTX();
      mySerial.println("Arduino LED ON");
      mySerial.flush();
      disableTX();
    } else {
      digitalWrite(LED_BUILTIN, LOW);
    }
  }
}
ESP32 Slave Code:
#define RXD1 16
#define TXD1 17

void enableTX() {
  pinMode(TXD1, OUTPUT);
  digitalWrite(TXD1, HIGH);  // Idle high before sending
}

void disableTX() {
  pinMode(TXD1, INPUT);  // Tri-state
}

void setup() {
  Serial.begin(115200);
  Serial1.begin(115200, SERIAL_8N1, RXD1, TXD1);

  pinMode(LED_BUILTIN, OUTPUT);
}

void loop() {
  if (Serial1.available()) {
    char esp_btn = Serial1.read();
    Serial.println(esp_btn);

    if (esp_btn == '1') {
      digitalWrite(LED_BUILTIN, HIGH);
      enableTX();
      Serial1.println("ESP LED ON");
      Serial1.flush();
      disableTX();
    }
    if (esp_btn == '0') digitalWrite(LED_BUILTIN, LOW);
  }
}
Output:
Challenge and overcoming it:
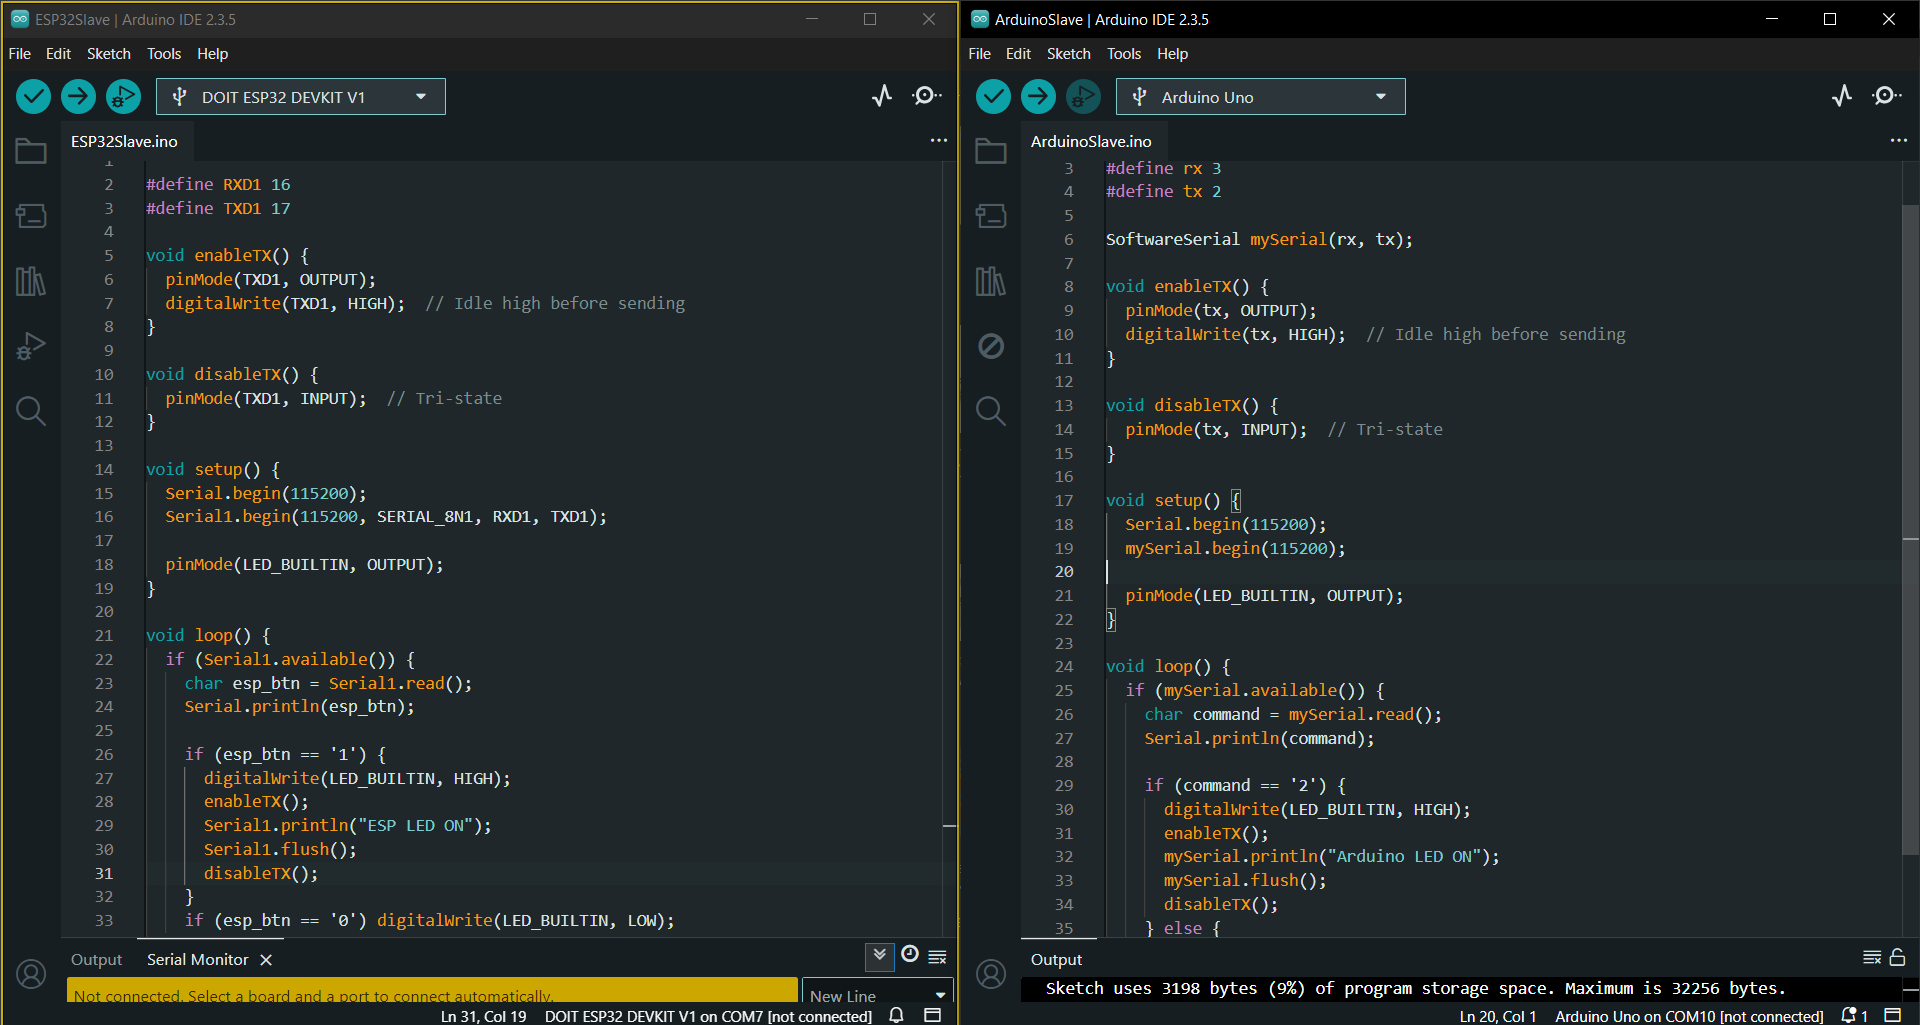
In the video you could see that only the arduino is sending back to the xiao though the esp led is turning on but it doesn't send back to the xiao. I asked saeed about it and he told me that we should disable the tx after sending to clear the way for any other data to be sent. The first code didn't have this enableTX and disableTX. I was just sending the data.
2- Bluetooth Low Energy (BLE)
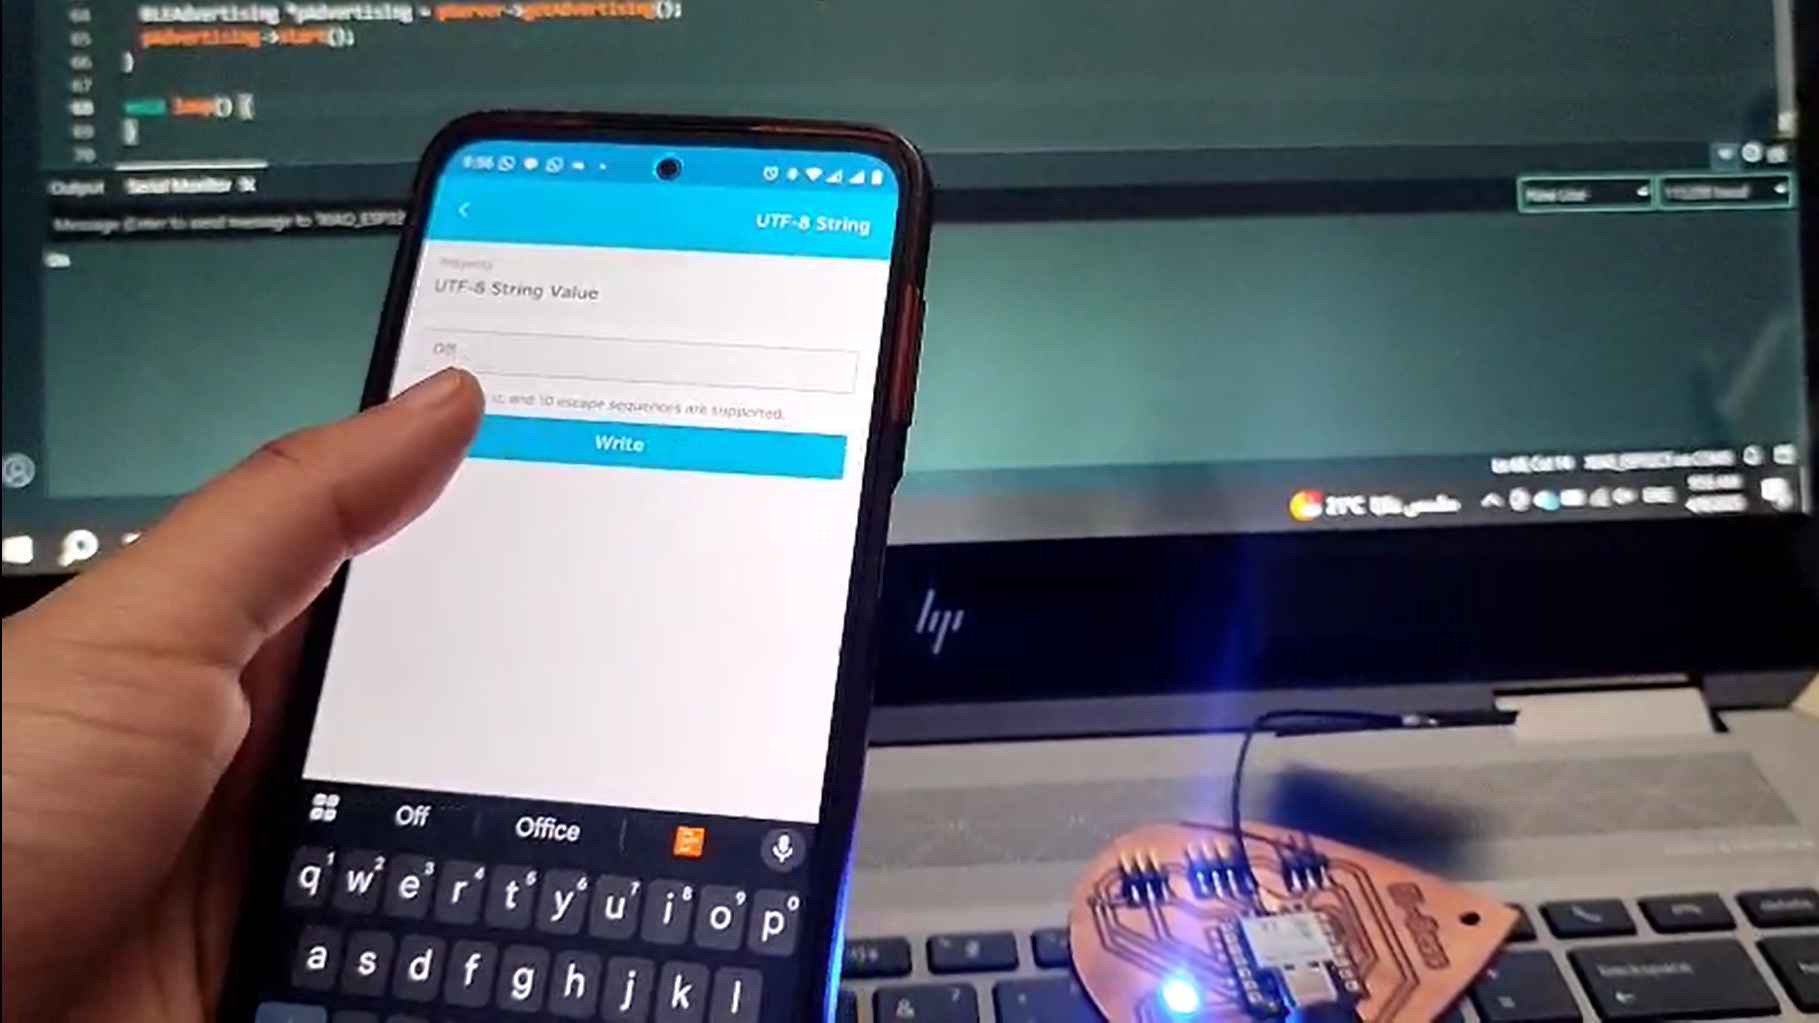
In my individual assignment I wanted to prepare for my final project as I wanted to try controlling the watering of the plant using my mobile. As I'm using Xiao Esp32-C3, it supports bluetooth connectivity.
As we do in any new topic, I searched on google about the bluetooth connection using my microcontroller and found the Seeed studio guide to it. So I decided to follow it and control the neopixel on the board I designed previously in Week 6 and fabricated in Week 8.
I followed the guide and tried to understand the code to make it easier for me to edit it. I first started with an example of a simple code for the neopixel:
Make sure you have the neopixel library installed and include it in the code then I defined the pin it's connected to in the xiao and I defined the number of pixels I'm using which was one. The next line was in the example code and I didn't edit it. There were more lines but for other boards not the xiao so I removed them. An important thing to do is to read the comments in the codes. The next lines were about setting up the bluetooth.
---------------------------
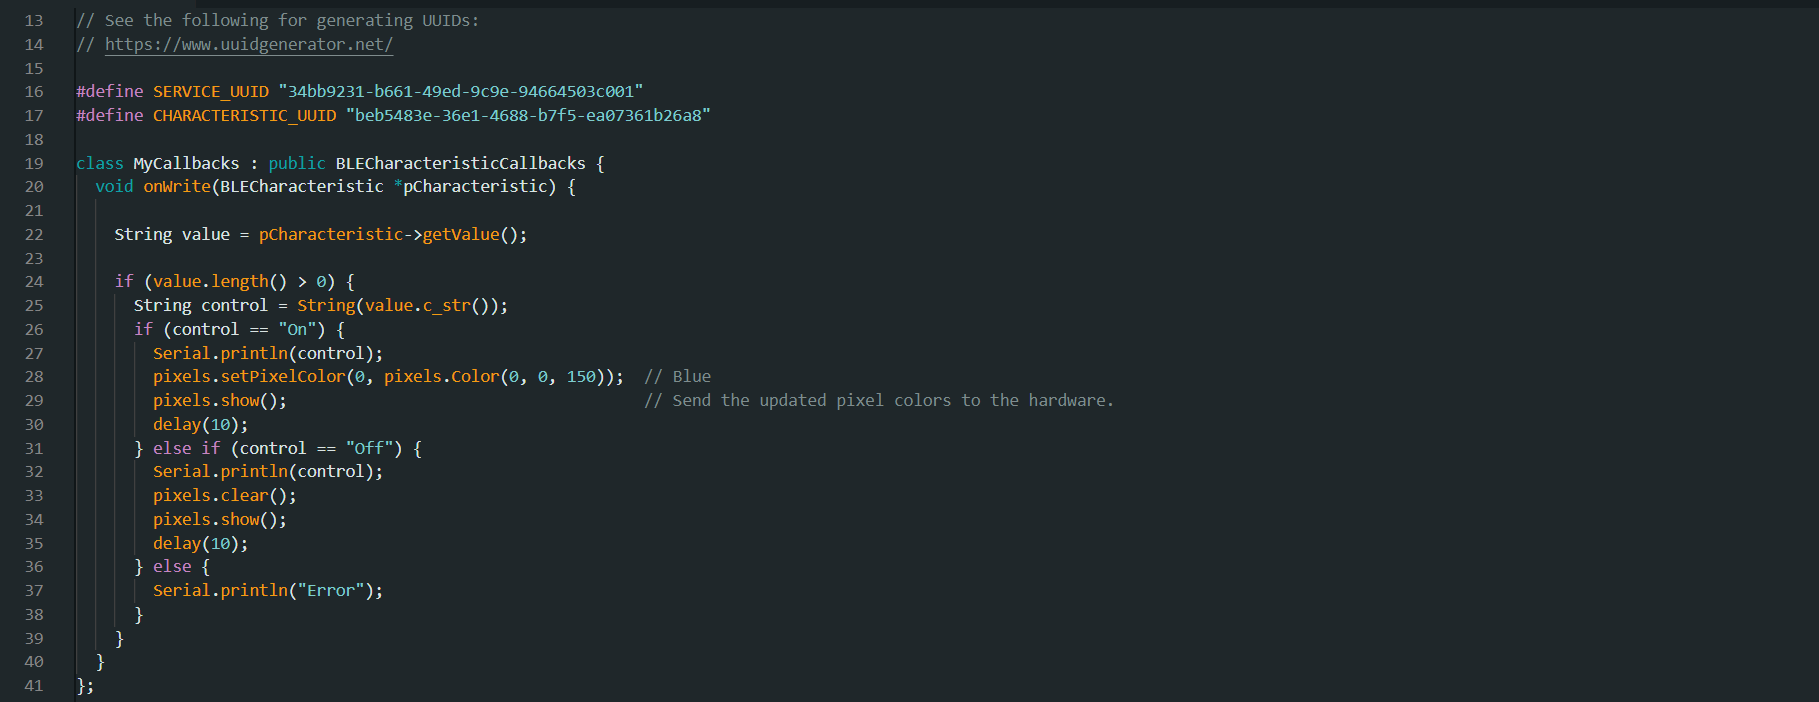
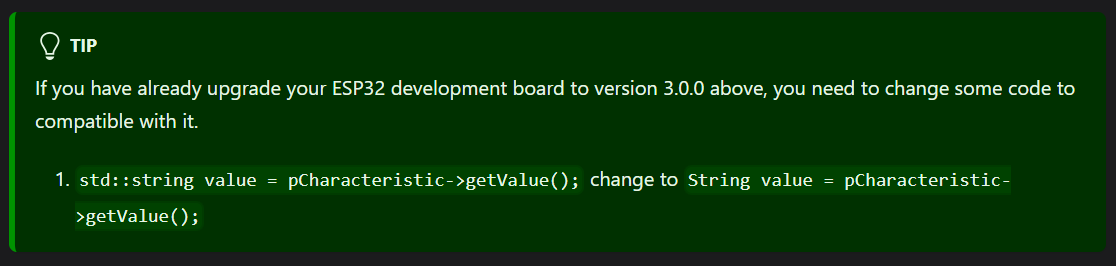
Here were the main edits in the code to make it do what I want. First things first I went to the link in the comments and generated UUID for the service and another one for the CHARACTERISTIC. You have to do it too to make it personalized. Next, when I first uploaded the code it gave me an error in a line which seeed had a tip about it. So, I changed the line and it worked with the second one.
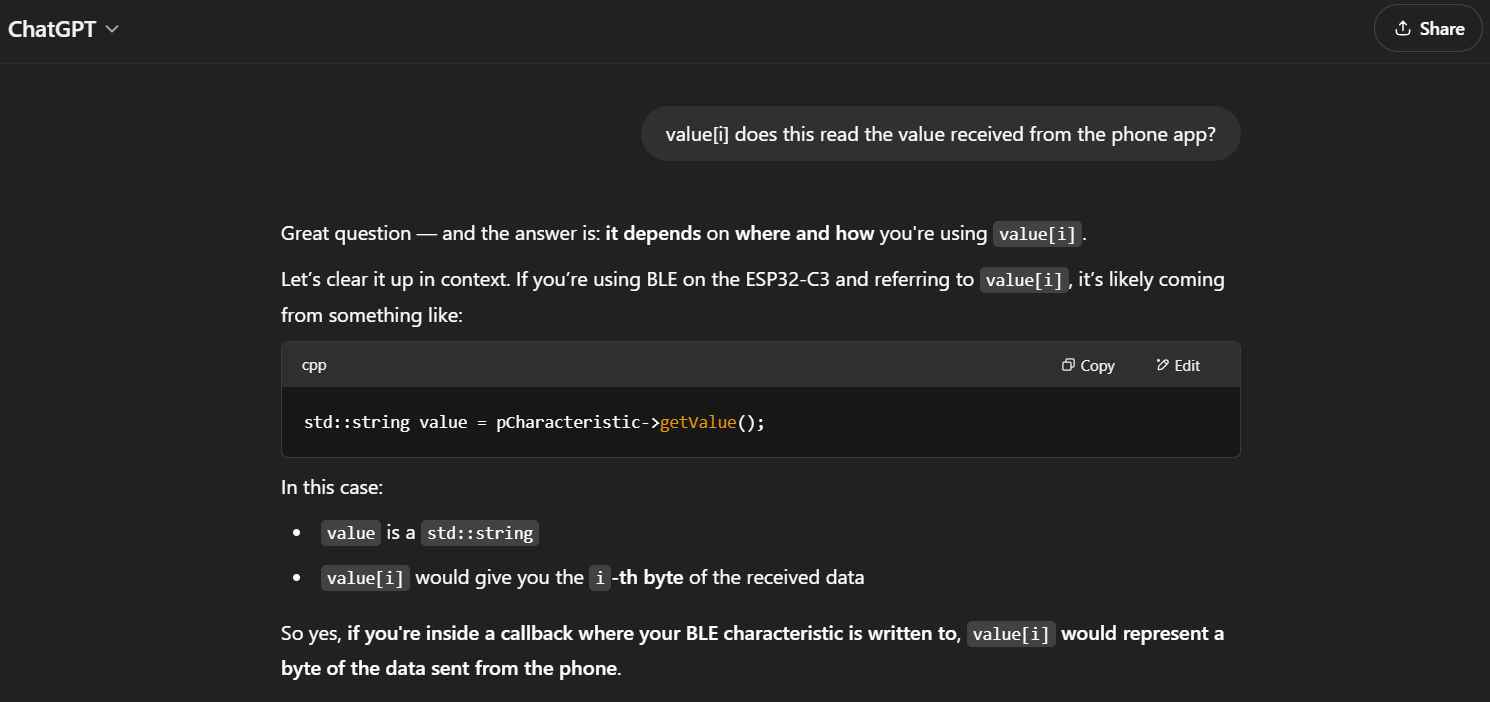
Making something do something was easy if you have a little background in coding using if condition. But my problem was if(what)? At first I used the value[i] that was in the code instead of control I'm using now but it gave me an error. In that case I went to ChatGPT to ask it.
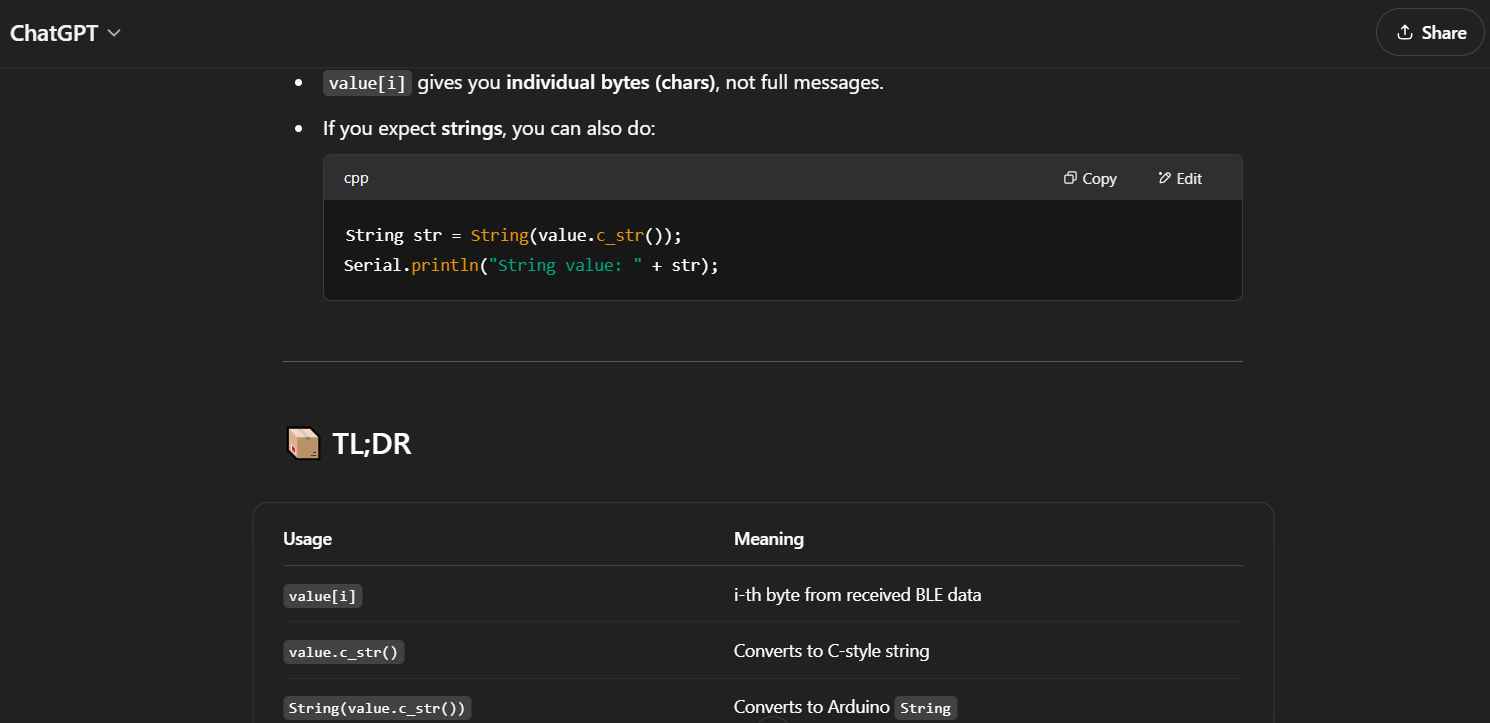
So, what I understood that value[i] can't understand the string On or Off but I need a different definition. So I used the line: String control = String(value.c_str()); and used control to see if it's On or Off or any other word.
---------------------------
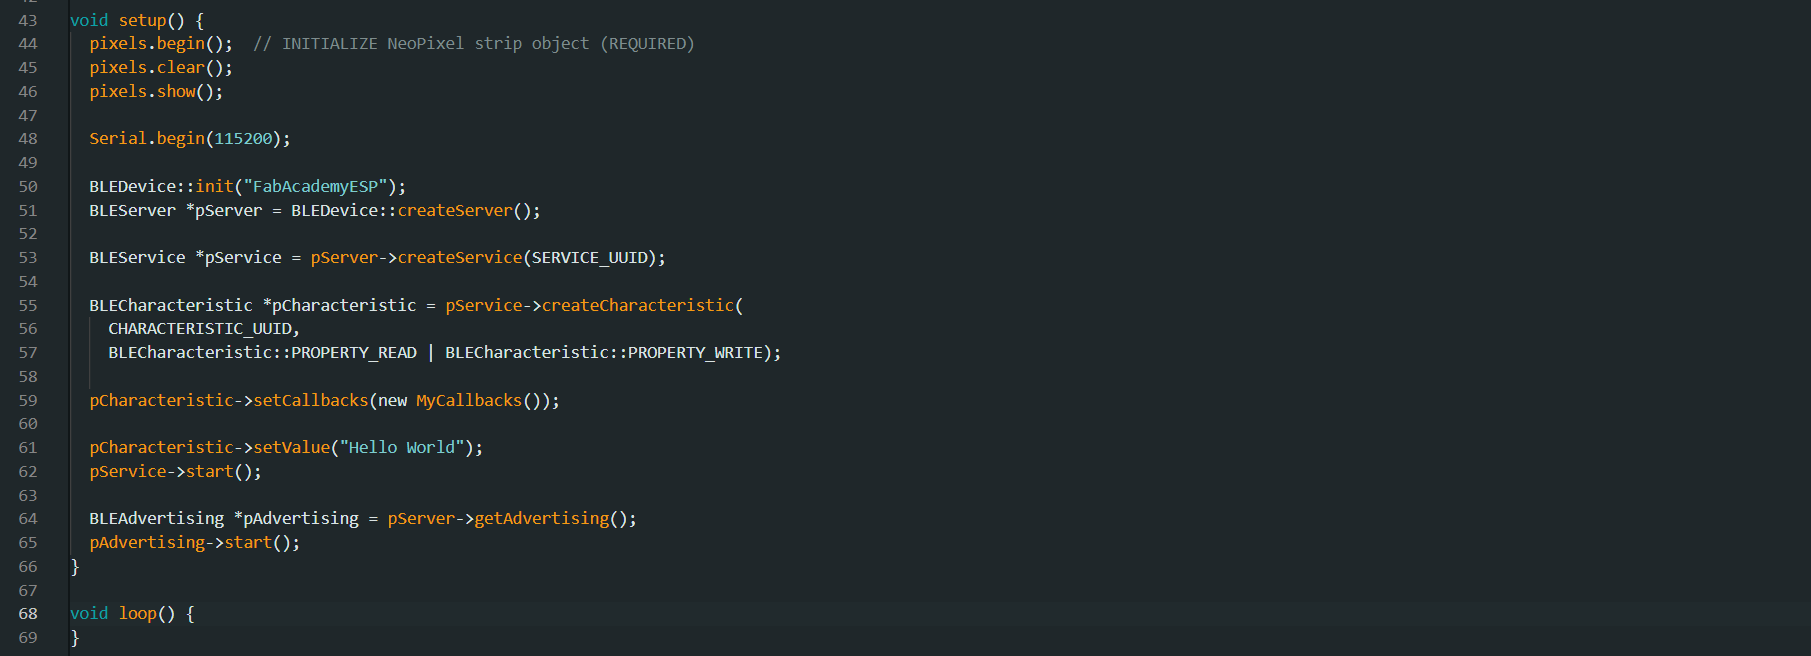
In void Setup I initialized the neopixel and didn't change much in the code. I just renamed the bluetooth device name to FabAcademyESP. Now we can see the project working. Woohooo!