
1. Principles and Practices
The Purpose of The Project
As the world needs to breathe, more green could make it much better. And in order to keep our plant healthy we need to look after it. But don't we all forget to water our plants? When was the last time I watered it? Mmm, How much water does it need? or we even travel for a couple of days and there's no one else around to look after the poor planty! :( THE WORLD COULD BE IN DANGER!!
So, this is for people who want to help rescue the planet with almost no pressure on their mind to remember and also with aesthetic decorative plant pot in their home.
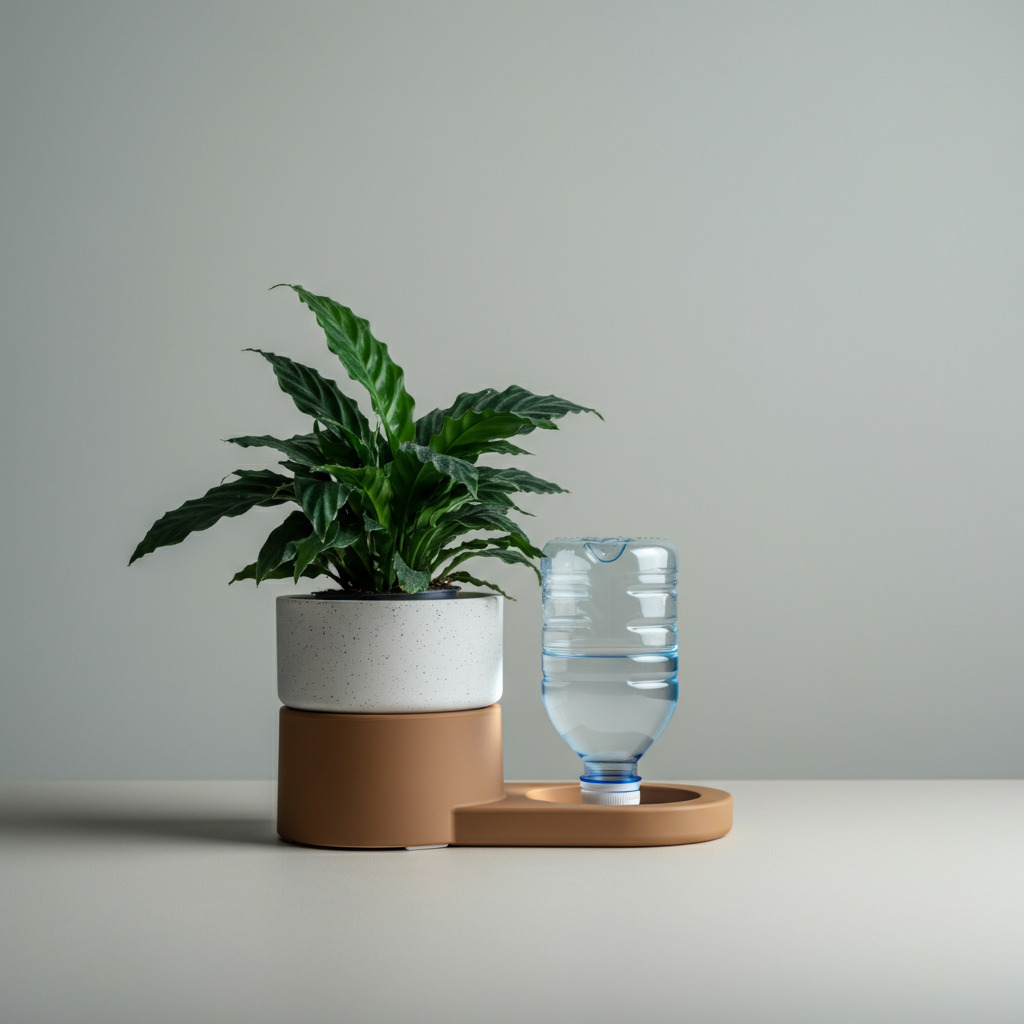
THE POT... A while ago I bought a small internal plant which I could put on my desk. And as a product designer I had many problems with the pot, starting from how it looks like to the problem that it didn't have a base under it to hold the excessed water.
Sooo, let's work things out!
THE IDEA!!
I thought why don't we have a self watering plant pot with a really nice look to put on our desk or anywhere around our houses, offices, shops, and everywhere we want?
As a product designer we first have a problem to solve then we do our research to help us generate ideas to solve the problem. So, the problem here was watering the plants when they needed to. After quick research I found that there are ways to self water the plant using electronics but there were no integration and a lot of loose wires. So, I started thinking of ways of how to integrate the electronics and connect the water to the pot, and how to make the product modular for different sizes and plants.
General Features:
- Self Watering: Using sensors or using other different inputs manually.
- Fully integrated system in a well designed product.
- Modularity: Being able to put different sizes of pots and bottles to suit as more plants types as possible.
- Light Unit: By adding LED profile to the product "A nice to have feature".
Quick idea generating
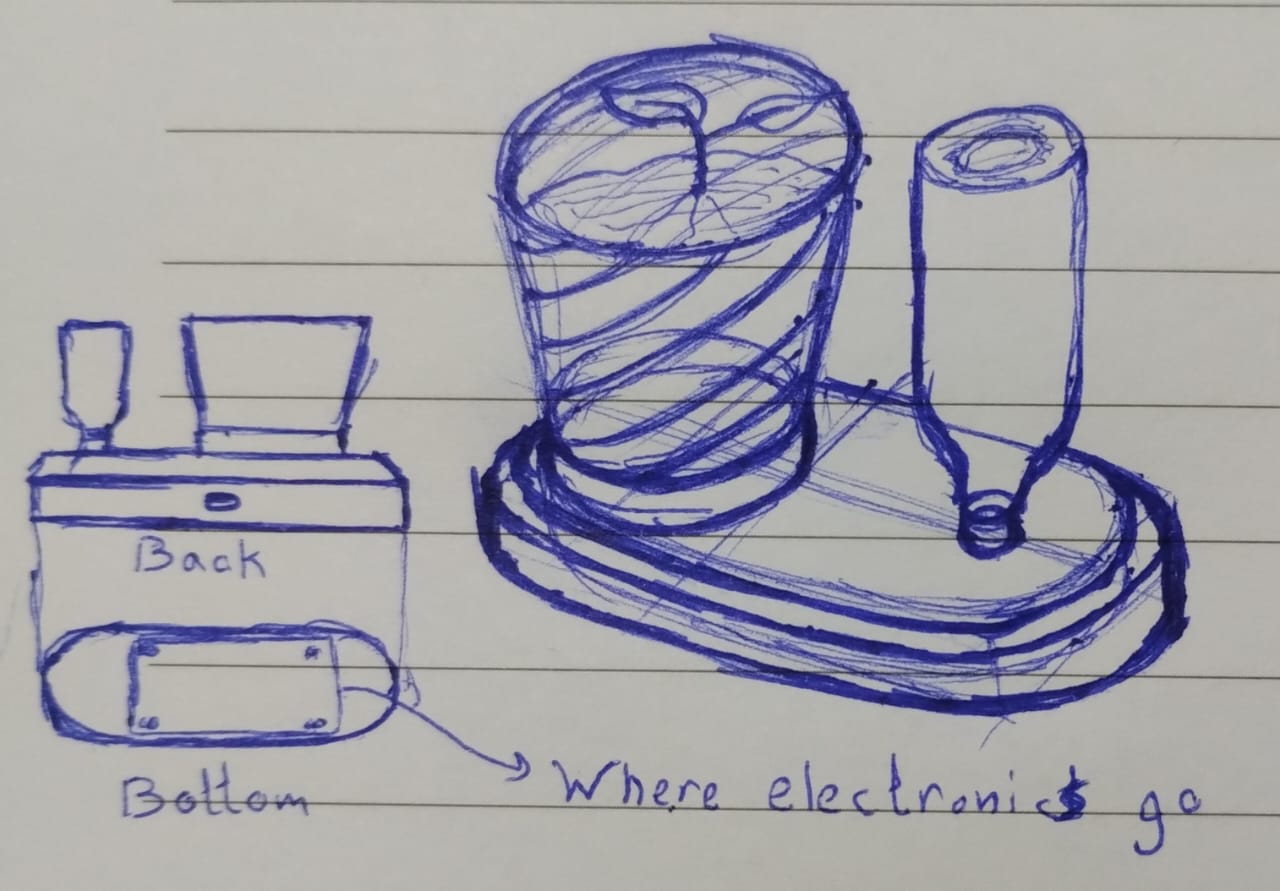
Don't judge the sketch as I'm a not a big fan of hand sketching, but yeah I'm still a designer though.
To explain the sketch, we need to have a main base to hold the electronics in it and the pots and bottles on it. To help keeping the product clean the pot also has another base that goes into the main base and could be removed from it by simply rotating it. the pot base is to hold the excessed water and it could be attached to different sizes of pots using the same rotating method. Next to the pot we have a bottle also designed to be attached to the base and removed easily. To charge the product or have it plugged we could connect it from the back of the main base.
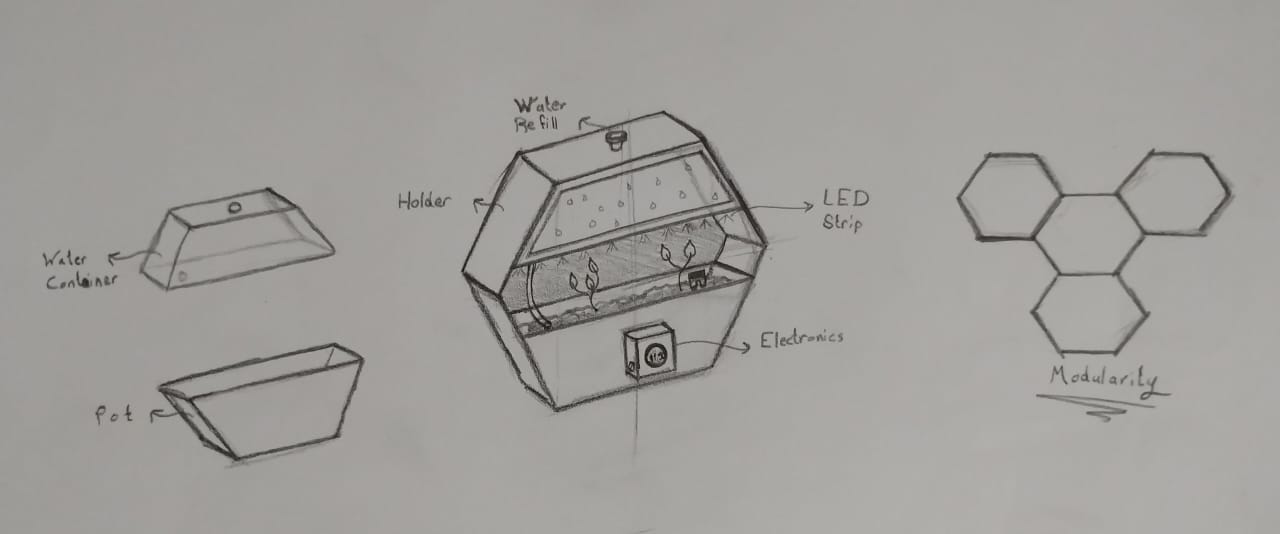
An upgrade to the design and showing some details of where everything would be with a water container in the top and a pot under it with a pump held to one side of the hexagon between them.
2. Project Management
Here's a summary about what you'll see next:
- 1) Exploring Stage!
-
- What is html, css, and javascript?
- What is Gitlab? A repository and how to edit it?
- How to build a website?
- 2) How I did it?
-
- First, Choose a template!
- All I learned about VS Code.
- Editing the template and all about documentation.
- 3) Obstacles and Help along the way..
-
- What to do when you get stuck?
- How doing this helped a lot ^_^
1) Exploring stage!
1. What is html, css, and javascript?
2. What is Gitlab? A repository and how to edit it?
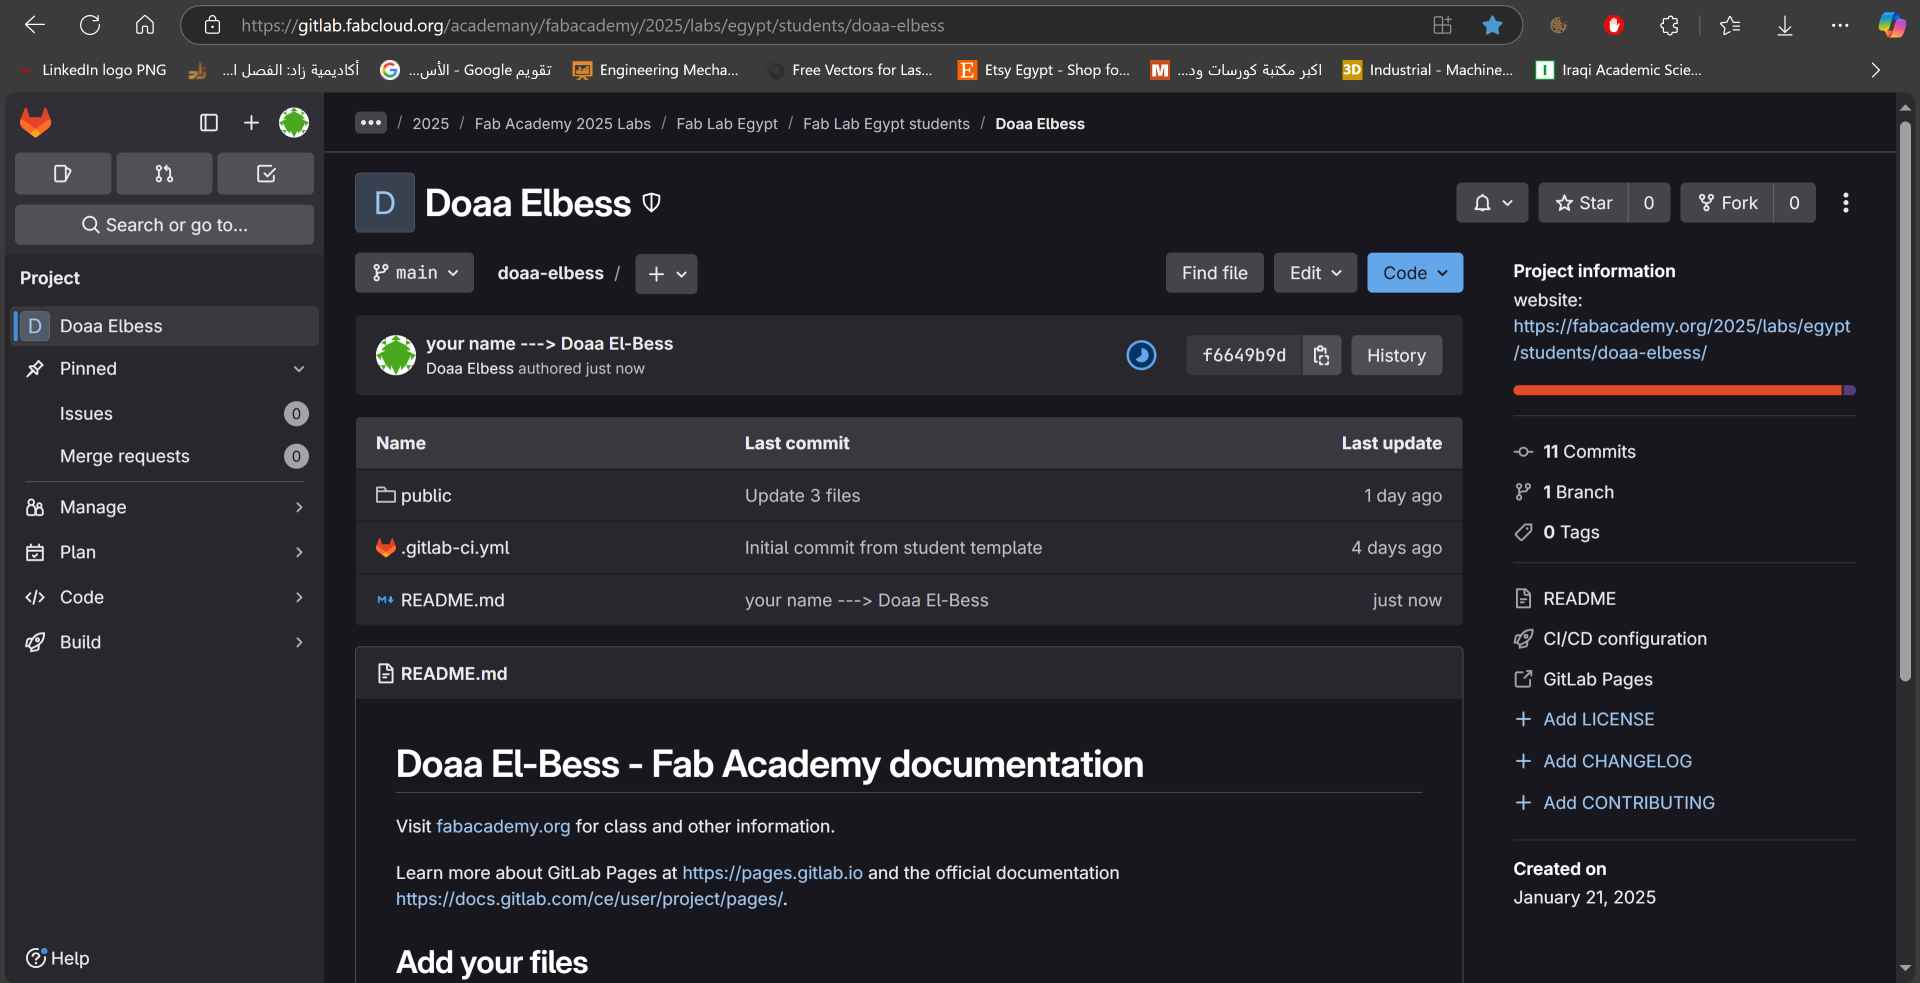
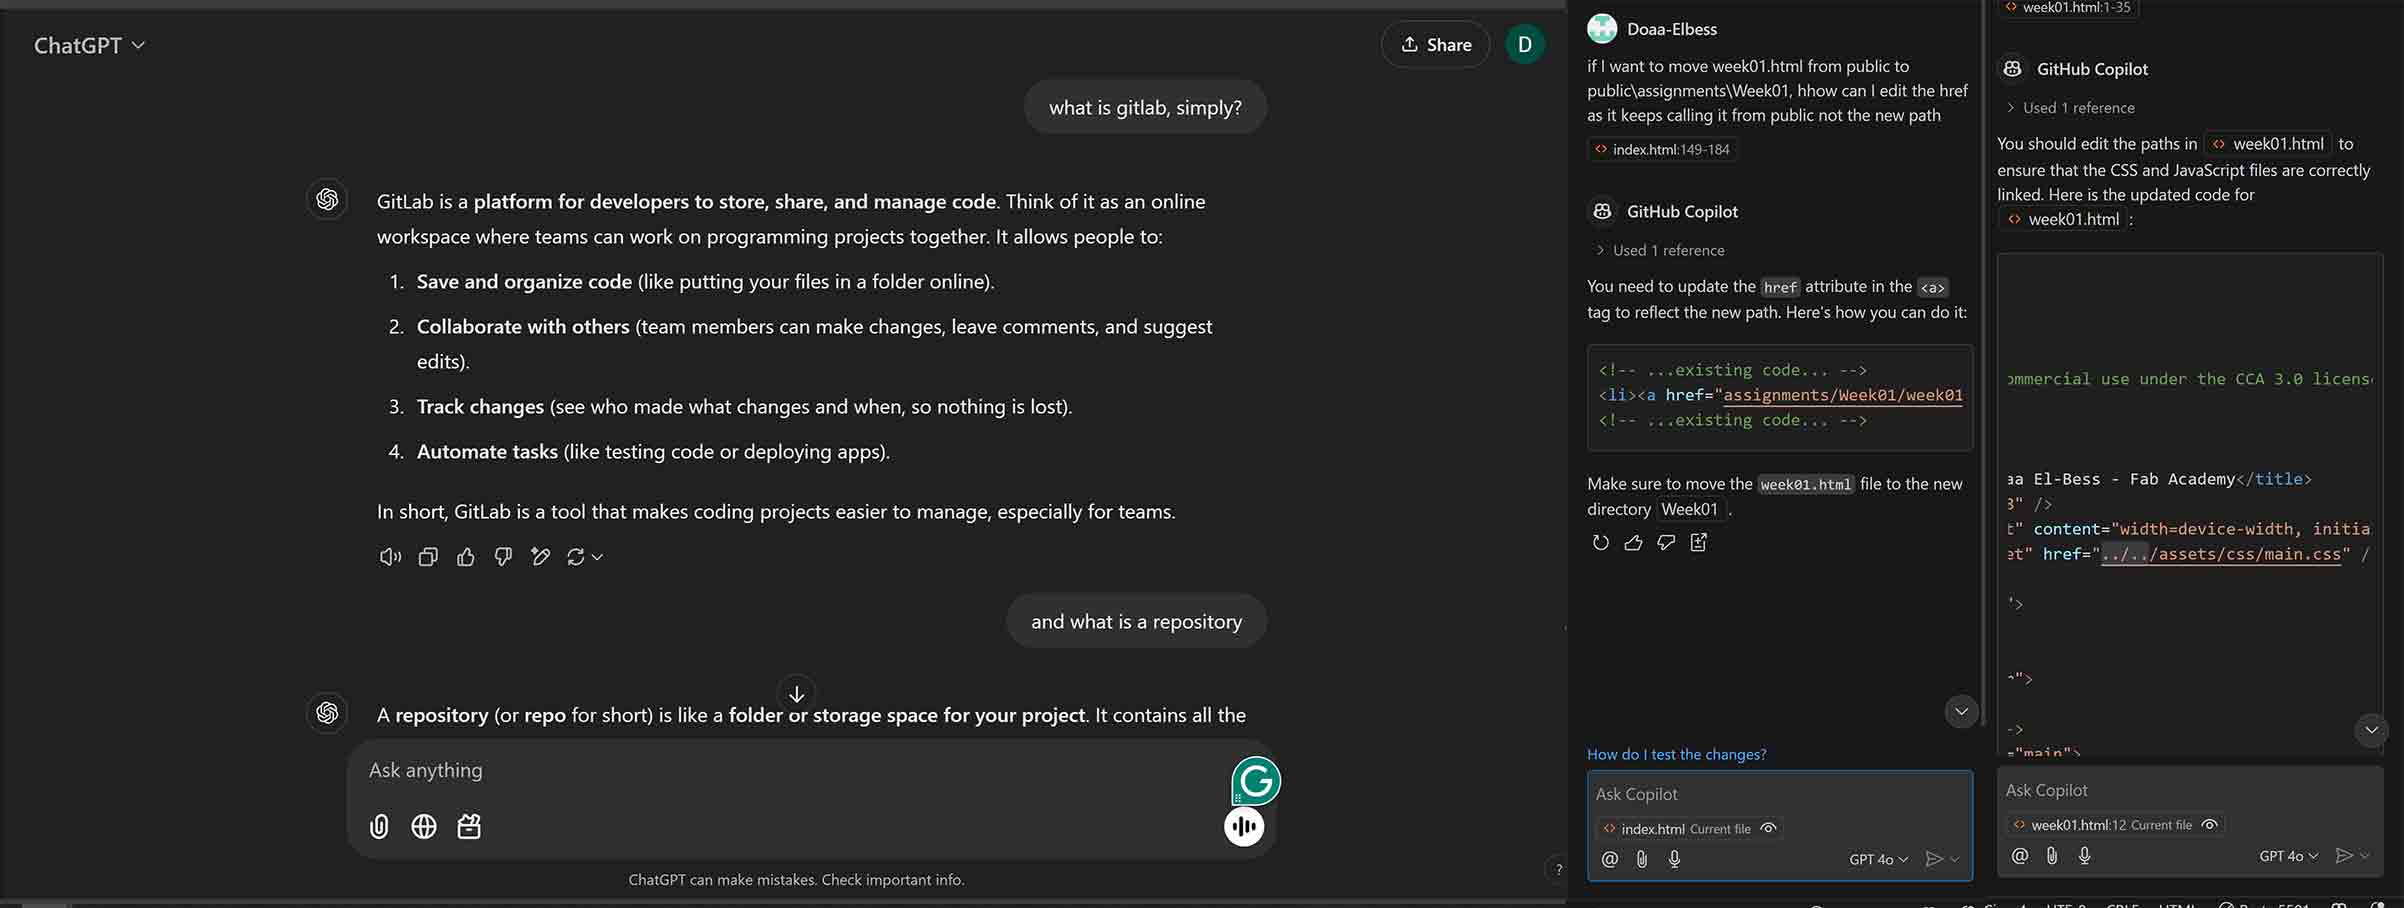
Gitlab: is simply a platform for developers to manage codes, collaborate with others, and track changes. I'm still figuring things out in it but what I needed to know to get started was that in the mid section you find your Repository or Repo. Which we could say that it is the folder where we store all the files and codes of our project or in this case our fab academy website. On the top right we could visit our website using the link. Commits is the changes you made to the repo and you commit what you changed. The folder Public is where we put all our images, videos, codes, and everything we need to put on the site.
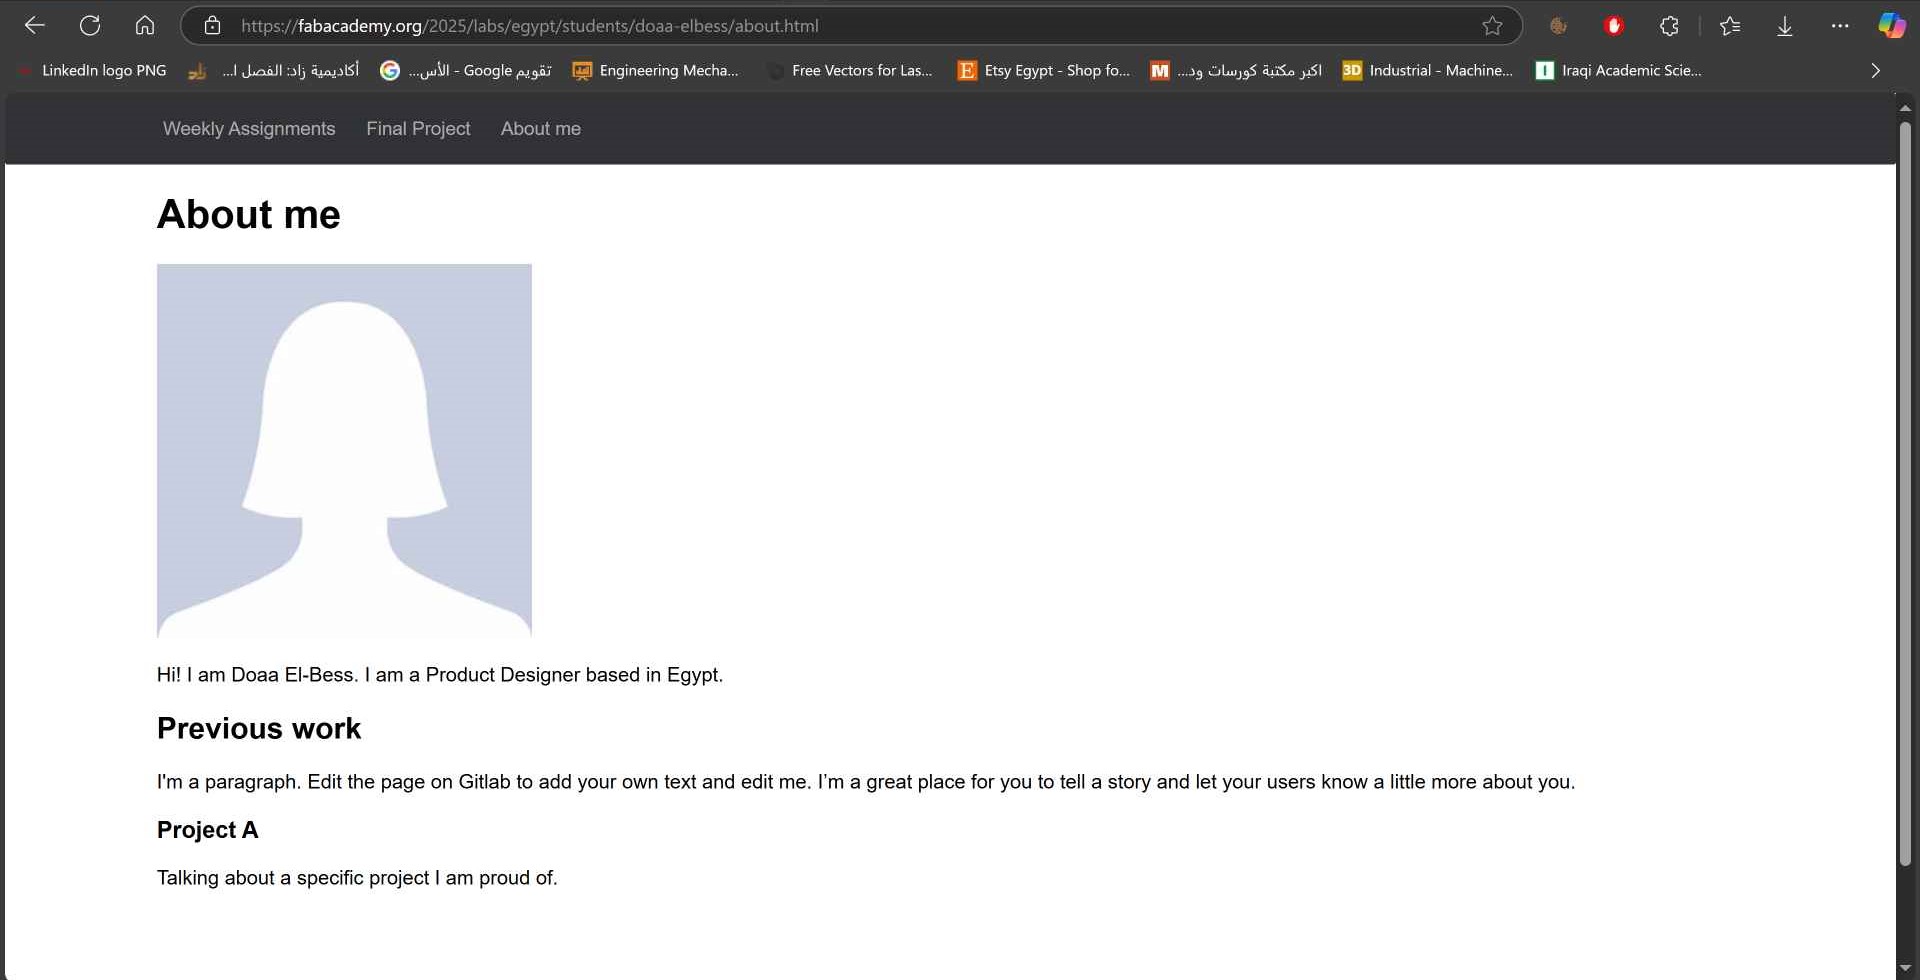
And when you open the public folder this image shows you how to edit your codes online easily but we are encouraged to edit them locally then pushing the edits online. There's different Git clients to do it locally you can find them here: Git GUI Clients. I explored and tried many of them starting with GitKraken then Git and tried the command line thing
And when you open the public folder this image shows you how to edit your codes online easily but we are encouraged to edit them locally then pushing the edits online. There's different Git clients to do it locally you can find them here: Git GUI Clients. I explored and tried many of them starting with GitKraken then Git and tried the command line thing 😅, then moved to SourceGit which I thought it had a nice interface, but also explored SourceTree with my instructors and friends. Finally, I decided to work with VS Code which is a free code editor that allow me to edit and manage my code locally so it was the perfect option for me.

3. How to build a website?
My first assignment was to build or edit my website and describe how I did it. So I had different options to do it:
2) How I did it?
1. First, Choose a template!
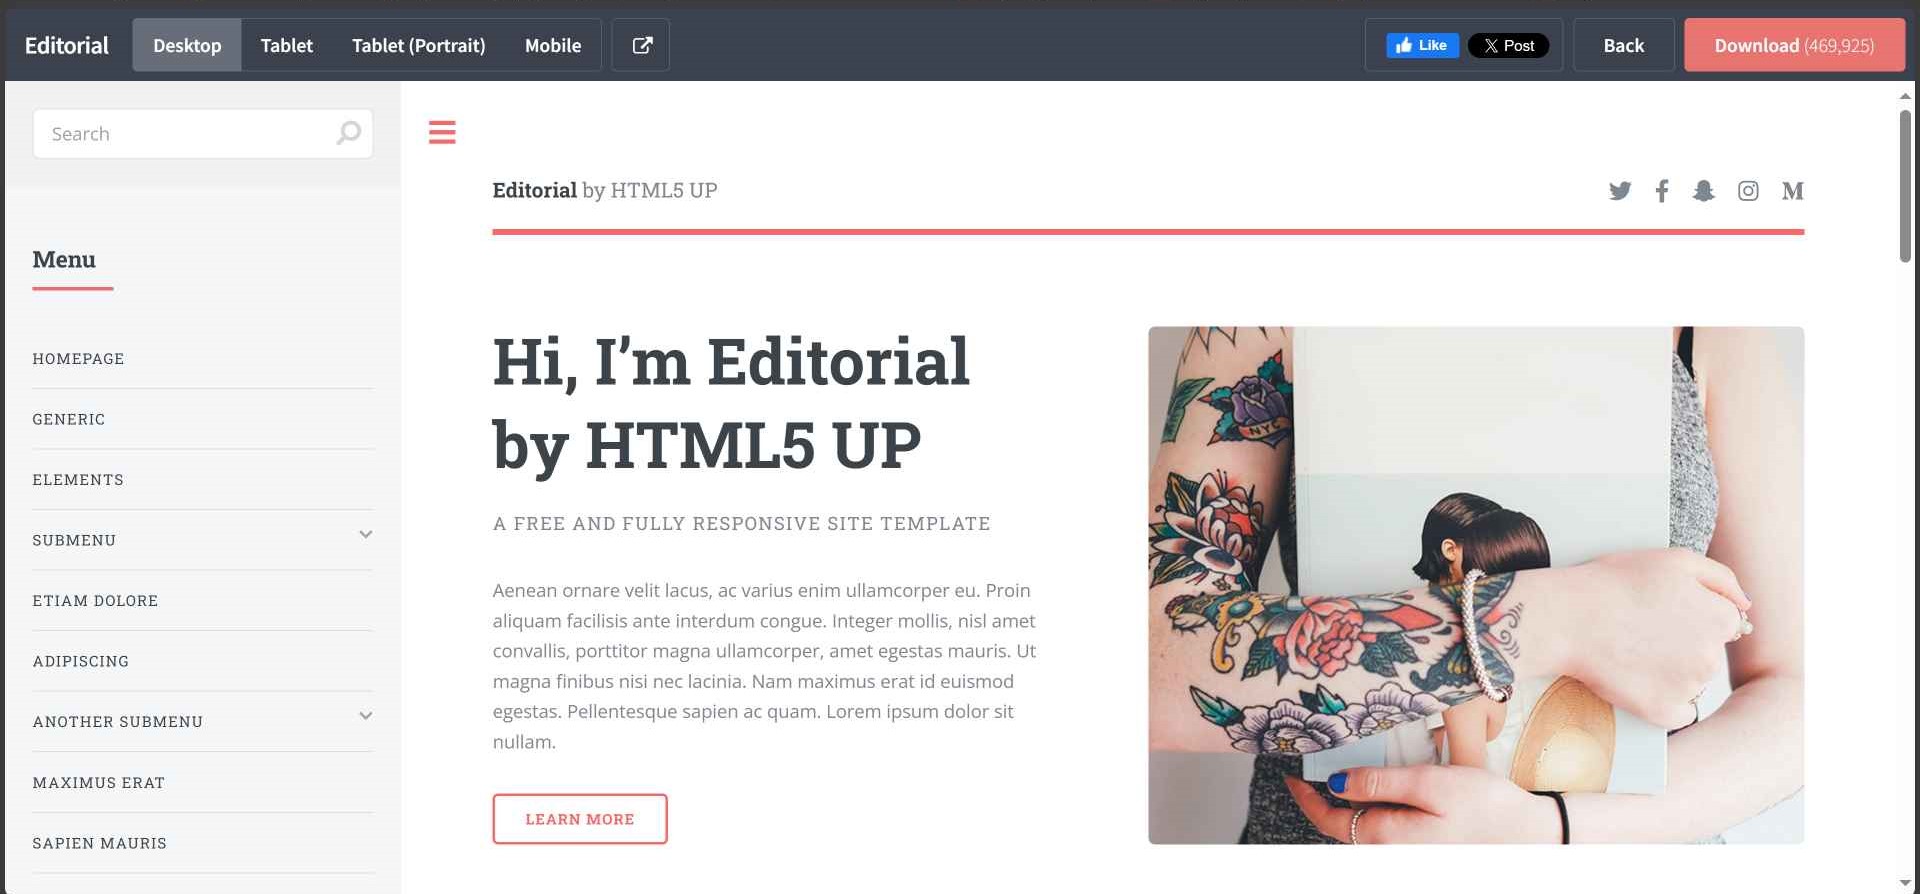
As I mentioned before, After exploring a lot I chose a template from html5up which is a free website that provides free templates for personal and commercial use. I chose the Editorial template which I thought it looked nice and will be perfect for what I need to document. You simply click download then it's super easy to understand and edit it.
2. All I learned about VS Code.
- First of all, we need to download VS Code then installing it.
- In order to clone the repo to VS, Git is needed. But luckily I already had configured it when I was exploring and This Video helped me a lot configuring it step by step.
- Now, to clone te repo we need to:1- open VS Code. 2- Press Ctrl + Shift + P to open command palette. 3- Type Git: Clone and select it. 4- Paste the repository URL we get it from Gitlab when we click Code and copy the URL from Clone with HTTPS then press Enter. 5- Choose a folder on the computer where we want to save the repo, and we're done.😉
- We can now open the repo in VS Code from File > Open Folder and select the folder of the cloned repo.
- A great feature in VS Code is Live Server which allows you to see your changes instantly in the browser when you press ctrl + s. To activate this feature we click on extensions icon "the last square one on the left side" then in the search bar we type Live Server then install it. To preview the html we Right-click anywhere on the editor area and select Open with live server. Now, you can split the screen, edit your html, and see your edits instantly.
- And to push the changes we made to the repo we need to:1- Open the Source Control tab from the left side of the screen. 2- Write a message for the changes we made in the Message Box then press the down arrow and select commit and push to commit and push the changes to the repo.
- Another great feature in VS Code is Copilot. You can open it using the icon at the top and signing in. It helped me when I had problems editing the code and it also helped in writing the content by guessing what I'll write next.
- In the explorer tab you can view all your repo's files and the timeline will show all your commits.
3. Editing the template and all about documentation.
Editorial template to Repo: First, we need to apply the template to our repo. I did this by copying the html codes from Editorial and replacing the old ones in my repo with them. Also I copied assets folder from editorial and placed it in the public folder.
Change Colors: To change the orange color to the navy one, I opened the css file on VS Code and pressed Ctrl + F and typed color. This made me find most of the colors used in the css. I then copied the hex code of the orange color and pasted it in the Find bar to find all of it then replaced them with the new hex.
Using Elements: Building the structure of the template and the content I want to add was easy with the help of Live Server and splitting the screen and using the Elements of Editorial. You just pick the structure you want and copy paste it then adding your own content to it.
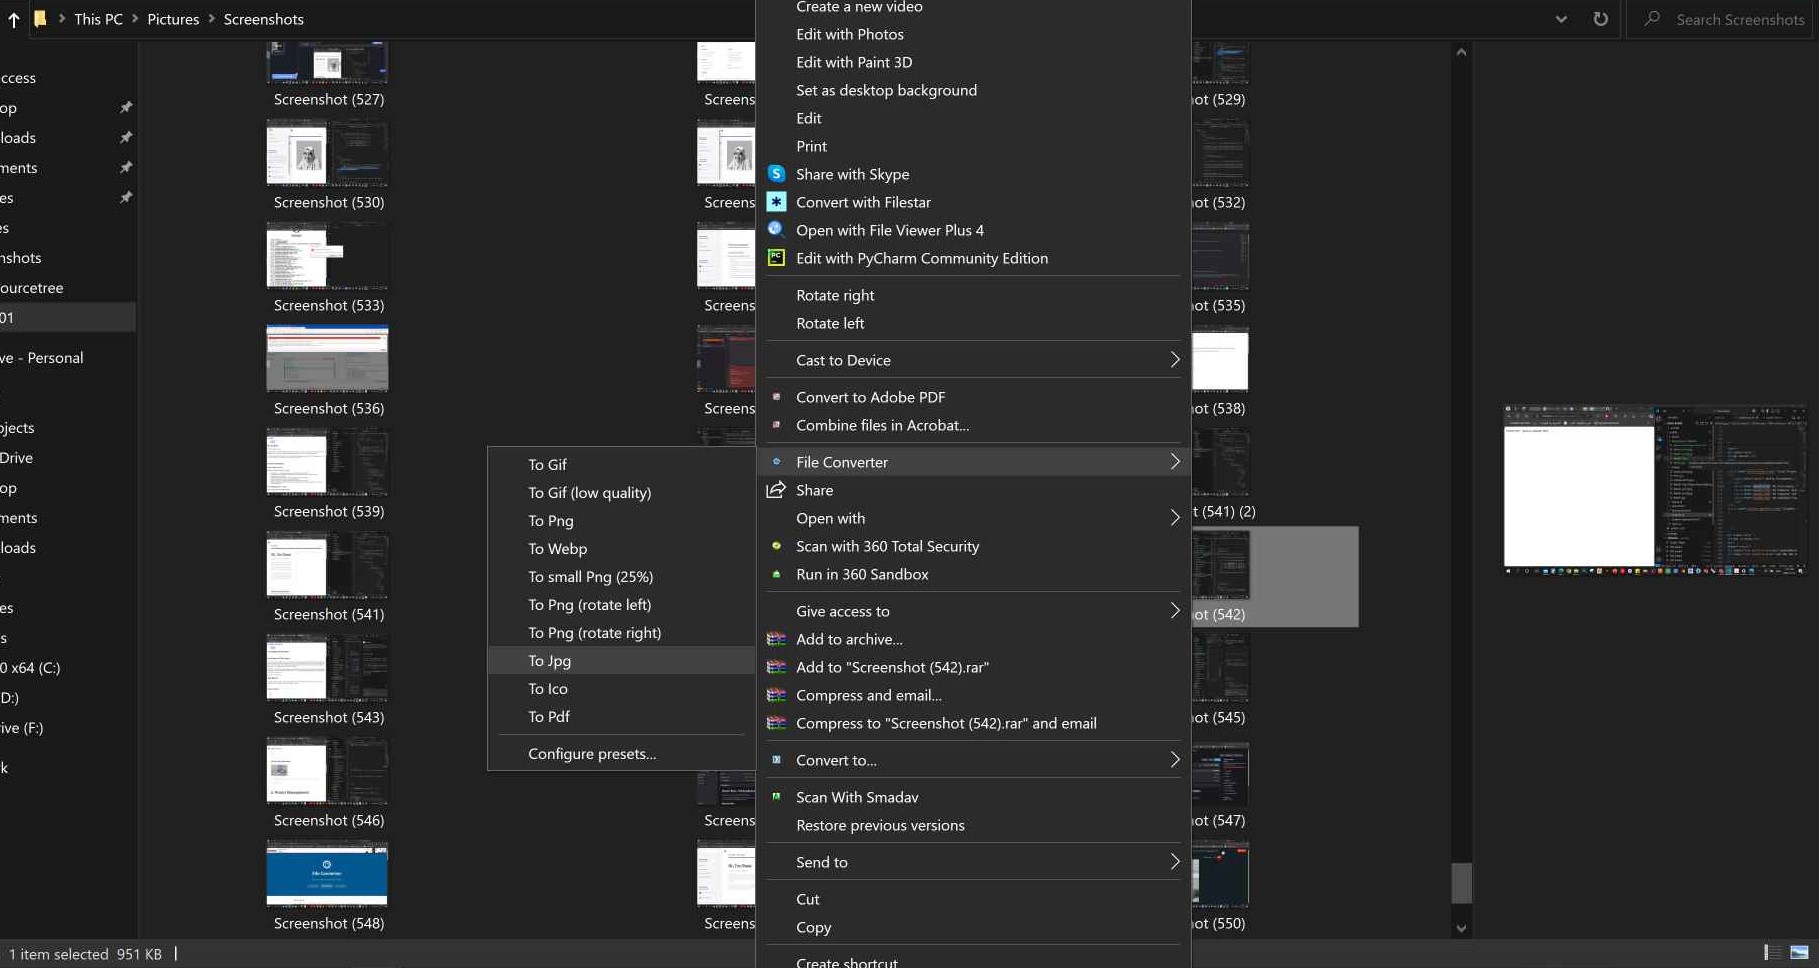
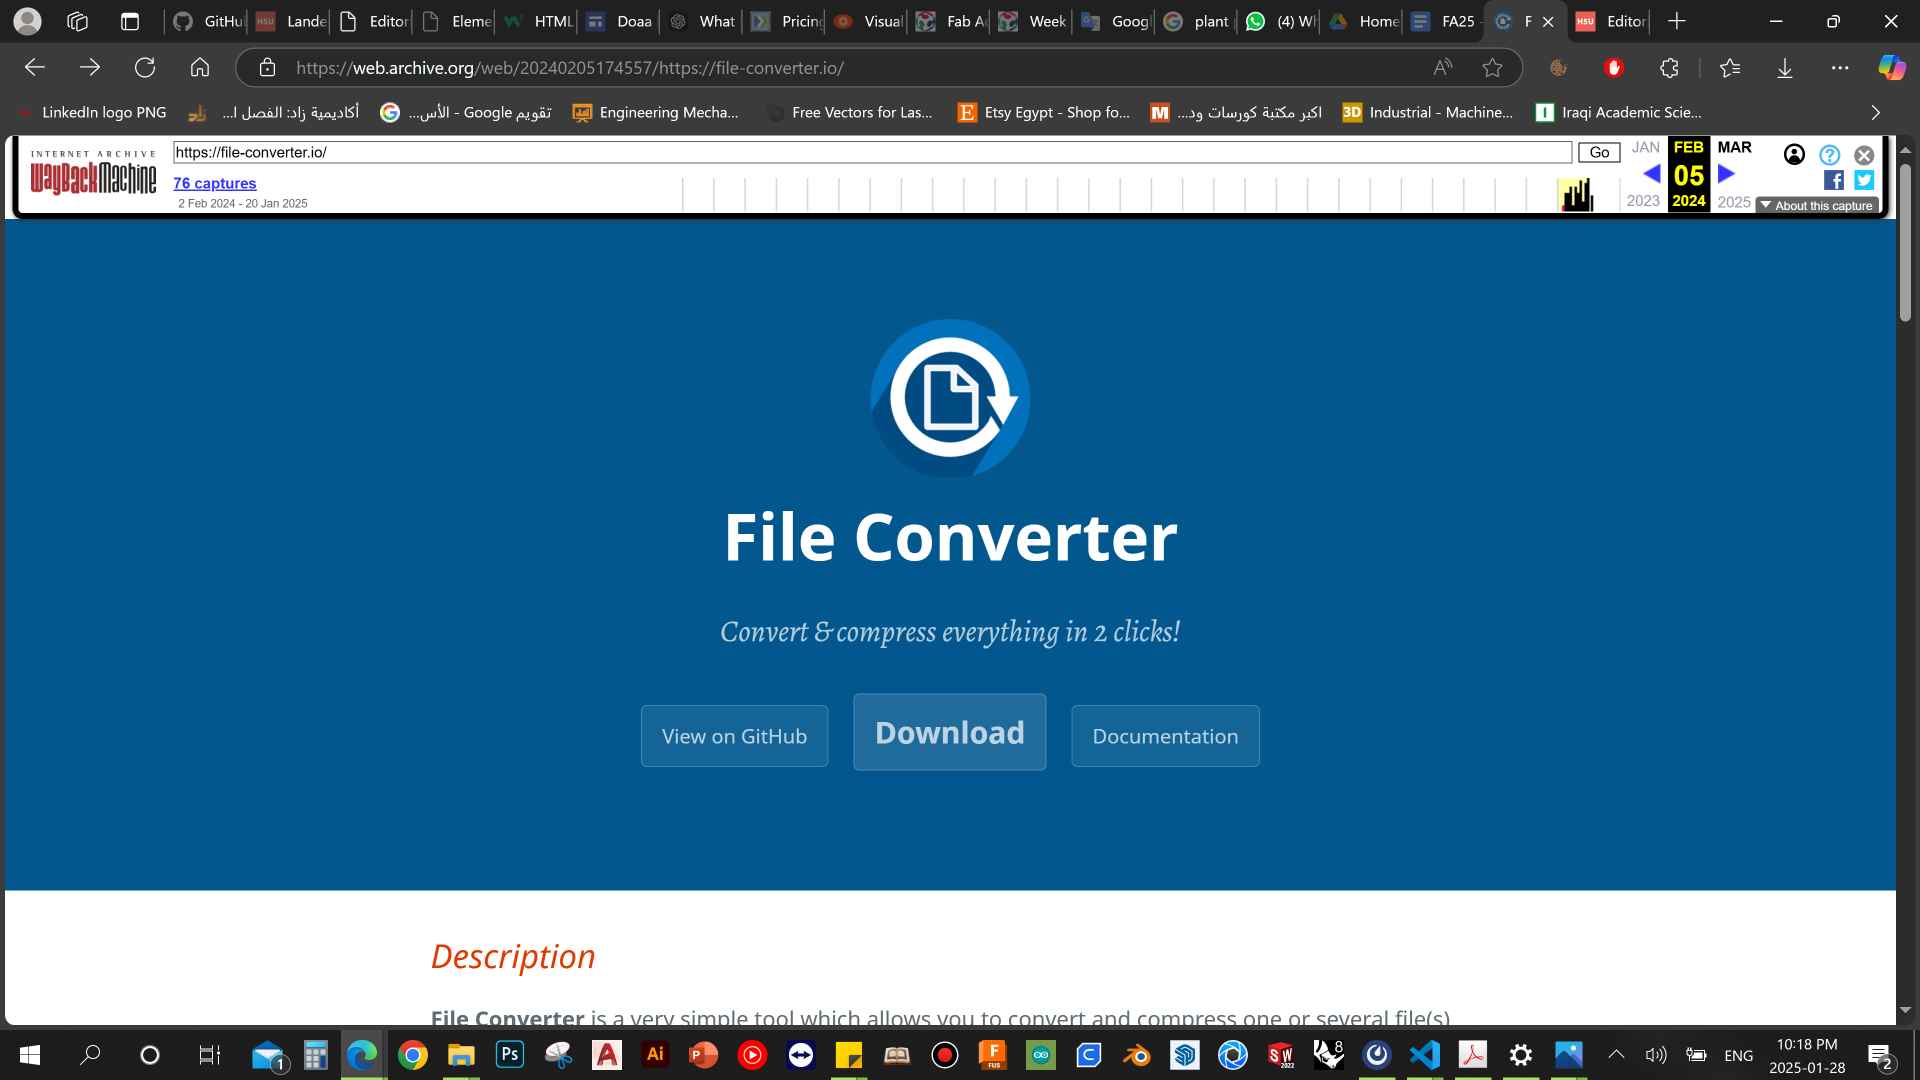
Adding images: Images should be compressed before adding them to the repo. The less the better to make the website faster and push htmls easily, we were recommended that each week must not exceed 10 MB. To do that, there are many options like ImageMagick, Image Resizer or any other online tool, or using photoshop, OR using File Converter which was a great option you can donload and install it then just Right-Click on the image you want > File Converter > To Jpg. You can also click on configure presets and choose the size and quality you want when converting to Jpg.
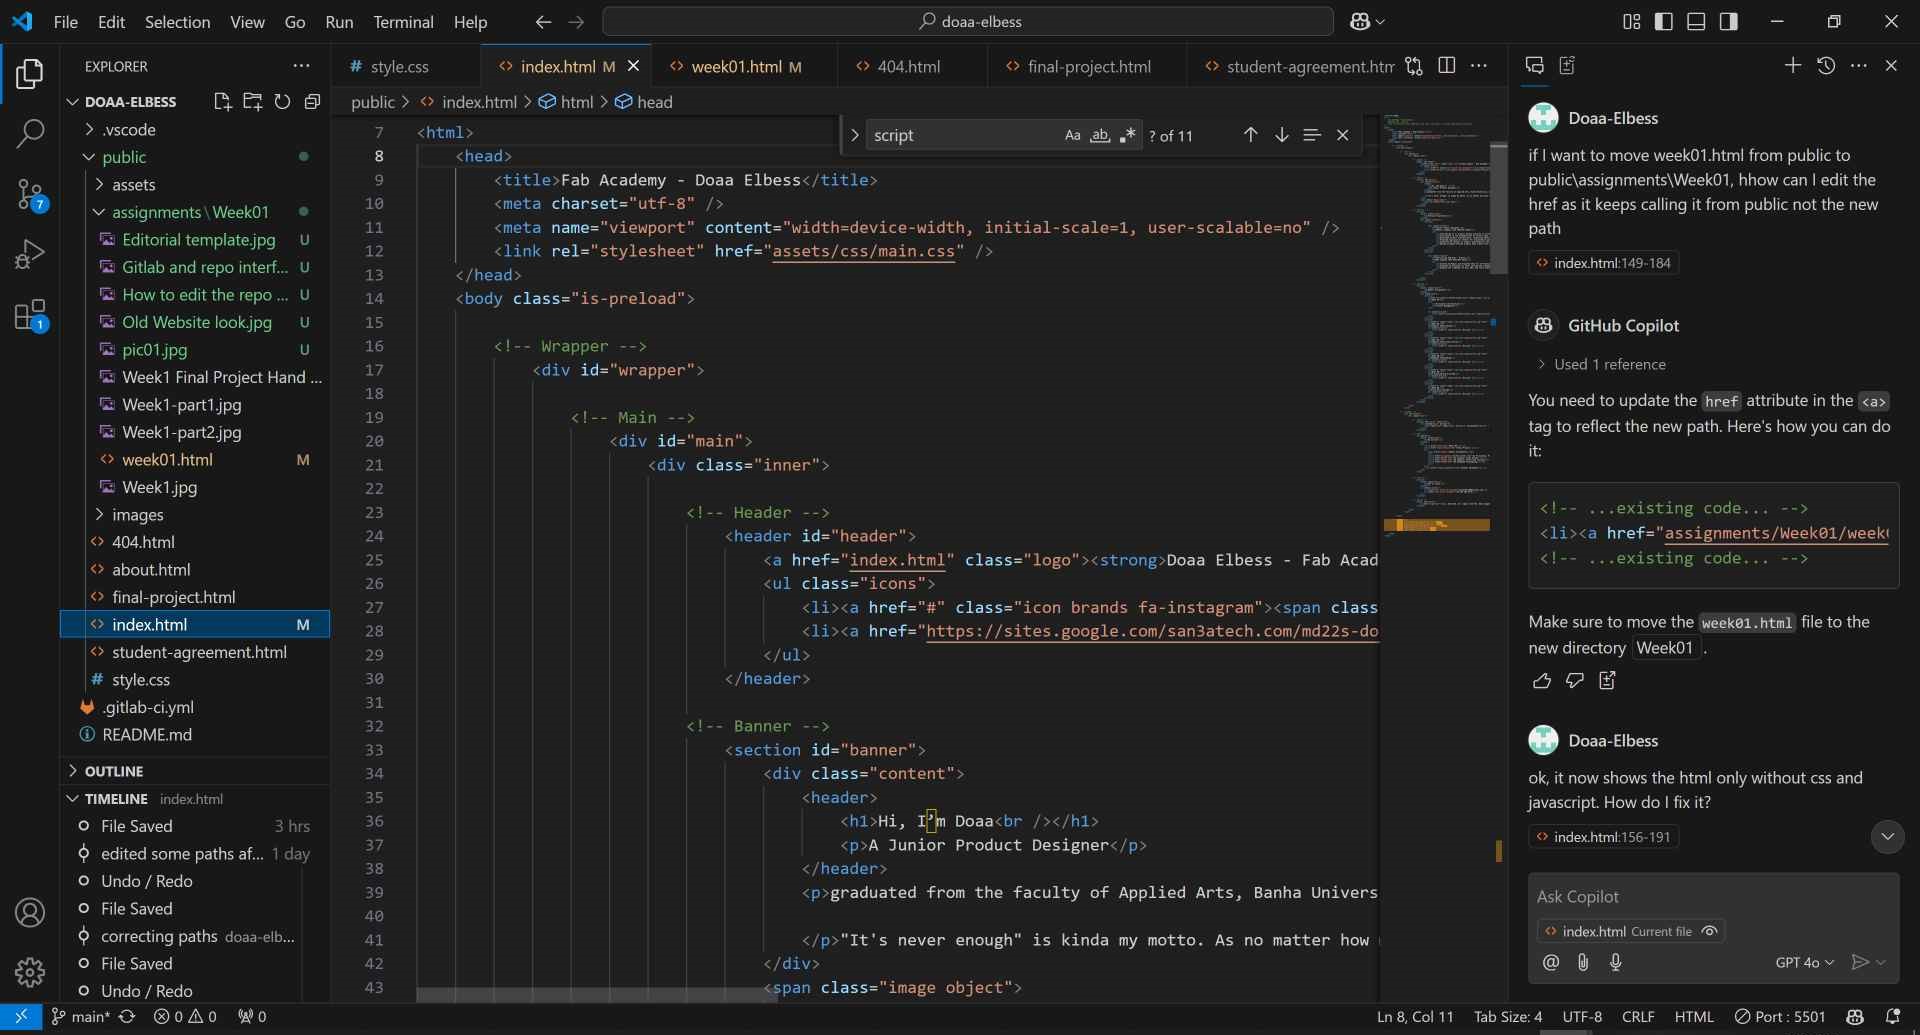
Organizing Files: In public folder I had my assets folder for the template, assignments and in it a folder for each week that contains the html and all images and videos used in the week. This is a bit tricky when you want to go from the week page to the about me page for example, and also in the first setup of the week html.
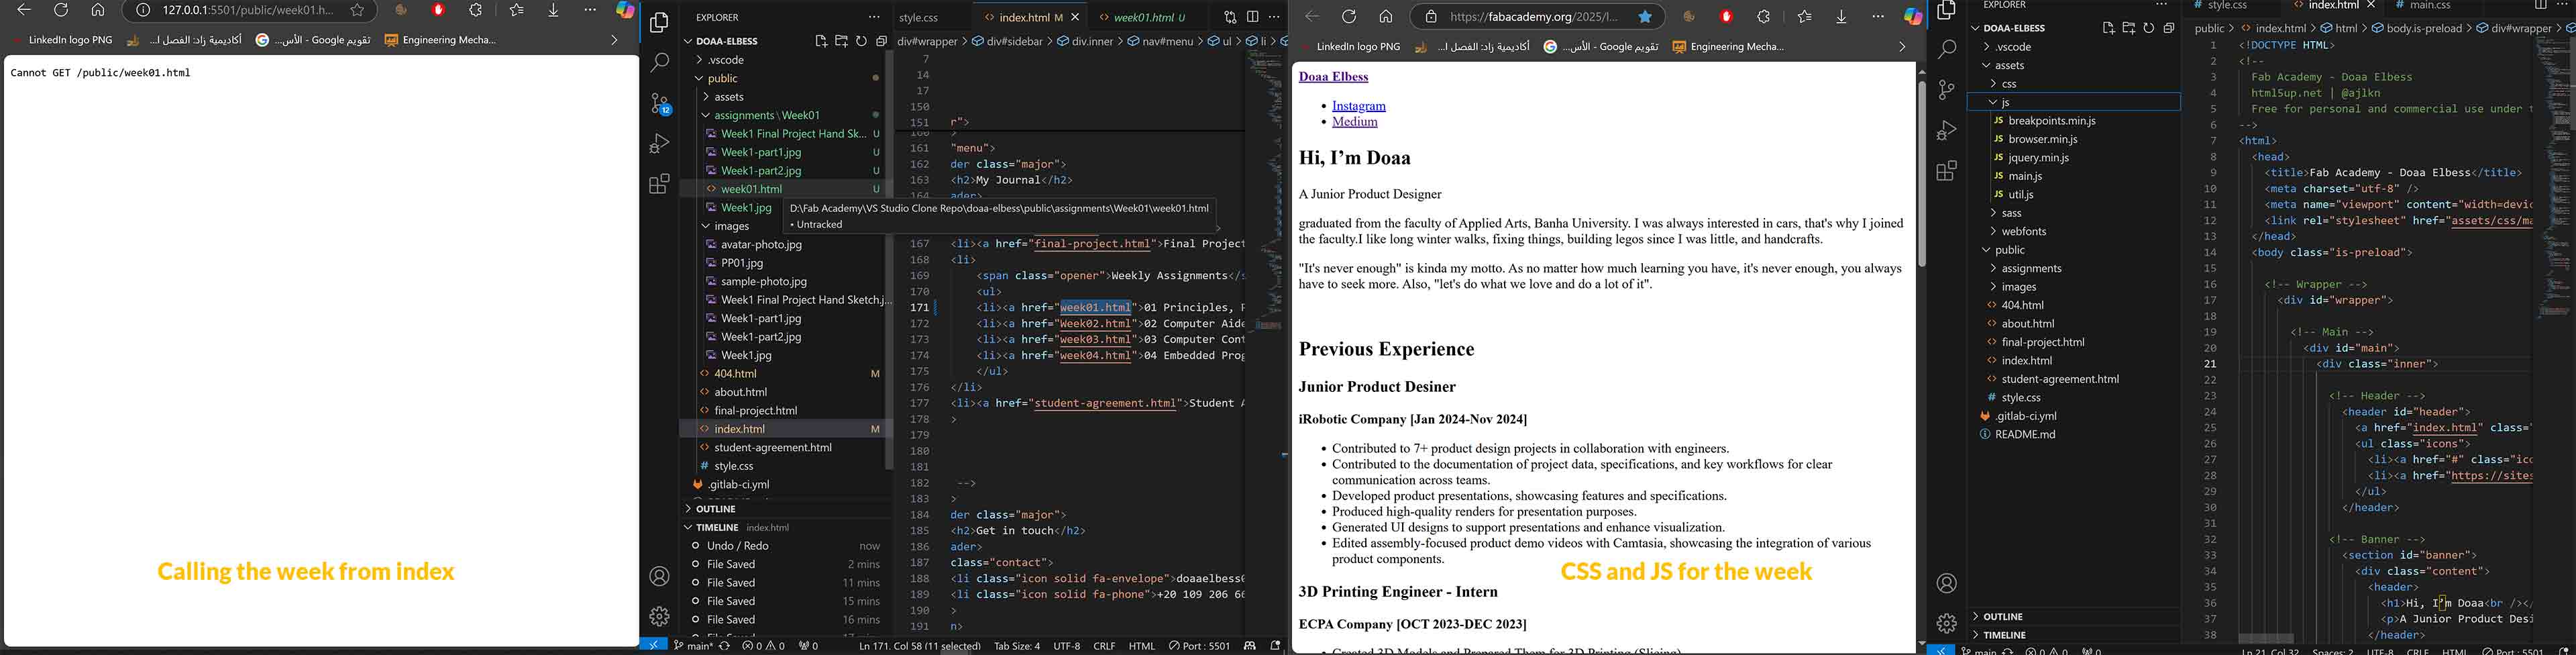
Setting up CSS and JS for the week: Make sure you call the CSS and JS from their folders outside as it can't see any file outside the Week01 folder. So we put ../../ before the folder name.
< link rel="stylesheet" href="../../assets/css/main.css" />

< script src="../../assets/js/jquery.min.js">
< script src="../../assets/js/browser.min.js">
< script src="../../assets/js/breakpoints.min.js">
< script src="../../assets/js/util.js">
< script src="../../assets/js/main.js">
3) Obstacles and Help along the way..
1. What to do when you get stuck?
When I get stuck I usually try to solve it by myself first using ai tools mostly like ChatGPT and now CoPilot in VS Code. İ go to it and ask whatever İ want, it usually looks like a chat with someone not a prompt thing. For example İ didn't know how to clone the repository to VS Code, so I told it "Hey can you help me with VS Code? I'm a beginner and I don't know how to clone my repository from Gitlab to it?". İt gave me instructions in points of how to do it. İt was fast and easy. Sometimes it's more complicated than that and İ go to youtube and write how to ....., then pick a video to follow it step by step. Othertimes I ask my instructors, friends, or even my family. Every person has experience working with something so sharing the knowledge and learning from others is really helpful and exciting.
2. How doing this helped a lot ^_^
1- AI Tools:
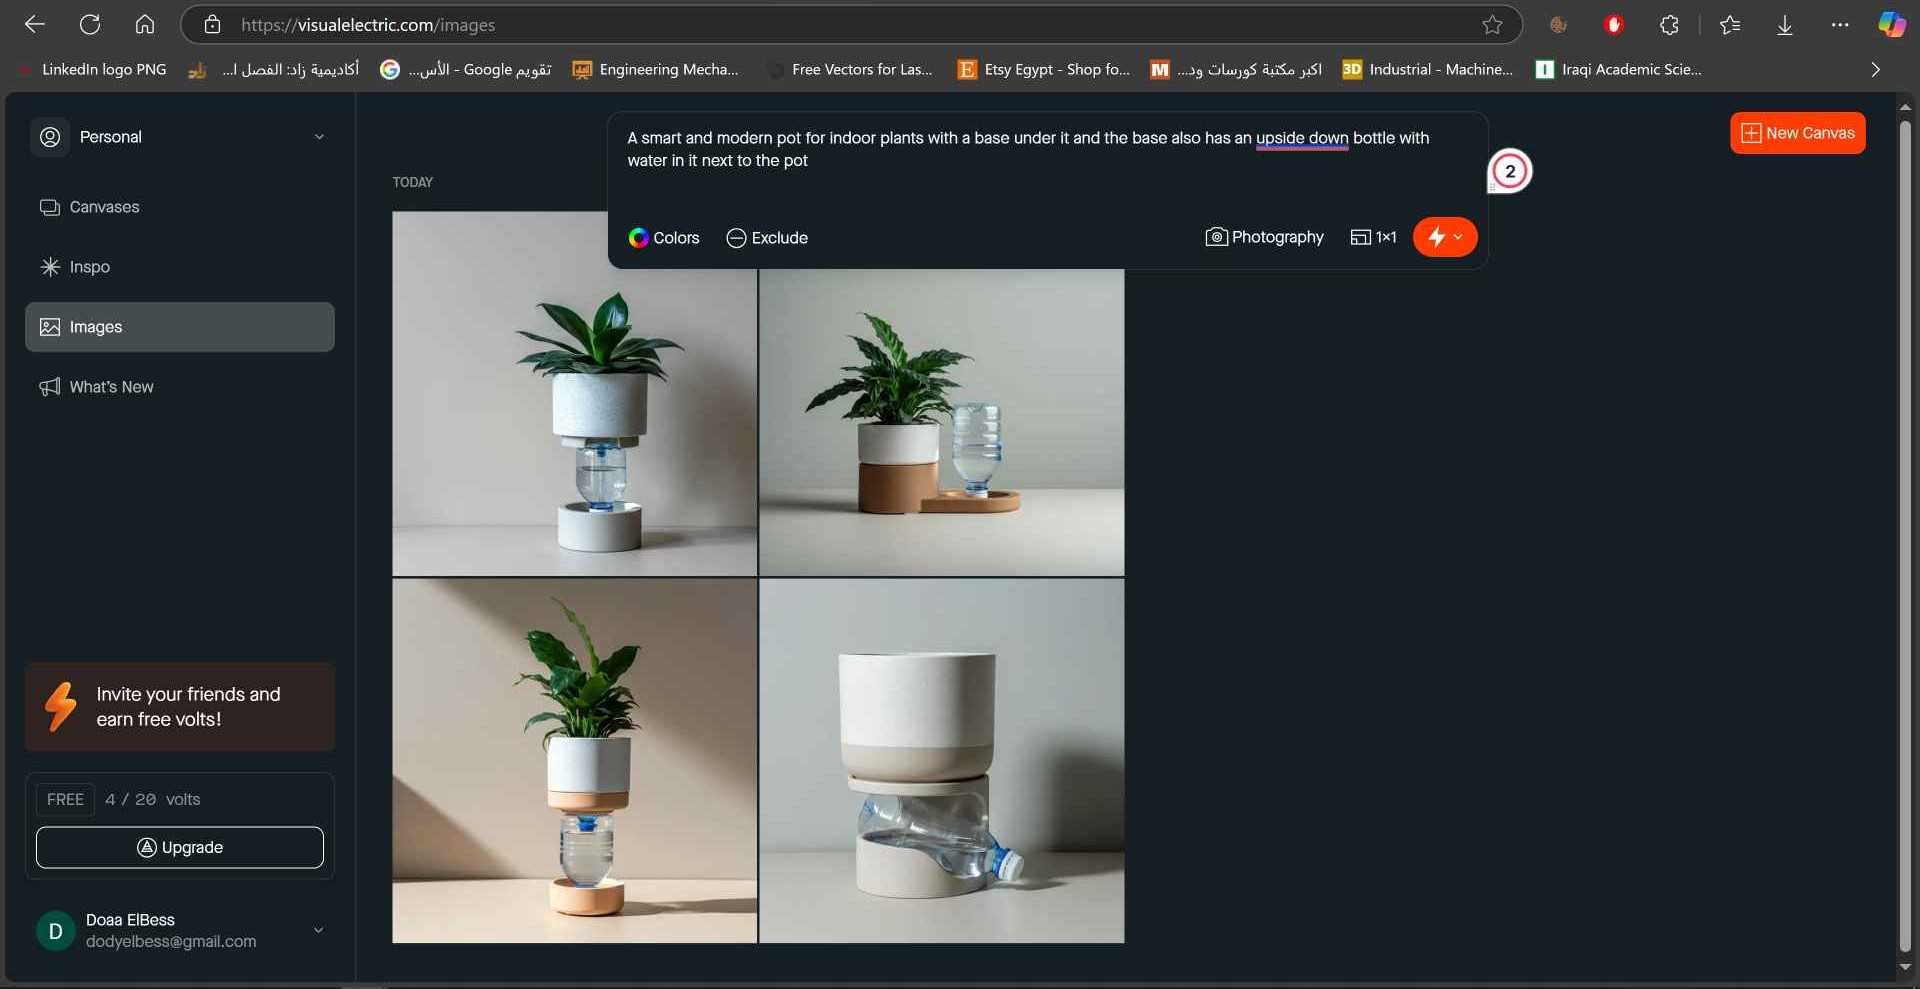
Using AI tools like ChatGPT and Copilot helped me a lot getting started with Git and getting familiar with the programming environment. İt was like having a friend who knows everything and helps you with everything you need. Here are some examples of how it helped me. Also using Visualelectric helped me generate images for my final project idea quickly.
2- Instructors and friends:
Compressing images: My instructor Ahmad Saeed helped me getting to a previous version of file converter which was a very good version using wayback machine.
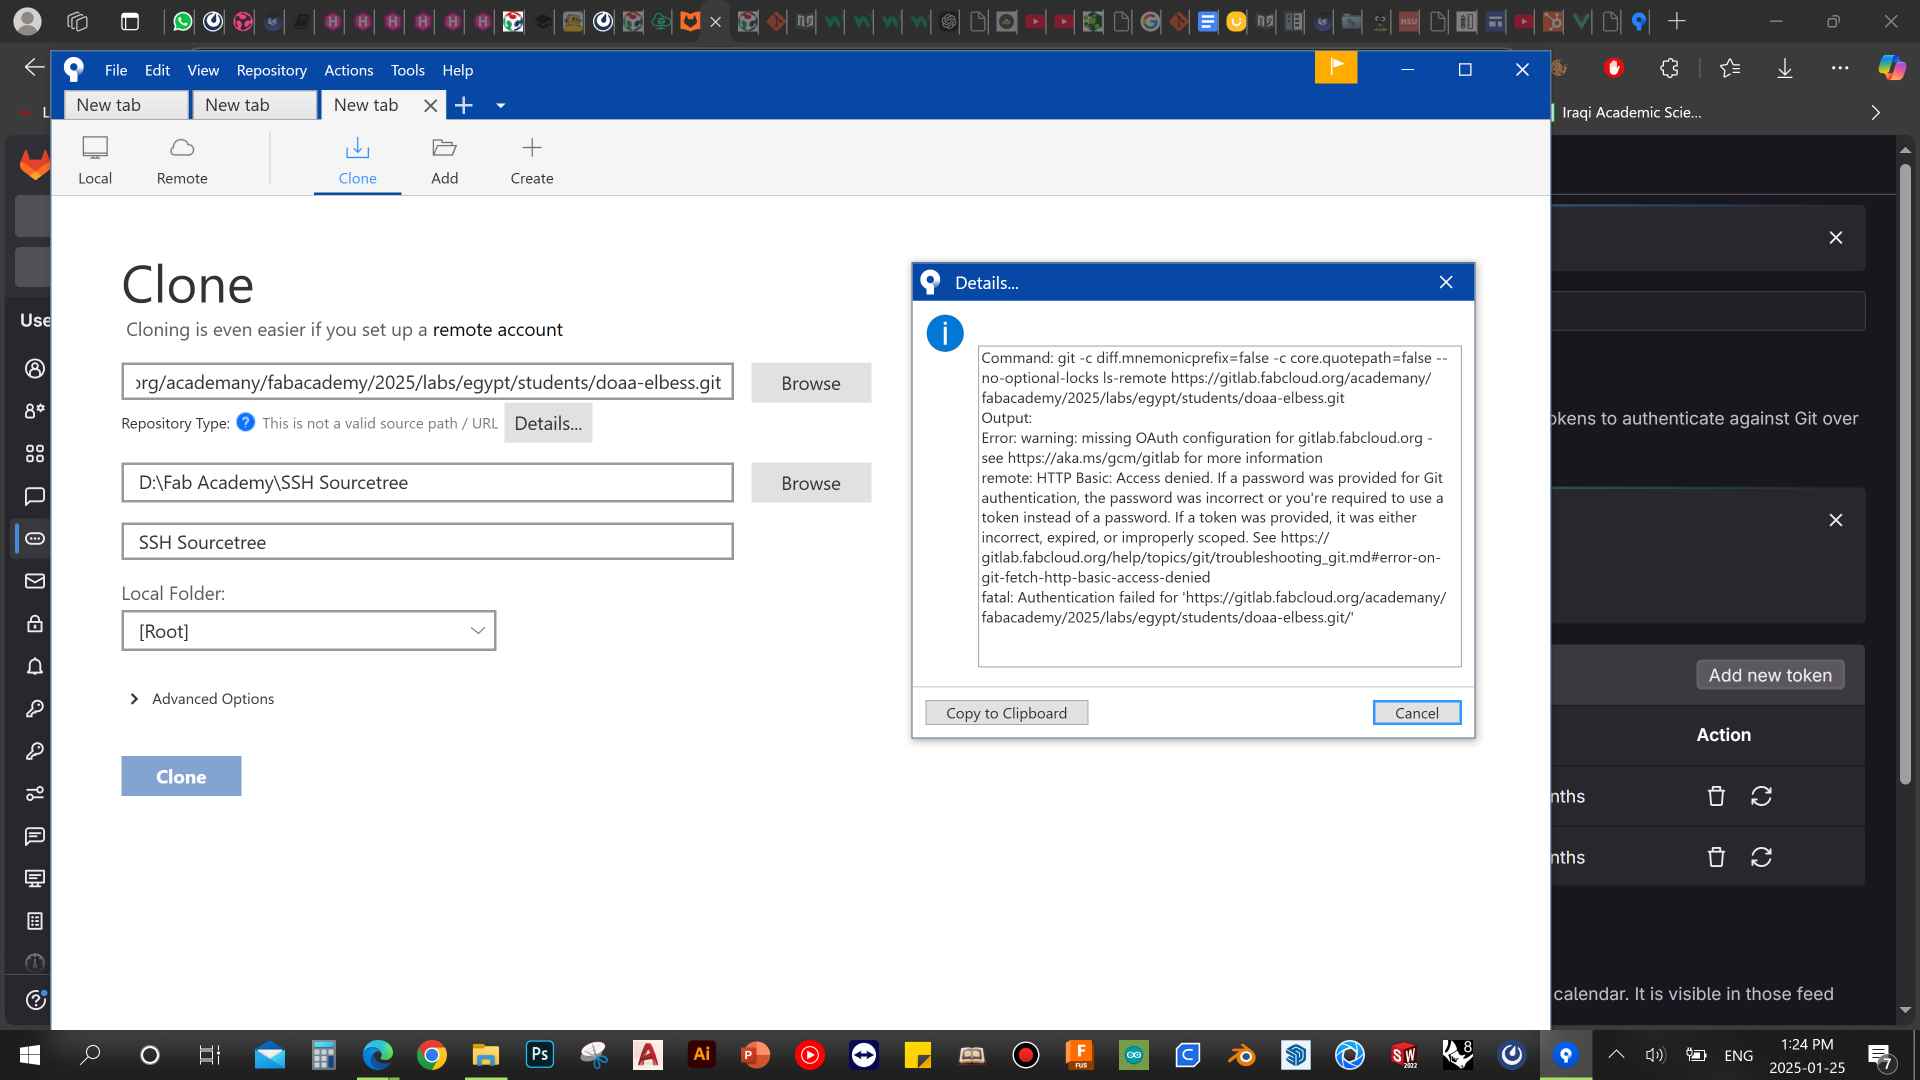
Git Clients: My instructors and Amr Abdulrahiem helped me a lot with Git client SourceTree and signing in with my account to start cloning then pulling and pushing using it.
And really a lot more. I couldn't have done it without their help. ✌