
WildCard Week
Here's a summary about what you'll see next:
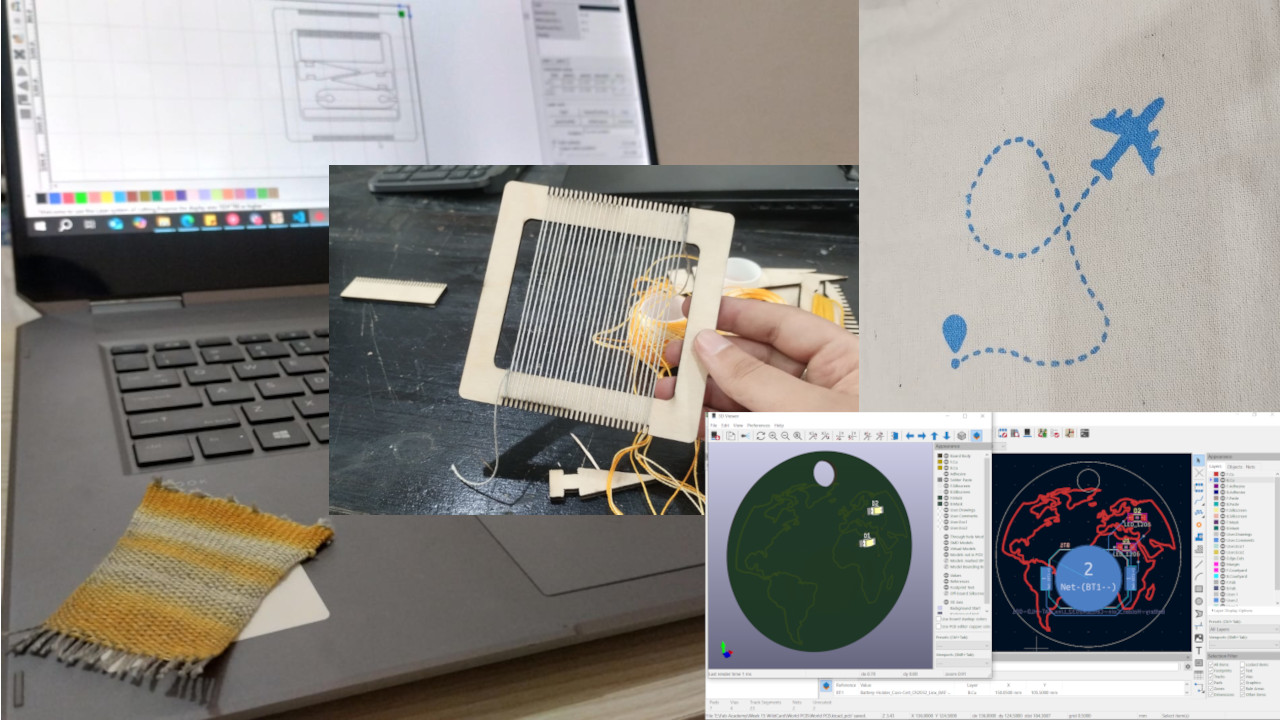
- 1) Double Layer PCB - World Necklace
- 2) Silk Screen Printing - Travel Tote Bag
- 3) Loom - Miniature Carpet
- 4) Original Files
1) Double Layer PCB - World Necklace 🗺
My first trial of exploring this week was how to make a double layer PCB and exploring a new machine which is Fiber Laser Machine. This trial was a failed one at the end but let's see how far I've got.
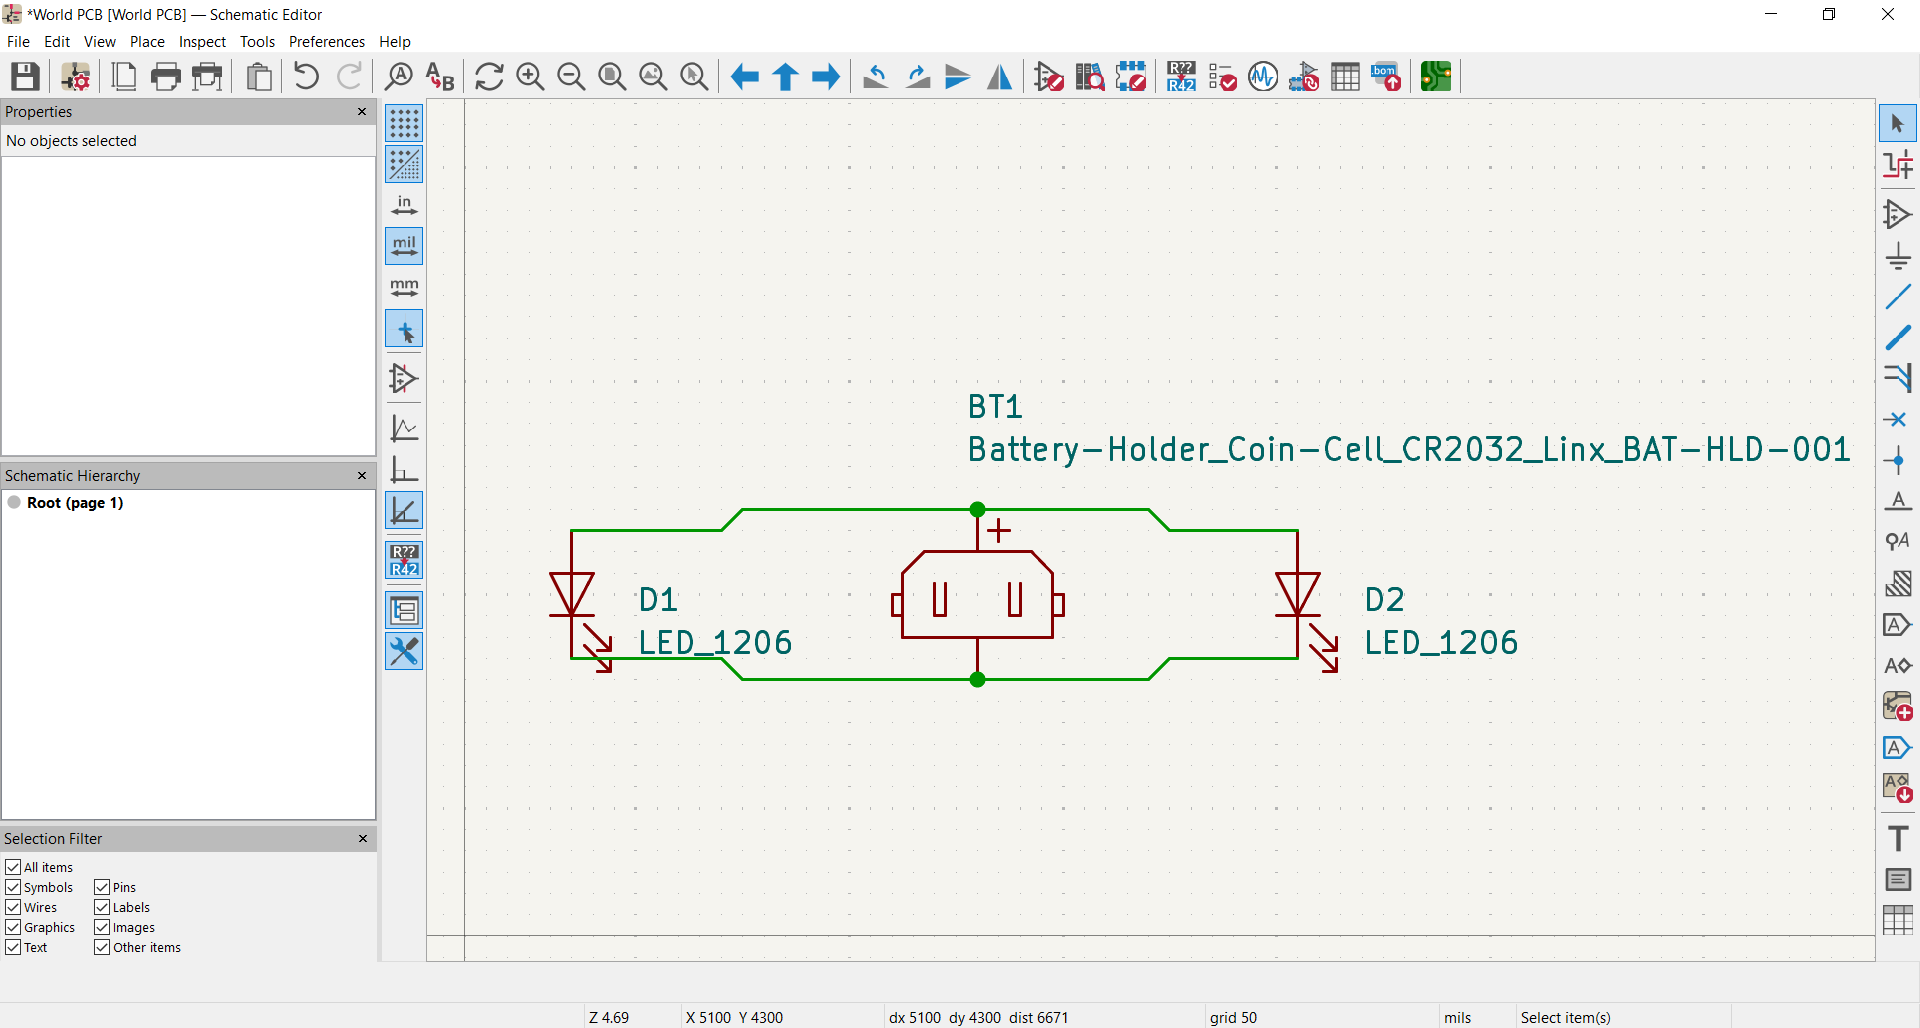
1- I wanted to make a simple small PCB with leds and battery so I thought of making a necklace that has traces of world map and leds where you are and someone you love who is far from you, and a battery on the back of the necklace to power these leds. The schematic was so simple as shown.
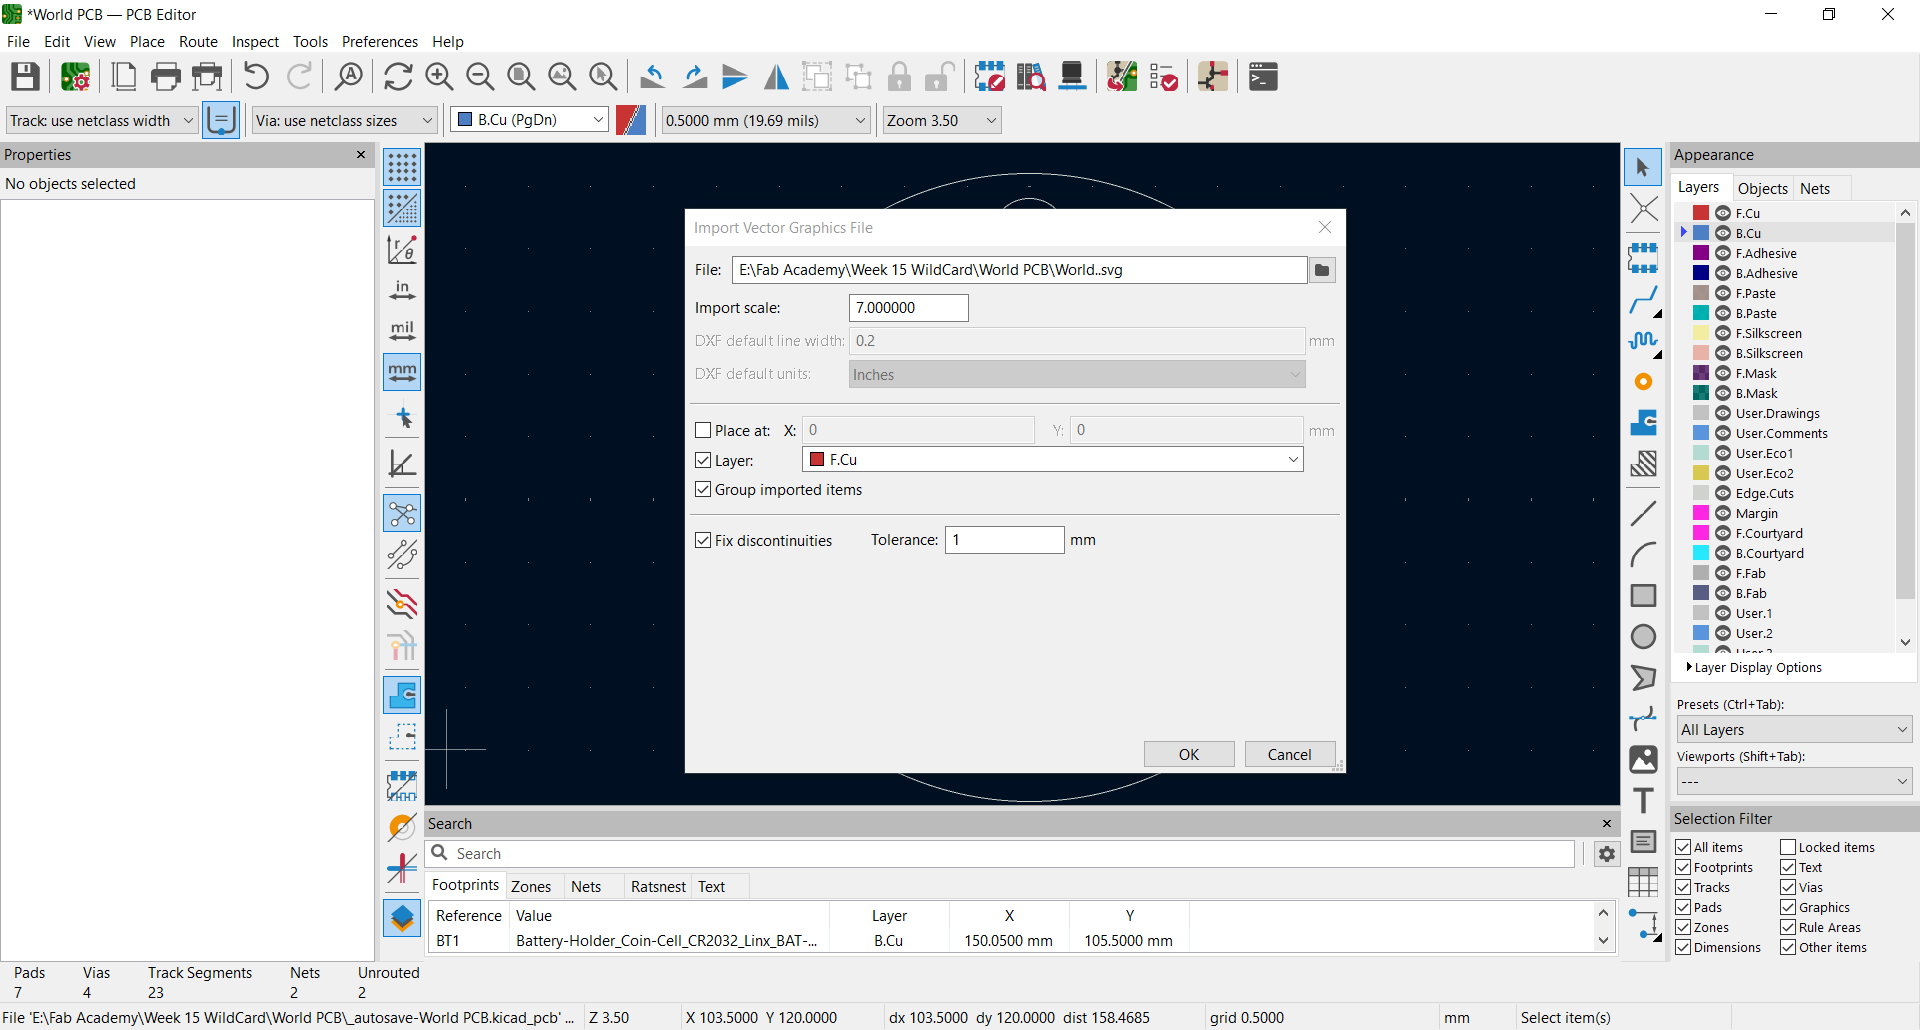
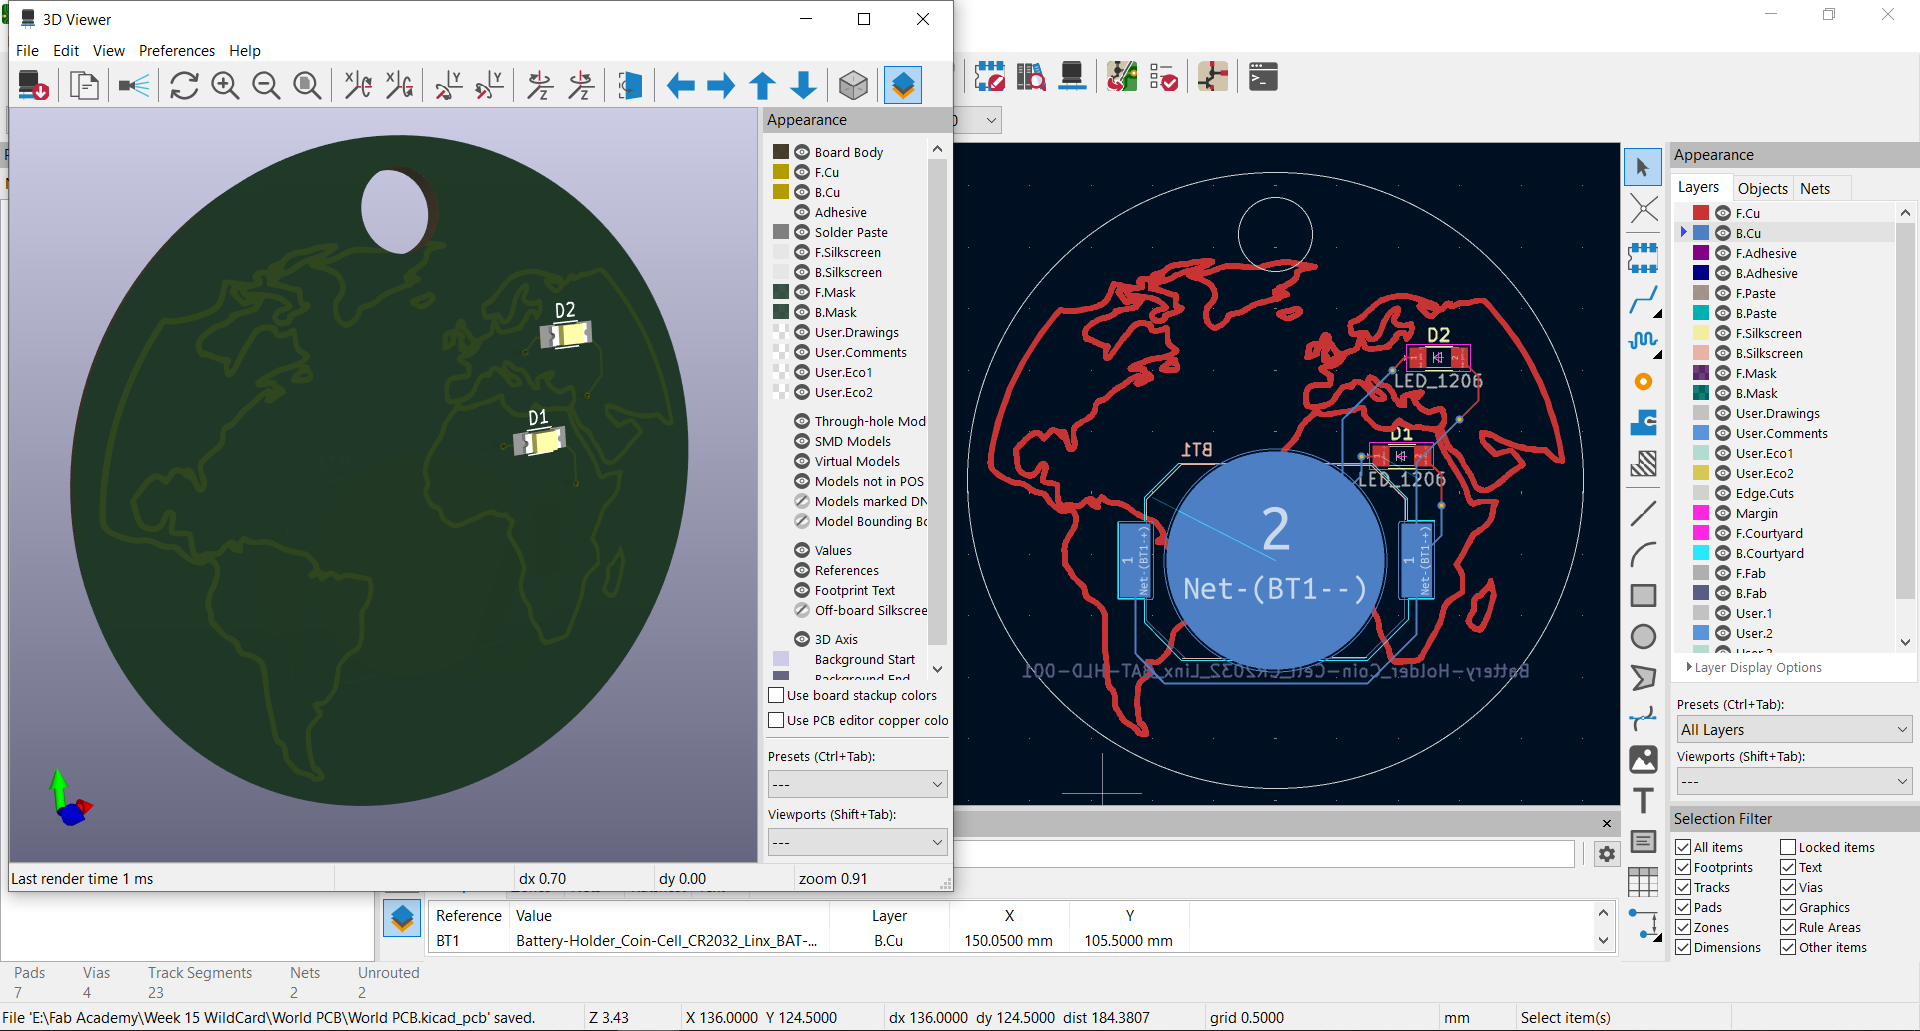
2- In the PCB Editor I imported Graphics from File menu. I chose a world map svg I downloaded from Freepik. I controlled the scale of it to fit the necklace. I chose its layer to be F.Cu.
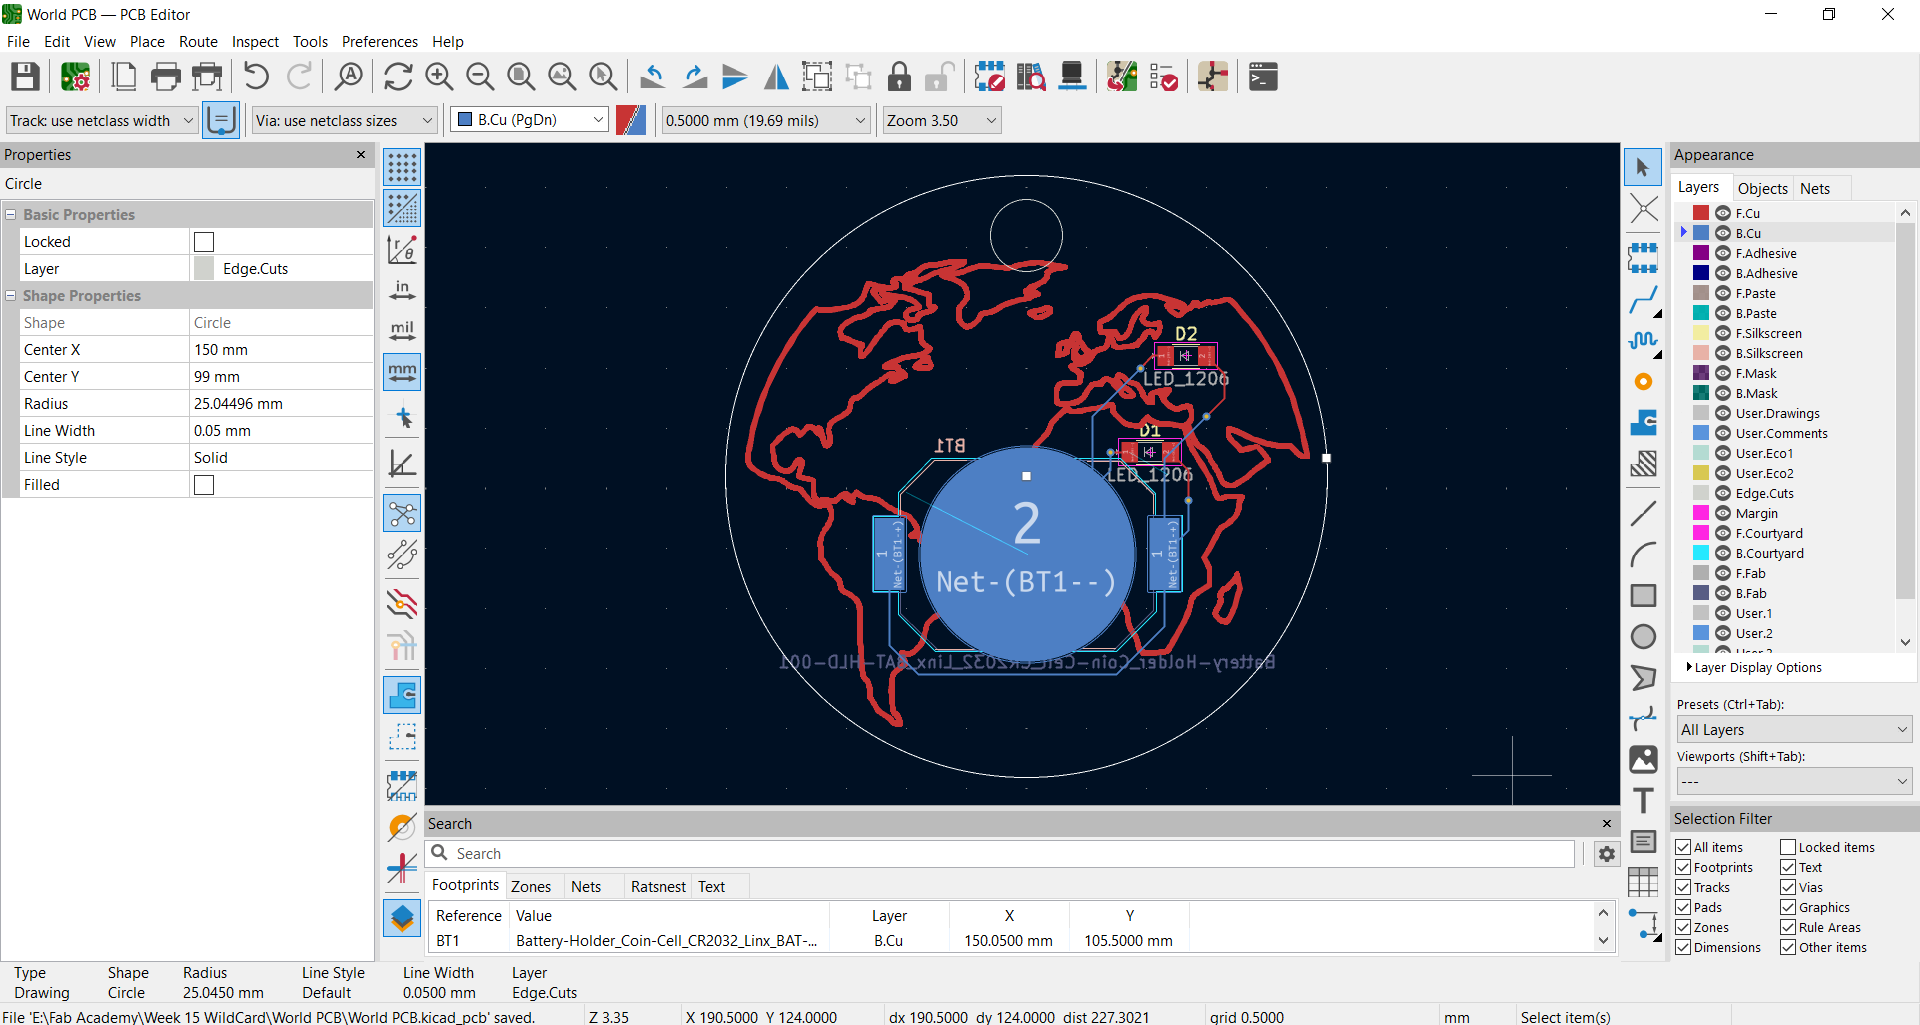
3- I made 2 circles as edge cuts and placed the world map in the big circle. To make the Battery holder on the back I clicked on it then pressed F to flip it. Then to make vias I started routing from leds pads by pressing X then at some point I press V to make the vias and place it then continue to the battery holder.
I was waiting to test the traces on the fiber laser machine then adjust my design rules but this didn't work out as when we tried doing this the machine only made like a printing on the PCB that we could wipe off easily. We set the speed to 400 and power to 80 and tried different trials but none of them worked. I guess it could've worked if we repeated many times on the same spot but we didn't have the chance to do this. So that's where we stopped.
2) Silk Screen Printing - Travel Tote Bag 🛫
As a former student at faculty of Applied Arts, we had different departments and one of them was Textile Printing Department. I've always wanted to try the silkscreen printing, so, I watched this Video of how to make it and I made it.

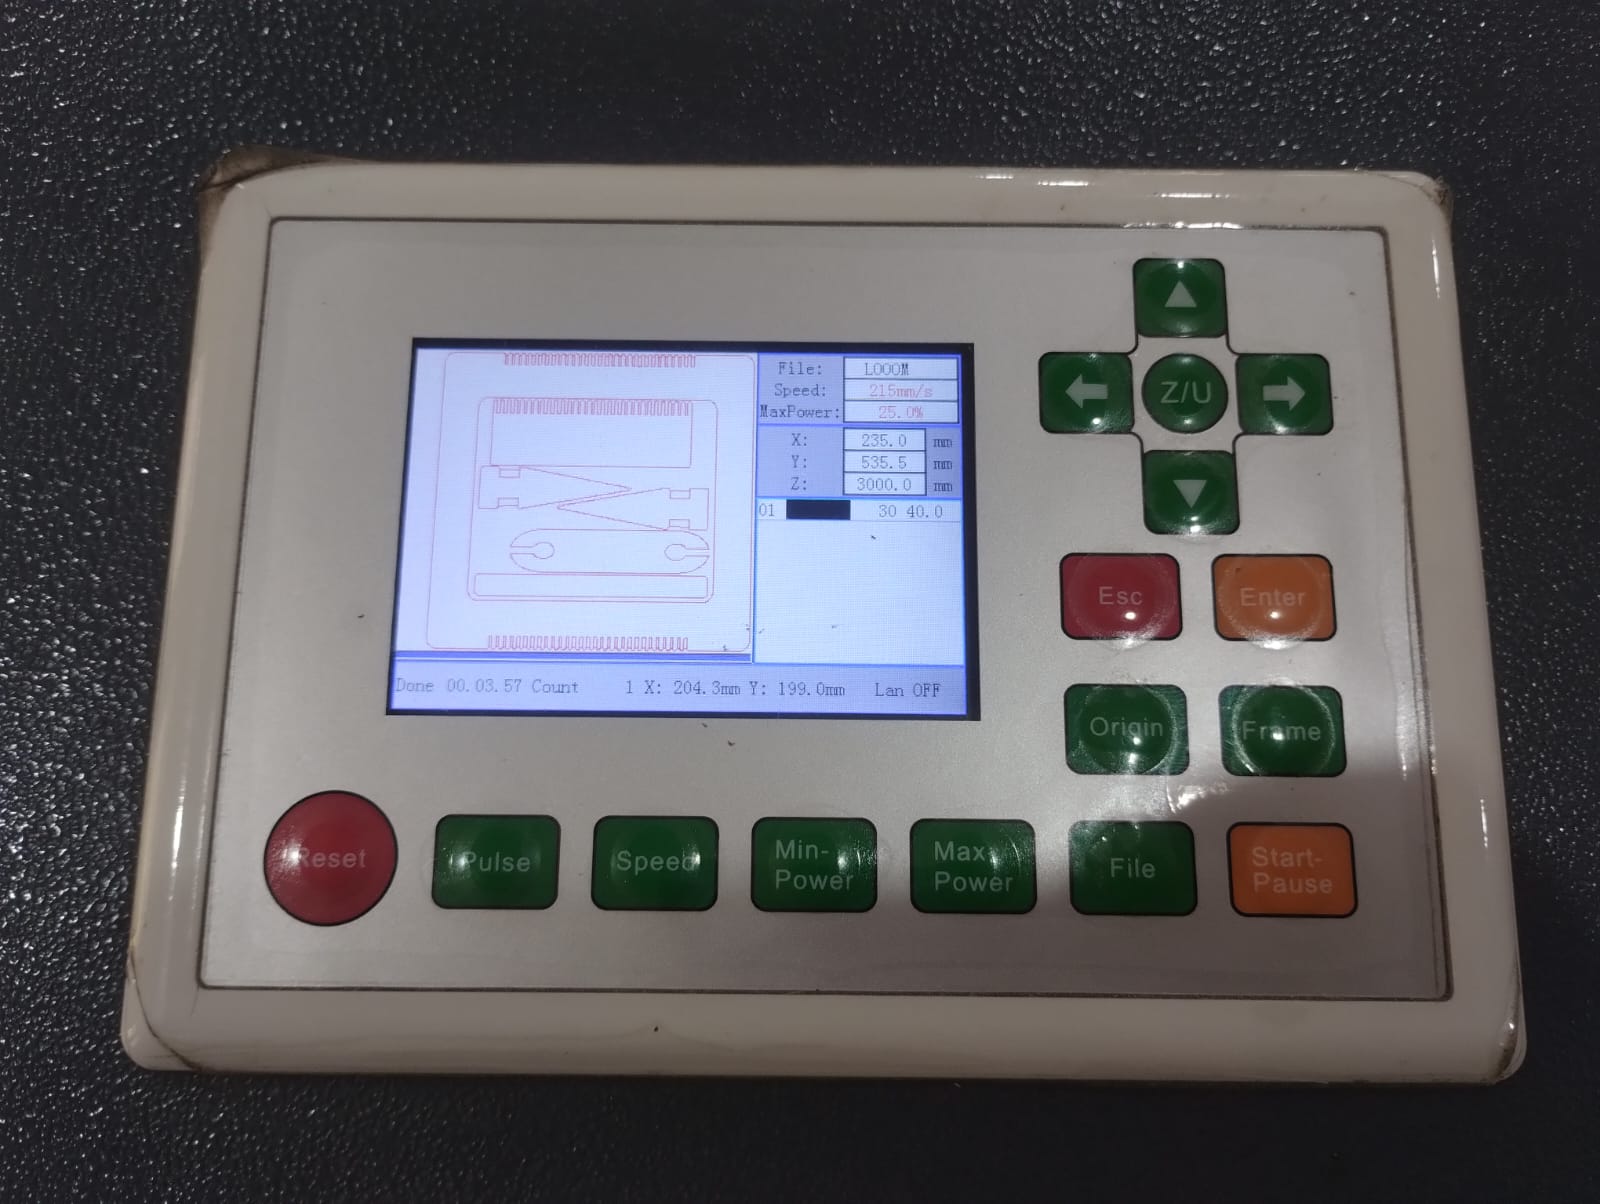
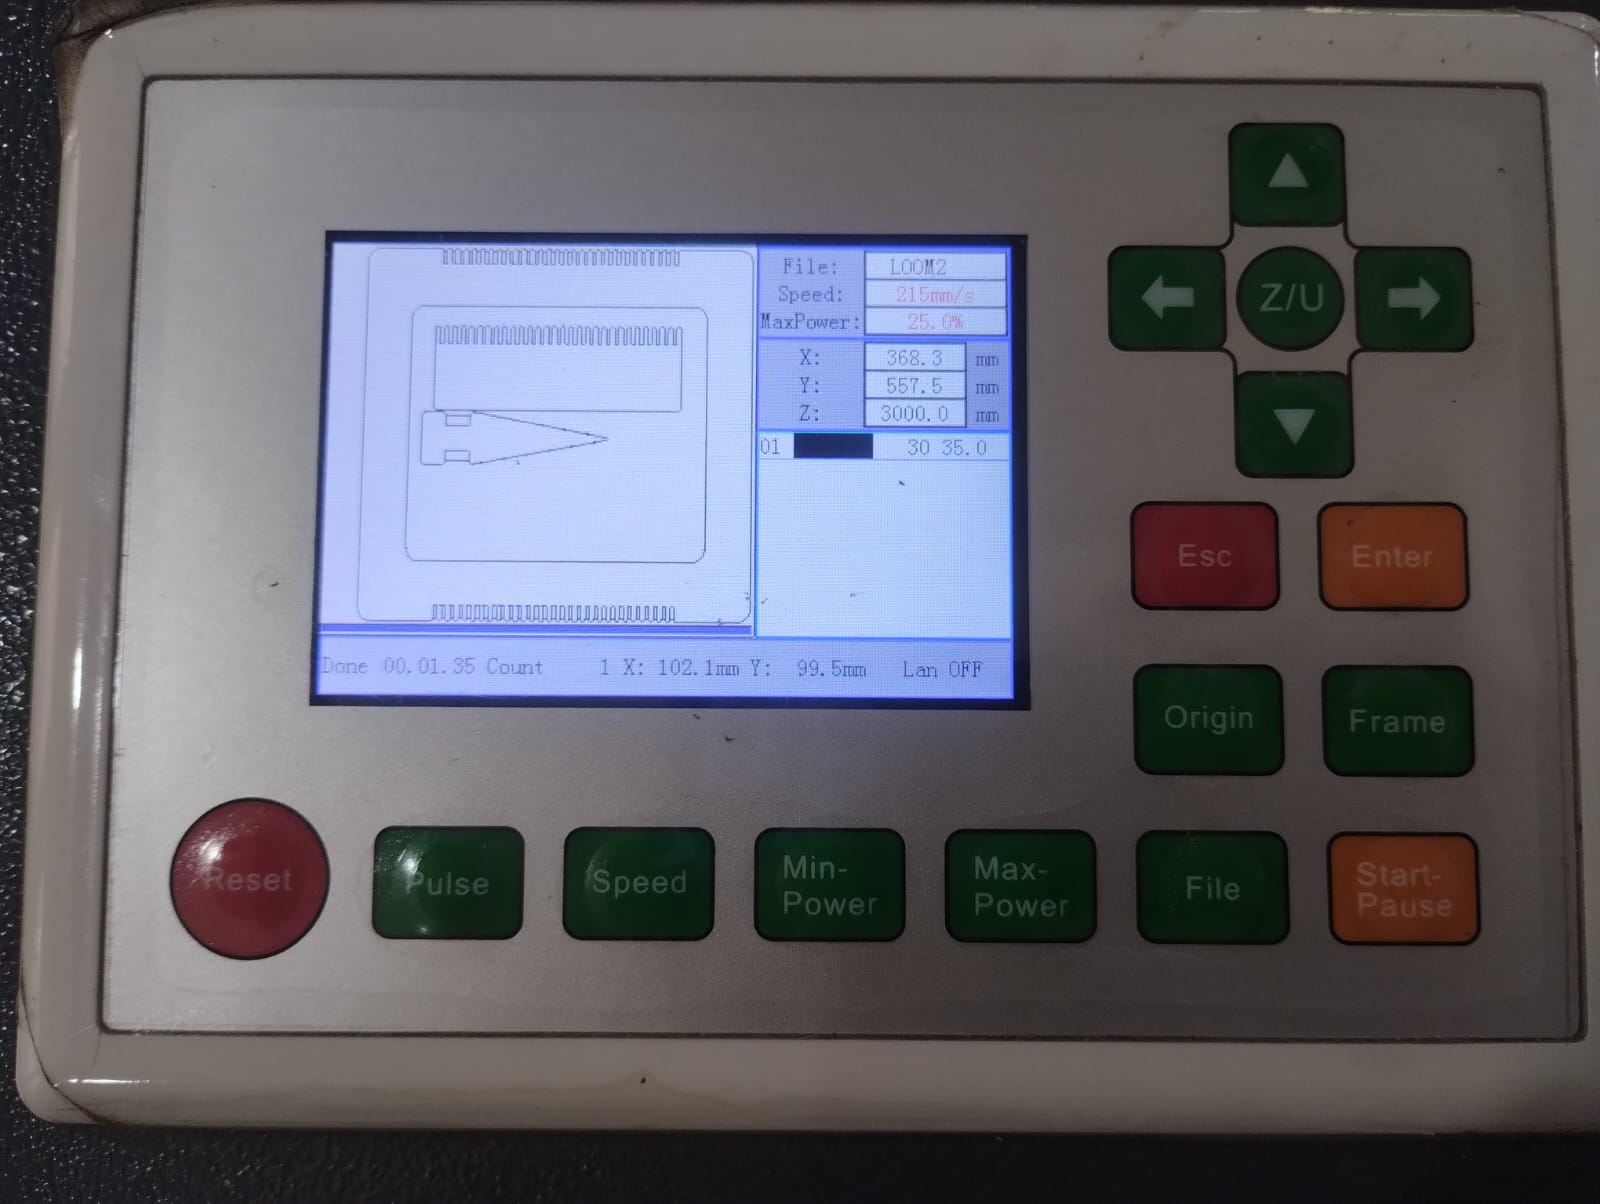
1- I started by preparing the stencil for laser cutting on RDWorks and set the speed to 350 and power to 20.
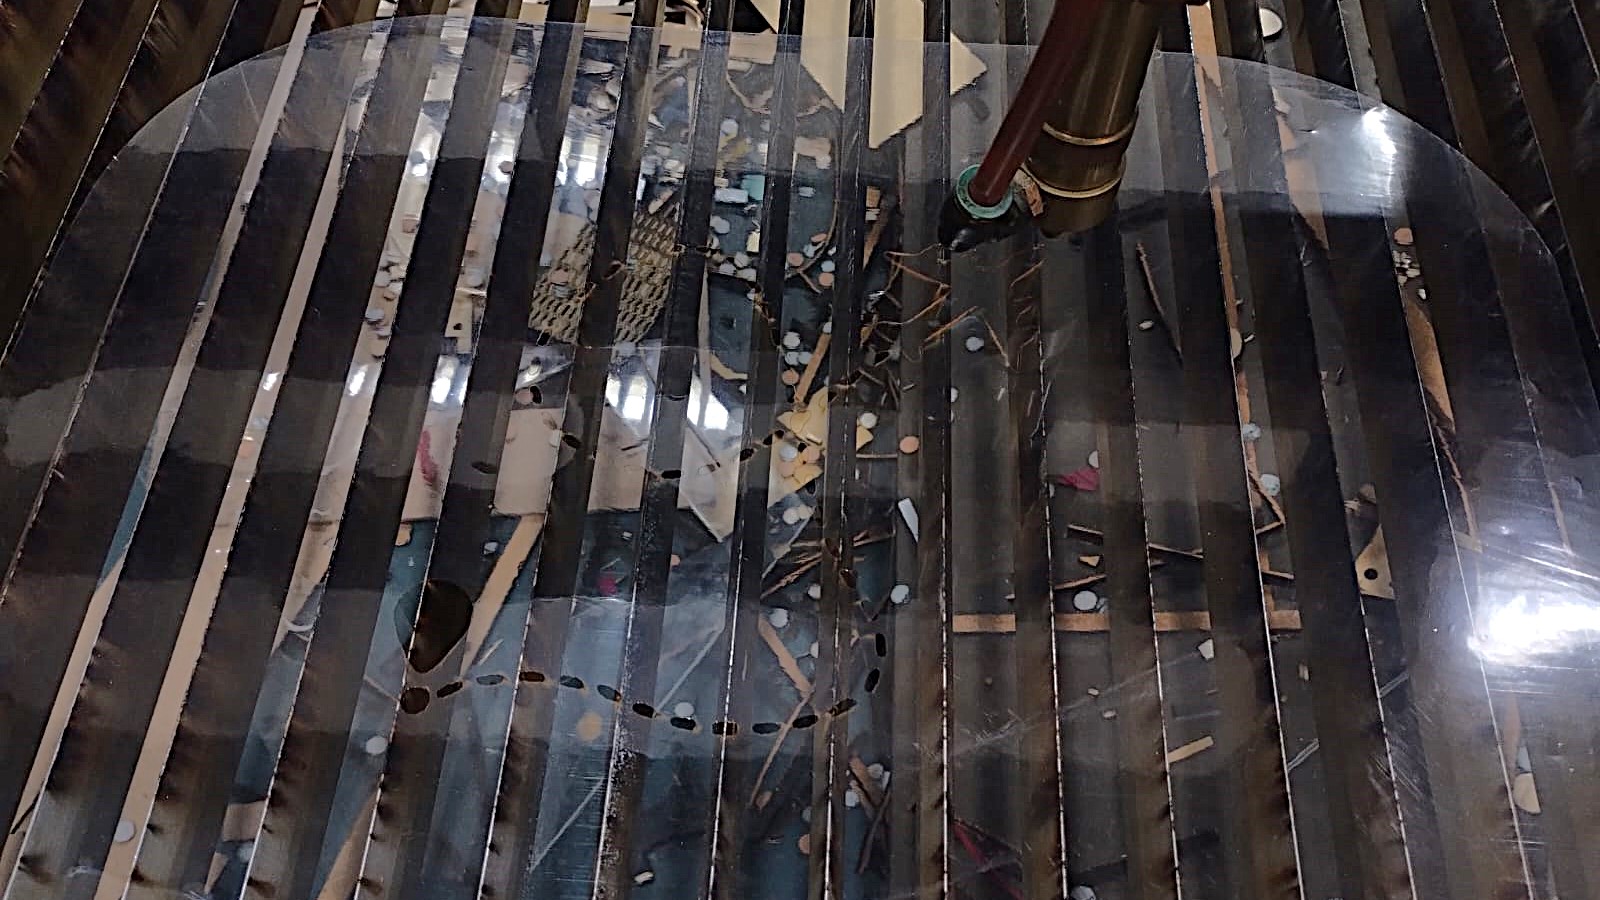
2- This is the result of the laser cutting. But first I tested out some pulses on the stencil at different heights till I got a perfect dot.
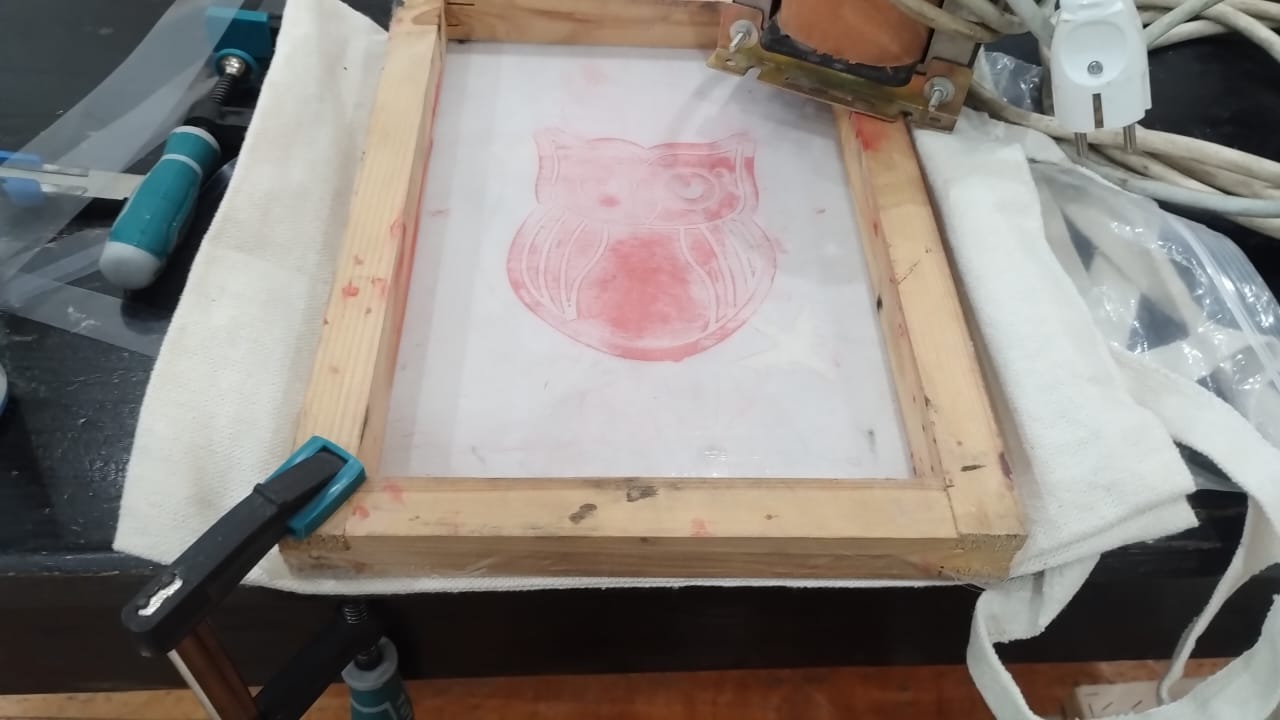
3- I started preparing the silkscreen for printing so I put it on the tote bag and held it with a big weight on it and a clamp.
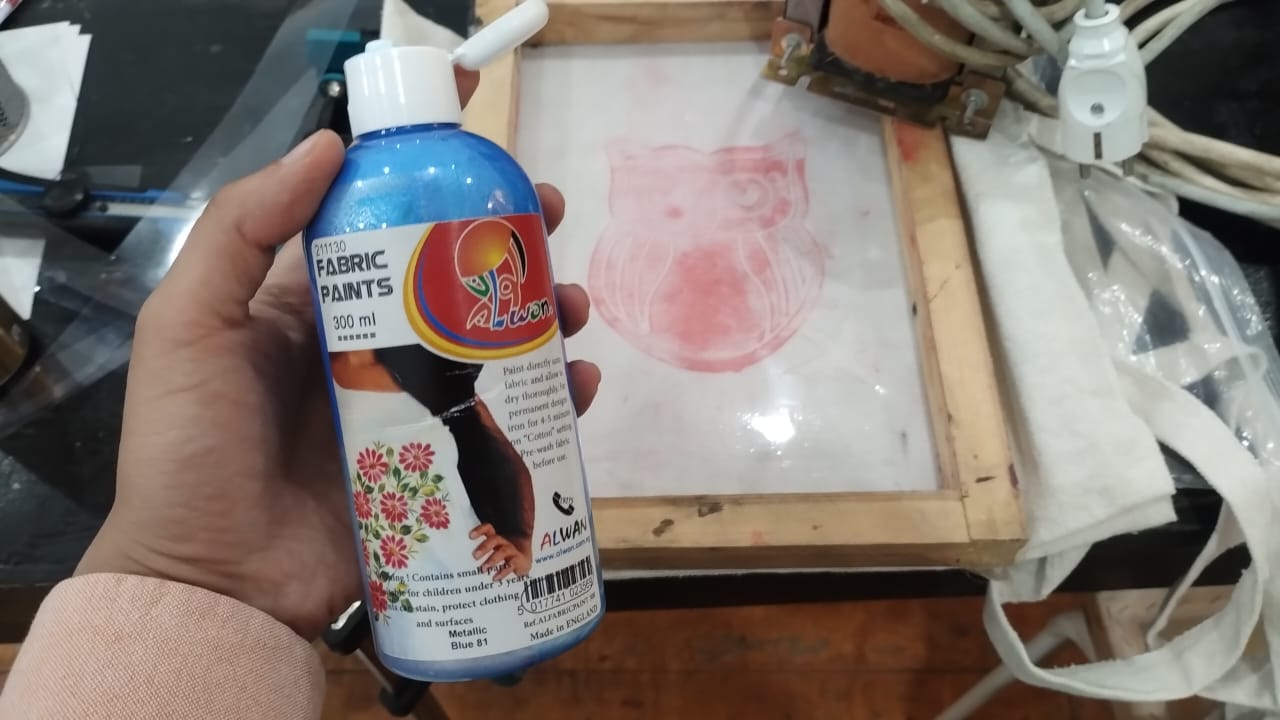
4- This is the Fabric Color I used.
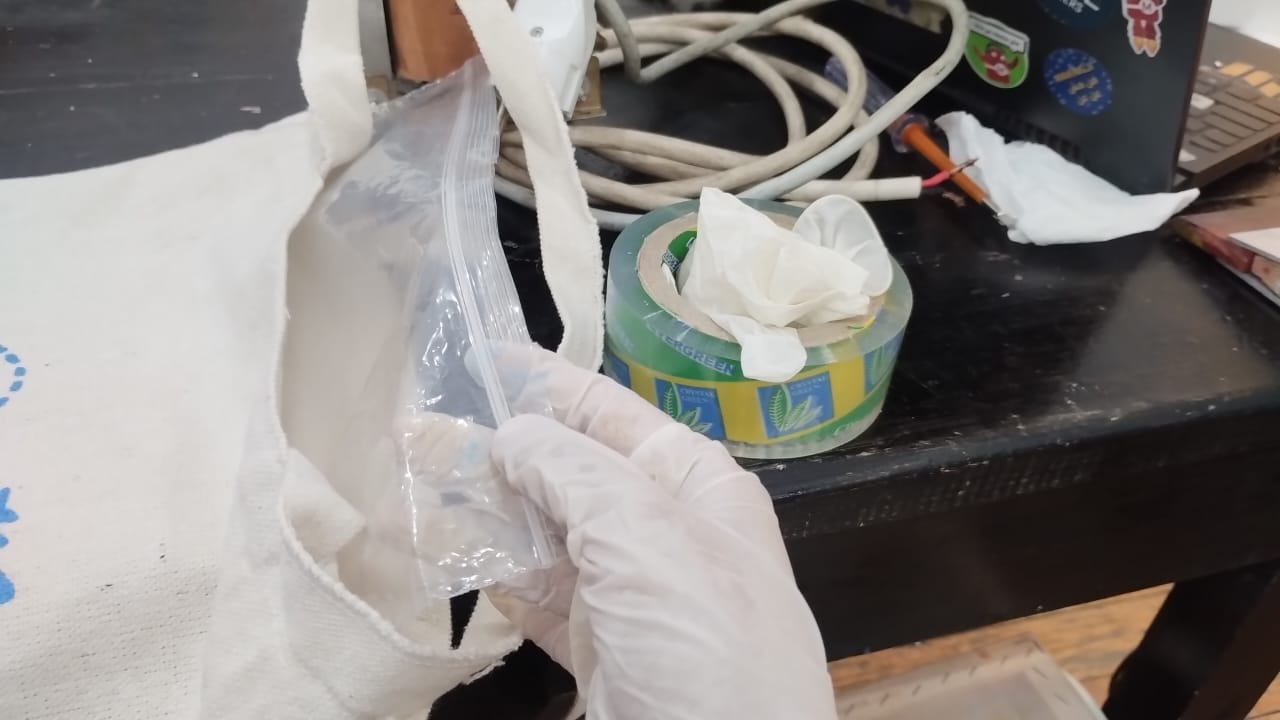
5- I added a plastic bag inside the tote bag to prevent the color from going to the other side.
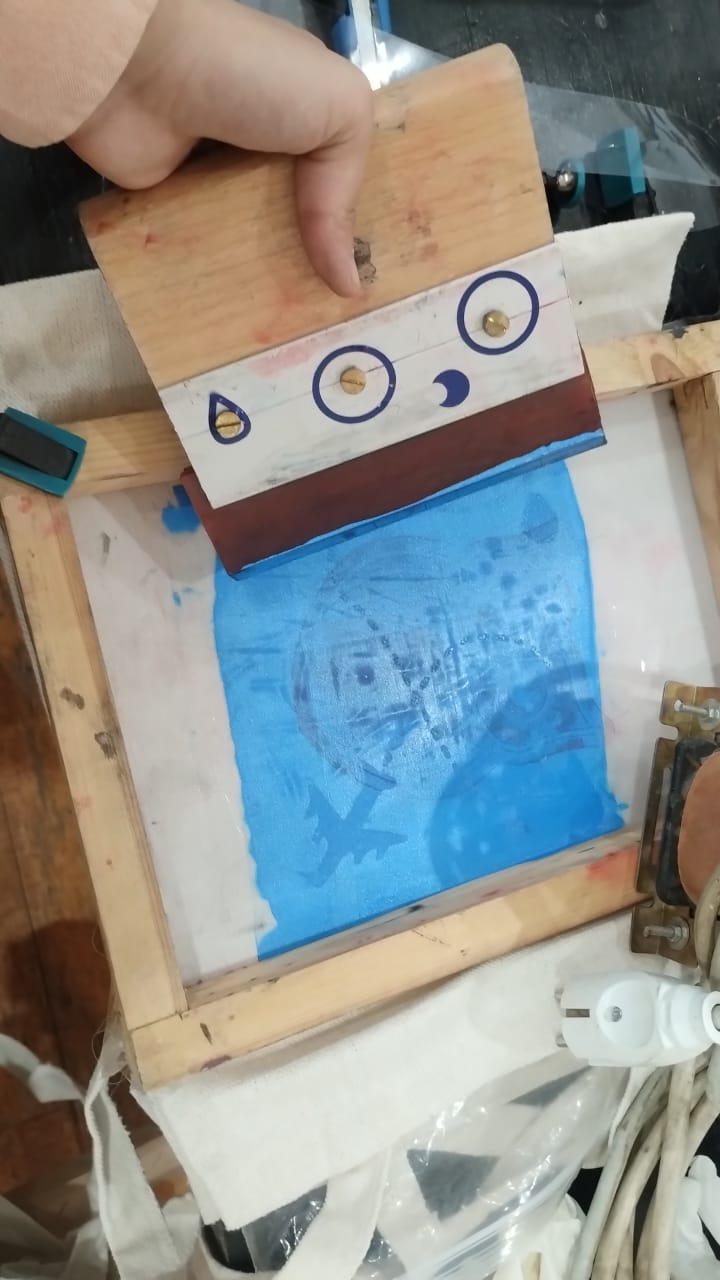
6- I put 2 lines of color and started dragging them over the silkscreen using the squeegee.
7- I passed over the area about 5 times going back and forth.
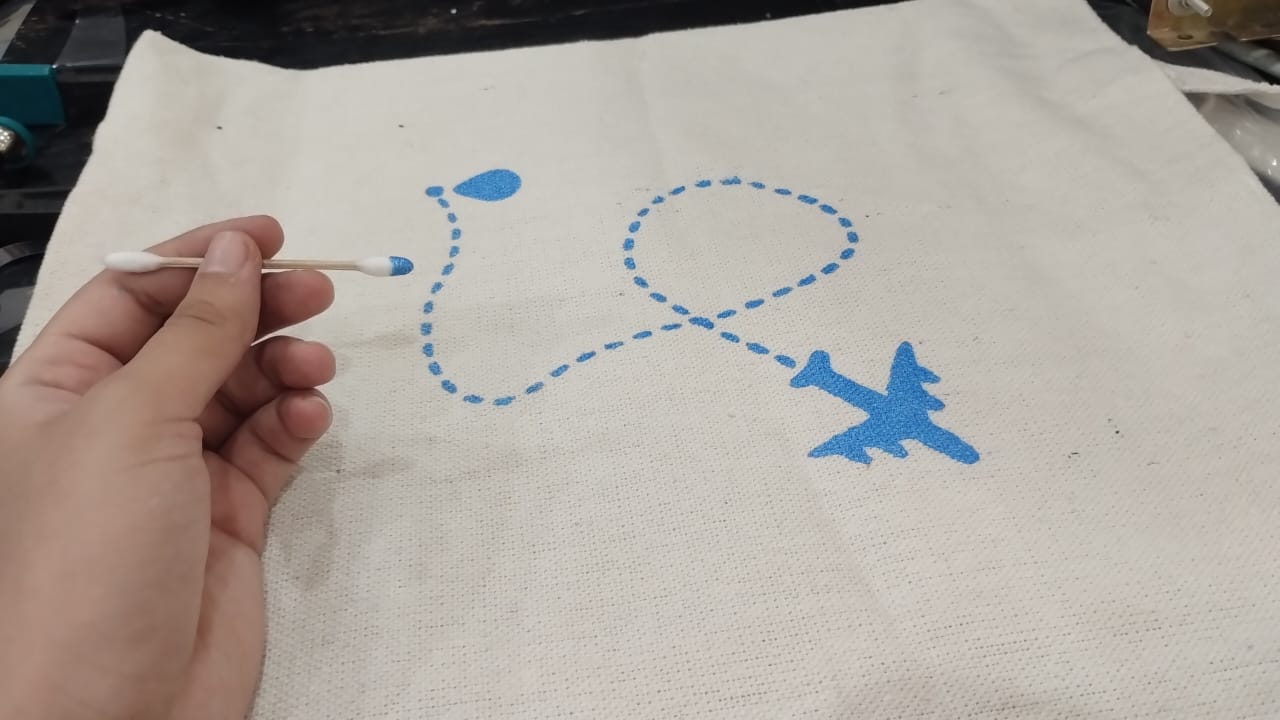
8- When I removed the silkscreen I found that there were some dots with little color so I fixed them using cotton buds.
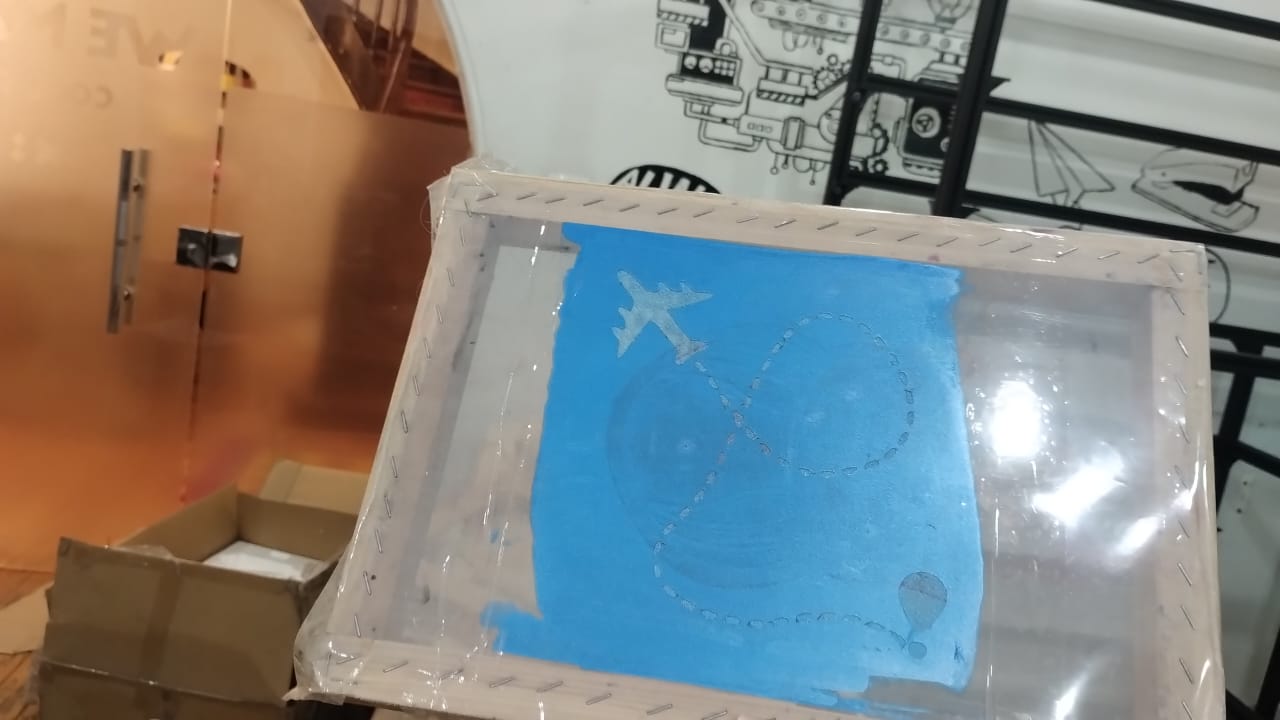
9- This is how I fixed the stencil to the silkscreen using tape.
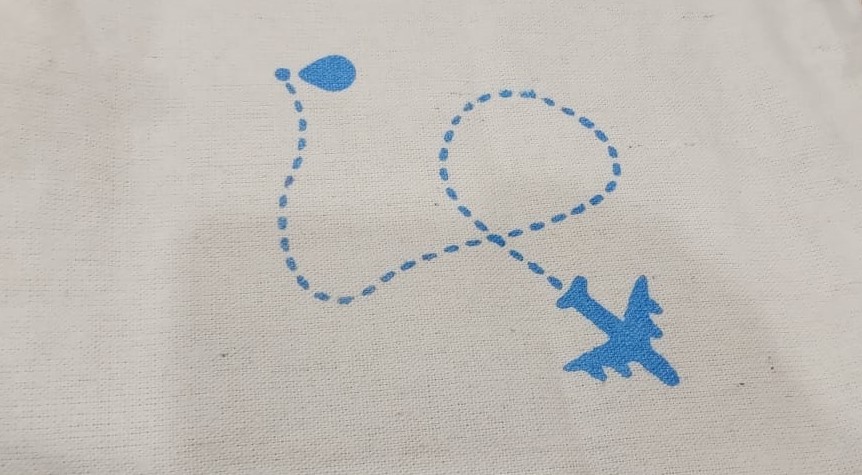
After that I left it over night to dry and it turned out pretty good. Now I have a tote bag to travel with. 🛫
3) Loom - Miniature Carpet 💭
My Third trial for this week was making a mini loom. This is also related to another department in my faculty which is Spinning and Weaving Department. I tried one myself when I first joined the faculty on a medium scale of about 30x30CM but it was hard setting the loom up as we needed to put nails on the loom every 1CM. The laser cut loom made it much easier also with the tools it had. I followed This Tutorial to make this carpet done.
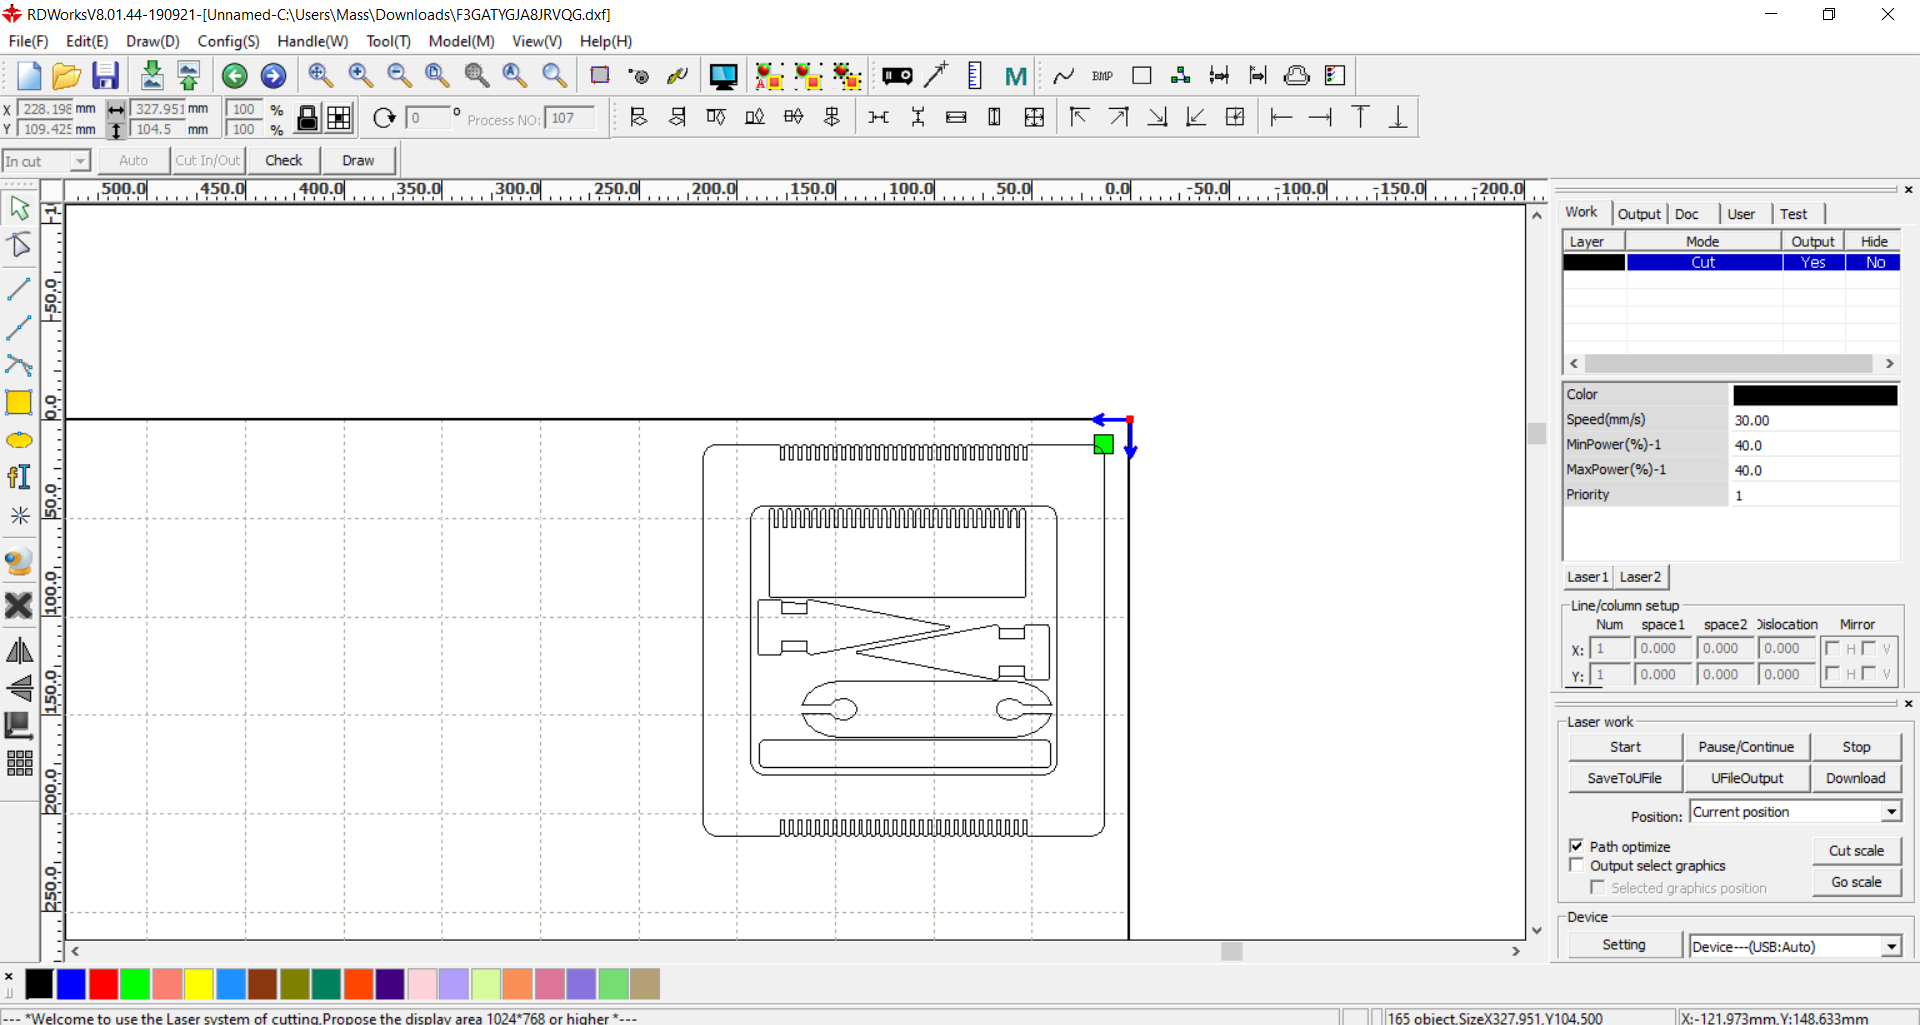
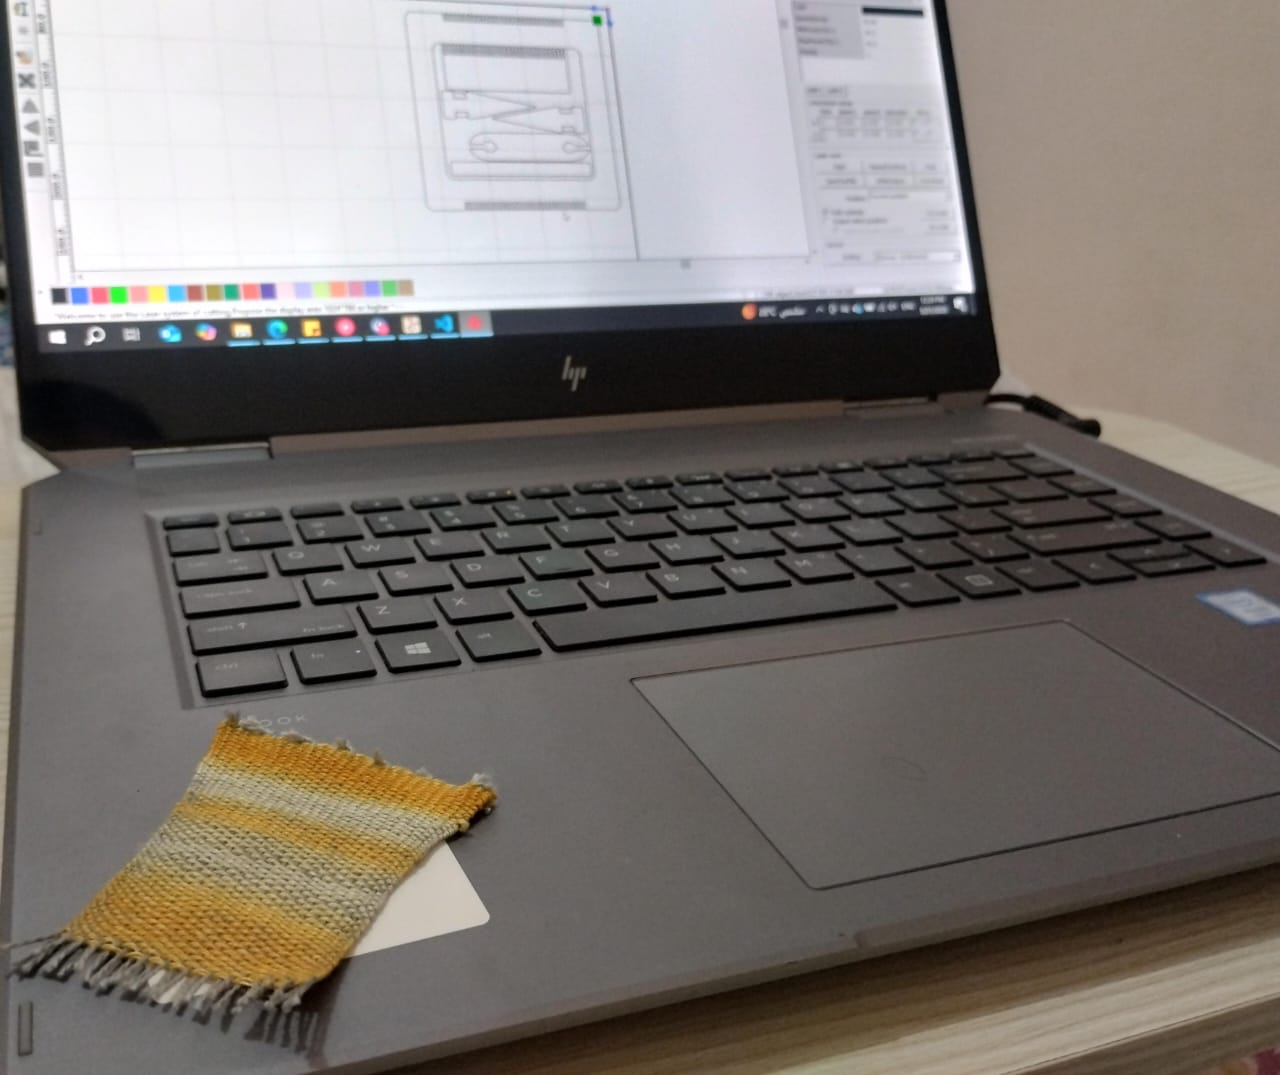
1- I started by scaling down the loom I downloaded from the tutorial and making the loom height shorter on RDWorks.
2- This is the first laser cut I made on a 3mm plywood.
3- Then I scaled down again to the half to make a smaller loom.

4- I needed these two tools in the small scale so I laser cut them too.
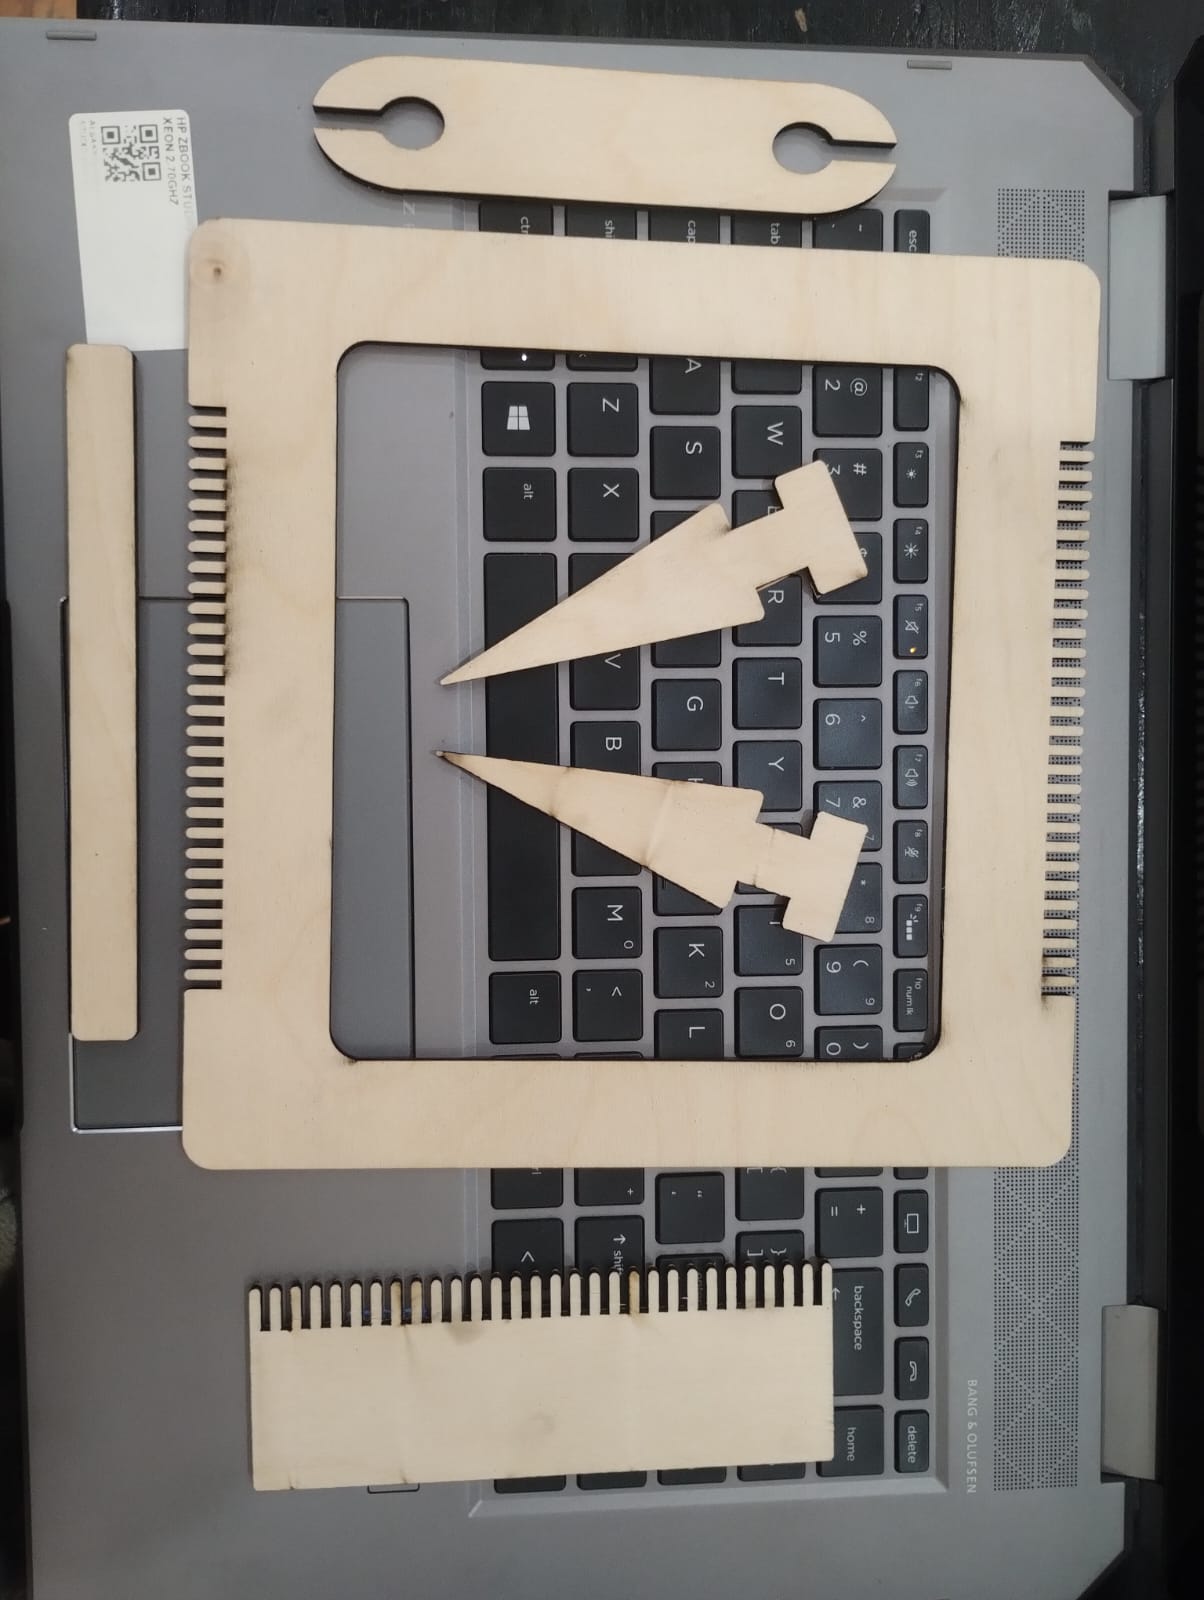
5- These are the tools that will help the loom weaving get done.
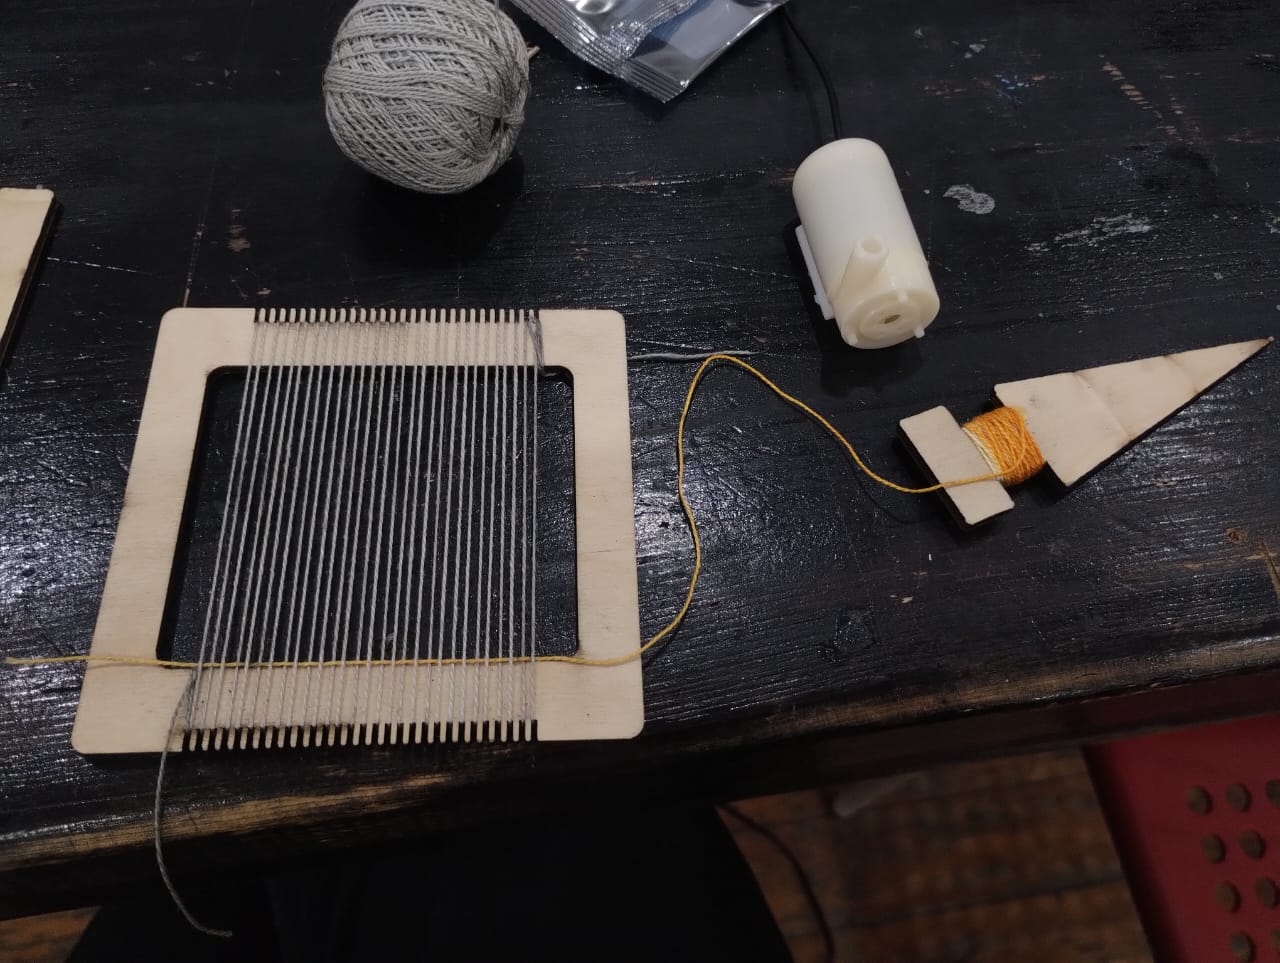
6- This is making the warp.
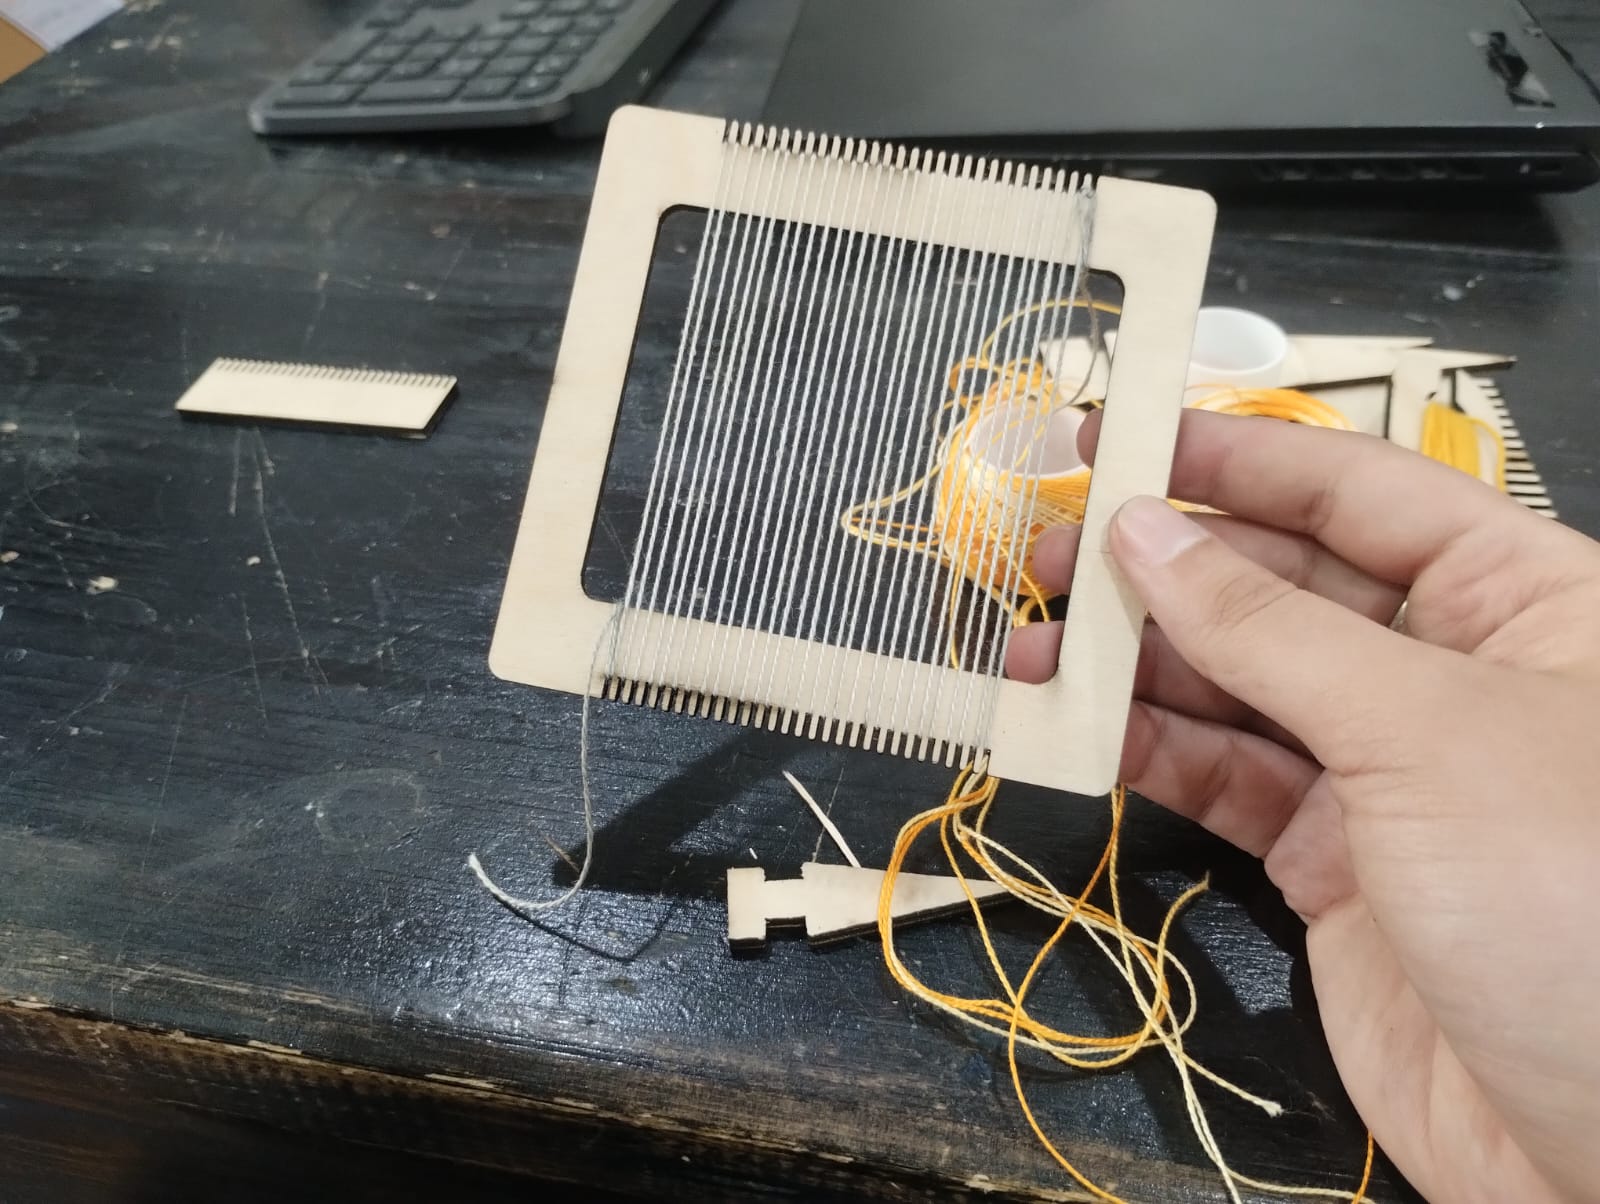
7- Making the first weft line.
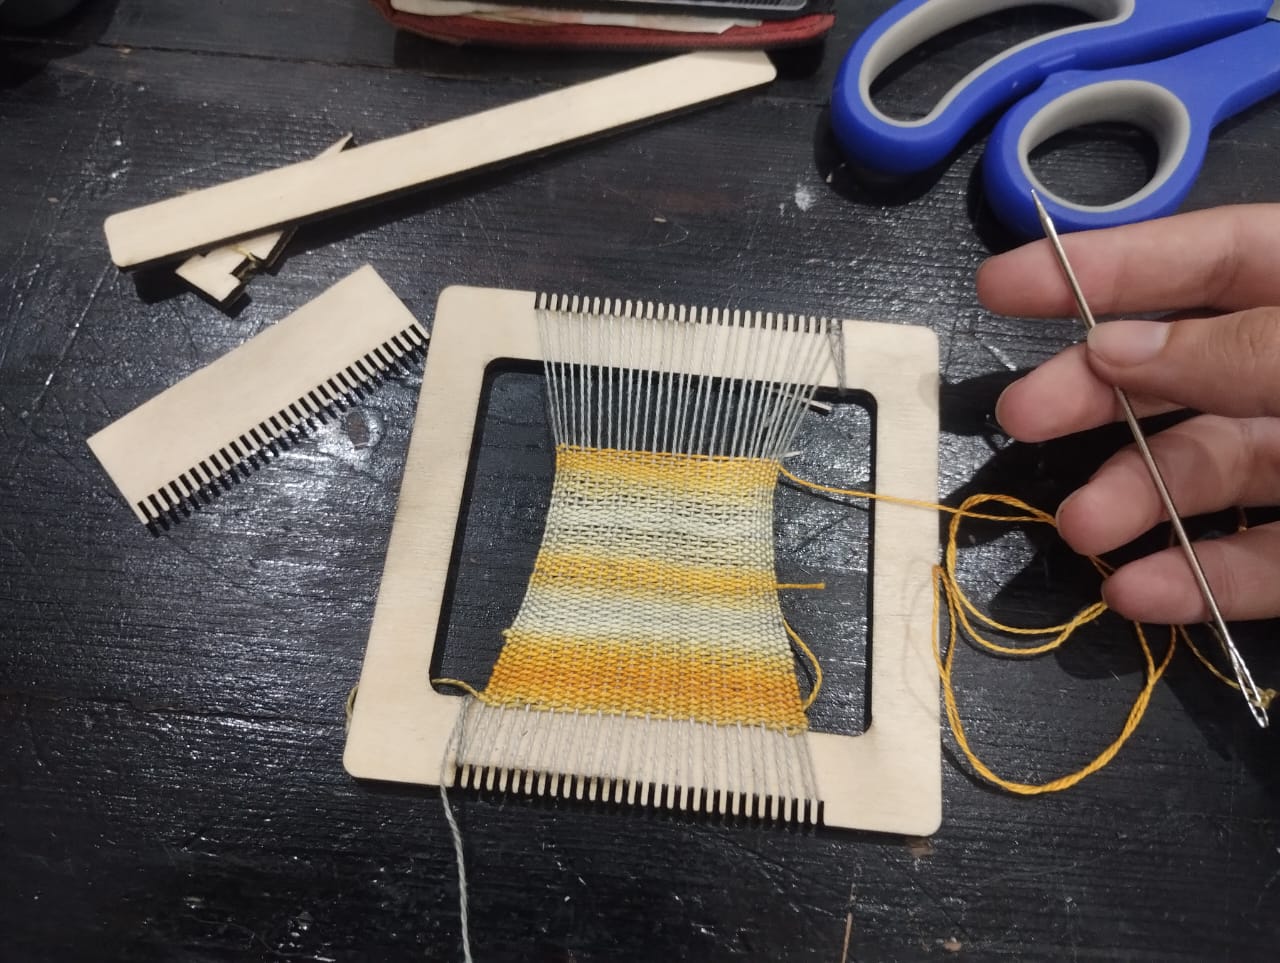
8- Near the finish line.
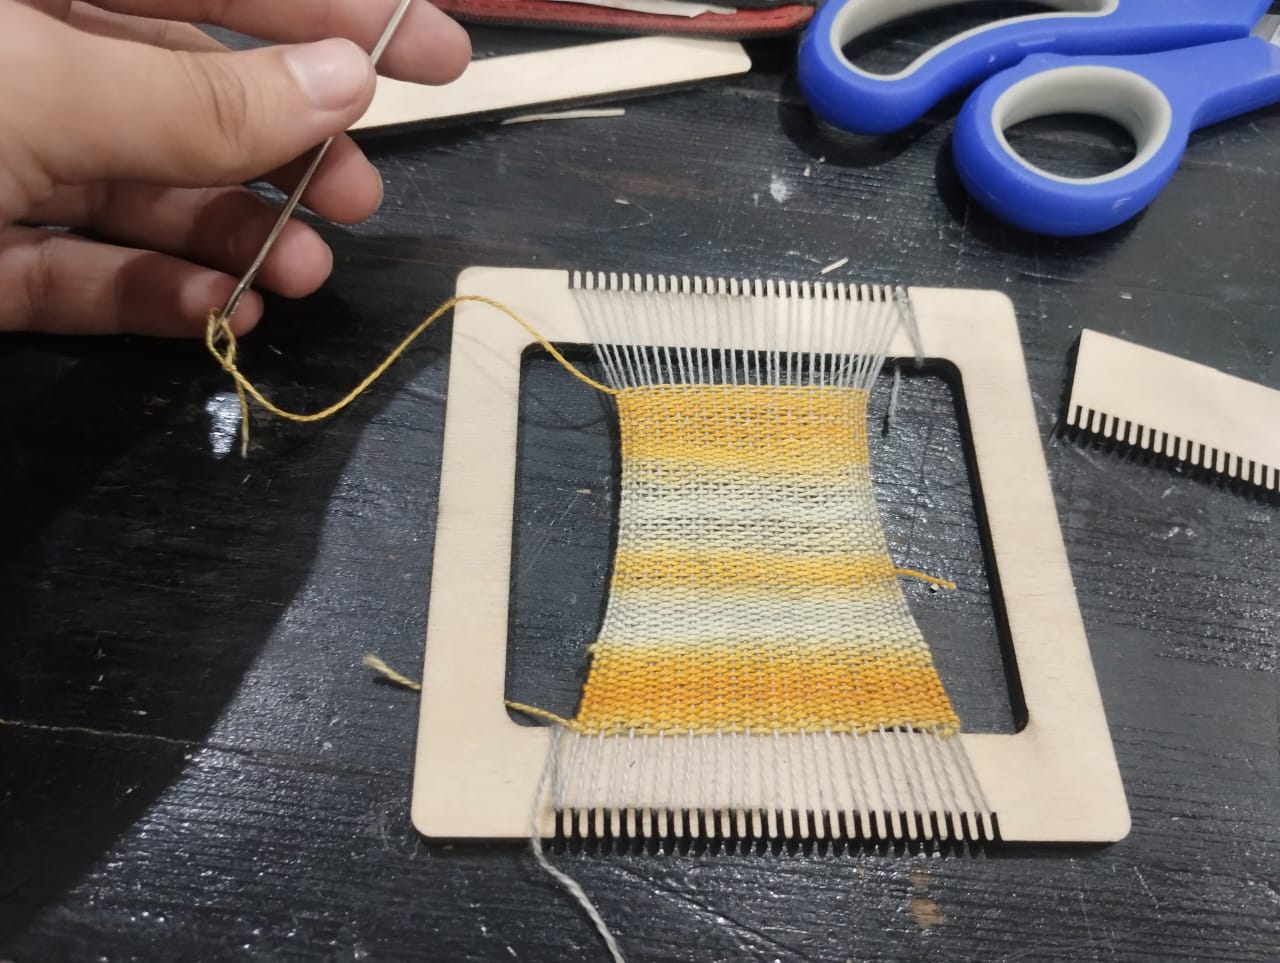
9- 3 Million years later. Here we are..
Weaving with a clear mind in a peacful day.