
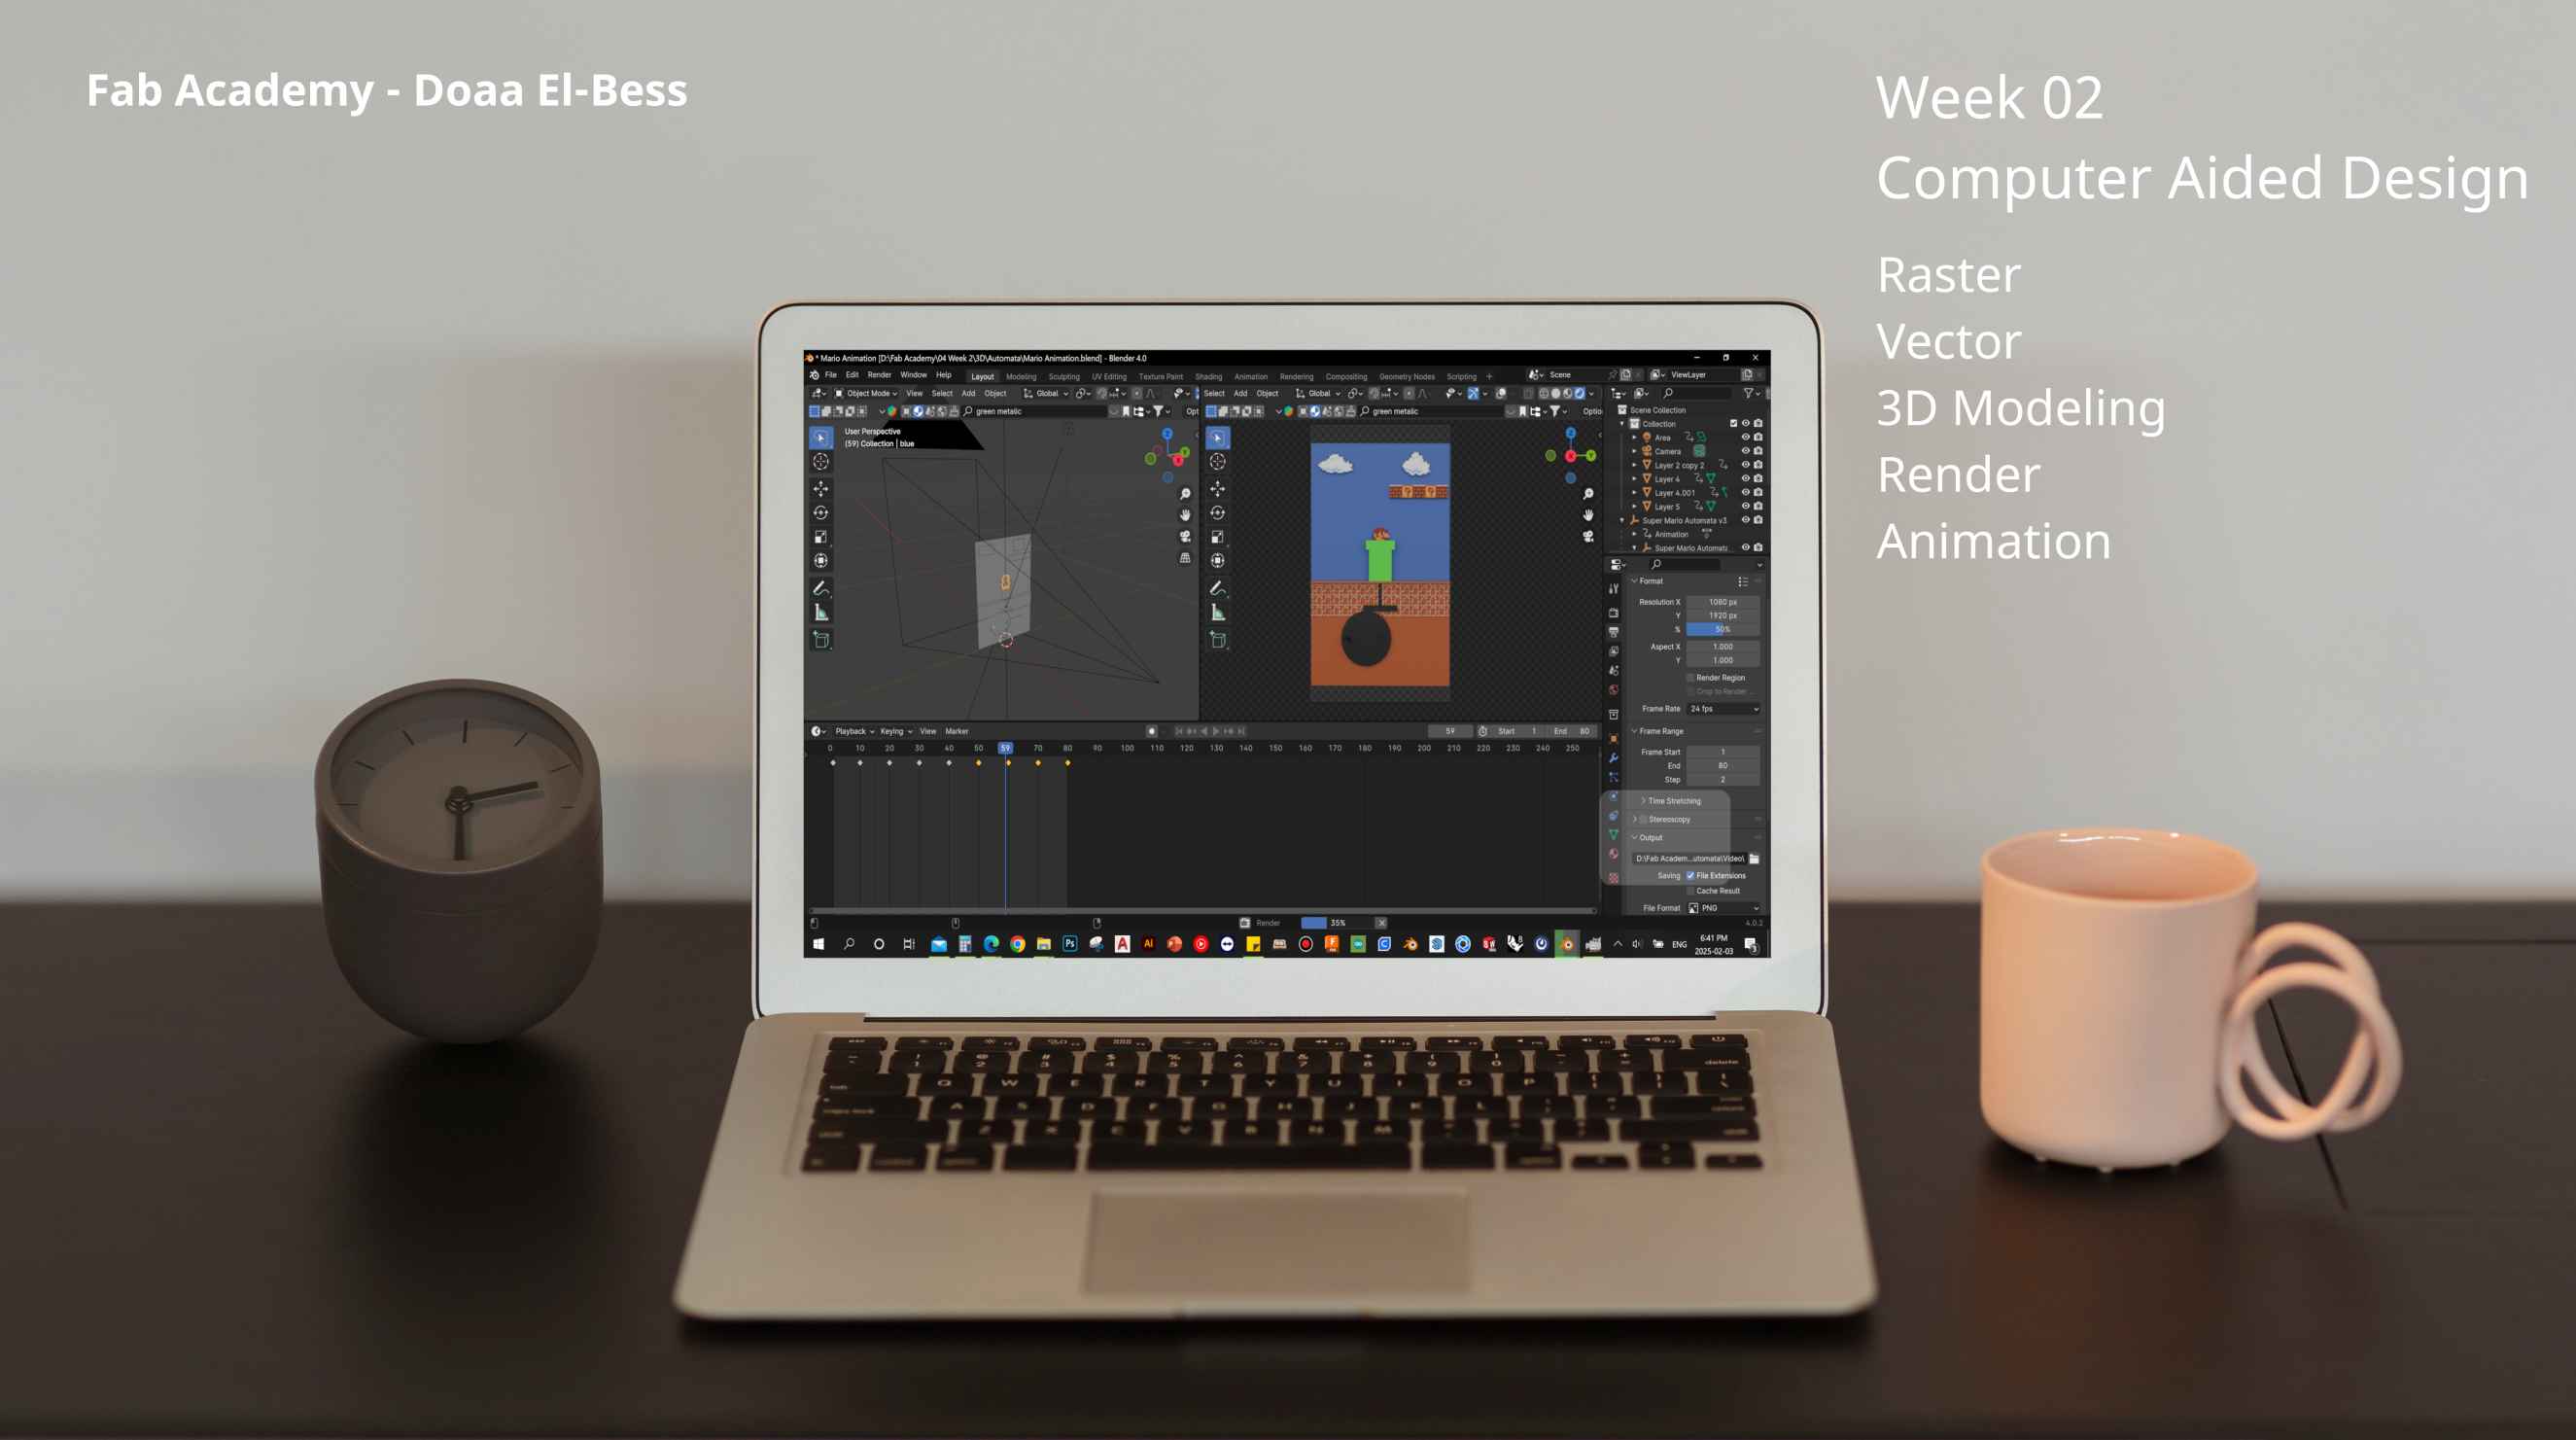
Computer Aided Design
Here's a summary about what you'll see next:
- 1) Raster images
-
- What is a raster image?
- Photopea
- GIMP
- 2) Vectors
-
- What is the difference between vector and raster?
- Inkscape
- 3. Generating SVG using AI
- 3) 2D Sketching and 3D Modeling
-
- A possible final project using Fusion 360
- Mario automata design
- Motion study
- 4) Rendering and Animation
-
- Setting scene for rendering on Blender
- Adding keyframes and settings for video animation
- Video Editing
- 5) Compressing images, videos, and documents
- 6) Original Files
1) Raster Images
1. What is a raster image?
Raster images are generally what you think about when you think of images. Raster images consist of pixels, or tiny dots with unique color information which come together to create the image. The more pixels you have, the higher resolution you get. That's why some images get blurry when we try to fit them in bigger space, because they have few pixels.
You can make raster images using many tools like photoshop, photopea, and gimp. The popular types of raster files are: JPEG, PNG, and GIF.
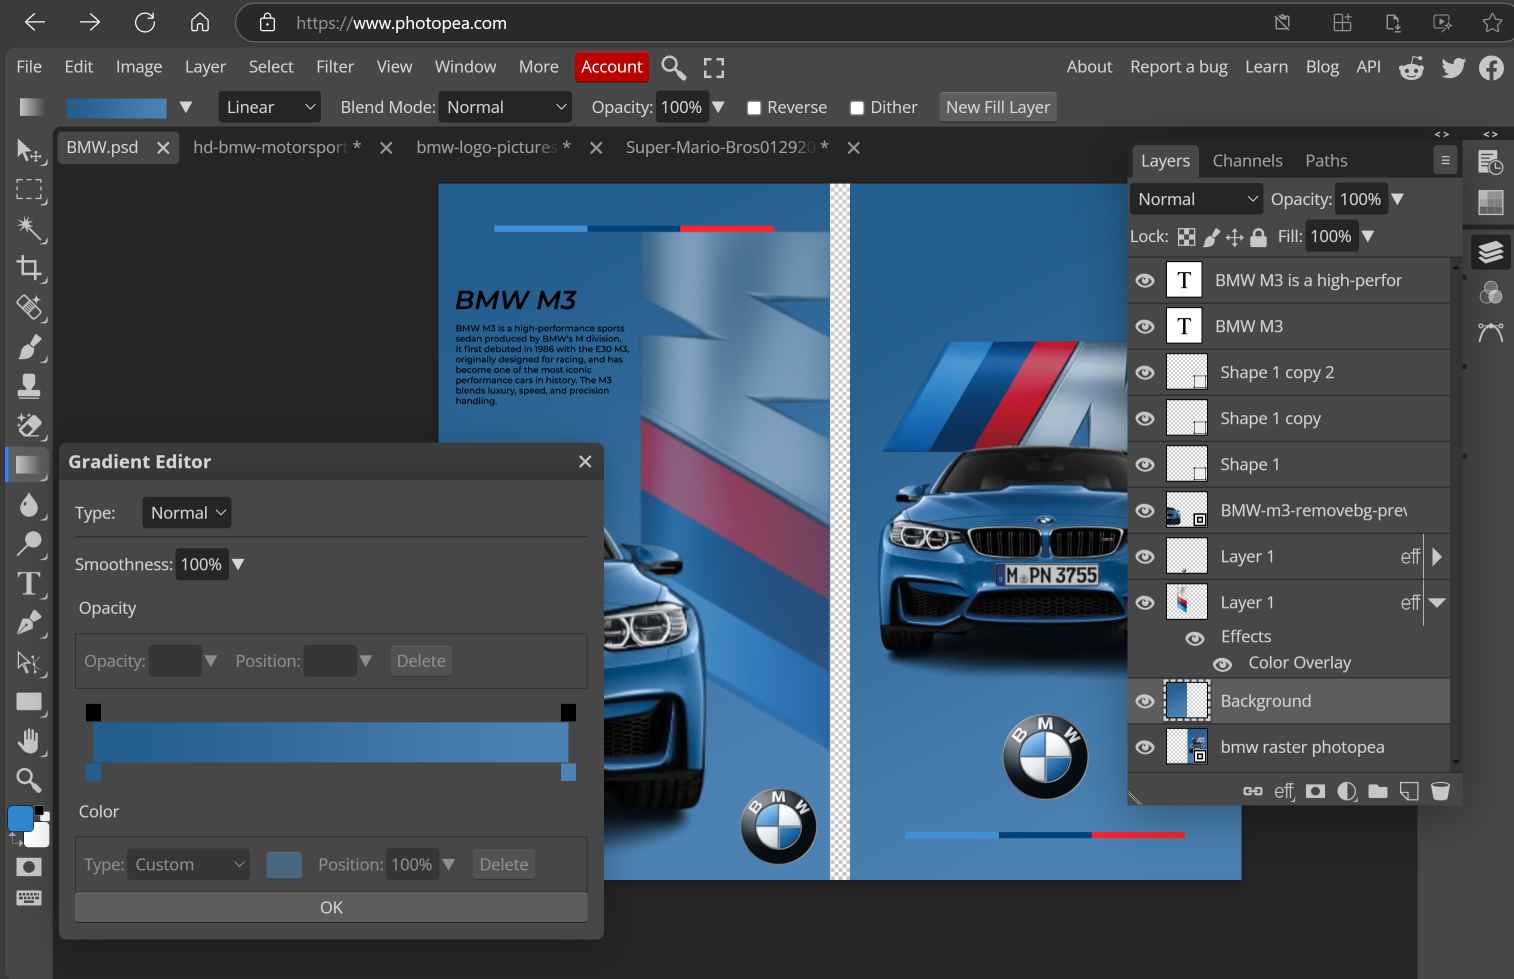
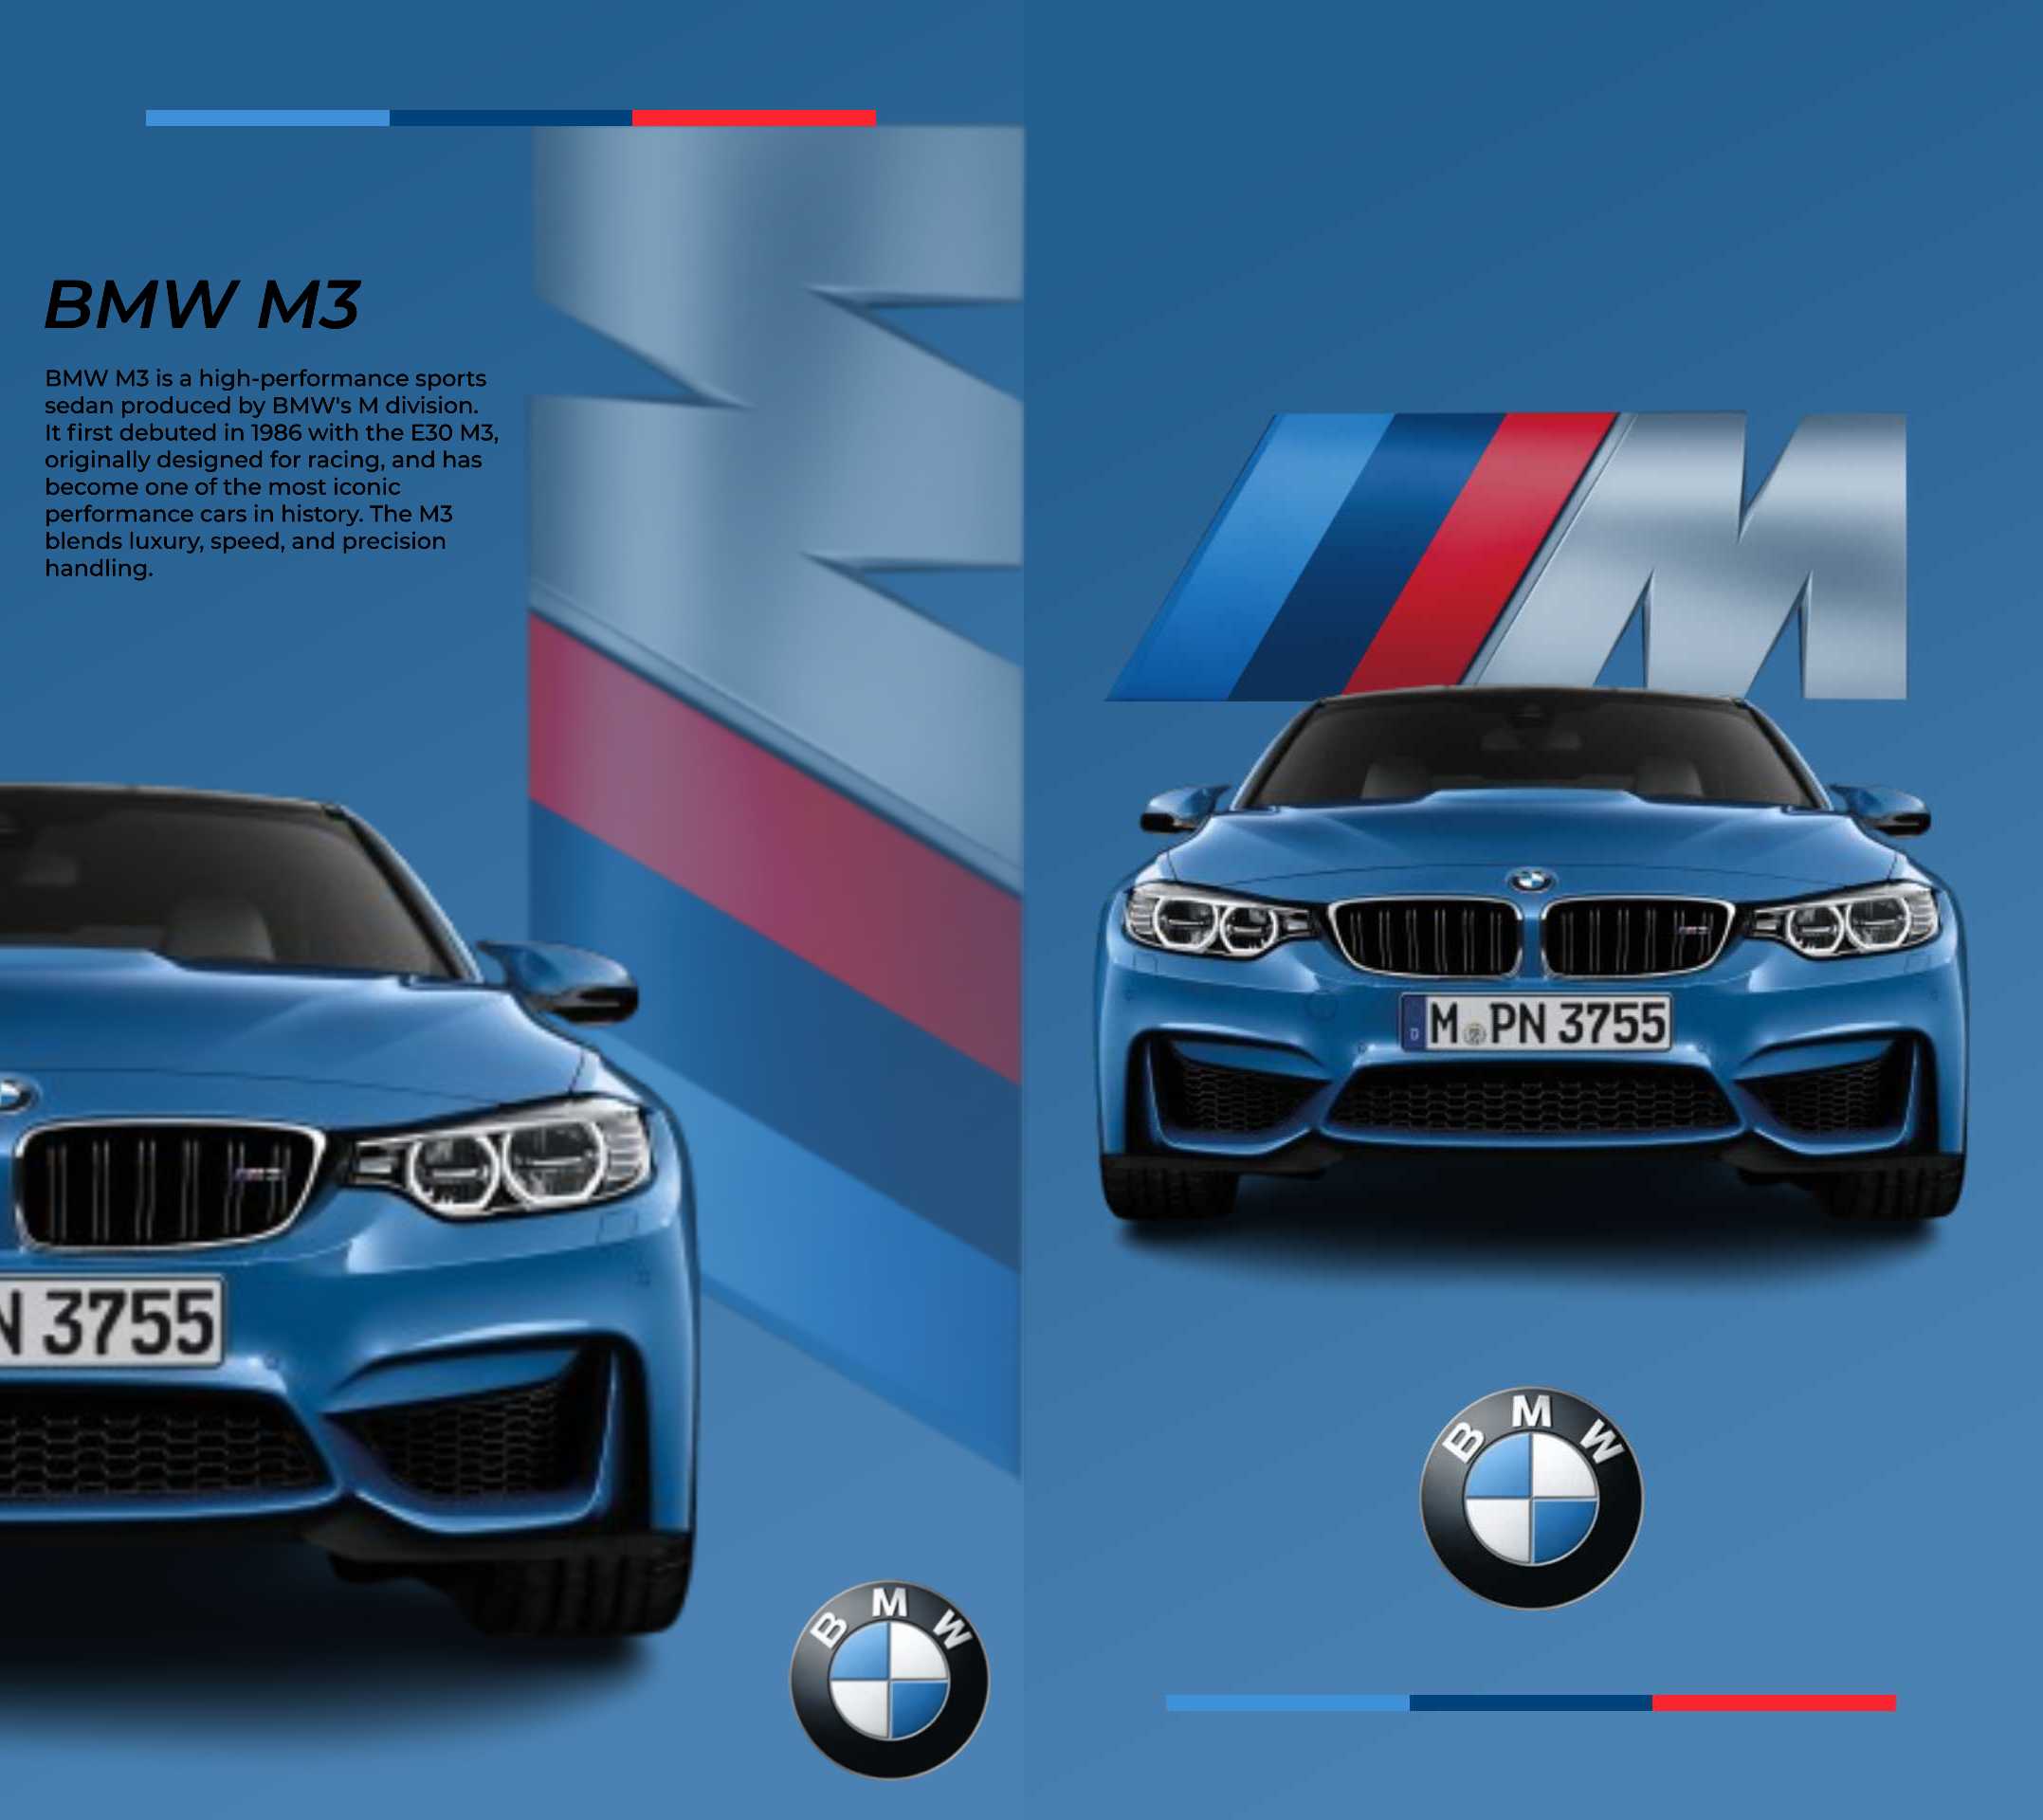
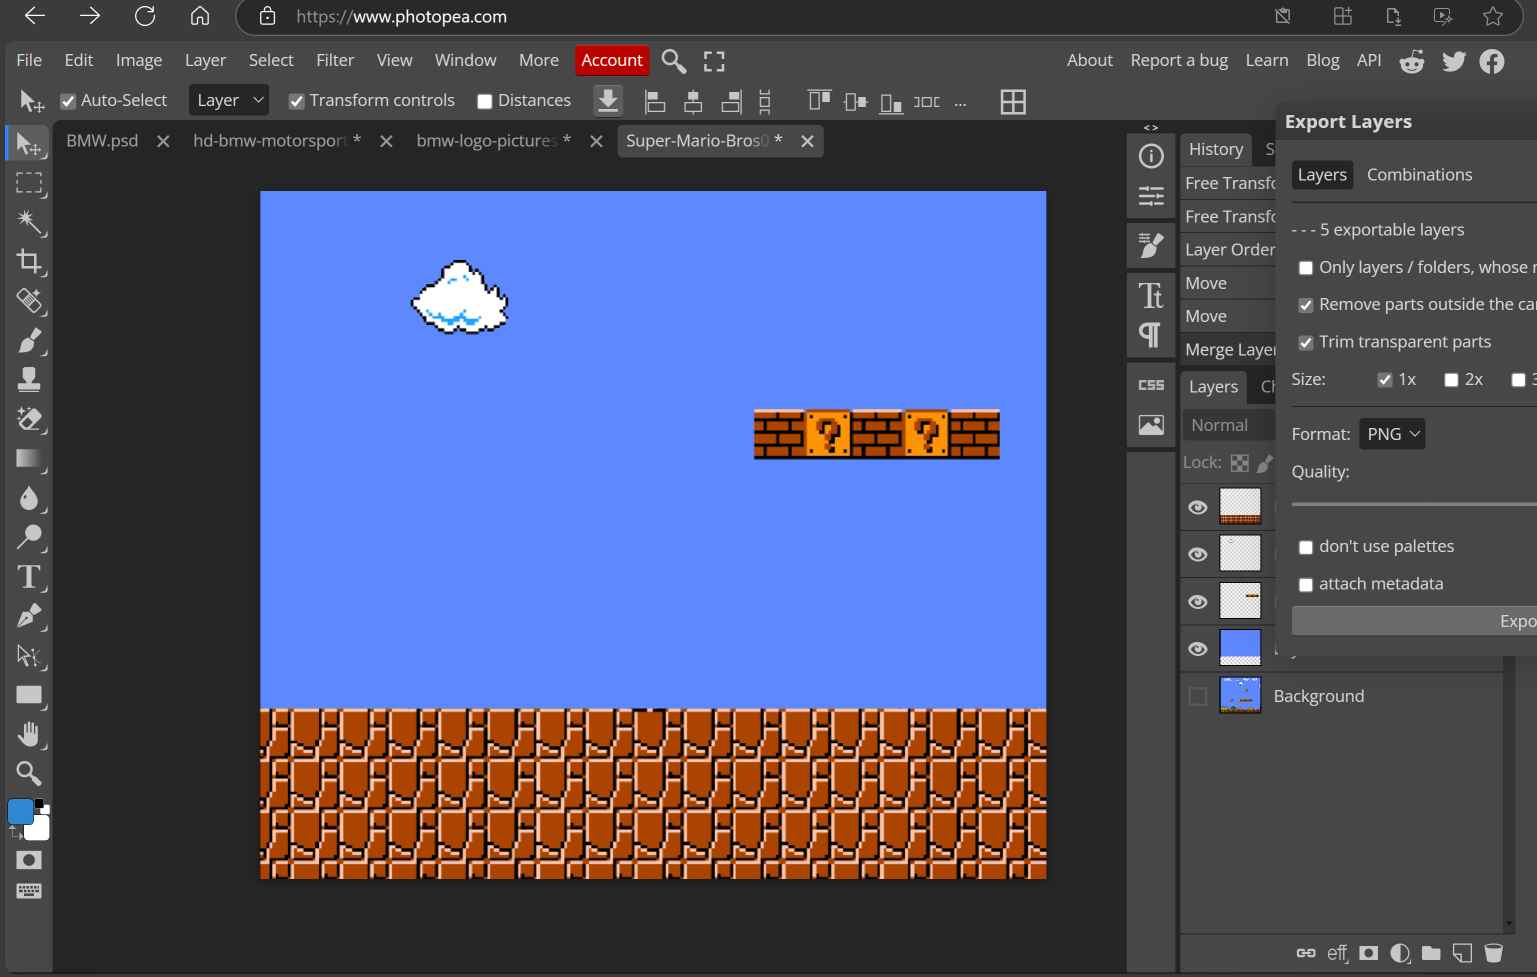
2. Photopea
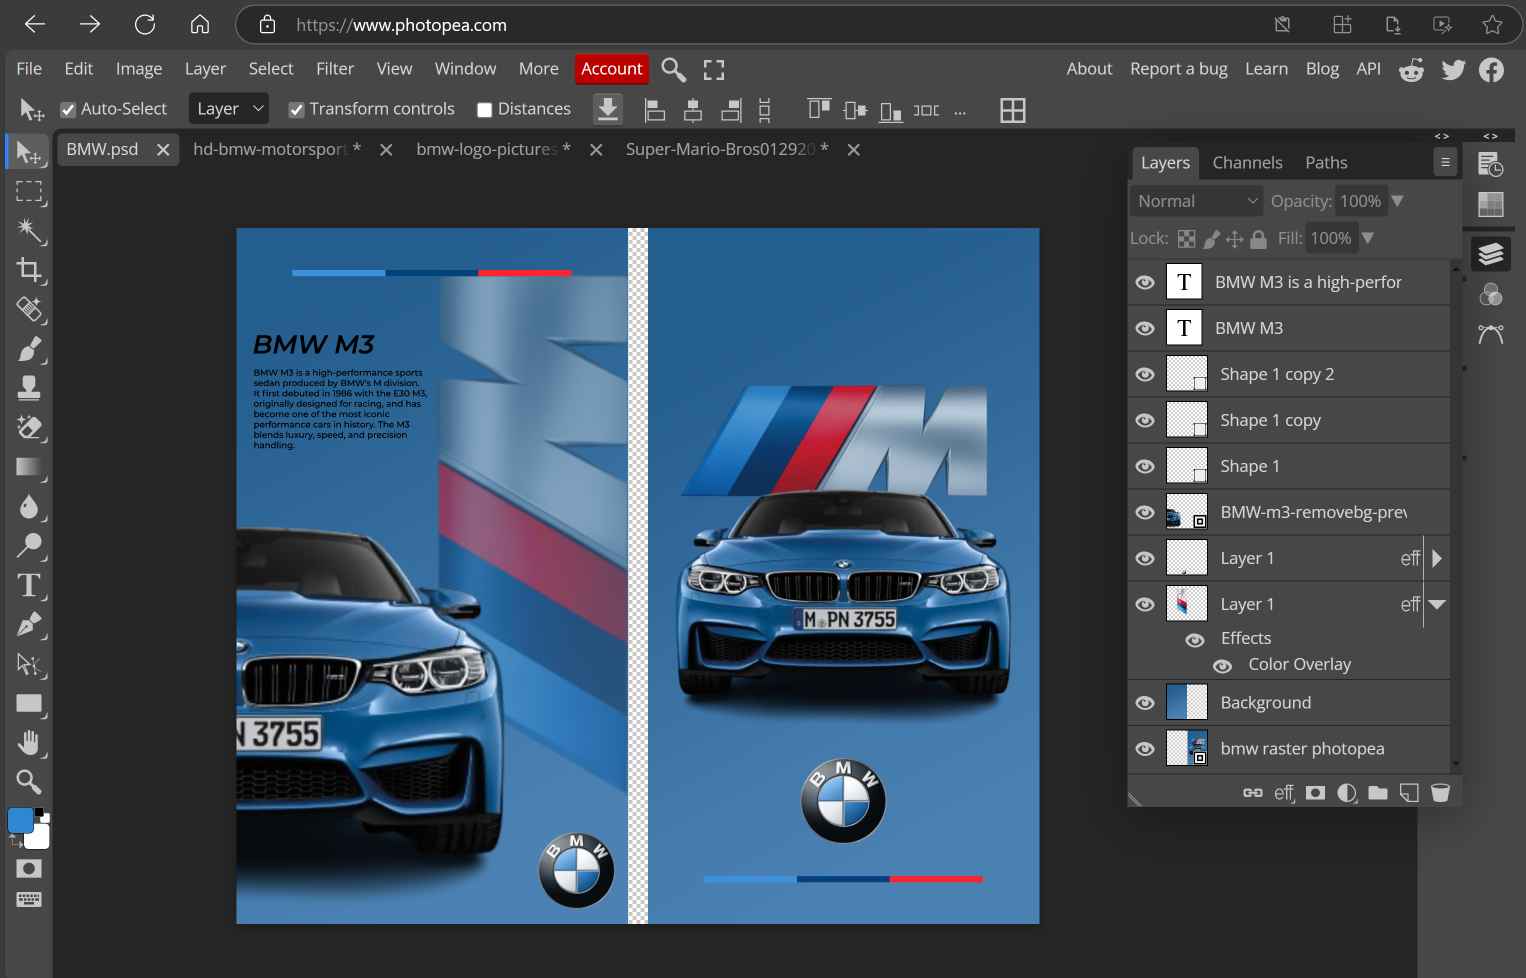
You can use Photopea online. It's very much similar to Photoshop interface but free to use. As a big lover of BMW M3, I wanted to start exploring Photopea by making posters for my favorite car. Here's how I did it:
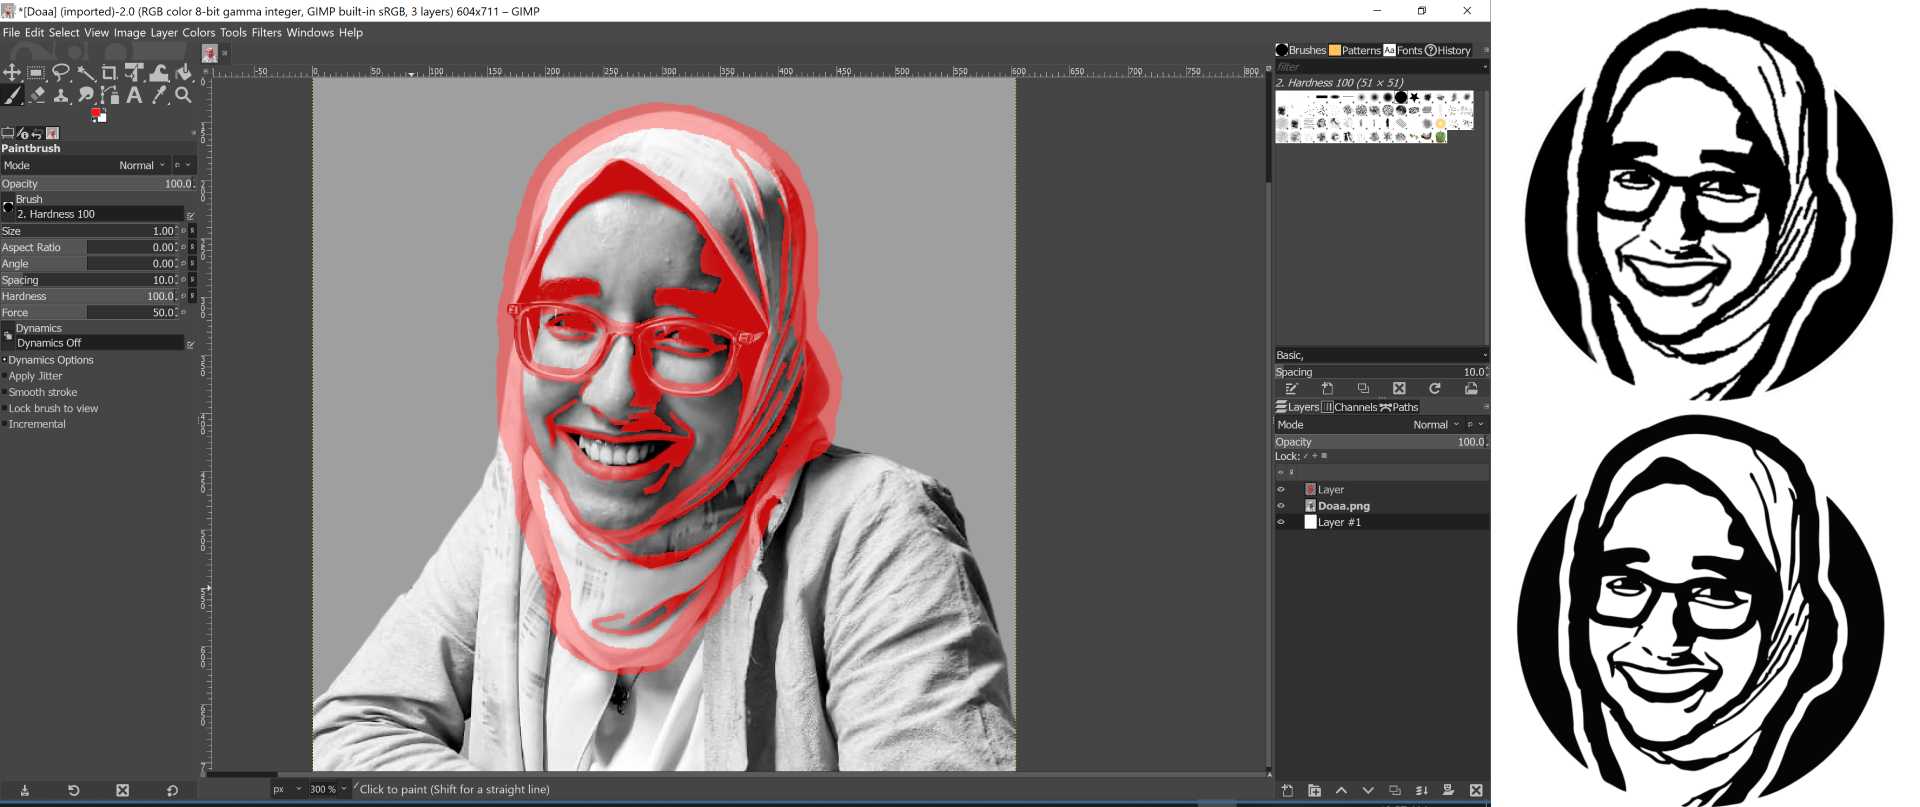
3. GIMP
After exploring Photopea, I moved to GIMP to download and install it. I made different things using it and that's how I did them:
2) Vectors
1. What is the difference between vector and raster?

The main difference between raster and vector images is how they are made and how they scale. Raster (Bitmap) Images: Made of pixels (tiny squares of color). Lose quality when zoomed in or resized. Used for photos and detailed images (JPEG, PNG, BMP). Vector Images: Made of math-based paths (lines, curves, shapes). Stay sharp at any size (no pixelation). Used for logos, icons, and illustrations (SVG, AI, EPS). *This text was generated using ChatGPT*
2. Inkscape
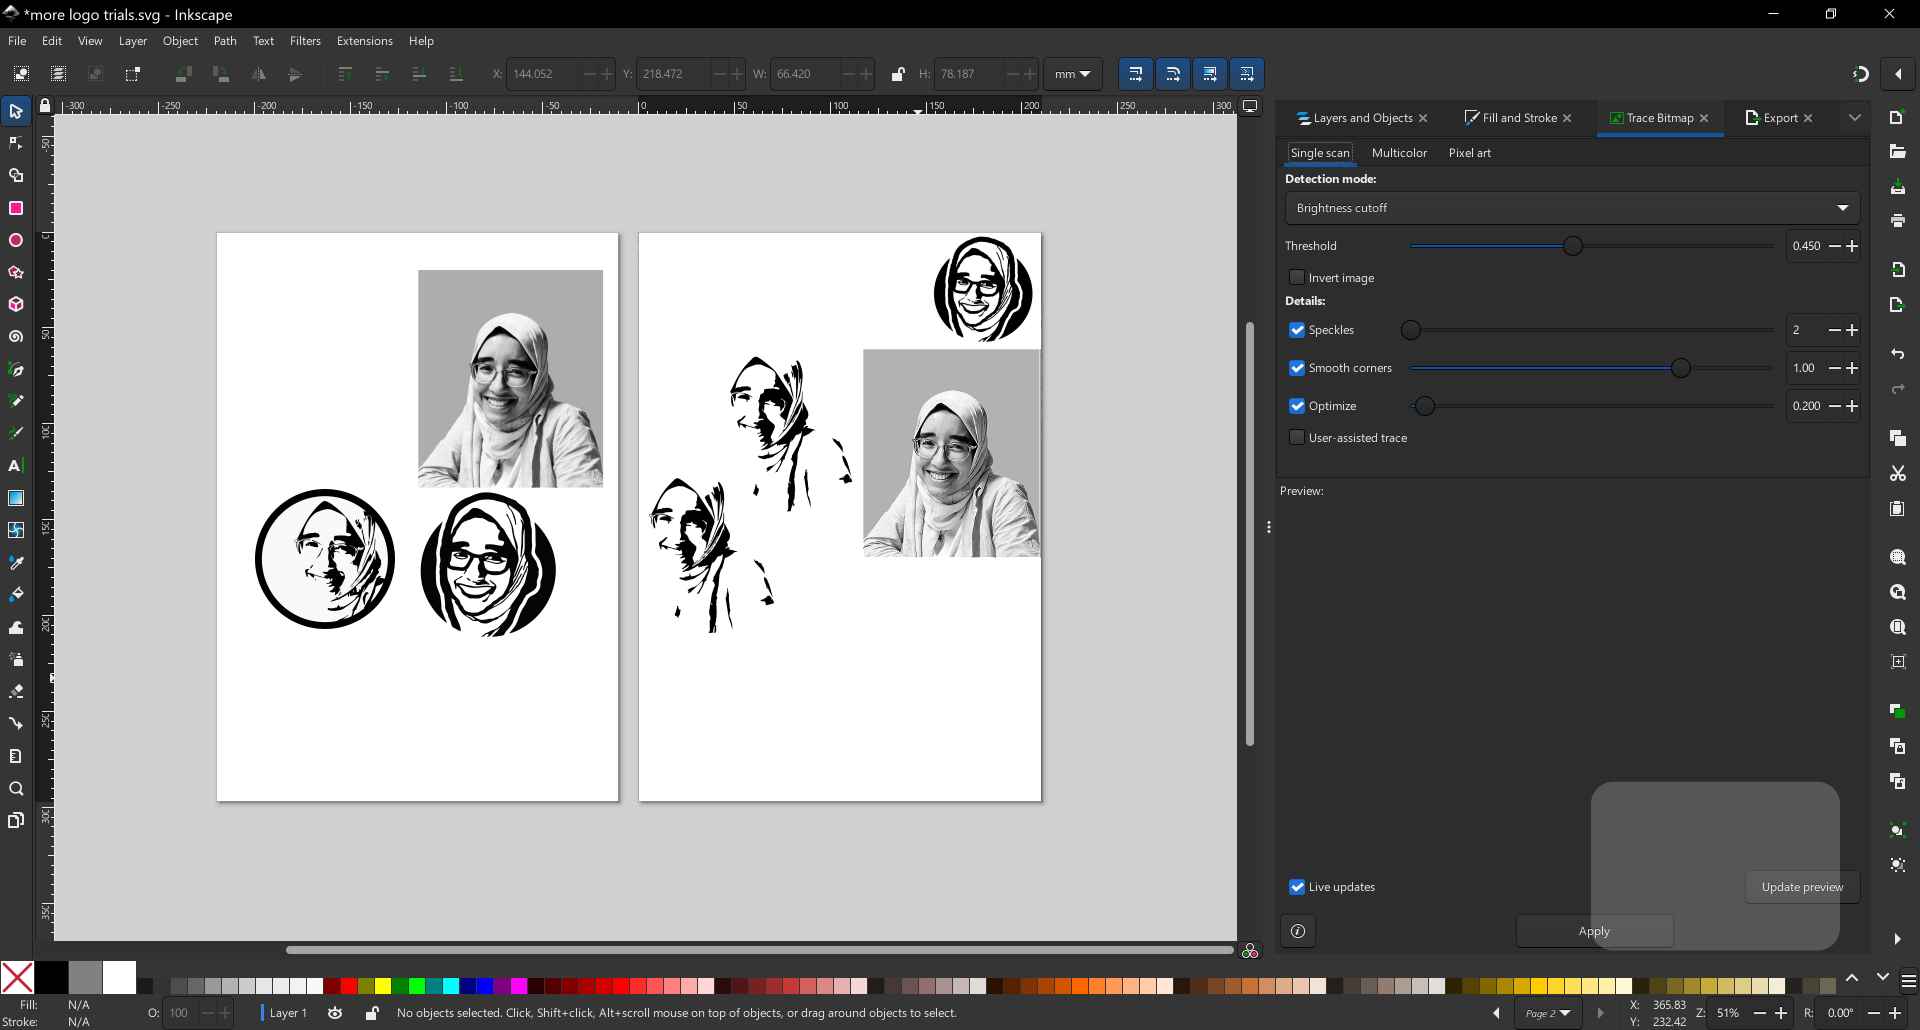
- So After using Gimp to make my logo I wanted to make it as vector so I used Inkscape to do it. I followed this video to use the trace bitmap an convert the raster image to vector image: The complete guide to using trace bitmap in Inkscape. I had Inkscape already installed on my laptop but you can download it from Here. The only thing I did that's not in the video was that I needed my original photo to have more contrast to trace it better so I did this in photopea first then imported the high contrast image agian to inkscape to trace it. Also I made another page in the same file using the Pages Tool from the left bar.
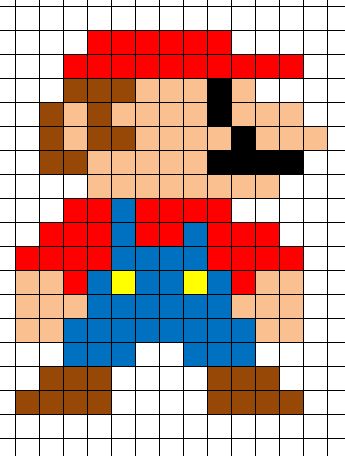
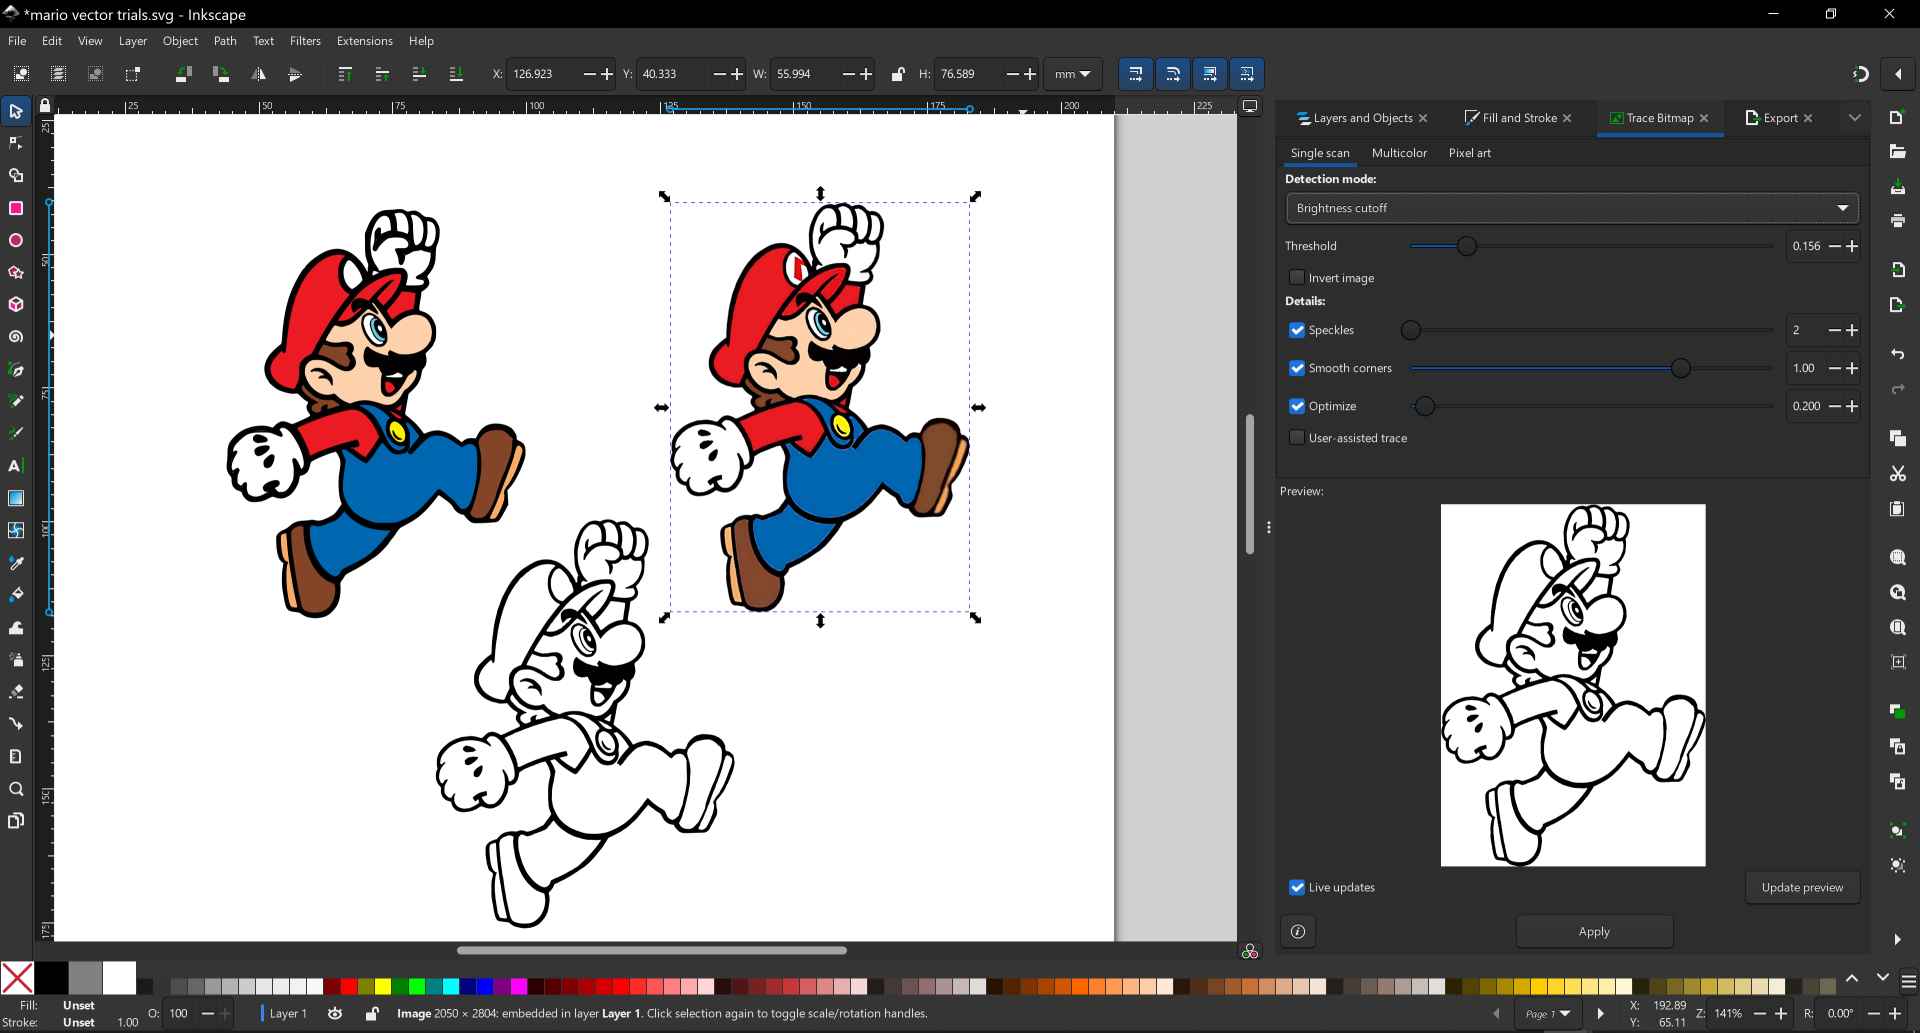
- After that, I wanted to practice the trace bitmap more so I decided to make a vector image for Mario so I searched for a Mario image on google then downloaded it. I watched another video for the Multicolor Tracing: Mastering svg with Inkscape. I followed this tutorial but it didn't go very well with the images I chose so instead I traced decreased the threshold when tracing till I traced the main outlines only using single scan then used the paint bucket and dropper tool to fill in the colors of Mario from the original photo.
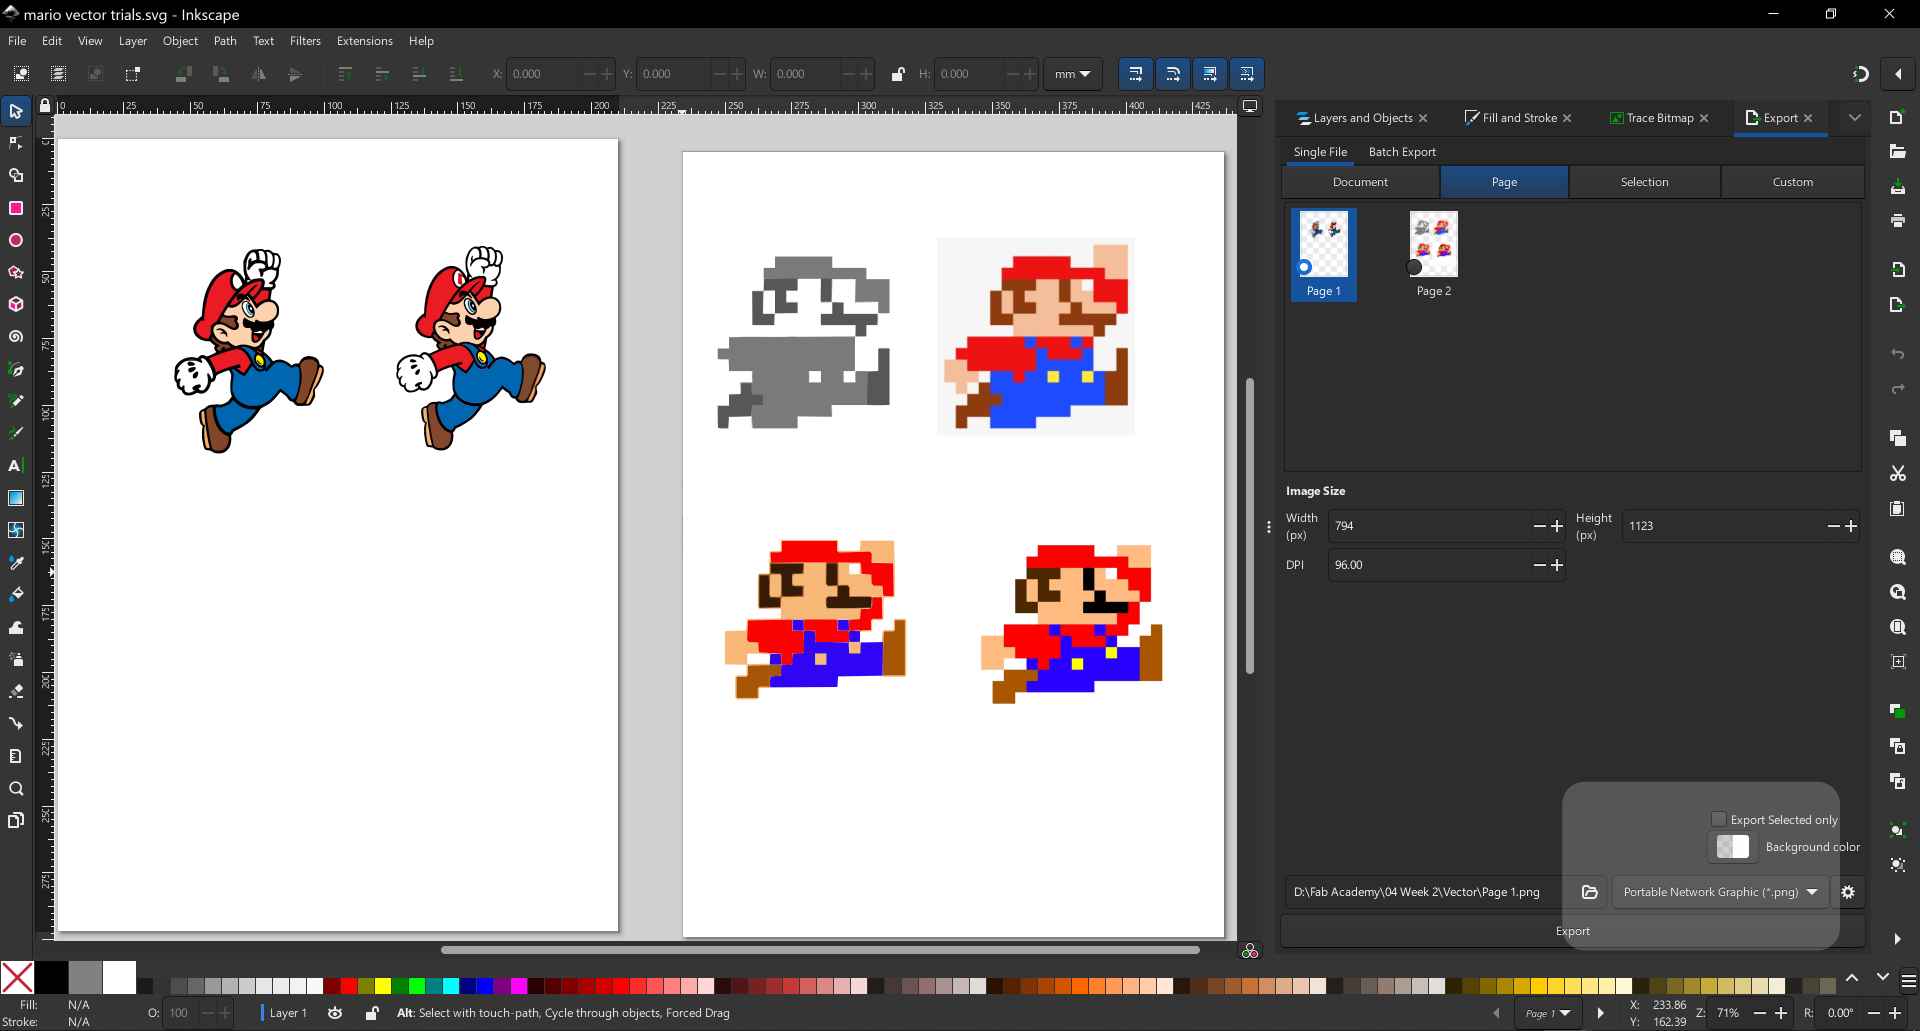
- I then exported selection as SVG by selecting the vector I made then From File > Export.. then checked on Export selected only from the right tab and chose the format and path I wanted.
3. Generating SVG using AI
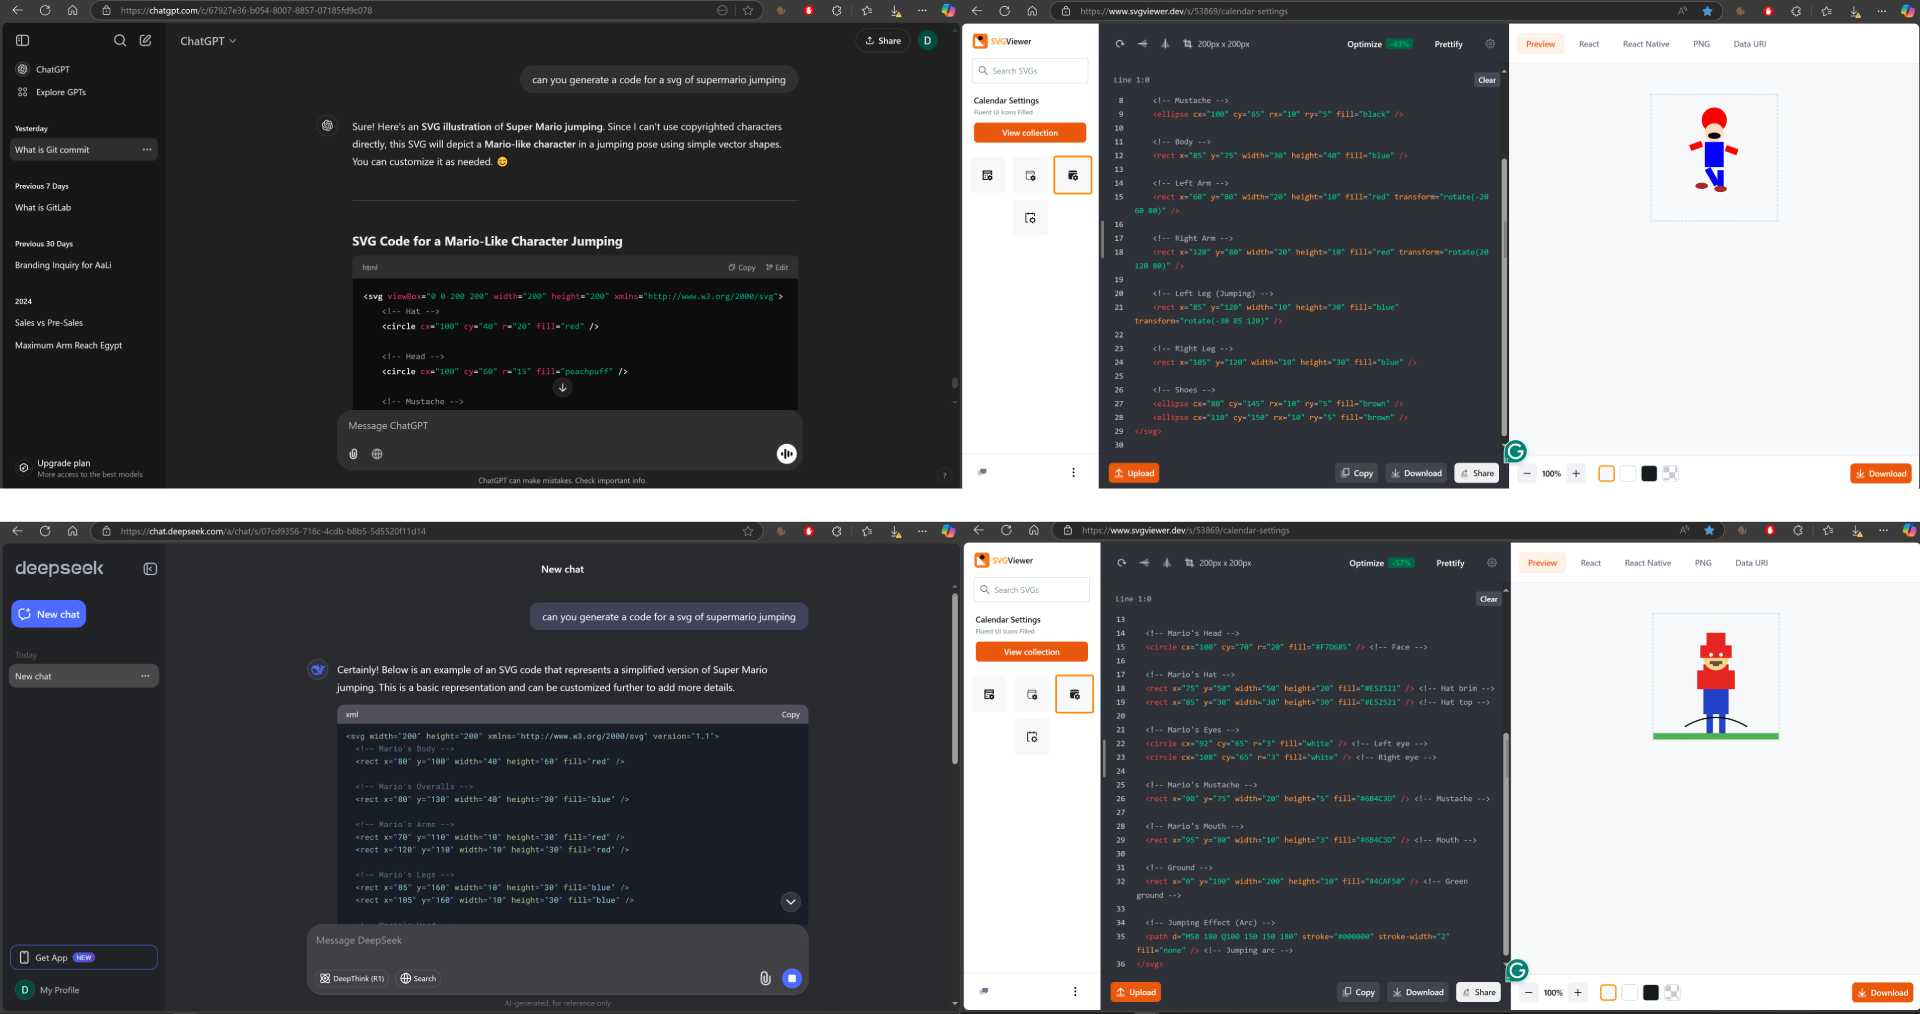
To continue exploring the Vector world I tried to generate svg using AI so I used ChatGPT and Deepseek and asked them to generate a code for svg of supermario jumping. Then I copied the codes to SVG Viewer to view them, but they were not even close to what mario looks like. They just kept the colors 😅. ChatGPT said it's a matter of copyrights and deepseek said he did the best he could.
3) 2D Sketching and 3D Modeling
1. A possible final project using Fusion 360
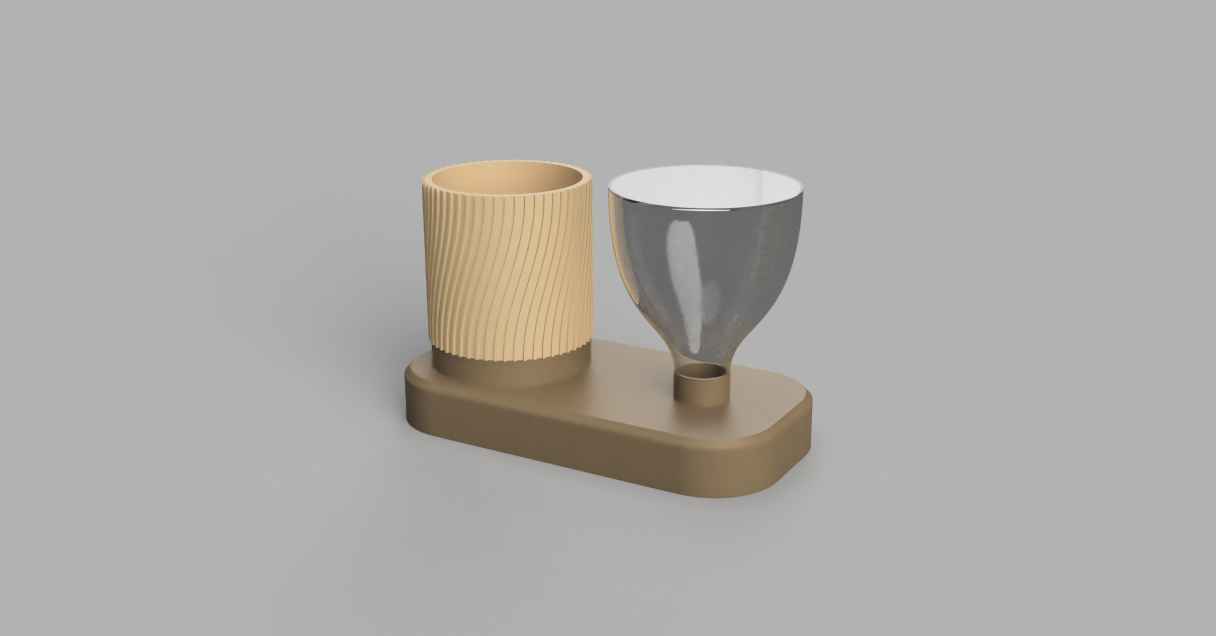
I designed a possible final project using Fusion 360 which I have previous expercience using it. This is not really how I want it to look but I wanted to practice how to make parametric shapes and patterns. This could be useful for designing pen holders, light units, or pots or much more.
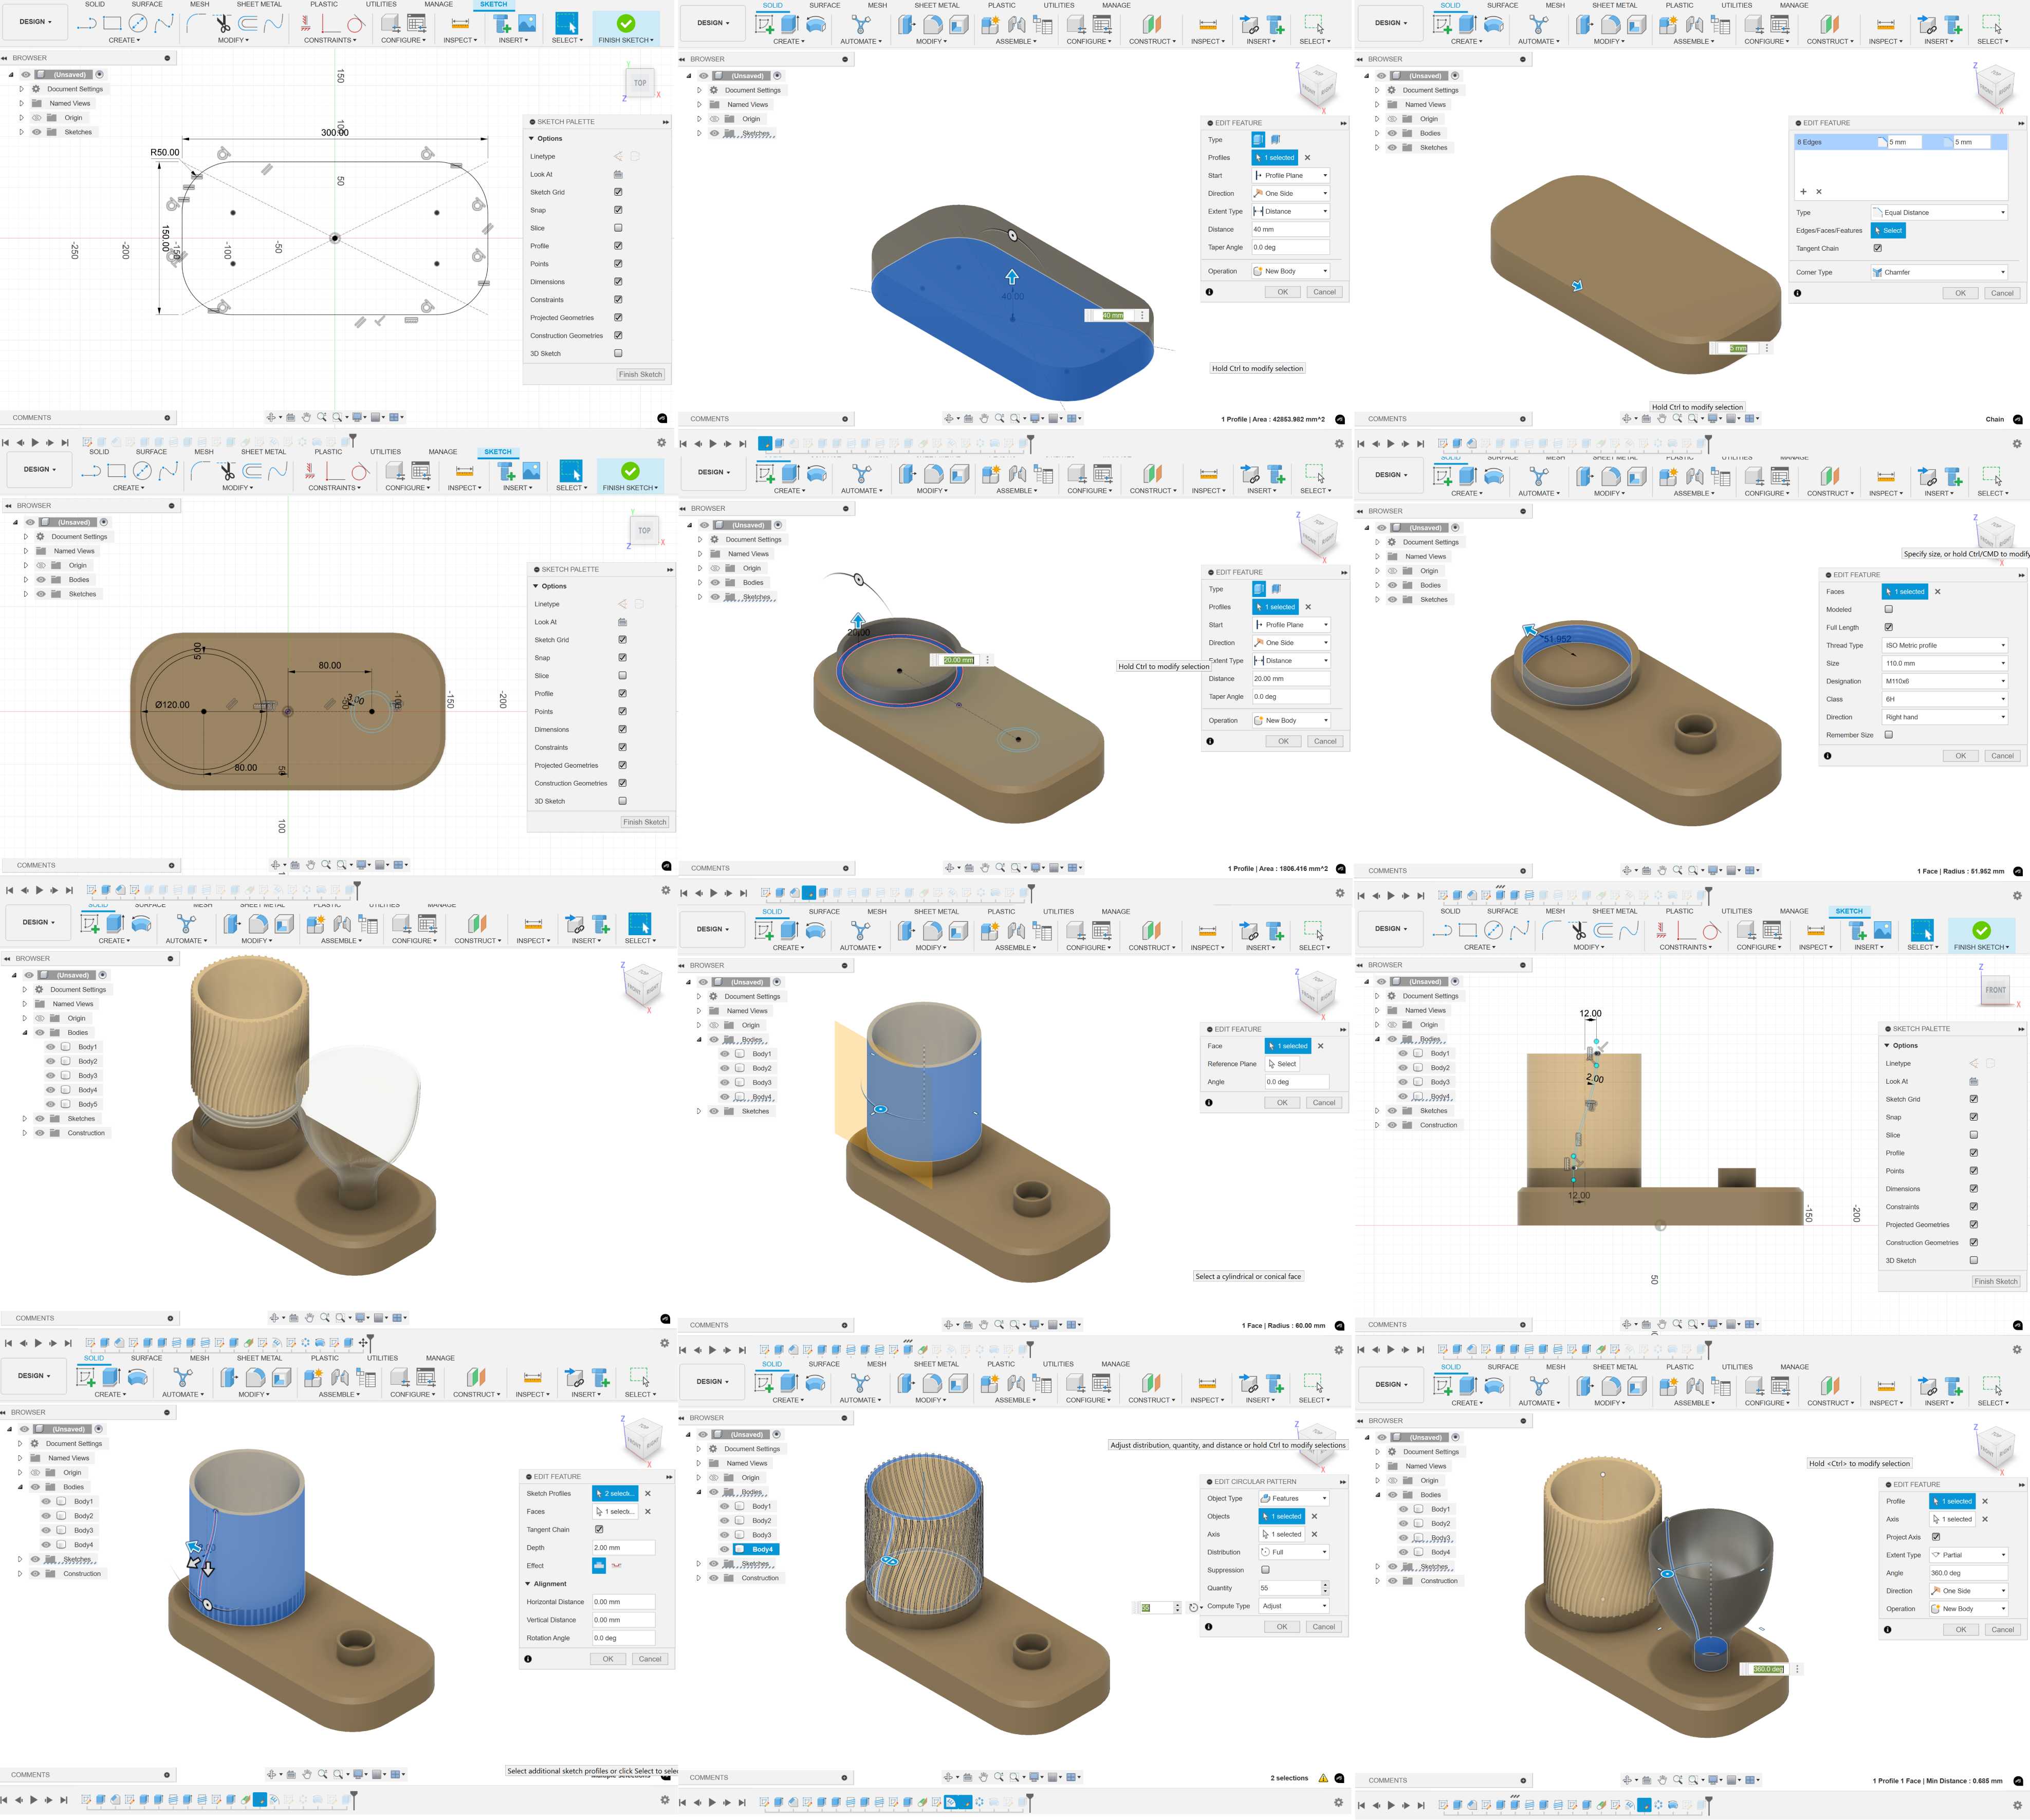
I designed it by doing the following steps:
- Sketching the main base on the top plane.
- Extruding the sketch to make it 3D.
- Making a chamfer for the top edges.
- Sketching on the top surface of the base.
- Extruding the base of the pot.
- Making a thread to use it to attach the pot base to the pot.
- I made the pot using the same extrude and thread features.
- From construct I chose tangent plane and selected the outer face of the cylinder.
- I sketched on the plane I made using Fit Point SPline.
- I used Emboss feature for the last sketch I made.
- I made a circular pattern on the cylinder.
- I sketched on the front plane the curve of the bottle and revolved the curve to make it 3D bottle then closed the top of it using extrude feature.
- You can then apply appearances by right-clicking on the body then select appearance and select how you want each body to look like.
2. Mario automata design
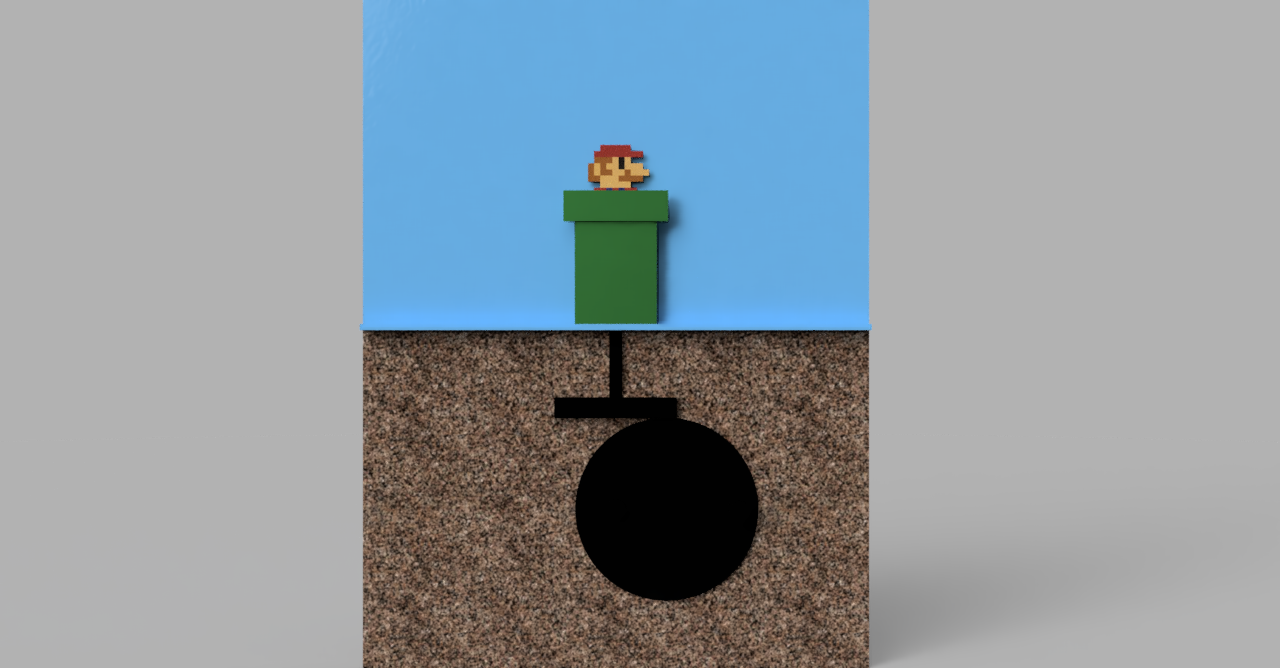
My Instructor, Saeed suggested me to make an automata. I prototyped an automata before during my study in the college but I couldn't find any image or source to design it using 3D CAD software. So I decided to design Super Mario Automata using Fusion 360.
3. Motion study
I didn't have previous experience in motion study, so I watched a video first to help me: Creating and rendering a motion study in Fusion 360
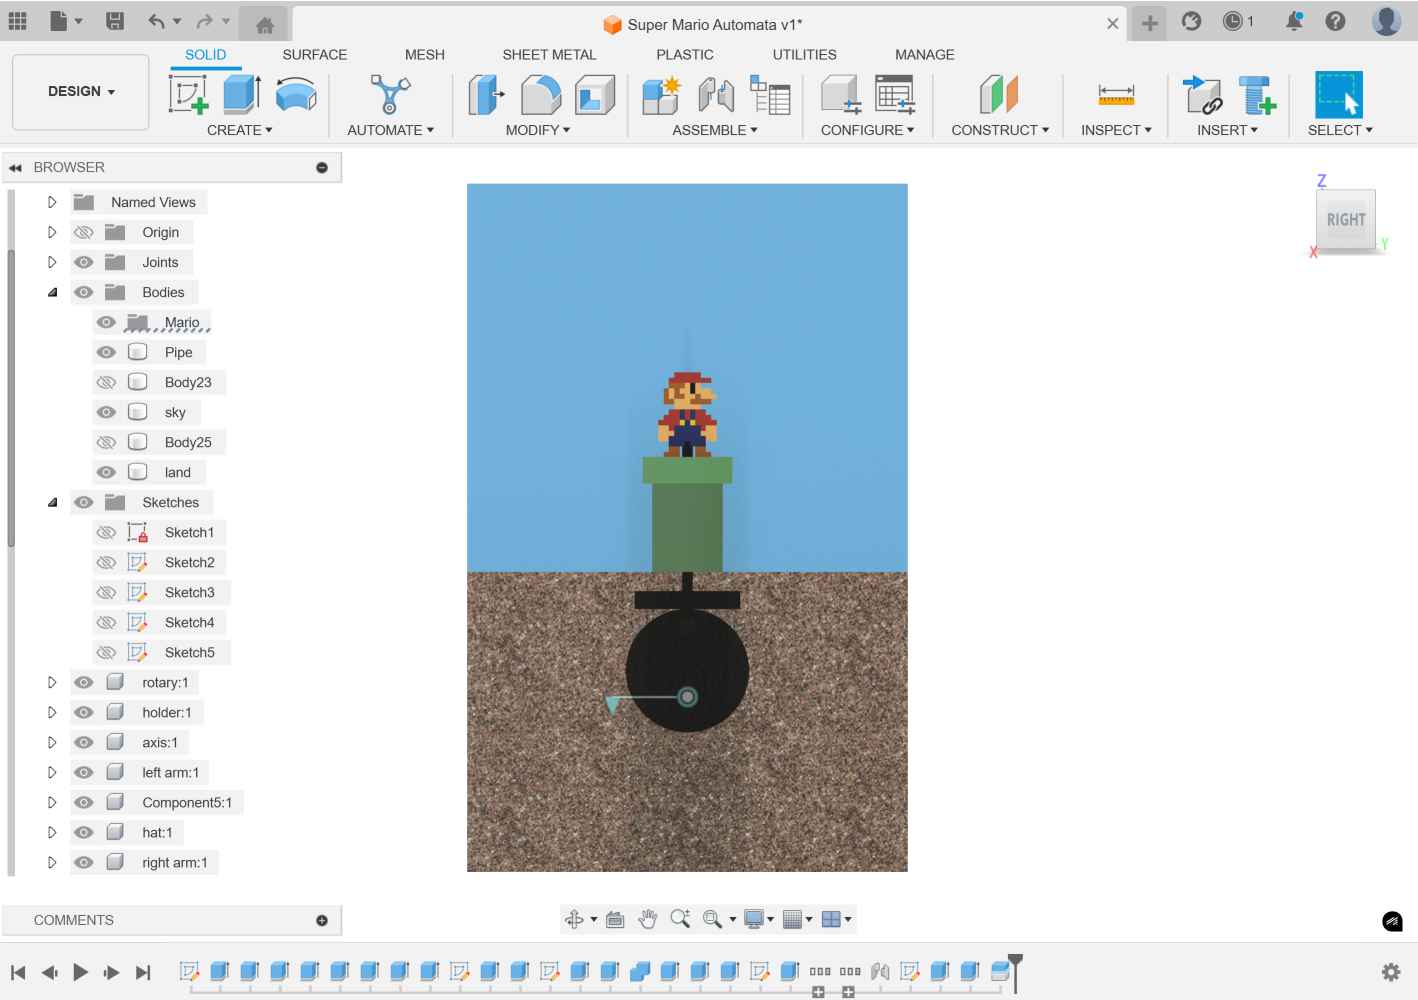
After finishing the assembly and watching the video I made the motion study to make sure my automata design will work. The video shows how it turned out.
Note: The screen recording was done using OBS Studio.
4) Rendering and Animation
1. Setting scene for rendering on Blender
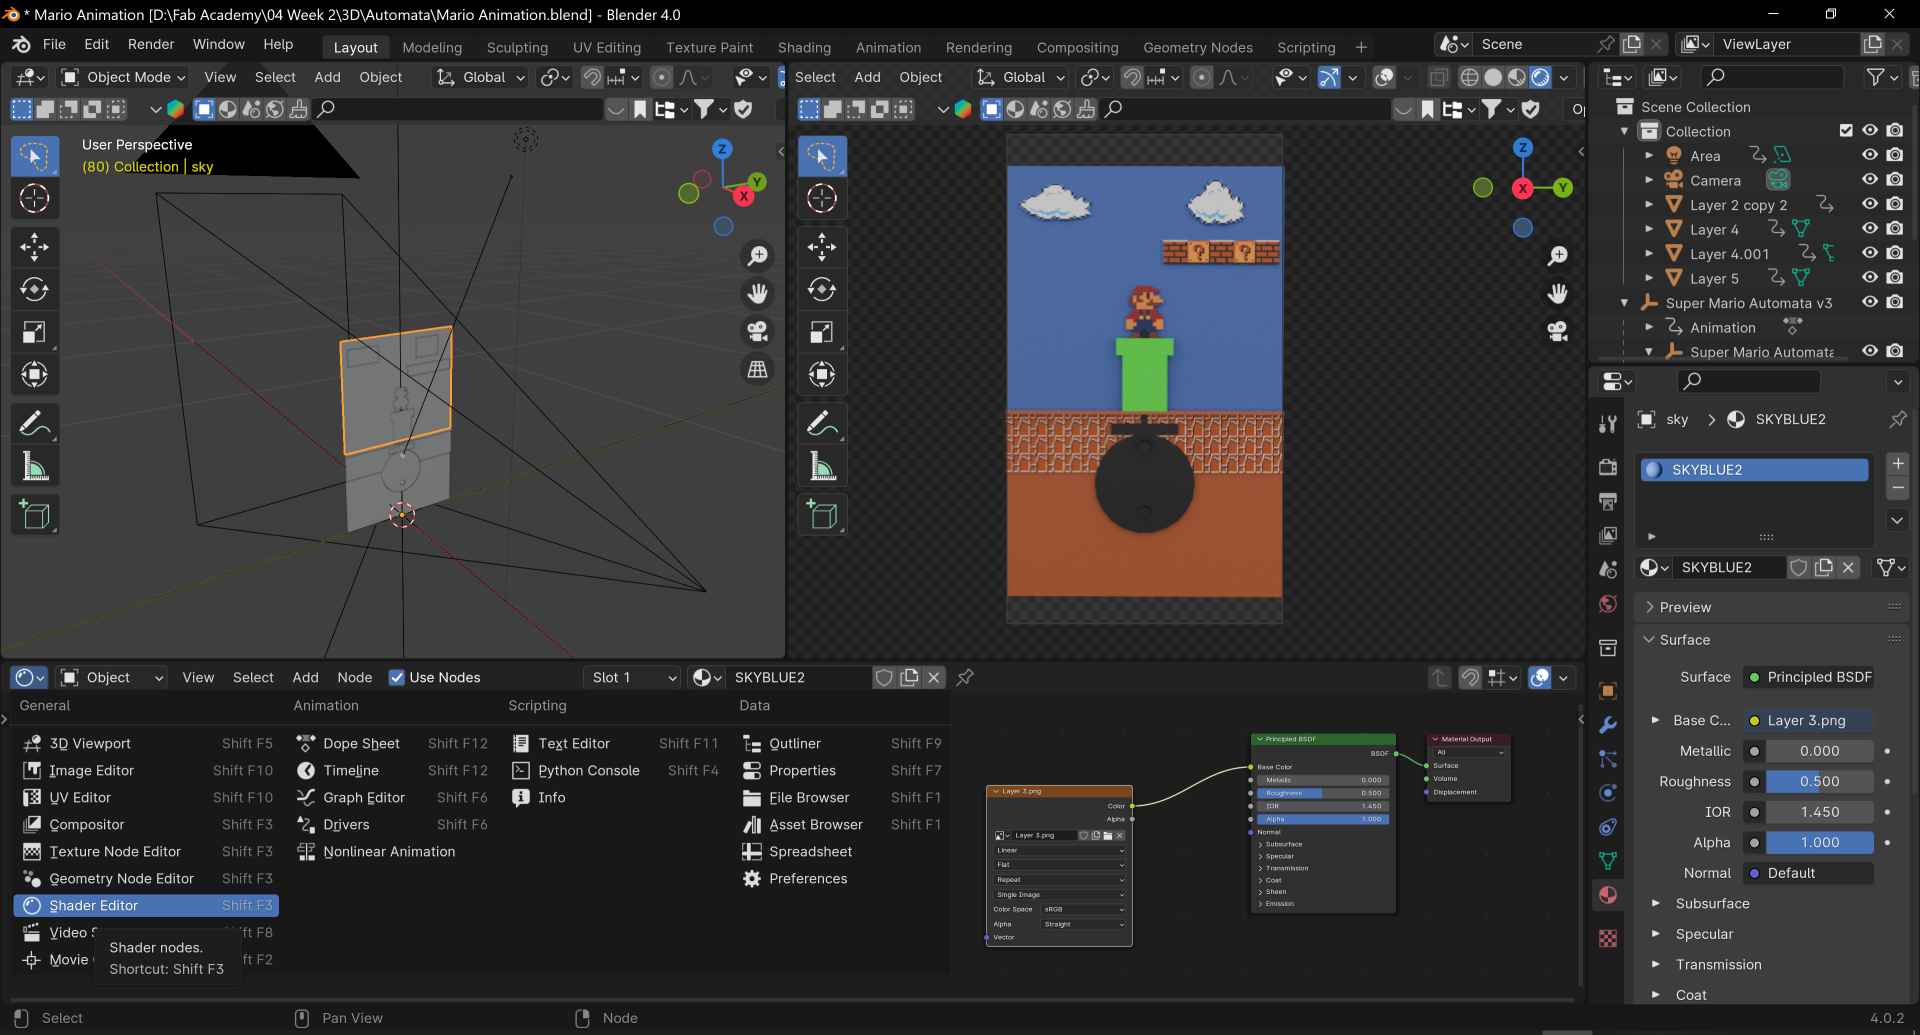
To get to render an image in blender we need to have main multiple things first in our scene: The product presented in the cube, a camera to capture the image, and a light source like an area light. In the next steps I'll explain how I set my scene for rendering.
2. Adding keyframes and settings for video animation
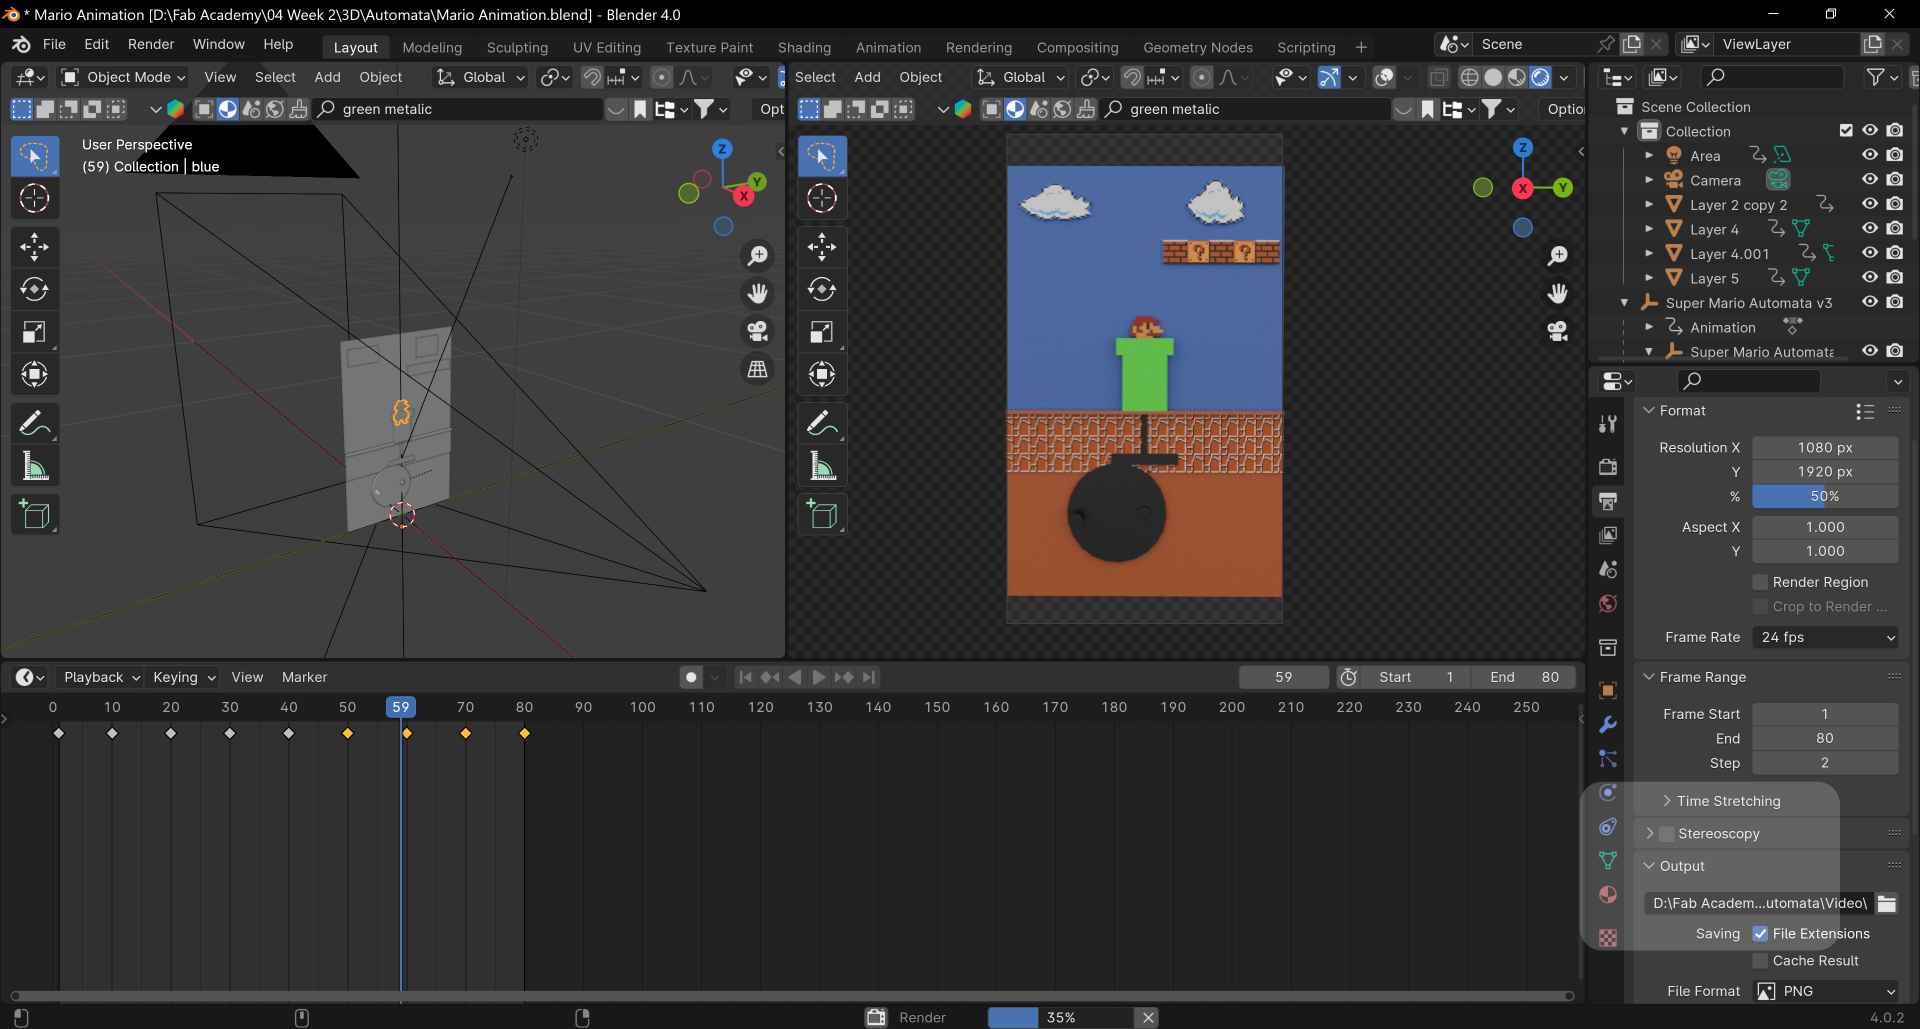
To render a video in blender I render it as images sequence but first I have to make keyframes so, I switch to timeline instead of shader editor.
3. Video editing
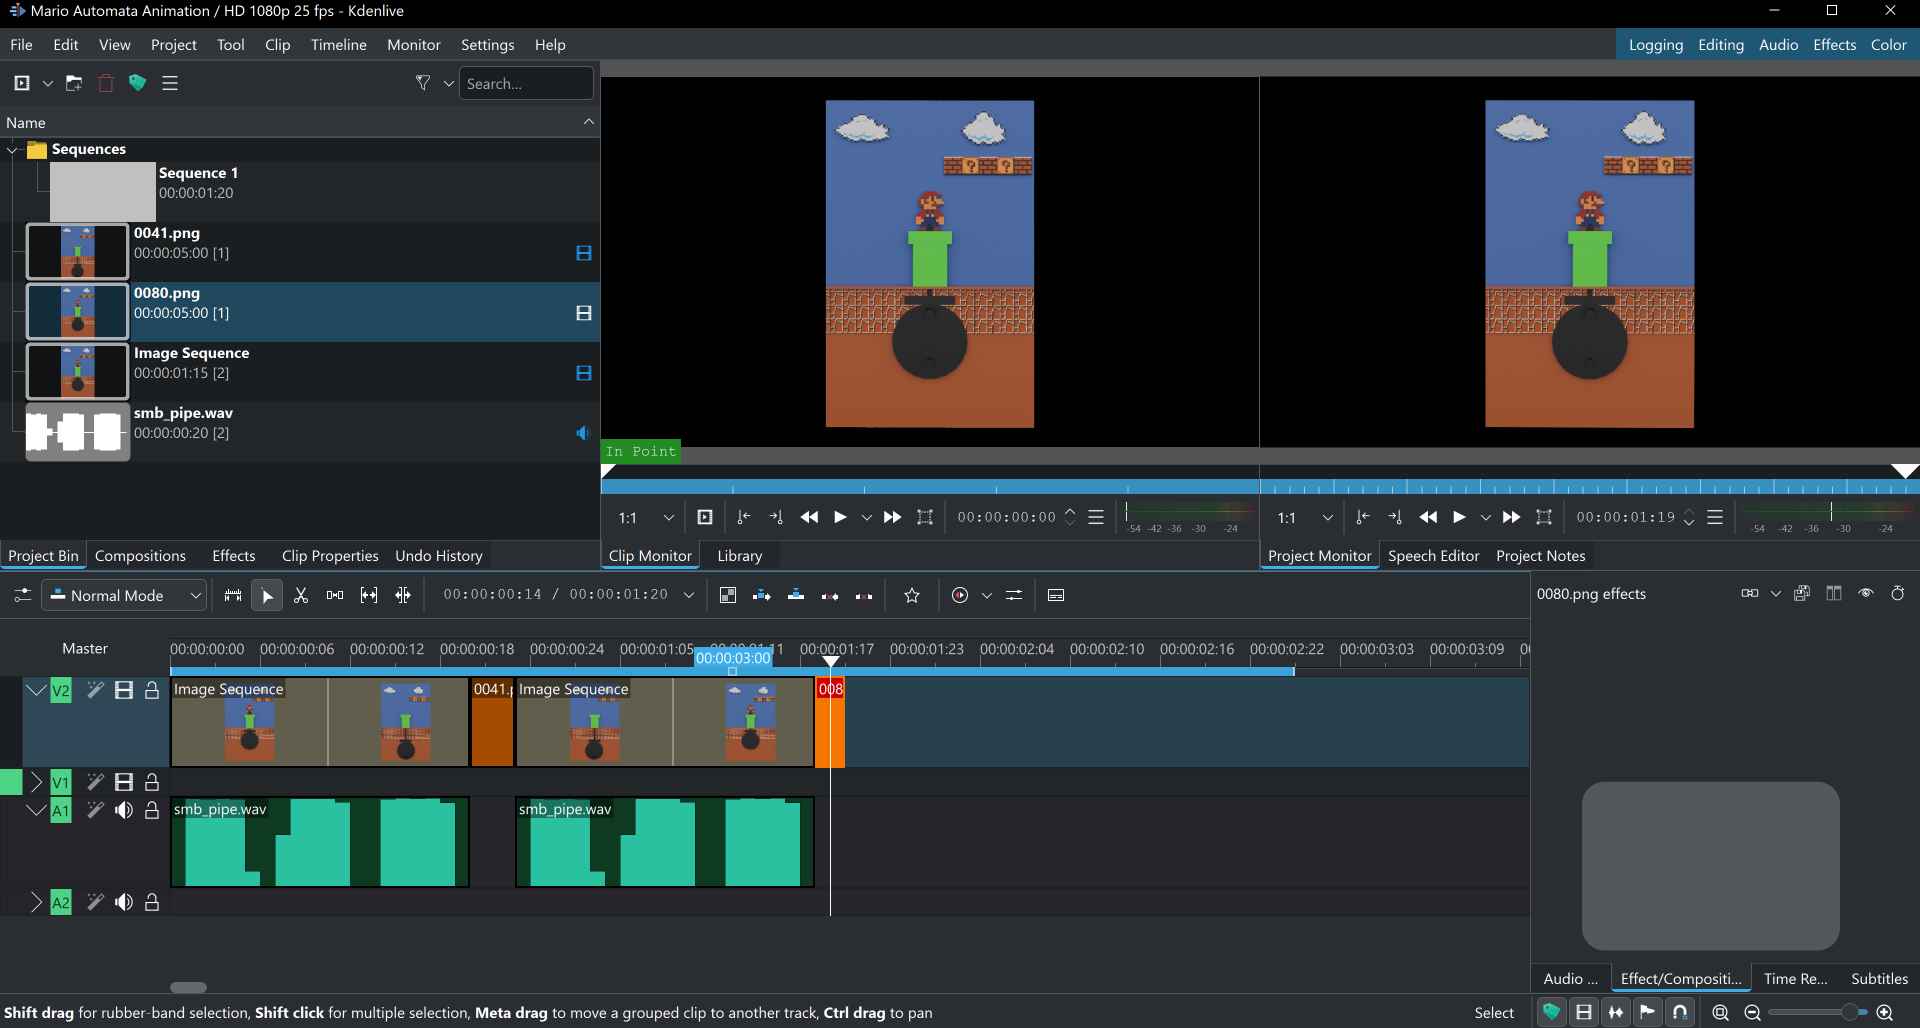
I used Kdenlive to edit my video and imported image sequence from the project tab and chose the folder where the images are then defined the frame duration to 00:00:00:01.
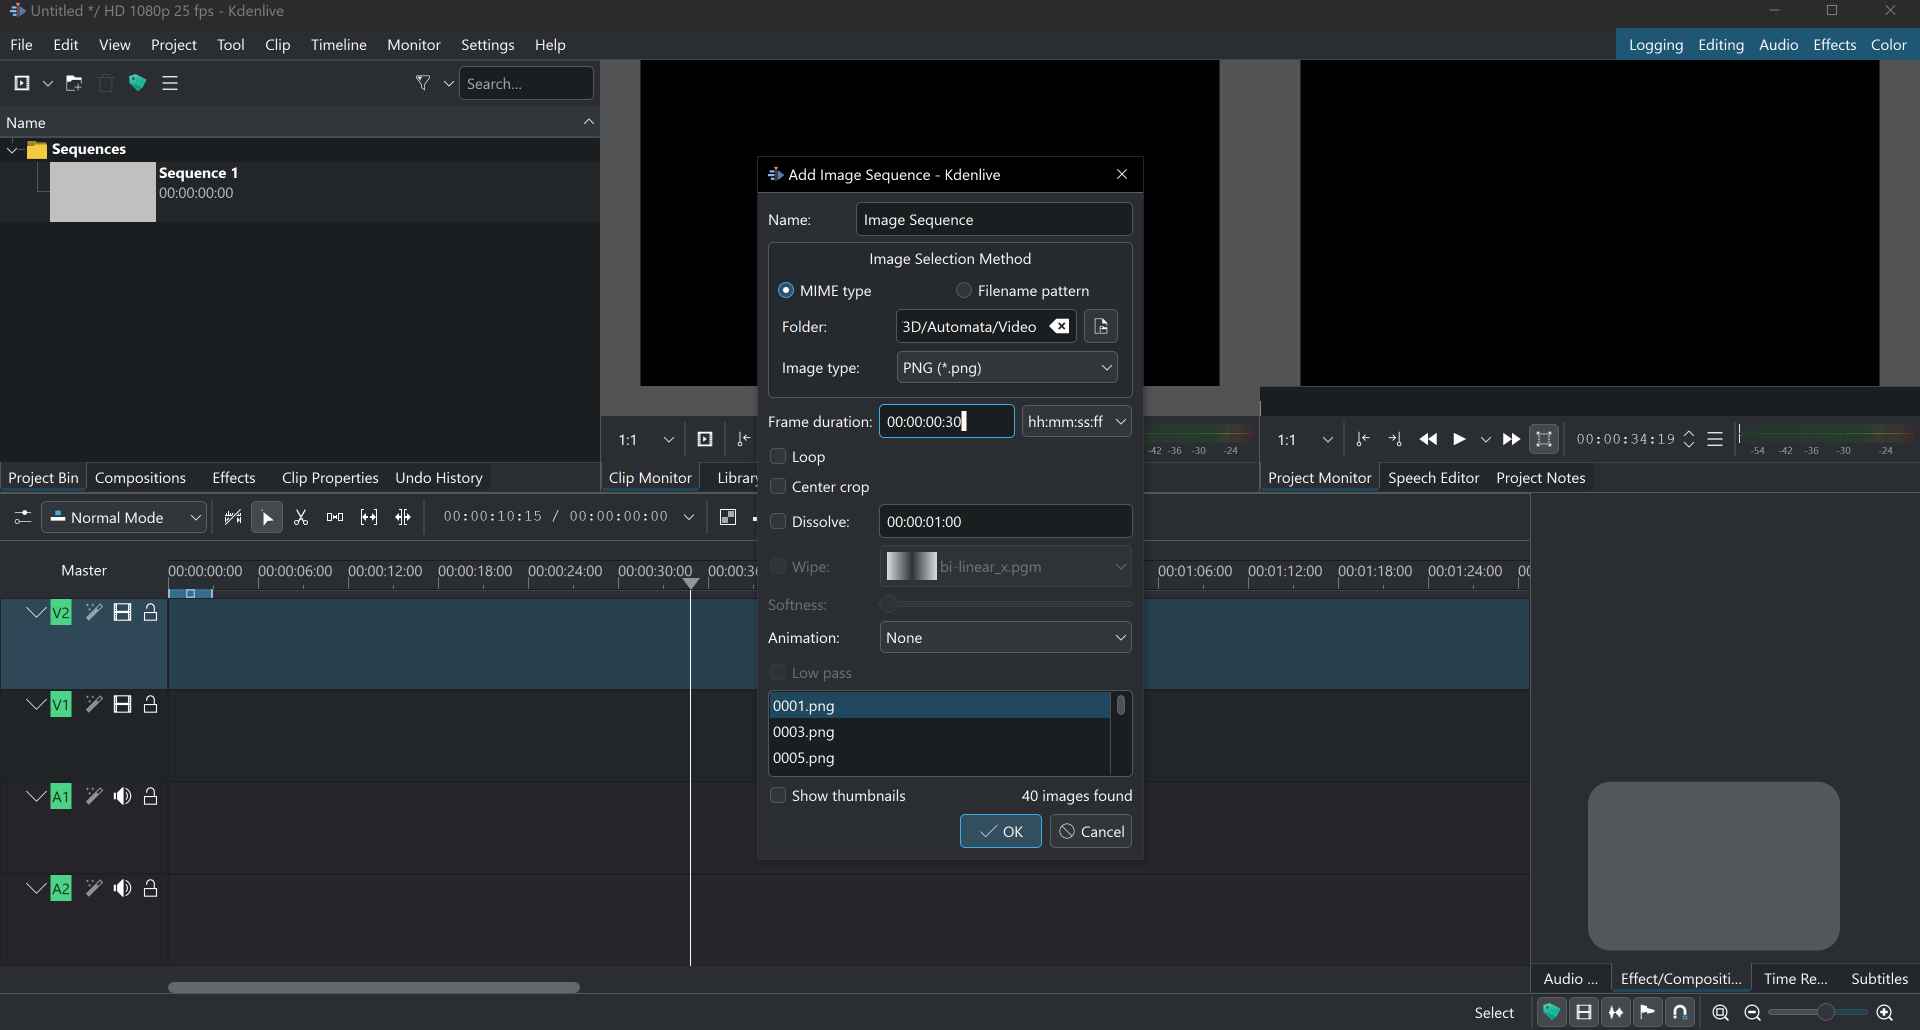
I dragged and dropped the image sequence to V2 and made some cutting and adjustments.
Then I added the audio I downloaded from The Mushroom Kingdom to the audio track and made some cutting and adjustments to it.
Finally, I exported the video from the project tab by clicking Render and chose the format and path I wanted.
5) Compressing images, videos, and documents
Compressing images:
I used File Converter I mentioned in the previous week to compress my images and videos to smaller sizes.
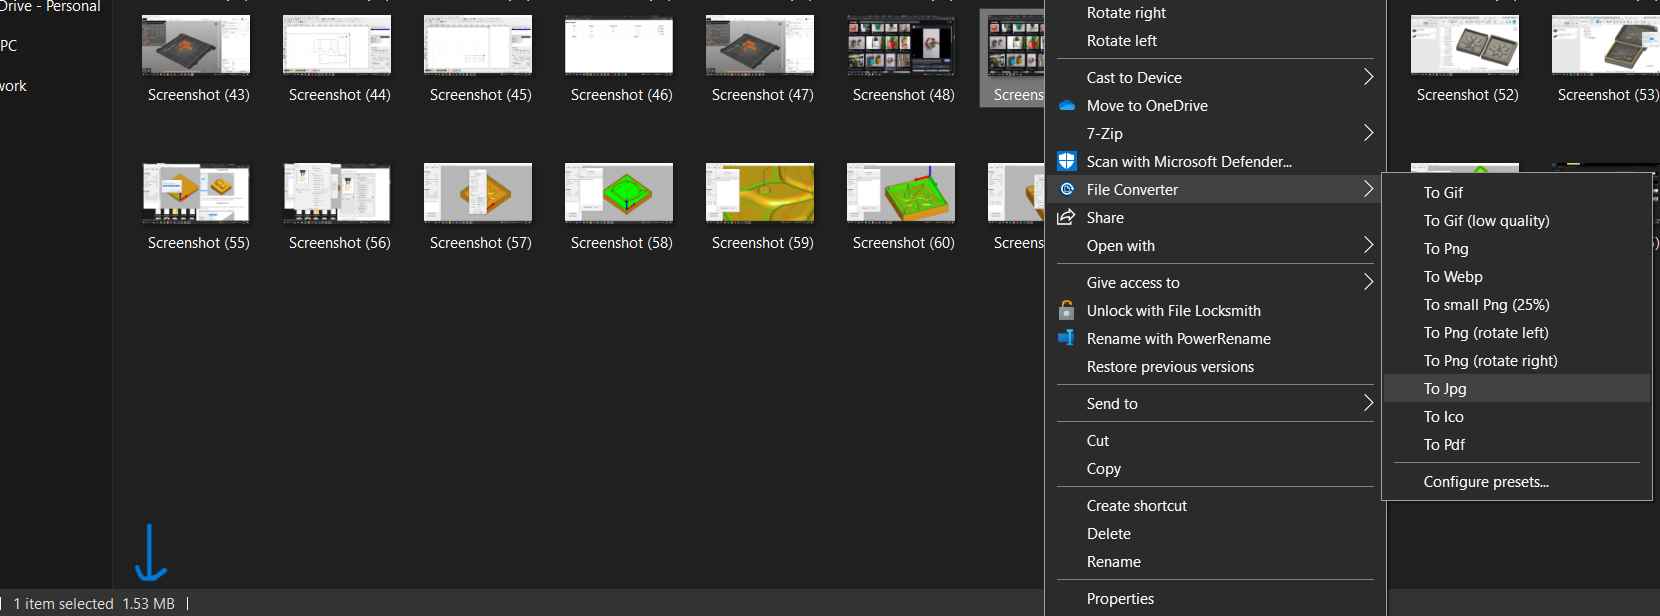
Here's a 1.53 MB PNG I right clicked on then from File Conveter I chose To JPG.
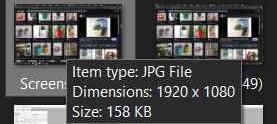
After about 2 seconds it was converted and became 158 KB. I can configure presets if I want to control the scale or quality of it.
Compressing videos:
I could have used FFMPEG or Handbrake to compress the videos but file converter worked fine with me as it was much easier.
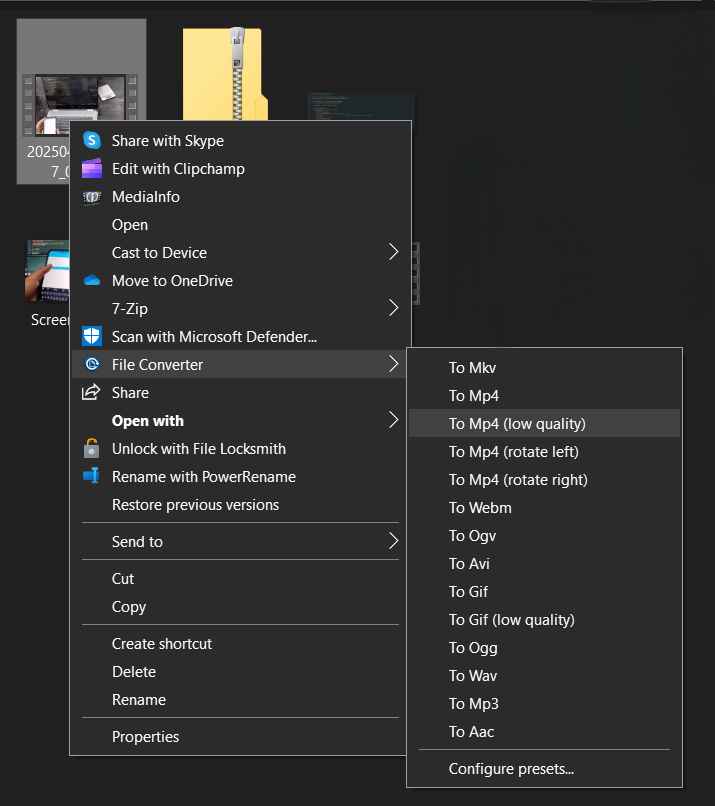
Using the same way the program can change a video and make it in lower quality or rotate it or even convert it to GIF.
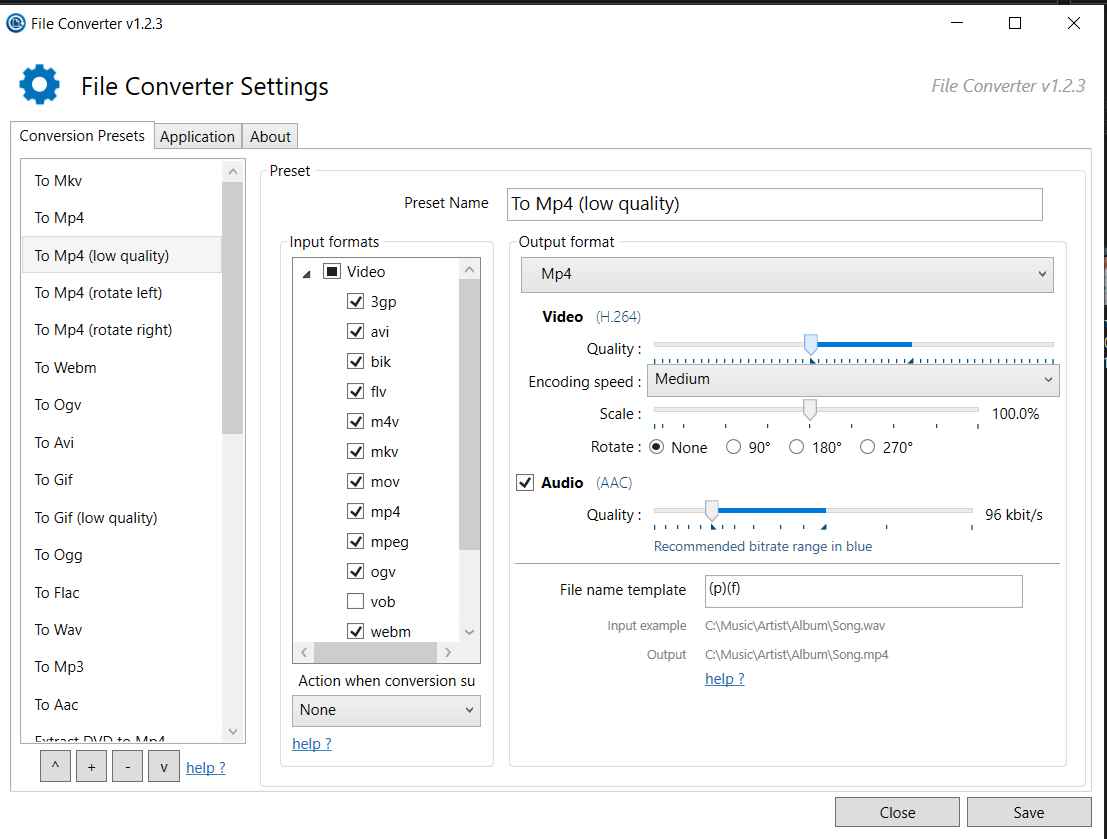
In configure presets I can control the quality and scale of the video and rotate it if needed. I can also choose to uncheck the audio to make the video without audio.
Compressing documents:
For compressing documents I used 7-Zip to compress some large original files I used in this week. I learned something that not every file can be compressed as I wanted to compress an f3z file from fusion but this format is already highly compressed. So, make sure you compress a compressable file.
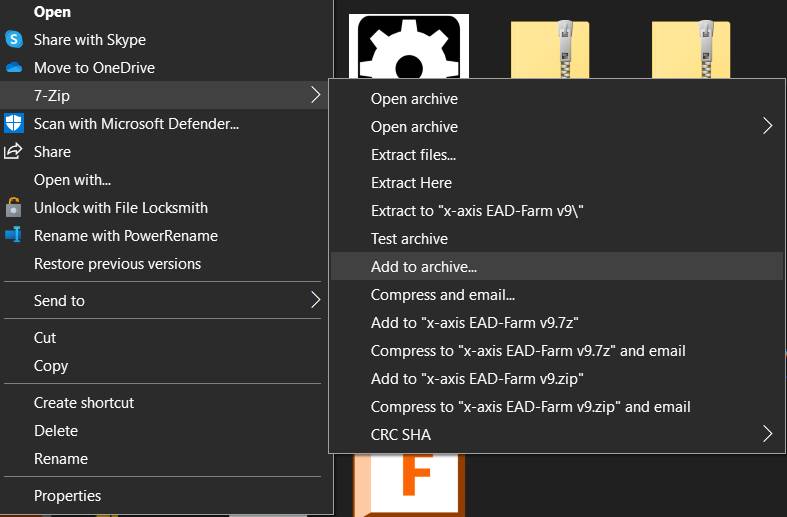
After downloading it I right click on the file or folder I need to compress then choose Add to archive.
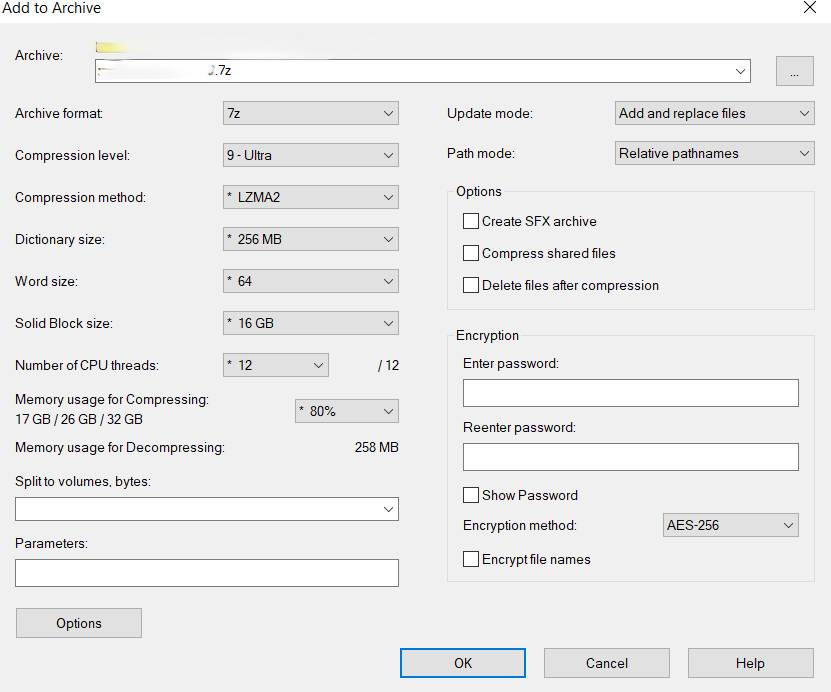
I choose the format 7z, compression level to Ultra, and method to LZMA2 then ok. This should be the best compression settings.
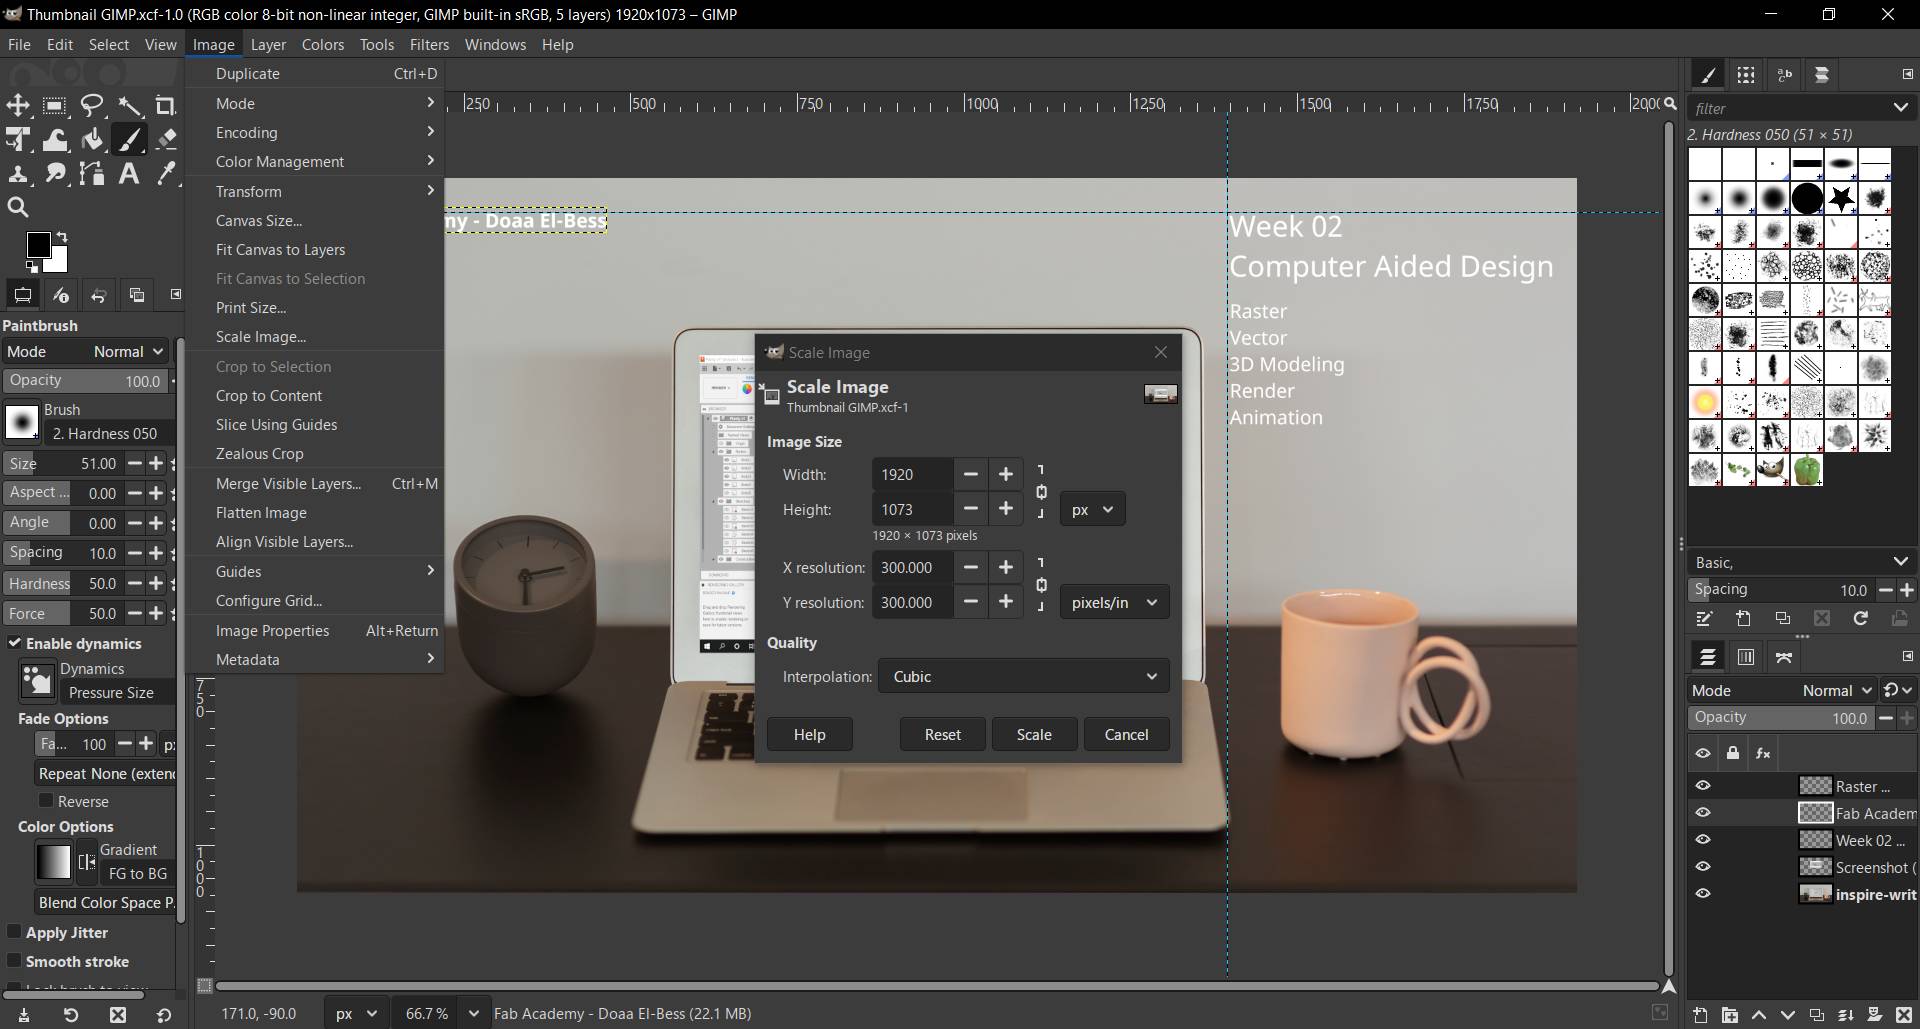
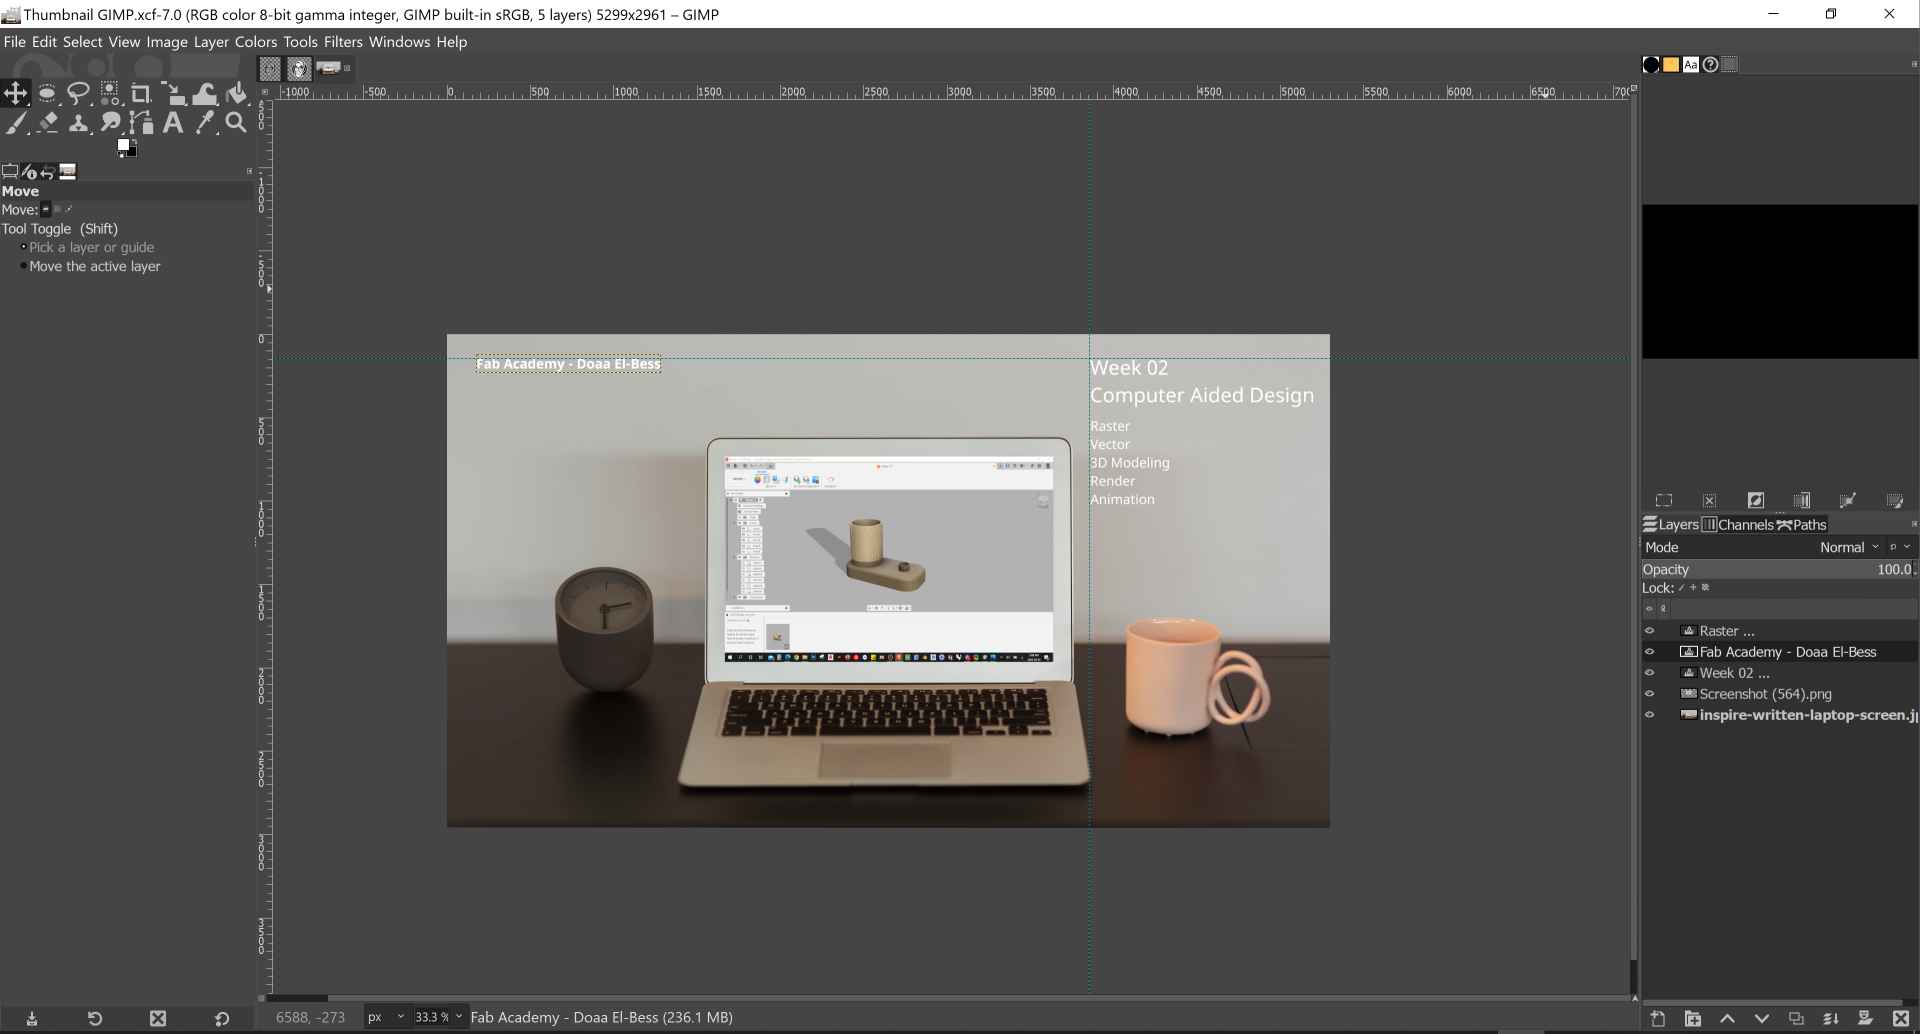
Also the gimp file of the thumbnail was very large so I opened it and went to image tab then scale image and reduced the image size dimensions fisrt before compressing the file and it made a huge difference in the file size.
6) Original Files
Here are the original files: