Week 07 - Group assignment
Safety rules
Here are the general safety rules indicated by the machine's constructor in the Shopbot Quick-Start Guide for PRS Buddy Tools
This safety summary contains general safety warnings that should be understood during operation of this machine. Failure to observe these precautions could result in injury.
 Learn and understand safe use of the machine. Do not allow untrained individuals to operate the machine without supervision. Be aware of the location of the Emergency Stop switches at all times.
 Eye and ear protection MUST be worn by the machine operator as well as any bystanders or observers. Flying sawdust, material chips, and other debris can cause serious eye injury.

Wear closed-toe shoes at all times.
.
.
Make sure that your material is properly secured before cutting, and be aware of any small parts that may come loose after being cut. If a small part catches the
edge of a spinning bit, it can be thrown forcefully in any direction, causing injury or damage.
 Never place your hands on the rails of the ShopBot. Be aware that the machine may move unexpectedly in any direction, which can cause serious injury if your
hands are in the path of movement.
Never place your hands on the rails of the ShopBot. Be aware that the machine may move unexpectedly in any direction, which can cause serious injury if your
hands are in the path of movement.
Never wear gloves while operating the machine. As with any power tool, a glove can get caught in moving or spinning parts and pull your hand into the machinery.
Never leave a machine running and unattended. Understand that a spinning tool generates friction and heat, creating a risk of fire. This risk is minimized by using correct chip load, using sharp bits, and by always double-checking your files before cutting. Be prepared to pause or stop the cut if something seems incorrect or unsafe.
 Keep a working fire extinguisher within reach of the machine, for the reasons listed above.
Tests
We did our tests on some 12mm plywood
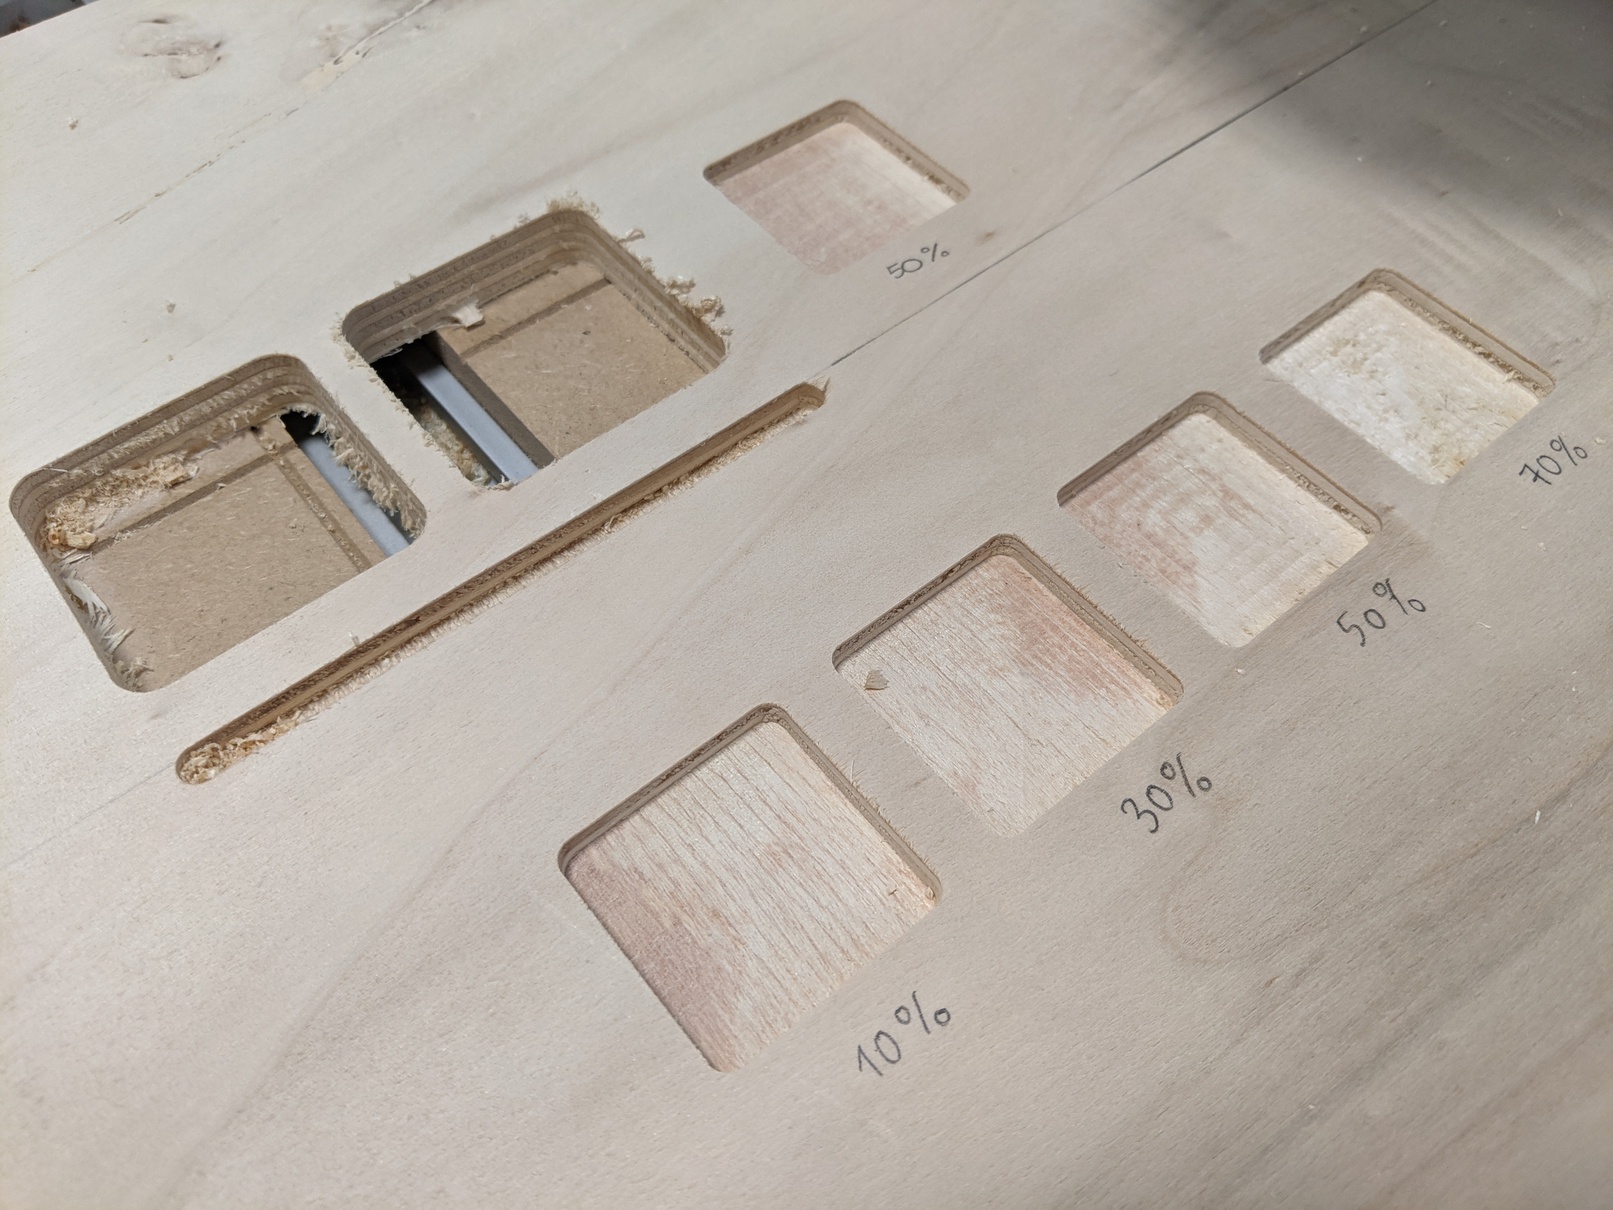
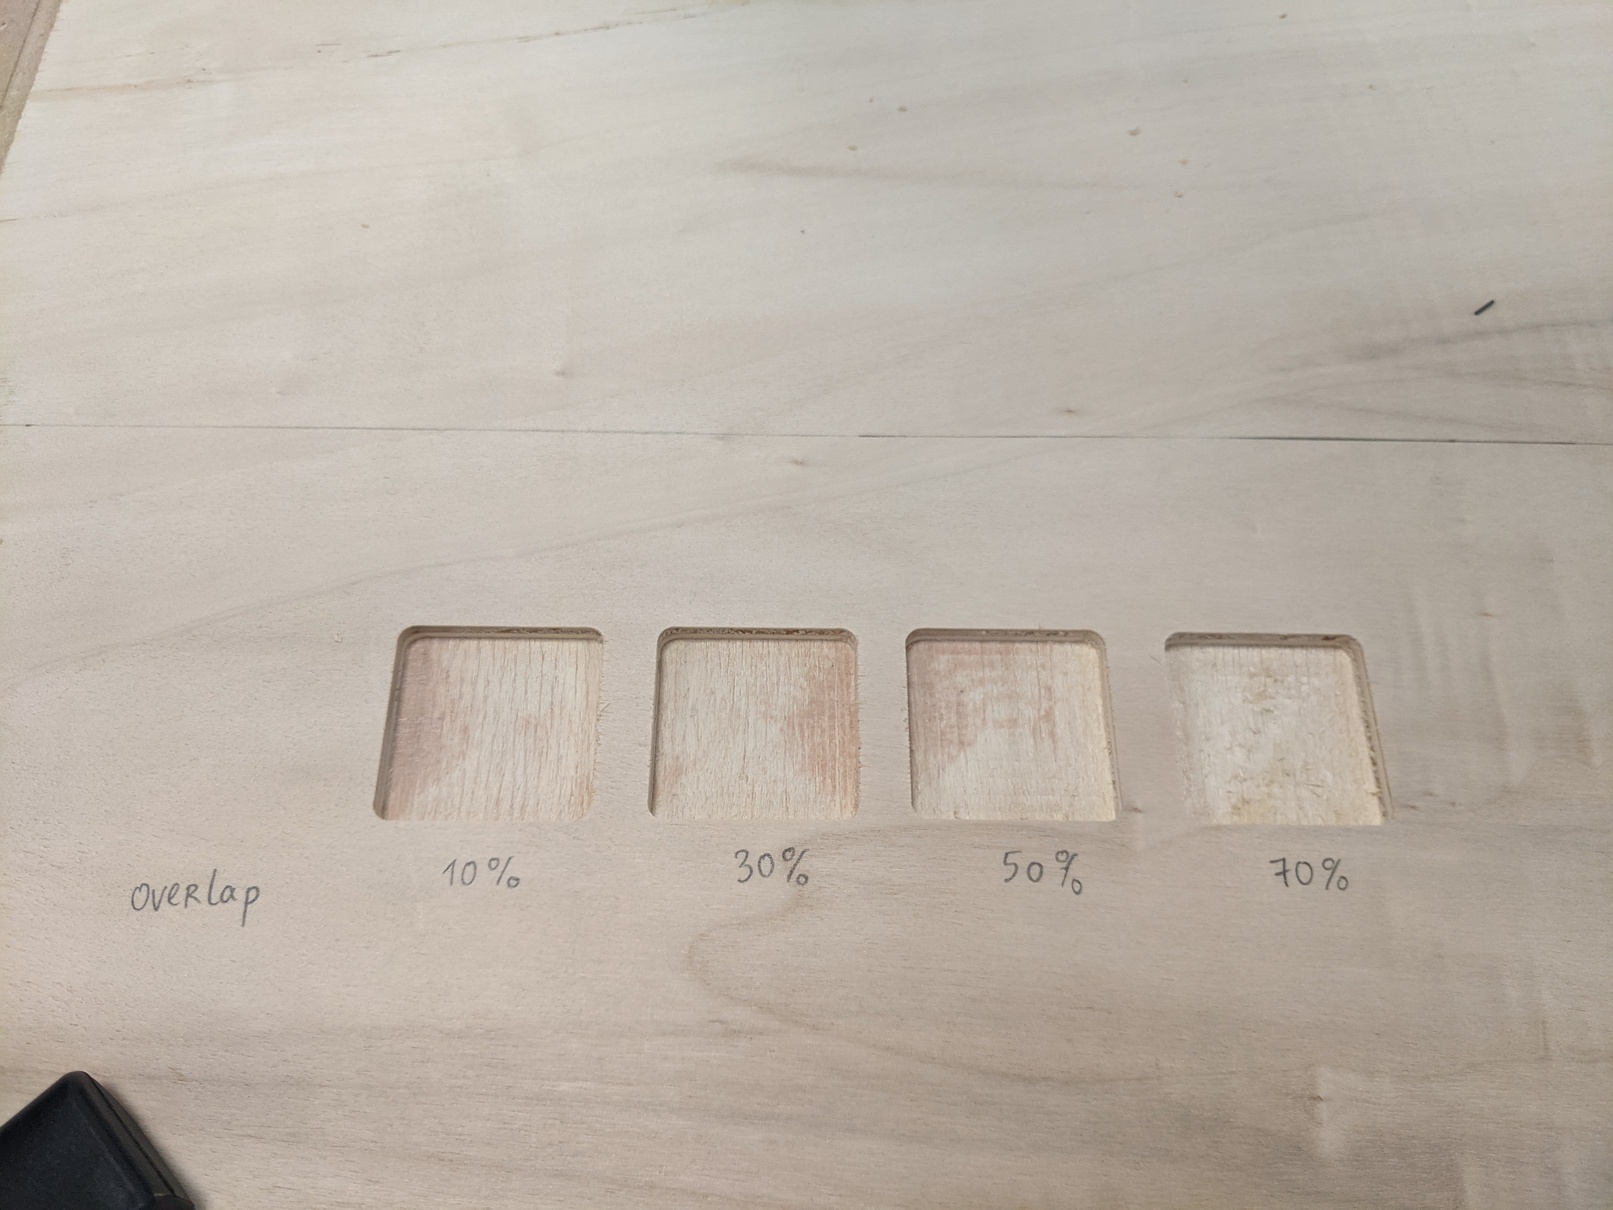
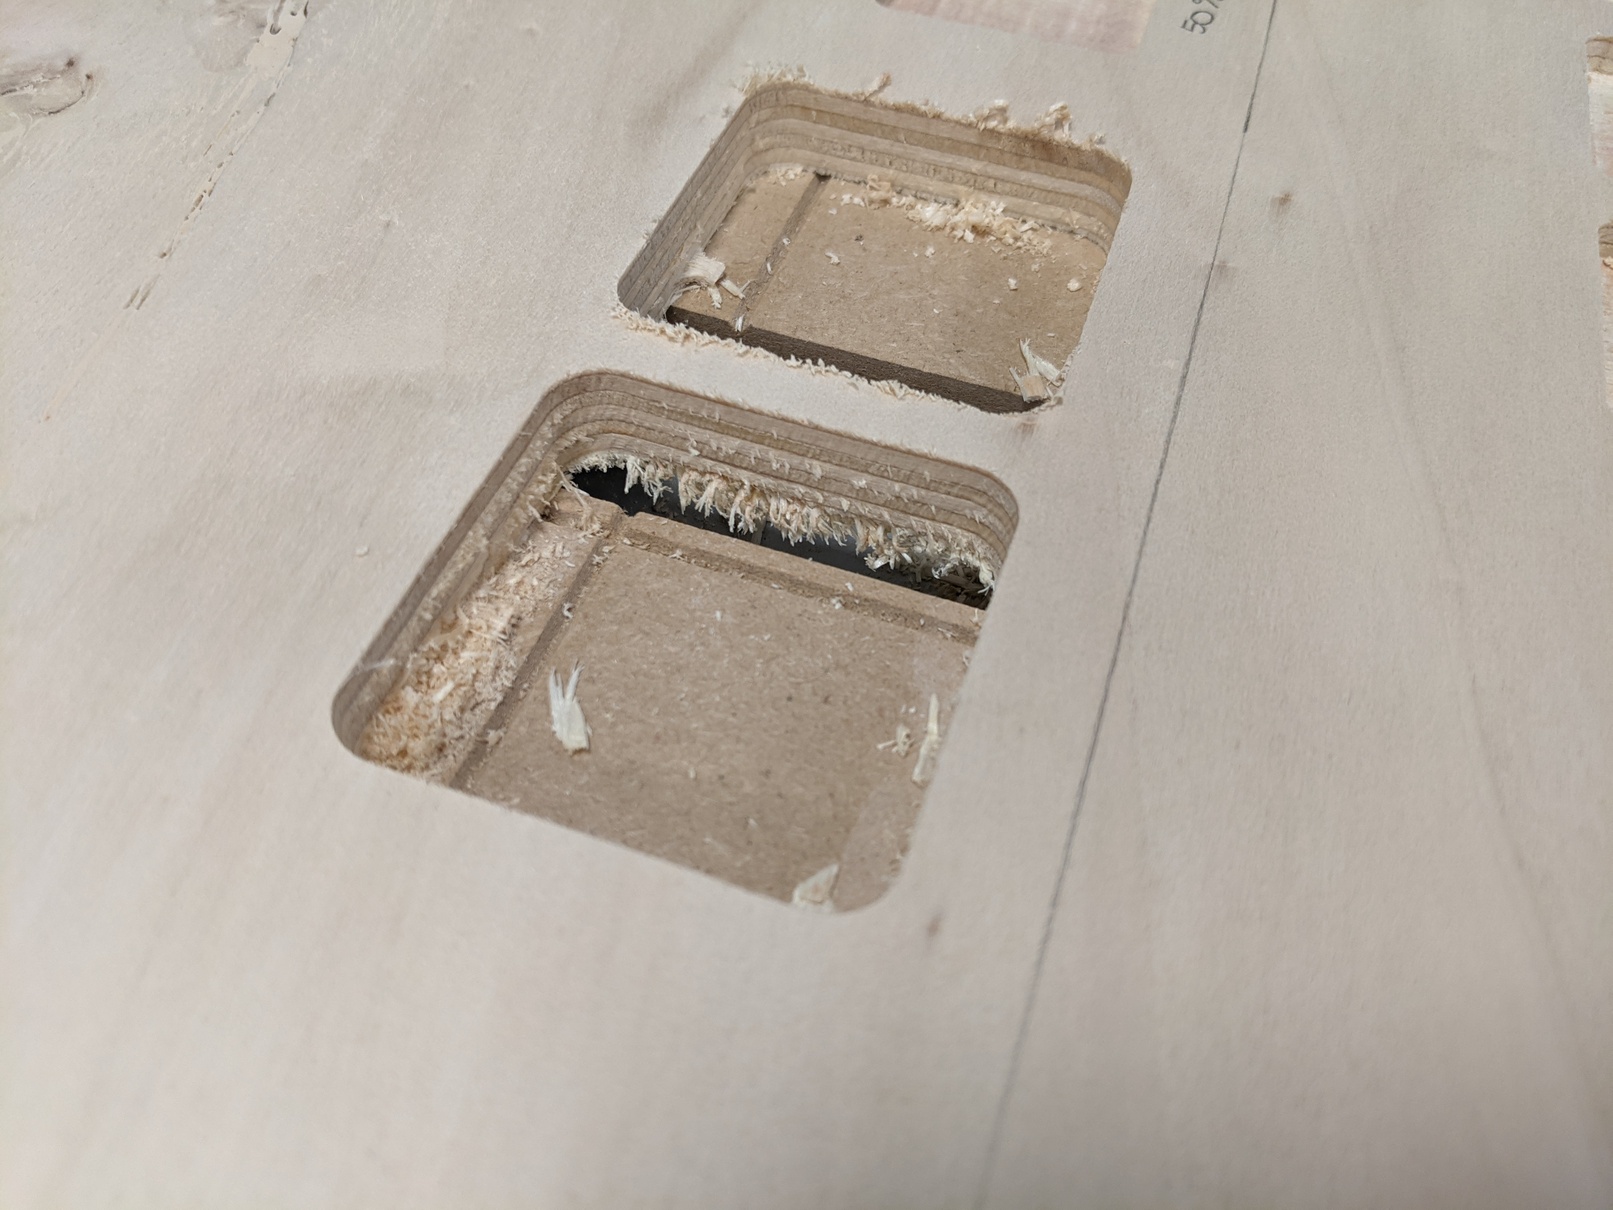
We first tested various overlapping settings for the same pocket, with a DC 6mm mill, 2 flutes. The surface's states vary a lot! The lower the finer.
Then we tried to cut the same outline but one with a downcut mill and the other with a regular mill (also 6mm diameter). On the left is the downcut mill and on the right the upcut mill.
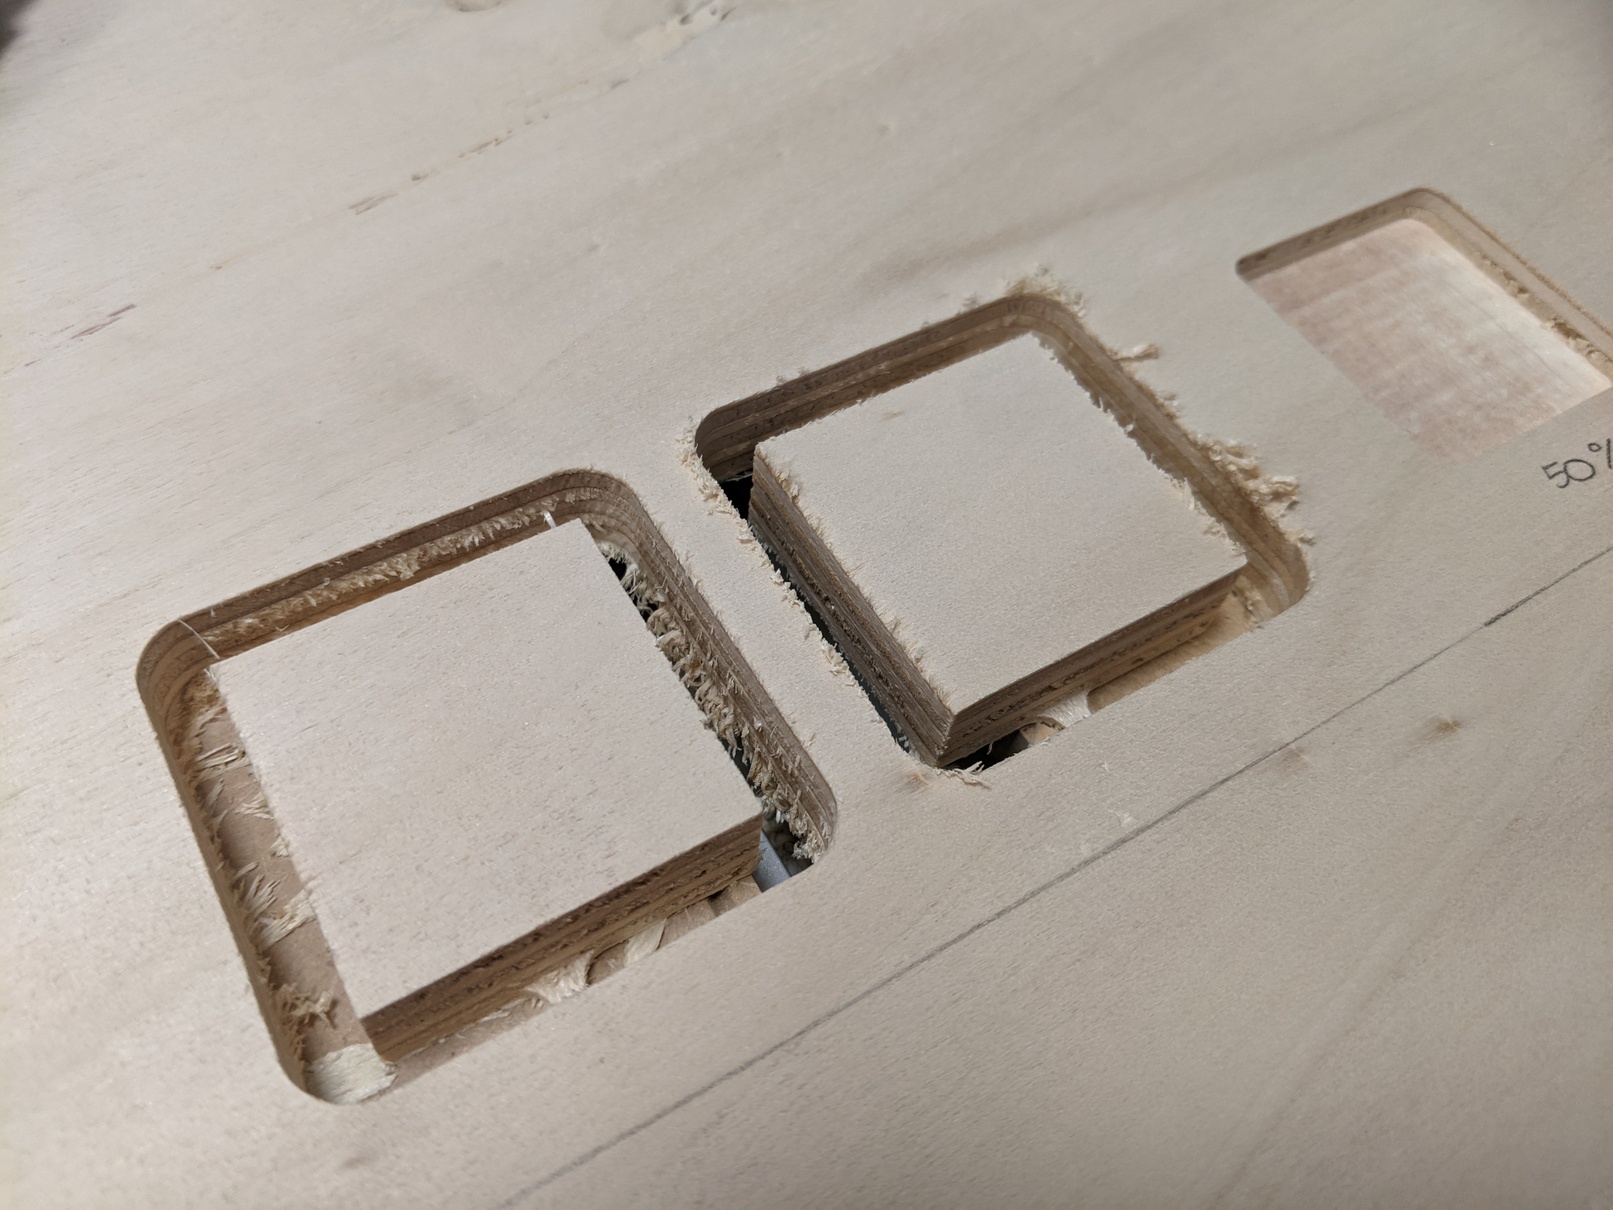
We can indeed see that the bottom and top surface's state are different. We also took the opportunity to see if there were any inconstancy in the kerf, but is appeared it was about 6mm which was what we expected (the diameter of the tool).
Finally we draw a rectilign groove to check the horizontallity of the path.