Week 12 - Molding and casting
Goals
Individual assignment: Design a mold around the stock and tooling that you'll be using, mill it (rough cut + three-axis finish cut), and use it to cast parts
Week's explorations and achievements
- I had no prior experience in molding and casting
- I enjoyed discovering different molding techniques:
- 'sock-mold' technique based on a printed model and enclosure to create a silicone mold
- a one part premold wax technique
- vacuum forming
- alginate molds
- I learned about the safety measures to handle the various materials
- I learned about the casting process difficulties
- I learned how to machine in three dimensions with the large format CNC machine (Shopbot buddy)
- I designed a wax premold of a small ribbed tray for my final project, learning new functionnalities in Fusion 360
- I milled it with the CNC Shopbot buddy
- I casted silicone in it to make a mold
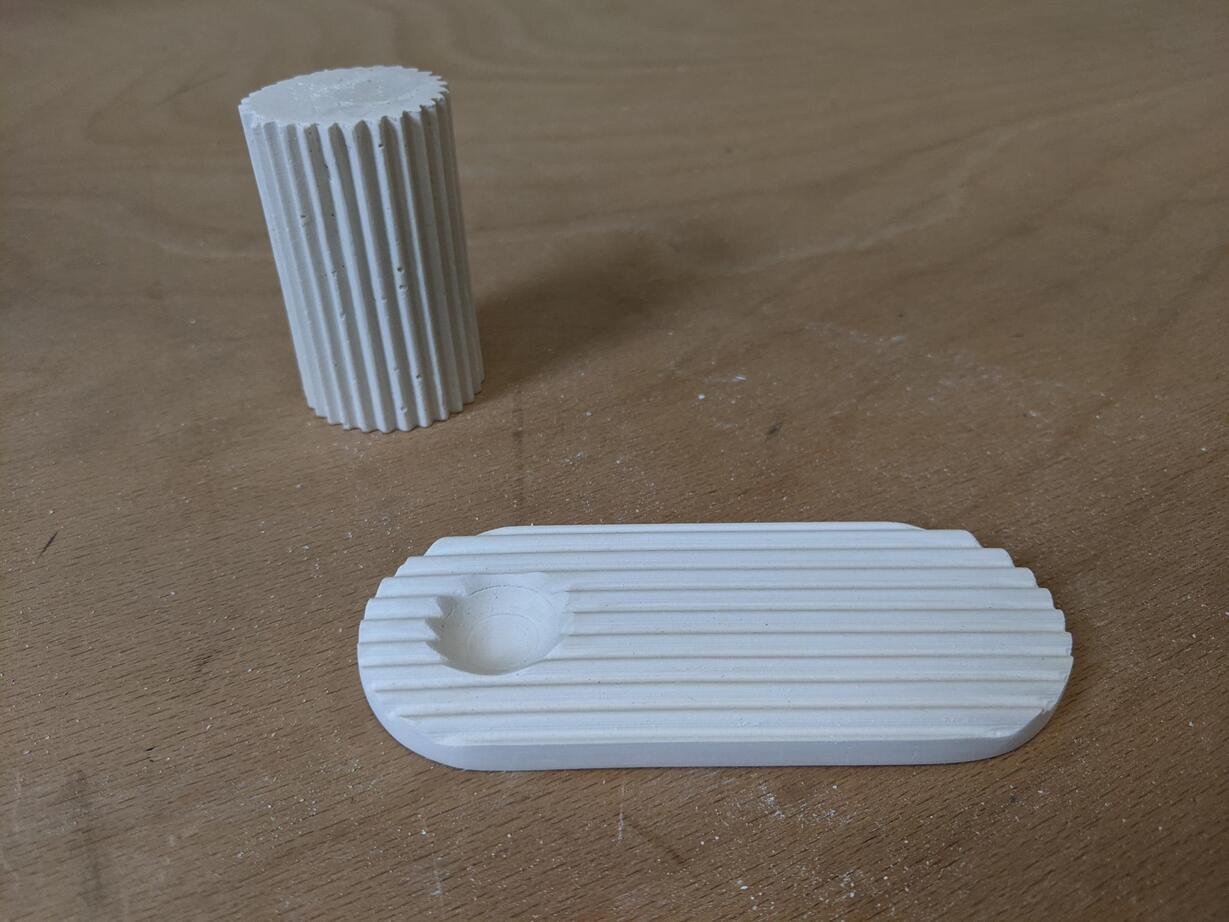
- I also made a silicone sock mold of a ribbed column for my final project
- I experimented various plaster mix proportions using a construction plaster I found for free on the campus
- I casted my final project elements in plaster and polyurethane
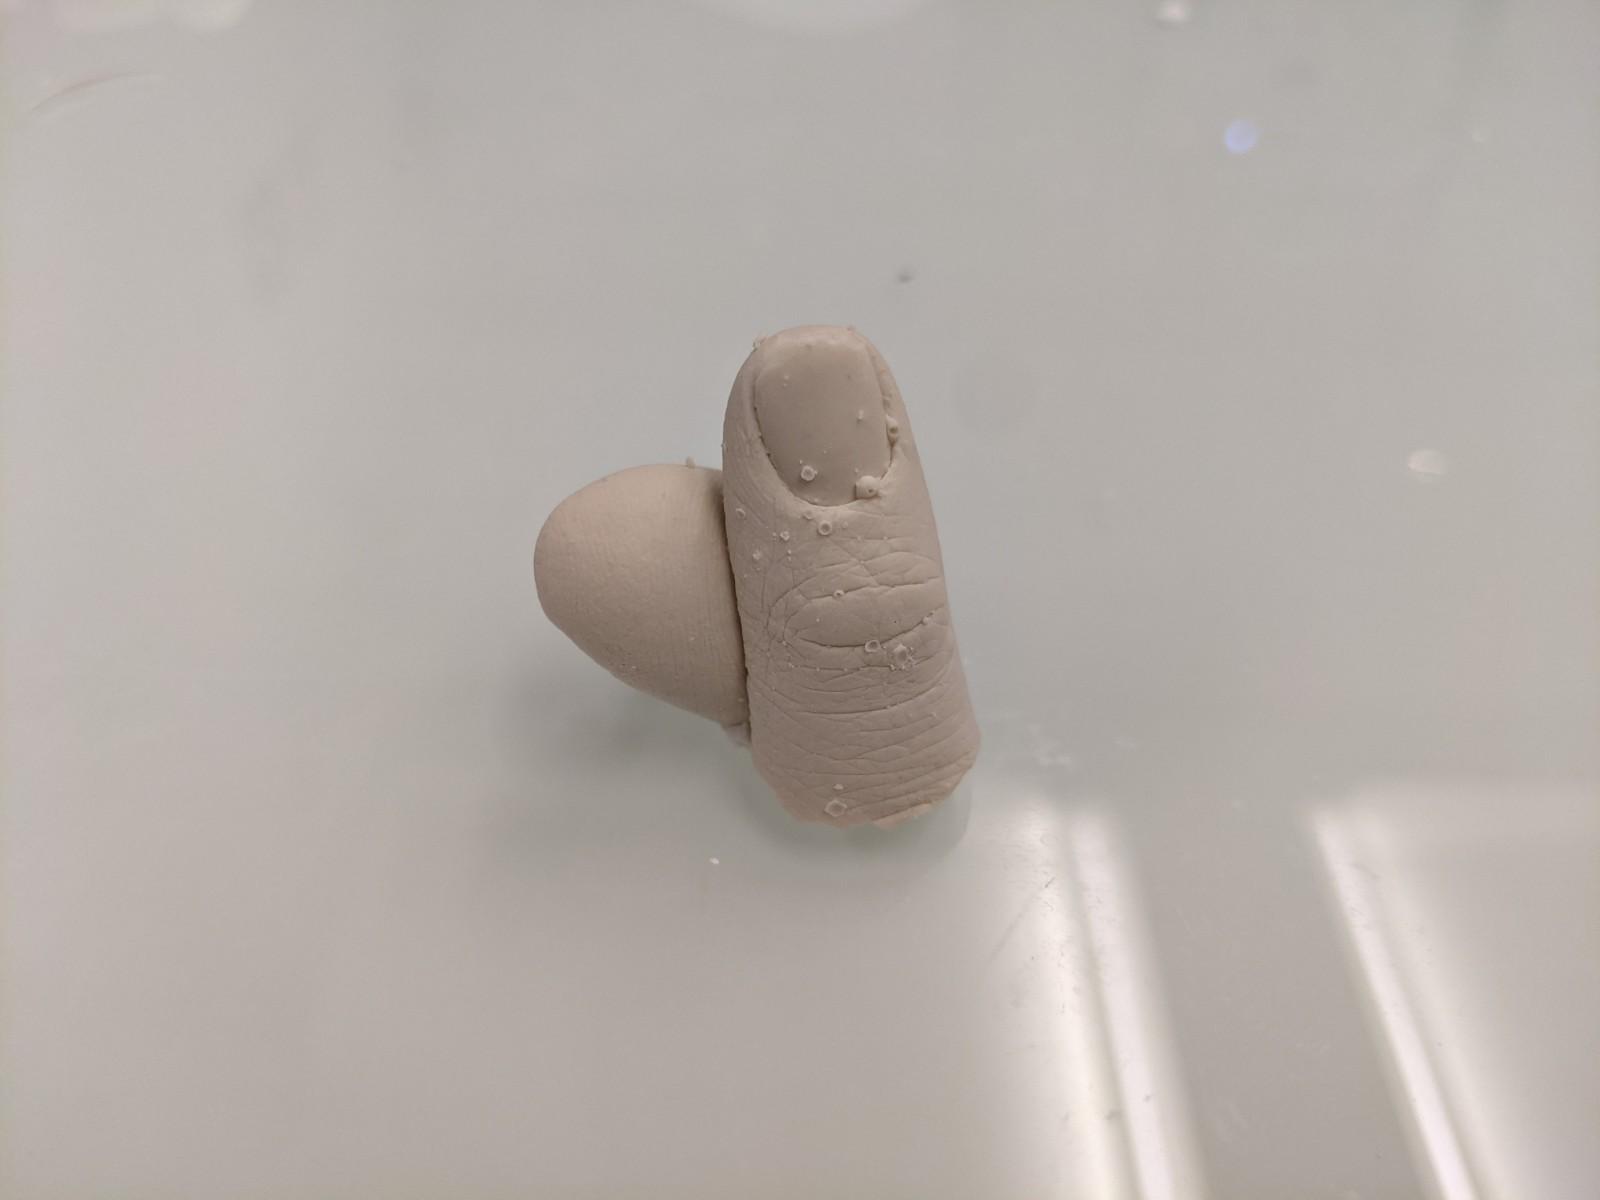
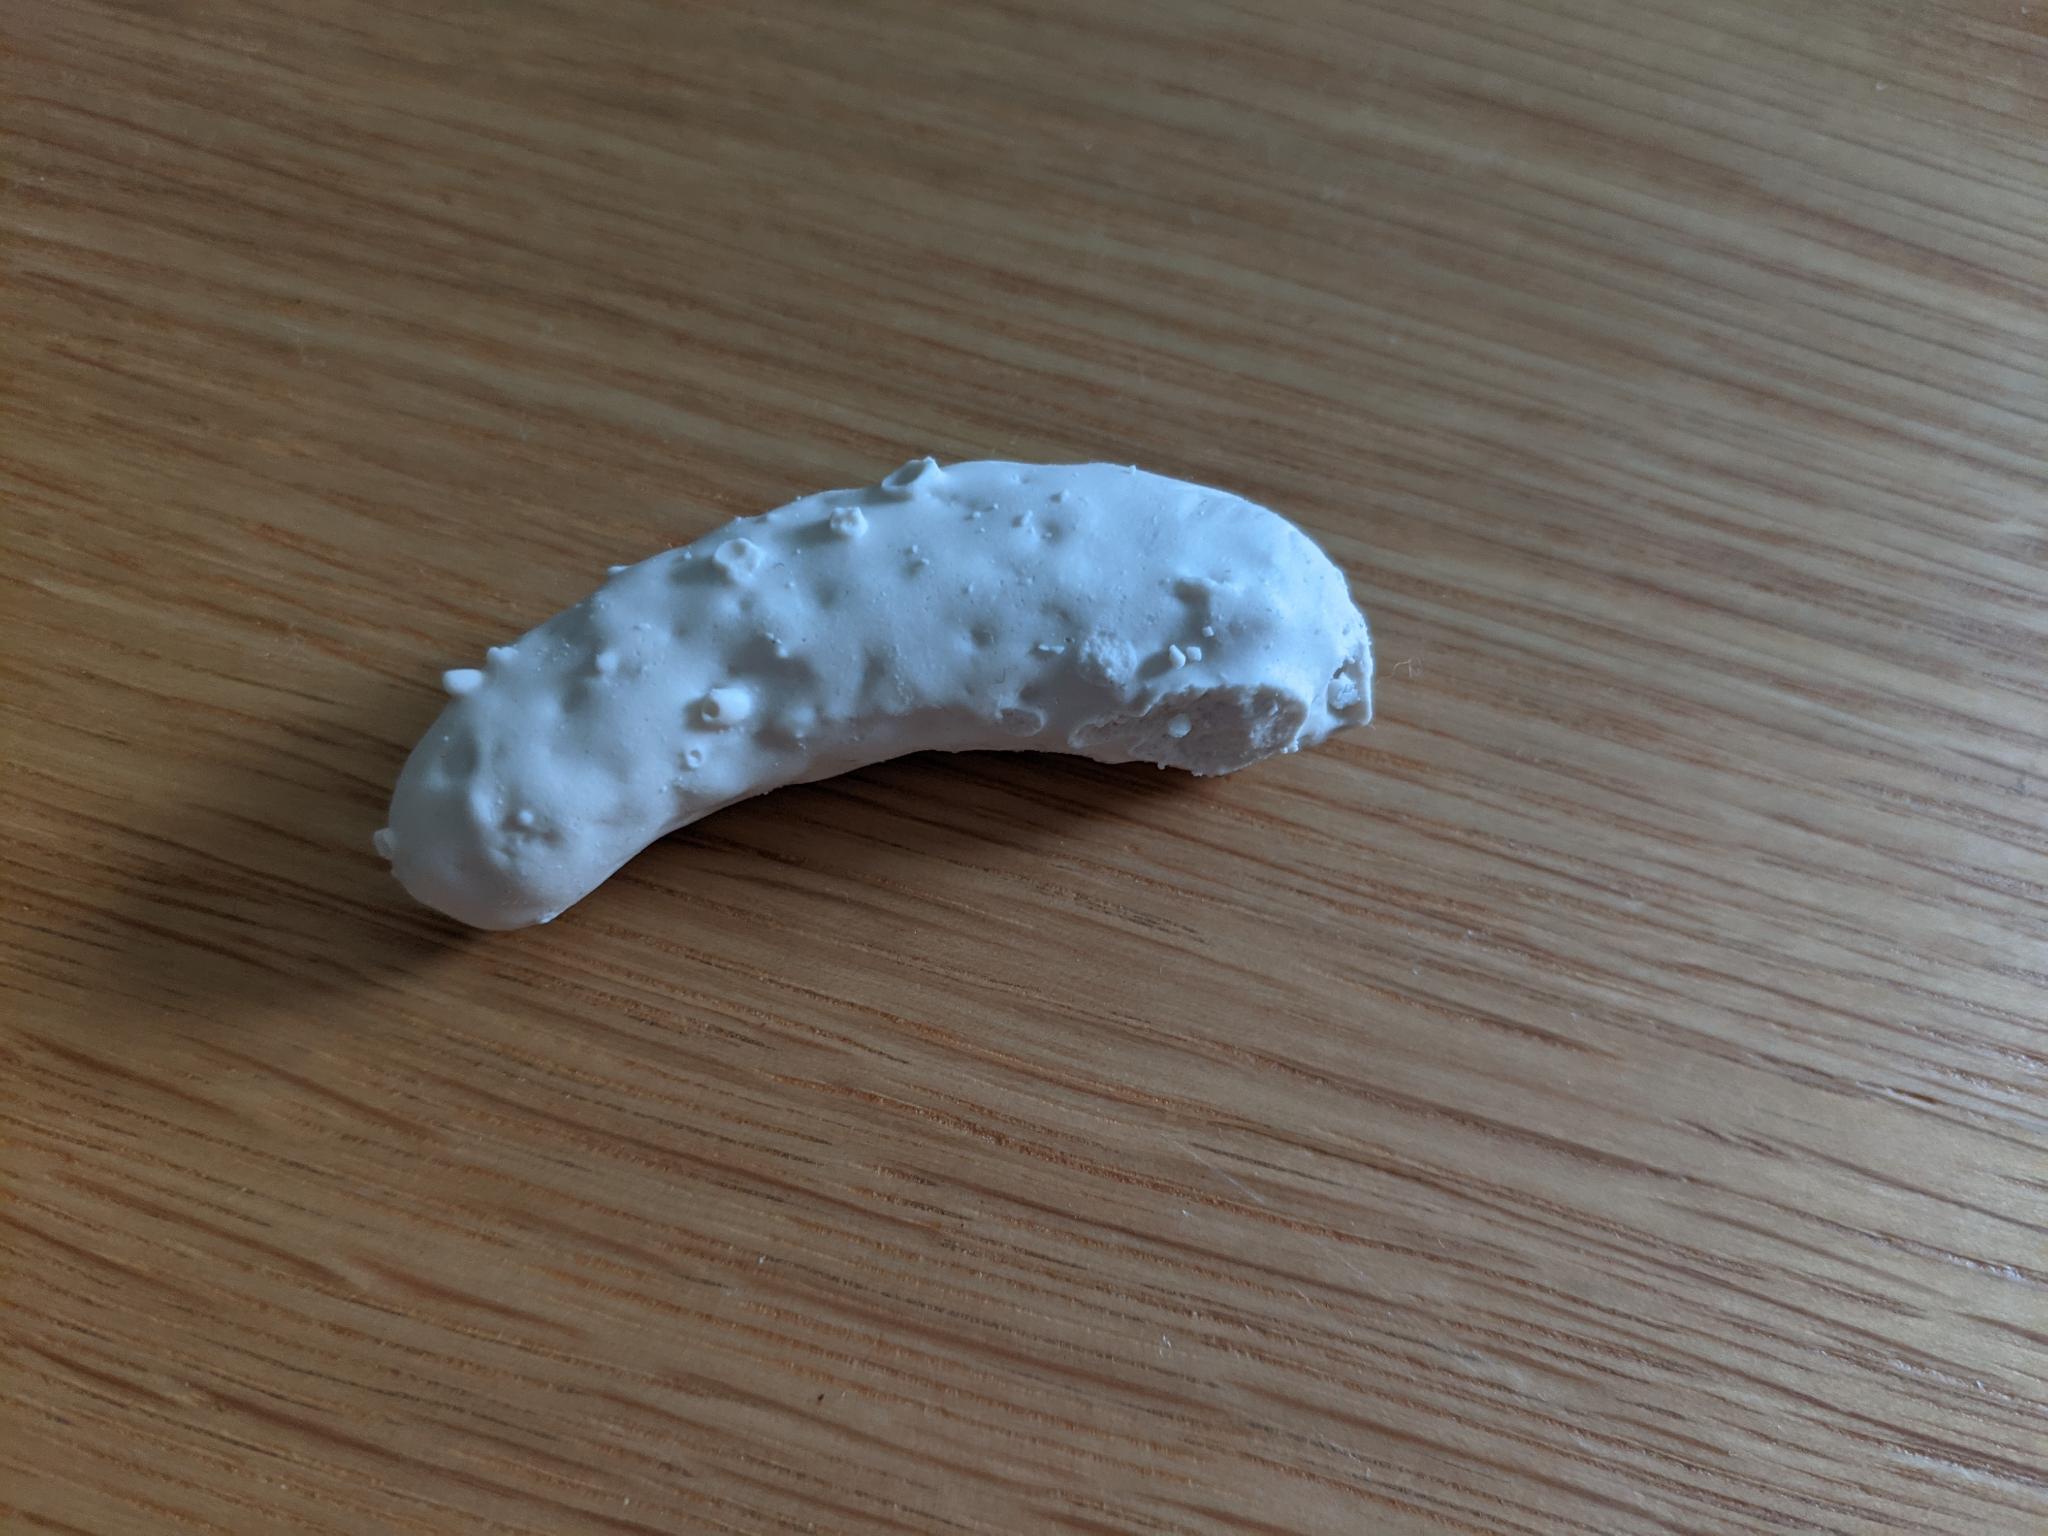
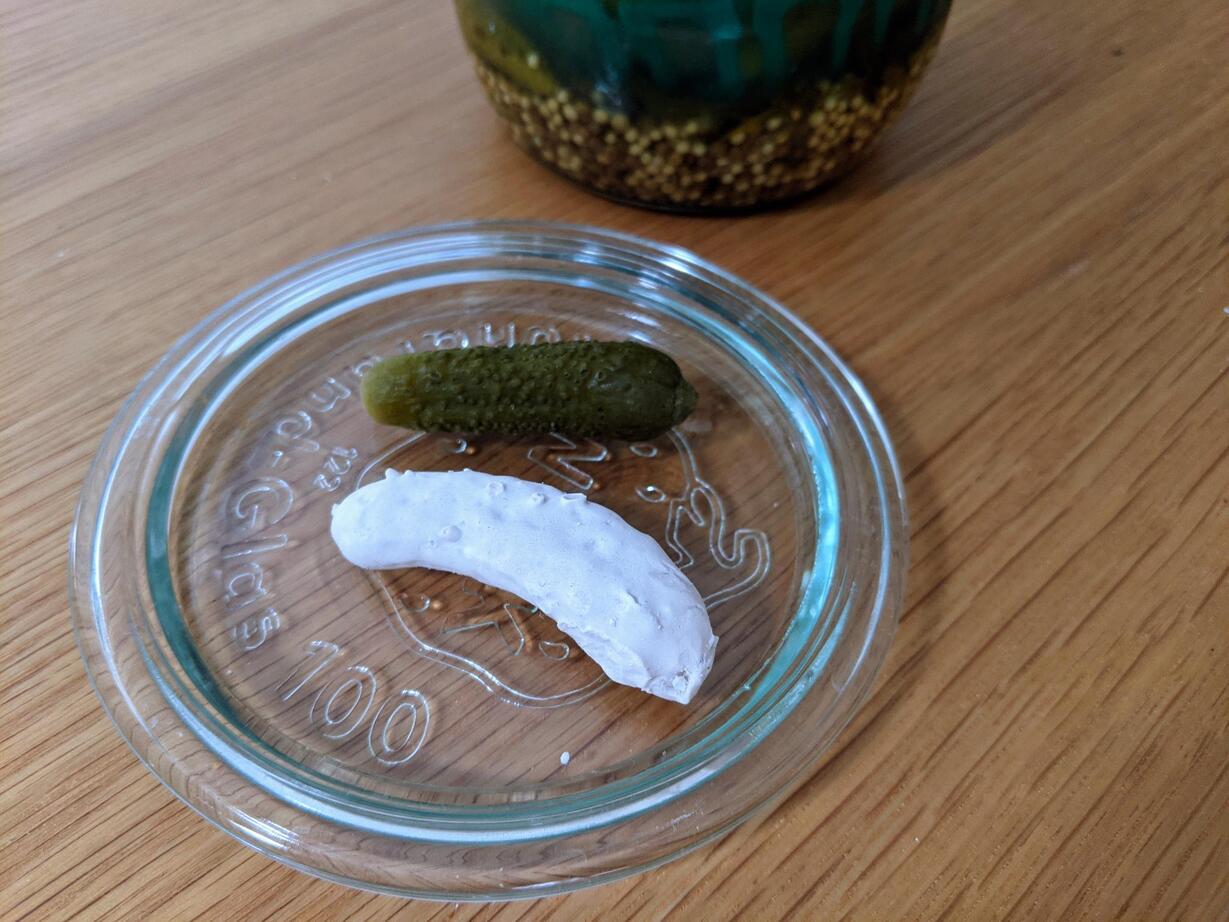
- I had fun making finger and pickle molds in alginate and casting plaster in it
- I experimented mixing paint and coffee bits in the plaster to be casted
- I had some failures making molds with vacuum forming but succeeded in the end
- I had difficulties releasing the harden plaster from the vacuum formed molds and could only produce one small tray with this technique (not enought plaster to do other experiments)
Group assignment
The goal of the group assignment was to compare casting materials and give the safety information.
My colleague Simon showed us the 'sock-mold' technique based on a 3D printed model and enclosure. We made silicone molds using two different types of silicone (because that's what we had in stock) and casted polyurethane resin and epoxy resin. The safety precautions are really important, it's really good that we had the possibibilty to do this workshop in a chemistry lab with all appropriate safety equipments, ventilation system, hazardous waste management etc. The epoxy resin is probably interesting to work with but quite challenging, especially for a one week assignment (it takes a lot of time to cure).
Wax premold technique
One of the goal of this week was to get familiar with 3D milling with a CNC such as the Shopbot Buddy. We thus started by creating a premold in a molding wax block.
Premold design
Constraints
The constraints for the model were numerous:
- Width and length: you have to take in account a sufficient width of silicone that will be cast in the premold
- Height: you have to take in account the silicone mold bottom thickness, but also the depth your milling tool can go down to. It thus depends on the milling tool you choose
- Details: the size of the surface details you can achieve depends on the diameter and the shape of your milling tool.
- One side milling: You have to anticipate if your mill can go to all the surfaces, for example if they are hidden under other volumes.
- Simplicity: I decided to do a first mold in one part, with a flat surface, because time management is a big challenge for this week.
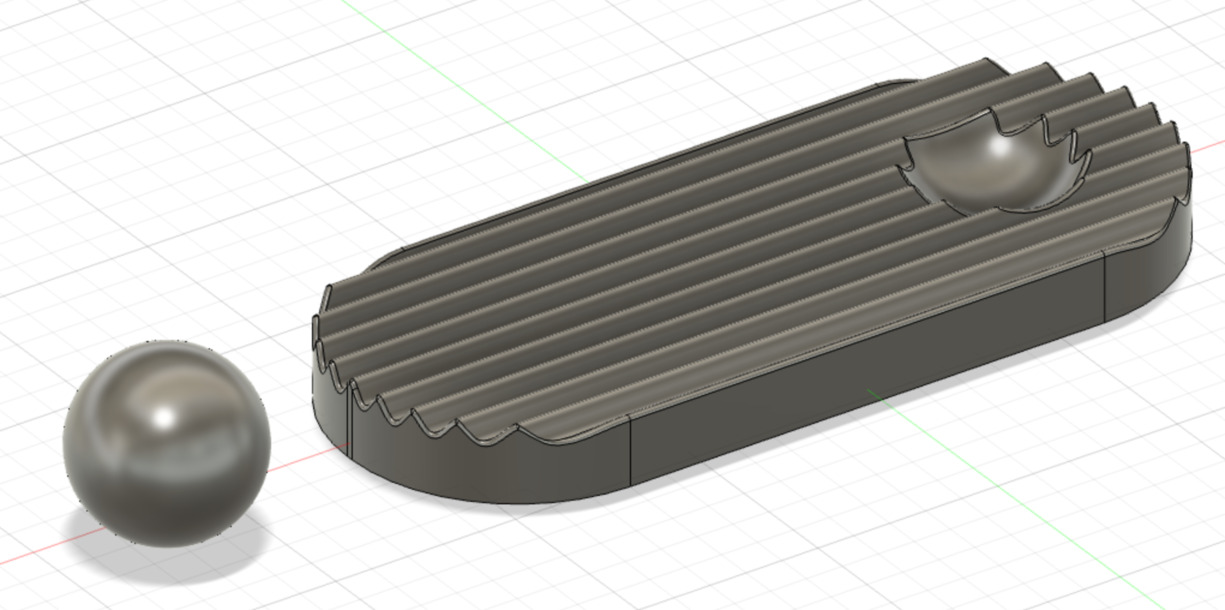
I thus decided to create a relatively flat object I could use in my final project. As my final project is about playing with light effects and shaddes, I wanted to create an incense holder to play with the fumes light effects, with a textured surface to have some nice shadings on the object.
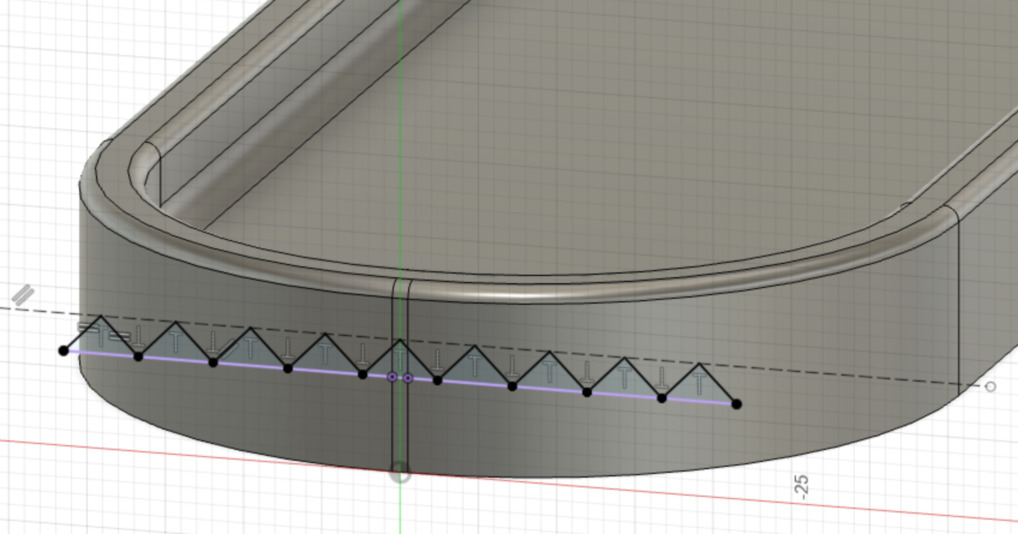
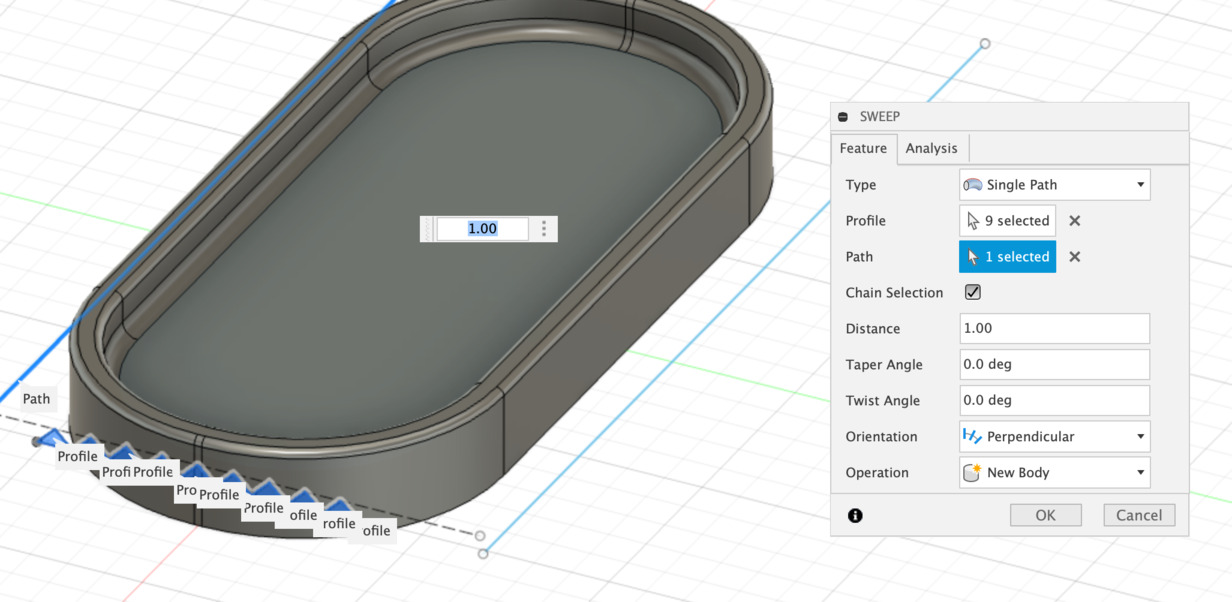
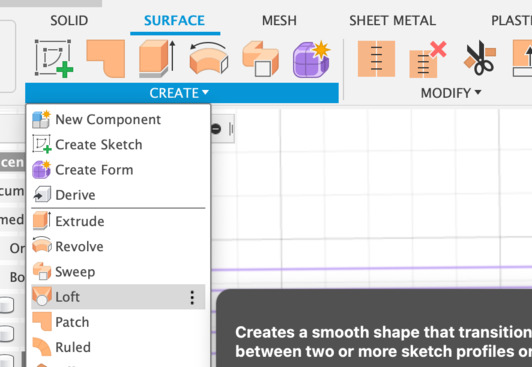
CAD in Fusion 360
I first started to design the object itself. I got inspired by the process of the following youtube video by Kristian Laholm to design a wave panel :
Design steps
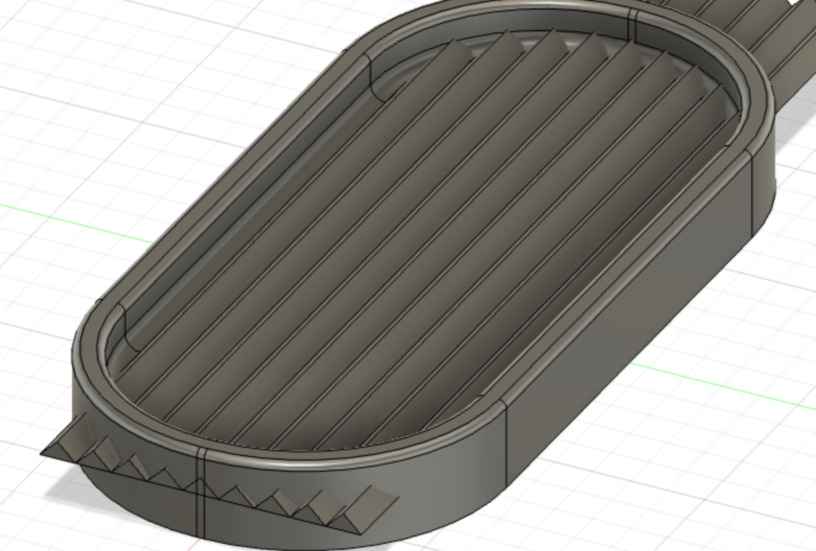
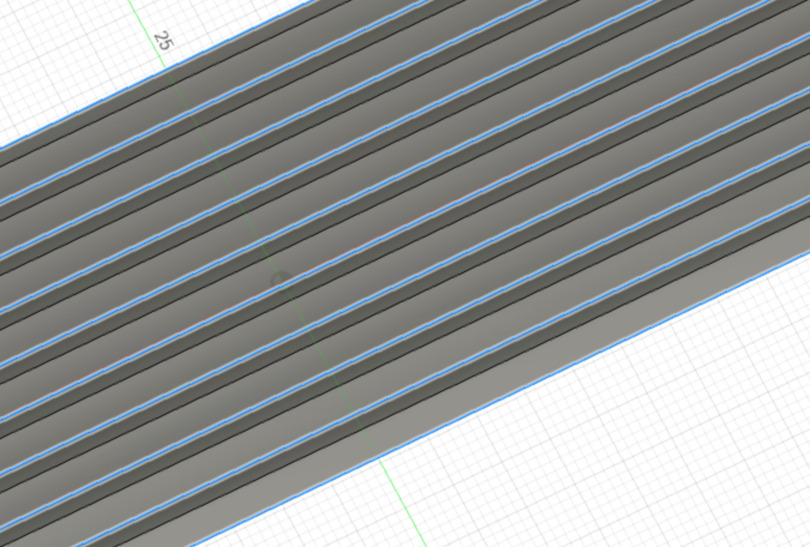
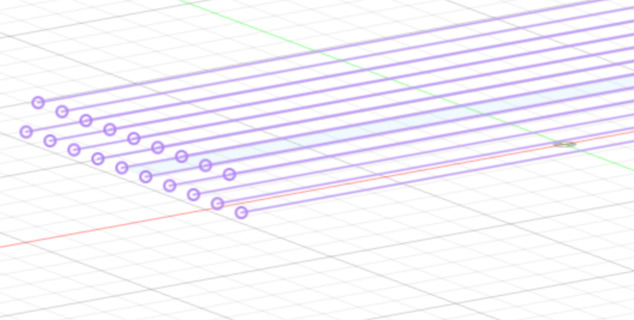
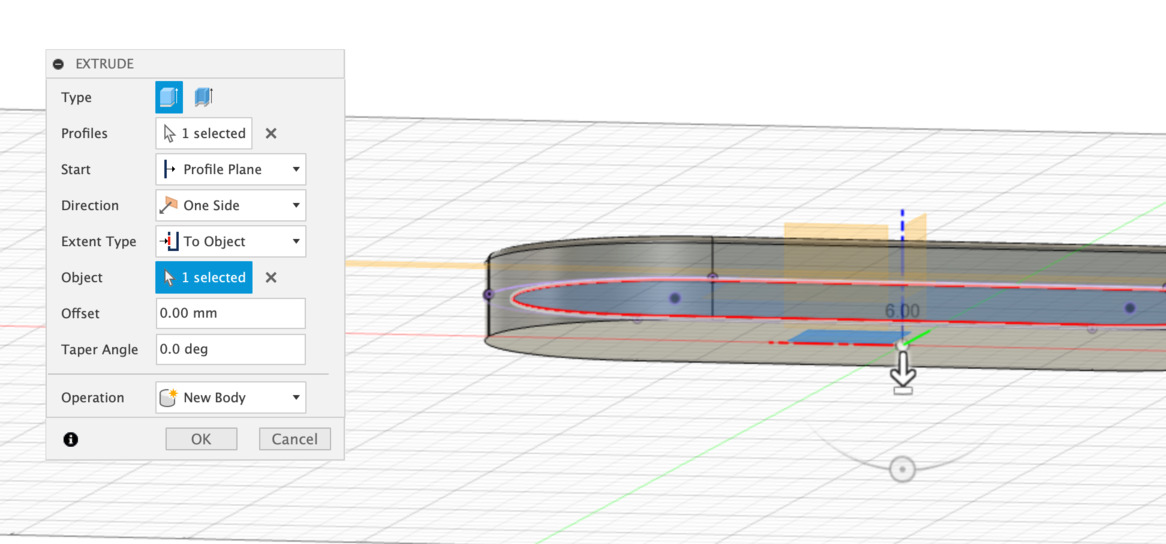
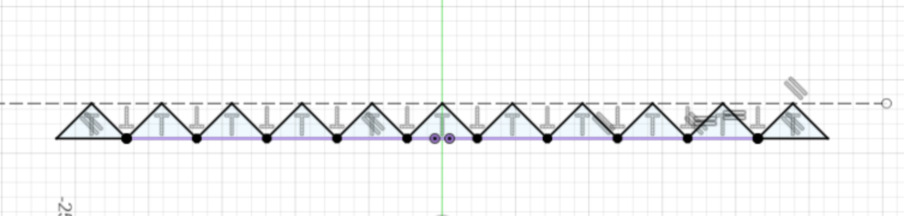
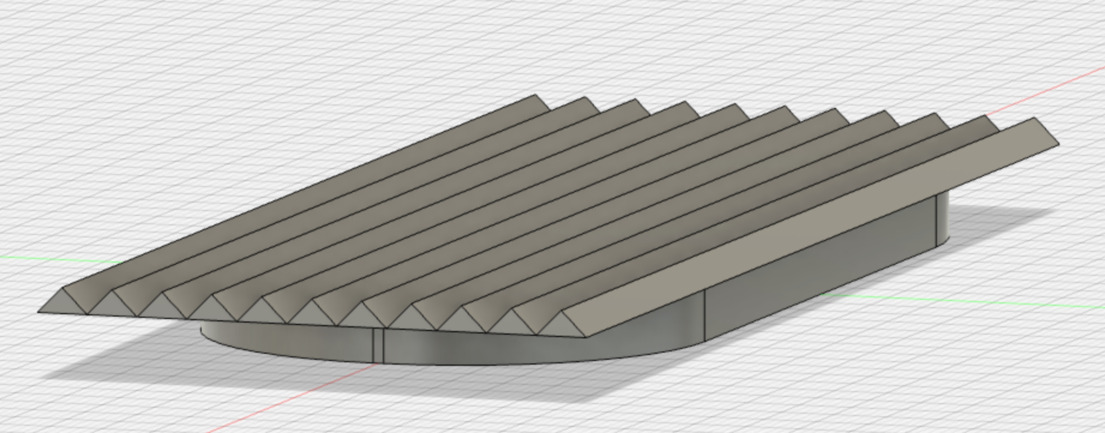
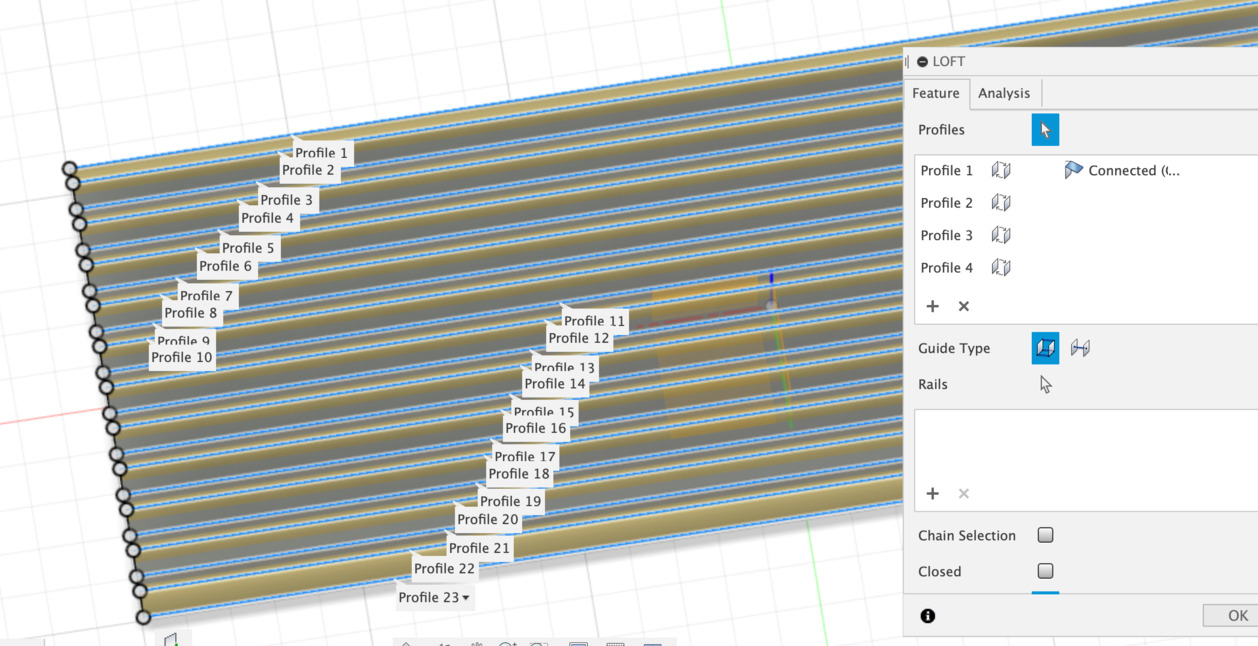
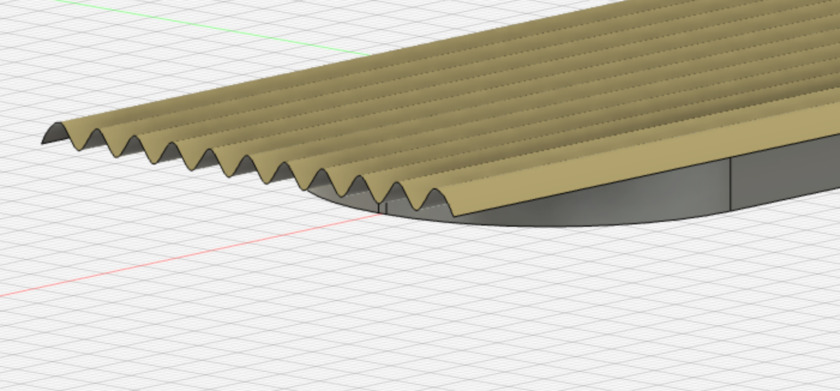
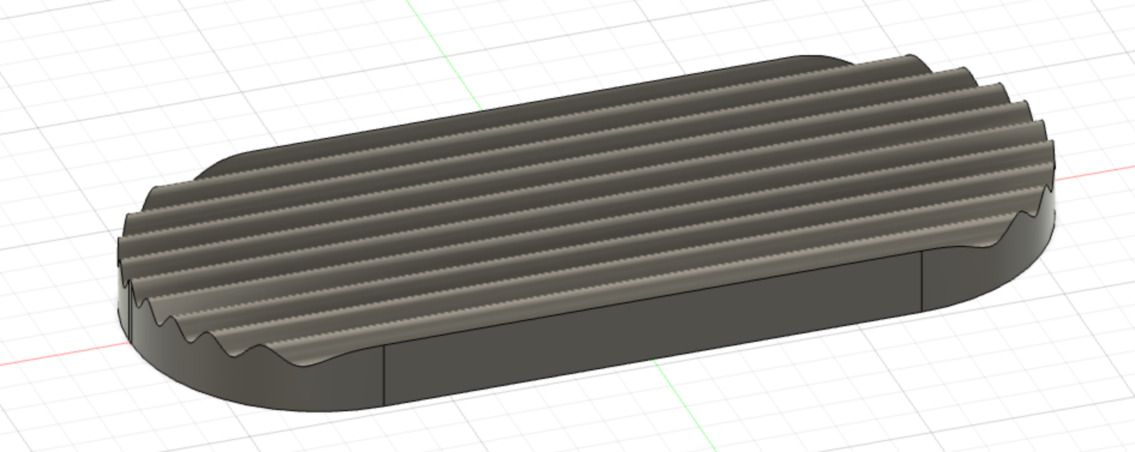
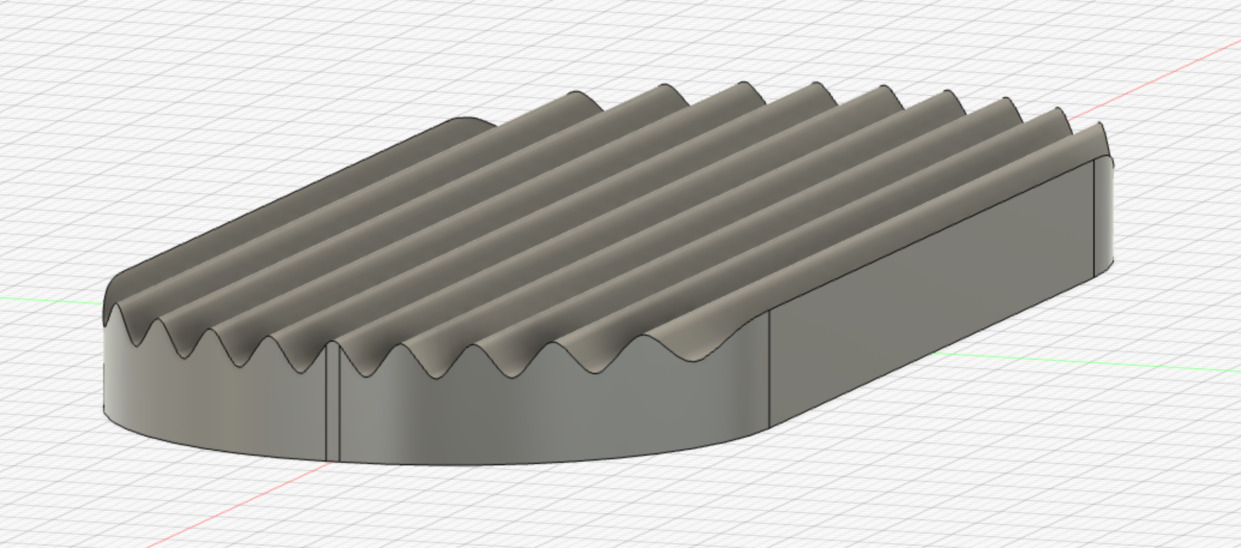
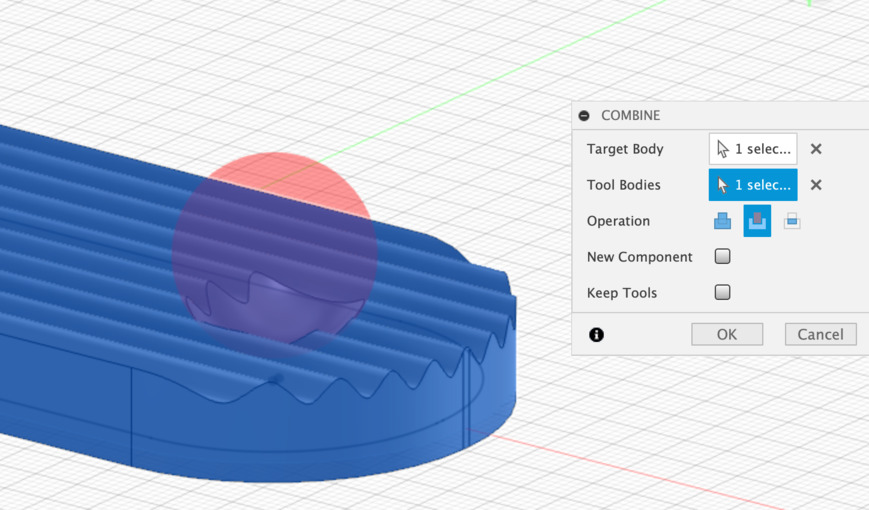
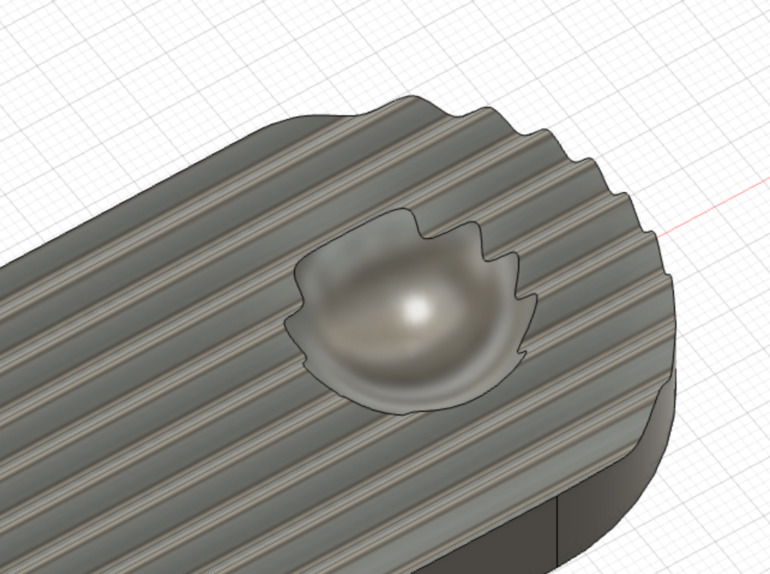
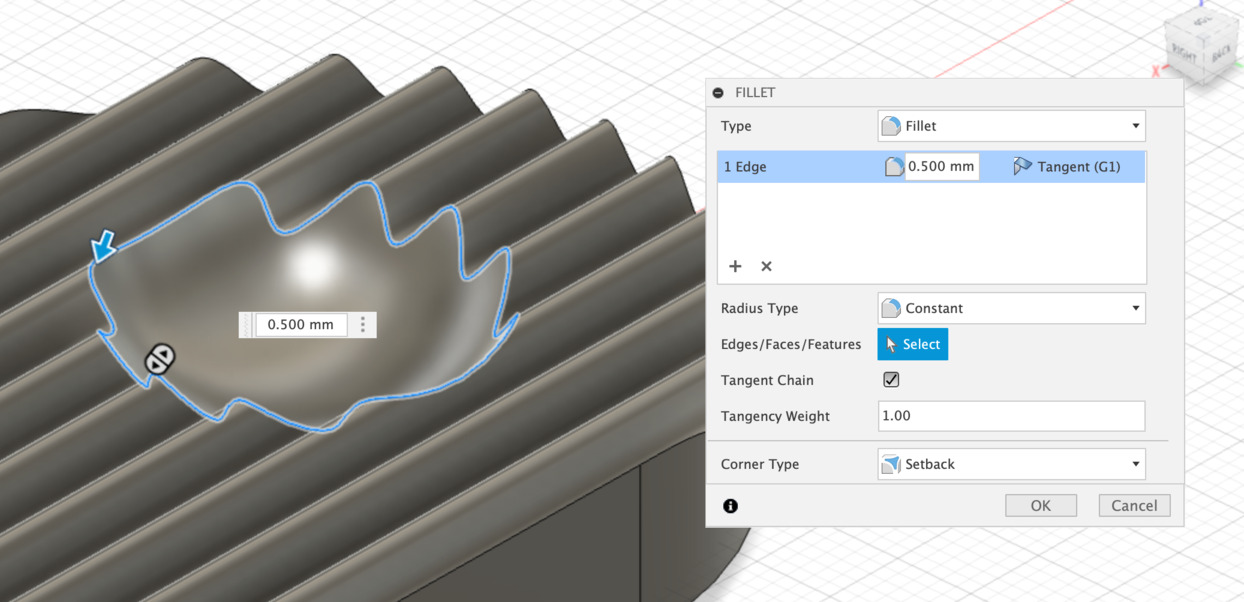
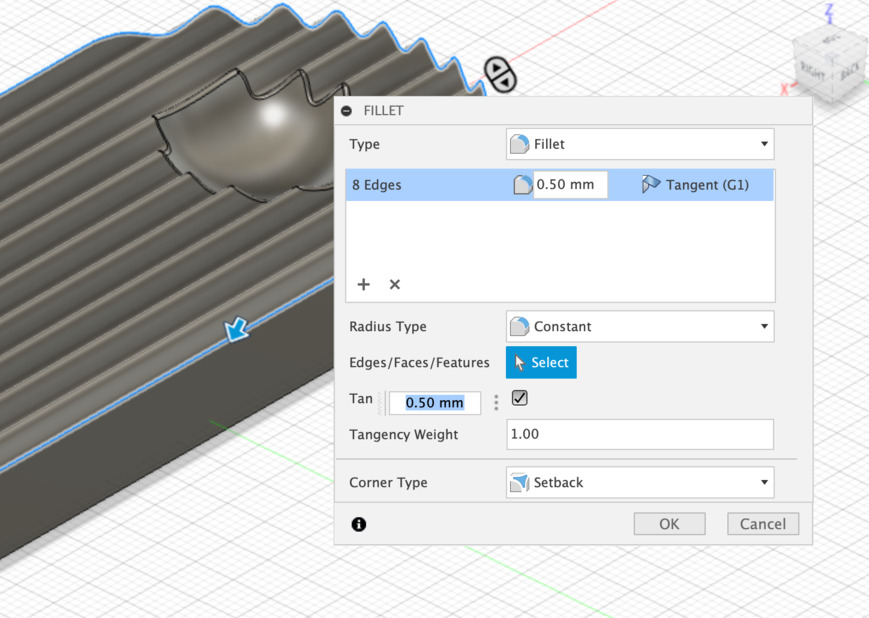
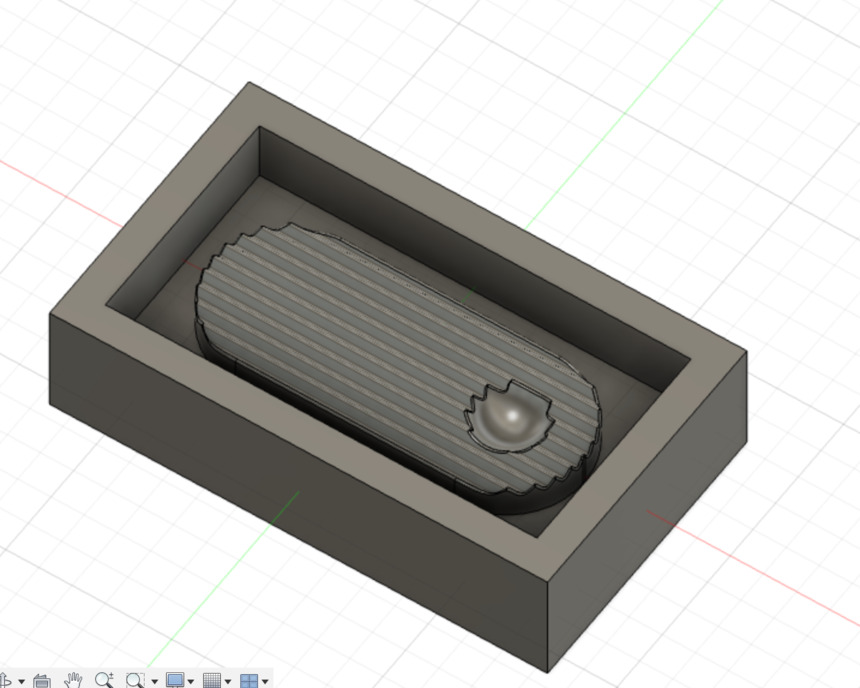
Result
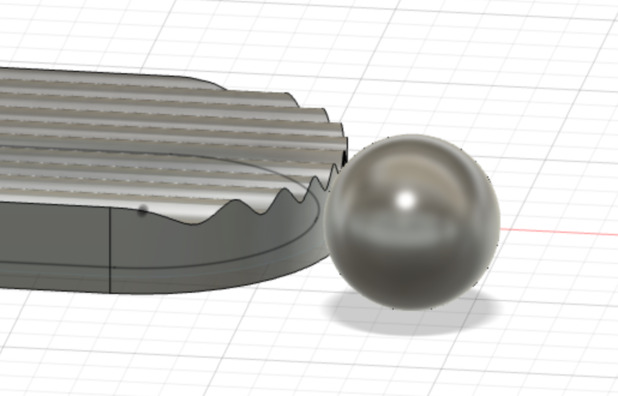
The sphere will not be molded. As I imagined it it should be able to hold an incense stick while allowing to orient it according to its length. The stability will be the biggest challenge here!
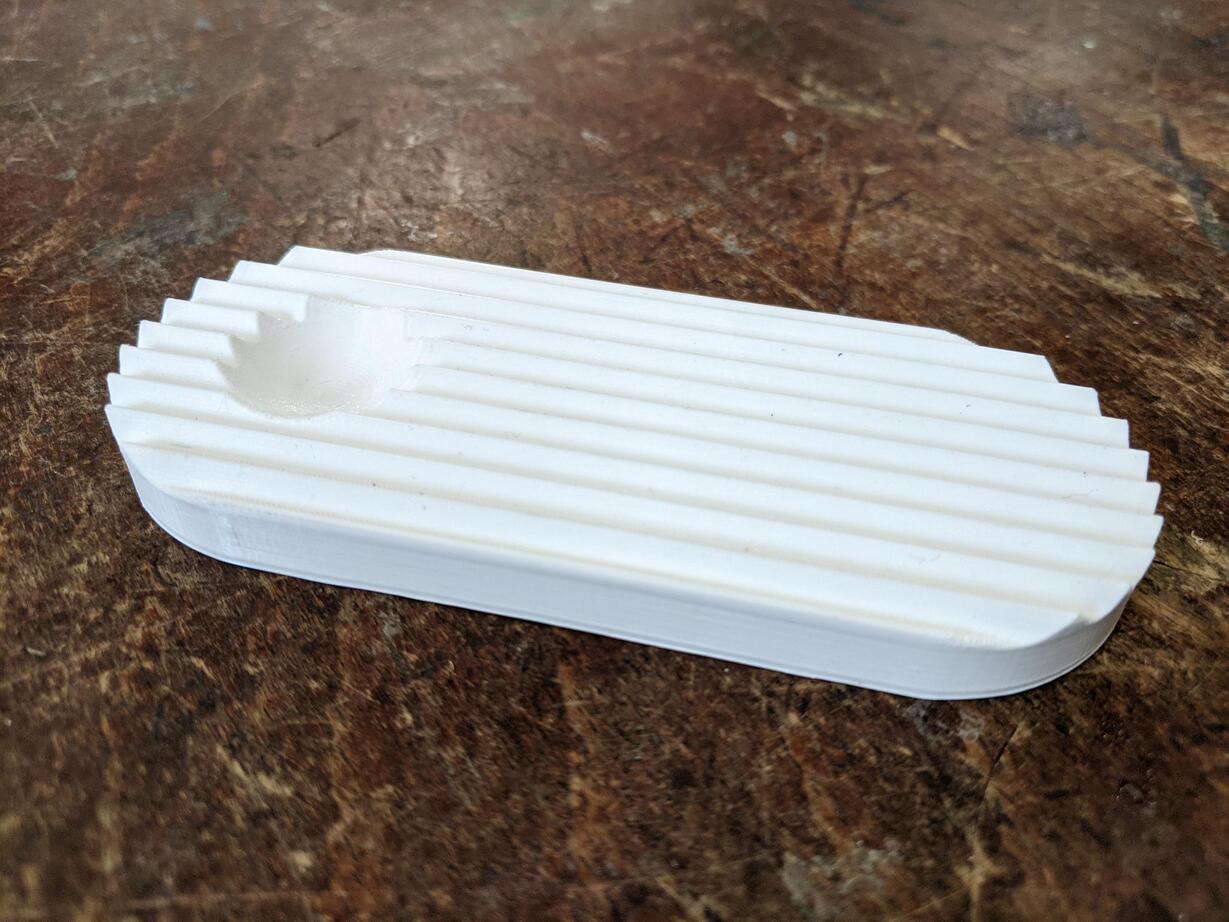
I printed in PLA (0.1mm layer height) to check that I liked the general shape.

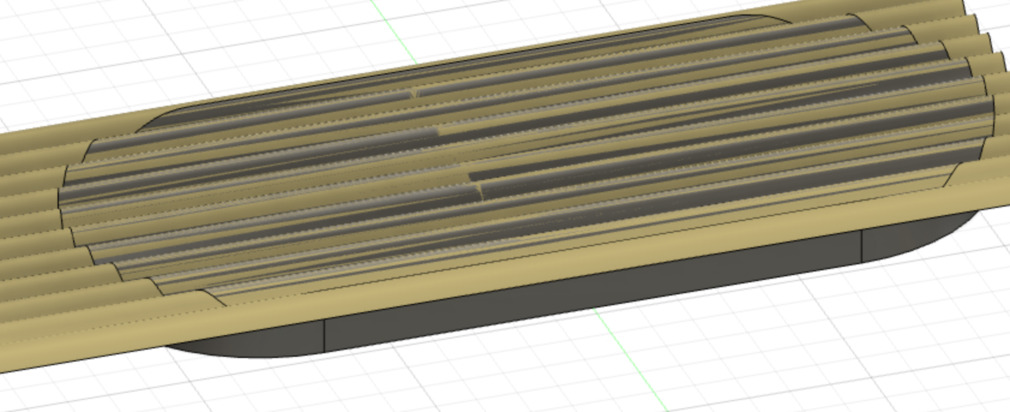
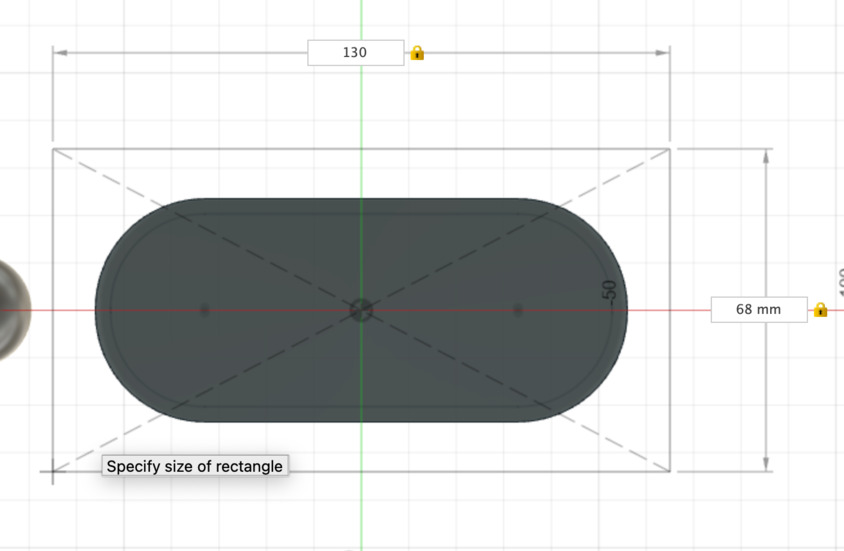
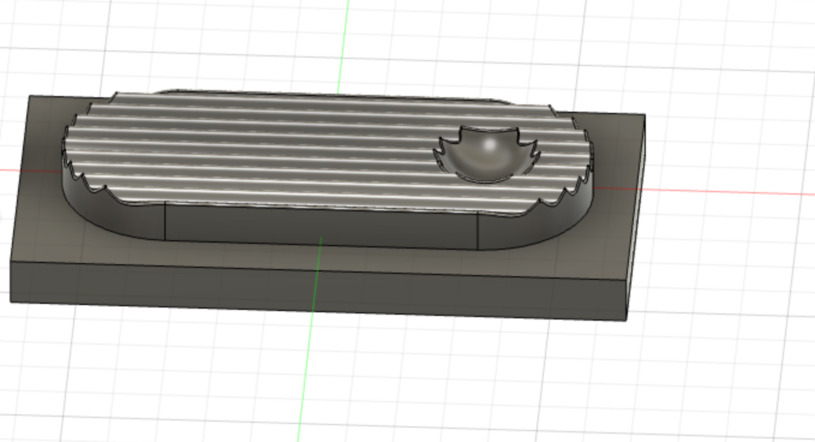
I then designed the whole enclosure by creating an outside shape withe the same of the wax block I will mill afterwards.
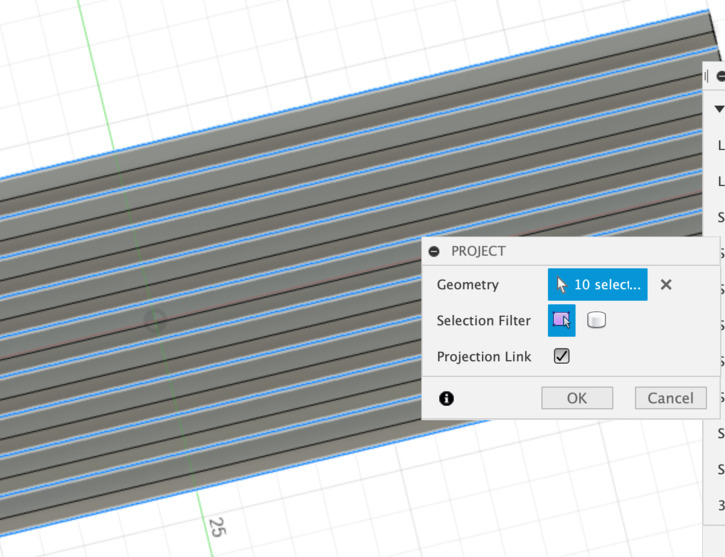
Premold milling with the Shopbpot Buddy CNC
Job preparation on VCarve
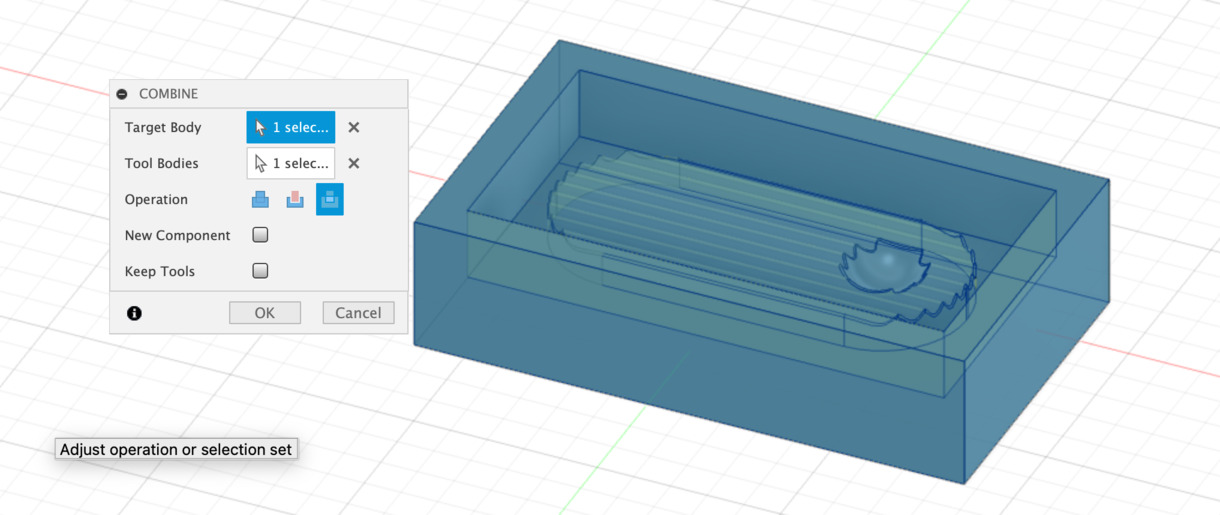
The material dimensions are those of the wax block. I selected the zero on the surface of the material. I then imported the stl model and placed it correctly in the material area.
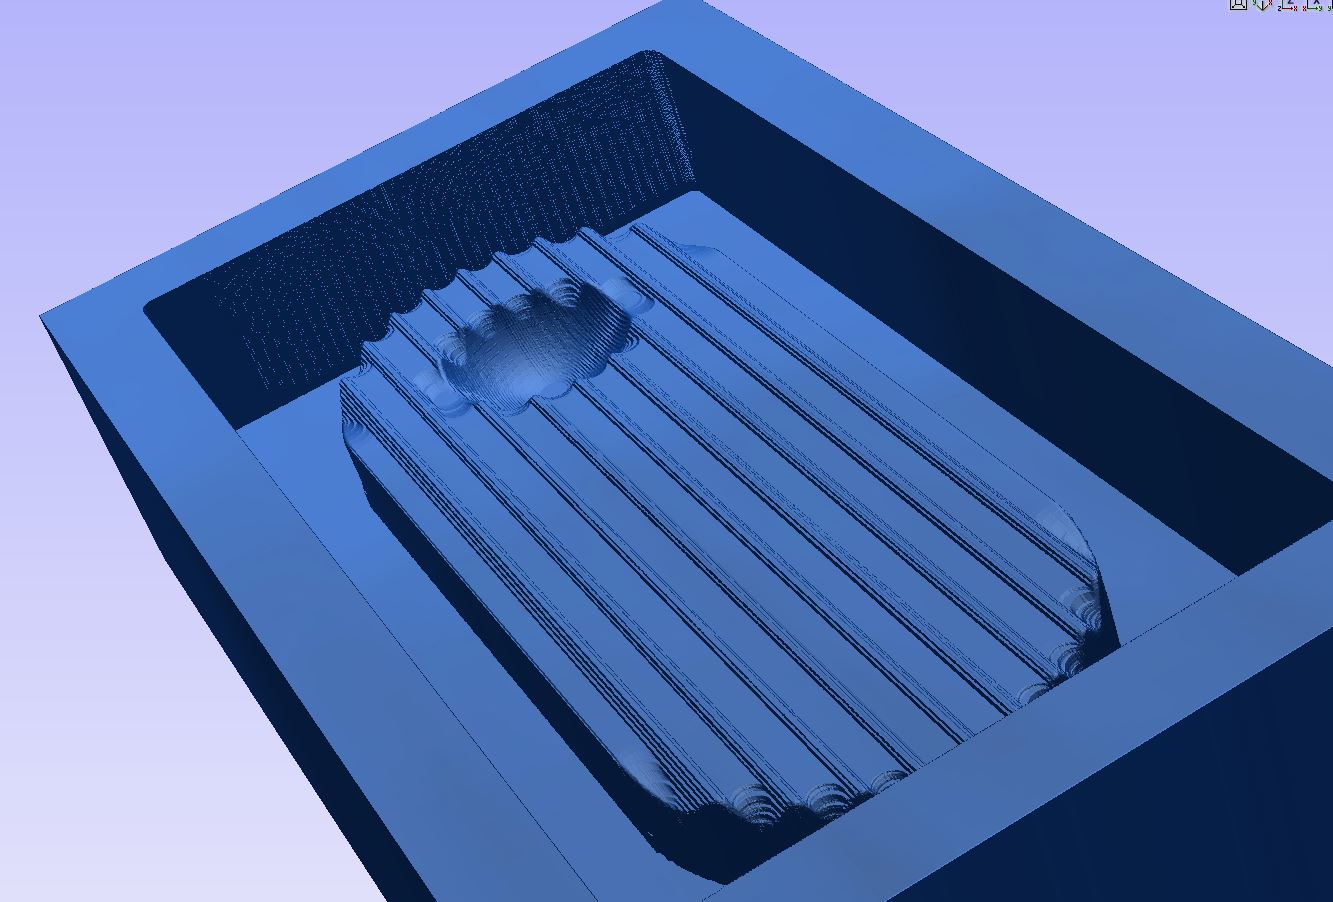
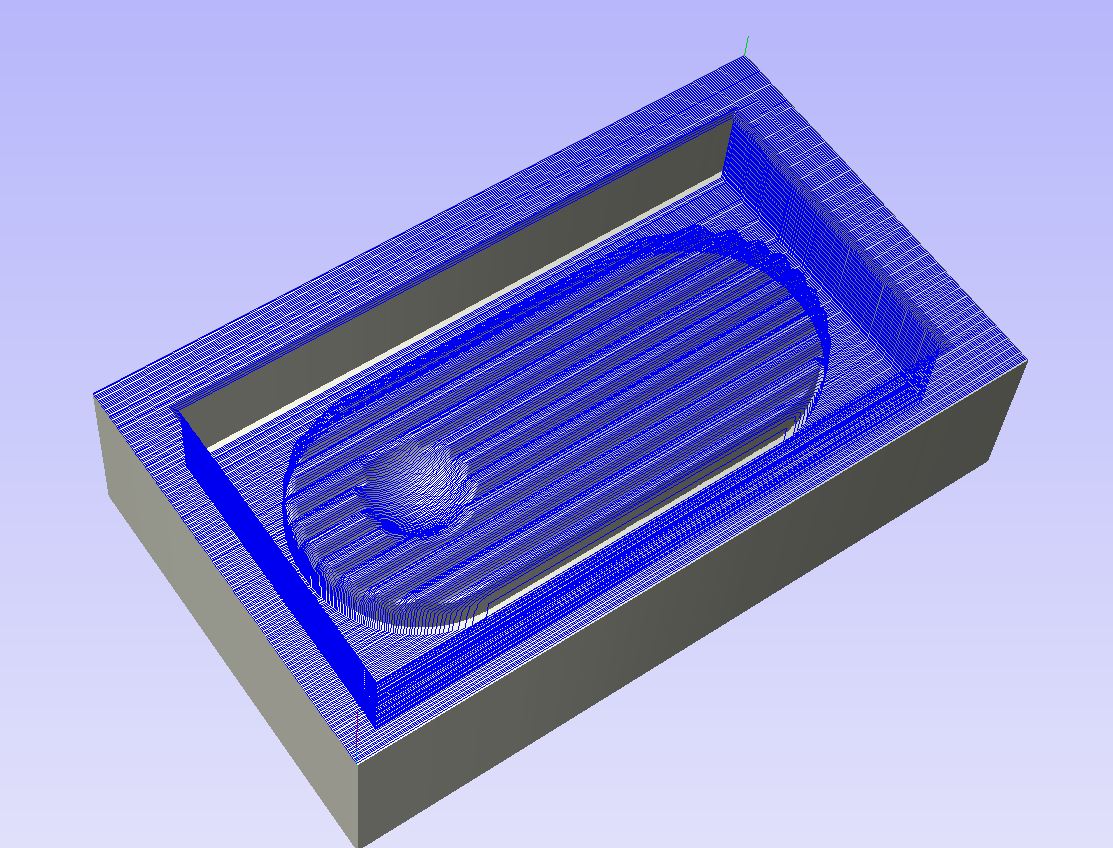
I prepared two tasks: * one rough milling with a 6mm diameter mill * one finer milling with a 3.175 diameter rounded mill
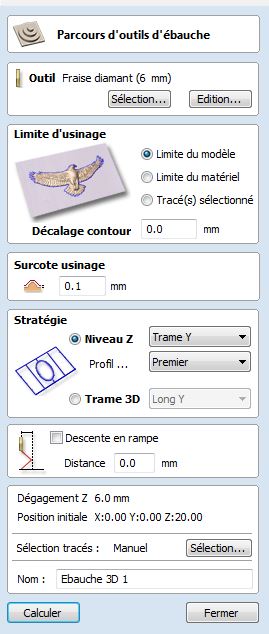
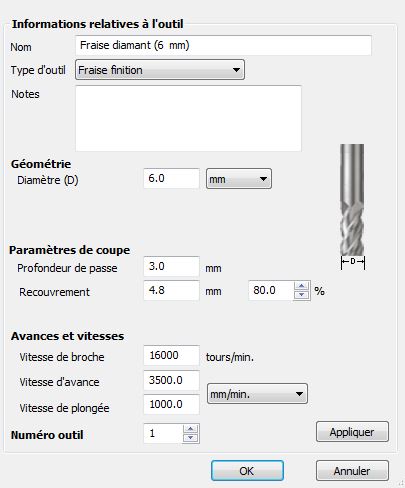
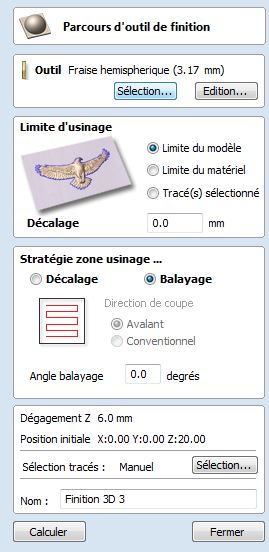
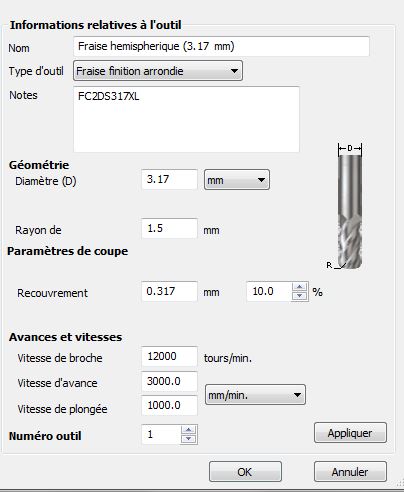
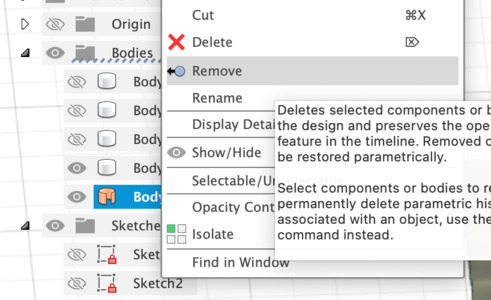
The first previsualisation gave the impression that the mill wouldn't go all the way down in the top surface creases, so I modified my design to have less and wider creases. But in fact it was because the tool was not correctly parametrized in VCarve: the diameter was correct, but I needed to indicate that it was a rounded mill. I then obtained a satisfying previsualisation.
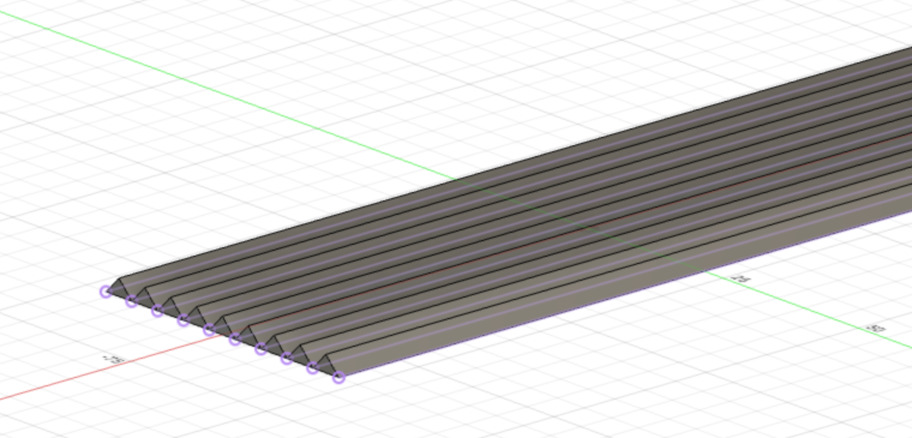
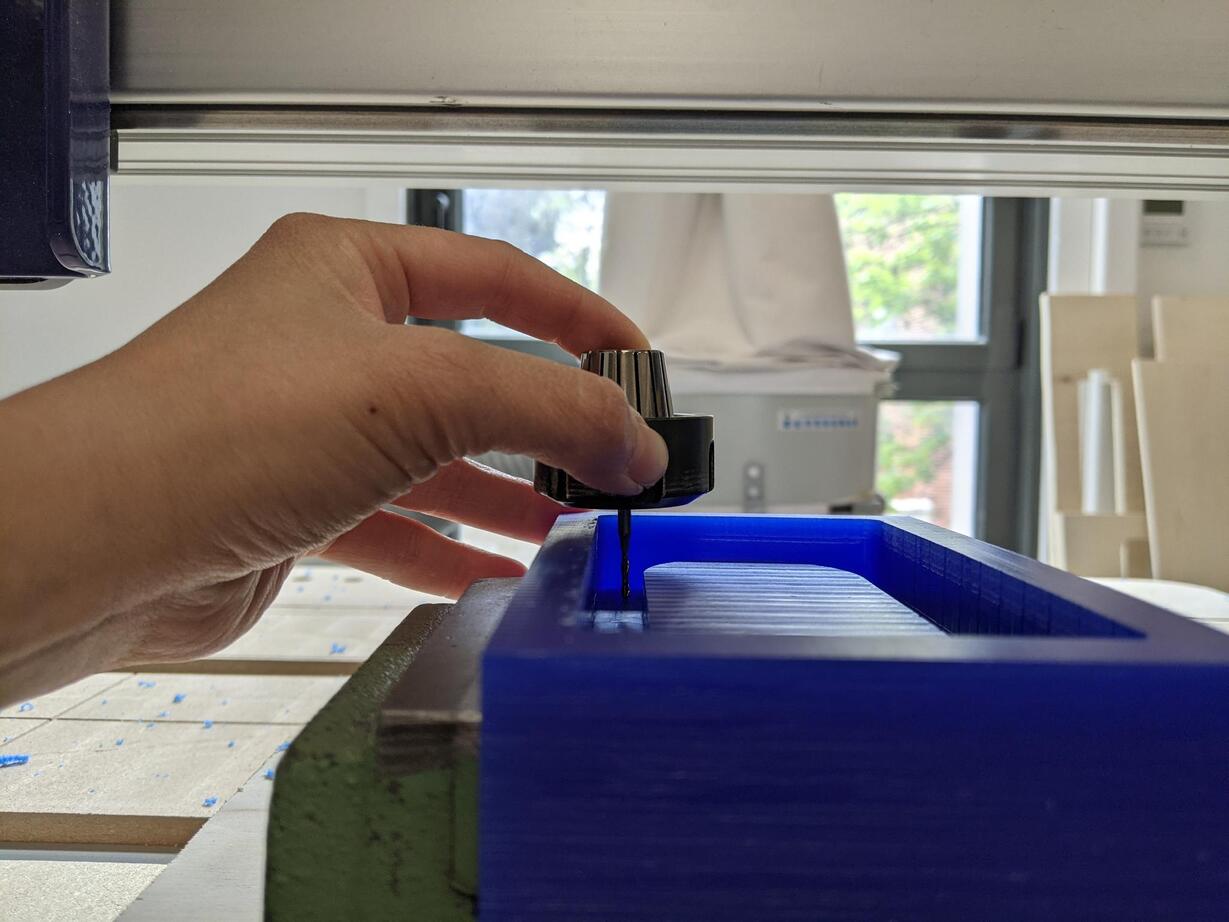
Milling
Our instructor had prepared a system to hold the wax block in place. Nevertheless it was a bit high and I couldn't do the zero properly with the metal plate like we do usually, and did the zero manually by checking visually it was perfectly touching the surface of the wax block.
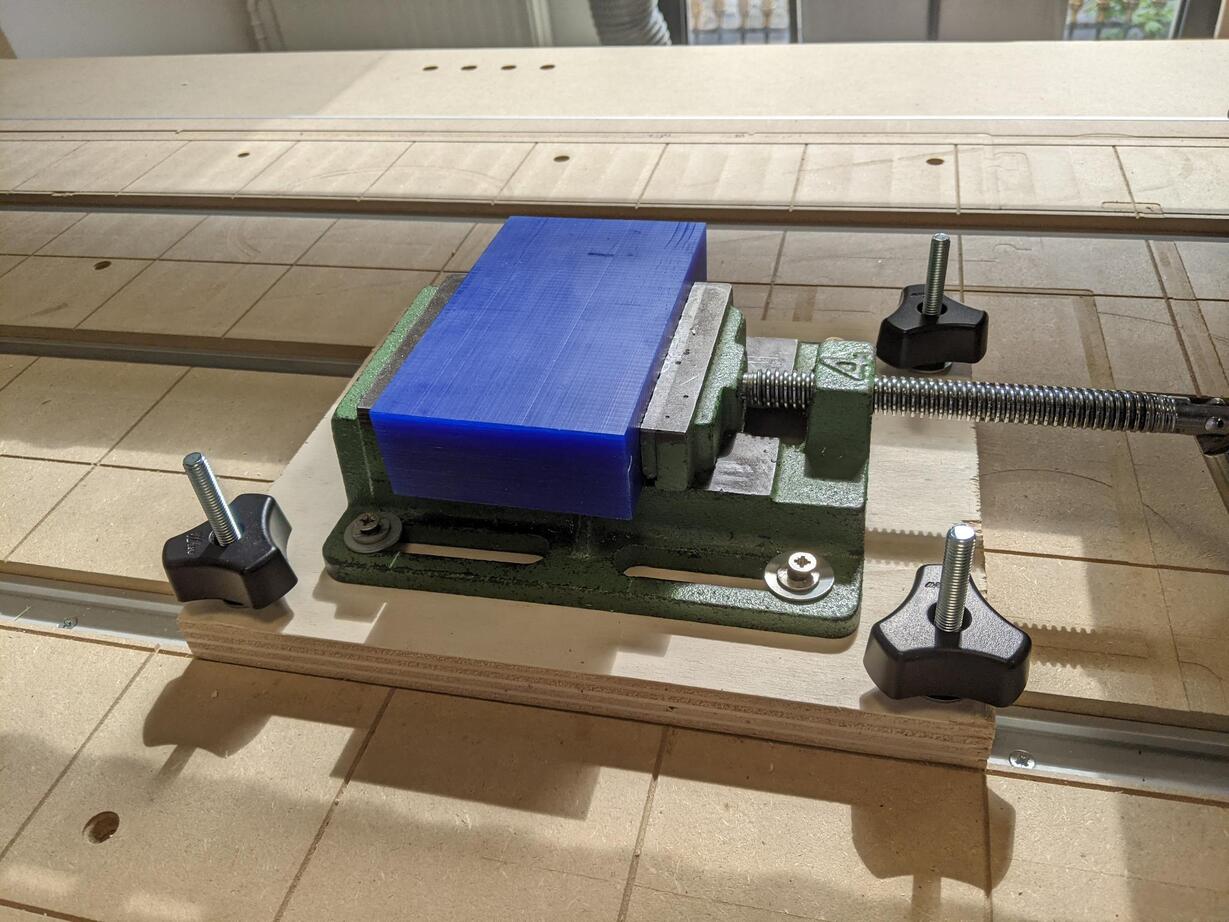
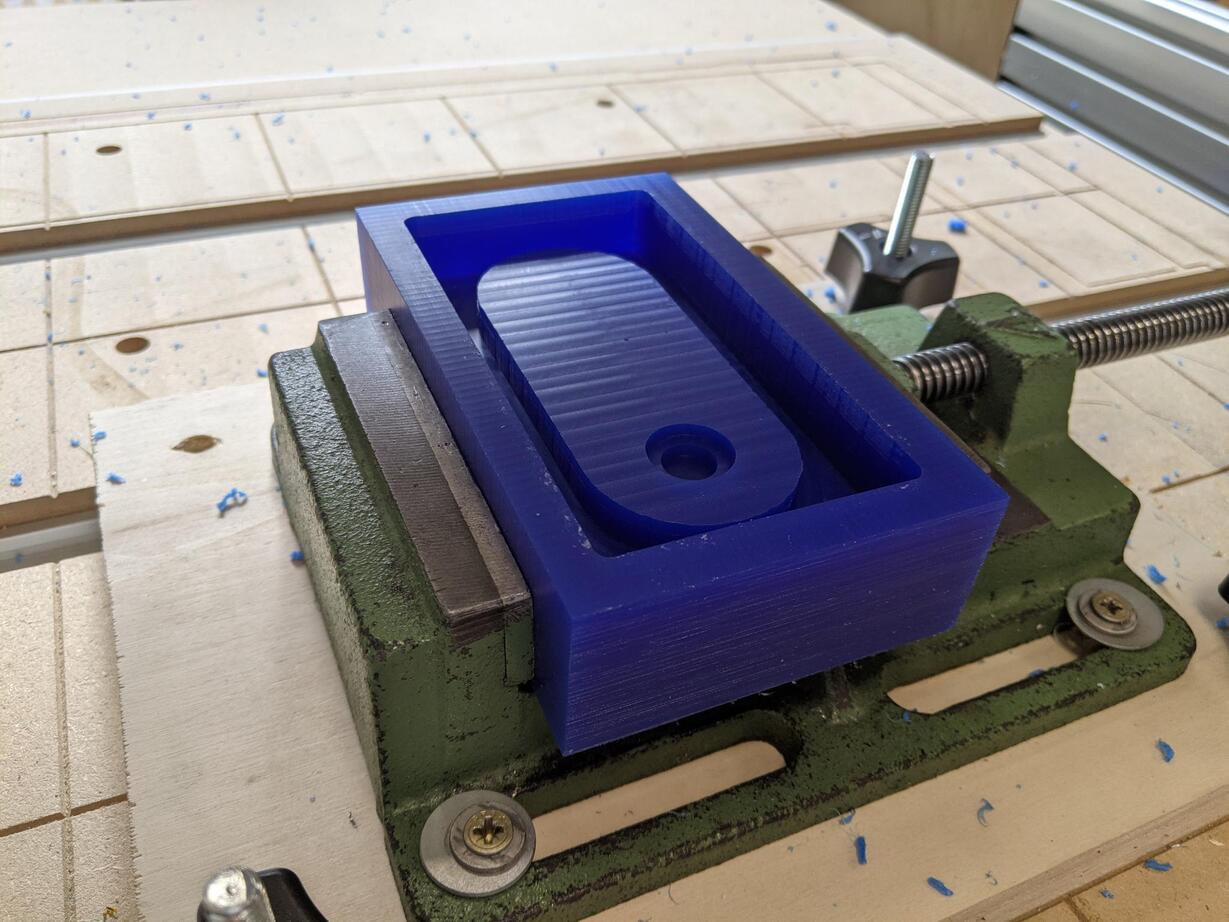
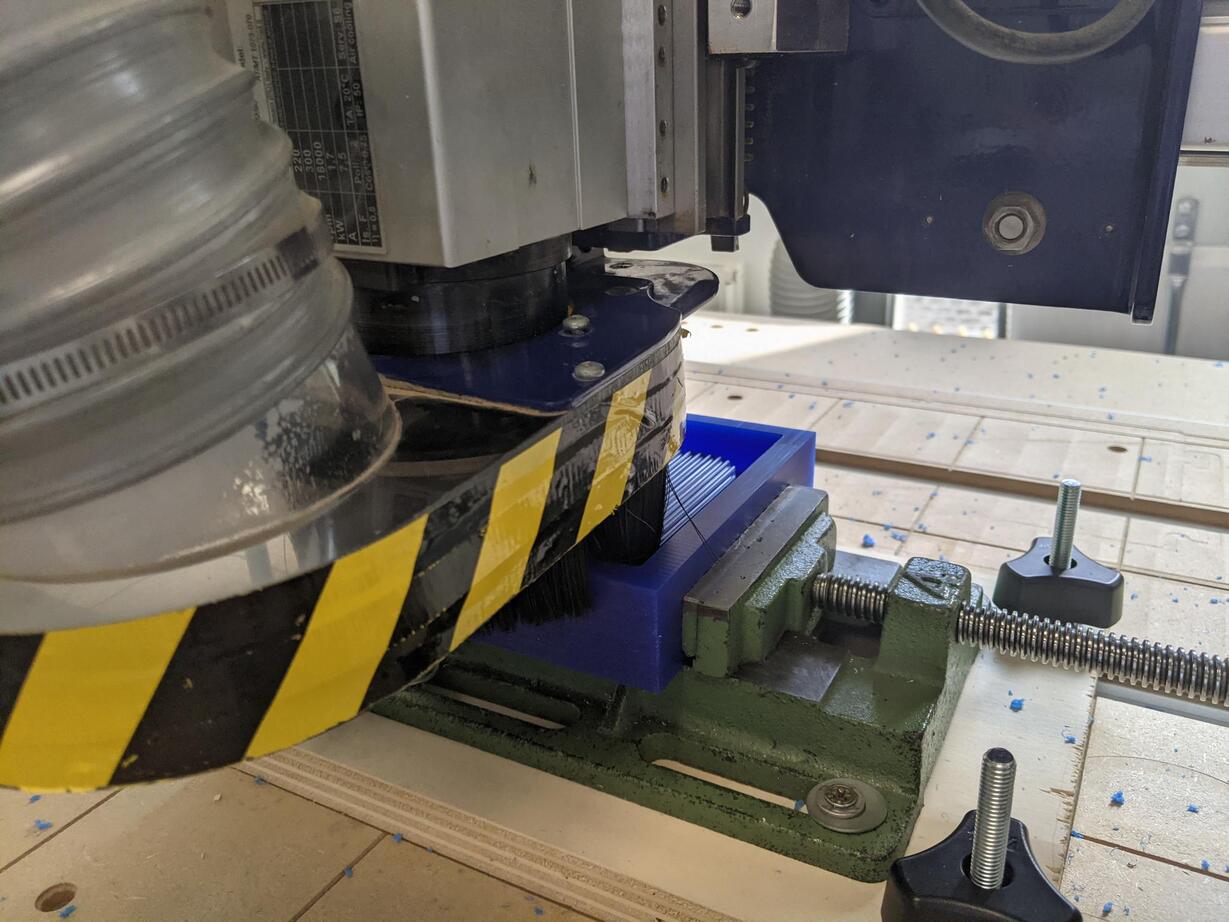
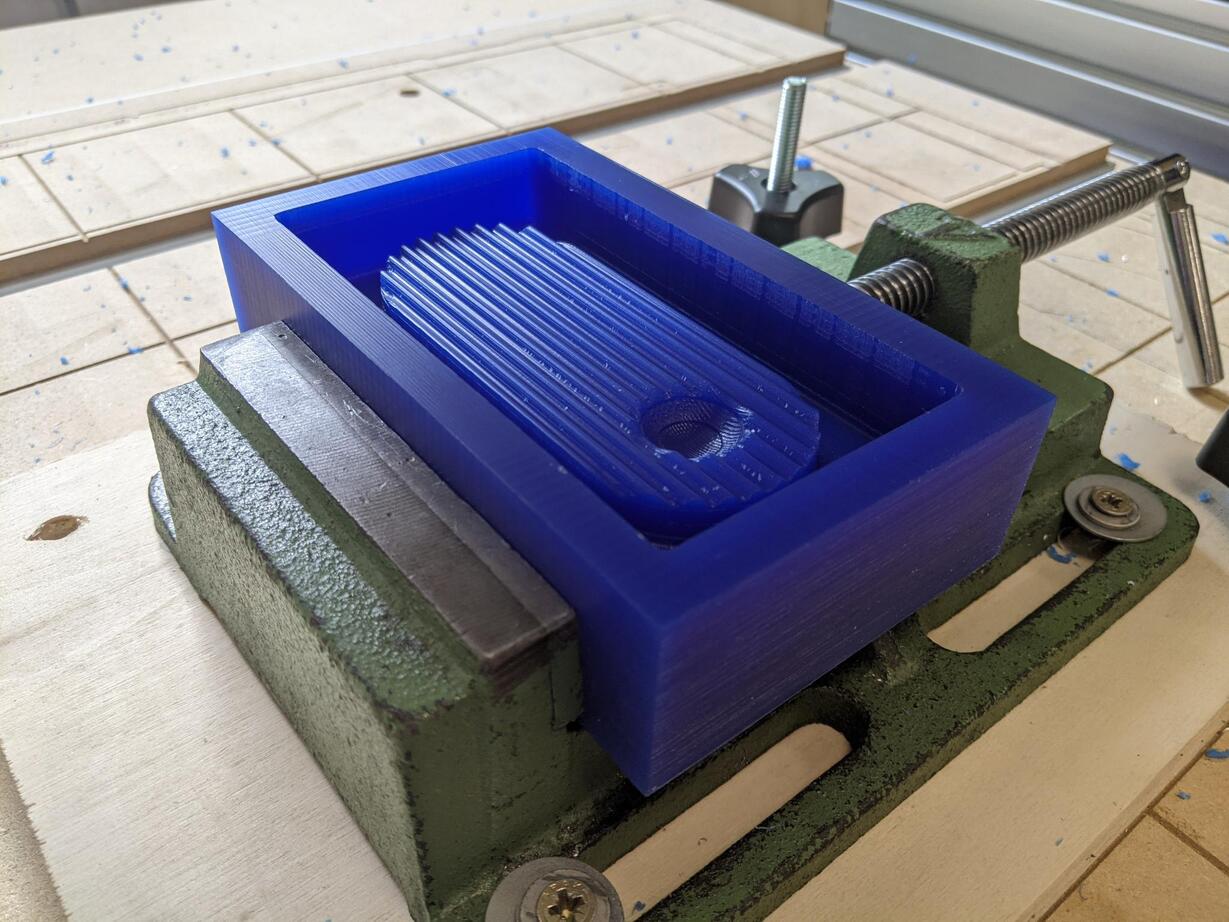
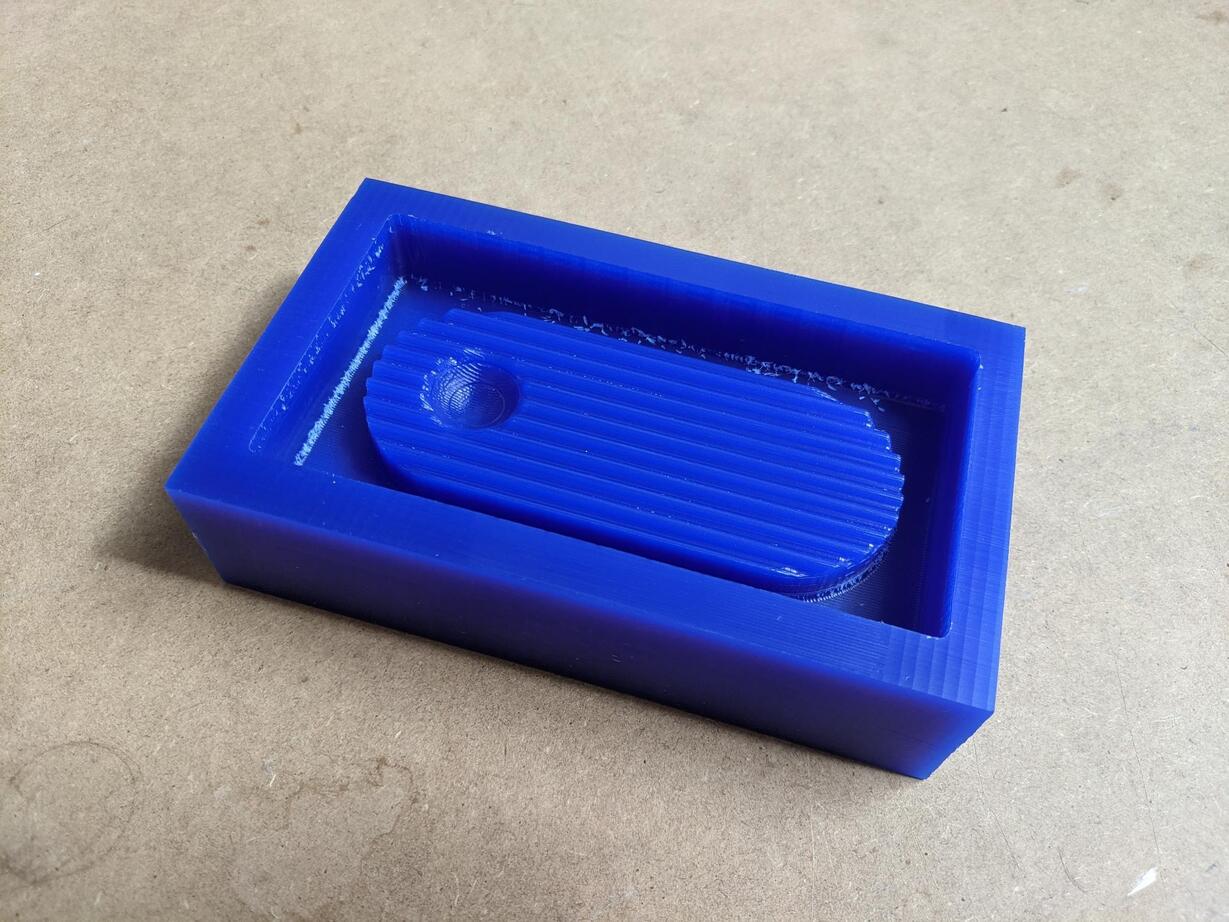
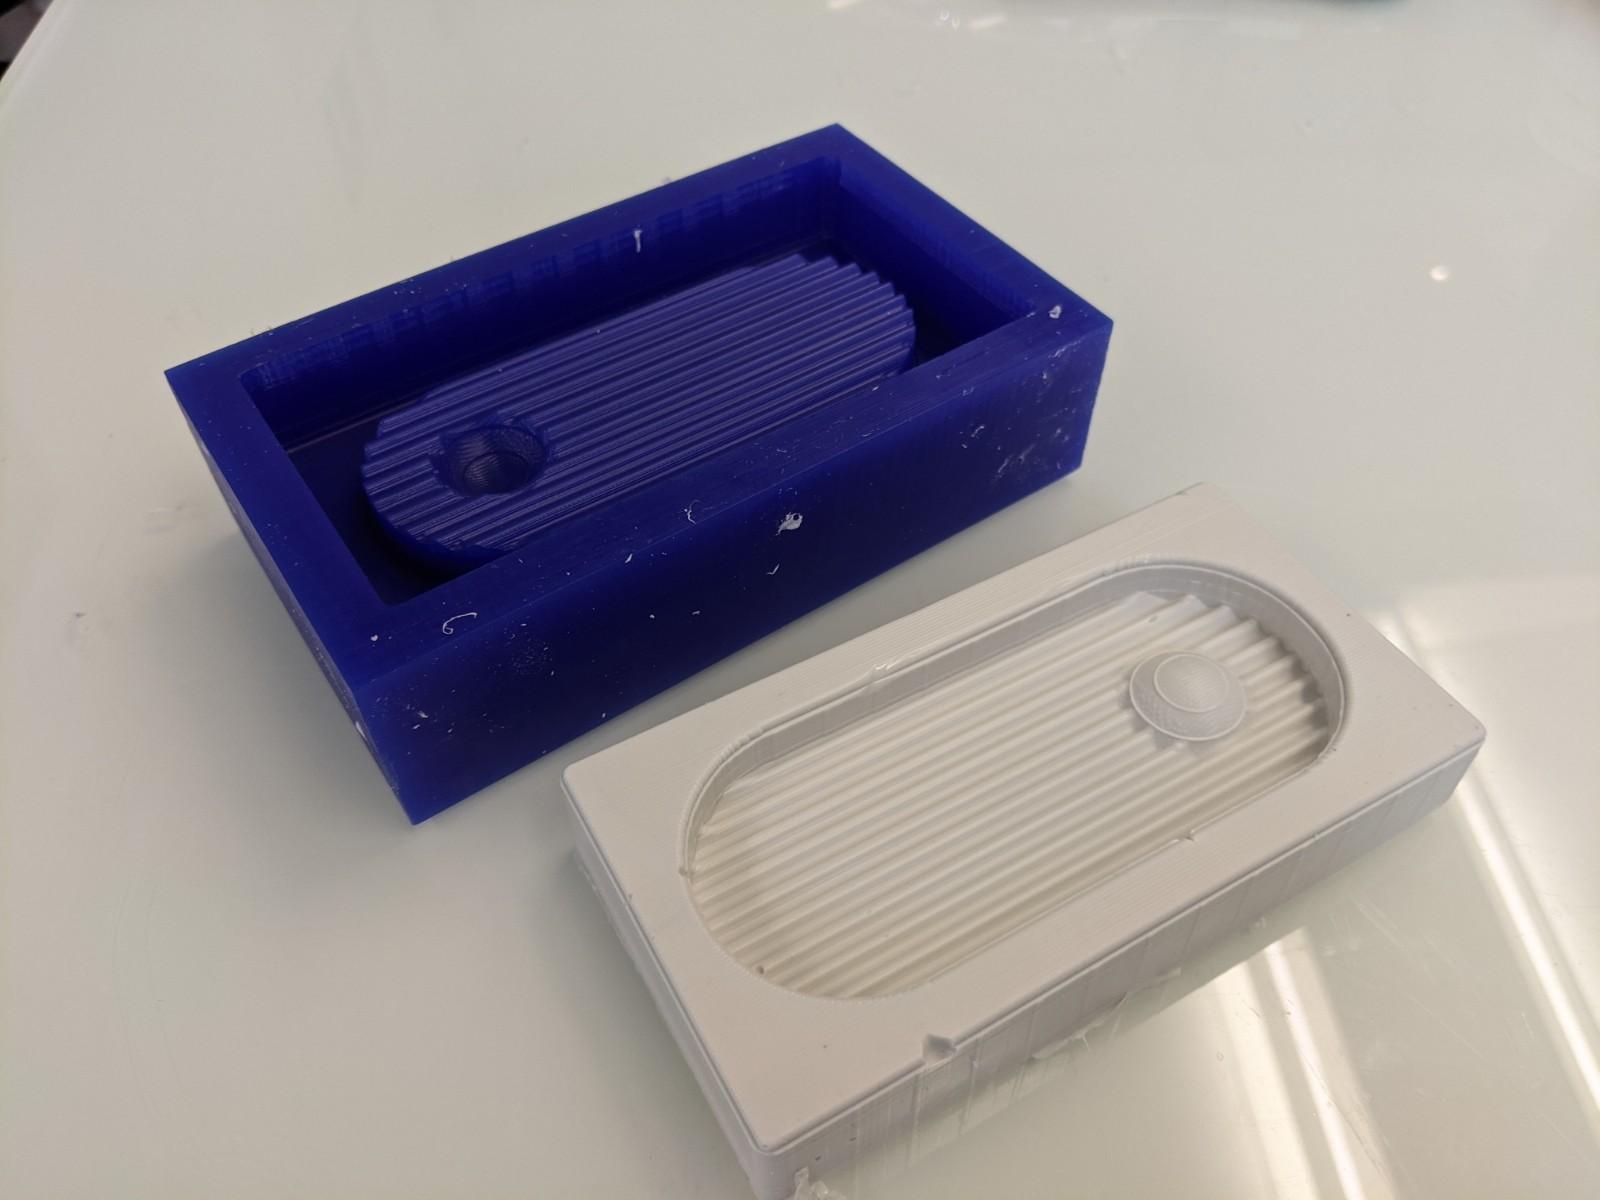
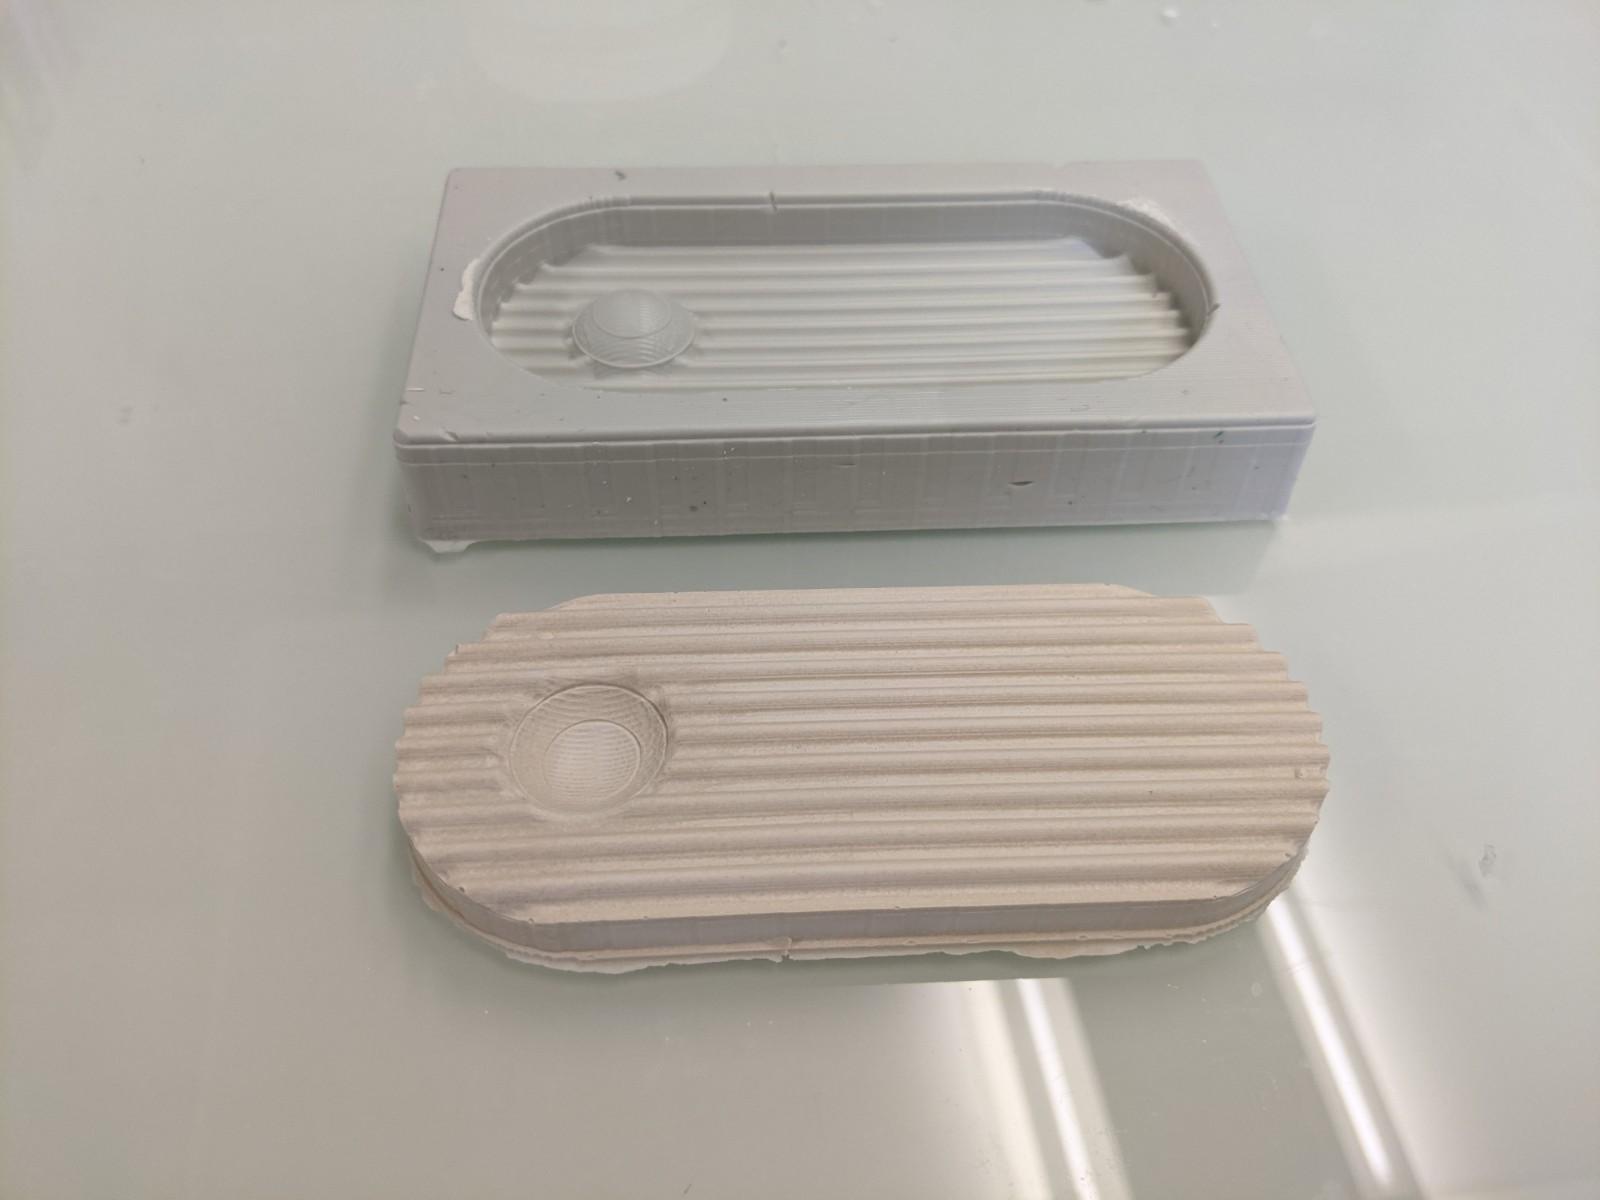
The result was overall very satisfying.
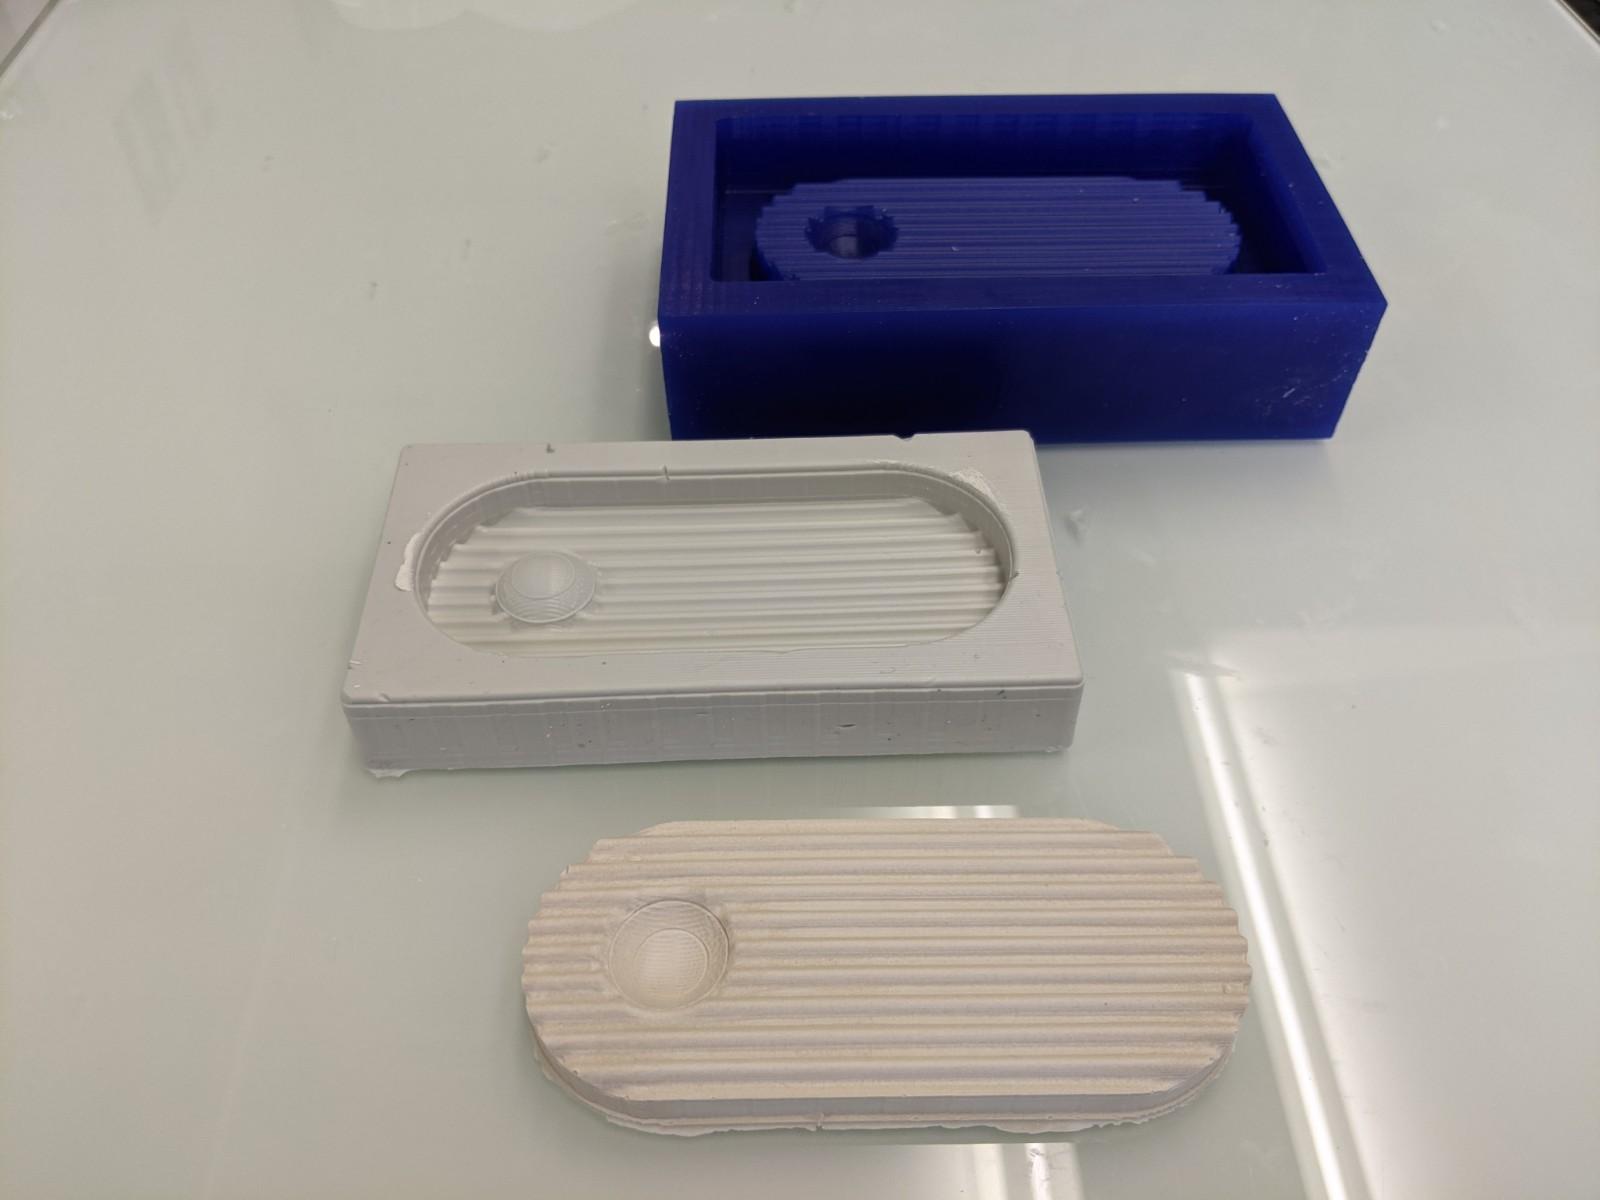
Casting the silicone mold
I then casted some silicone in the wax premold.
Material
- Silicone Part A and B
- Wax premold
- Plastic containers
- Metal spatula
- Balance
- Plastic throwable eyedropper
- Throwable latex gloves
- Tissue paper
- Ethanol if you make a mess with the liquid silicone
Steps to follow
- Weigh the silicone Part A and Part B after mixing thoroughly each part in their bottle, in the proportion indicated by the fabricant. In my case It was 5g Part B for 100g Part A.
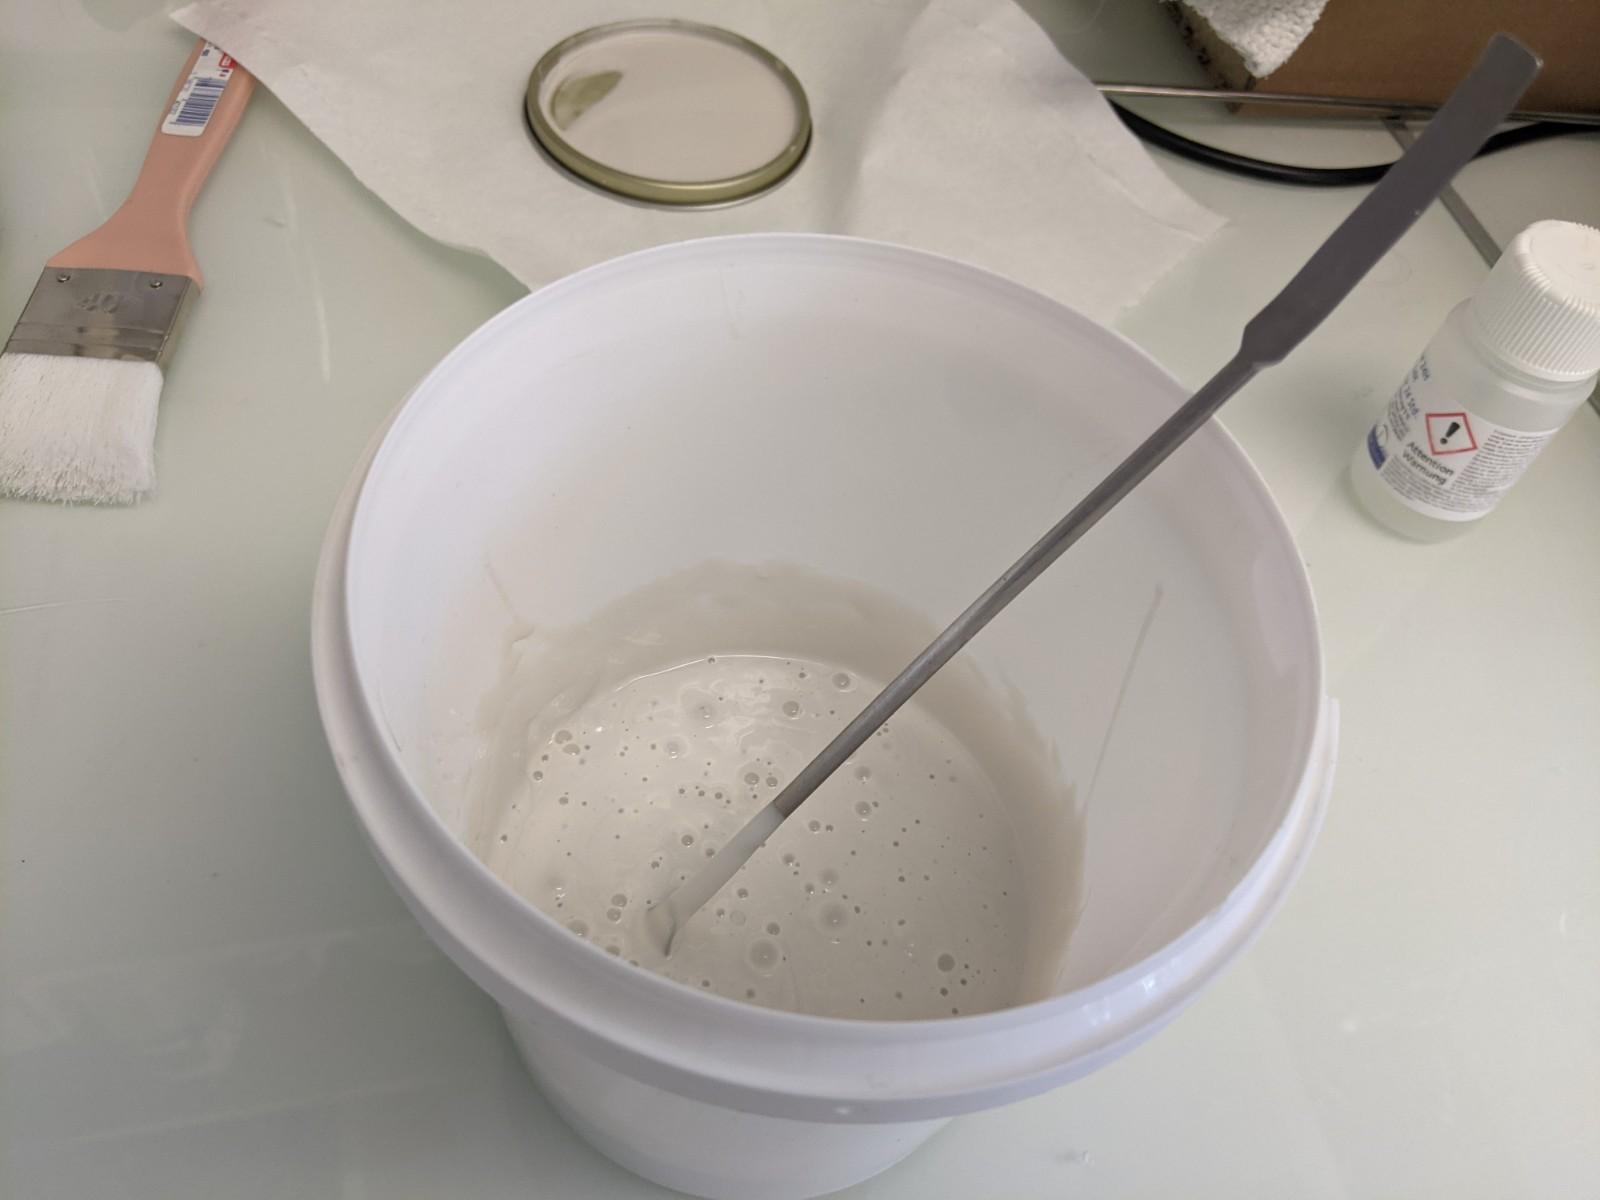
- Mix them together very well.
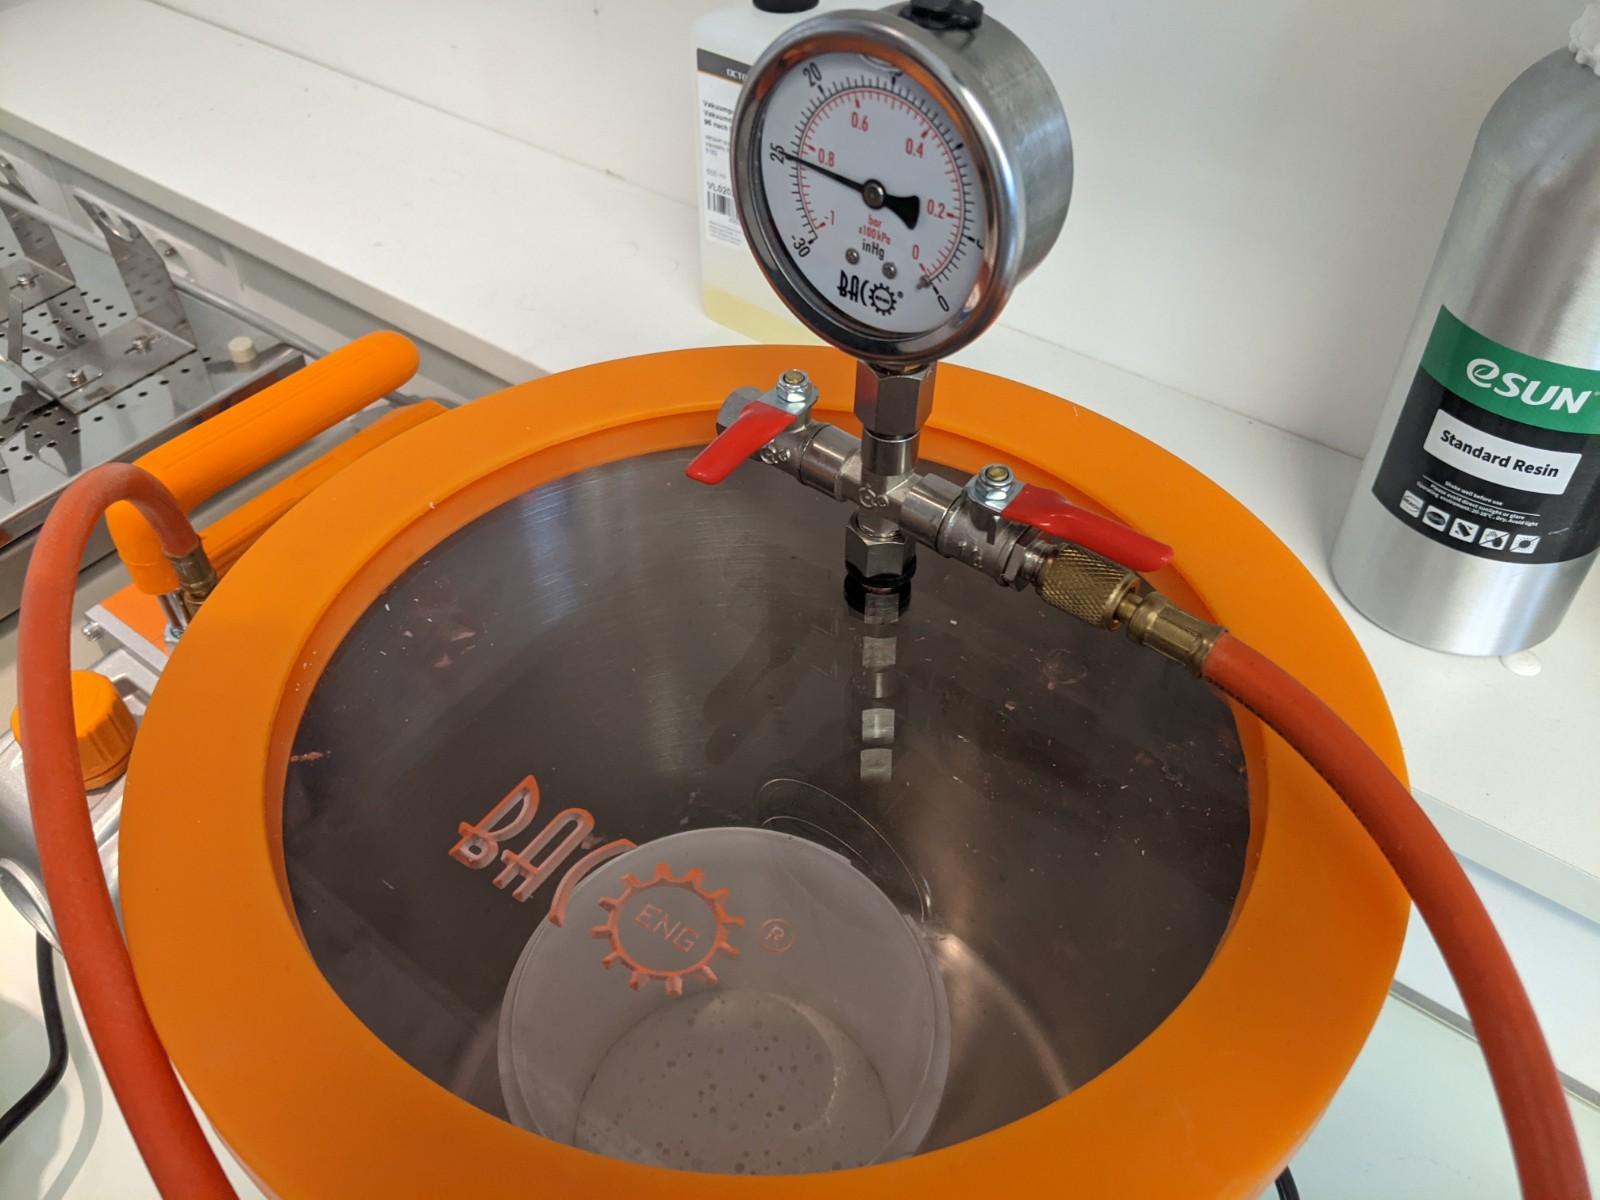
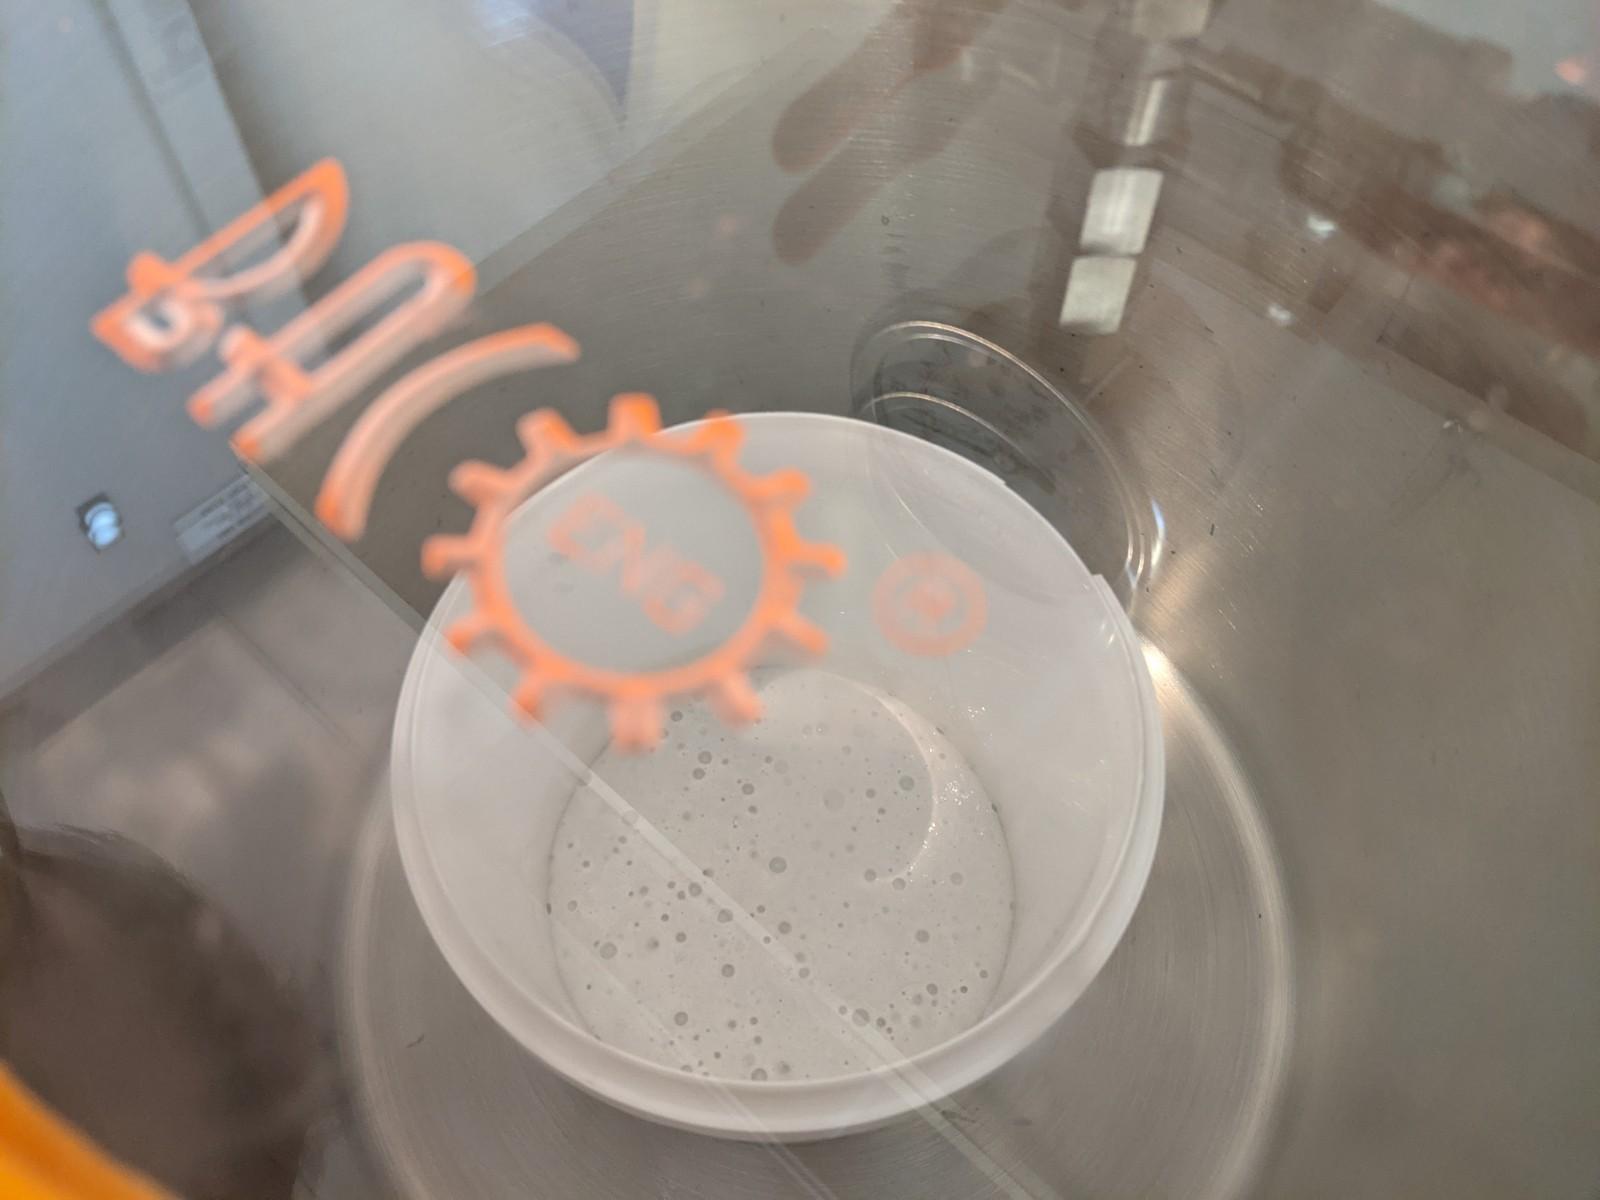
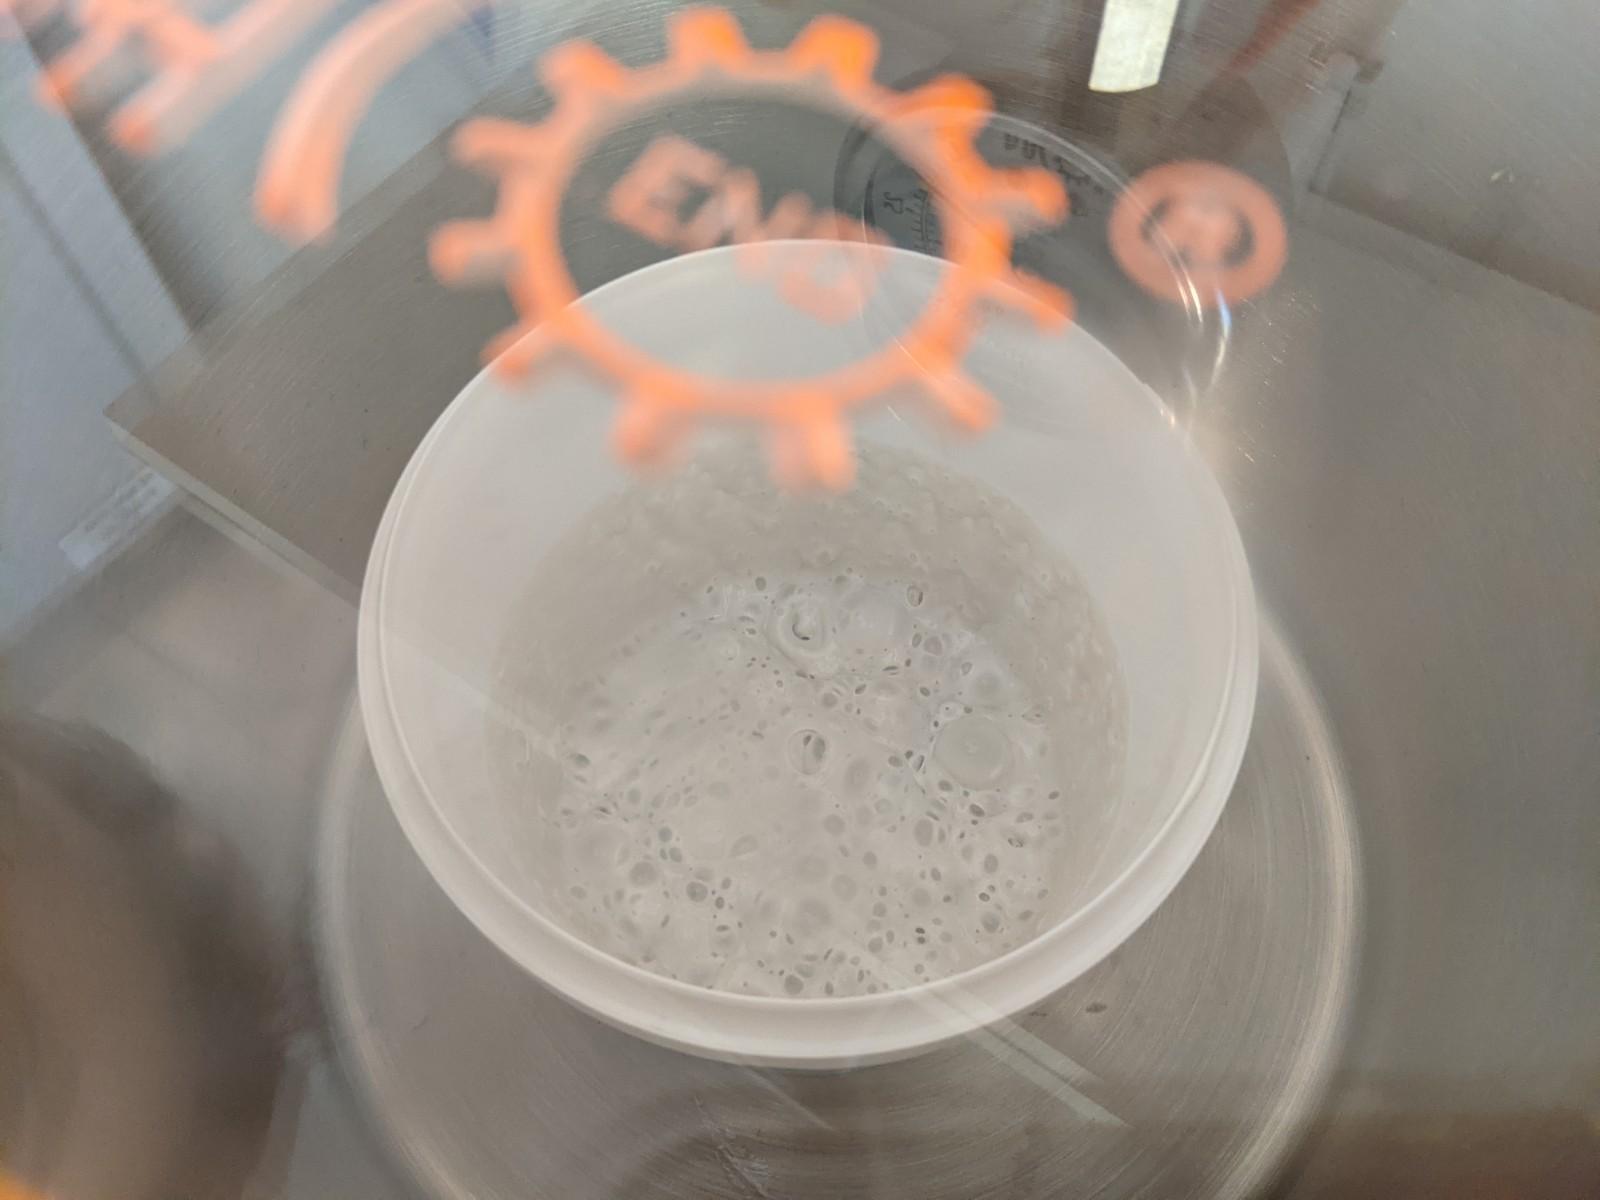
- Remove the air bubbles with the vacuum pump.
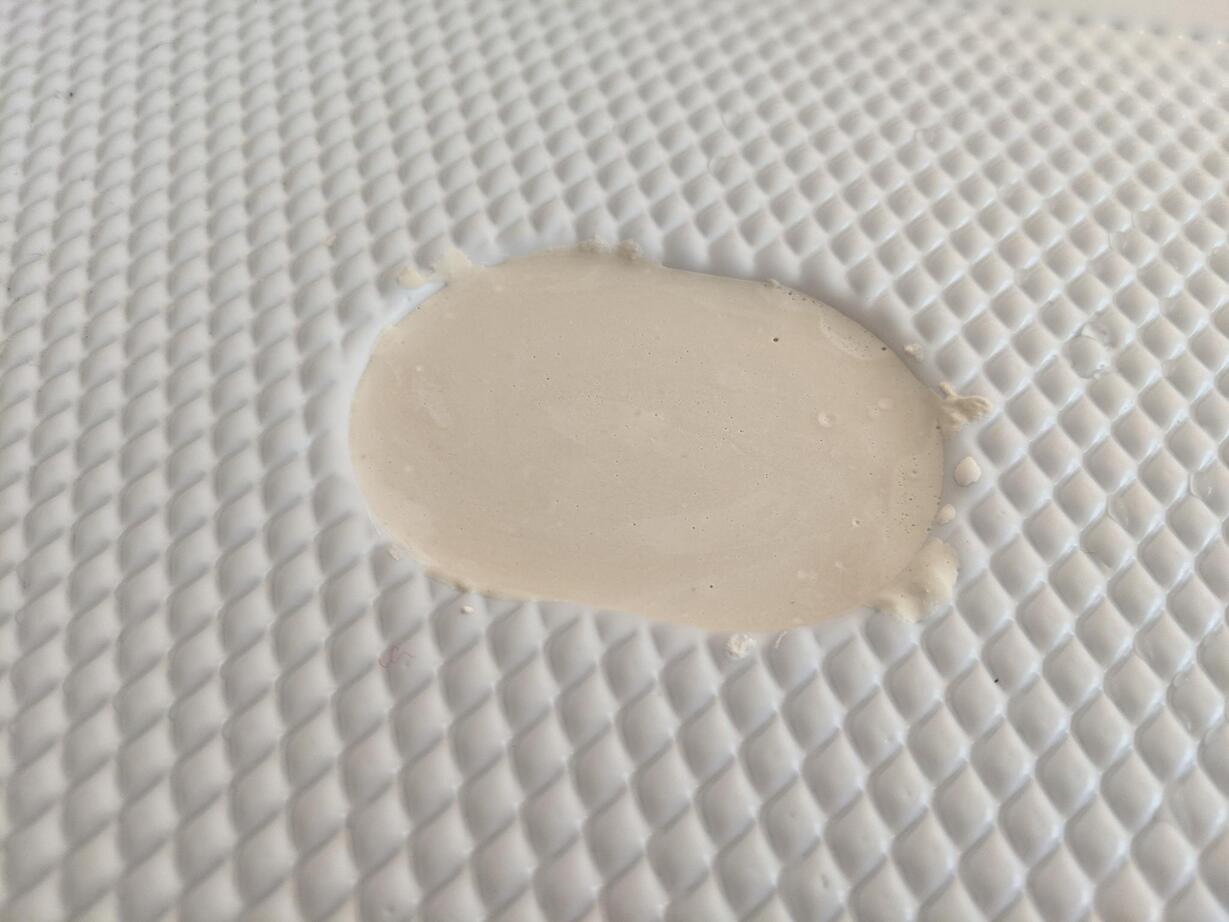
- Cast it slowly in a corner of the premold in order to go directly to the bottom surface and not the details of the premold. This is to avoid creating air bubbles on details of the mold.
- Wait 16 hours before removing the silicone mold.
- Wait for the tools to dry for cleaning.
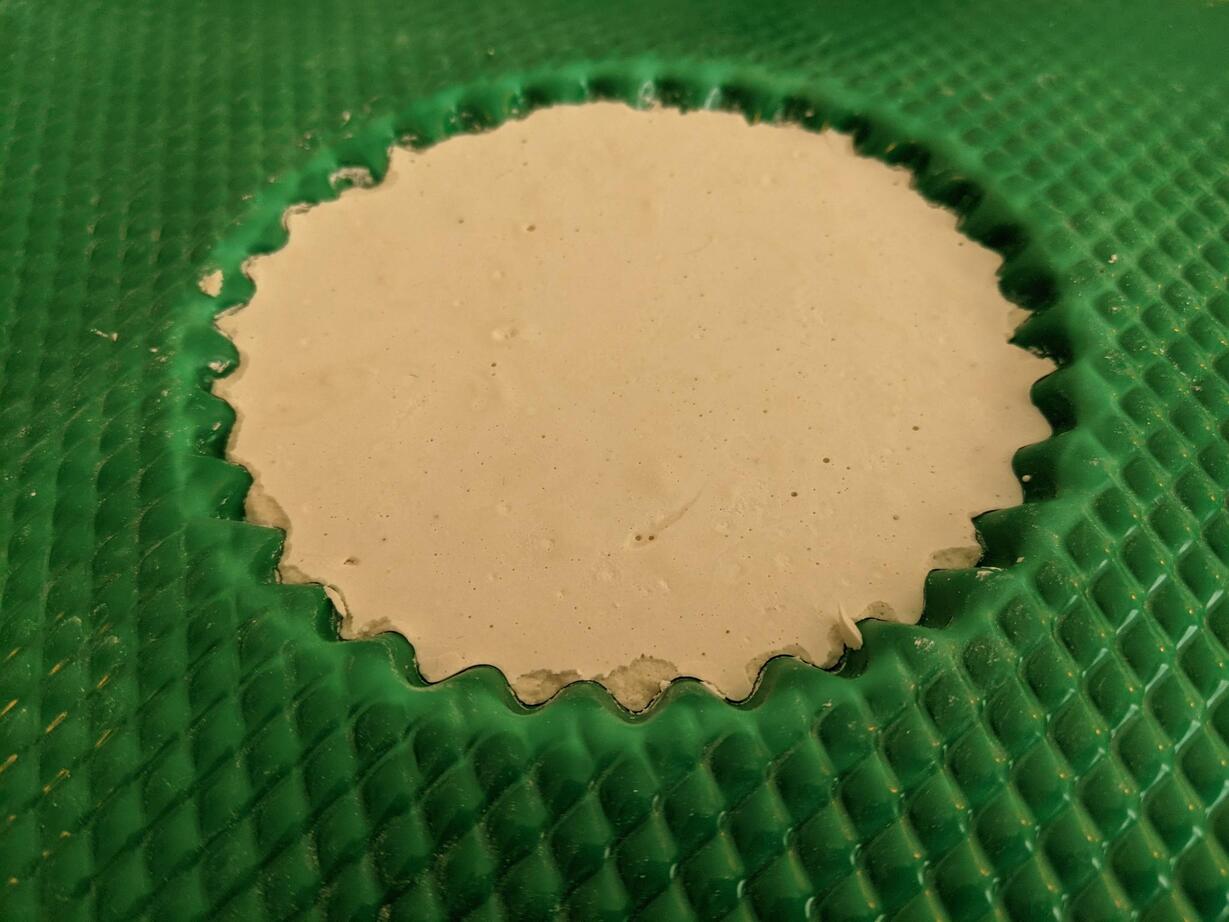
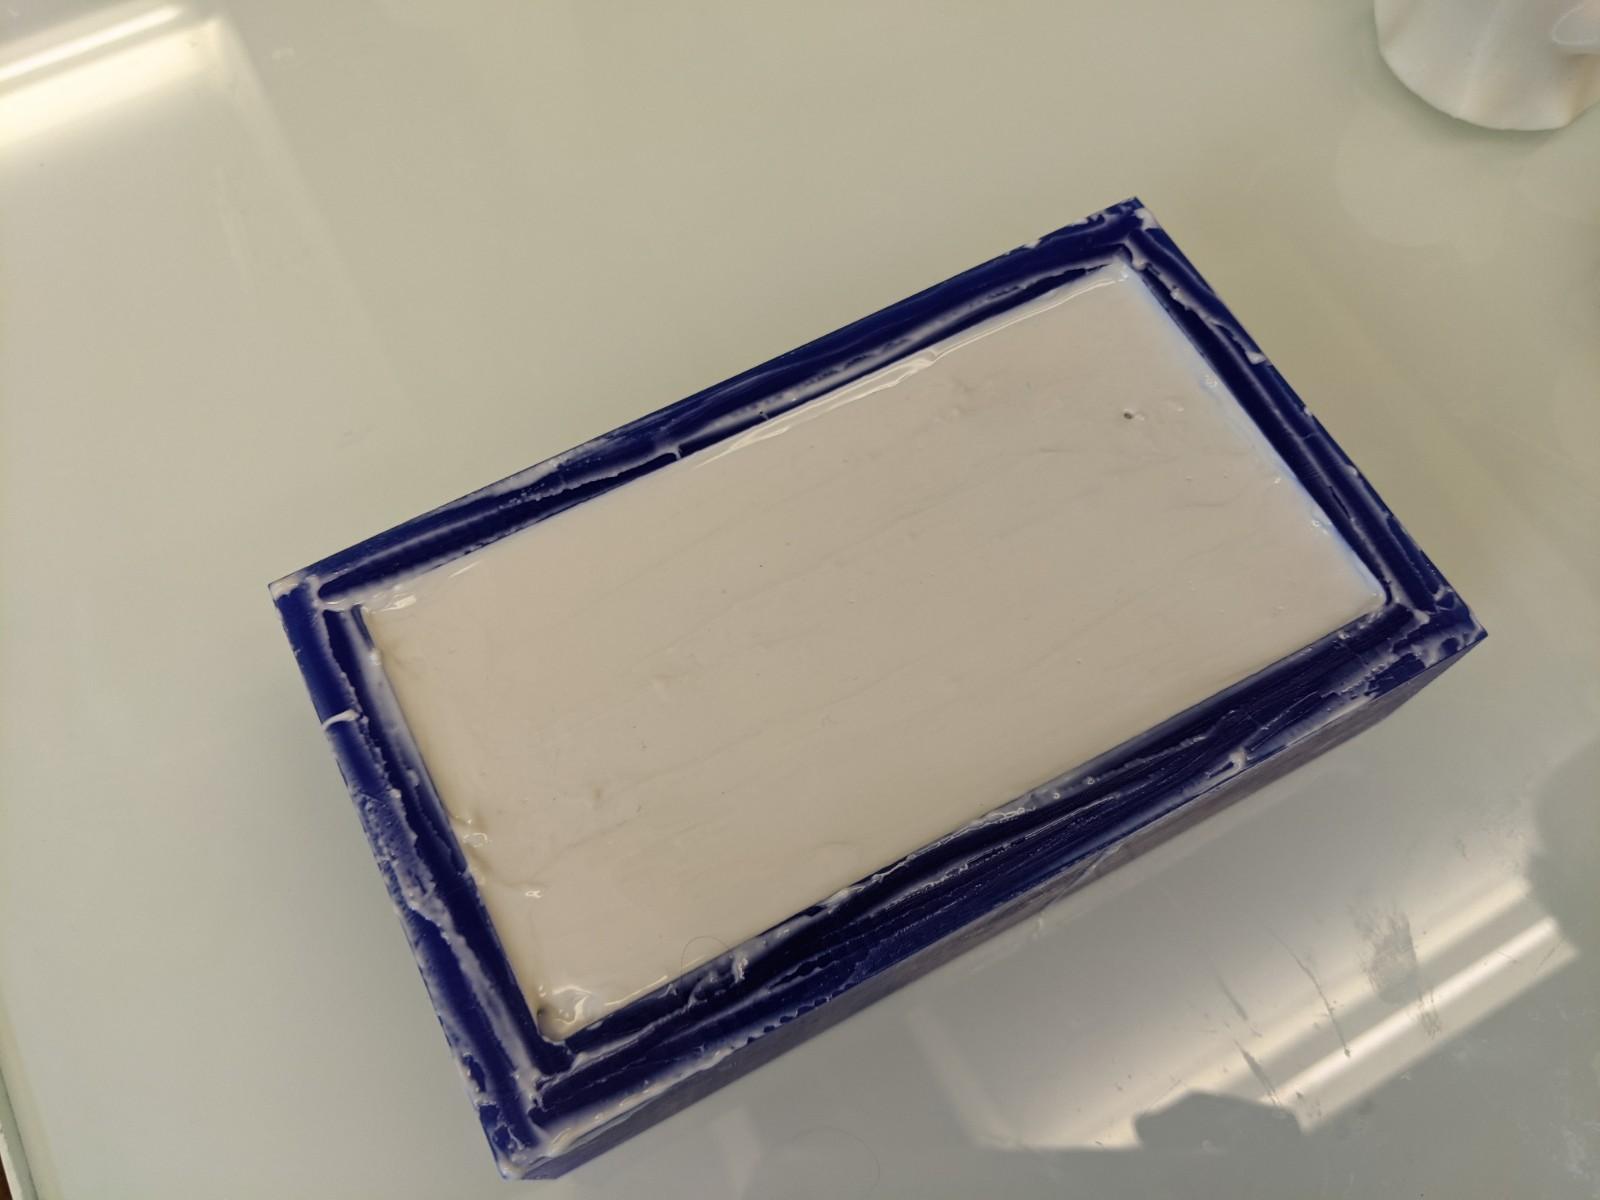
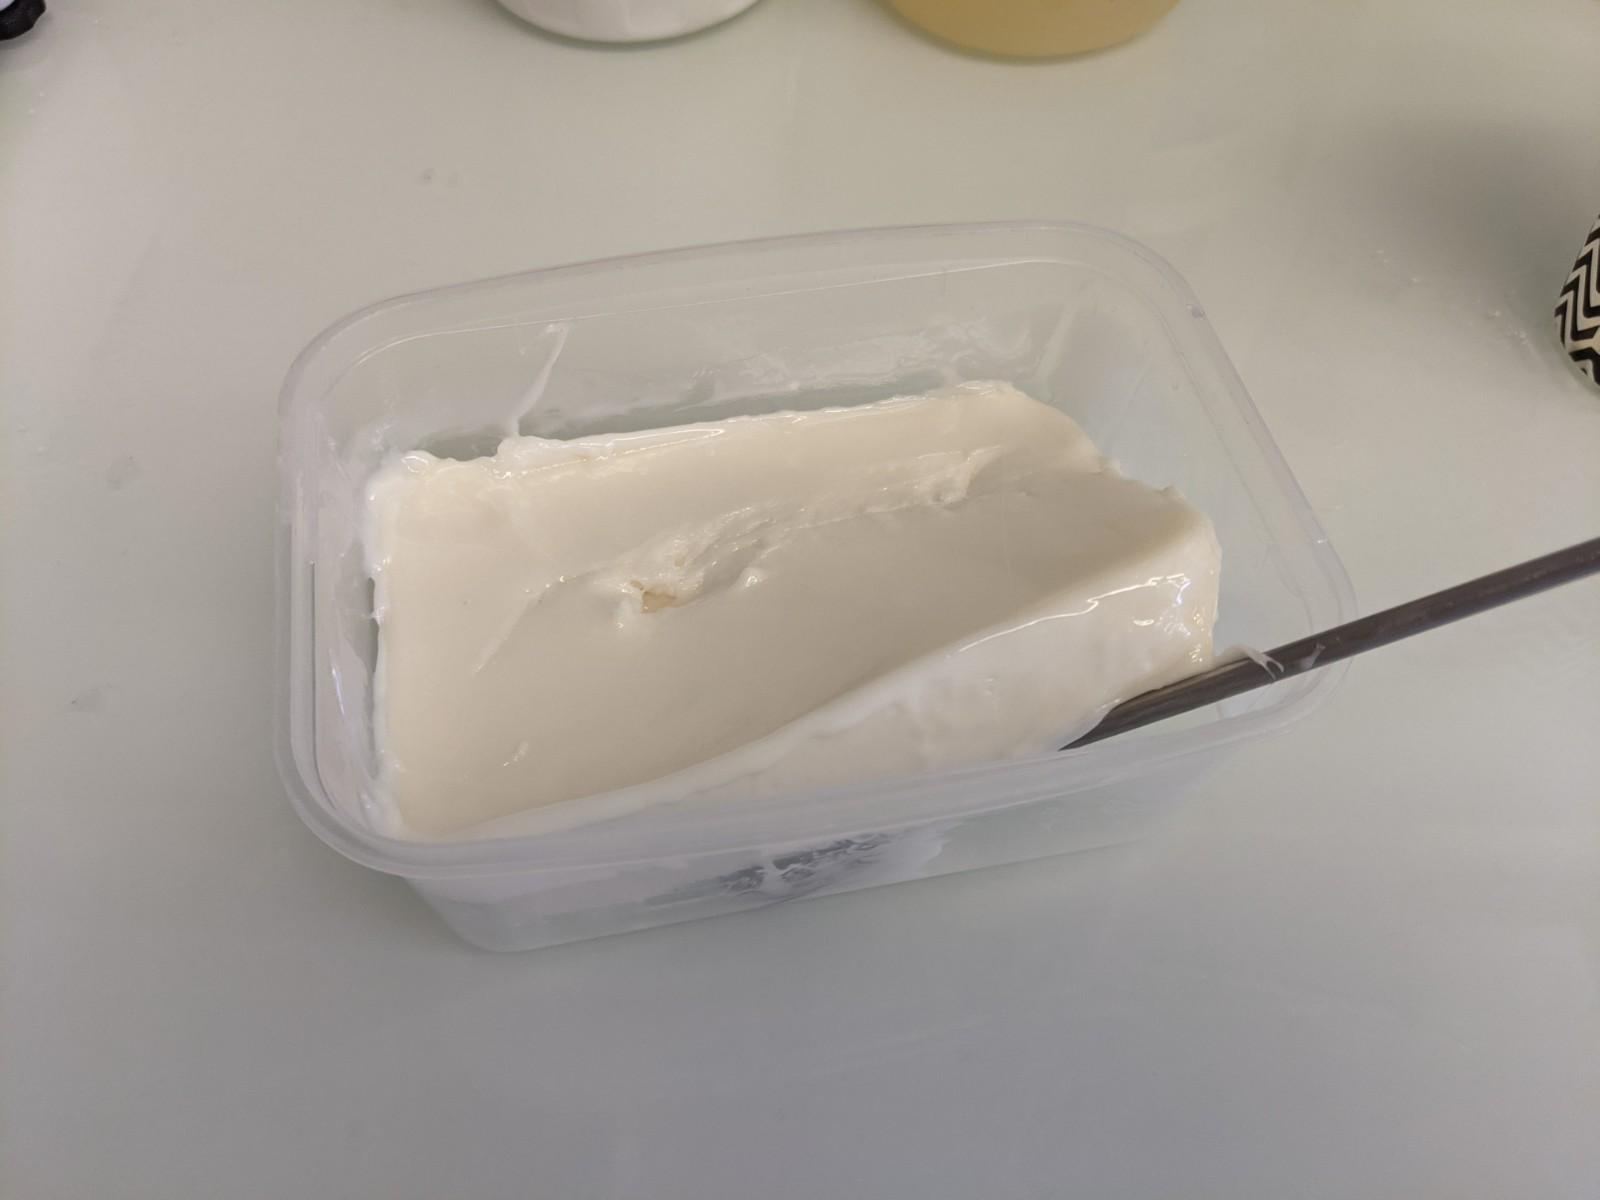
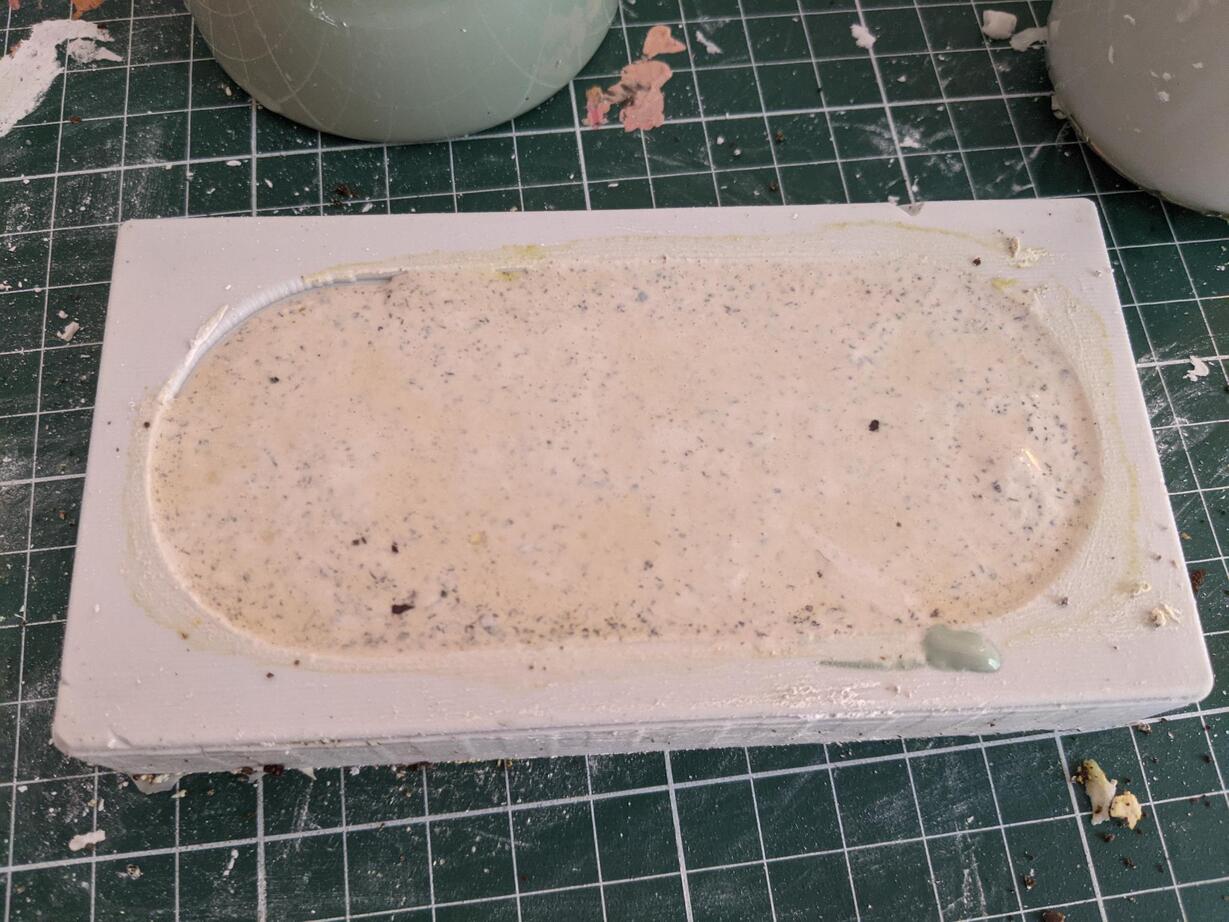
The silicone mix was very thick and not easy at all to cast! I was scared it would be a complete mess not resulting in a satisfying mold. First I thought it could be a low quality silicone, but it was probably because I forgot to shake the Part B! I probably put only the bottom of the liquid agent (since I used a throwable plastic eyedropper)
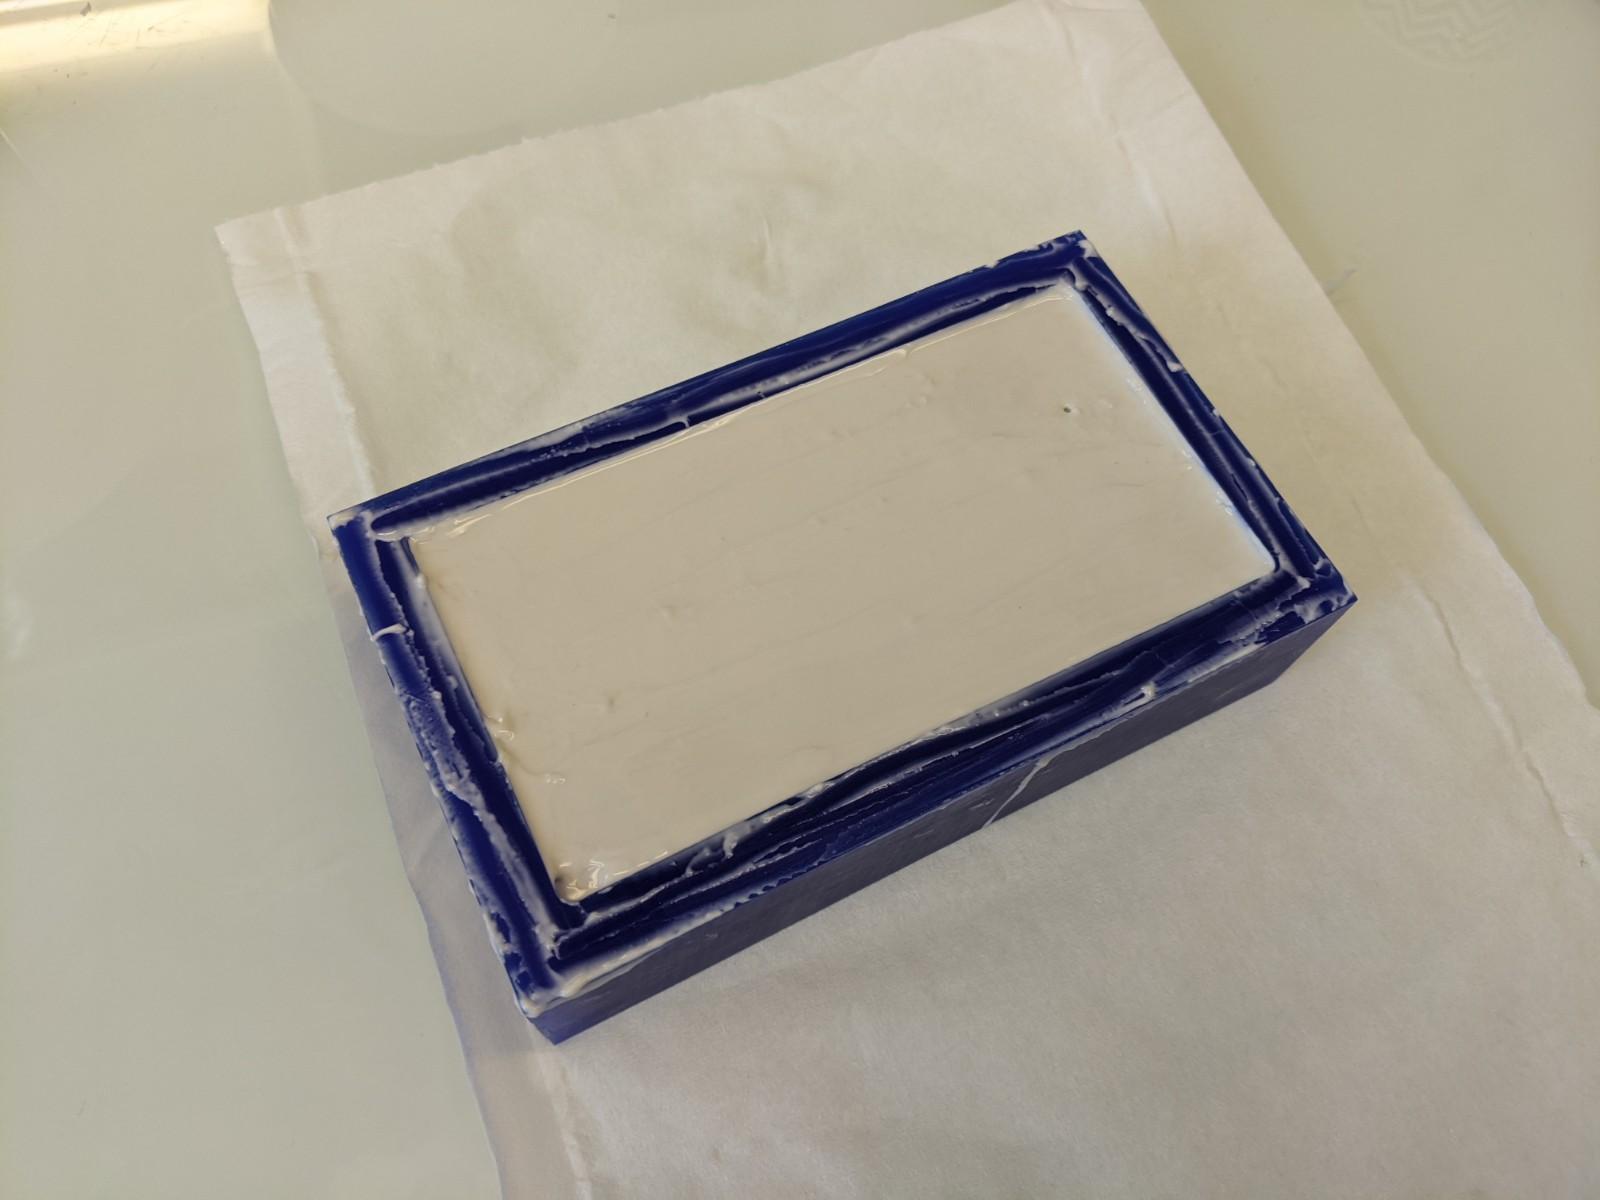
I came back to the lab two days after and in fact it worked just fine! It only had very few imperfections. To take out the silicone mold I just slowly pulled the edges of the silicone from the wax with my fingers, and it went off nicely.
Silicone 'sock-mold' (?)
Principle
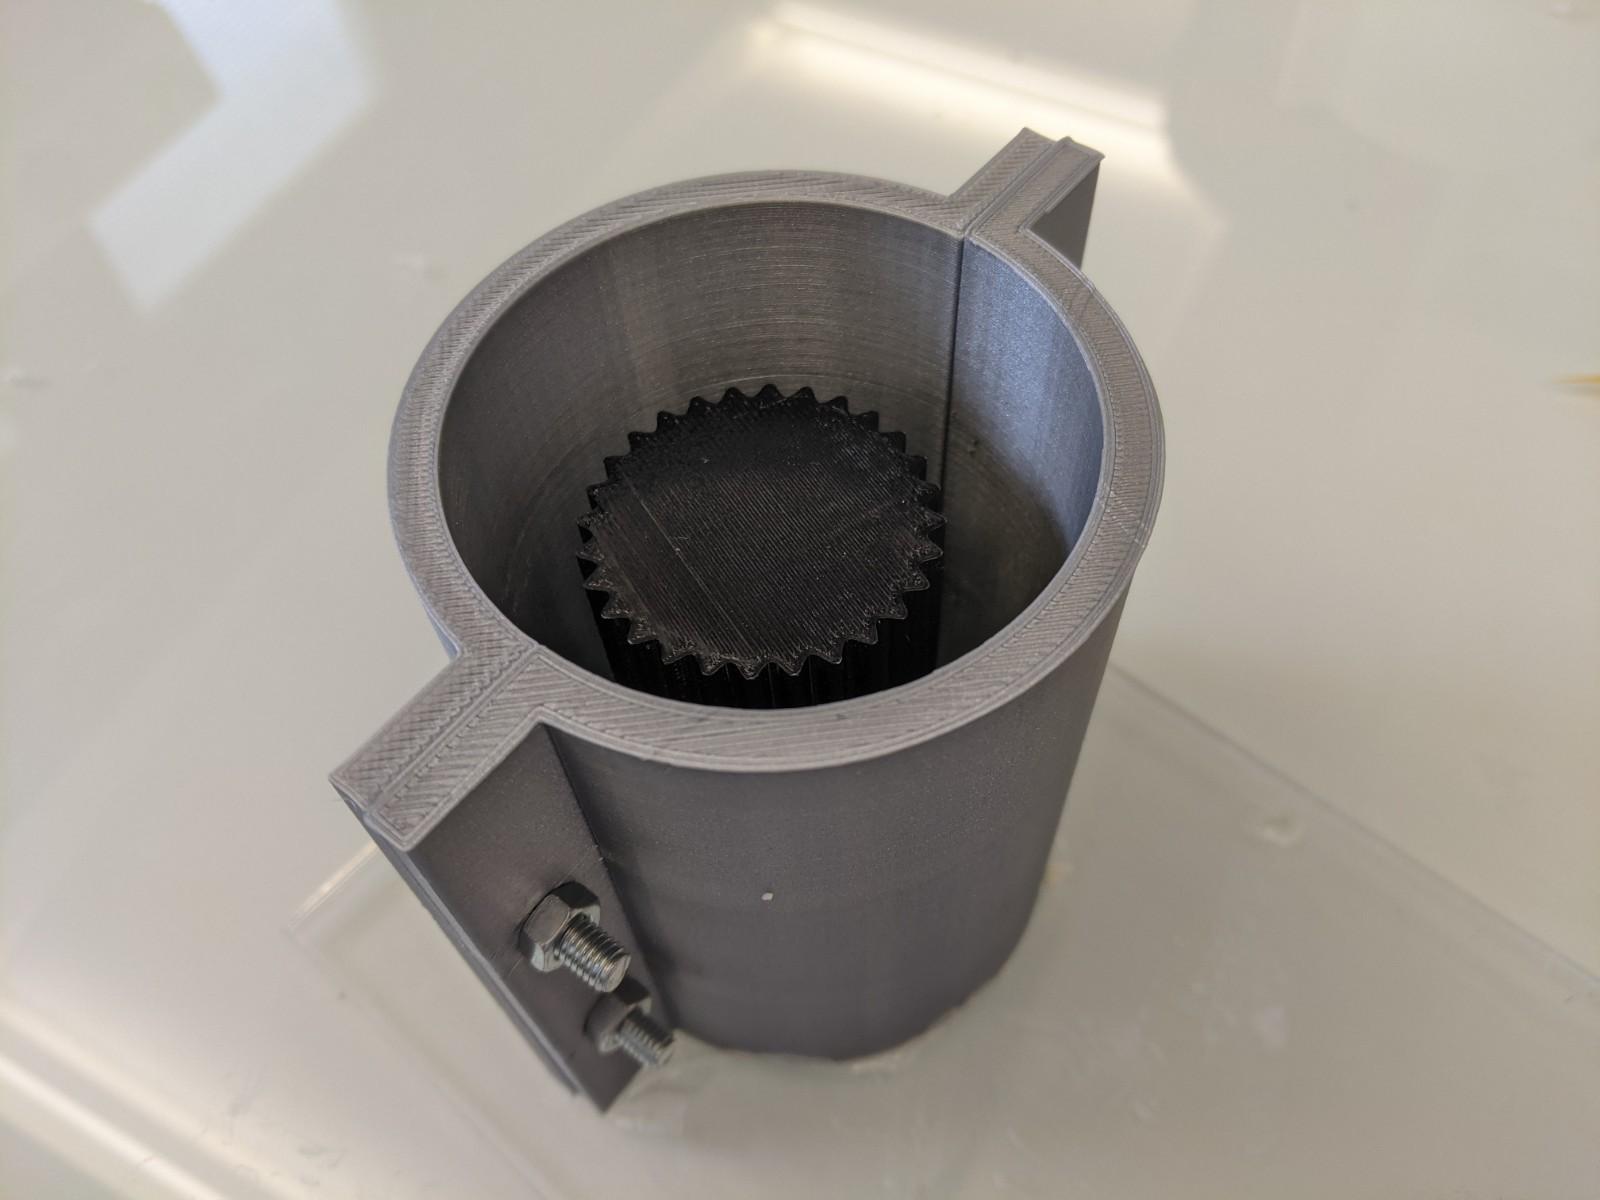
Another molding technique demonstrated by my colleague Simon is to cast silicone all around a premold inside a removable enclosure. He even made a parametric enclosure design in fusion to be adapted to various models dimensions. You need a flat surface on your model to use this technique, and you have to think that your object must be easily extracted from the silicone mold around it.
Printing the enclosure
- Open the fusion file and change the dimensions for the enclosure.
- Save as mesh
- Slice
- Print it in PLA
Making the mold
Material
- Object to model
- Parametric two parts enclosure
- Four screws and four bolts to tighten the enclosure
- Screwdriver
- Wrench
- Double-sided tape
- Piece of 3mm acrylic or similar flat surface (The one I used measures approx 15 x 25 cm)
- Silicone part A and B
- Plastic container
- Metal spatula
- Latex gloves
- Balance
- Vacuum pump
- Exacto or box cutter
- Rubber bands
- Flat spatula
Steps to follow
- If needed, design and print your model
- If needed, adjust and print your enclosure (see above)
- Tape the model to the acrylic plate with double sided tape
- Tape the enclosure to the acrylic around the model
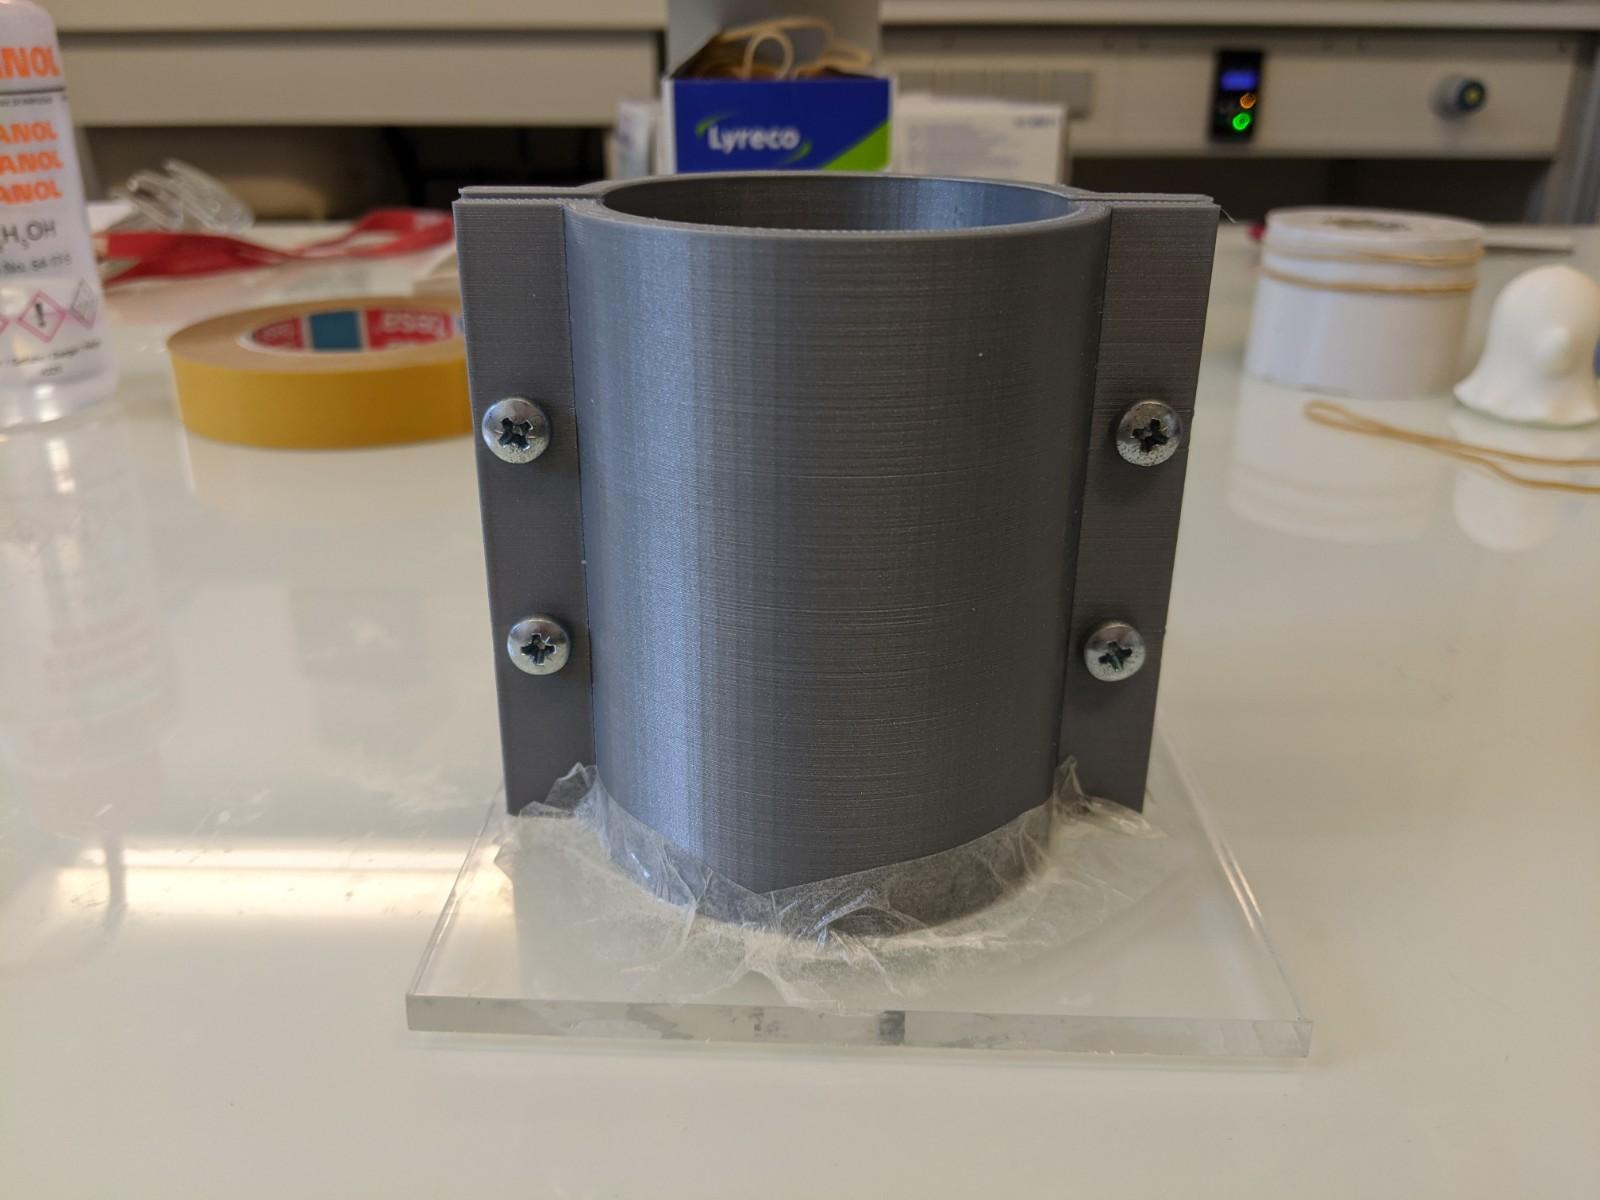
- Screw the two parts of the enclosure together
- Try to mark the orientation of your object somehow (in order to place the slits correctly once the silicone will be solidifier, see a few steps below)
- Shake the two parts of the silicone
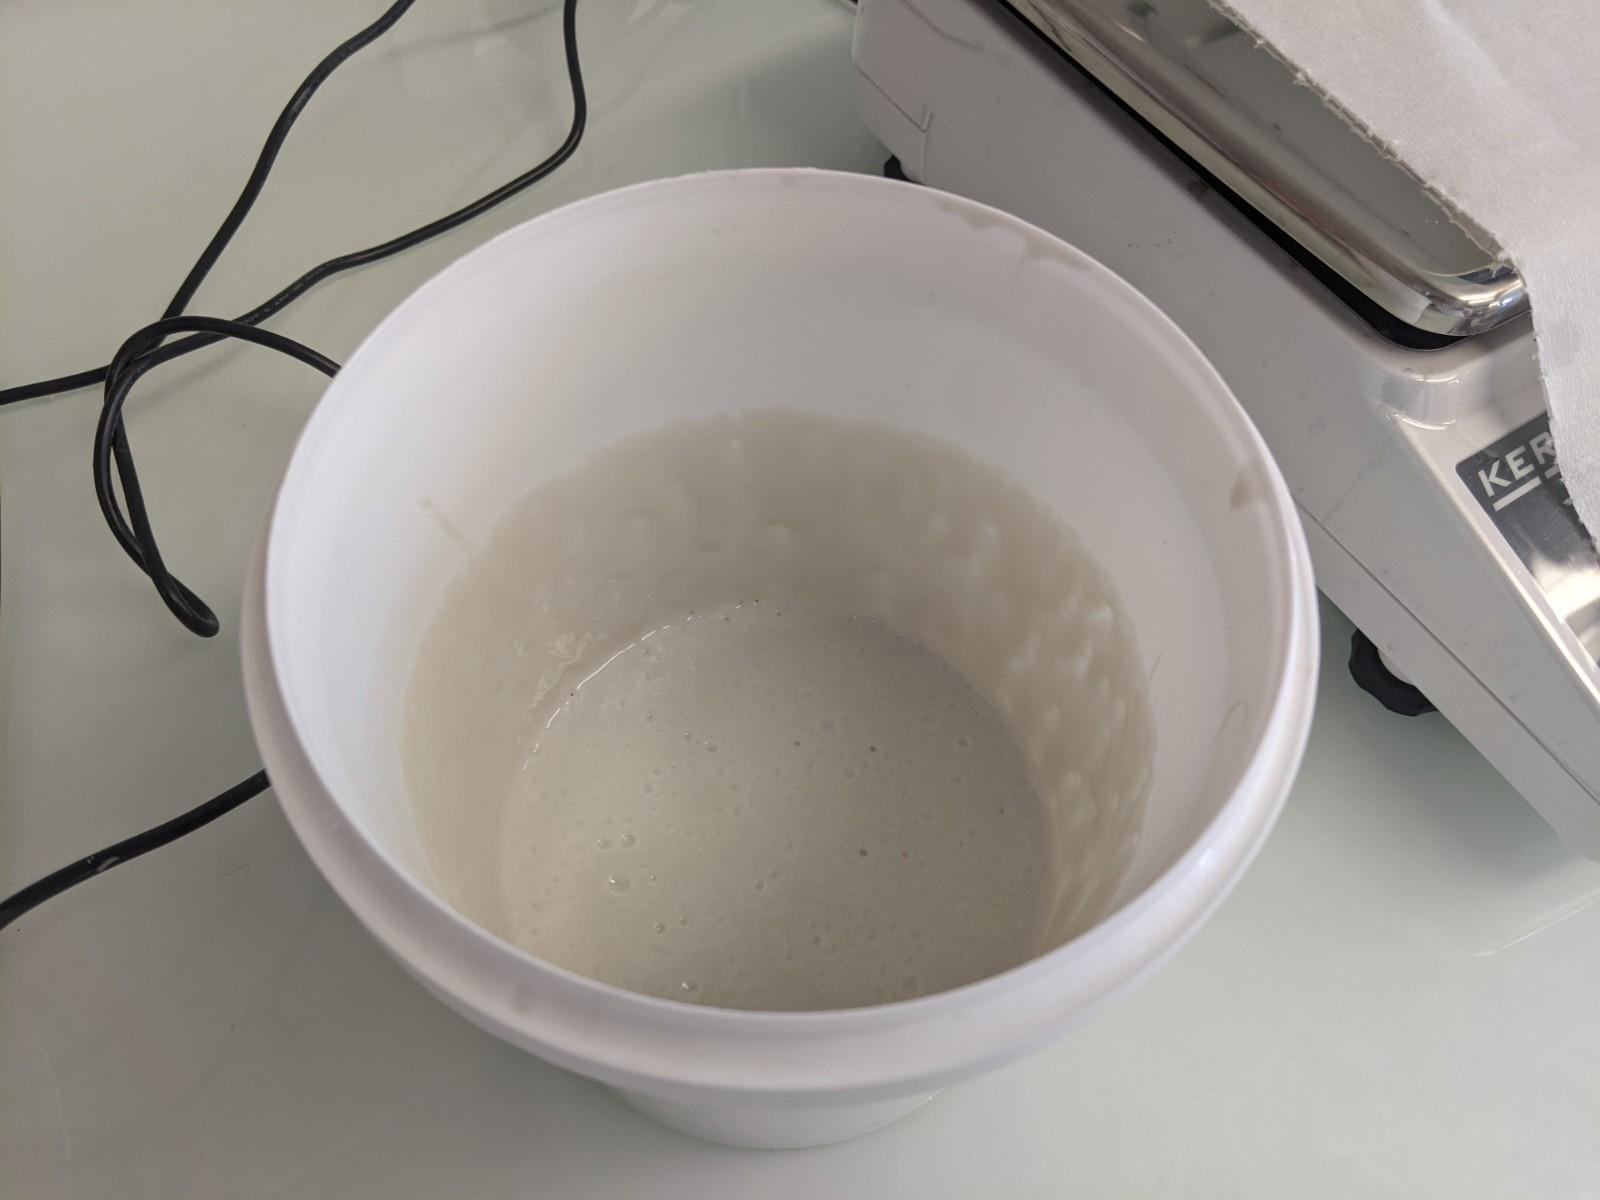
- Weigh them in the same containter. It shouldn't fill all the container as the mixture will double / triple volume when we will remove the air bubbles
- Mix well with the metal spatula
- Remove the air bubbles with the vacuum pump
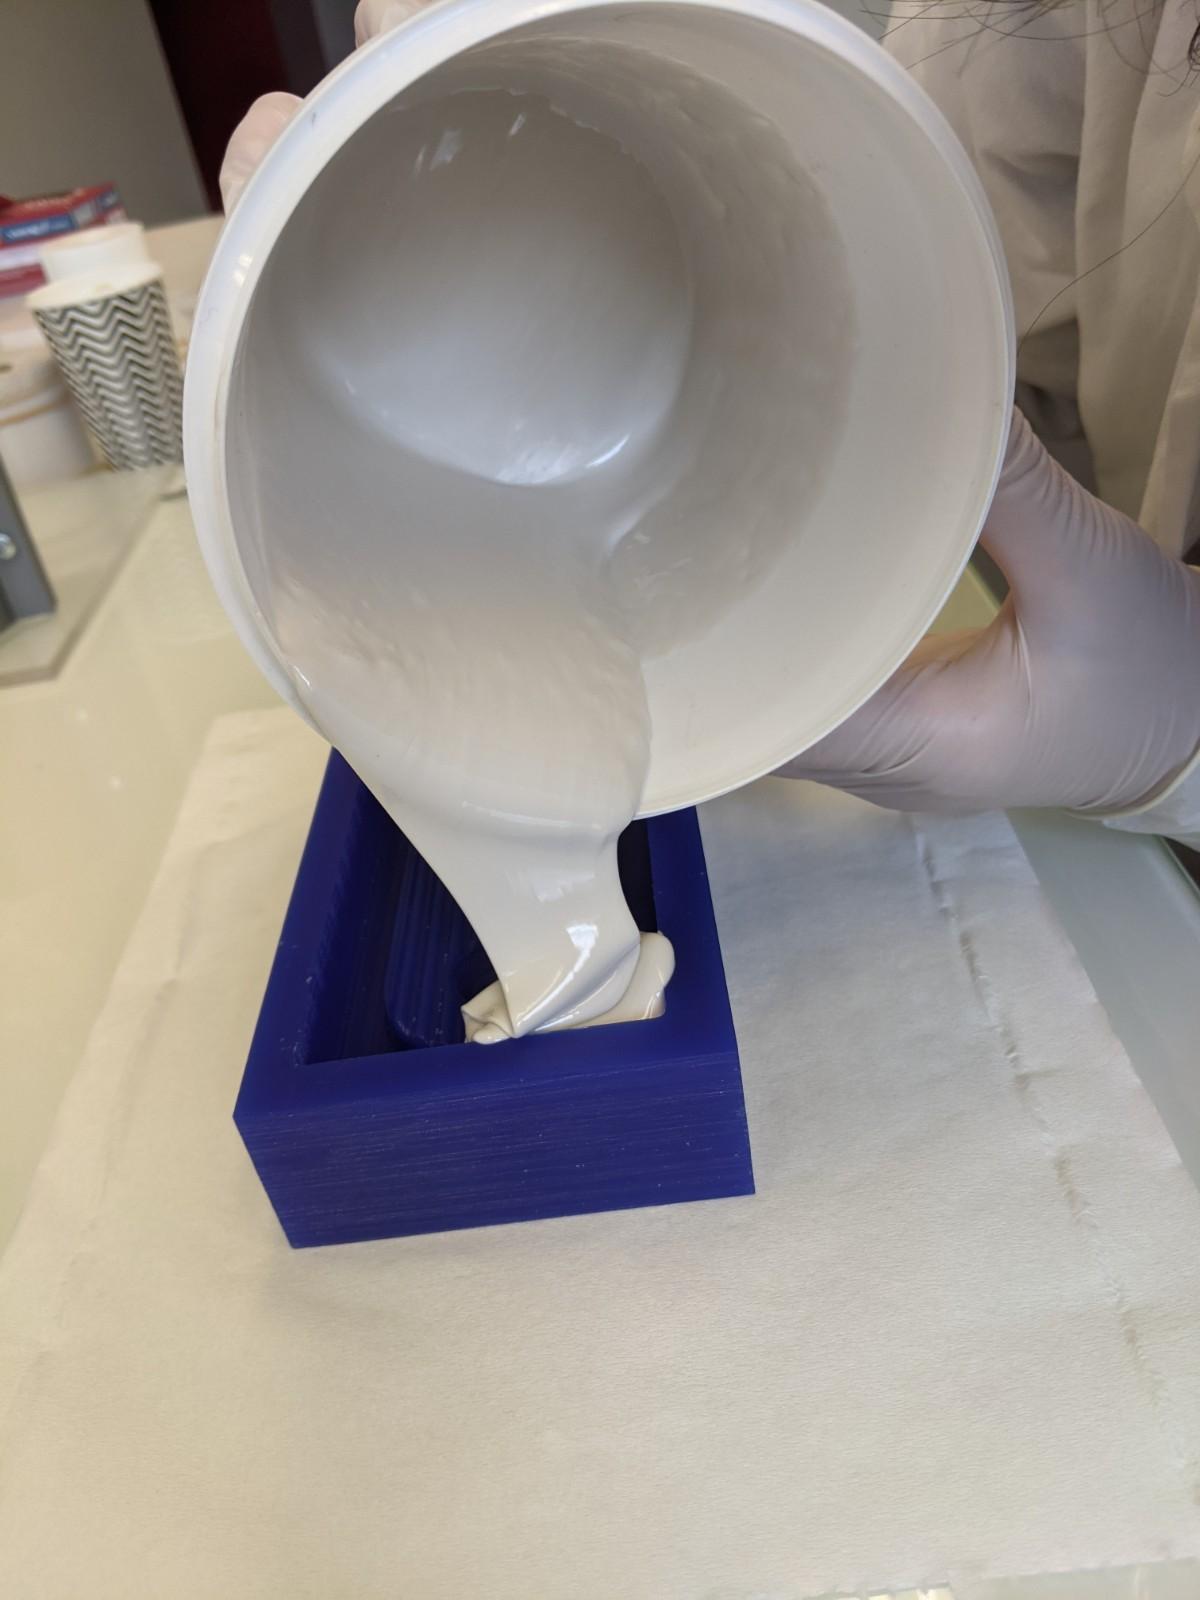
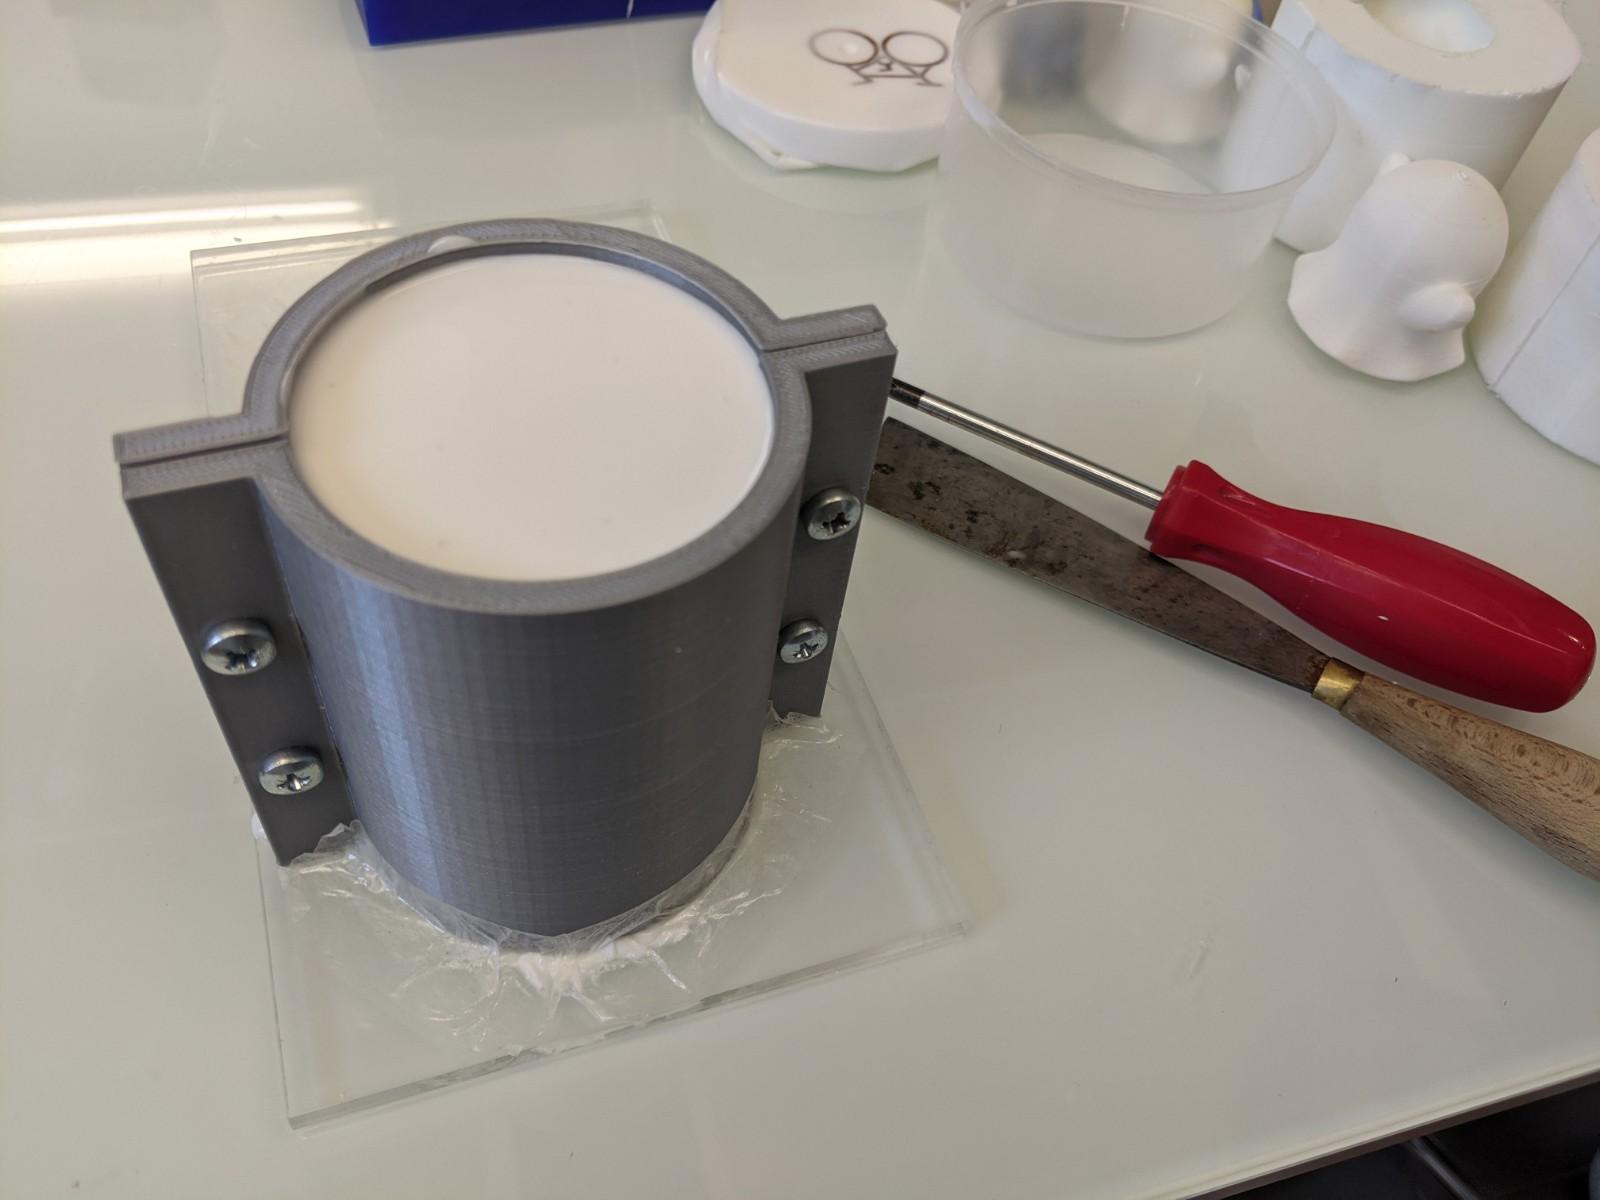
- Cast it slowly: as usual, aim for the acrylic plate and not the surface of your object.
- You can tap the acrylic plate on the table if you want to remove eventual air bubbles
- Wait 16 hours
- When dried, separate the acrylic plate from the rest using a flat spatula
- Open the enclosure by unscrewing the four screws
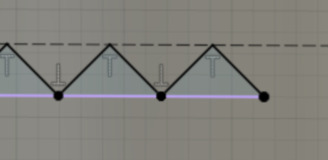
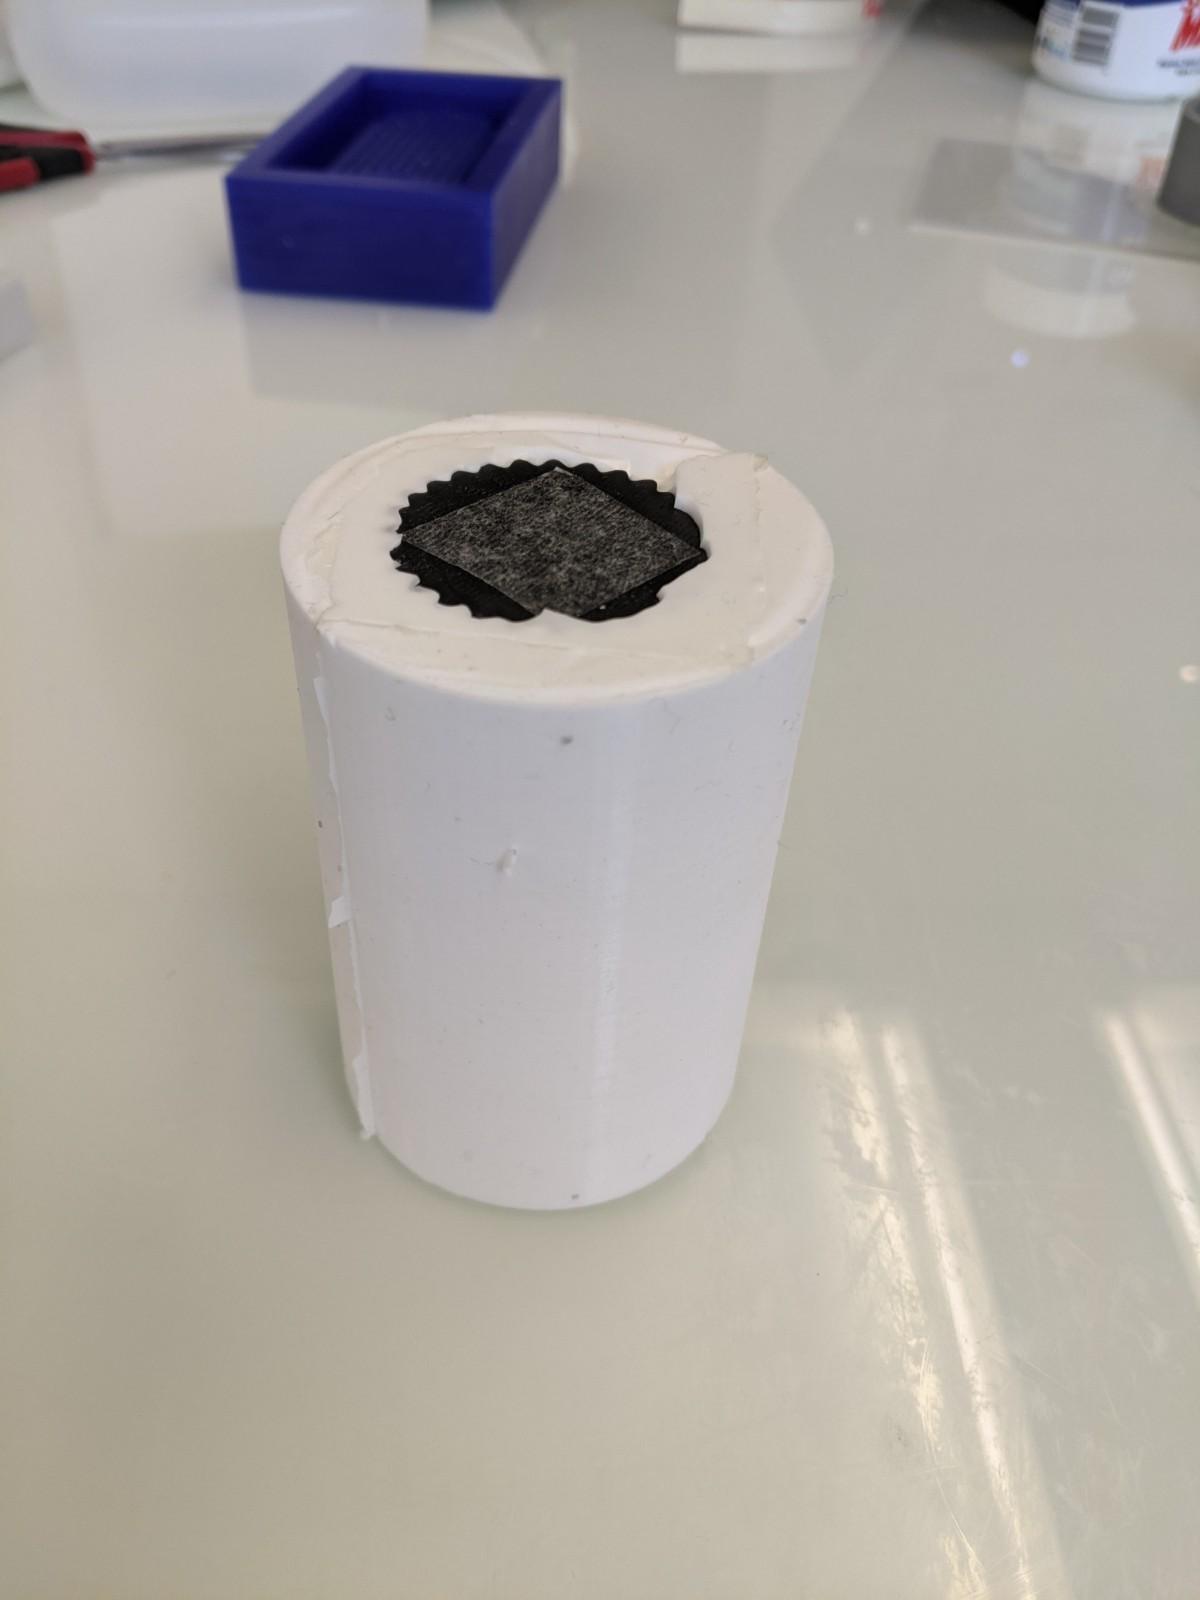
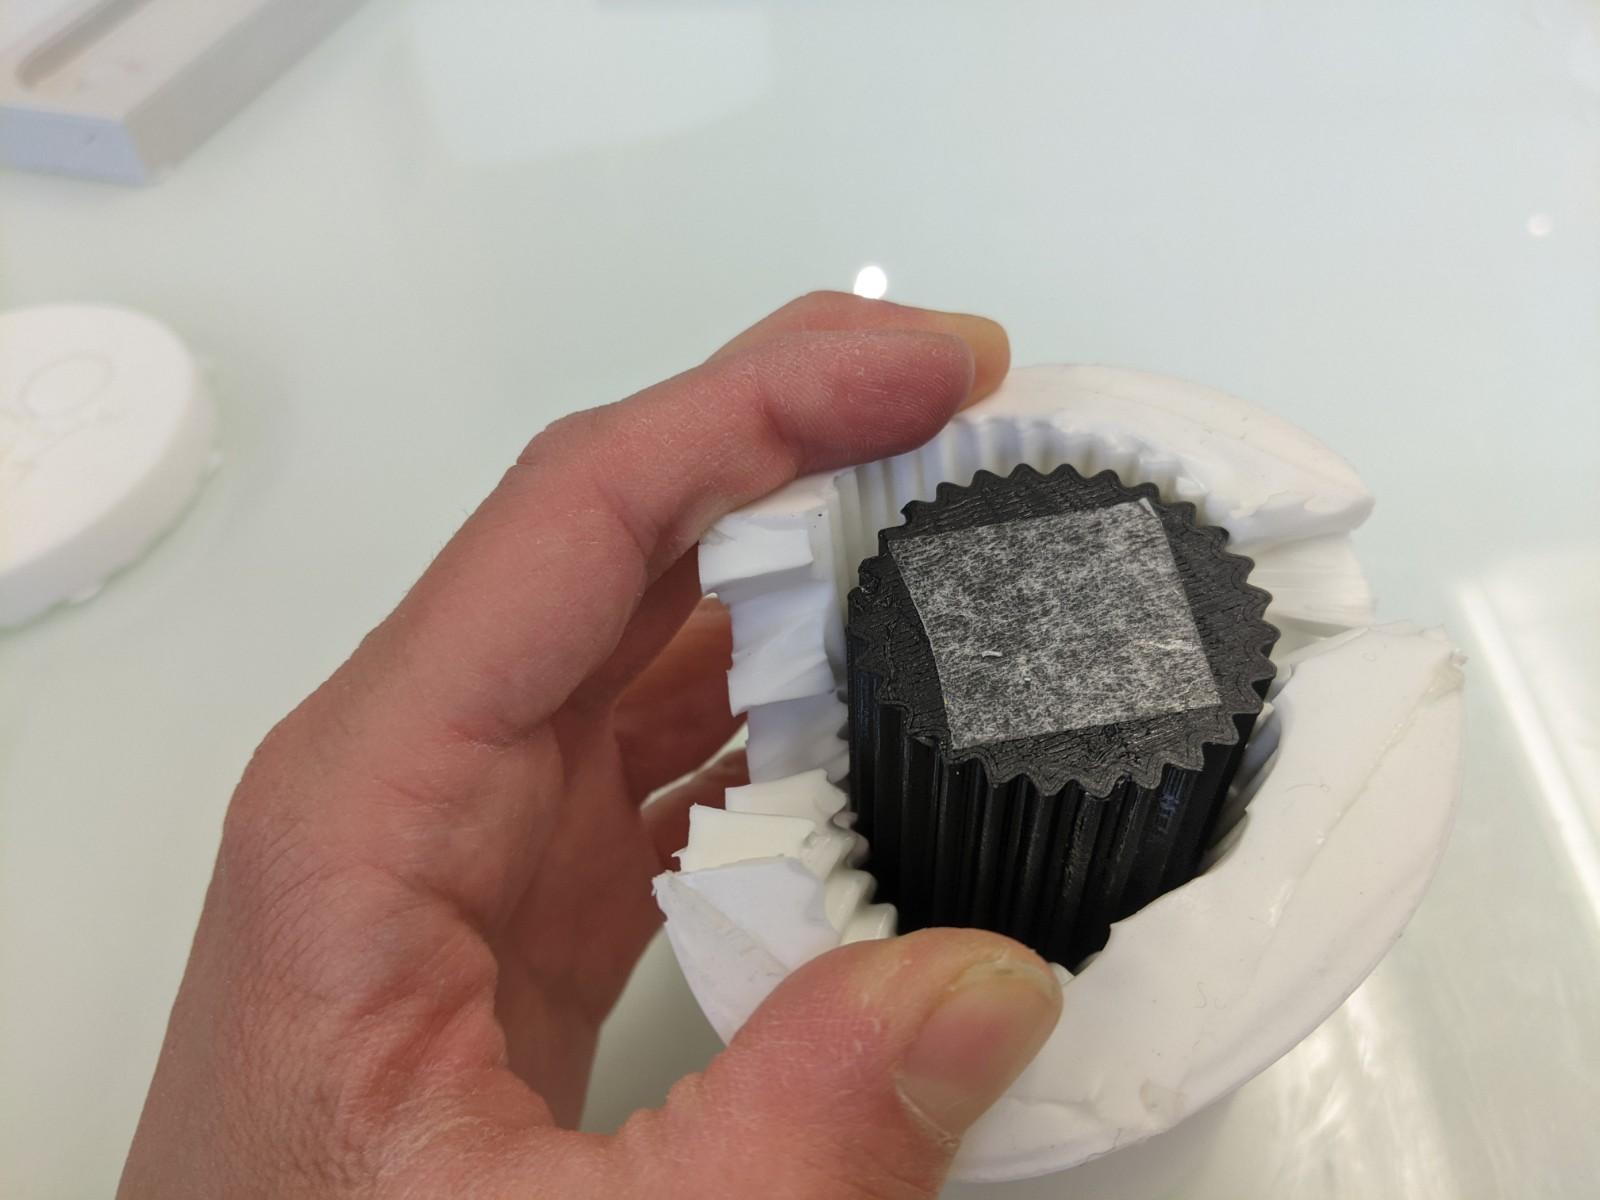
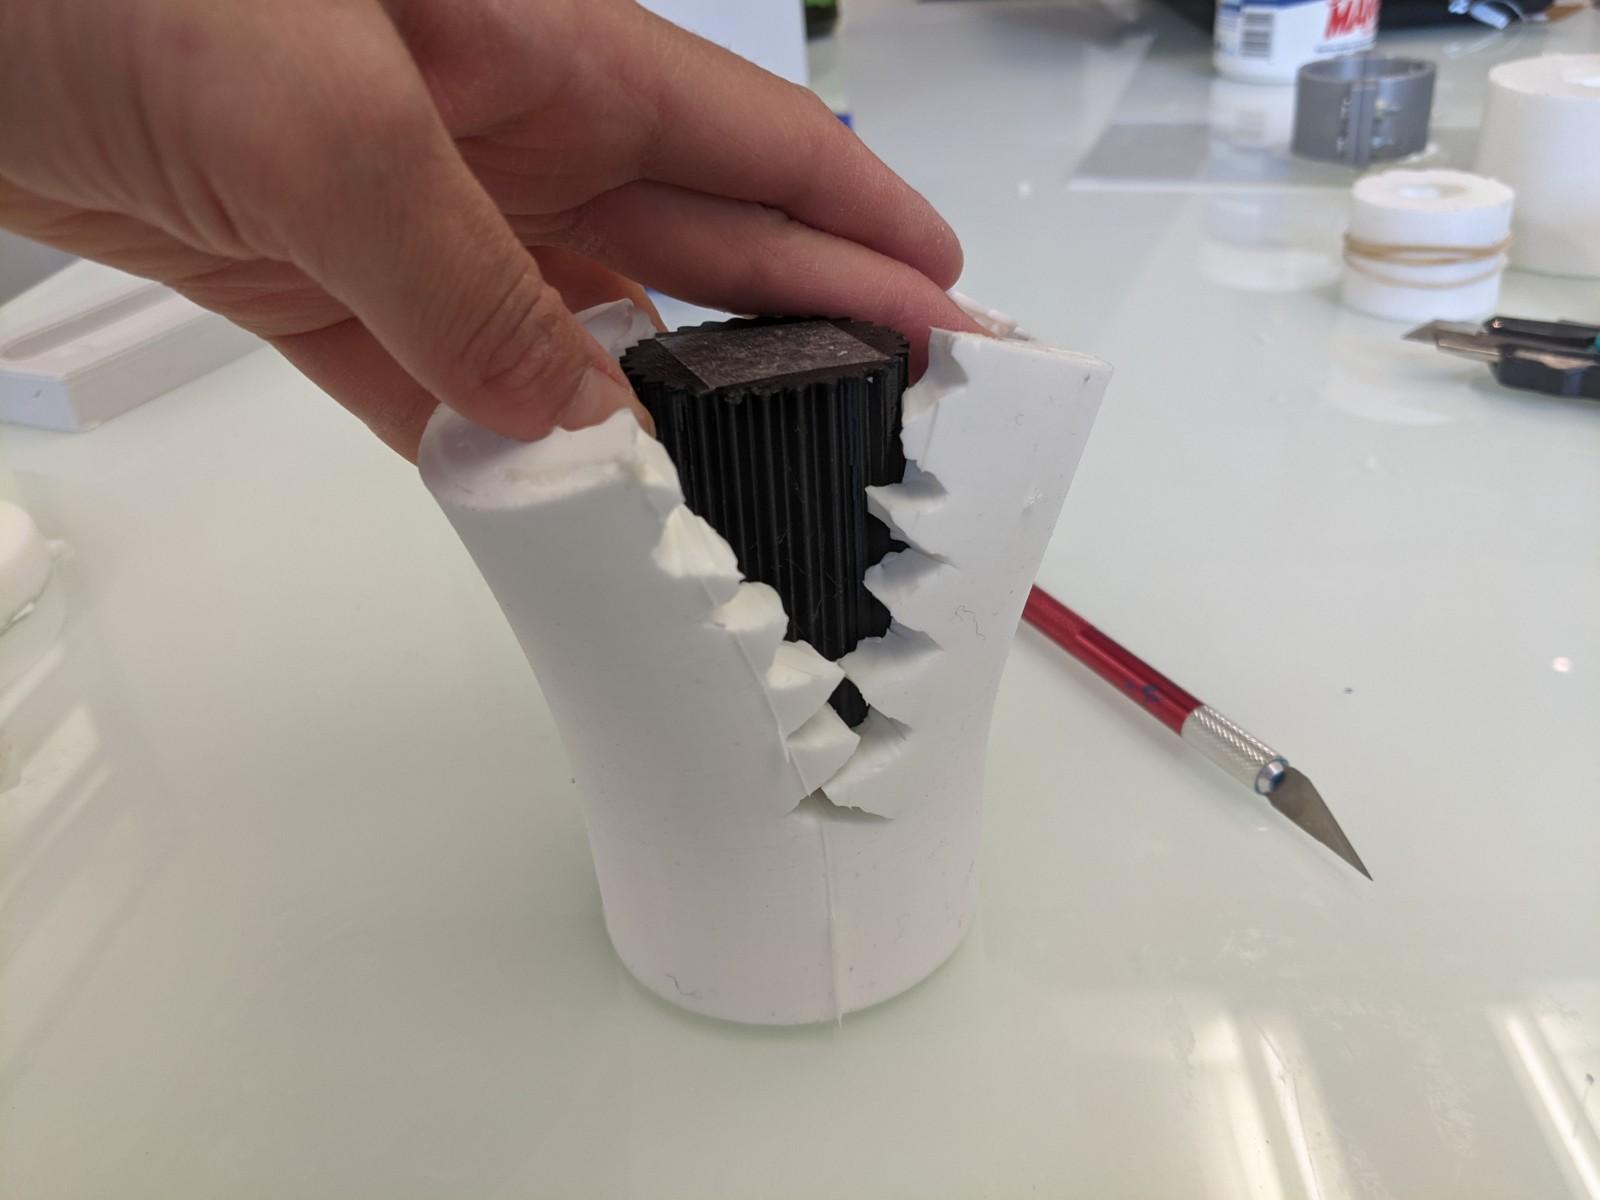
- Take out the object trapped in the silicone: make some diagonal slits while stretching the silicone where you're making your cuts. The zigzag shape of the cut will allow to align better the silicone when remolding. Cut until you can release your object (maybe approx to half of the height). You can make two zig zag cuts on two opposite sides of the silicone mold. Avoid cutting them on area of your object with a lot of details
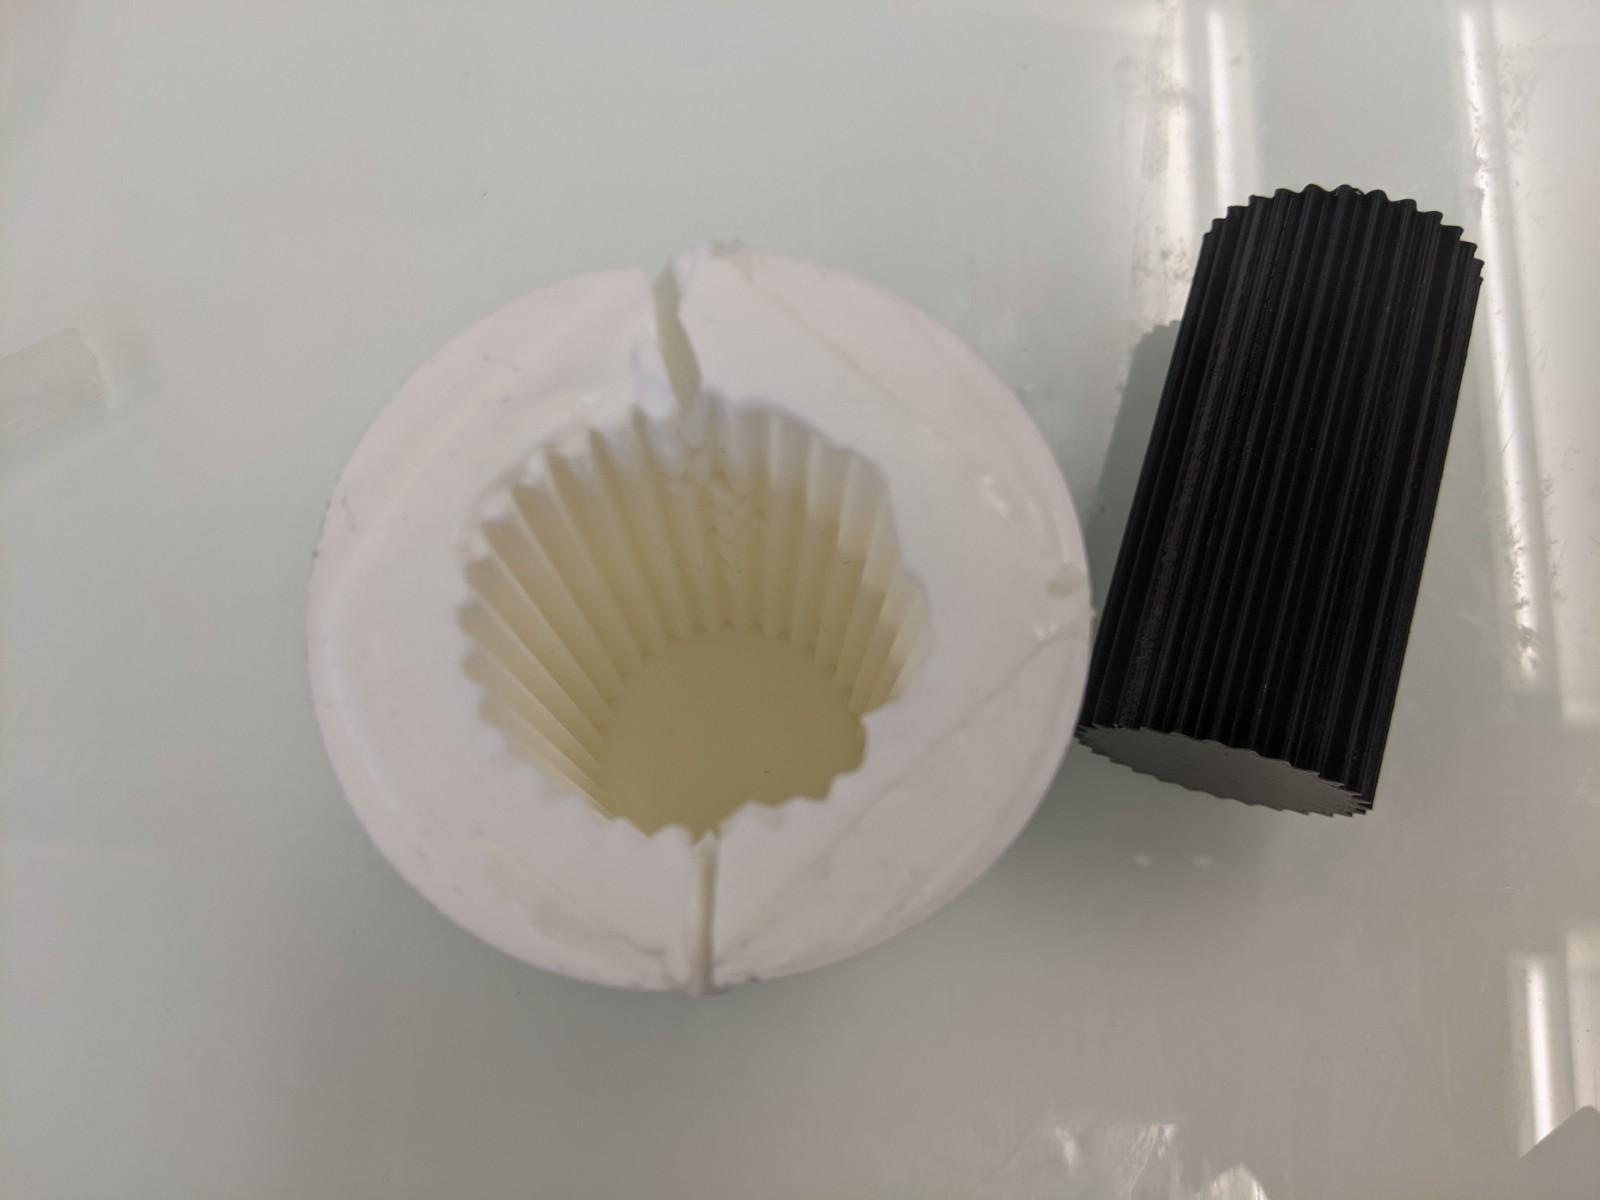
- Remove the object
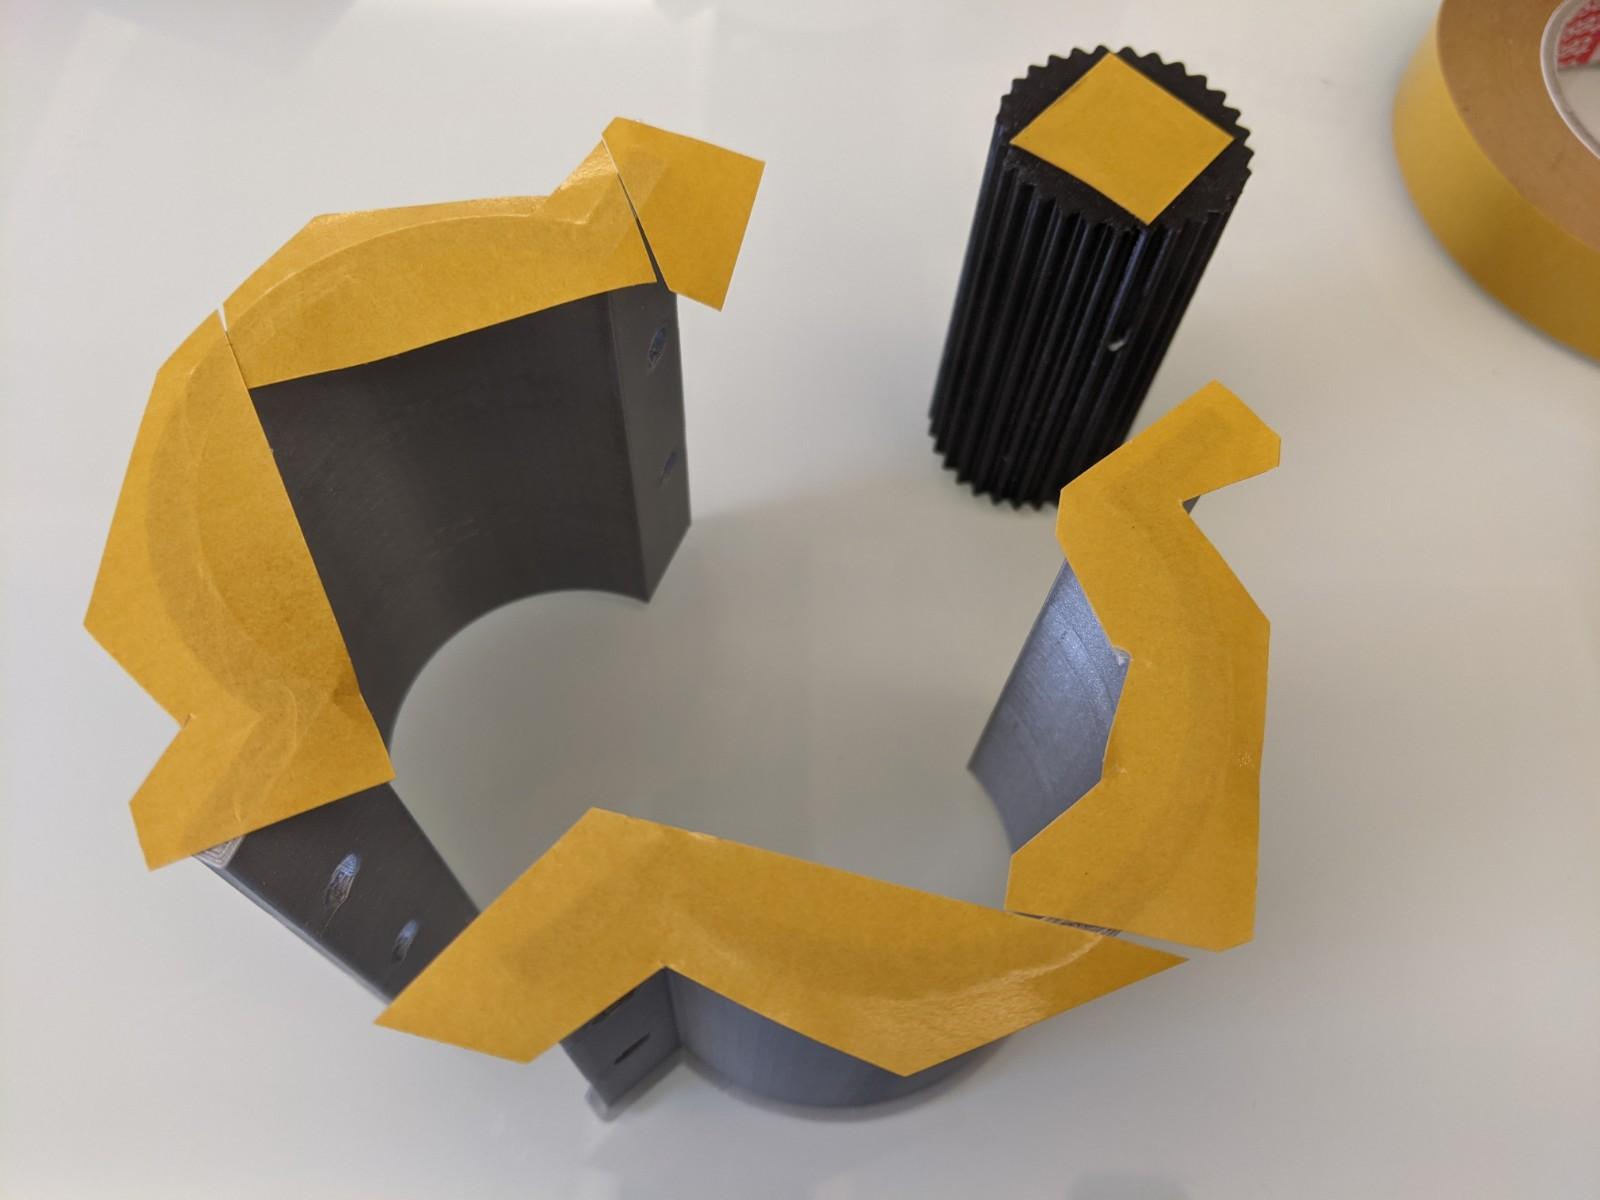
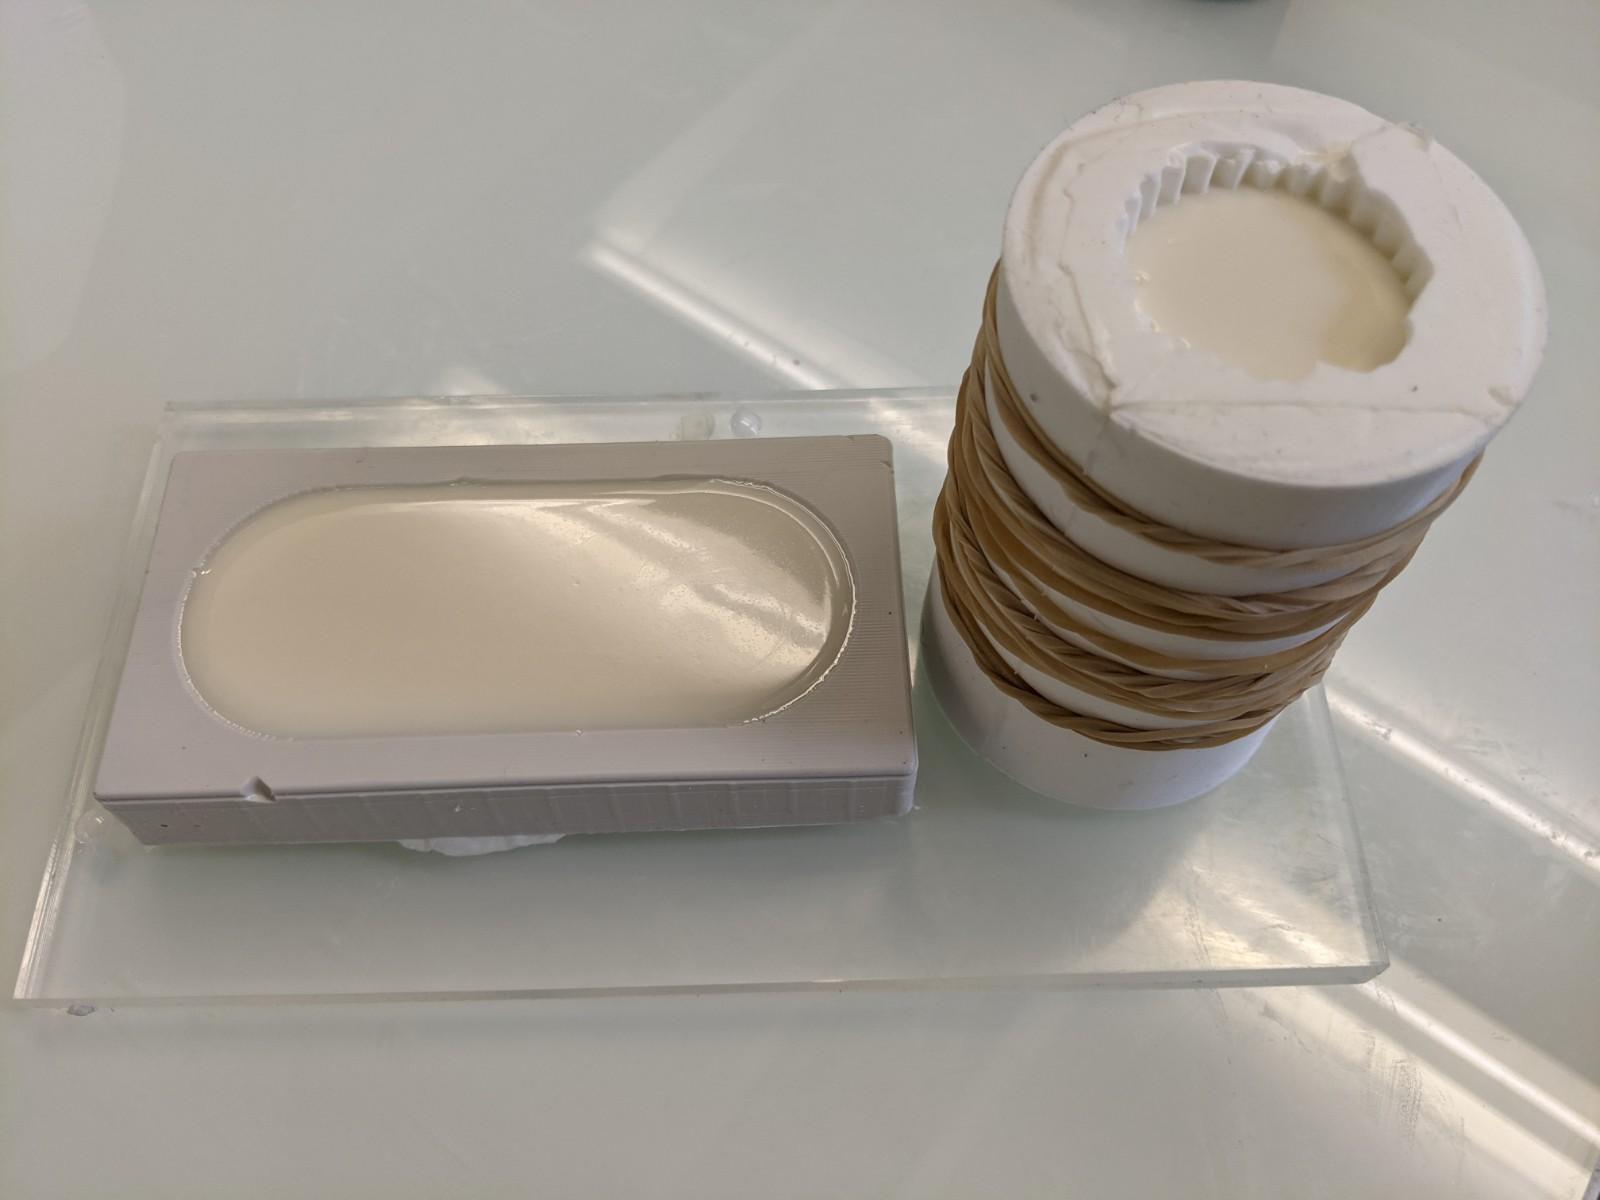
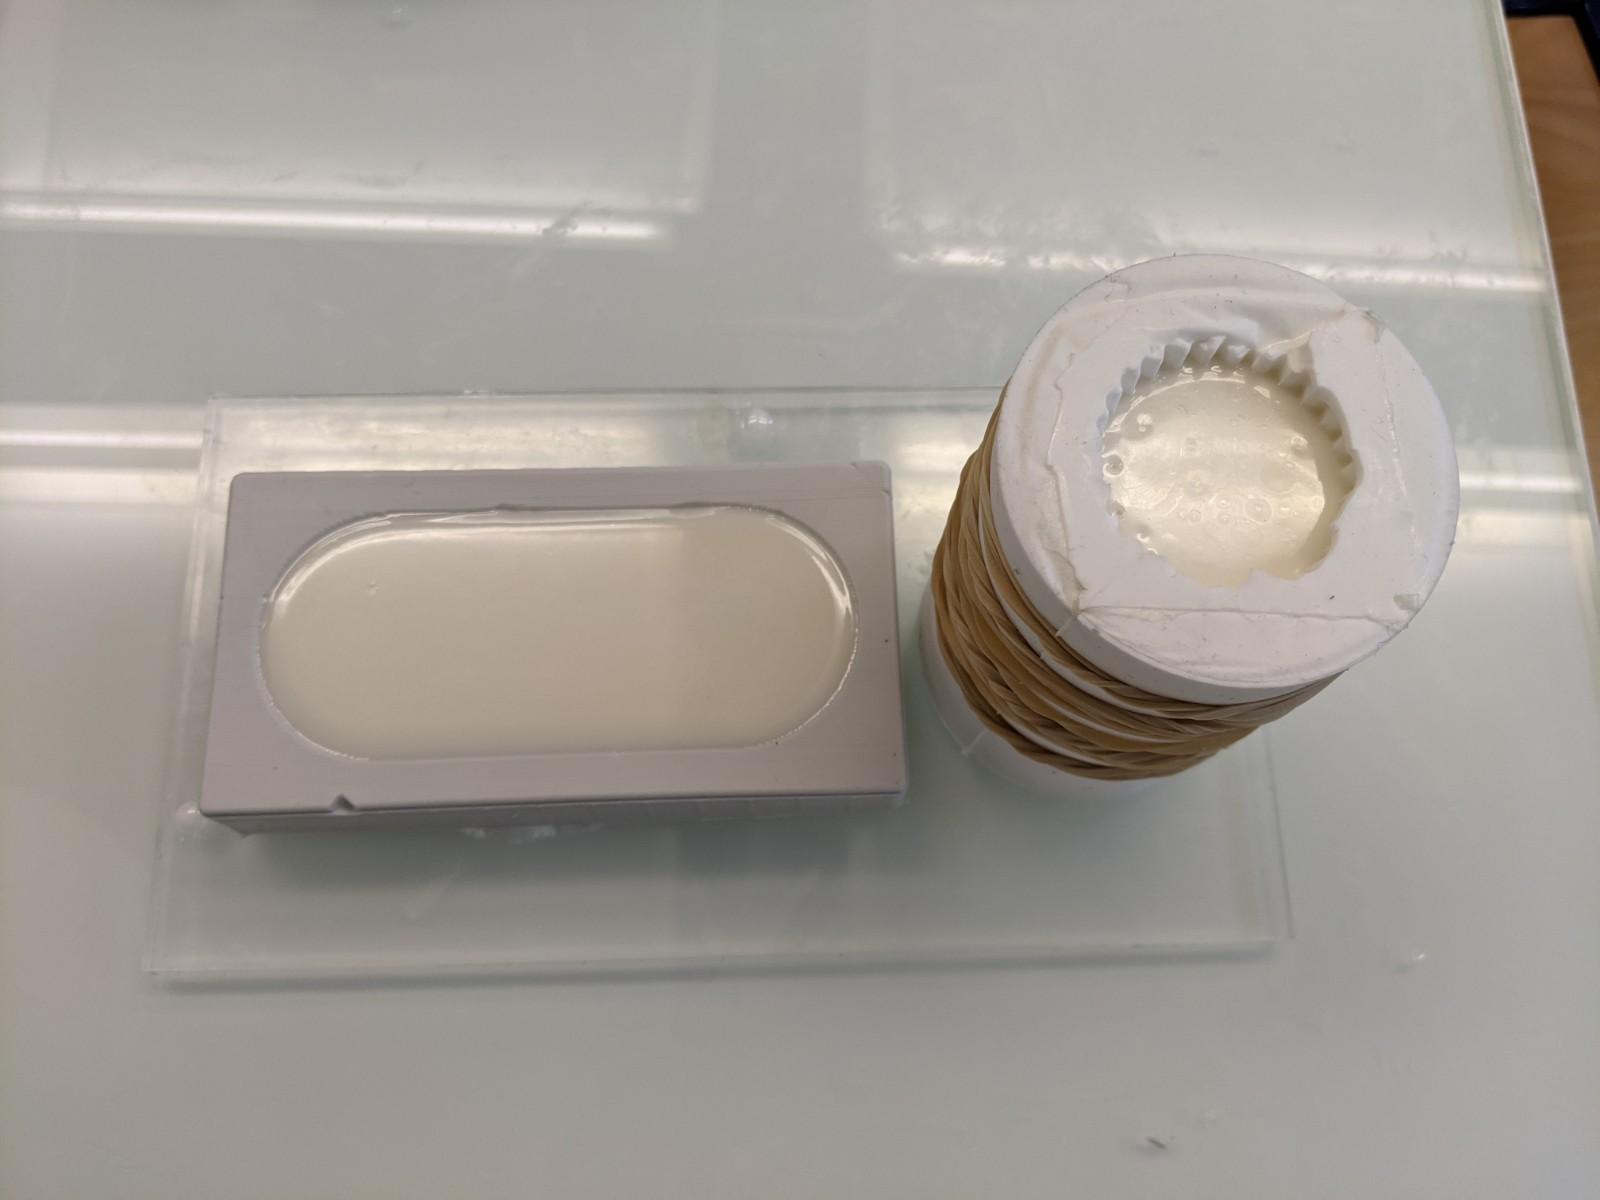
I did such a mold using a ribbed column I printed months ago to make a candle but never had the opportunity to mold. I had also printed an adapted enclosure beforehand (but after some thoughts I think it's too large, which wastes some silicone).
Casting in the sock mold
- Carefully align the zigzag slits
- Wrap some rubber bands to secure them tightly, but not too much!
- Cast the material and wait for it to dry
- Remove the rubber bands and carefully pull out the silicone from the molded part
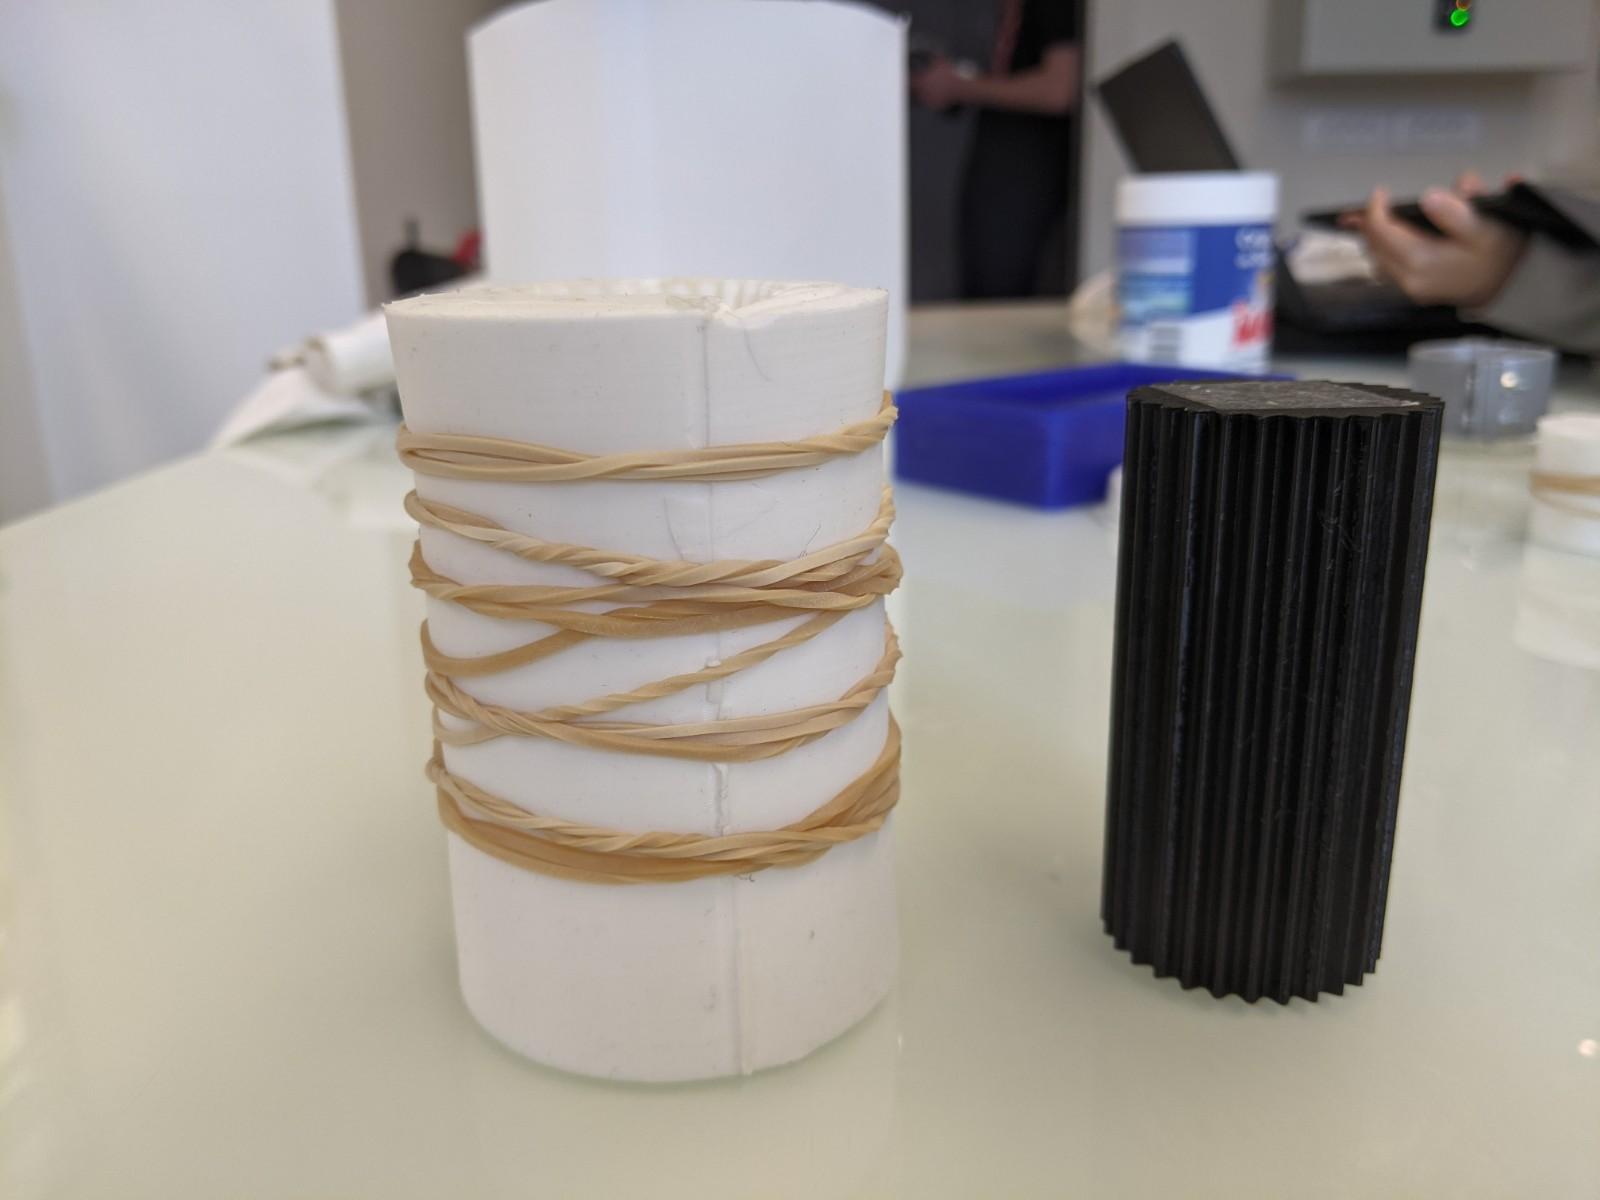 This is too tight!
Casting
I wanted to cast some rough material such as plaster or cement, but first of all started by casting polyurethane, since it's very quick to dry and easy to use. That would make a nice first test.
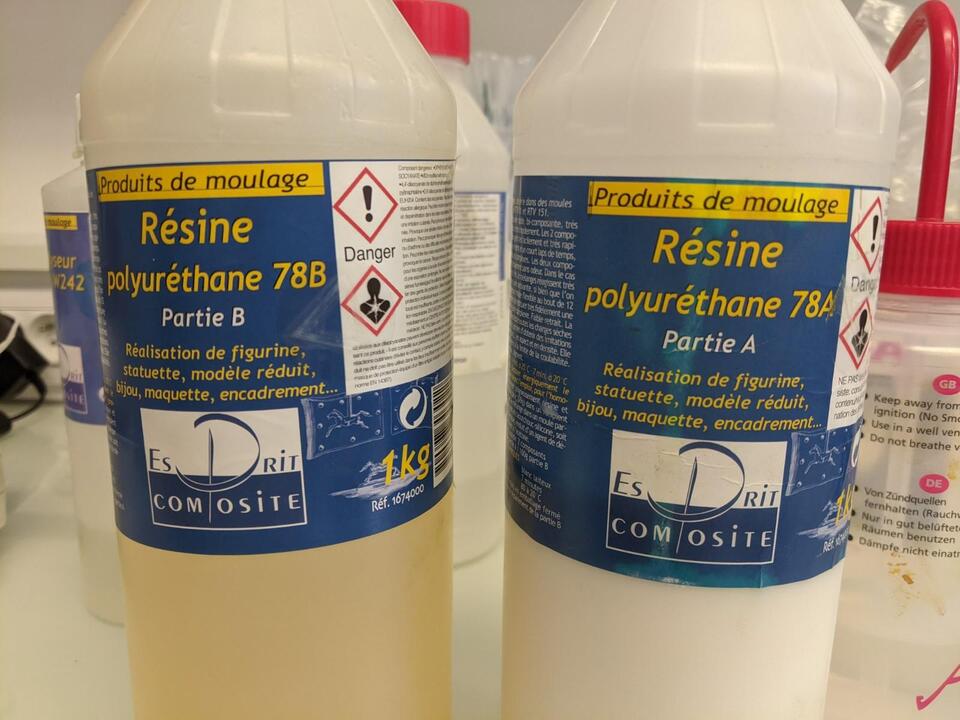
Casting polyurethane
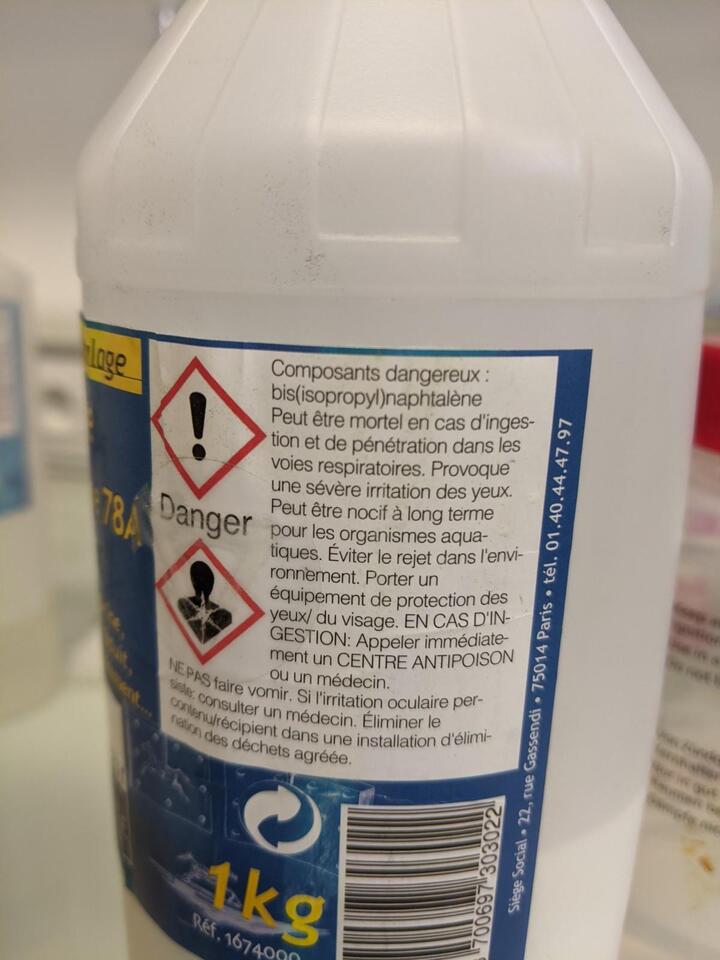
Casting polyurethane is really easy. Thus you have to comply to some safety rules:
- Latex throwable gloves
- Eye protection, since it is irritating for the eyes
- Ventilated area
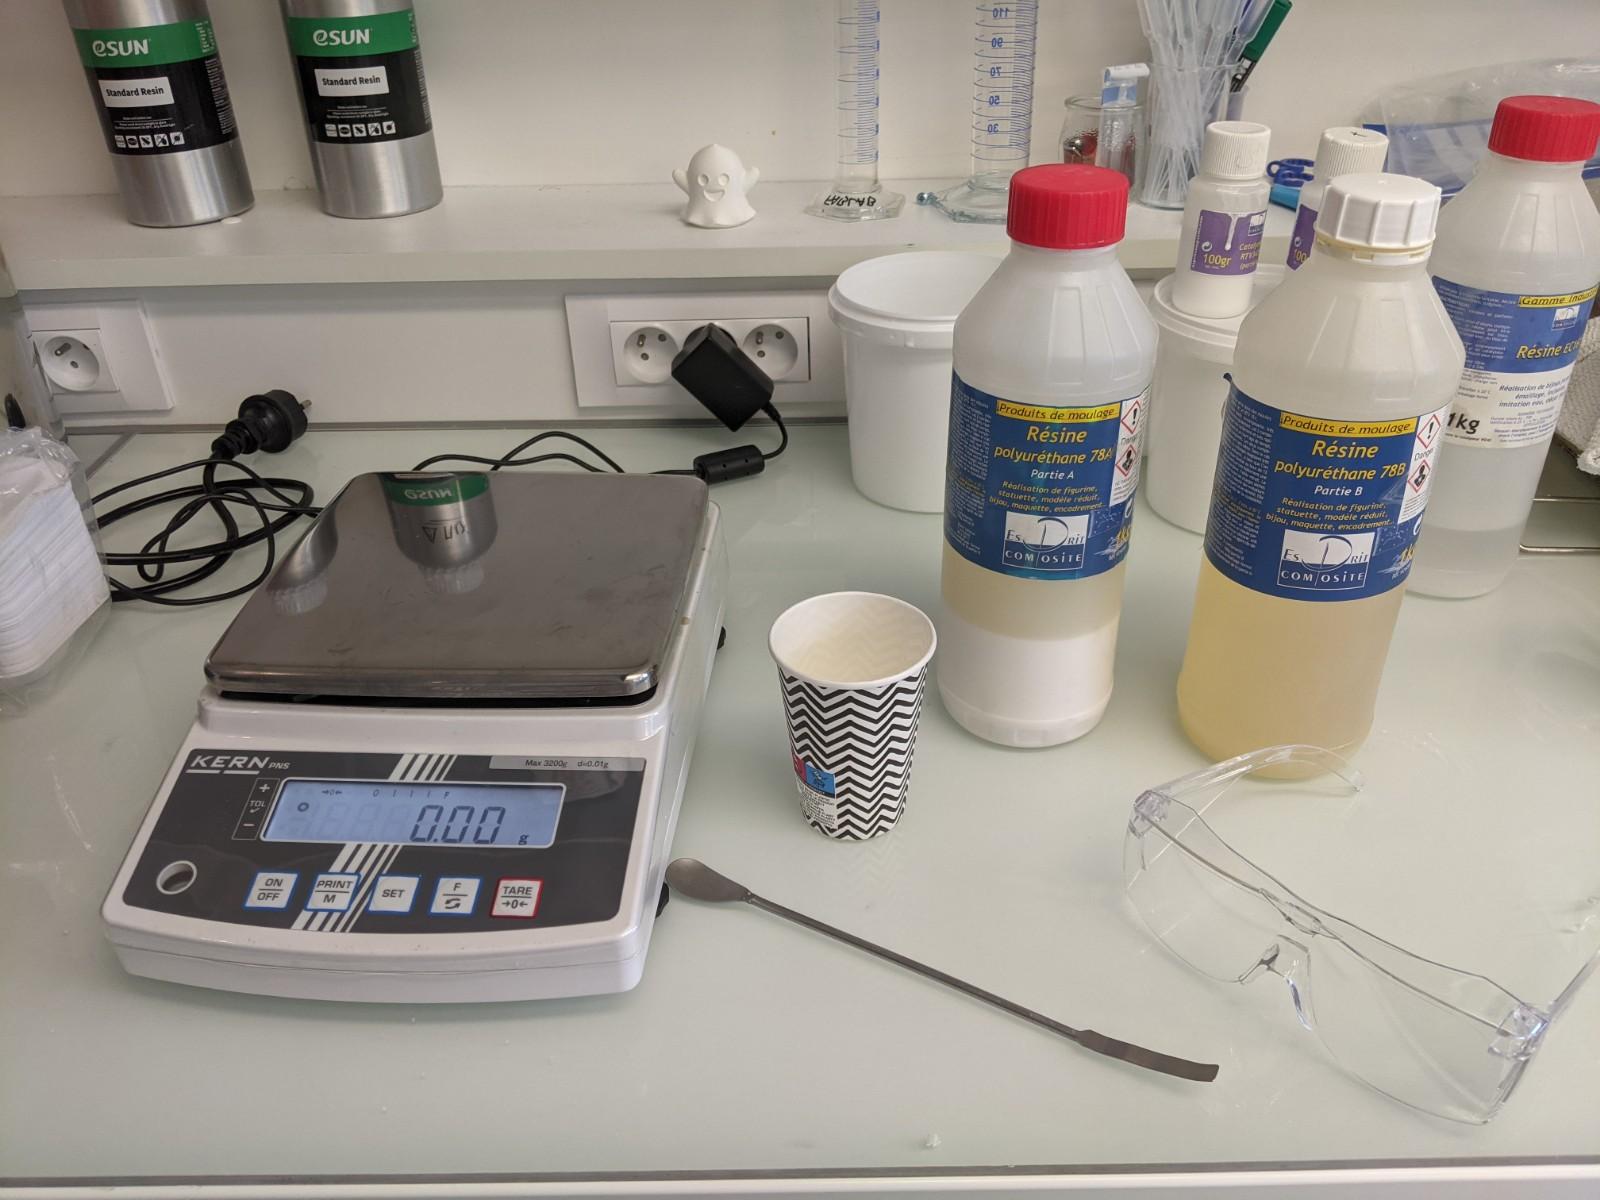
Steps to follow
- Shake well part A and part B
- Weigh them (following the instructions on the bottles for the proportions of A and B) and mix them in a throwable container (such as a paper cup or plastic tray)
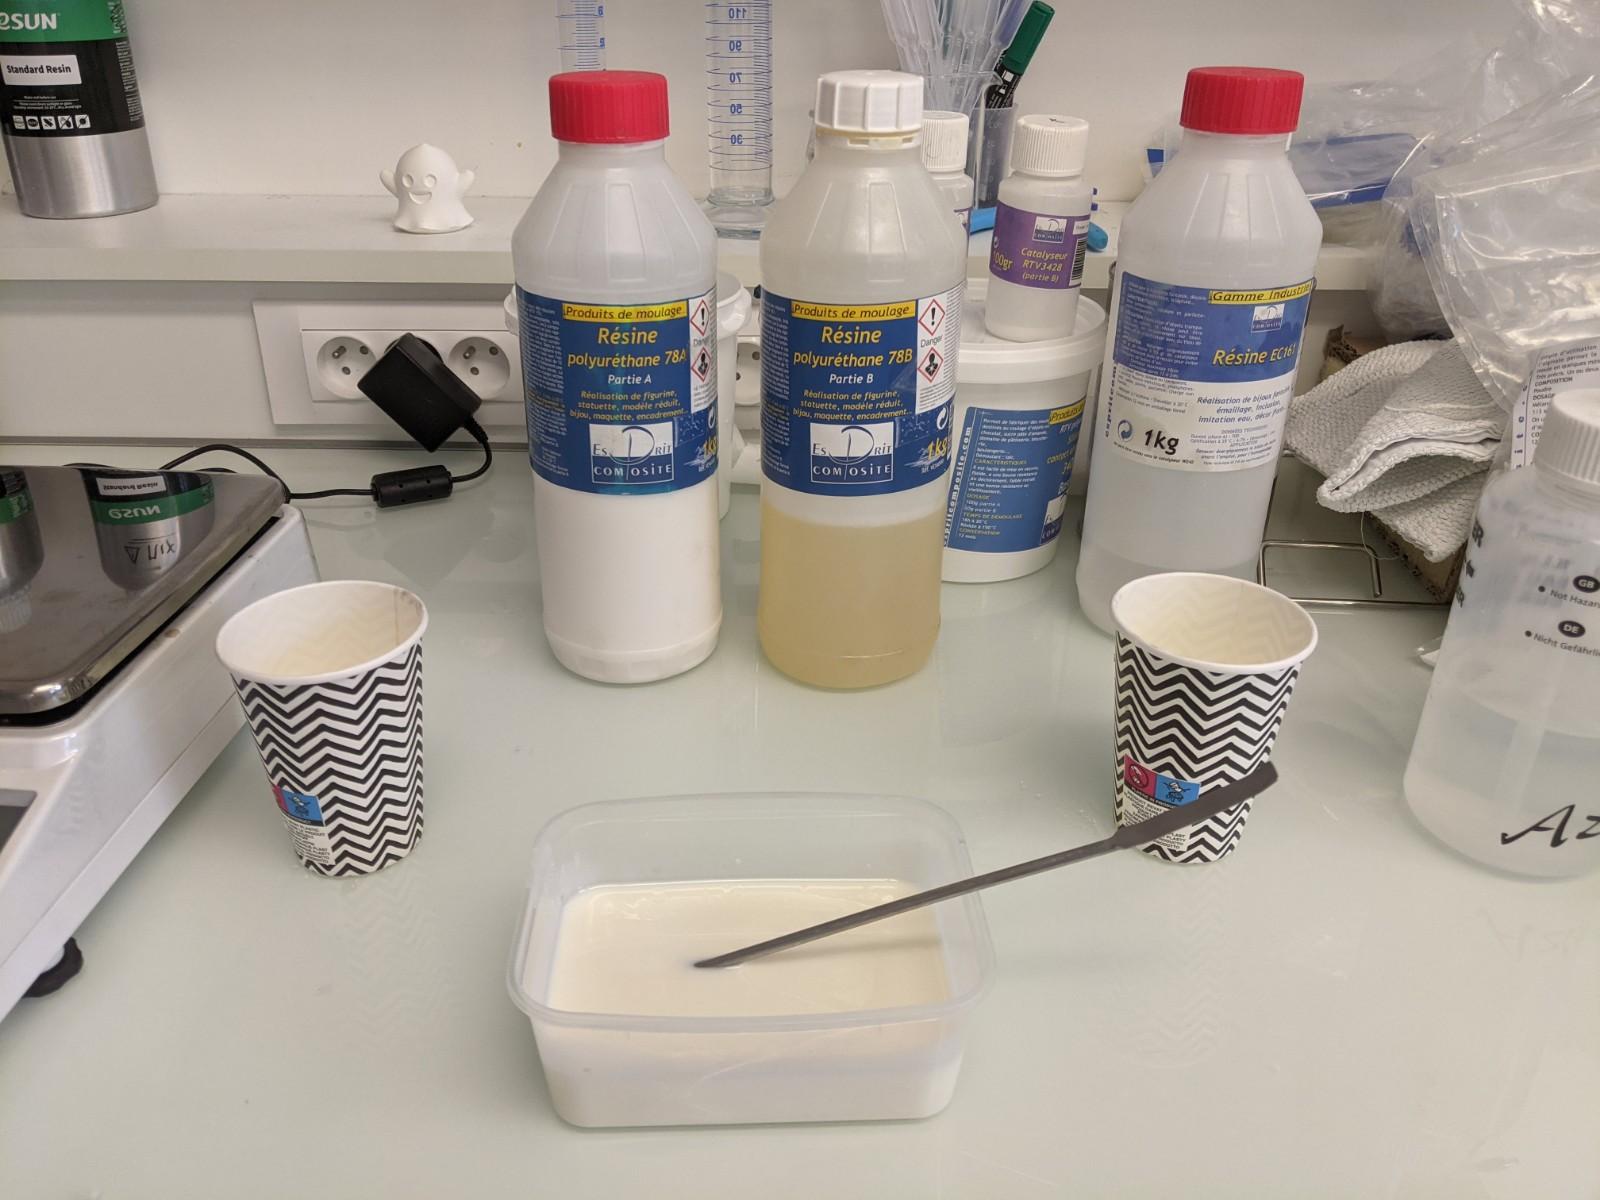
- Mix them well with a metal spatula to have an homogeneous liquid
- The reaction realeses heat, as soon as it gets a bit warmer you should cast them - in a corner of the mold, slowly and consistently.
- Wait 20 minutes before demolding
The reaction happens very fast, for my first try I waited just too long (I wanted to take a picture of that step), and it solidified before I had the time to cast it, becoming a big gelified block. Unfortunately I had to throw the mix and do a new mix.
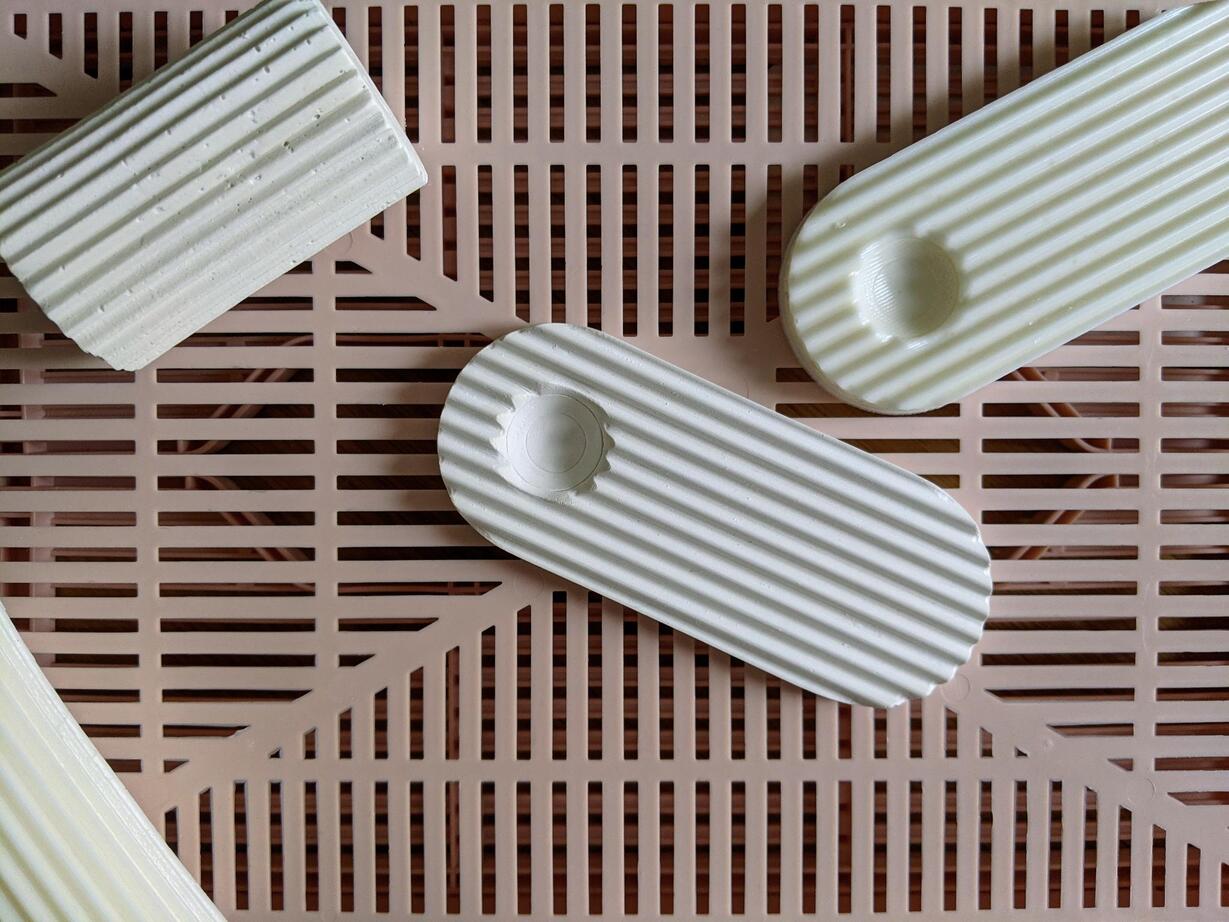
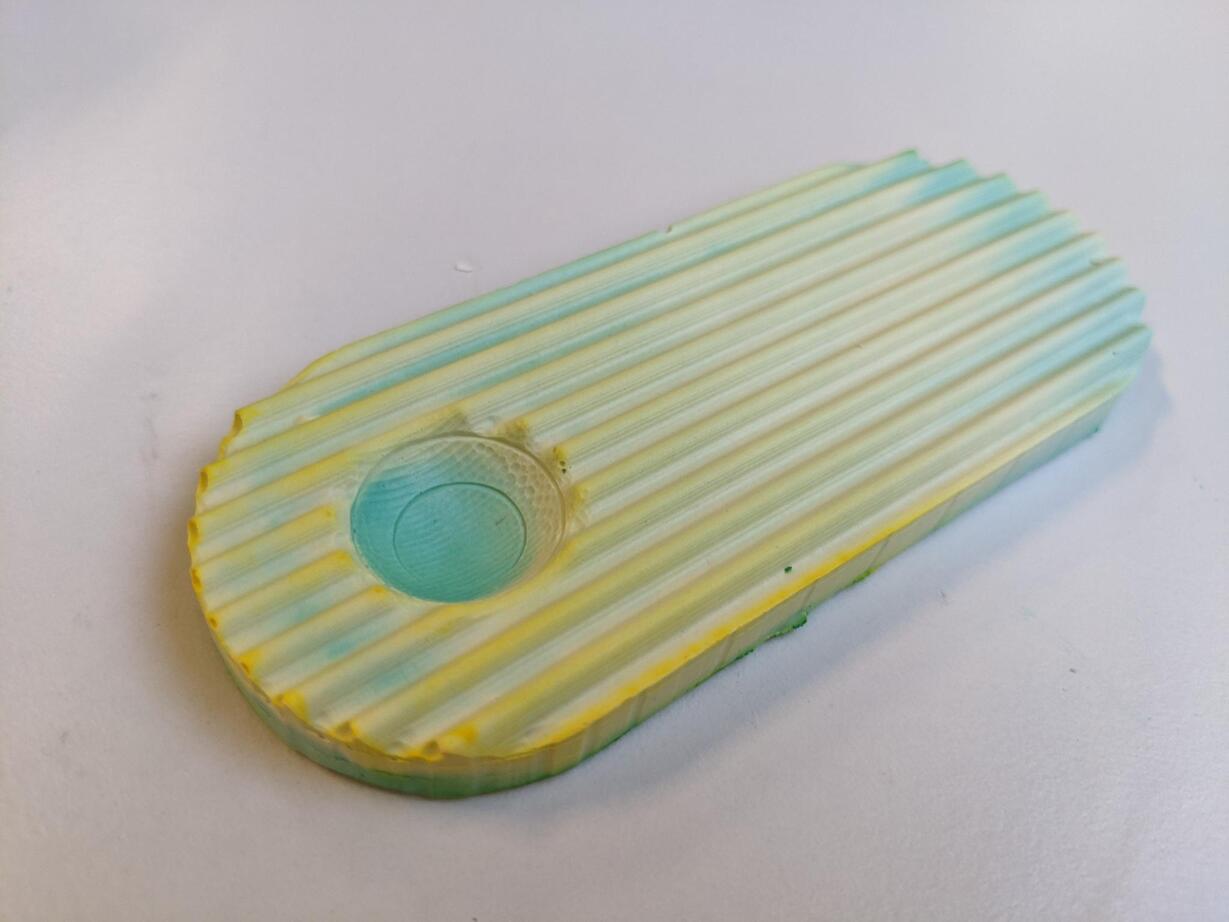
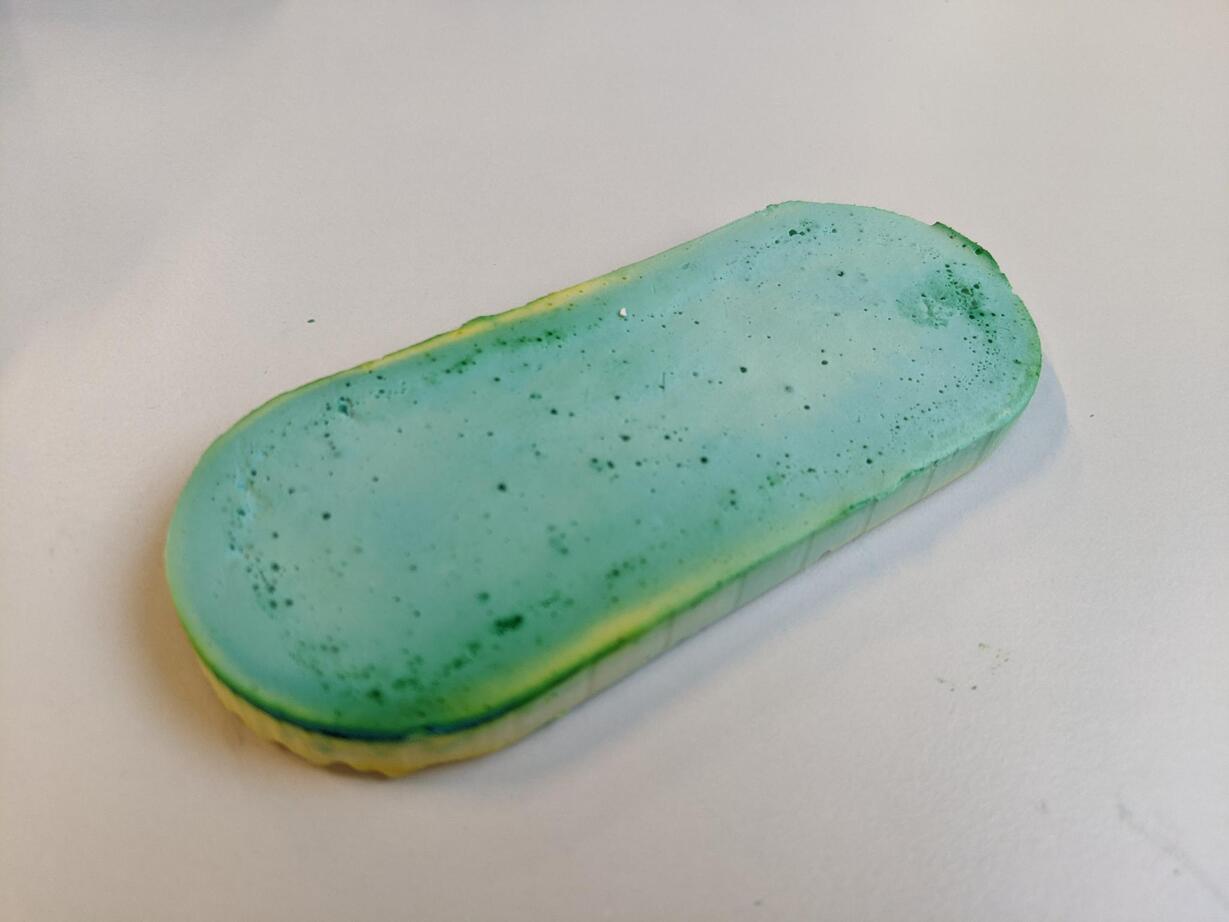
The result for the incense holder tray was quite satisfying, except some yellowish small spots. Not mixed correctly maybe?
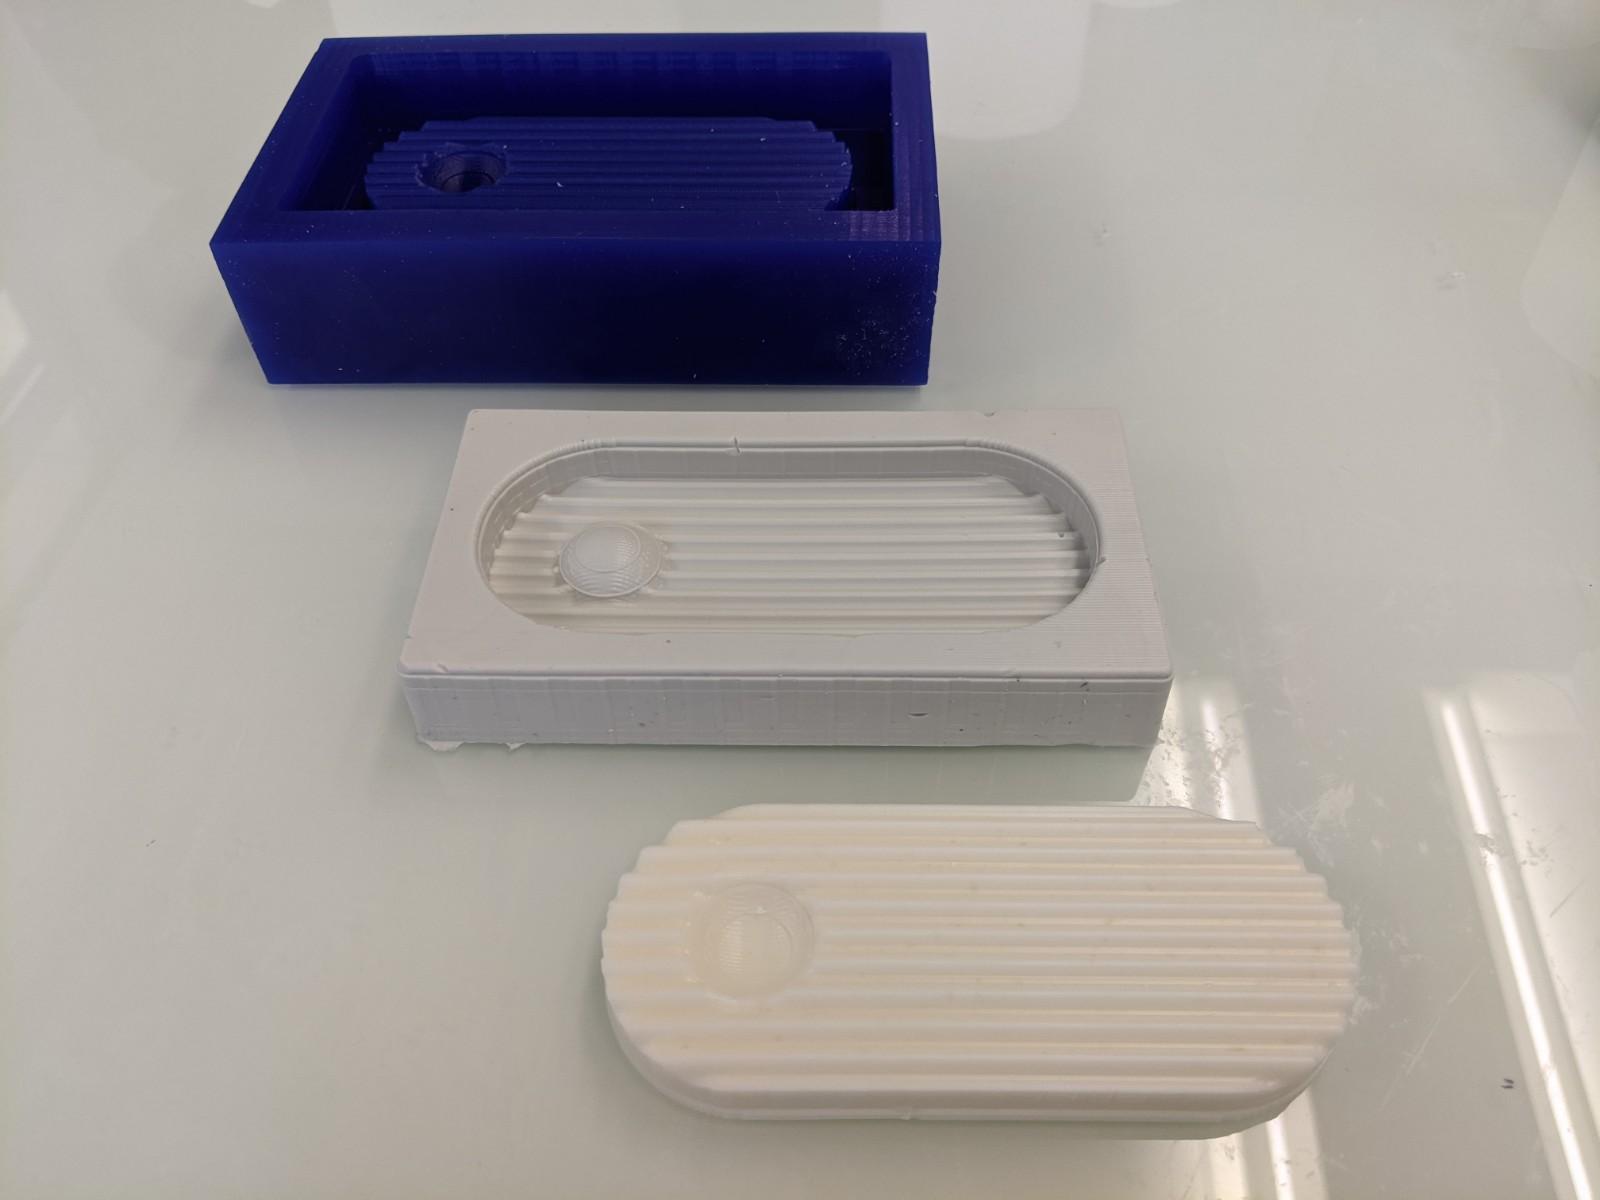
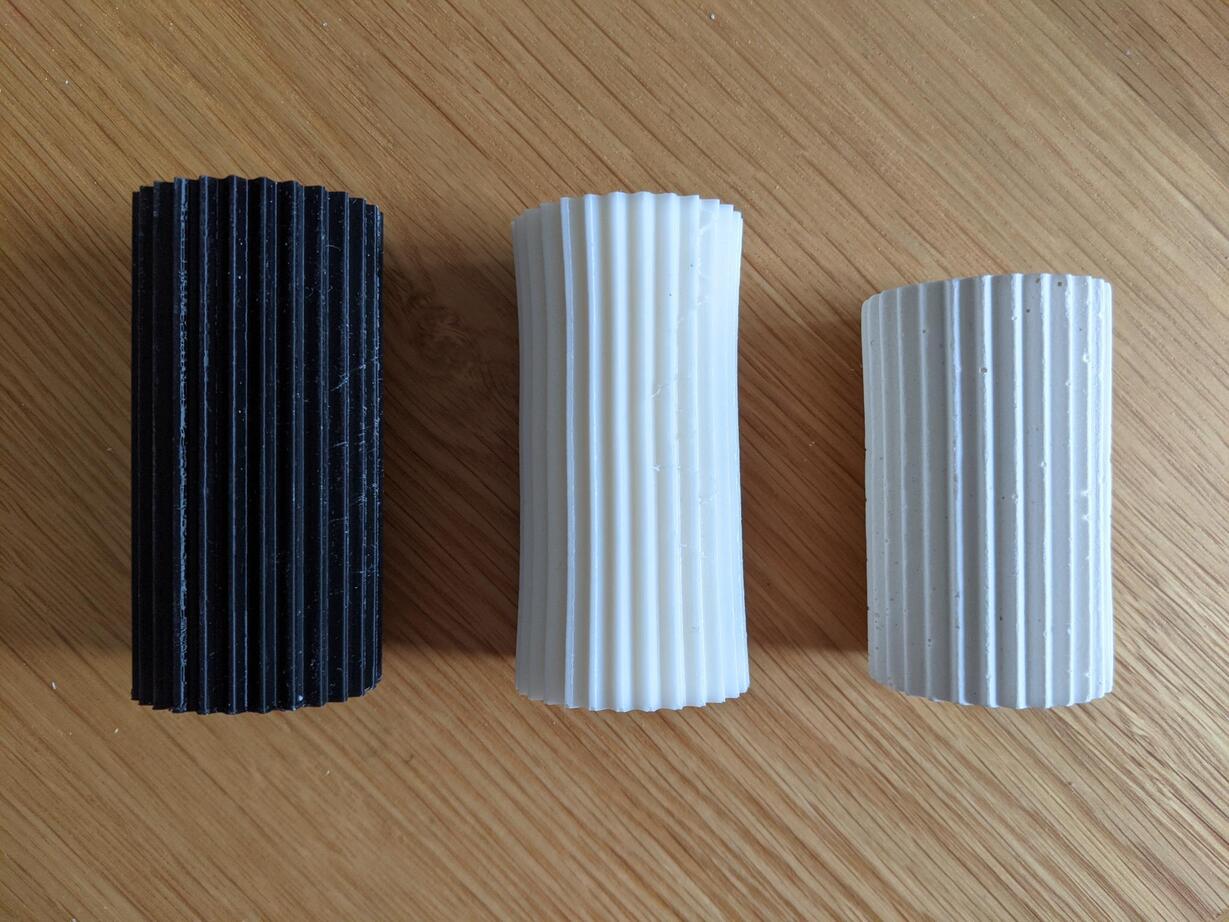
The ribbed column made in the sock-mold was deformed by the rubber bands pressure! Also the mold's slits are too visible.
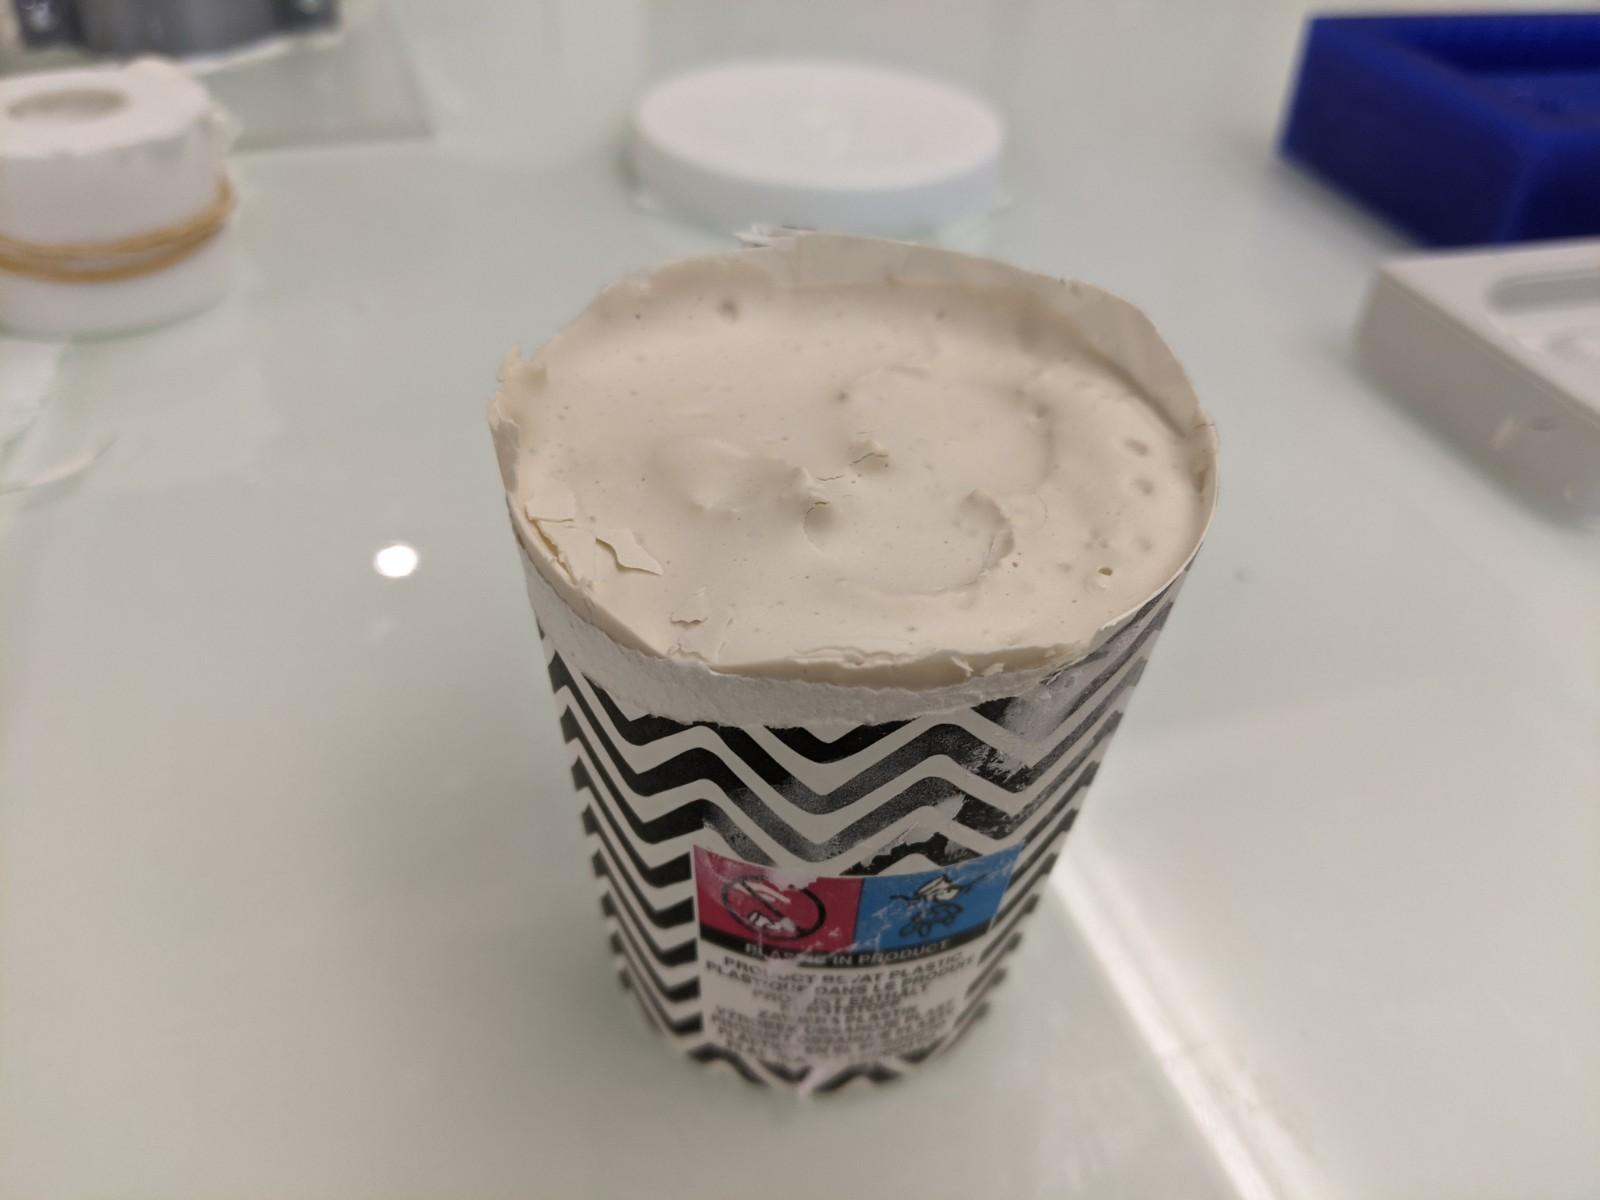
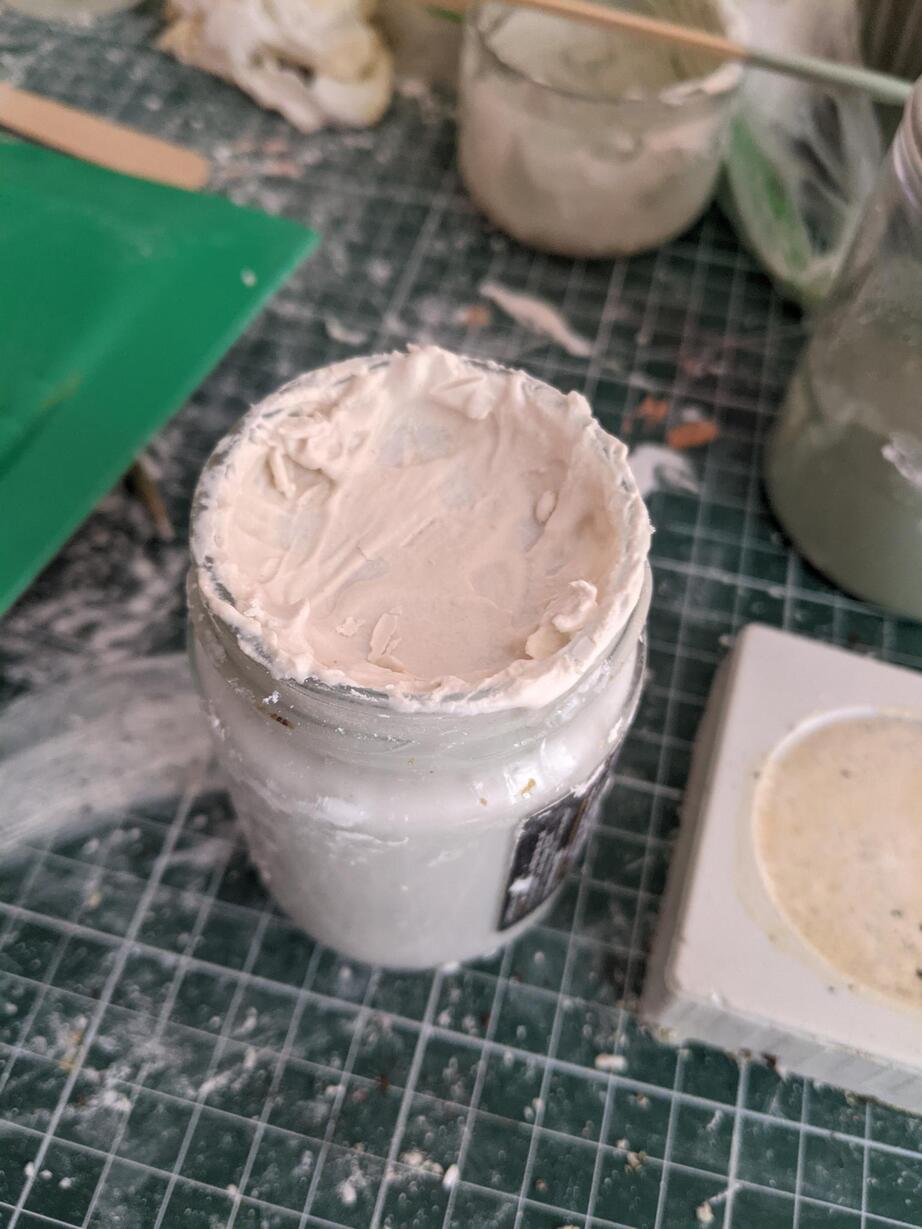
Casting plaster
I asked to the paint workers on the campus if they had some construction plaster and they provided me a generous quantity of plaster powder, to be mixed with water.
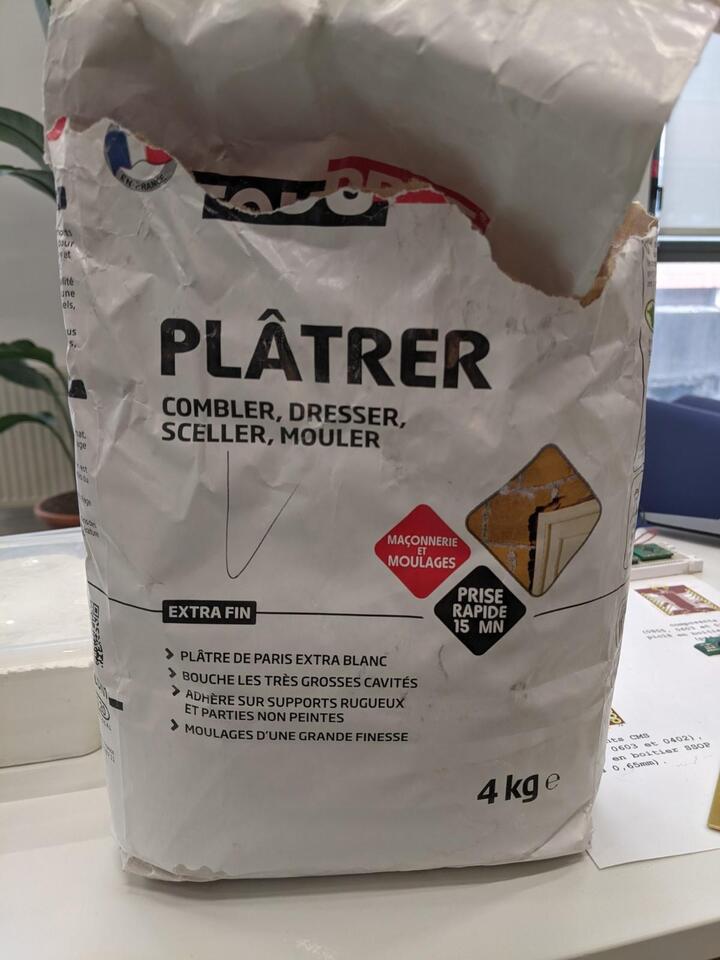
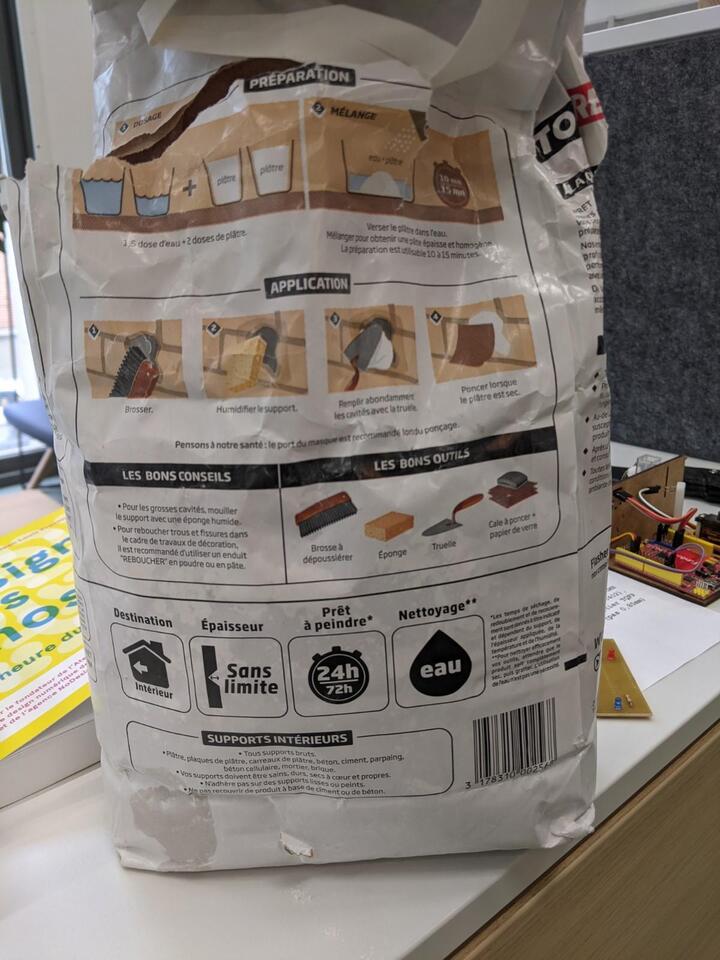
At first I followed the ratio indicated on the plaster bag, (1,5 volume plaster powder for 2 volumes water), but then progressively adjusted it to have a thicker mix. The ratio I was satisfied with was 50g plaster powder for 30g water
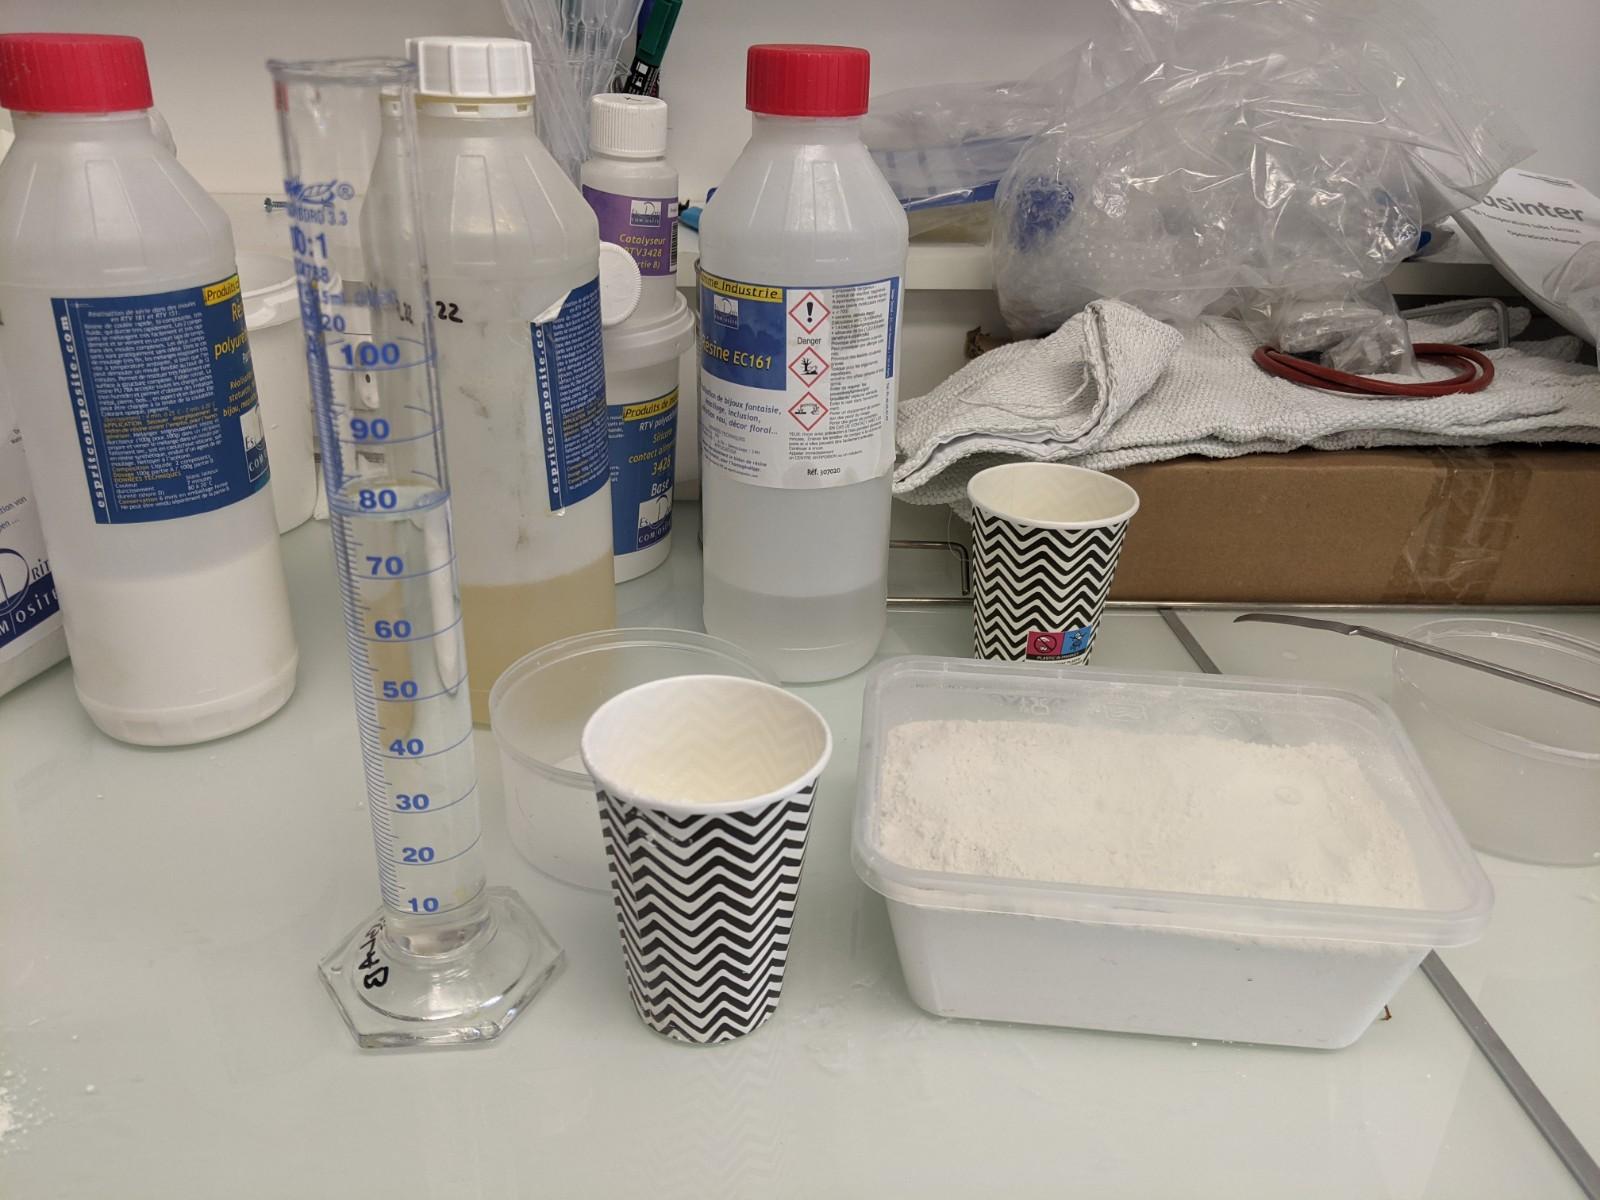
Material
- Plaster powder
- Silicone mold
- Throwable paper cups
- Graduated cylinder
- Metal spatula
- Balance
- Paper tissue to protect the area
- Latex gloves (I read that dry plaster can irritate the skin)
- Water
- Medium size brush
- A flat surface such as piece of 3mm acrylic
Steps to follow
- Place the silicone mold on the flat surface (here the piece of acylic)
- Protect the balance's surface with a tissue paper
- Weigh 50g of plaster in the paper cup
- Measure 30 cL of water in the graduated cylinder
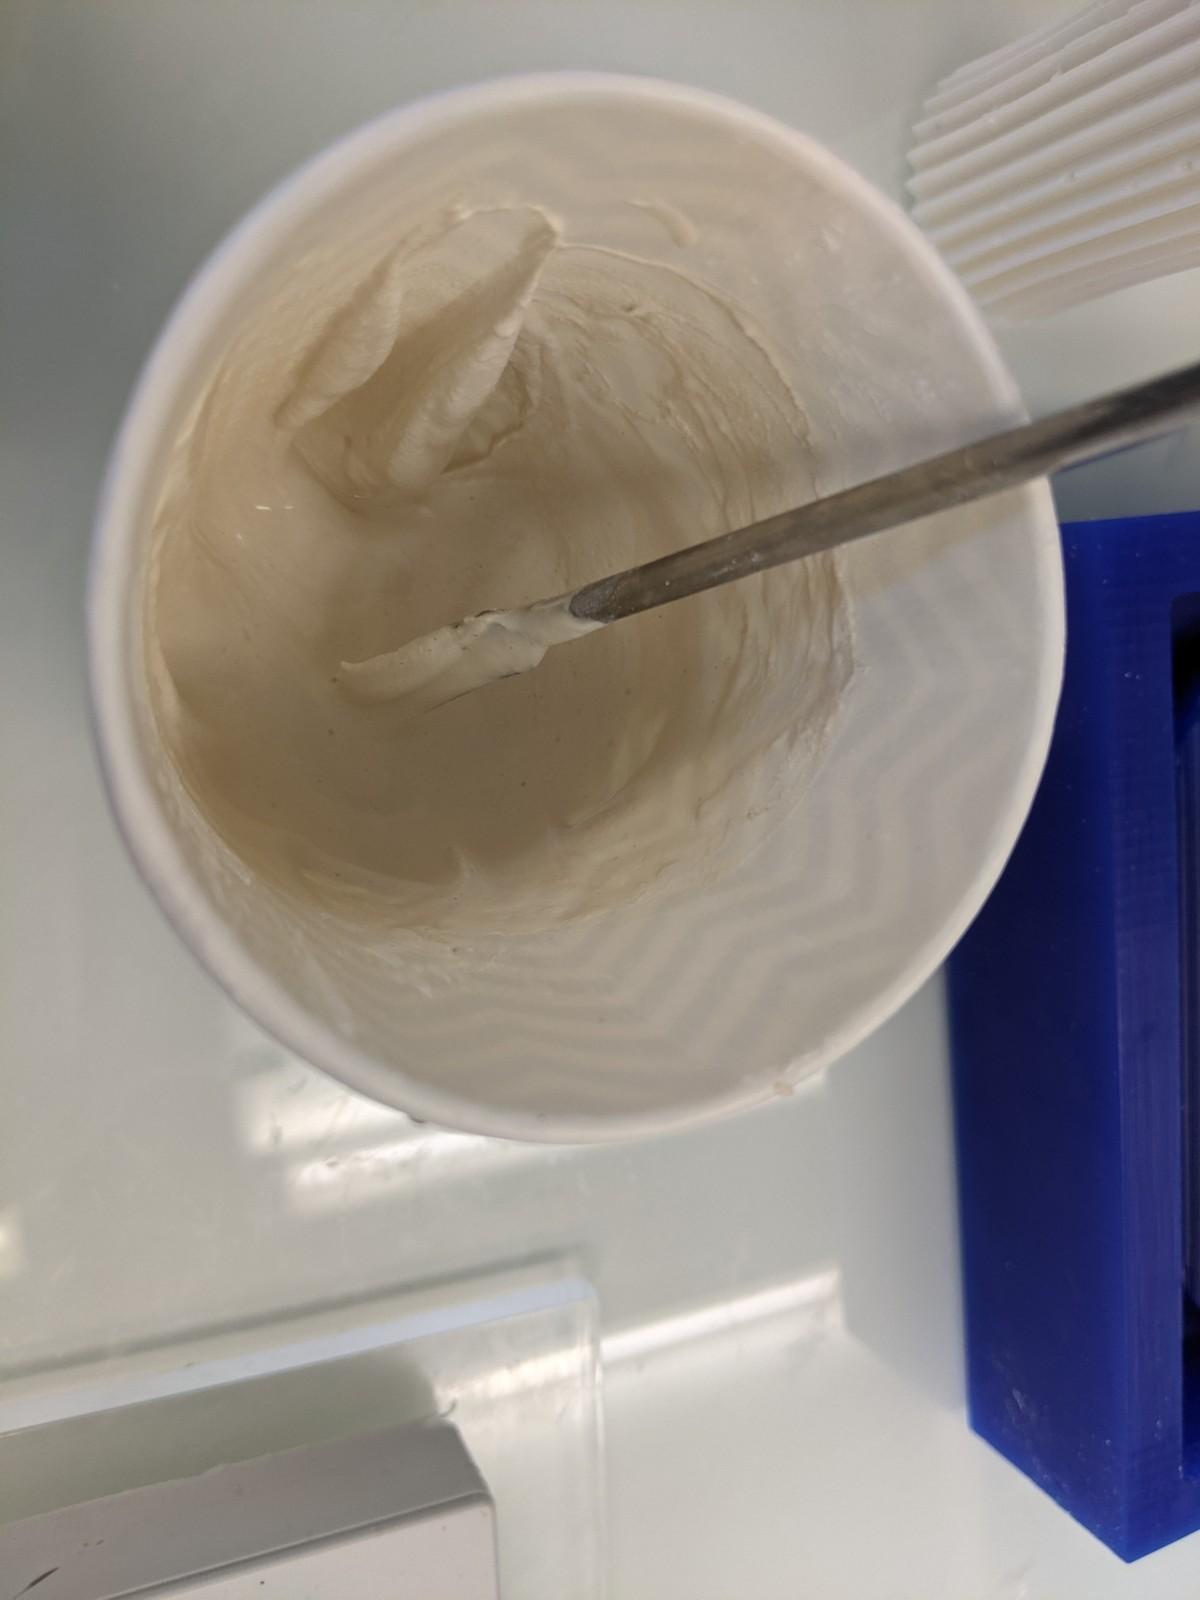
- Mix them well with the metal spatula.
-
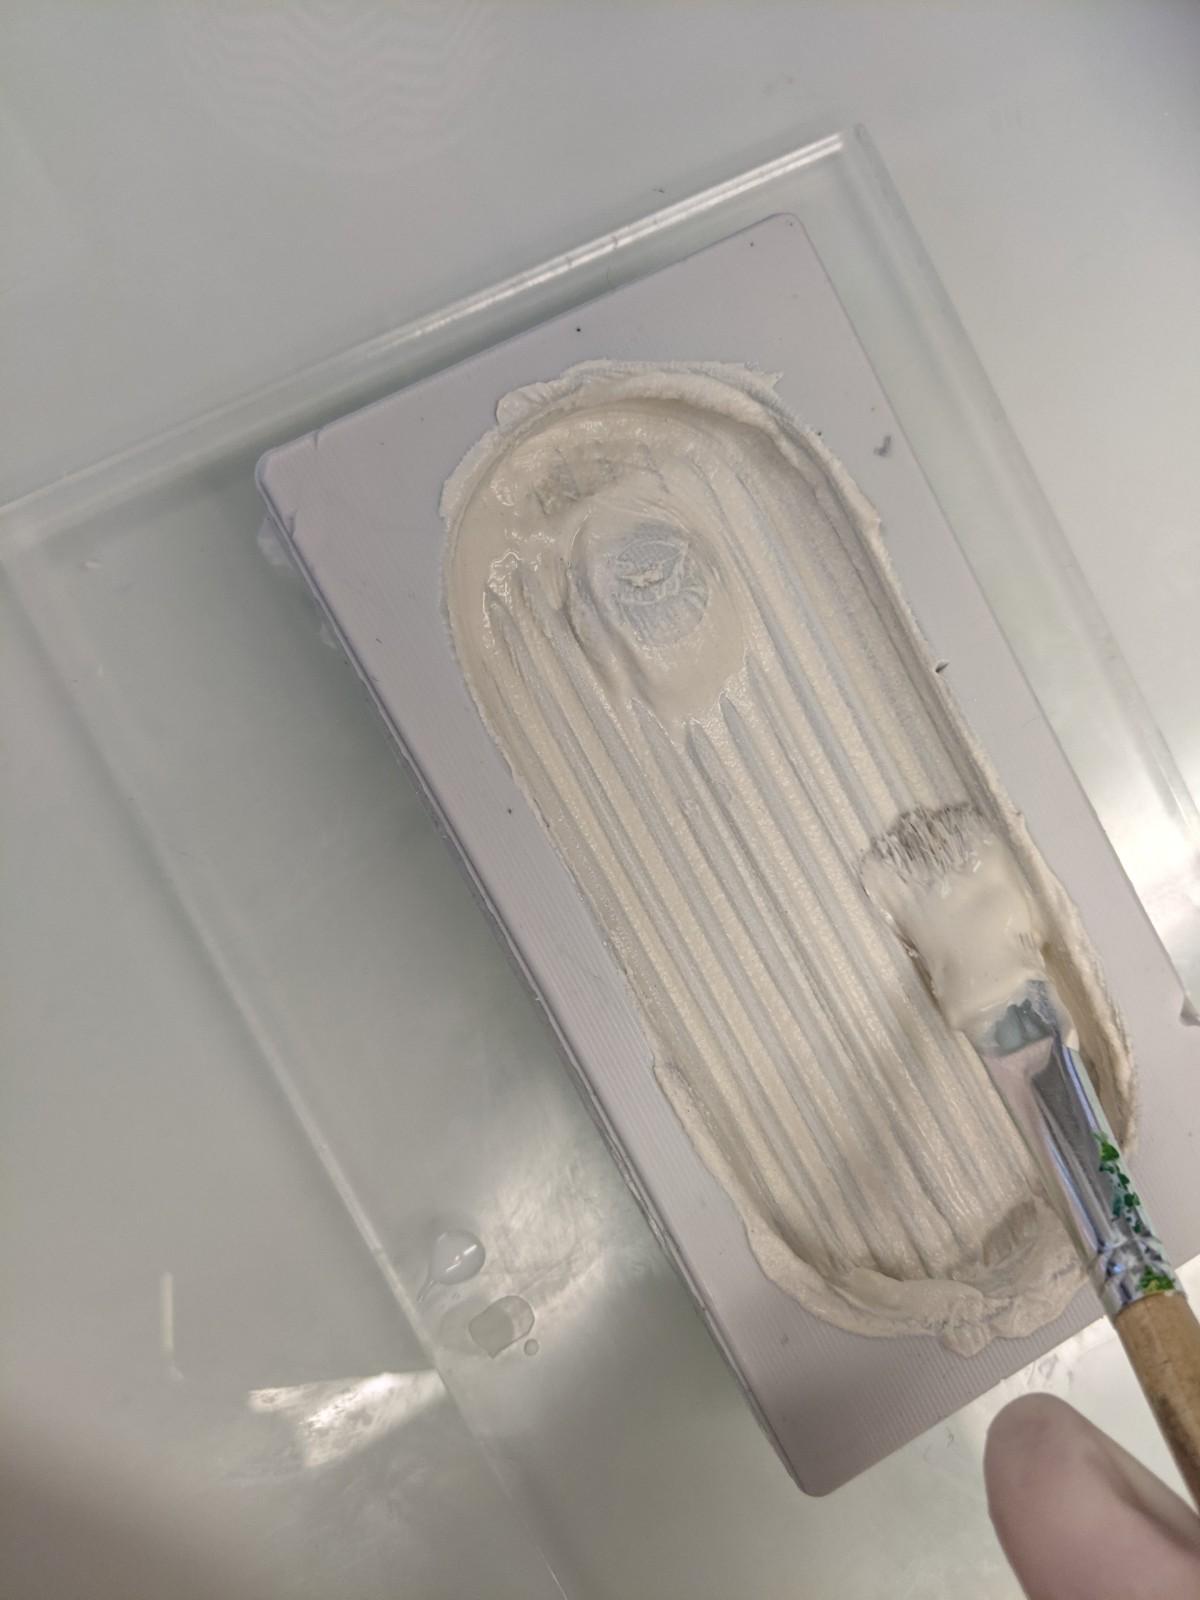
(Optional) Brush some of the mix at the bottom of the silicone mold into the details
When you mix the plaster you tend to introduce quite some air bubbles that are hard to get rid off because of the plaster's thickness. That's why I started by brushing the details on the bottom of the silicone mold for the incense tray. I then casted the plaster mix and gently tapped the acrylic plate.
-
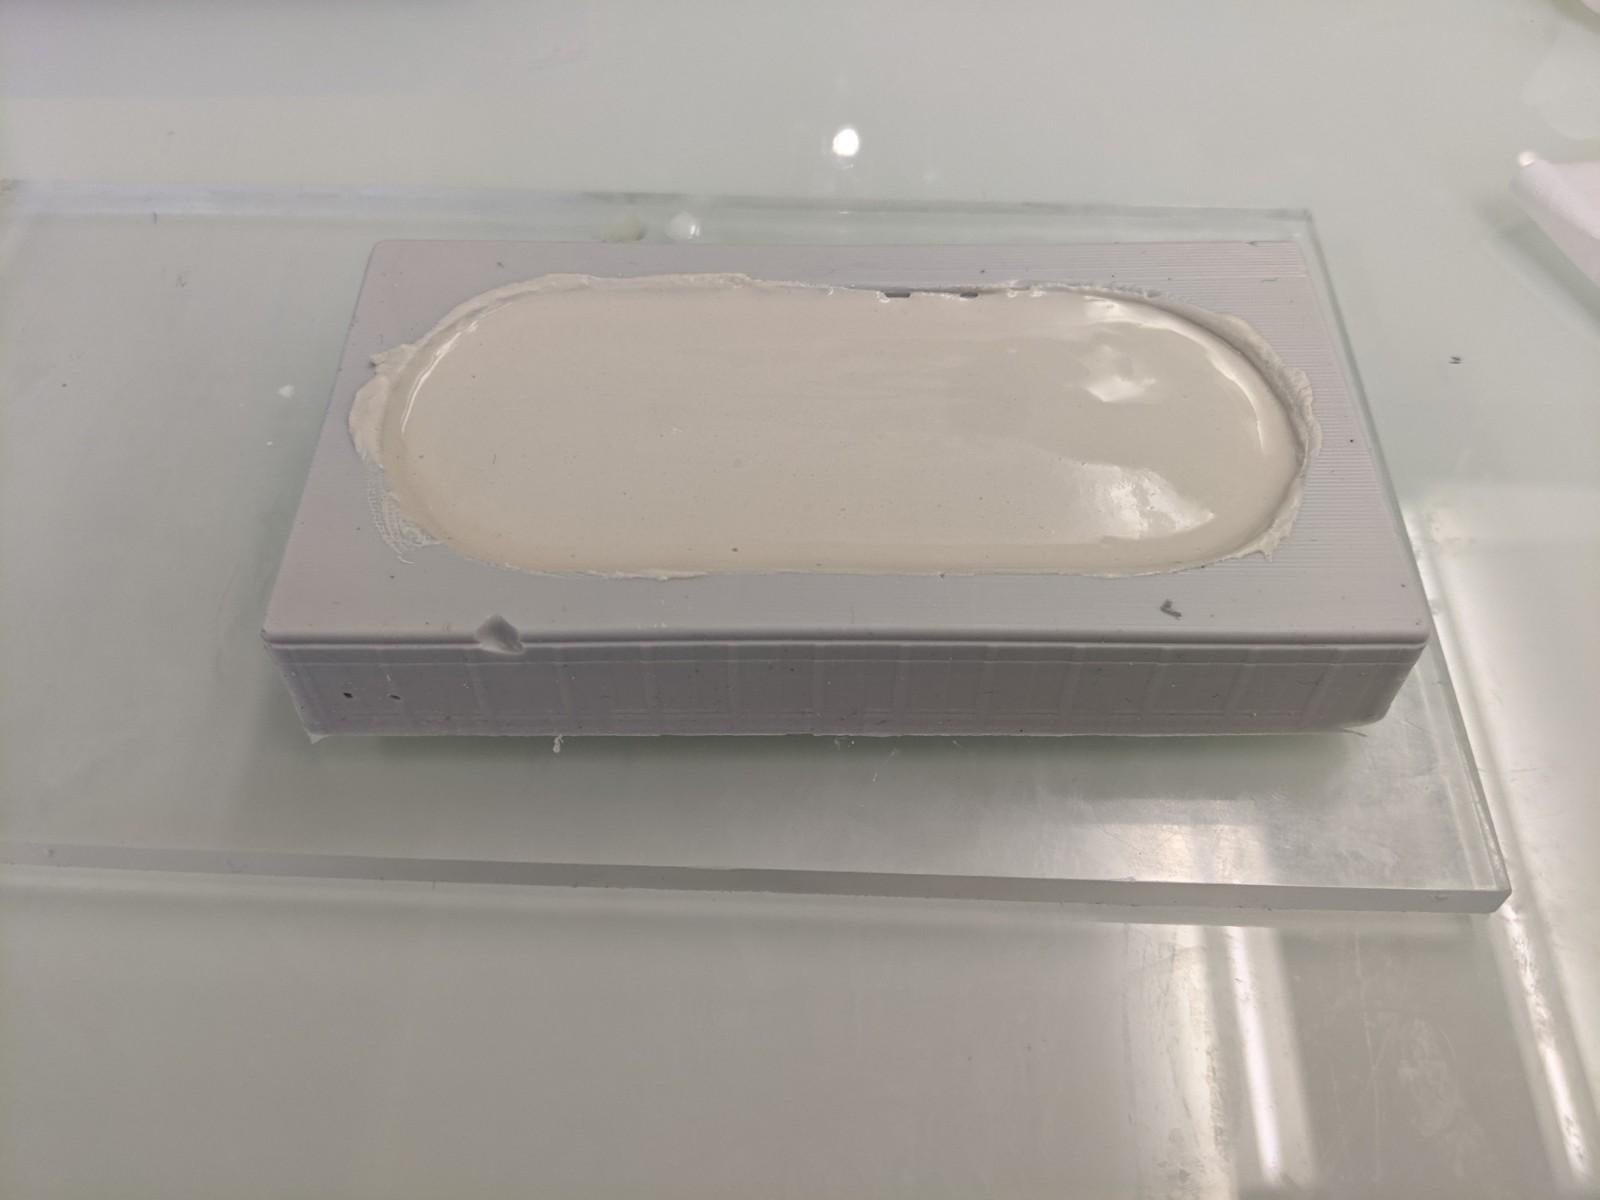
Cast the plaster mix. You have to procede quite quickly, else it will dry and thickens.
- Remove the air bubbles by tapping the acrylic plate on the table's surface. Also you can gently tap the edges of the silicone mold to make the air bubbles go up to the surface
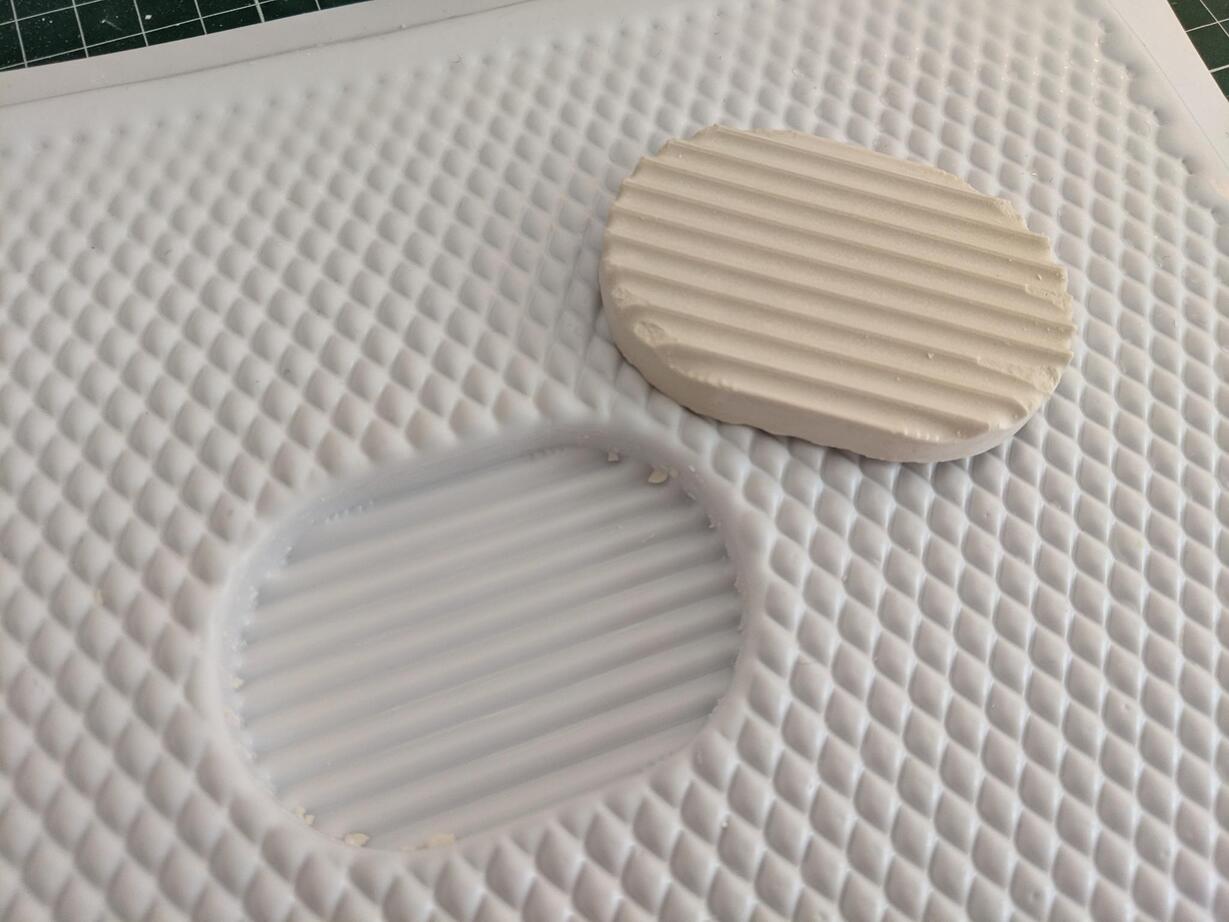
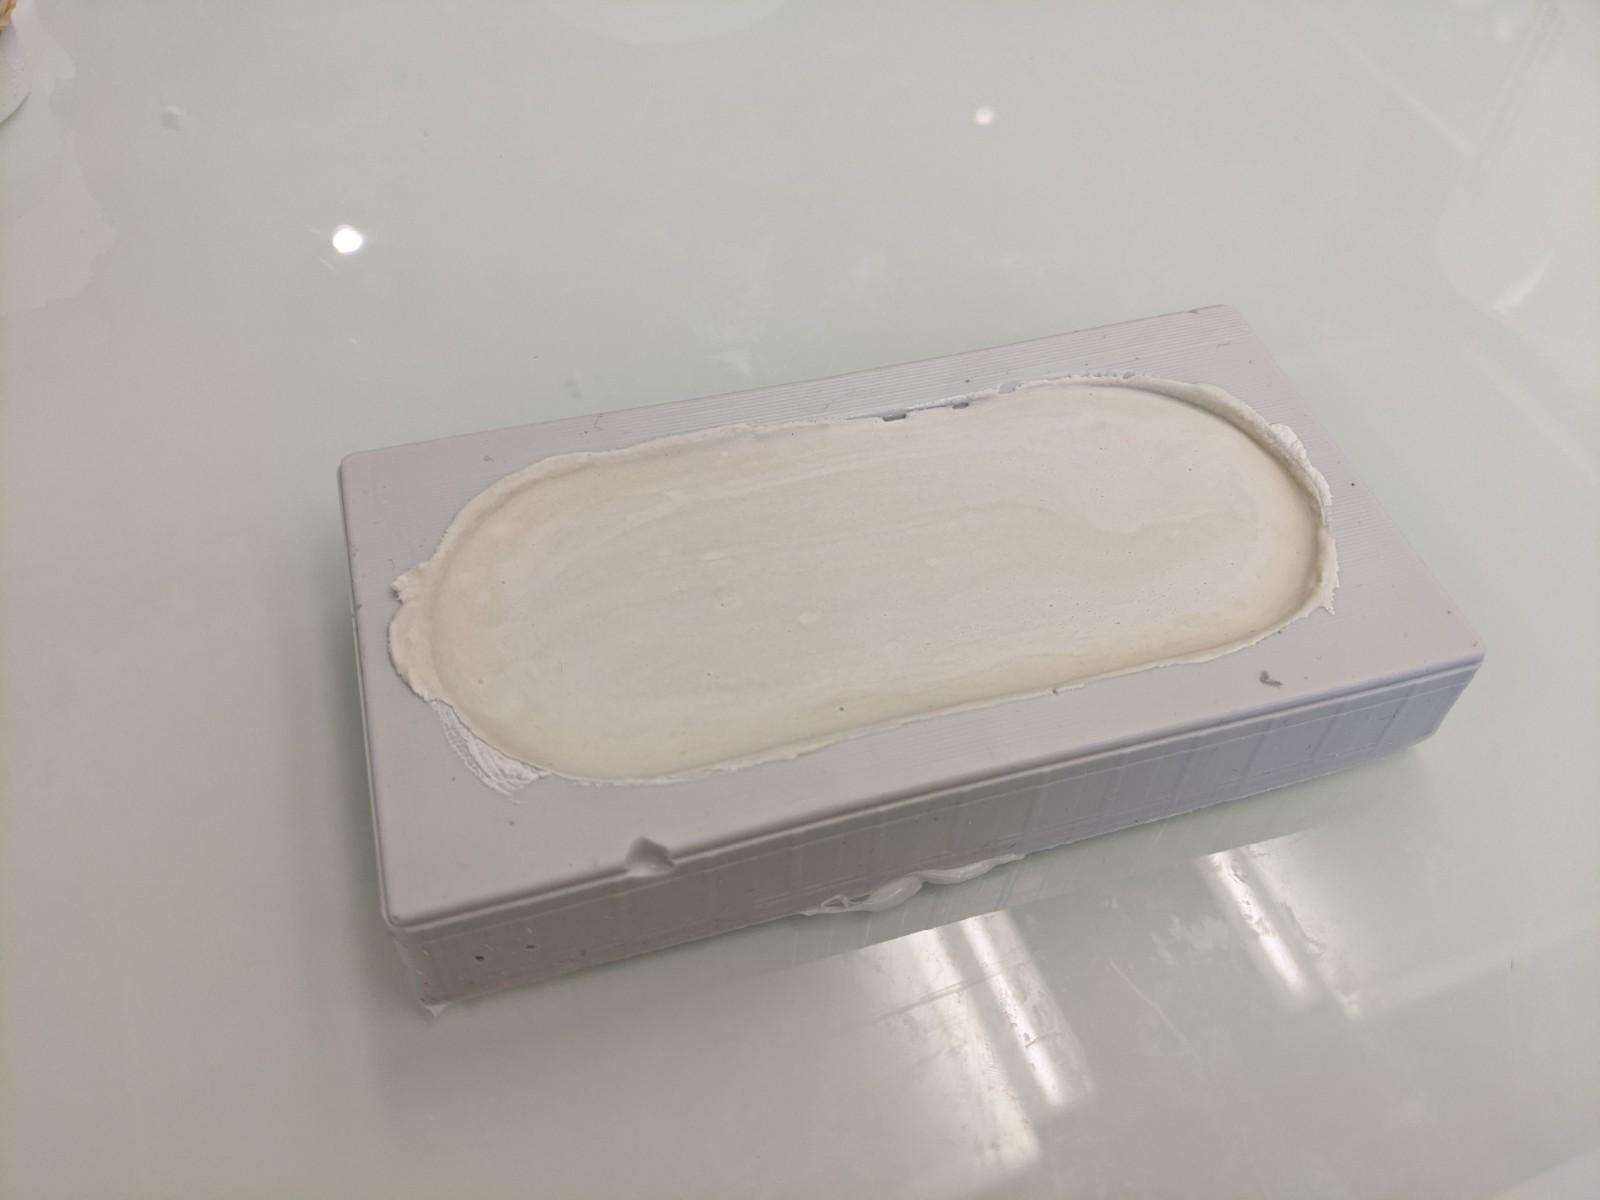
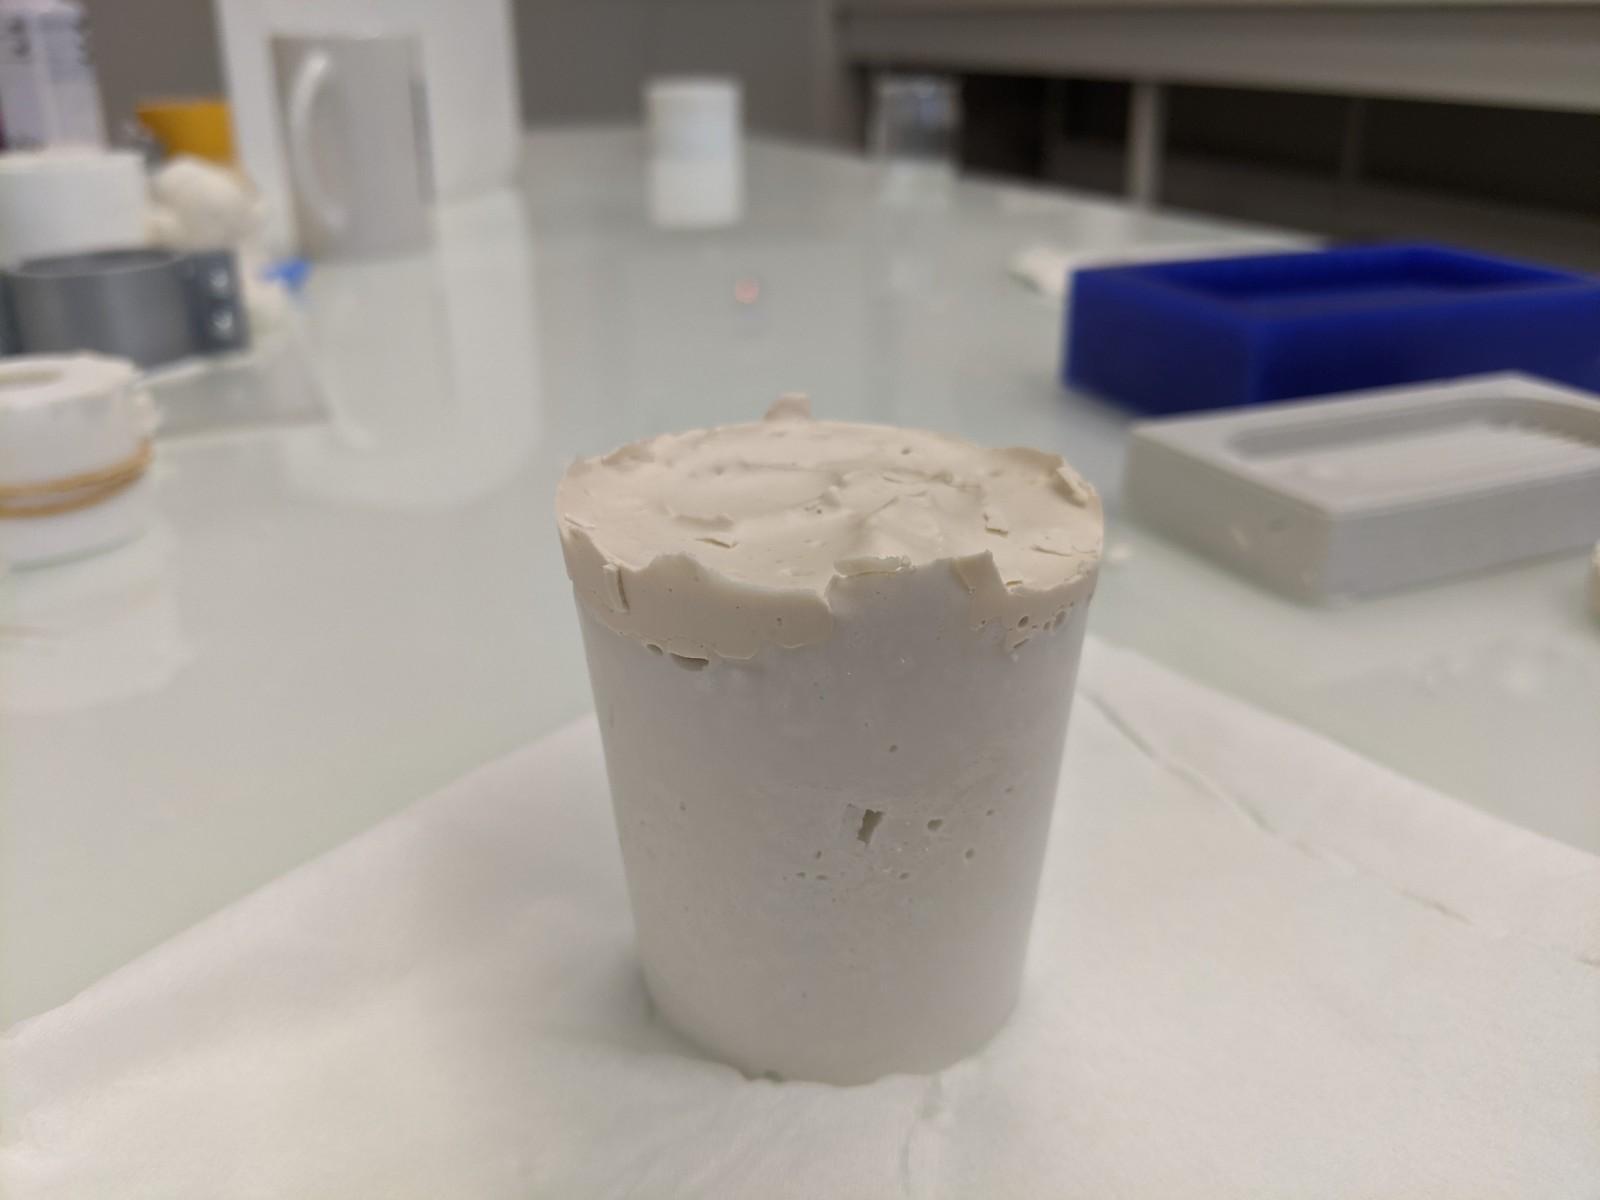
- Wait at least 30 minutes to demold
- The plaster can be demolded but it's not completely dried yet. It can take 24-48hours to dry completely
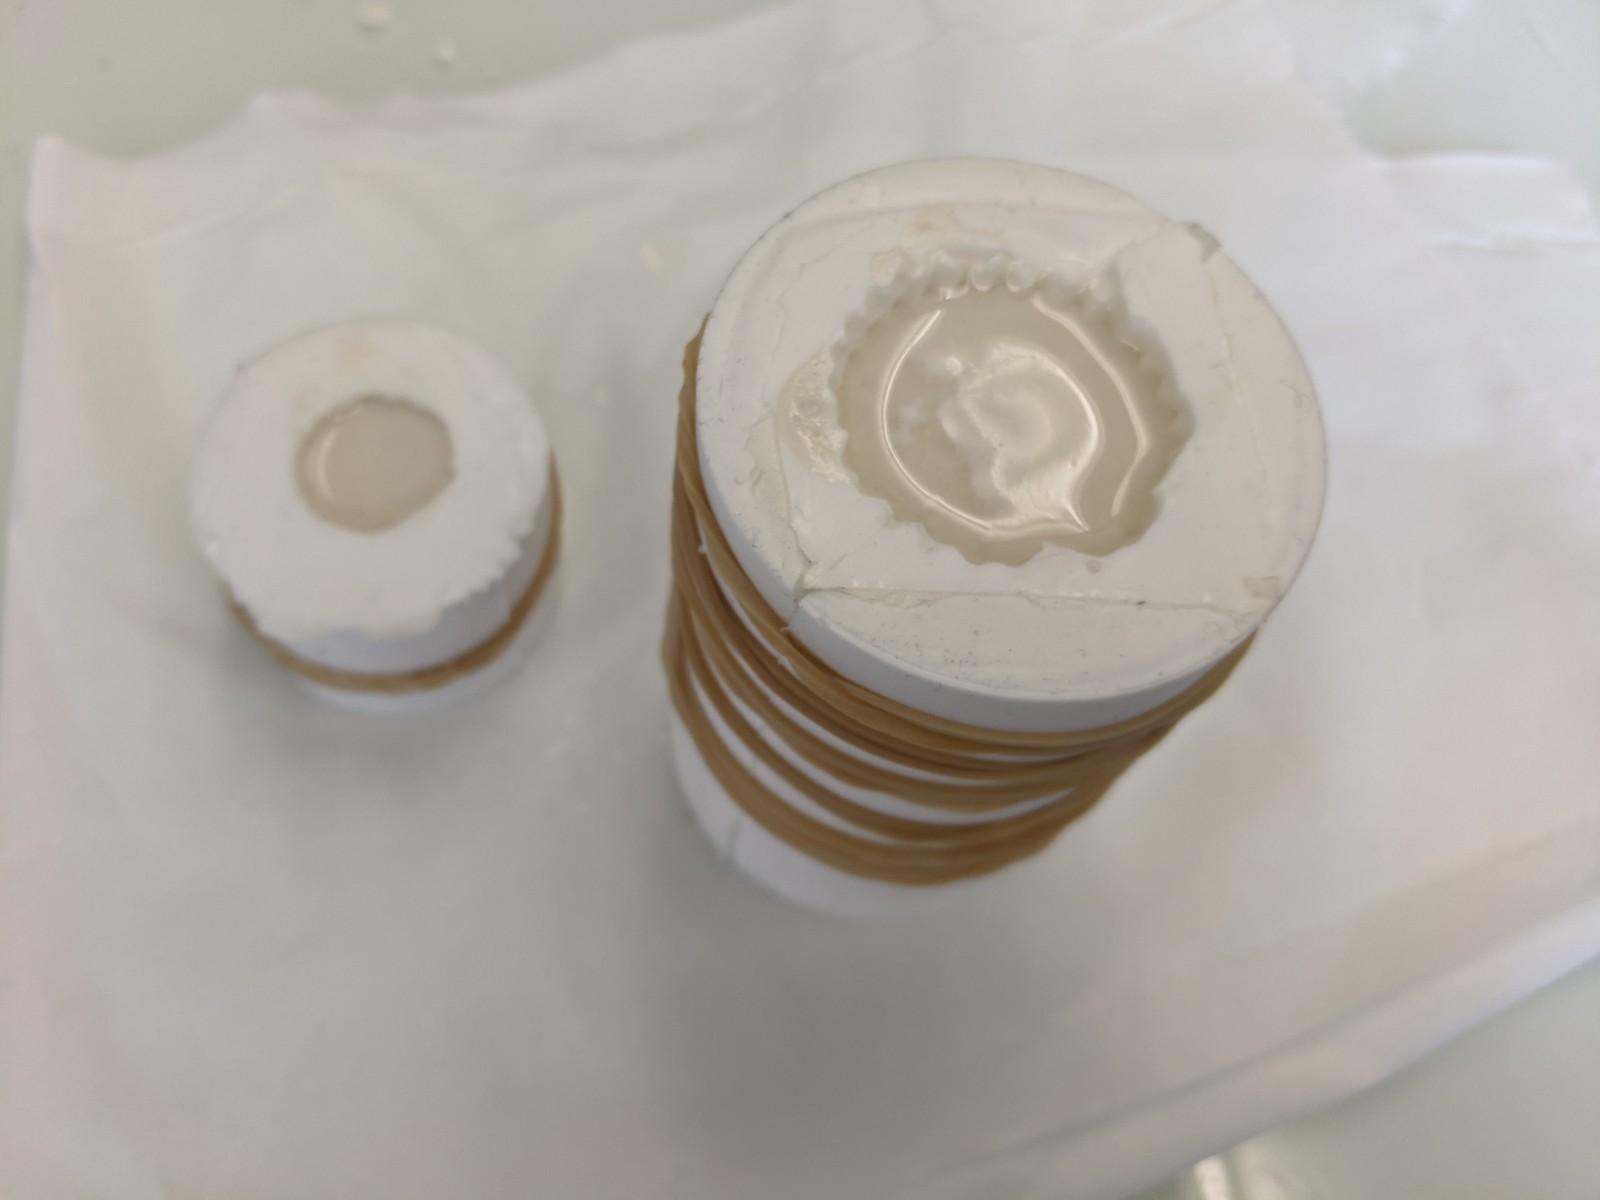
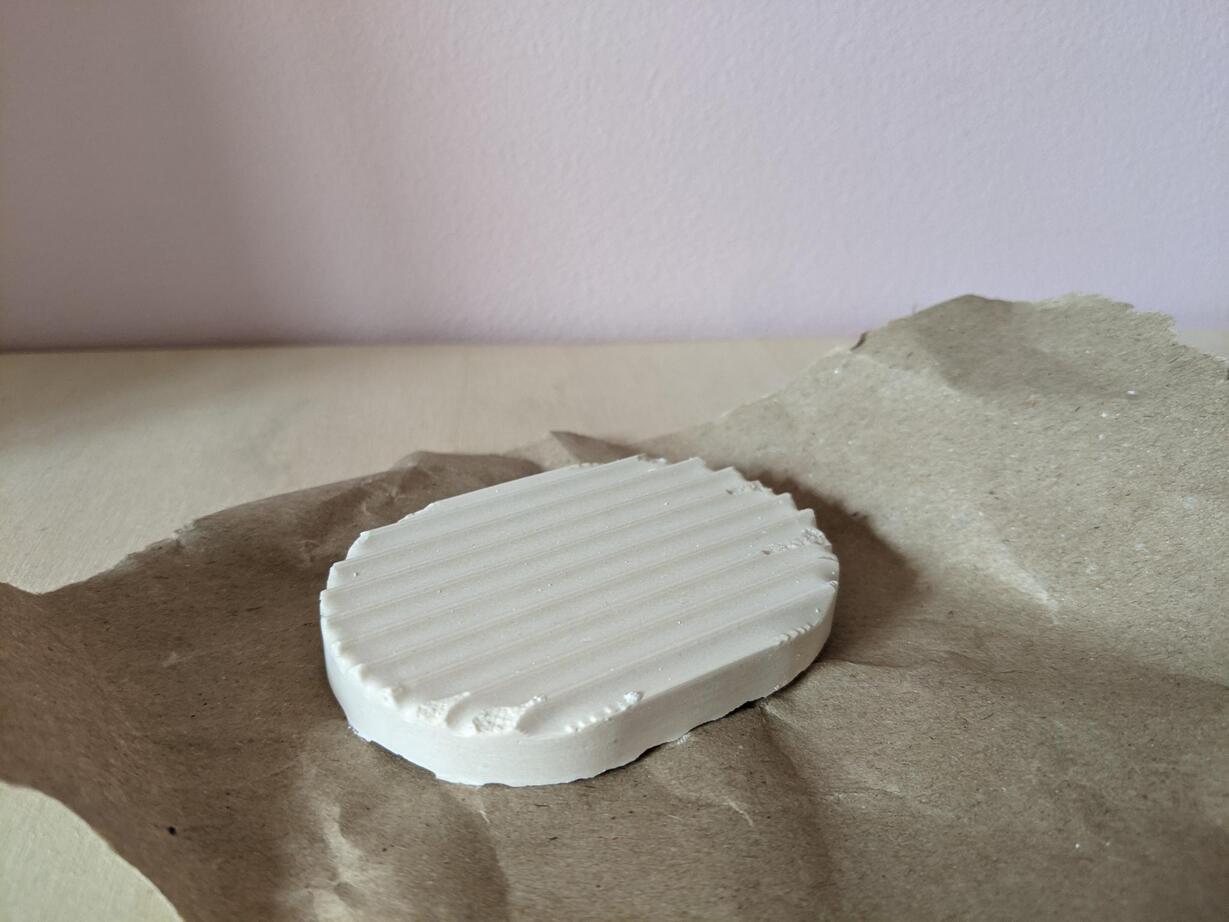
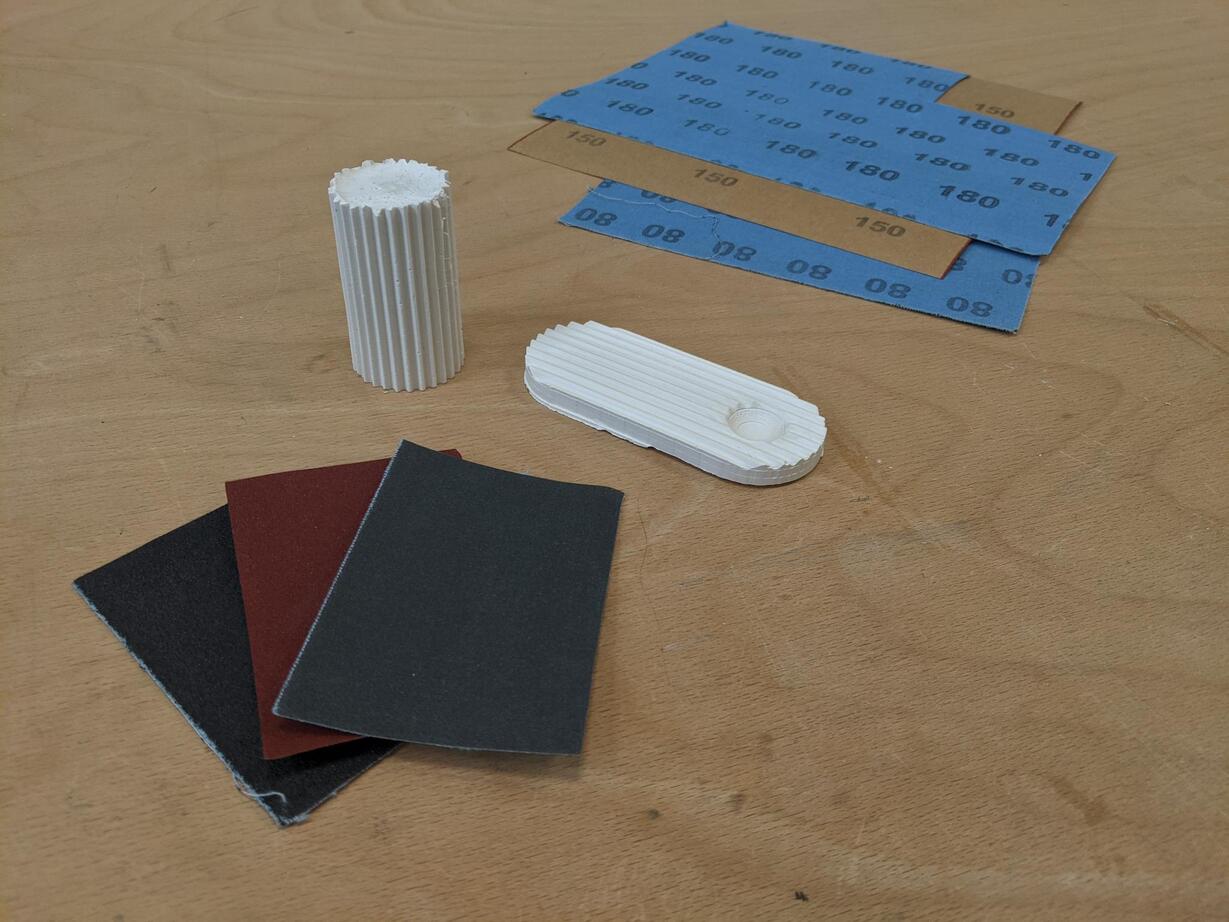
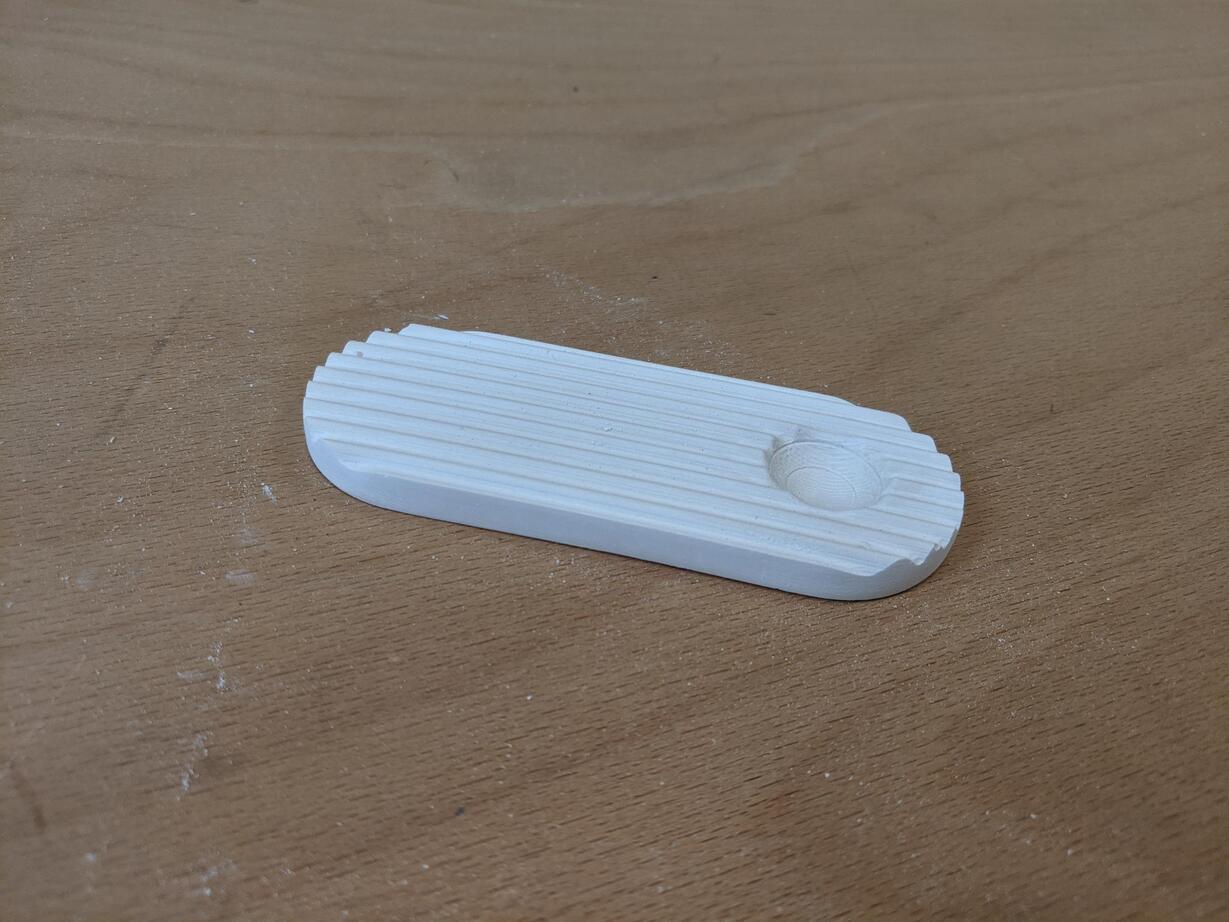
Post processing
Using some sandpaper can really improve the finishing of your objects. I sanded using 80, then 150, then 180 grain/m2 sandpaper, while the parts were not completely dried.
Other plaster experiments
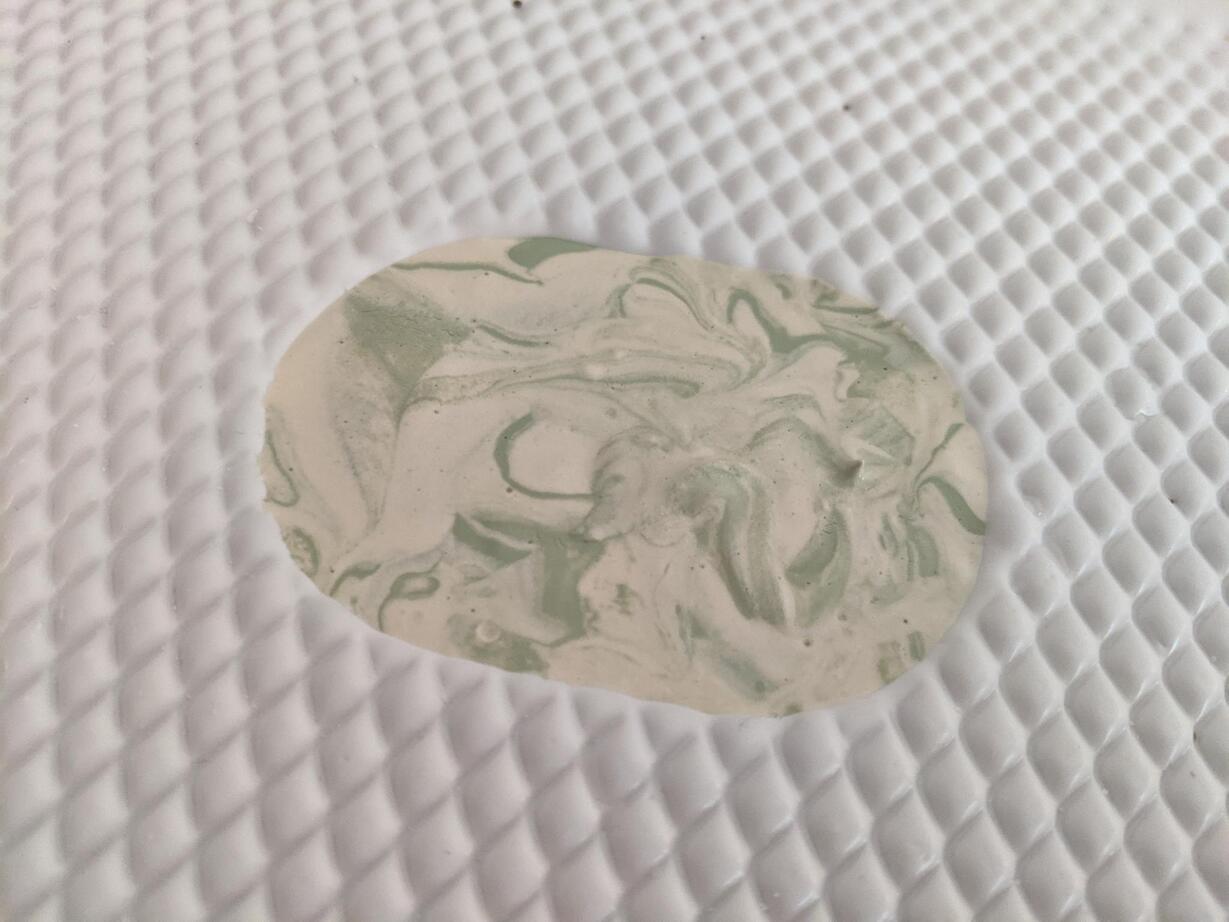
I tried mixing some food coloring in the plaster mix but after drying the result wasn't very aesthetic 8-)
Then I tried to add paint (for walls), but I barely mixed the paint so I wonder how it can really properly dry.
I also tried adding some grinded coffee beans. So far the result is rather nice but since I didn't dry them it may develops some bacteria.
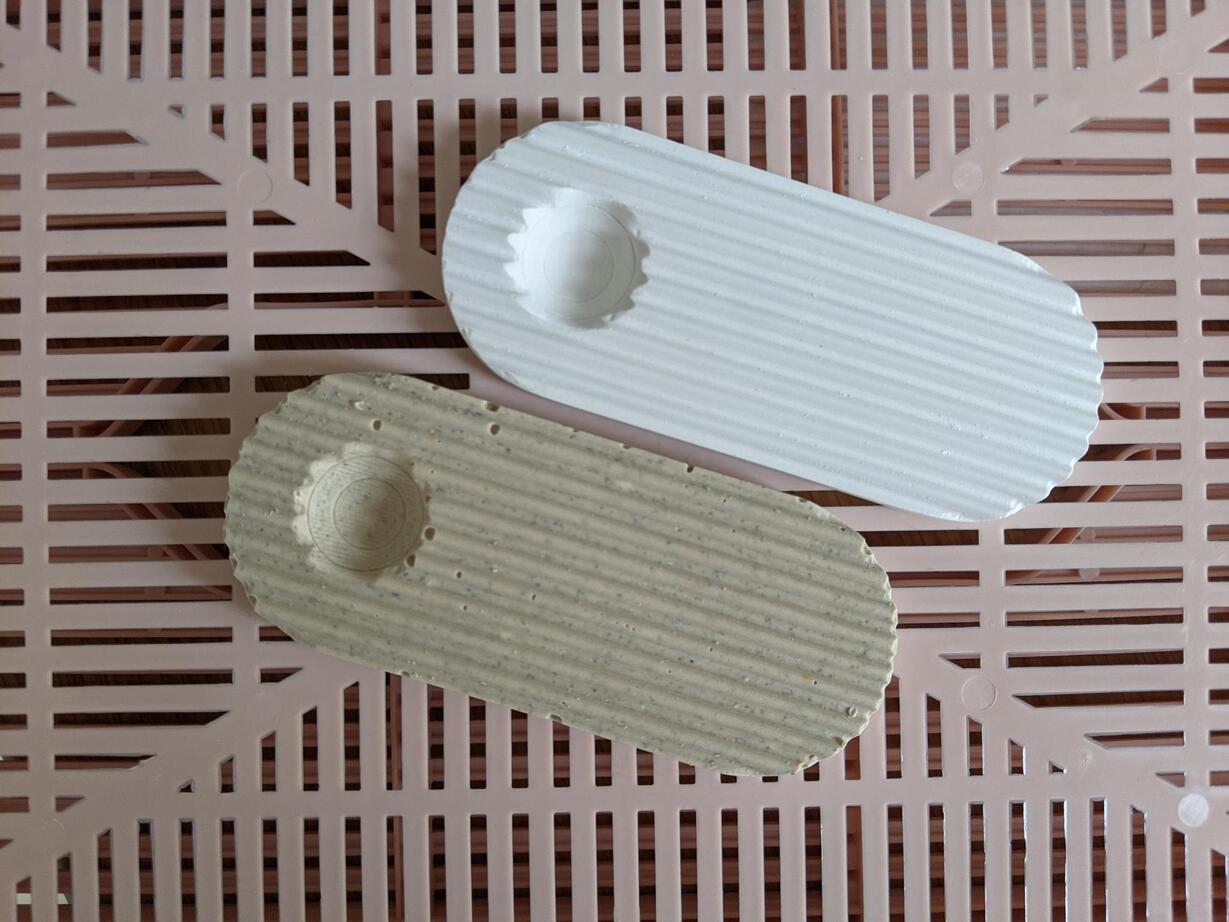

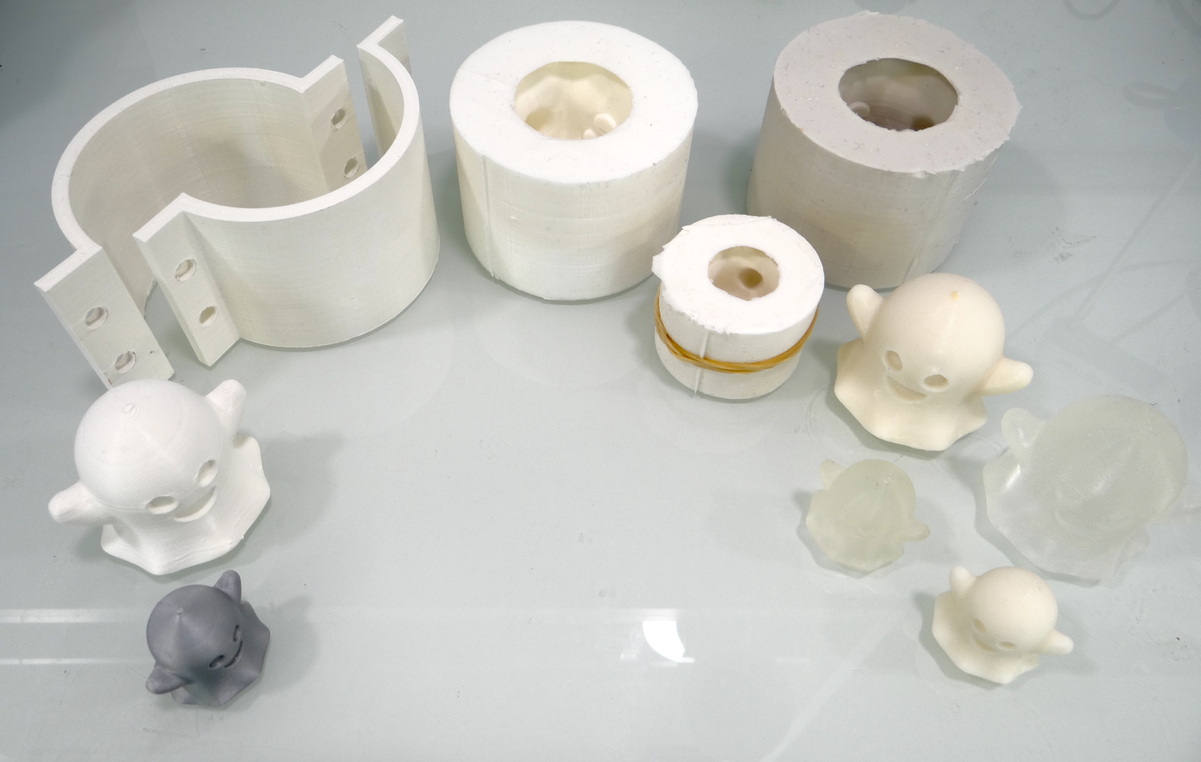
Comparing polyurethane and plaster casting
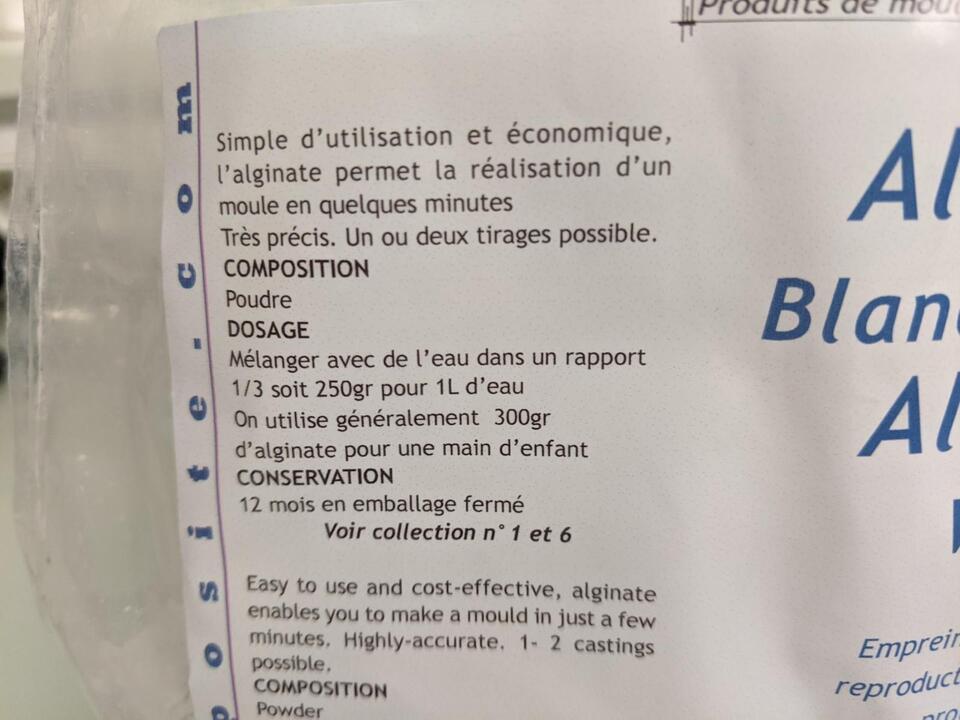
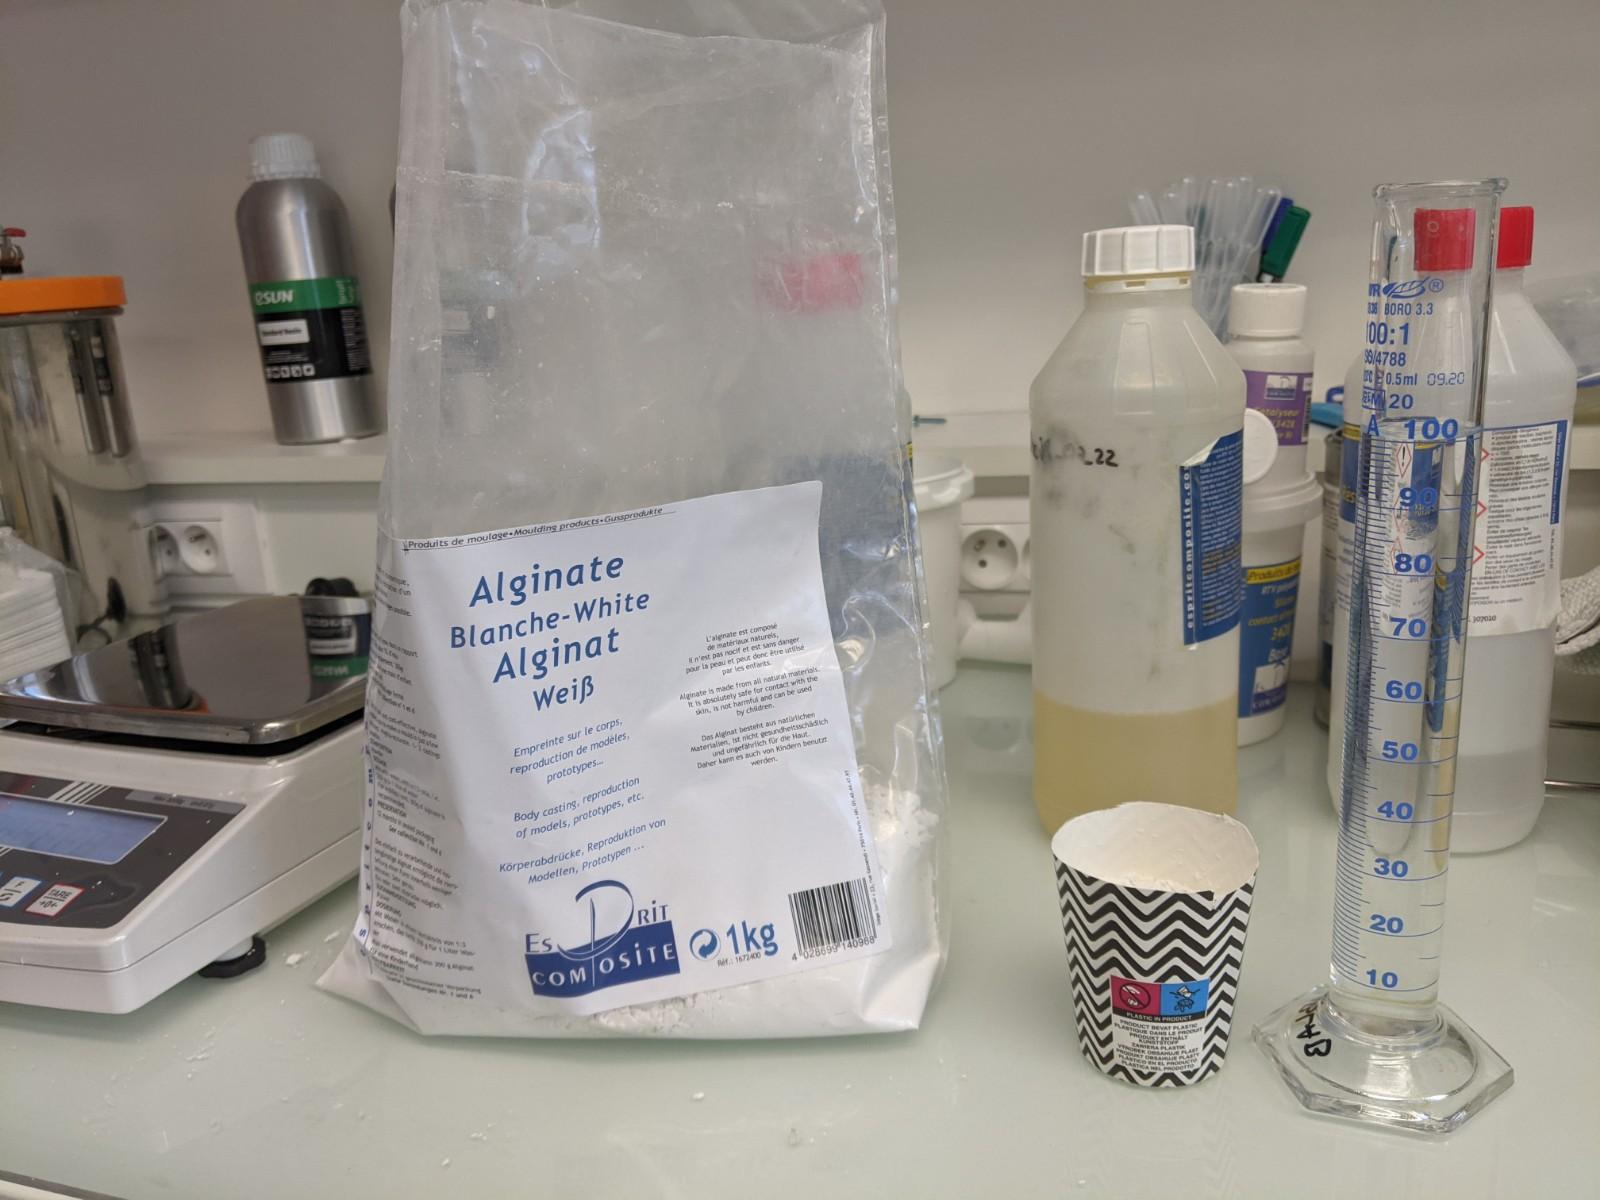
Alginate molds
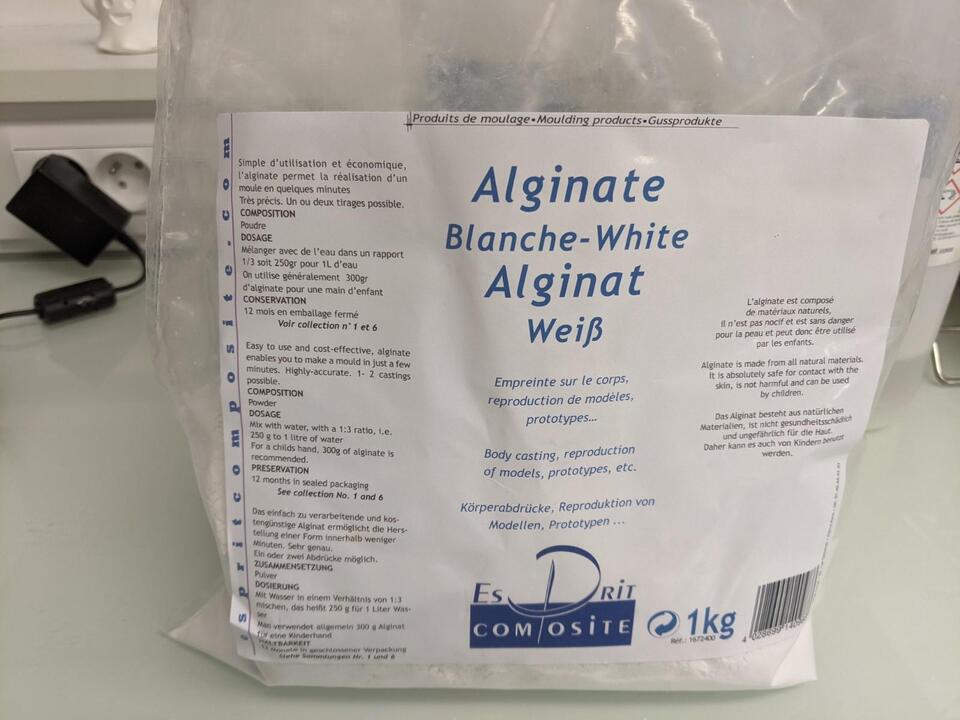
Alginate molds present the advantage of being cheap (compared to silicon), non-toxic, and to solidify fast. It's also very simple to use: you only need to weigh and mix the alginate powder with some water. The disadvantage is that the obtained algiante mold isn't very sturdy and you can reuse it only a few times.
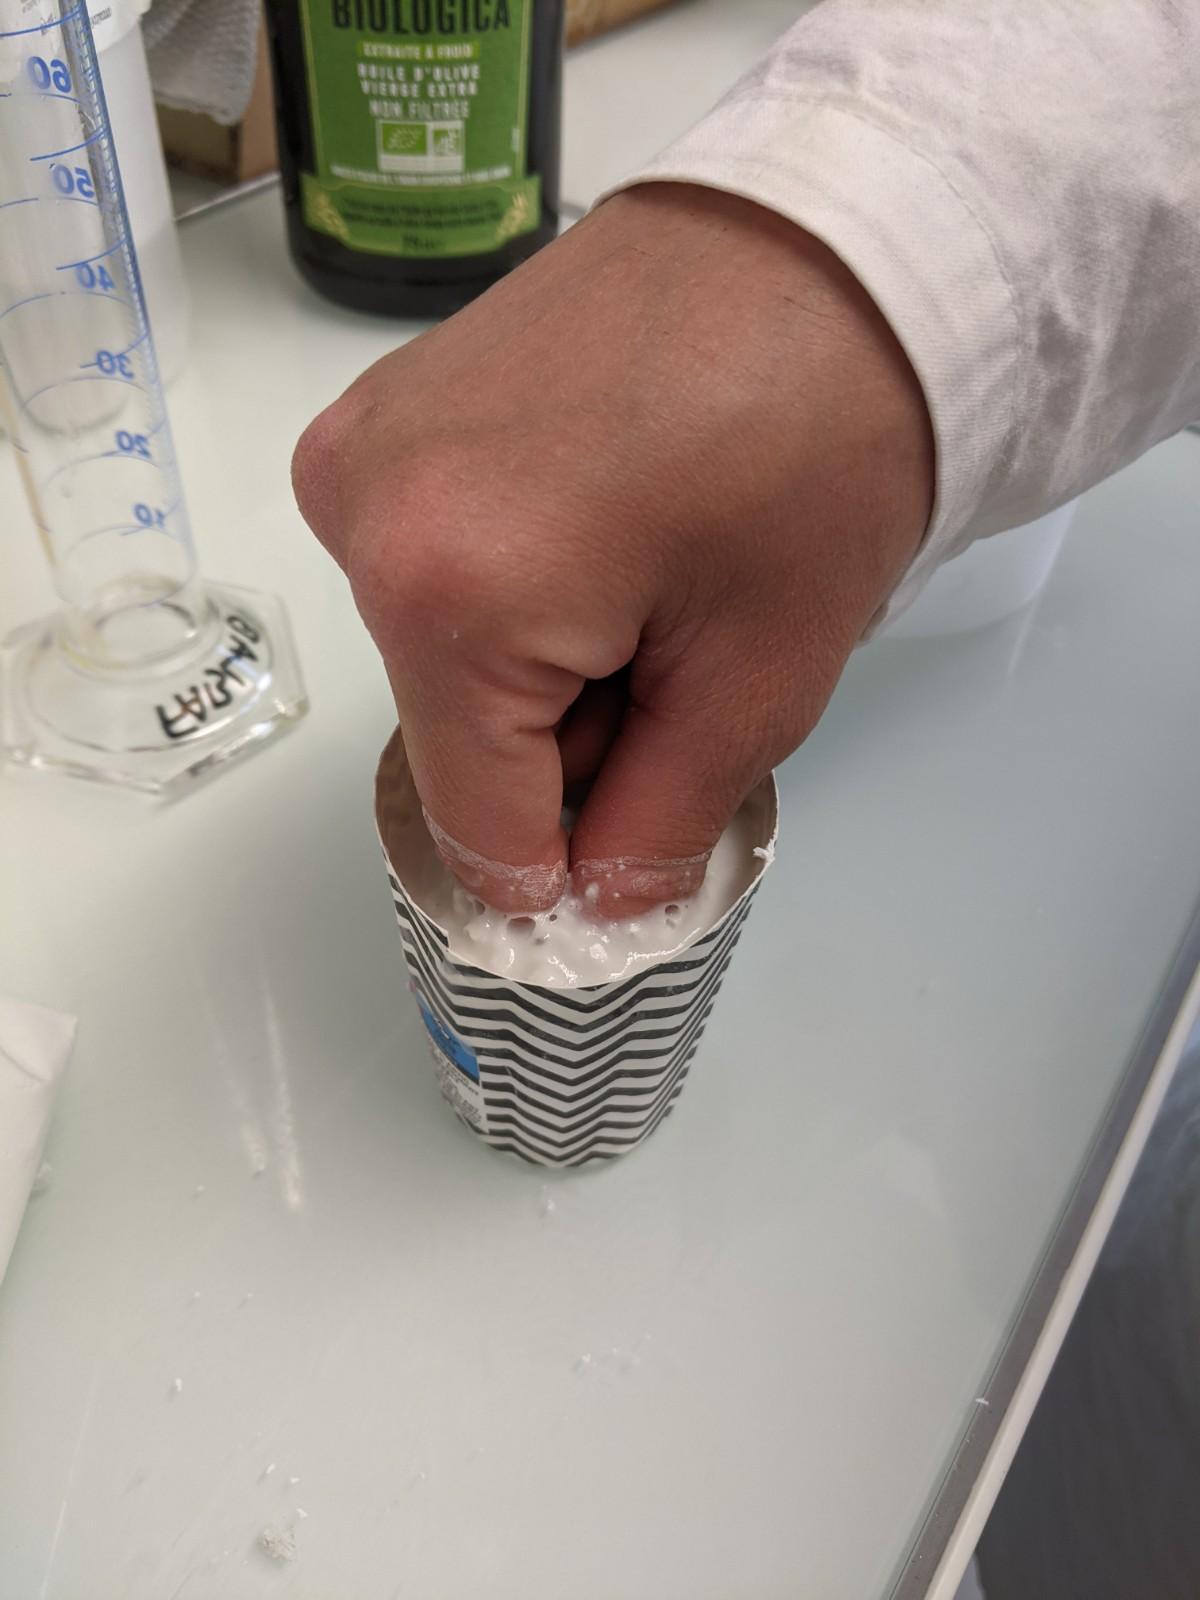
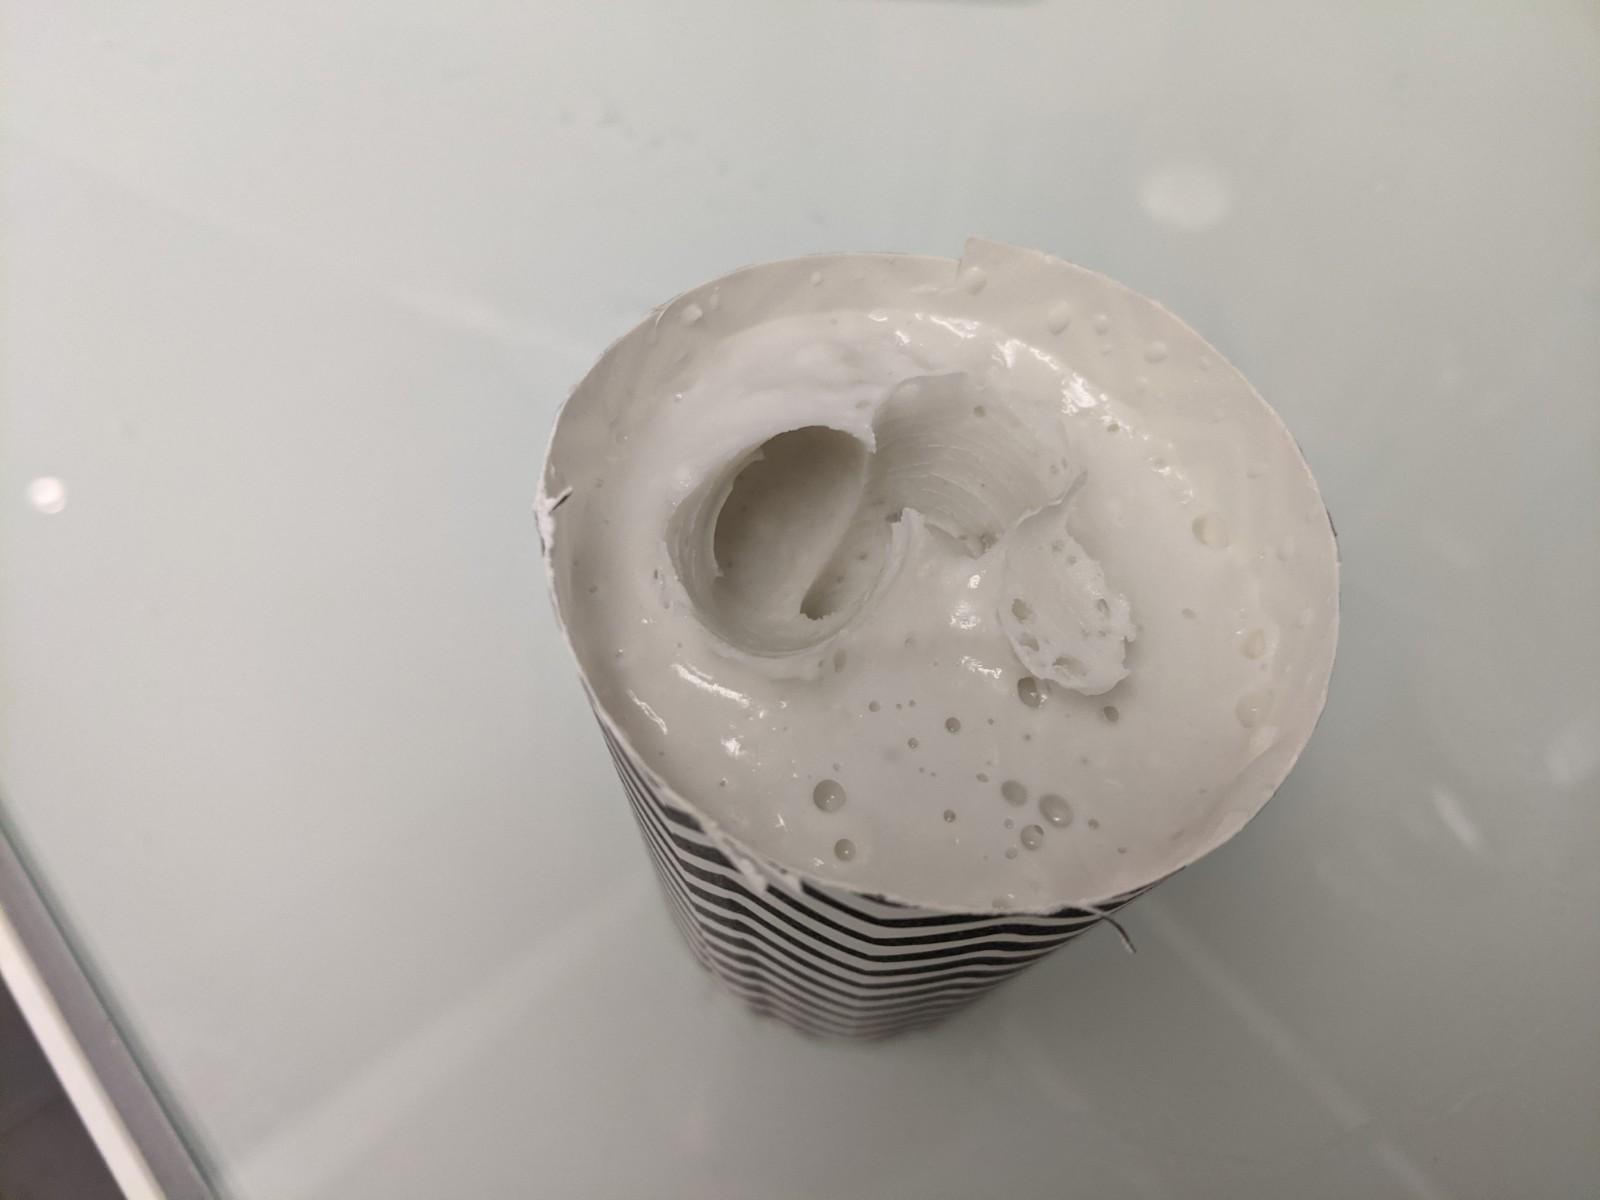
It's often used to mold parts of the body such as hands and face. I did a test with the tips of my fingers. I was really impressed by how much the details came out when I casted plaster in it!

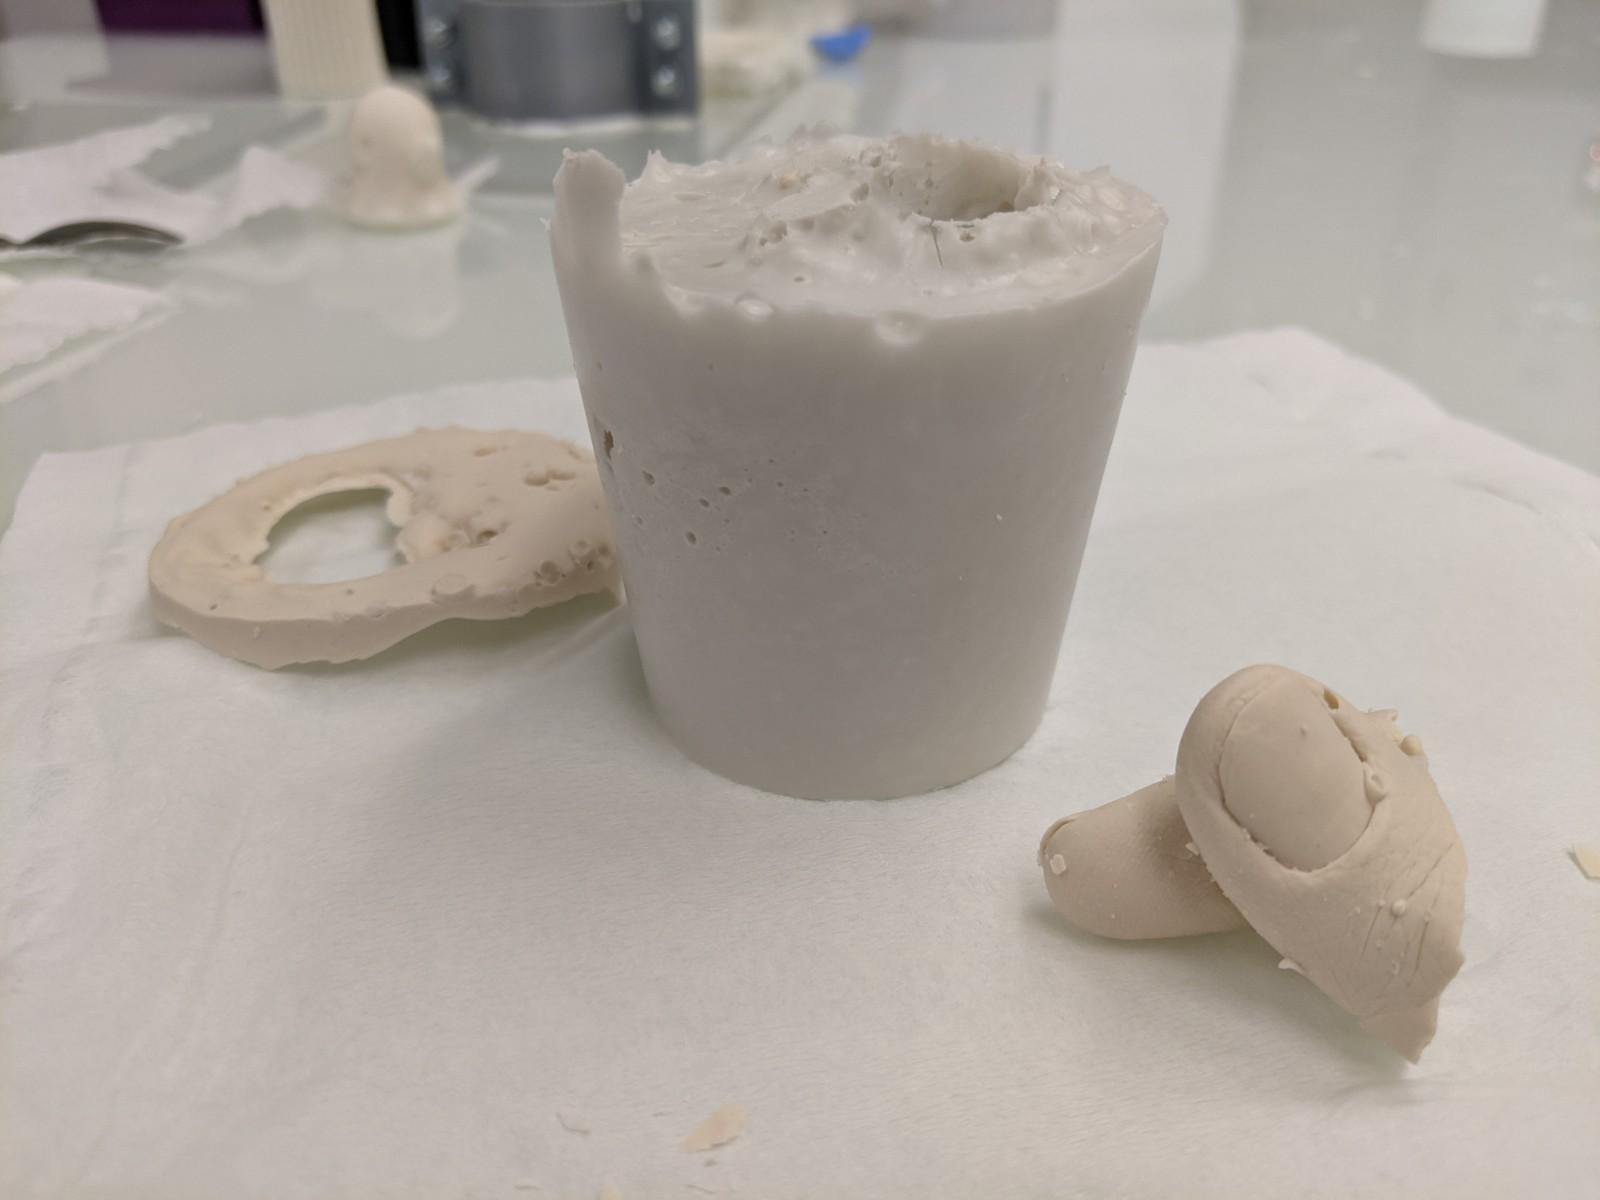
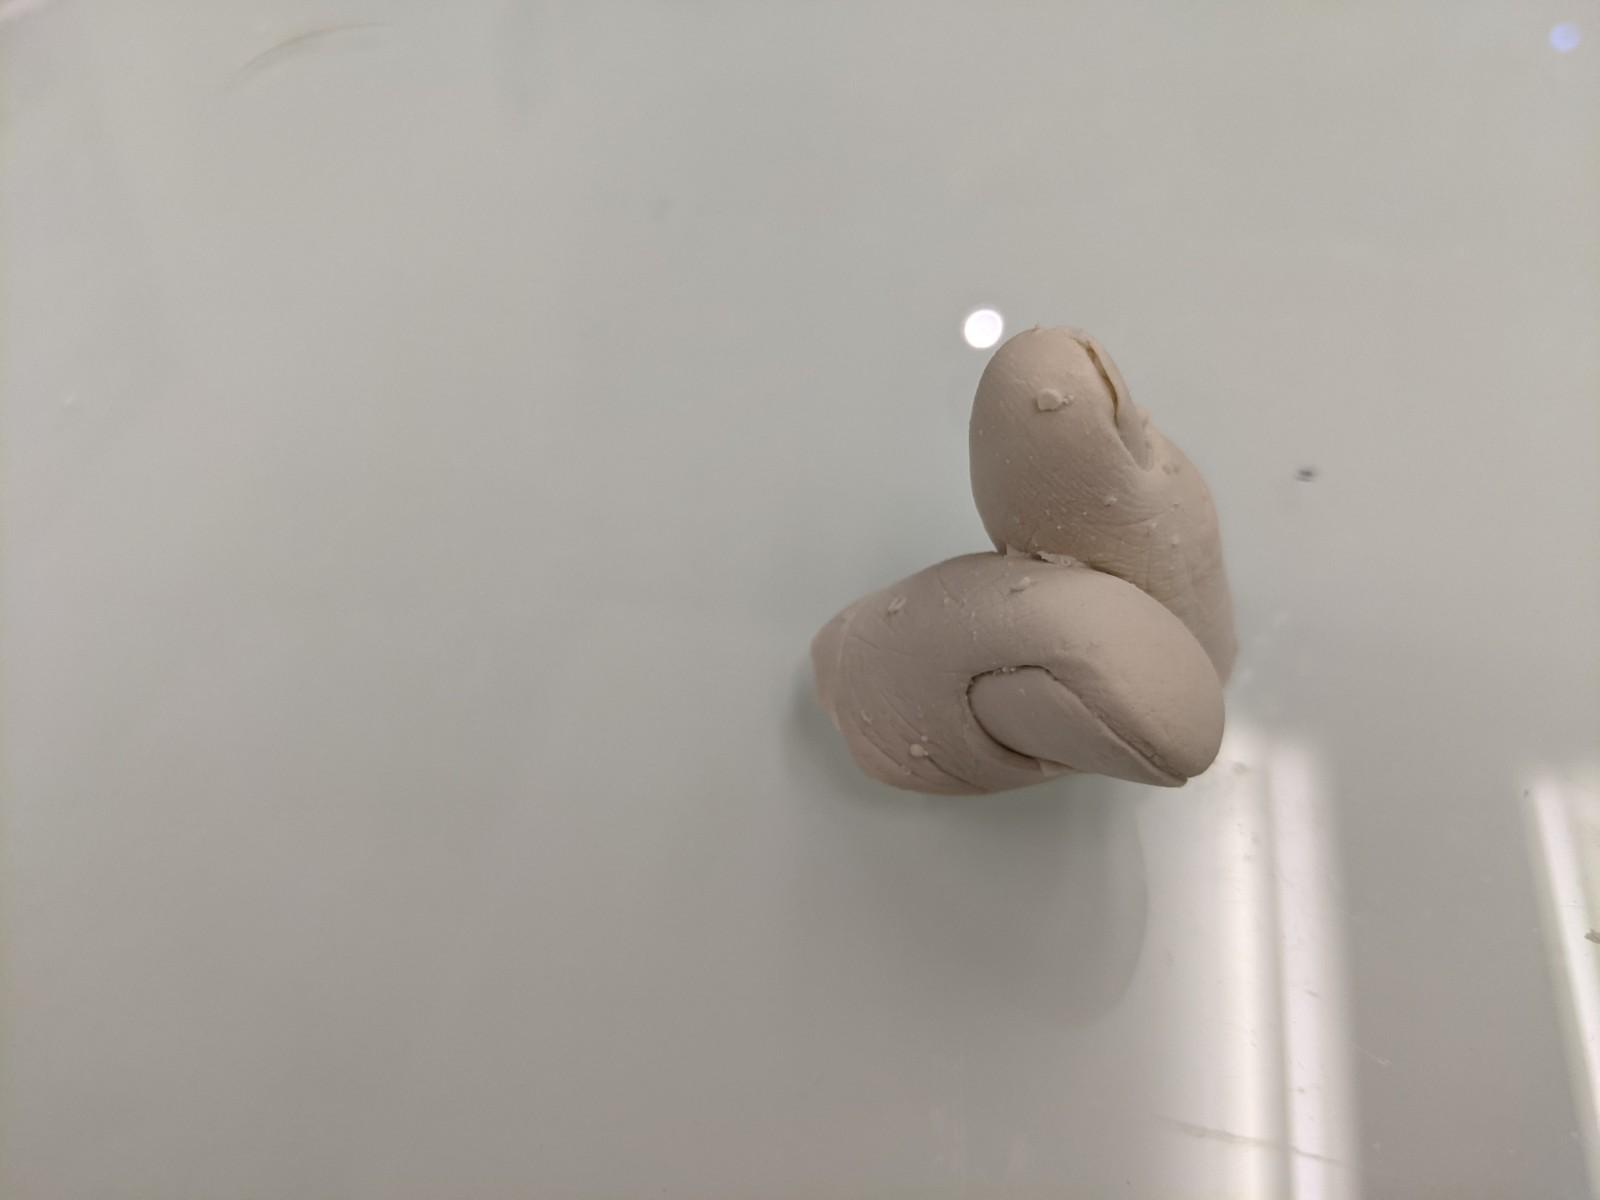
And then a plaster pickle:
Vacuum forming molds
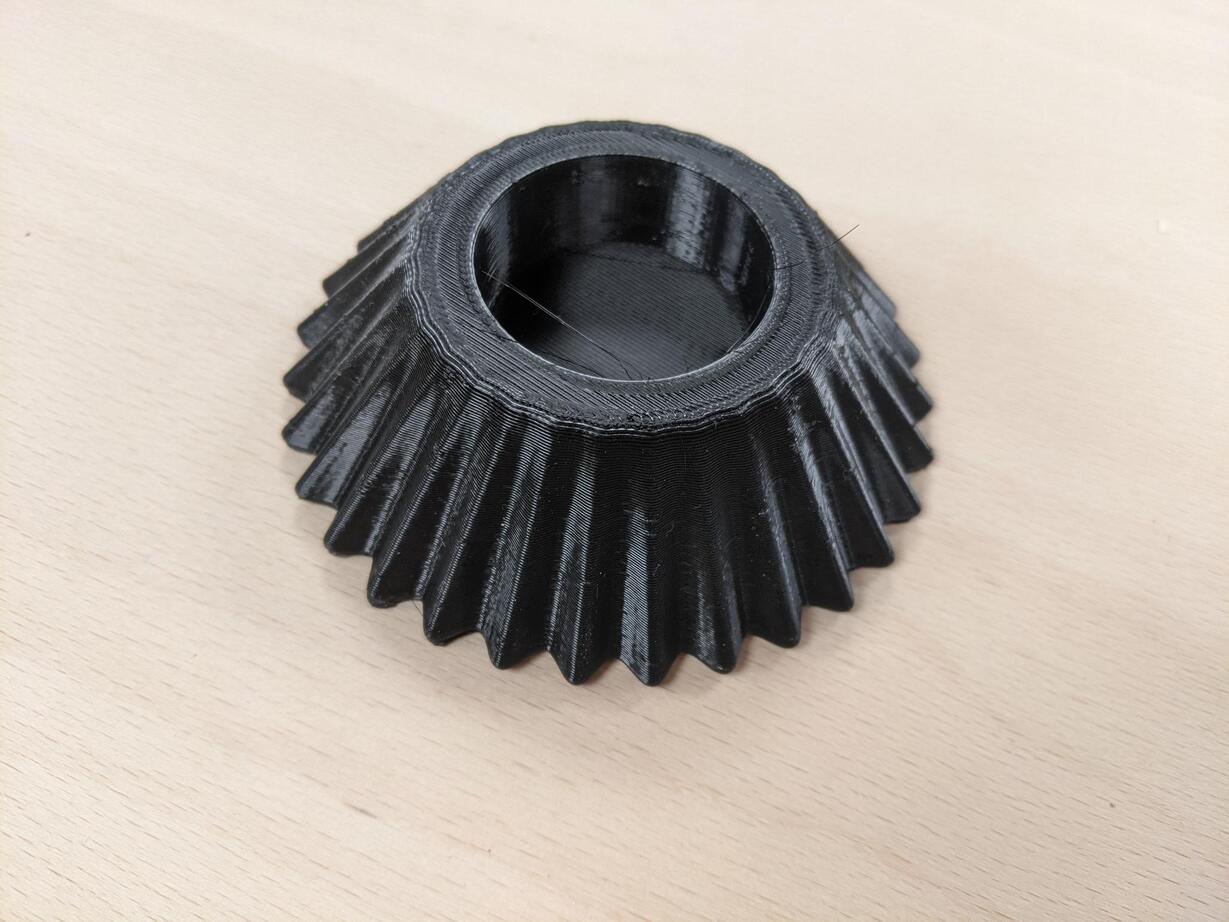
You can also use a vacuum forming machine to make some molds with few details. I designed and roughly printed some PLA parts.
You have to think about when you'll want to remove your object from the plastic sheet!
Failure !!
CAD models
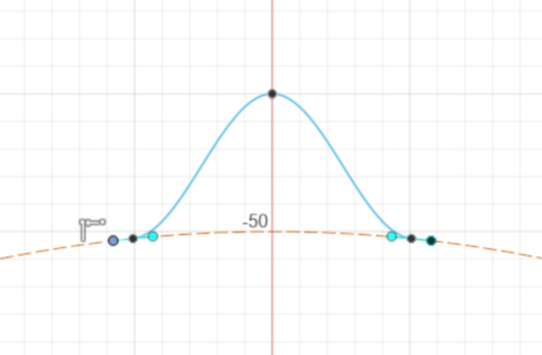
I designed a candle holder using a circular pattern and a loft function.
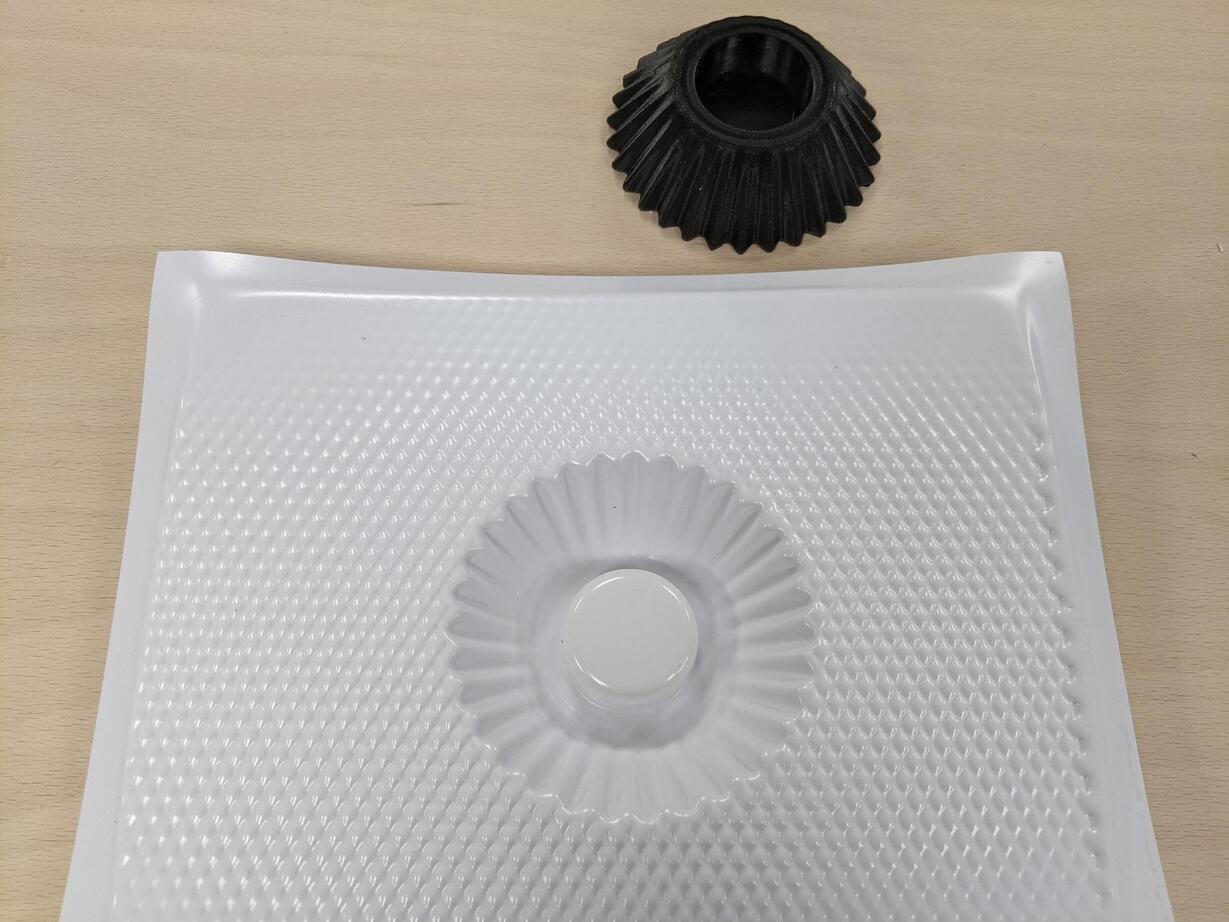
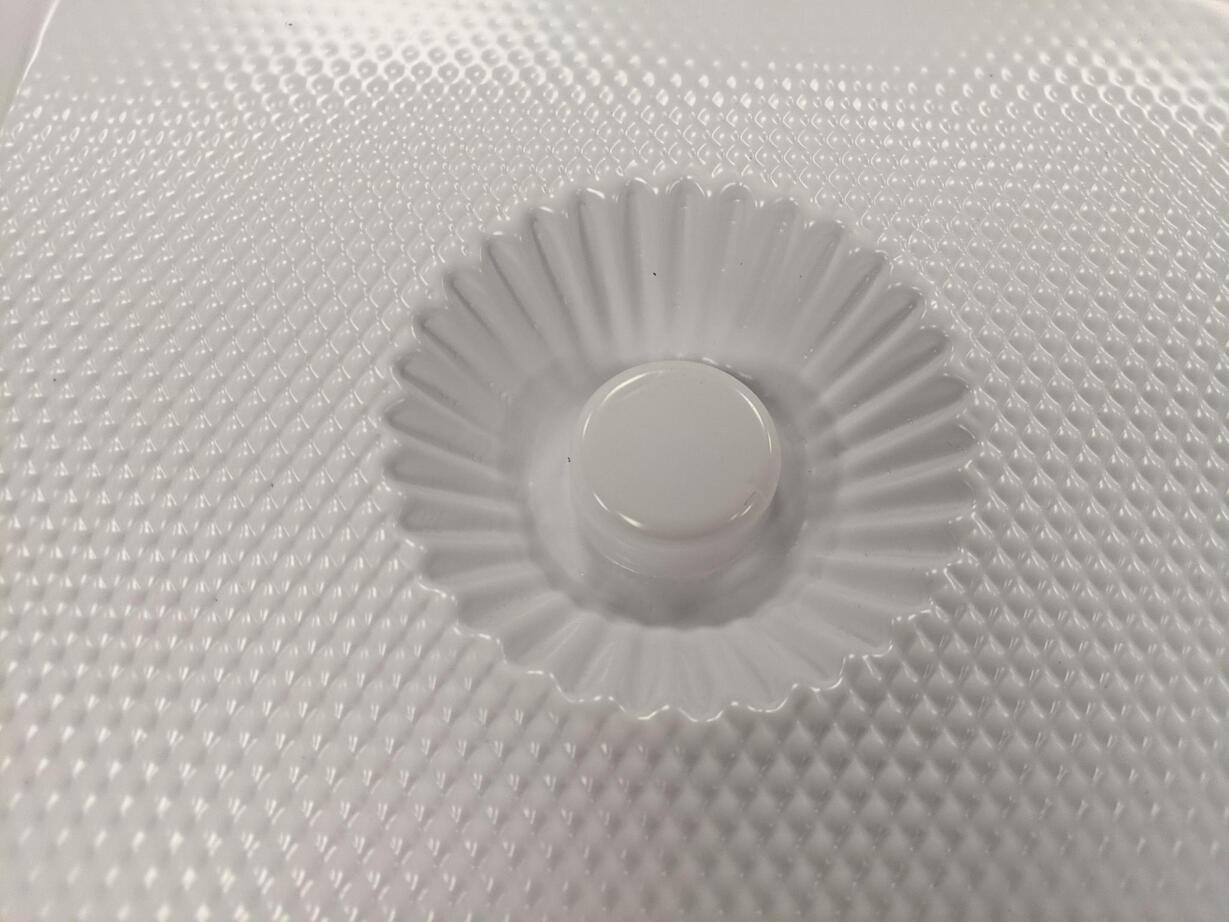
I also reused my incense holder tray to make a smaller tray.
3D printed PLA parts
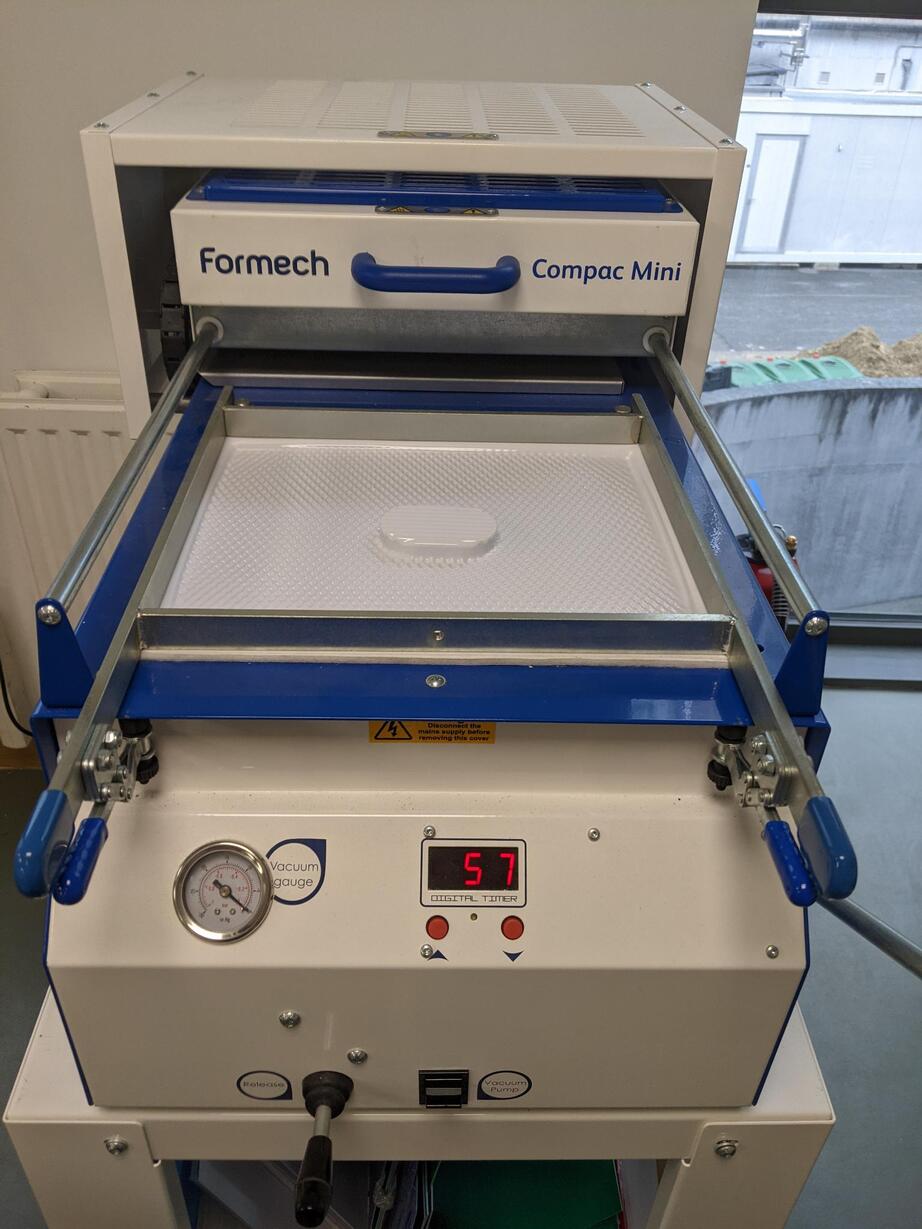
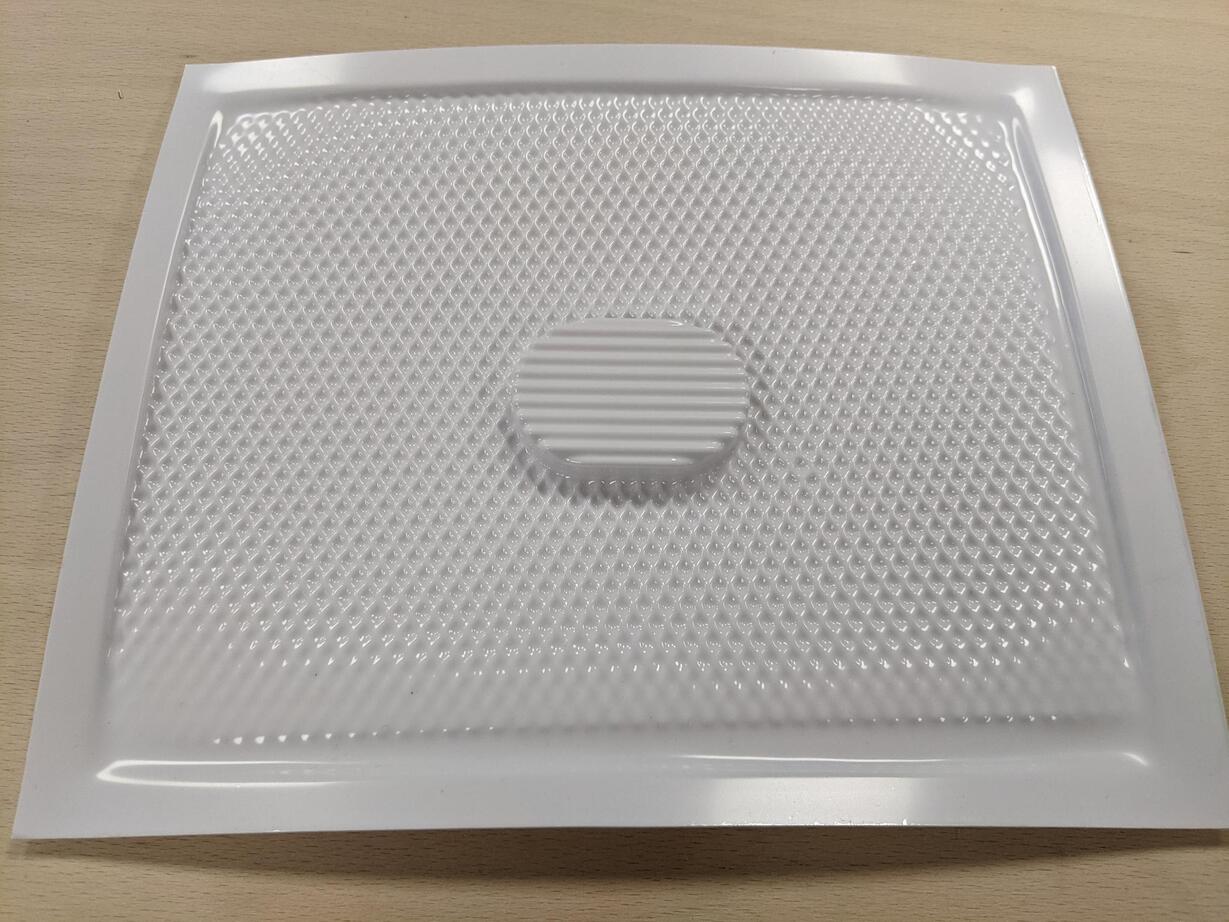
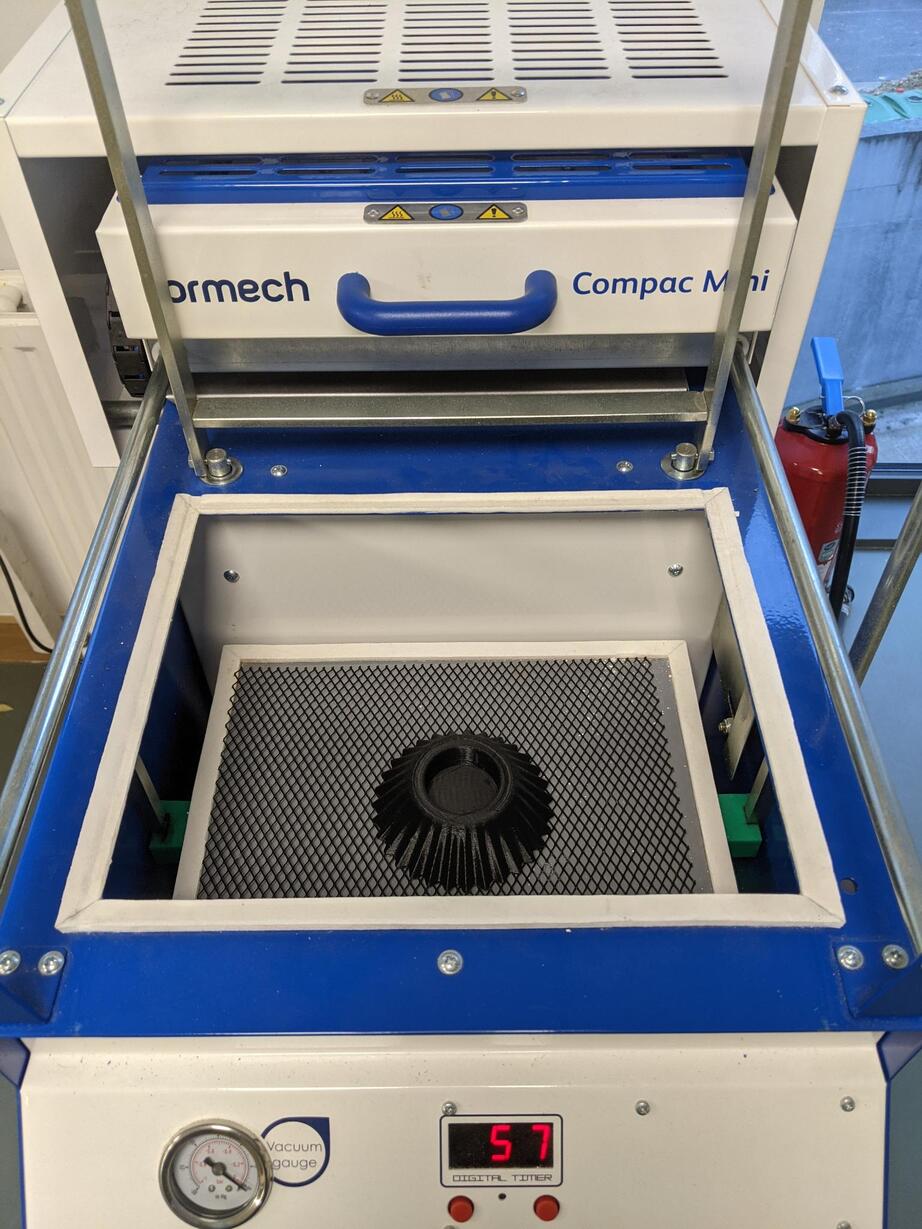
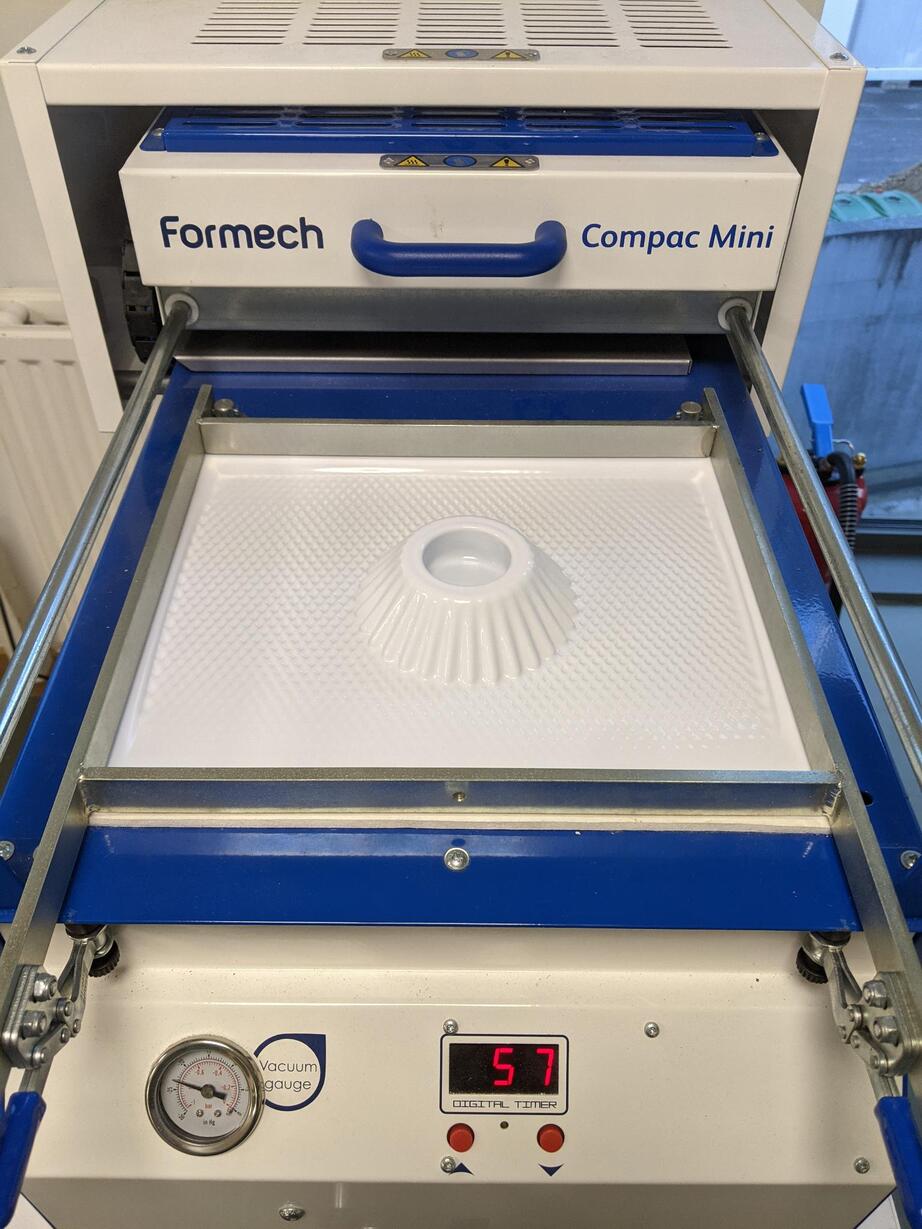
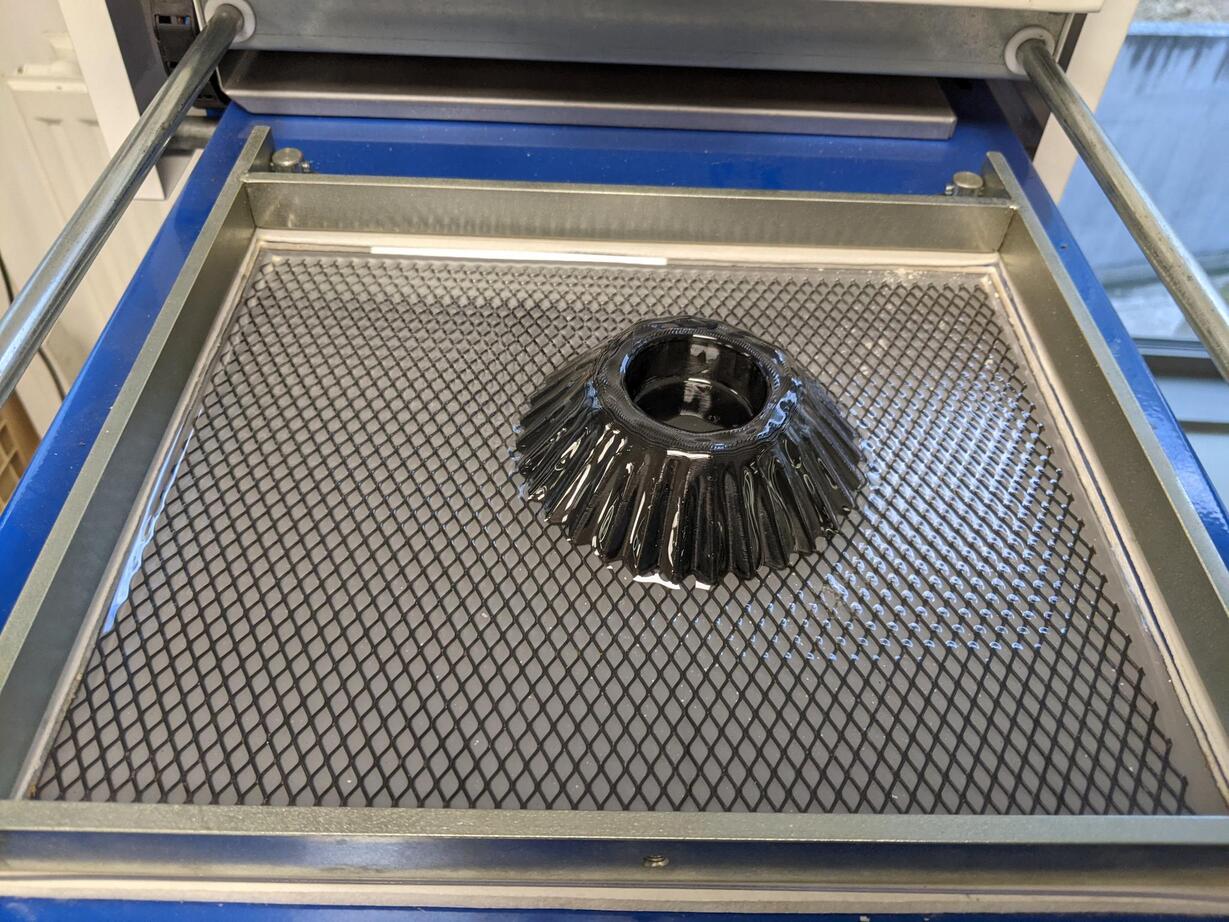
Vacuum forming the molds
I am not sure which plastic this sheet is, maybe HIPS? Anyway it went fine with approx 60 seconds heating the sheet.
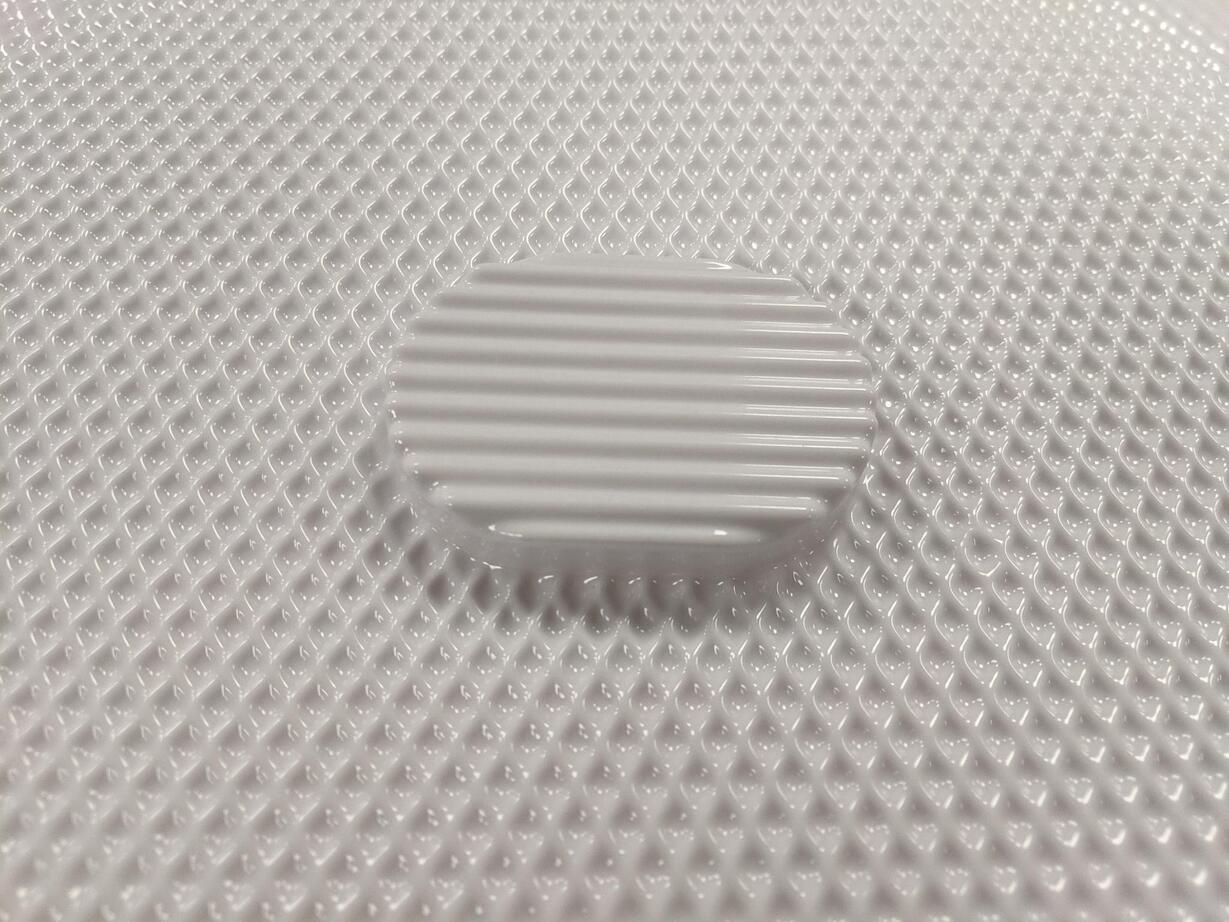
I also tried using PETG but it deformed a lot faster, and got stuck to the printed object. The heat even deformed the PLA part, so I could'nt get it out of the mold.
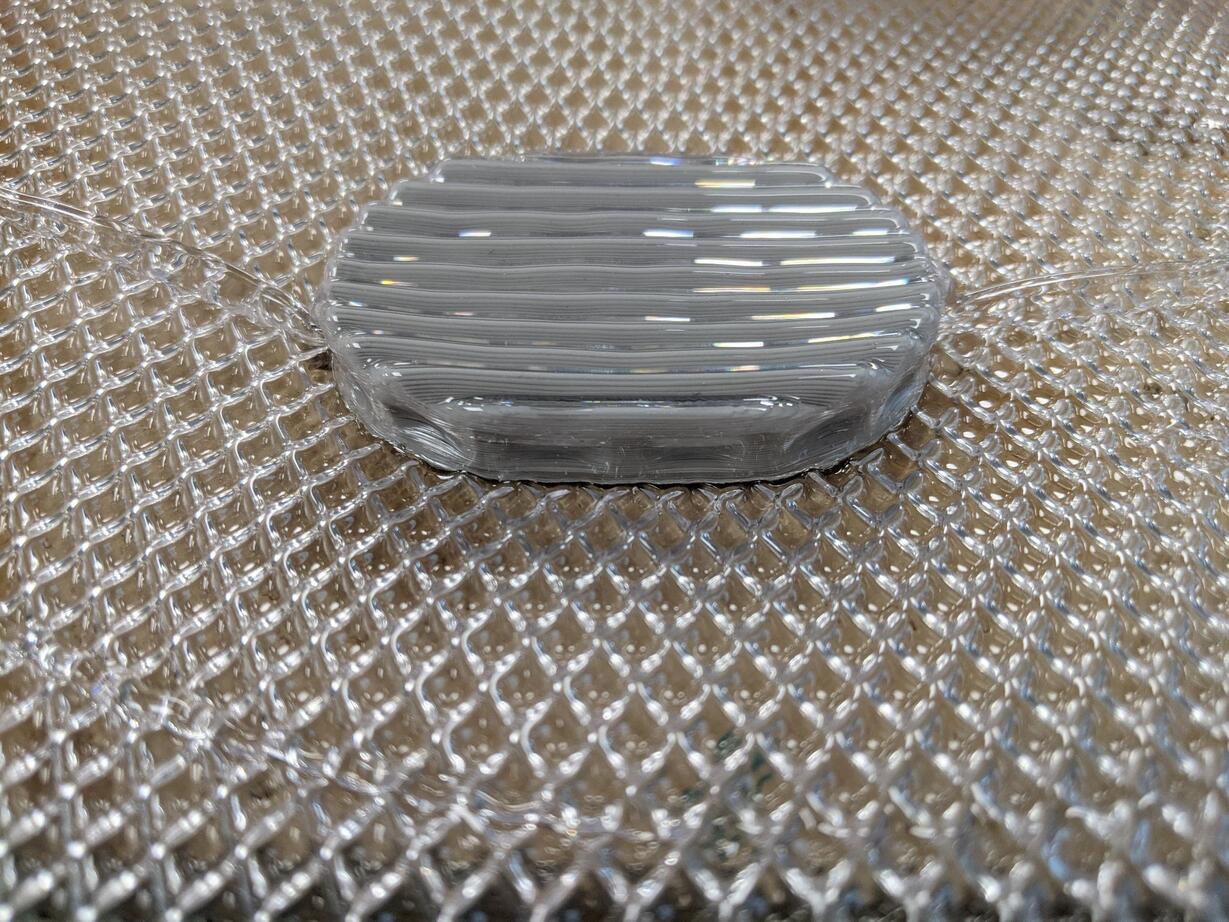
Let's review the main steps:
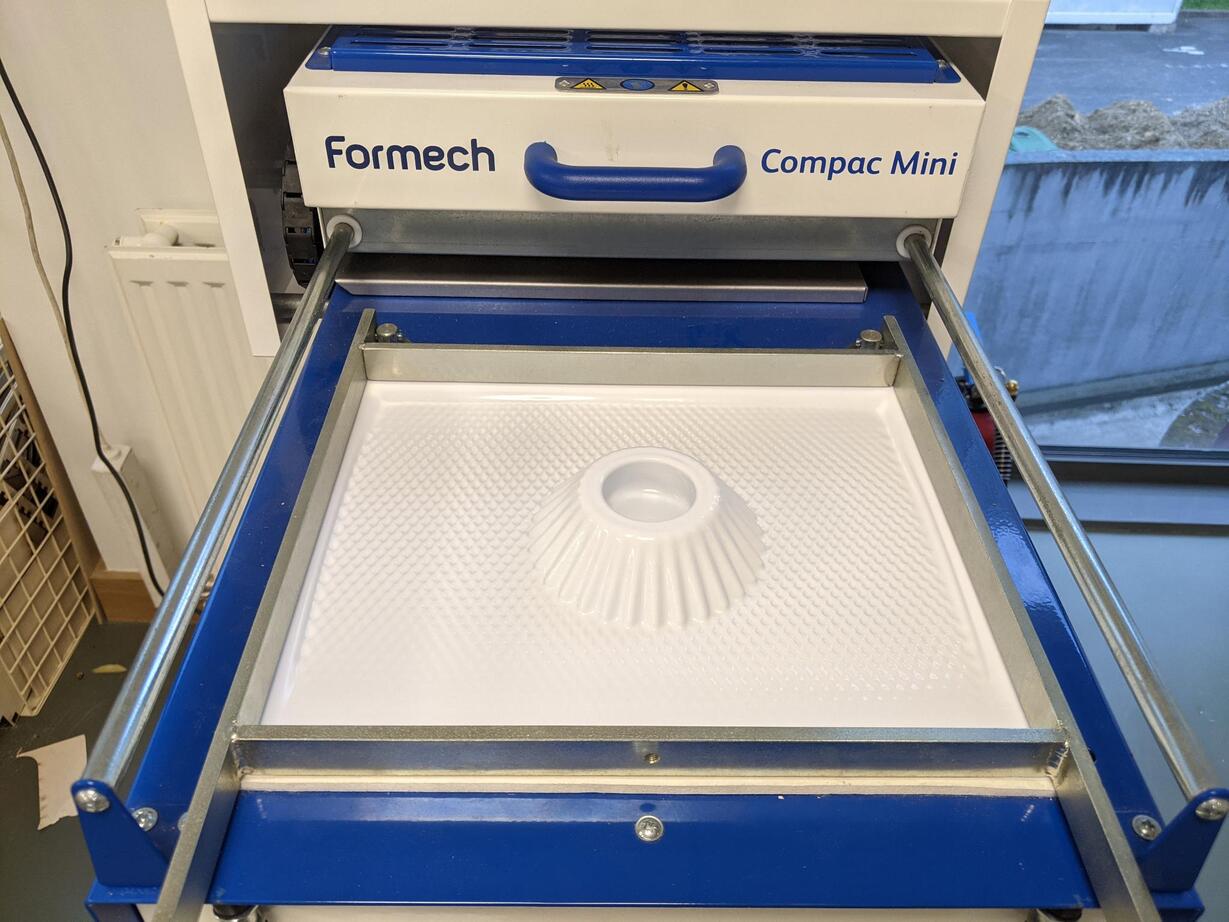
I vacuum formed this part using another plastic sheet (maybe ABS judging from the smell ?) and tried agand with PETG (but was so scared to heat it too much that I didn't heat it long enough)
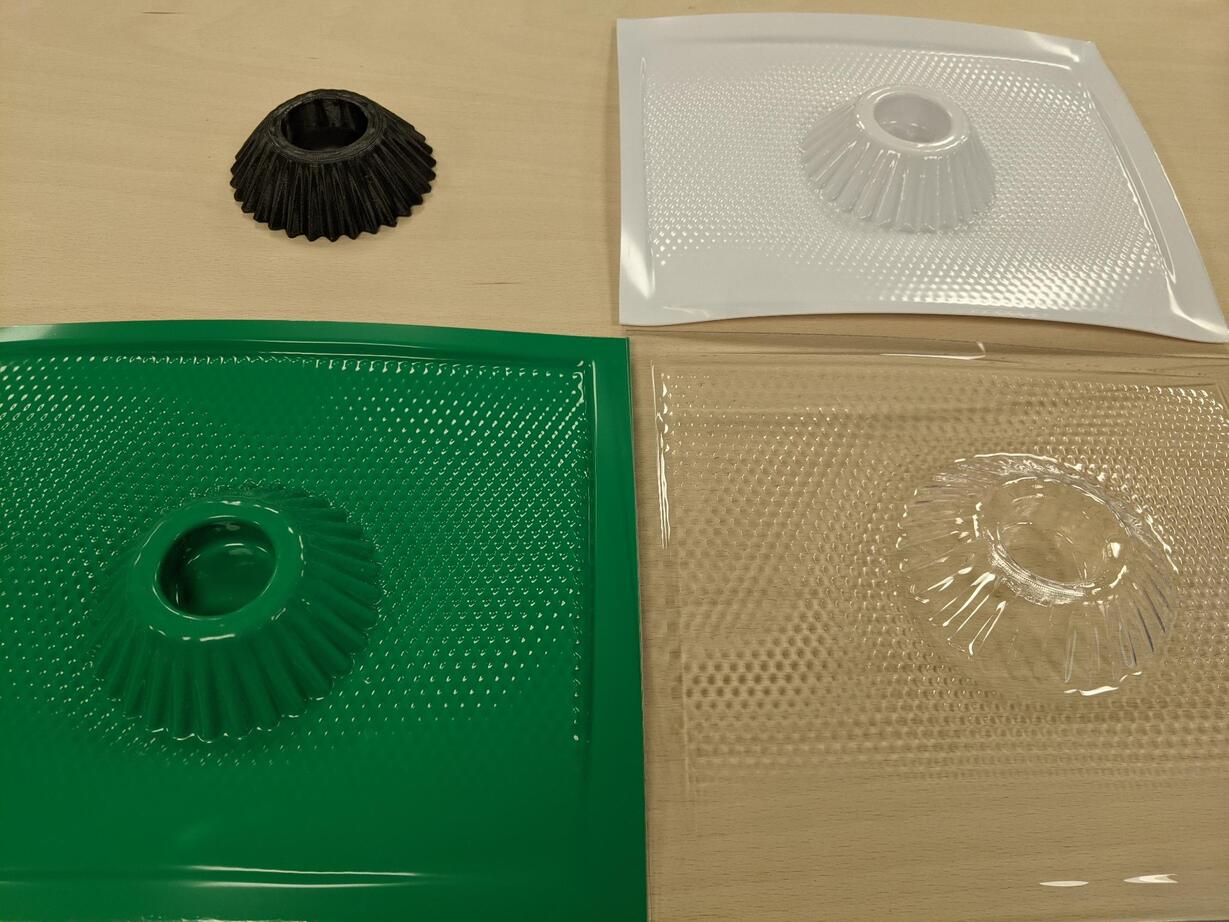
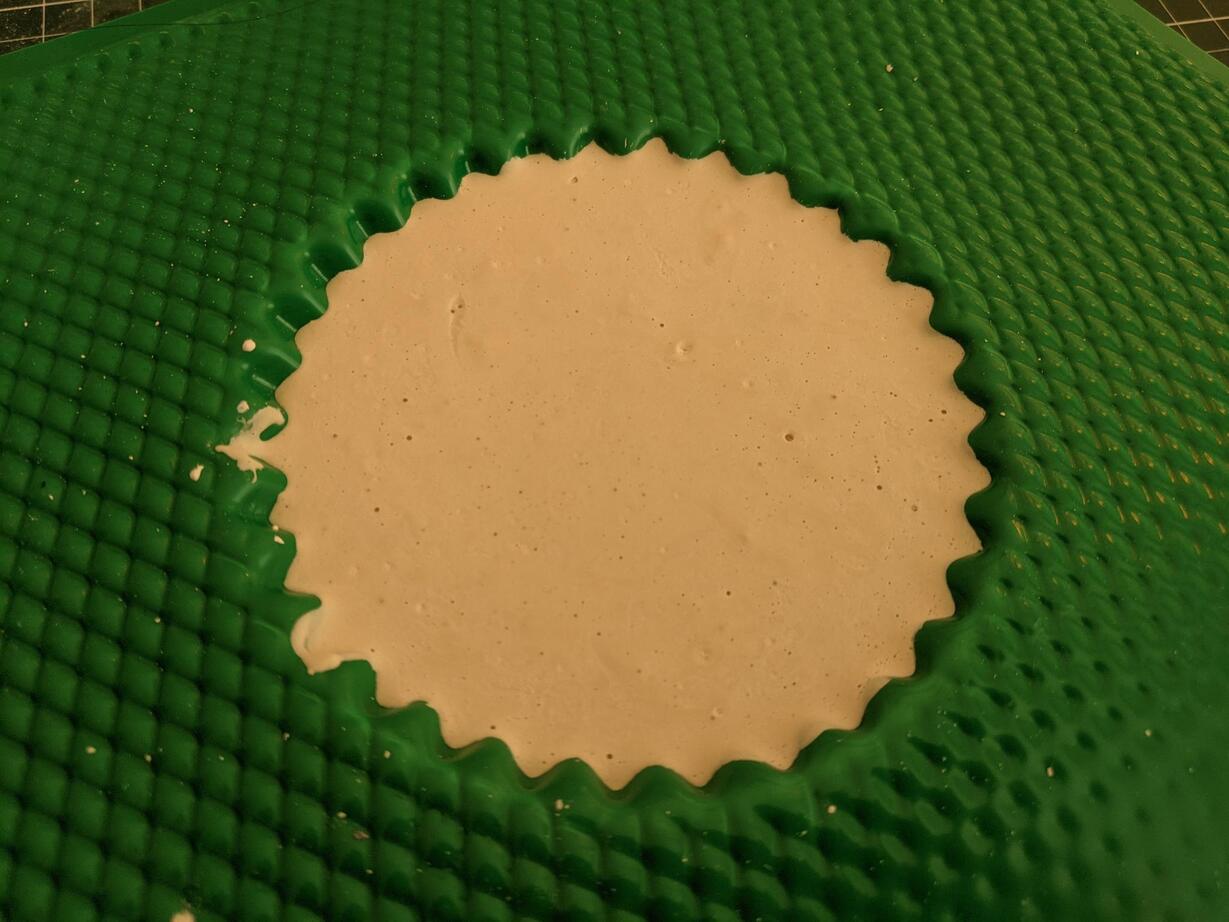
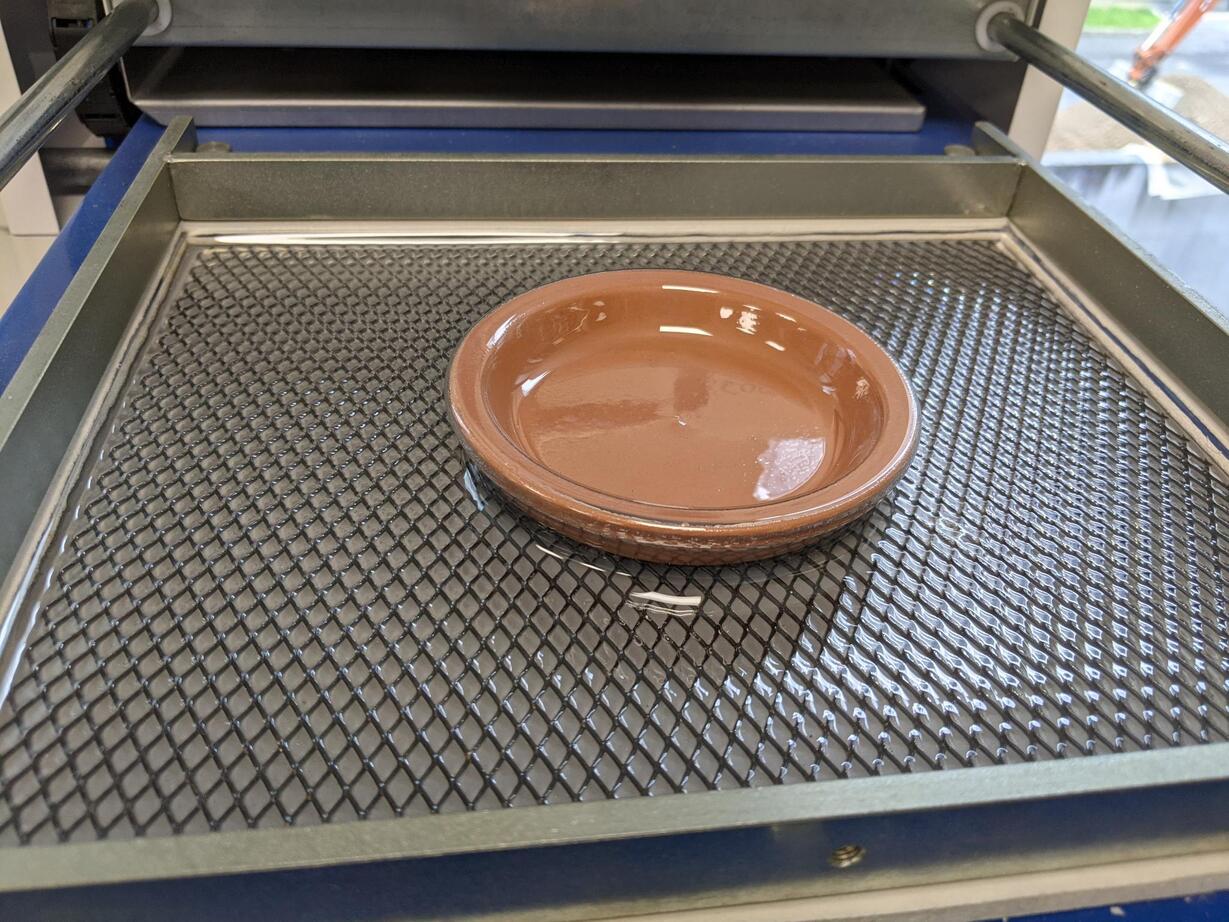
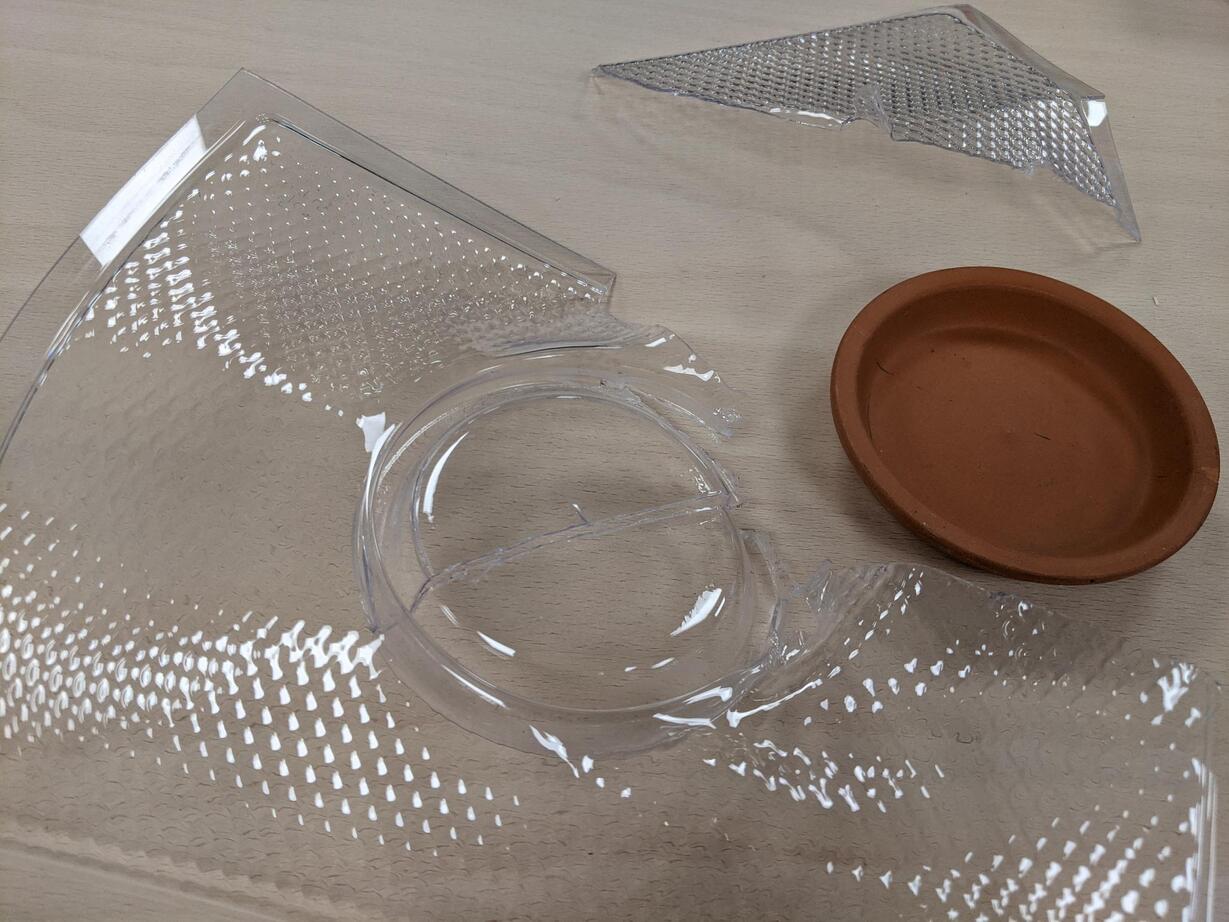
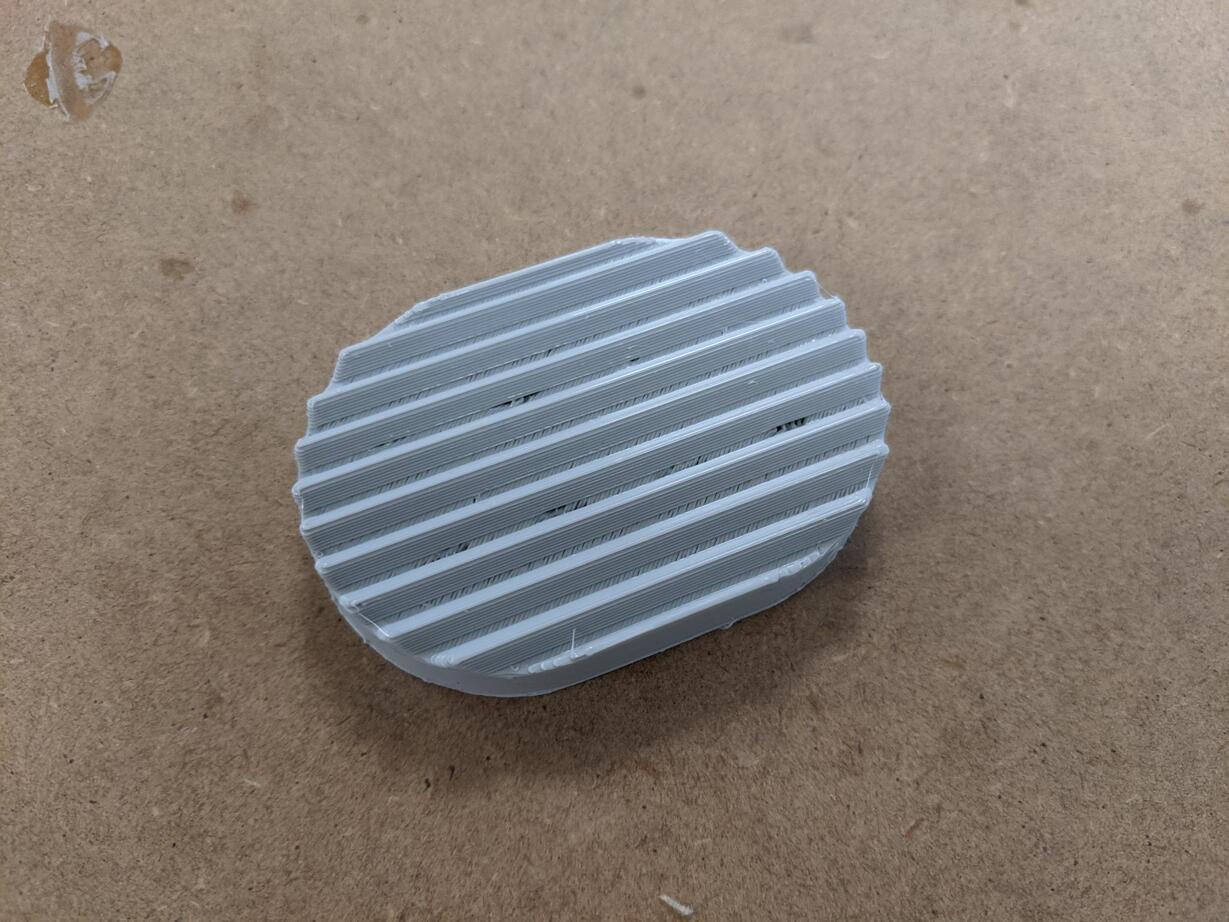
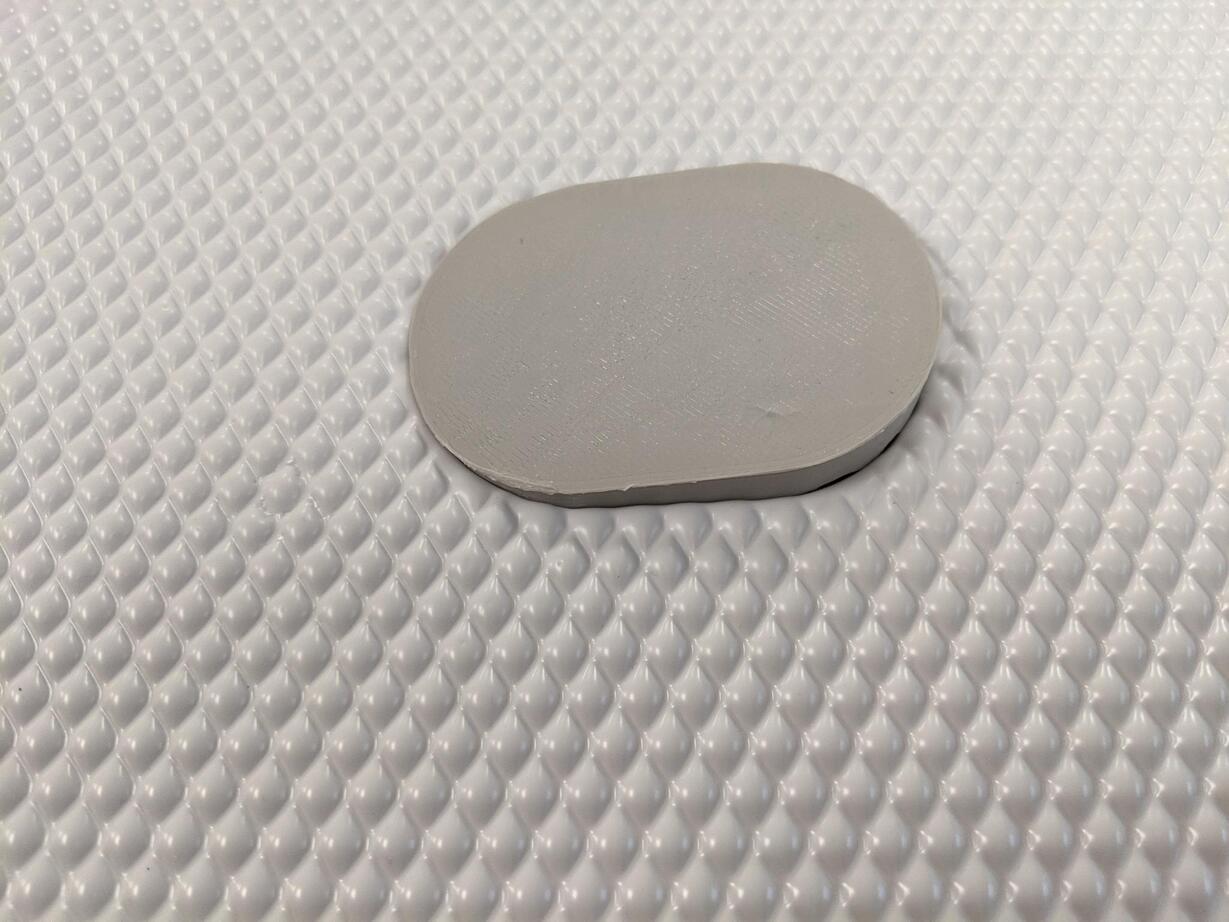
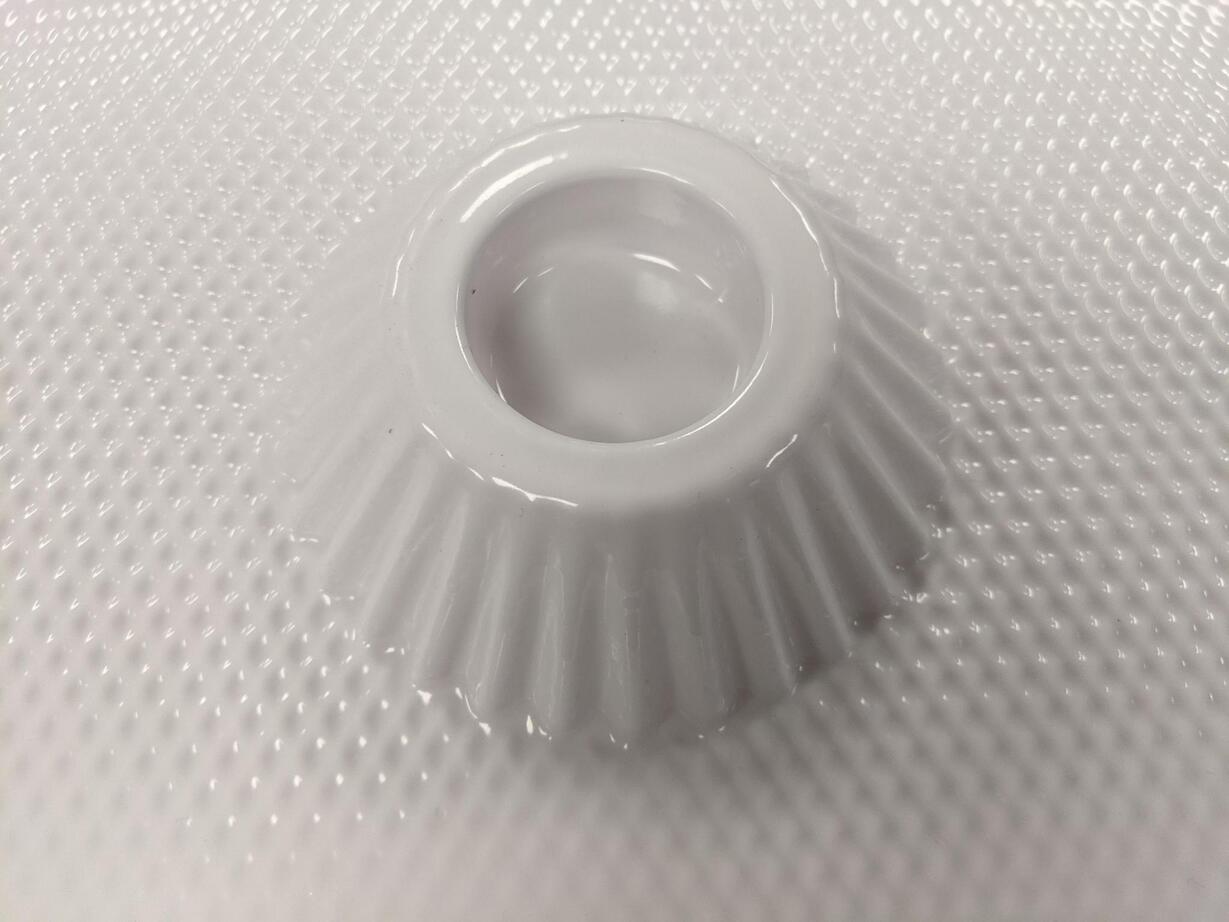
Casting plaster in the vacuum formed molds
I casted plaster directly in the vacuum formed molds without any releasing agent. I managed to take out the small tray with some small breaks, but not (yet?) the candle holder. It's definitely harder to get the part out than with silicone.