Week 5: 3D Scanning and printing
Group Assignment
- test the design rules for your 3D printer(s)
Individual Assignment
- (small, few cm3, limited by printer time) that could not be made subtractively
- 3D scan an object (and optionally print it)
WEEK 5 WORK ORGANIZATION
Group Assignment:What i learned from Testing 3D printers
Wow, learning about how the Ultimaker 2+ 3D printer works has left me absolutely thrilled!. you can find testing details on group assignment page .The process of testing my design in a software program and then sending the file to the printer seems so straightforward and easy to do. I can't wait to start experimenting with different design ideas and watching them come to life before my very eyes.
The bed calibration process on the Ultimaker 2+ sounds incredibly precise, ensuring that my designs will come out perfectly every time. And with support for a wide range of filaments, I can choose the perfect material for each project, whether it's ABS, PLA, Nylon, or something else entirely.
What really blows me away is the speed at which the Ultimaker 2+ is able to print complex designs. With its high-quality print head and advanced technology, I can have a physical object in my hands in just a matter of hours, making it easy to iterate on my designs and bring my ideas to life.
am incredibly excited about the possibilities that the Ultimaker 2+ 3D printer offers. From rapid prototyping and experimentation to creating customized and personalized objects, this technology is truly revolutionizing the way we think about design and manufacturing. I can't wait to start exploring all of the amazing things I can create with this incredible machine!
3D scan an object (and optionally print it)
3D Scanning!!!!!!!. Before i start fab Academy , i was not aware that 3D scanning machines even exists. what i did first is to make a little research about it and i got some informations about its applications and what we could achive with the us eof 3D scanner
As technology continues to advance, it's only natural to wonder about the possibilities of what can be achieved. Lately, I've been curious about the existence of 3D scanners that can scan the human body or objects. I can't help but imagine the incredible level of detail that would be captured with such a device, and the potential applications it could have in various fields such as medicine, fashion, and art. It's amazing to think that we now have the capability to capture objects and even people in three dimensions, allowing us to explore them in ways we never thought possible. I'm eager to learn more about the technology behind 3D scanners and how they could potentially revolutionize the way we interact with our world.
3D Scanners Available on markets
The following informations are gathered from the corresponding link provided on each product.
| 3D Scanner | Description | Price | Link |
|---|---|---|---|
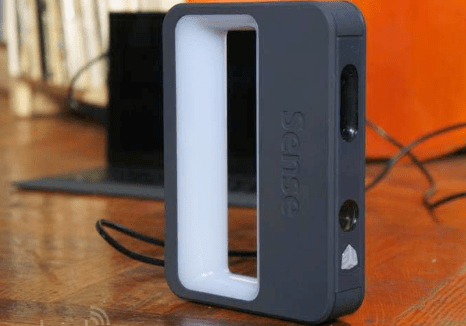
| Sense 3D Scanner | Portable and lightweight 3D scanner that allows you to scan small to medium sized objects in high resolution. | $399 | Read more |
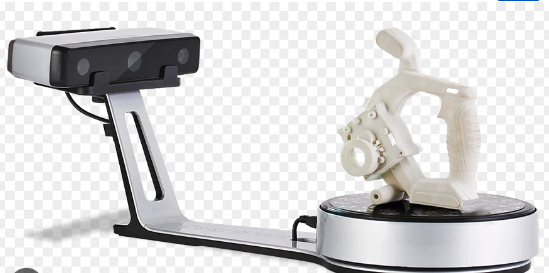
| Artec Eva | Handheld 3D scanner that captures high-resolution 3D models of medium to large objects quickly and easily. | $19,800 | Read more |
| FARO Focus | High-precision, long-range 3D laser scanner that captures accurate measurements of large objects and structures from a distance. | Contact for Price | Read more |
| EinScan Pro 2X Plus | Multi-functional handheld 3D scanner that can capture small to medium sized objects with high accuracy and resolution. | $6,899 | Read more |
| MakerBot Digitizer | Desktop 3D scanner that allows you to create high-quality, 3D printable models of small objects. | $799 | Read more |
The price differs according to many factors that are listed above according to the research i did on the difference of their proces. you can check it here
- Technology: 3D scanners can use different types of technology, such as structured light, laser, or photogrammetry, and the cost of the technology used can affect the price of the scanner.
- Accuracy and Resolution: Higher accuracy and resolution 3D scanners tend to be more expensive due to the technology required to achieve these results.
- Size: The size of the objects that can be scanned can also impact the price of the scanner. Scanners designed to scan larger objects tend to be more expensive.
- Portability: Portable or handheld 3D scanners tend to be less expensive than larger, stationary scanners.
- Brand: The brand of the 3D scanner can also affect the price, as more established and reputable brands tend to charge a premium.
- Additional features: Additional features such as color scanning or compatibility with specific software can also impact the price of 3D scanners.
In our Fab lab , we have used Sense 3D Scanner and it is only type available in Fablab Rwanda
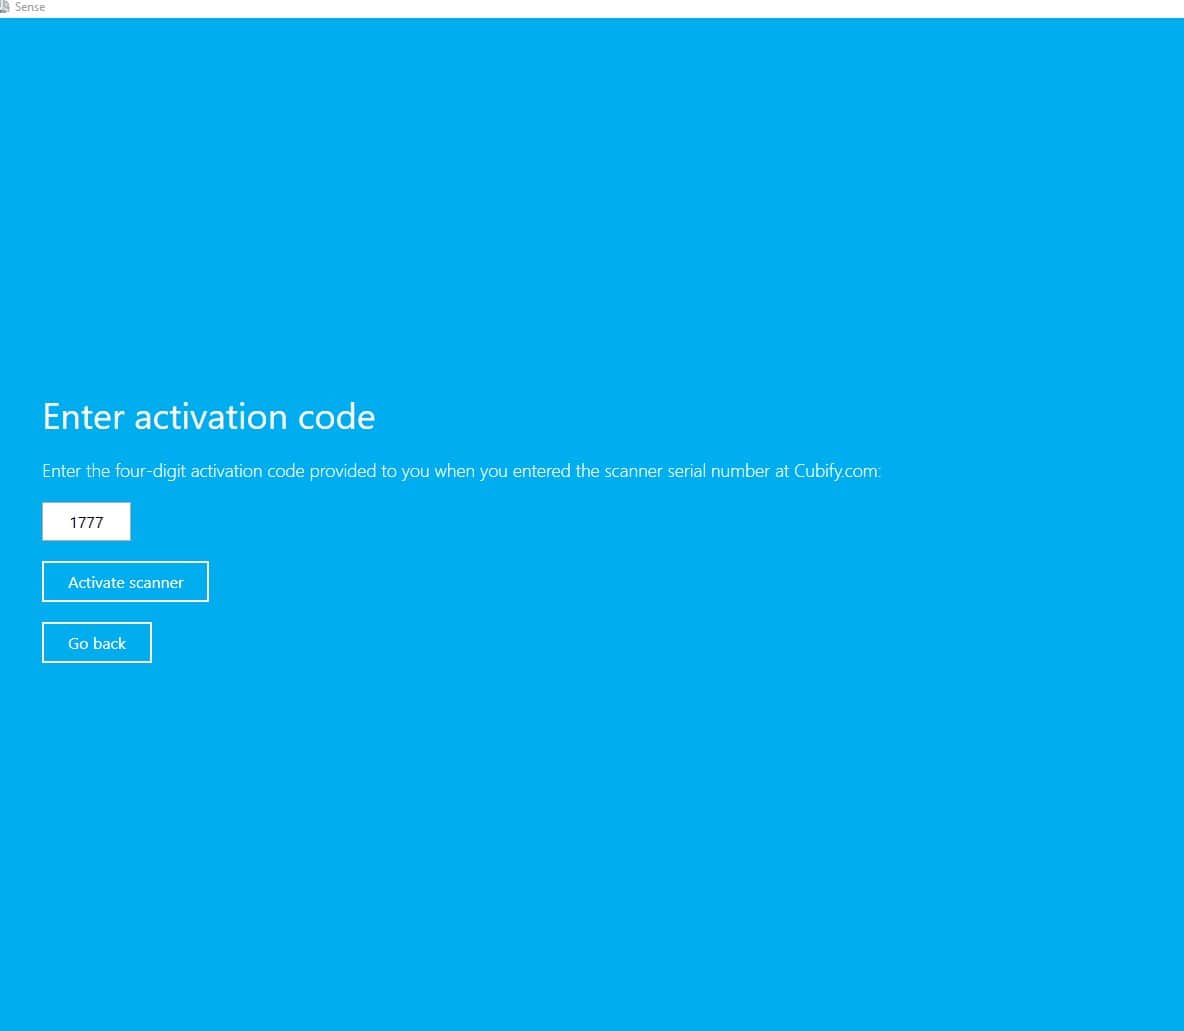
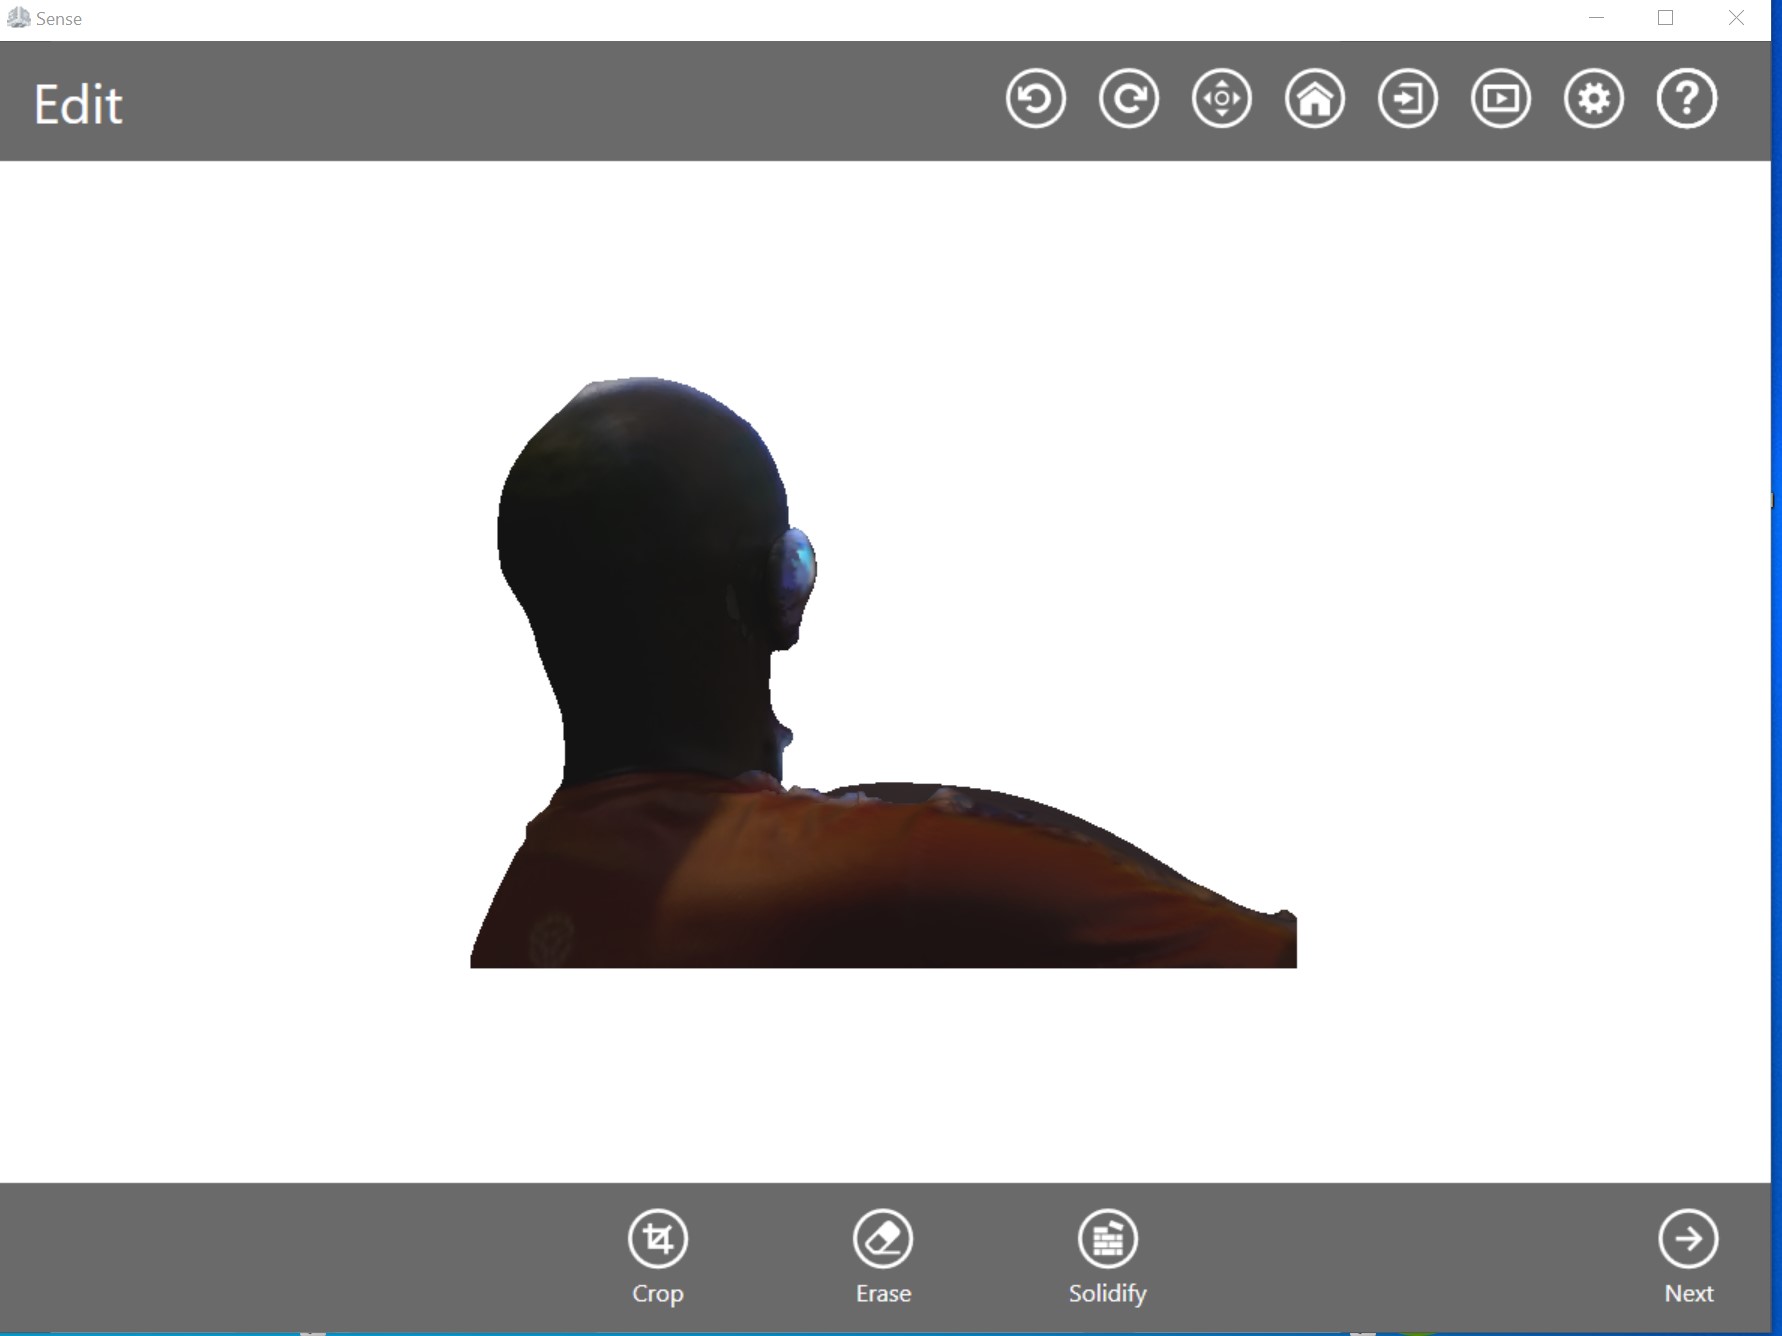
We have used a software called 3D Systems Sense Tou just download it and install it. i have used windows 10 to install it ans scan my face
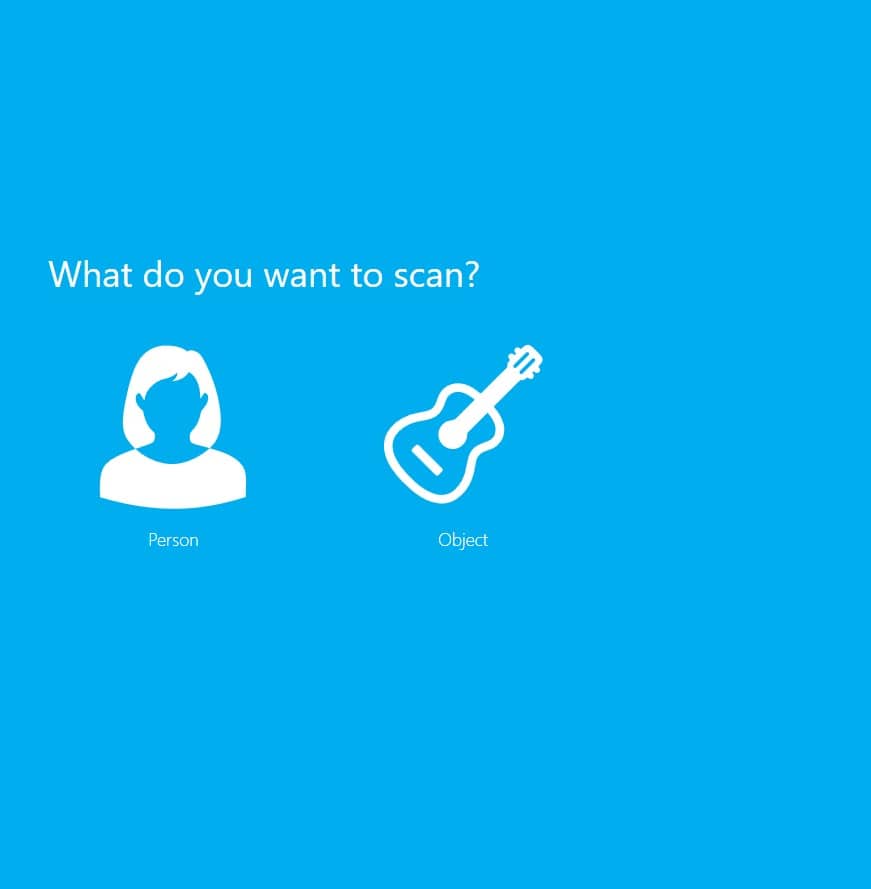
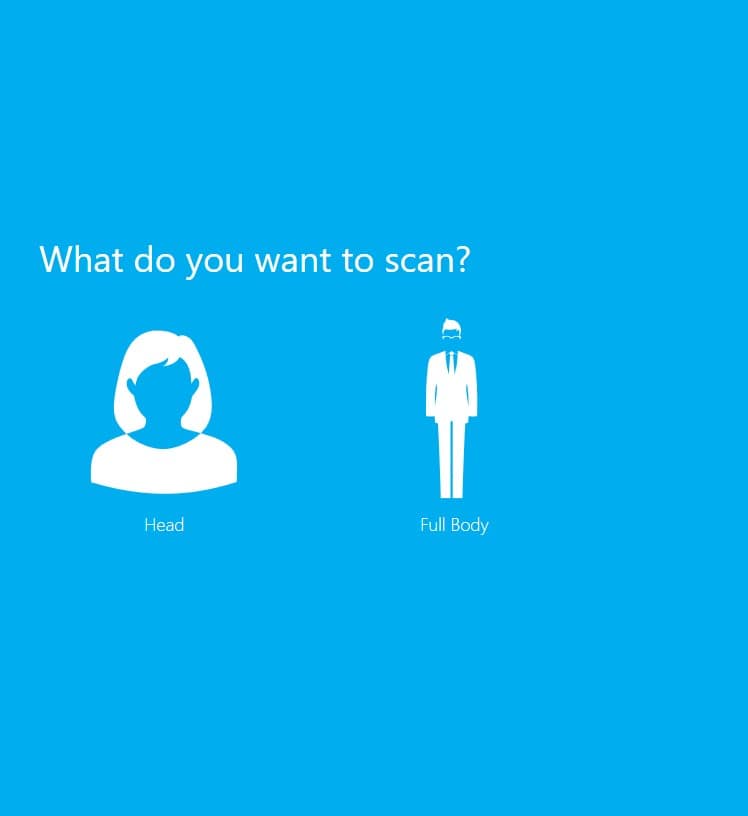
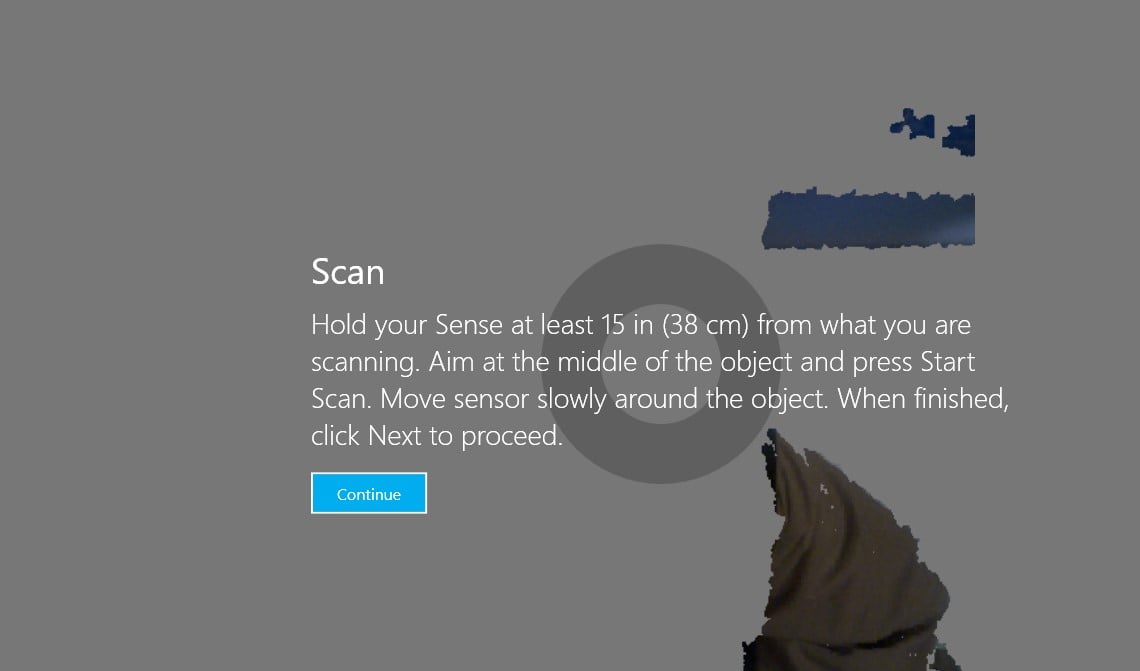
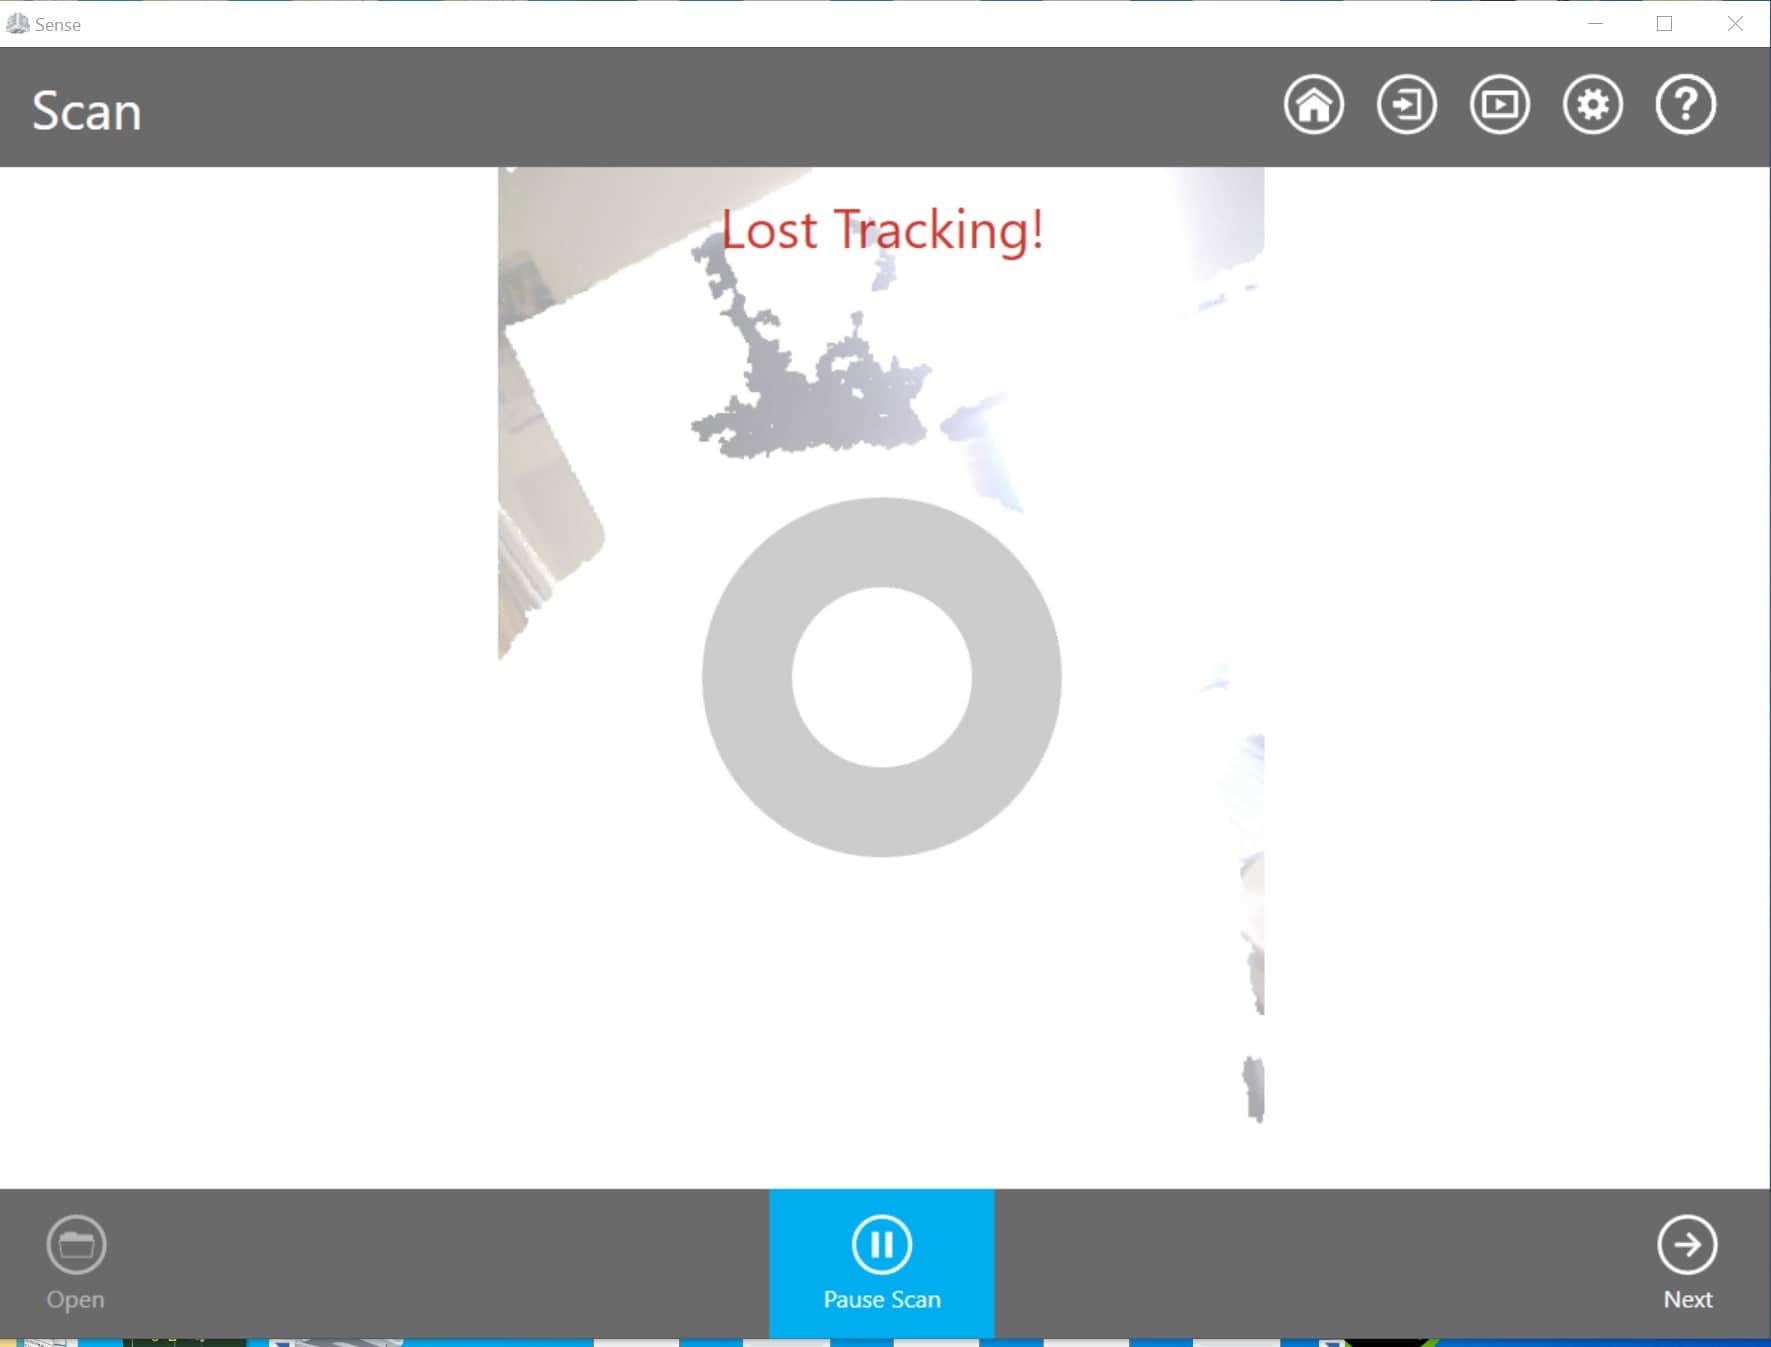

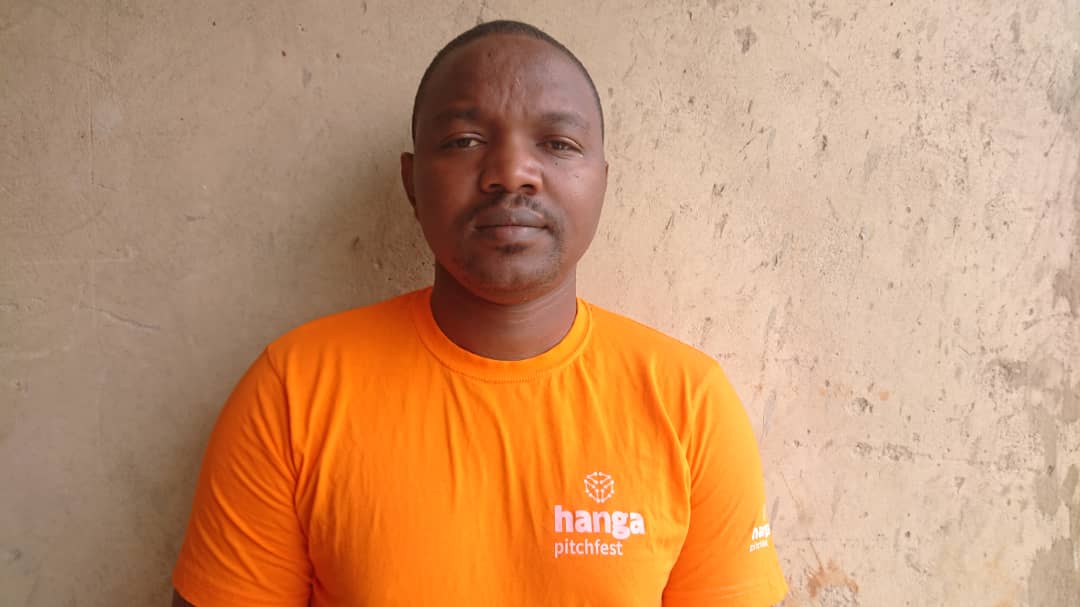 This is my face to be scanned
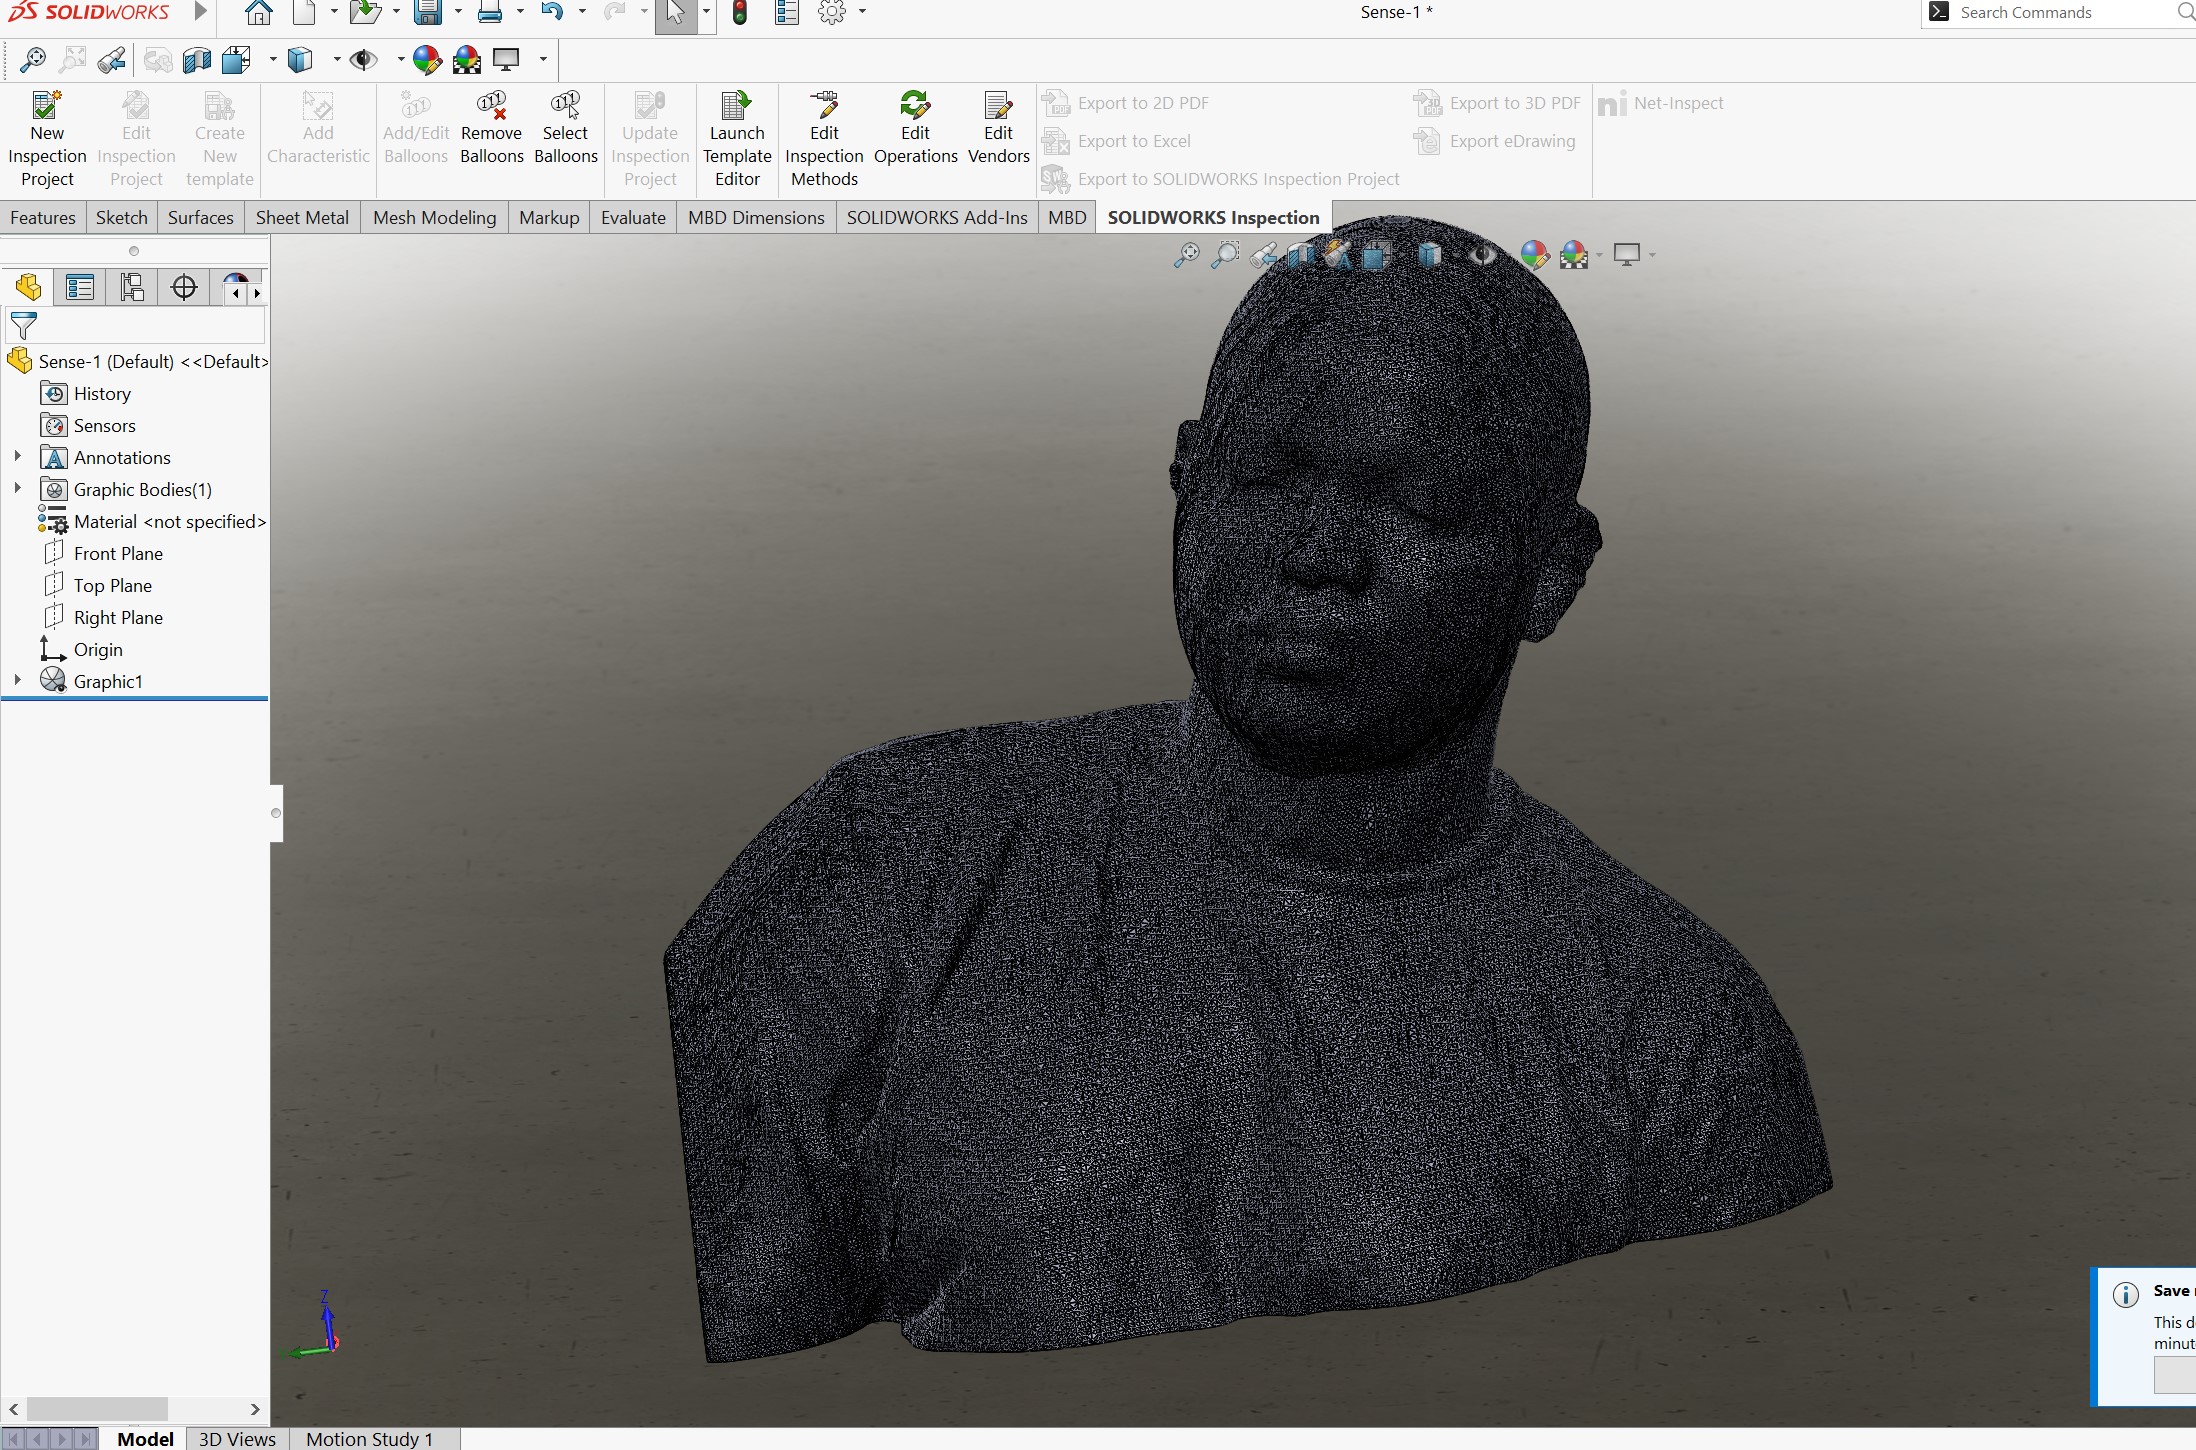
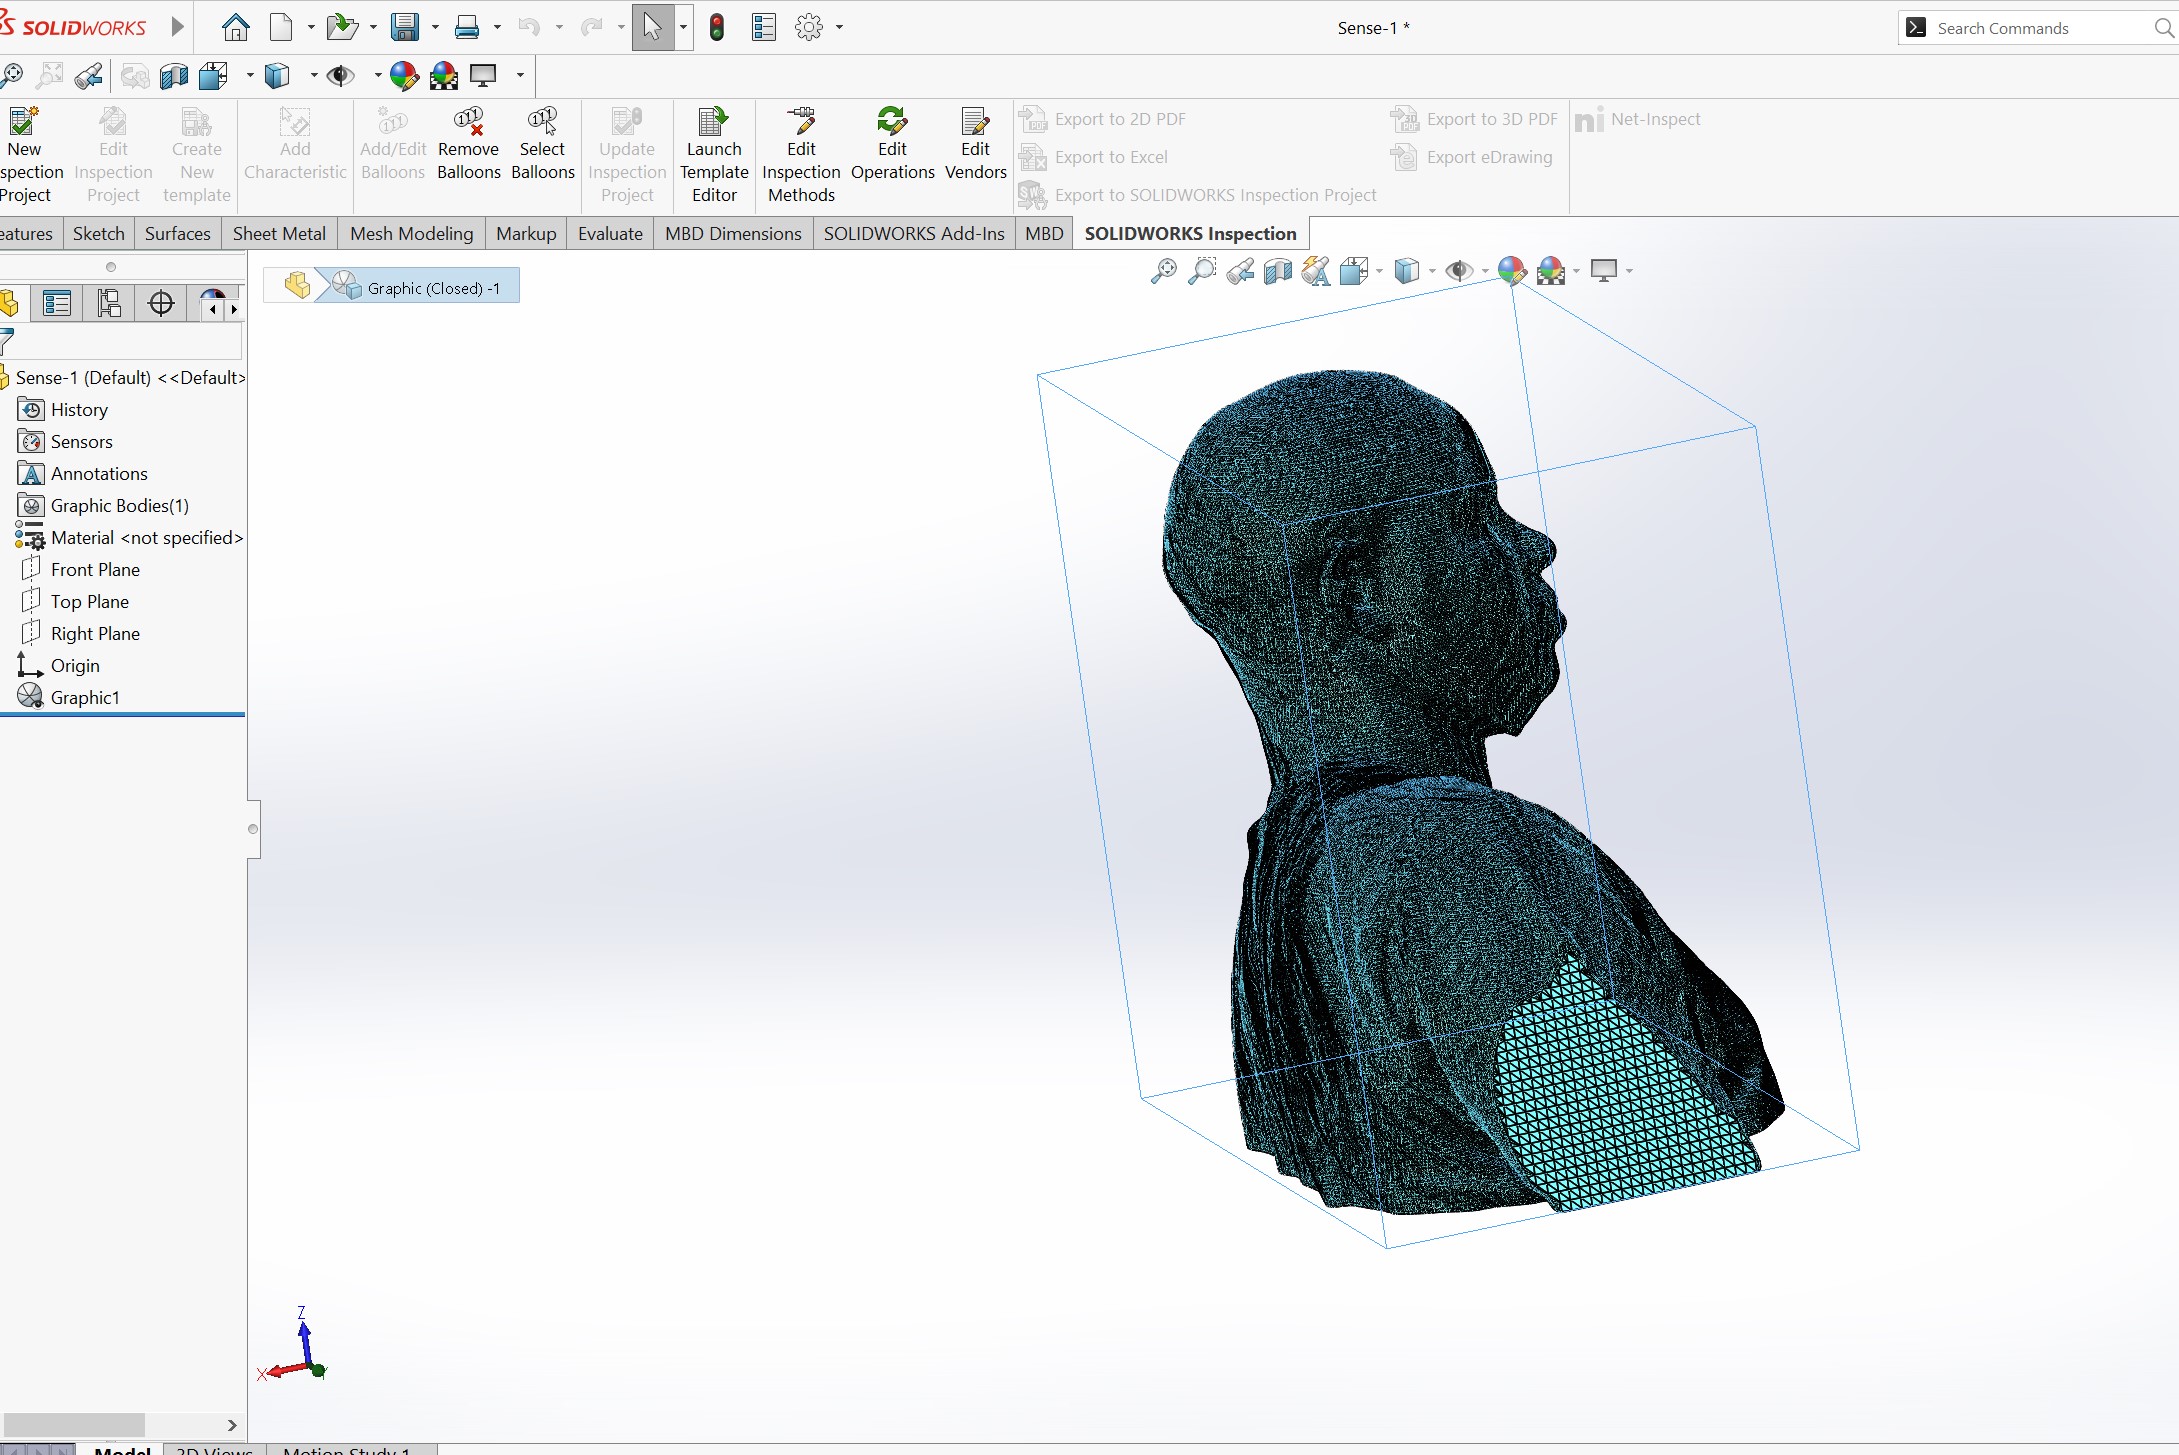
Final scanned Head
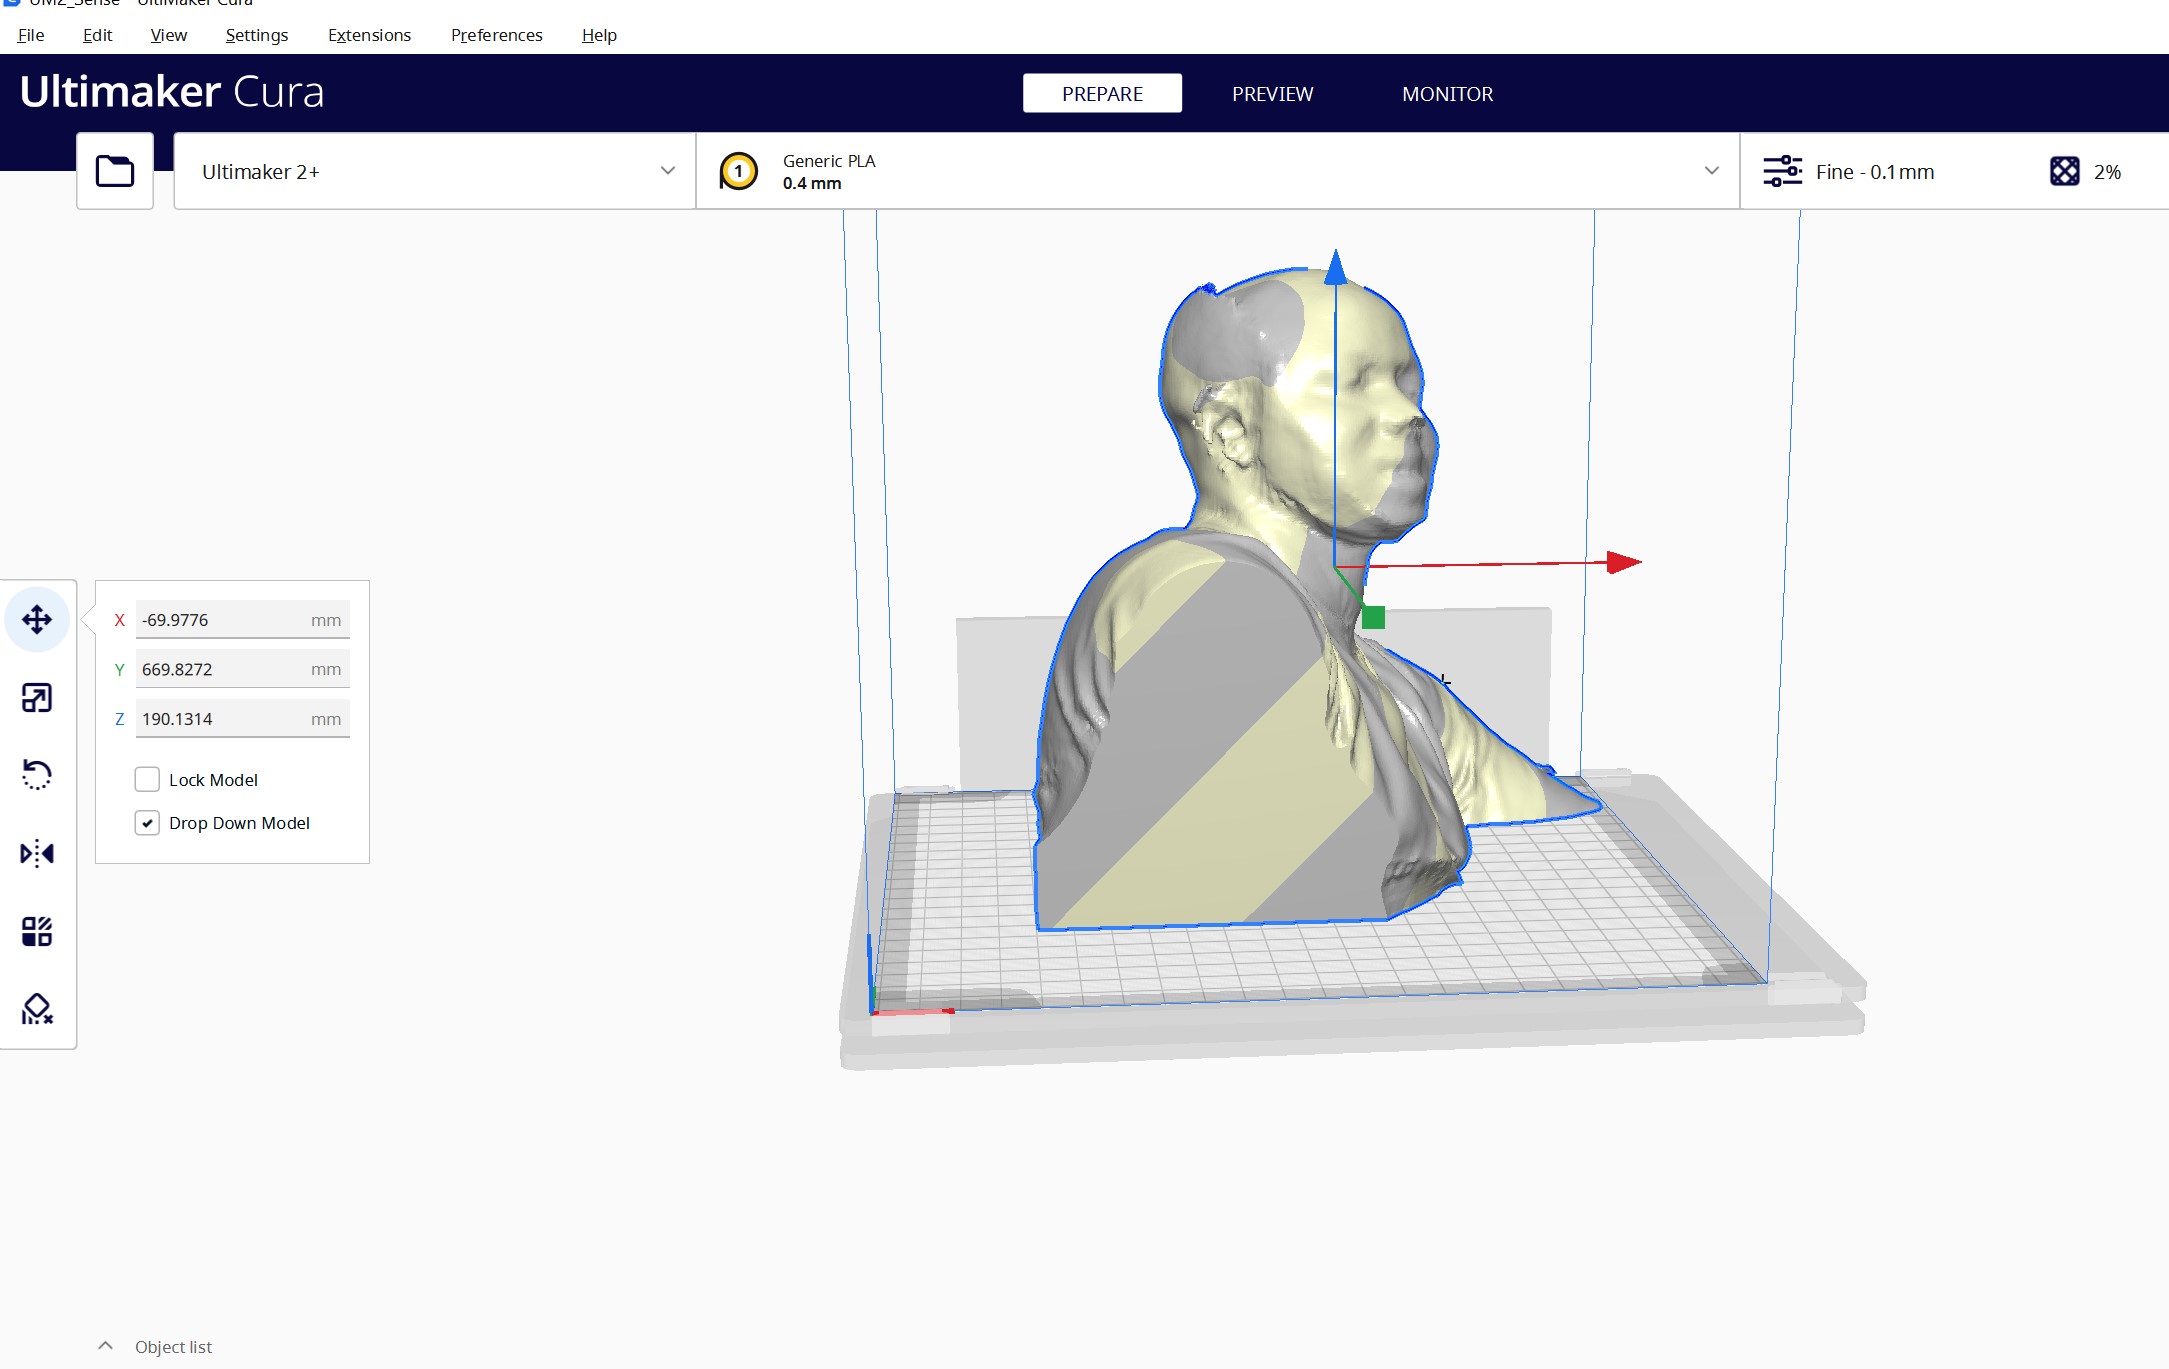
Ultimaker Cura is a free, open-source software that is used to prepare 3D models for printing on Ultimaker 3D printers. It is developed by Ultimaker and is available for Windows, Mac, and Linux.
ltimaker Cura allows users to load 3D models, slice them into layers, and generate the G-code that controls the 3D printer. It provides a user-friendly interface with features such as customizable print settings, preview mode, and automatic support generation.
To set up Ultimaker Cura, you will need to follow these steps:
- Download and install Ultimaker Cura from the official website
- Open the software and select your 3D printer model from the list of available printers
- If your printer model is not available, you can add it manually by selecting "Custom" and entering the printer specifications
- Import the 3D model you want to print by clicking on "File" > "Open File" and selecting the 3D model file
- Customize the print settings according to your requirements. This includes parameters such as layer height, print speed, infill density, and support structure
- Generate the G-code by clicking on "Prepare" > "Print". This will slice the 3D model into layers and generate the instructions for the printer
- Save the G-code file to an SD card or transfer it to the 3D printer using a USB cable
- Load the filament and start the print job on the 3D printer using the G-code file
Design and 3D print an object
in 3D Printer assignment , i tried to design different things. first i tried to design the chain in soliwroks and it was very hard to me to make assembly but my fabclass mate Kawaida helped a lot to make joint cause he is really good in solidworks
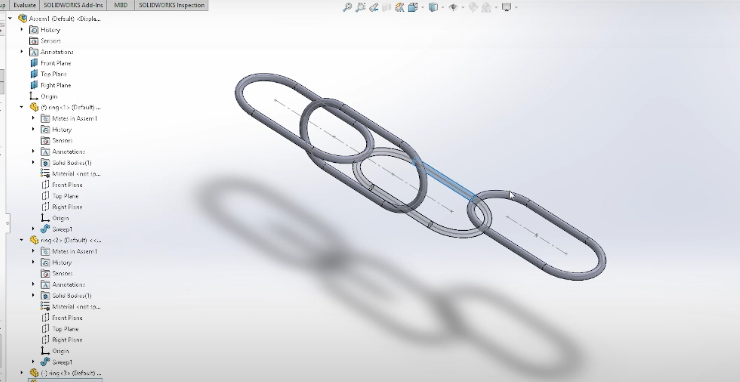
This is the video of my first chain design in solidworks
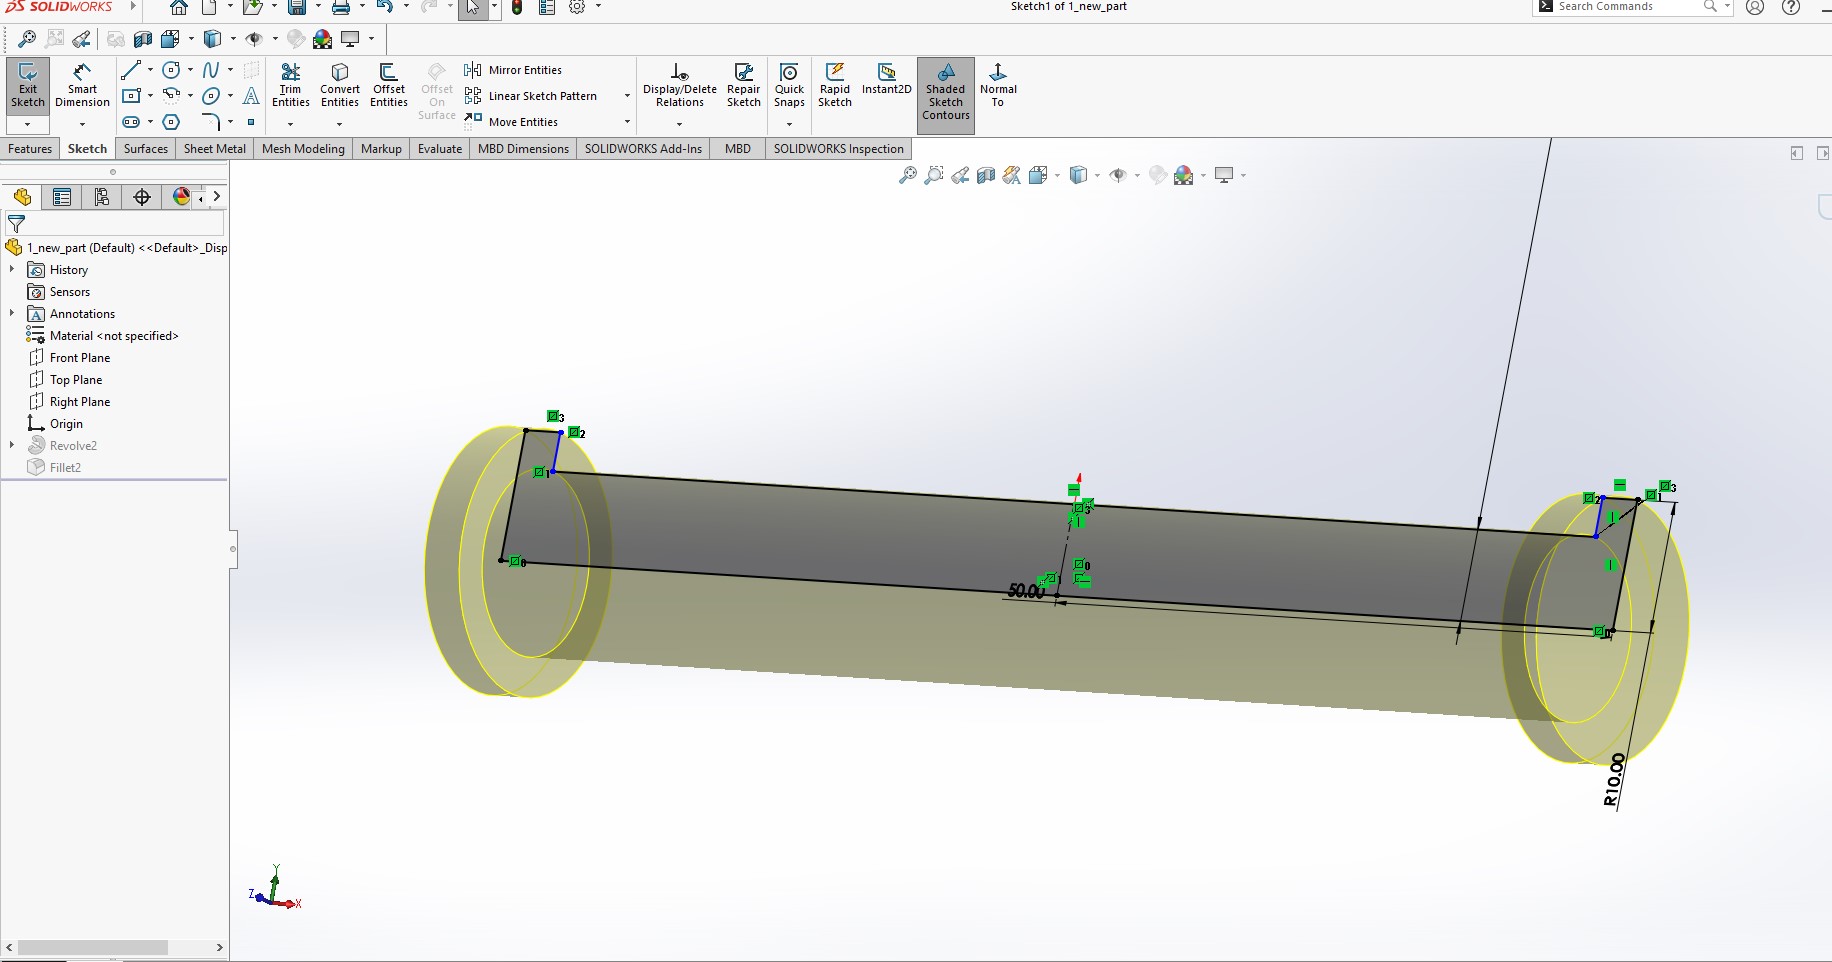
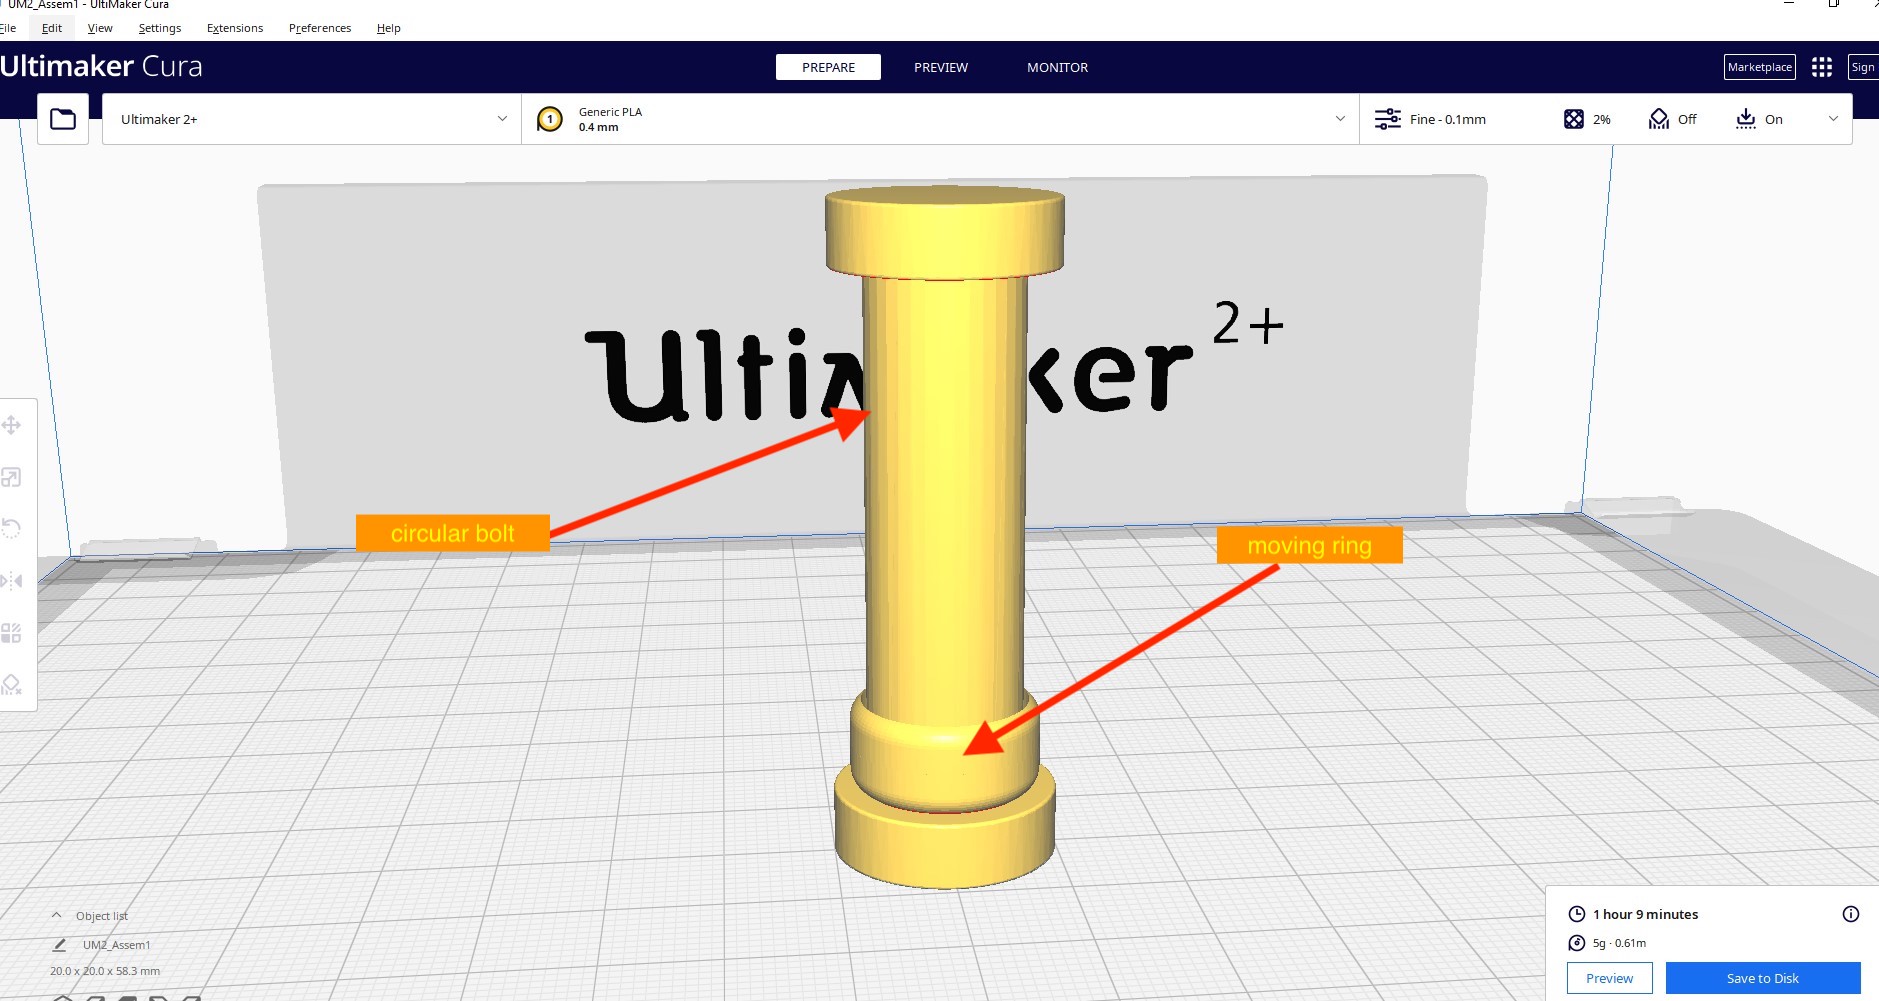
Lately i changed the idea of the design because one of my fab class mate Evode have designed similar parts. So as the assignment was to design something that cannot be made substractively, i imagined a two head bolt with moving body inside that looks like a reading . it is a like a ring moving aroun the the closed bolt so that it cn be printed with moving part that caanot be removed away.
The design making was done in solidworks software

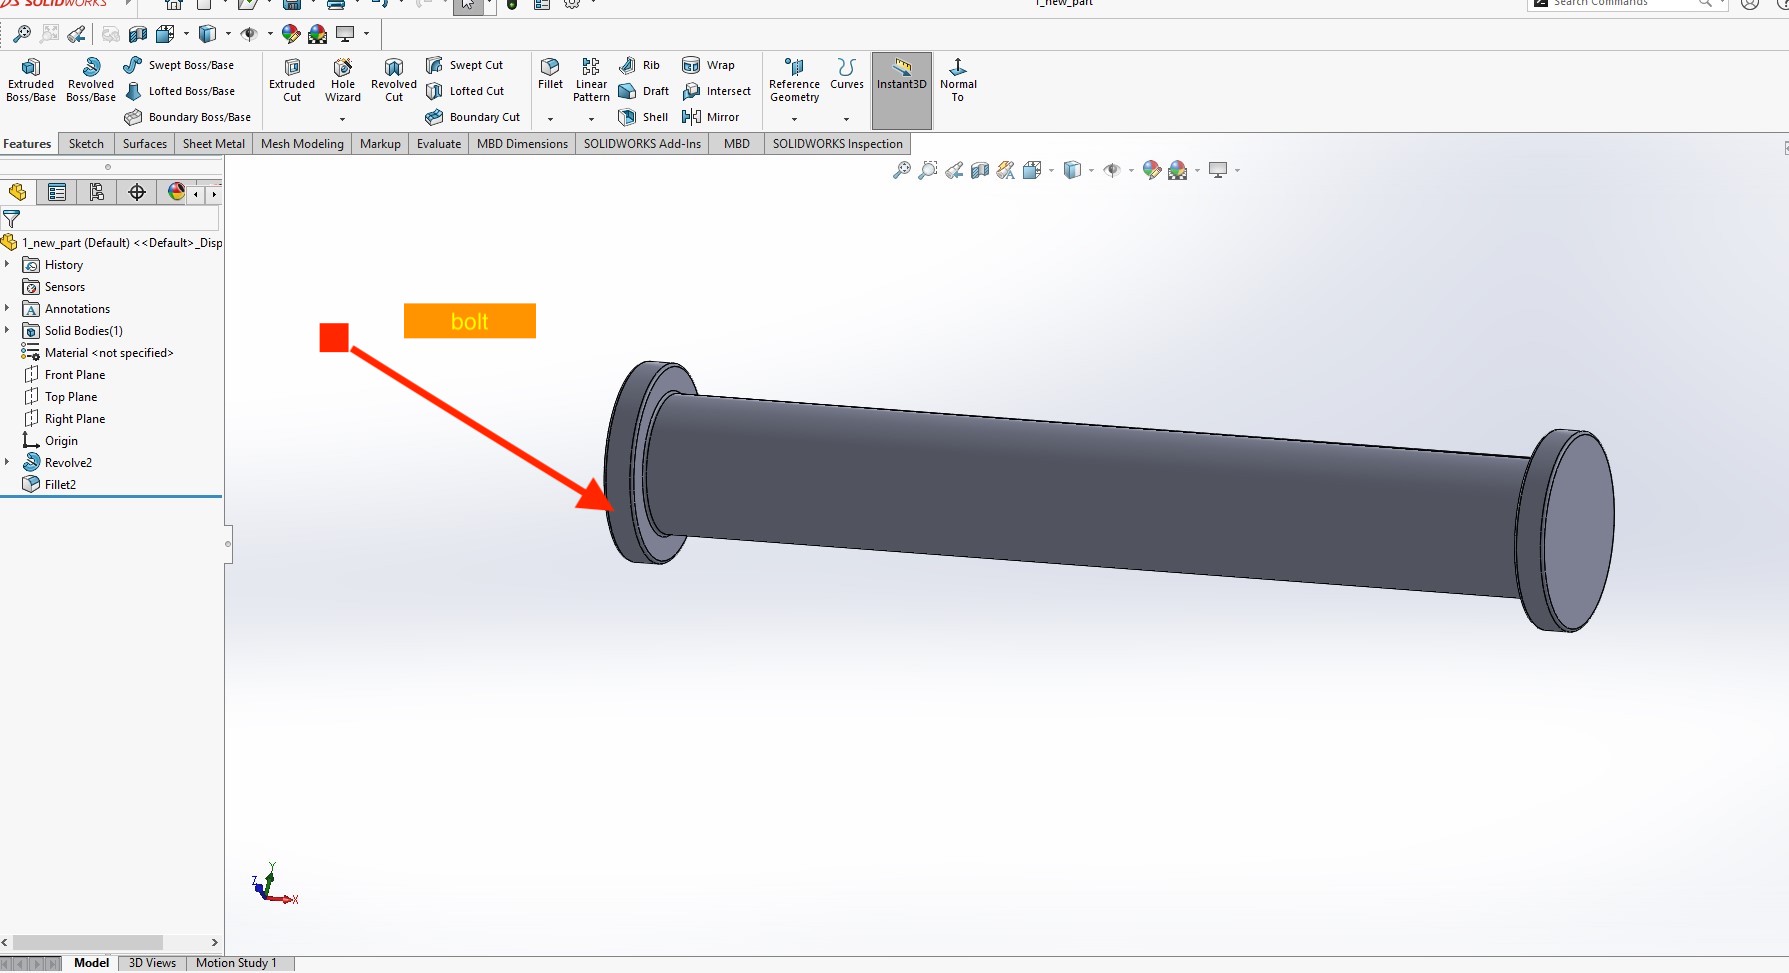
After i have to make a ring that rotates inside the bolt . final design will be shown later
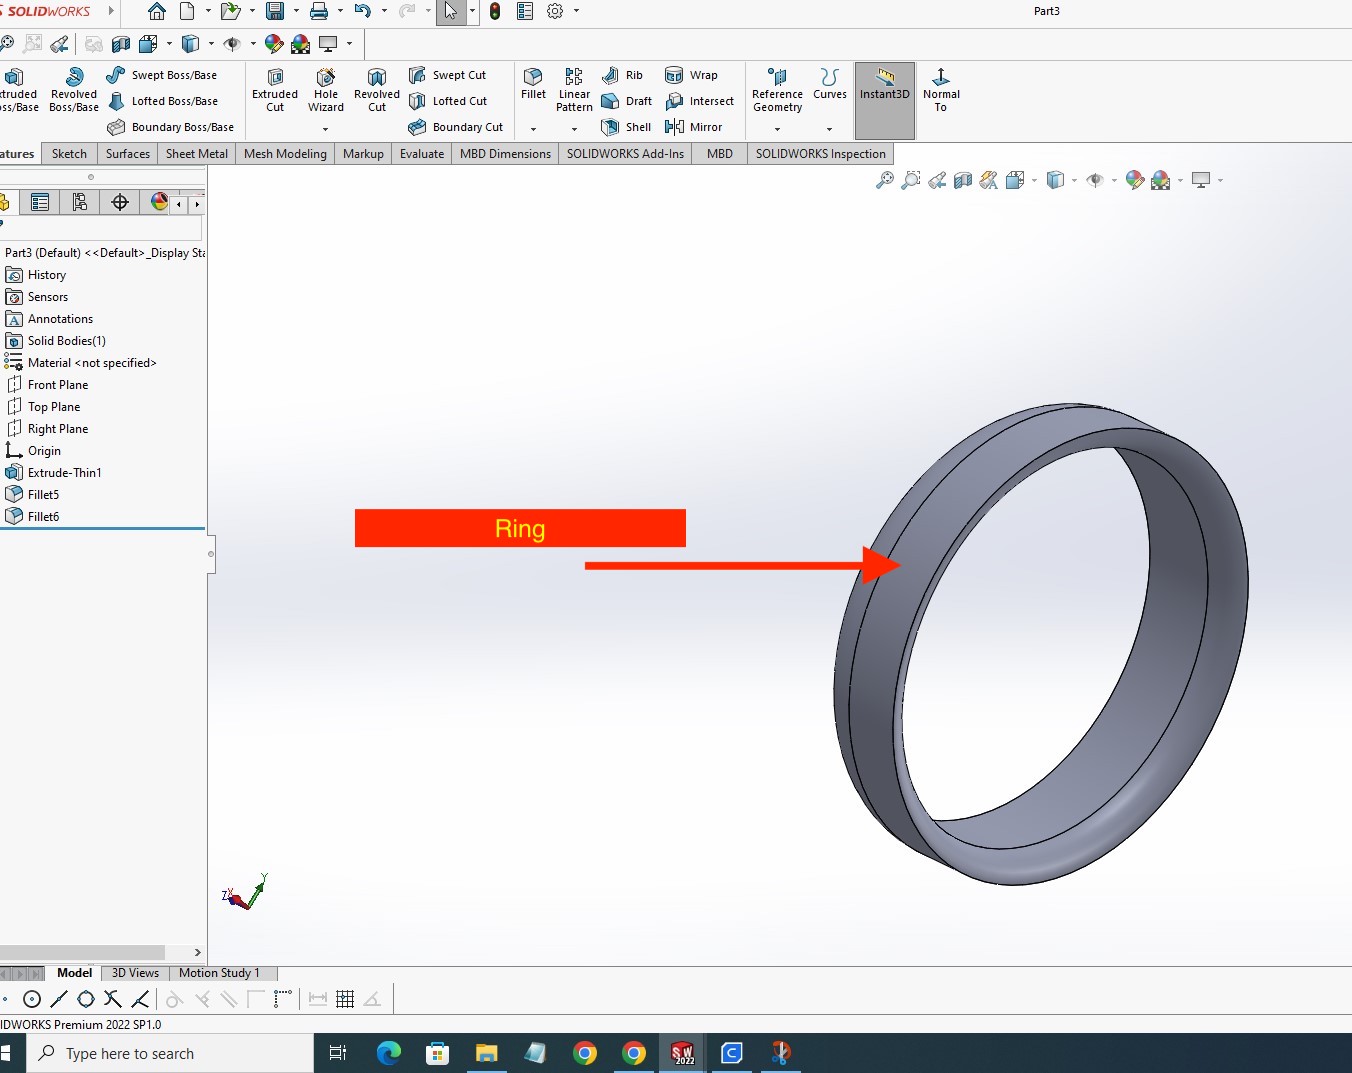
After making the ring and the bolt, i assembled them in solidworks and i imported them in cura software for ultimaker 3d printerfor final printing
Printing Process: we have used Ultimaker 2+ 3D printer to pritn our original design
| Ultimaker 2+ Specifications | |
|---|---|
| Print Technology | Fused Deposition Modeling (FDM) |
| Build Volume | 223 x 223 x 205 mm (8.7 x 8.7 x 8.1 in) |
| Layer Resolution | Up to 20 microns (0.001 in) |
| Nozzle Diameter | 0.4 mm |
| Max Print Speed | Up to 24 mm³/s |
| Supported Filament Types | PLA, ABS, CPE, CPE+, PC, Nylon, TPU 95A |
| File Transfer | SD Card (included) |
| Connectivity | USB, Wi-Fi, Ethernet (optional) |
| Software | Cura, a free, open-source slicing software |
| Dimensions (with spool holder) | 357 x 342 x 388 mm (14.0 x 13.5 x 15.3 in) |
| Weight | 10.6 kg (23.4 lbs) |
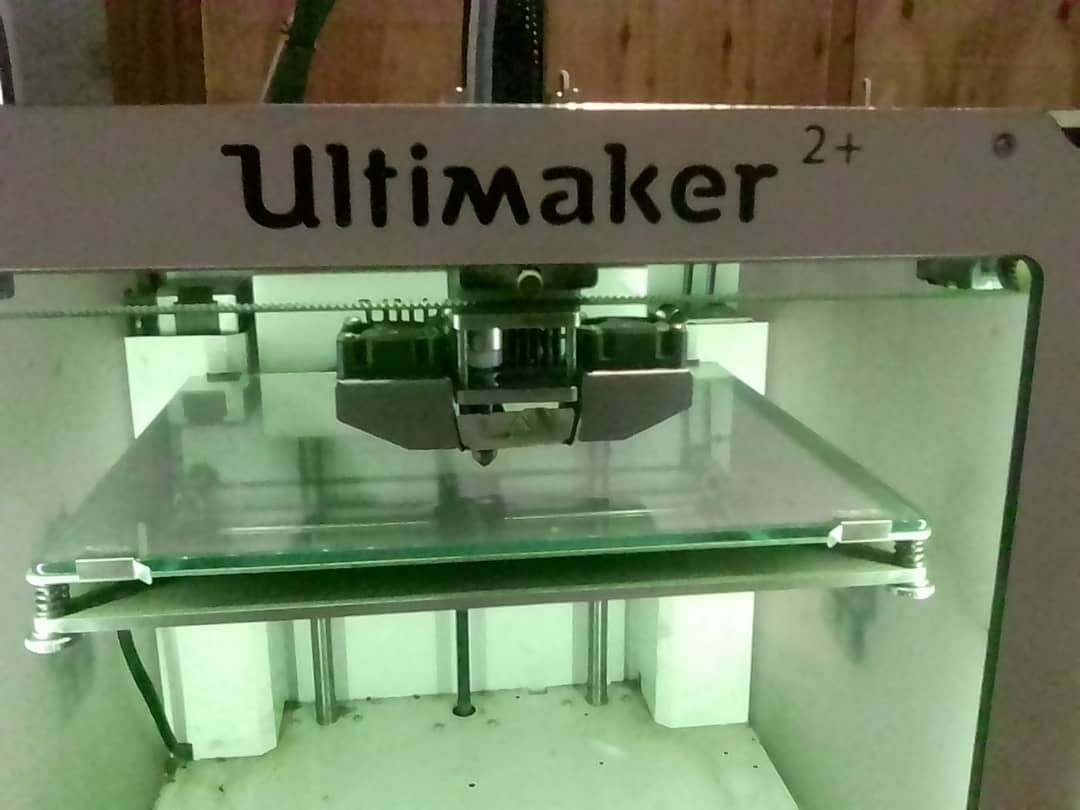
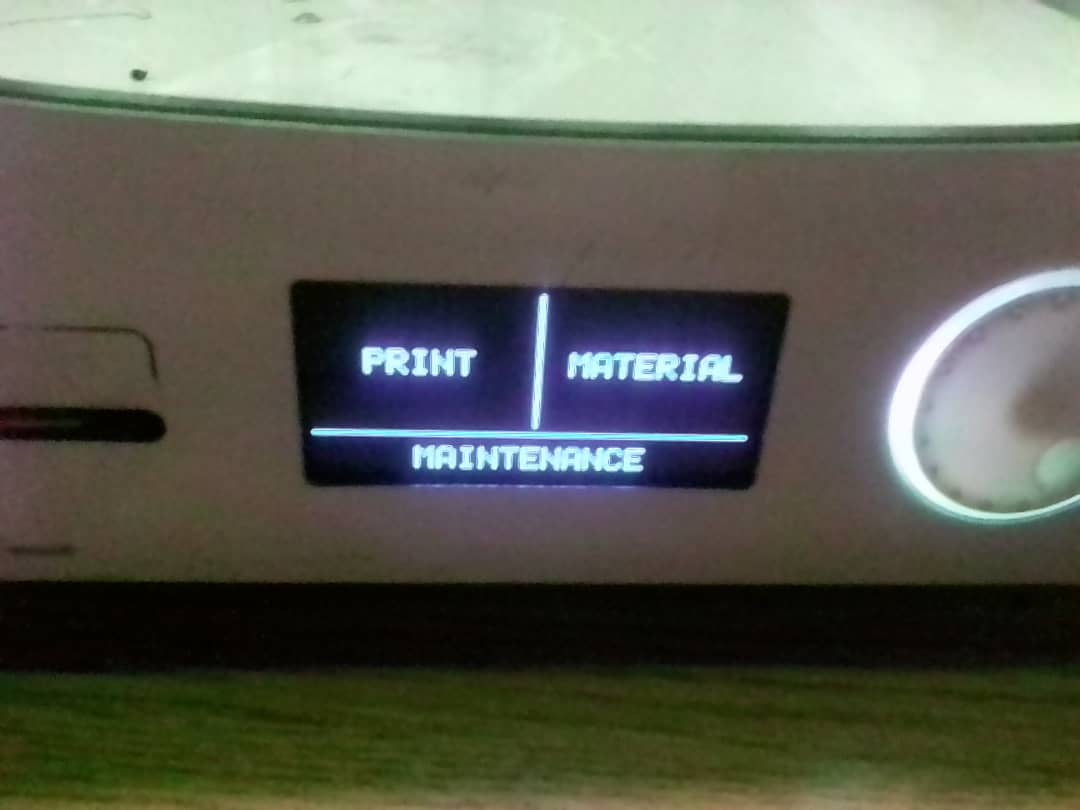
Printing with ultimaker 2+
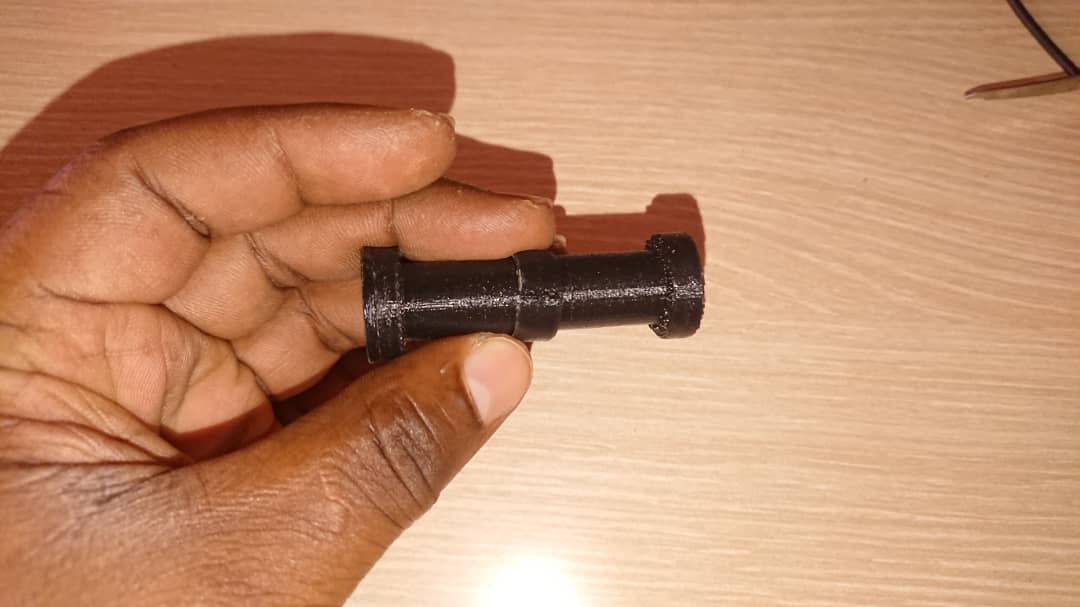
Final Printed Body