Week 1: Principles and practices, project management
Assignment
- Work through a git tutorial.
- Build a personal site describing you and your final project.
- Upload it to the class archive.
WEEK 1 WORK ORGANIZATION
What is git
Git is a distributed version control system used for tracking changes in source code during software development.
You can get the documentation about git via https://git-scm.com
Here's how it works:
- Git stores code changes as a series of snapshots, rather than storing each version as a separate file.
- it allows multiple developers to work on the same codebase simultaneously.
- it tracks and manages changes made to the code, allowing you to revert to previous versions if necessary.
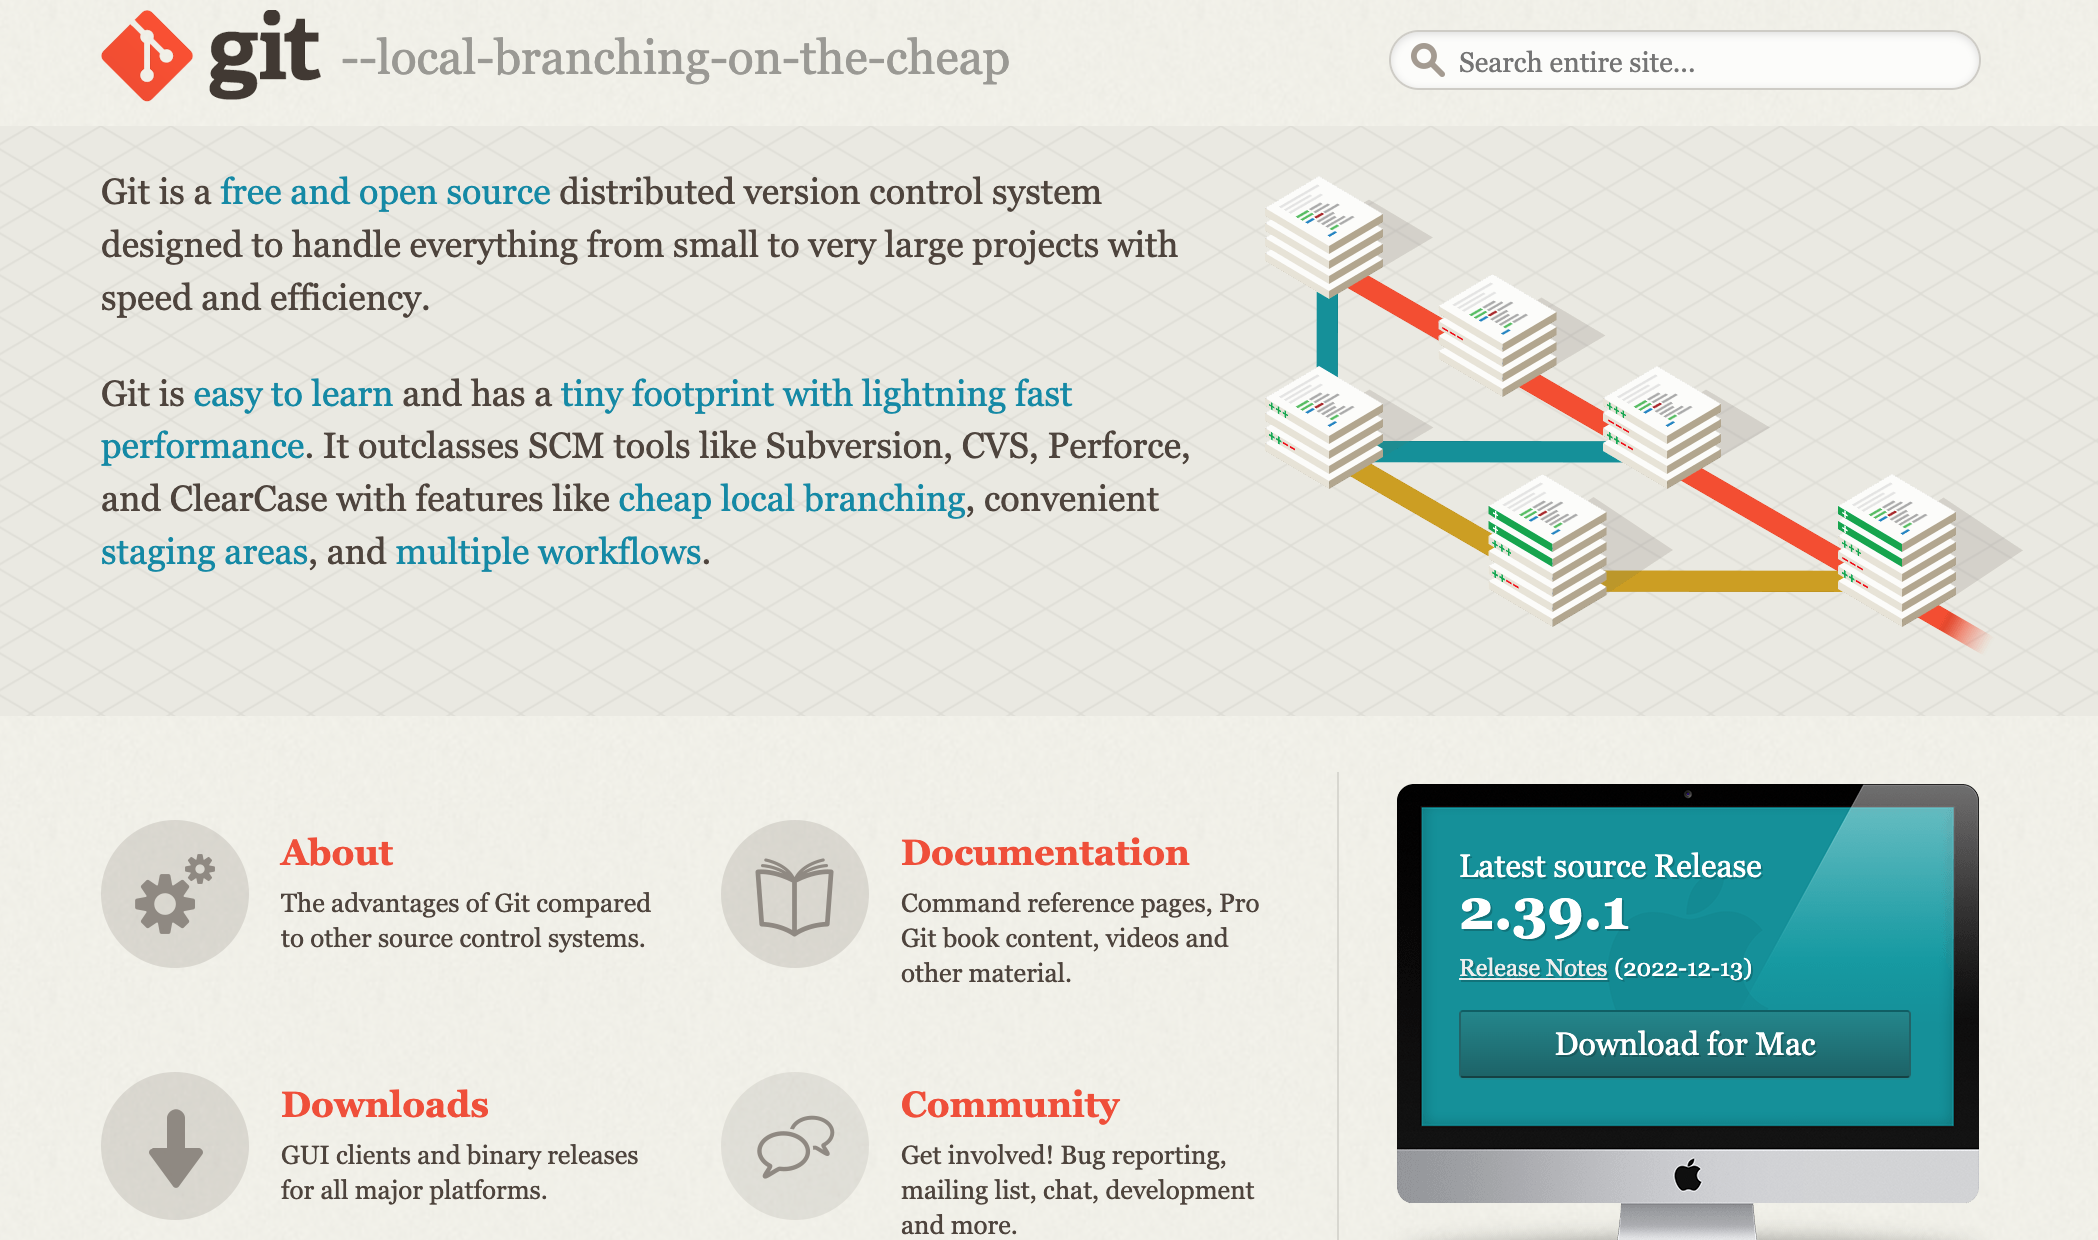
To install Git:
- Visit the Git official website https://git-scm.com/ .
- Download the latest version of Git for your operating system.
- Follow the installation instructions provided with the download.
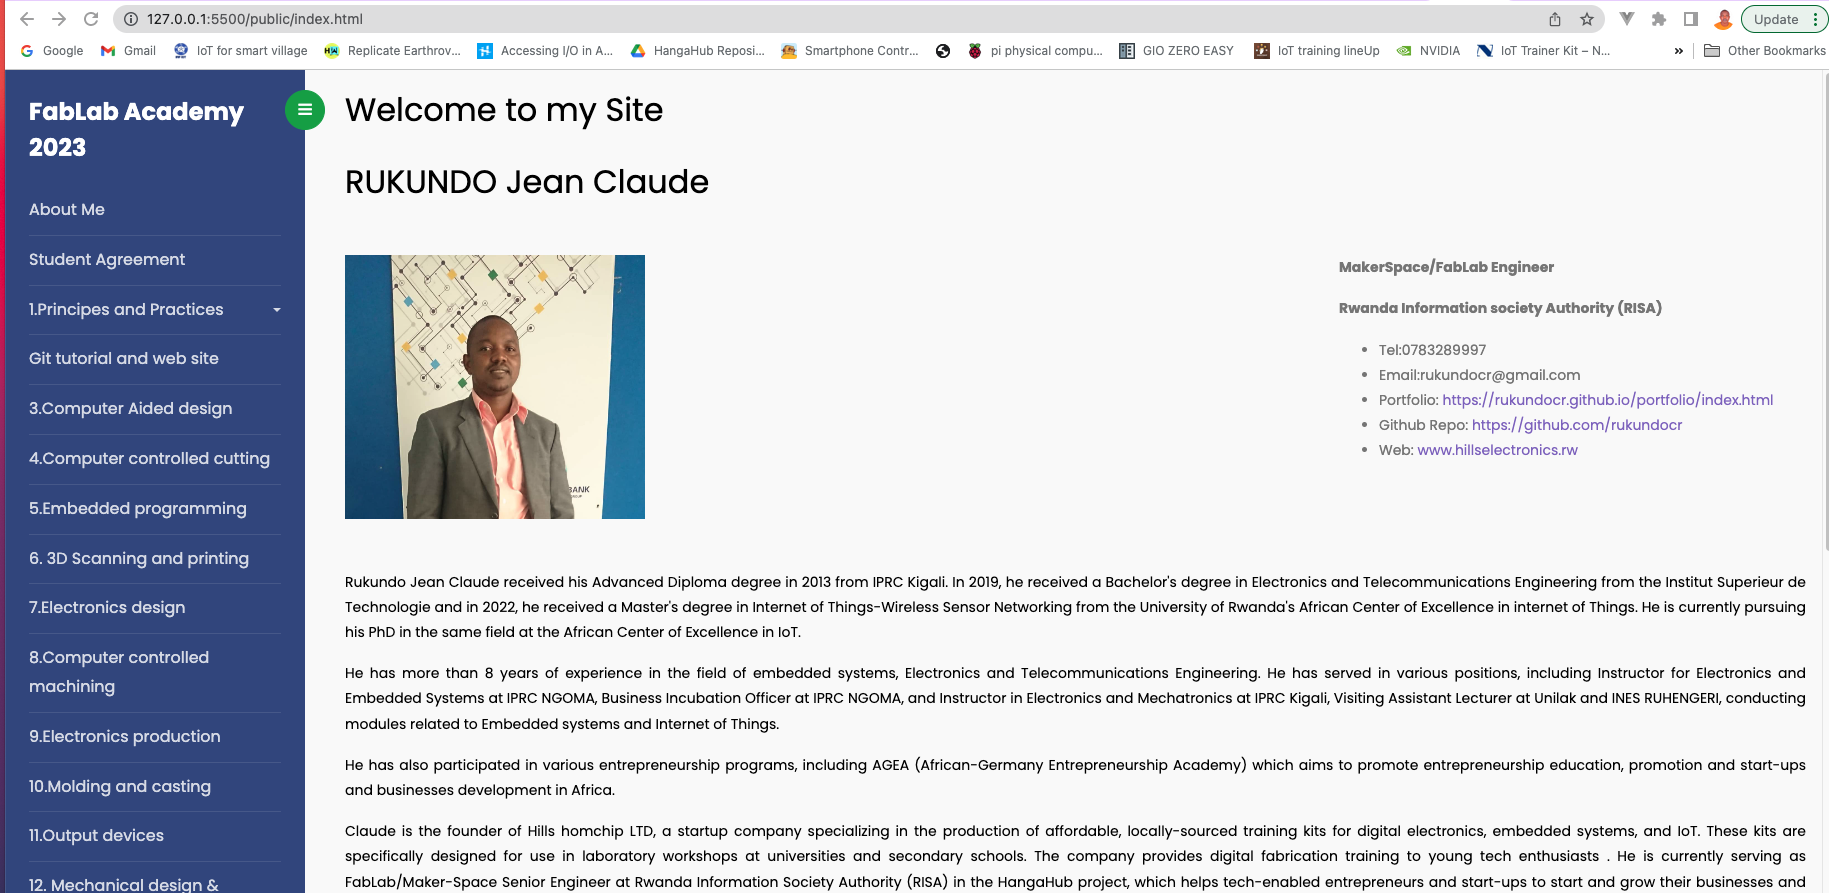
Building Personal website
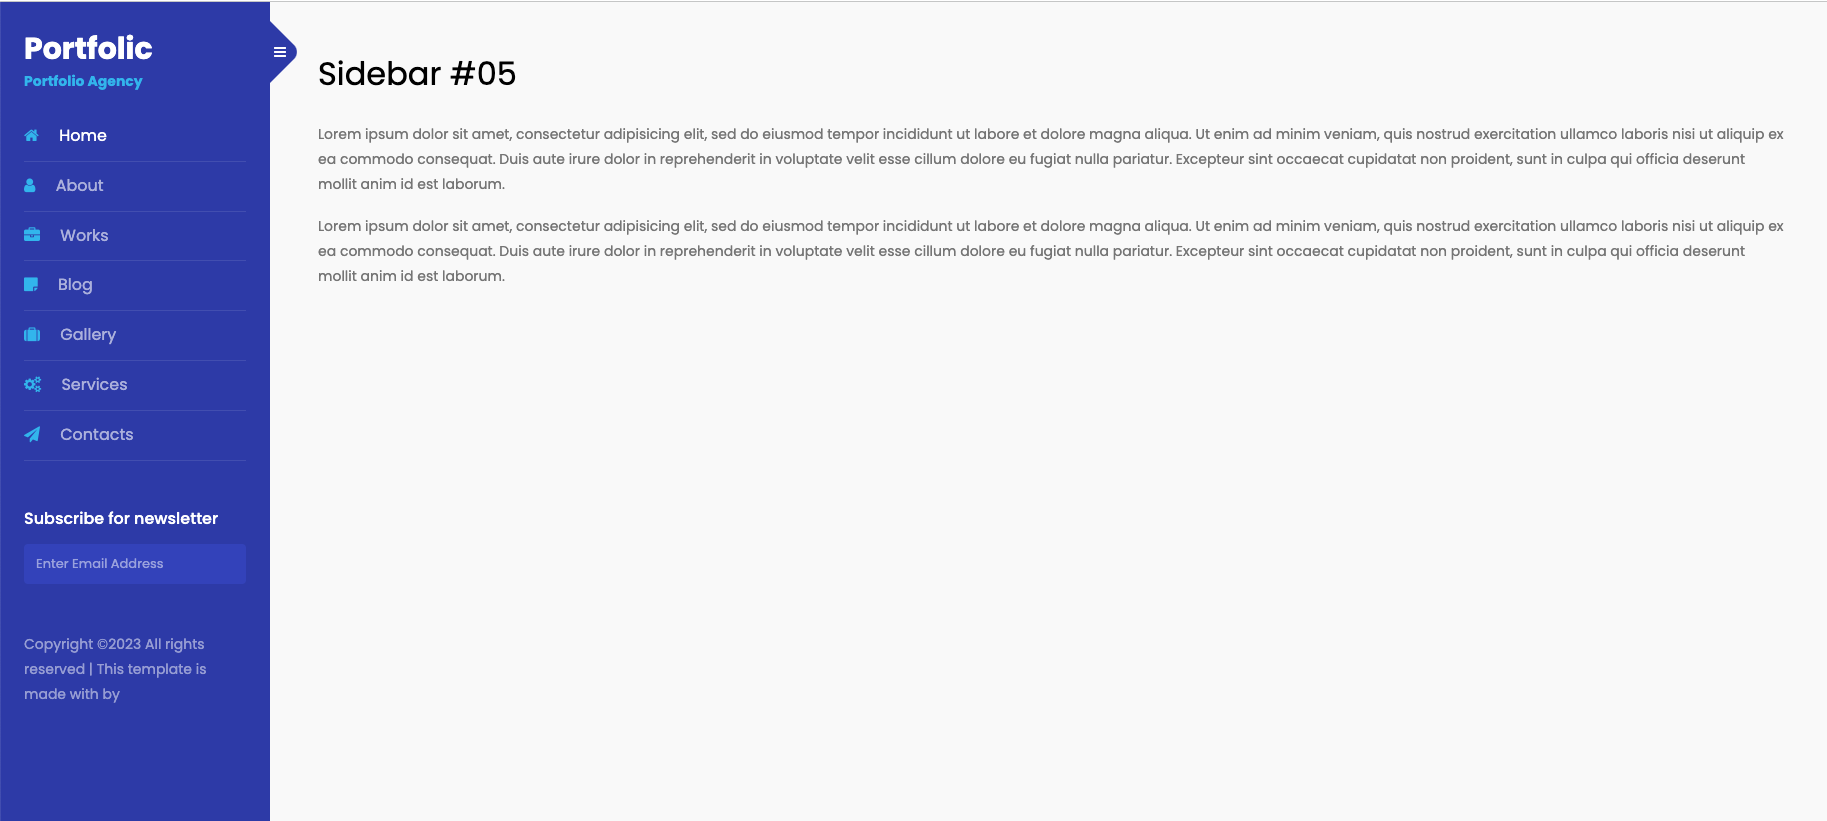
the first week project was about building the personal website with purely htm,css and javascript. as we have not enough time to built the web from scatch, we advised to downlaod the template built with html,css and javascript and edit it to hold our website. i found a template that a good sidebar with good navigation and it is made with bootsrap classes for styling you can finf the template via the following link https://colorlib.com/wp/bootstrap-sidebar/
looking of my first template downlaoded
Editing template process
I prefered to use Visual studio code as code editor tht is popular and which has many plugins that are essentials in web development
This is the process i used to have working vs code in my mac pc
i got a tutorial on getting started with visual studio code via https://code.visualstudio.com/docs/introvideos/basics
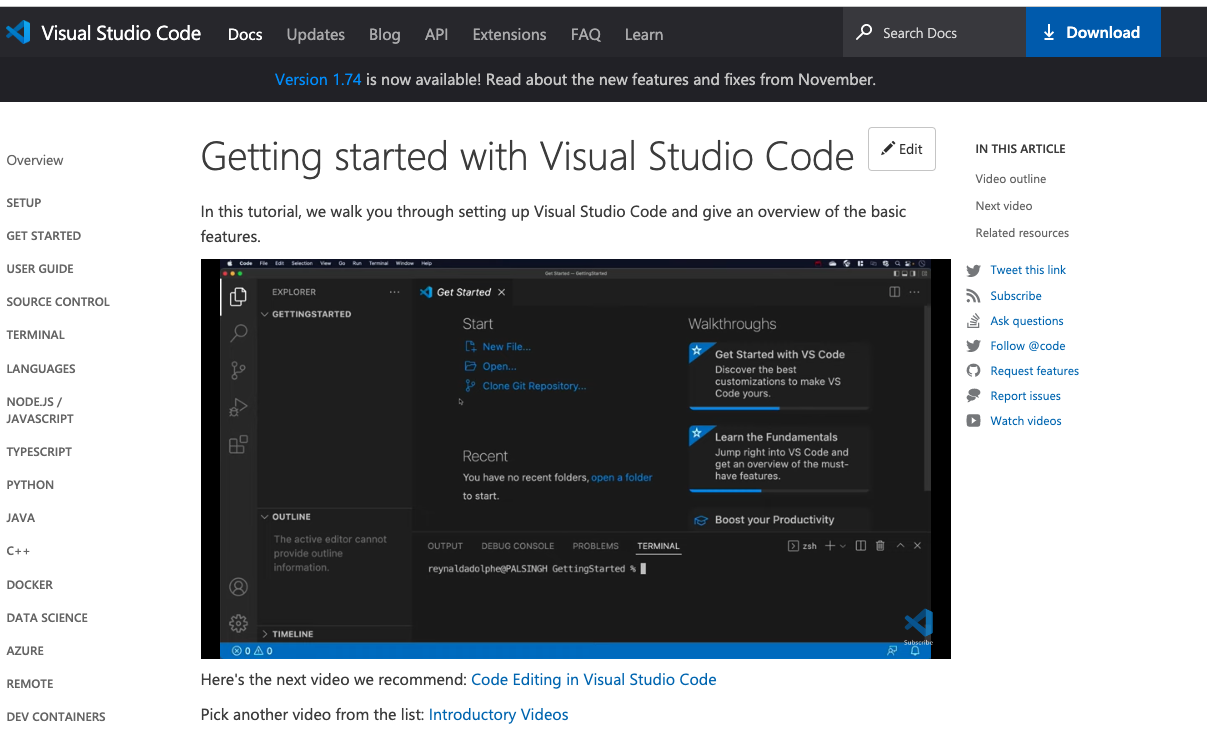
Once i visited that web , i did the following to downlaod and install it
- Go to the Visual Studio Code website https://code.visualstudio.com and click on the "Download for Mac" button.
- Once the download is complete, open the .dmg file and drag the "Visual Studio Code" app to the "Applications" folder.
- Open the "Applications" folder and double-click the "Visual Studio Code" app to launch the program.
- If you would like to make Visual Studio Code your default editor for certain file types, go to "Visual Studio Code" in the top menu, then "Preferences" and then "Settings" and then search for "editor" and then select "Editor: Assocations".
- A tutorial on getting started with Visual Studio Code can be found on the Microsoft website https://code.visualstudio.com/docs/introvideos/basics .
- Alternatively, you can also install Visual Studio Code via command line by using the command :
brew cask install visual-studio-code - Note: In order to use brew command you should have Homebrew installed on your mac.
By following those steps , i have installed Visual studio code successfully
I have edited the template ,changing font colors and some css classes to look ih the way i want. i have included the whole program of fablab and project details. This is final template i used
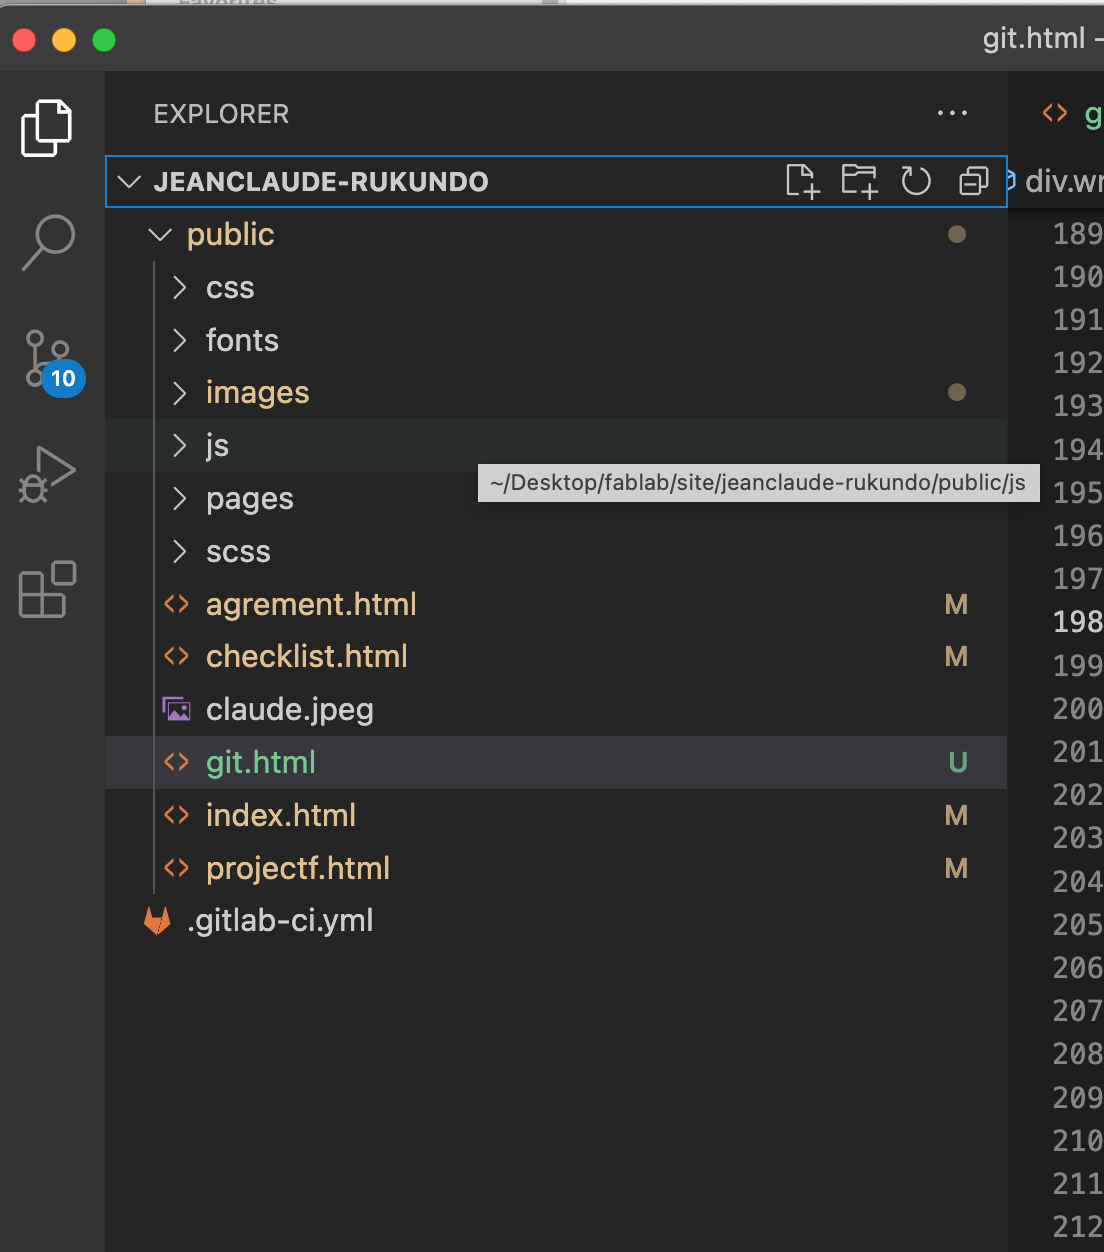
Project Files Structure
Git Tutorial for uplaading the site to gitlab
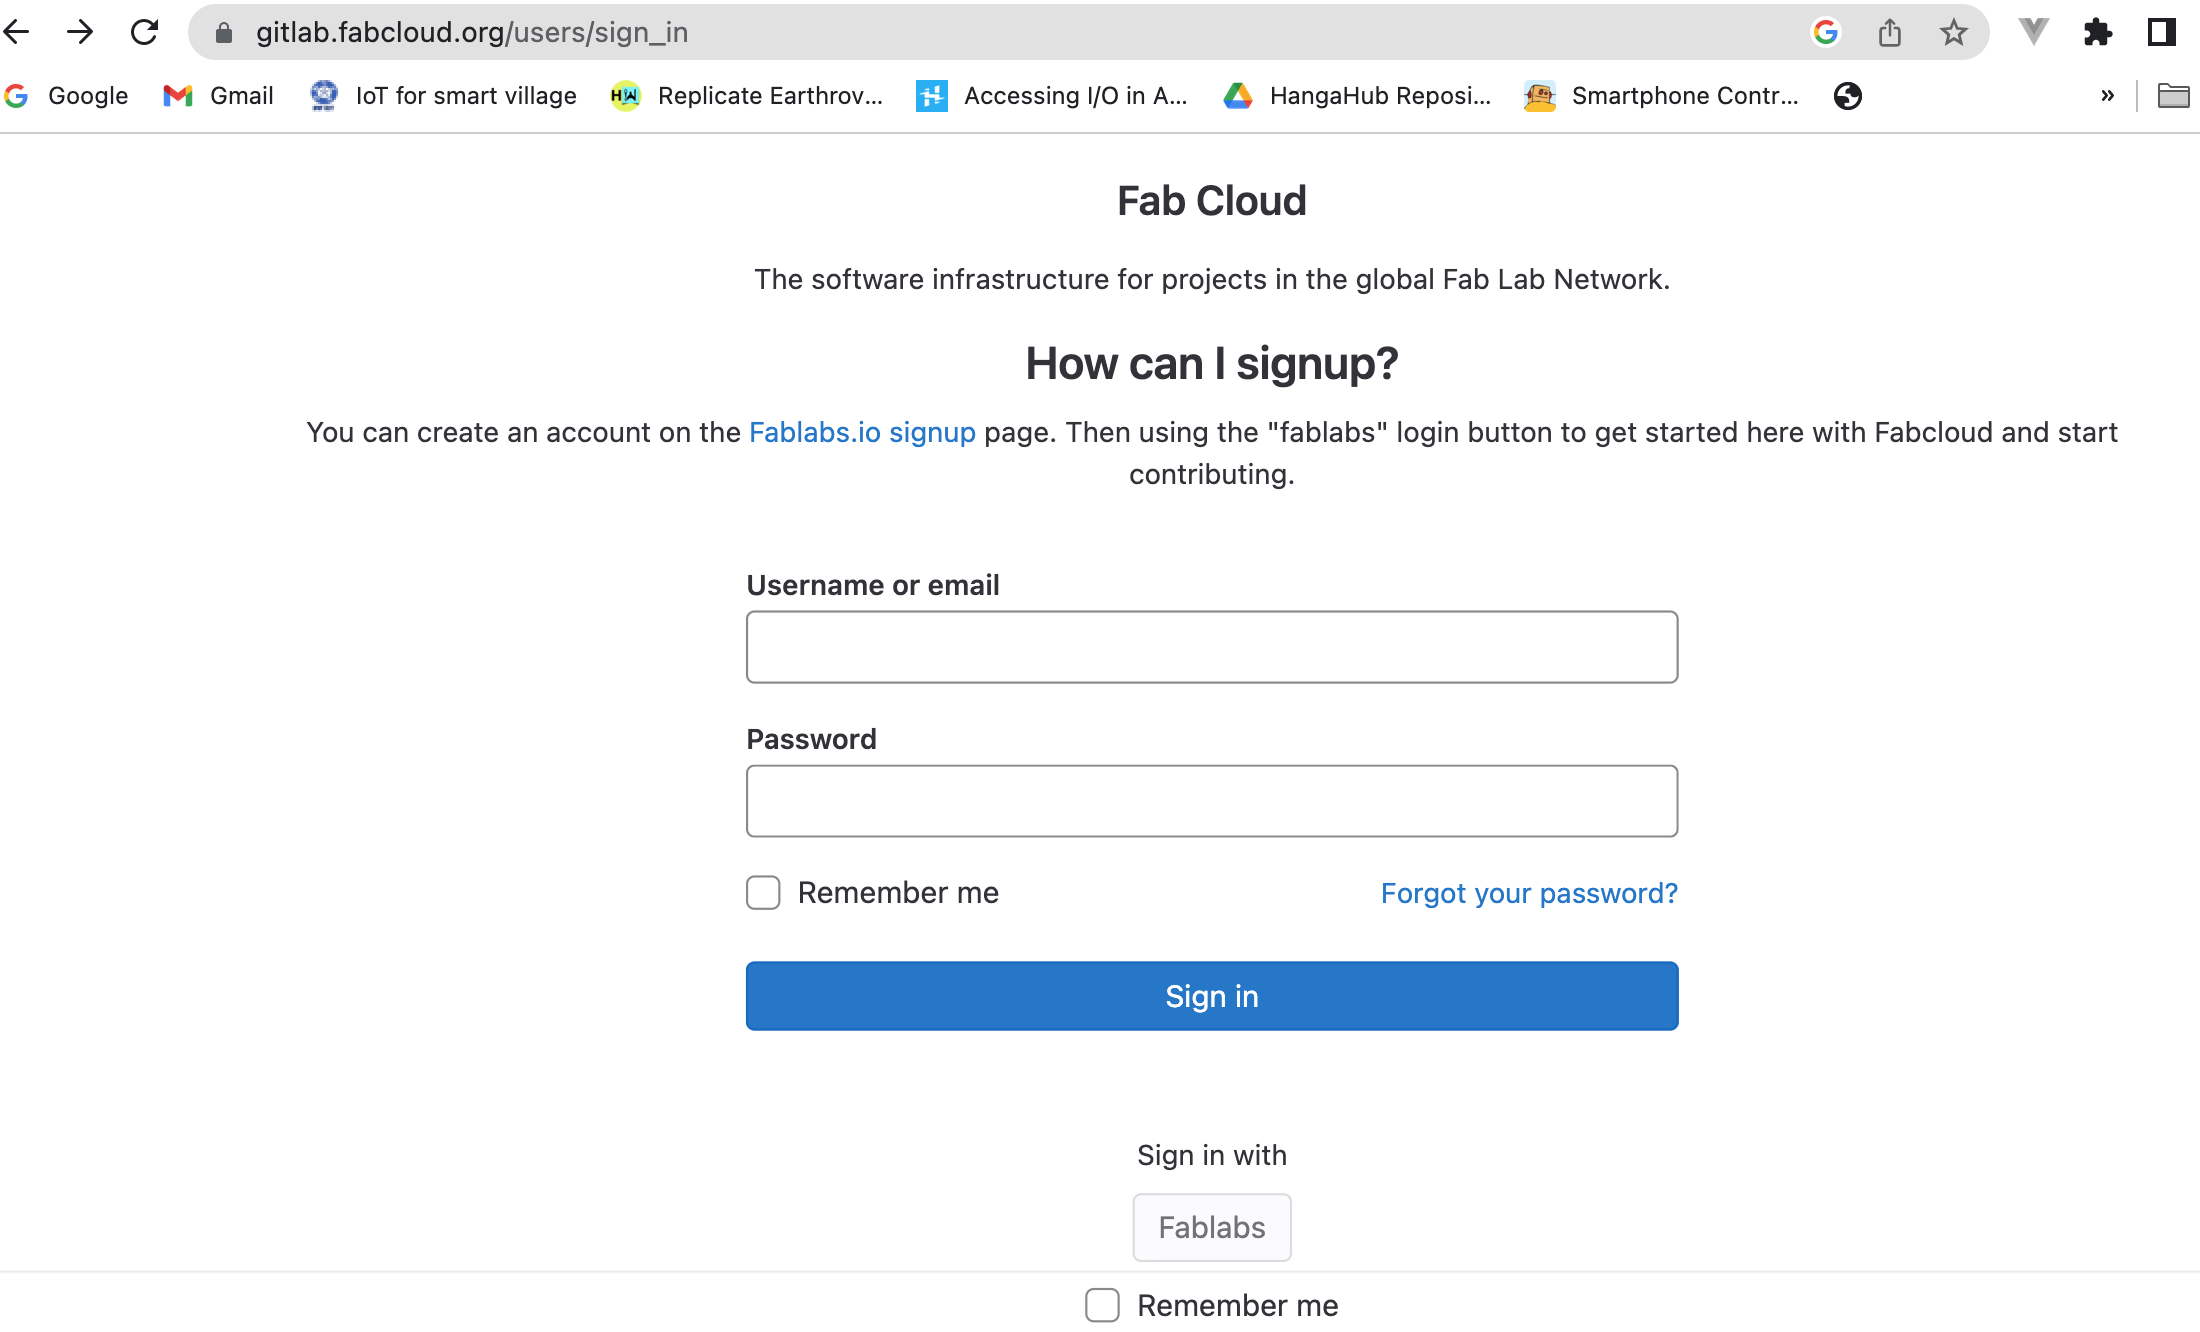
The following step involved signing up at https://gitlab.fabcloud.org and logging in to GitLab. for this, I received an emai In order to post the assignment to the repository, where we will upload all of the assignments week by week, I also downloaded Git for the Windows platform.
Git is a distributed version-control program used to monitor source code alterations as software is being developed. Although it is intended for programmers, it may be used to keep track of changes to any set of files.
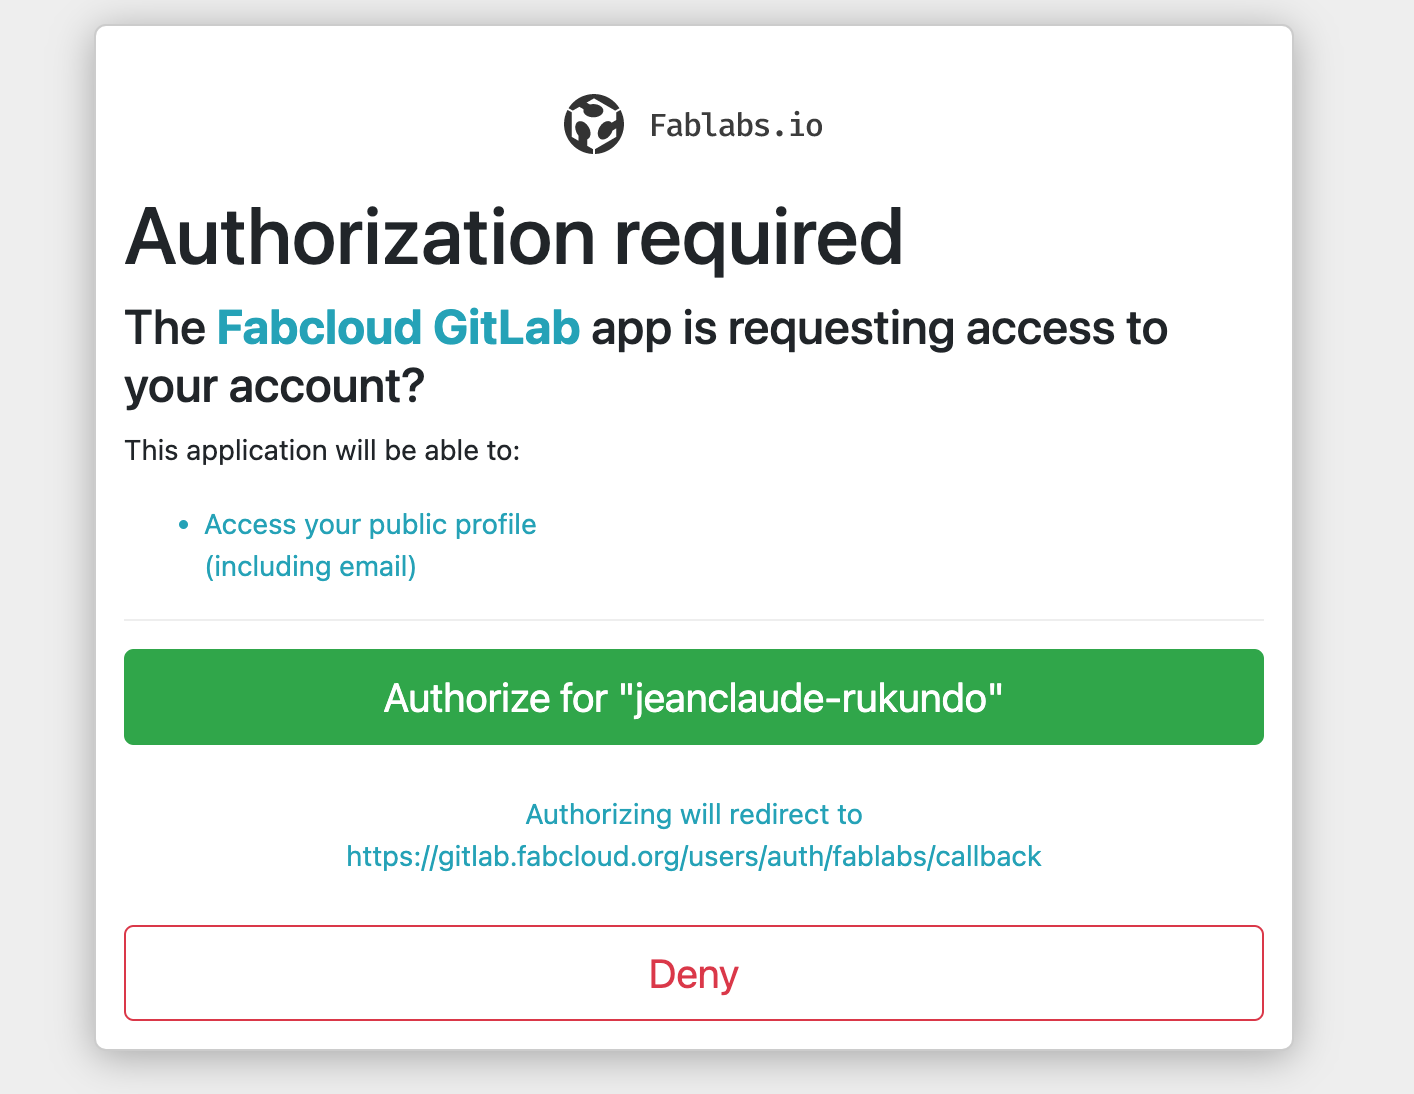
Authorizing fablabs.io to connect to FabCloud gitlab
Authorizing fablabs.io with FabCloud gitlab is necessary in order to allow GitLab to access and manage resources within the GitLab.FabCloud environment. This authorization is required for GitLab to be able to perform actions such as cloning repositories, pushing code changes, and accessing configuration files stored within the GitLab.FabCloud environment. This authorization ensures that only authorized users and applications are able to access and make changes to the resources within GitLab.FabCloud.
Authorization Process
in order to get access to fabcloud, we need to authorize gitlab to for access. we go to gitlab.fabloud.com/signin. instead of signing with username and password, we just have to sign in with fablab button and provide authorization as shown in the following images
 The following commands will set up and ready the repository for file uploads:
Steps to undergo to send files to gitlab Repository
- Open the terminal and navigate to the local directory where you want to initialize the git repository
- Open Terminal located in Applications and set up my user and email account typing:
- Created the SSH key that allows me to establish a secure connection between my computer and GitLab following the command in Terminal:
- Copy and paste the SSH key in my user profile SSH Key menu.
- Cloning my web repository to the folder I created.
- Make a local copy of the repository typing the command in Terminal
- Now I have a new directory in my git_fabacademy folder. In this folder I have to copy all the files of my website to be uploaded.
- After copy the files I changed directory again
- Run the command to initialize an empty git repository
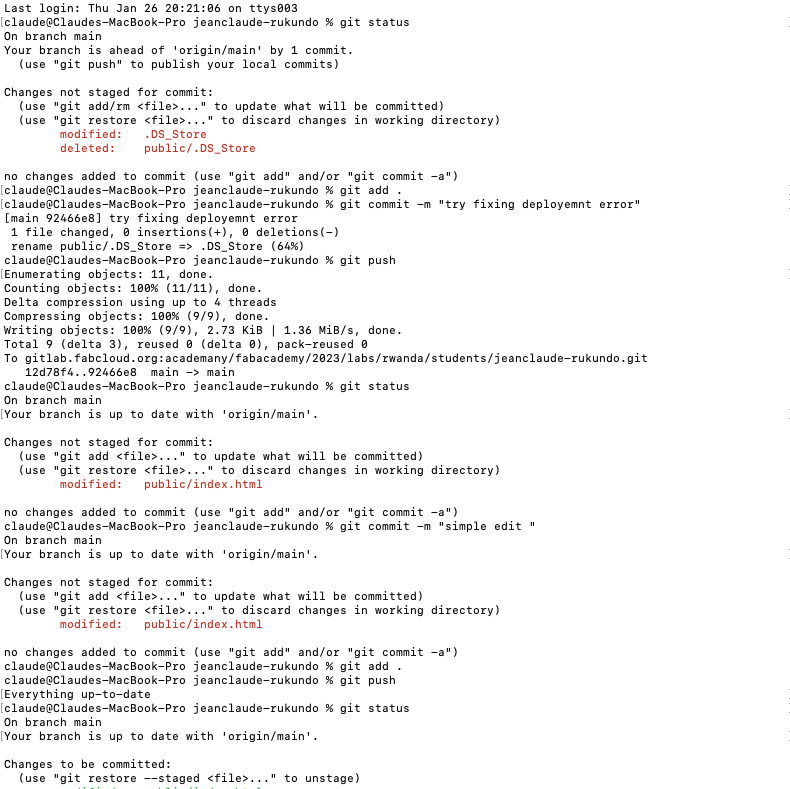
- Run the following command to stage all the files in the current directory for the next commit
- Run the following command to commit the files with a message "Initial commit"
- Run the following command to push the local repository to the remote repository on GitLab
    git config --global user.name "user name"
    git config --global user.email "user email"
ssh-keygen -t rsa -C "my.email@example.com" -b 4096
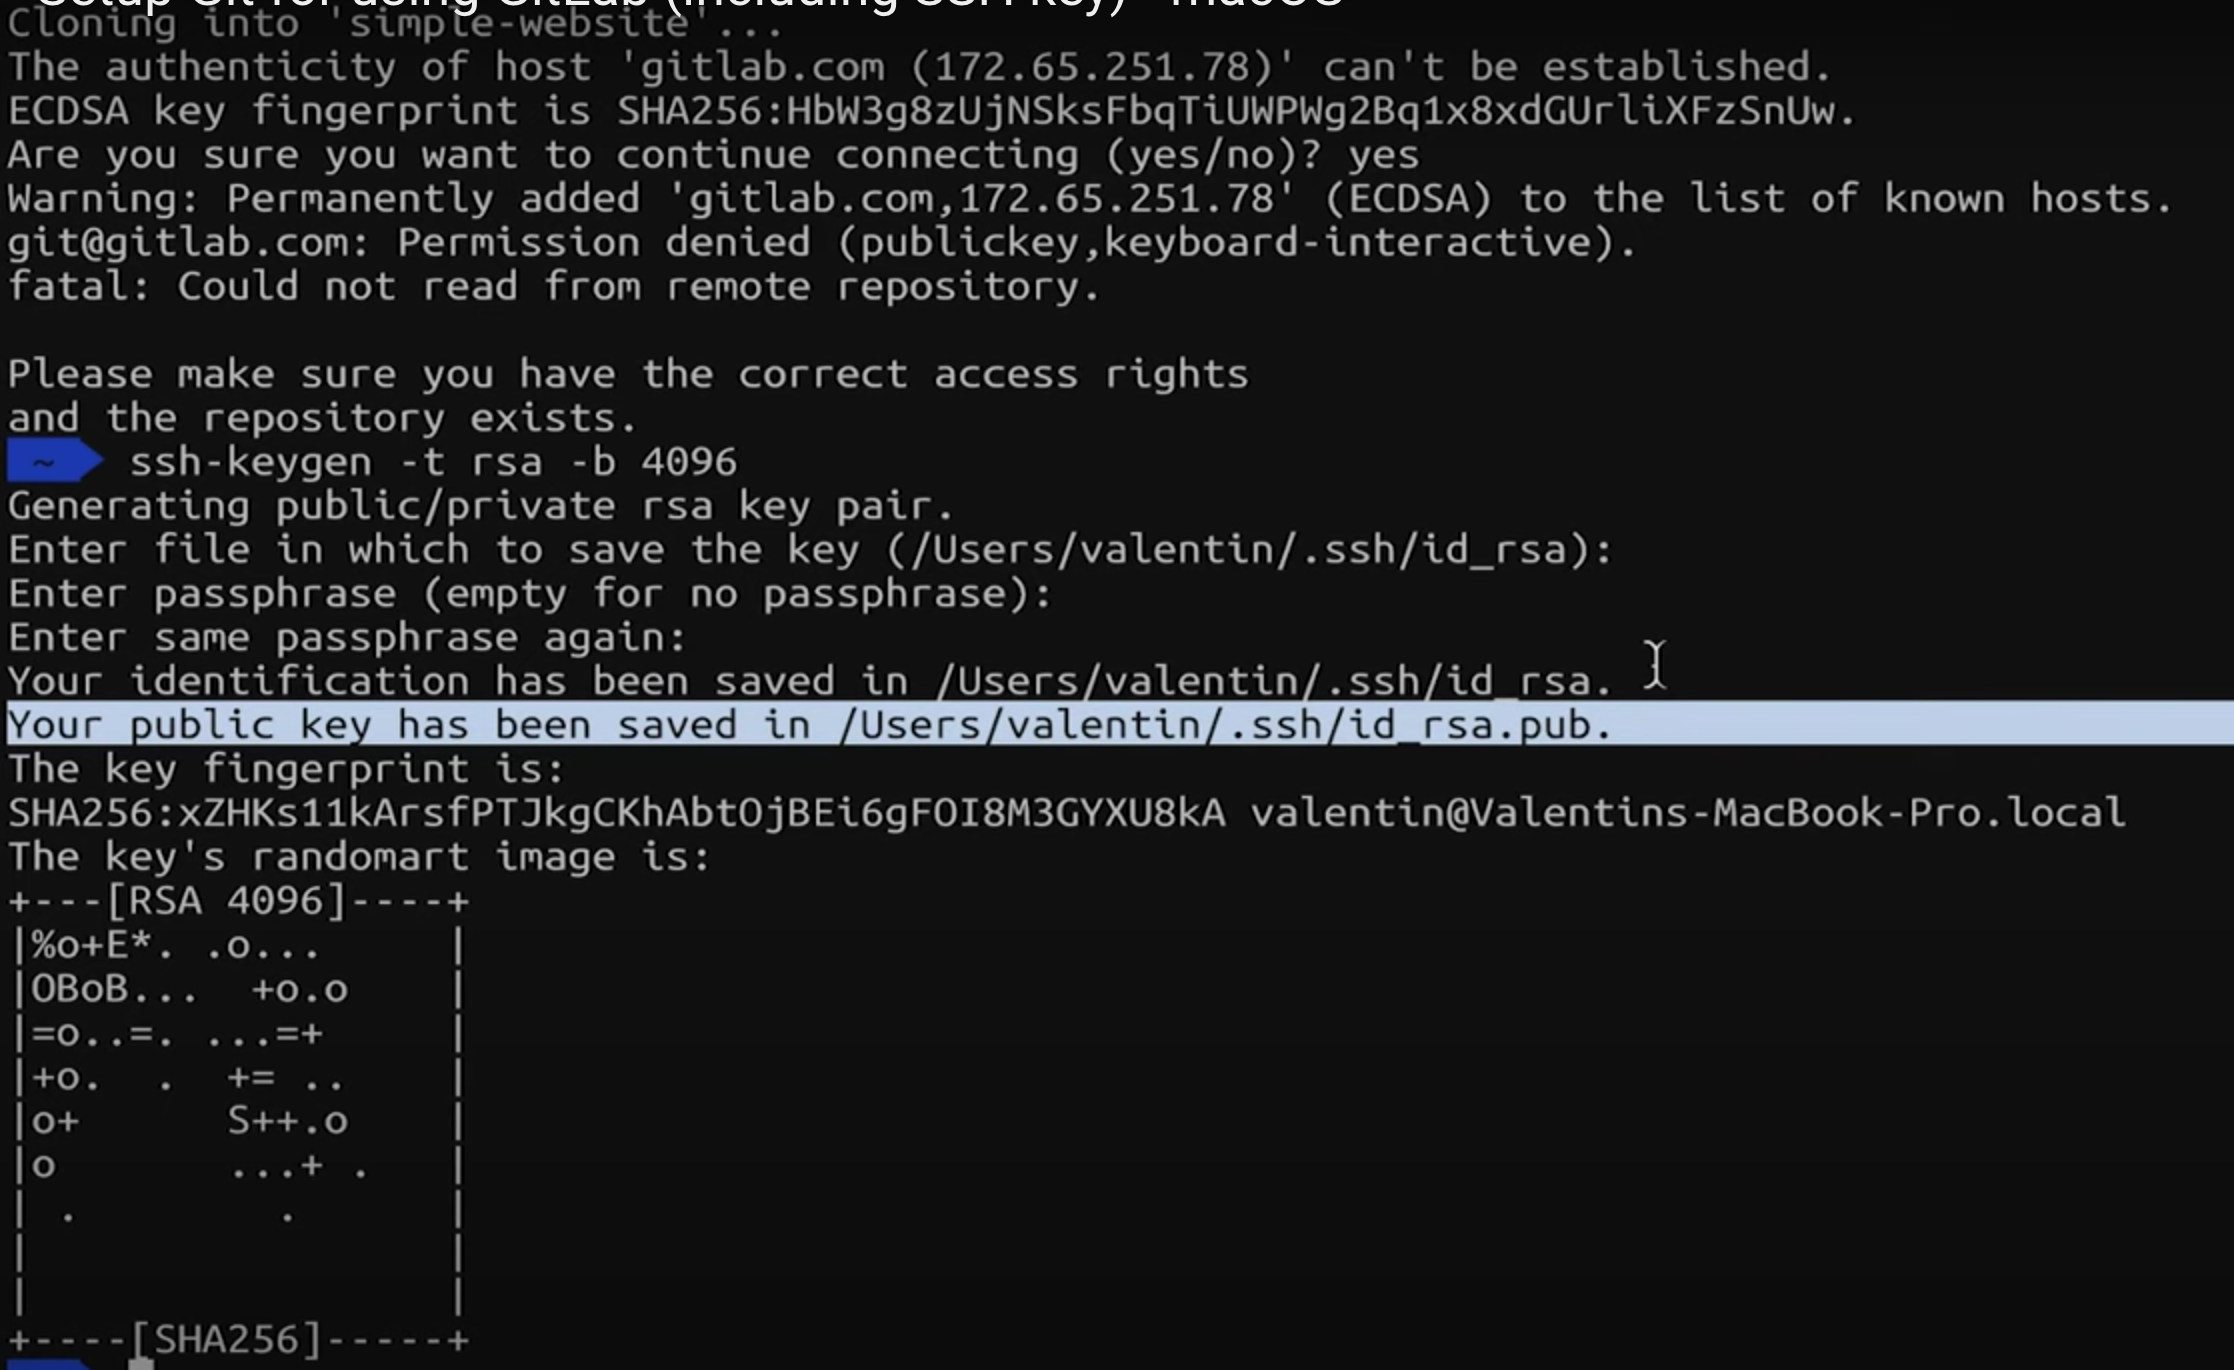
To copy your ssh keys type the following in terminal
pbcopy < ~/.ssh/id_rsa.pub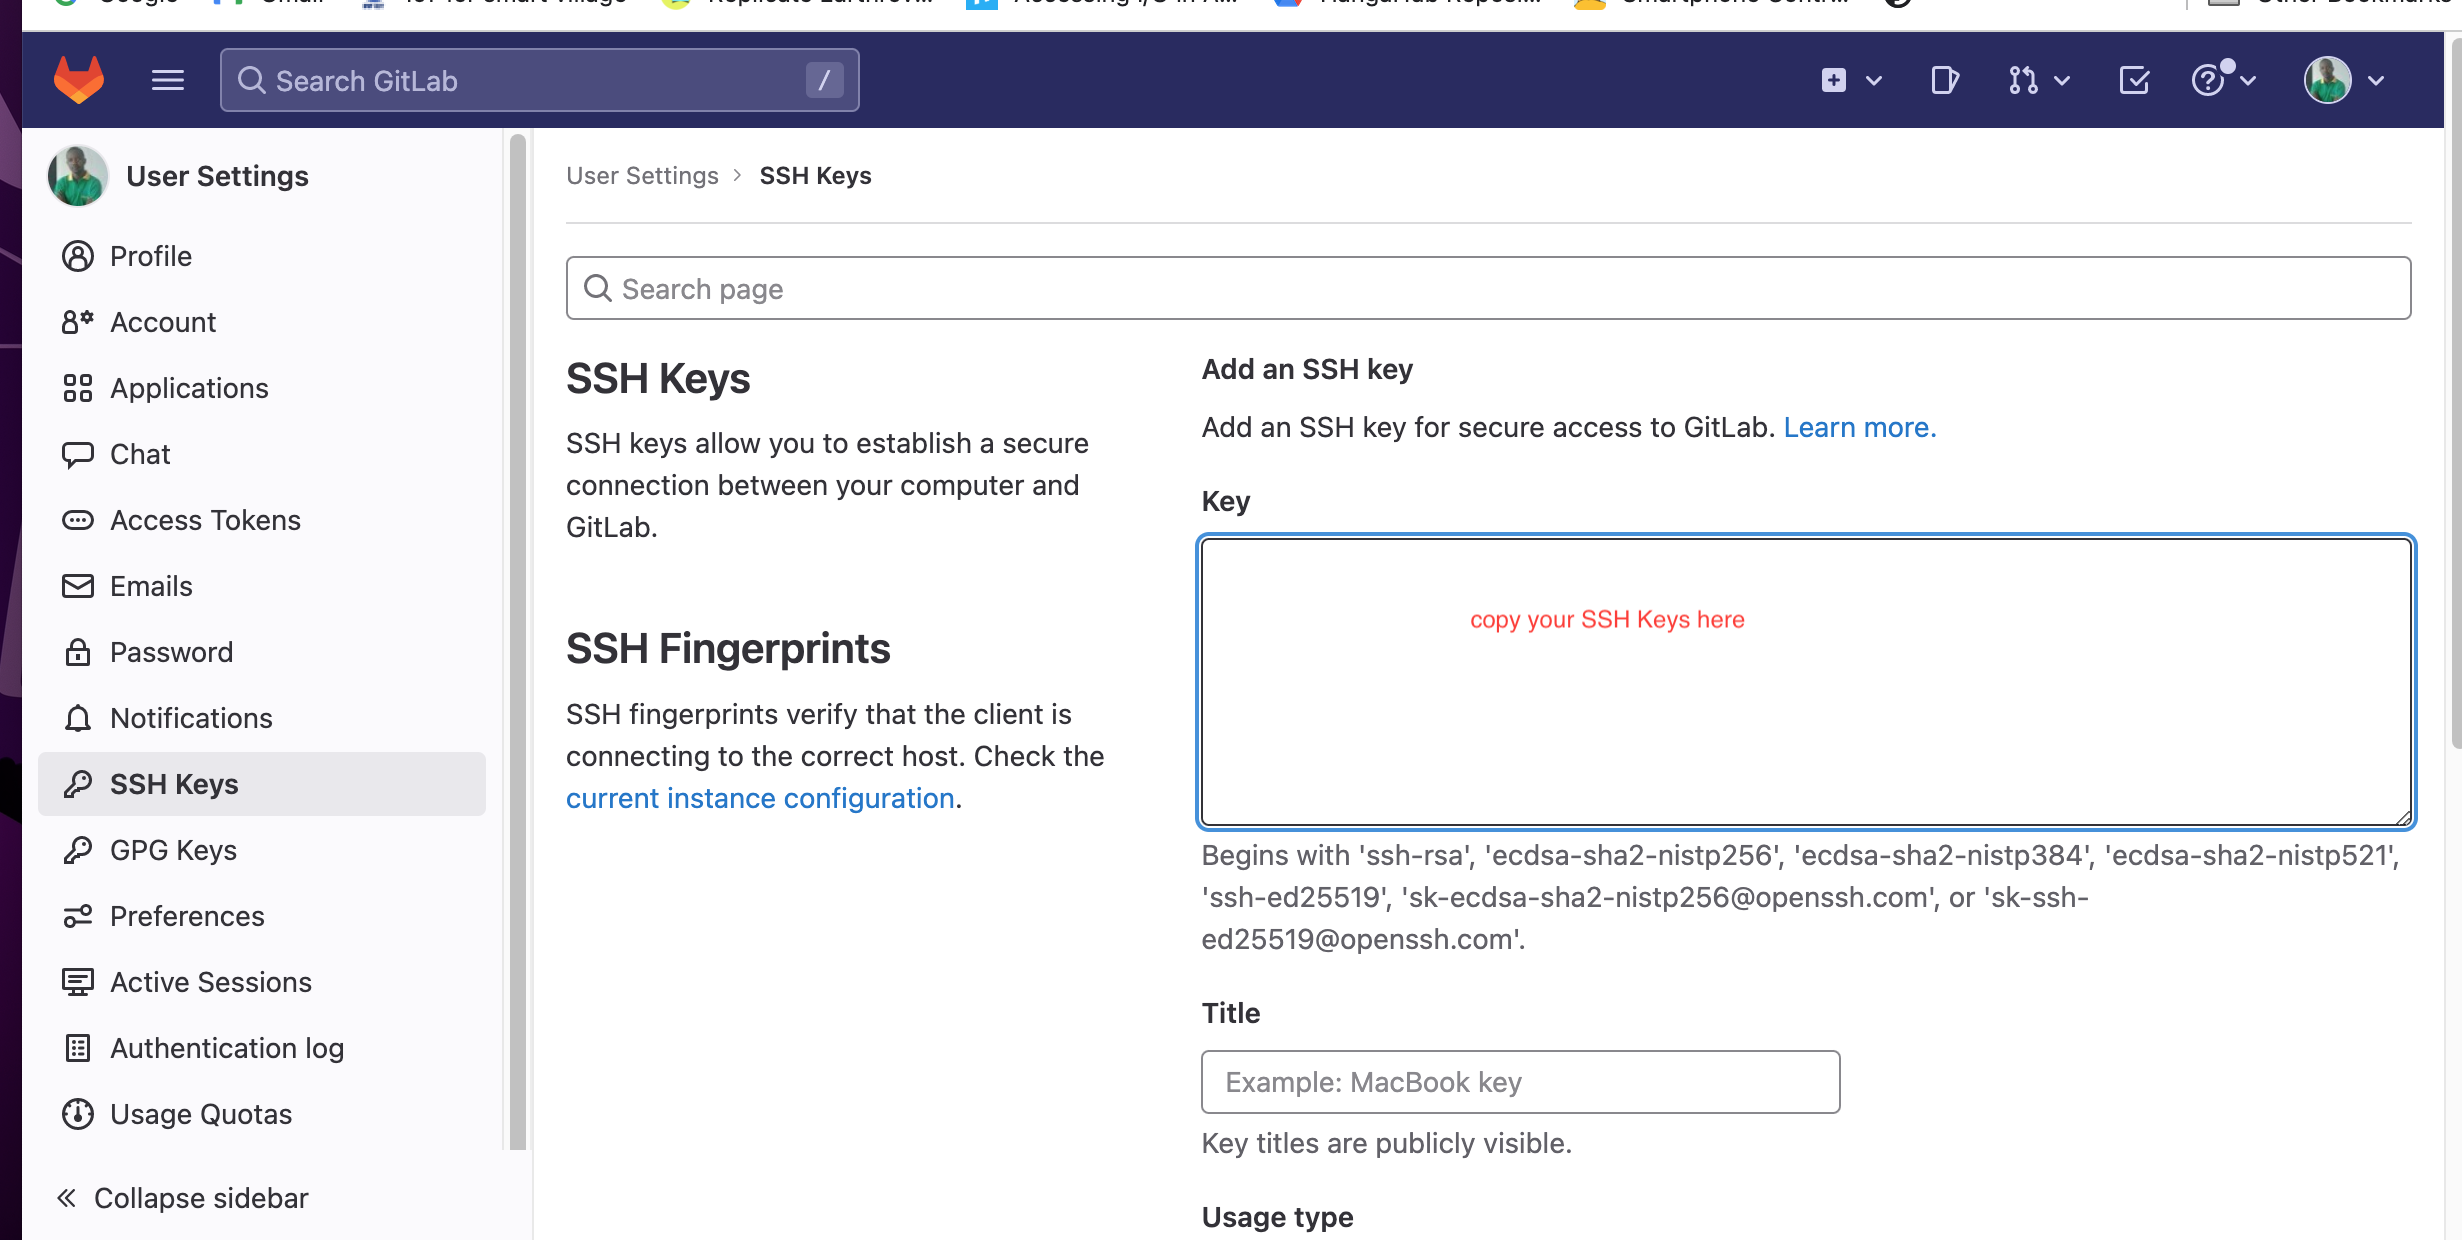
git clone git@gitlab.fabcloud.org:academany/fabacademy/2019/labs/rwanda/students/jeanclaude-rukundo.git
cd jeanclaude-rukundo
git initgit add .git commit -m "Initial commit"git push Please note that before pushing you should authenticate yourself using your gitlab credentials via gitlab-ci-token or ssh key. If you are not authenticated before pushing, the command will fail with error message.
This is the steps i used to push my local Repo to gitlab remote repository
...Challenges Faced
Configuring SSH keys in order to connect my local git repository with fablabio was quite challenging because it was the first time using ssh. but after some hours of searching on internet , i discovered how to do it and i was able to push my local repository to remote one.