10. Mechanical Design, Machine Design
During this week, we worked in groups to build a machine. Initially we had many ideas, but we decided to focus to the one that Akseli proposed and during the group work built a machine, that will make cuts to a sausage, so that it would not burst when it is being grilled.
Design idea
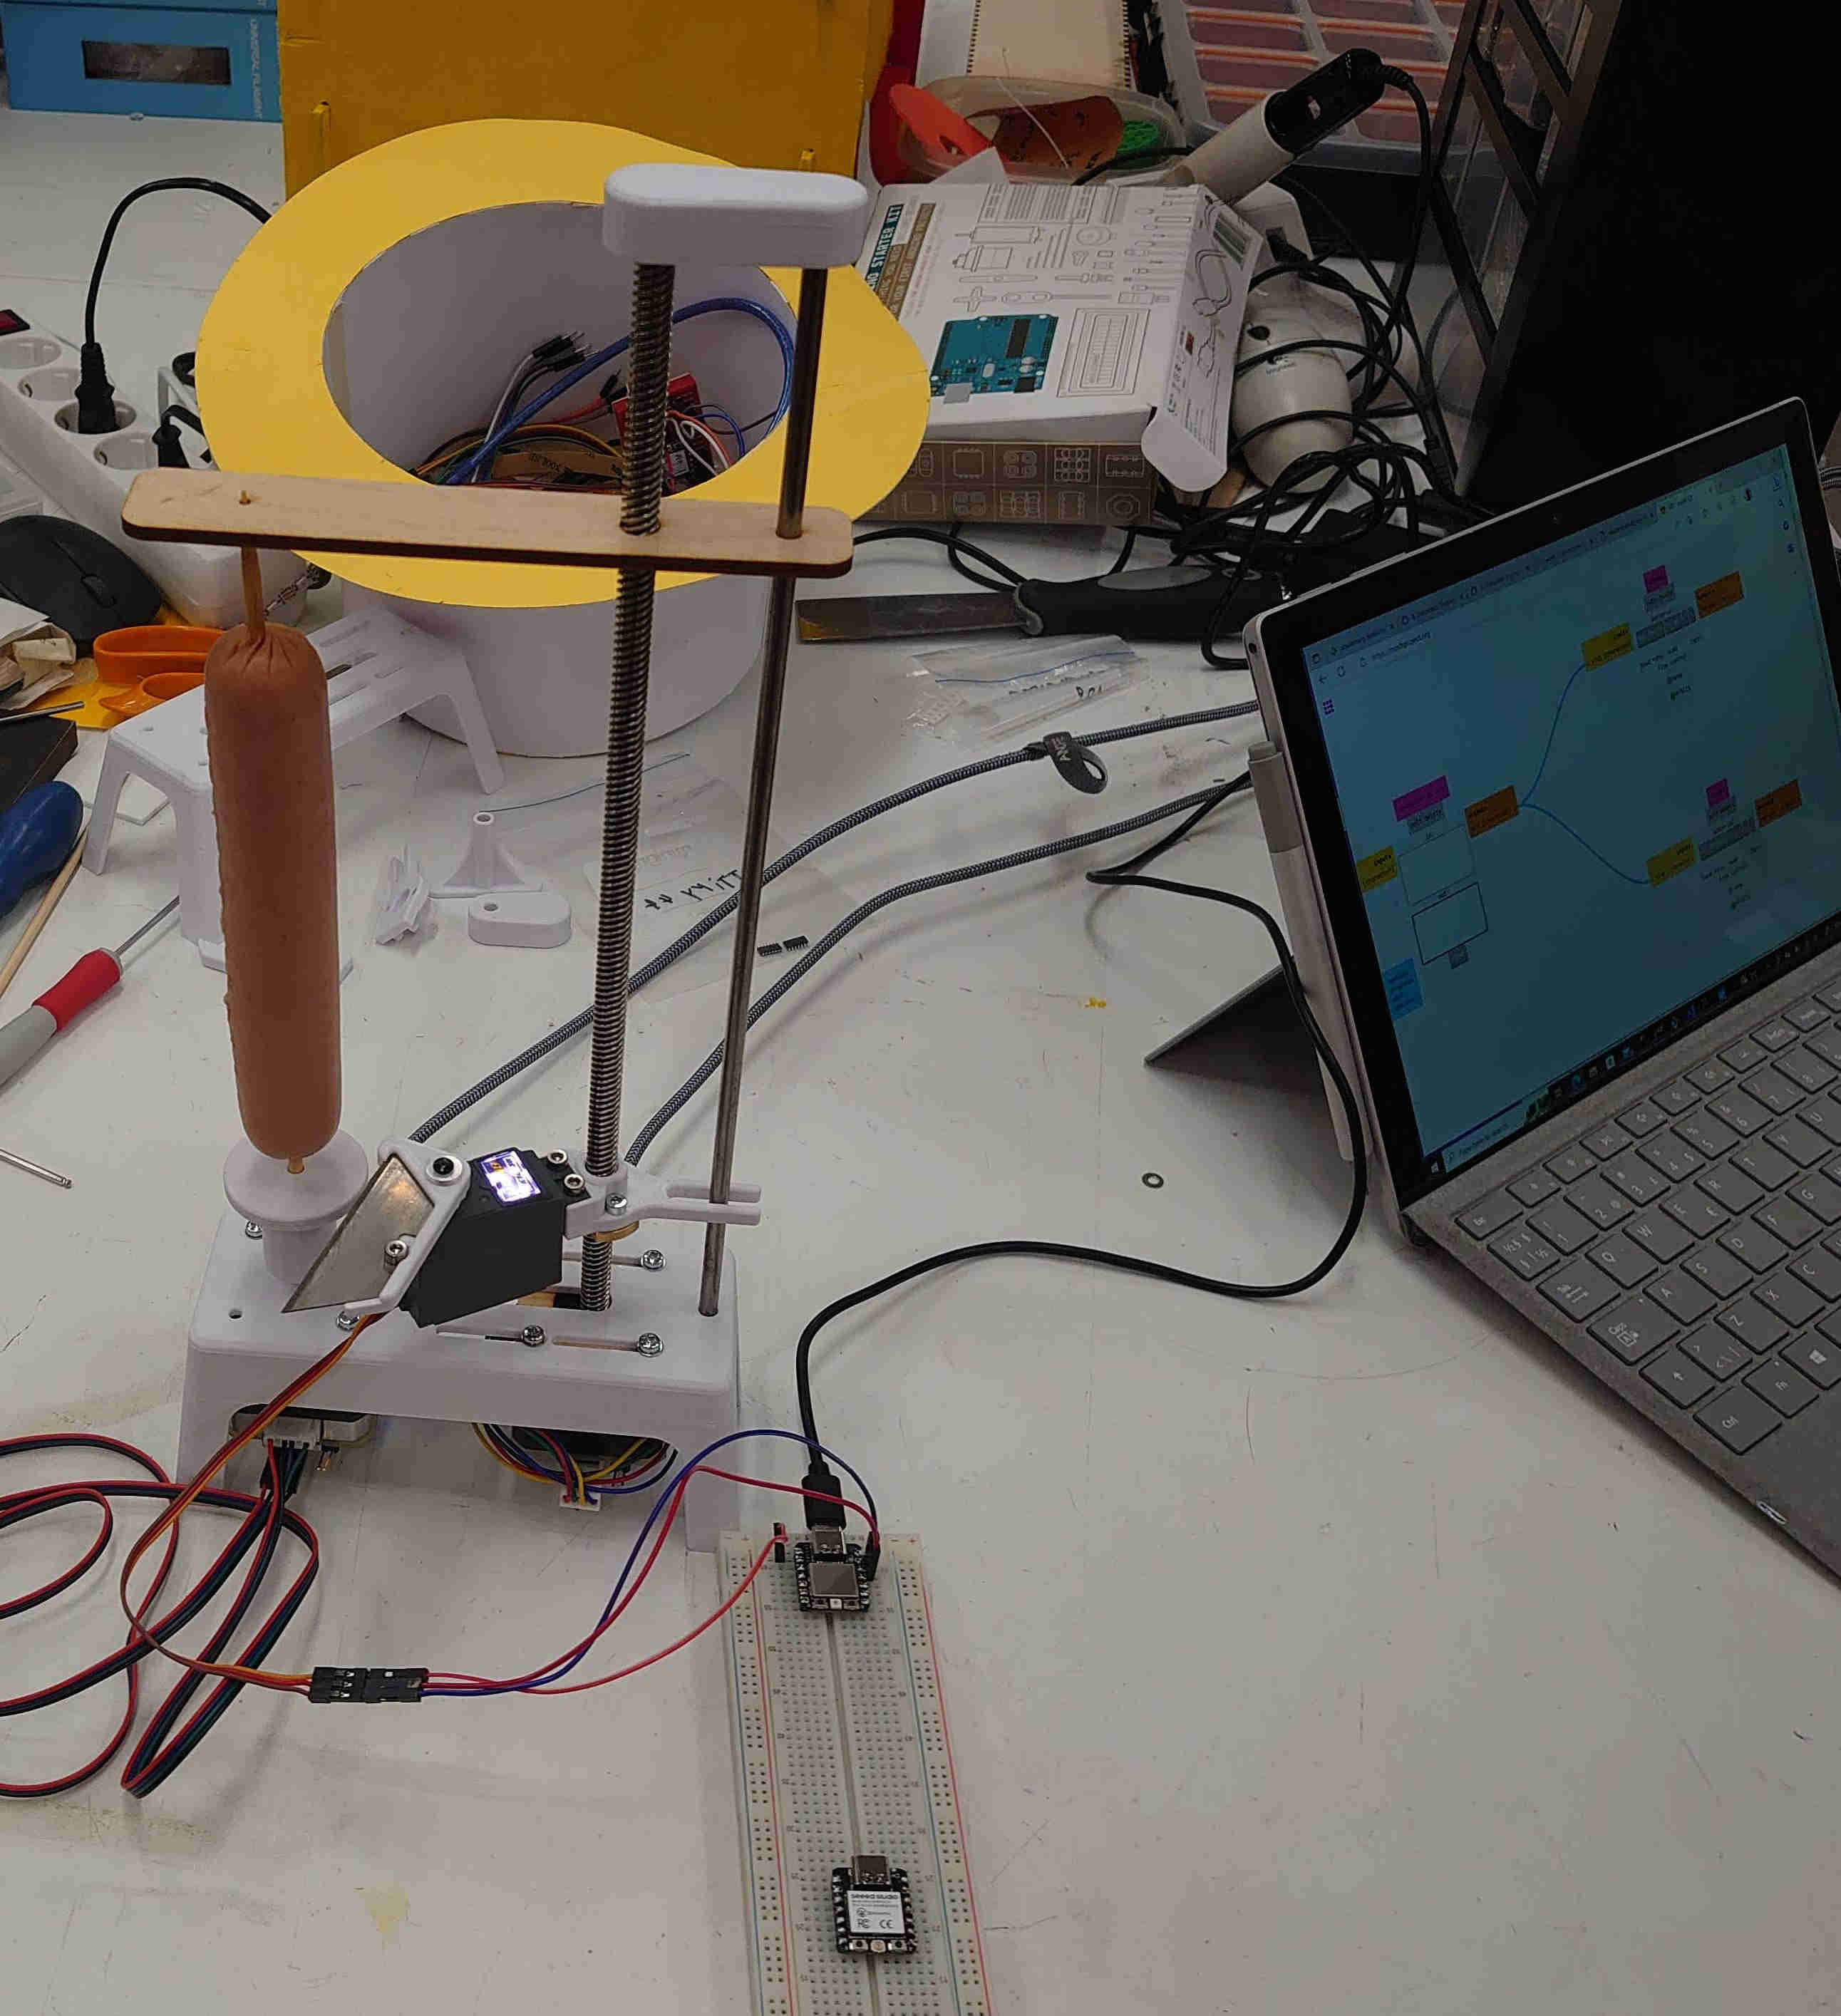
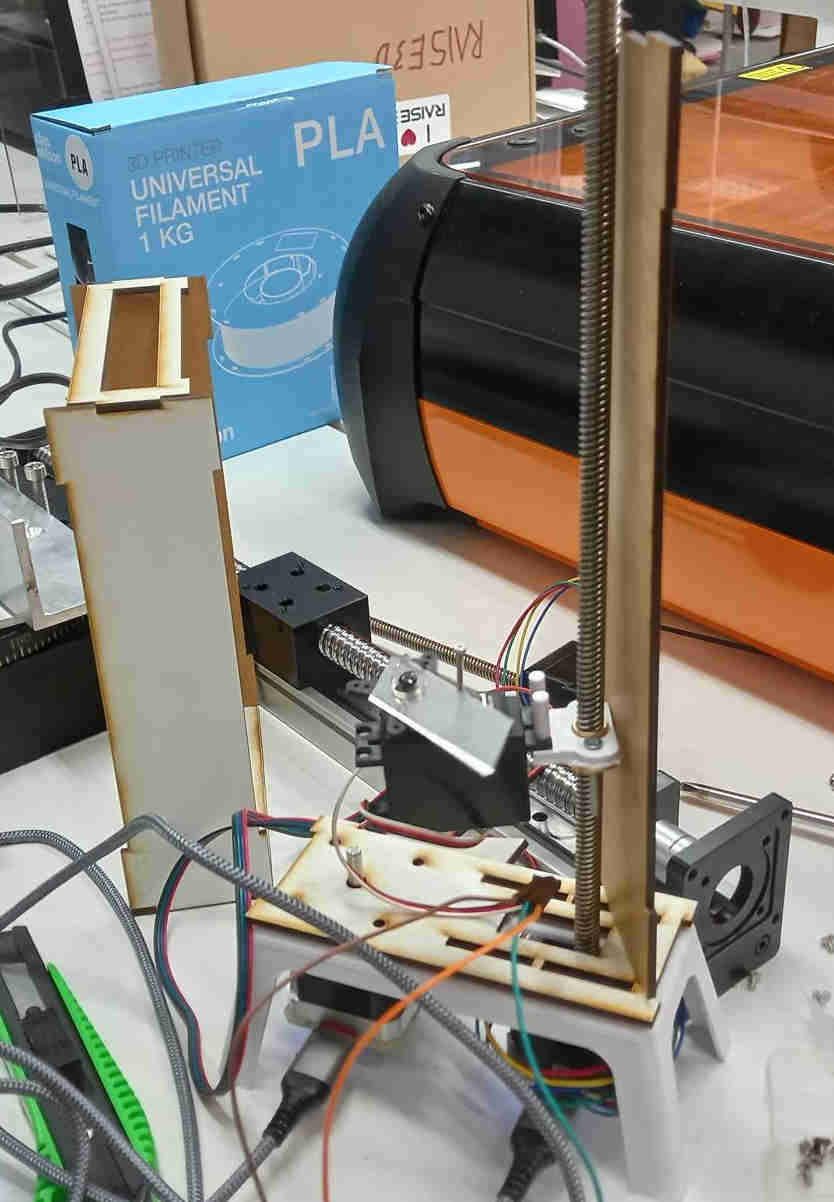
The operation of the machine was desinged to rotate the sausage with one stepper motor. Next to the first stepper motor, we attahced a second one, that had spiral shaft which moved a part holding a servo that moved a cutting edge, so that it would move along the axis of the sausage. The cutting edge was connected to a servo that made periodic movement, so that the cutting edge would touch the sausage periodically.
Initial design
Akseli had designed the structure where the motors would be mounted. I printed the first version using Raise 3d Pro 2 printer, since Akseli was working remotely. The structure was print well at the first attempt.
I made some preliminary tests with Mods and Urumbu module to control the stepper motors as showed by Jani in the local review. I described the use of Mods and Urumbu to control the stepper motors in the output week documentation.
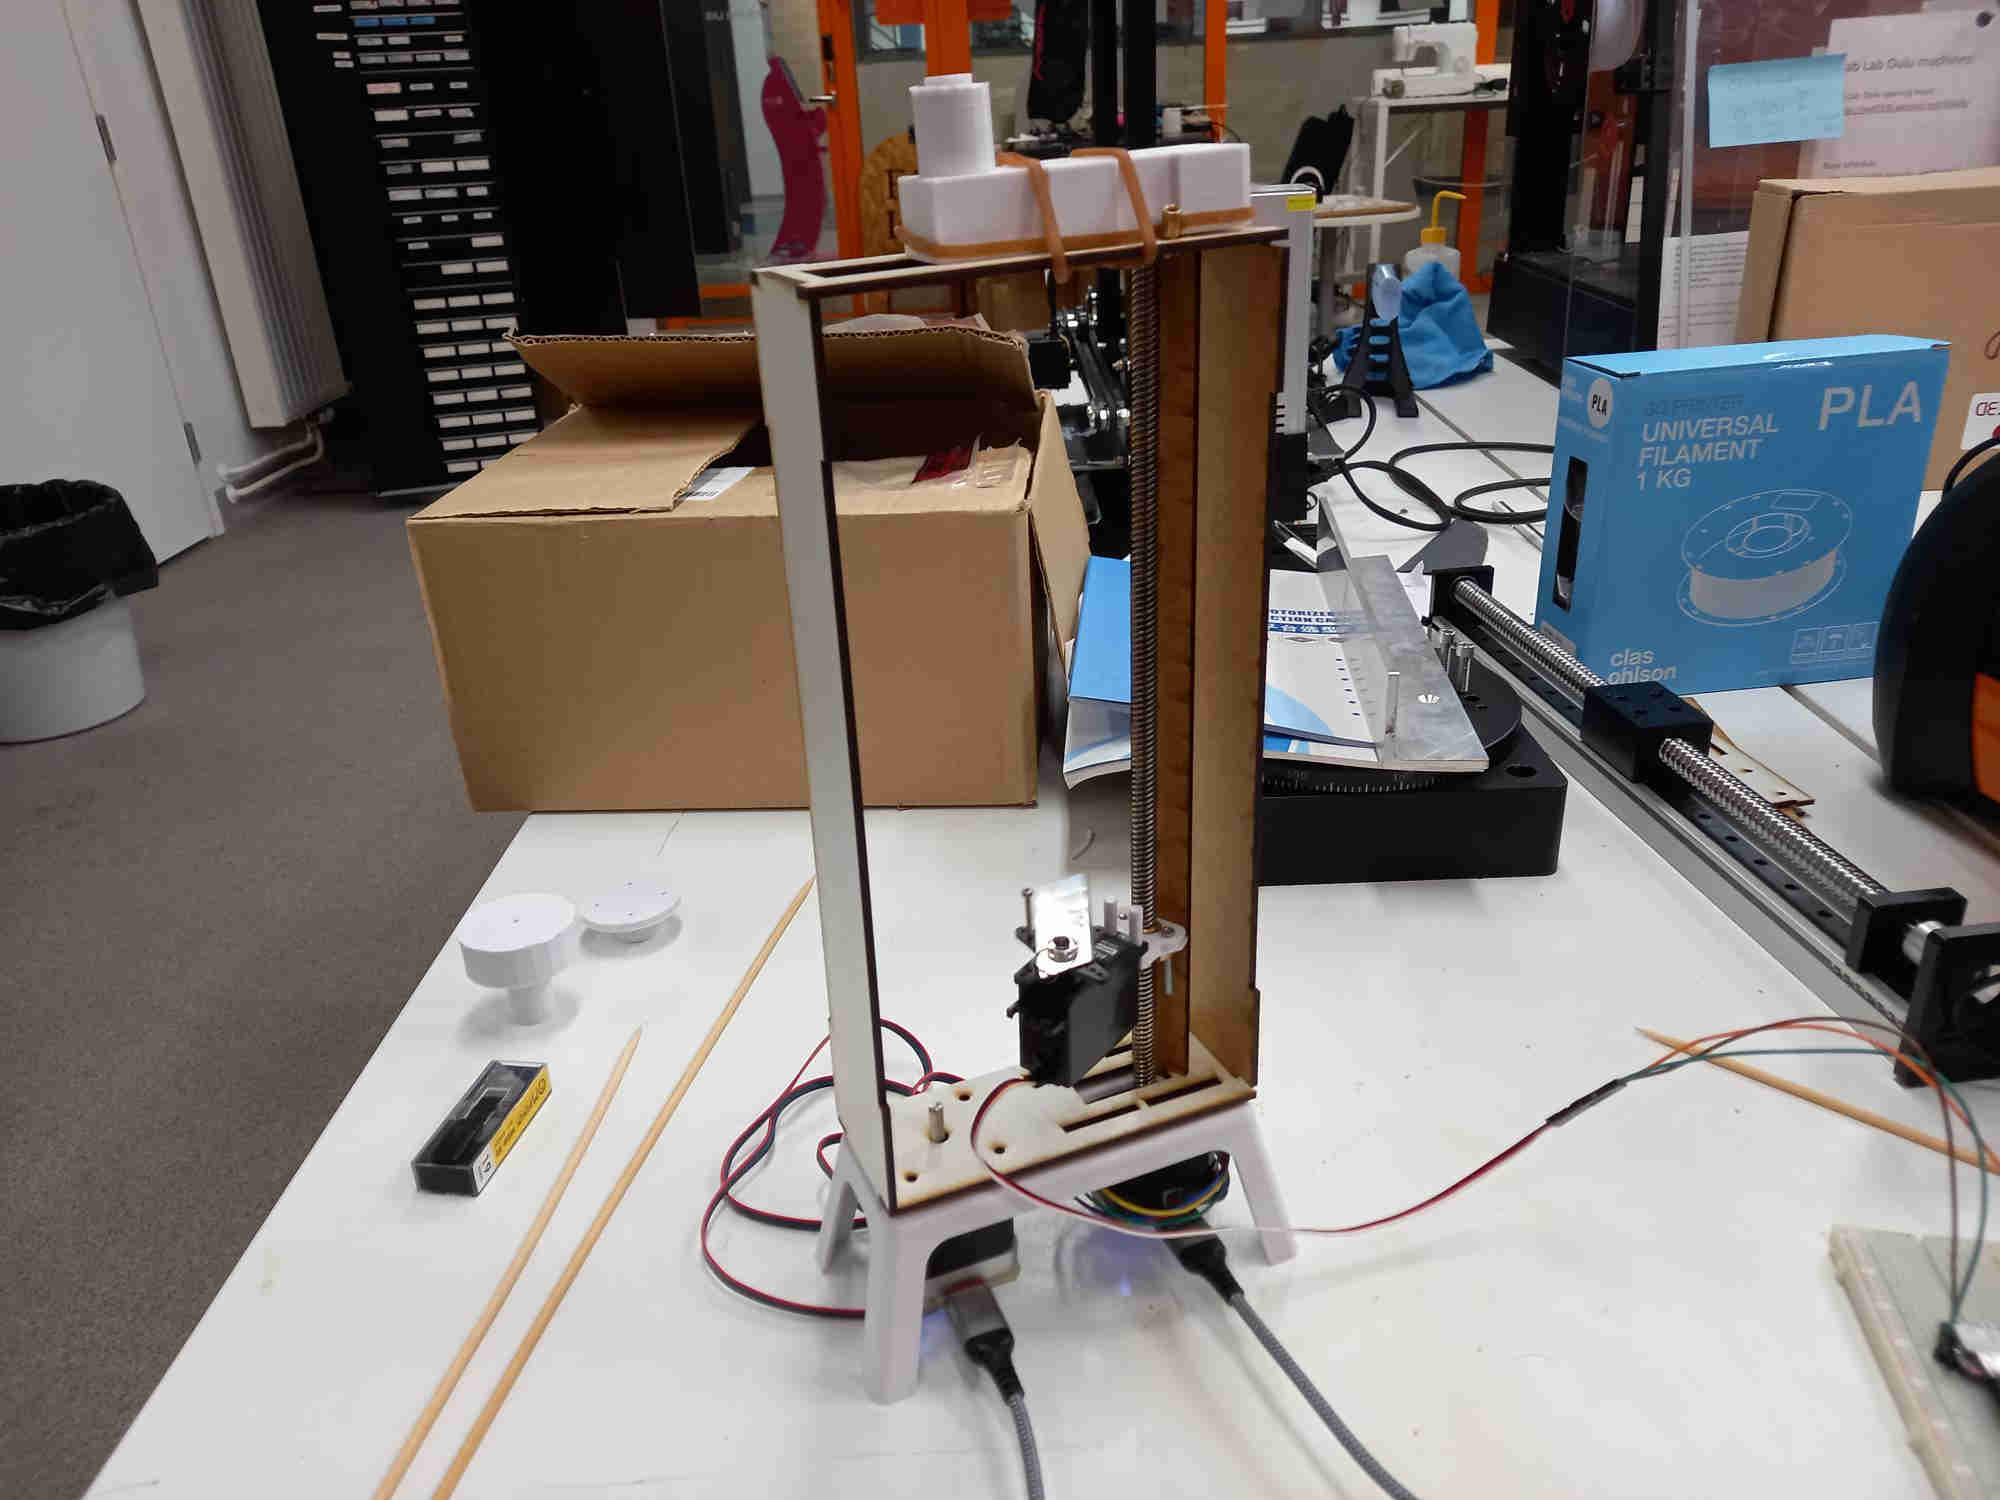
To make the sausage more stable, we thought that it would be good to support it from above also. Also, the shaft that was used for enabling the movement of the cutting edge along the direction of the sausage axis had spiral shaft, that moved the part where the servo and cutter would be attached. This moving part needed to be supported from the side, so that it would not spin when the spiral shaft was rotating. For these reasons we initially thought that it would be good idea to make an enclosure, that would have a roof to support the sausage, and a wall to support the part holding the servo and cutter.
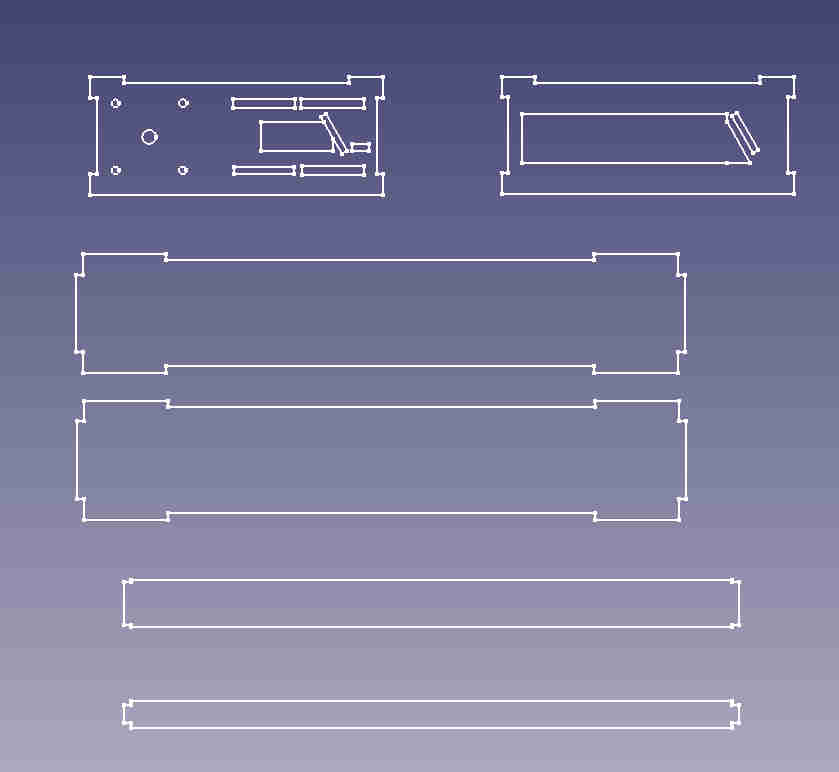
I made a design for the enclosure and lasercut the parts.
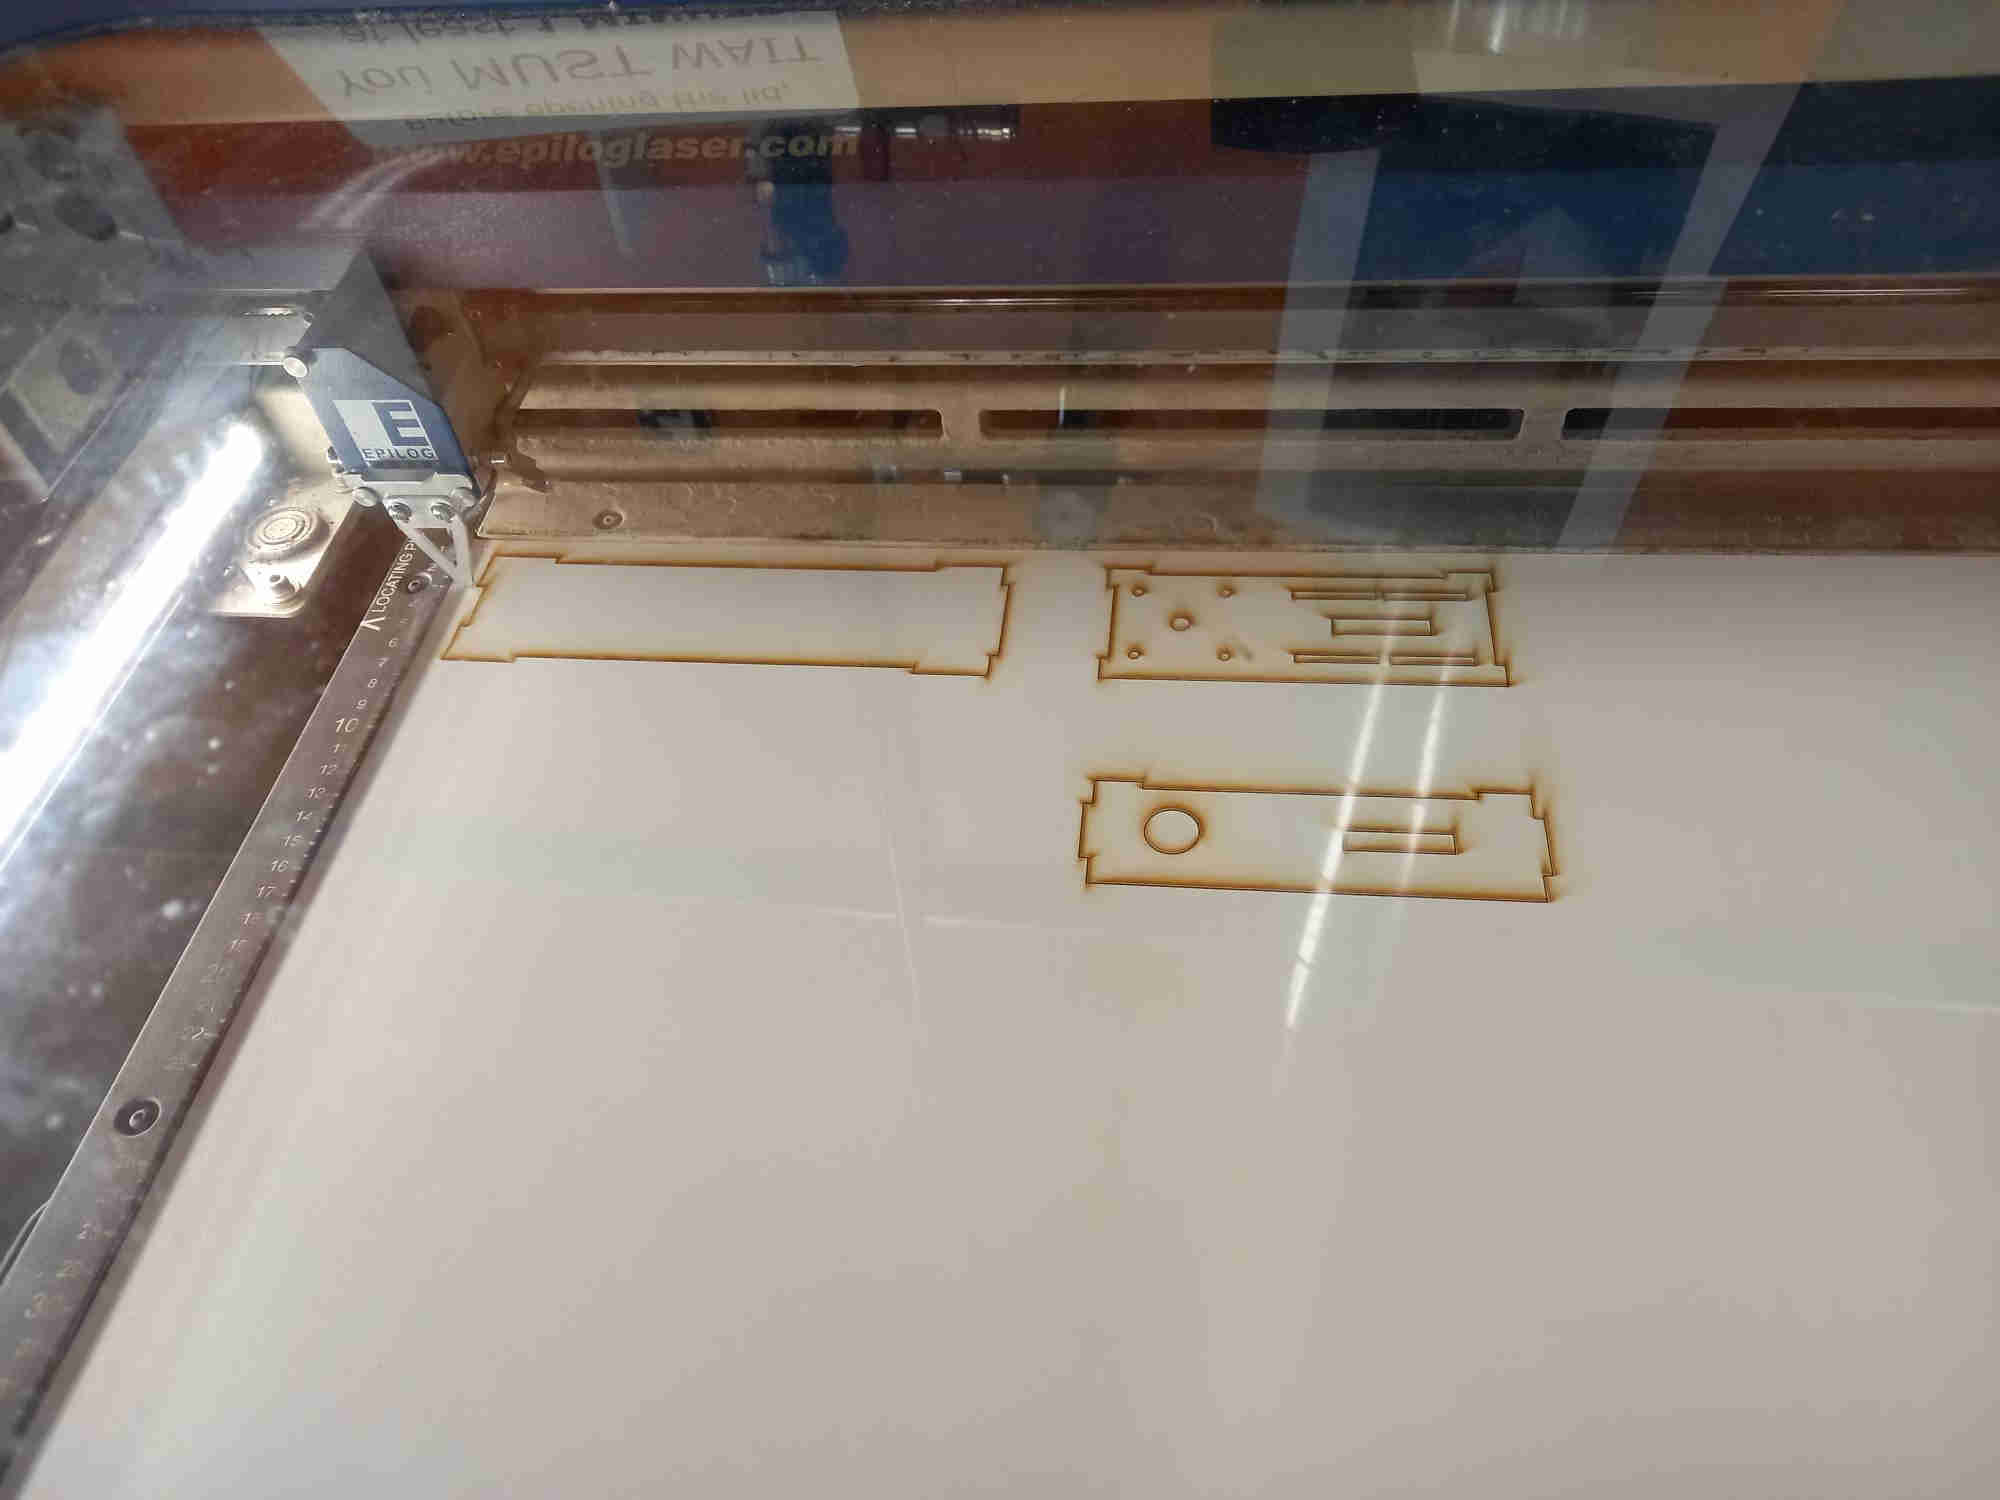
We assembled the parts, to build the enclosure. I had designed it using paramteric design, in a similar way as in computer controlled cutting week, so that the parts would snap together, and no adhesive or screws were needed.
The initial structure was too short, since the spiral shaft was taller. Also the side wall needed to be closer to the spiral shaft to support for the part that was moving up and down. For this reason, I increased the height of the walls and added an additional wall next to the spiral shaft. Rasmus designed a 3D printed part on top of the structure, to hold down the shaft and provide an additional spike from y-direction, to hold the sausage in place from above. Abishek programmed the servo to achieve the periodic cutting. We were all working together and testing the operation of different parts whenever we were able to be present at the laboratory.
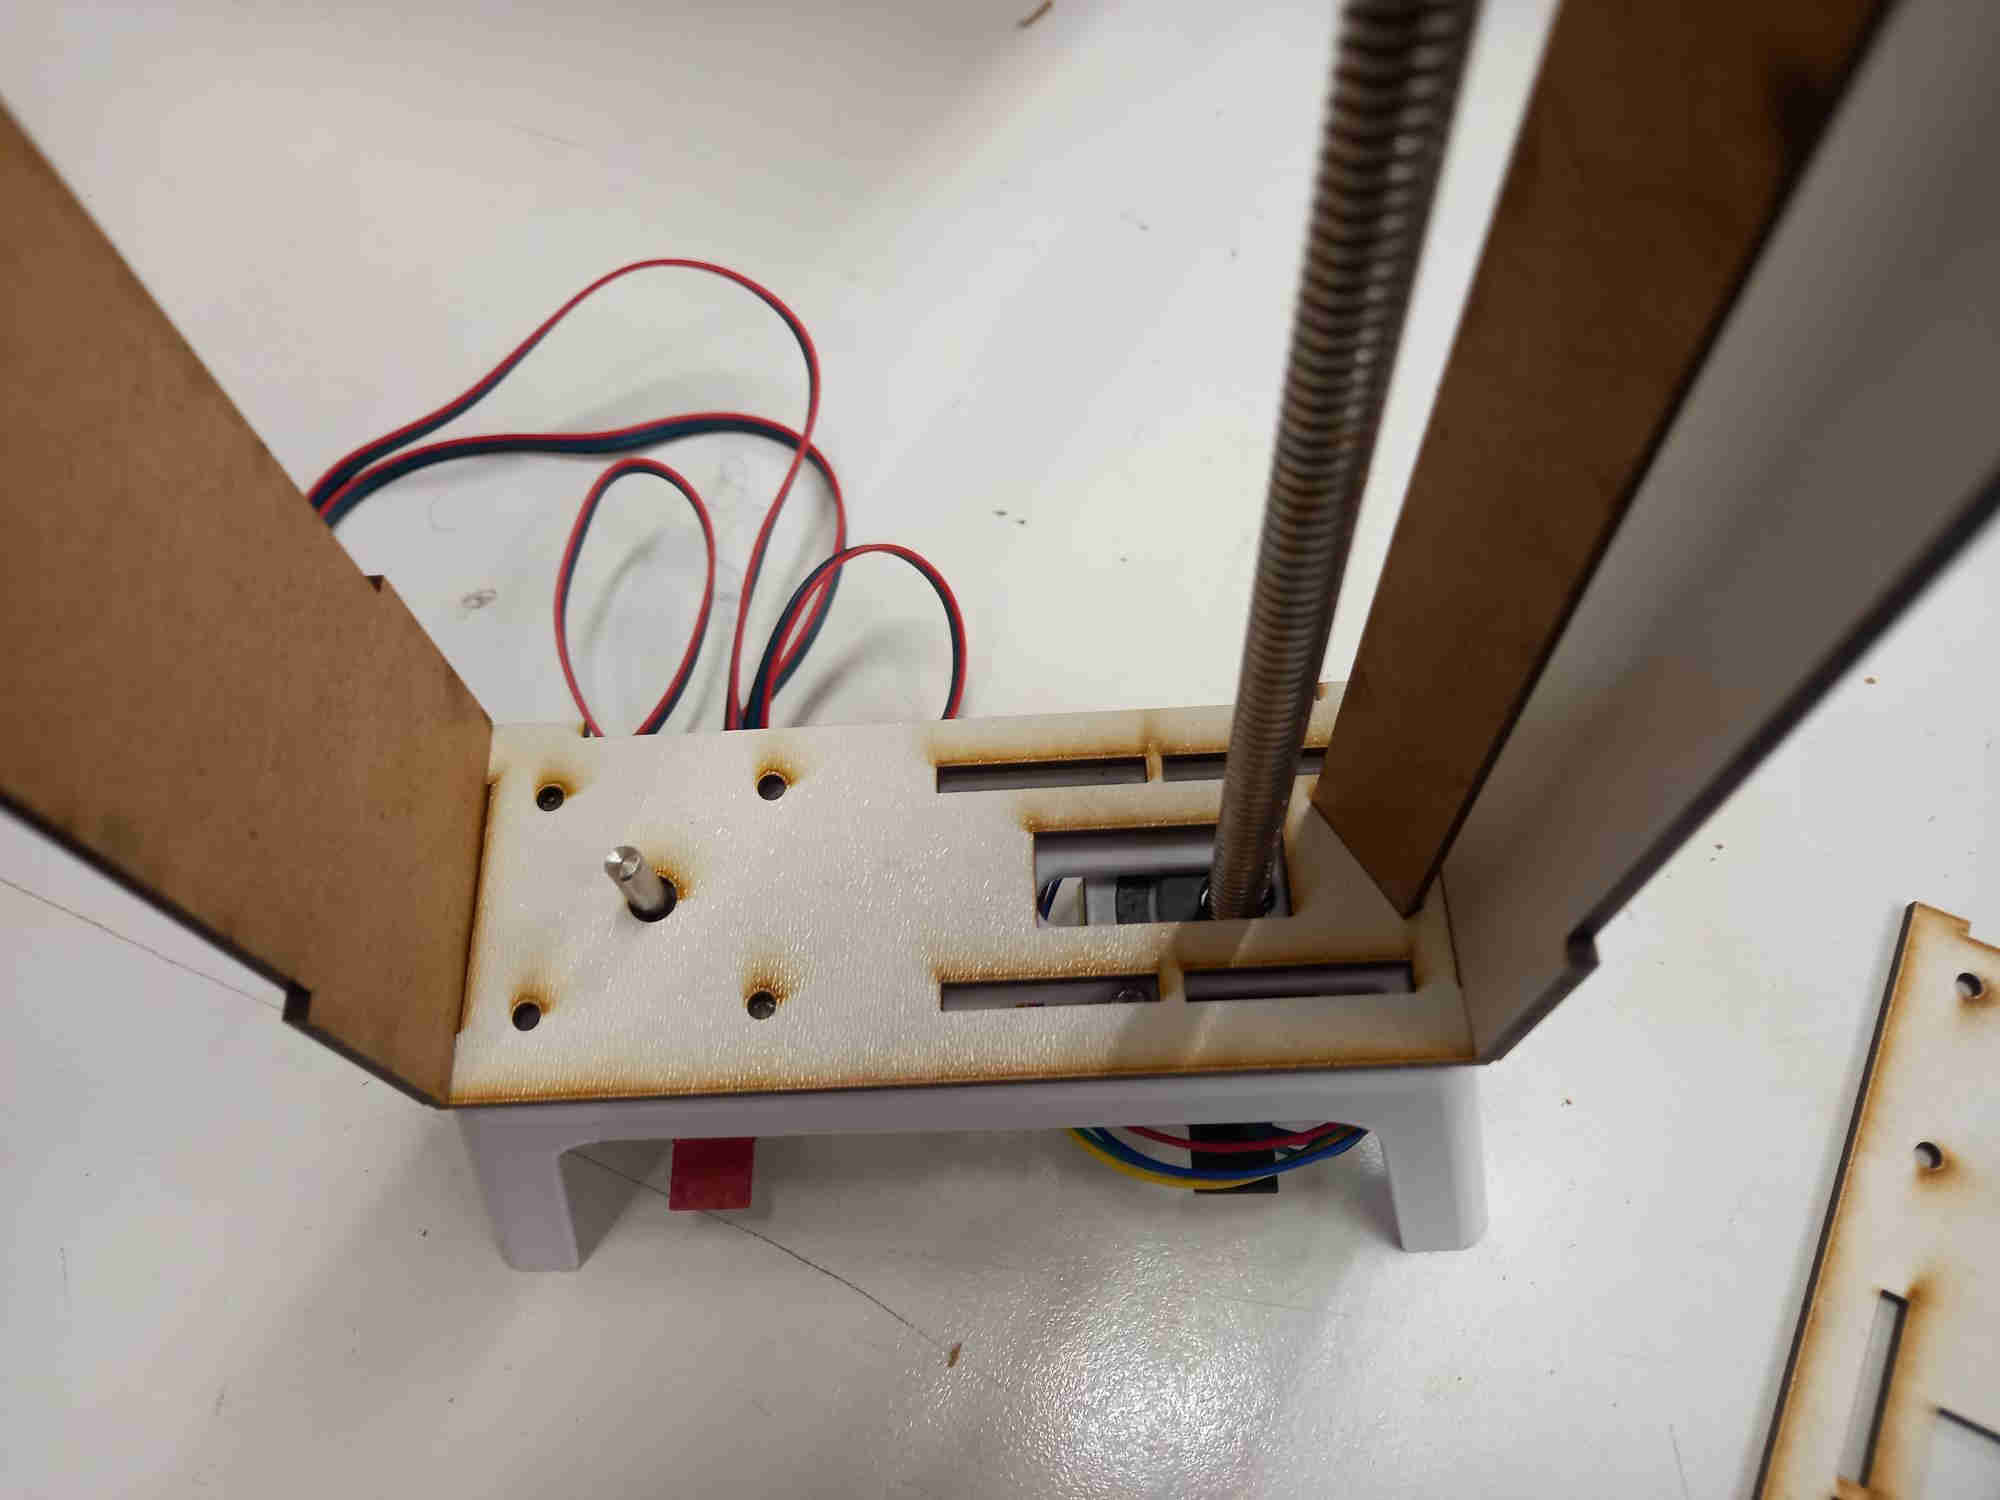
It seemed that this structure could be used, as the servo and cutting edge were moving up and down and the stepper motor that was supposed to spin the sausage was operating as it should. Additionally, Rasmus designed the upper part to be wider and added a suitable part for attaching a downward protruding stick to the design.
My FreeCAD files of the laser cut parts of the first design are here.
Final design
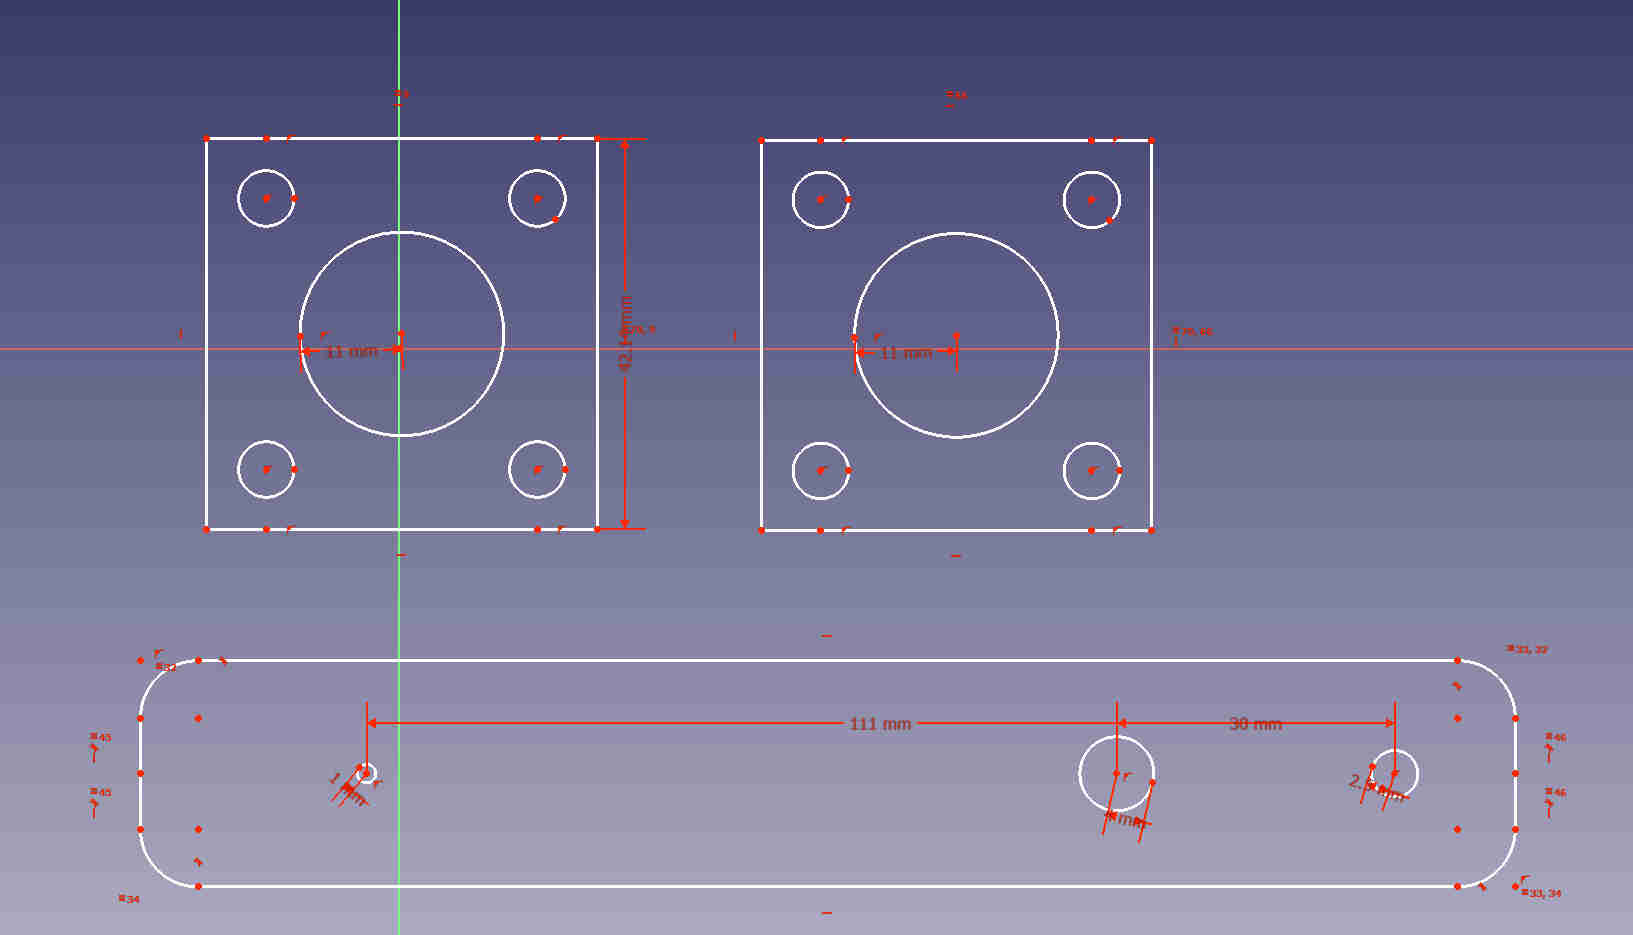
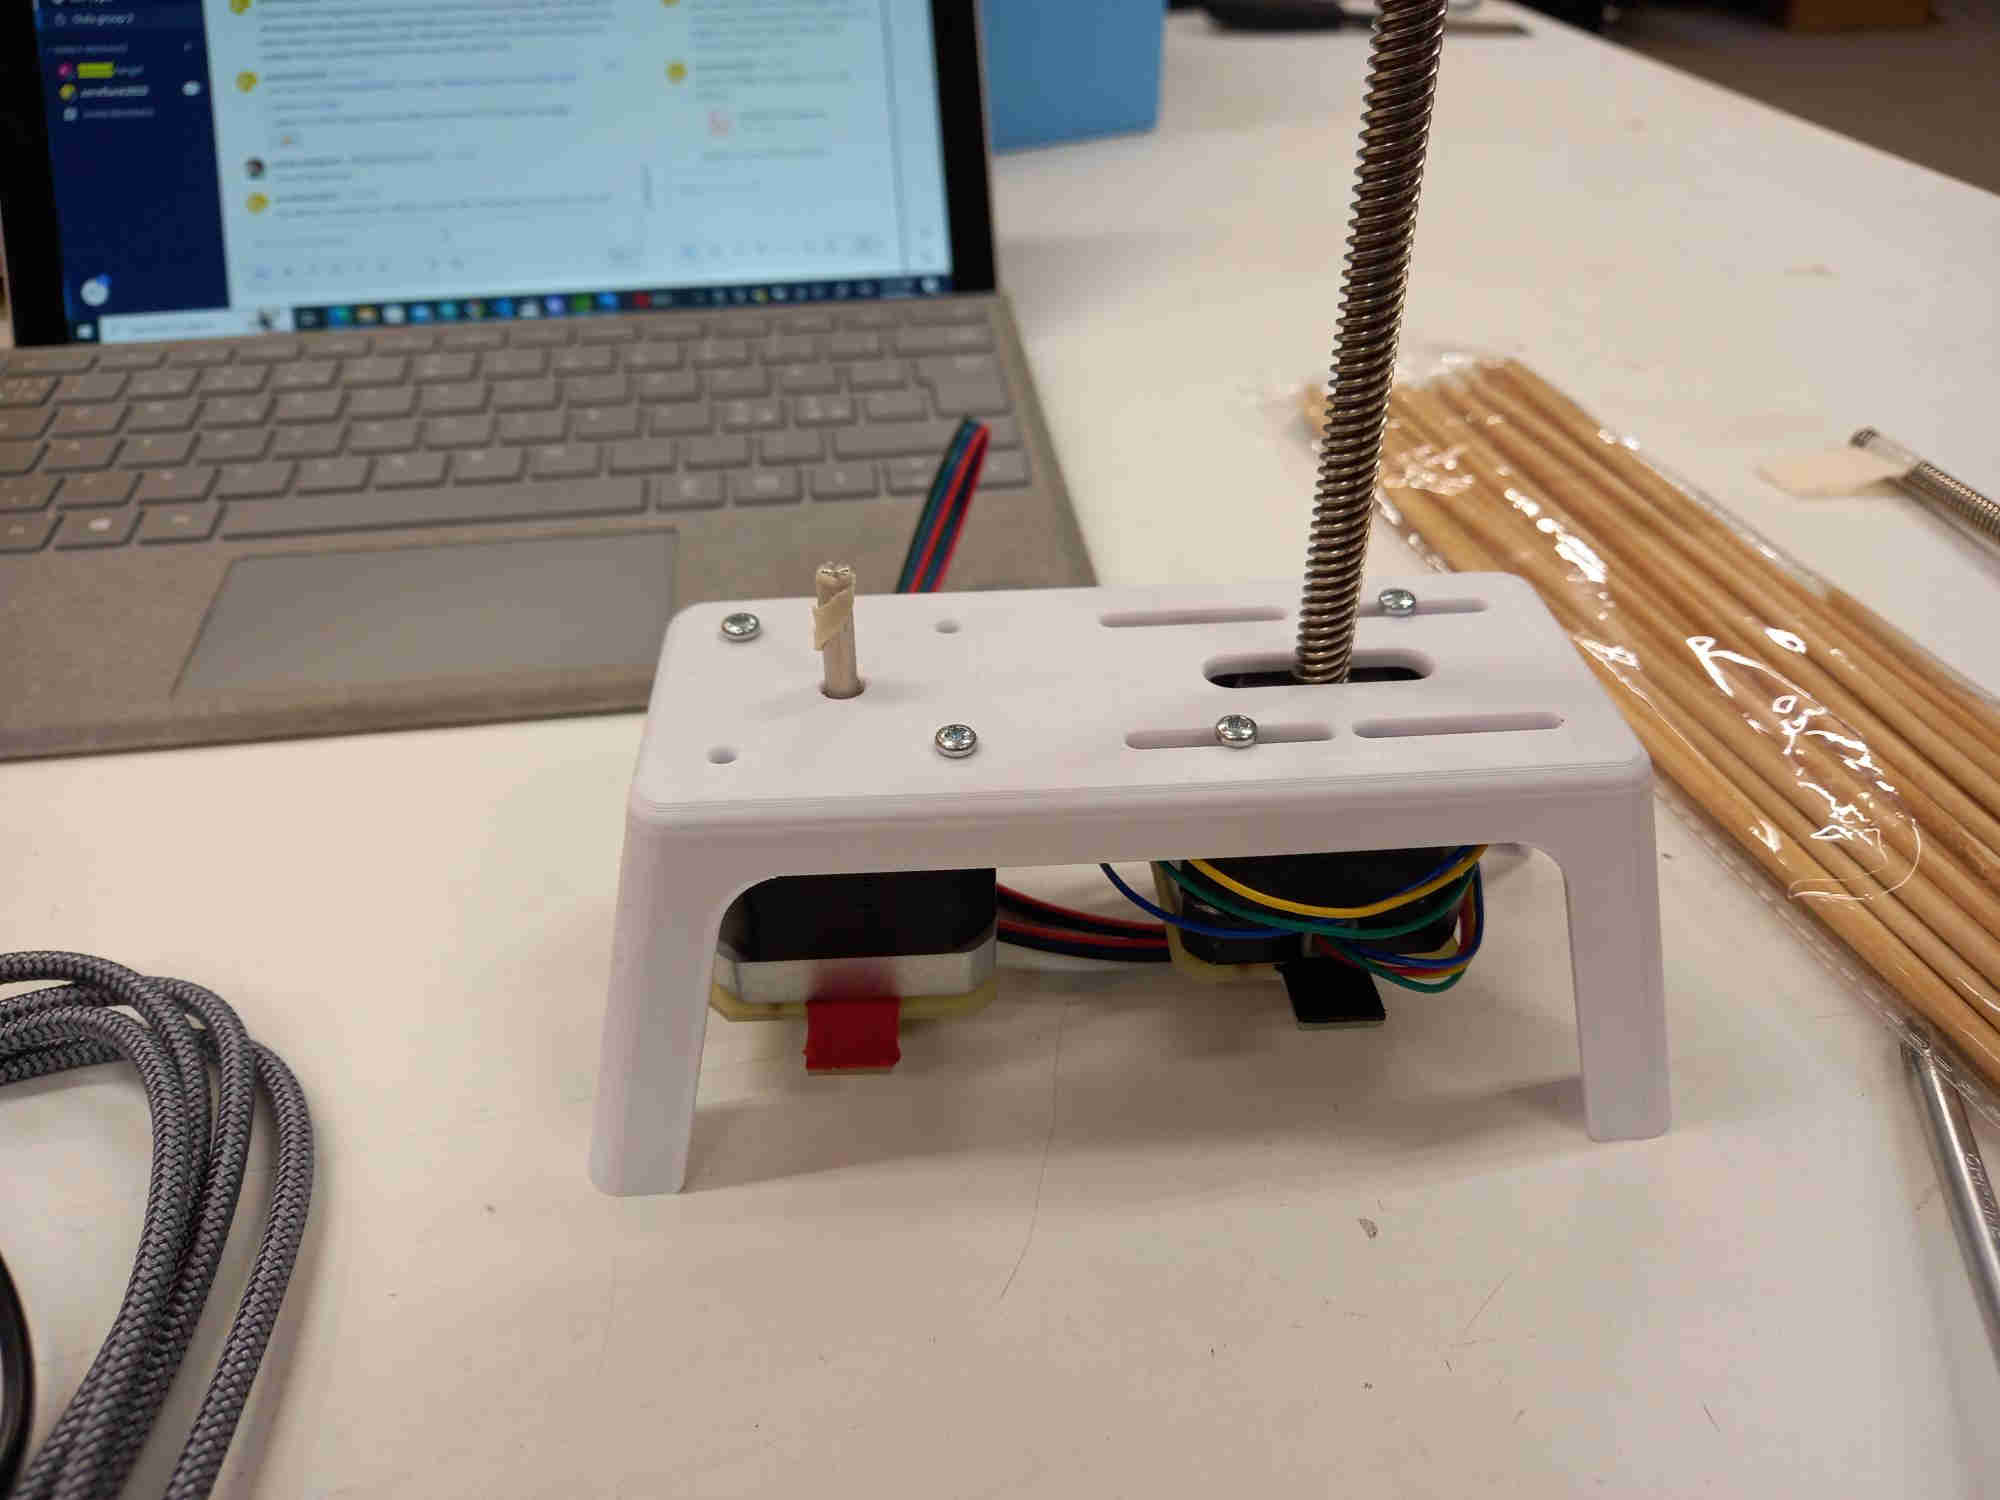
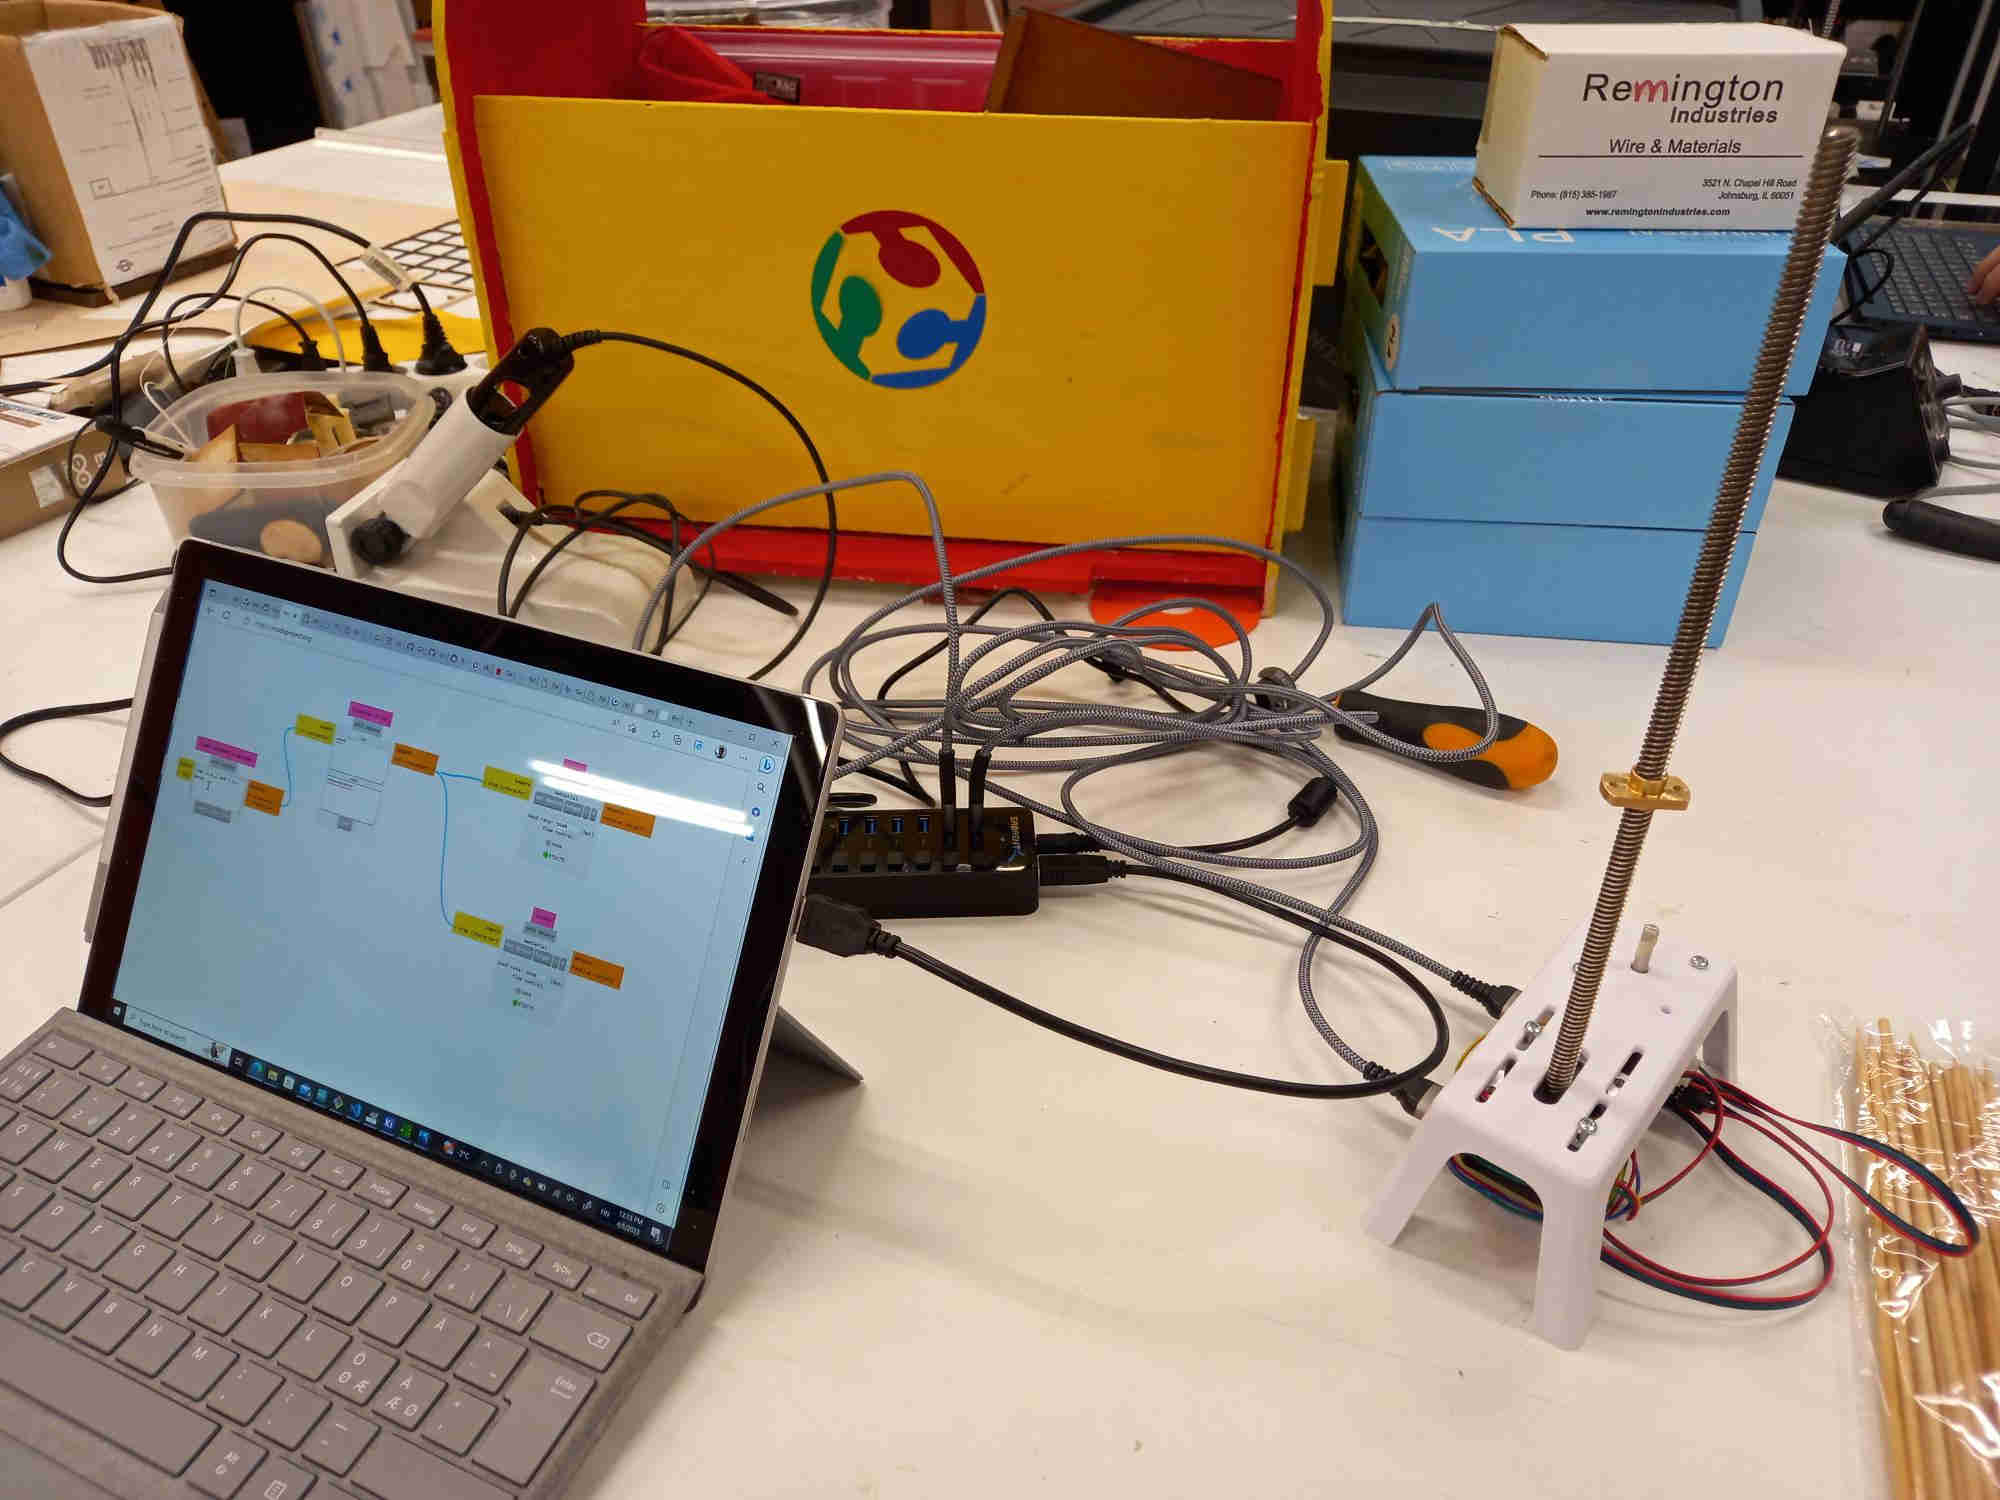
After the initial design trial, it was decided that the design could be made more lightweight and simpler by fewer supports: one from above, which could be a simple laser cut piece that would be supported by the spiral shaft, and two laser cut pieces between the 3d printed part and the motors. Akseli also designed and printed the new 3d structure which was more stable, and I added few pieces of laser cut material below it, between the 3d printed structure and the motors. I designed a simple laser cut piece to hold the sausage stick from above, and Akseli made the laser cutting.
My FreeCAD files of the laser cut parts of the final design are here.