13. Embedded Networking and Communications
Software serial between two boards
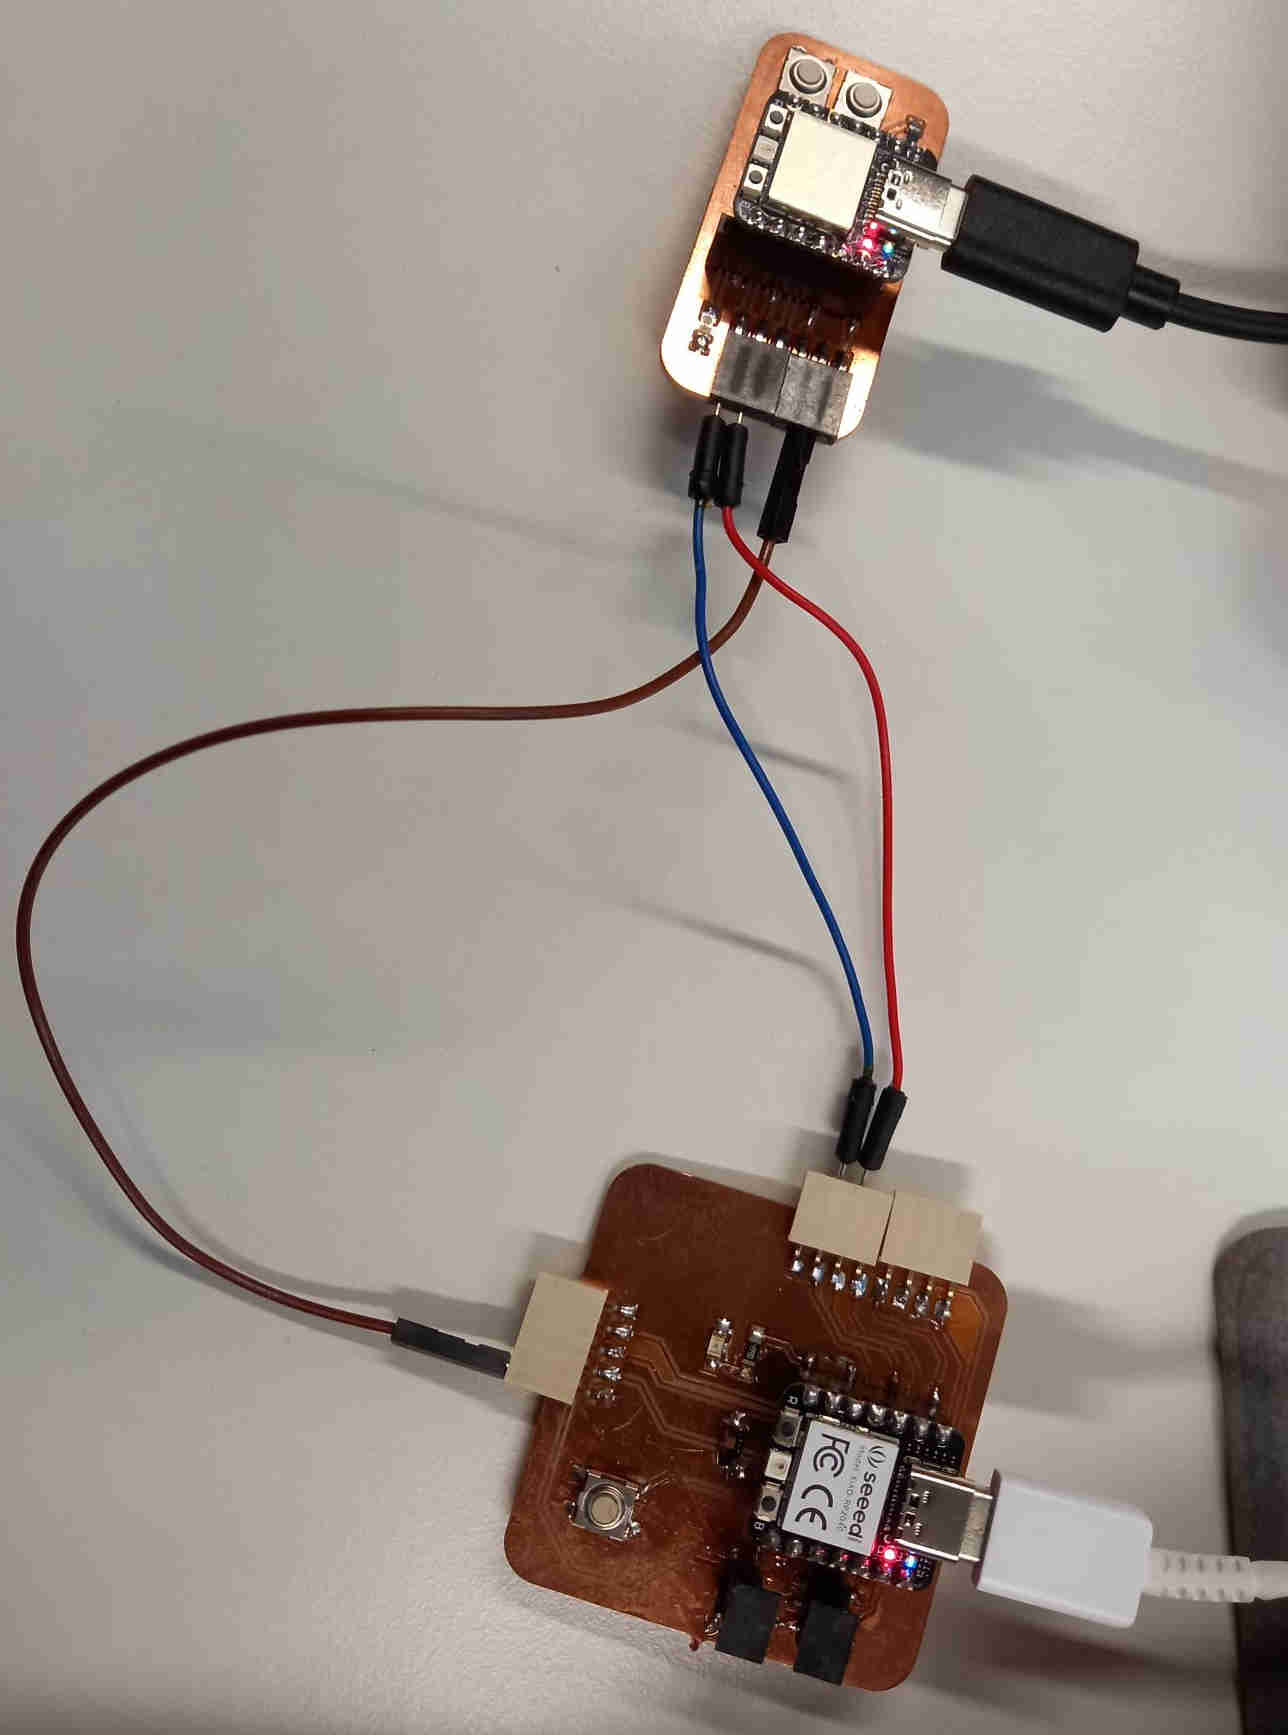
During group work we connected my and Akseli’s boards and communicated between them using software serial. Abishek found a good example code at this link. We changed the communication RX and TX pins to Arduino digital pins 1 and 2 (i.e. D1 and D2). The modified code is here. We connected the digital pins of my and Akseli’s boards, and uploaded the code to both boards. After this we tested the communication between the two boards with serial terminals in Arduino IDE.
Using Xiao ESP 32C as web host
Our instructor Ari showed how to use ESP 32C as a web host. I wanted to test this also myself, since I could use the web connectivity of ESP32C in my final project. The demonstration that Ari gave was based on the Random Nerd tutorial, which I also tried.
I started by watching the video and downloading the code used in the tutorial. The video is excellent and it explains clearly all the steps needed.
I set a wifi conncection point on my mobile phone: the name of the connection point and a password for connecting to it. I modified the example code to contain the name of my connection point and the password that I had set.
The code that I used is here.
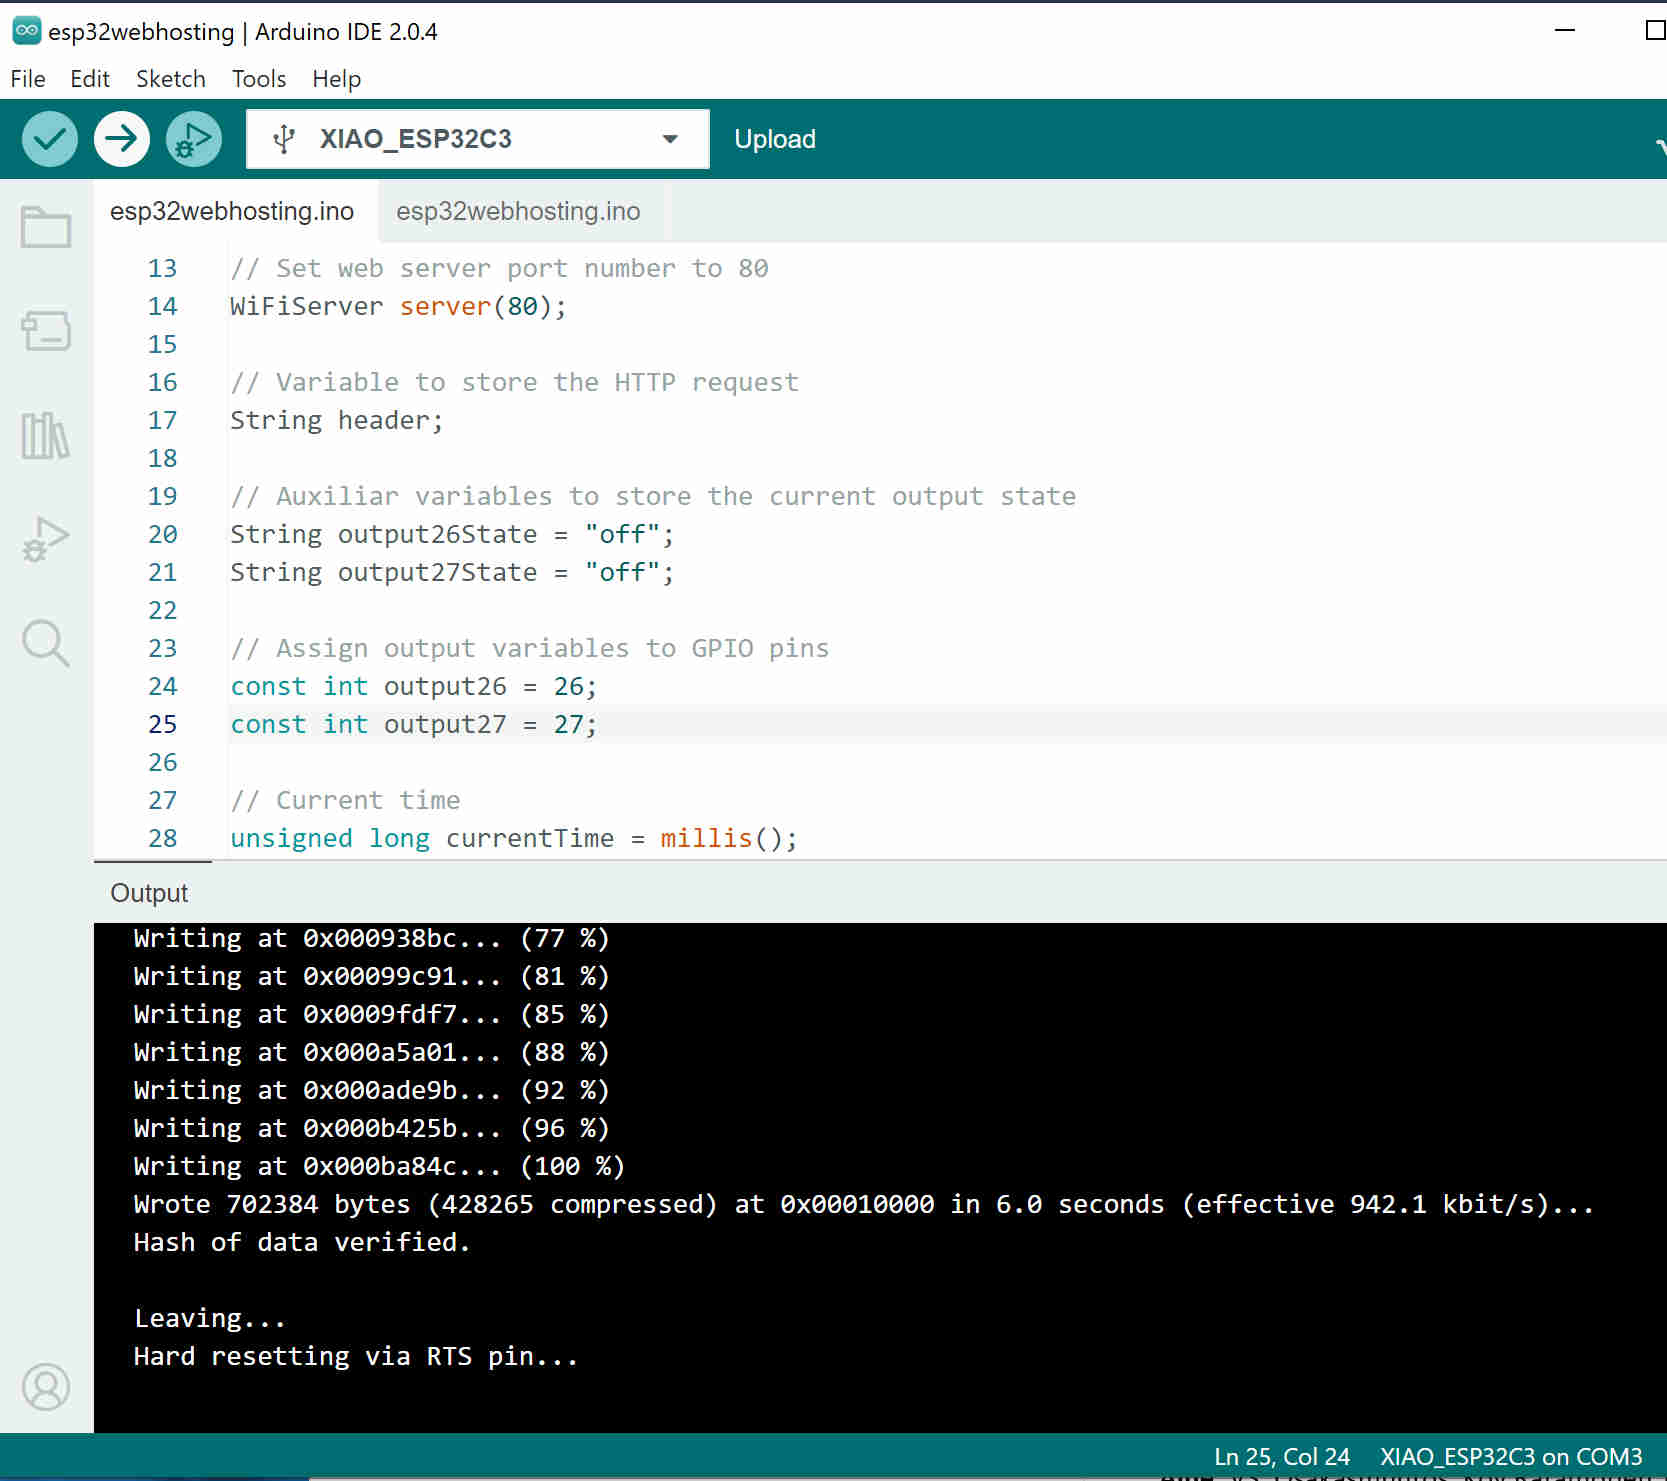
Then I uploaded the code to ESP32C using Arduino IDE.
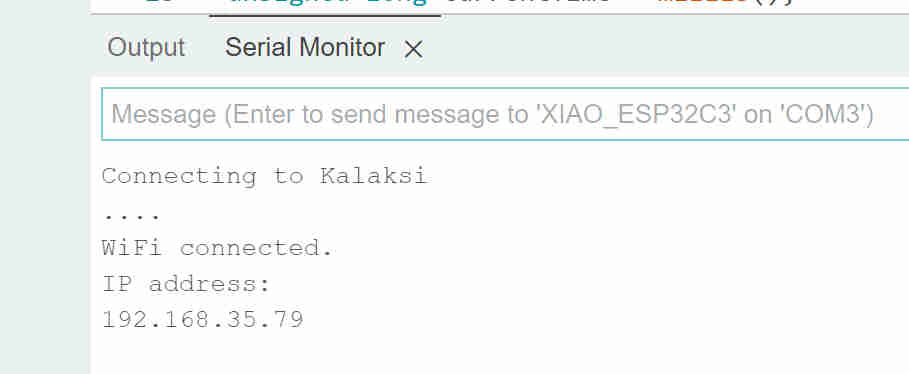
I opened terminal with baud rate 115200. The web server address on my network was shown on the serial terminal output.
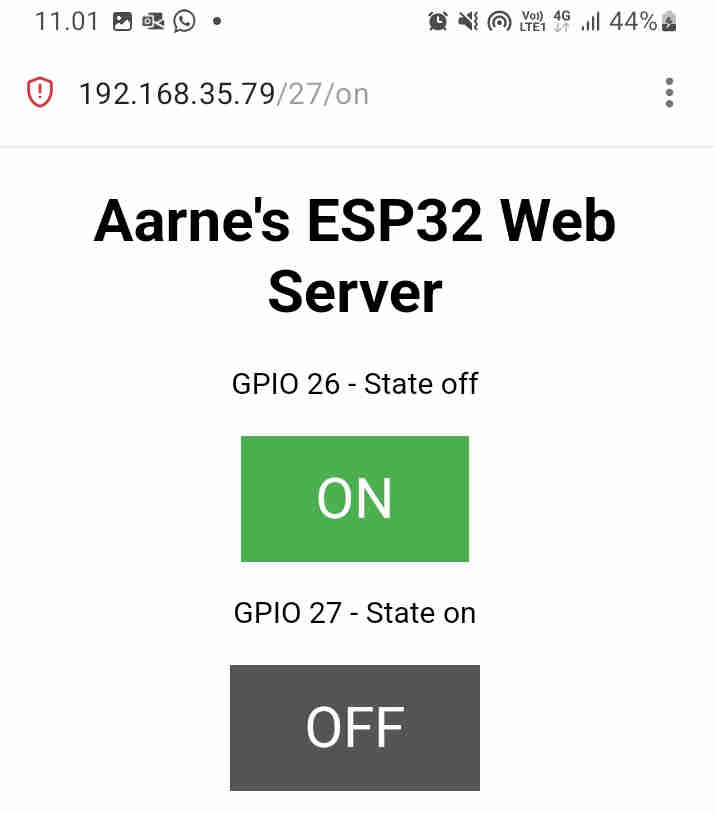
I opened the web server address on the web browser of my mobile phone. There were two buttons that could be used to control the GPIO pins.
I did not connect the pins to leds, but I checked from terminal that I could control the ESP 32C by the web interface, by checking the output from the terminal.

In the regional review Jani said that it would be good to customize the webpage served by the ESP32 a little further to be counted as modified code, so I made few more changes that affected the webpage appearance: since I did not use the GPIO pins, I changed the text as button state and also changed the font color of the button from white to yellow.
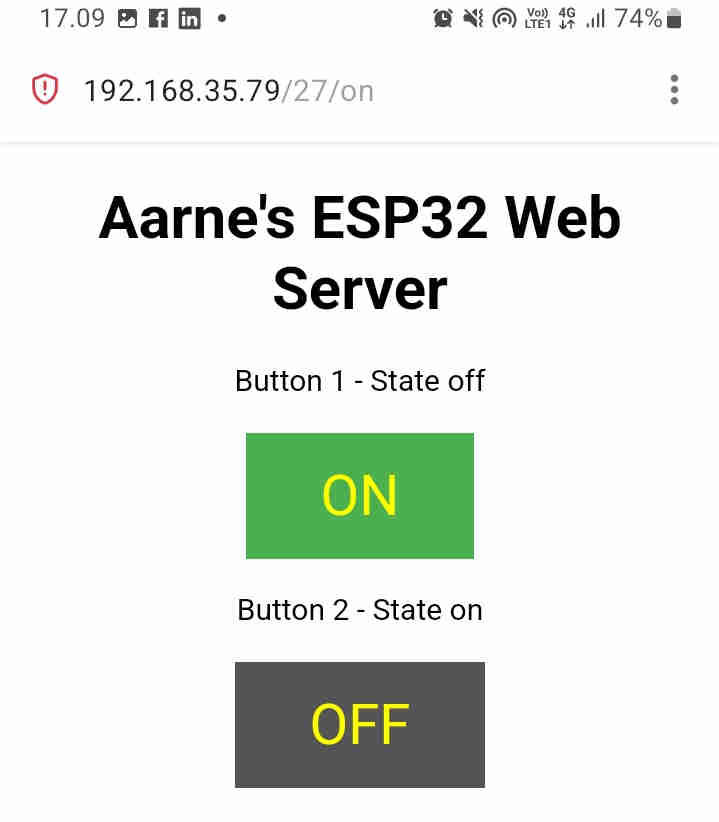
The modified code is here.
Additionally, later during week 14, I connected DHT22 temperature and humidity sensor to my board and communicated with it using the web server. Also, I used the web server button to turn on/off a led on my board: