12. Moulding and casting
During group work, we casted different materials. We tested Smooth-Sil, Oomoo and Soma Foama. We learned to measure and mix the materials, use the vacuum chamber to outgas the cast material and pour it to mould.
Design of a mould
I was thinking what could be a suitable part that I could cast. Our instructor Ari suggested that I could try to cast a part that is used as an external holder for 3D printer filament roll.
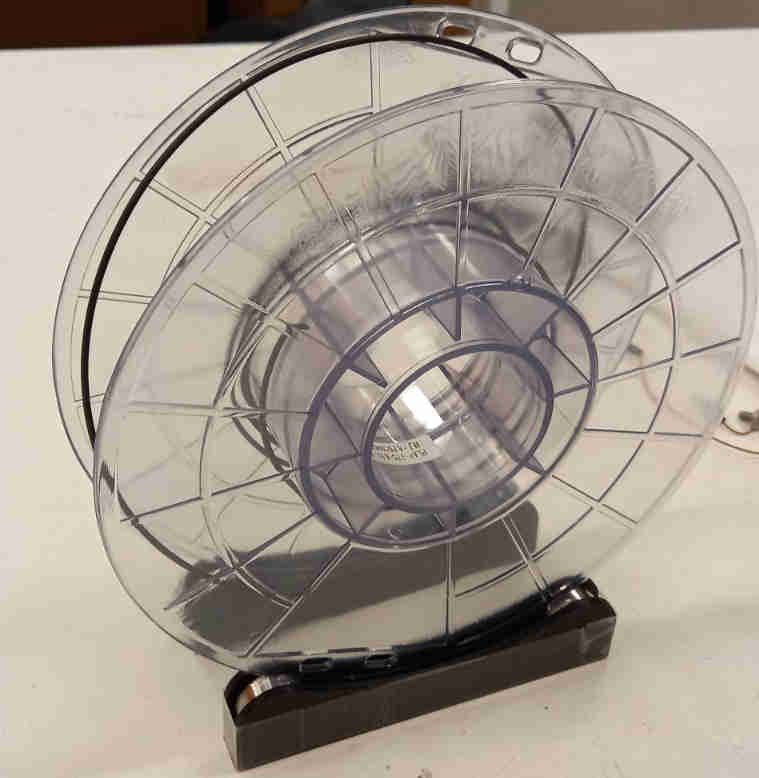
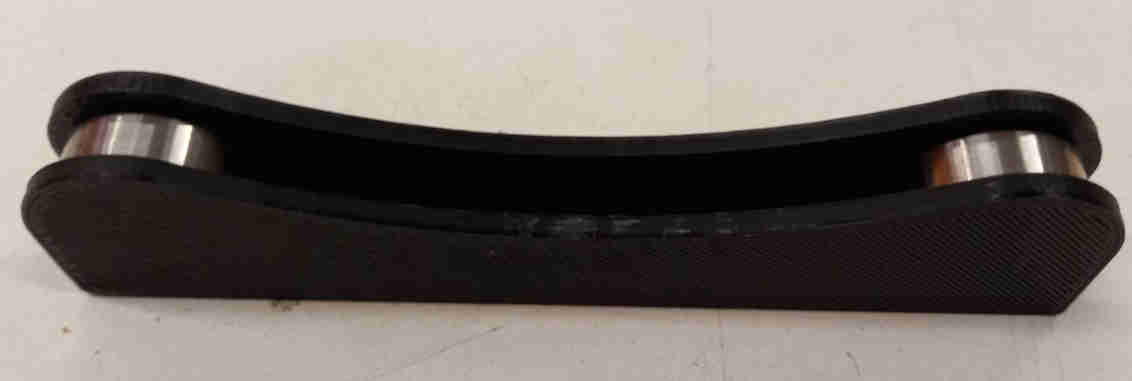

I started by designing a mold for a mold for casting the part. The FreeCAD file of the final desing is here.
Milling the mould
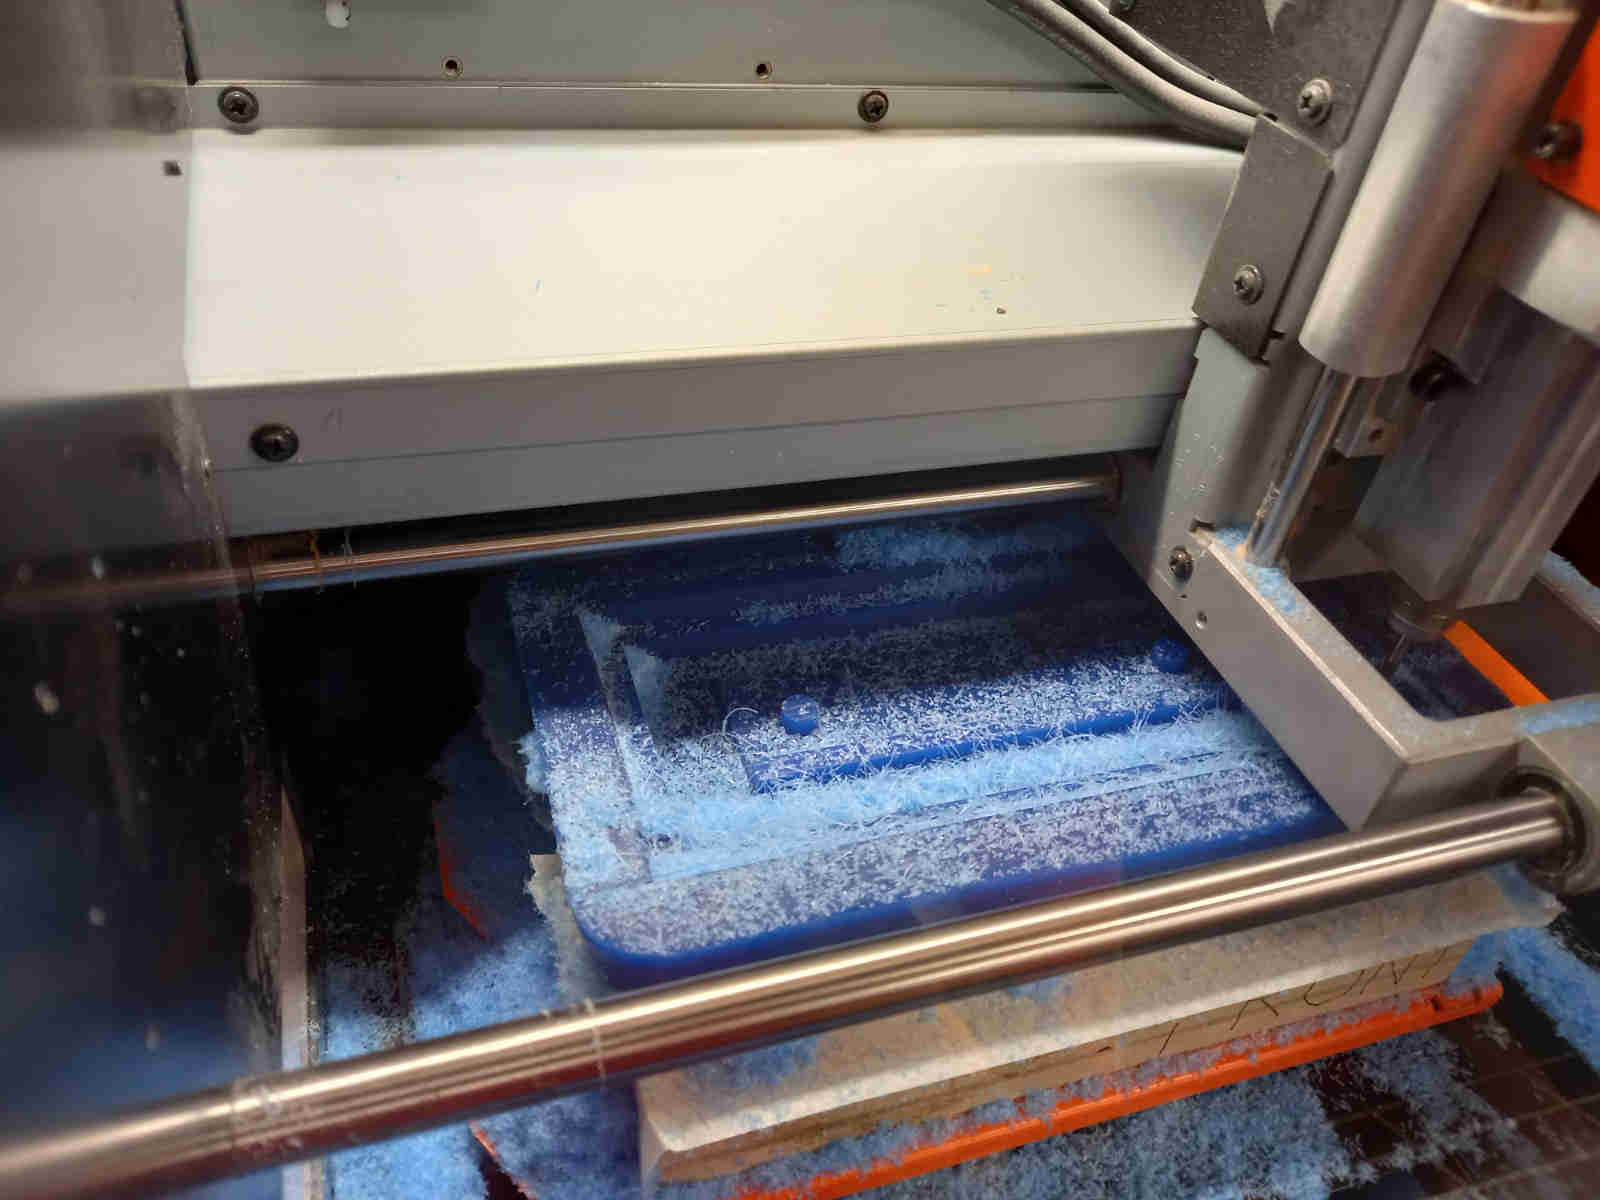
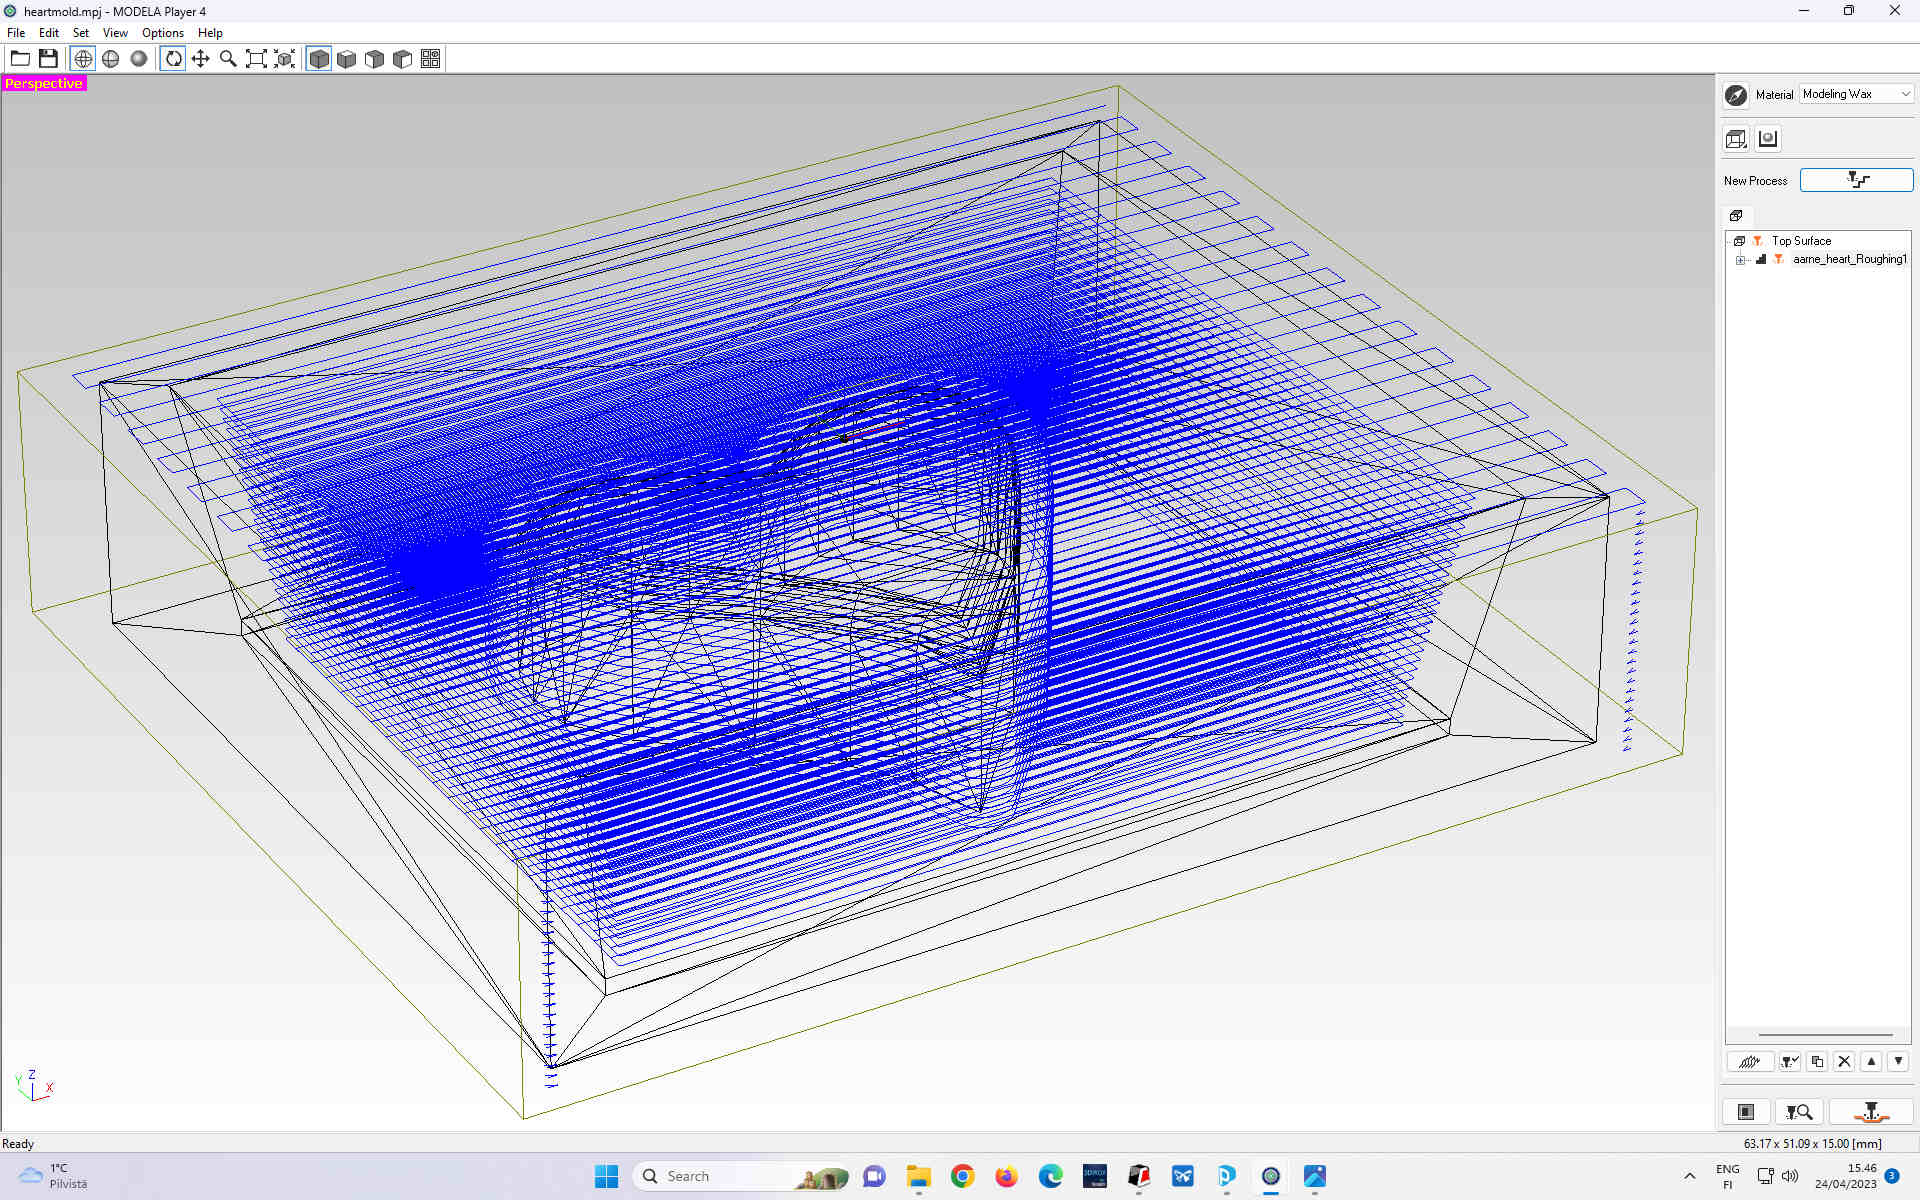
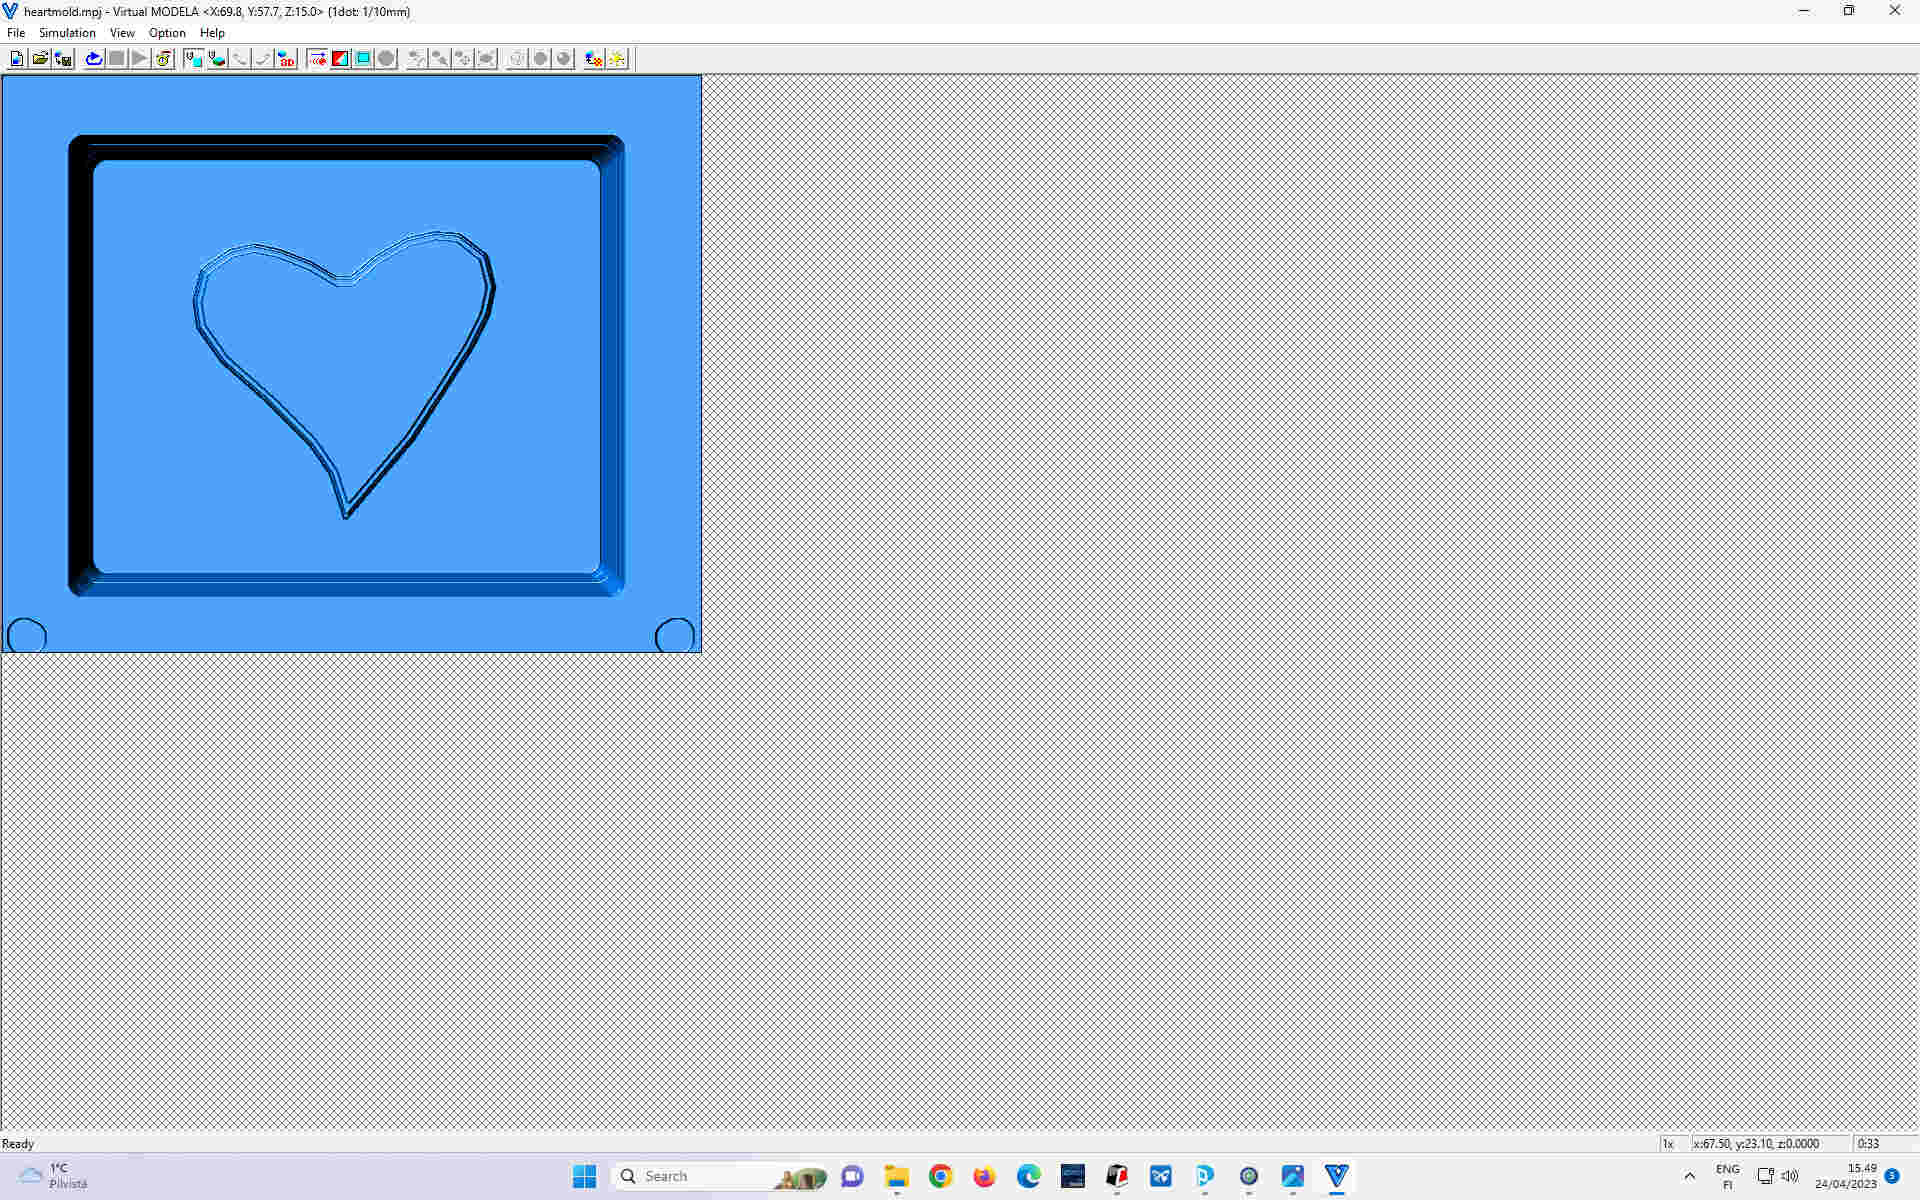
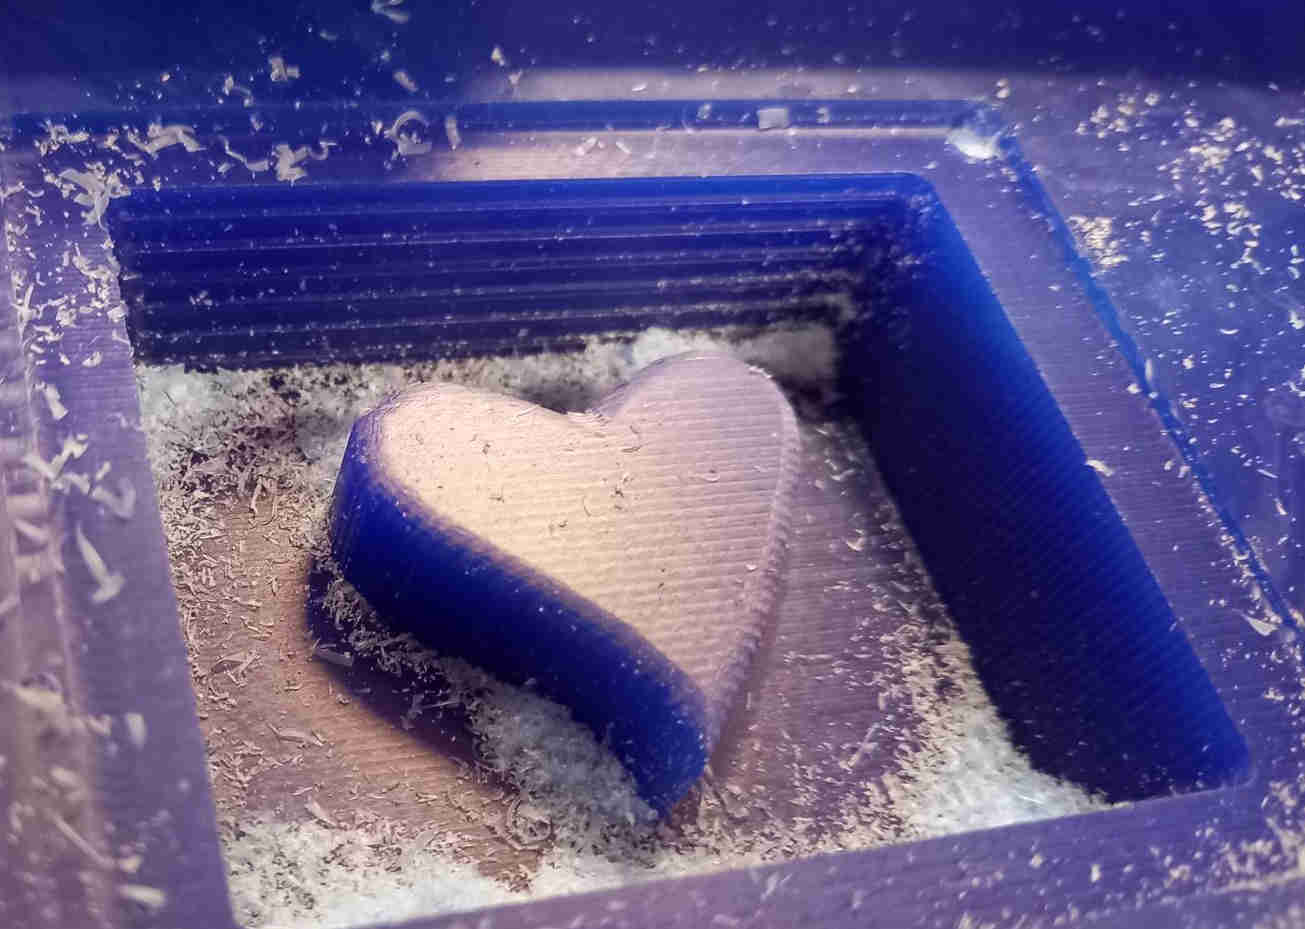
I showed the initial milled mould in the Global Open Time meeting. It was mentioned that I needed to make a mold that was not 2-dimensional. For this reason I made a 3 dimensional heart shaped object that was rounded on the top surface. The heart shaped object has rounded upper face (made with fillets), so it is naturally 3 dimensional shape.
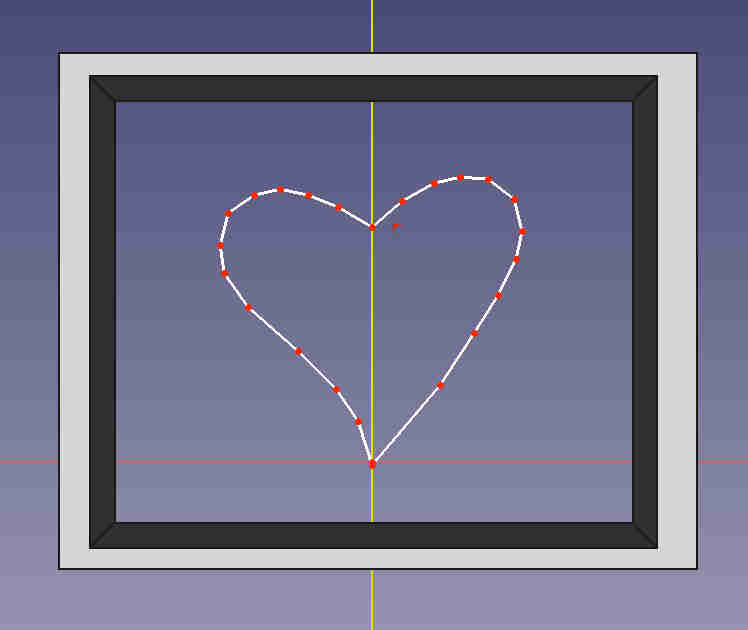
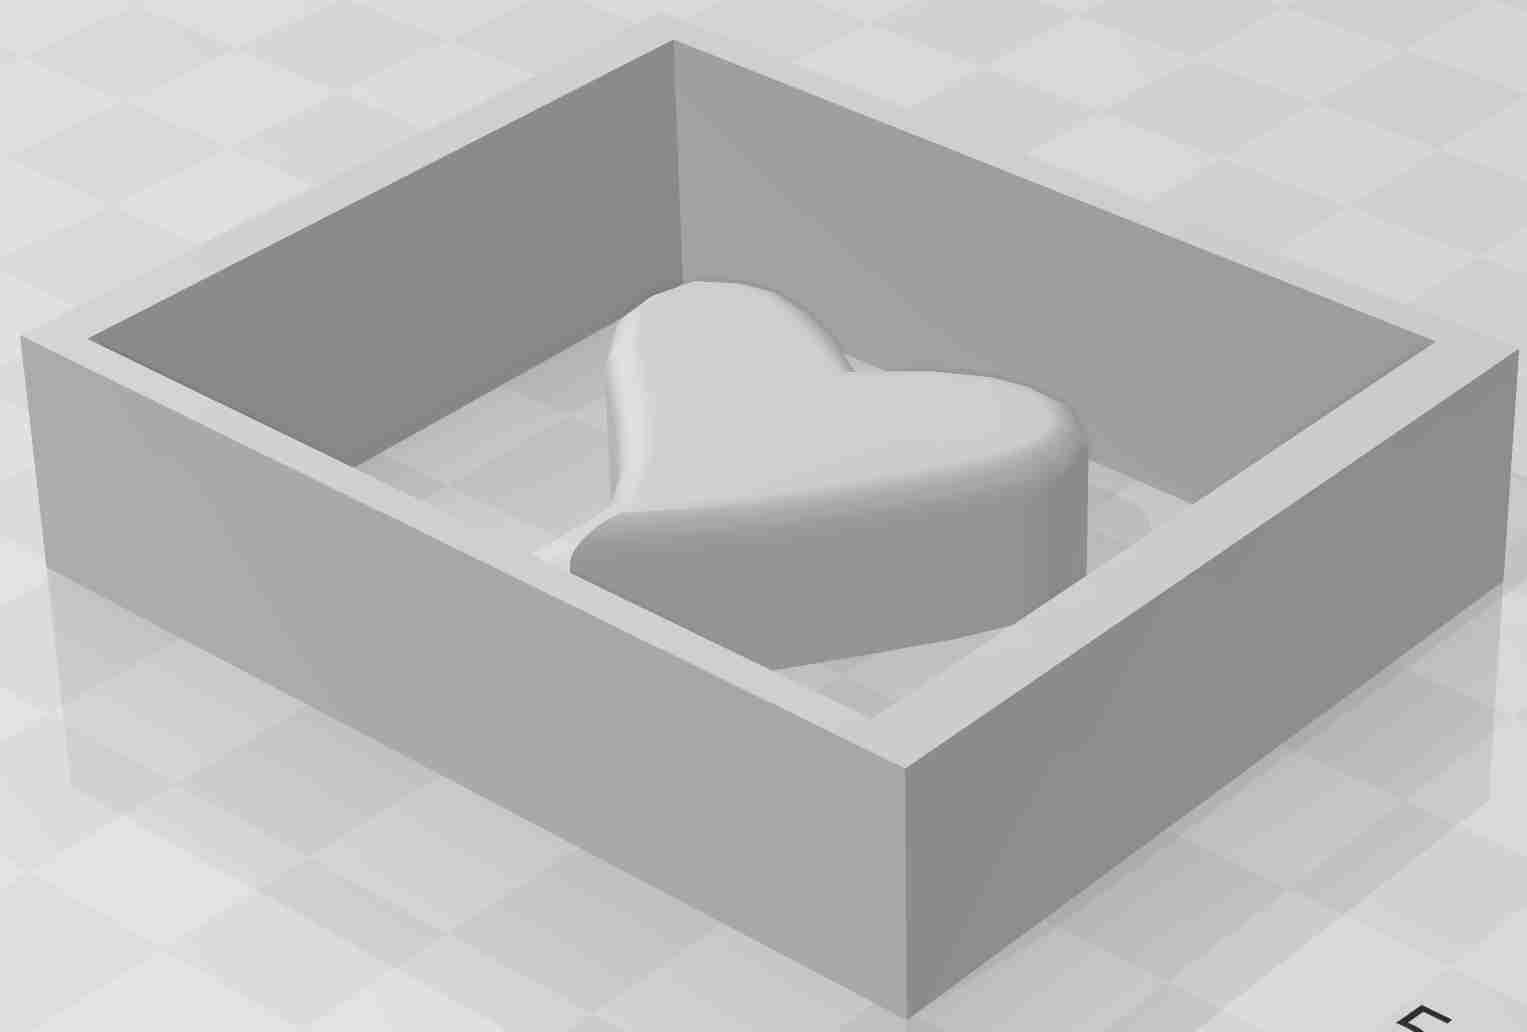
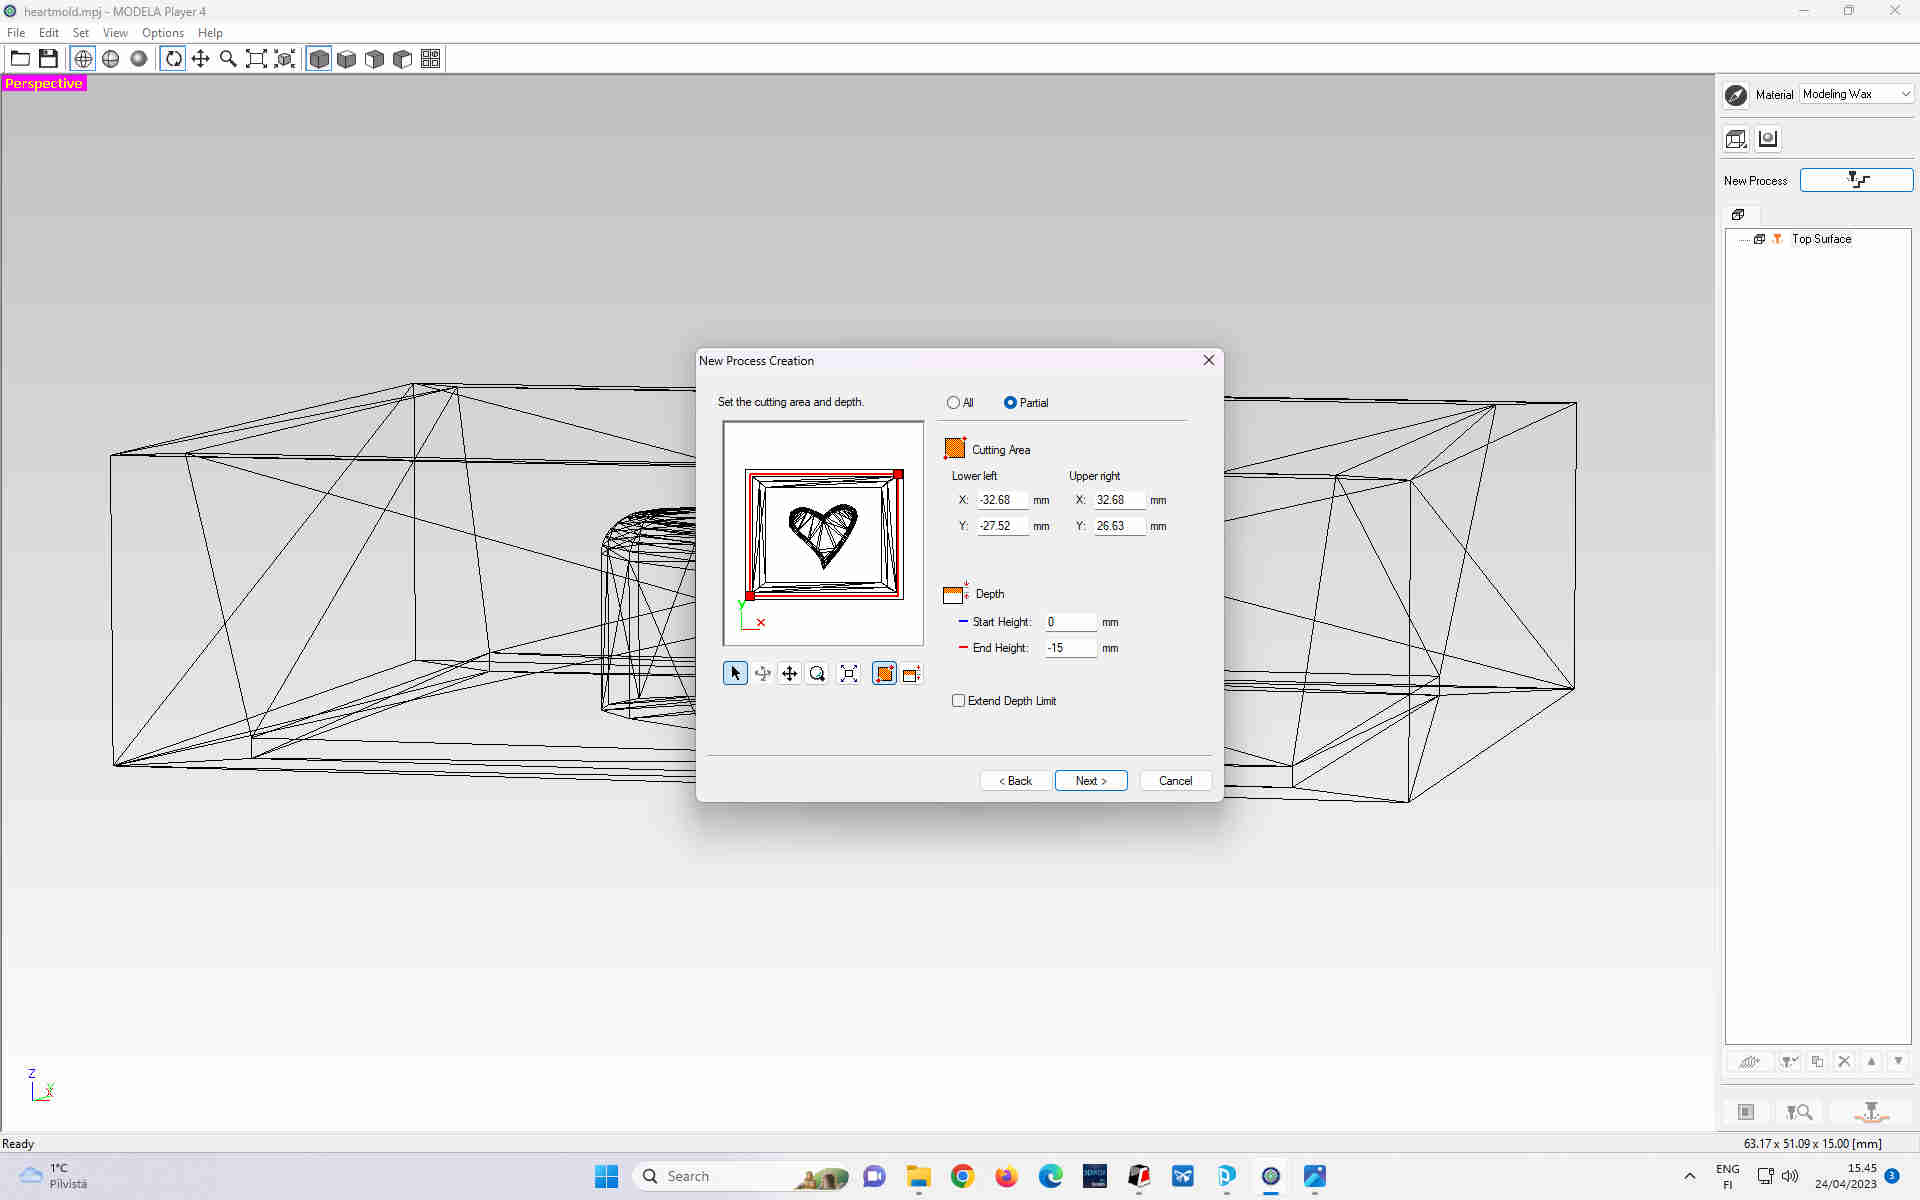
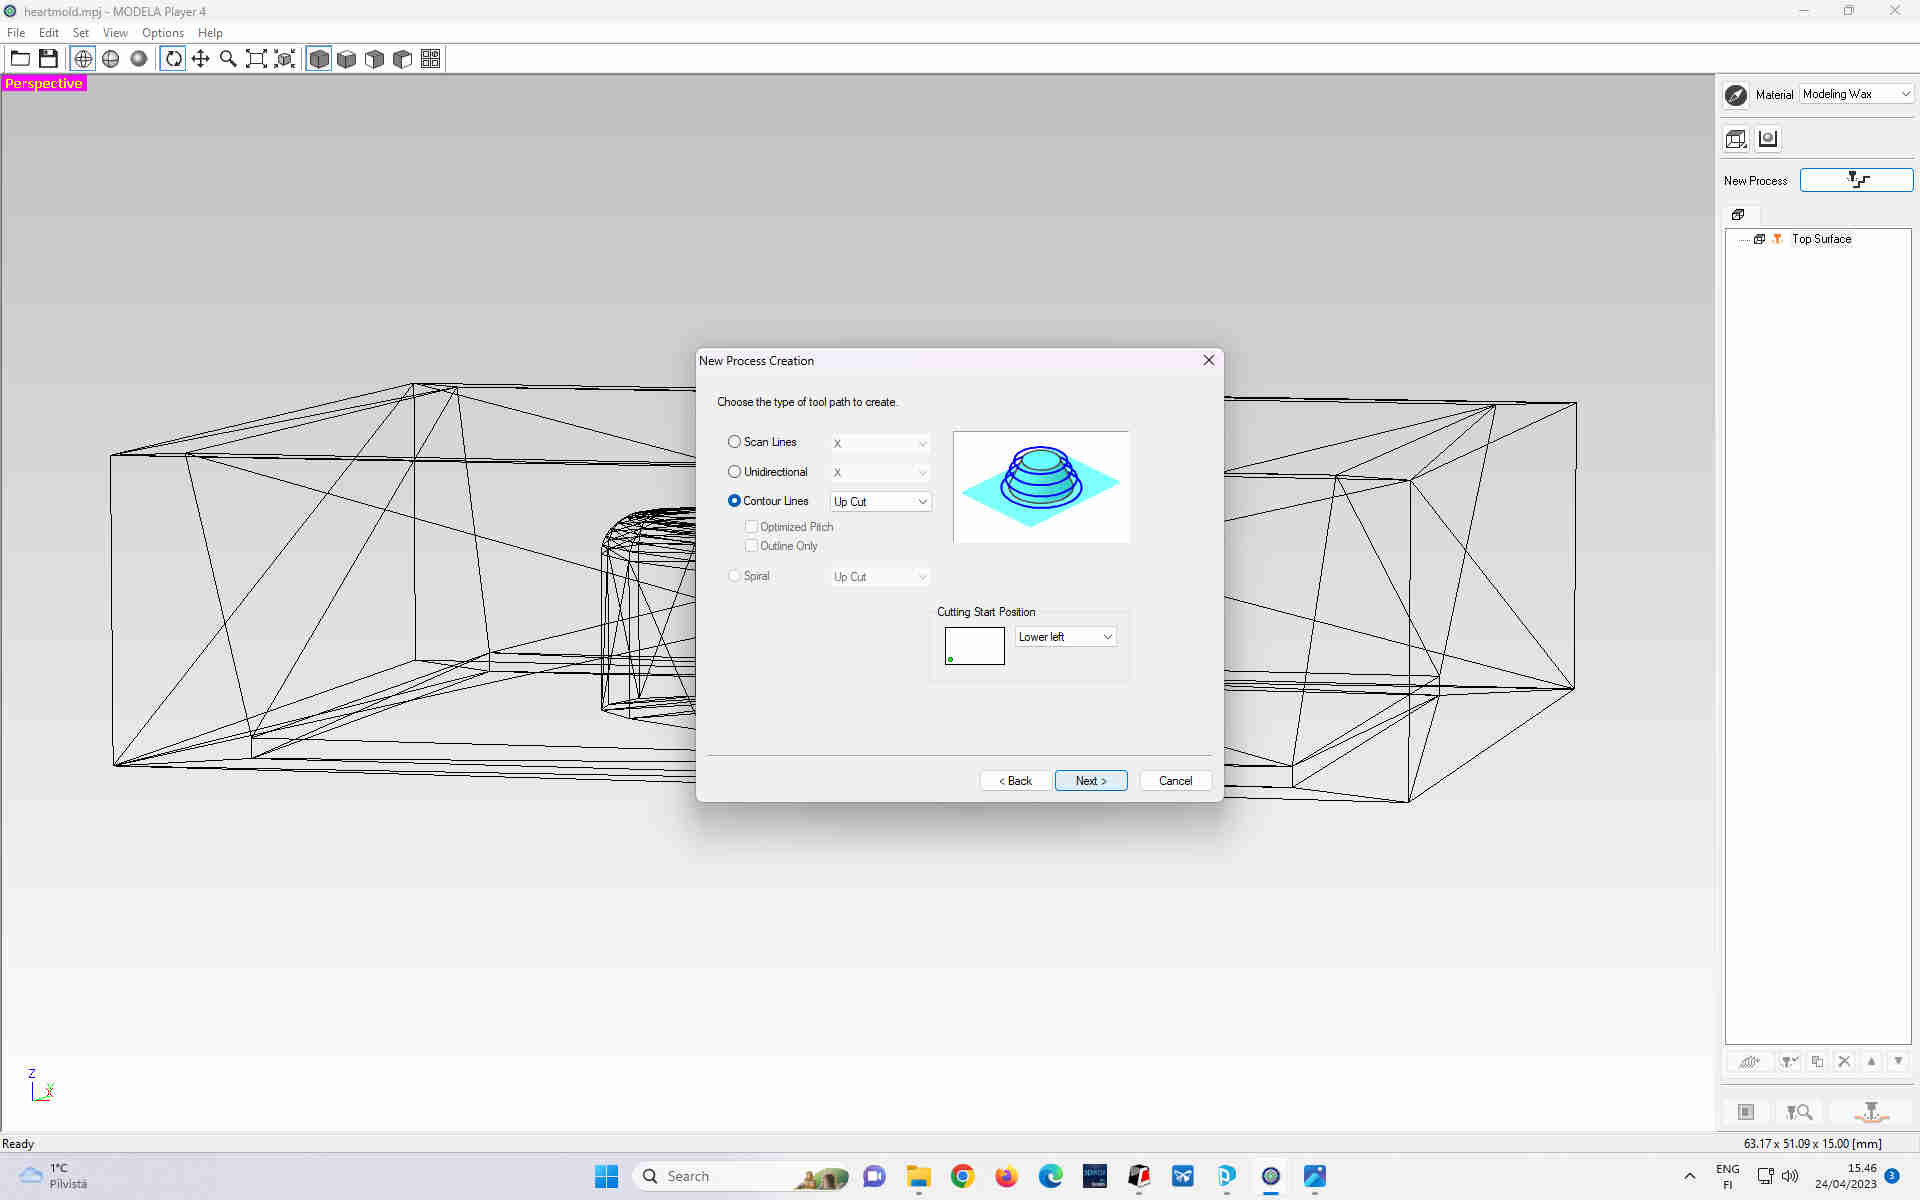
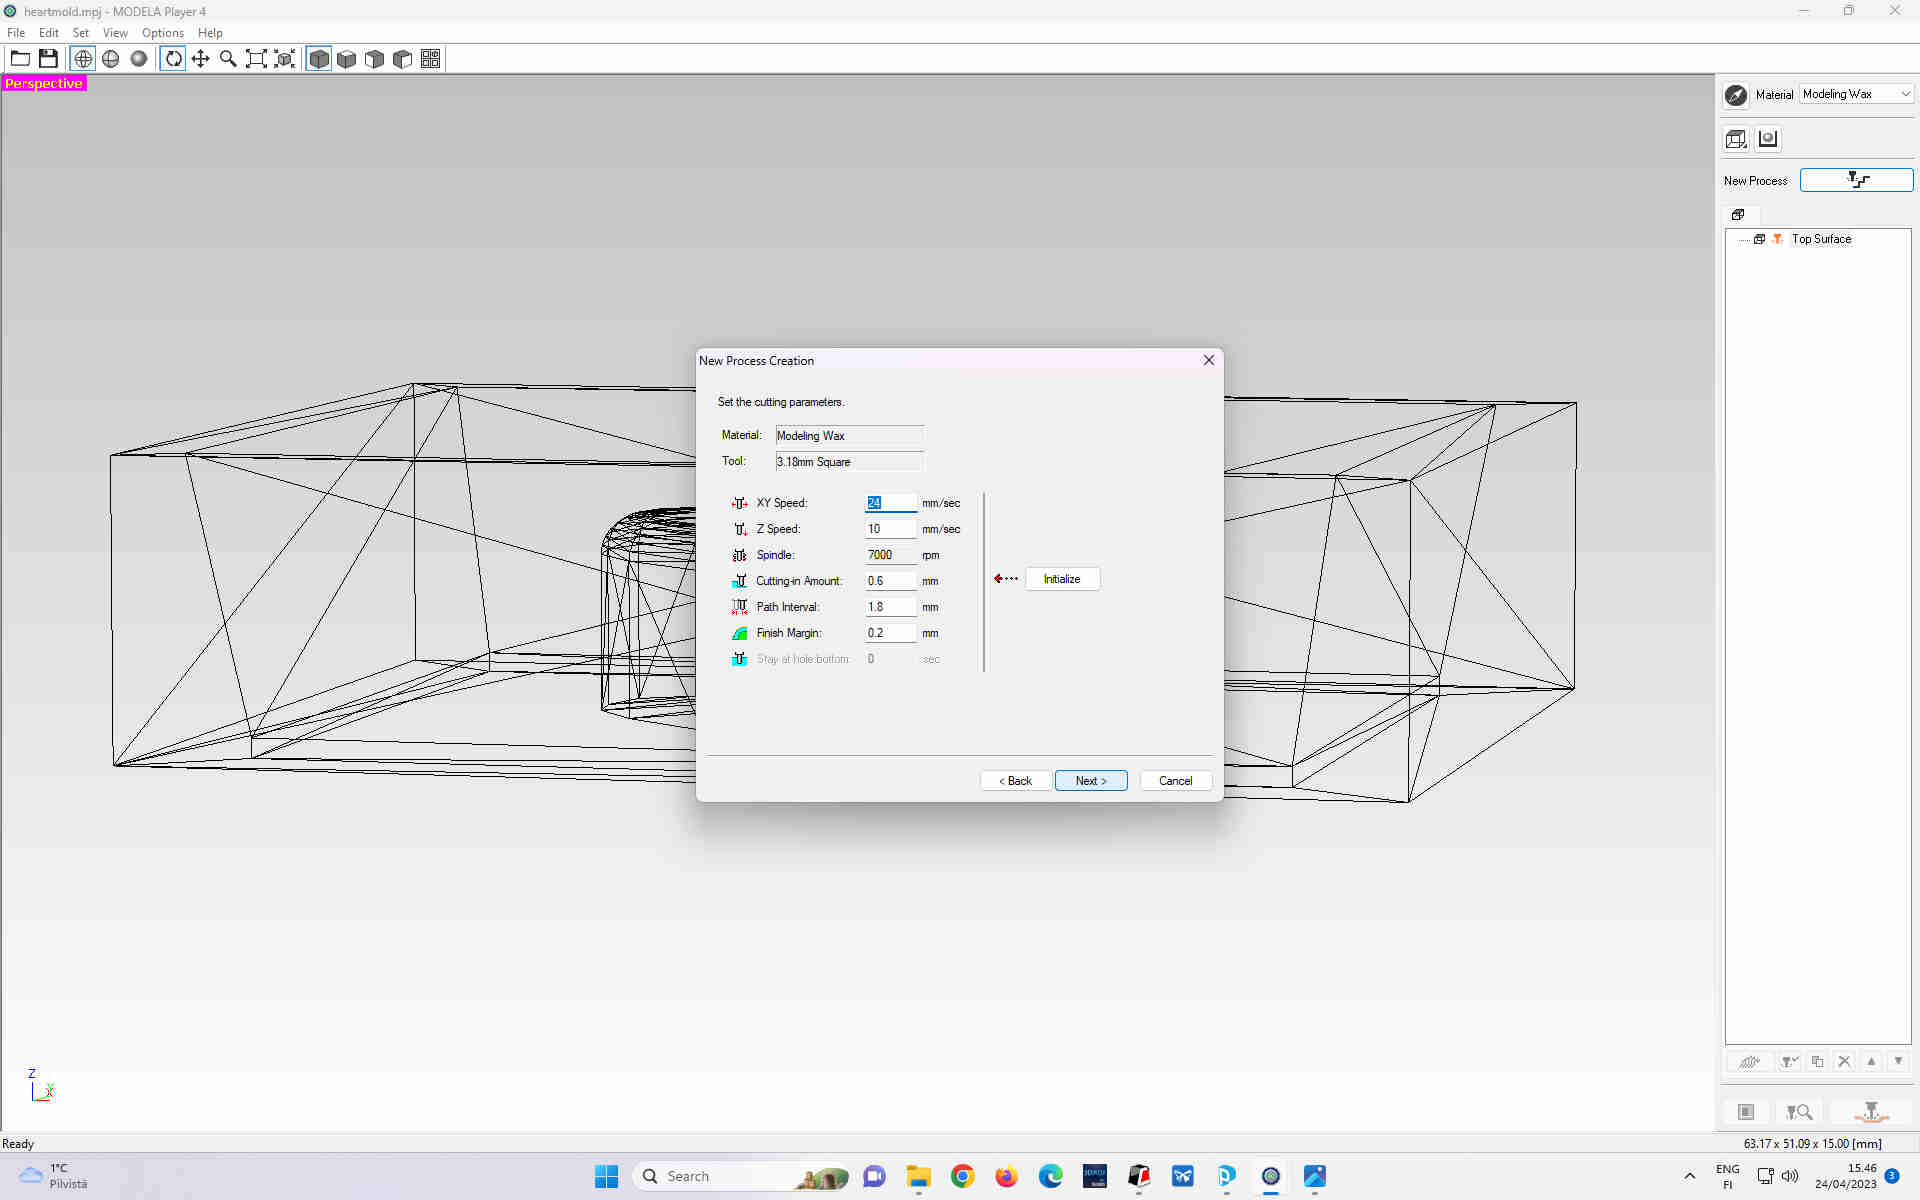
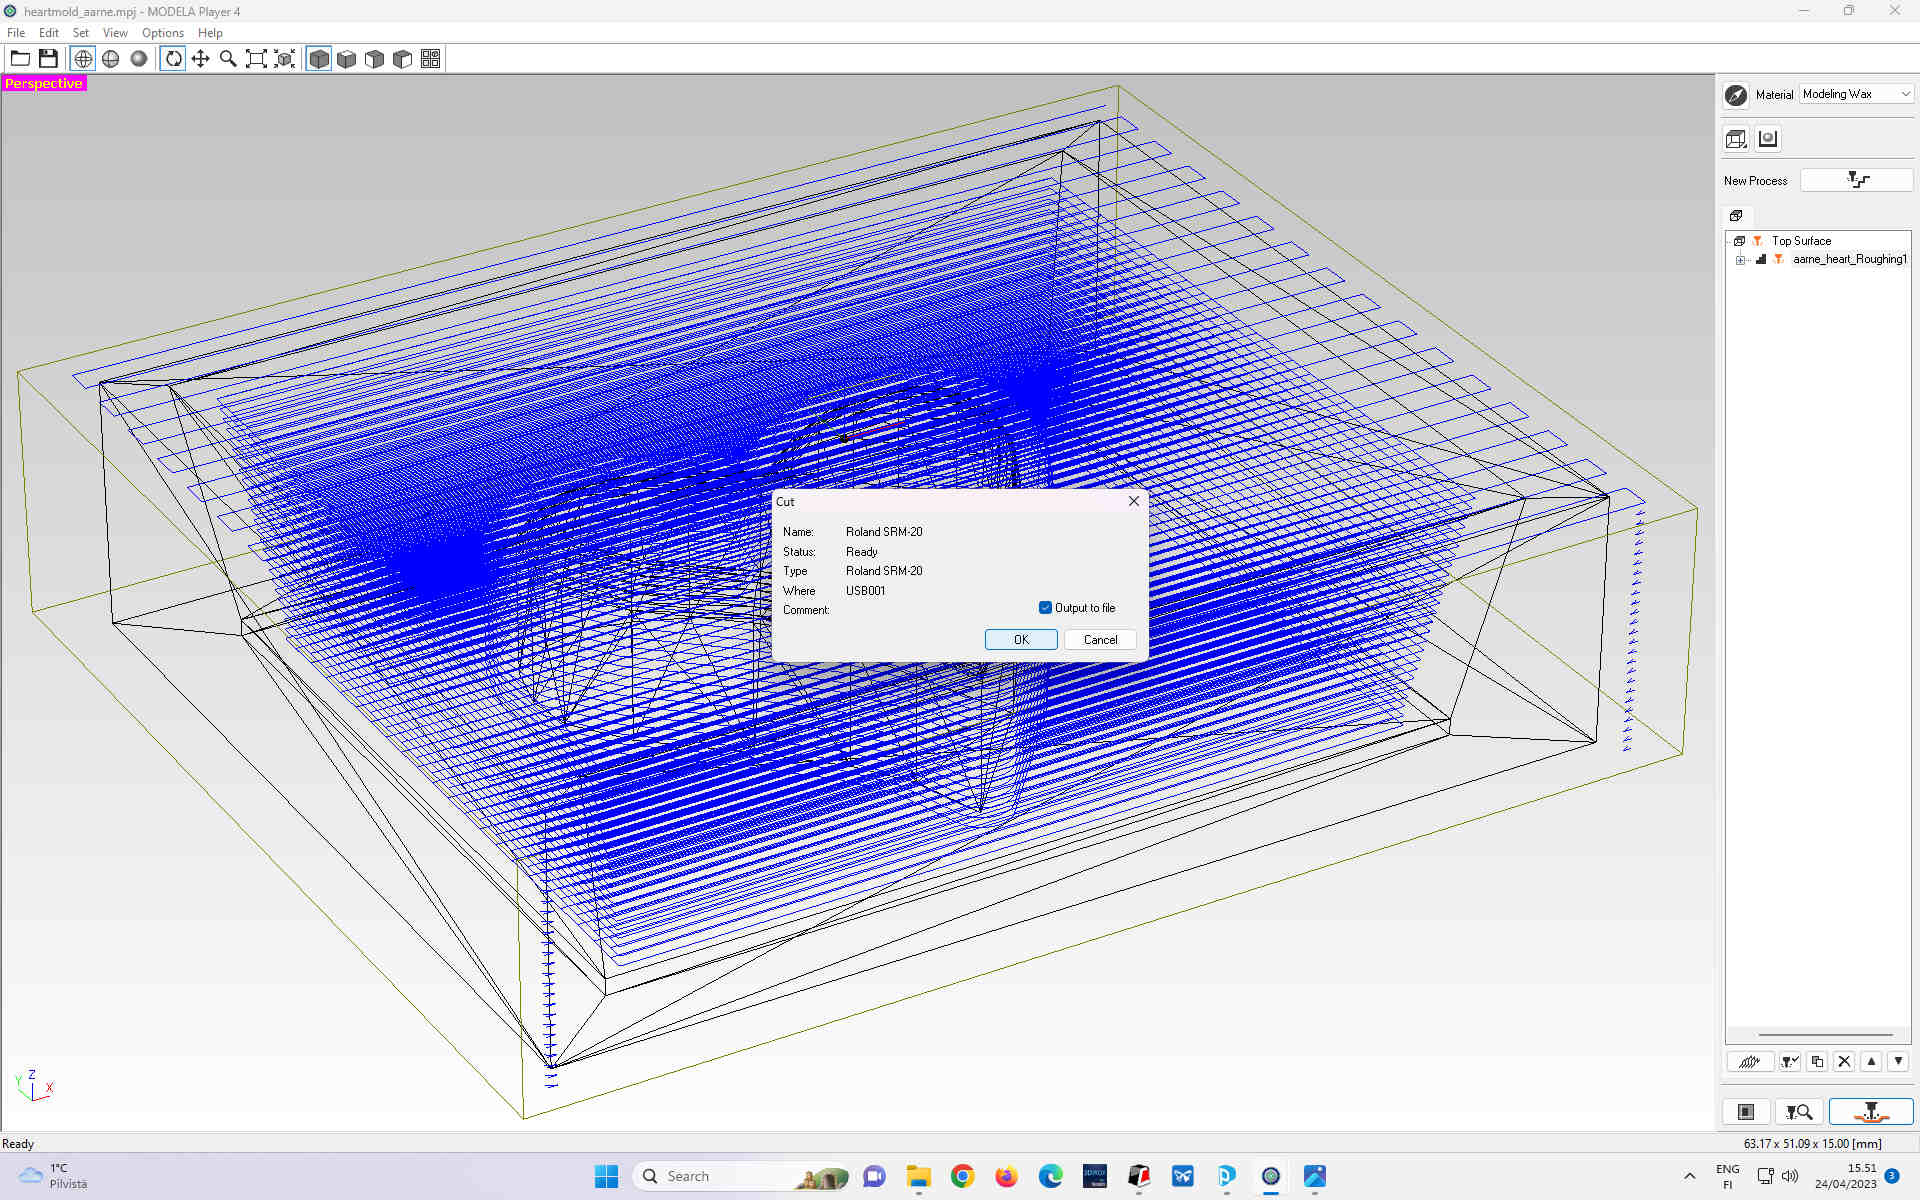
The STL file, which I used for making the milling paths with Modela player 4, that could be used by the Roland milling machine is here. The FreeCAD file for the mold is here.


Casting the material to obtain mould for chocolate
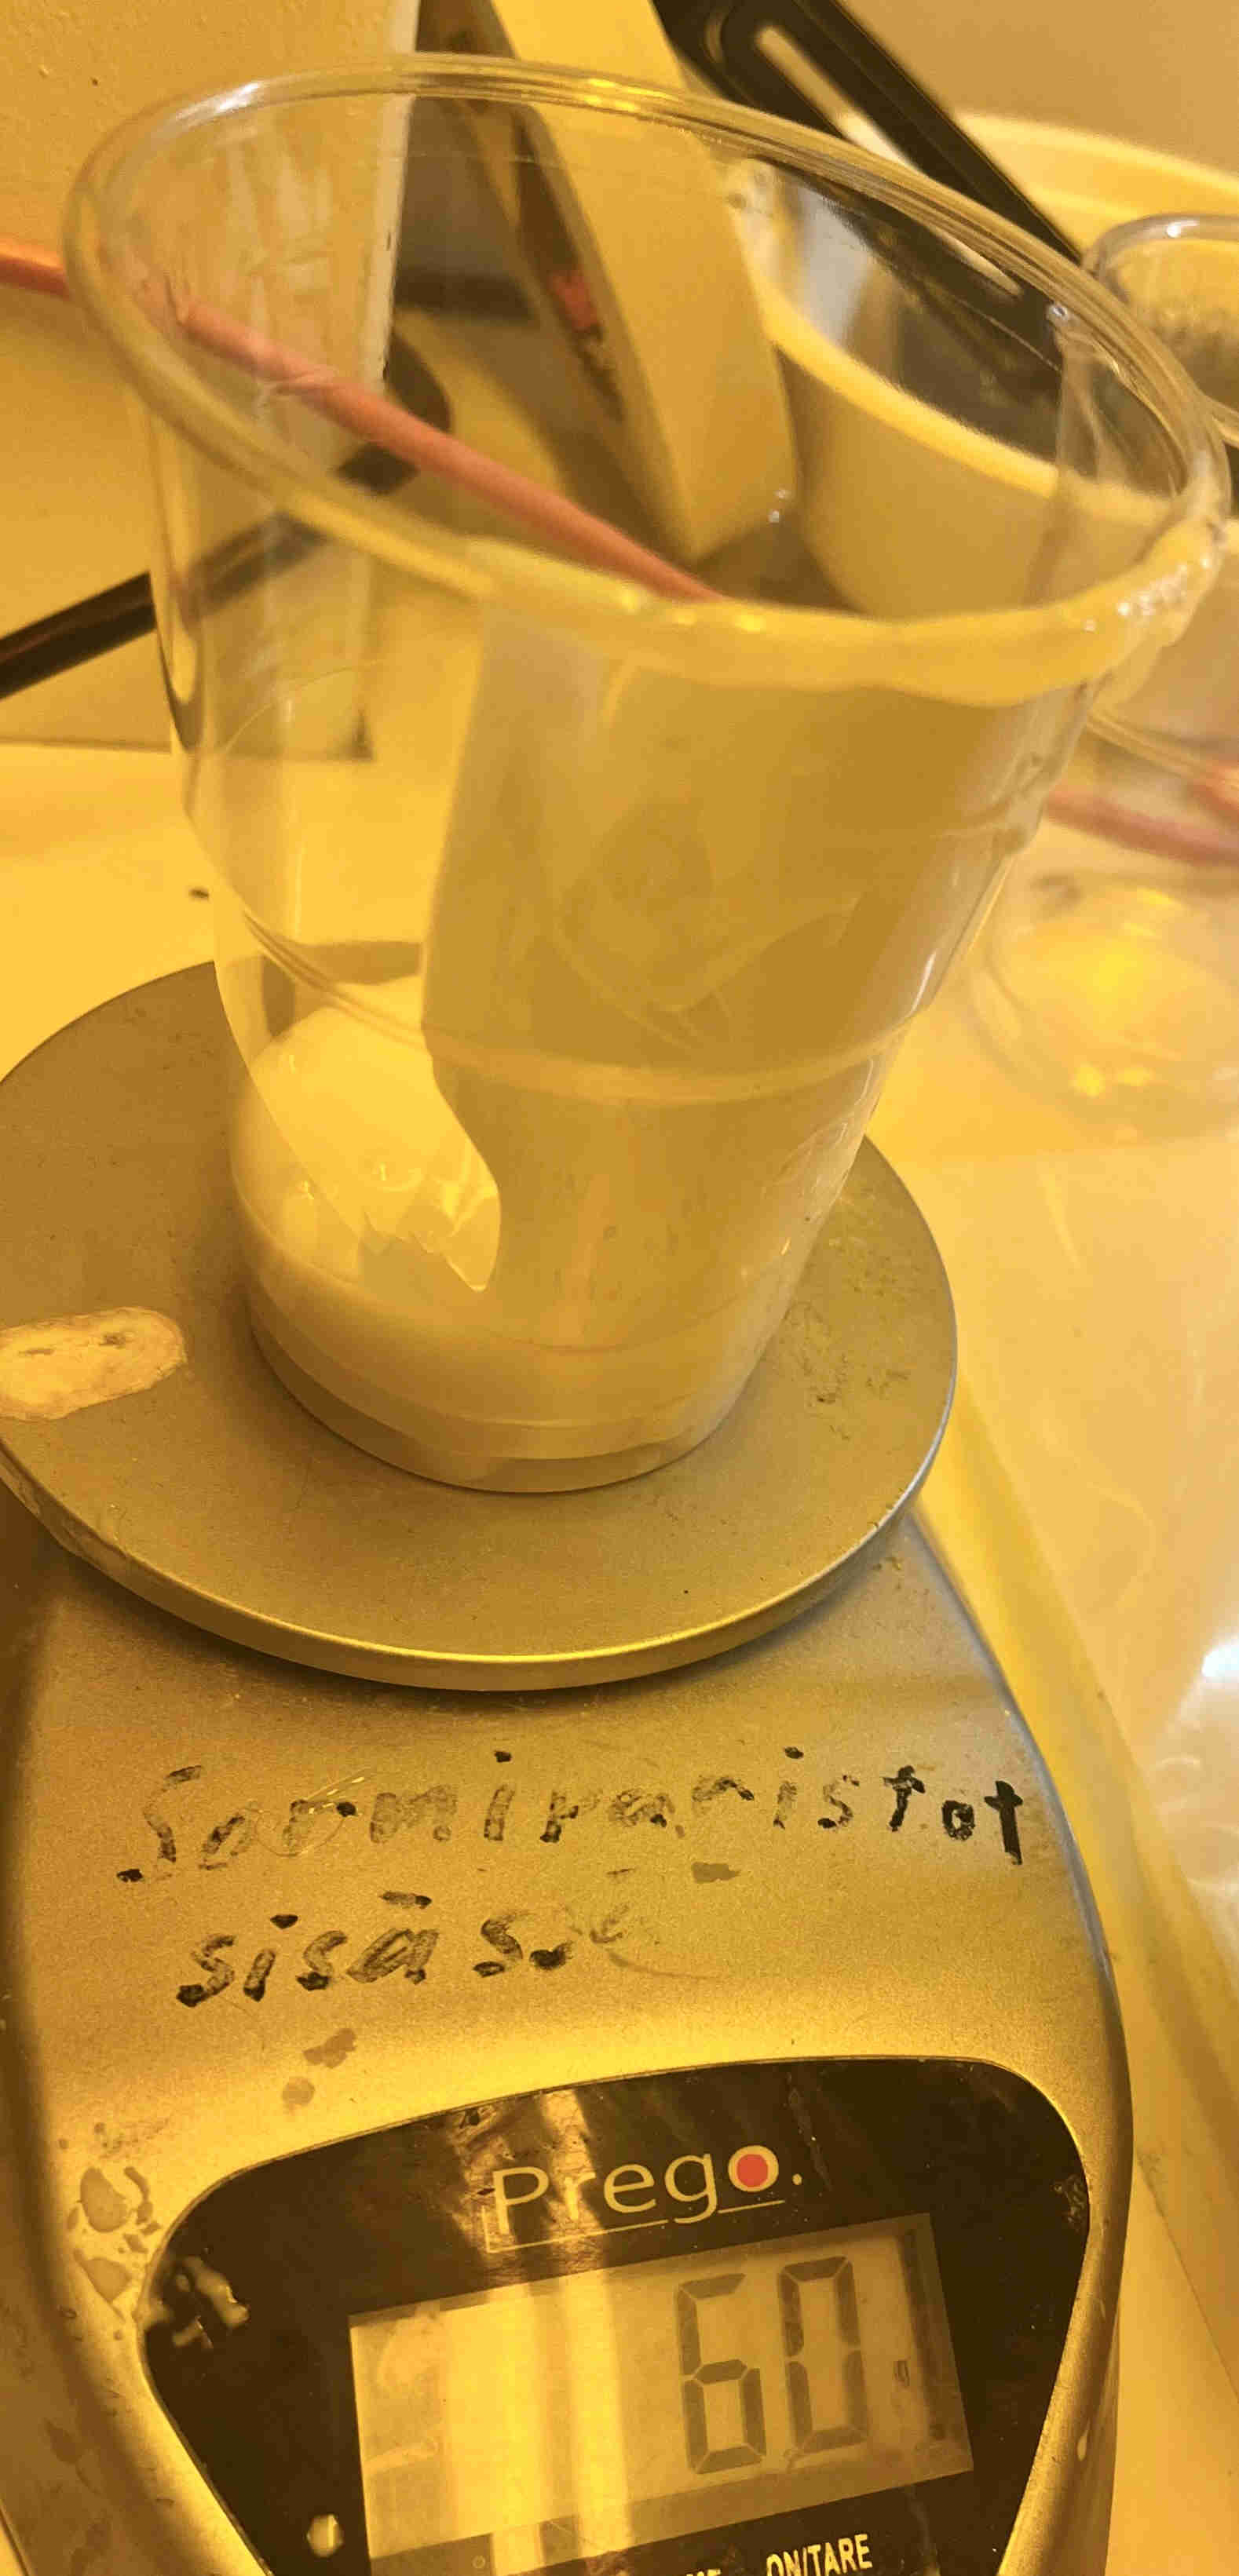
First, I measured the volume of the mould to get an idea how much material would be needed.
I dried the mould so that it would be dry before pouring the casting material there.
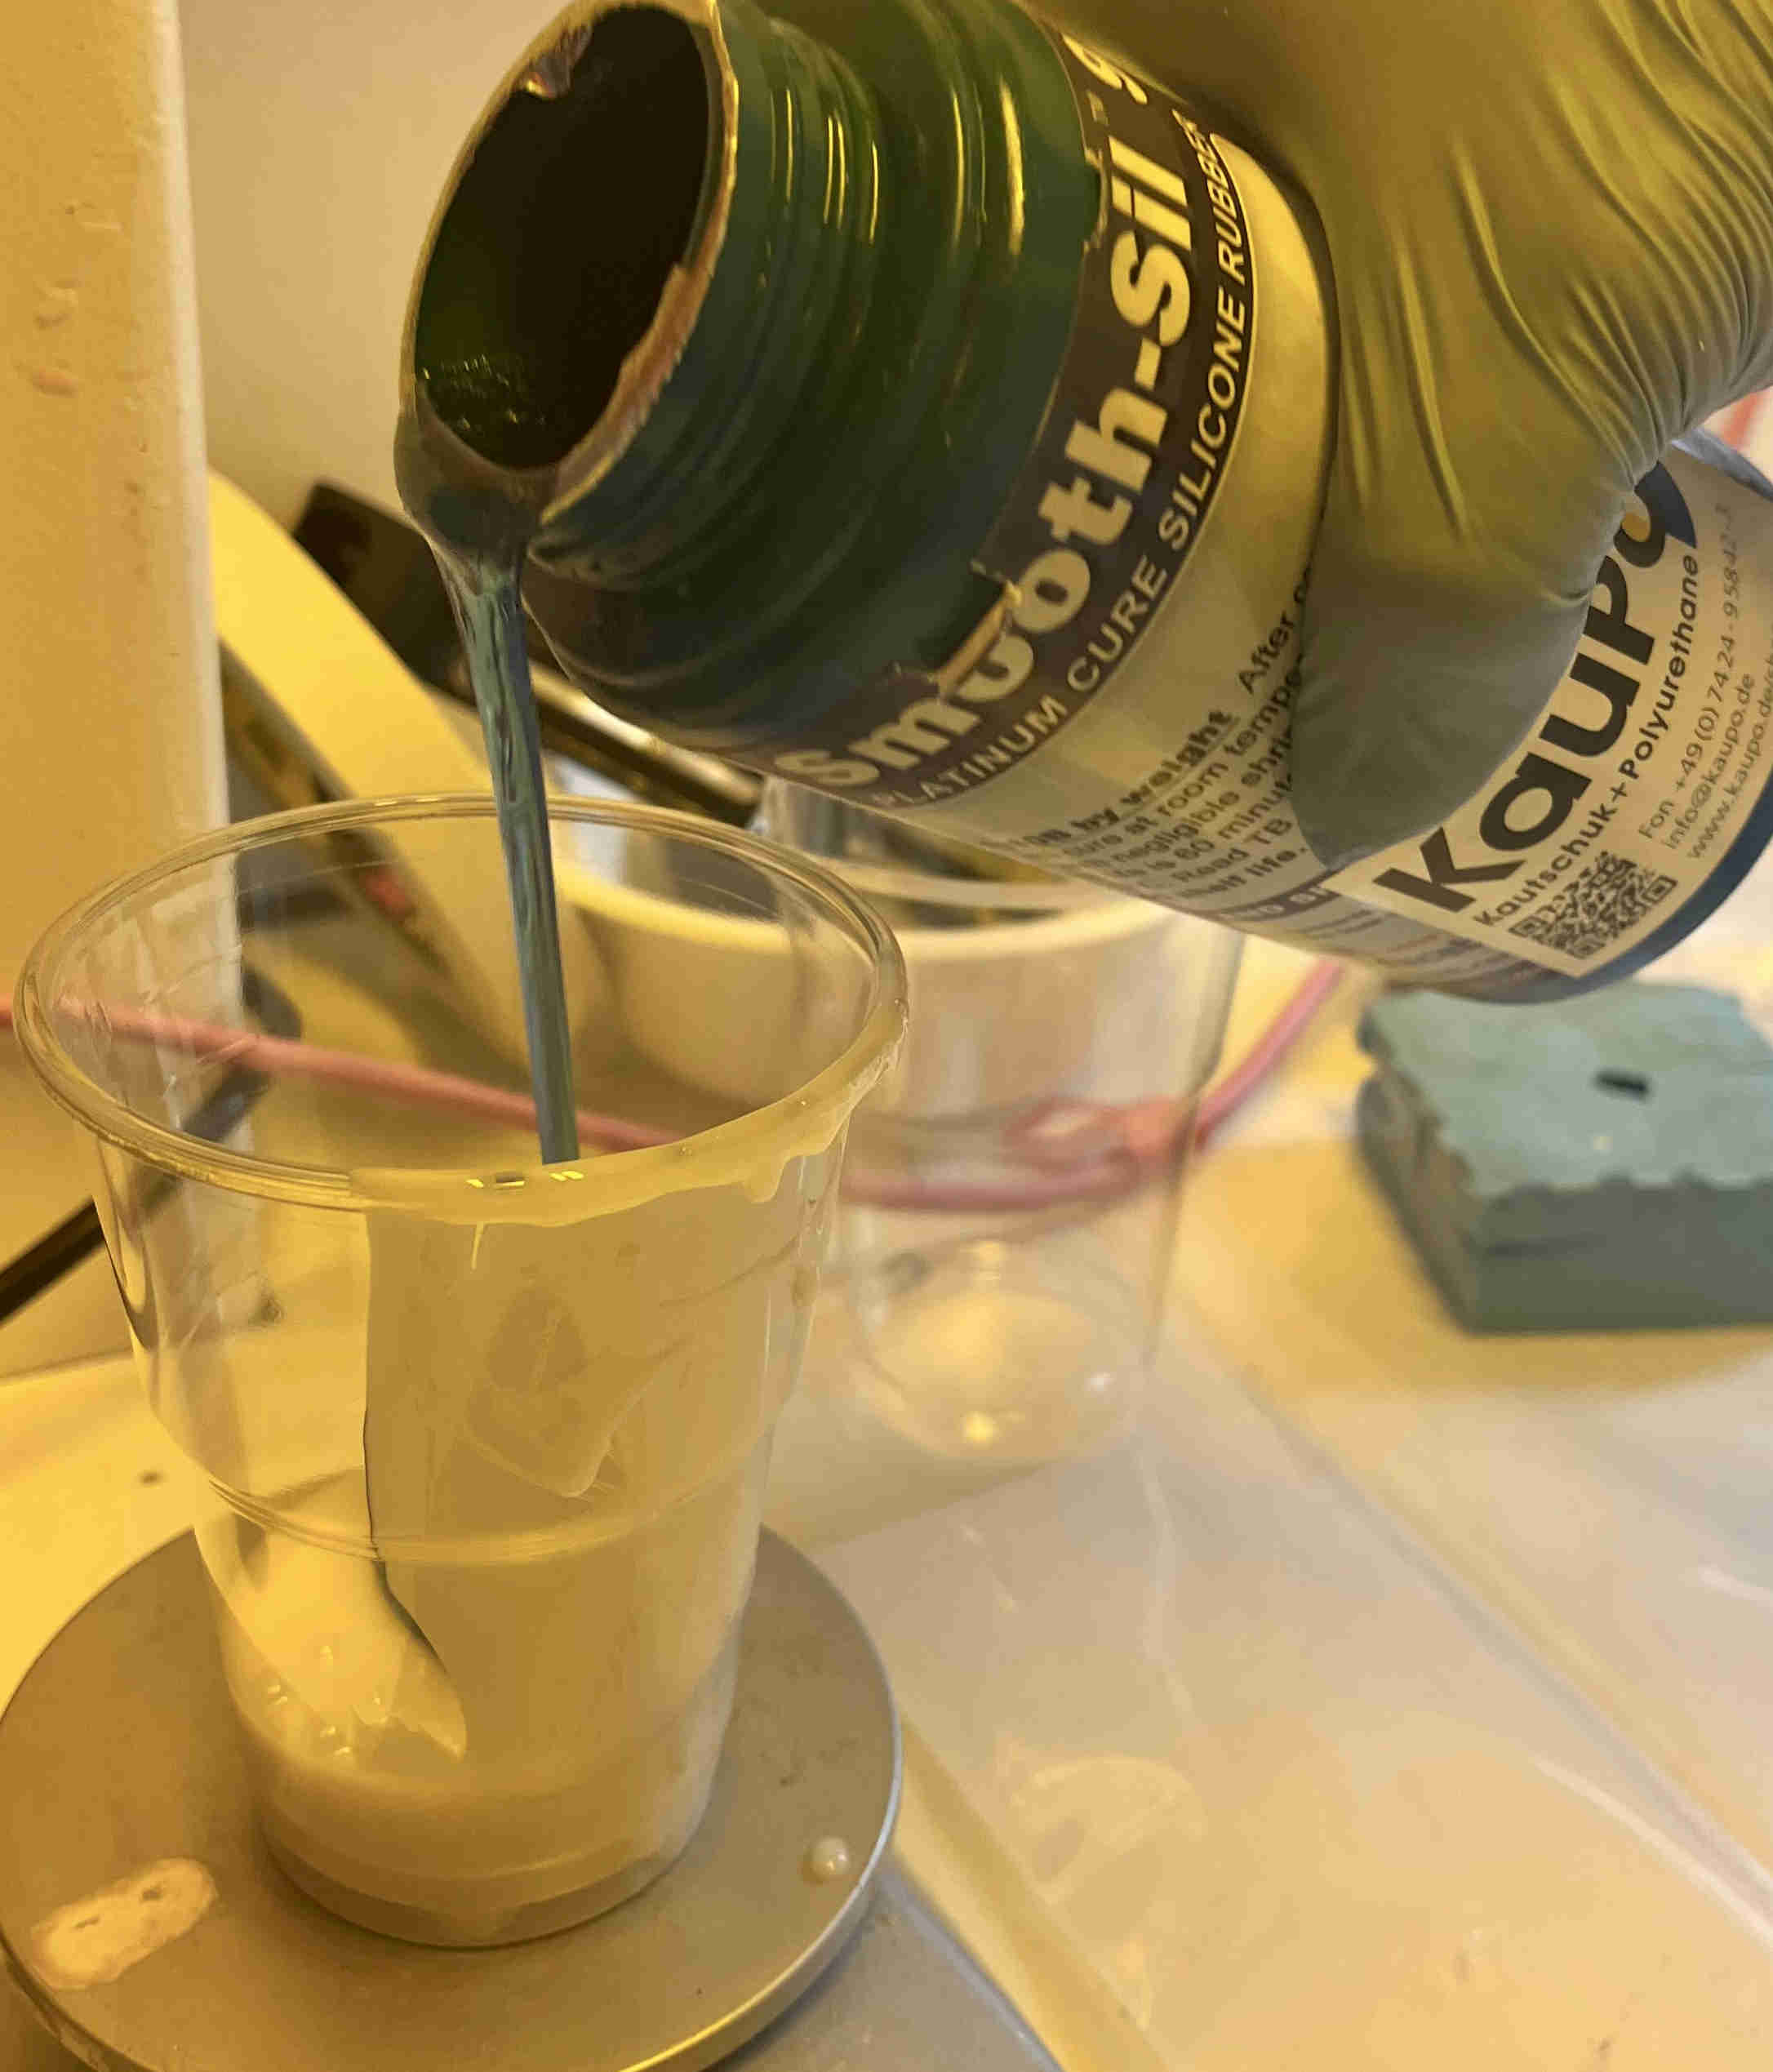
The casting material (Smooth-Sil 940) would be mixed from two parts.
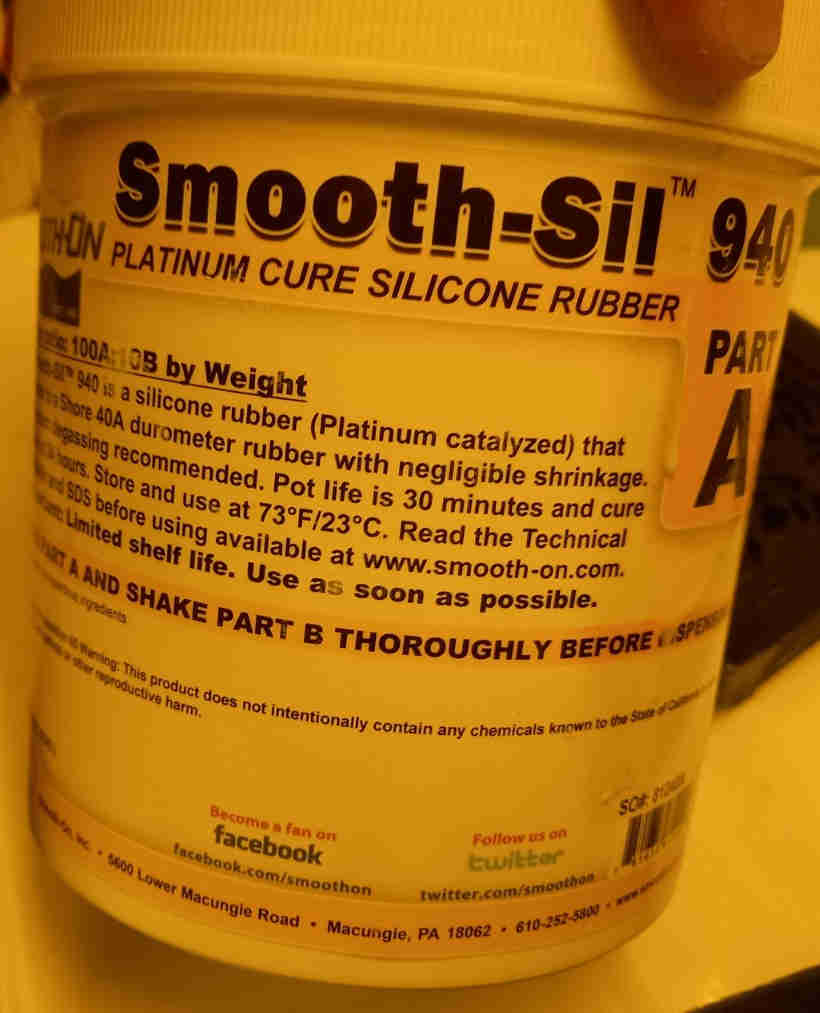
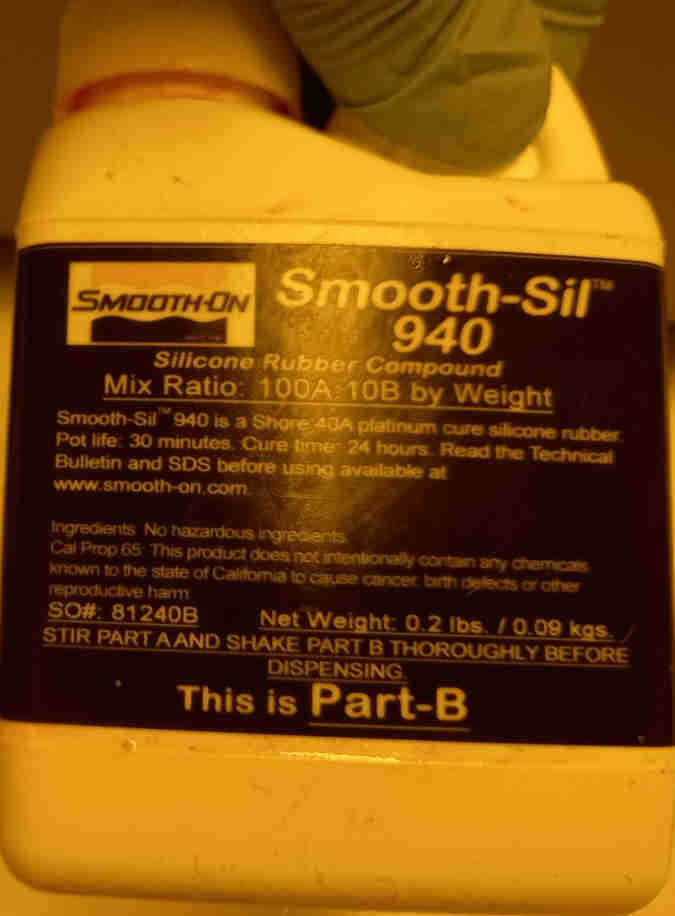
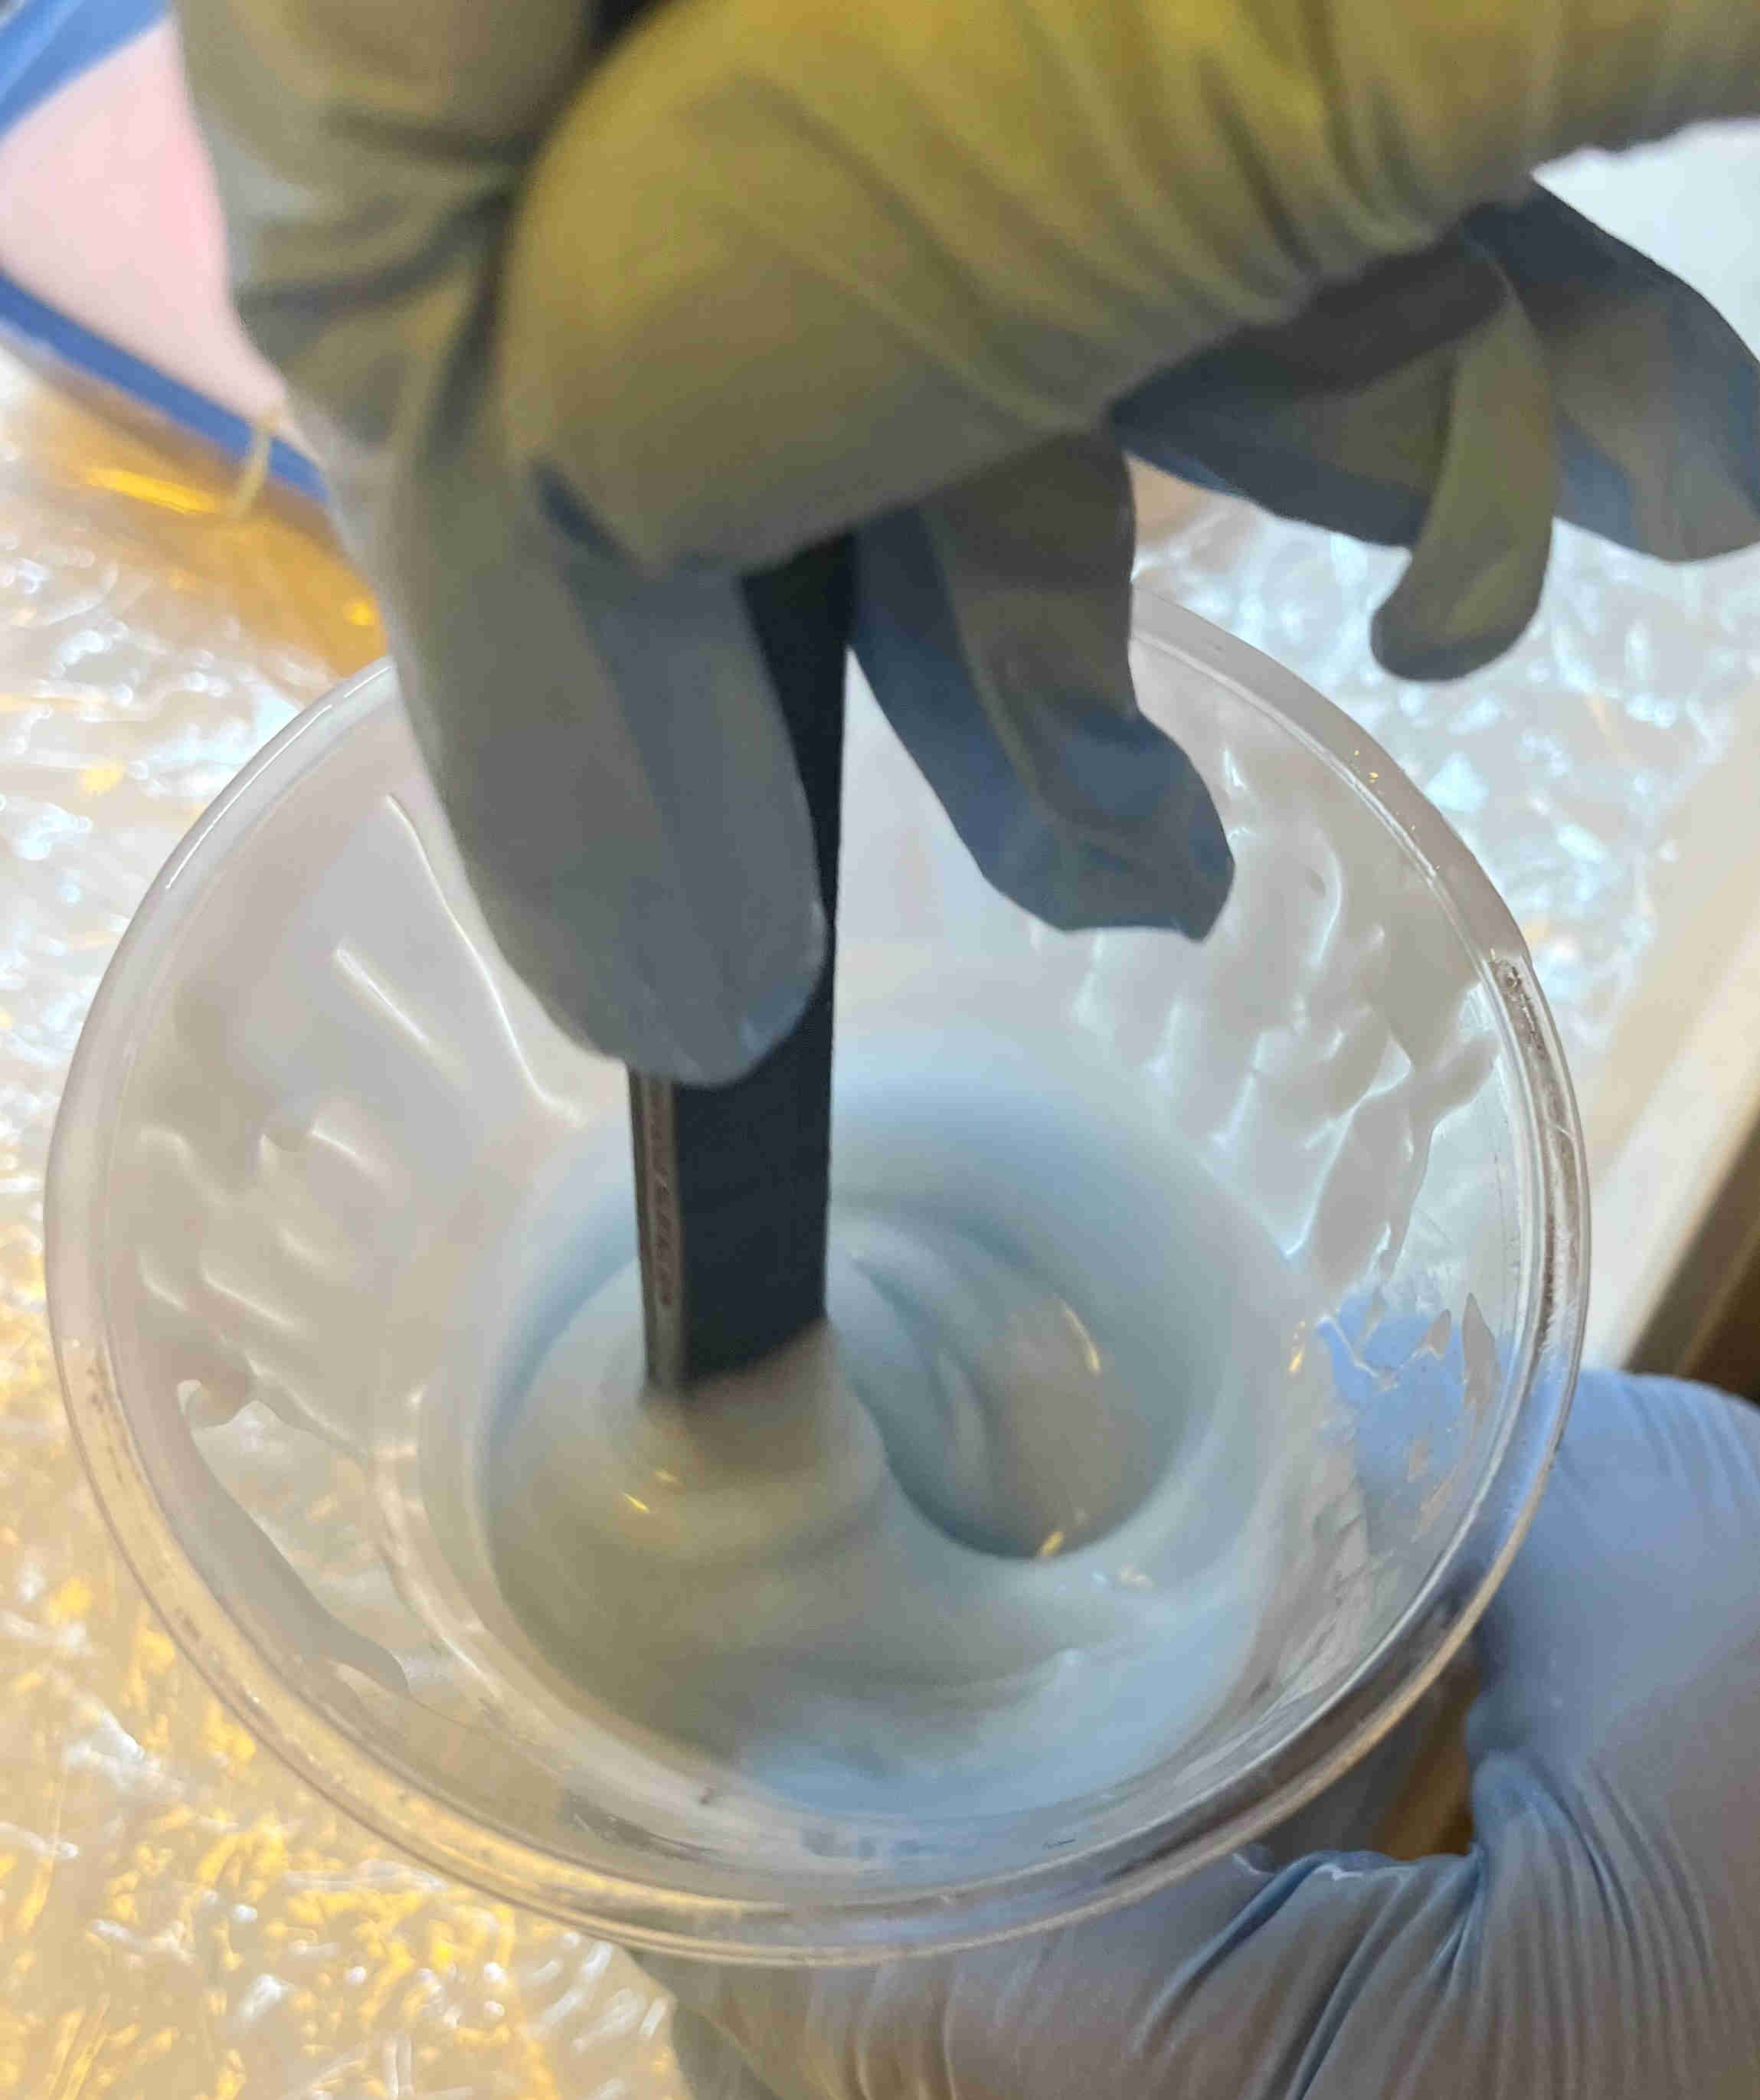
I measured the correct amounts (ratio 1 to 10) of the both parts and mixed the parts well so that the material was as homogeneous as possible.
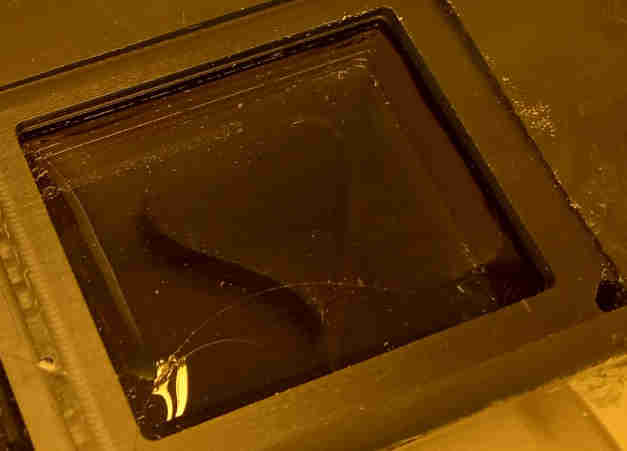
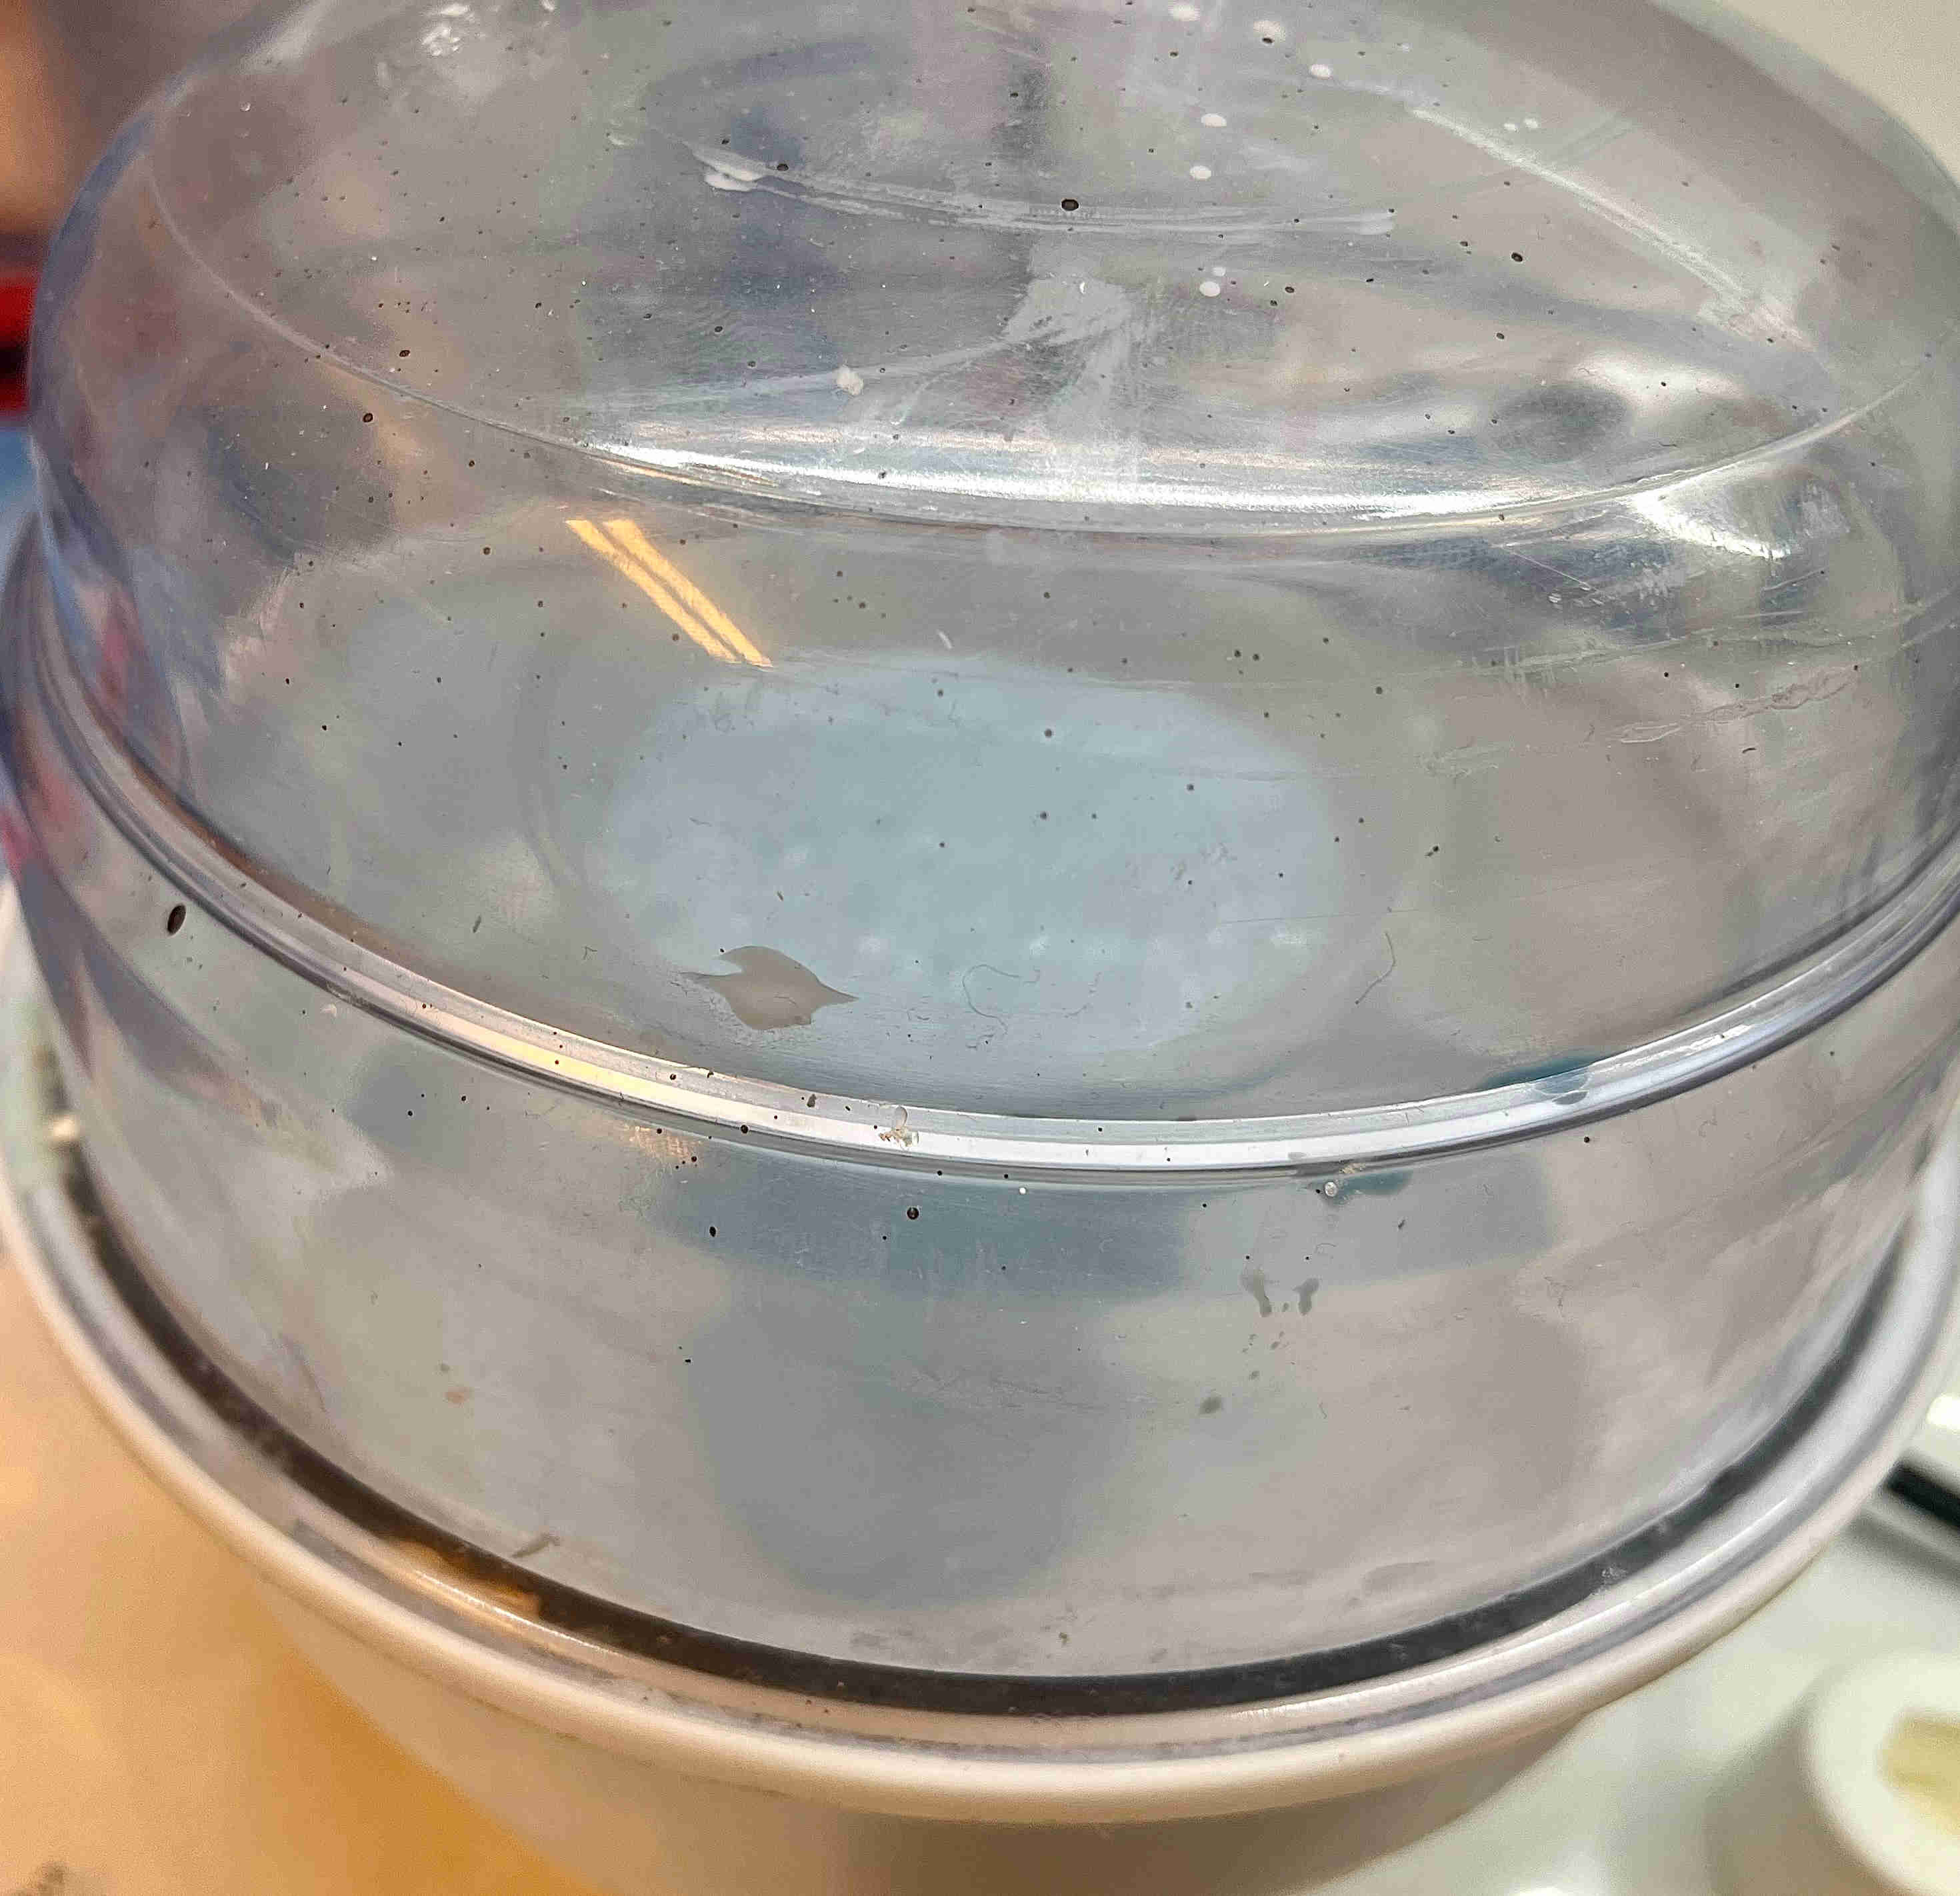
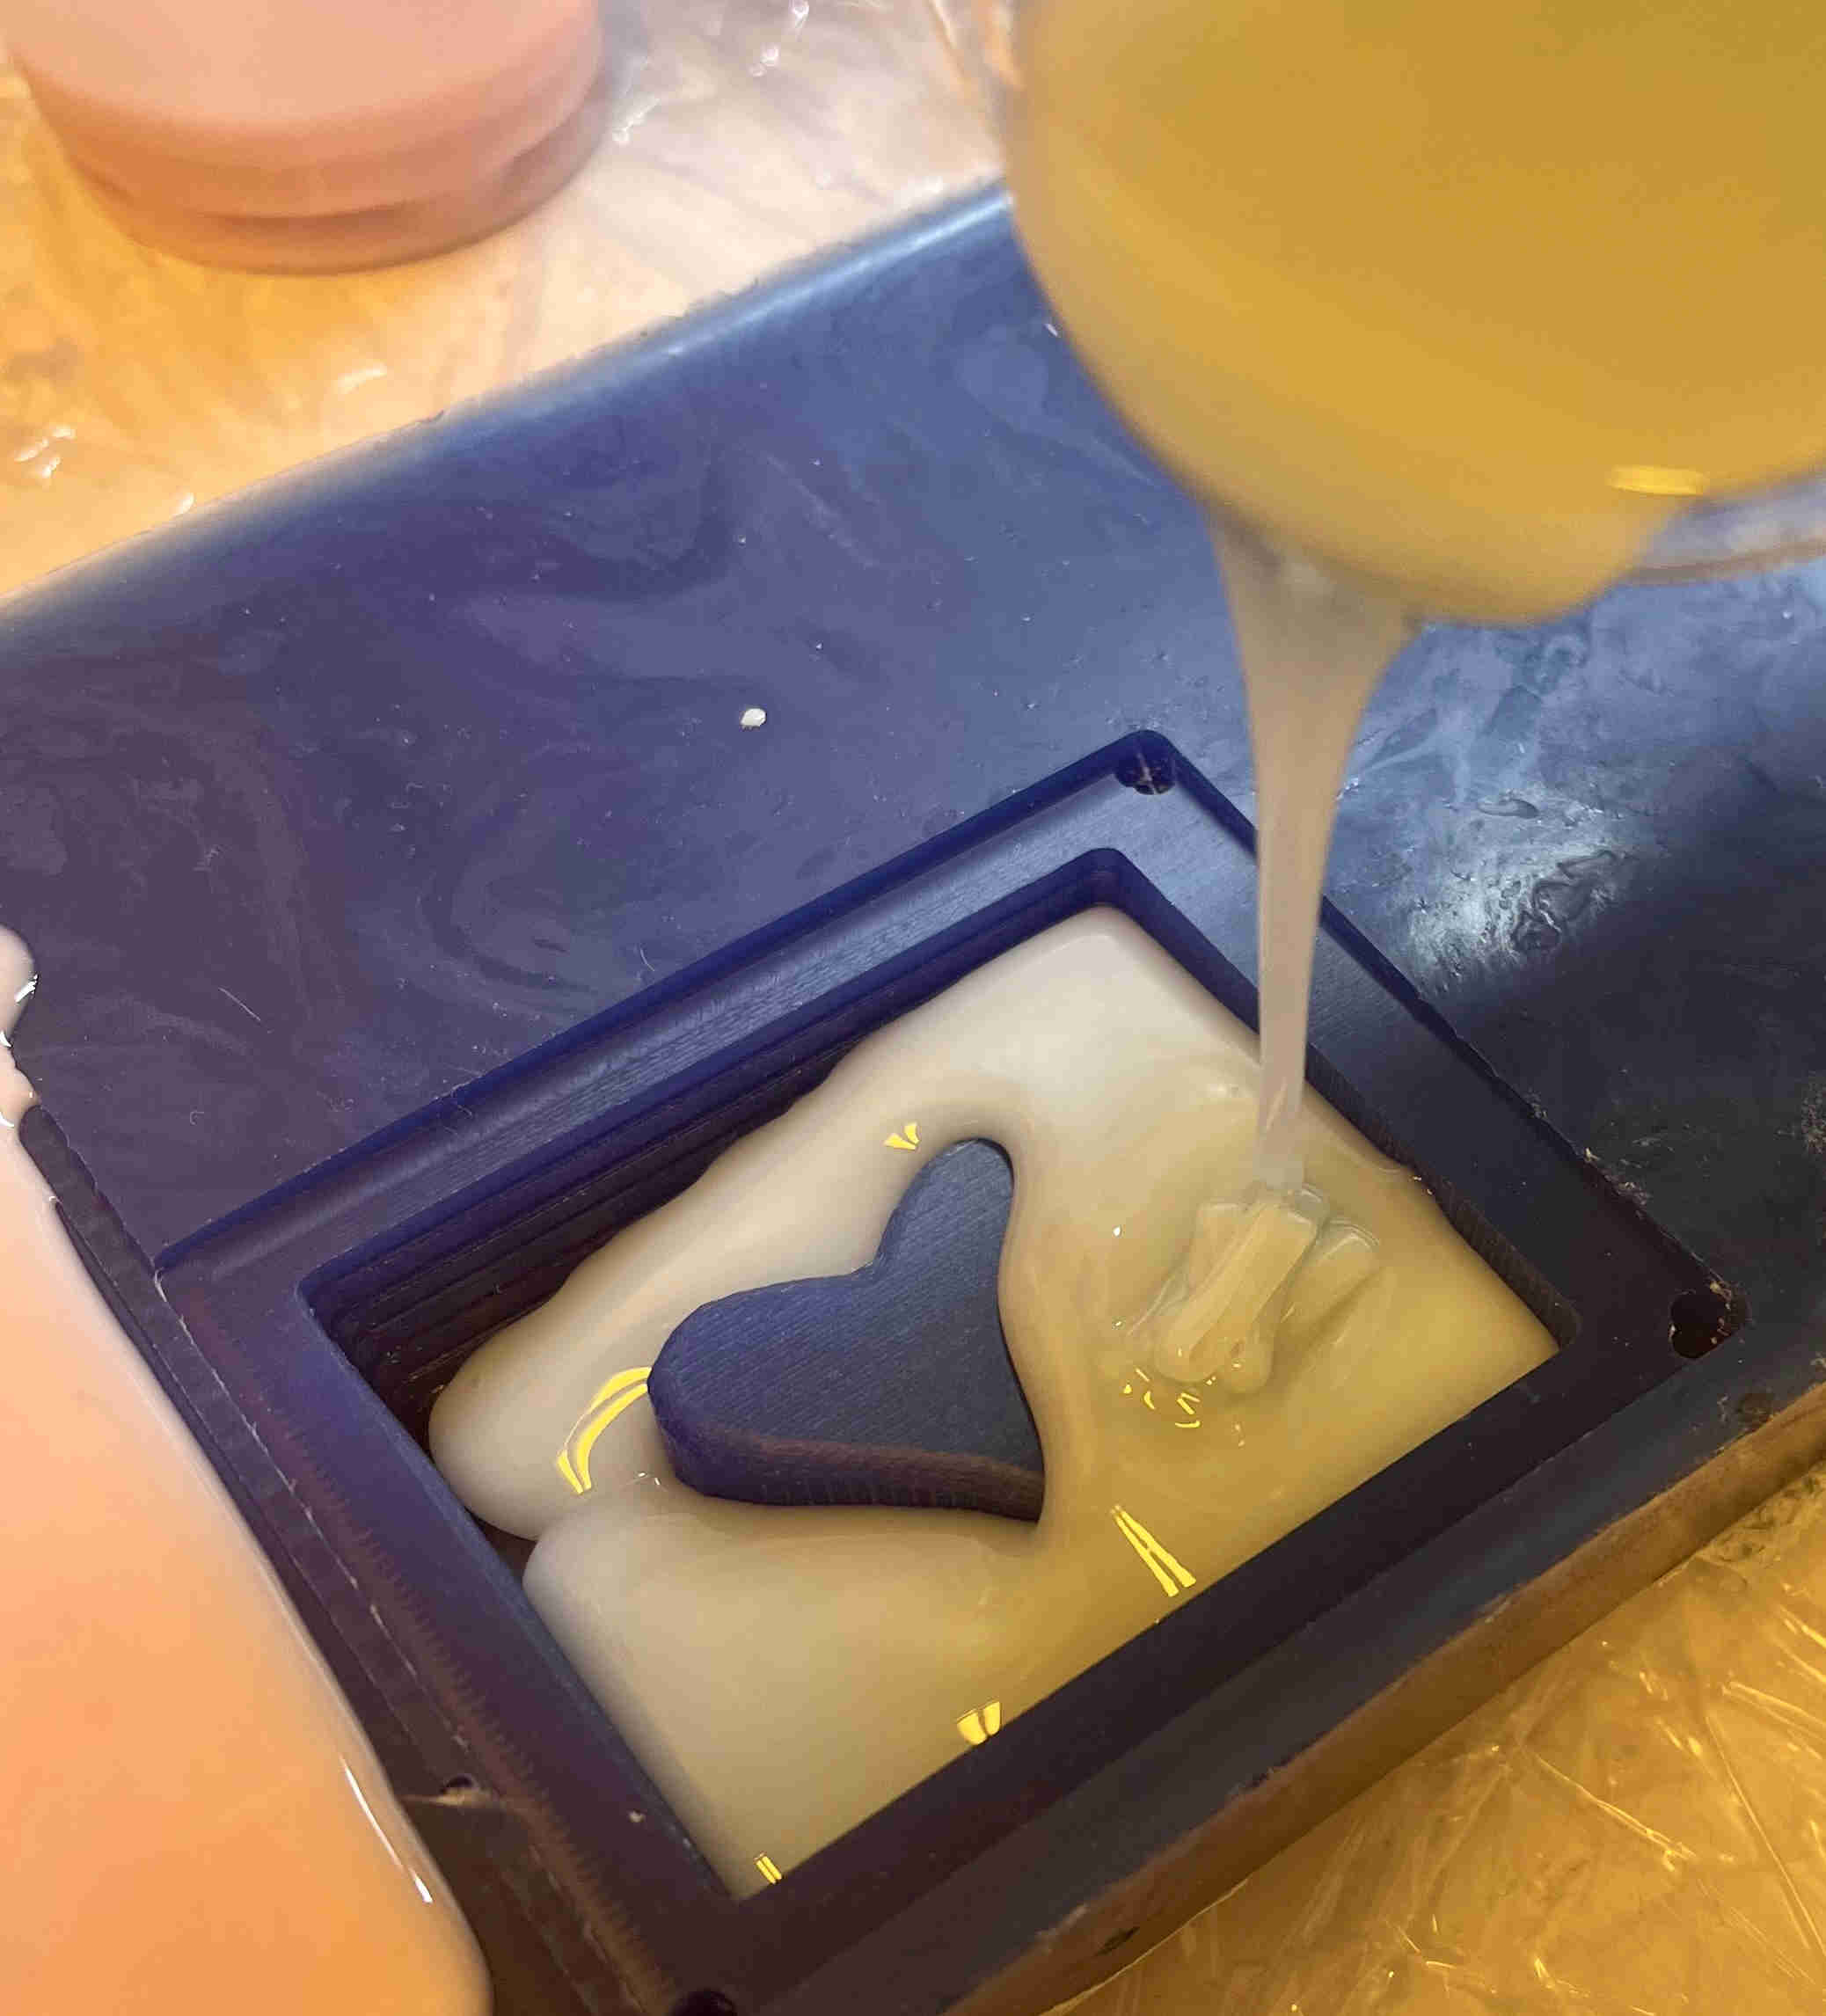
Before pouring the material to the mould, it was held in vacuum. In the vacuum chamber, first bubbles were formed and the level of the mold rised. After while the bubbles were gone and the level returned to lower position.
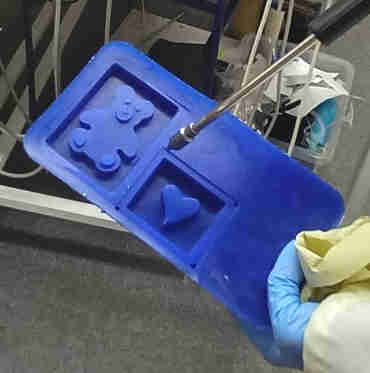
After the vacuum procedure, the material was cast to the mould.
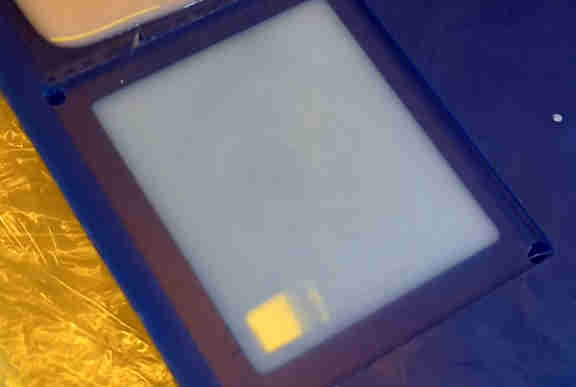
I let the cast stay for 48 hours and when I came back it had solidified. It was then ready for casting chocolate.
Casting chocolate
I prepared the chocolate by slicing it to small bits, so that it would melt in the microwave oven, and not burn at some places.
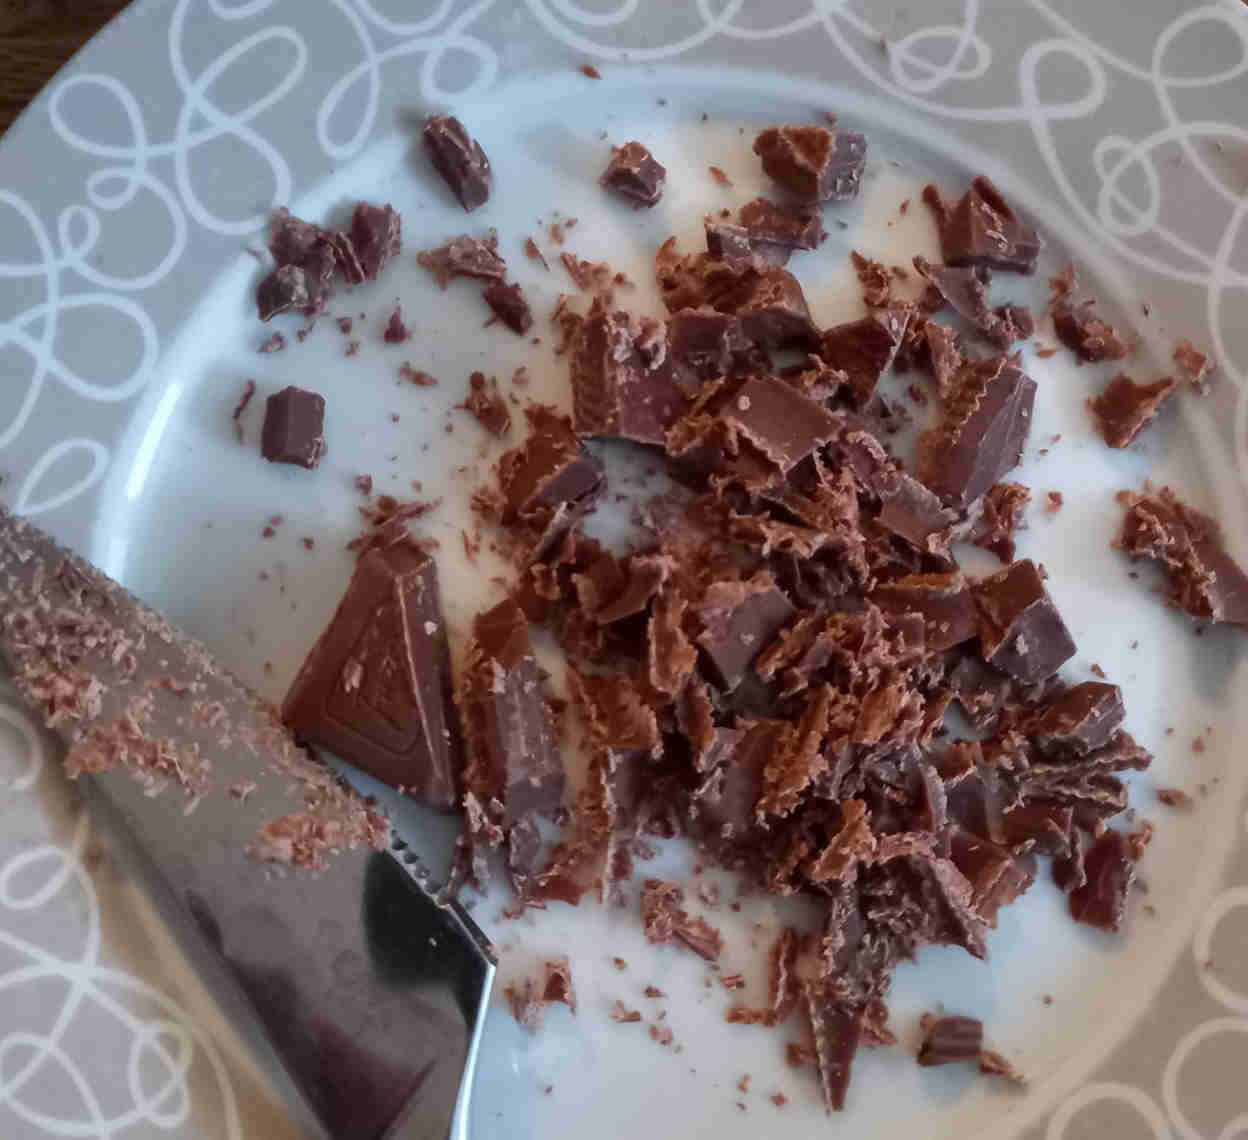
I melted the chocolate by warming it up in intervals (20 seconcs) at half power (35o watts) and mixing it between the intervals.
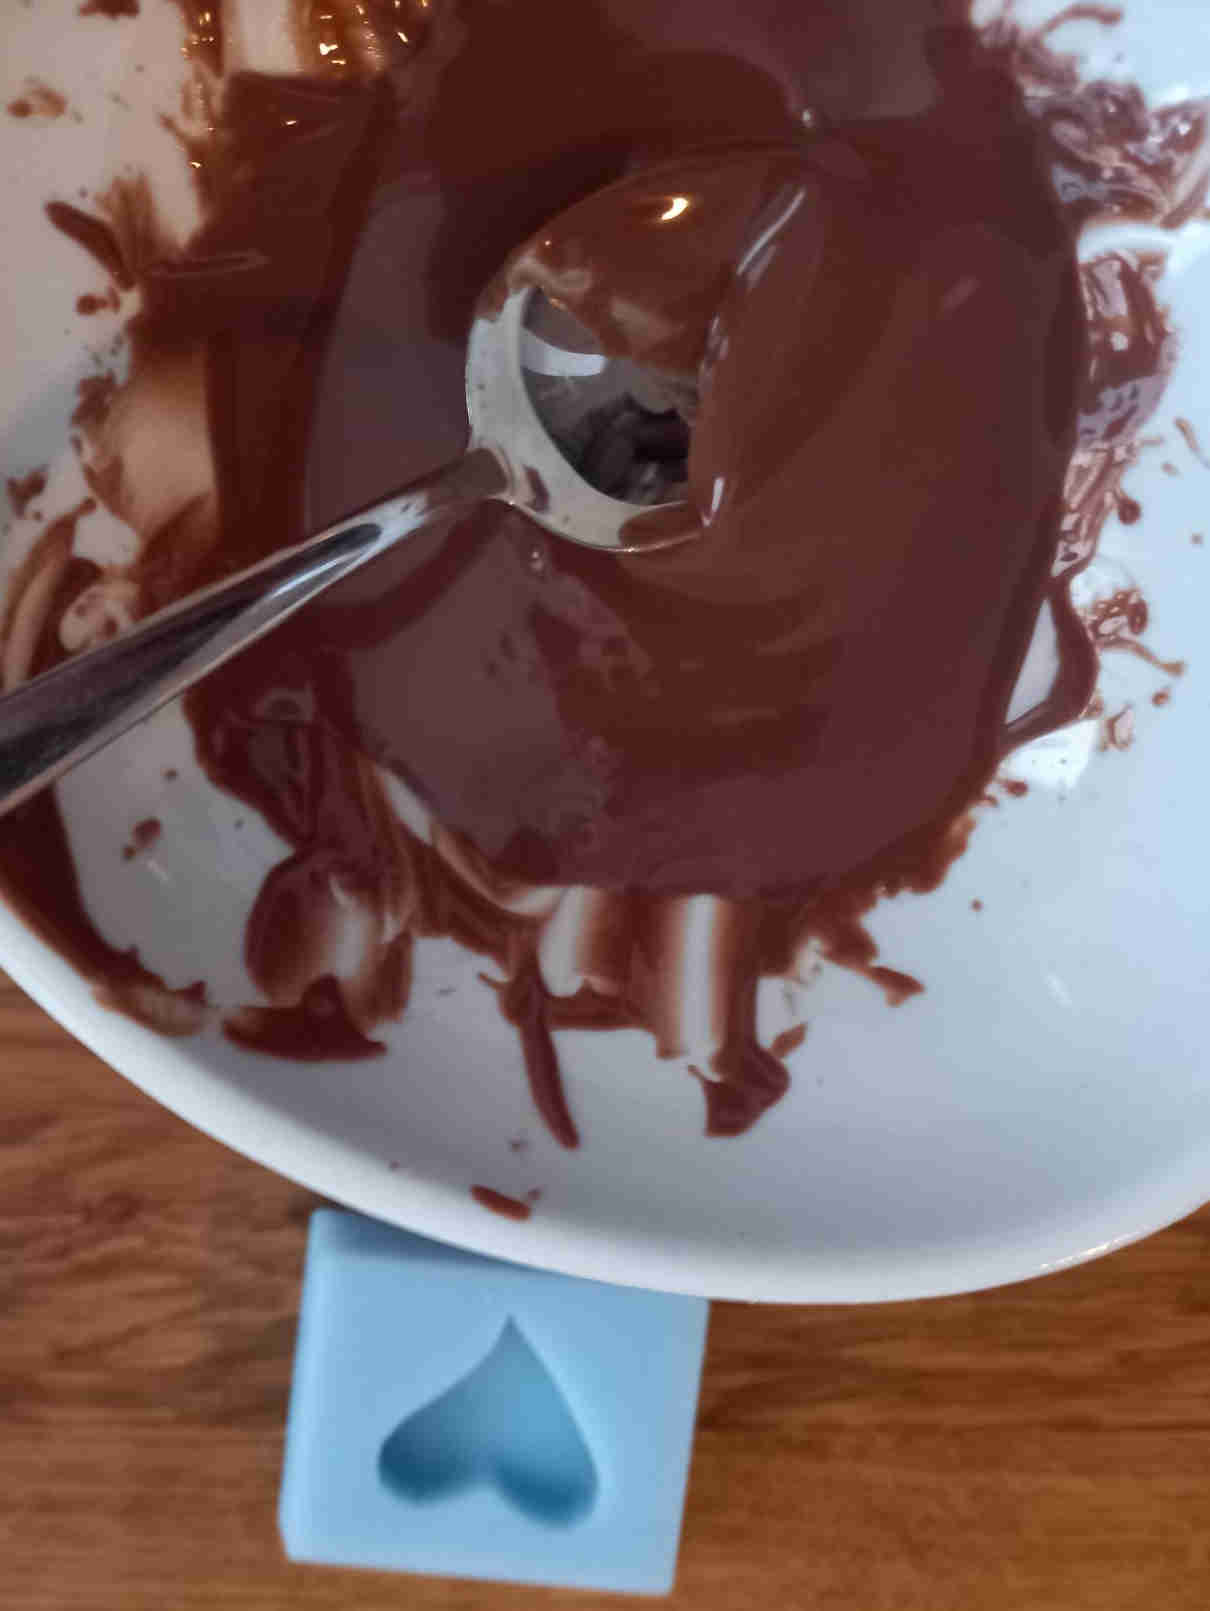
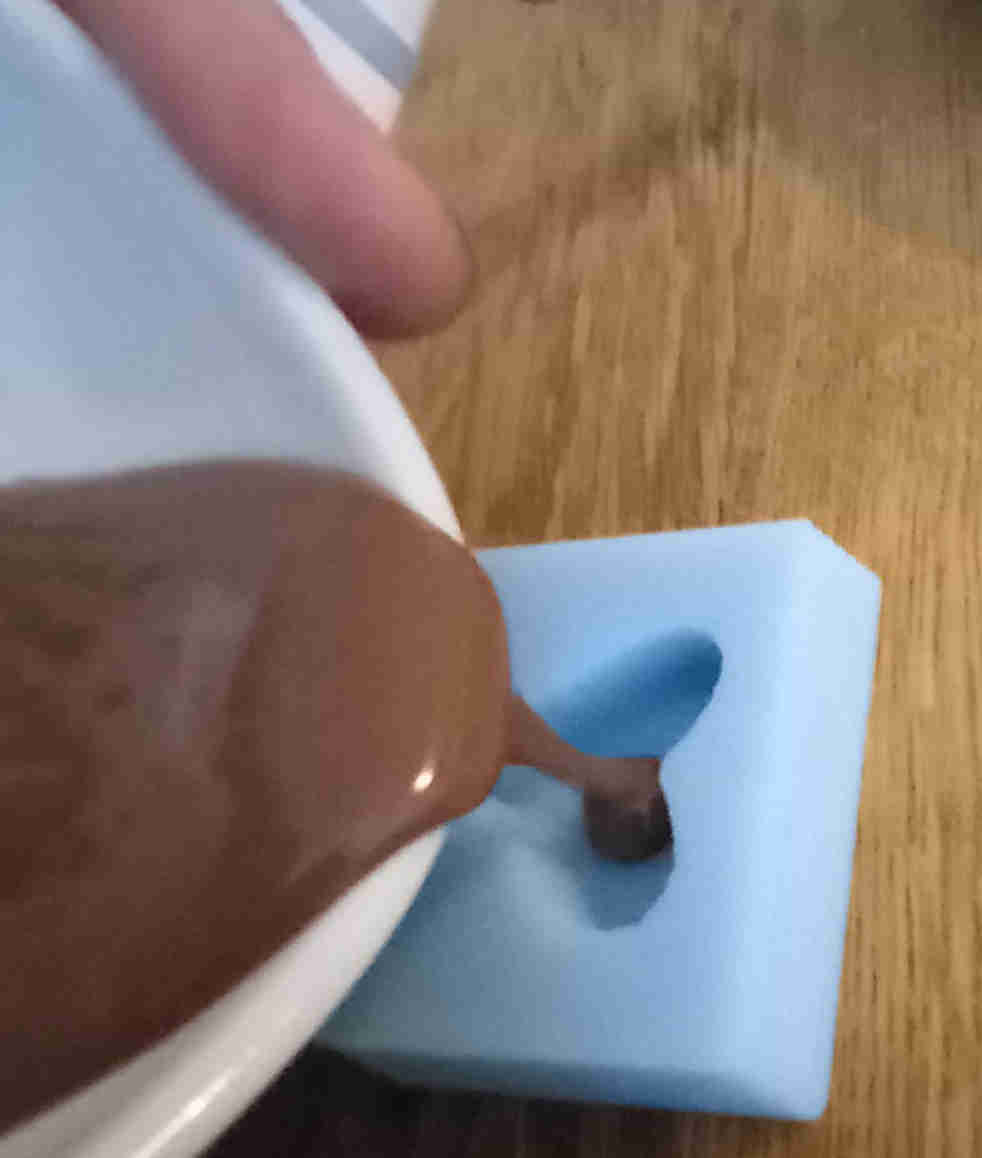
Once the chocolate was melted, I poured it to the mould.
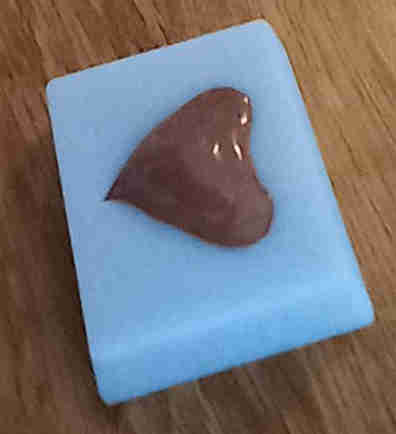
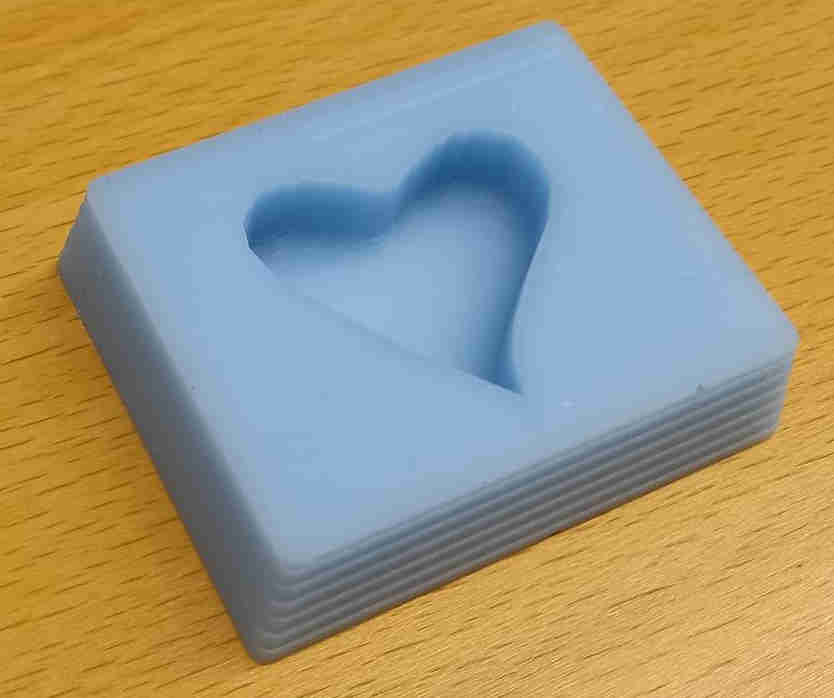
I let the chocolate solidify in the mould overnight, and removed it from the mould next morning. Since the mould made of Smooth-Sil was soft, it was easy to remove the chocolate from it by slightly bending it.
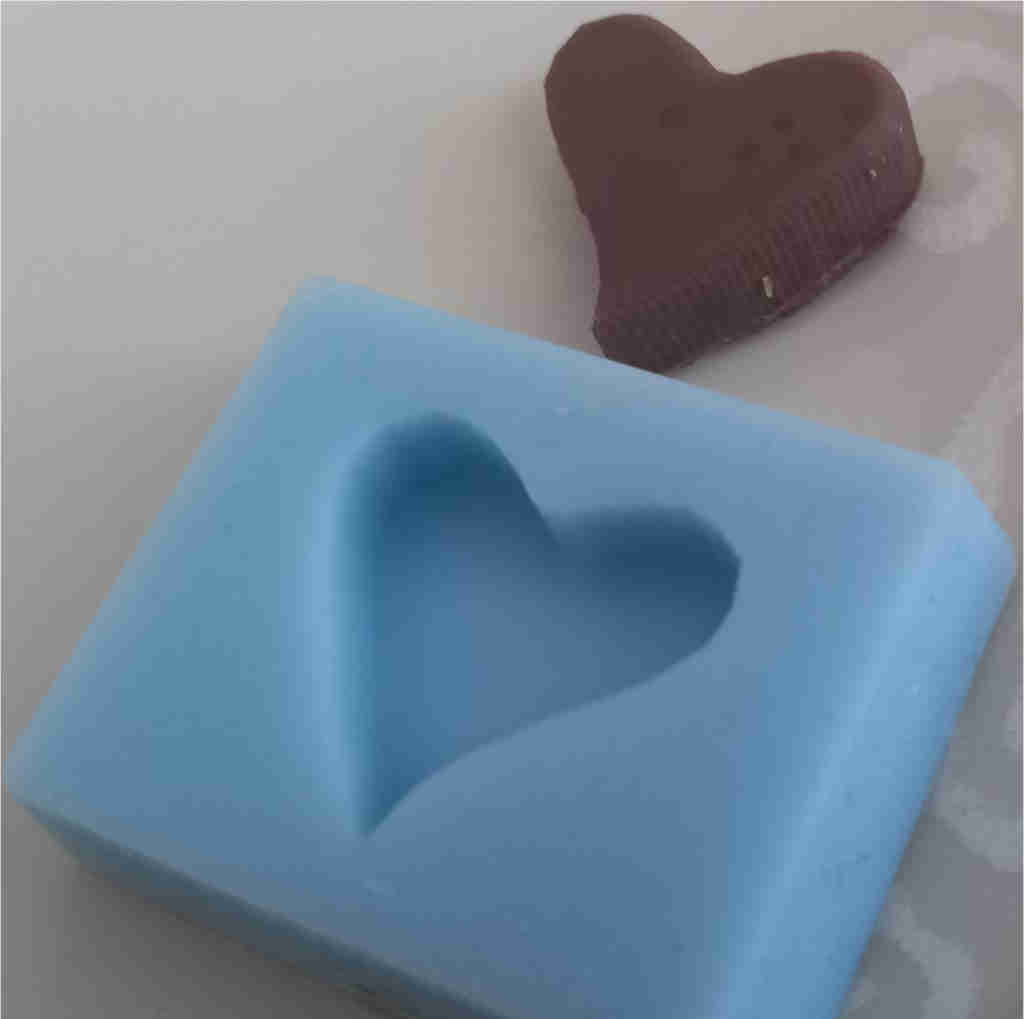
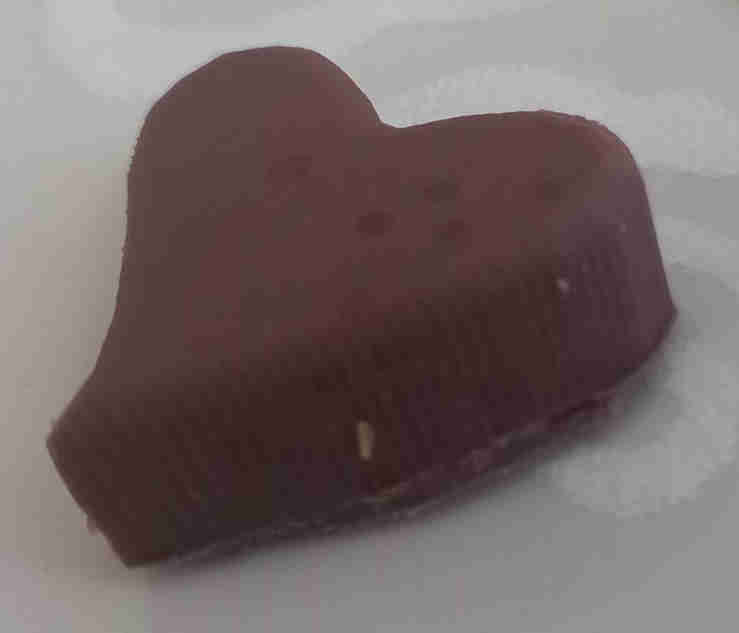
I did not eat the chocolate, since the initial molds and drilling bits are likely to be contaminated with different materials, since they are used in milling and casting all sorts of materials. To be able to make food safe product, all the materials should be dedicated for this aim, cleaned, and of course be suitable for the purpose.