Week 12 Molding and Casting
Group assignment
Review the safety data sheets for each of your molding and casting materials, then make and compare test casts with each of them extra credit: try other molding and casting processes
->Group site
Individual assignment:
Design a mold around the stock and tooling that you'll be using, mill it (rough cut + three-axis finish cut), and use it to cast parts extra credit: use more then two mold parts
Result
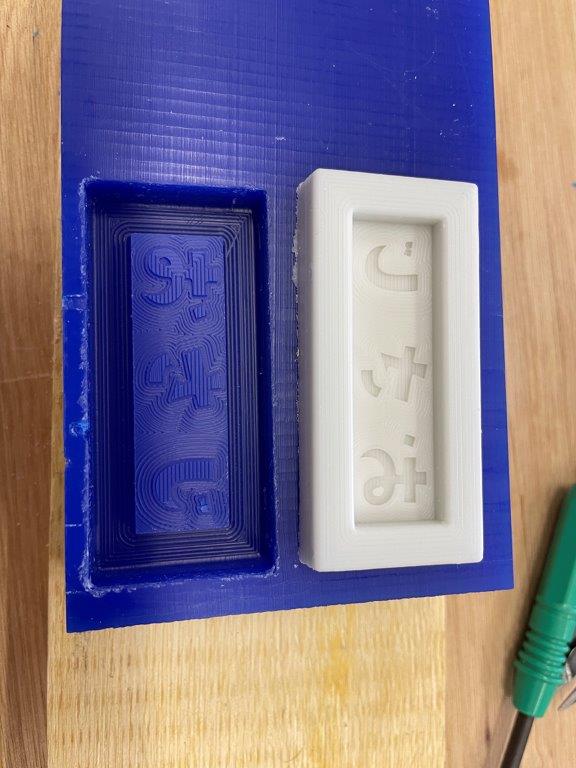
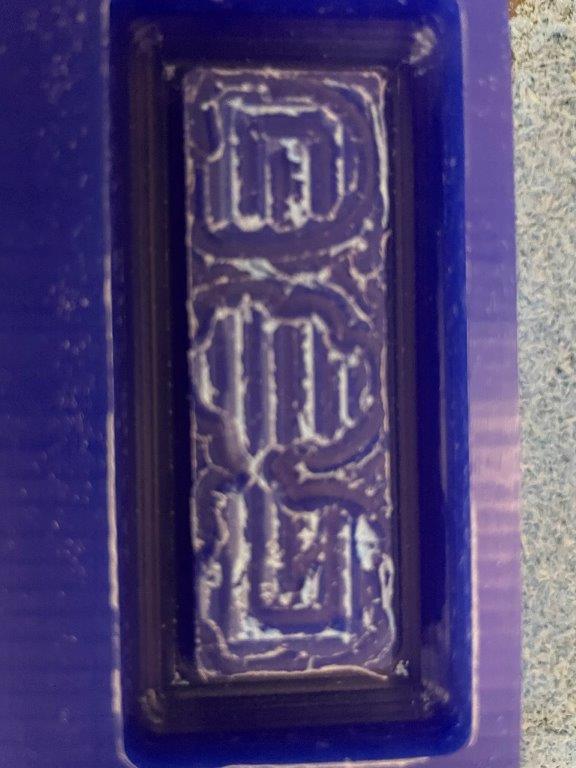
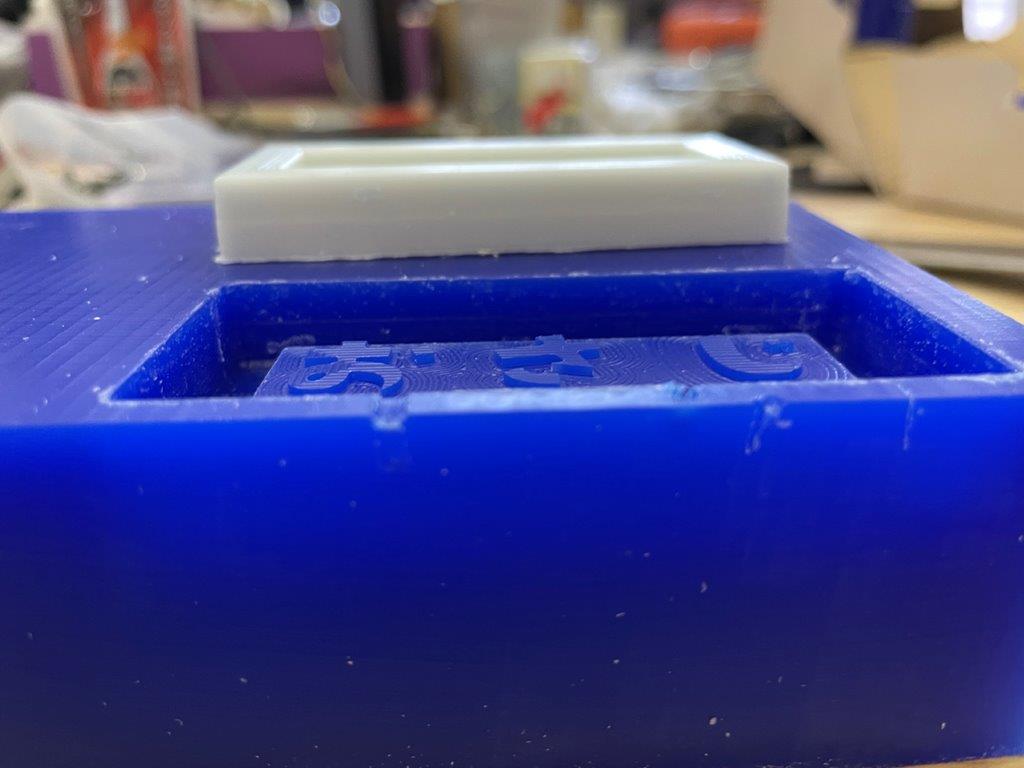
- I milled wax for mold of silicone. Then casted silicone to make mold of resin. Finally casted a resin stamp.
- Milled a wax block to a mold of silicone
- Casted silicone to a mold of resin
- Finally casted resin

- Milled a wax block to a mold of silicone
Process to the result
- I tried to make a stamp. To meet the condition of this assignment, I made silicone mold first then casted resin.
- I used Fusion 360 for 3D data. (original file) -->But this design is not 3D, so I re-designed and milled, please see bottom of the document.
- If I directly cast a stamp from the first mold, the letters should be mirrored but this time it comes after 2 casting so not necessary mirroring.
-
Made tool pass for milling the first mold. The pass split 3 steps as below;
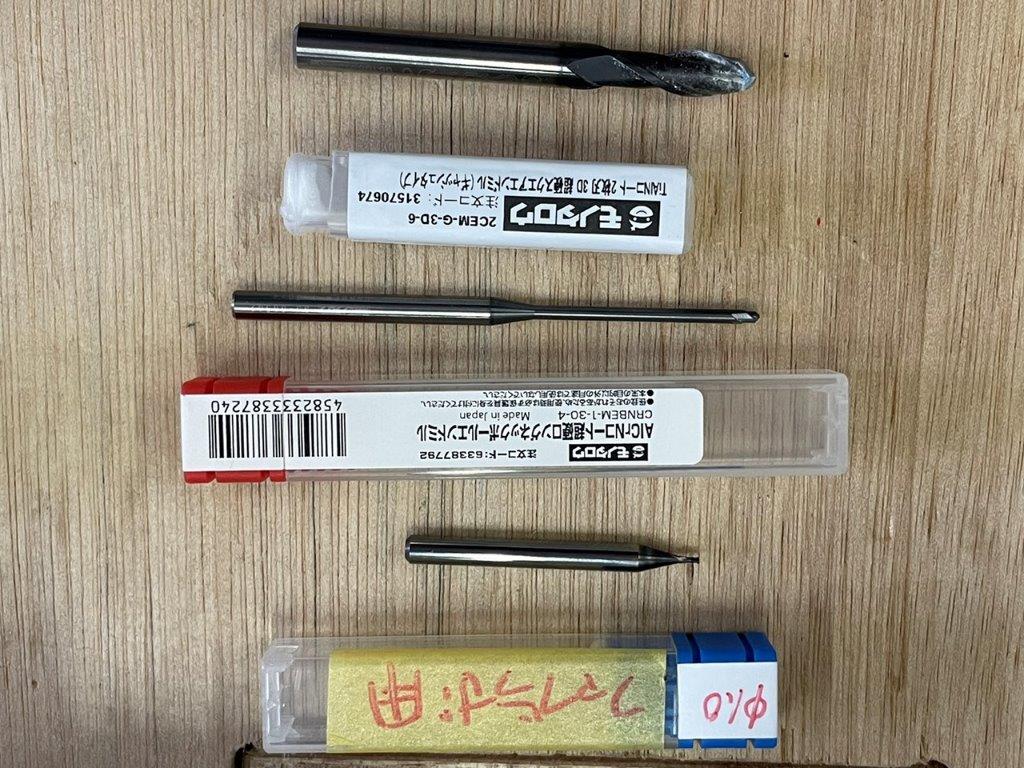
- Rough cut with 6mm flat end mill
- Middle cut with 2mm ball end mill
- Finish cut with 1mm flat end mill
- Rough cut with 6mm flat end mill
-
Milled by Roland MDX-40A (this machine is used in week8)
- End mills used
- Z probe should be placed NOT milled area of the block for stable measurement at each tool change.
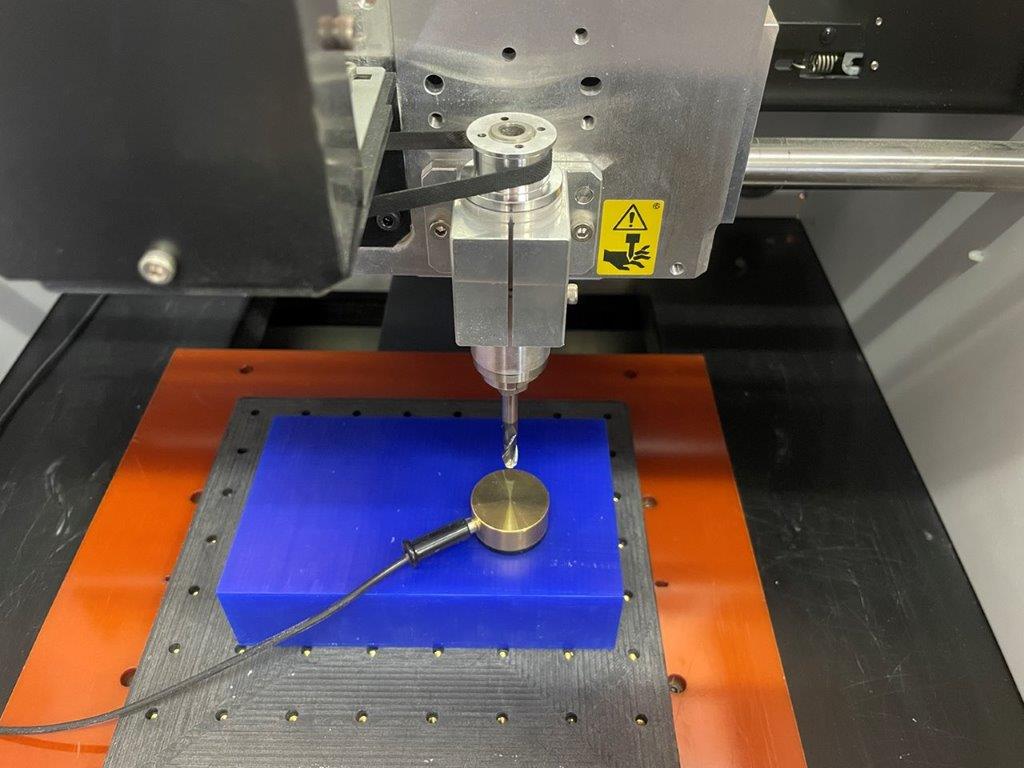
- Actual milling
- After 1st cut
- After 2nd cut
- After 3rd cut
- End mills used
-
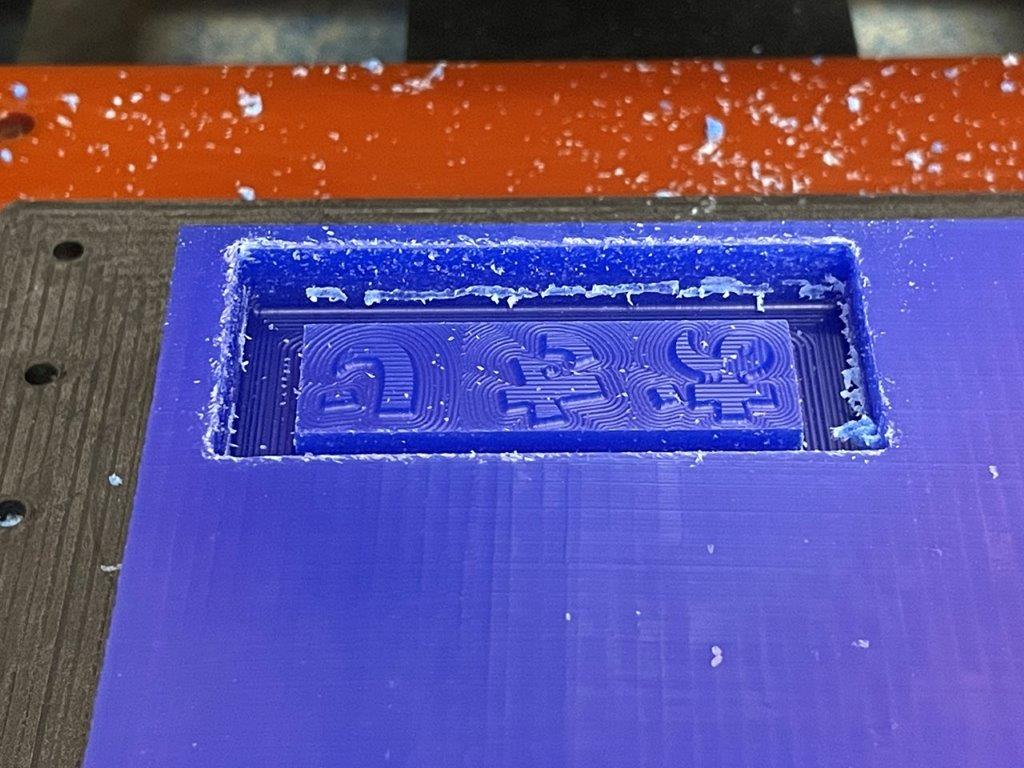
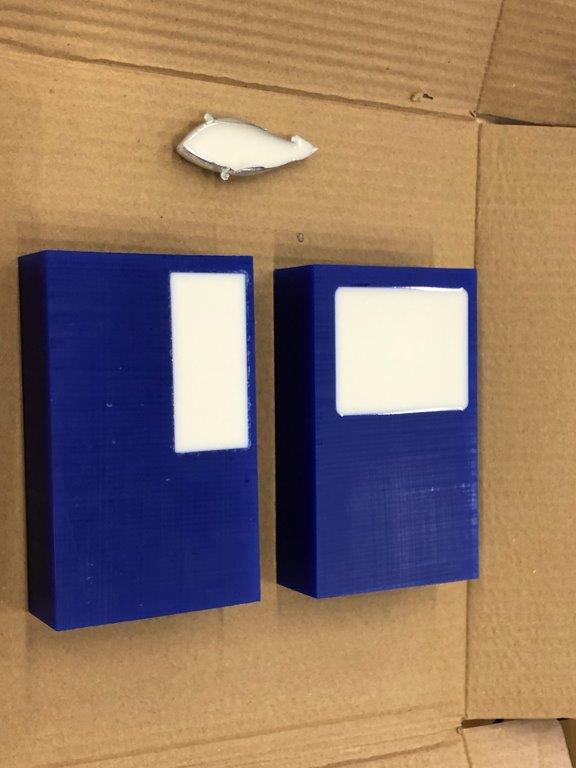
Silicone casting
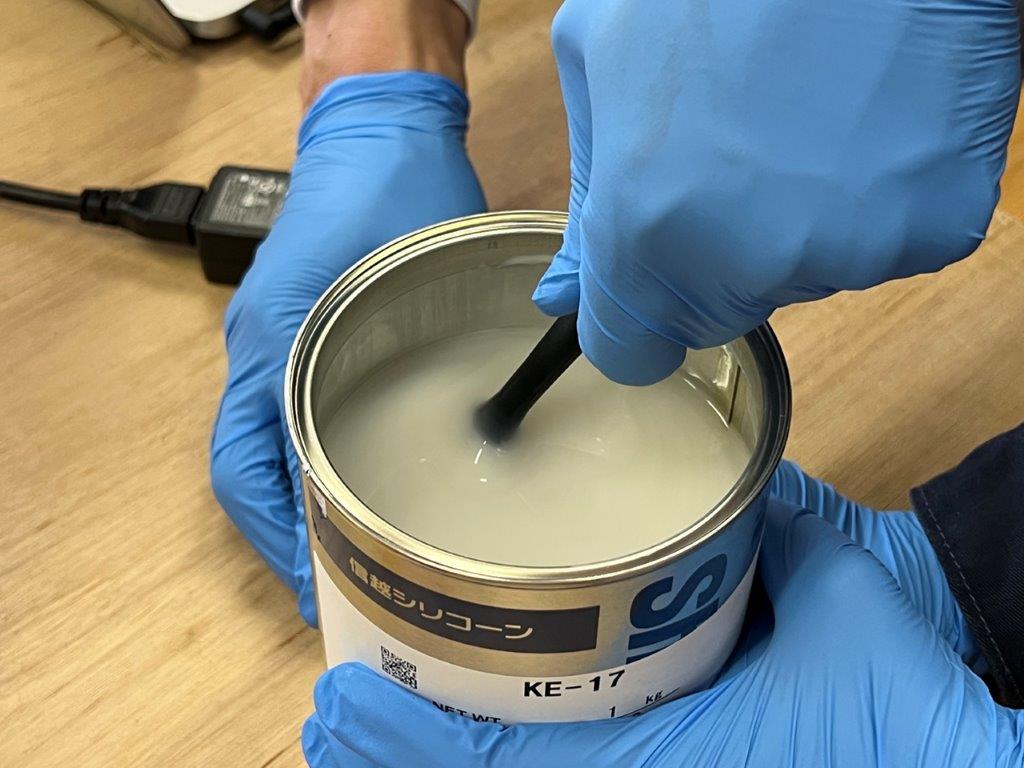
- Prepared "KE-17" by Shinetsu
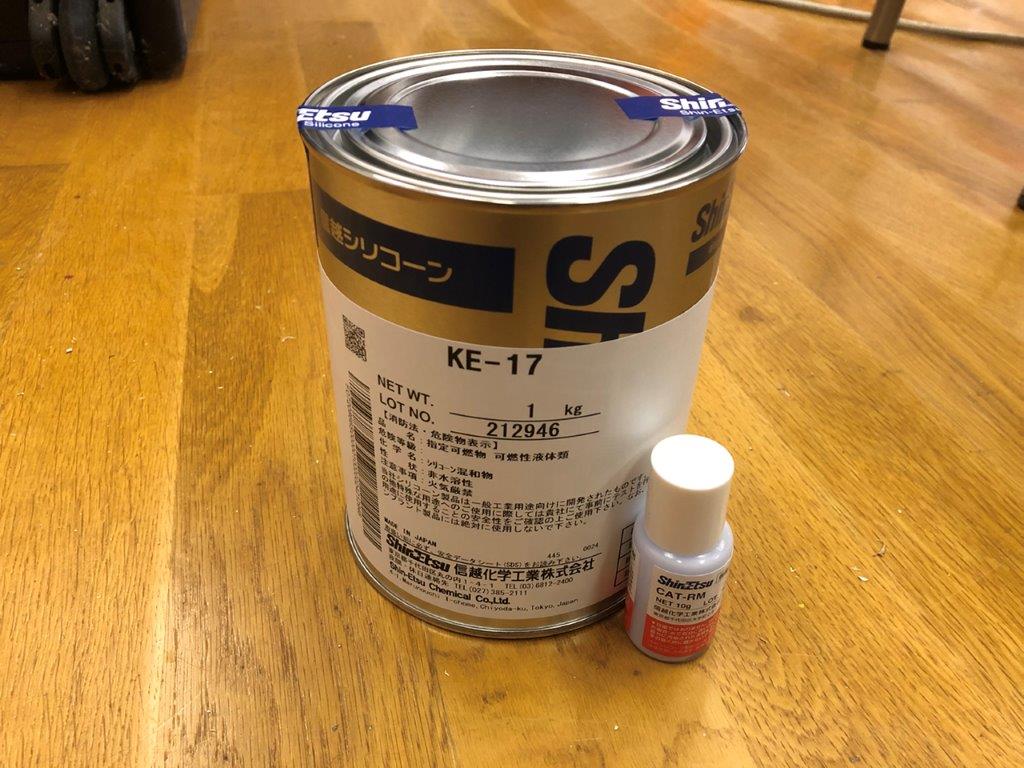
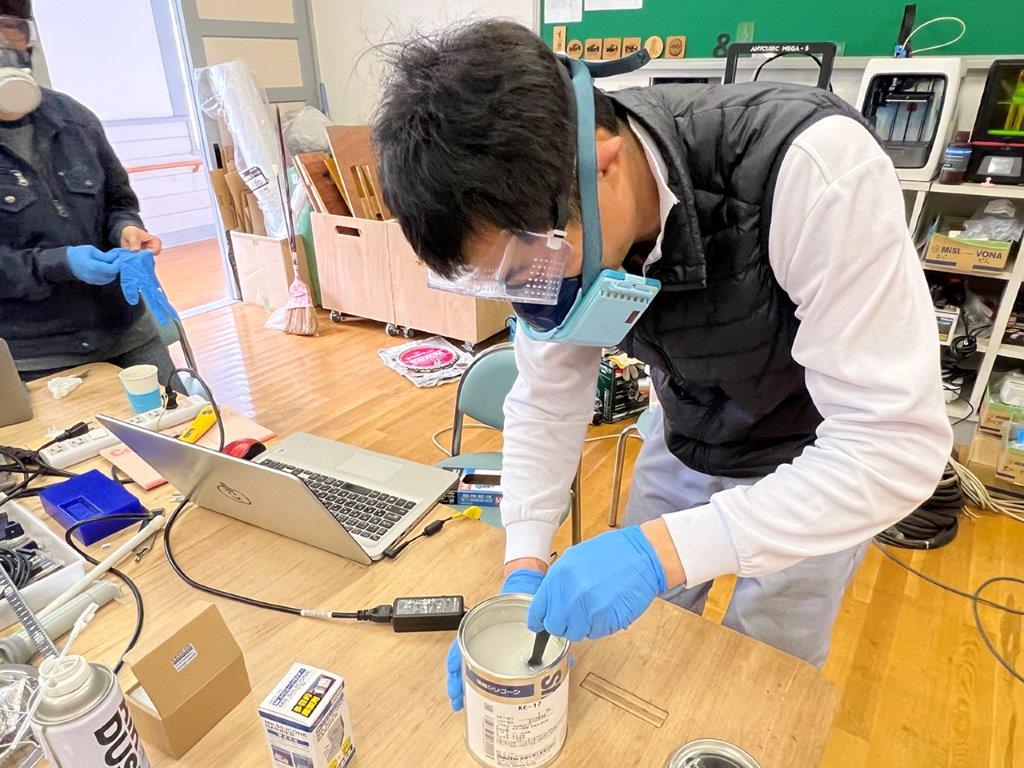
- Before casting, it must be well stirred but not causing bubble.
 Very sticky at bottom of the can
- Measure (this time 200.0g)
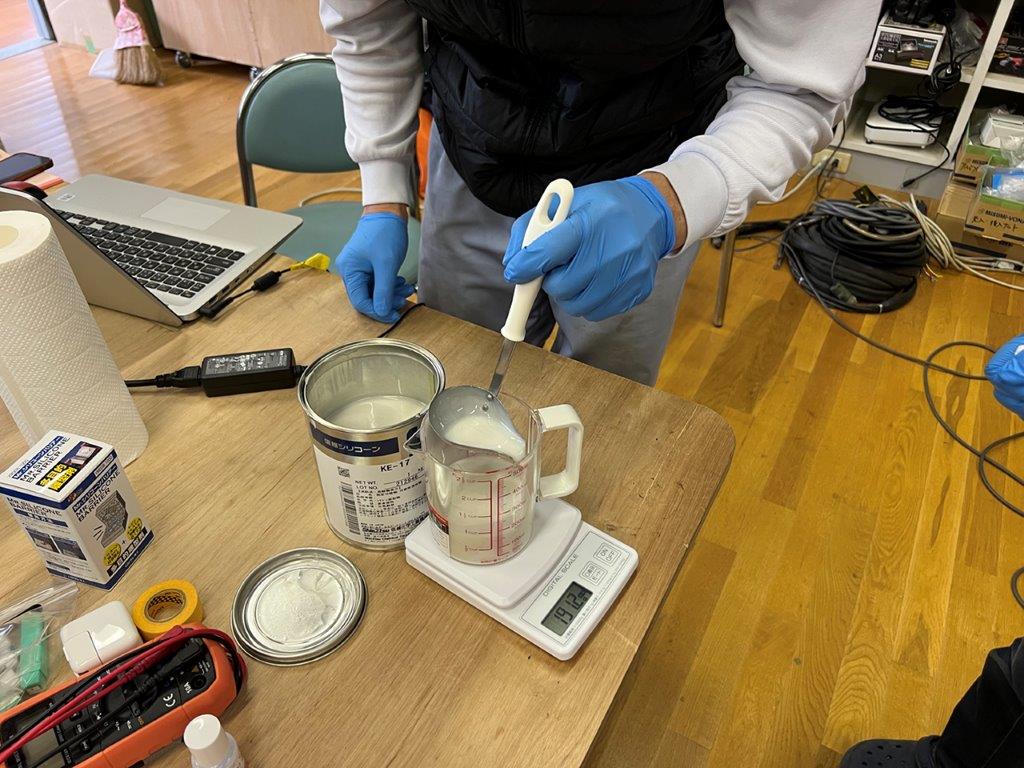
- Mix with curing agent, 0.5% weight of the silicone (this time 1.0g for 200.0g of silicone)
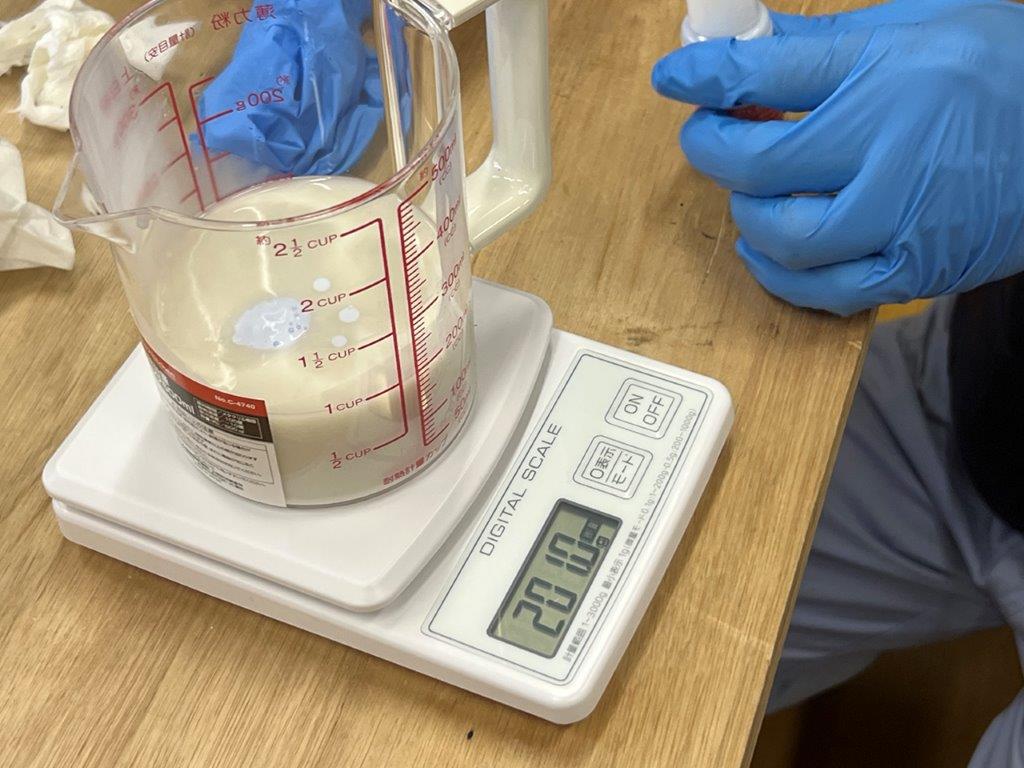
- Well stir but not babbling
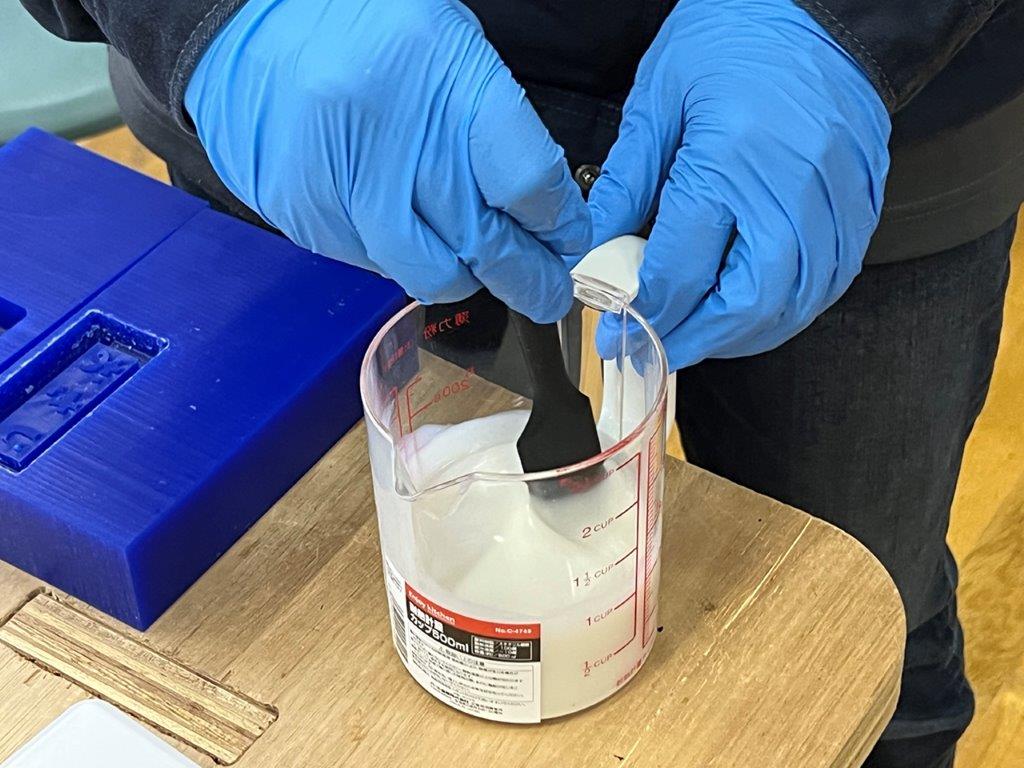
- Pour it into the mold
- Leave it hours (this time over 24 hours)
- Remove it
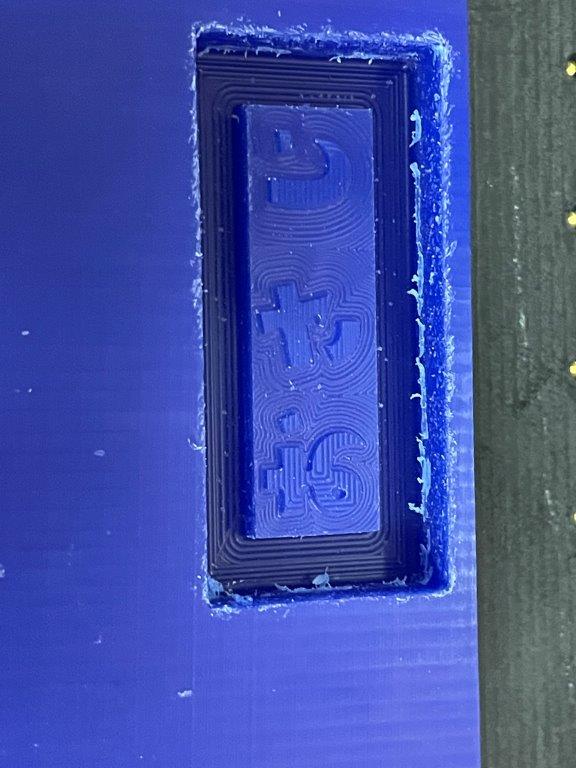
- Silicone mold done

- Prepared "KE-17" by Shinetsu
-
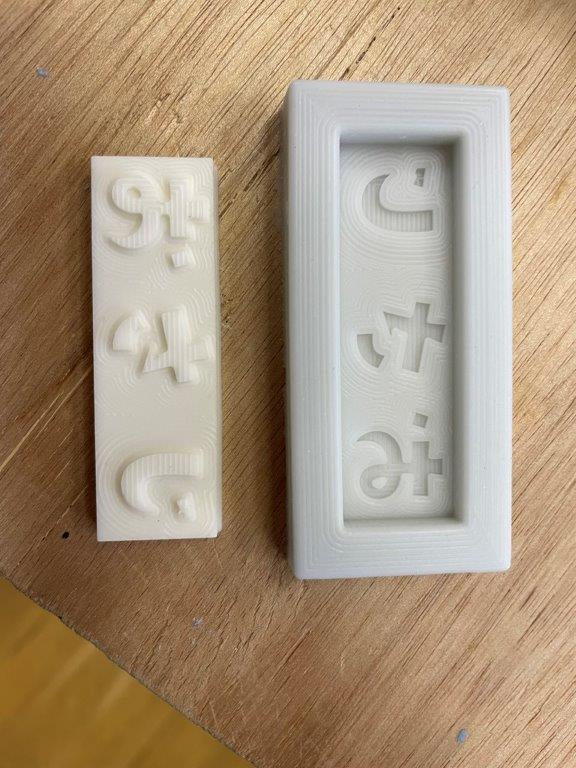
Resin casting
- Prepared "Wave Resin Cast EX OM-160"by Wave corporation
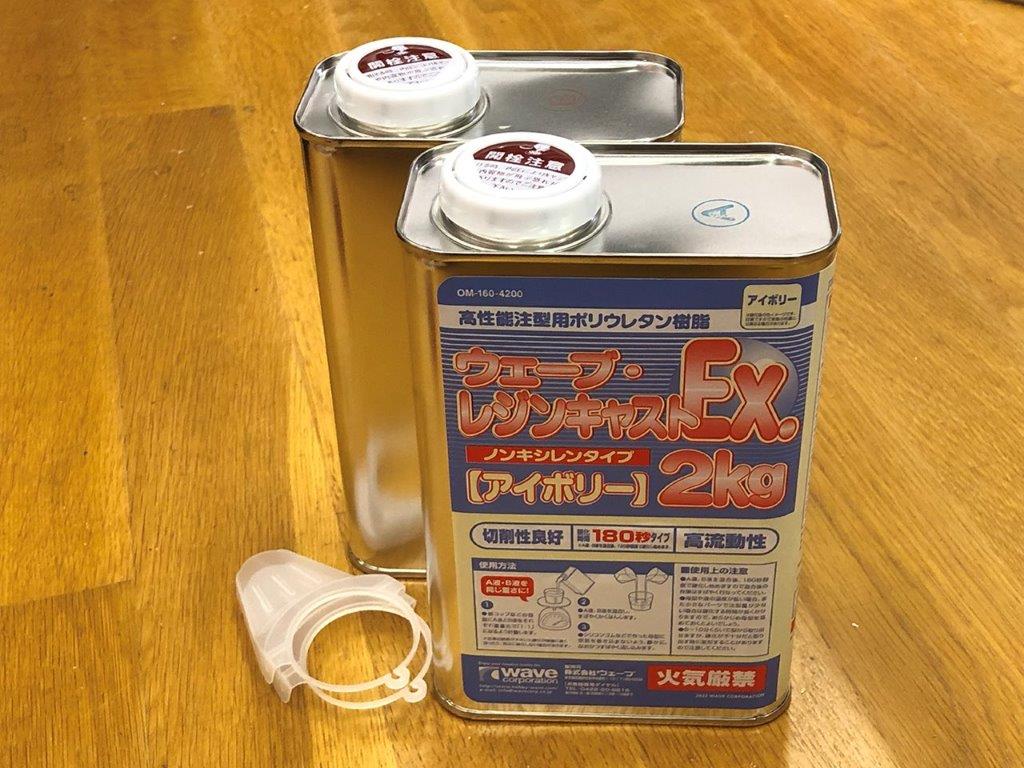
This resin liquid consists of A liquid and B liquid, it starts curing once those are mixed. So everything should be quickly done. - I measured A and B liquid and mixed, stirred and poured into the mold. (No photo as I was in hurry)
- Wait for several minutes, the color turned to white

- Removed 30 minutes later
- Prepared "Wave Resin Cast EX OM-160"by Wave corporation
Thoughts and feelings
- Learned how dangerous the chemical material for this process. It was very fun to do the casting but safety must be followed.
- As a result what I made was not good for the stamp yet. Because the surface is not flat, I need to sanding.
- It was good learning of 3D milling, for example the tapered wall takes long time as using ball end mill which cuts a little one time.
- Anyway I managed to make the mold as I expected. And the taper worked when removing silicone cast.
- Mold with silicone was easy to remove as silicone is flexible. It is good idea to make mold with silicone for repeating items.
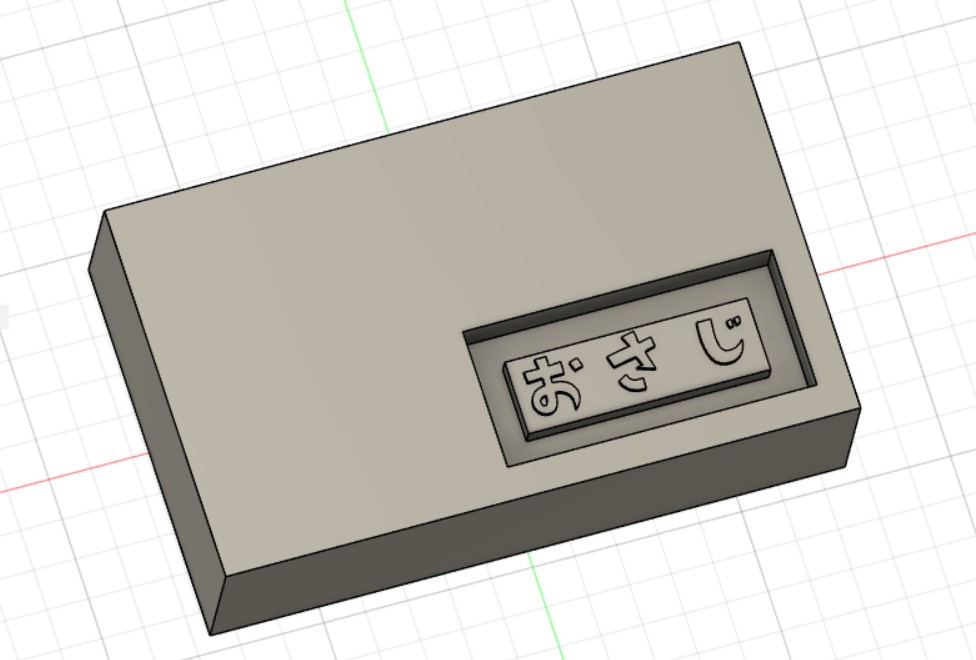
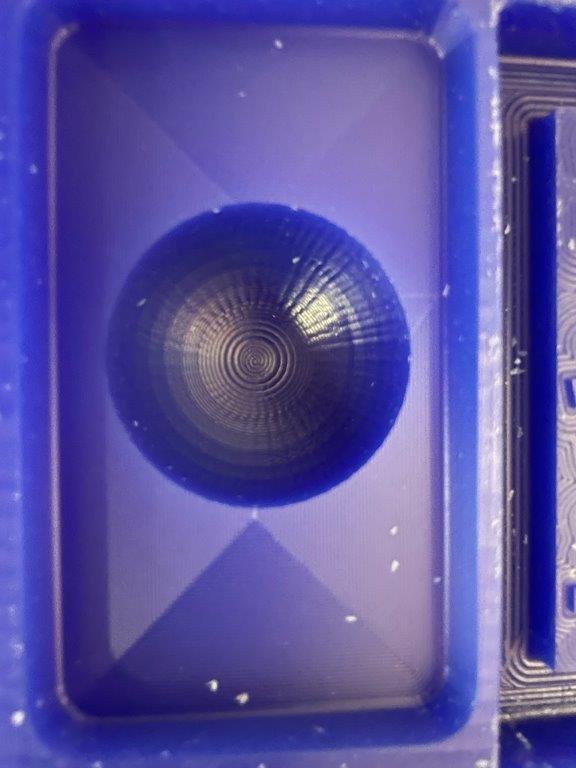
Re-try 3D design and milling
Design with Fusion 360
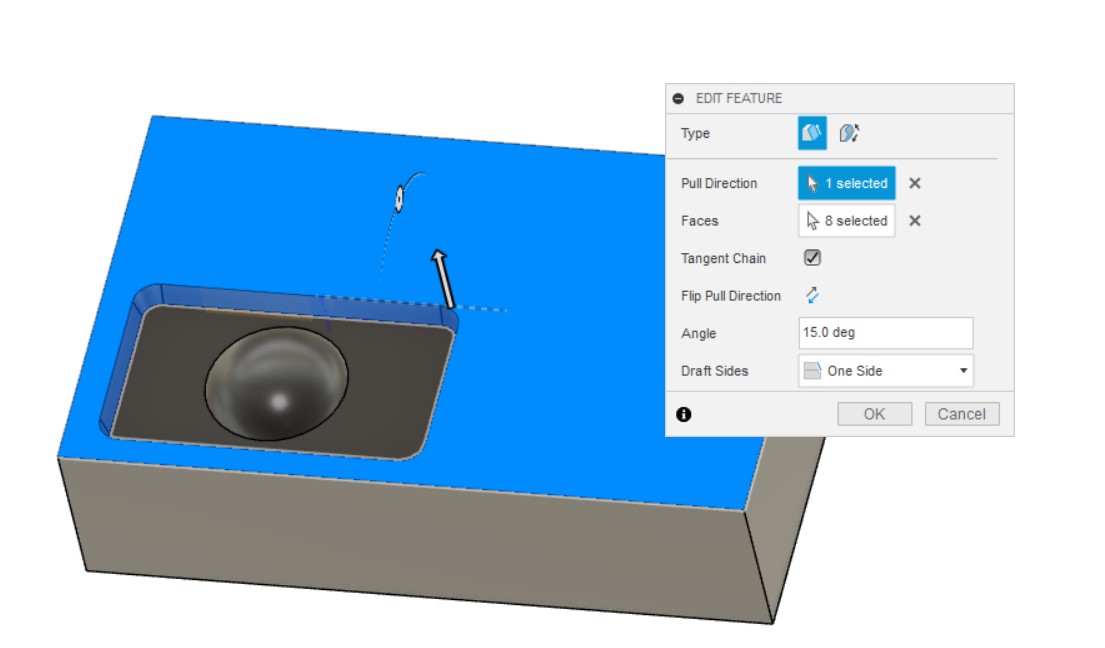
- For CNC 3D milling, I need to consider below:
- Is the shape accessible with 3 axis?
- To know the smallest tool size and make sure the design has no smaller part.(this time 2 mm ball end mill is the smallest one)
- To make sure 3D design, I included sphere and 15 degree draft.
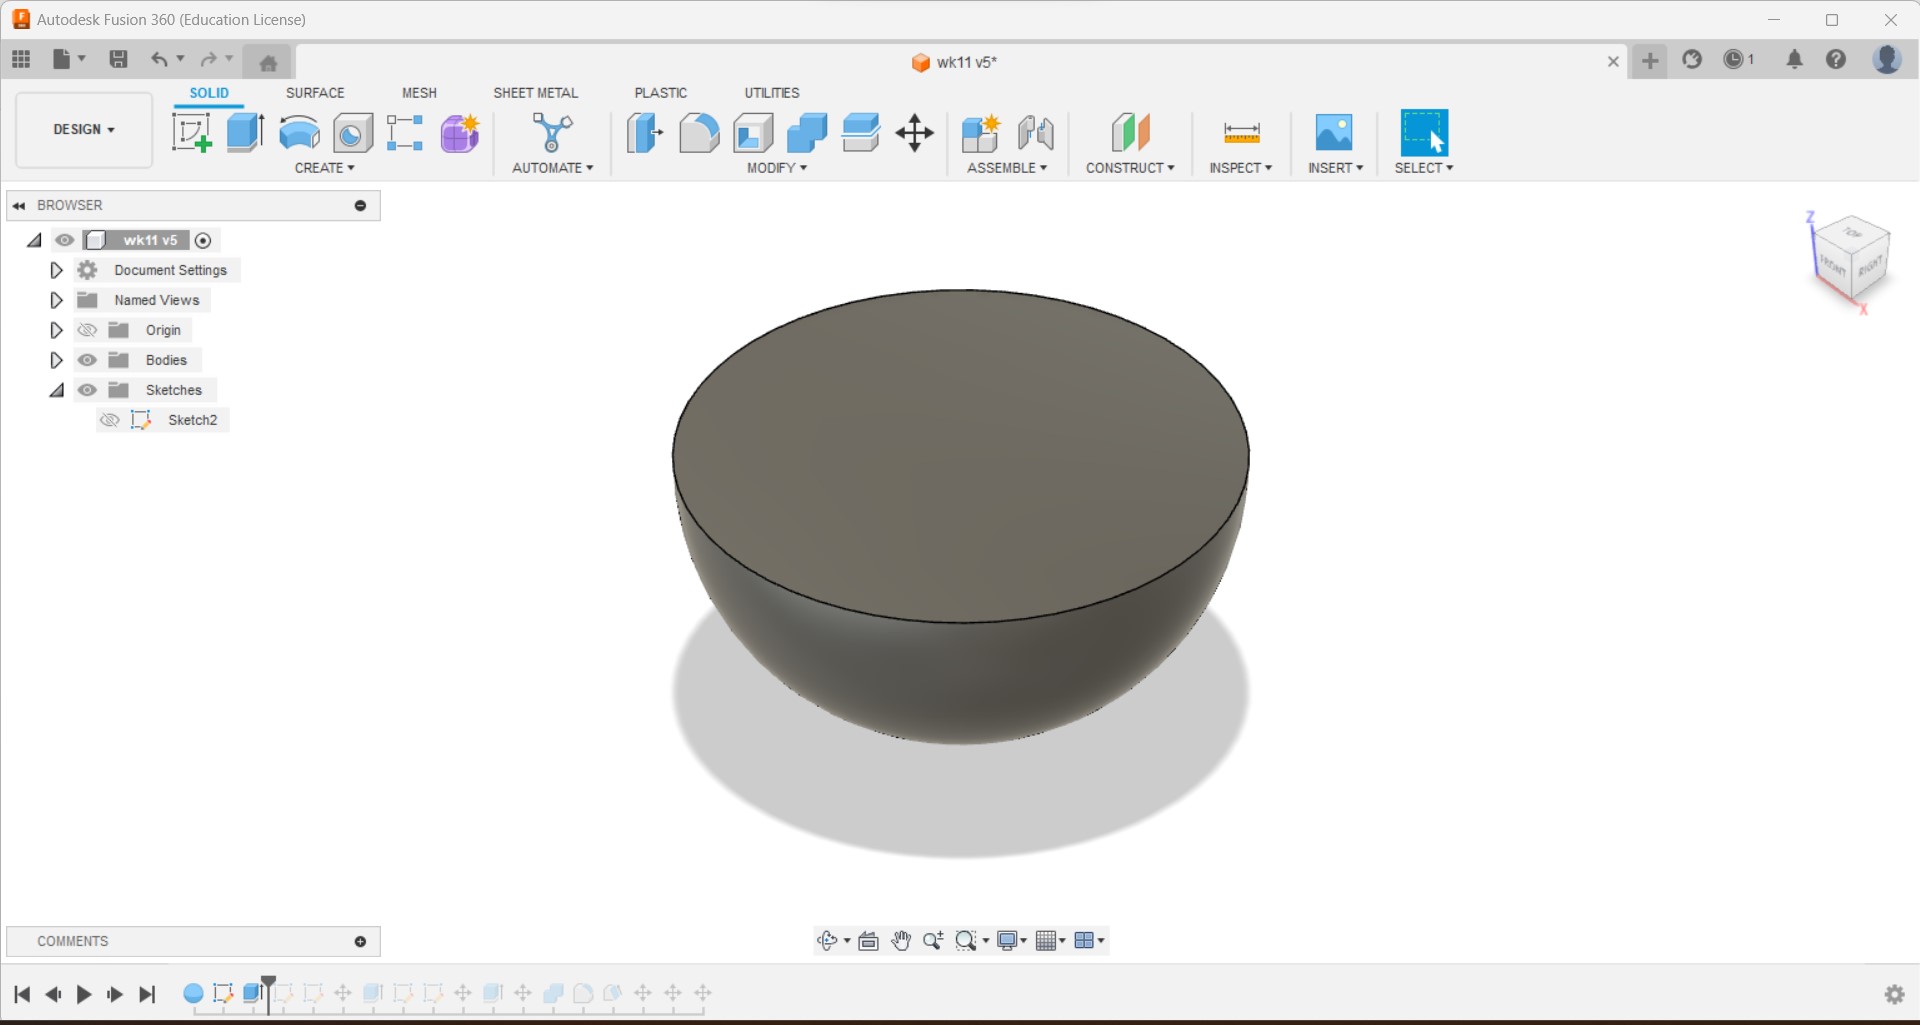
Half sphere
Draft 15 degree
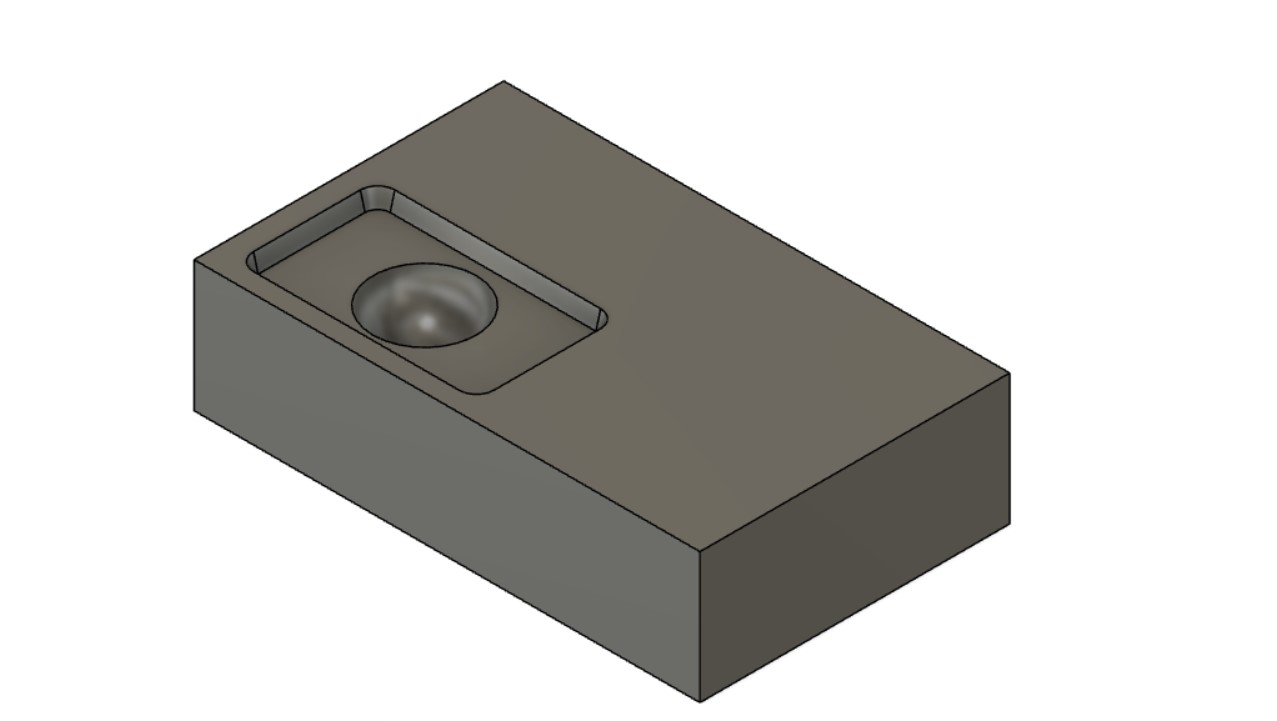
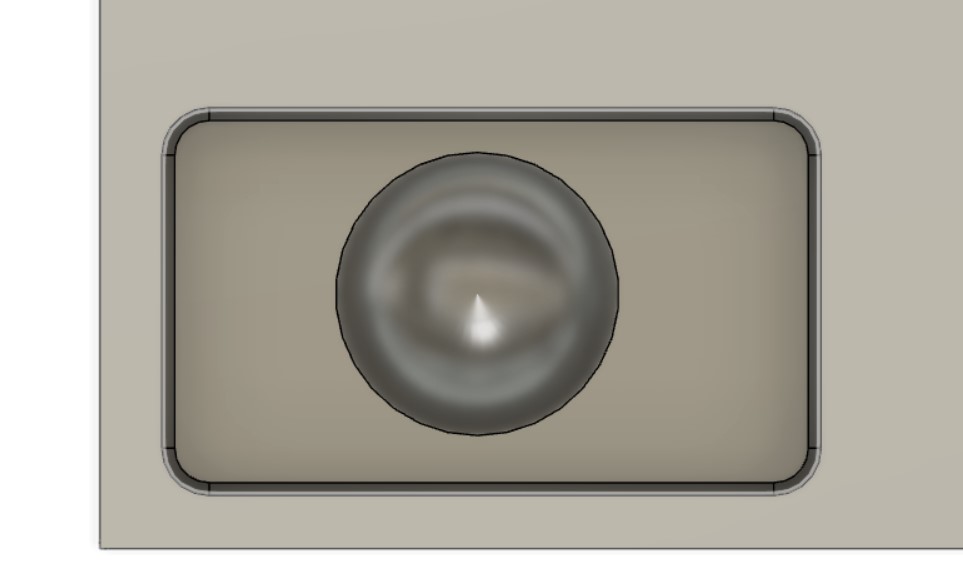
- Completed design (original data)

CAM with Fusion 360
- For this design I use 4 mm flat end mill for rough cutting and 2 mm ball end mill for finish cut.
- For 4 mm flat end mill, settings as follows;
feed rates:1200mm/min
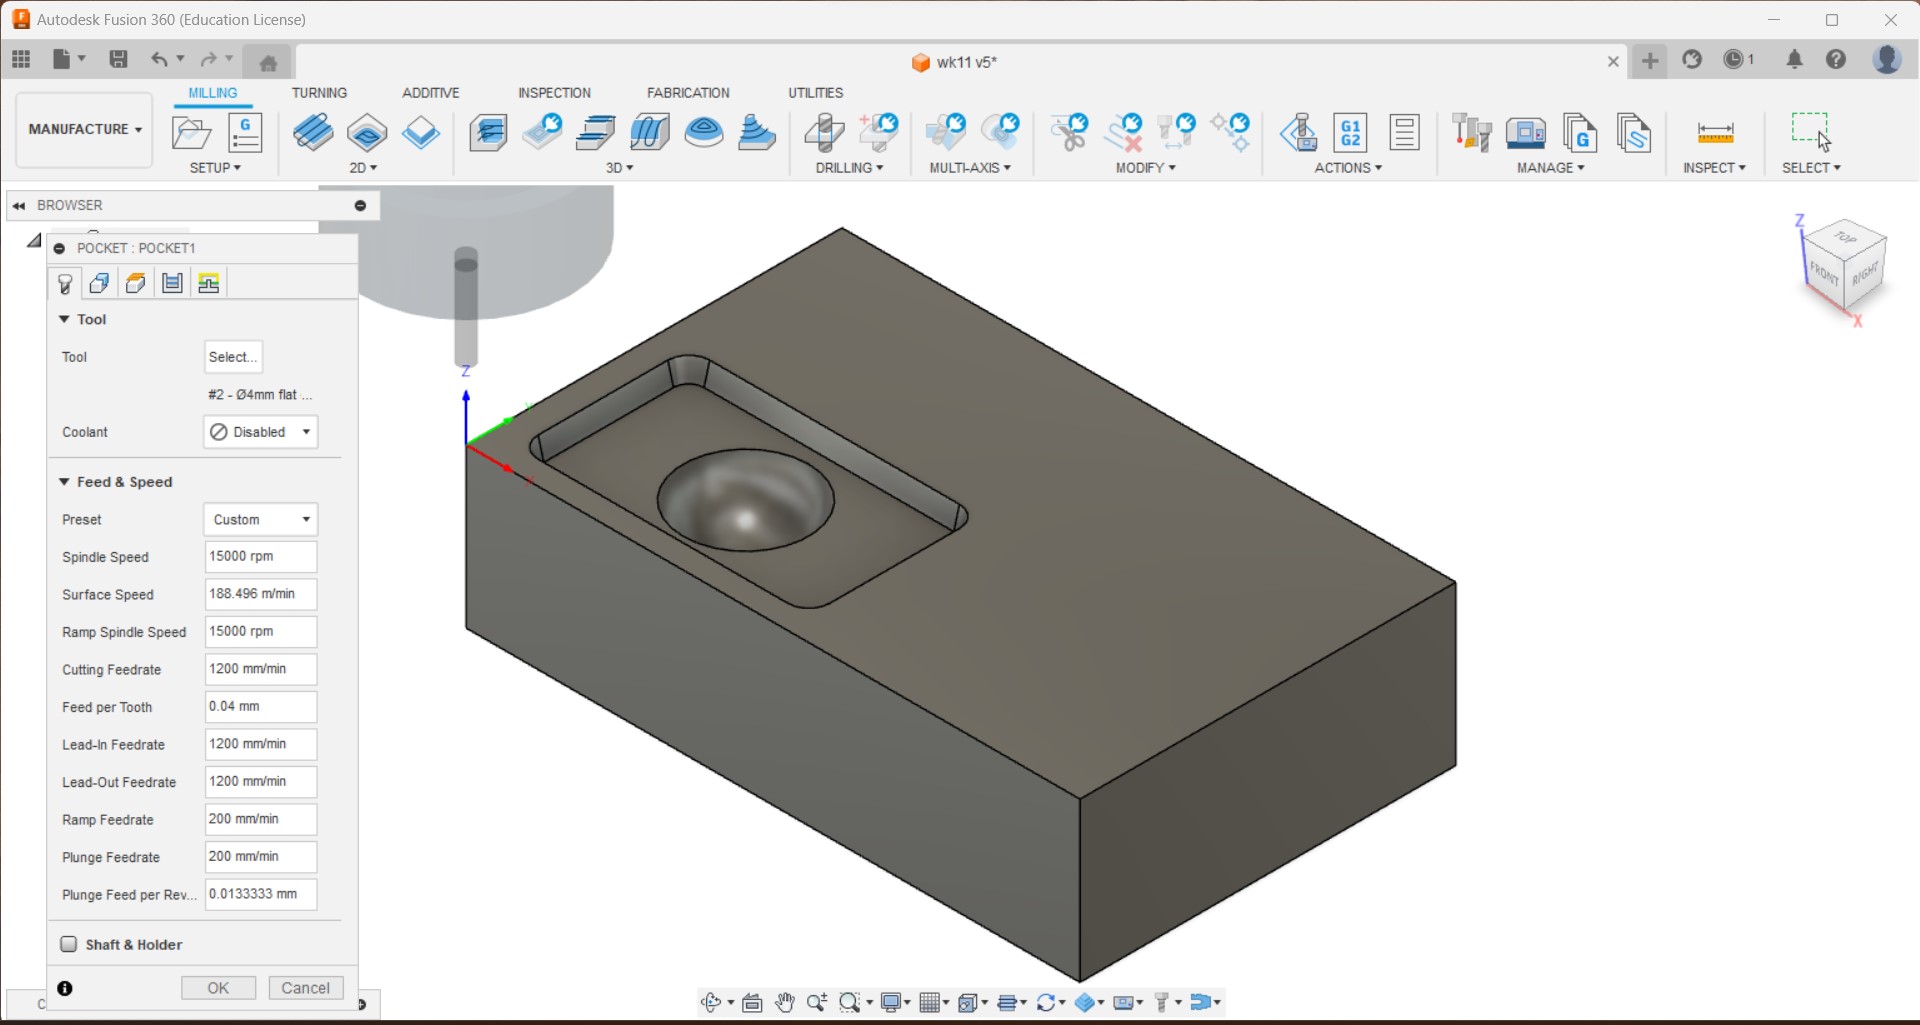
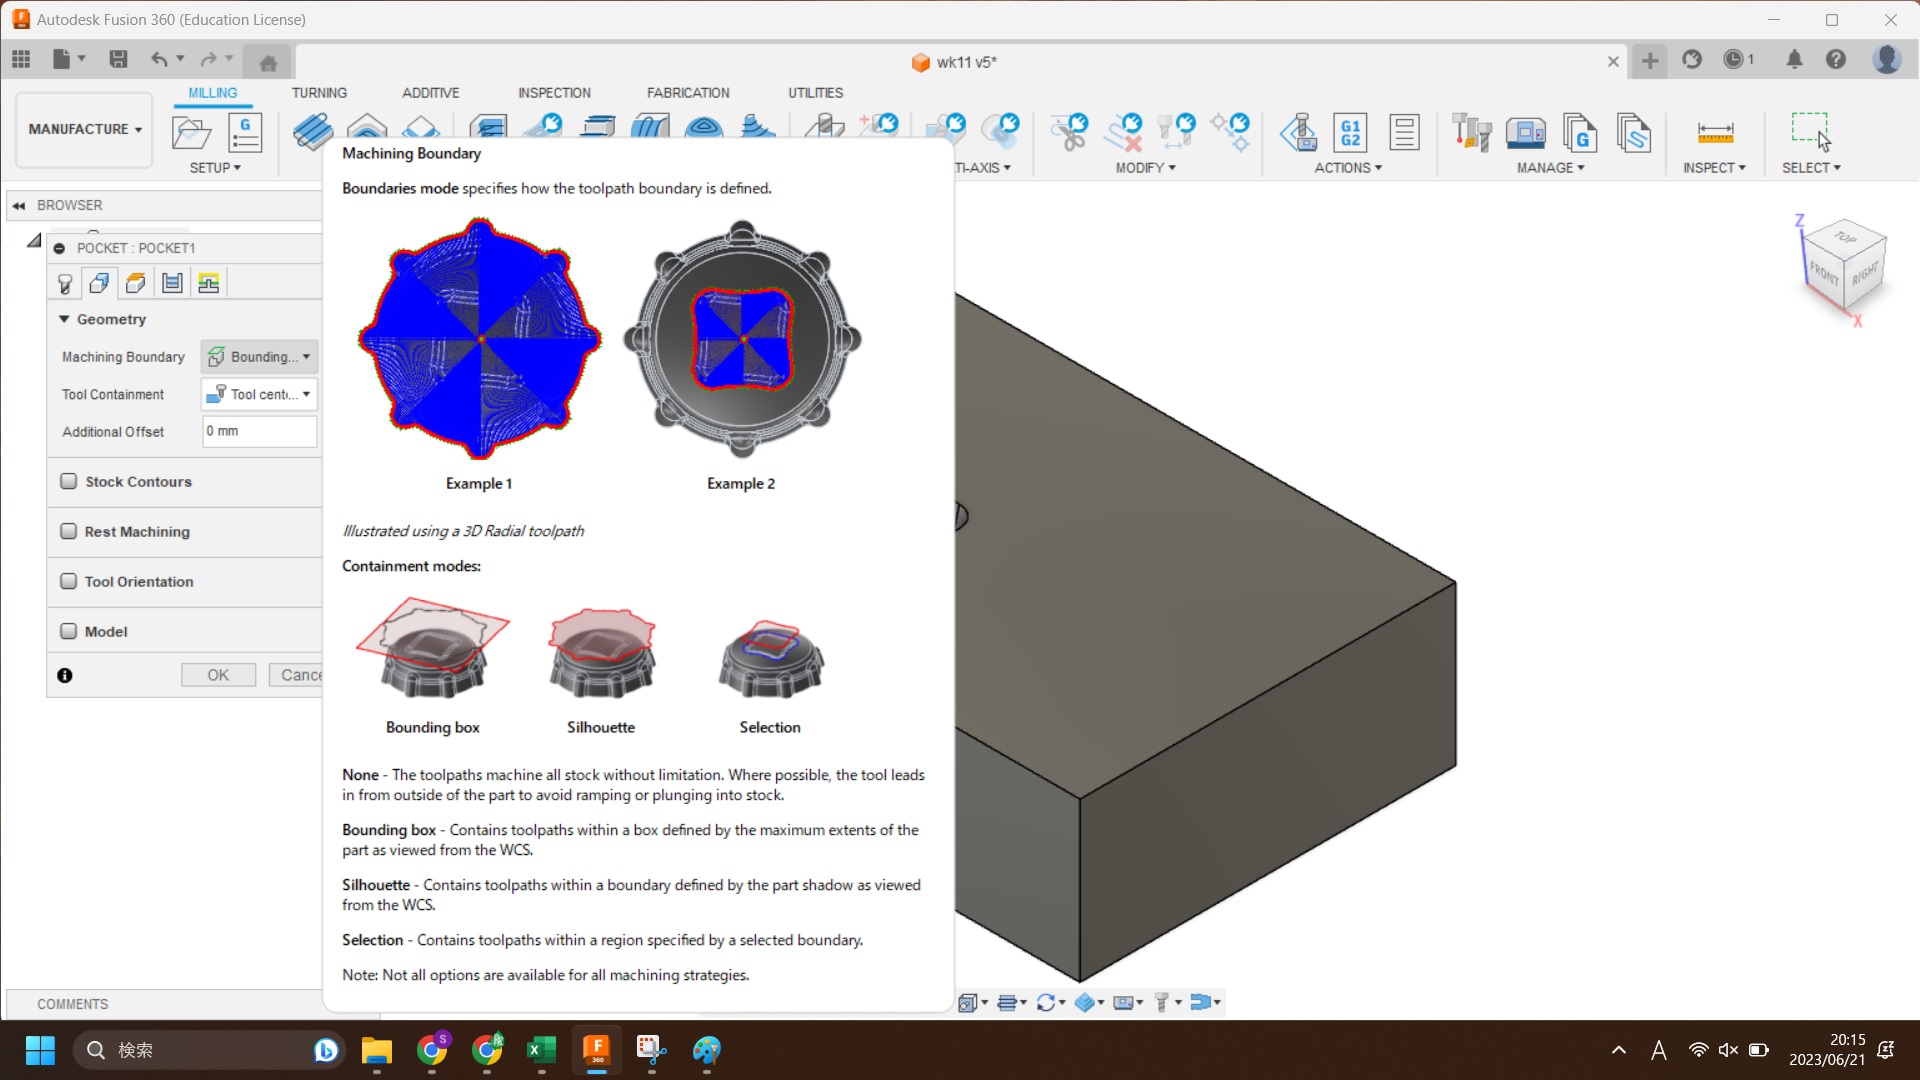
cutting areas: Bounding box
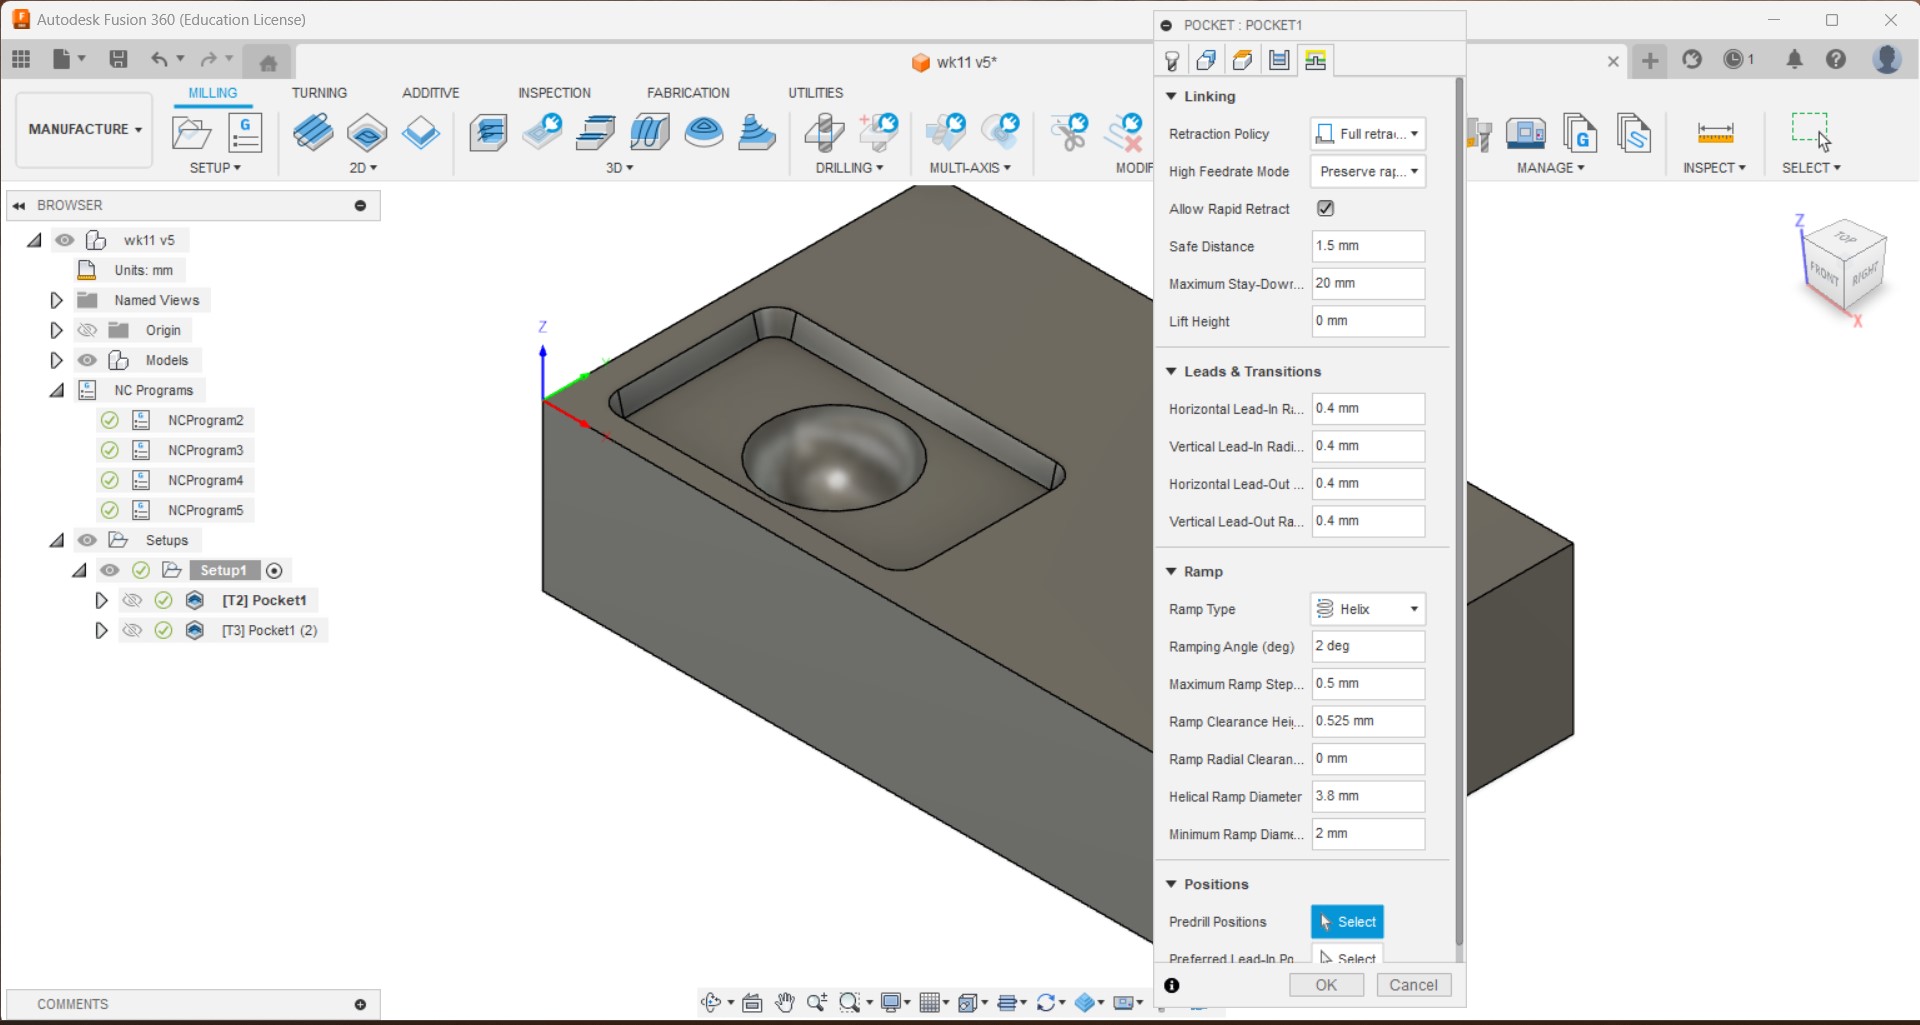
steps:0.5mm /ramp
-
For 2 mm ball end mill, settings are almost the same but ramp step down 0.2 mm.
-
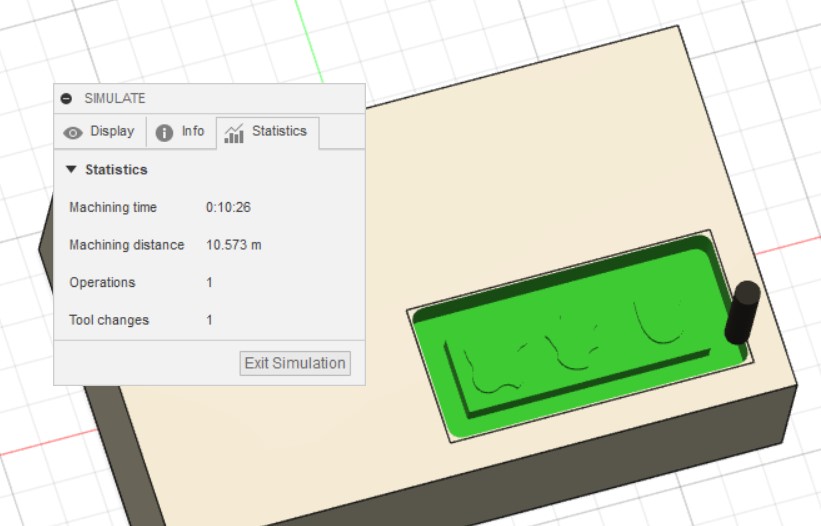
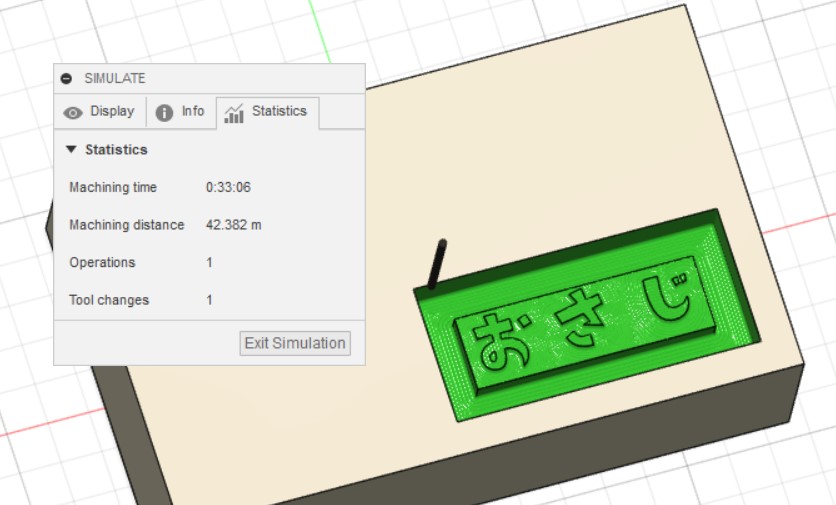
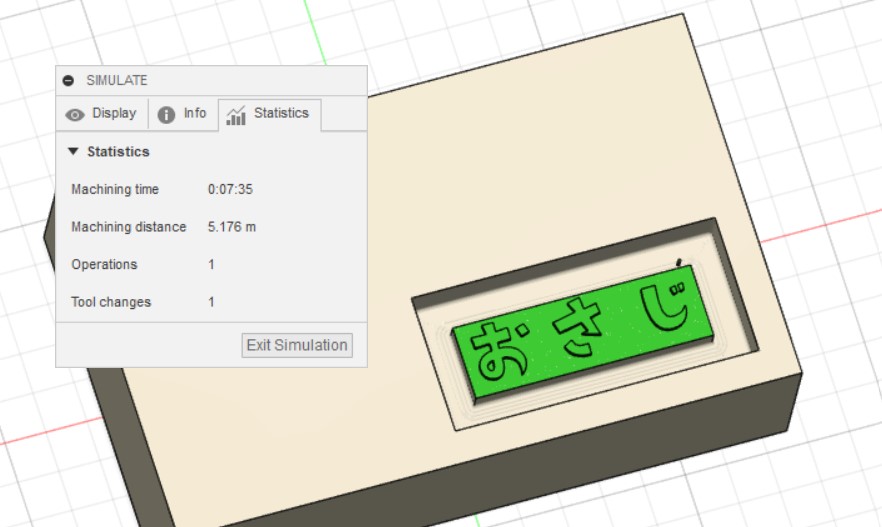
Simulation
I can see how cut is going with "Simulation" function
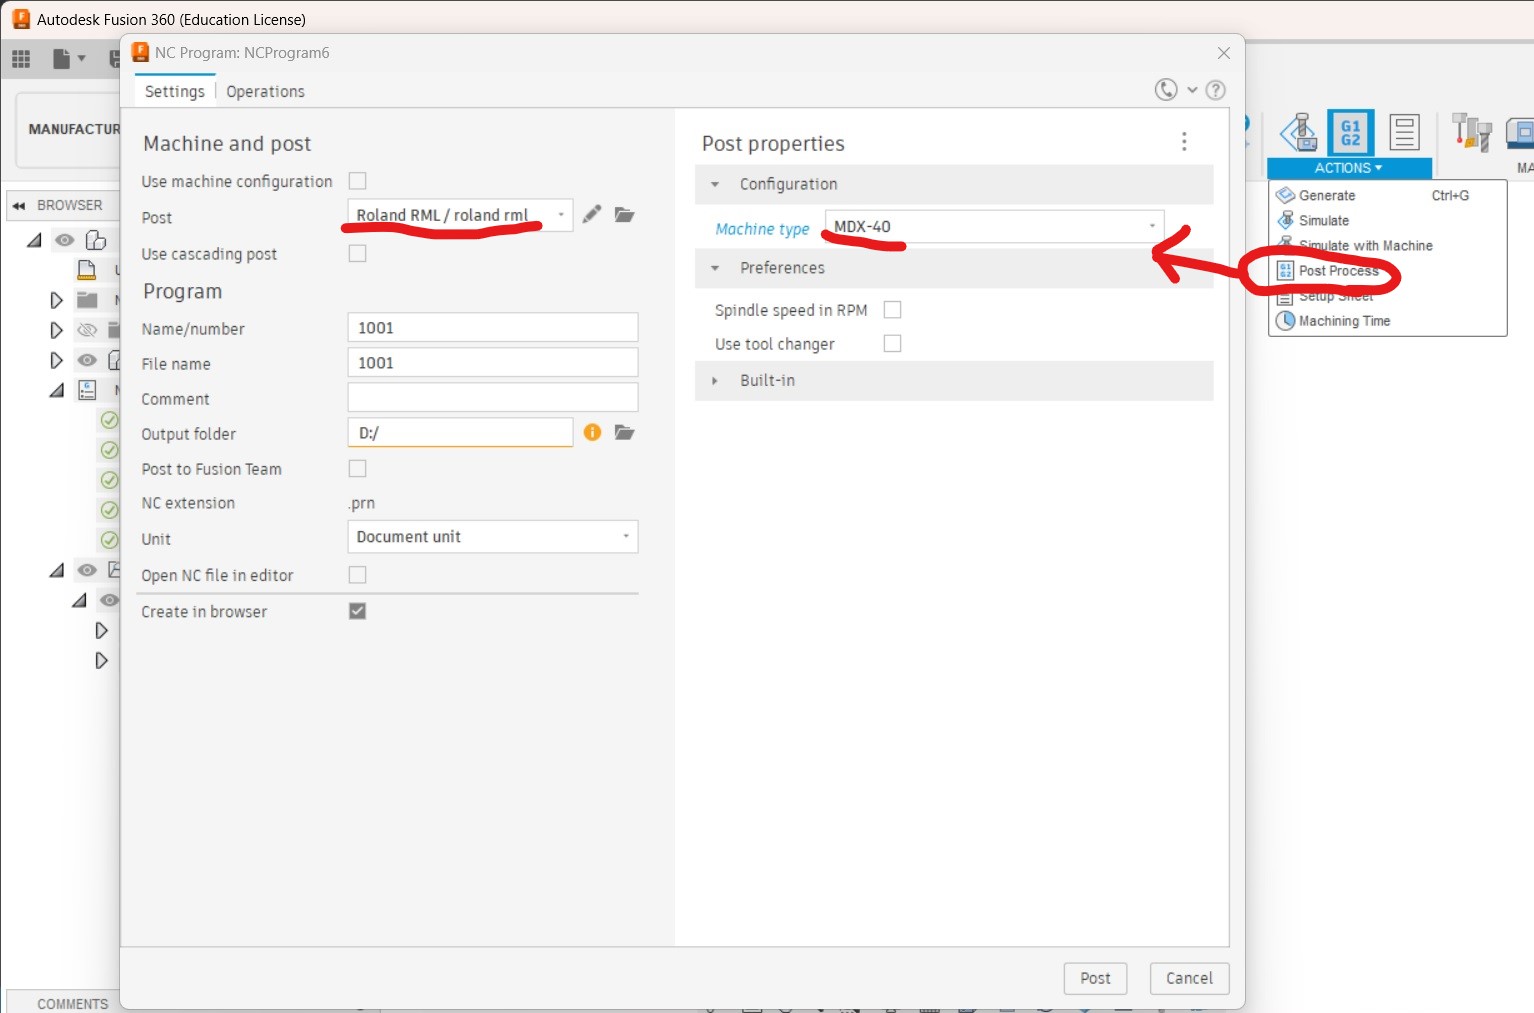
Cutting with Roland DX-40
Set up and software operation is the same as week 8
Rough cut done

Finish cut done
(end of document)