Week 01 Principles and Practices, Project Management
Lecture on 25 Jan 2023
A) Principles and practices B) Project management
A) Principles and practices
a) Description of the week
-
Prof. Neil explained the background of Fab Academy
- history of digital revolutions in communication and computation
- developing fabrication activities and spreading of the lab network all over the world.
-
Observed presentations by 2022 students
- presenter explained with documents and videos
- Prof. Neil made question on important point like what kind of sensor used.
b) Task of the week
- Plan and sketch a potential final project
c) Result
-
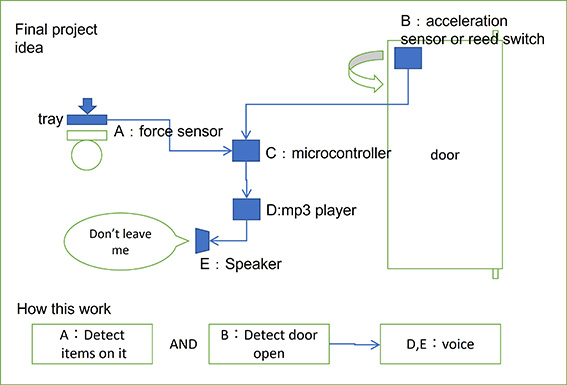
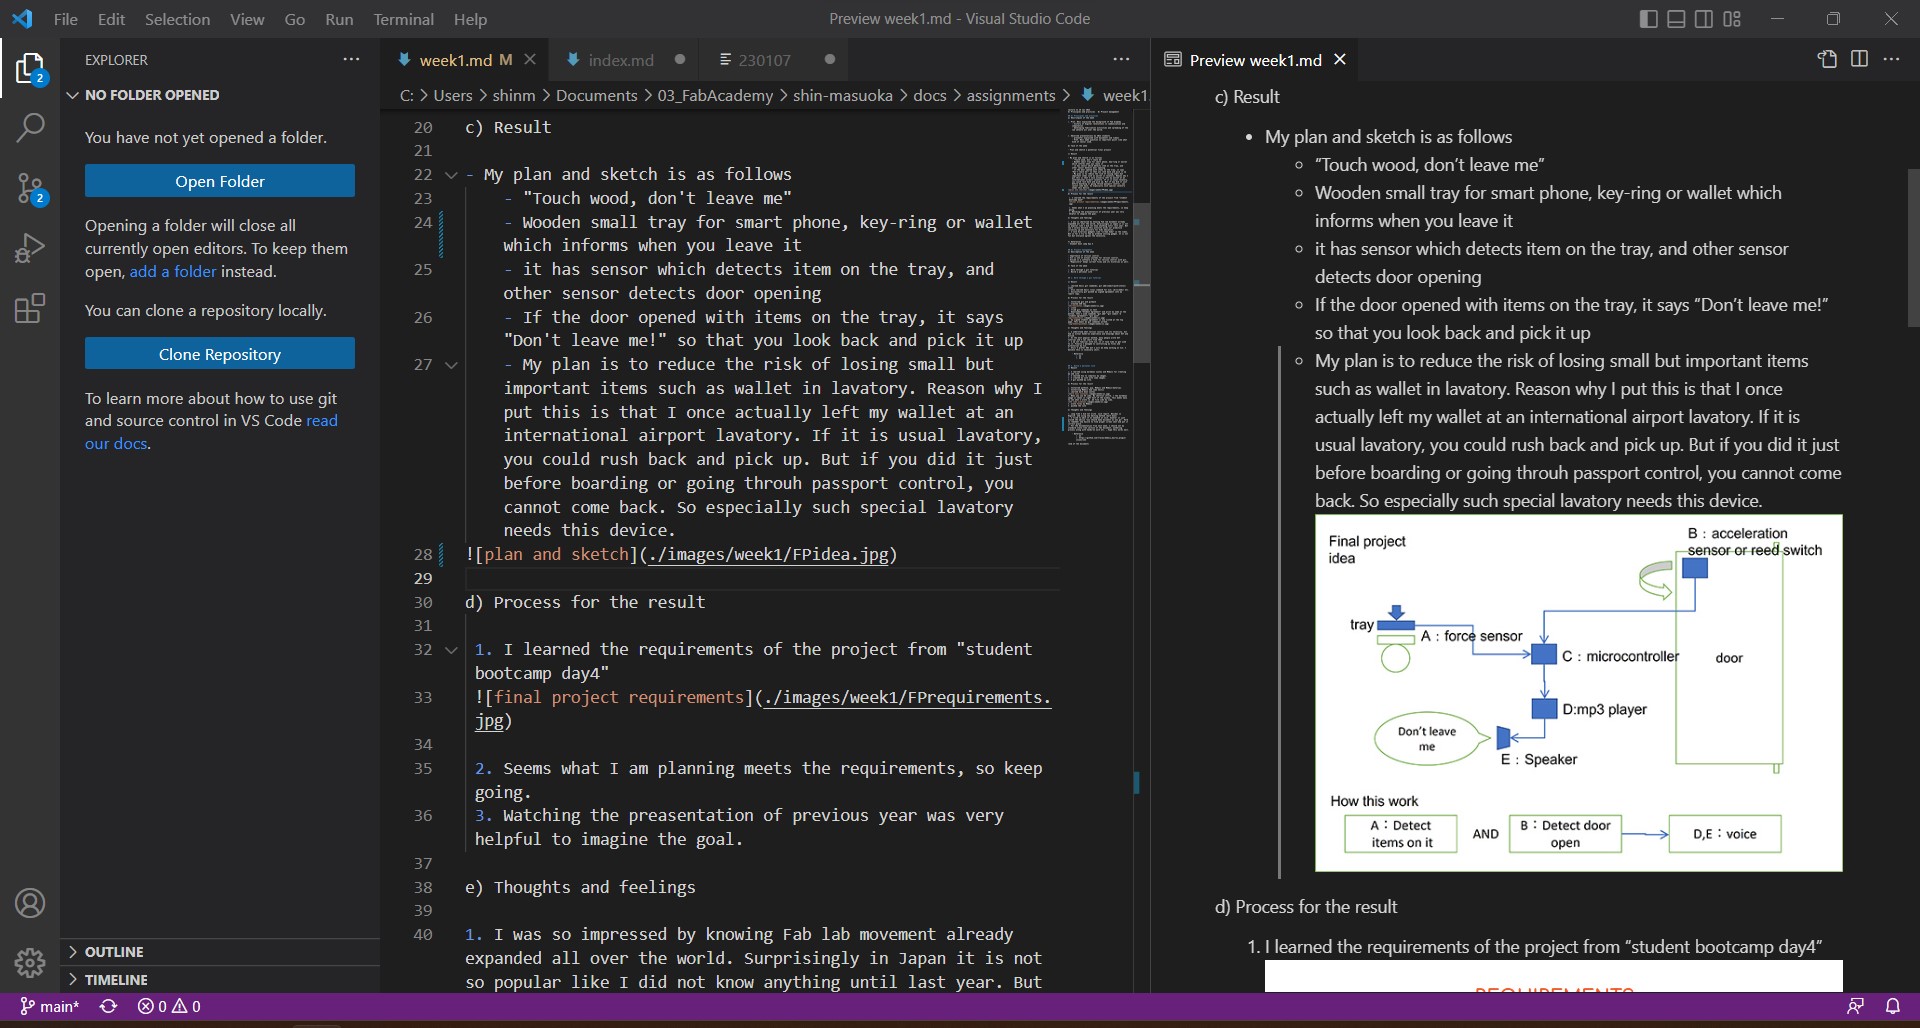
My plan and sketch is as follows
- "Touch wood, don't leave me"
-
Wooden small tray for smart phone, key-ring or wallet which informs when you leave it
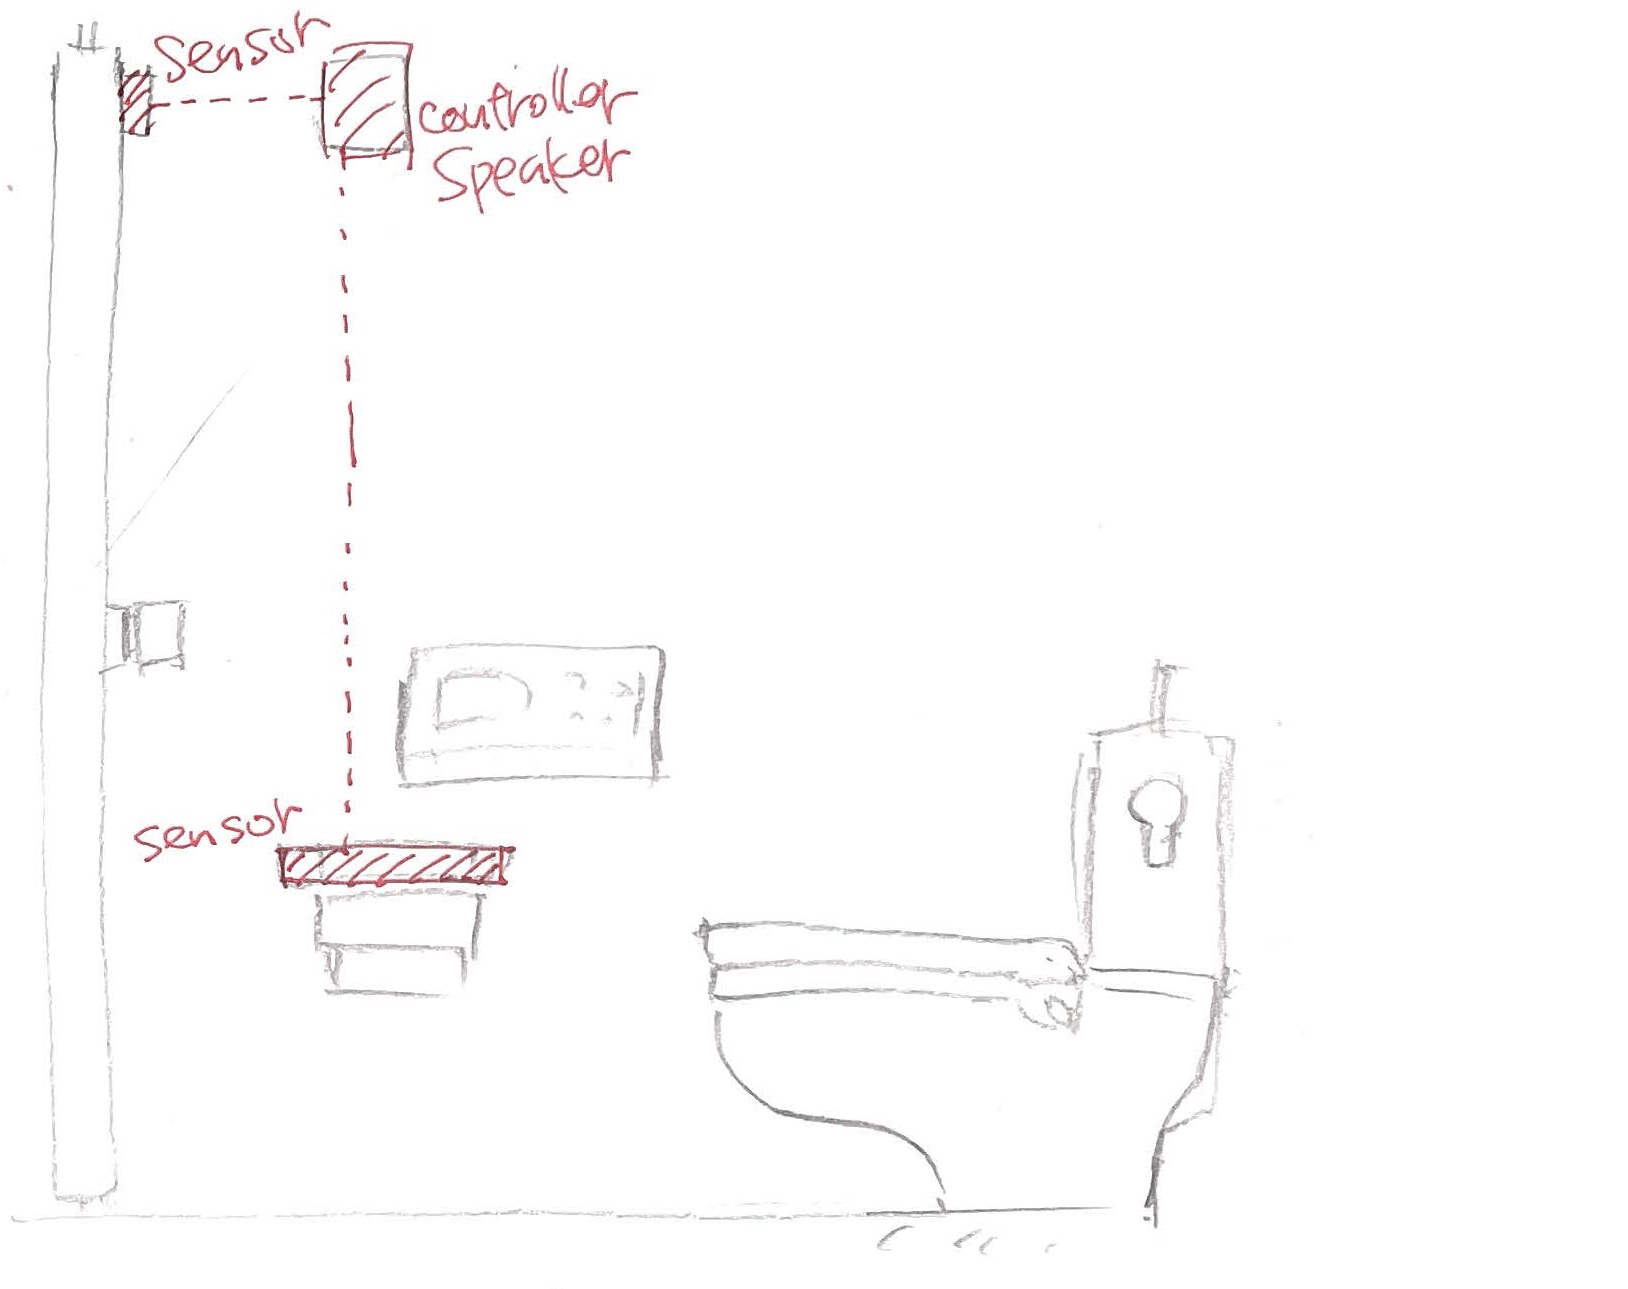
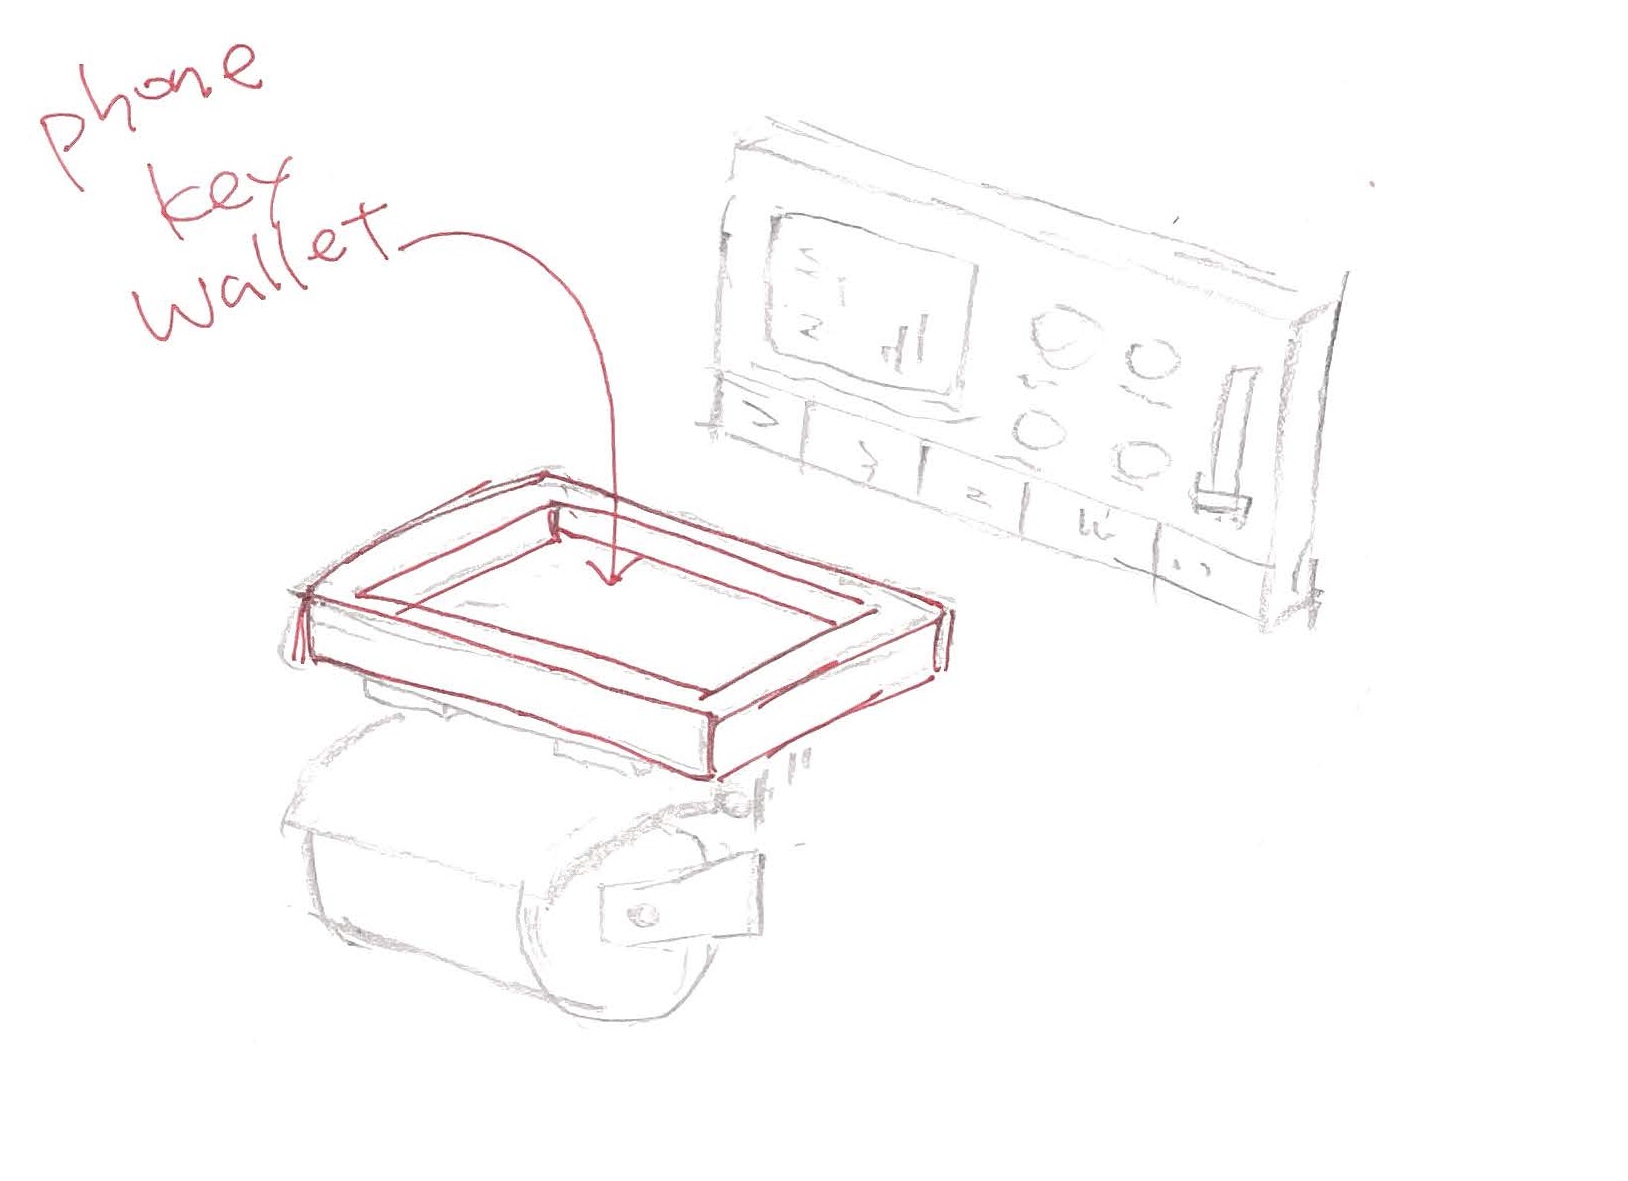
-
it has sensor which detects item on the tray, and other sensor detects door opening
- If the door opened with items on the tray, it says "Don't leave me!" so that you look back and pick it up
- My plan is to reduce the risk of losing small but important items such as wallet in lavatory. Reason why I put this is that I once actually left my wallet at an international airport lavatory. If it were a usual lavatory, you could come back and pick it up. But if you did it just before boarding or going through passport control, you cannot come back. So especially such special lavatory needs this device.
d) Process for the result
-
Checked the requirements of the project from "student bootcamp day4"
-
Subtractive fabrication process seemed difficult to apply, but I will try to use the process for "curving wood casing with CNC"
- Otherwise seems my plan meets the requirements.
- Watching the presentation of previous year was very helpful to imagine the goal.
e) Thoughts and feelings
- Impressed by knowing Fab lab movement has been expanded all over the world. Surprisingly in Japan it seems not so popular as average people like me did not know anything until last year. But now I surely believe this activity kicks our primitive curiosity up and necessary for kids education.
- As for final project, I love hilarious gadgets like "scream body" in the video. But so far I try to fab my problem solving gadget. It is not funny nor hilarious but everyone agrees the necessity, I hope.
f) References - Pablo's slide from Student boot camp day 4
B) Project management
a) Description of the week
- Importance of version control
- Git is one of actual systems for version control.
- GitLab is a software I face for version control with git.
- "Repository" keeps current files and its histories as well.
- "Repository" is where you store your code and make changes to it. Your changes are tracked with version control.(quote from Git lab)
b) Task of the week
- Work through a git tutorial
- Build a personal site
1. Work through a git tutorial
c) Result
- Learned basic git commands; git add/commit/push/status/clone
- I can refer Git cheat sheet for many commands, especially below 3 commands are important to update repositories.
- git add: Once I have done editing document, add a file to the staging area by this command. Staging area is a kind of waiting space for git commit in local.
- git commit: I comfirm the change in staging area by this command. This is only for local, not reflected to remote.
- git push: To reflect the commited content I need to use this command.
- git pull: By this command I can download the latest version of the remote repository into my local repository.
- I can refer Git cheat sheet for many commands, especially below 3 commands are important to update repositories.
- Also learned basic linux command for CLI; cd/ls/mkdir etc.
- Successfully git pushed my signed agreement and website into my remote repo.
d) Process for the result
- Installed git and gitbash in my windows PC.
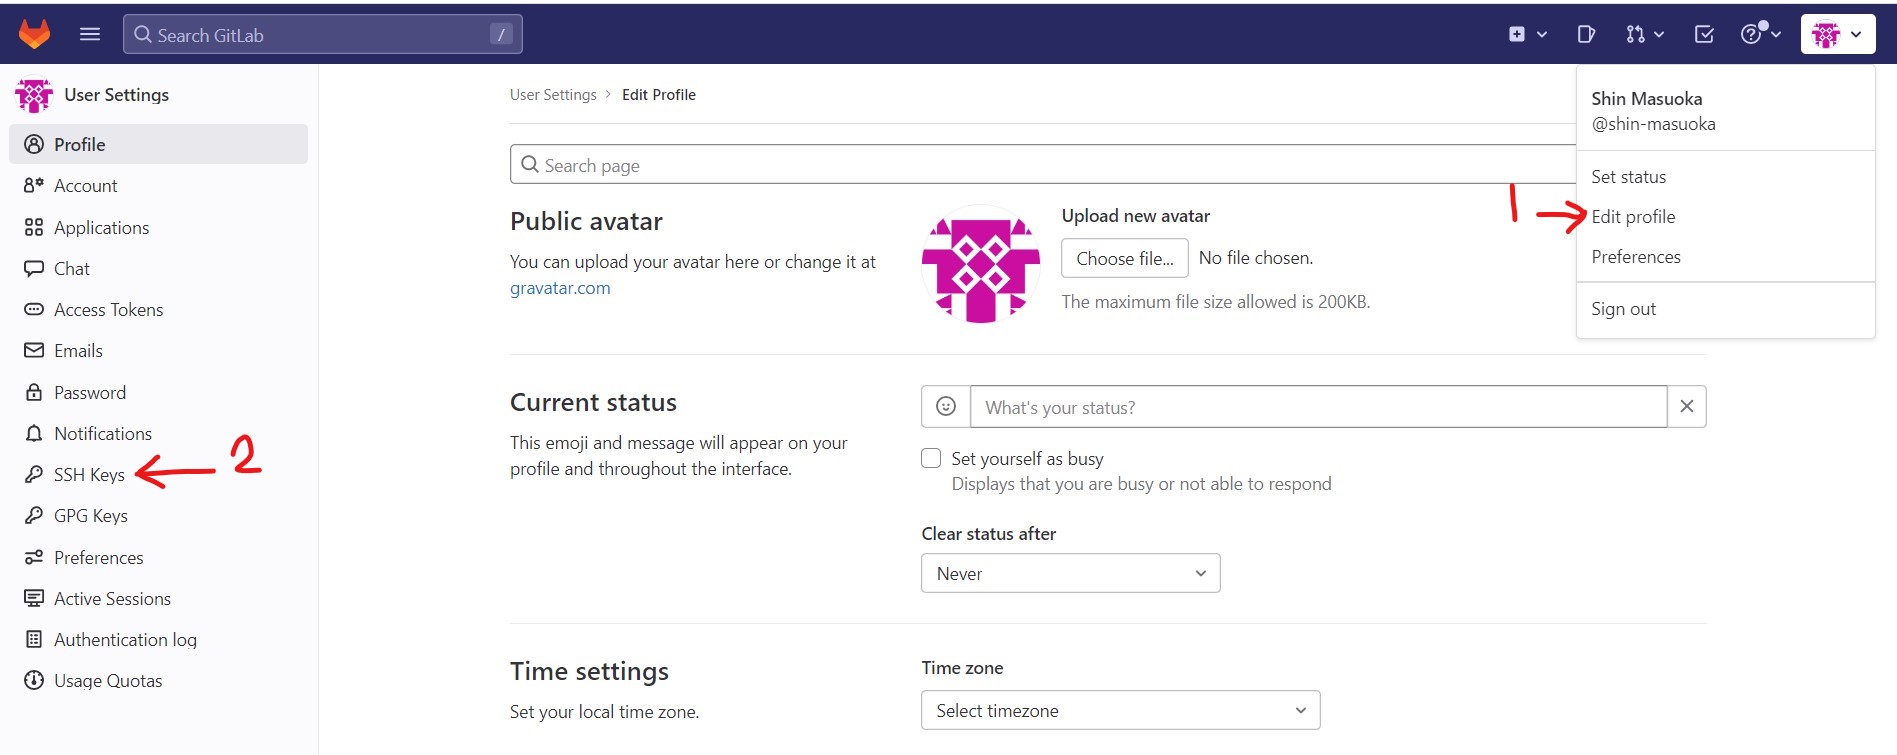
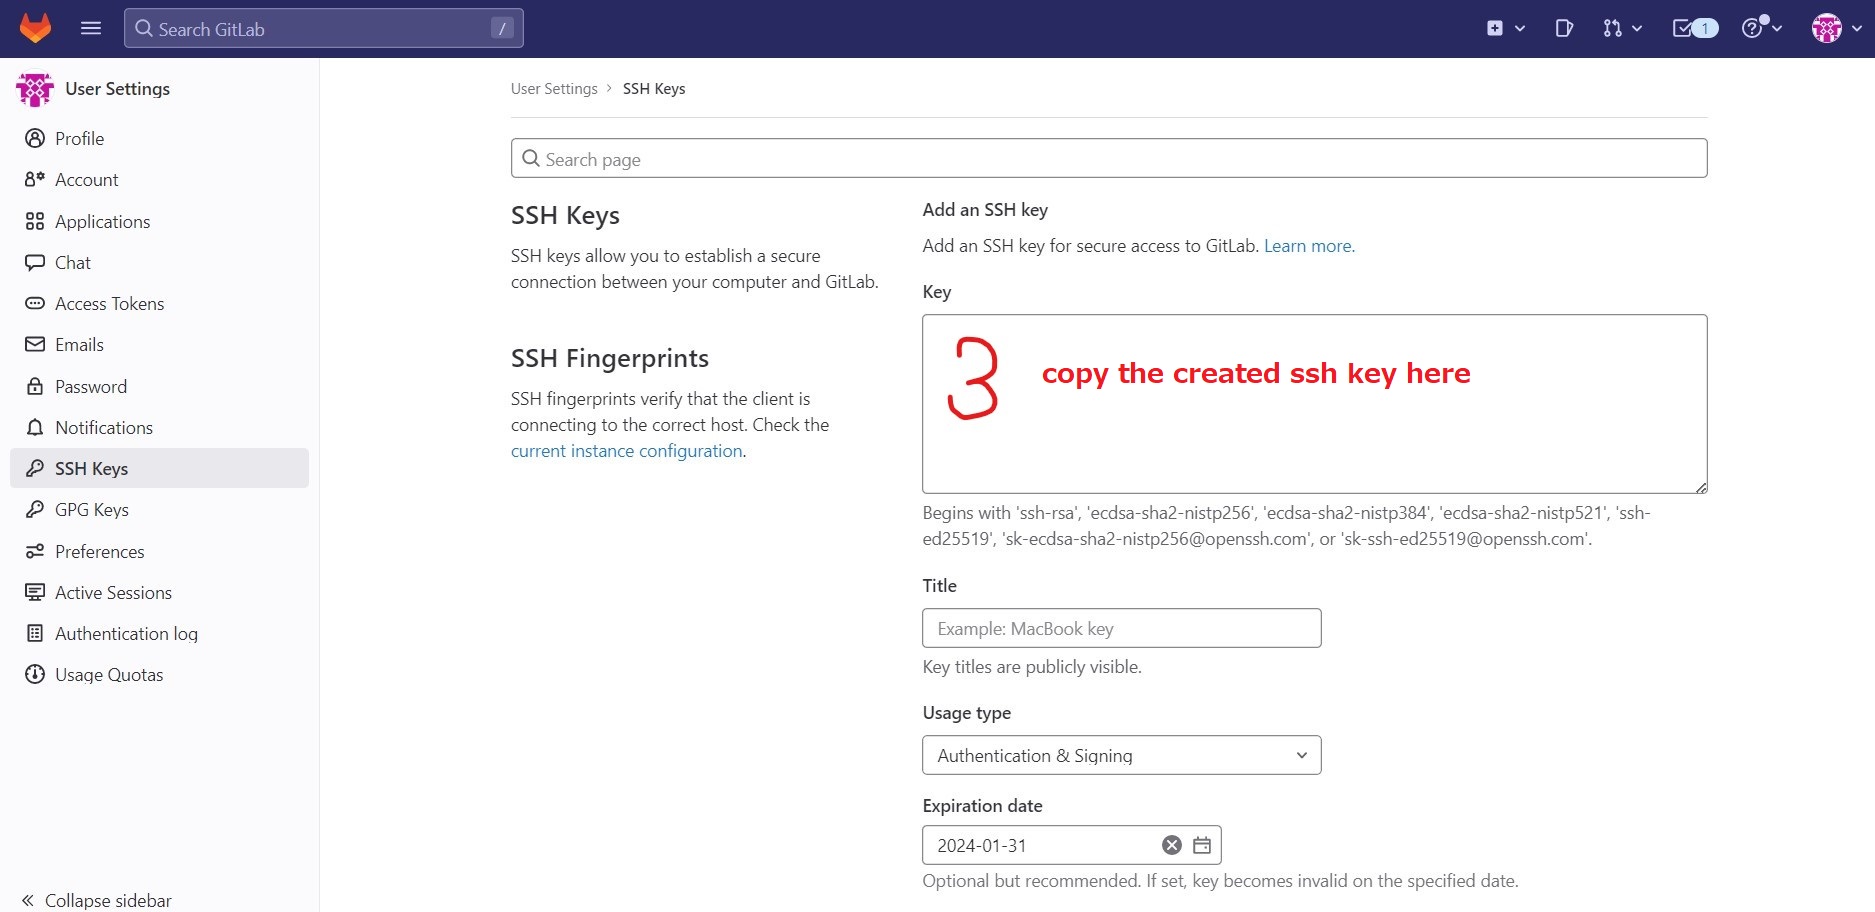
- Created SSH key
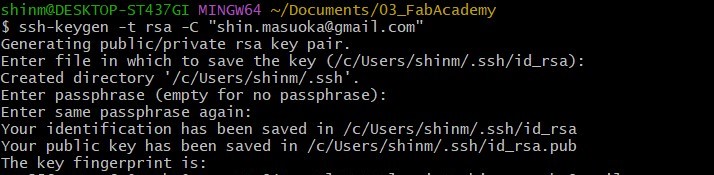
- Registered the SSH key in my remote repo.
- Cloned my repo from remote site to my own PC.
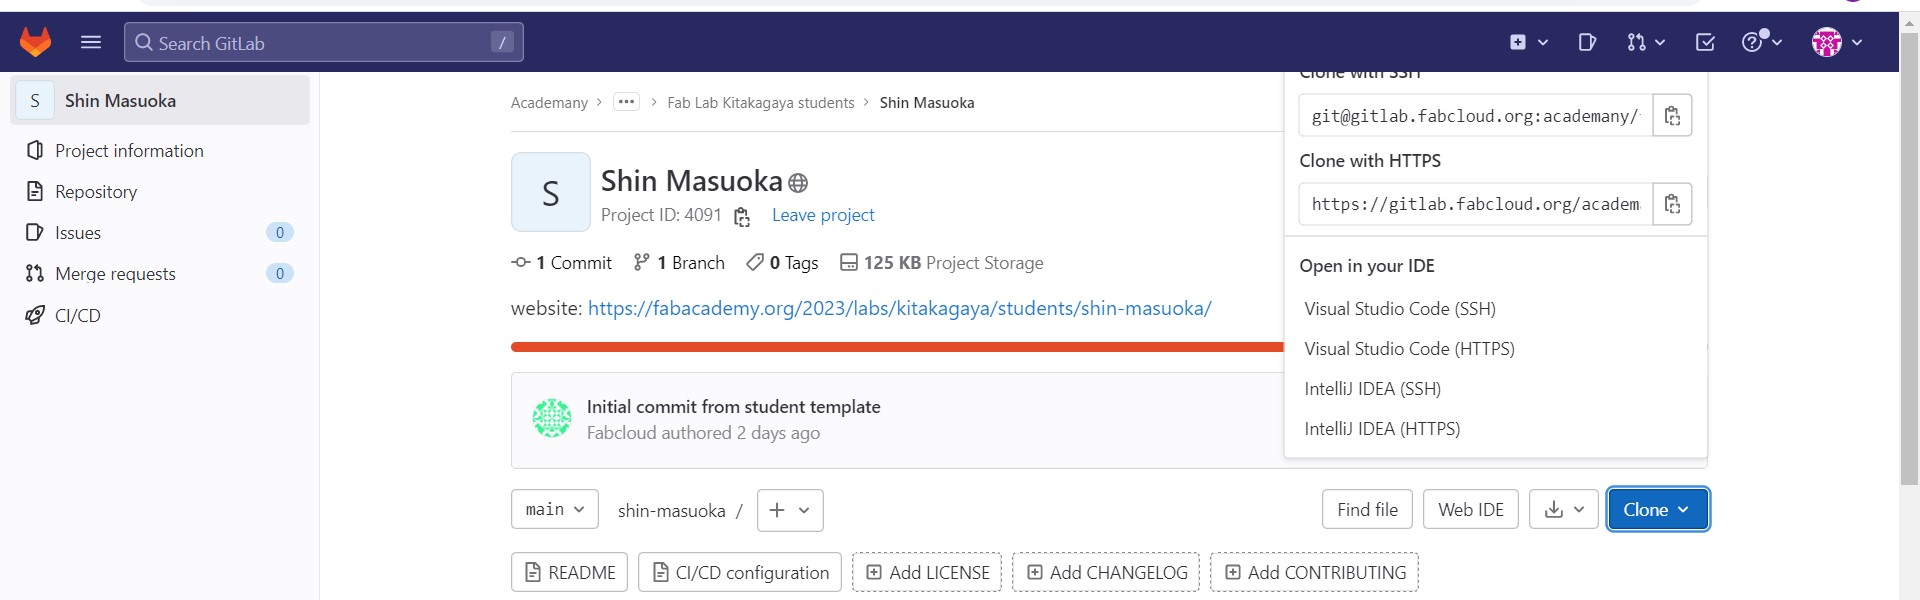 Get target URL from my remote repo.
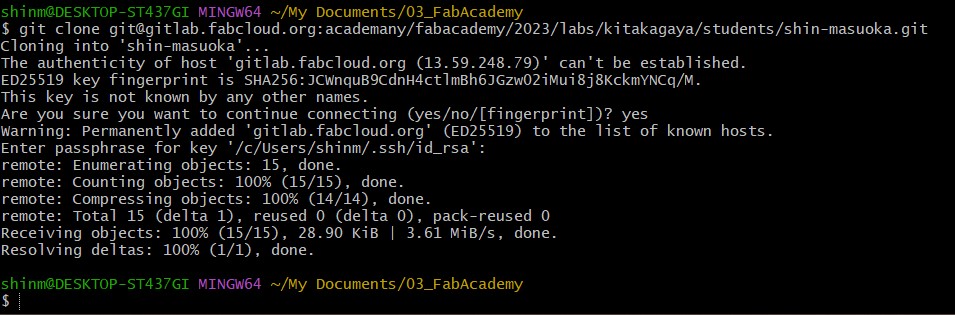 On my local PC "git clone" command
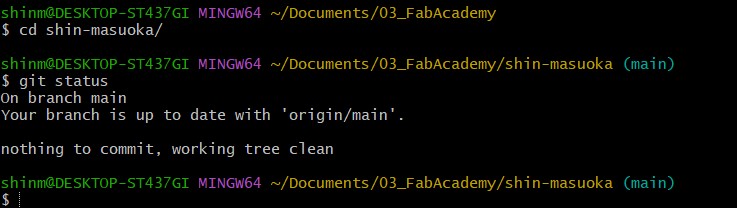 Confirm the clone is done by "git status" command.
- Tried git commands as test.
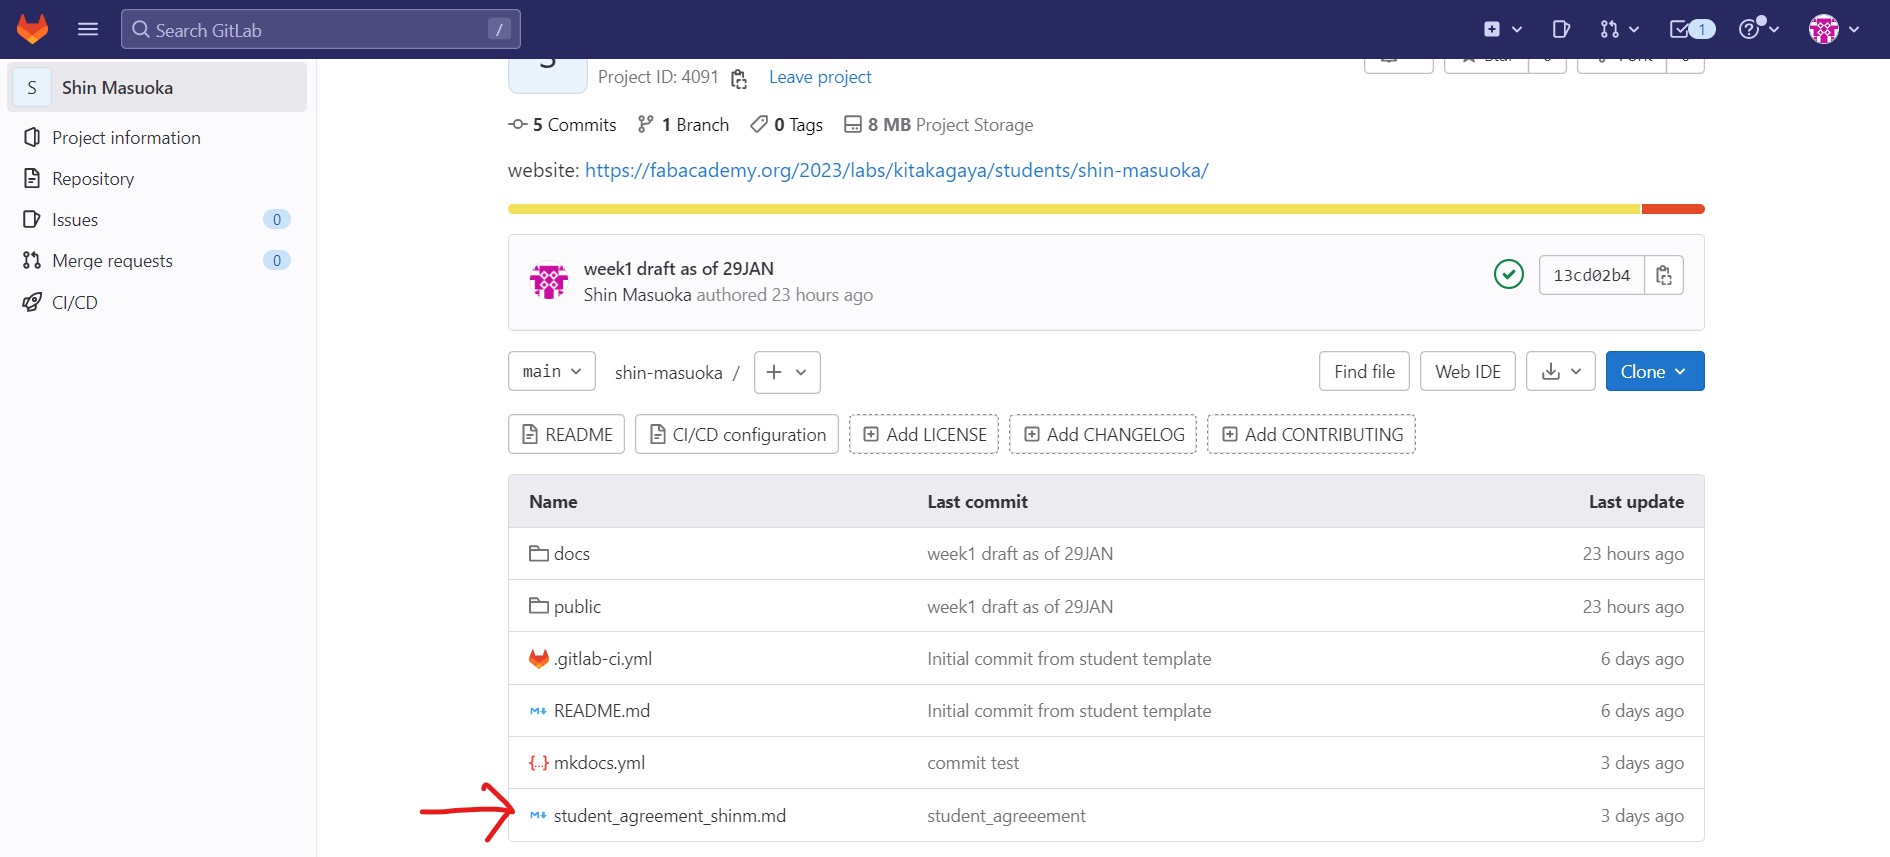
- Downloaded "Student Agreement" and printed my name at the bottom, then I used commands; git add, git commit -m "comment" and git push.
- my signed student agreement is now listed at the top page. This means my git commands worked!
e) Thoughts and feelings
- I understood what version control and its necessity, but had no actual hands-on experience and knowledge about GIT and GitLab. Besides I am not familiar with CLI, so it took time to get used to it. Finally I managed to controlling my files and directories by CLI.
- As the most popular method, many people wrote GIT tutorial and I can learn from them.
- Still I prefer GUI but I will be keep working on CLI. I believe this is necessary skill.
f) Reference 1. Recitation by Julian on 30 JAN 2023
2. Build a personal site
c) Result
- I learned using markdown syntax and Mkdocs for creating my web site.
- I created my site with some images and screenshots.
- I git pushed my site (this site).
d) Process for the result
- Installed python3, pip, MkDocs and Mkdocs-material.
- MkDocs is a static site generator. A static site generator tansforms markdown languages to HTML so that we can see it as web pages, it is easier to edit full HTML documents from scratch.
- Learned markdown syntax and Mkdocs-material theme config.
- There are many markdown syntax for example;
- to add a link: "title", words in "[ ]" are shown in the web site, but in "( )" are not shown.
- to add a image "
", here in "( )" are shown and in "[ ]" are not shown. But the text in "[ ]" are shown in case image is not shown because the link is not correct.
- For more, I can refer markdown cheat sheet.
- There are many markdown syntax for example;
- According to VScode website, by shortcut "ctrl+k, v" makes the markdown image is shown in right half of the window. Easy to confirm markdown file shown in actual website.
- Wrote files by Mkdocs.
- By "Mkdocs build", "Mkdocs serve" command you can check actual site image.
- At first "table of contents" at right sidebar showed strangely to me. But it turned out if you use many # title (h1 tag in html), toc does not show correctly. So I should use # only once a file. I got this instruction from GitHub website.
- Once complete the contents, I git add, commit then pushed the site.
- Confirmed the site shown correctly in my remote repo.
e) Thoughts and feelings
- Long time I did not write such report. Besides in English. and using new editing method (mark down)
- I tried to edit it on weekend at once, however it just proved the advice "you should make document as you go". Hard to remember and hassle to find proper screen shot and put it correct place.
- For the documentation from next week, I should set my standard style like section of the document, authoring process along with hands-on work etc. , hope this works well.
f) Reference
1. VScode site for mkdocs view
2. GitHub site for toc showing
3. My student agreement
(end of the document)