Week 10 Mechanical Design, Machine Design
Group assignment
We decided to make a vacuum foaming machine.
My part is to make 3D design and purchase and make parts.
Result
We completed as below;
Foamed PP
Painted
Machine
Idea phase
- Our lab don't have a vacuum foaming machine. It sounds a good trial to make it as assignment of week 10.
- We have an old 3D printer out of order, the sensor and step motor might be utilized.
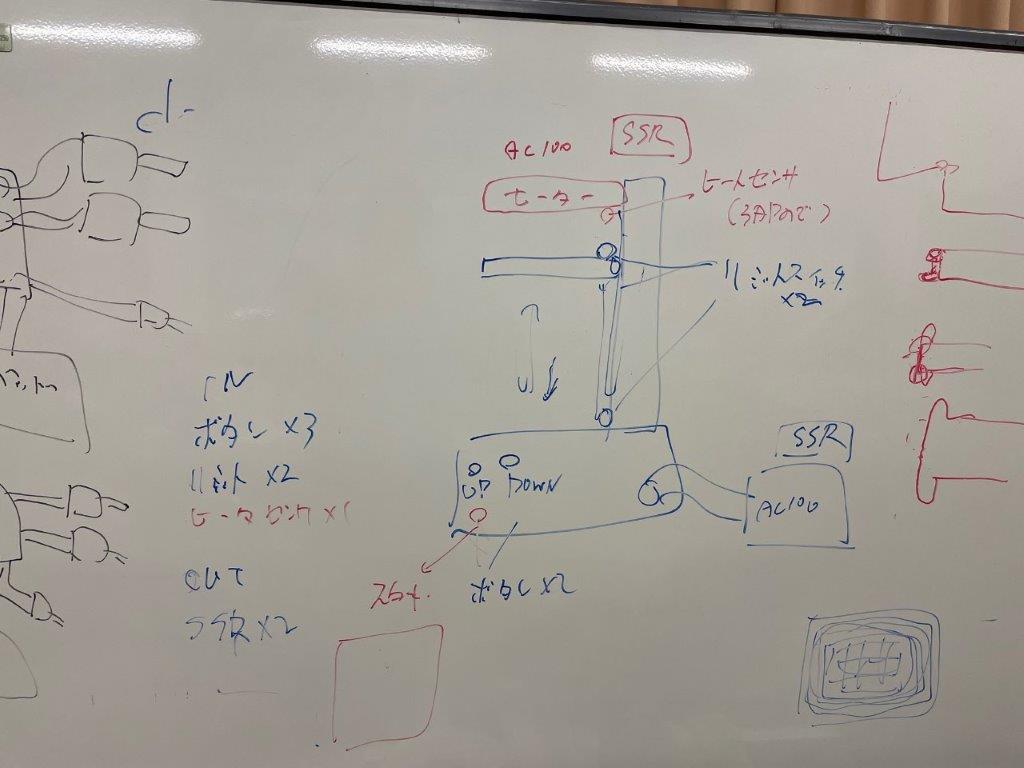
- We use cleaner as Vacuum function.
-
Heating is function is not decided yet.
-
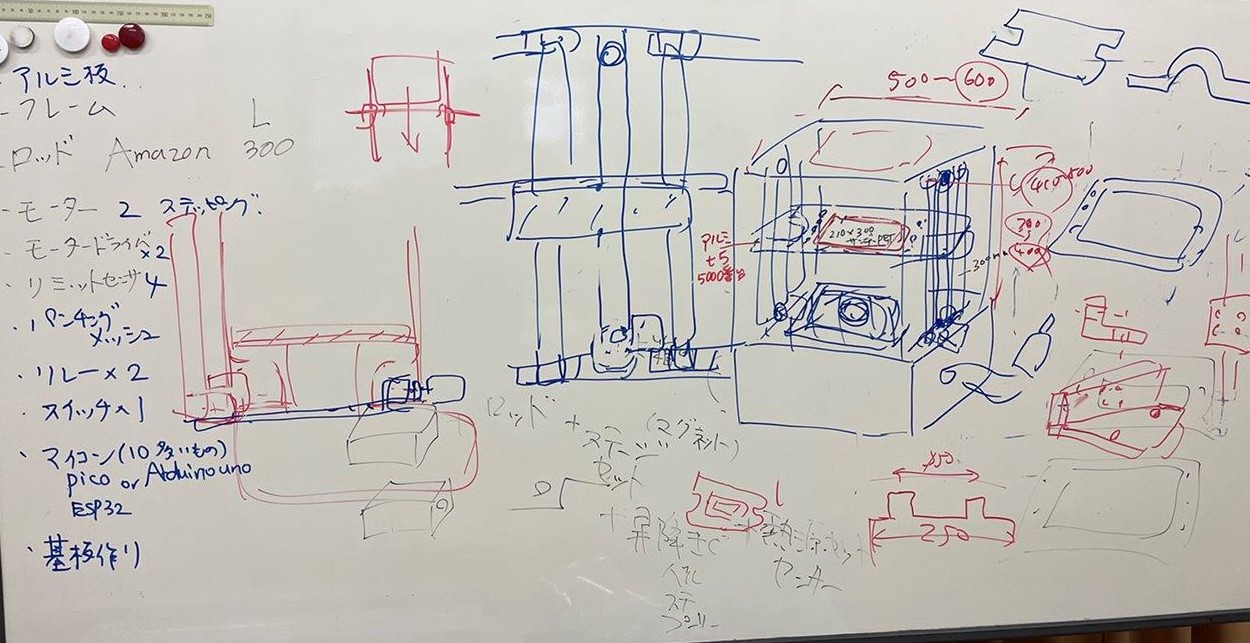
Stage size is A4, 5mm thick aluminum
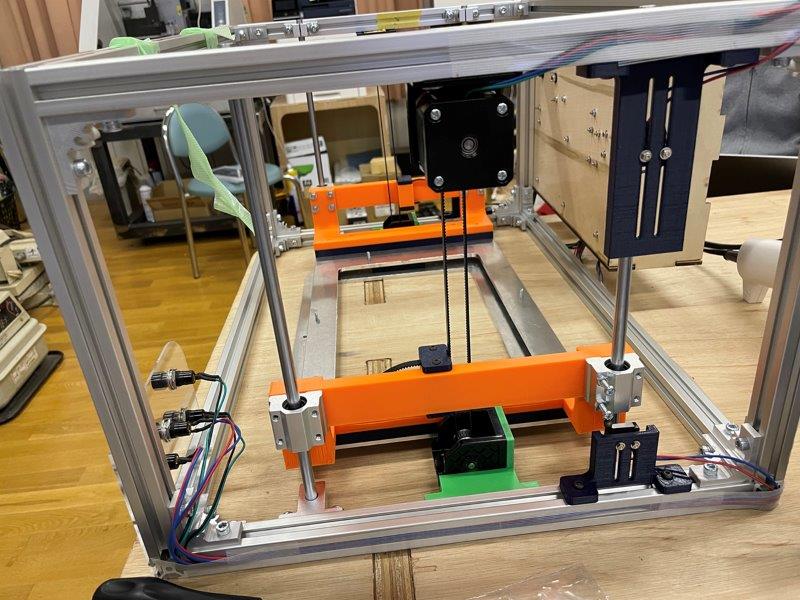
- Frame 20 x 20 aluminum
- Stage is supported by 4 linear shaft and bushing.
- Auto stop with limit switches at top and bottom.
- Actuation with 2 step motors.
- Automated heating is challenging, so we try this next version. This time we heat it manually with heat gun etc. Then start automated vacuum foaming.
My part
- Designing the structure and making 3D model.
- Order/3D print structure parts and assemble.
Process
3D modeling
-
Frame
- I bought frame parts from Misumi, and its web site shares 3D model of their product. I just downloaded and opened with SolidWorks.
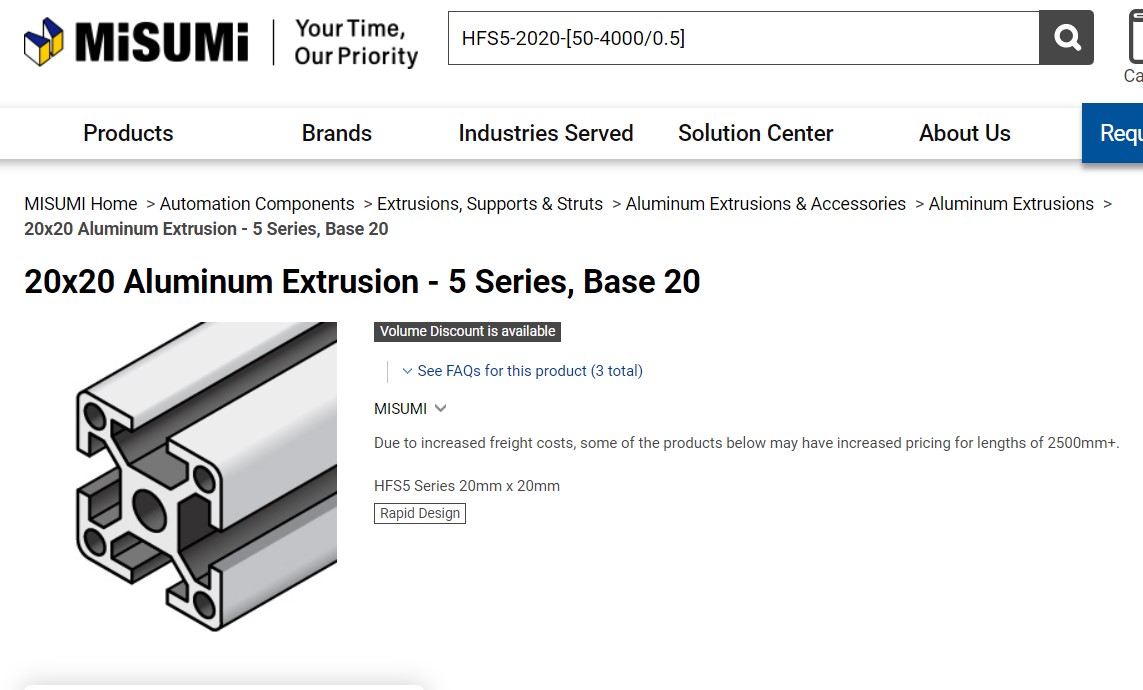
- Downloaded 3D model

- 3D model of assembled frame is also available
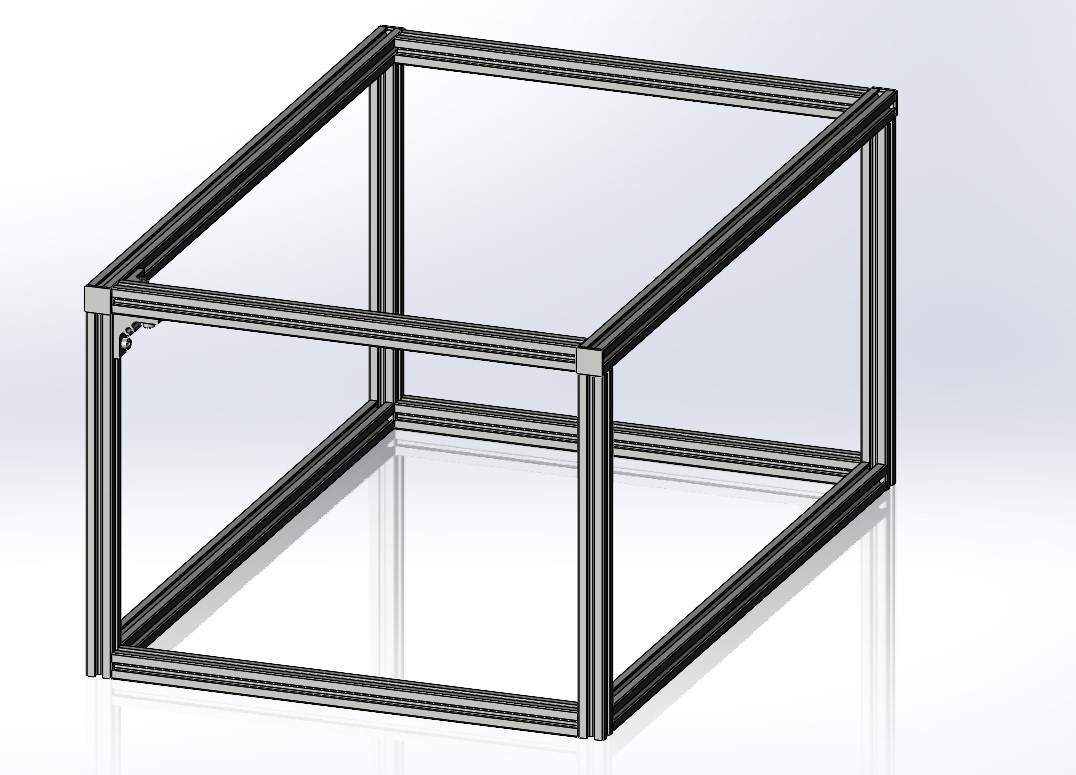
- I bought frame parts from Misumi, and its web site shares 3D model of their product. I just downloaded and opened with SolidWorks.
-
Vertical shaft and bushing
- I bought shaft and bushing unit for vertical actuation from Amazon.
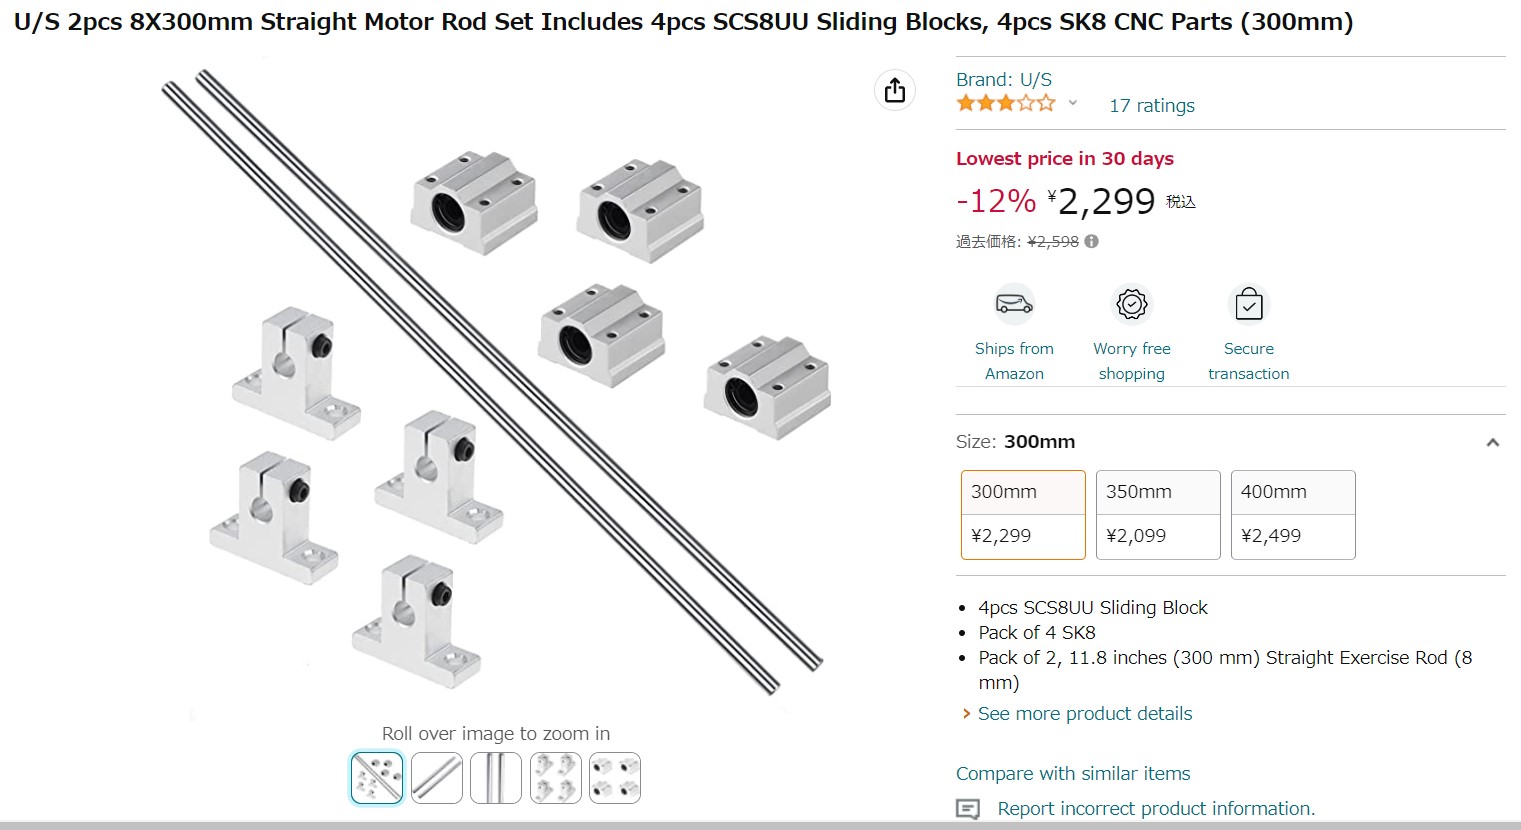
- Amazon does not offer 3D model for its products. I measured actual size once I received the parts, then created 3D model.
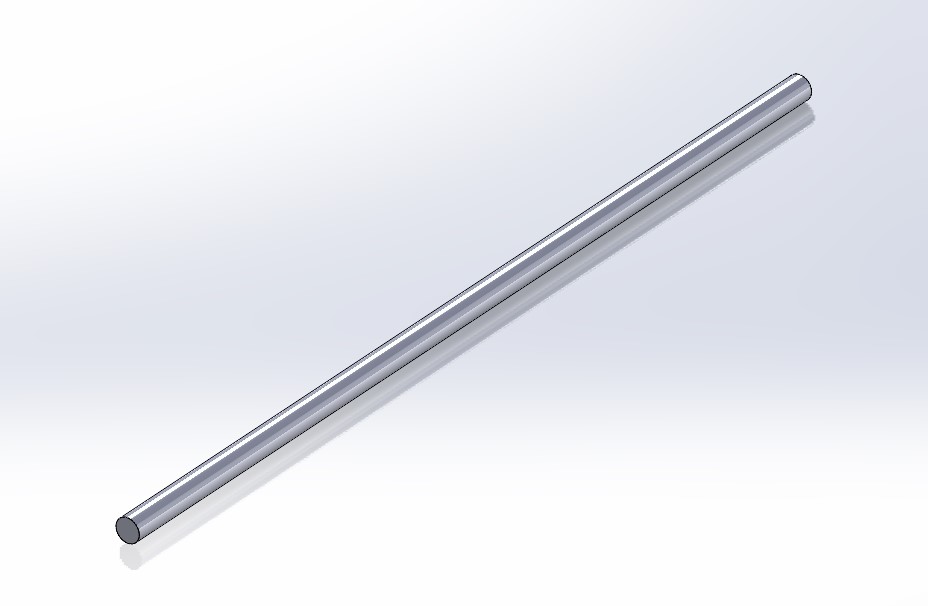
- Assembled on Solidworks
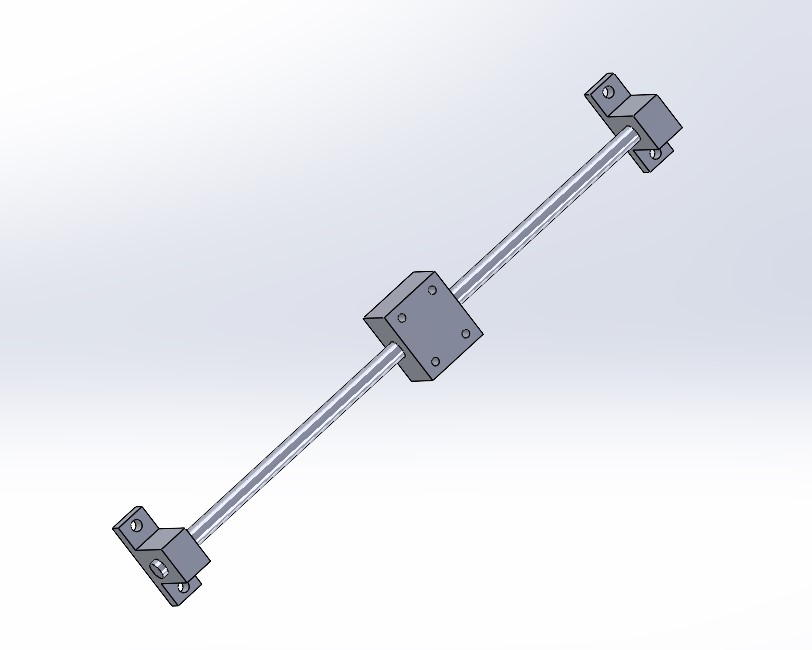
- I bought shaft and bushing unit for vertical actuation from Amazon.
-
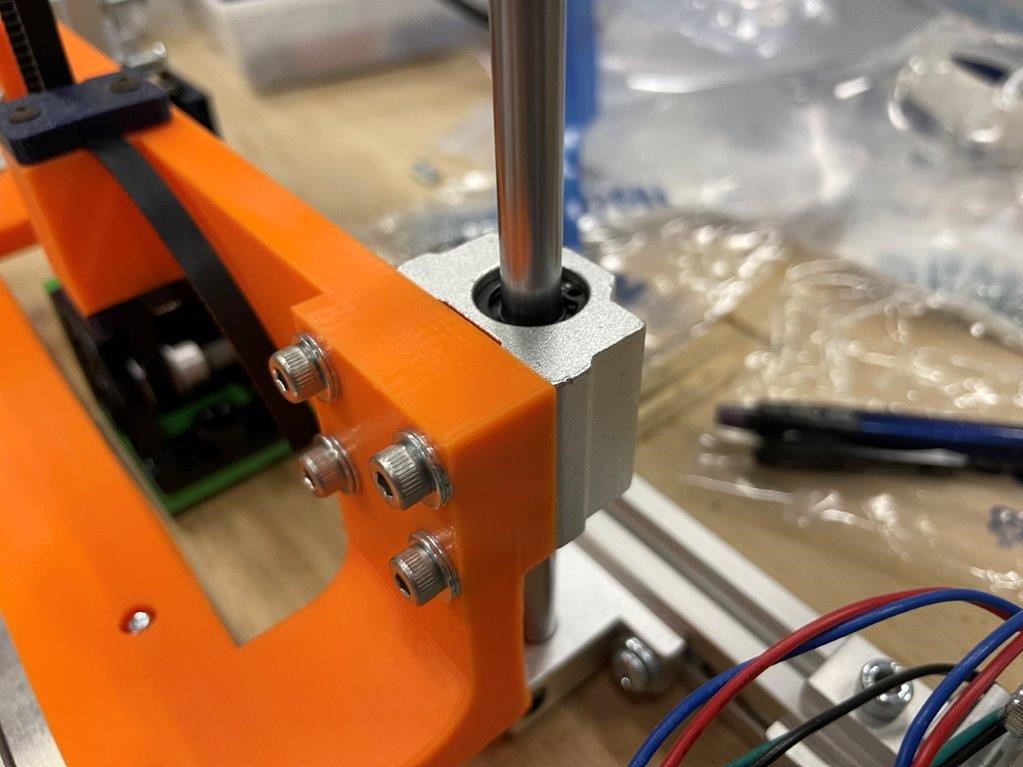
Motor
- We utilize existing motor, I measured actual size and 3D modeled.
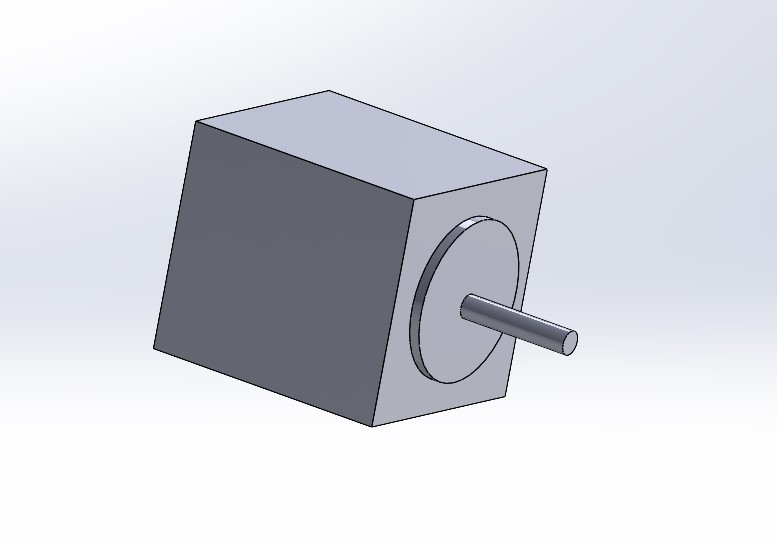
- I also created 3D model of motor holder.
- We utilize existing motor, I measured actual size and 3D modeled.
-
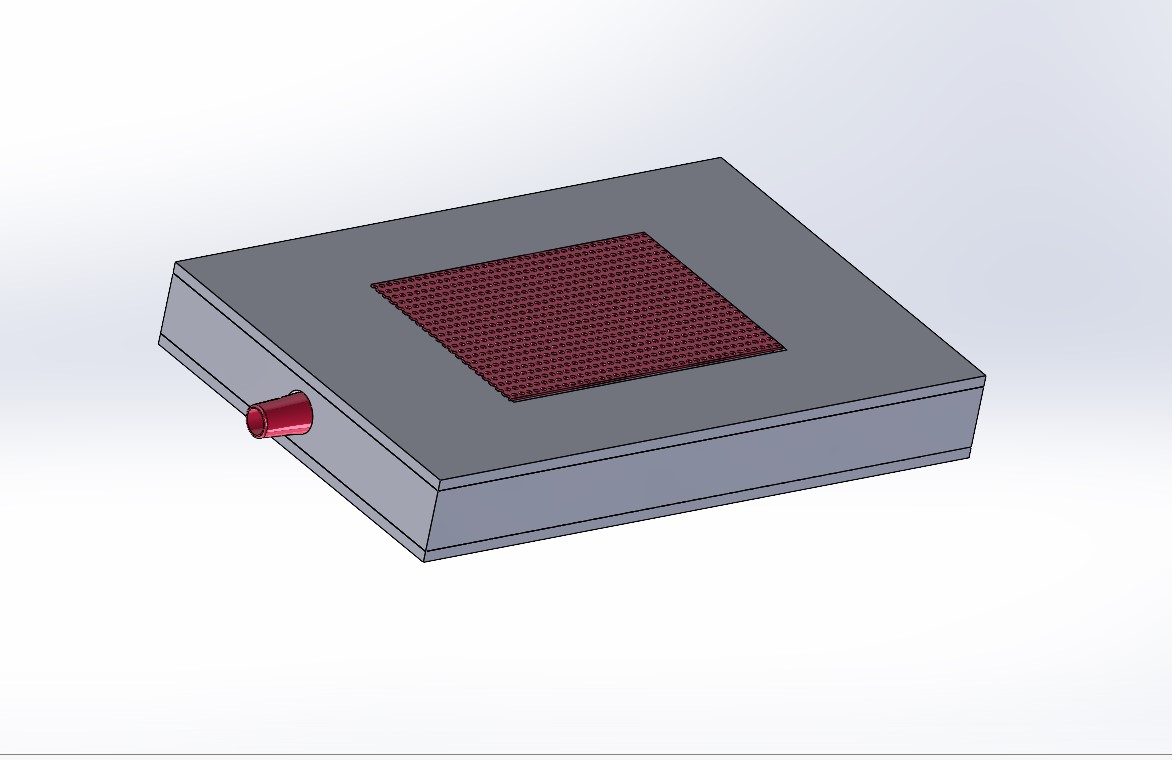
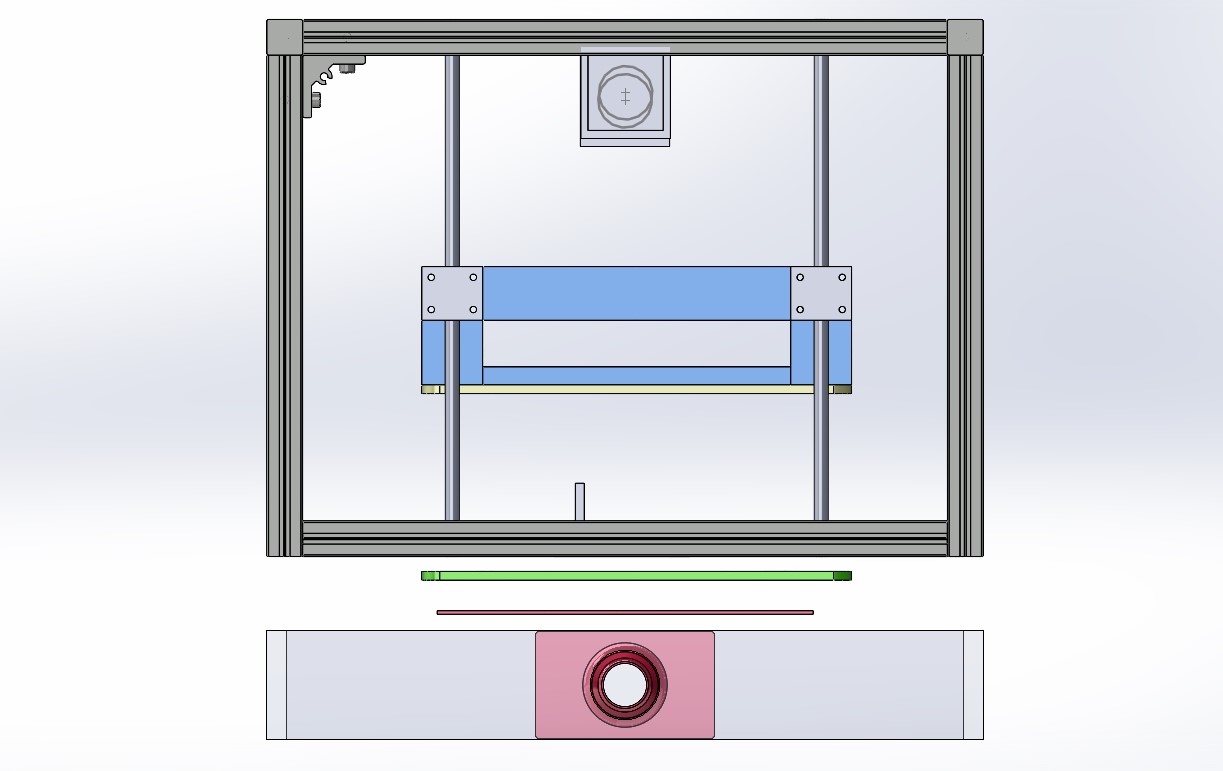
Stage and film holder
- Our plan was to make it with 5mm thick Aluminum as designed below.
- Stage
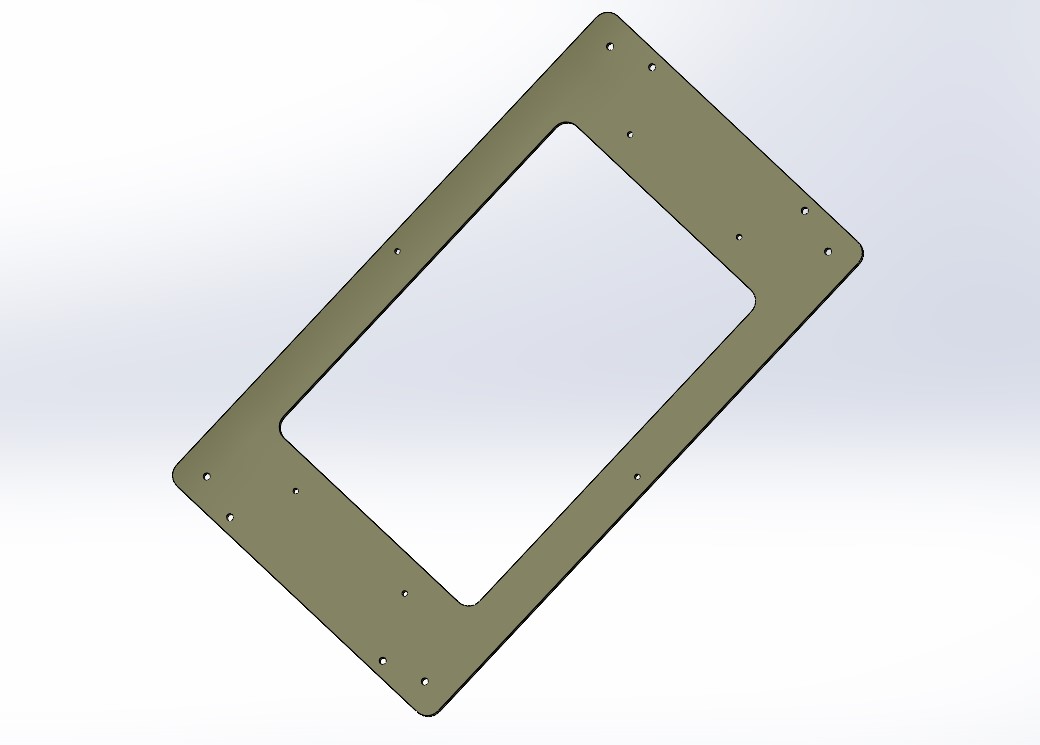
- Film holder

-
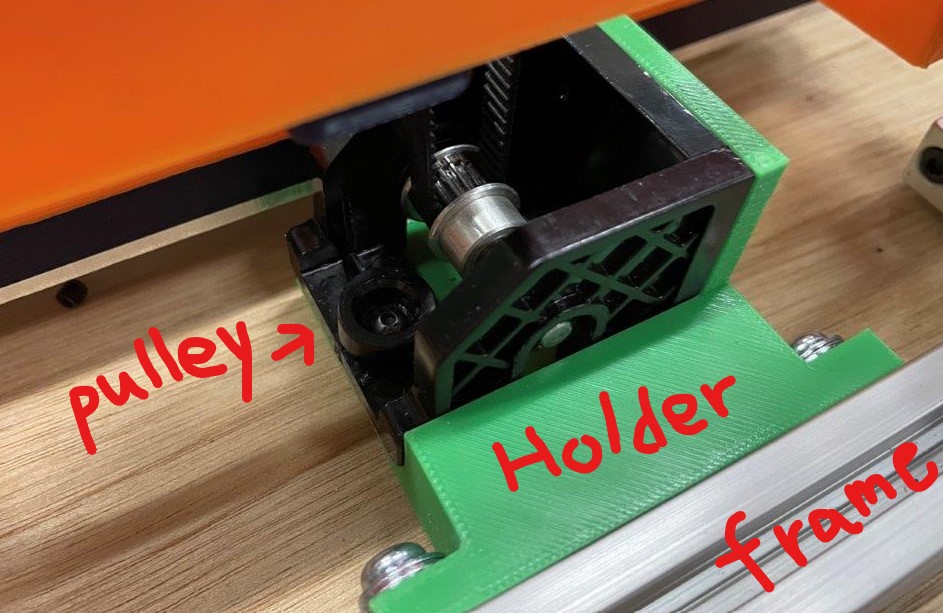
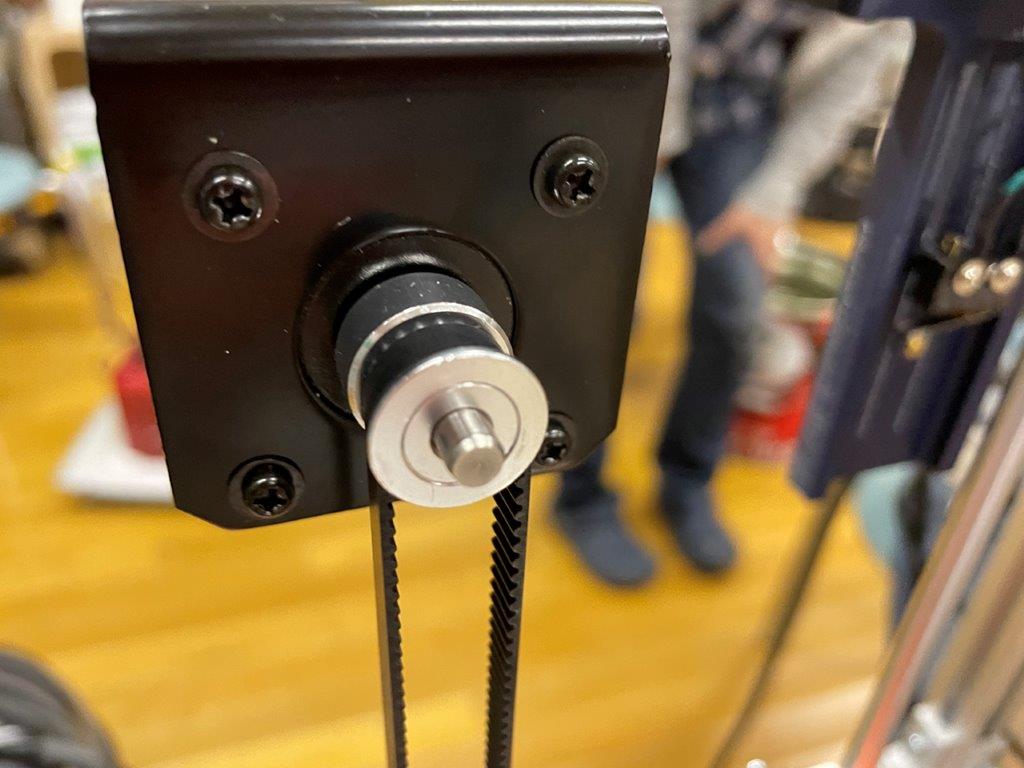
Pulley holder
- We utilize pulley from an old 3D printer. I measured the pulley box and created 3D model to attach it to the frame.
- For left and right parts, I prepared mirror copy.
- We utilize pulley from an old 3D printer. I measured the pulley box and created 3D model to attach it to the frame.
-
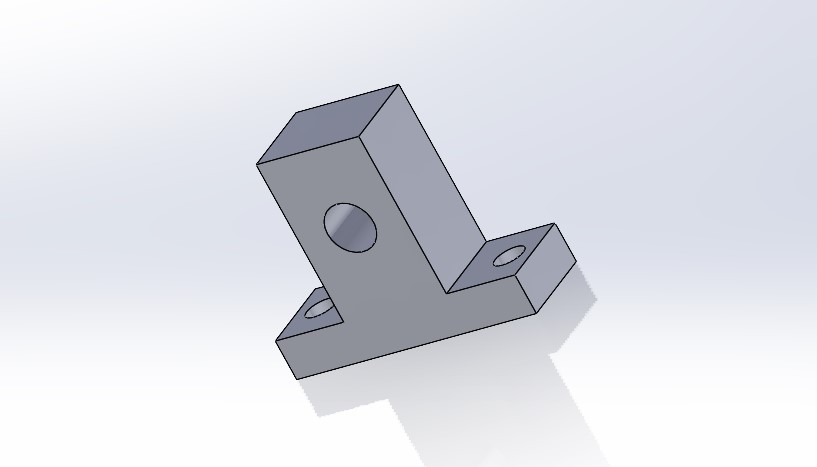
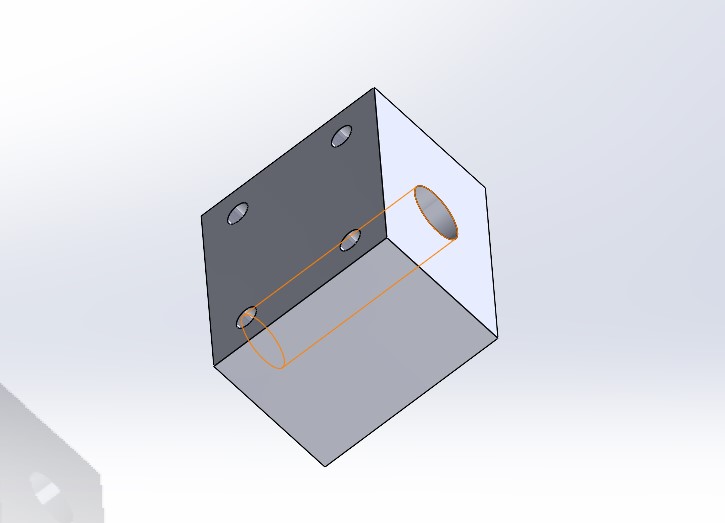
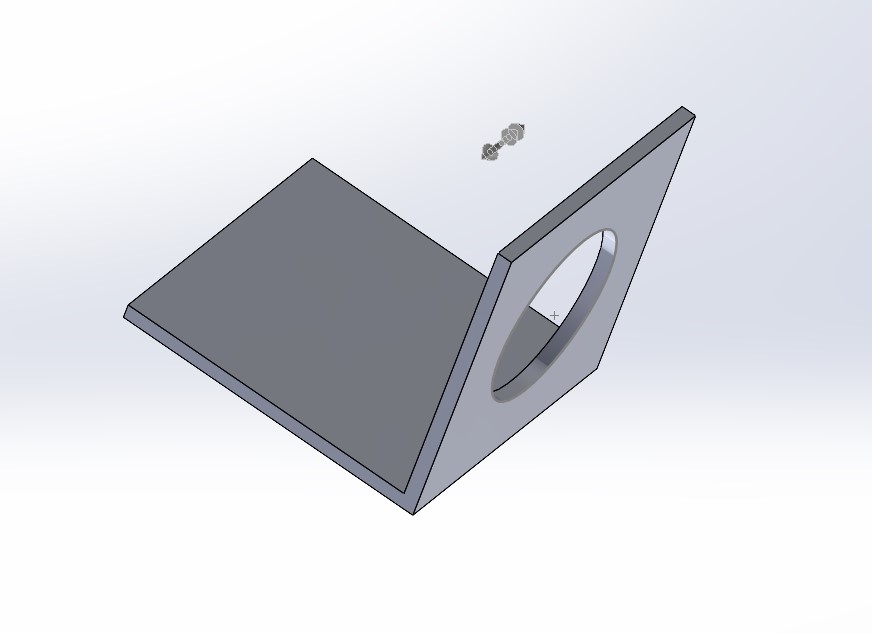
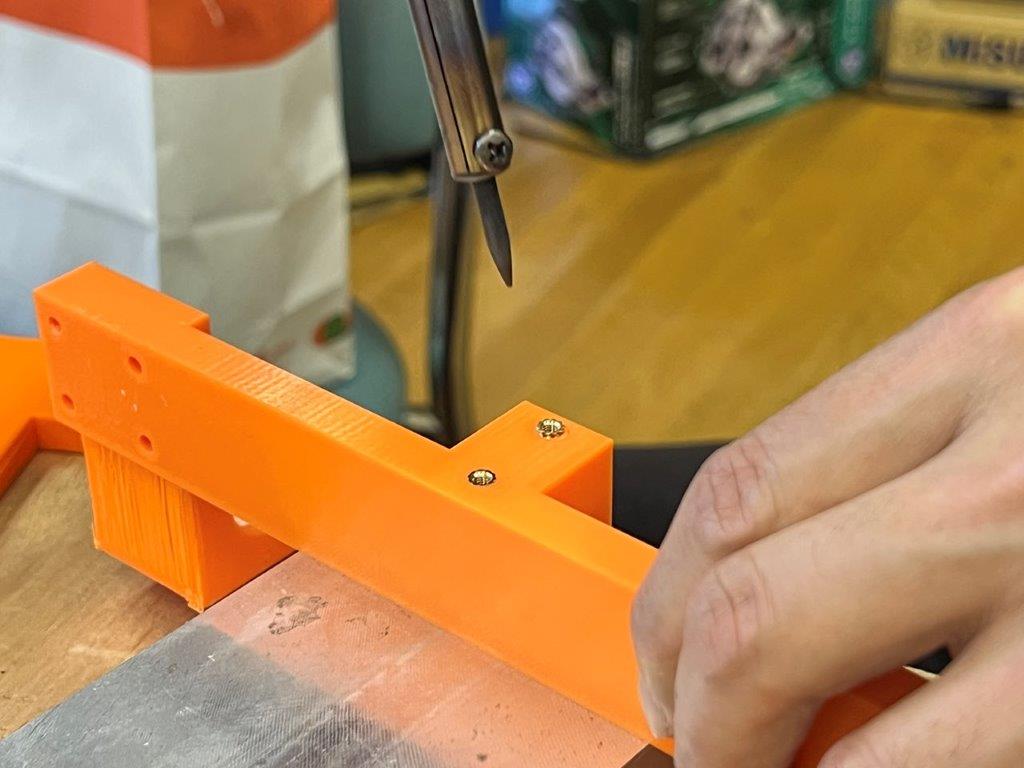
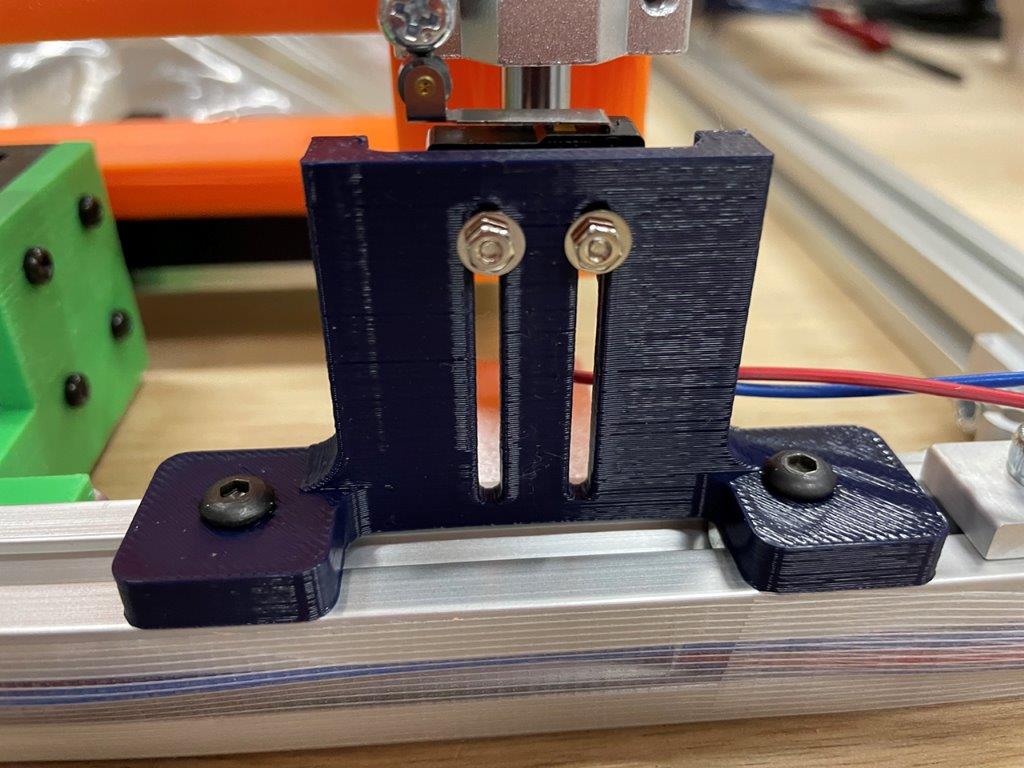
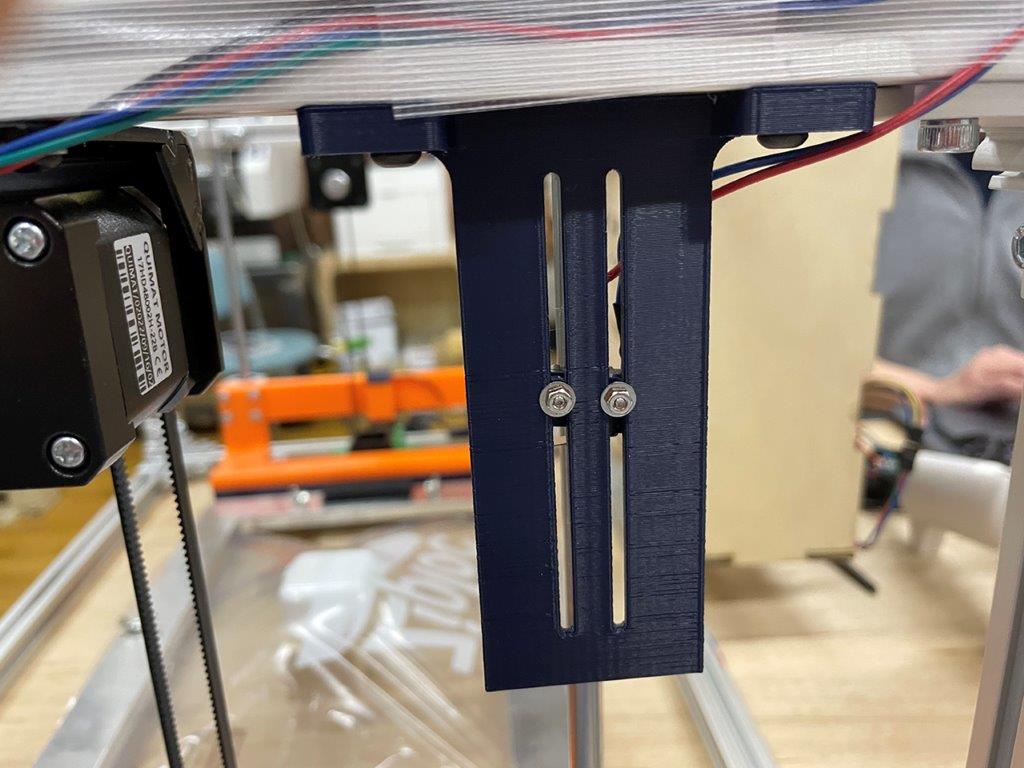
Stage holder
- This part is to connect linear bushings and the stage.
- I carefully designed of clearance from other parts, motor and pulley at top and bottom end.
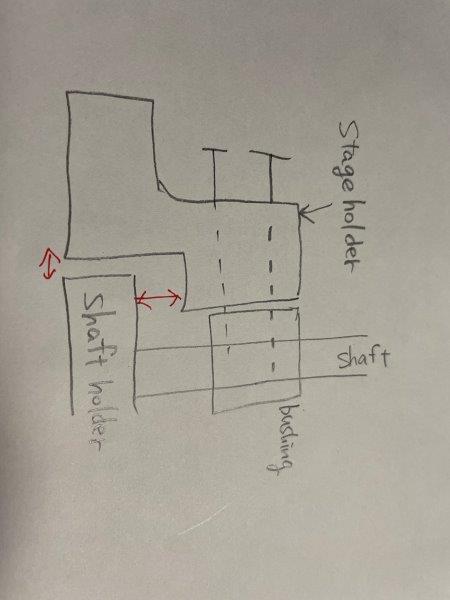
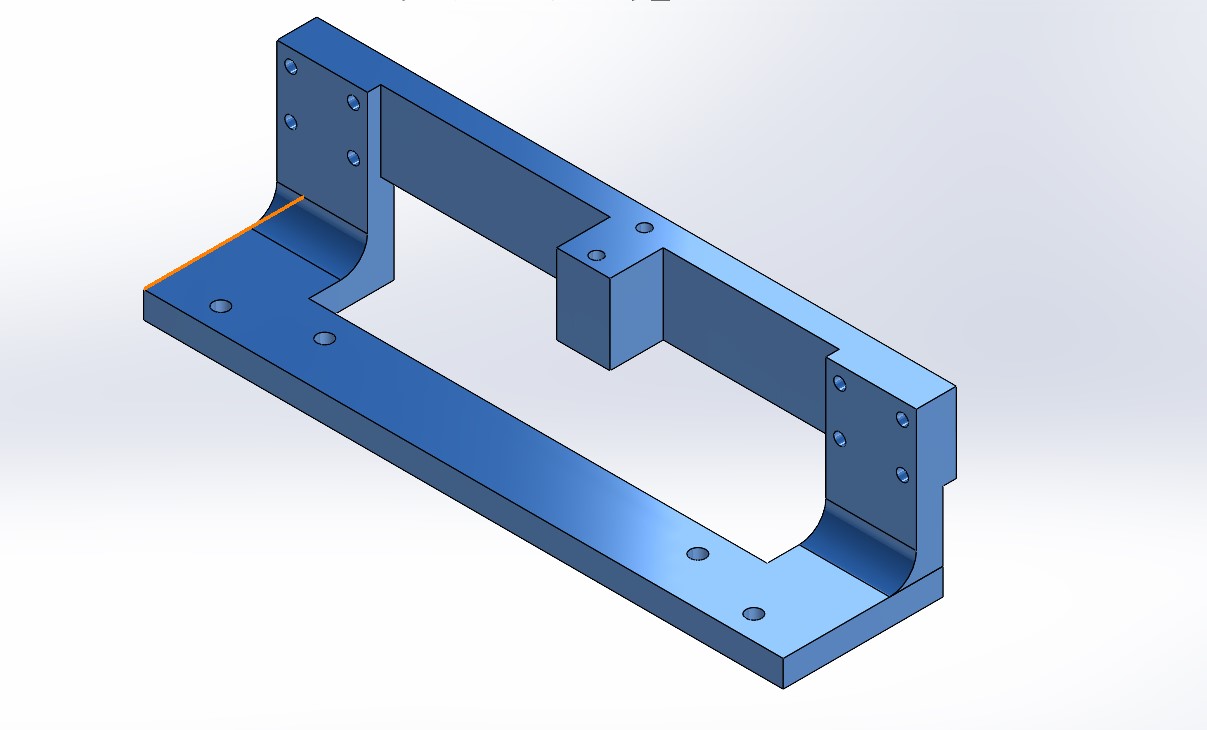
- This part needs to be connected actuating belt.
- Vacuum box and coupler
- Vacuum box as the base of the machine. We planned to connect a vacuum machine to this box.
- Vacuum box as the base of the machine. We planned to connect a vacuum machine to this box.
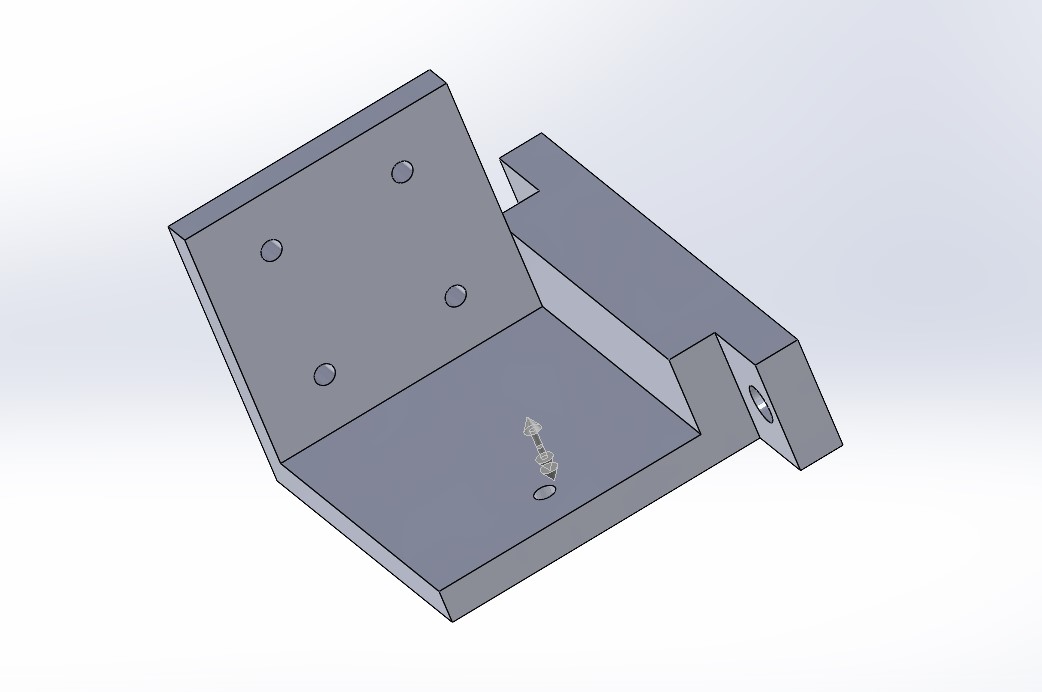
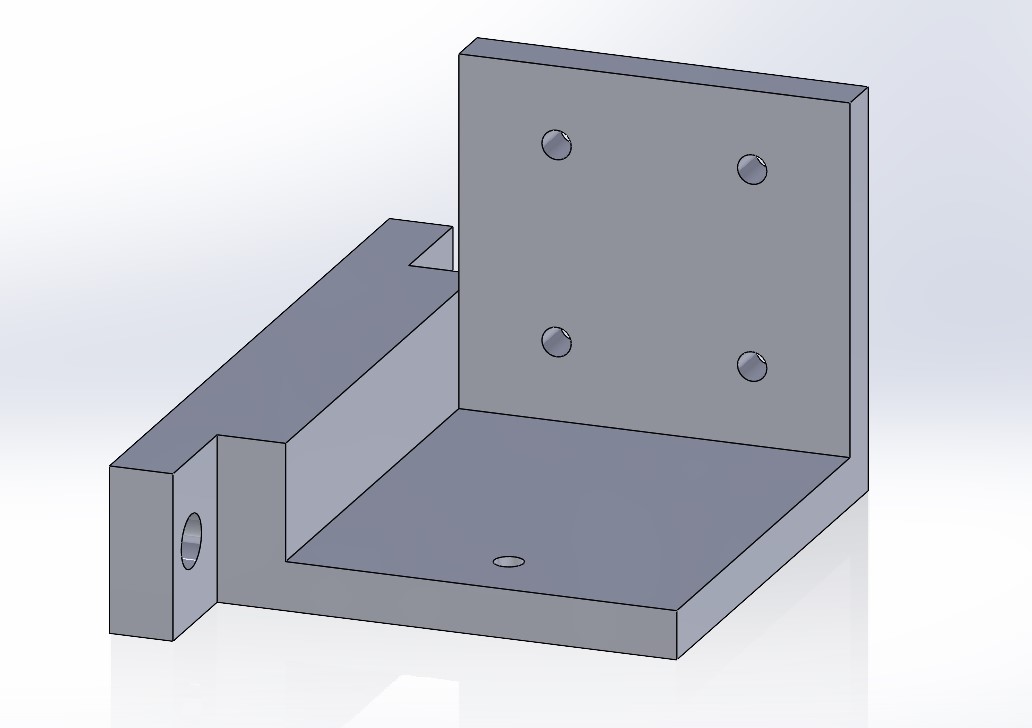
- Complete 3D model
- Assembled 3D model and confirmed each size are fine (No friction, no interferance)
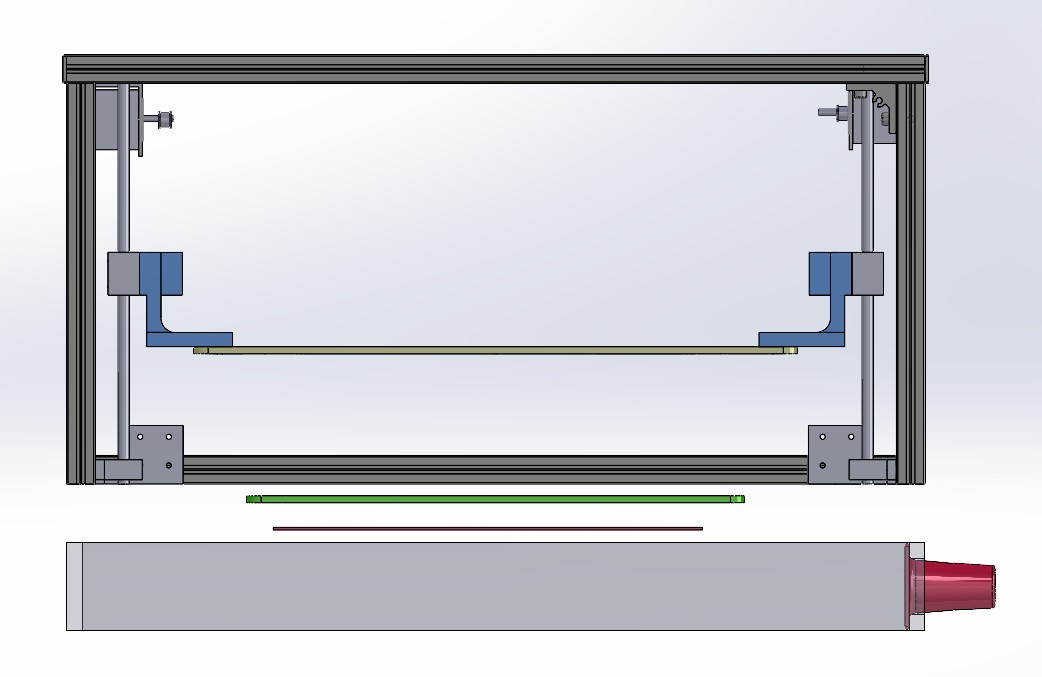

- Assembled 3D model and confirmed each size are fine (No friction, no interferance)
Making of the parts
-
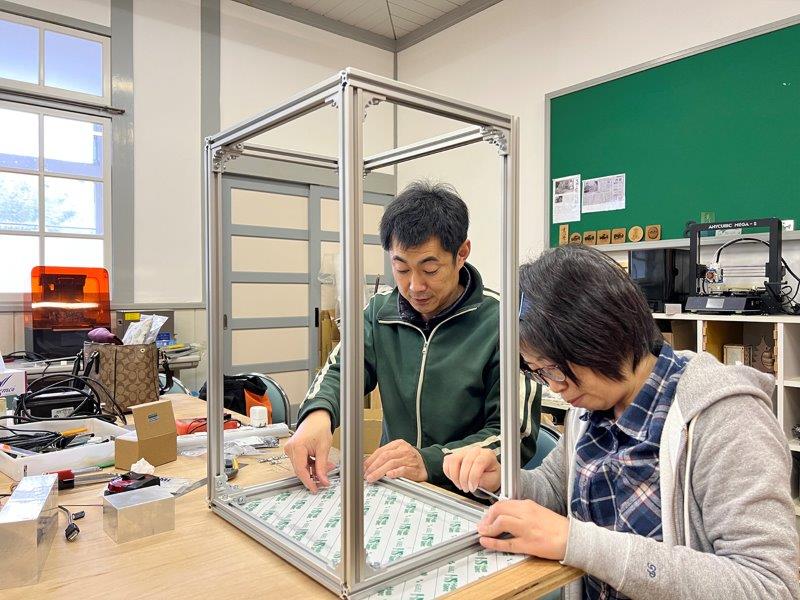
Frame
- Easily built up, but must confirm each parts connected right angle.

- Easily built up, but must confirm each parts connected right angle.
-
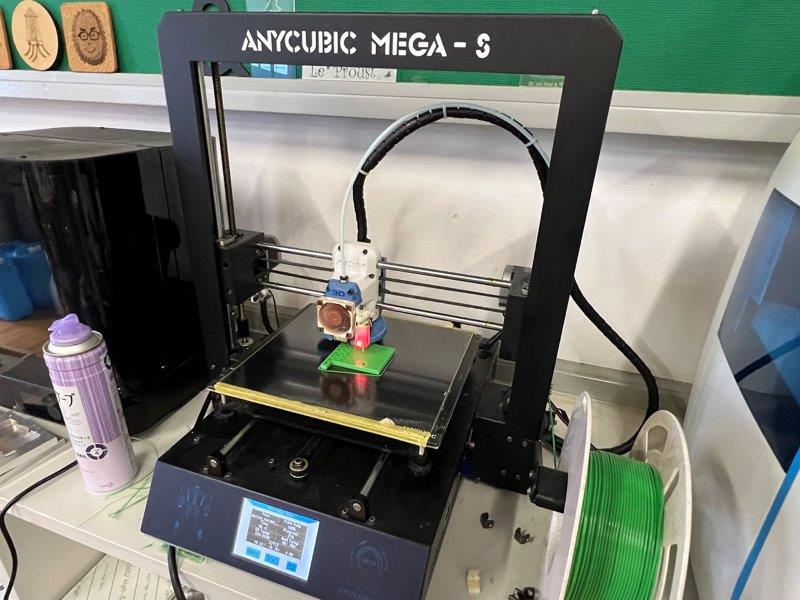
3D printing parts (Pulley holder, Stage holder, Vacuum box coupler)
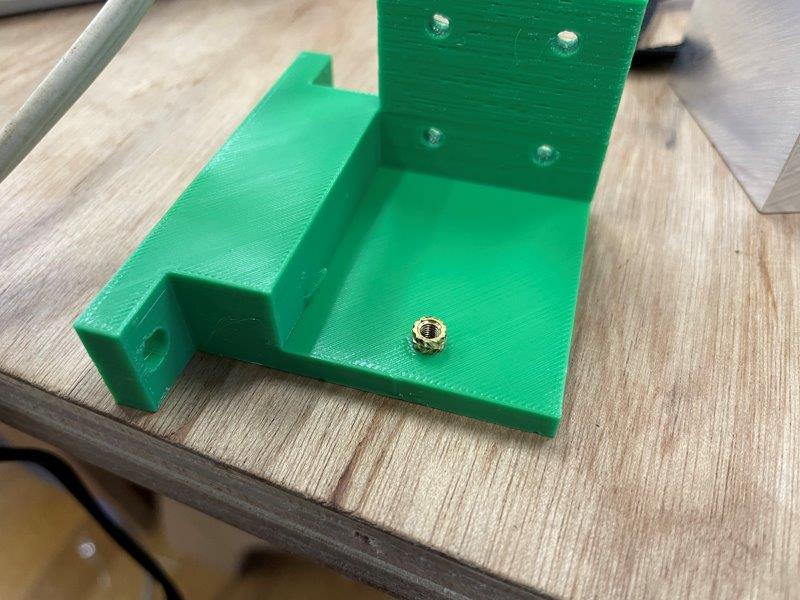
- Then put insert nuts into the parts with a soldering iron.
- Then put insert nuts into the parts with a soldering iron.
-
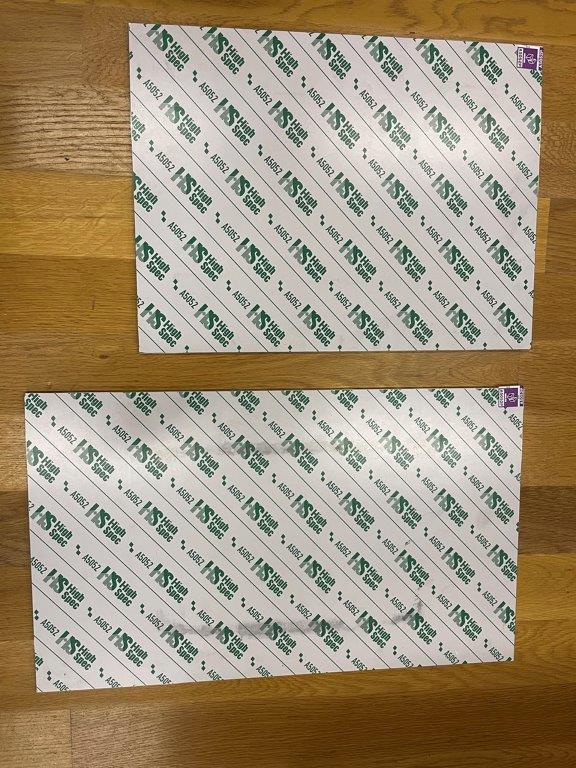
Stage and film holder
- Aluminum plate before cutting
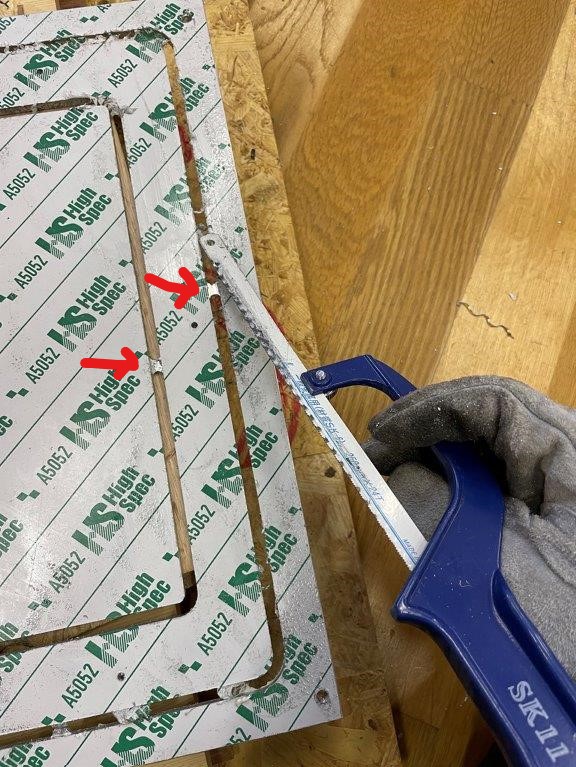
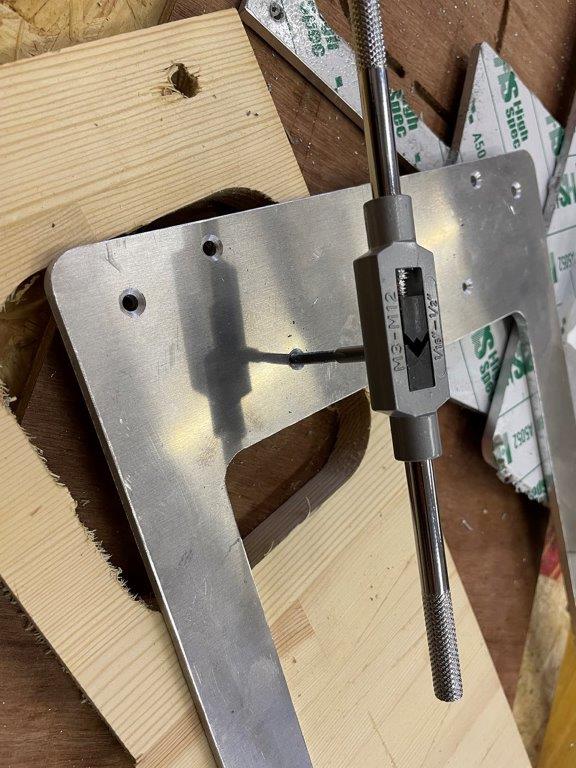
- Cutting 5mm thick aluminum plate with our lab's original CNC.
- Aluminum plate before cutting
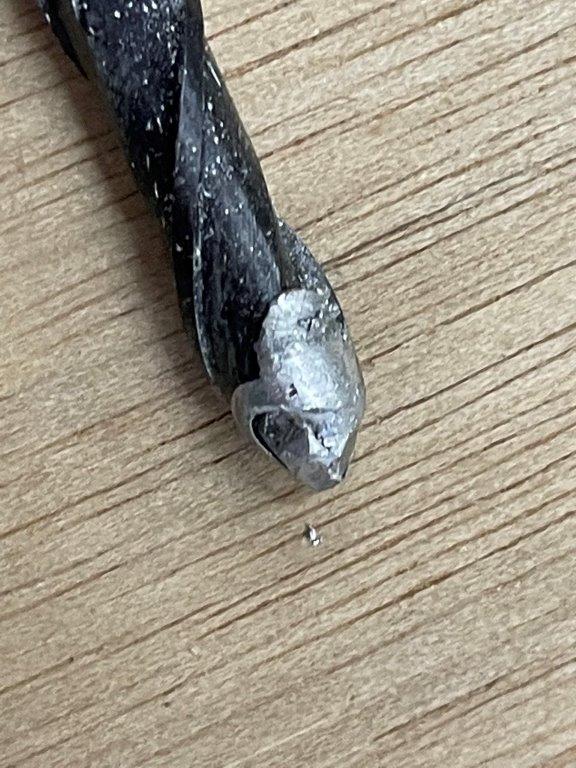
- Need to lubricate cutting oil so that the cutting friction heat not going high. Otherwise the tip of aluminum melt and you cannot cut.
- Once cutting completed, remove the tabs.
- Made screw holes with a screw tap
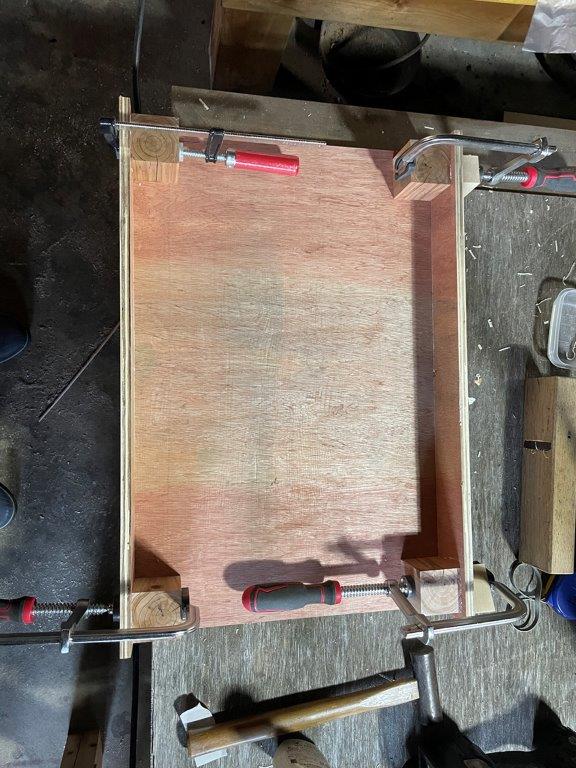
4. Vacuum box
- I cut a plywood with our CNC.
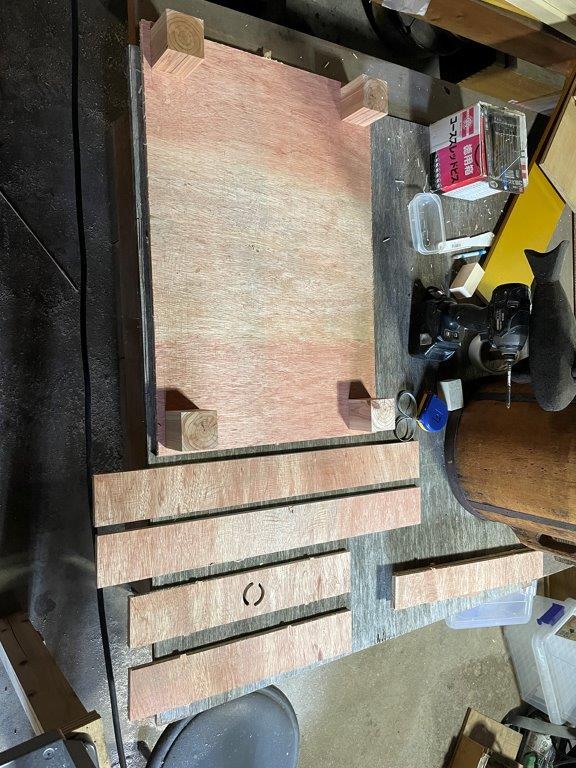
- Then build up a box
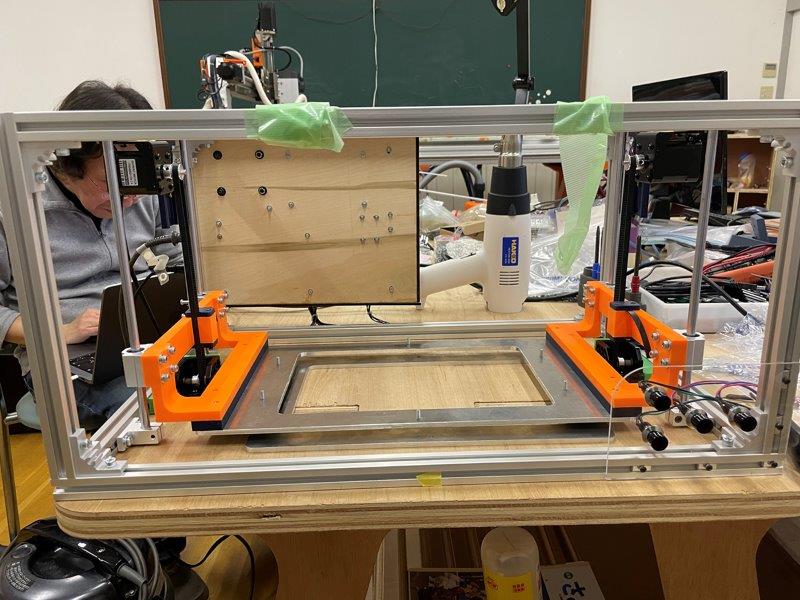
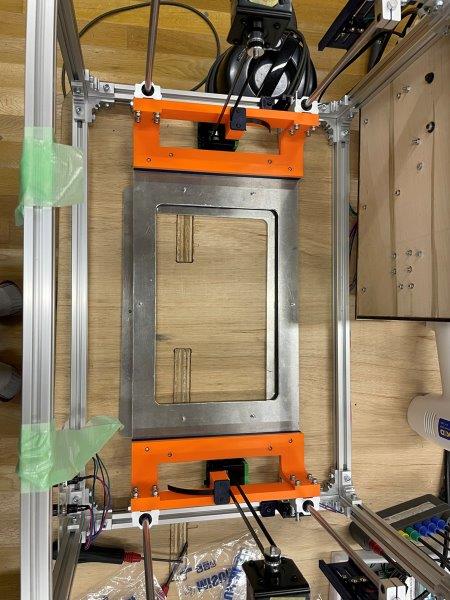
Assembling
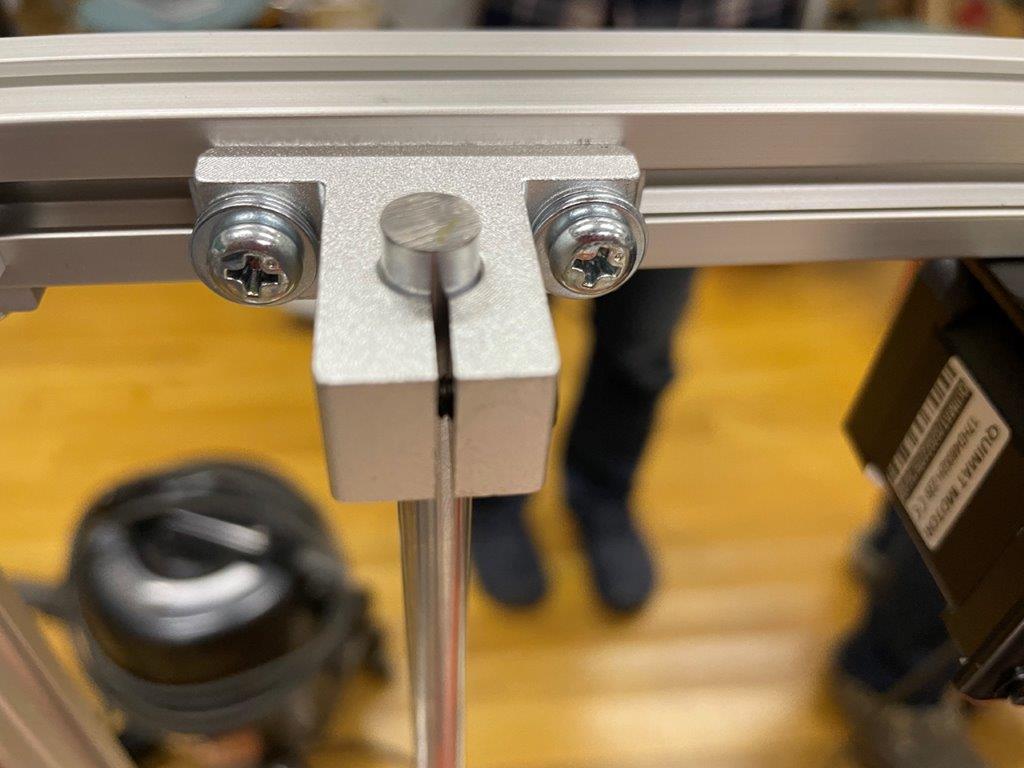
- Put linear shaft and bushings on top and bottom frames.

- Put pulley holders with pulleys on lower frames.
- Put stage holders on linear bushings.
- Put motor holders and motors on top frames. Then belt up with the pulleys.
- Put the stage on stage holders
- Put limit switches on top and bottom frames.
- bottom frame
- Top frame
- bottom frame