Week 02 Computer-Aided Design
Lecture on 1 Feb 2023
computer-aided design
a) Description of the week
Prof. Neil explained the outline of 2D, 3D designs and actual tools for drawing data.
-
2D
- Important to recognize the difference between Vector data and Raster data.
- Many open source application is released like Inkscape or gimp.
- For sharing in the web, you must think about its data size, so need to know how to compress as well.
-
3D
- Mainly explained about "FreeCAD" as open source application.
- To show the move, you can utilize animation.
- But a movie needs data size, so you need to shorten or compress.
b) Task of the week
- model (raster, vector, 2D, 3D, render, animate, simulate, ...) a possible final project, compress your images and videos, and post a description with your design files on your class page
c) Result
-
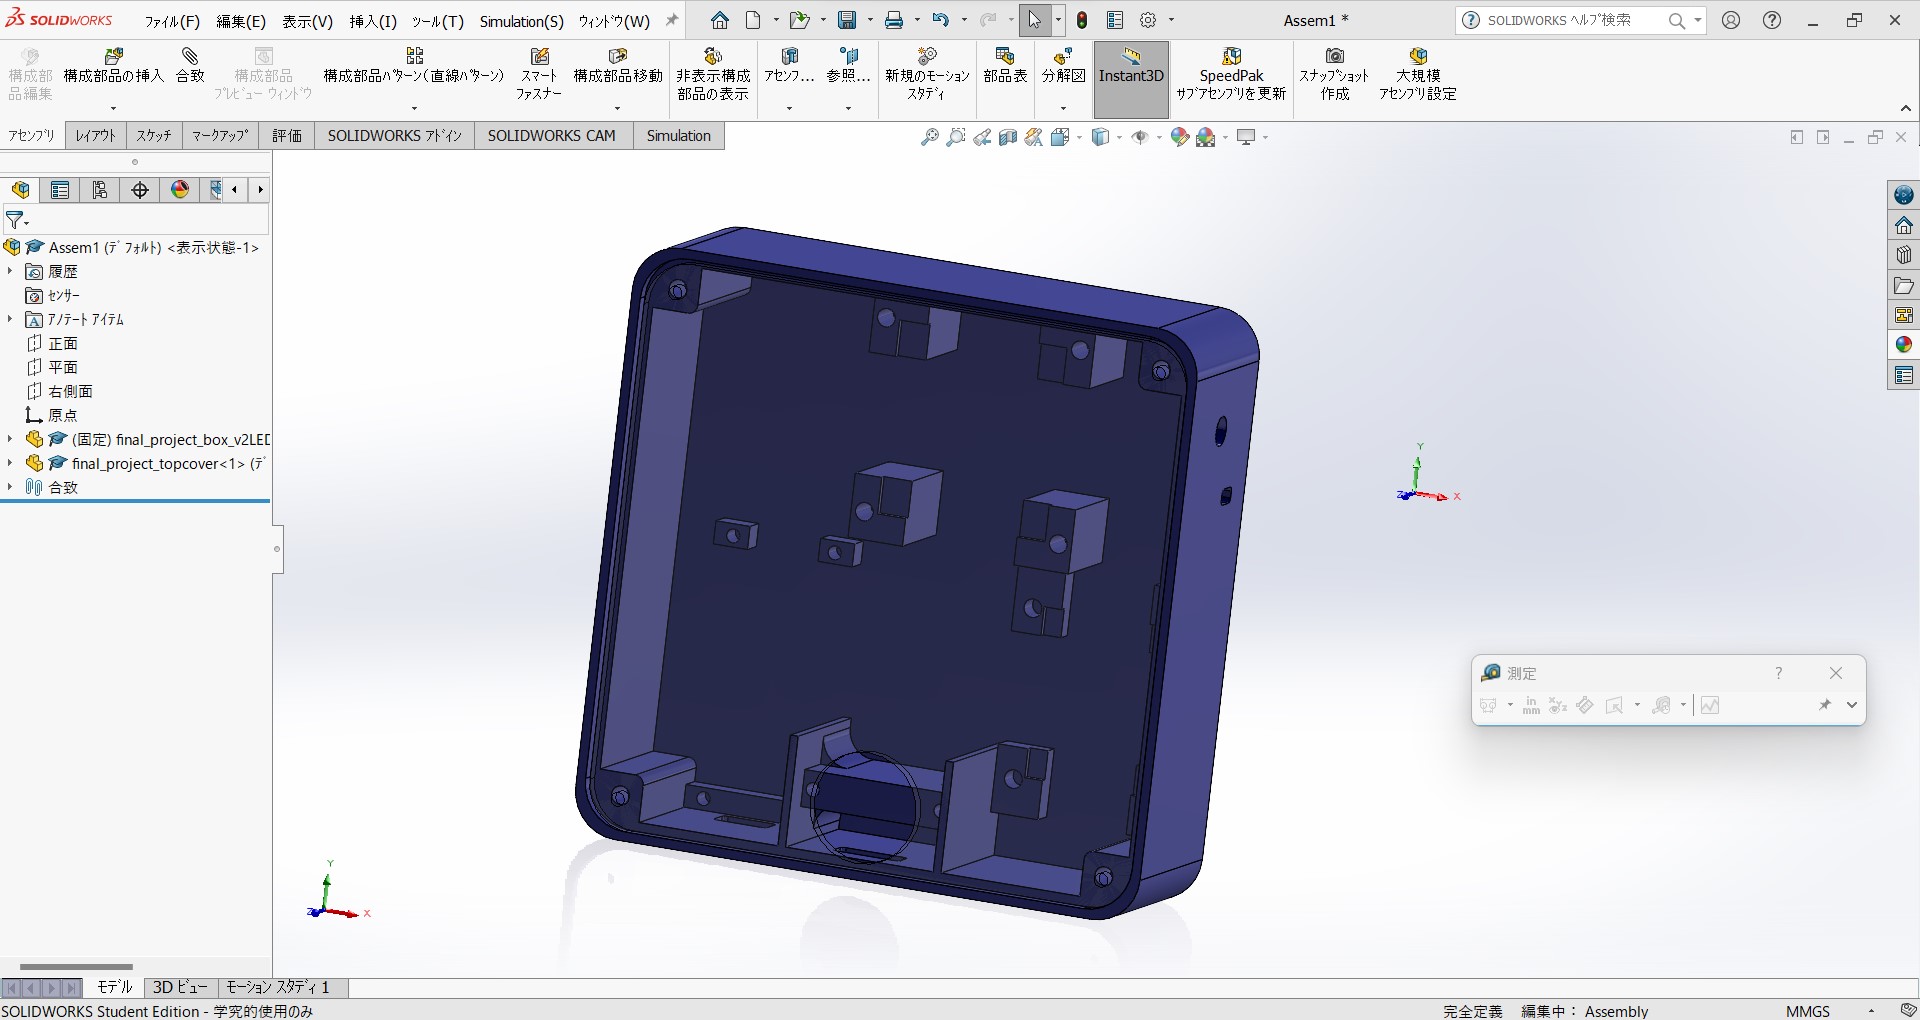
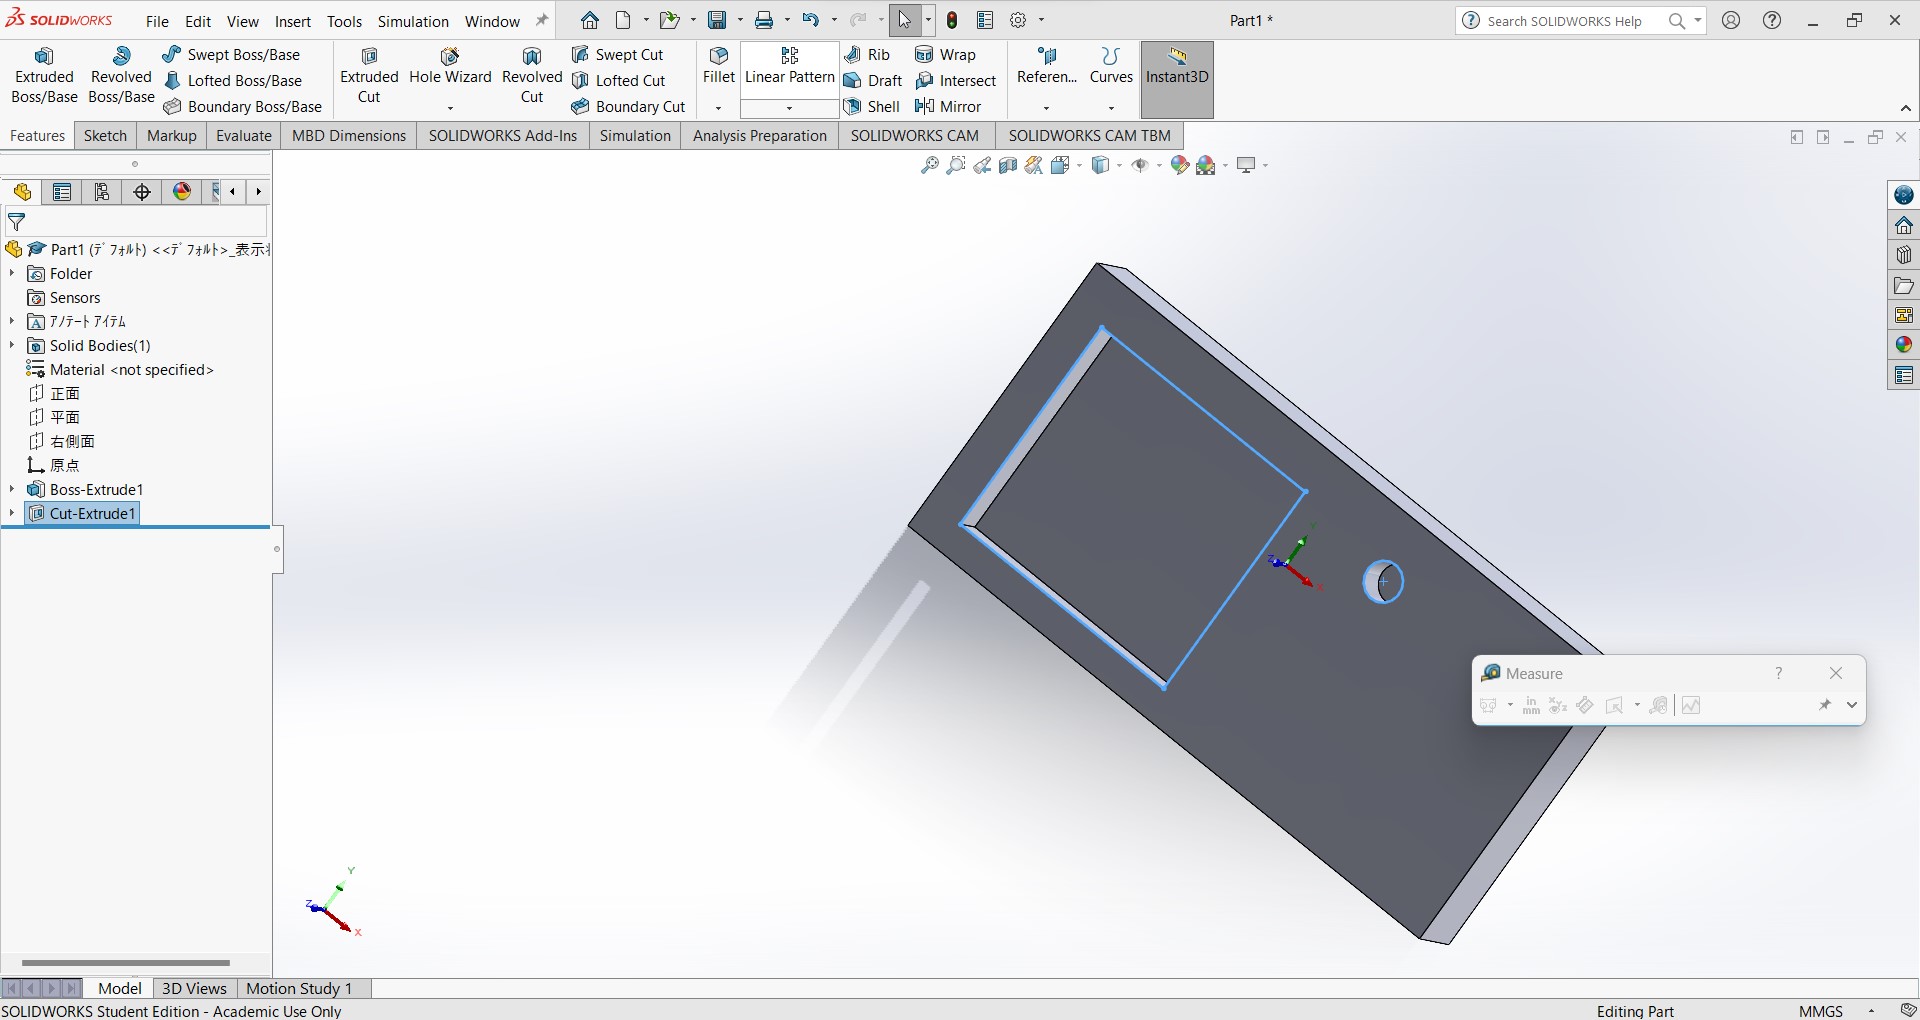
Modeling of my final project with Solid Works. (original file)
-
This is an assembly of Box and Top Cover, in the box I put board, battery and sensor in.
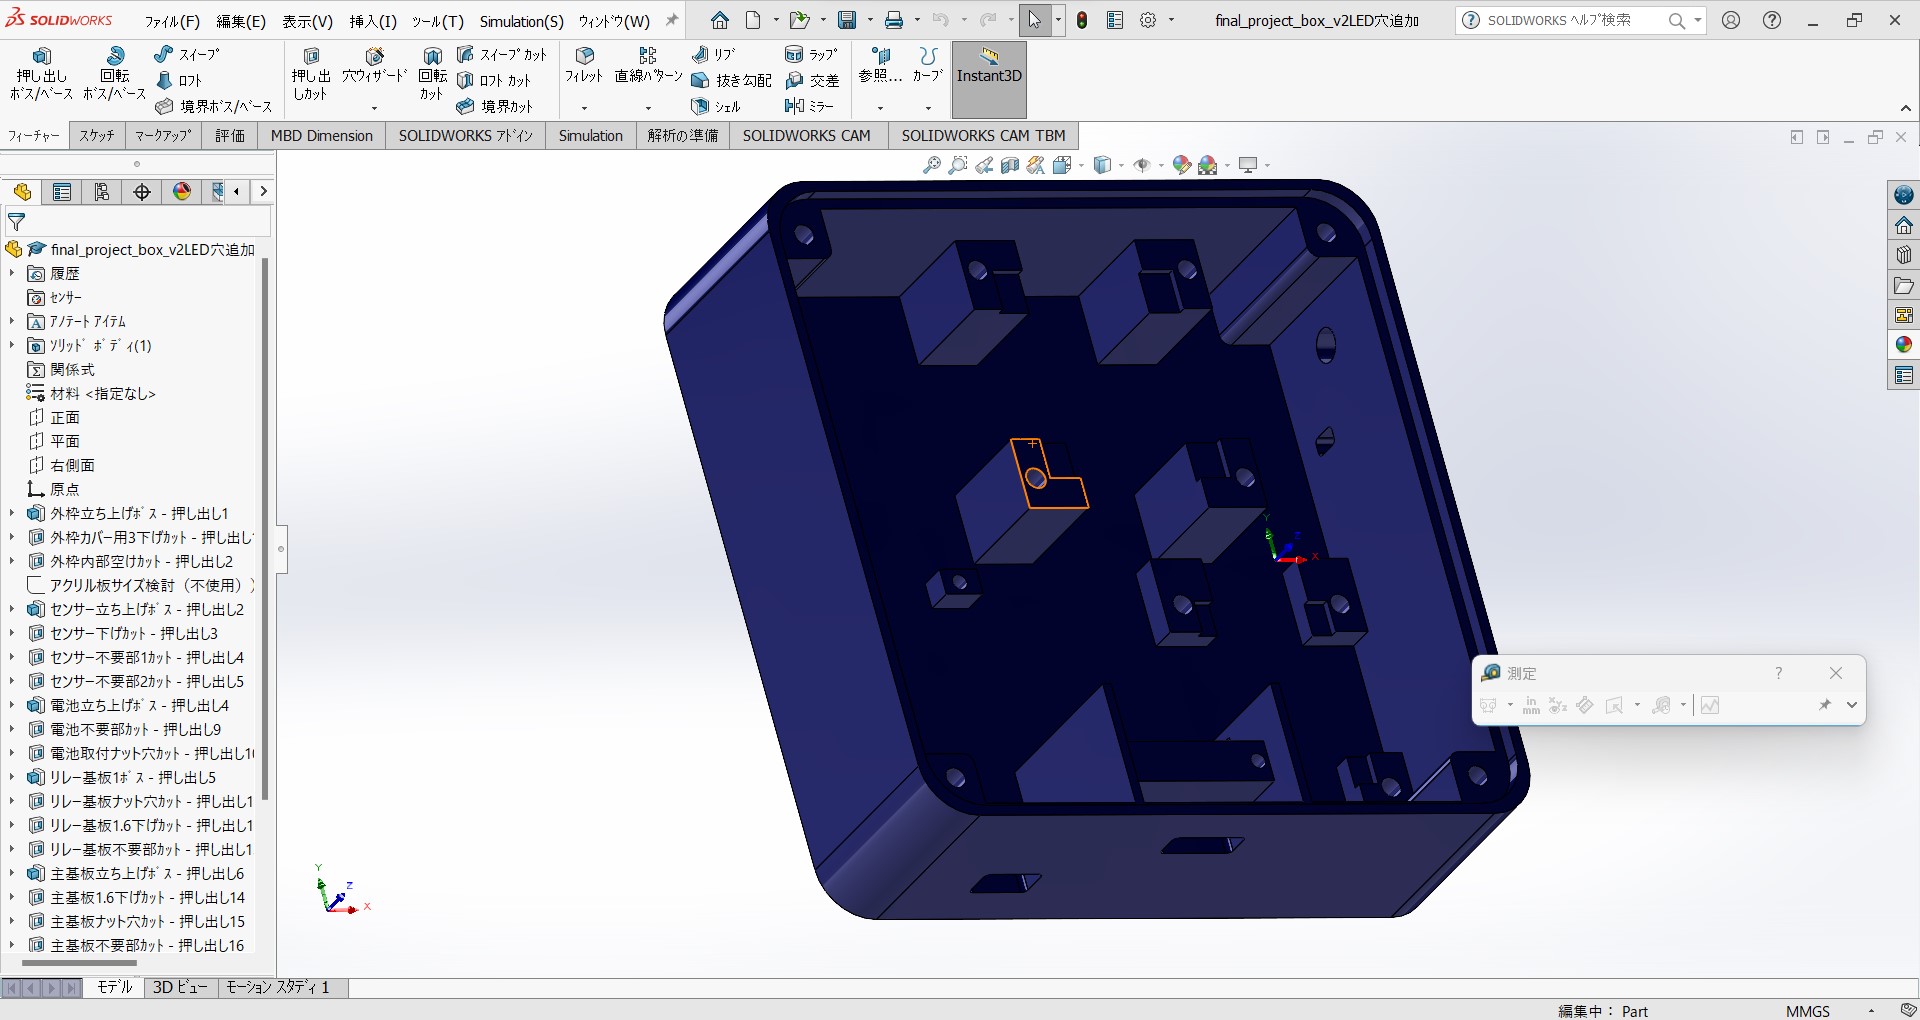
Box (original file)
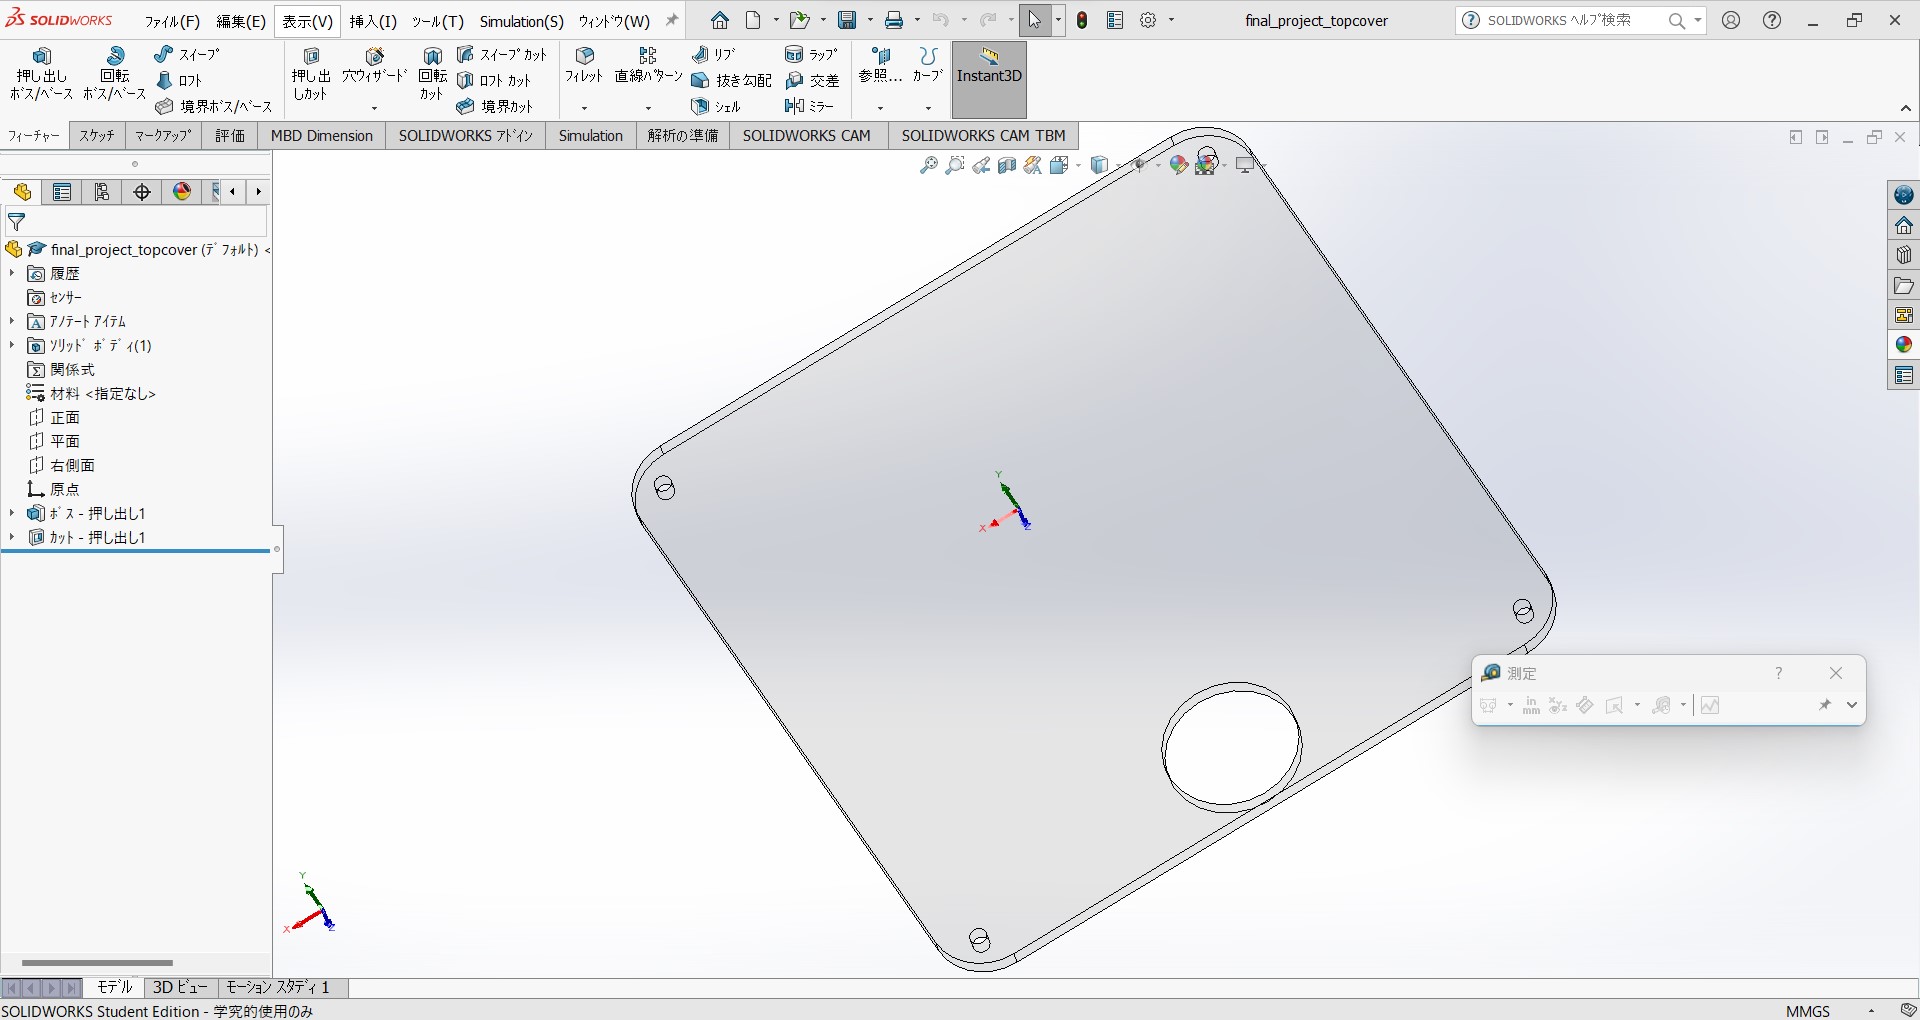
Top Cover (original file)
d) Process for the result
3D designing with Solid Works
- Fab Academy students are offered one year license of Solid Works, so I tried it. It is less popular than fusion360 in Japan, but still I can use Japanese language tutorial.
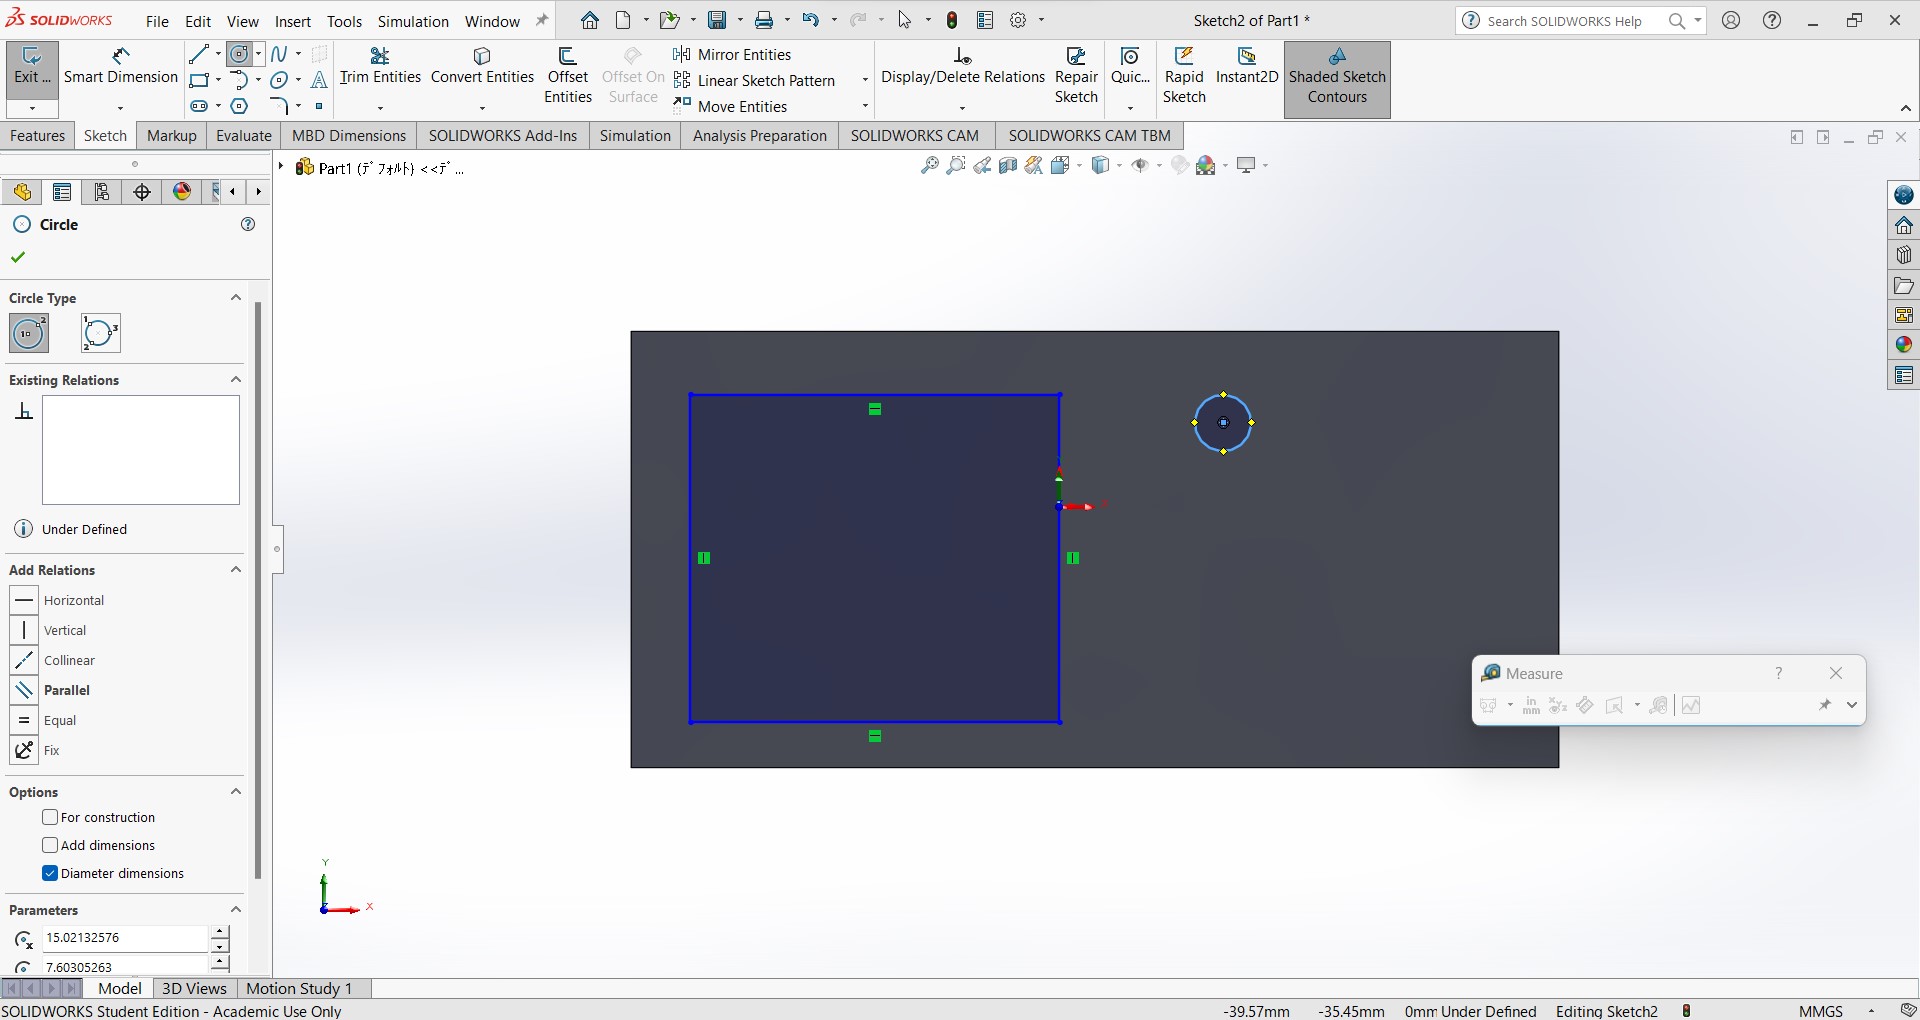
- At first I need to draw "sketch" in 2D.
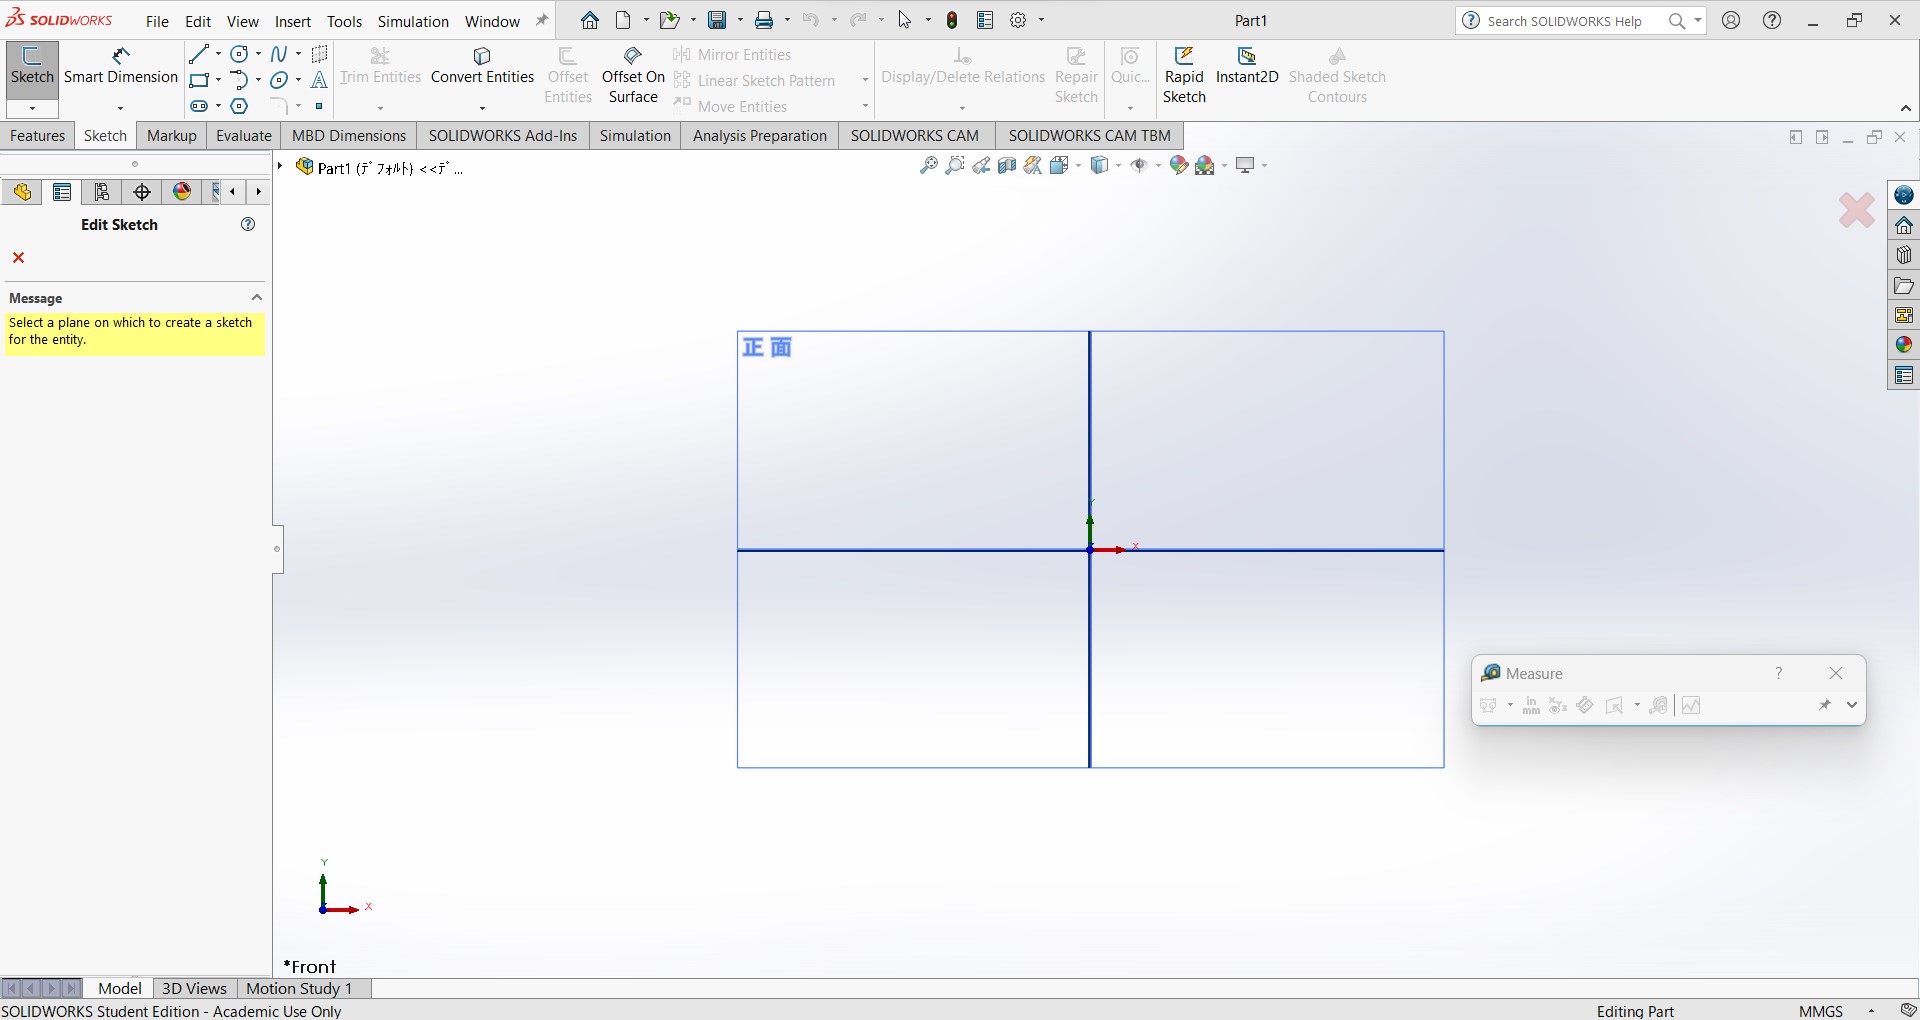
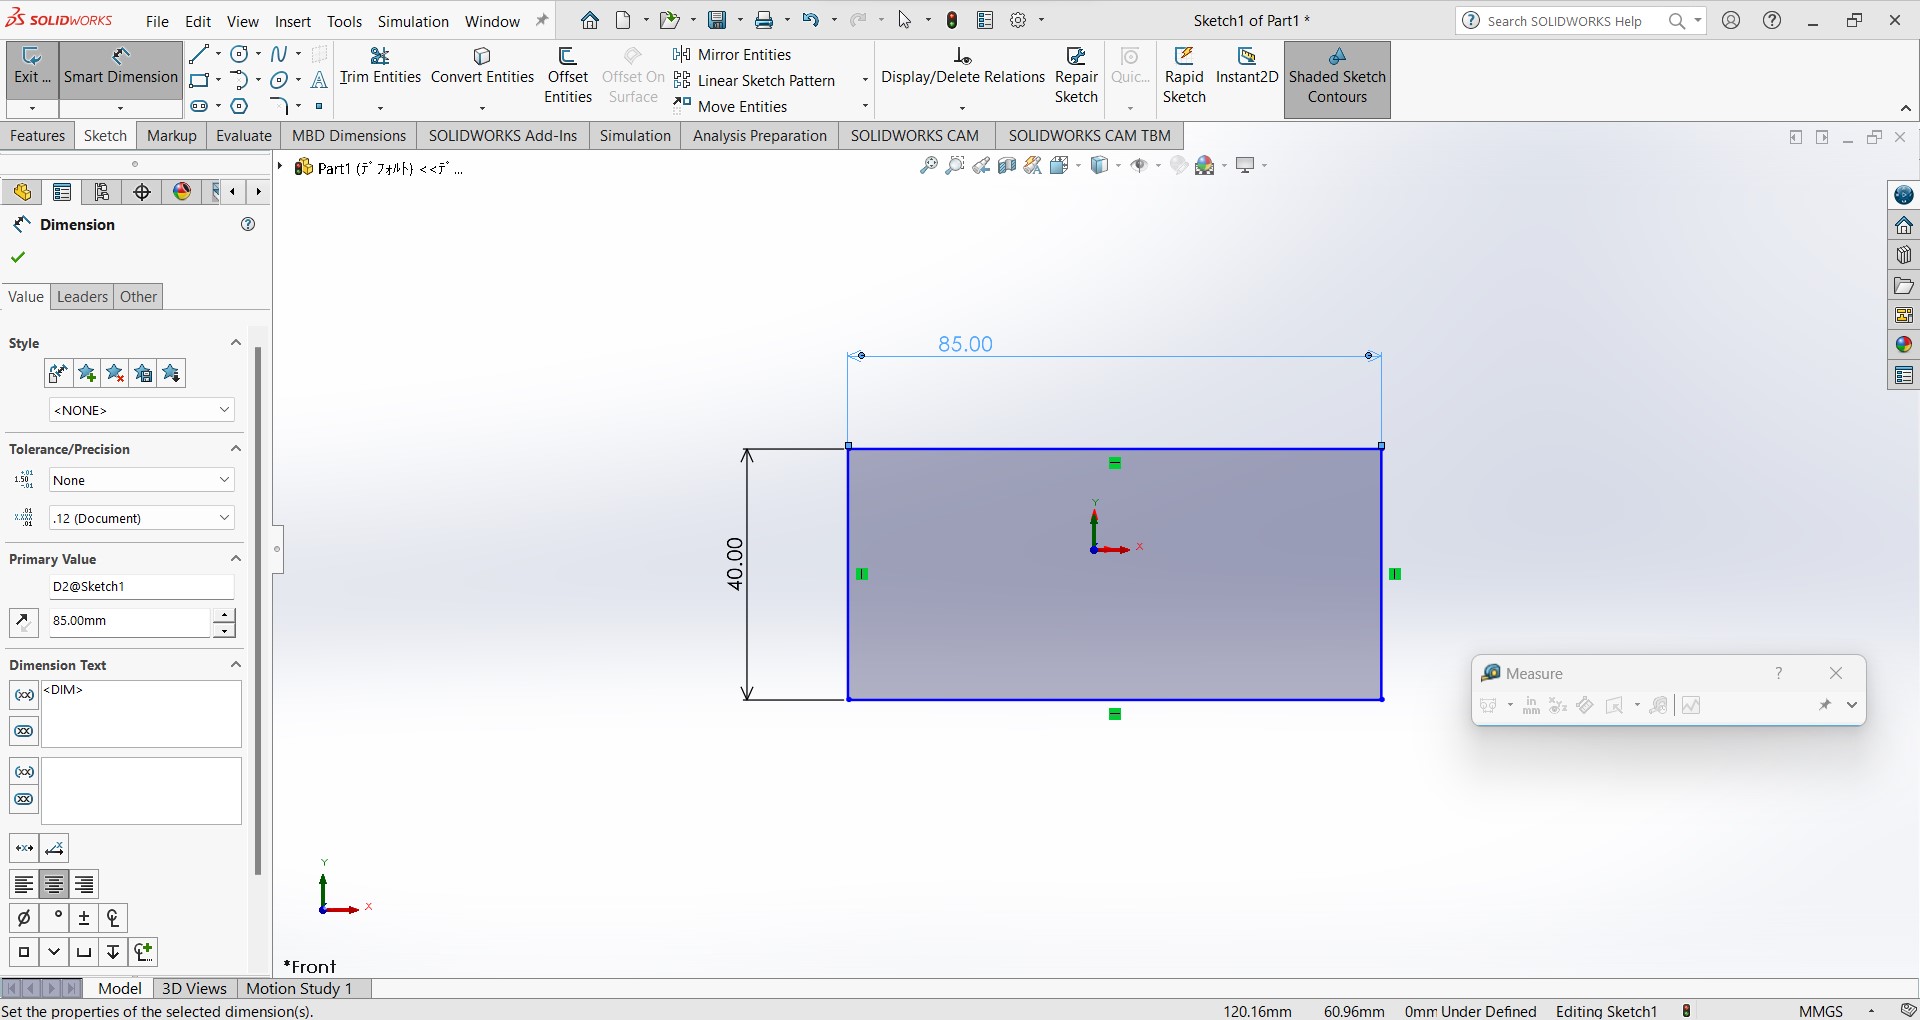
-
Then I can make those 2D shapes into 3D bodies by "Extruded Boss/Base".
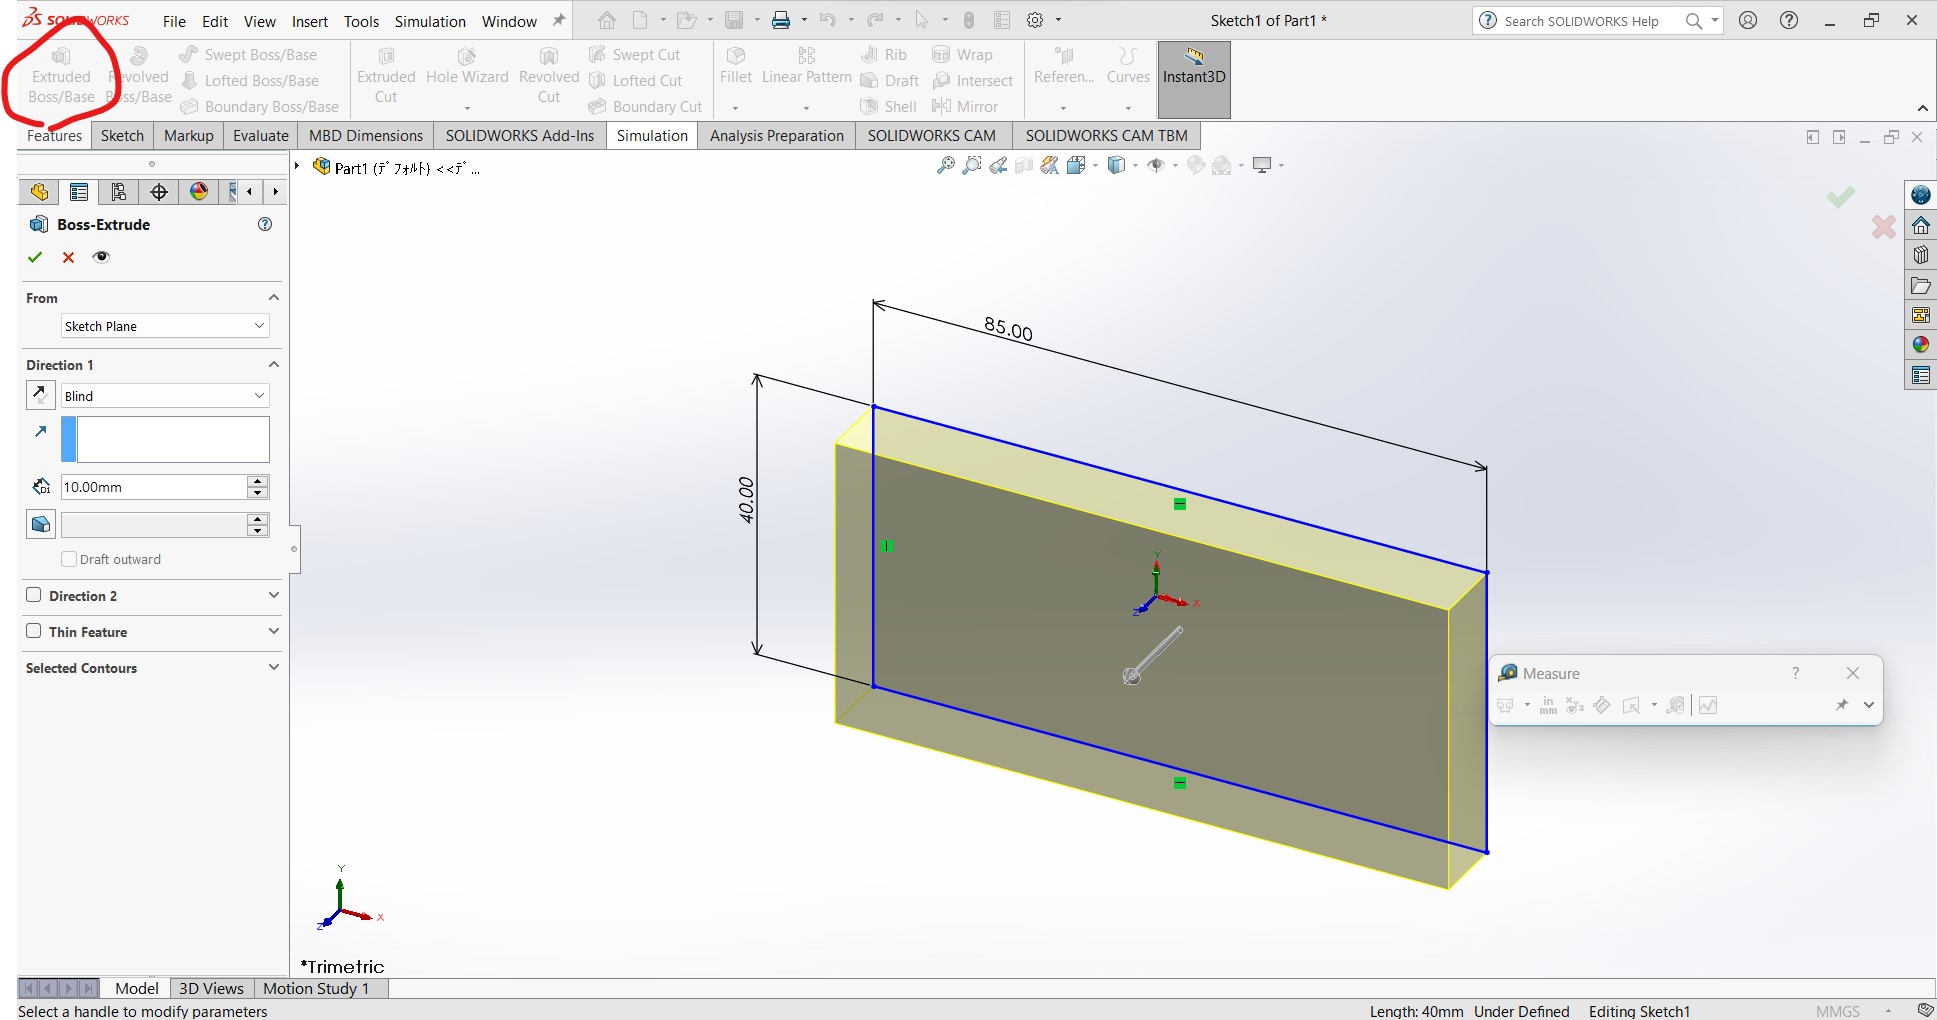
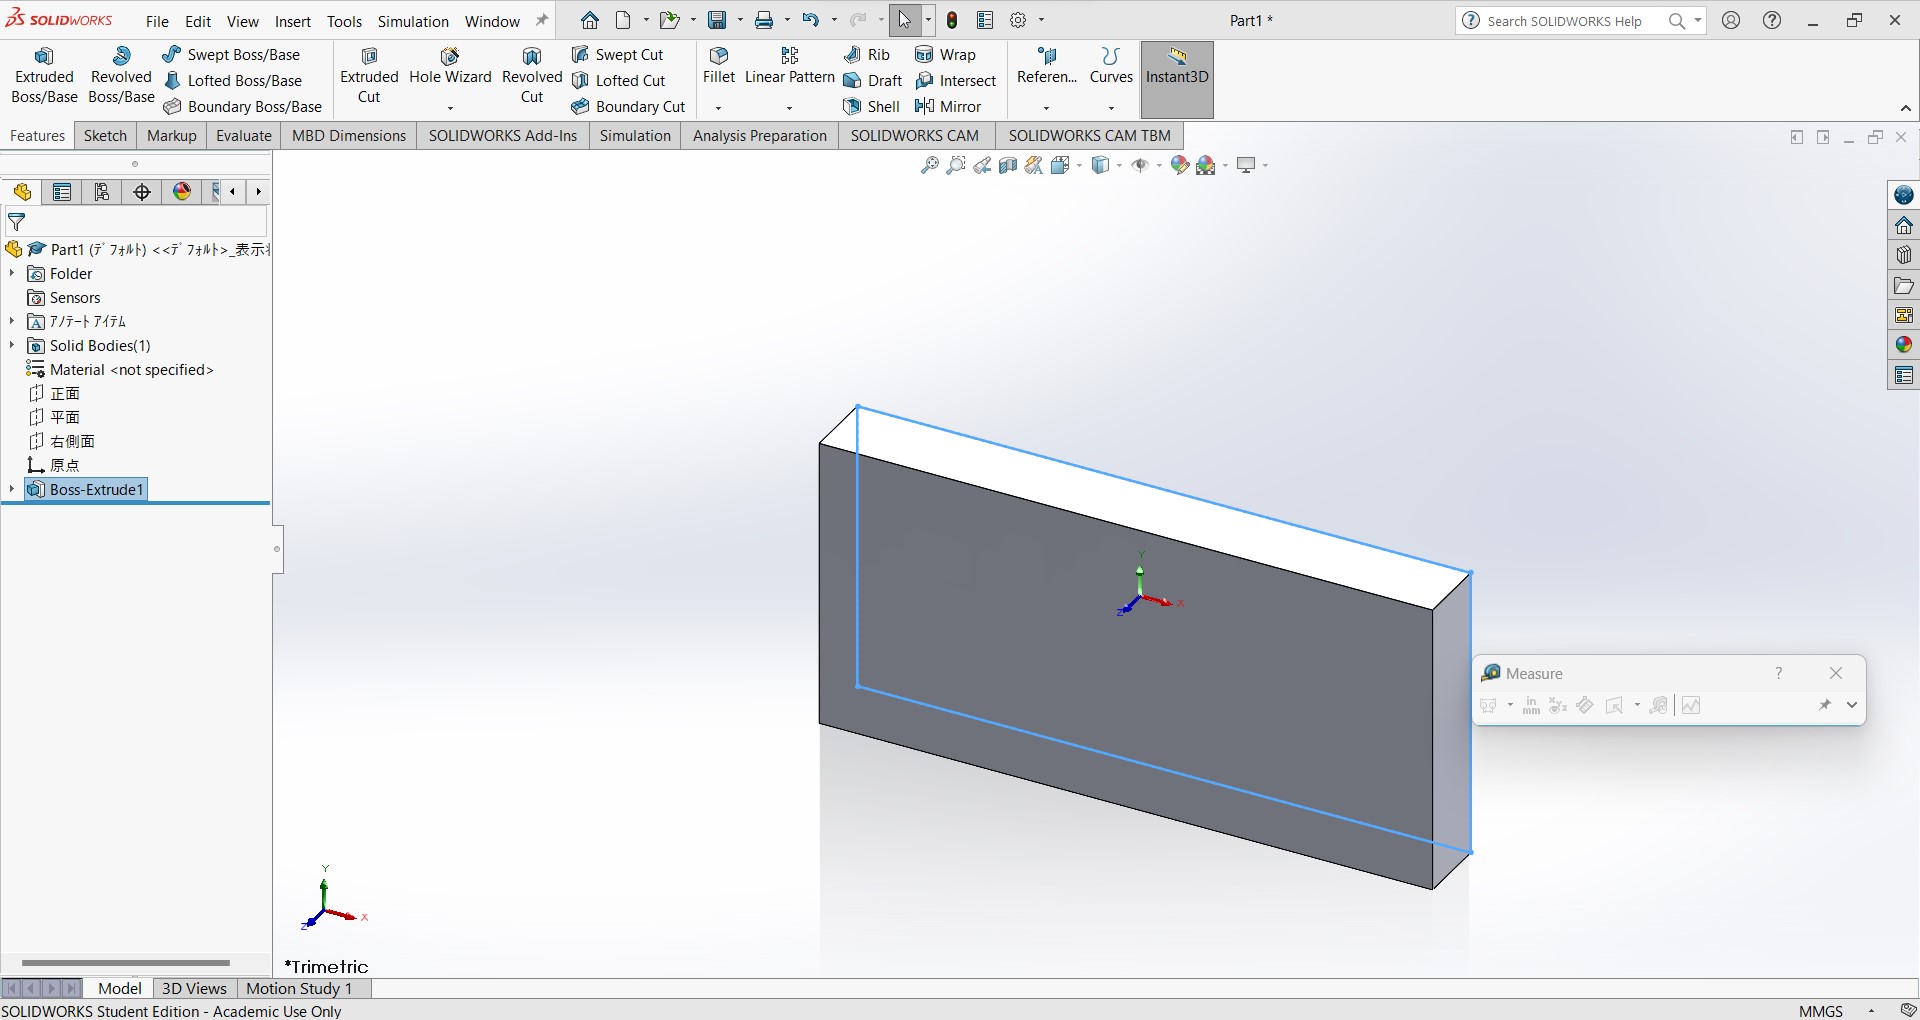
-
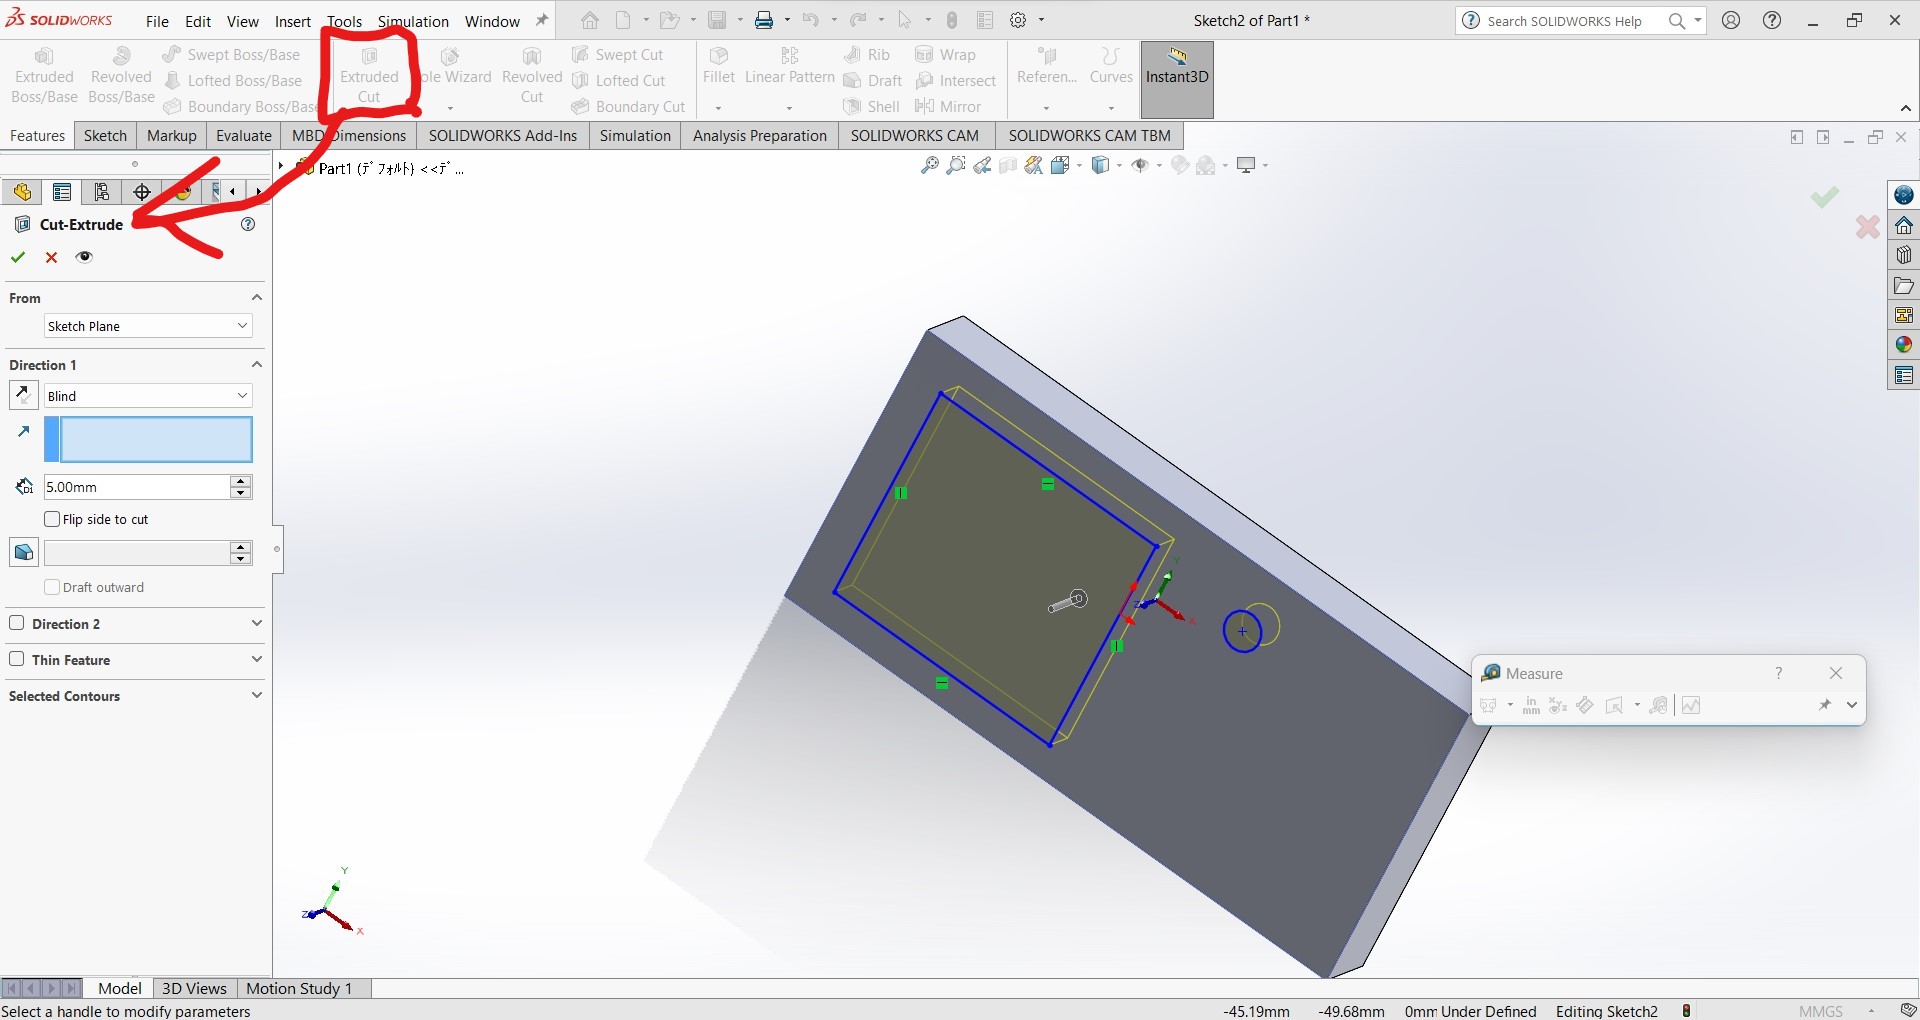
To put on more shape or make hole, I can draw new sketch on the surface of the created shape.
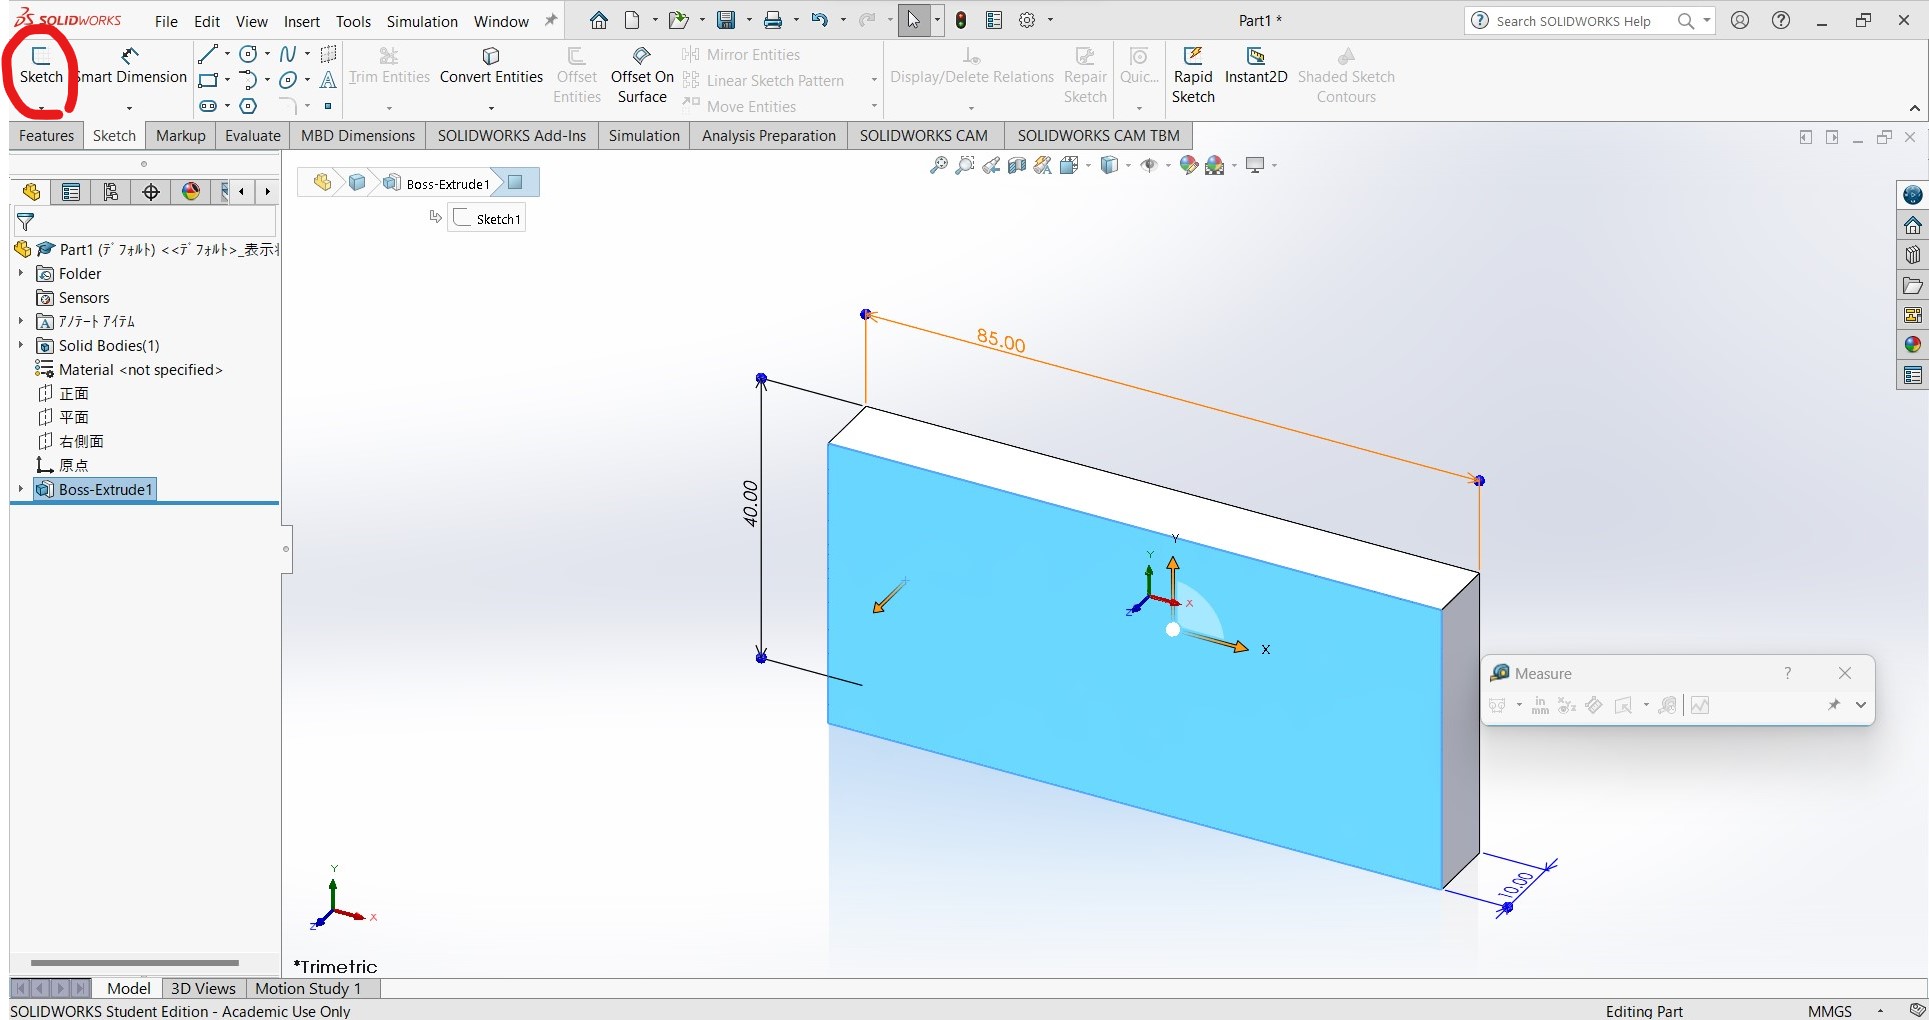
Drawing sketch on the surface
-
I can make holes by "Extruded Cut"
Assembly and animation
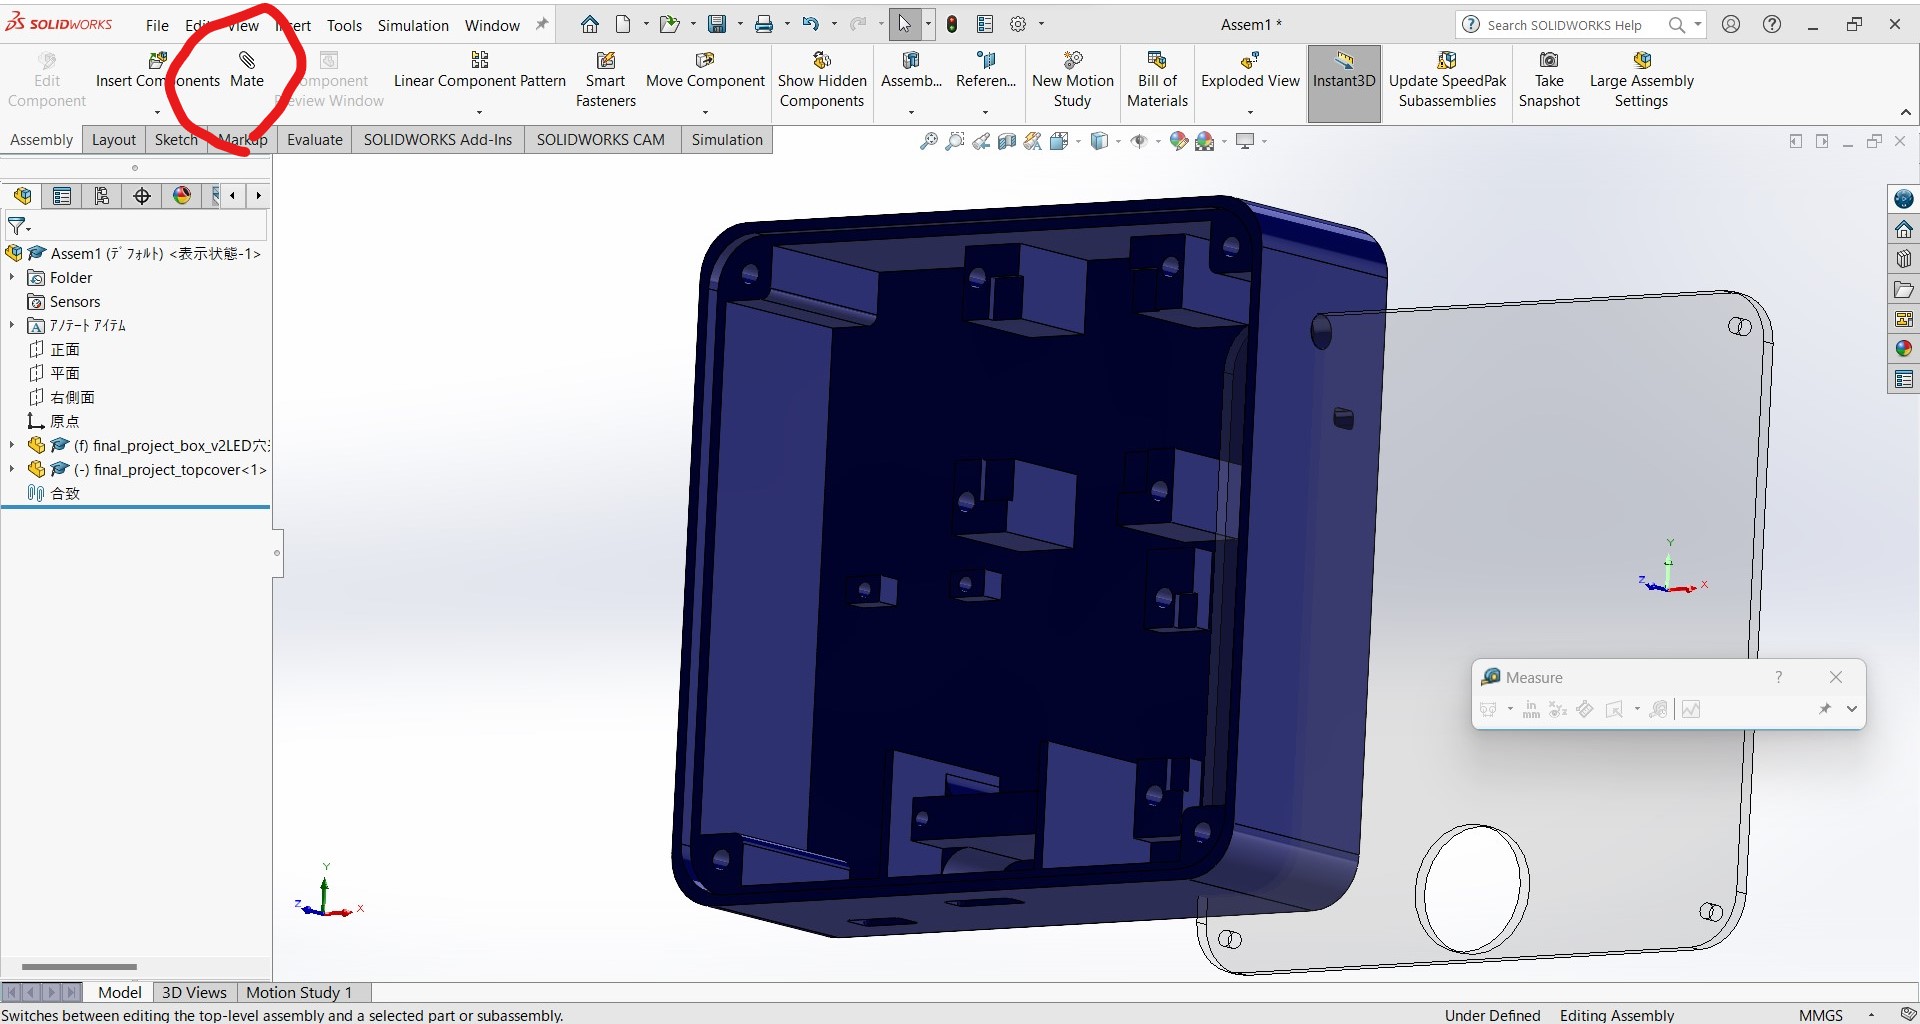
- Once complete parts to assemble, I made new assembly file.
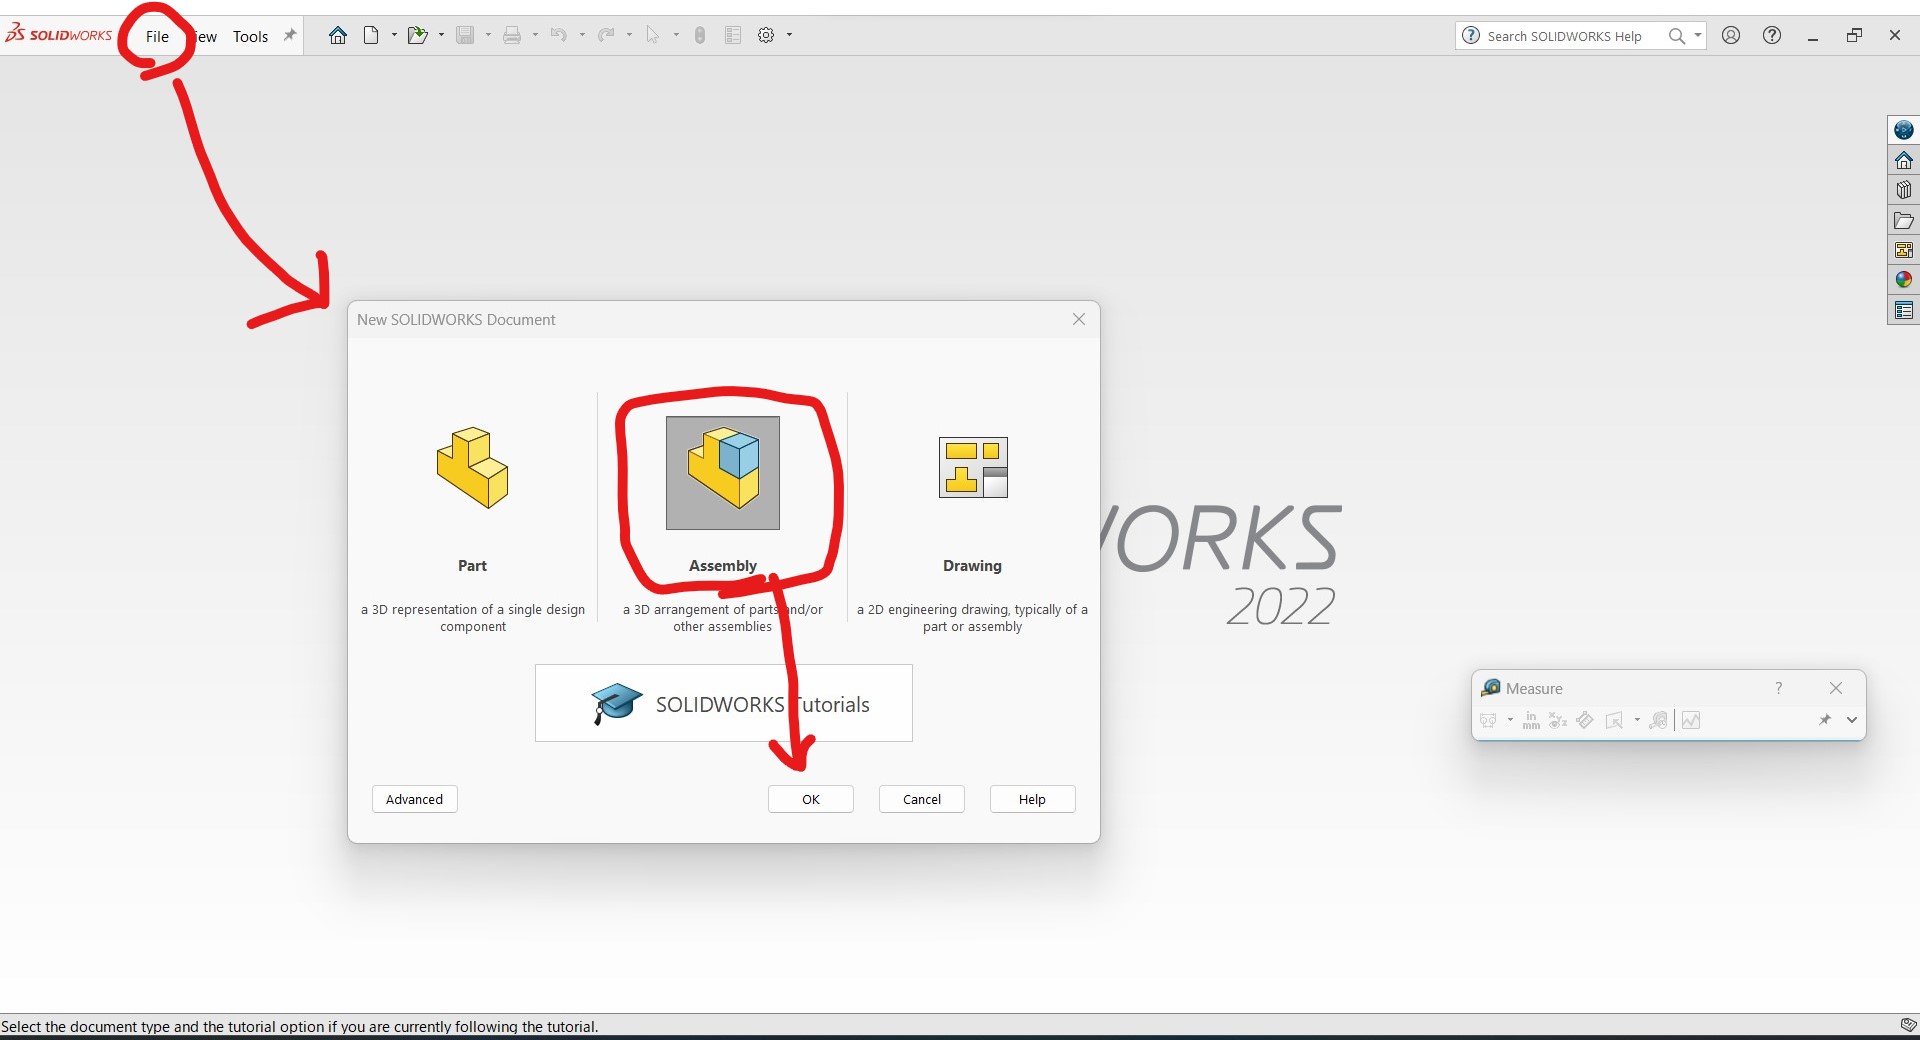
- Import parts into the assembly file.
- To assemble them, I can arrange which surfaces contact by "Mate" tool.
- Once assembly done, then I can make animation for visible explanation.
-
How to make animation;
- Once assembly done, click "New Motion Study", then time line shows up at bottom of the screen.
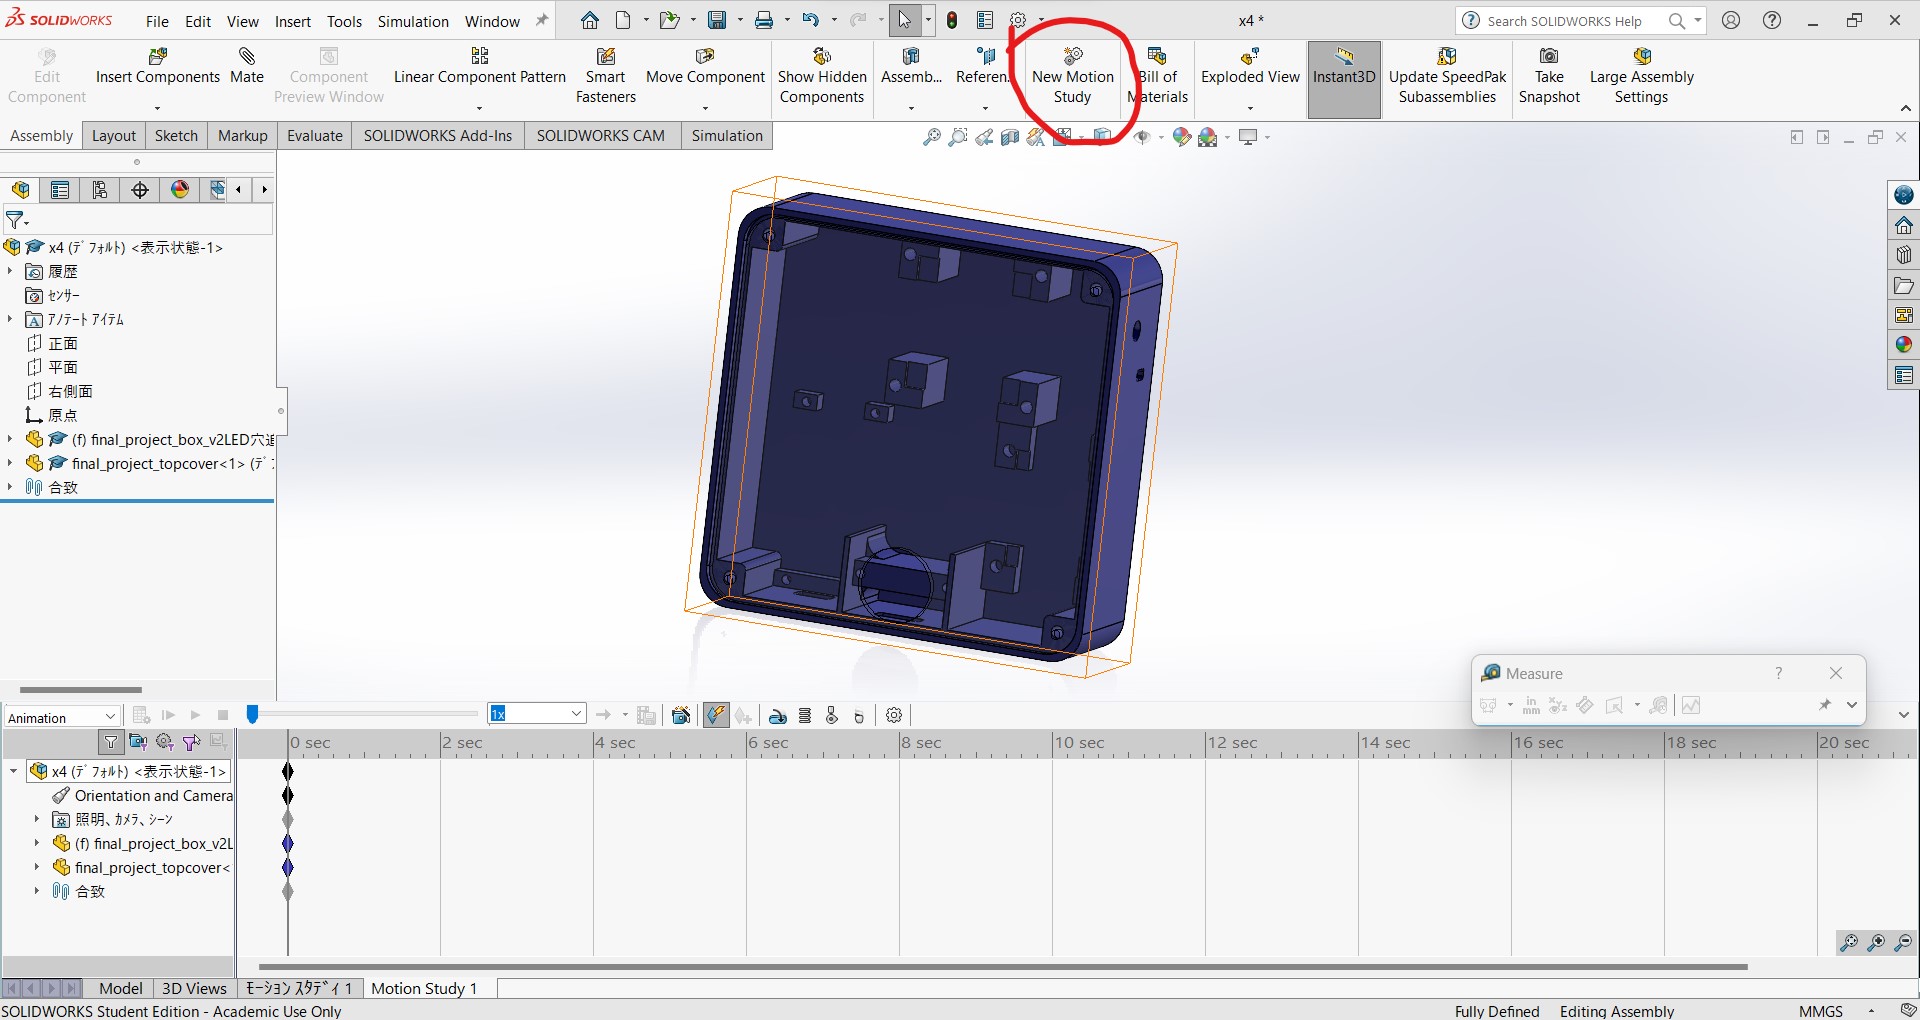
- On the timeline, I can set the duration of the animation and which body to move.
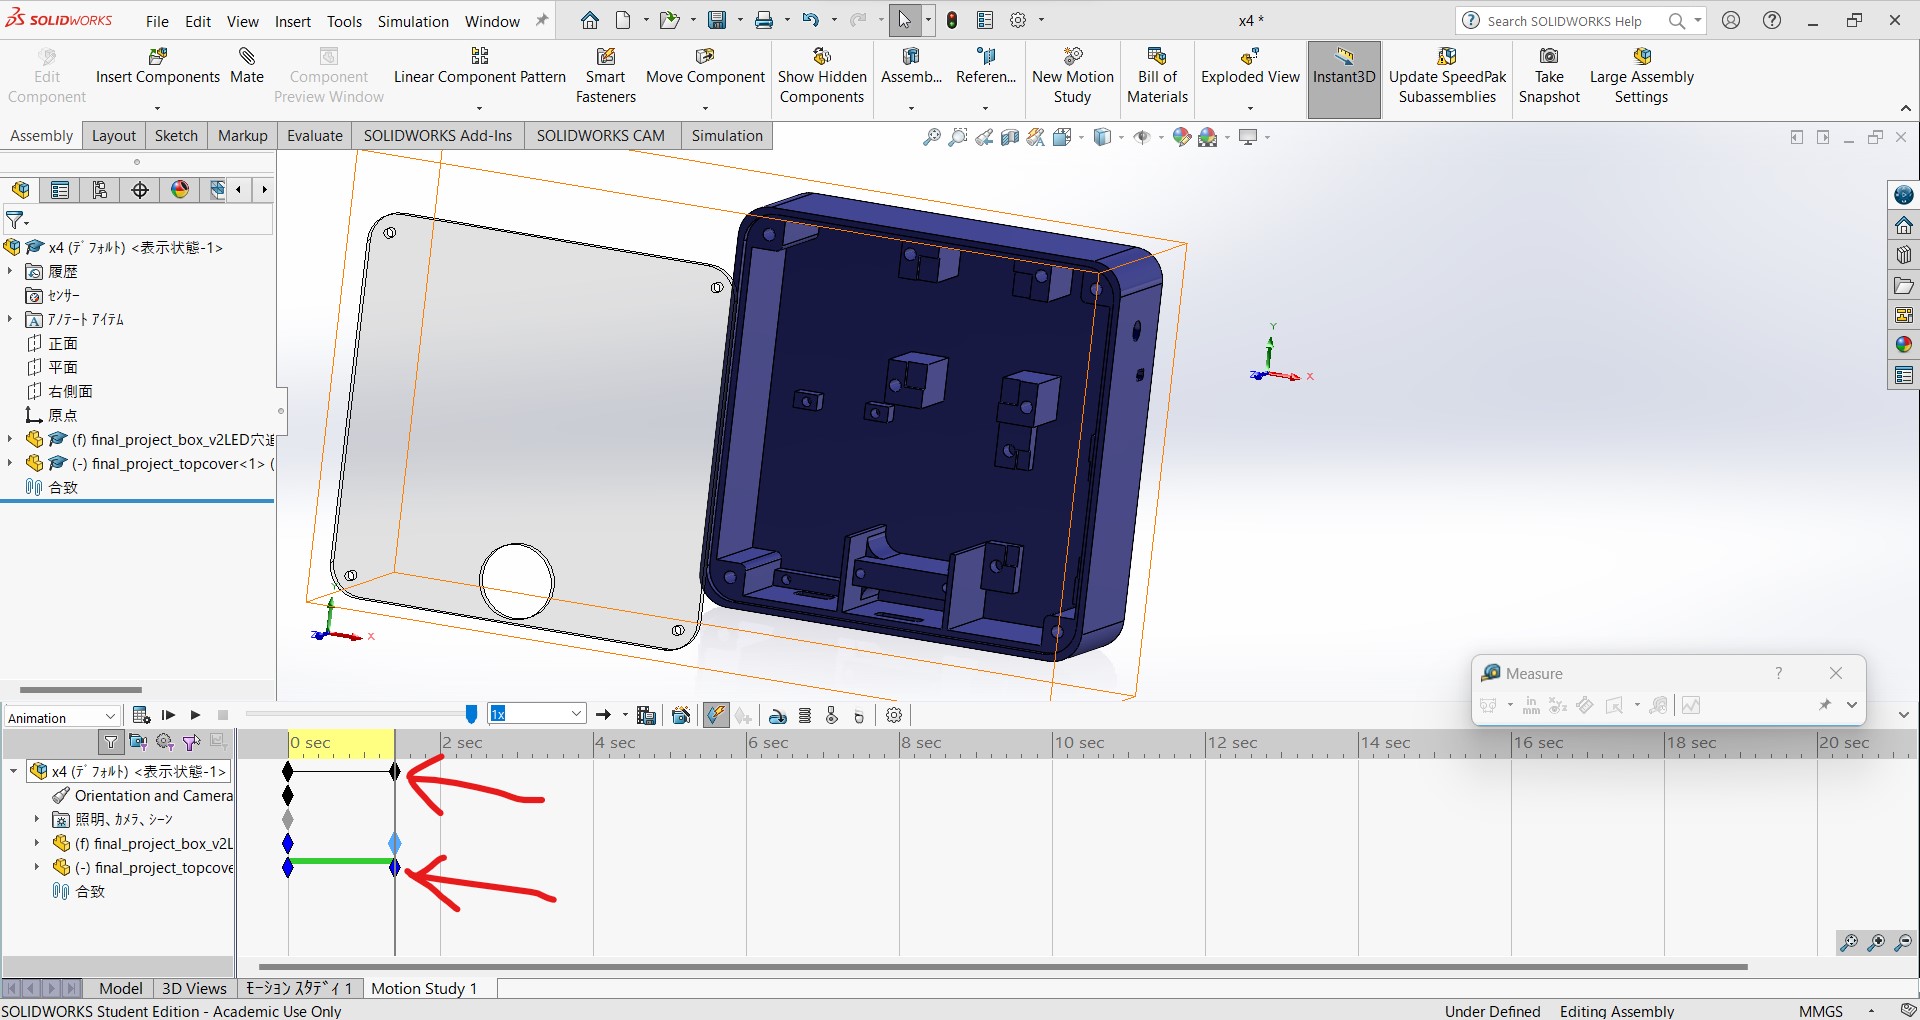
- Once assembly done, click "New Motion Study", then time line shows up at bottom of the screen.
-
Above animation was 3.7MB of .avi file. I managed to compress it into 134KB of .mp4 file. For this process I learned below:
-
ffmpeg
- Downloaded latest version from its GitHub page.
- Then arrange the path setting and allocate exe files.
- This is controlled by CLI. Command: ffmpeg -V shows its version and successful installation.
- For compressing movie, this time I used following command; ffmpeg -i before.avi -crf 30 after.mp4
- In this command, -crf xx means compress level, 1 is the lowest and the more figure goes up, the more compressed. This time original data was 3.7M then crf10->977KB, crf20->379KB, crf30->134KB crf40->52KB. Very small size with crf40 but the quality is not acceptable so I took crf30.
-
Embedding movie
- I referred Tutorial by FabLab Kannai.
- For embedding movie, I use html like below:
What I need to input here;
<video width="400" controls> <source src="../../images/video.mp4" type="video/mp4"> </video>- width="x" : I can adjust the width of the video in px.
- source src="x" : path of the video
There are many more syntax for video setting but for this documentation I only edit above to make the work simple.
-
e) Other tools
-
GIMP (2D raster)
-
Sometimes I use Photoshop. I am not professional designer, but I sometimes do design work for small businesses as an extra work of consultancy. So for this week assignment I tried GIMP.
-
Installed GIMP 2.10.32(revision1) from windows store for free.
-
GIMP seems got almost the same functionality as photoshop, so I tried to modify a photo. I can open my photo with GIMP.
Then change the color tone looks like artistic photo.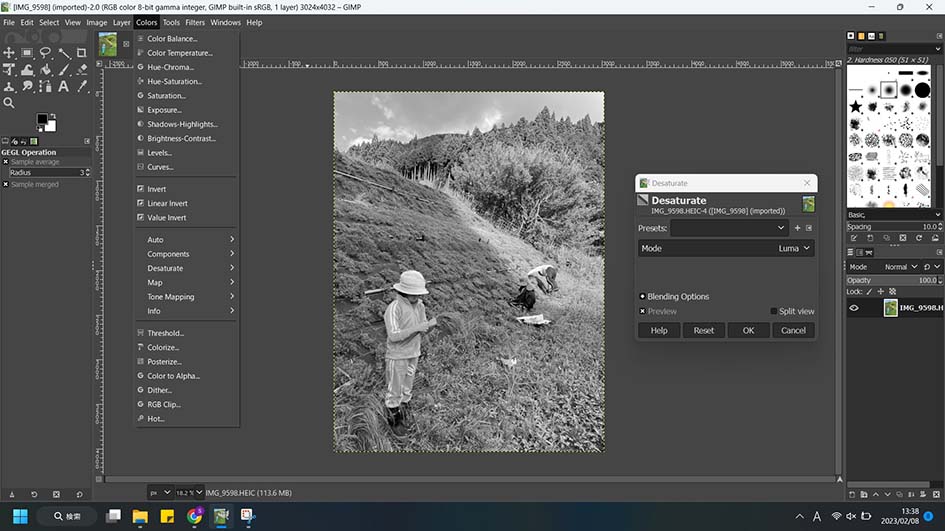
Next I discarded unnecessary objects (trash, 2 people) so that only target is shown in the photo. (original file)
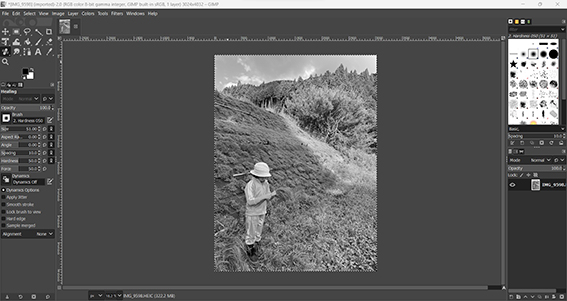
- How to do it;
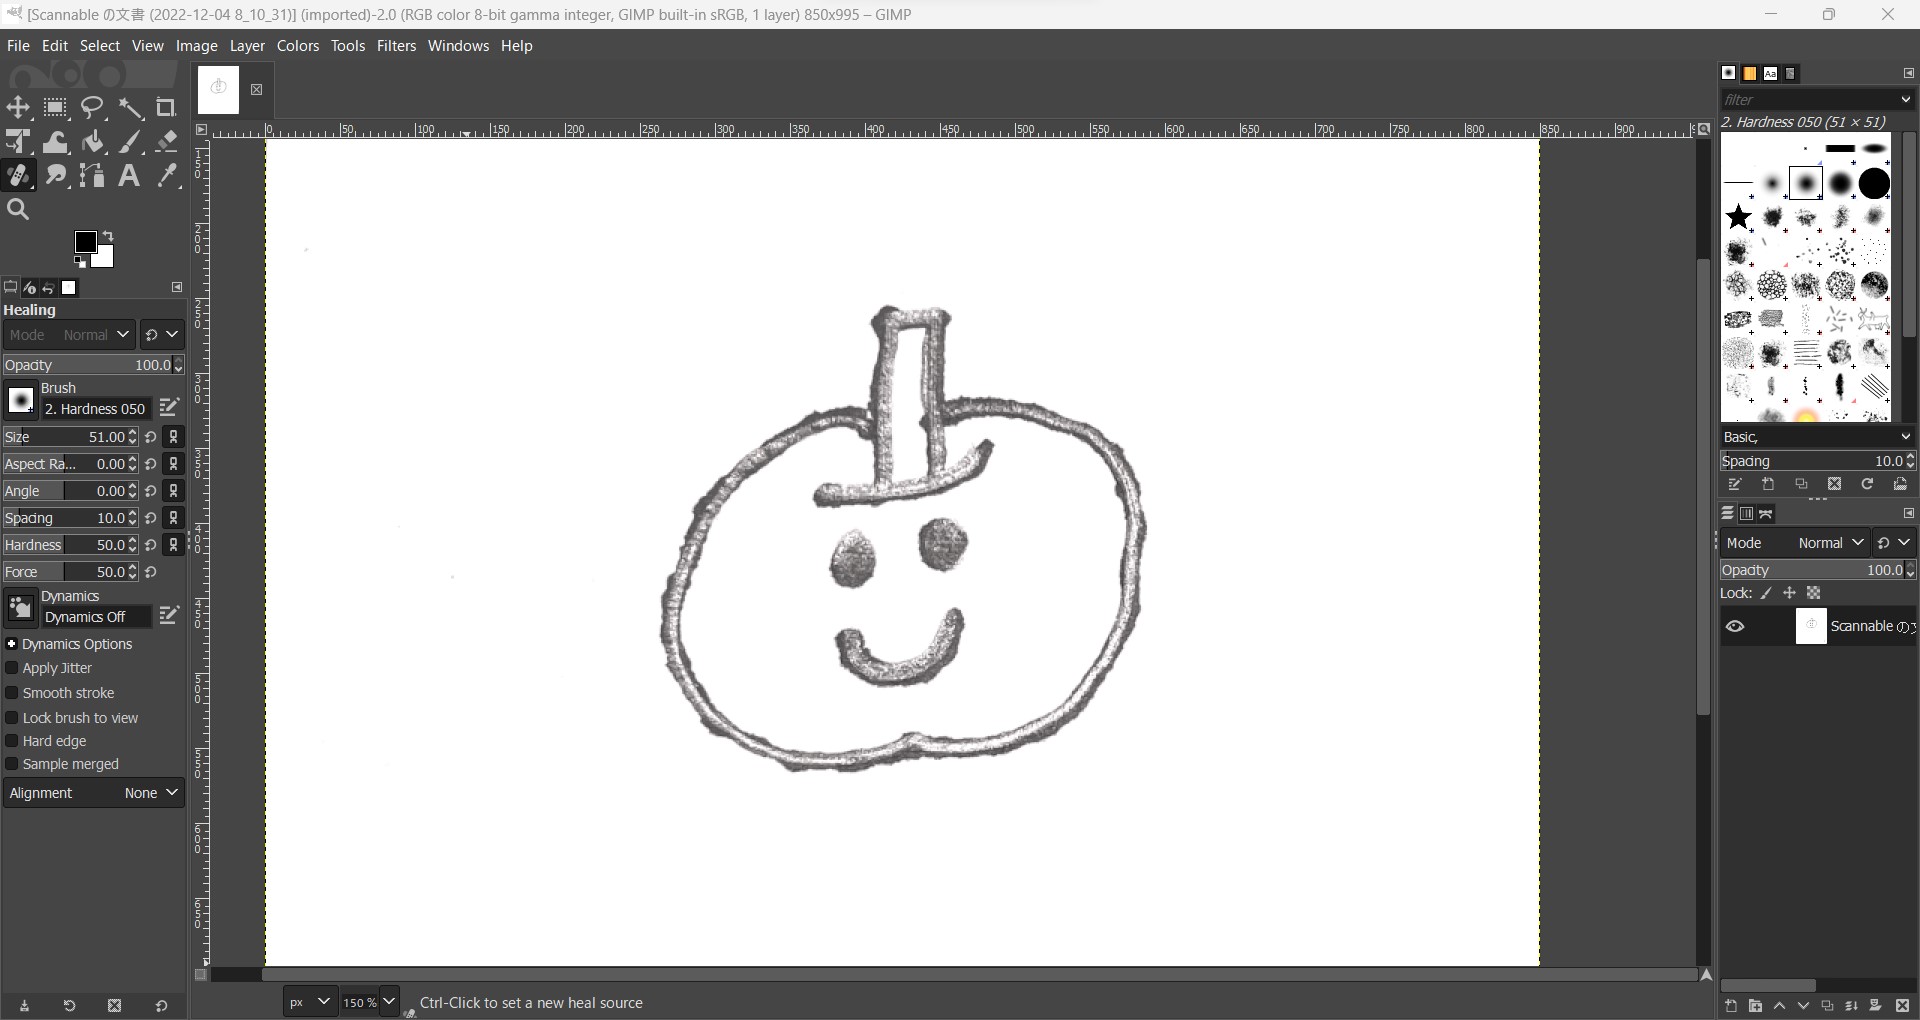
- Click "Healing tool" or press "h" key, then healing tool is active
- Ctrl-Click to set a new heal source, this case I picked green grass as heal source
- Click the target (trash, 2 people), the targets colors are changed with heal source.
- Click "Healing tool" or press "h" key, then healing tool is active
- How to do it;
-
Next, imported the hand-write drawing by my daughter.
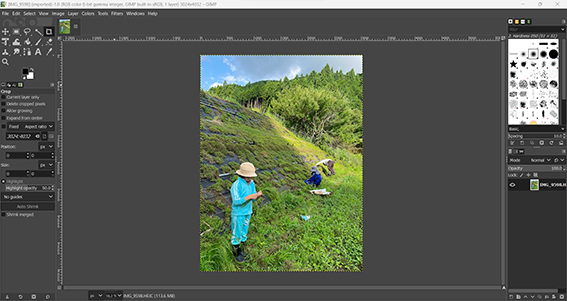
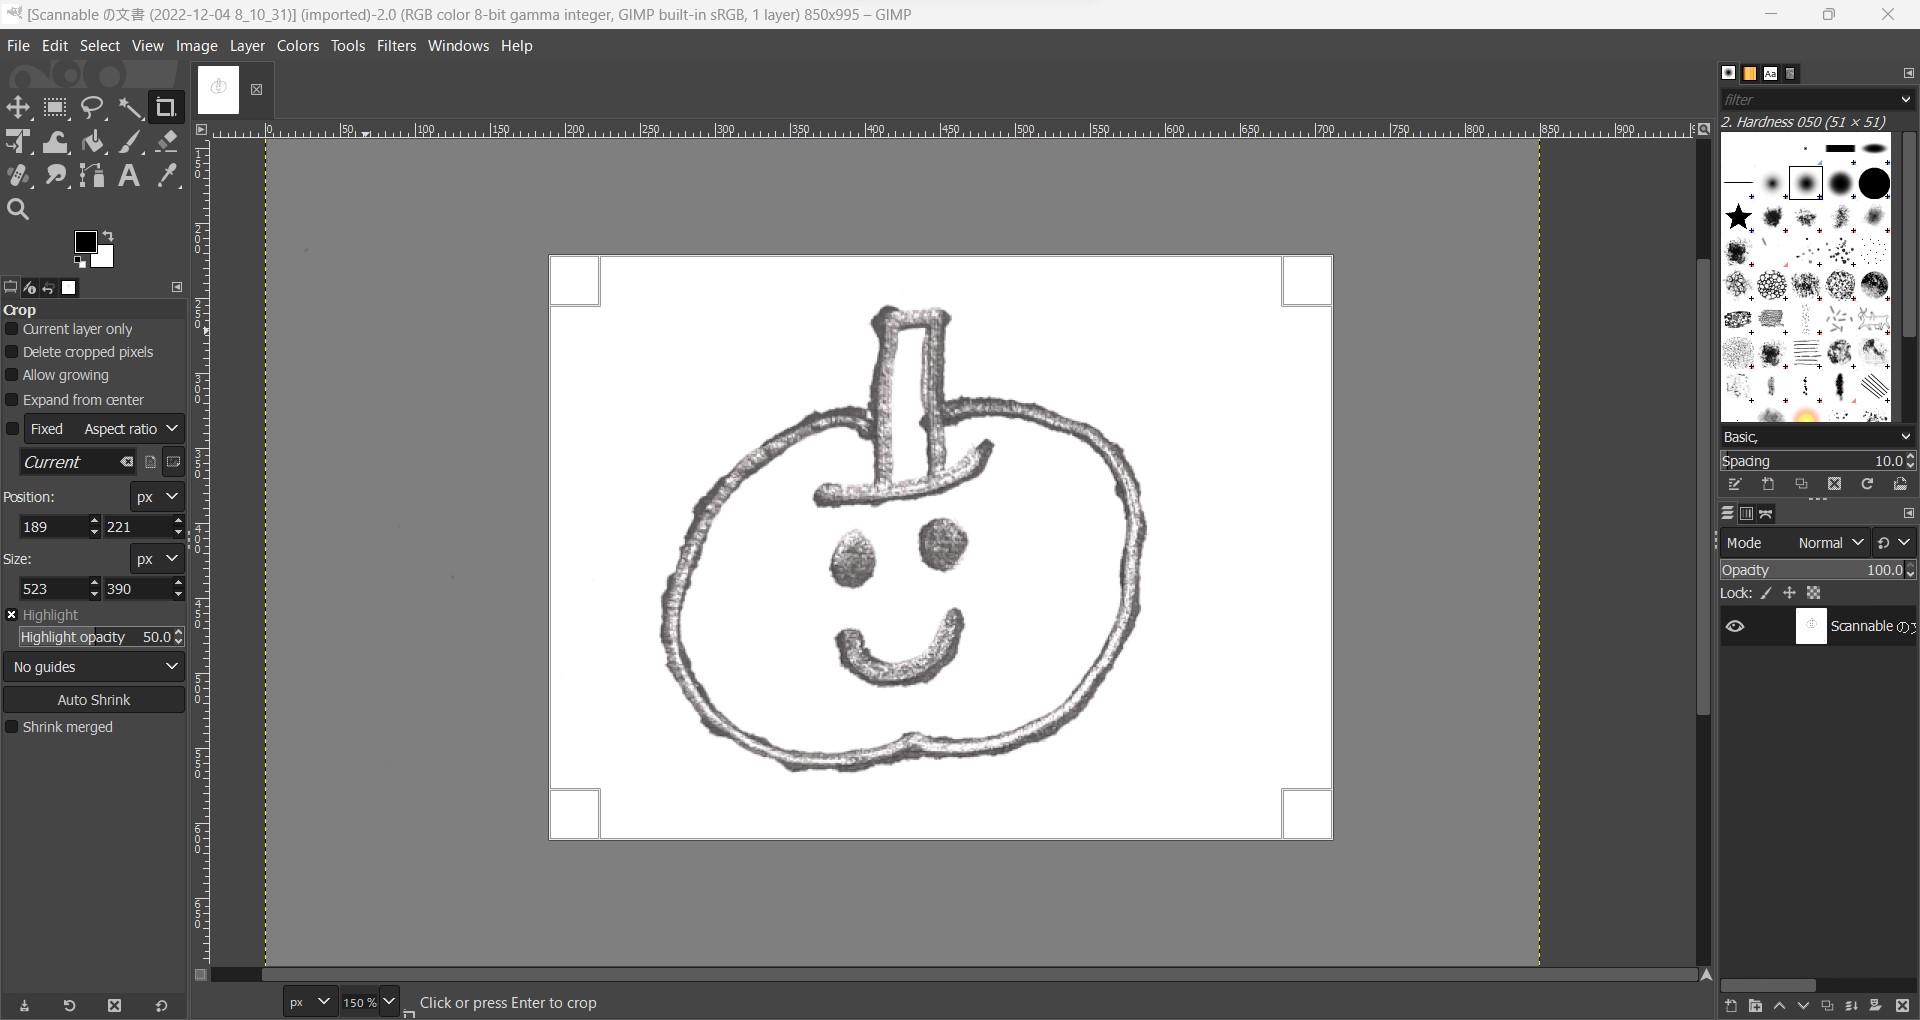
 Crop tool for discarding unnecessary area.
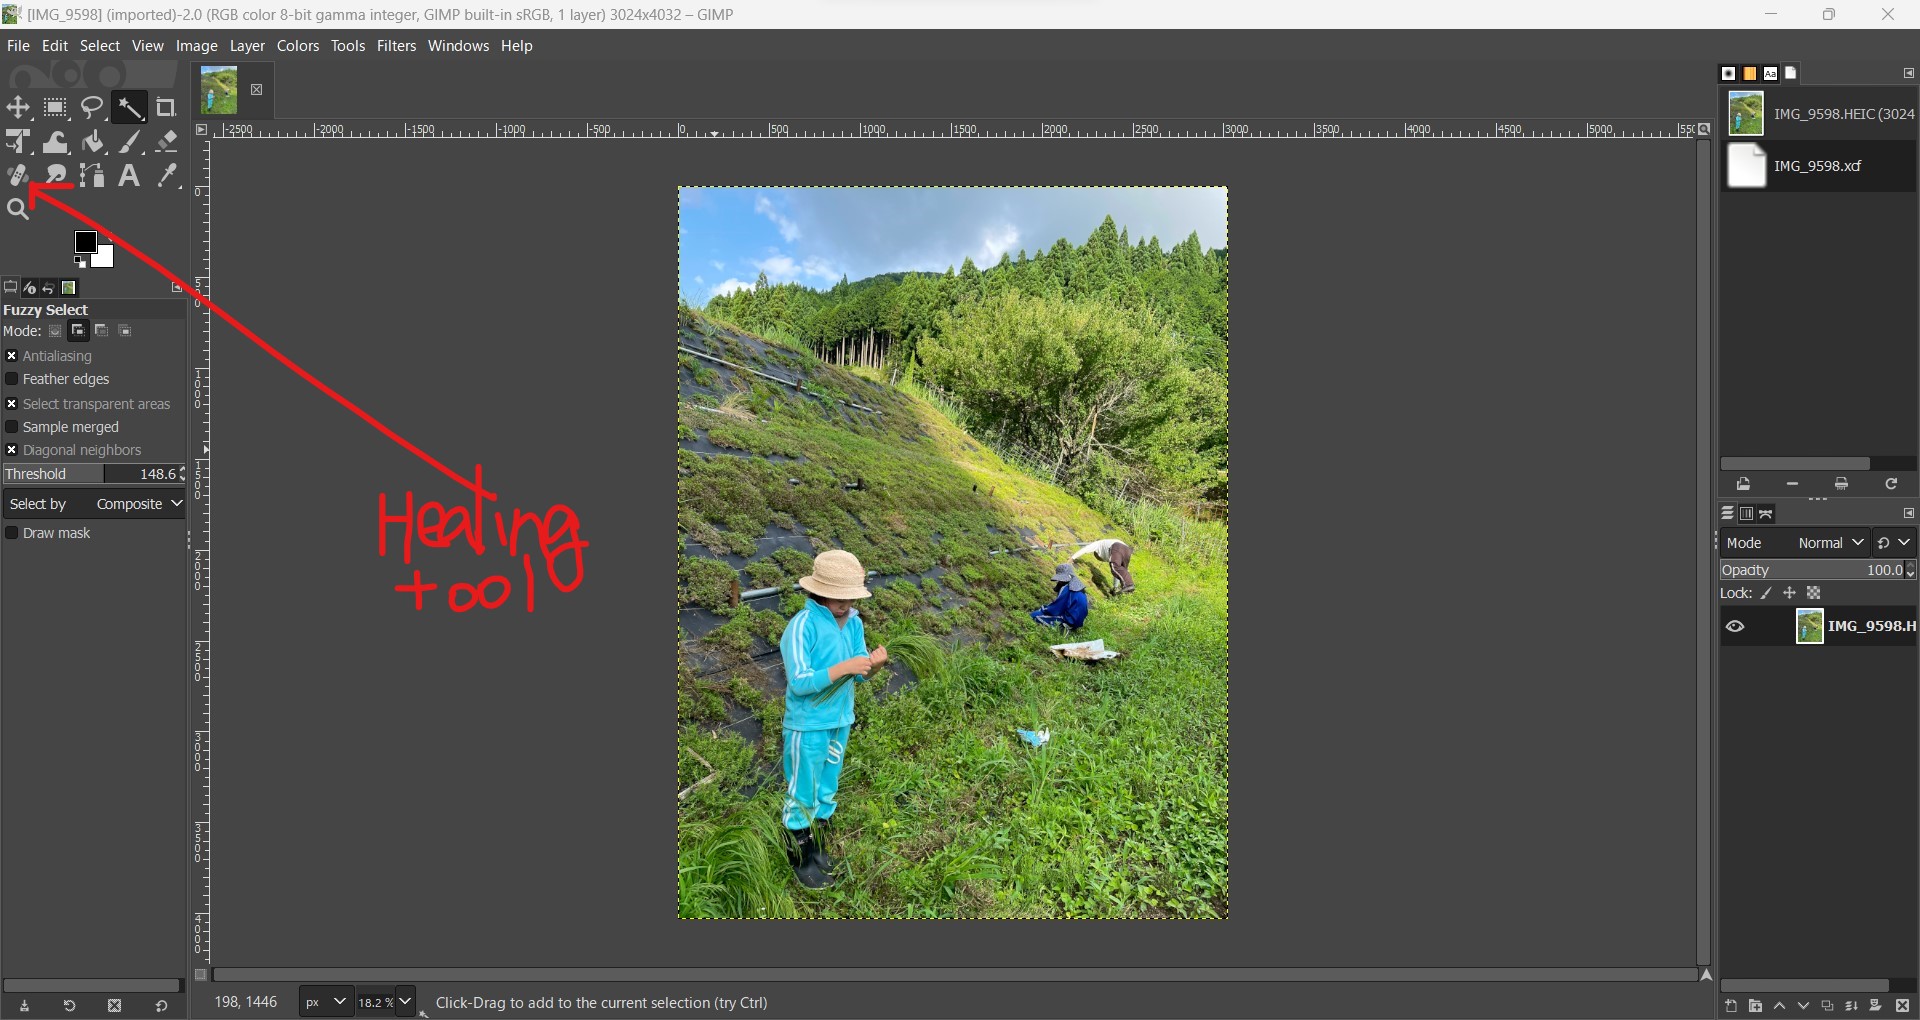
Fuzzy Select Tool makes possible to select background and delete it so that only writing is visible and selected.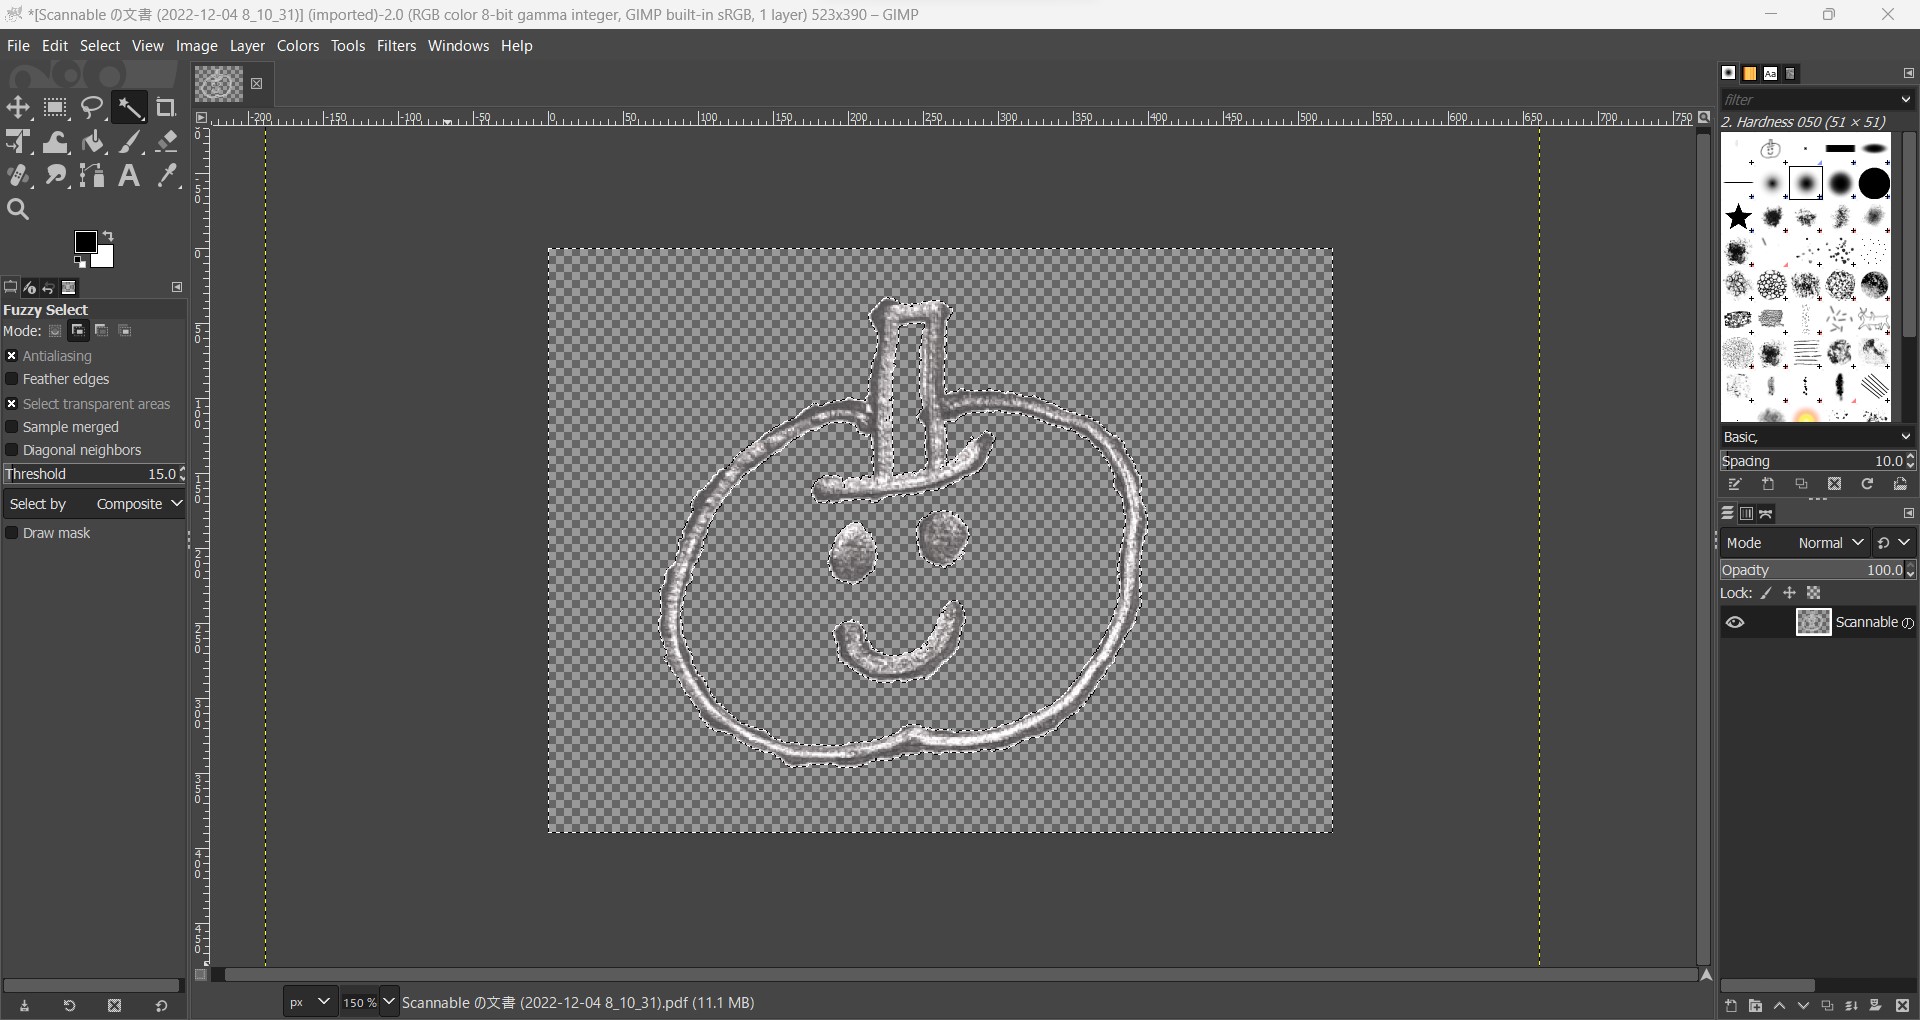
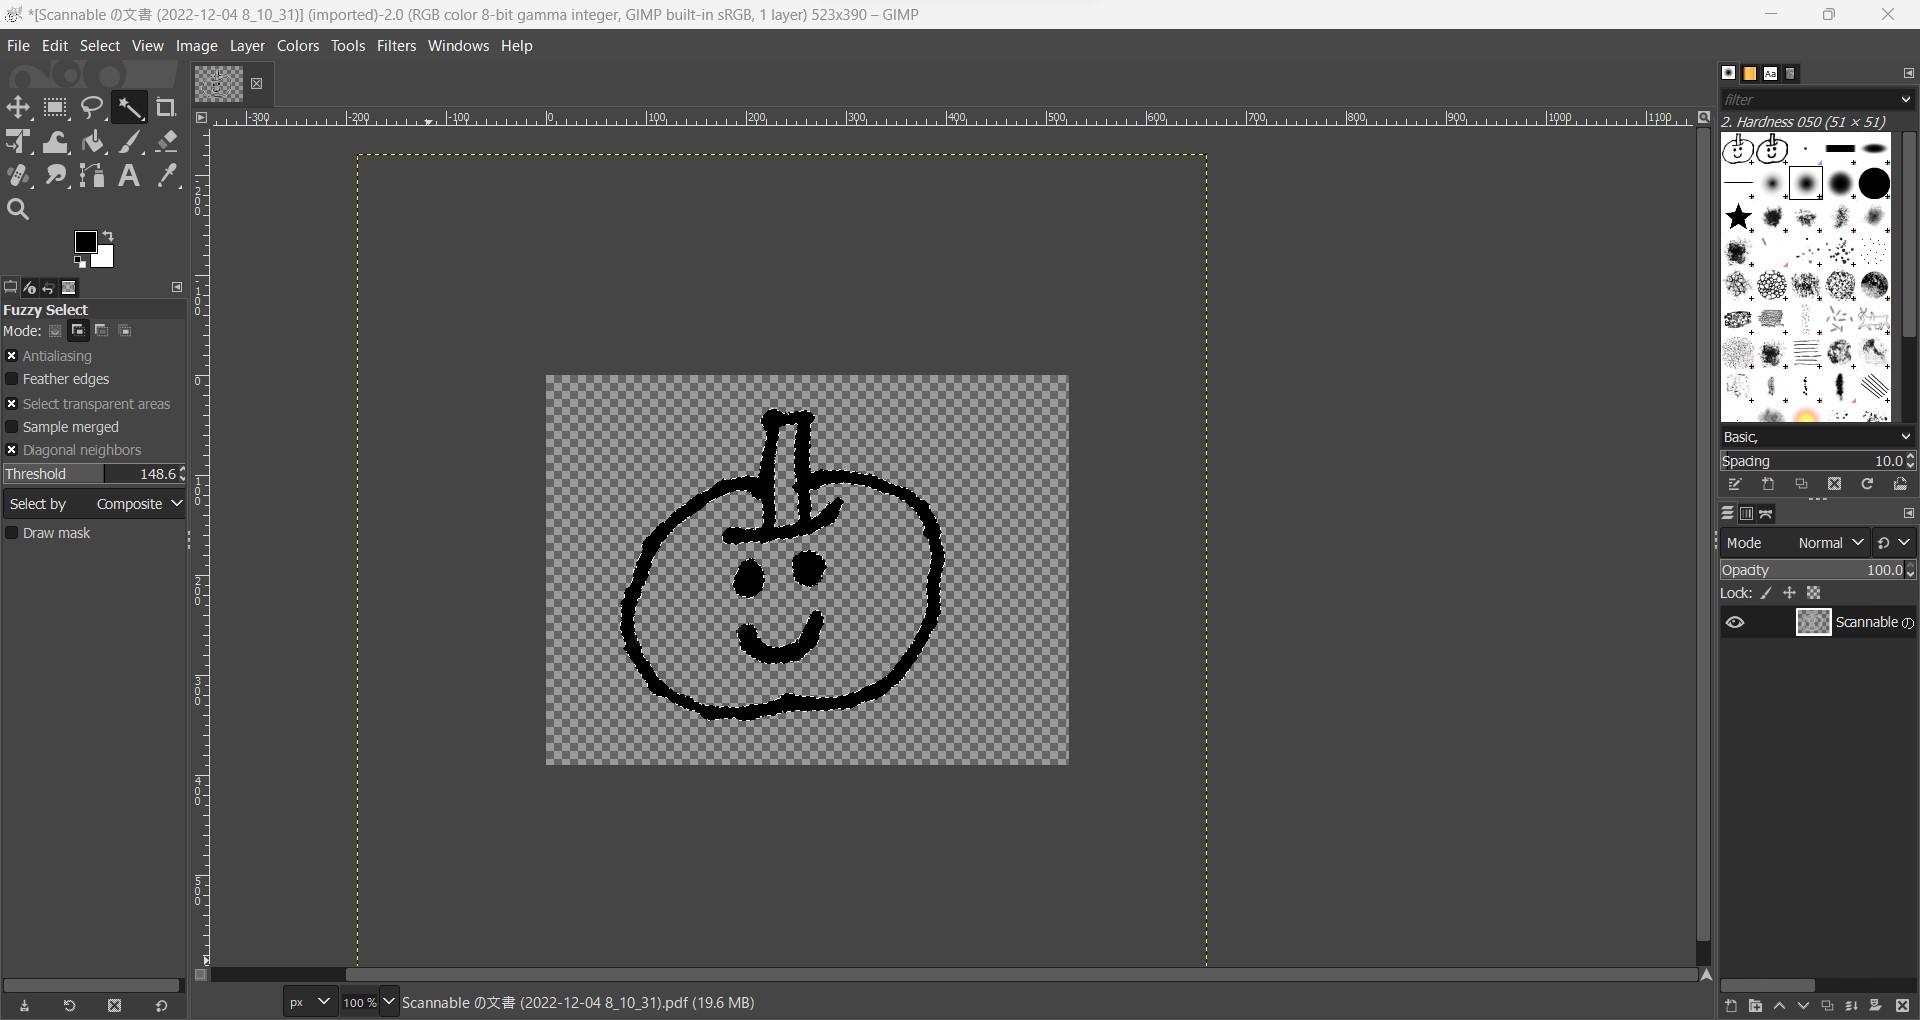
Paint the line and copy only the line. (original file)
-
GIMP and Photoshop seems similar functionality as long as I saw this week. Not yet found the big difference. But there are many comparison information on the web like this.
-
Good news is that GIMP does not require high specification PC as Photoshop does.
-
-
Inkscape (2D vector)
-
I use Illustrator for doing small design work. Then I took Inkscape for my trial.
-
Downloaded and installed Inkscape 1.2 from its website.
-
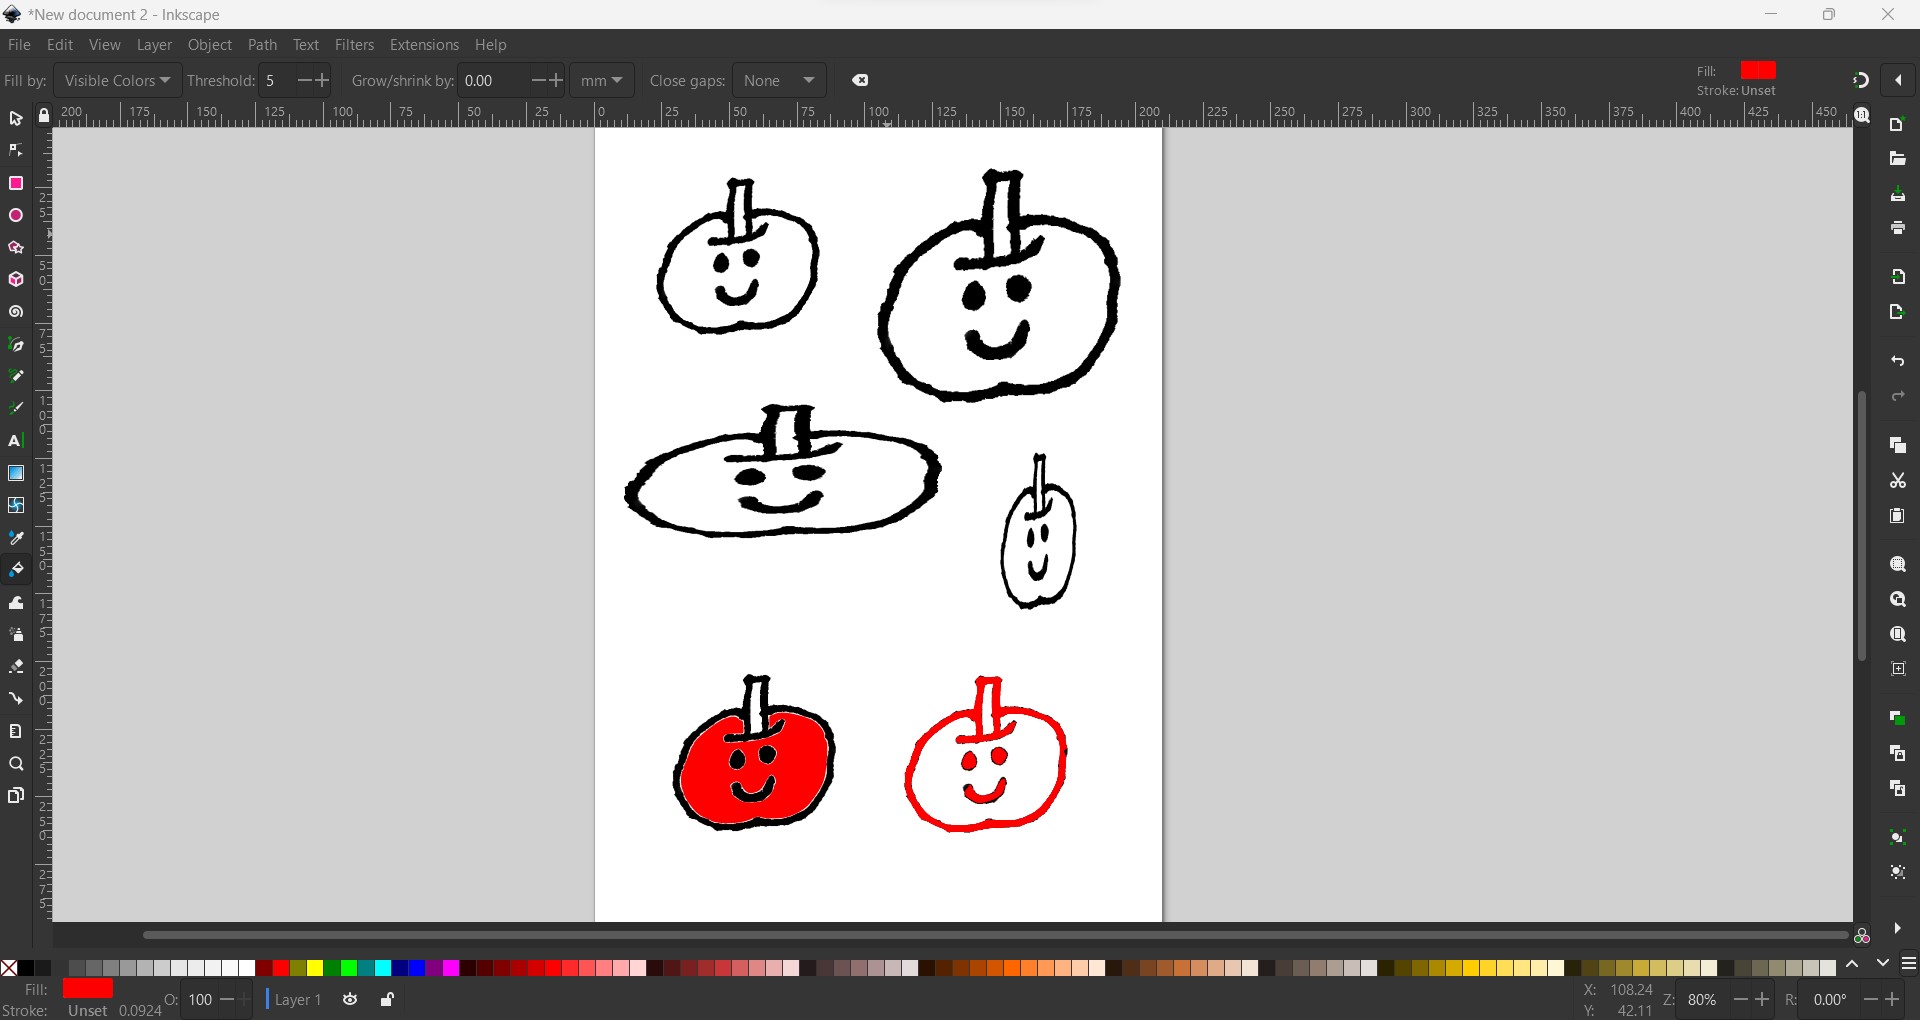
I copied hand-writing data made in GIMP above process.
- Click "Path" -> "Trace Bitmap..." then Trace Bitmap window shows up on the right side.
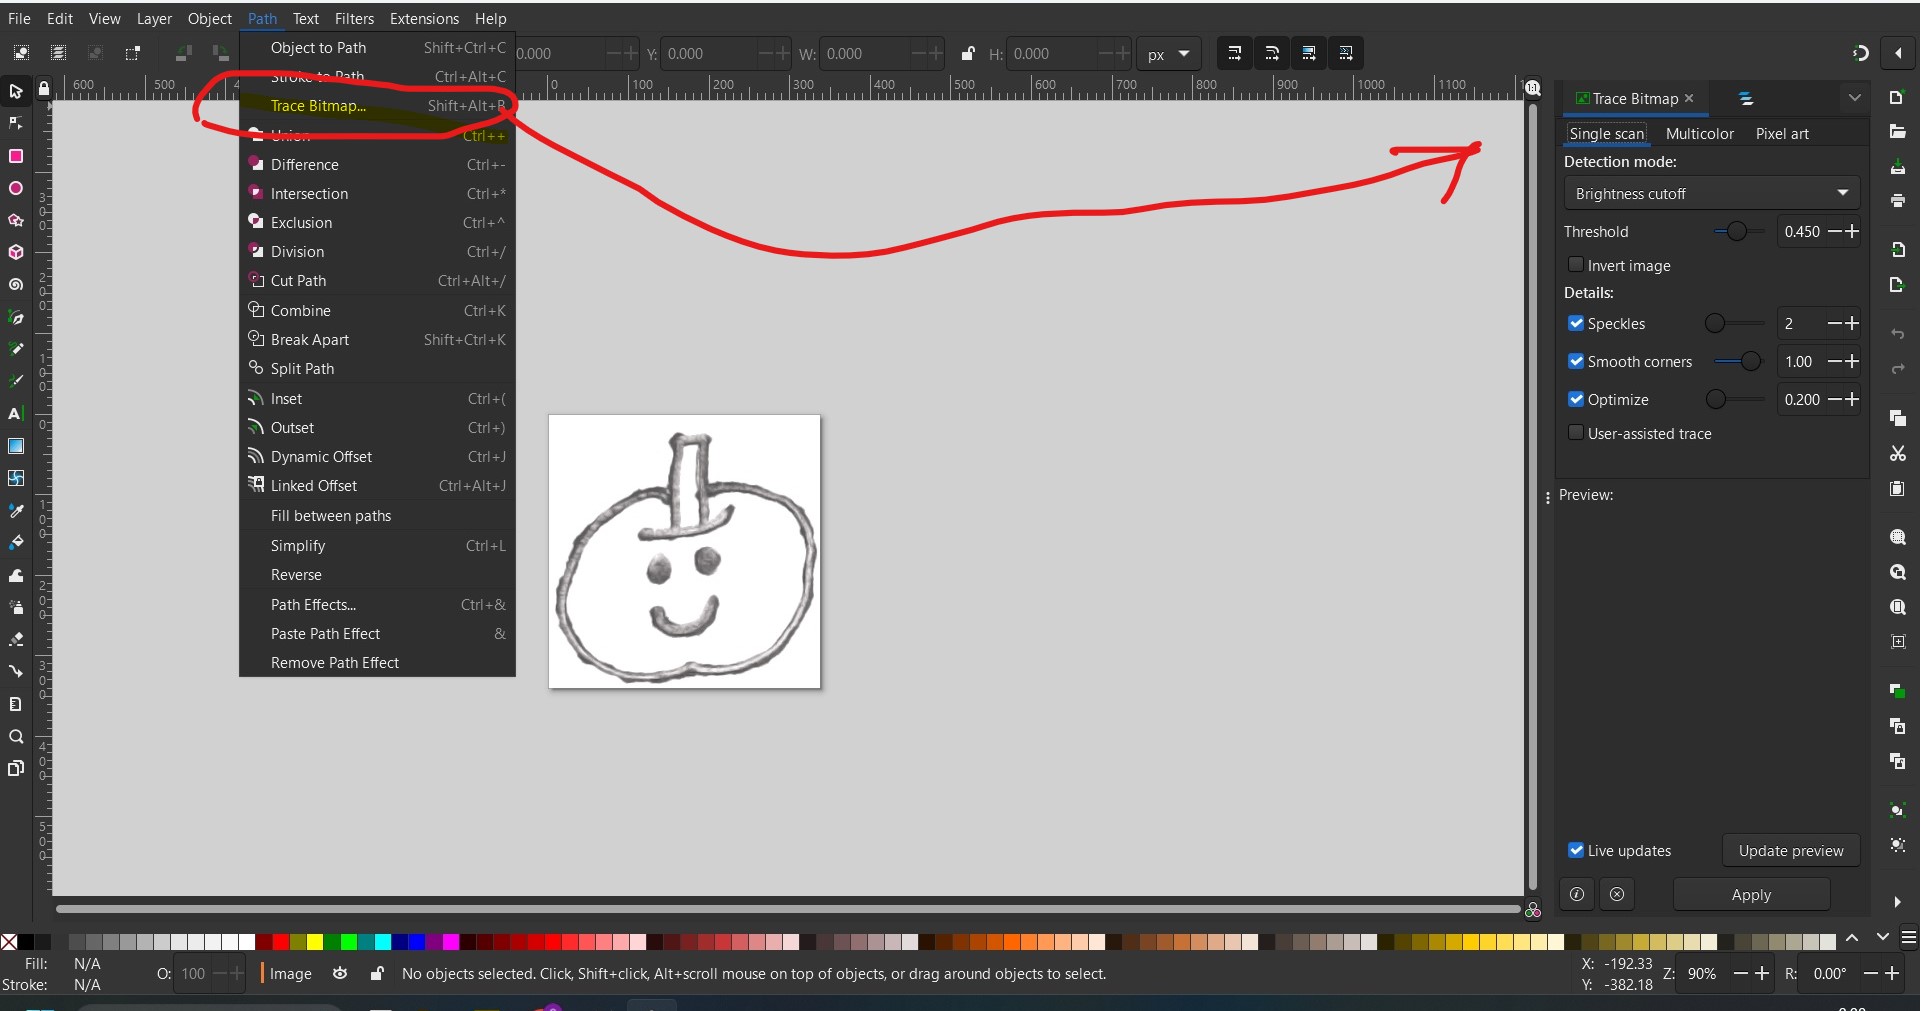
- This time the image is monotone so choose "Single scan" and keep parameters default.
- Click "Update preview" -> "Apply"
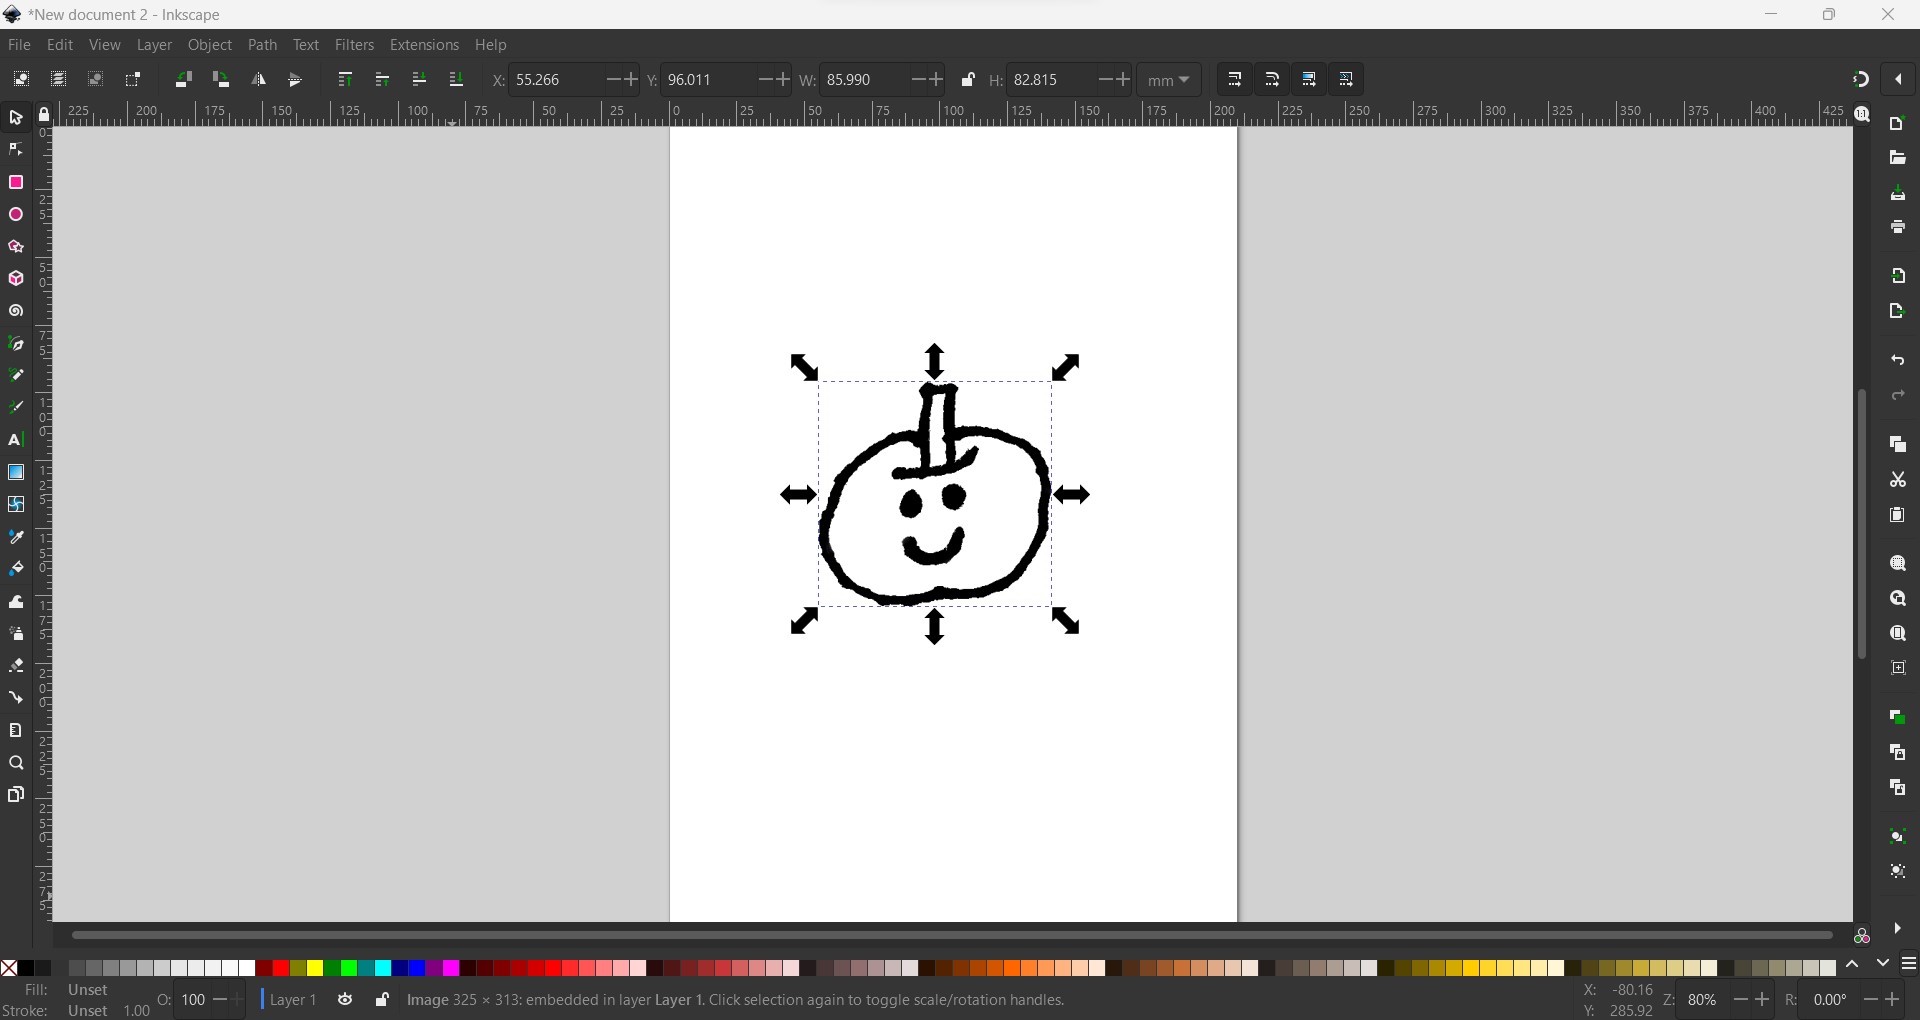
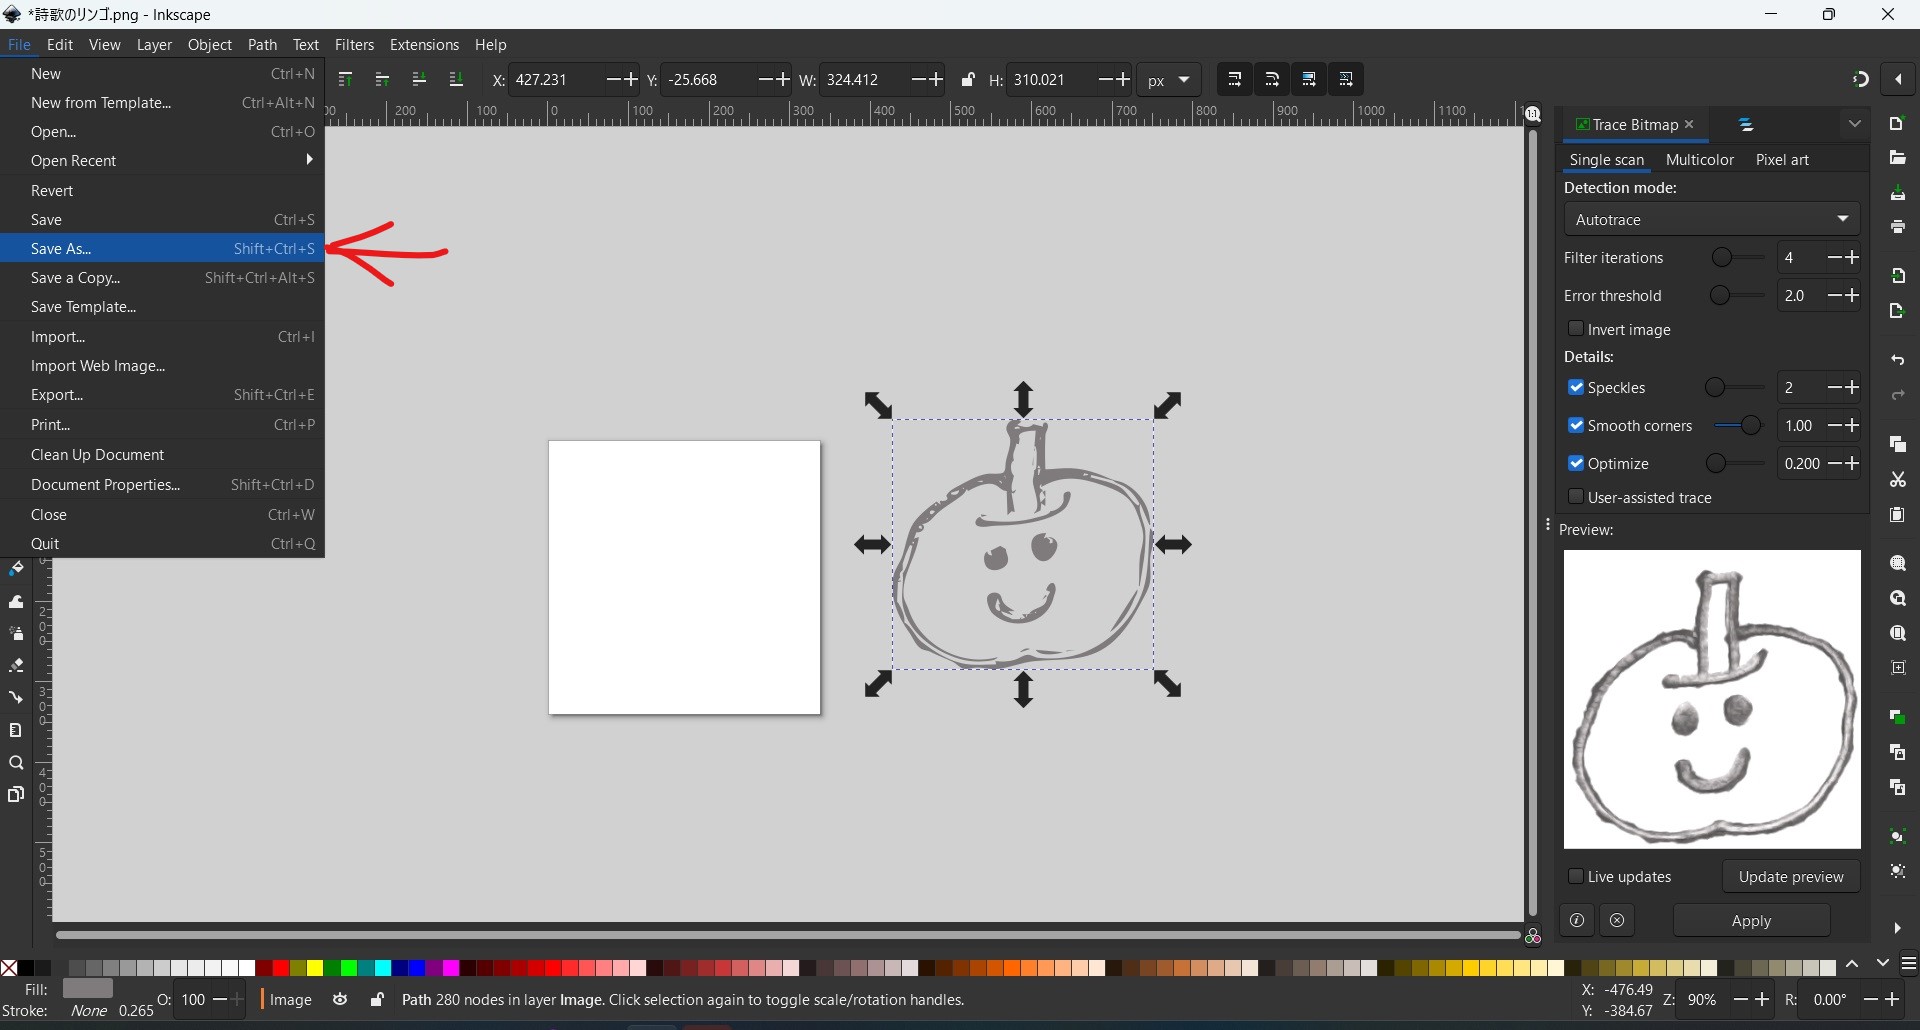
- Now this is vector data, so you can freely change and color it.
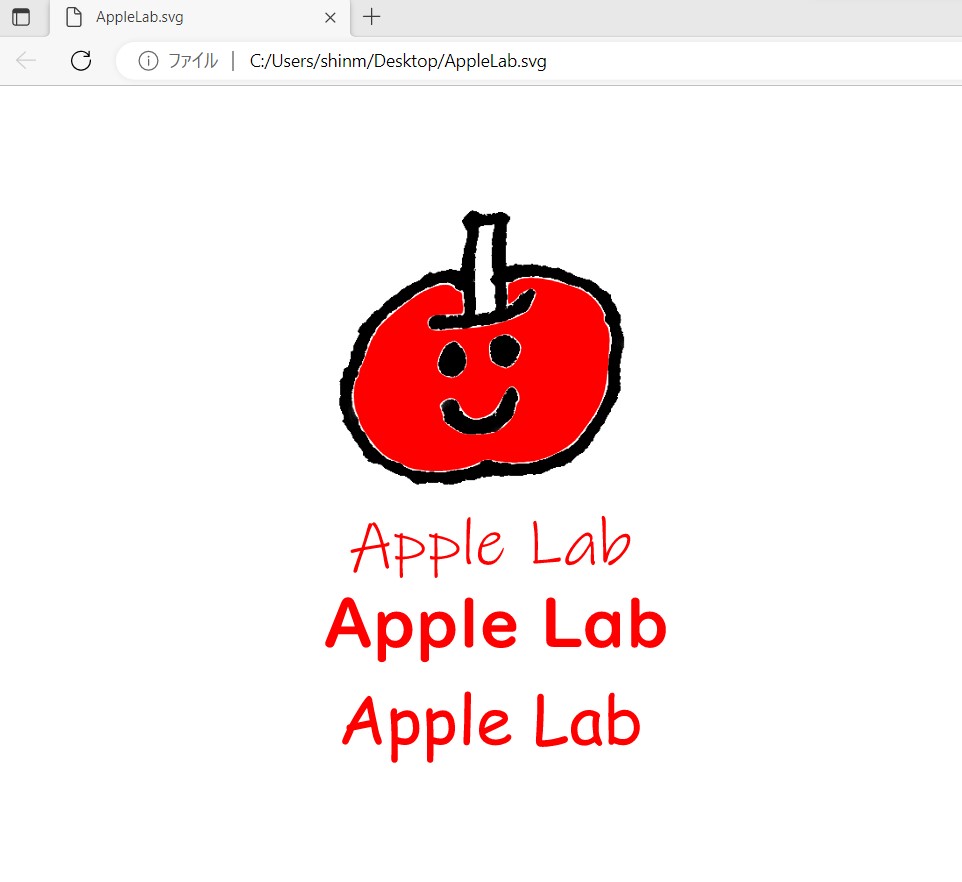
- Added text with various font for logo creation. And make it path so that I can use this for laser cutting.
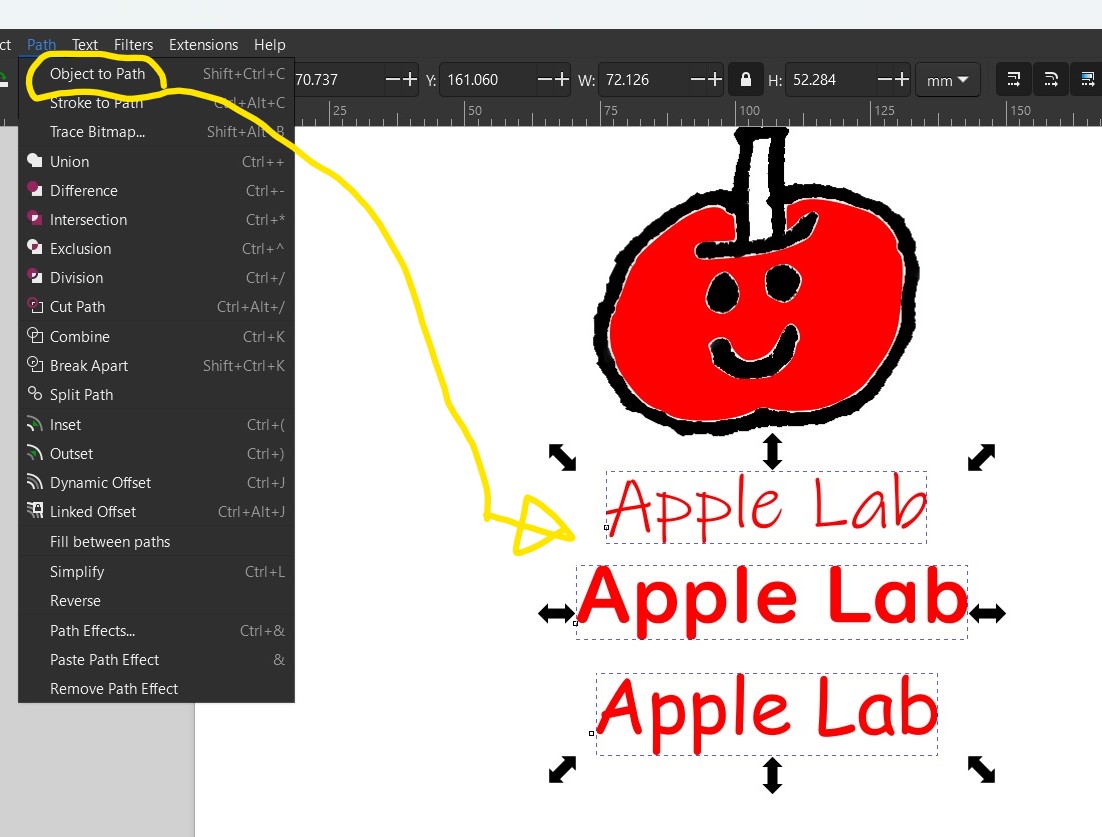
- I can open both hand writing and texts as a vector file. (original file)
-
-
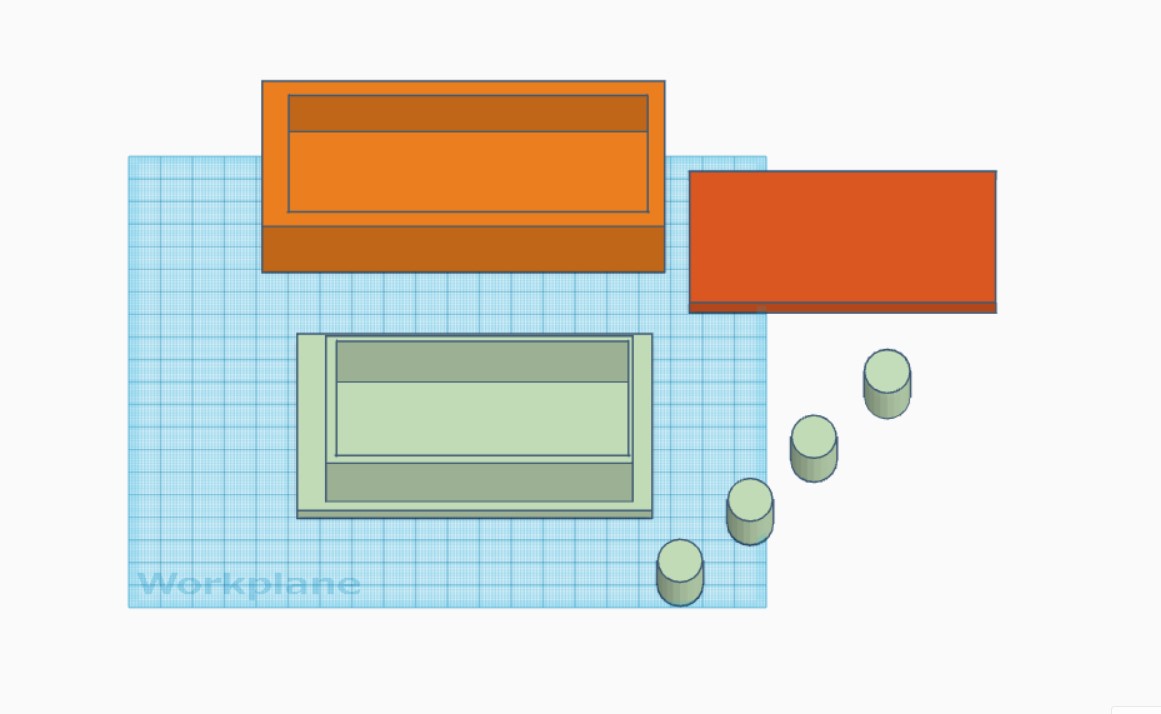
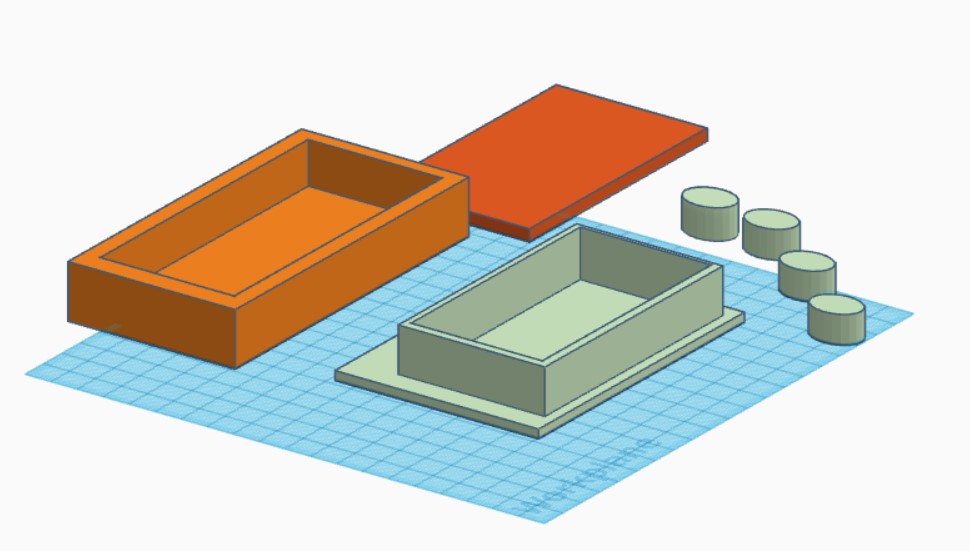
Tinker CAD (3D)
- This application is offered for free. The reason why I tried this is that it looks very colorful so that I can understand the relation between objects.
- Outline of how to use
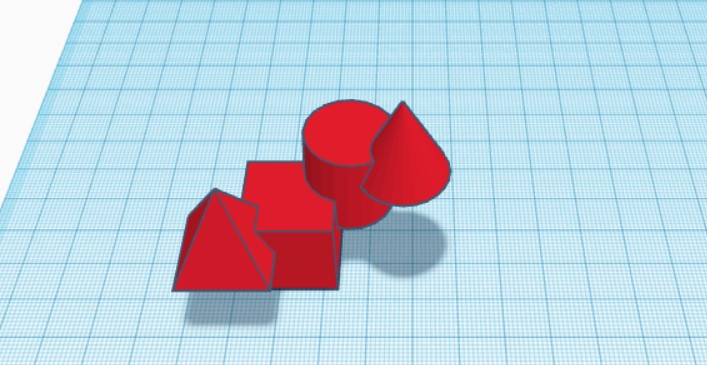
- Not necessary draw 2D sketch, you just drag and drop the objects. After putting an object, then you can change the size or direction.
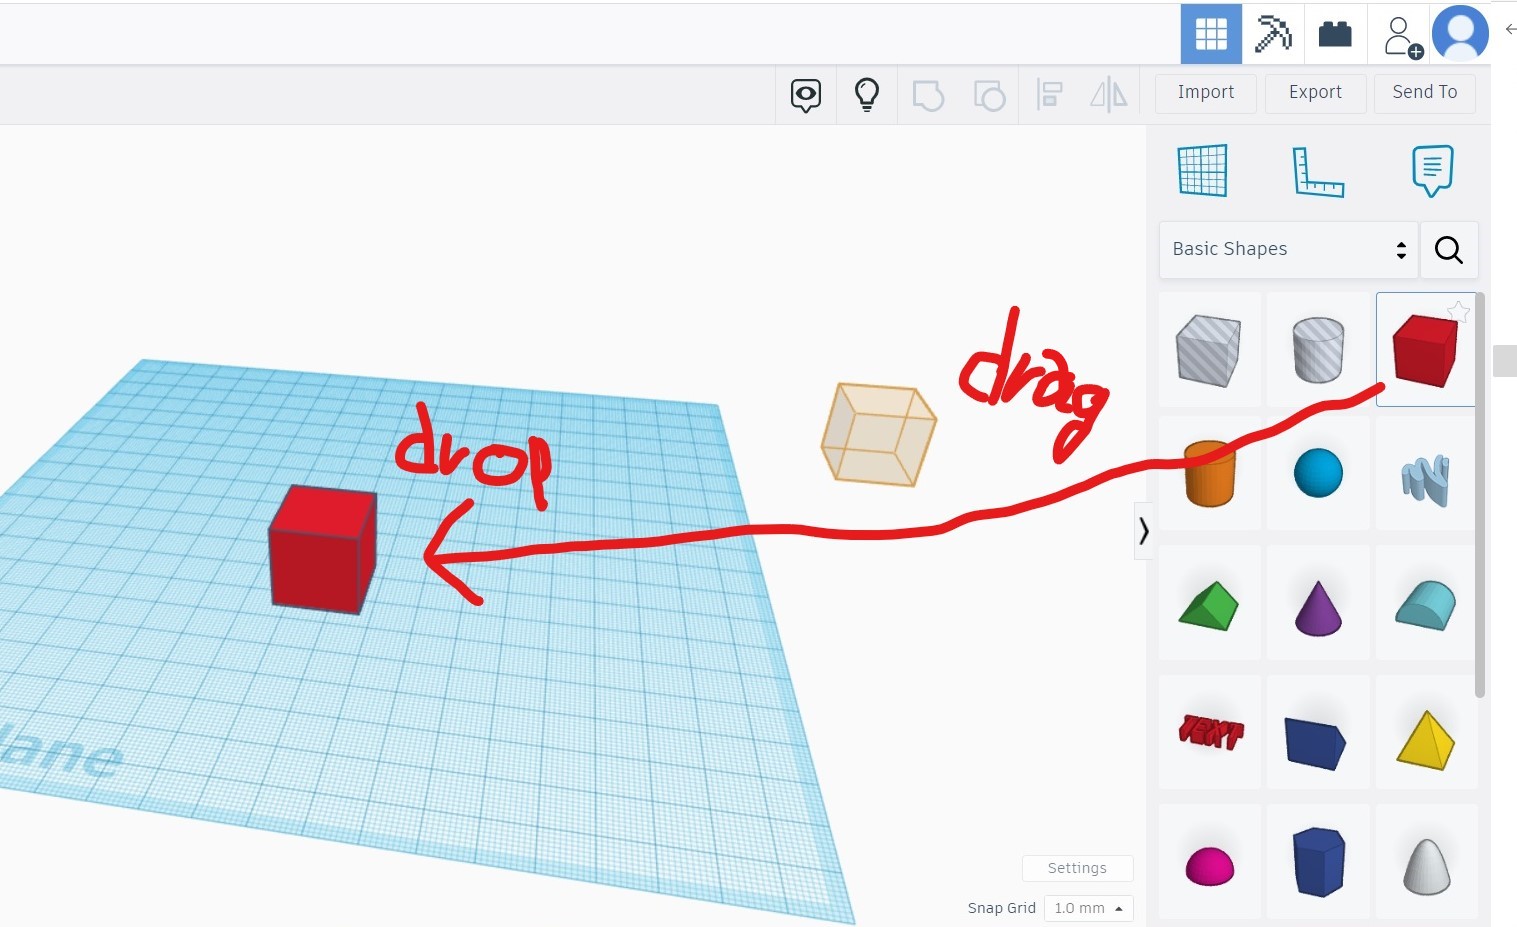
- Possible to join with other objects by clicking icon up right side.
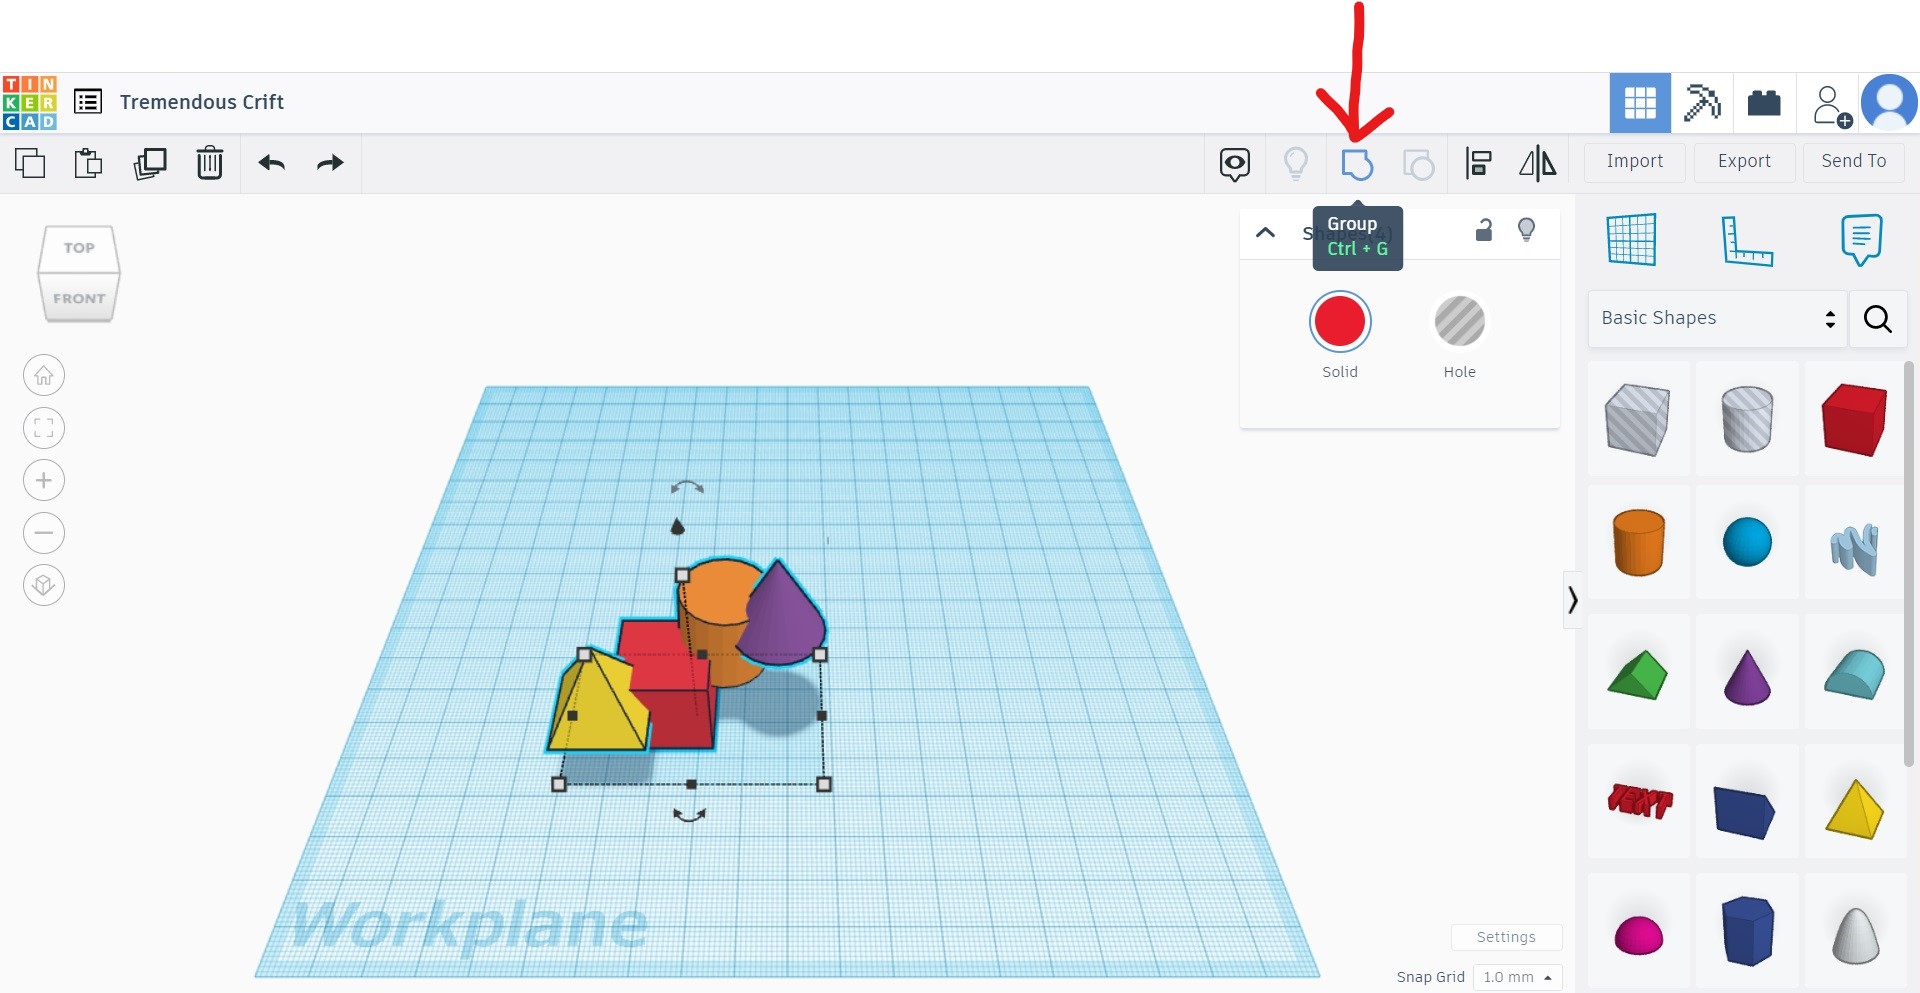
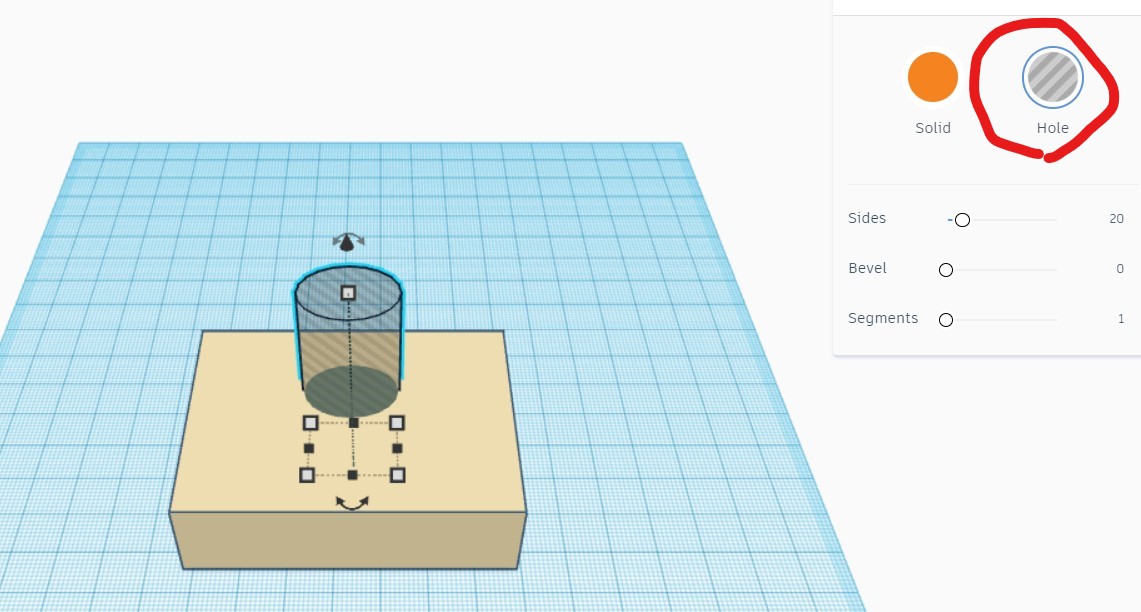
- "Cut" can be done by choosing color of the object as "hole"
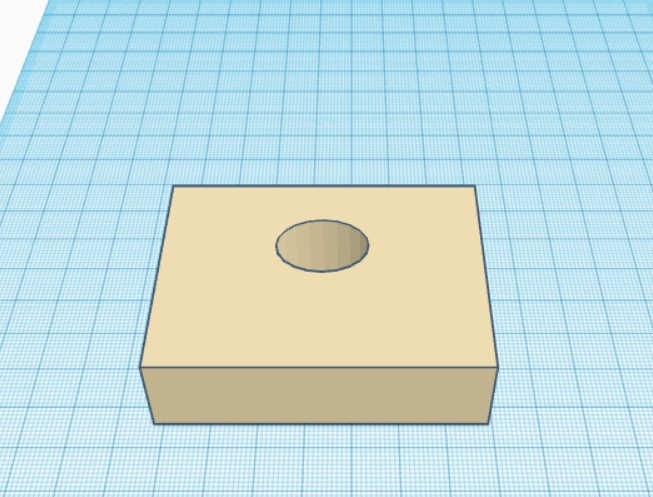
- I created my final project model quickly. And this level is enough for discussion and explanation of the idea. (stl file)
- Not necessary draw 2D sketch, you just drag and drop the objects. After putting an object, then you can change the size or direction.
- Obviously this easy using interface is for kids, but this is very useful for us doing quick modeling or discussion as this is done on even iPad. For my final project model, I had to write my idea on paper many times. Because 3D is difficult to write on 2D paper. Tinker CAD has limit of function but easy handling works a lot for idea development.
f) Thoughts and feelings
- Now that I can create 3D model and its movie! Also learned compress the movie size using command. The skill level is not high yet, but this is a great step for me.
- As learning goes, I forget many things. For example, I know what to do next but where is the button for the function? I use the more new application the more difficult to keep memory which one is correct. I just believed only repeatedly training works for memorizing the button location. But I did not have enough time for the repeatedly training. I should have considered better way otherwise I always get irritated and frustrated.
- As I wrote above Tinker CAD is good for quick modeling, but hard to create detailed design or assembly work. On the other hand, fusion360 has many functions but it takes time to preparation and hassle to set many things. So I use both, idea and imaging roughly with Tinker CAD and once the idea confirmed, use fusion360.
- I got advice that alignment tool of TinkerCAD is great. I need to have a look and try it.
g) References
(end of the document)