16. Wildcard week
This week we are free to learn anything we want, as long as it incldues a digital fabrication process and not covered in another assignment.
Identifying requirements
Our local instructor, Steven, has introduced a few ideas for wildcard week. Some of which includes flatbed cutting, vacuum forming, pick and place, food printing, Bio Academy DIY tools and embroidery. After considering all the options, I have decided to try out embroidery, as it seems quite different from electronics, mechanical design etc. Below are some of the items I am deciding to do:
- Learning how to use the Embroidery machine
- Learn tools/softwares to do embroidery
- Desgin something to be embroided
- Hero shot
Embroidery Machine
The machine we are using is called the PR1050X. It can handle up to 10 different spools of threads at one time. The alternative would be to change the spool every time a section has been stitched. It also has a touch screen, and support jobs via USB devices or directly from the computer.
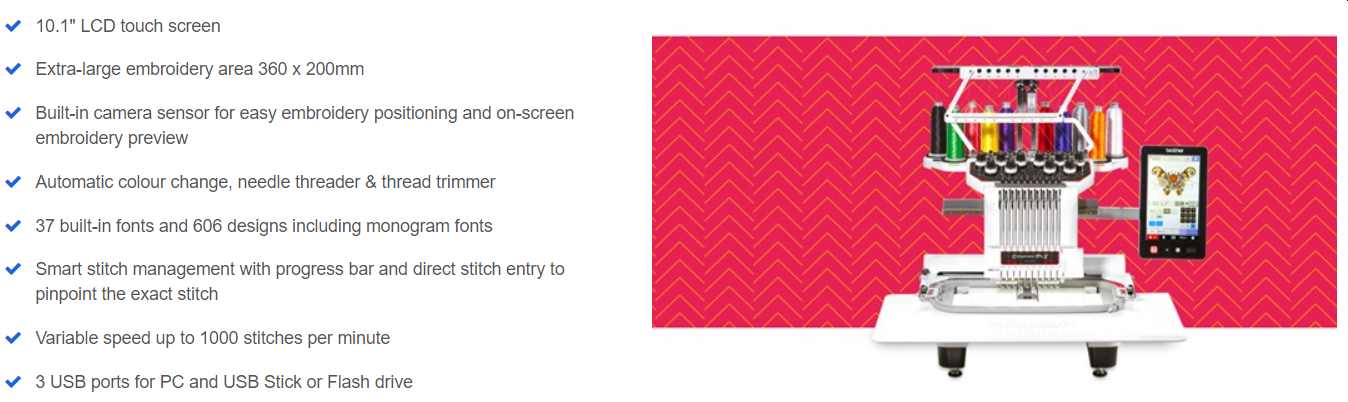
Some parts of the important parts of machine include:
- Needle: makes a hole and puts the thread from the top
- Tension knobs: used to adjust the tension of the thread. Too high tension and the thread will snap, too loose and the thread cutter cannot cut the thread when changing threads.
- Thread cutter
- Bobbin
- Cloth frame
- Camera
Steps to operate it are as follows:
- If the device is not used for a long time, apply some lube on the mechanism that holds the bobbin spool.
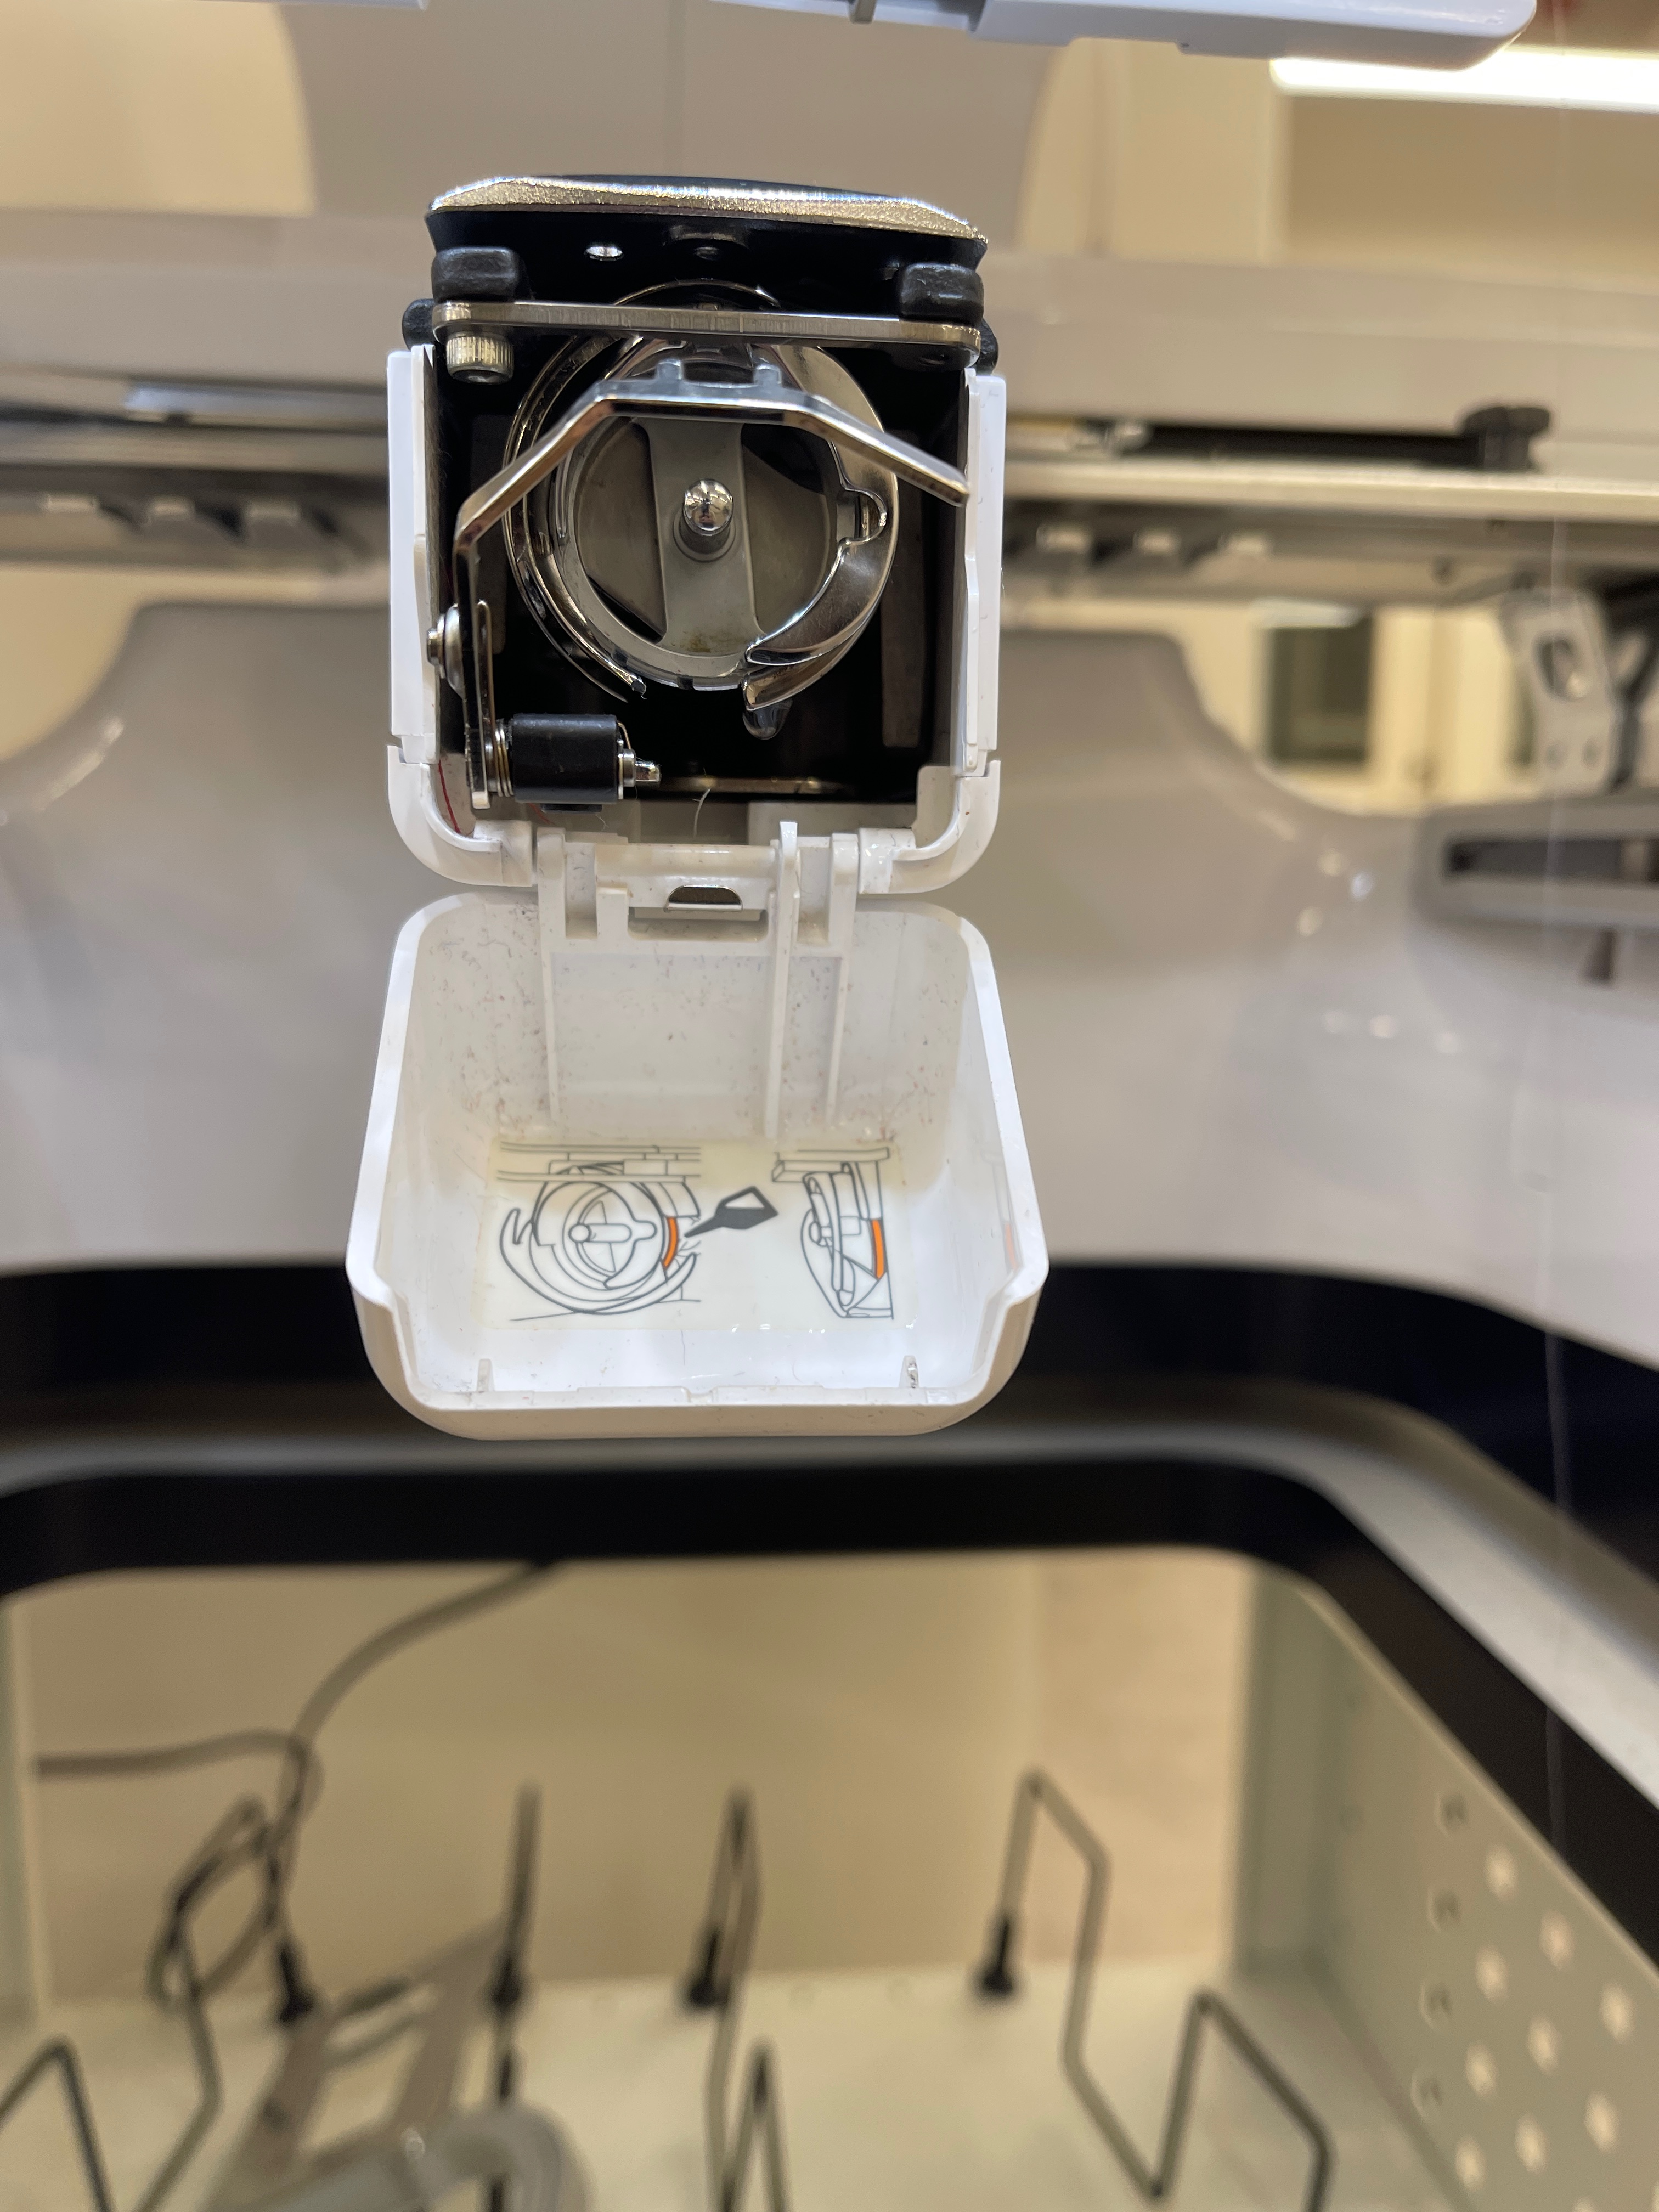
bobbin mechanism - Check that bobbin threads have not yet run out. Re-wind if it has run out.
- Check that all the threads are looped to the needles properly.
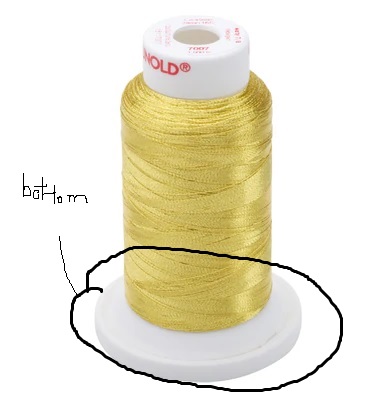
- Threads usually are designed to have a single orientation.
- Gunold: pop the bottom outwards, stuff 1-2 rounds of thread and pop the bottom back inwards. Place the entire spool of thread in this same orientation
Gunold - Brother embroidery threads: There is a small slit that holds the threads and prevents them from coming loose. Place the face with this slit facing down so that it doesn’t get caught when it is being unwound
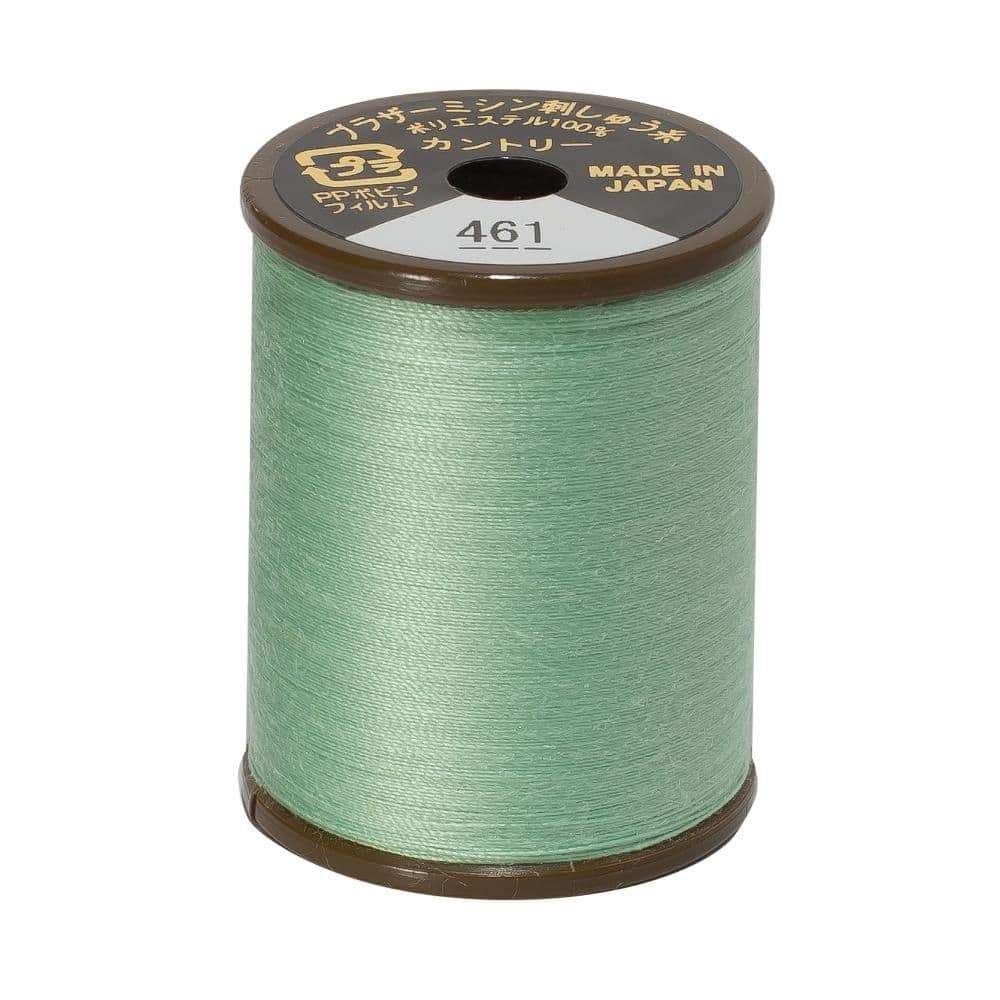
brother thread
- Gunold: pop the bottom outwards, stuff 1-2 rounds of thread and pop the bottom back inwards. Place the entire spool of thread in this same orientation
- To change the threads:
- From the screen, select the index of the needle. This should correspond to where the thread is on the spool holder.
- Carefully route the line to the needle.
- Press the start autoload button to eject a mechanism that holds the string
- Press the auto-load button and it will load the thread into the needle for us
- Threads usually are designed to have a single orientation.
- Change the thread colors you need according to your design file.
-
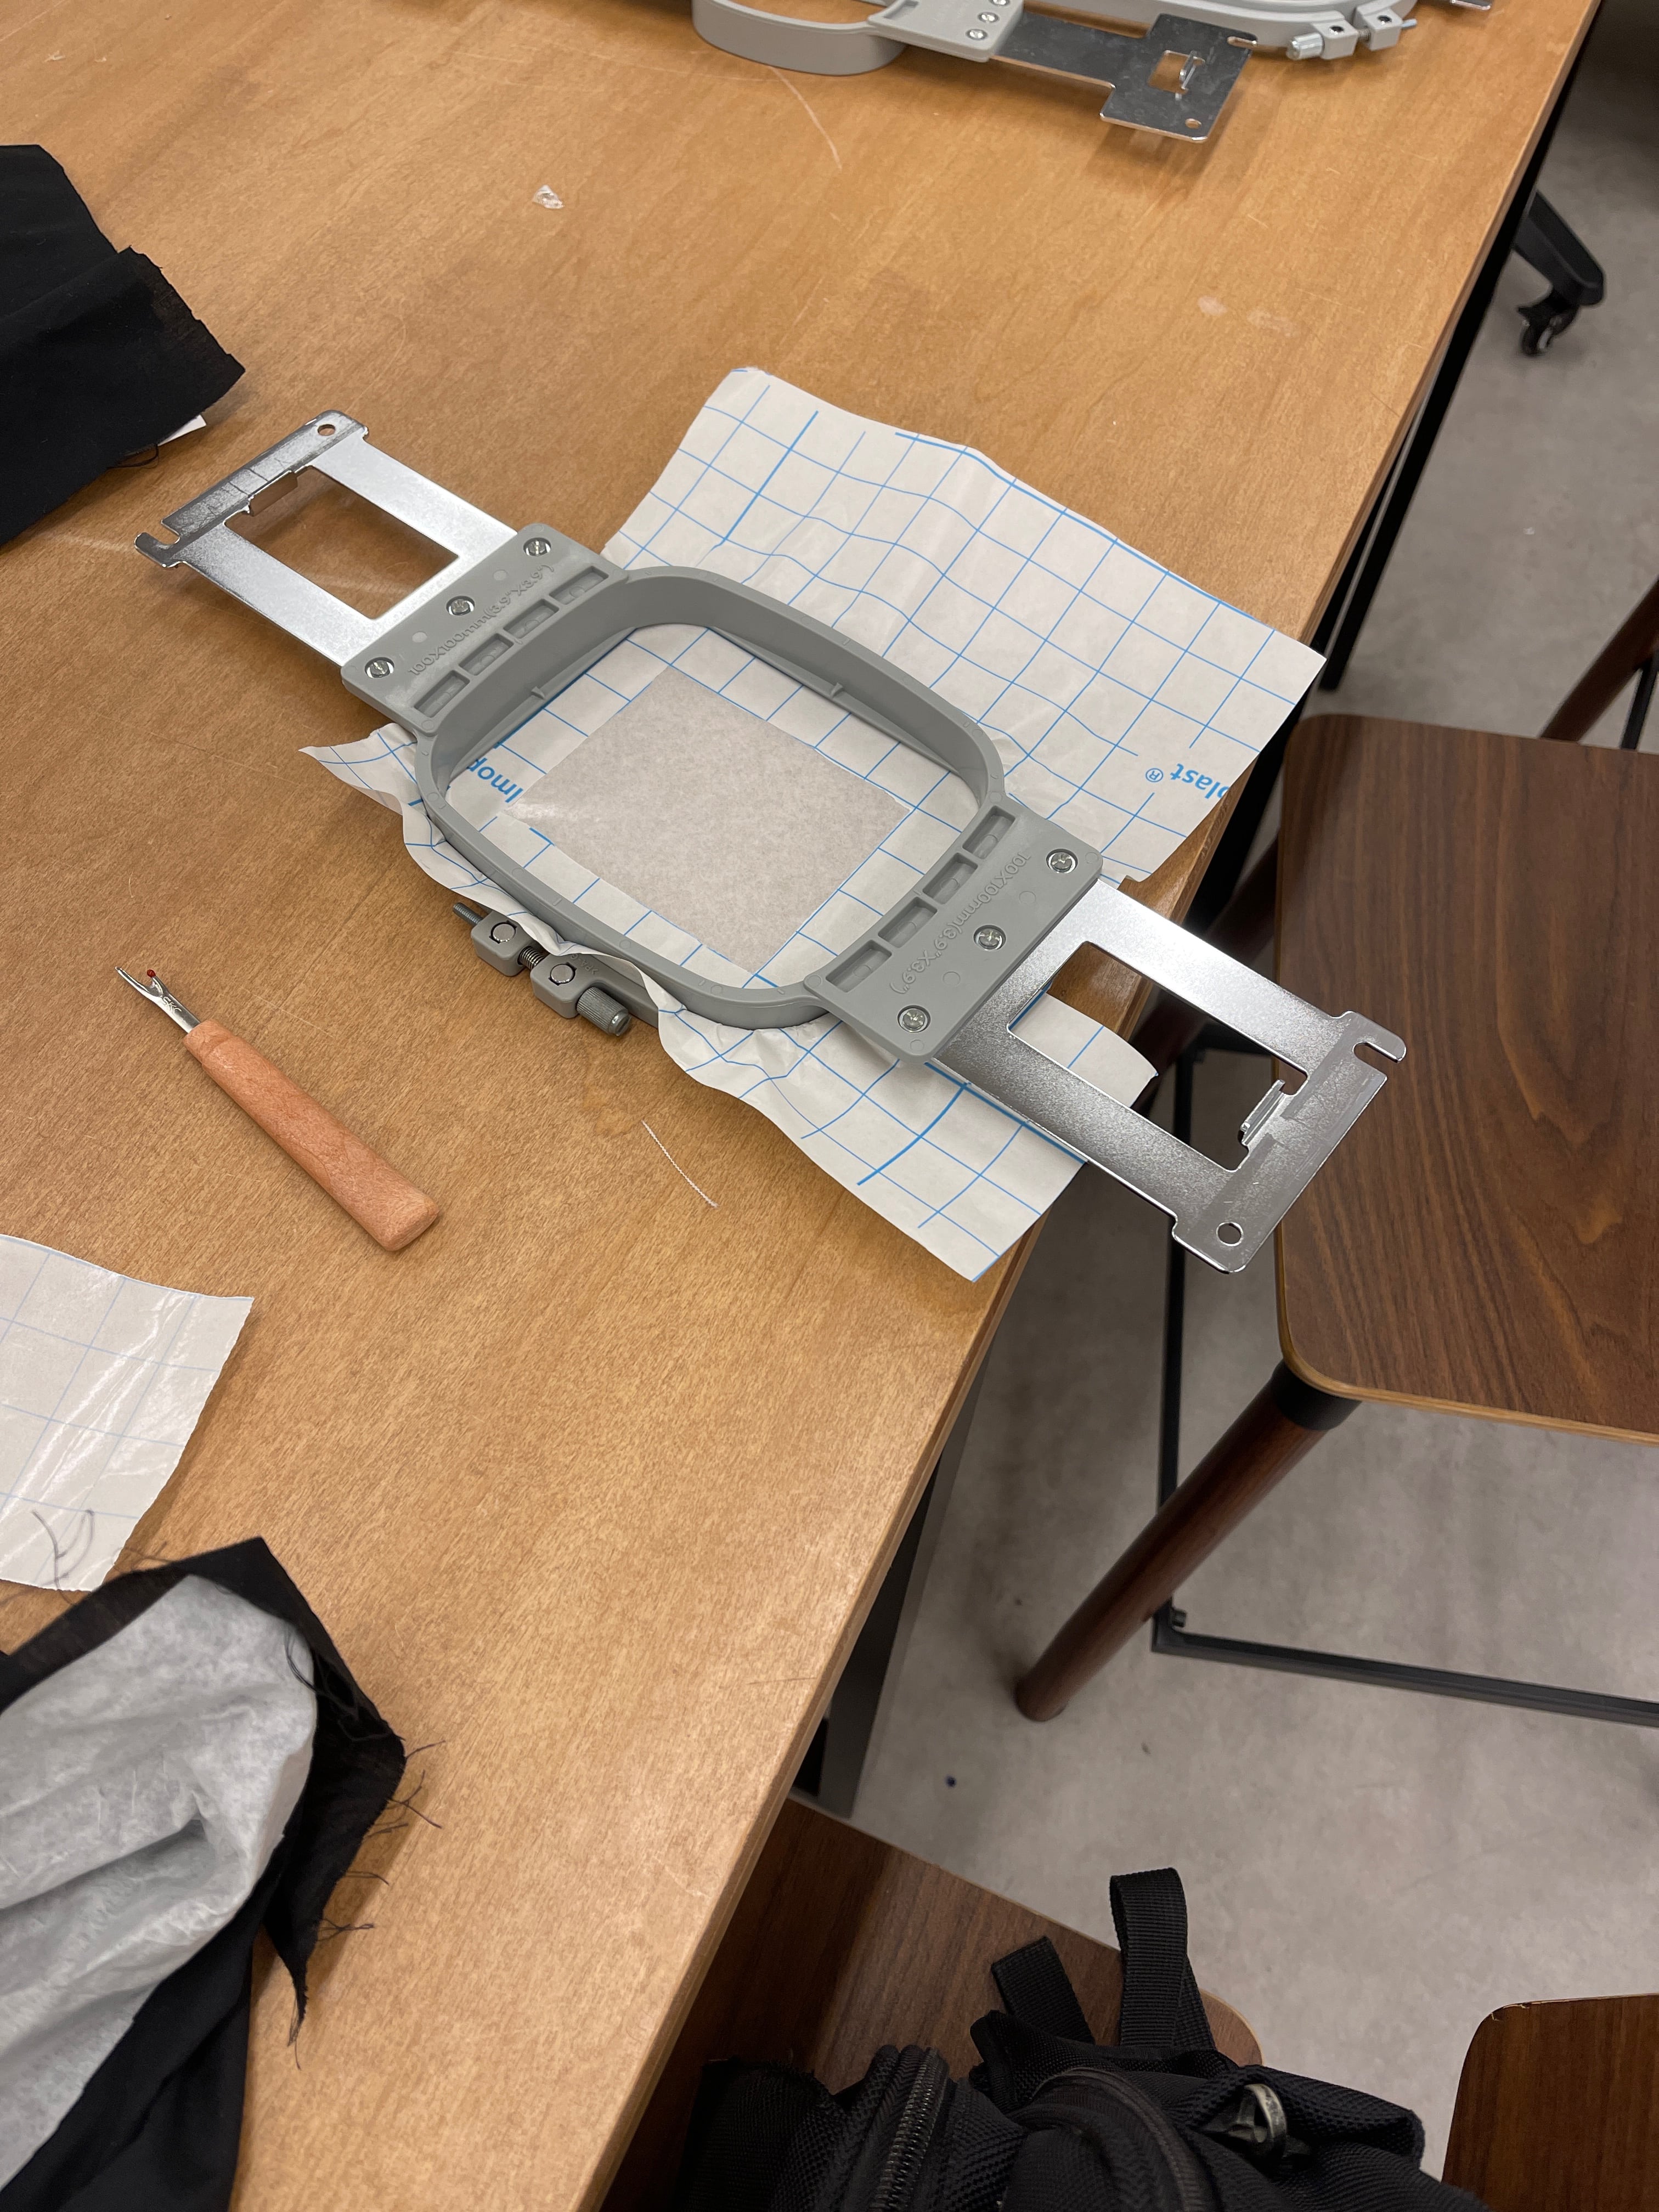
Place your target cloth along with stabilizer on a hoop
-
There are a few types of stabilizers, ensure the correct one is being used:
- Tear away: These are the cheapest and easiest to work with. Use these with cloth that are unstretcheable
- Cut away: These are used for fabrics that are stretcheable
- Water soluble: These are used if planning to make lace like materials, used for Nyonya cultural clothings as well as wedding dresses.
- Self-adhesive: These are used if the fabric is too tricky to be placed on the hoop.
-
Installing cloth and frame onto the machine (demo by Steven)
- Unlock the needle (safety feature), and press start on the machine
-
Software
The two main softwares I used are: Inkscape, PE Desgin 11. Inkscape was used to vectorize images, while PE Desgin 11 is used to generate PES file format, used by the PR1050X.
I have tried to learn some basics from Oleens Embroidery, as well as the official manual from brother PR1050X but it was not as intuitive as I didn’t have much concept of how embroidery works… After going through a brief of the machine and asking some questions, many more dots were connected and I could better appreciate the various tutorials.
First attempt: Just use PE Design 11
For a first attempt, I wanted to see how effective it was in converting PNG to stitch file via the auto-punch function. The result was not ideal, unless I kept the image relatively large.

This to me was not a good result, and hence I did not proceed with this design file
Second attempt: Inkscape + PE Design 11
As demo-ed by Steven, a vectorized image yields much better results in PE Design 11.
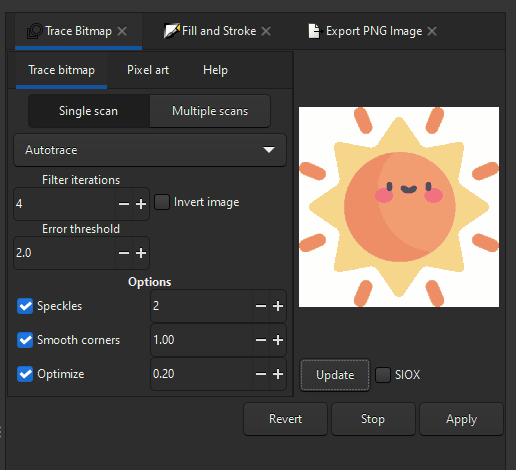
In Inkscape, we trace the entire vector by first checking these options in Single Scan section
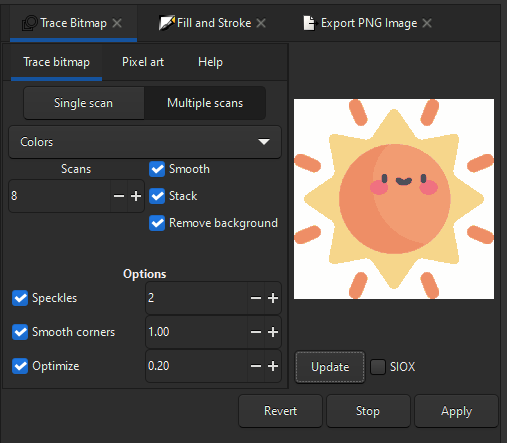
Then these options for Multiple Scan section
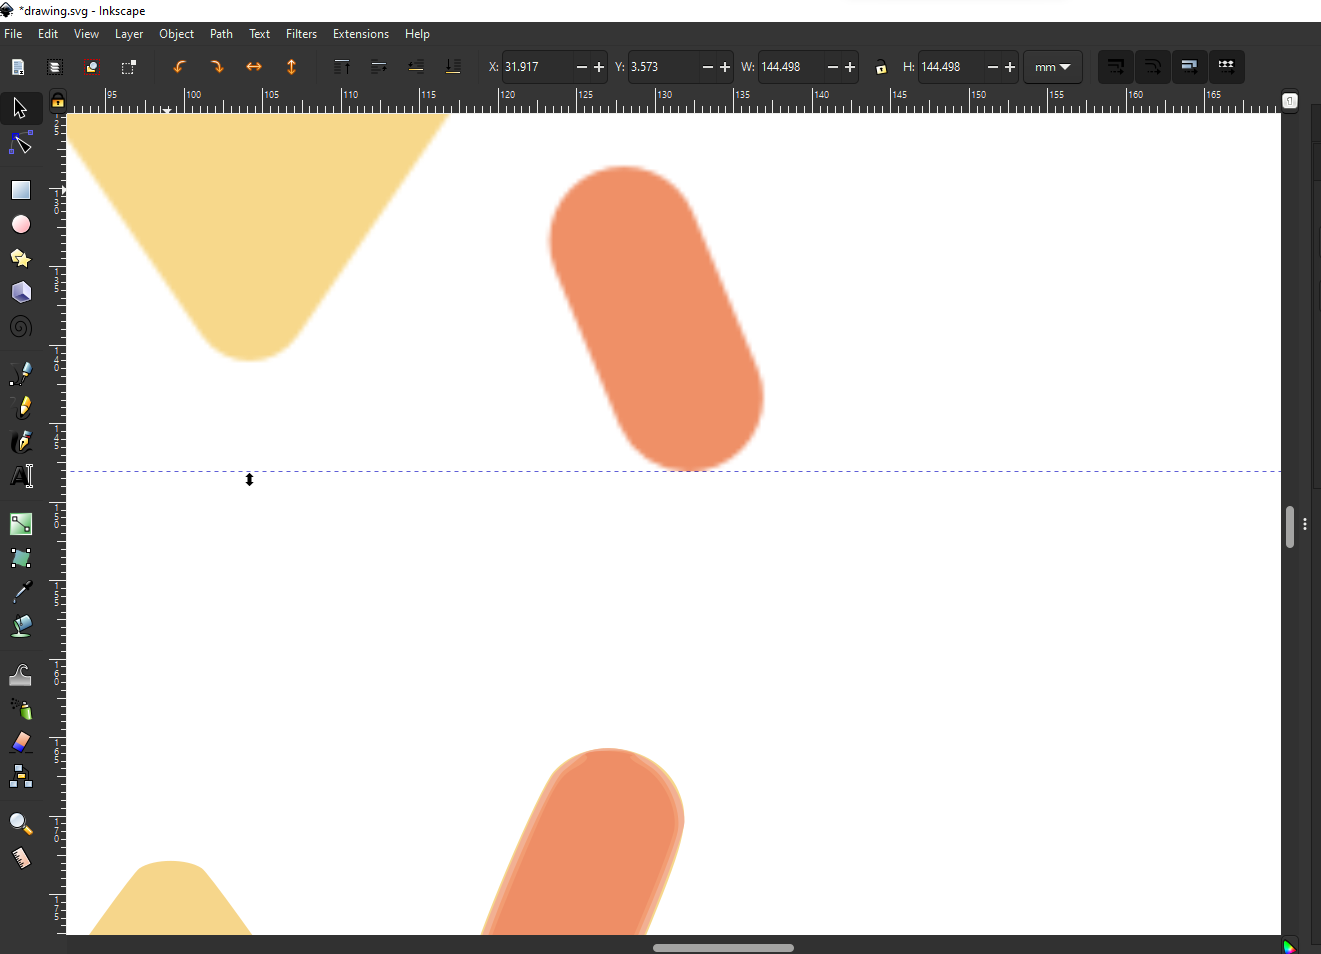
Delete the rastered version and save the sun file.
Next, open up PE Design 10/11, and click on Import Patterns, and select the generated SVG file.
As a reference, I decided to use “auto-punch” again as a point of reference. I was fully expecting to make a lot of changes, but was pleasantly surprised by the result.
After doing some processing on a desktop with PE Design liscence, we get the following:
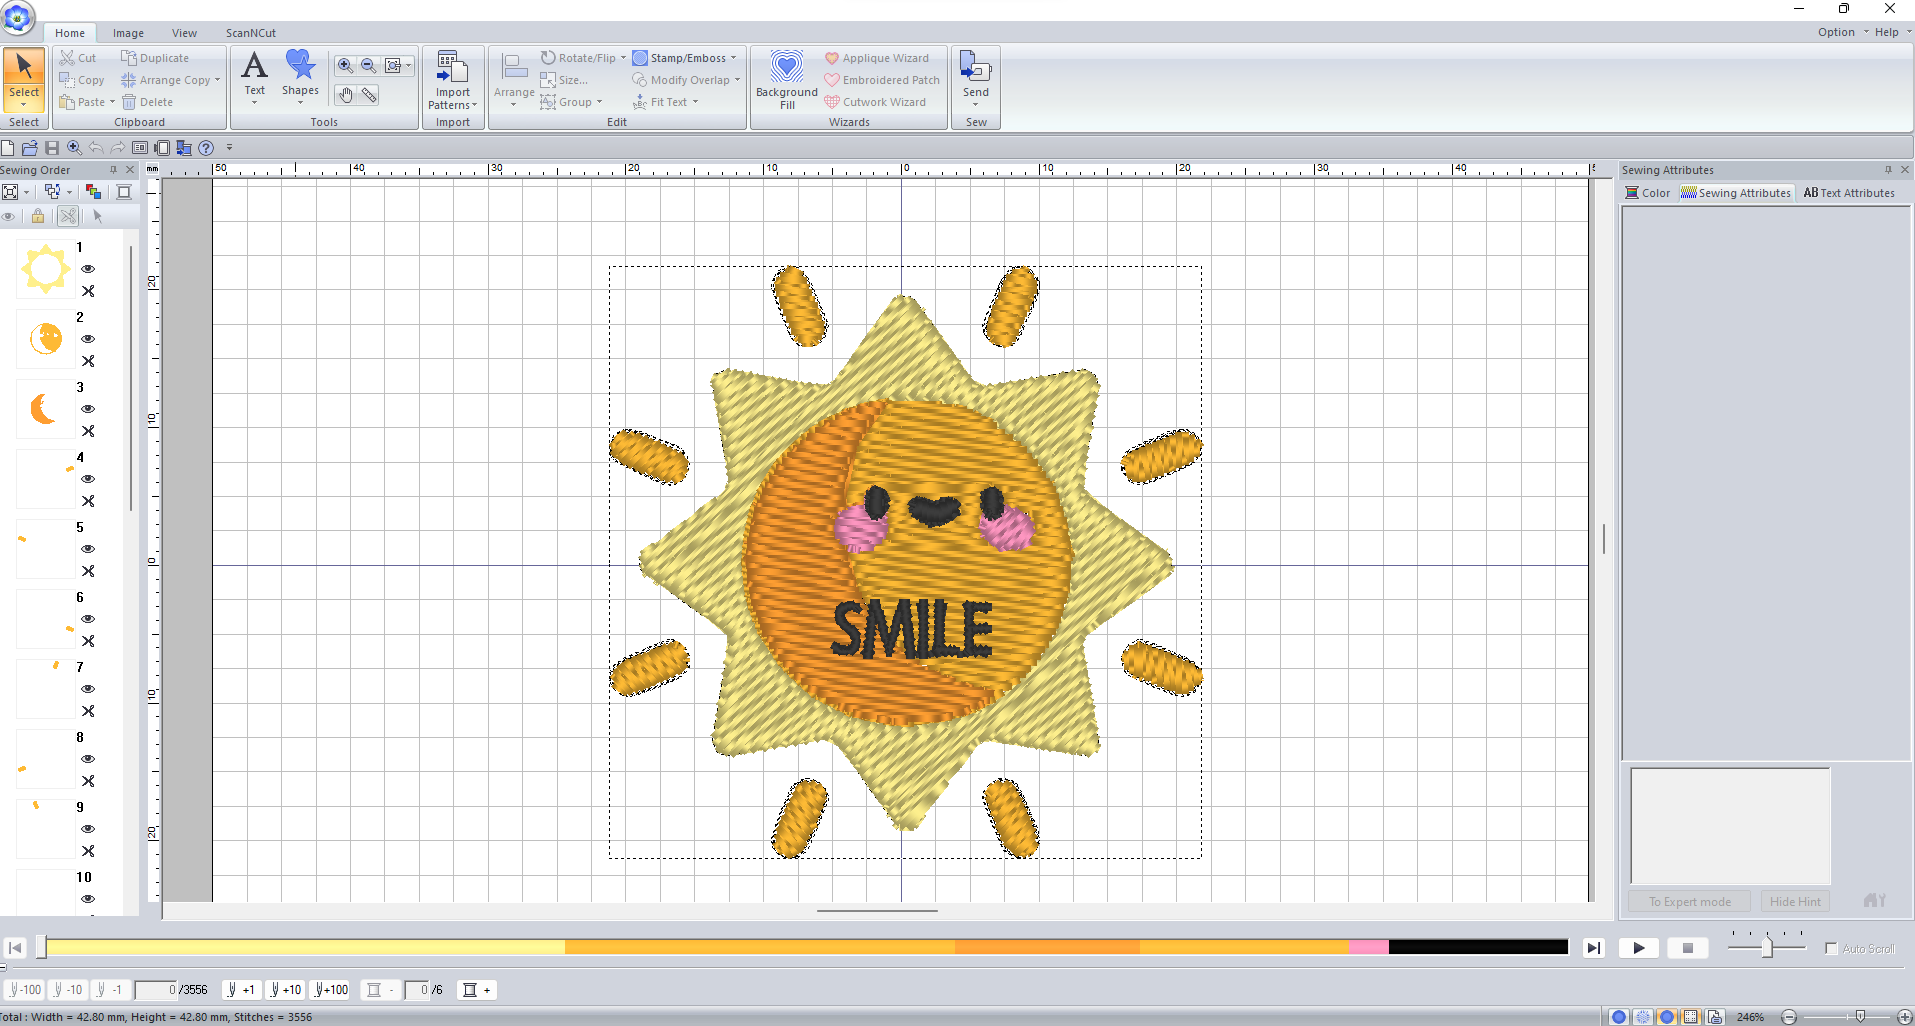
Processing includes:
- Remove redundant lines
- Checking if image is converted to stitch file properly
- Check the direction of the stitch. Different directions ensure the 2 sections of the stitch are visually distinguishable (which means it looks nicer!)
- Change colors to visuallt determine how many types of colors is required
- Add fonts to customize the stitch
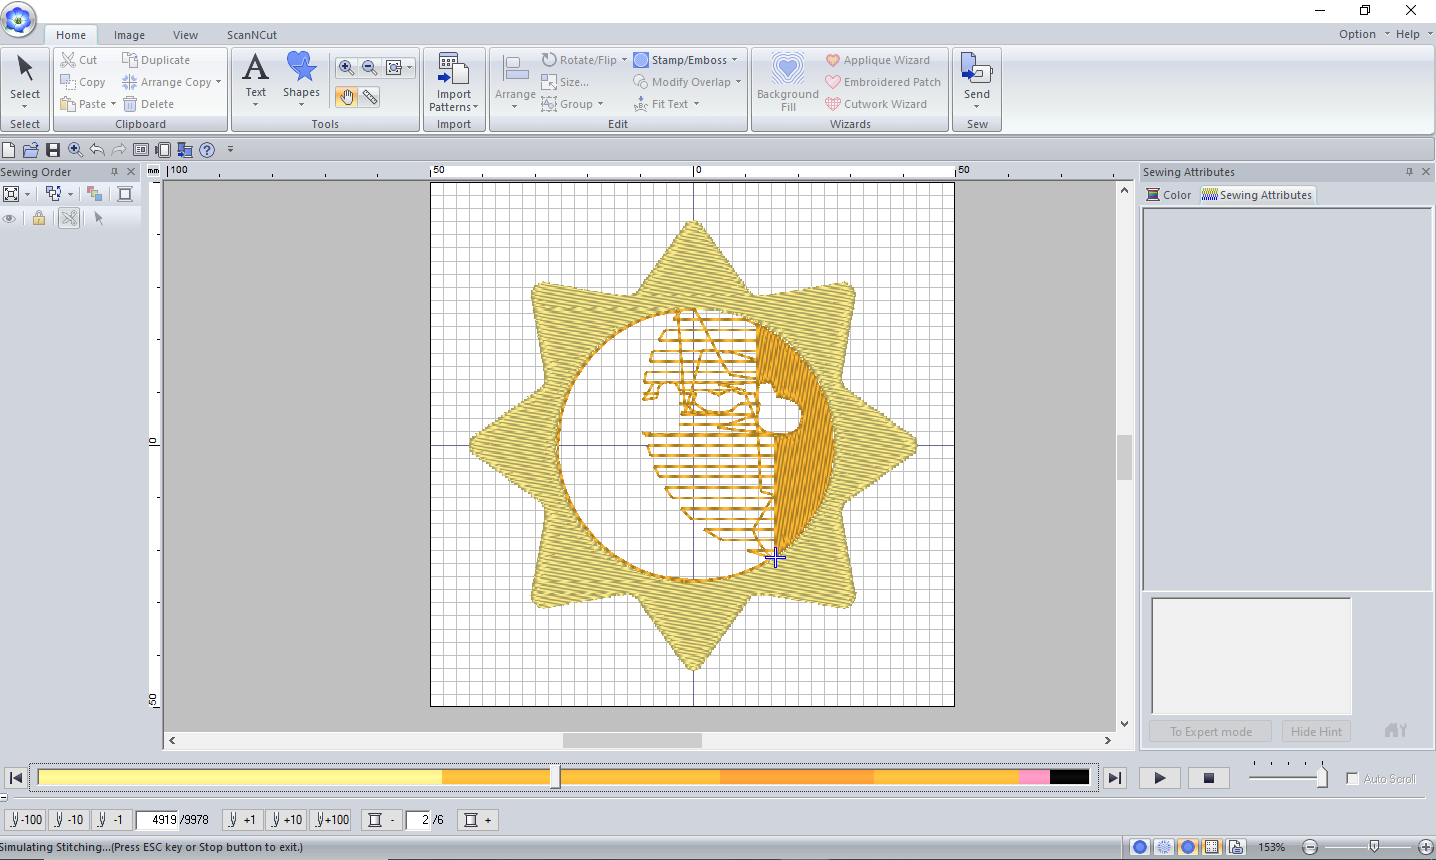
Finally, I did a scrubbing at the simulation timeline to see the stitiching progress. After I have verified that it looks more or less correct, I went ahead and ran the steps mentioned above on how to operate the machine.
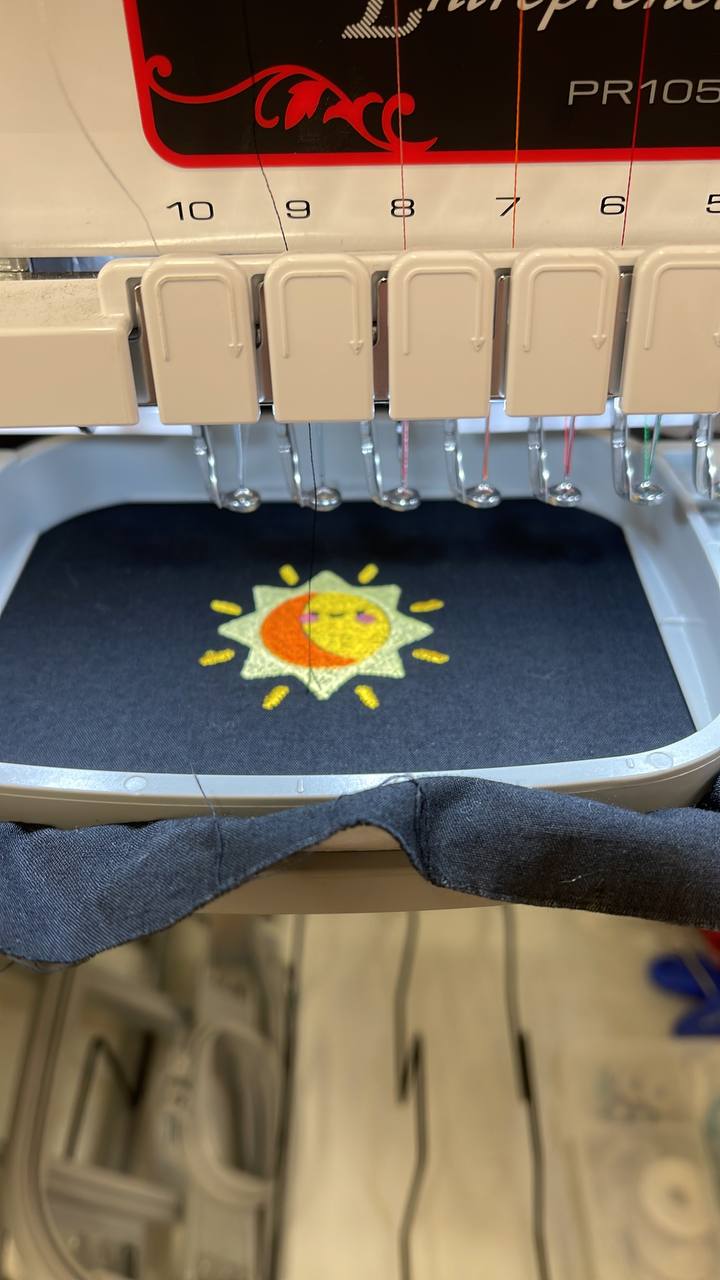
Challenge: Thread came loose!
After the brief and seeing me operate some key parts of the machine, I was allowed to operate the machine on my own. However, chaos strikes when you least expect it. While the eyes and mouth of my sun was being embroided, the black thread came loose. I was at a shock as I relied on auto-insertion of thread to needle. If I were to access that, I would need to start my deseign from scratch, as the software does not remember where it had stopped. I messaged Steven on what I should do, and he suggested I either try to put the thread manually, or document this situation as is for now, and try again tomorrow.
Update: Based on steven’s feedback, the machine allows users to rethread the needle, then select the point to continue from. However, I did not know this and did it the manual way… That being said, it was an interesting experience, and the trouble came from the lack of experience with the machine.
After much deliberation, I decided that it is worth to learn how to put the thread through the needlehole manually, as this could potentially happen to a bigger piece of work. This “simple step” took at least 10 mins. The difficulty came from lack of space to fiddle with the string and the needle, as well as guessing whether the embroidery can in fact continue normally.
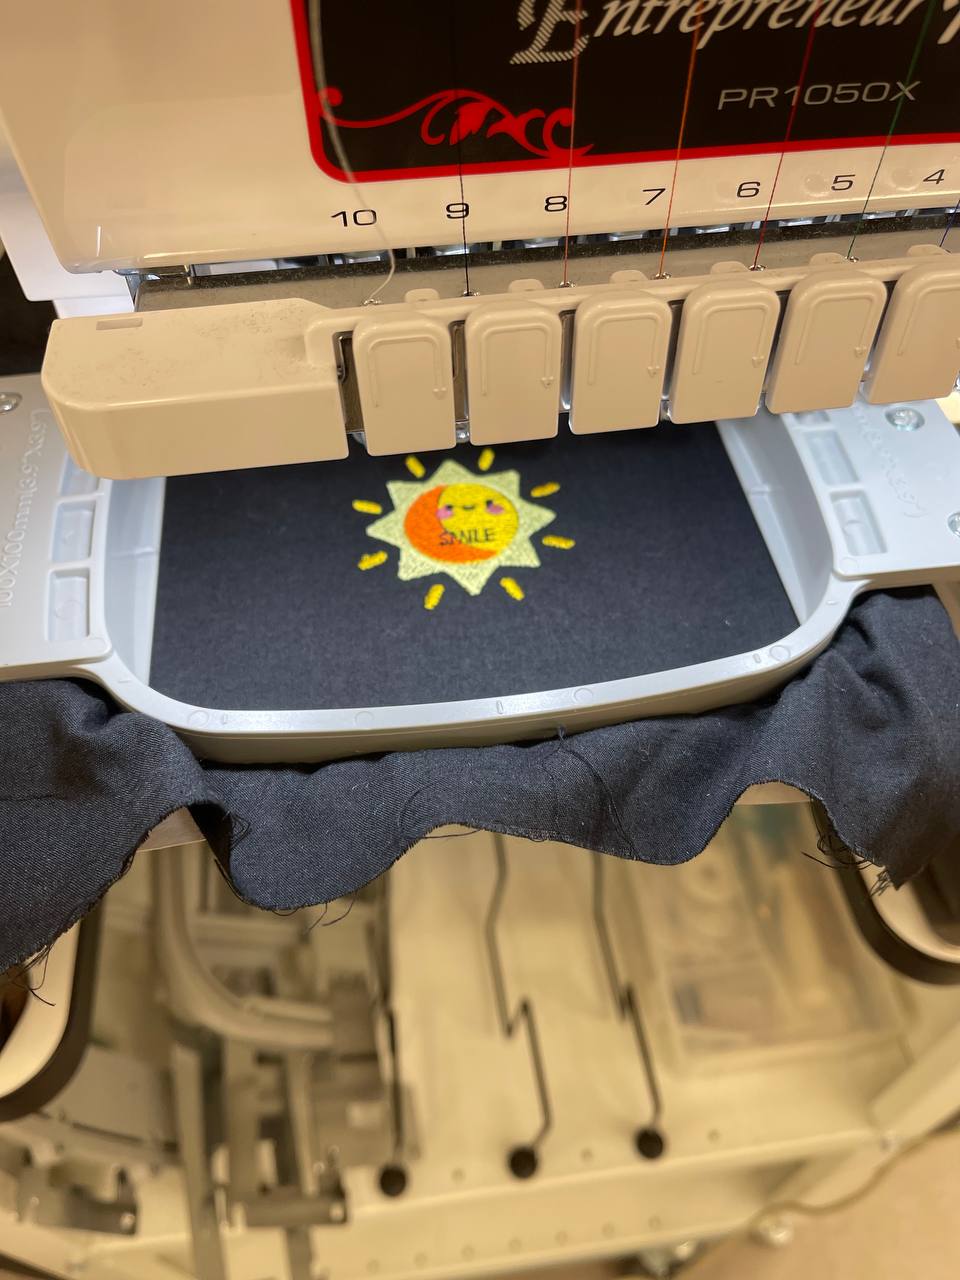
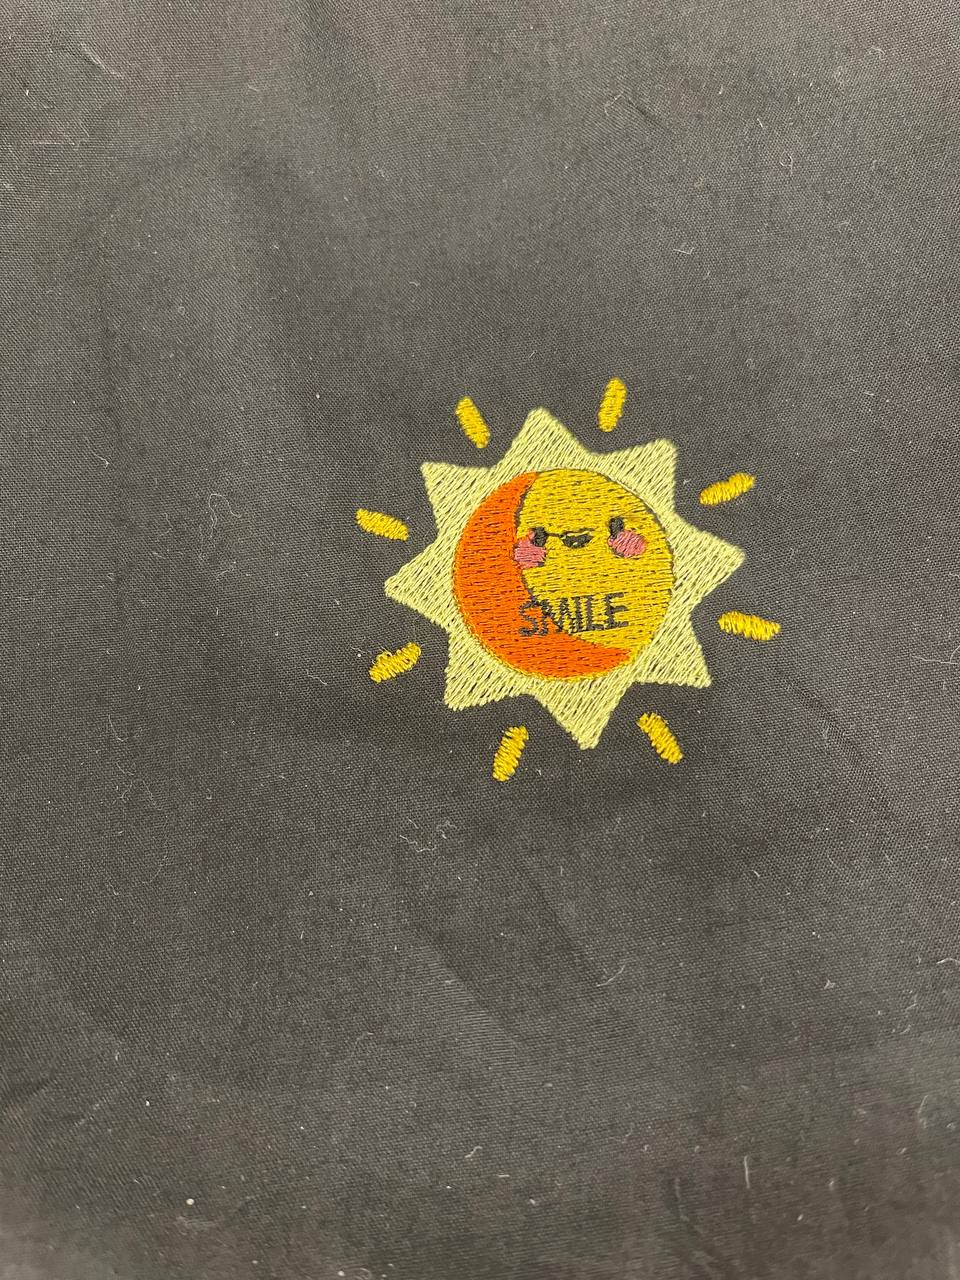
Hero Shot