2. Project management
This week I also worked on defining a flow for documentation. I have documented a potential git workflow as part of the outcome of following a git tutorial assignment.
Starting with mkdocs and gitlab
To get mkdocs running, we need to first install all required dependencies. For completeness, I will include a link on how to install Anaconda here.
To pull from the repository, we need to first upload an SSH (Secure-SHell) key. Uploading by password has been phased out due to security reasons.
ssh-keygen -t rsa -C "bryantee1998@gmail.com"
Stick to the default settings (just keep hitting the enter button) The details on what happens is as follows:
- 1st Option: Enter file to save in. If this is your first time, then keep it as the default file name
id_rsa - 2nd Option: Enter Passphrase. I recommend not entering anything as it makes the pushing/pull process much more seamless. Otherwise, be prepared to enter your password everytime you push/pull from a private repo or if the repo uses github organisations etc.
- 3rd Option: Enter same Passphrase. This is a confirmation of the password from above.
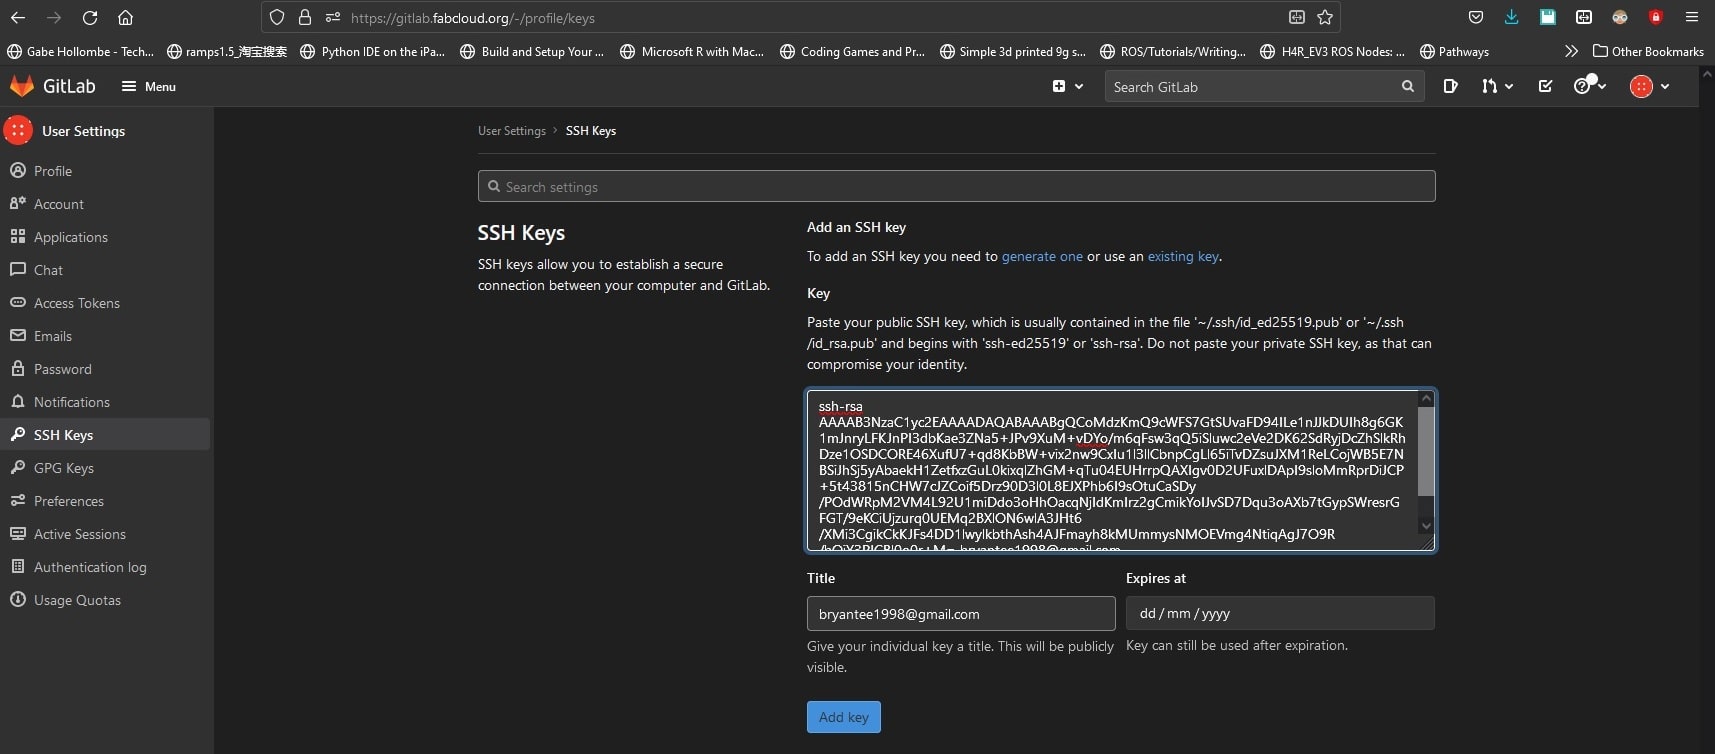
Take note of where the SSH keys were generated, copy the public key, and paste it into gitlab.
Usually, they keys would be generated in C:\Users\<your-username>\.ssh\<id_rsa>.
Enter the following to copy the results from notepad
cd .ssh
cat id_rsa.pub >> copyHere.txt
notepad copyHere.txt
and paste it in gitlab. Click on your icon, go to preference, and on the left navigation bar select SSH-Keys, paste your keys to the textbox, enter a suitable name, and click on Add key
If you accidentally revealed your private key, please regenerate your key, as it poses a security risk.
Think of RSA keys as invertible operations, but computationally take too long to find the inverse from one or the other (in contrast with hashes, where you can “unhash” a result). The complexity of the keys are the same, and conventionally we use public keys to encrypt data in transit, and private keys to decrpyt the data received.
Public keys can be revealed as it is encrypted for an intended recipient, and people who do not have the private key cannot see what is encrpyted by the public key.
Private keys cannot be revealed as someone who has your private keys can decrpyt a message even if they are not the intended recipient!
Next, I create a new environment to keep things segregated.
conda create --name fabacademy python=3.9
conda install git
Next, I installed the dependencies to run mkdocs locally. This is an optional, but highly recommended step as it ensures the site looks like how you intend it to be.
pip install mkdocs mkdocs-material mkdocs-git-revision-date-localized-time-plugin
The command is actually not the best way to install the dependencies, as we can install directly from requirements.txt.
pip install -r requirements.txt
This is because when the gitlab runners are generating the HTML site, it will run based on the CI config file, and a snippet of the code is as follows:
...
before_script:
  # install Git for the mkdocs revision plugin
  - time apt update && apt-get install -y git
  # Install mkdocs and theme
  - time pip install -r requirements.txt
...
As such, if we are to add any other dependencies in the future, we should add it in requirements.txt to ensure the gitlab runners have the correct dependencies.
After all dependencies have been installed, I wanted to run mkdocs locally. To do that, we do
cd fabacademy/bryan-tee
mkdocs serve
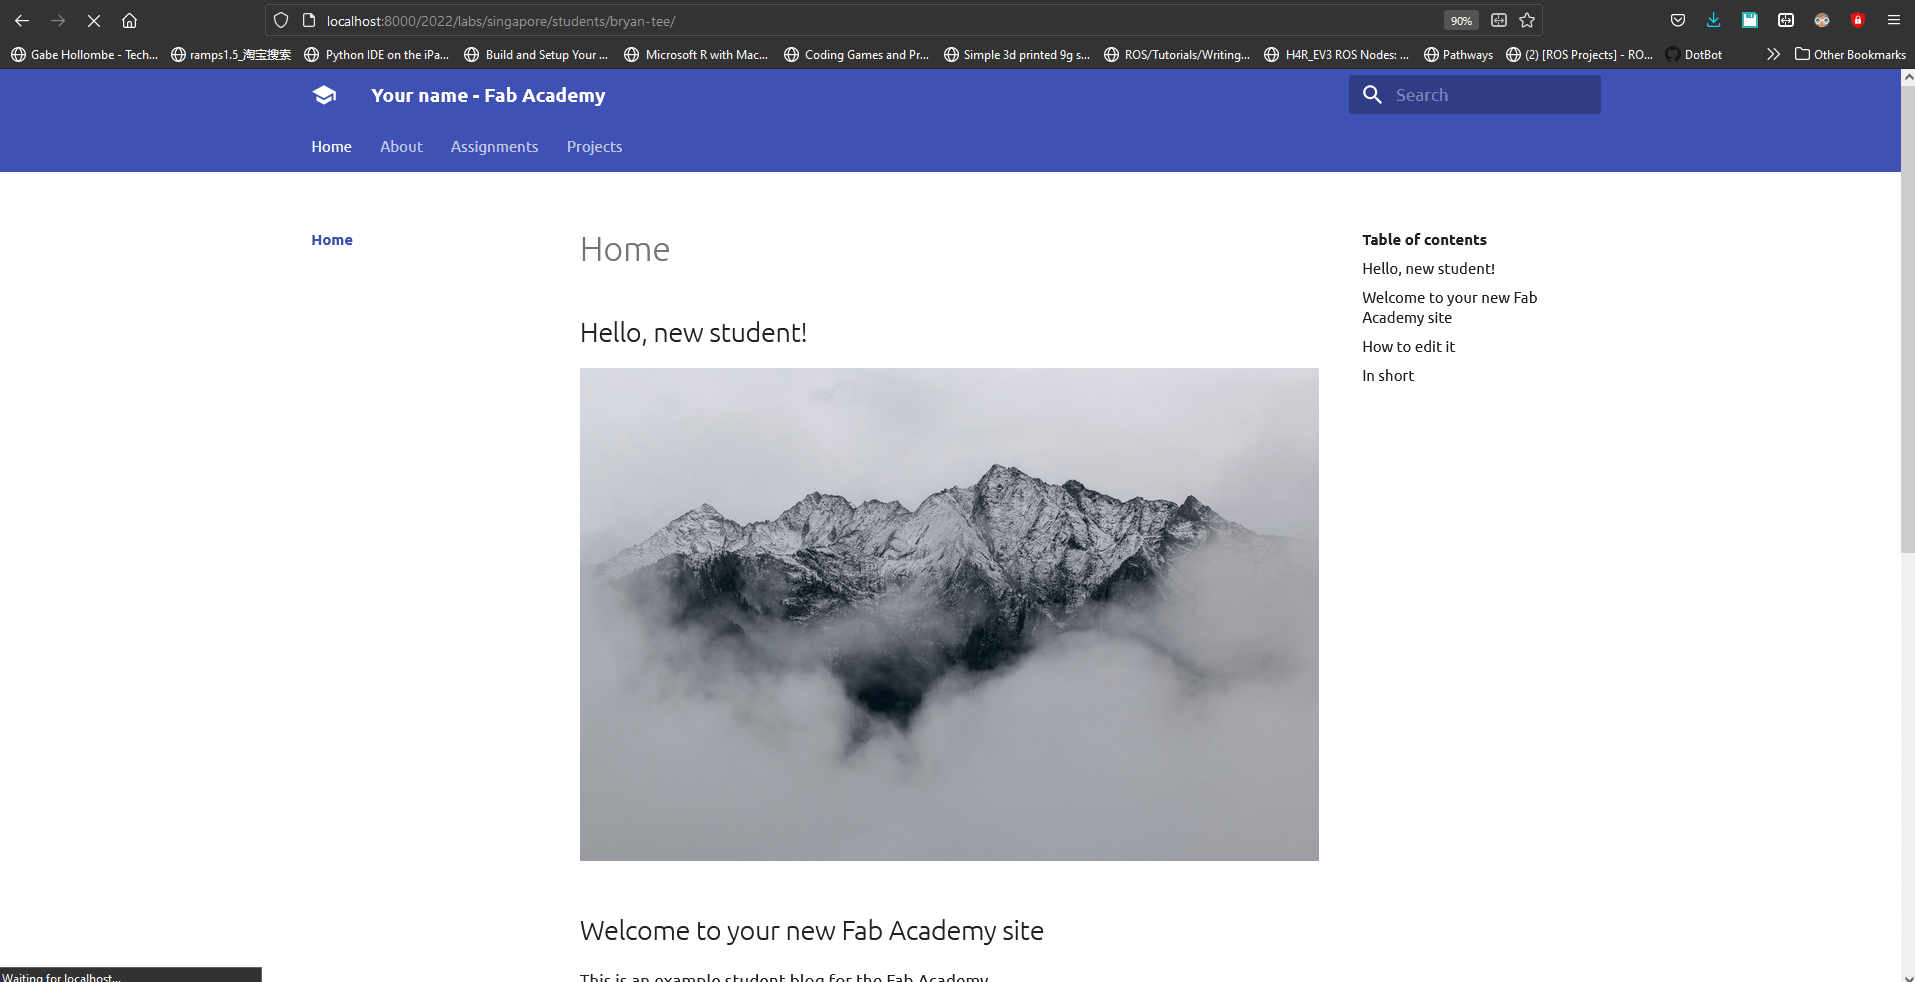
Next, open the browser and we will be greeted with our webpage locally! This will help with ensuring all resources and website looks as per intended before uploading to fabcloud.
Markdown
I decided to write my documentation in Markdown. Markdown is translated to HTML through gitlab runners which are triggered via the CI Pipeline specified by the gitlab-ci.yml config file.
As I have some exposure to markdown, I usually refer to Markdown Cheatsheets whenever I need specific commands, below I document some of the basics and most commonly used items
# Header (h1 tag)
## Sub Header (h2 tag)
### Small Header (h3 tag)
... (add #'s as we need subheaders)
open & close three backticks (Code blocks), which is how this is written!
open & close backticks (Inline code blocks)
Open & close ** (bold text)
Open & close * (Italics)
[wrapped text](link) (hyperlinked text)
 (image)
numbered list:
1.
2.
3.
unnumbered list
-
- item
- sub-item
For more commands, see this Markdown Cheatsheet.
Completing a git tutorial
To learn git, I decided to follow a basics git tutorial by Programming with Mosh.
Basic Concept
In our system, we have 3 “levels” of settings, namely: System, Global, Local.
- System: Settings that are shared among all users
- Global: Settings that are shared among all repositories of a users
- Local: Settings that are shared only in the current repository
Setup git
To get git setup (so that we have less headaches in the future), we first configure the “global user”, that is, “username” of all repositories of the current user.
git config --global user.name "Bryan"
git config --global user.email "bryantee1998@gmail.com"
By default, git uses vim as its commit code editor, as shown here:
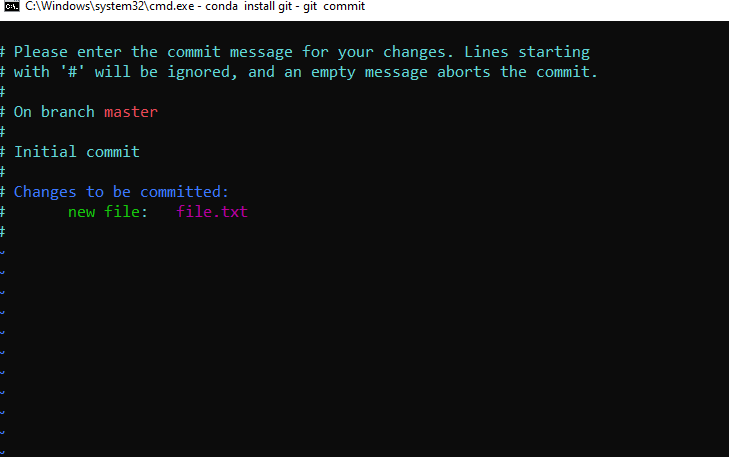
While I am familiar with commands in vim, it would be much friendlier if a different editor were to be used. As such, I have decided to use vscode to edit my commit messages
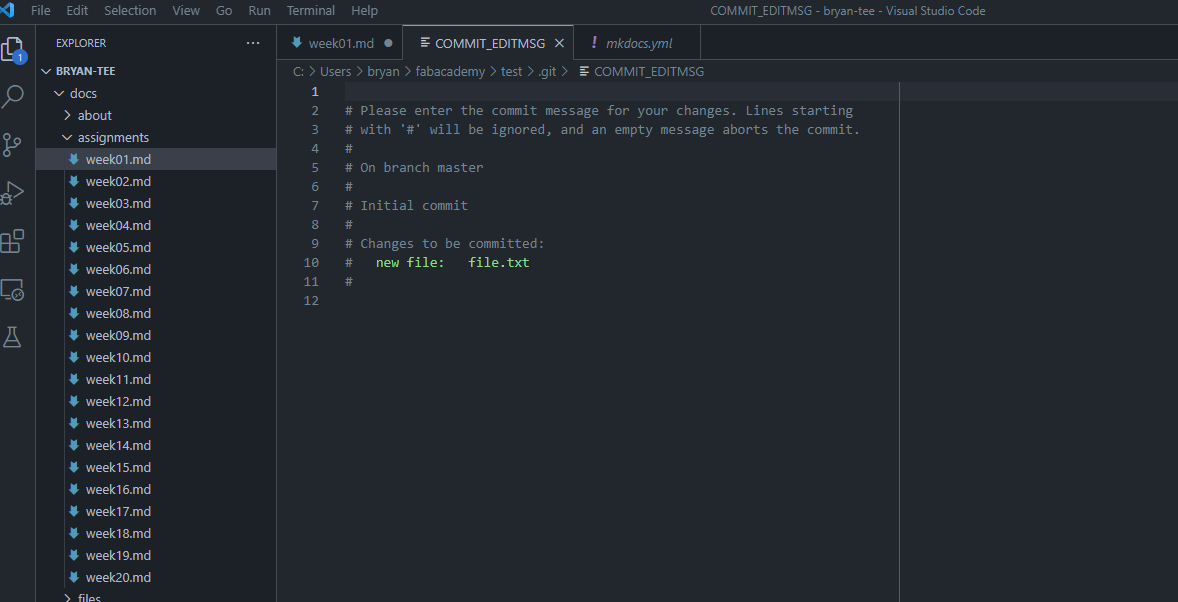
git config --global core.editor "code --wait"
Now, it opens in vscode!
Next, a very important setting is the ending of lines in editors. Windows handles it differently from Linux and MacOS, adding a Carriage Return (\r) charactere in front of the Line Feed (\n) character. Or:
Windows:
abc\r\n

MacOS or Linux:
abc\n
To resolve this, we need to specify settings in Windows
git config --global core.autocrlf true
side note: when using Linux or MacOS, we use:
git config -- global core.autocrlf input
Lastly, we will likely want to see the file diffs. There are many tools available, such as:
- KDiff3 (Cross Platform)
- P4Merge (Cross Platform)
- WinMerge (Windows Only)
- VSCode (Corss Platform)
I decided to also use VSCode, as it’ll make the development process feel ‘centralized’
git config --global diff.tool vscode
git config --global difftool.vscode.cmd "code --wait --diff \$LOCAL \$REMOTE"
That’s all the setup that is required!
Basic Workflow
In order for us to use git efficiently, it is important to follow a certain workflow. FabAcademy gives us the freedom to create our own workflow, as such, a somehwhat comprehensive one would be as follows:
# Make a directory that hosts all our files
mkdir test

# Initialize repository locally
git init

# Unspoken rule: Create a README.md file
echo "# Test" >> README.md

# If know what files to ignore, add them to .gitignore
echo "bin/" >> .gitignore
# Note: There are templates available online

# Do some other changes...

# See files that are in the staged
git ls-files

# Remove files from staging area
git rm --cached <filename>

# See files that are tracked by git
git status

# Get a more comprehensive view
git status -s
# Note: [][] filename [changes]; left[] -> in staging, right[] -> in local

# Add file to staging
git add <file1> <file2>

# Check the diffs if they are as per intended
git diff
# Or
git difftool

# Save snapshot of files in repository
git commit -m 'past tense, comprehensive, <= 80 characters text'

# Check if the changes are as per intended
git diff --staged
# Or
git difftool --staged

# Commit frequently, and ensure each commit is a standalone unit

# Push to remote server
git push <remote repository> <branch>
# In FabAcademy, I will do the following more frequently
git push origin master
Another workflow that might be required is when we want to modify the history
# View past commits
git log
# A more comprehensive view:
git log --online --reverse

# To view a specific commit
git show <hash>:<file path>
# Or
git show HEAD~<number of commits before HEAD>:<file path>

# To restore files from last commit, we do
git restore <filename>

# When restoring a newly added file, we need to completely wipe it from the history, as git doesn't know how to handle it
git clean -fd
Coorperate with others in one repository
If we were to work with others, we can do the following:
# Initially
git pull <link to repository>
cd <directory name>

# Create a branch
git checkout -b <new branch name> <repository branch>
# Or more frequently
git checkout -b <new branch name> master

# Make some changes and follow workflow

# SAFER-ish for me
# Before pushing, test merge locally on feature branch, check for potential conflicts

# Update current master
git checkout master
git pull origin master
git checkout <new branch name>
git checkout -b <another new branch name>
git merge master

# Resolve conflicts

# Commit resolves
git commit -m "Resolved merge conflicts"

# After resolving conflicts
git checkout <new branch>
git push origin <new branch>
git merge <another new branch name>
git checkout master
git merge <new branch name>
git commit -m "Resolved merge conflicts"
git push origin master
# NOTE: if there are conflicts, someone has modified master again, repeat from "Update current master", and restore <new branch name> to previous state

# A probably more proper way to do
git checkout master
git pull origin master
git merge <new branch name>

# Resolve conflicts

git commit -m "Resolved merge conflicts"
git push origin master
Customizing theme
The default mkdocs theme is powerful and expressive, supporting local deployment to verify the page is exactly how I wanted it to look like (minus some browser/OS specific caveats), hence I decided to stick with it. It then becomes important to know how to customize it to express my documents robustly.
Most of the customizations can be done via the mkdocs.yml file found at the root directory.
Firstly, I wanted to change my theme to something that looks clean. To change the color, find the term palette and change the primary and secondary colors.
Next, we can change the icons. However, I am quite fond of the generic icon provided, hence I’m not going to change it :) Look for images/favicon.svg to change the icon. Either replace the file or change the filename.
Lastly, the most important thing is to include plugins and extensions! I have sectioned the following into changes on markdown extensions and plugins separately.
plugins
mkdocs-video
While it is possible to use HTML’s <video></video> tags, I find it awkward to have both expressions of markdown and HTML in my documentation. Sadly, mkdocs (and markdown in general) doesn’t really have a way to address this properly other than linking to a youtube page stackoverflow link here. A video plugin needs to be installed to achieve this.
...
plugins:
...
- mkdocs-video:
...
We will also need to add the pip installation into our requirements.txt file. View docs of mkdocs-video here.
extensions
pymdownx.tasklist
By default, mkdocs does not come with a checklist feature, hence we need to add it manually. To do that, add the following
...
markdown_extensions:
...
- pymdownx.tasklist:
      custom_checkbox: true
...
To use it, simply do the following:
- [ ] task 1
- [ ] task 2
- [X] task completed
Rendered result:
- task 1
- task 2
- task completed
pymdownx.arithmatex
Something useful is also to include regex. We can express math formulas in more expressive ways. View the regex cheatsheet here.
...
markdown_extensions:
...
- pymdownx.arithmatex:
      generic: true
...
To use it, simply encase the formula in $$ symbols
$$
y = mx \; + \; c
$$
Rendered result (might need to refresh page to let it render properly):