12. Mechanical Design, Machine Design
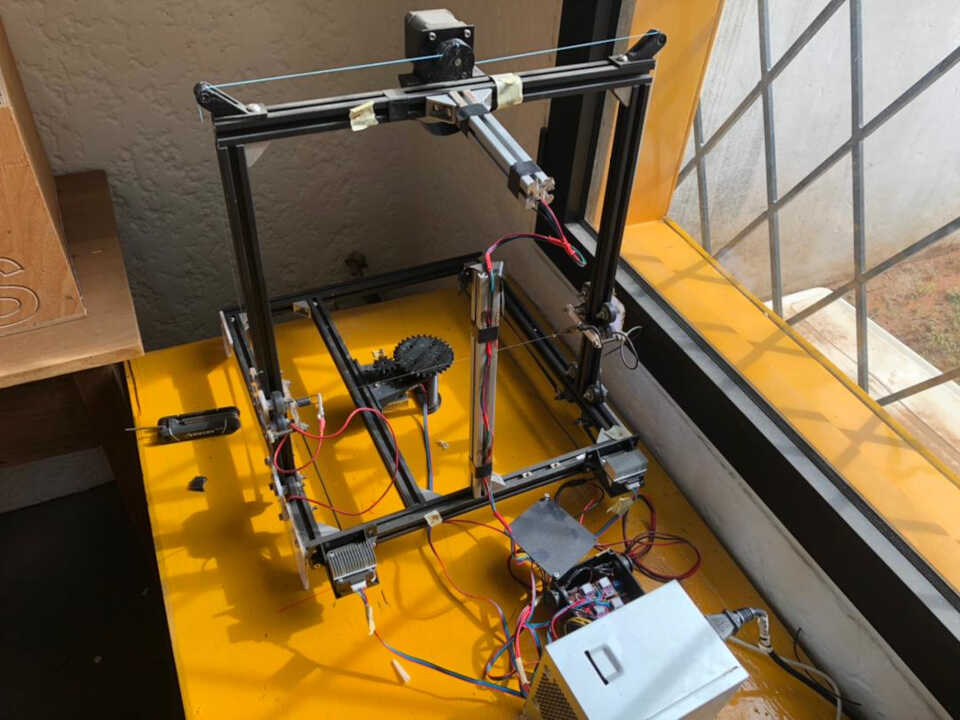
Welcome to this week’s assignment, in this week’s task we were asked to design and build a working machine in our various labs. Let me introduce you to Zoro as we chose to name the hot wire foam cutting machine we built. We chose to build this machine to enable us to make quick mold making templatees using styrofaom and quickly prototype some ideas using inexpensive and recycled styrofoam.
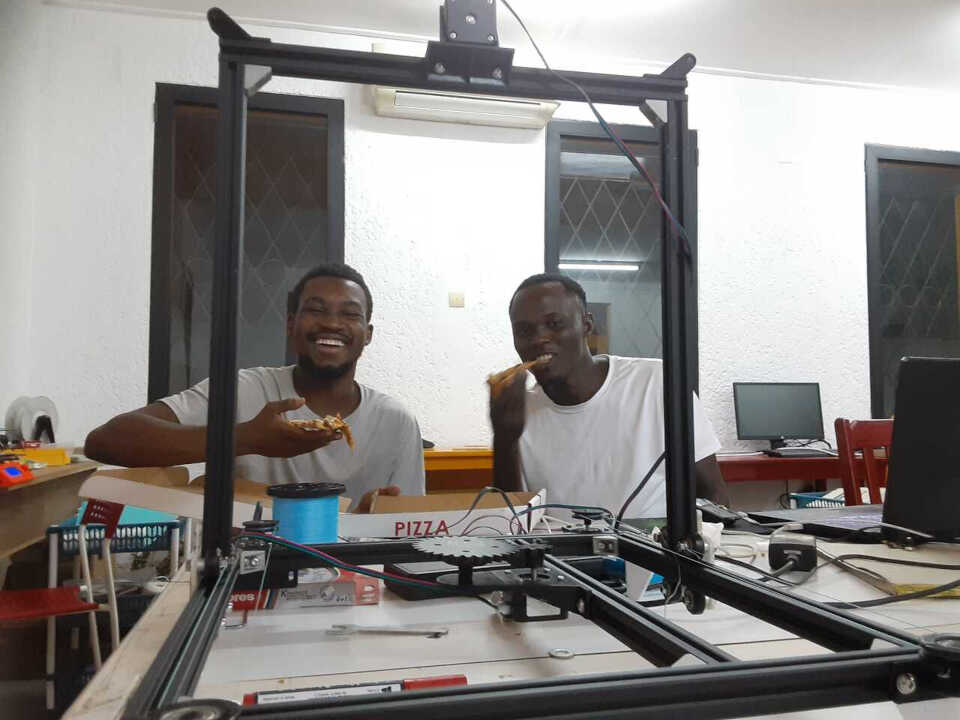
Hero Shot
Construction
The construction of the machine consisted of three or four main elements and sub-assemblies. The main elements were:
- The frame and its assembly
- The mechanisms and their assembly
- The wiring and its parts
- The programming of the electronics
My contribution to the project
Frame and mecanisms Assembly
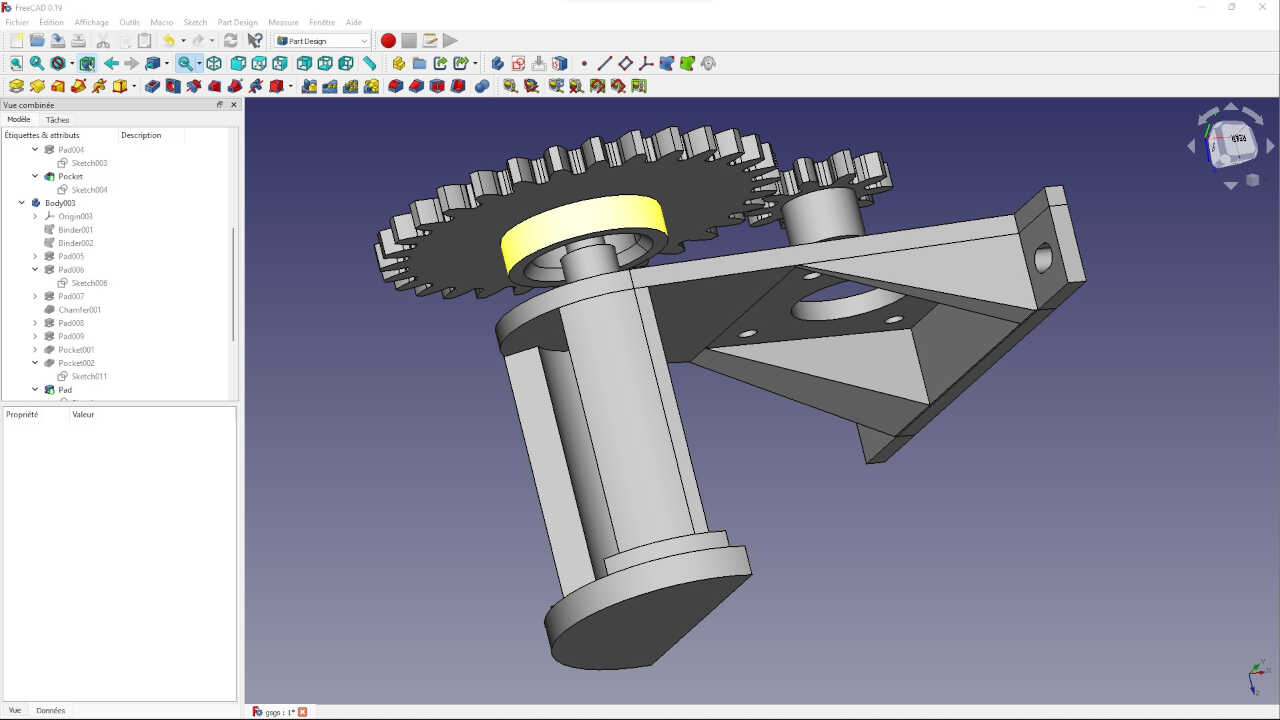
In terms of the structure and mechanism of the machine, I took care of the structure and mechanism of the z-axis of the machine, that is, the structure that will carry the turntable and the gearing system that will allow the motor to have more torque to turn the turntable.
Cad modelling and design
I designed the structure on freecad. You can see the result of the design below.

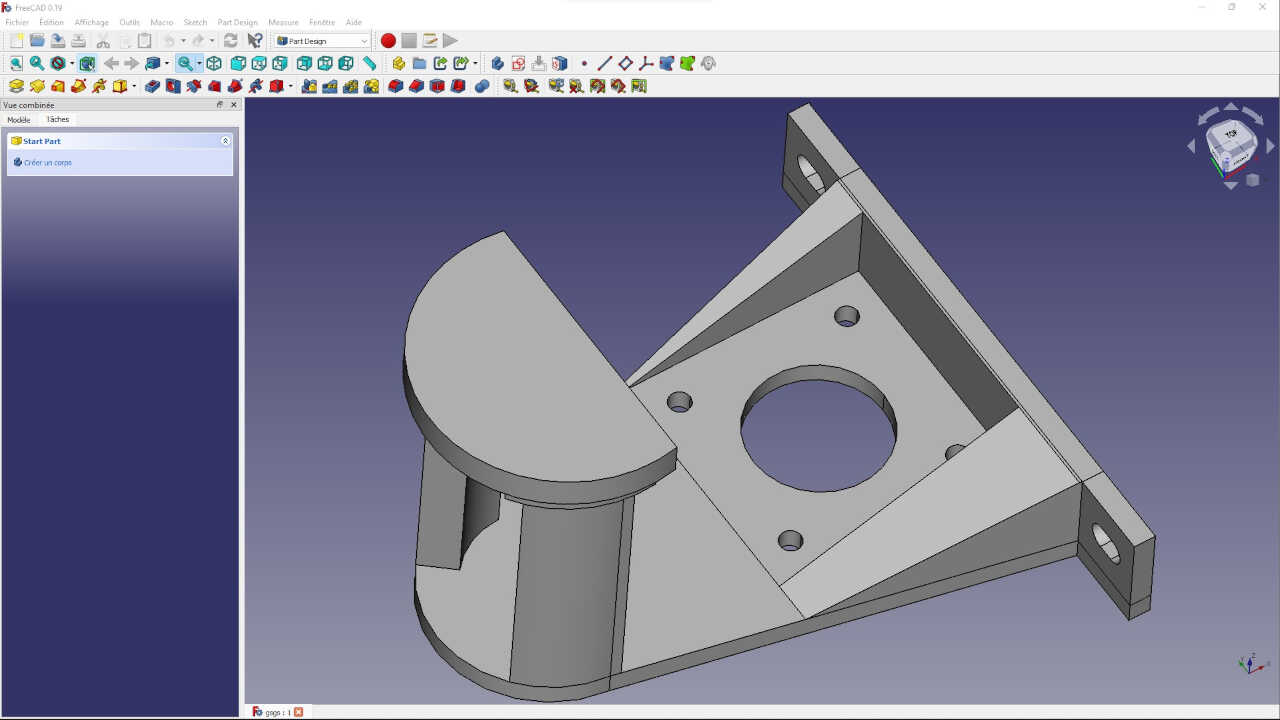
After finishing the design of the structure I now design the mechanical system.
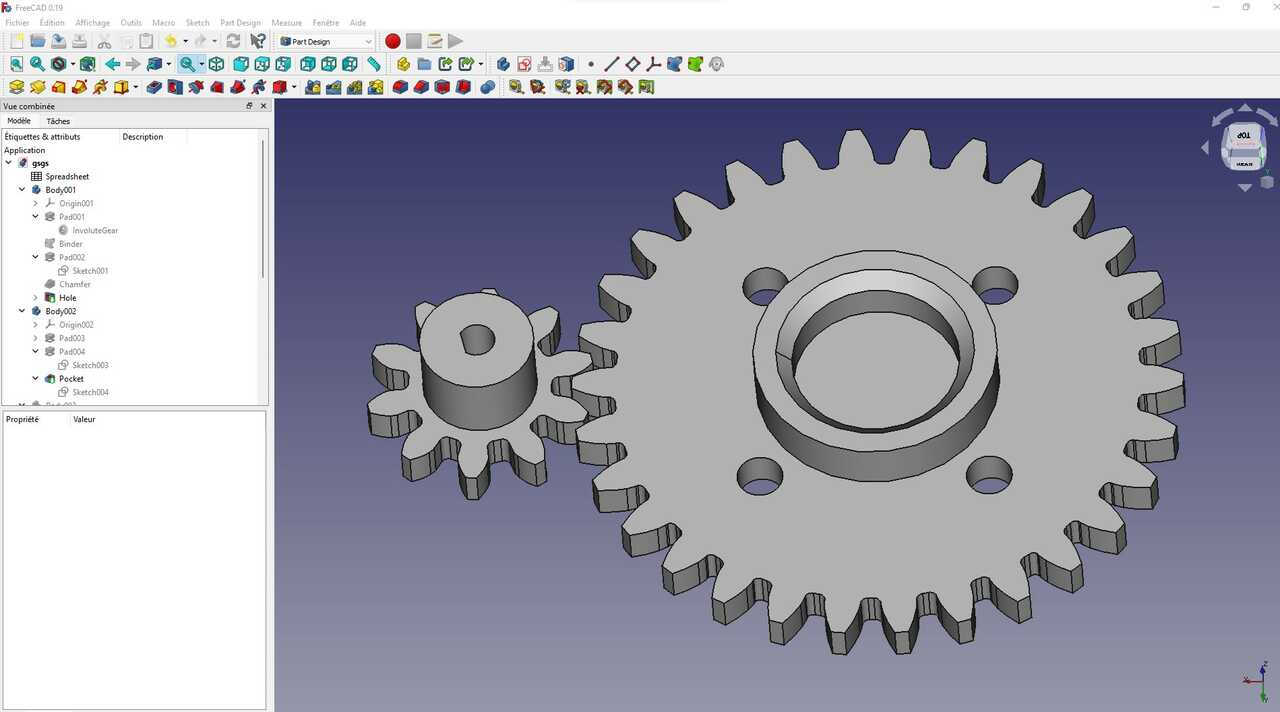
The mechanical system is composed of two gears. You can see the process of creating a gear on Freecad below.
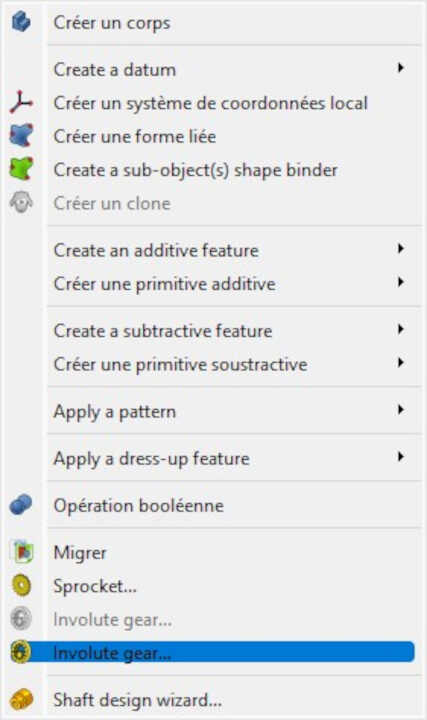
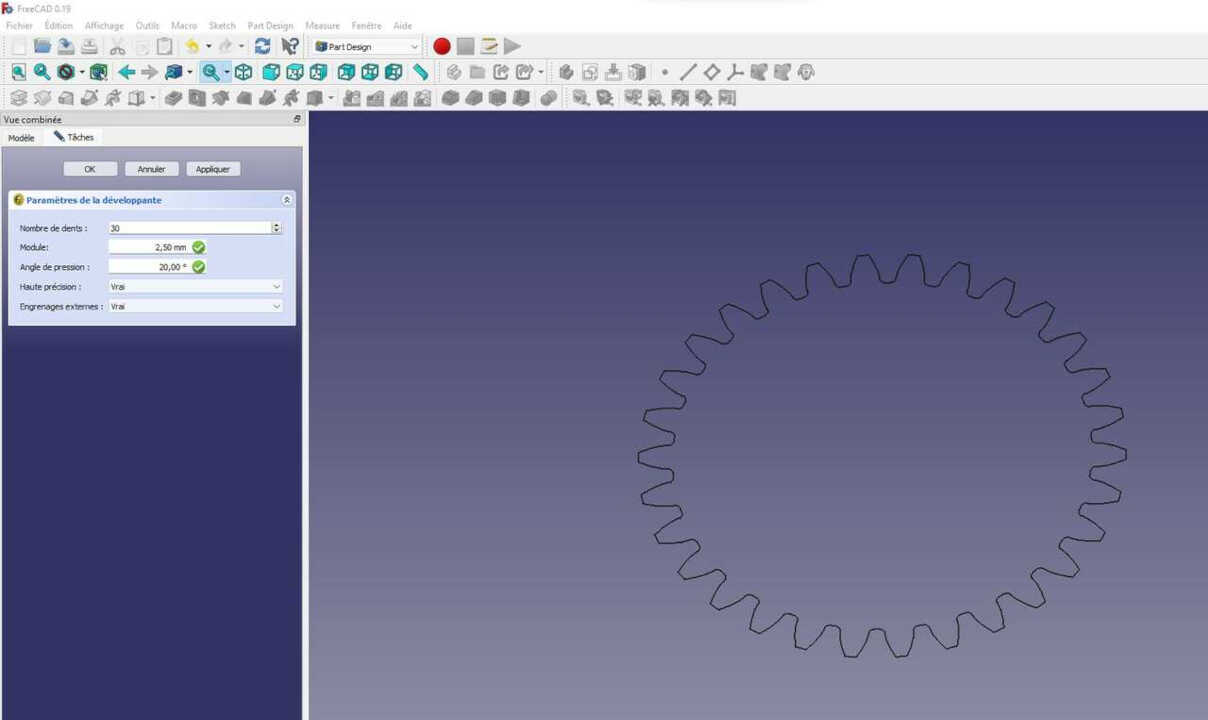
We go to the design tab of the part and select Involute Gear. After that, we just need to choose the number of teeth for our gear. The first gear below I will take 30 teeth
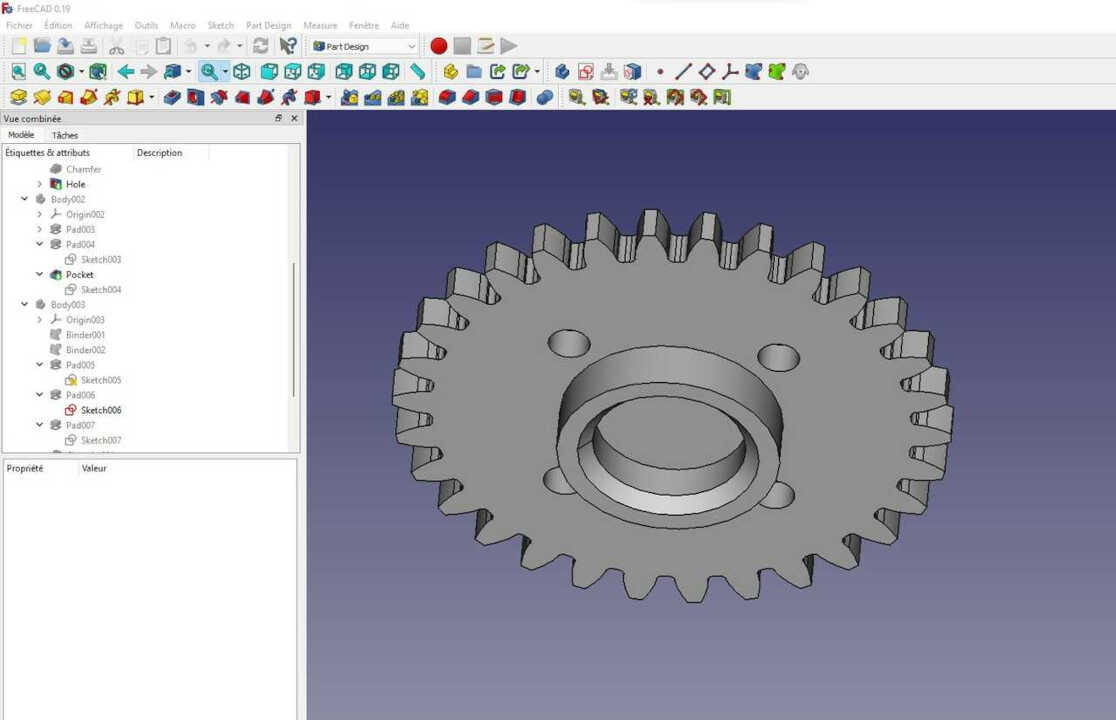
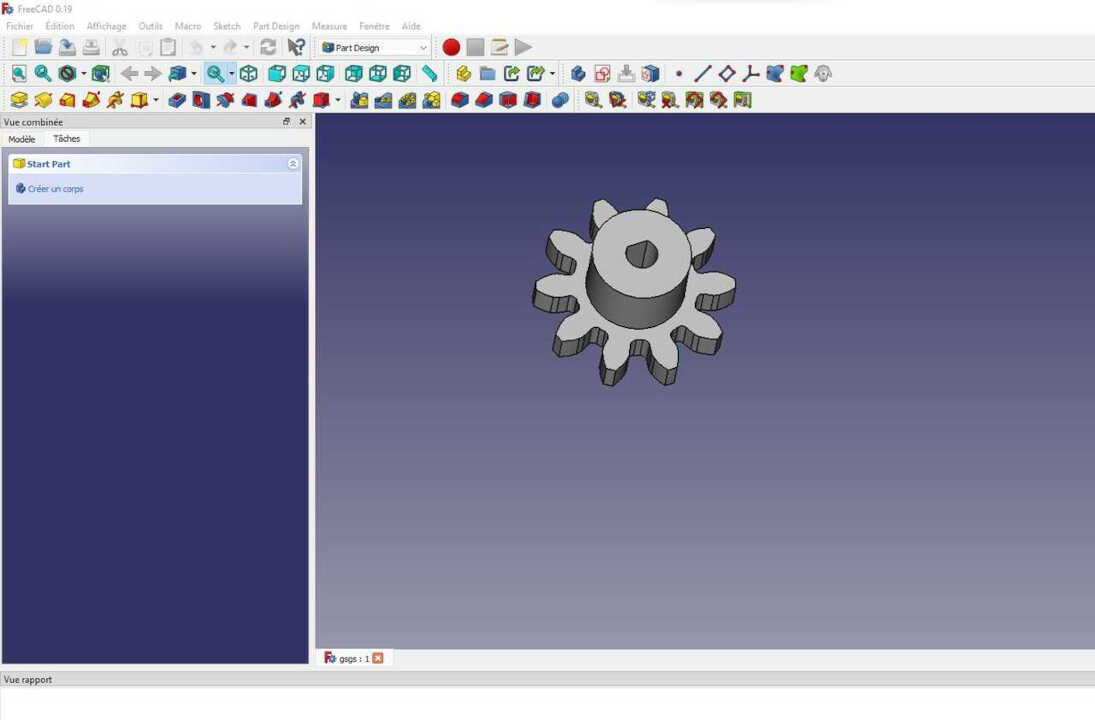
The second small gear is composed of 10 teeth.
Now let’s put all the drawings together to see what the overall structure will look like before we move on to printing each element.
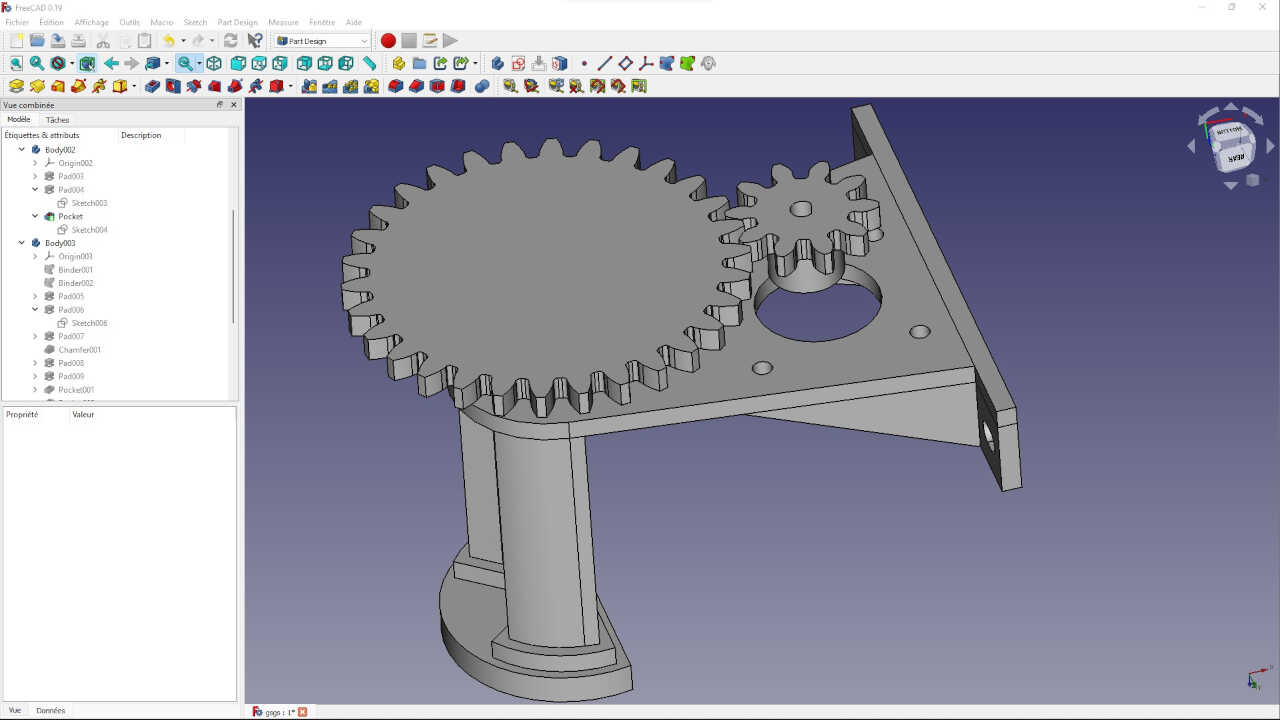
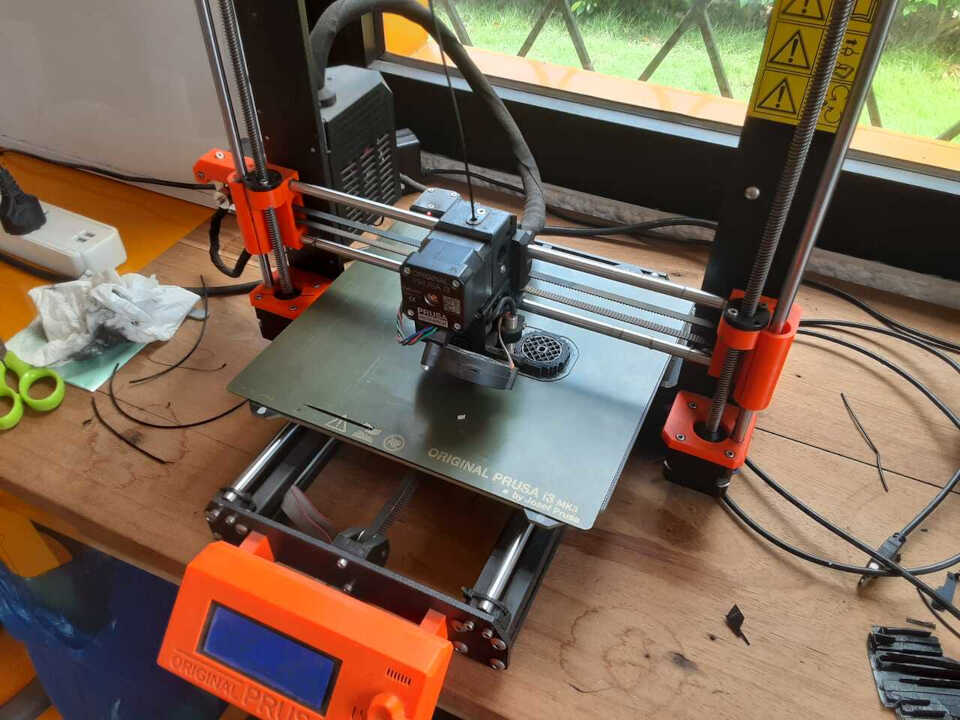
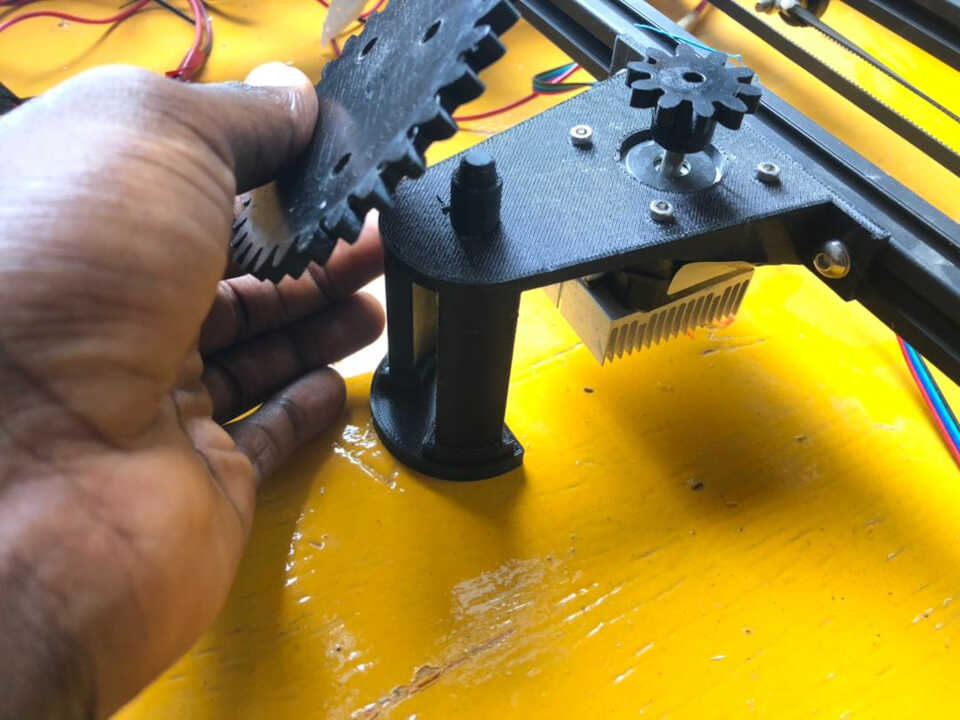
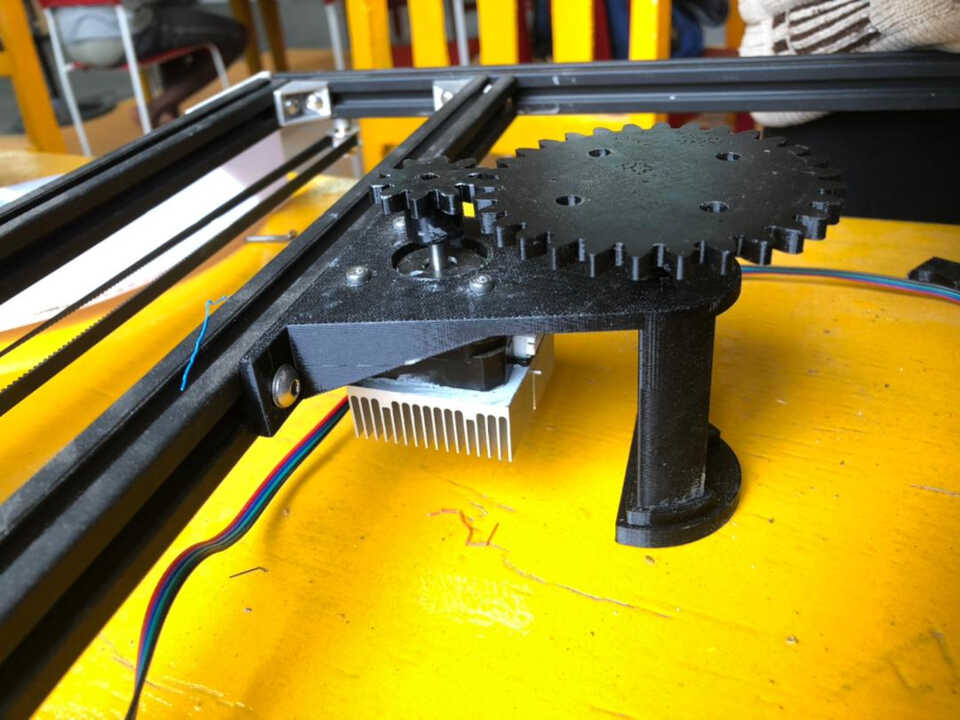
Construction and assembly
The modeling of the different elements is finished, we can move on to the printing stage and assemble these different elements on the structure of our machine.
Electronics and Wiring
The structure and the whole mechanical system of the machine are finished, now we have to make it work.
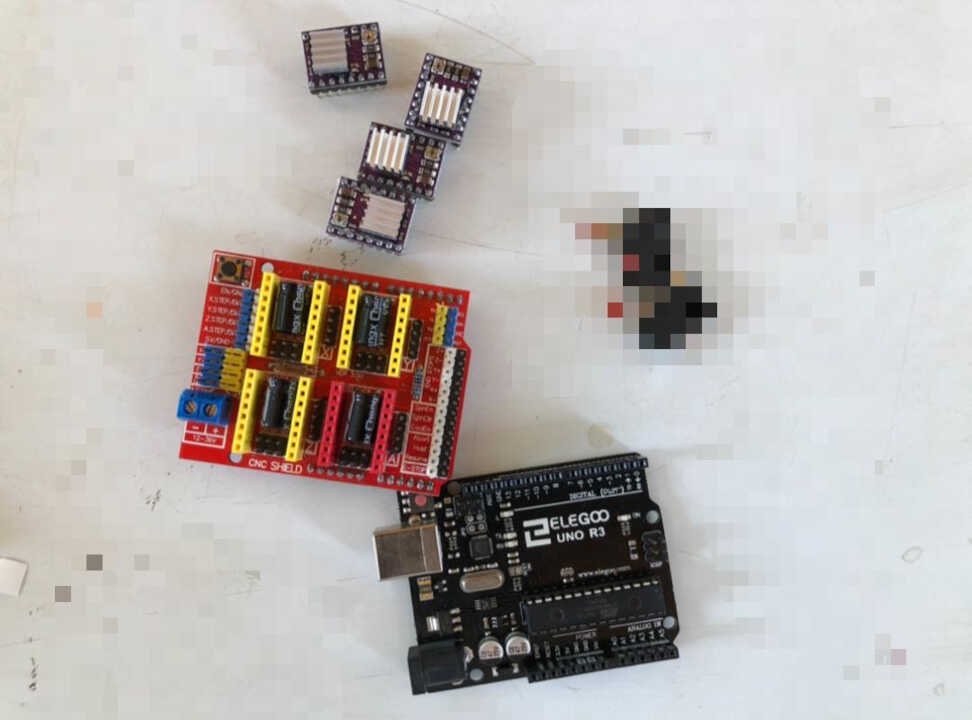
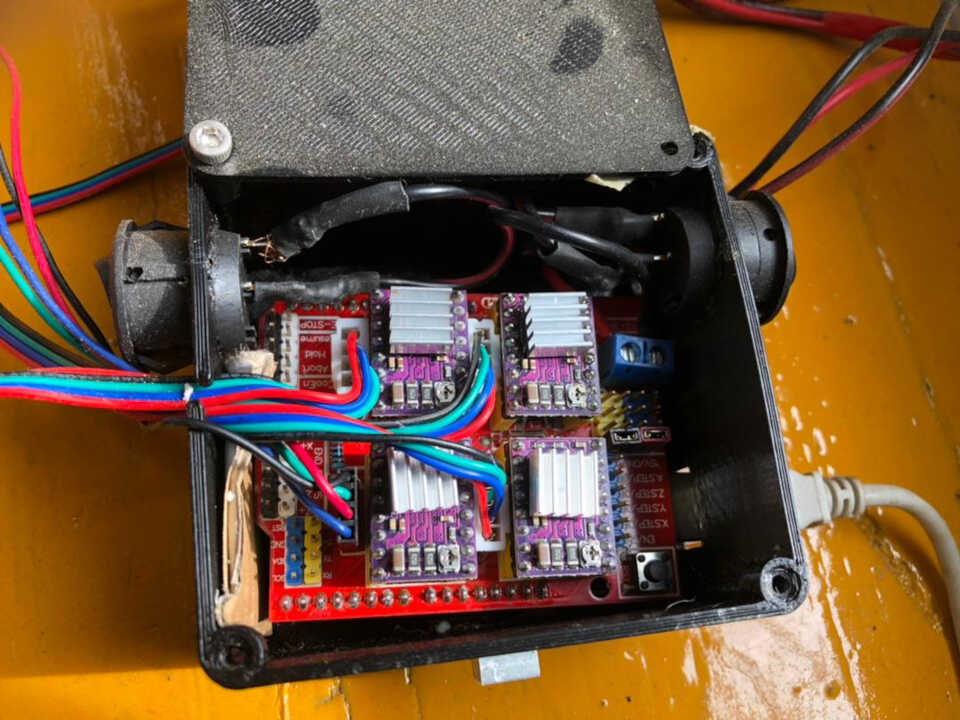
In our system we have four motors to control (two motors for the x-axis, one motor for the y-axis and another motor for the z-axis). For this we use :
- An arduino UNO R3 board
- Shield for 4 stepper motor drivers for arduino UNO
- 4 stepper motor drivers DRV8825
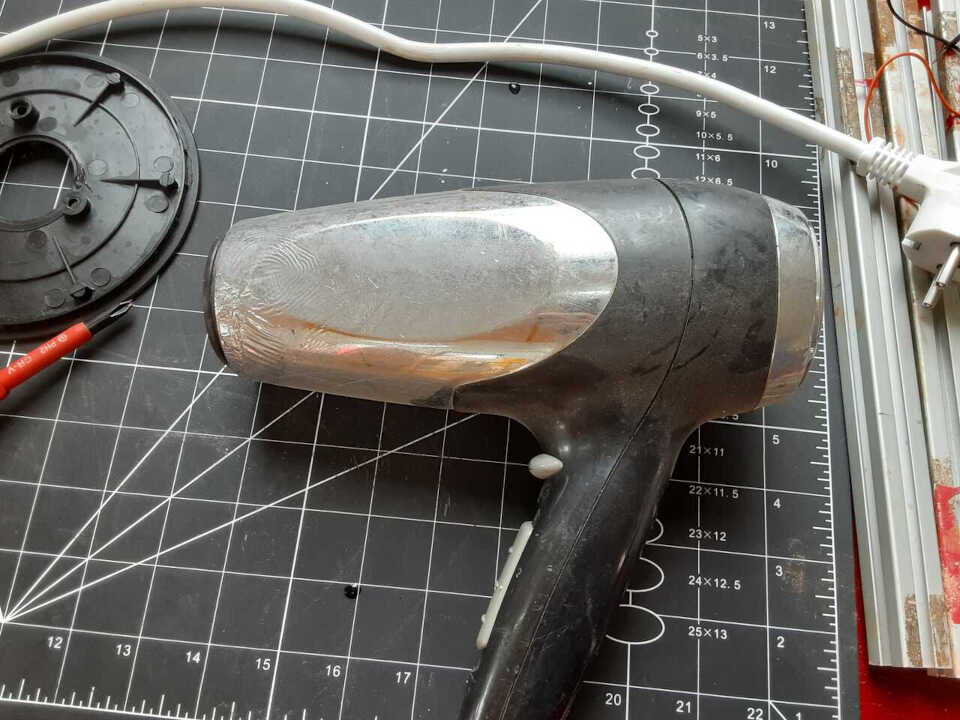
As the objective of our machine is to cut the polystyrene from a heating wire, we will have to find this wire.
The big difficulty is that it was not possible to find this type of heating wire on the market but finally we could find it in an old hair dryer that was in the laboratory.

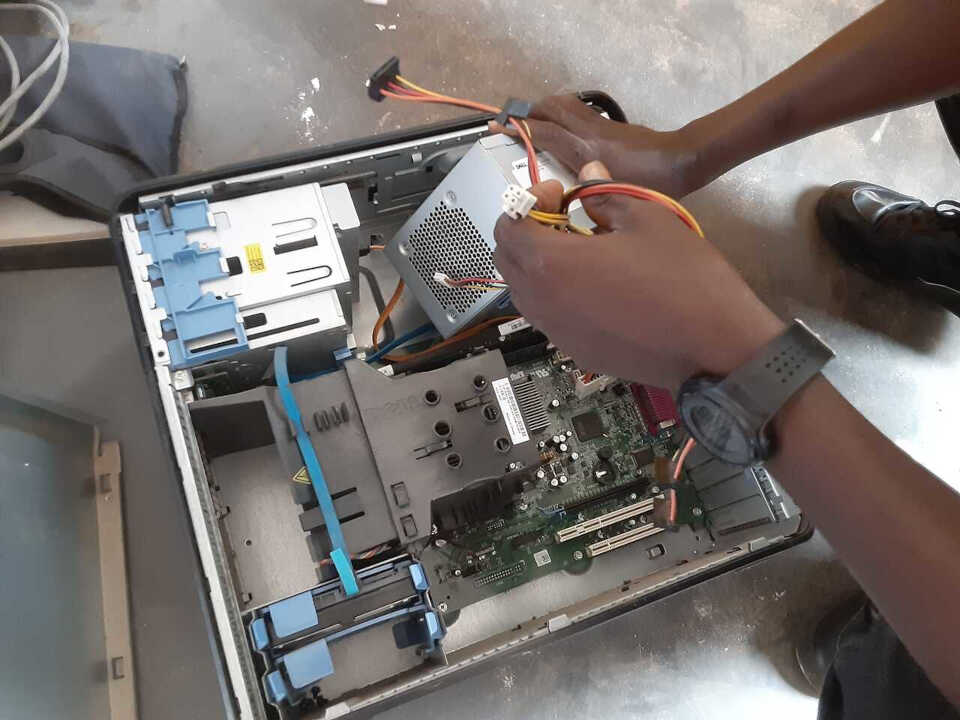
To power the whole system, we used the power supply of an old computer.
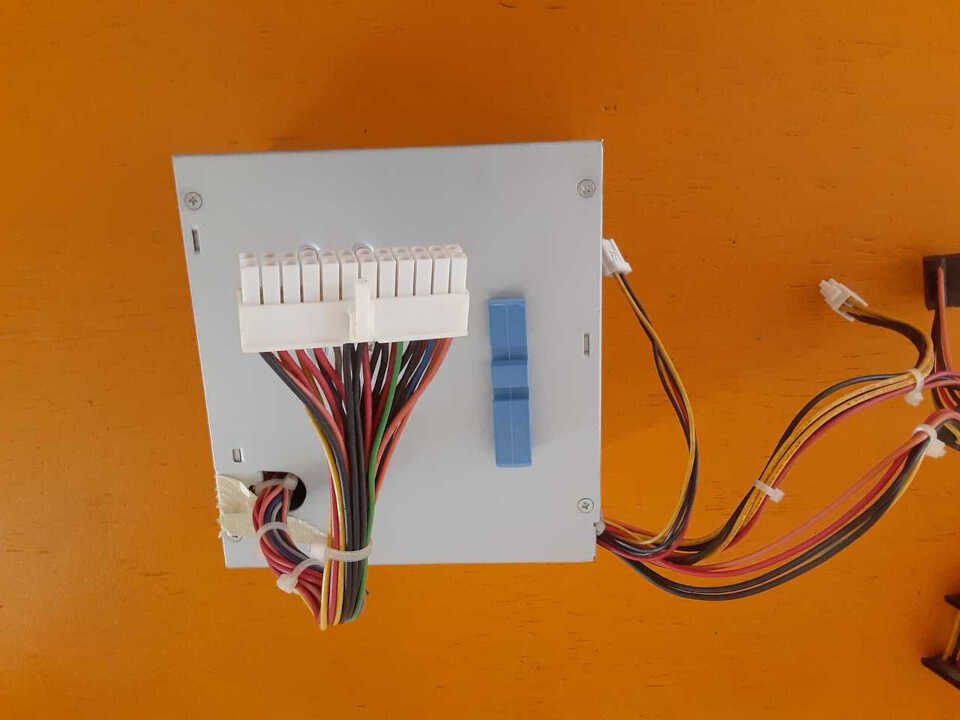
We cut all the other outputs of the power supply to leave only two 12V outputs with two grounds. So we have a 12V supply for the stepper motor shield and a 12V supply for the heating wire.
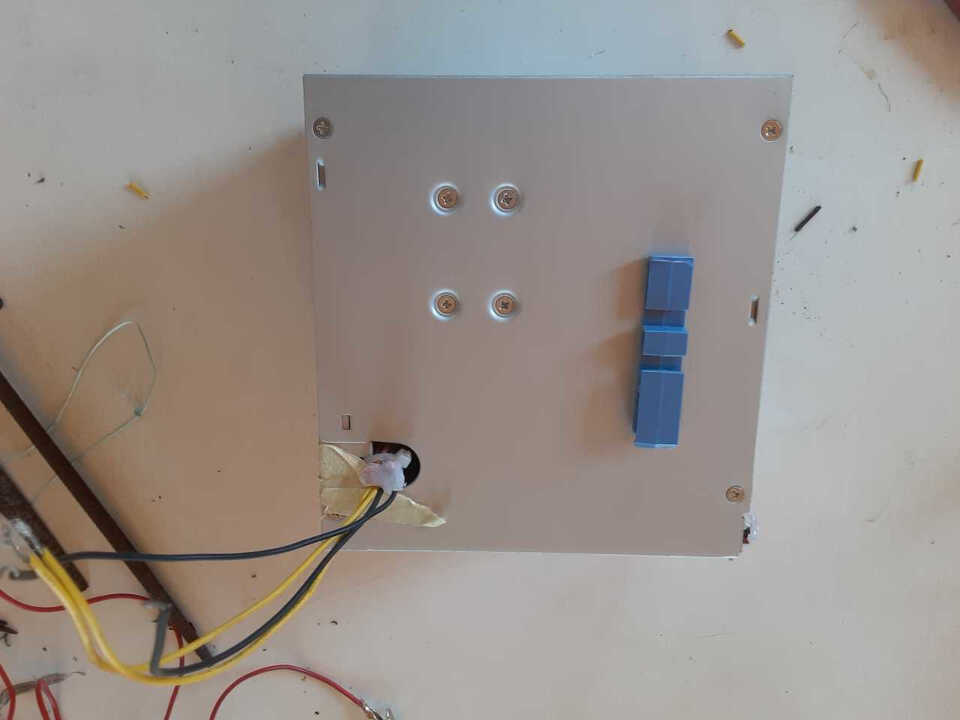
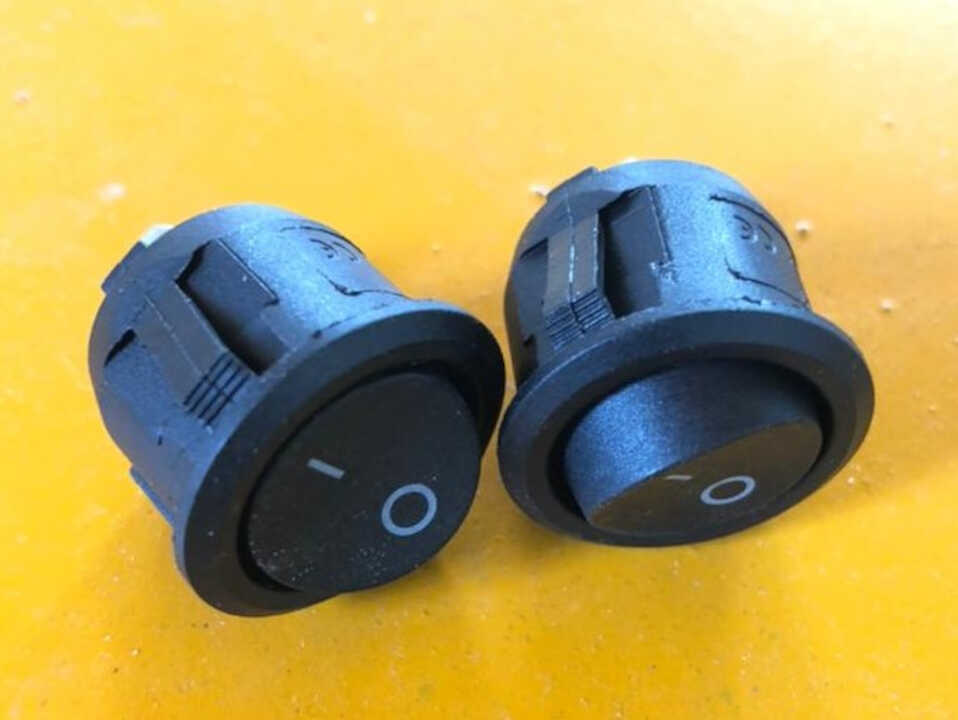
Two on/off buttons will be used to control each 12V output of the power supply.
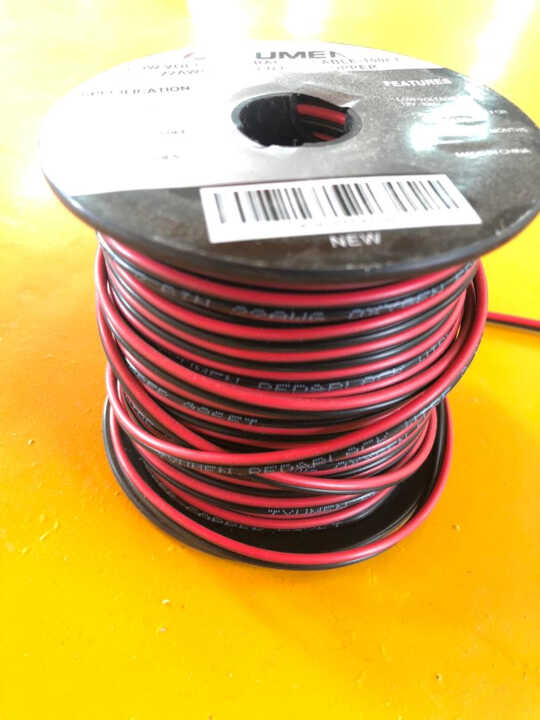
A roll of electrical cable is used for the system cable.
Wiring
THe next phase in the process was wiring all the motors to the Arduino CNC shield and running it over to the box. This included wiring up the power supply.
The next topic of discussion is the programming.
Programming
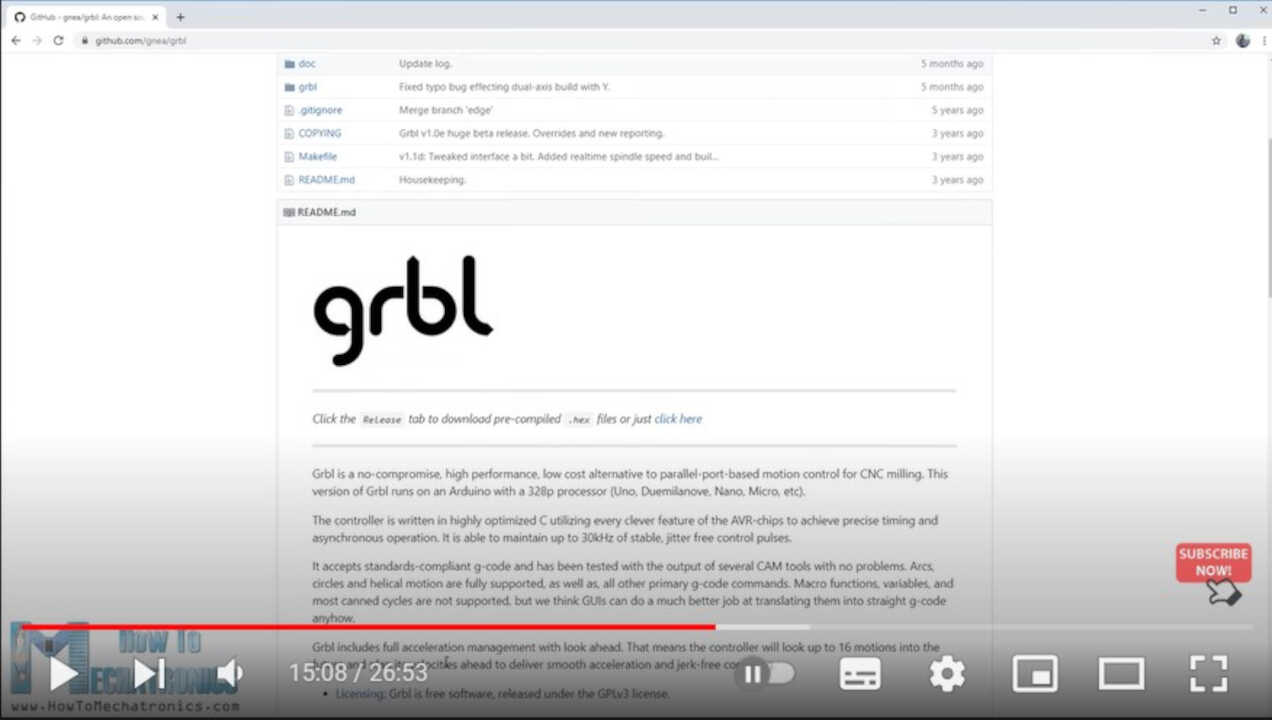
For this project we used GRBL and the universal gcode sender platform. Since the 3rd axis is rotational rather than translational it presents some additional little tricks that are needed to program a grbl code if you want to be able to cut a 3D object (not just a 2D one like an aerofoil).
Our methodology was based off of the instructions shown in the youtube video below. Discussion regarding the programming at timestamp 15:08 in the video.
Group Page Link
If you are interested in see and knowing the other parts/processes of Zoro being built, you can see the conception and birth of zoro on our lab website
What went wrong/What went wel
For this mission, everything went well overall. At the beginning, we thought a lot about how we were going to acquire equipment that was not available on the market. We thought a lot when the solution was at hand (research in old equipment). This experience was a great lesson on how we can innovate in machine prototyping even being in the most challenging environments like Africa.