10. Molding and casting
Assignment Overview
Group assignment:
Review the safety data sheets for each of your molding and casting materials Make and compare test casts with each of them
Individual assignment:
Design a 3D mould around the stock and tooling that you’ll be using, mill it (rough cut + (at least) three-axis finish cut), and use it to cast parts
Group assigment
As the task for the group stated, we will start with a summary of the safety data sheets for the materials used for casting and molding processes.
Safety
There are some general basic things to have in mind before and during this whole process of casting and molding.
-work in a well ventilated area to avoid getting all the fumes produced into your system.
-Wear gloves, safety glasses and long sleeves
-If the casting material is even more nasty, wear a respirator
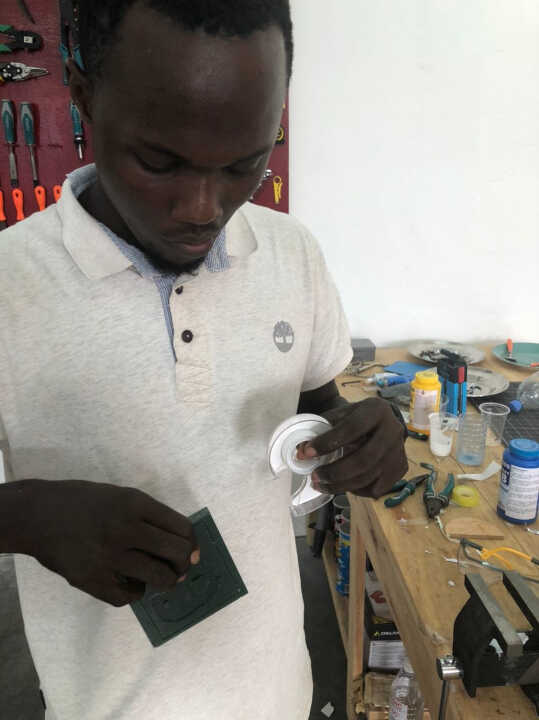
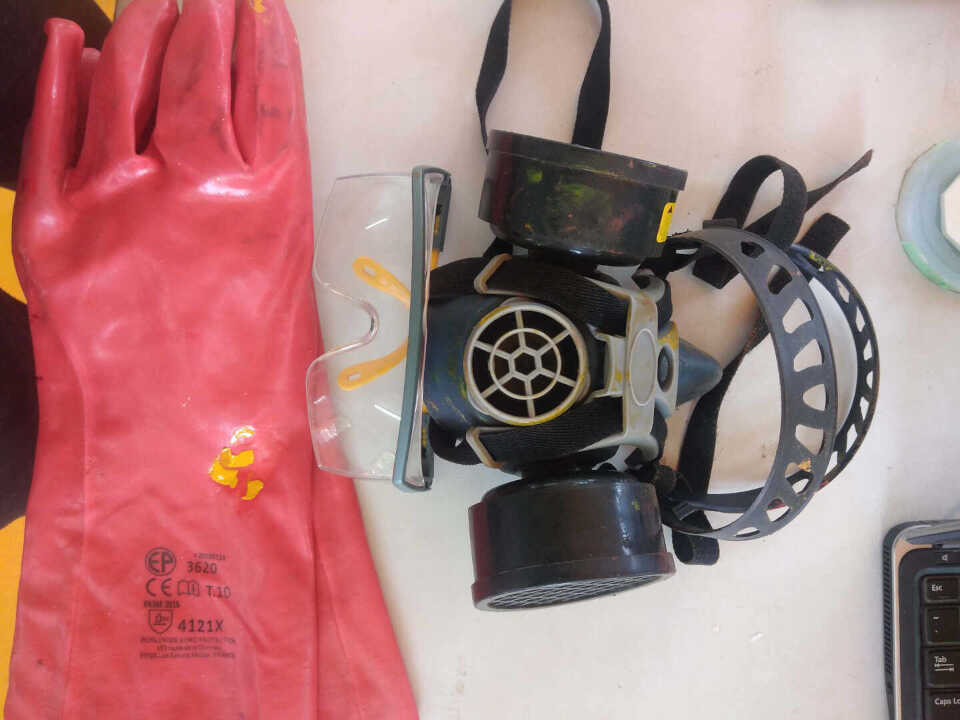 in this picture, there are the PPEs we used. Goggles, a respirator and some gloves
Handling the materials
Each material used for creating molds or final casts is based on creating a chemical reaction between two compounds that get mixed. When in separate containers, these compounds won’t get into any reaction on their own (although they don’t have an endless shelf life), but when mixed they’ll transform.
 fast setting plastic
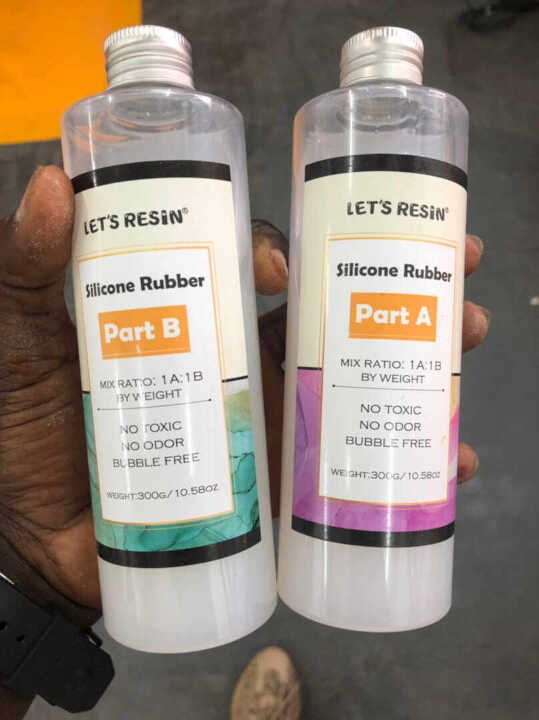 silicone
Each material has a data sheet which gives instructions on how to use it, general safety measures to take, mixing ratio’s, curing times, etc.
Each material also has a safety sheet that more elaborately describes the hazards of using it. For each material there is a mixing ratio to use for the two substances. This is often given in both volume (e.g. 1A:1B) or weight (e.g. 100A:130B). We used the weight ratio and made sure to use a digital scale to measure it very precisely.
Each material has a pot life, which is the time you’ll have between mixing the two components and when the material’s viscosity doubles (apparently). It’s used as a proxy for understanding how much time you’ll have to mix and pour the material into your mold before it’s already started setting. These can be as short as 2 minutes to 30 minutes and longer. Each material has a curing time, which is the time needed for the material to fully set (most materials also have some post-curing time in a heated environment to get even better results). This can range widely as well from only 20 minutes to 16 hours.
For the best mold creation you want to have as few bubbles in the material as possible.
-While stirring always make motions that are on the horizontal plane (back and forth), and not moving up and down. Stir gently, not vigorously, but stir well, you want to have the two materials fully mixed and homogeneous.
-Another technique to reduce bubbles in the final result is to pour the material into the mold very slowly, with a uniform flow, and from a single spot (at the lowest point) and let the material seek its level up and over the mold. It’s best to let any leftover mixed material stand in its container and let it fully cure before throwing it away.
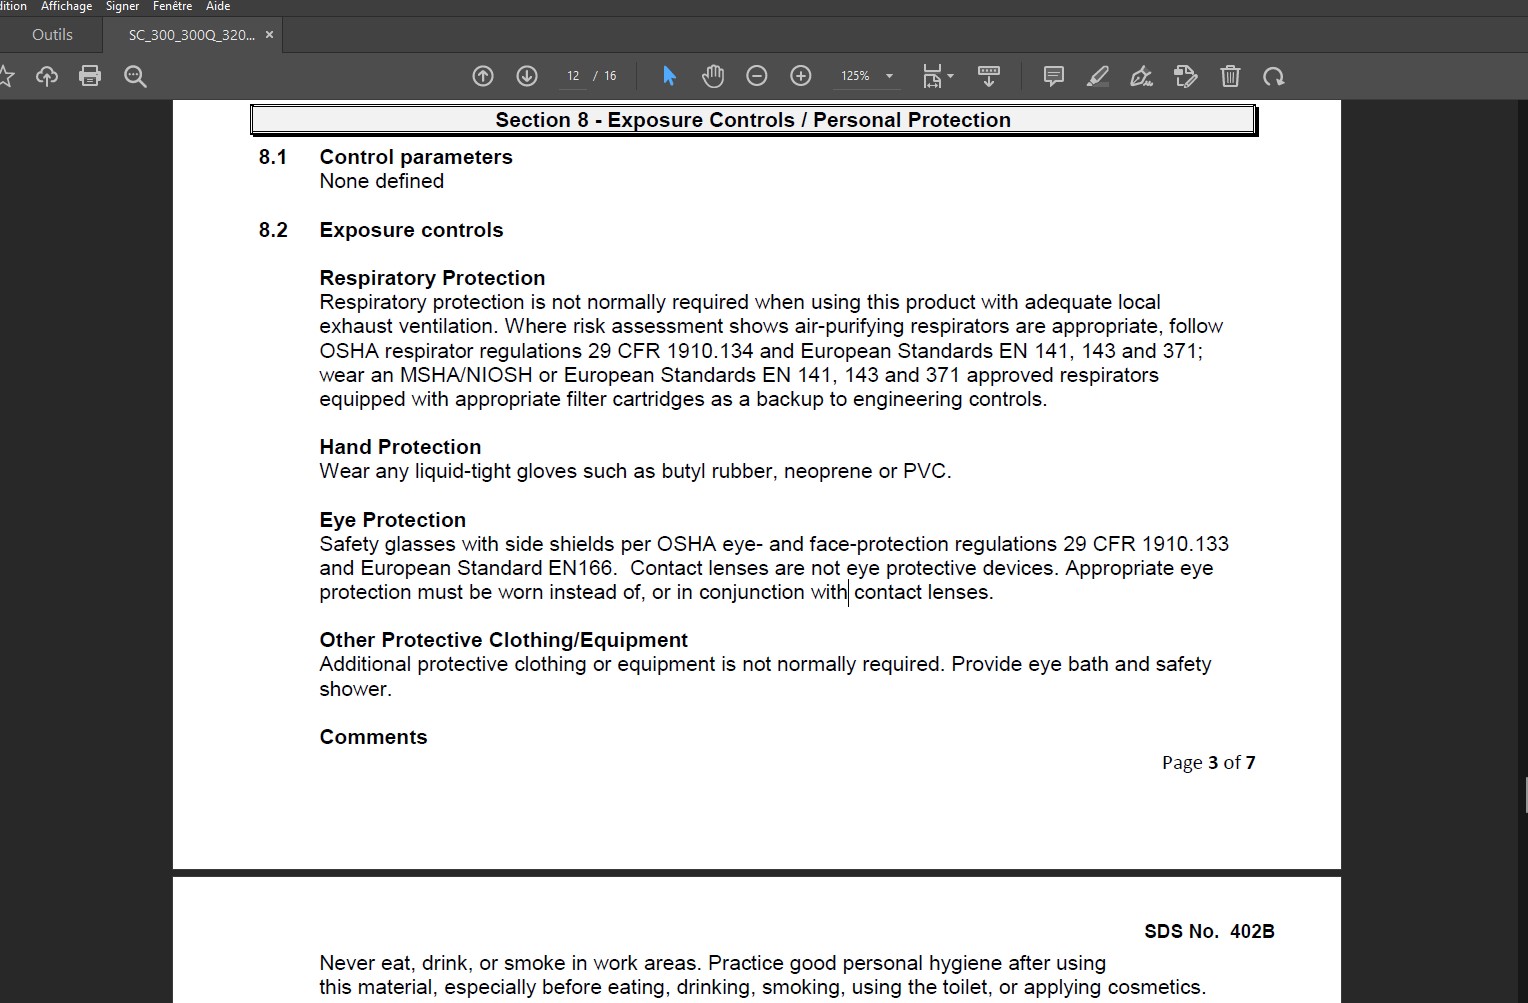
This picture shows the safety cautions from the official datasheet
Test casting
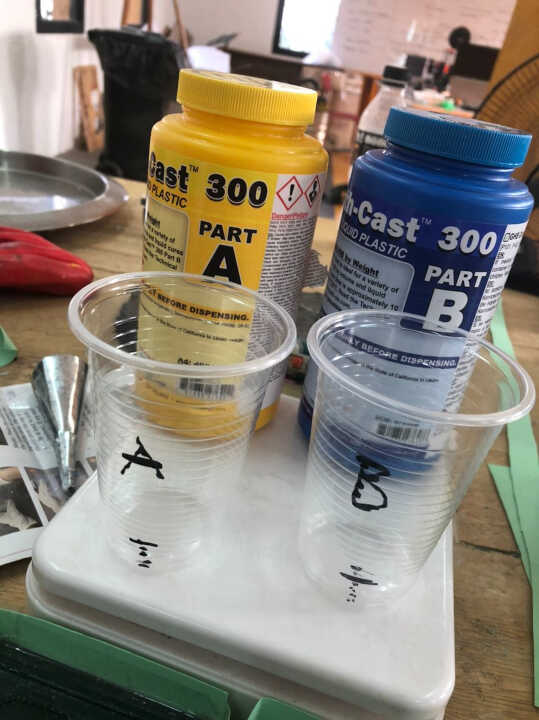
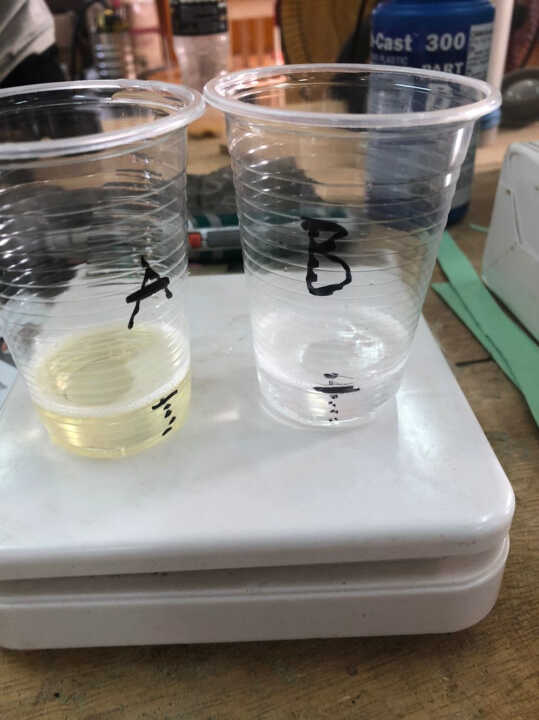
so in the test casting, we mixed some samples in two different containers and allowed them to set and observed while we could.
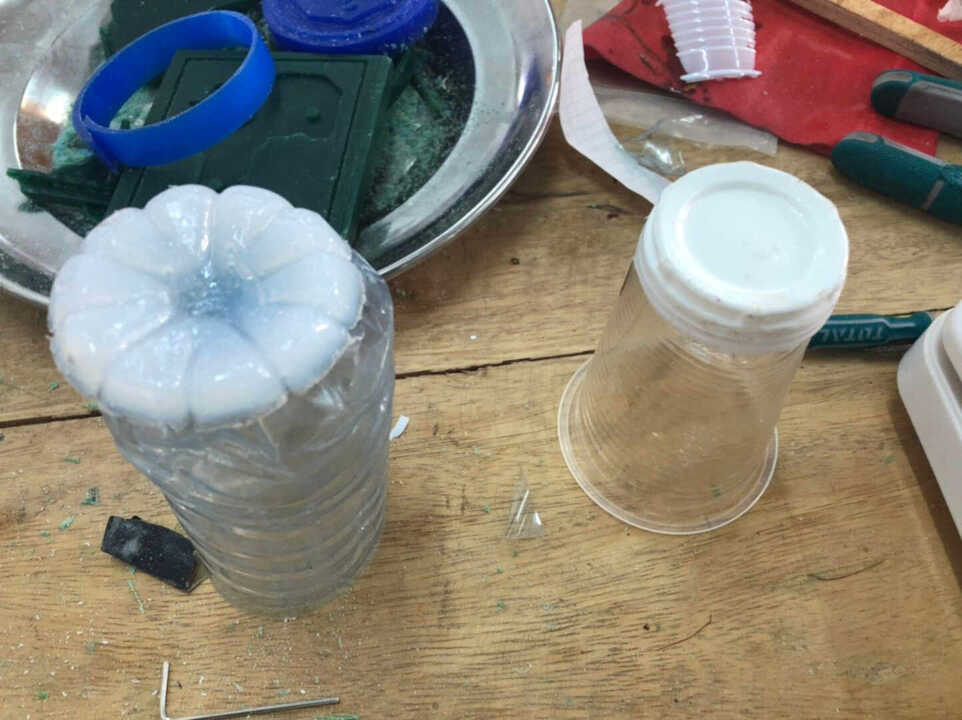 this image shows the containers
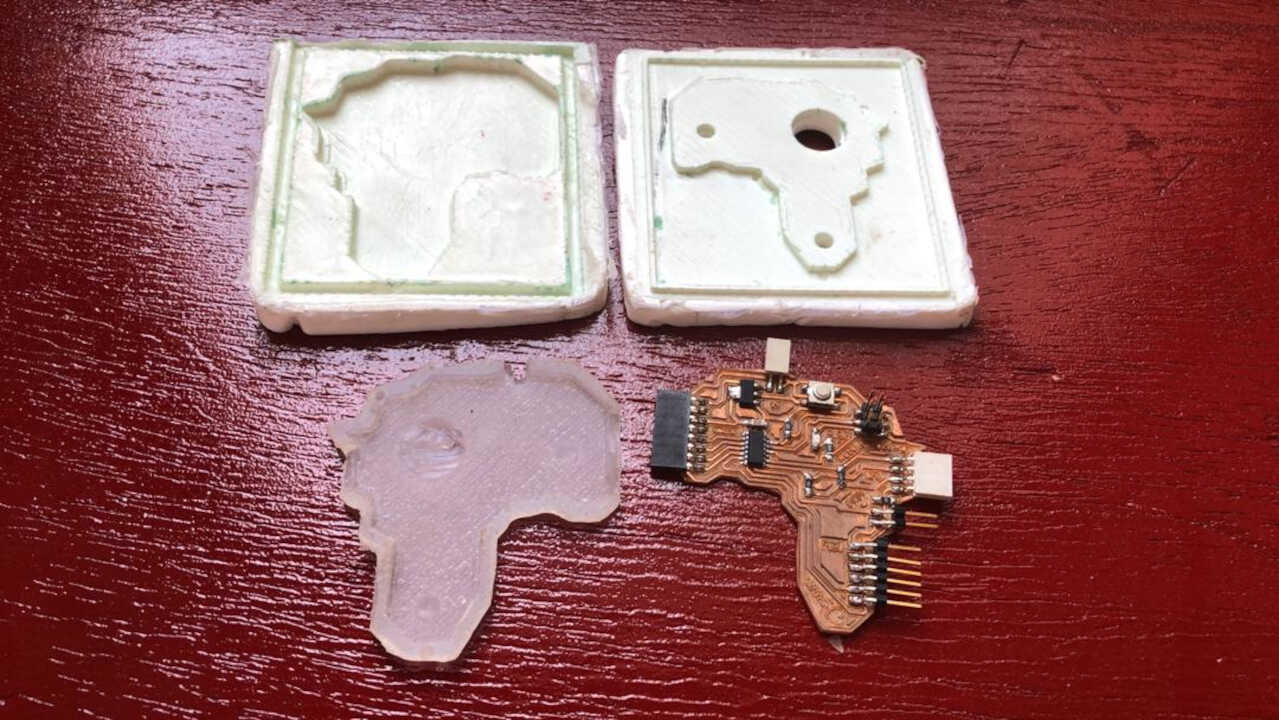
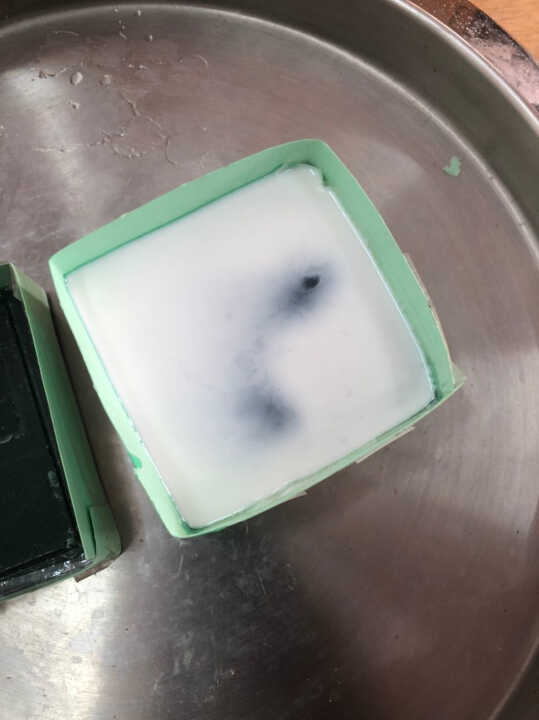
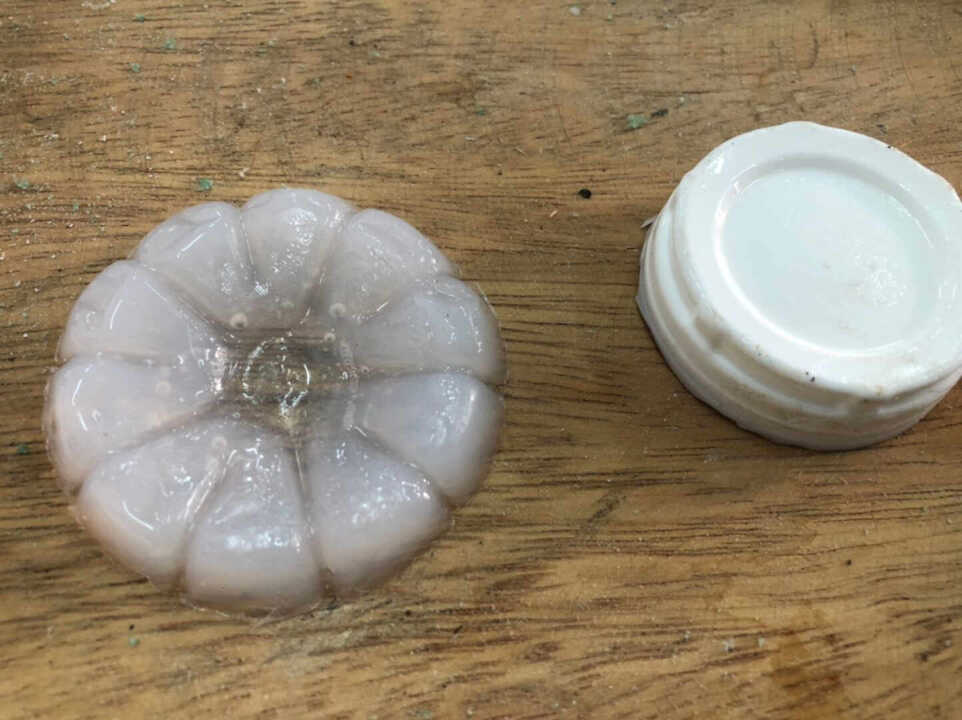 this image shows the cast parts. on the left is the silicone and on the right is the fast setting plastic.
Observations
| Silicone | Fast setting plastics |
|---|---|
| it took 12 hours to fully set | it sets in 10mins |
| It does not produce any heat | it produces heat as you mix and as it sets < 60 degrees |
| It has a pot life of 10 to 15mins | It has a pot life of 3mins max |
Individual assignment
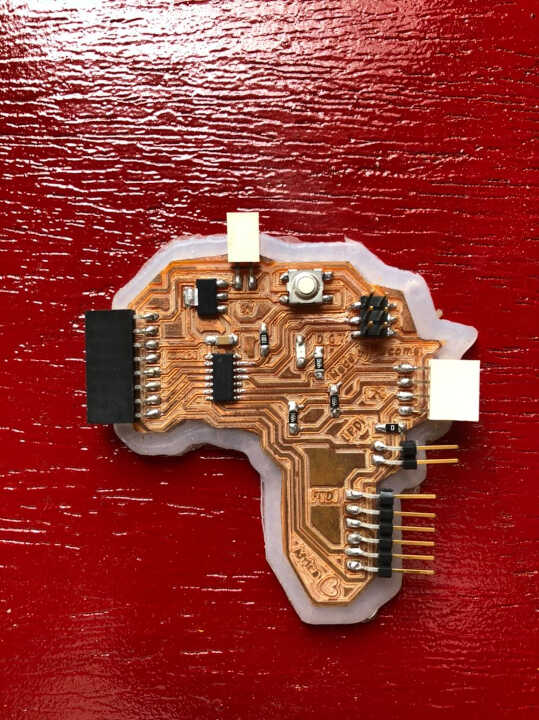
For my individual work, I planned to make a protective sleeve for my electronic board designed for my work related to electronic design.
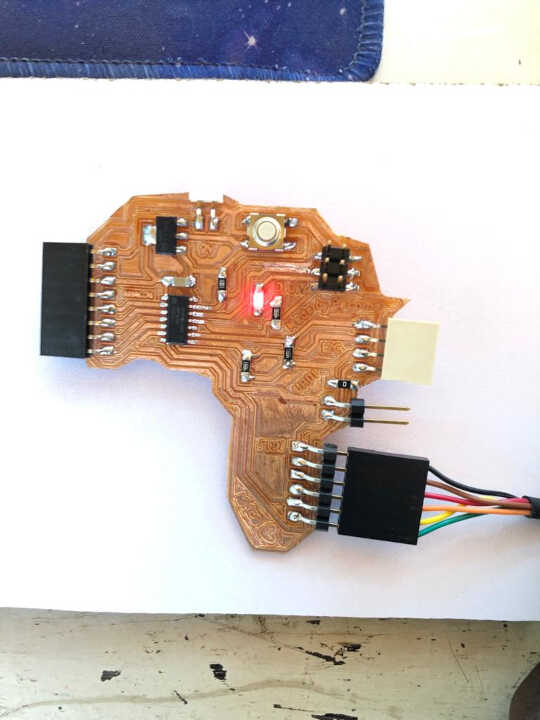
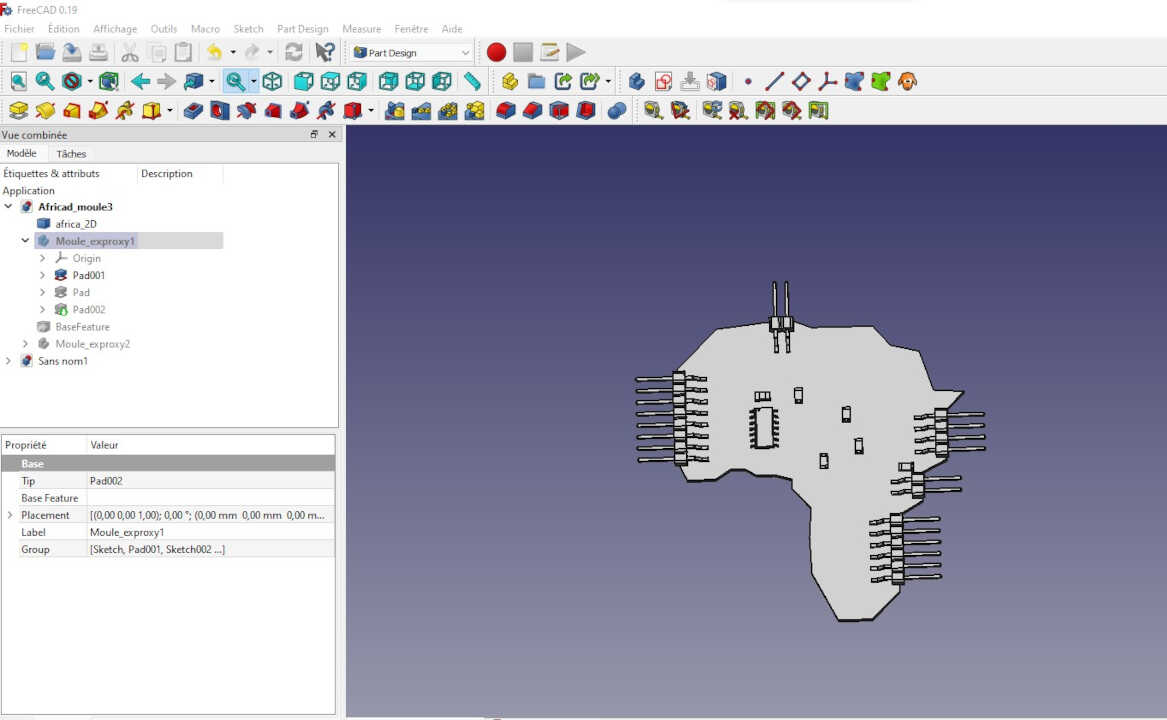
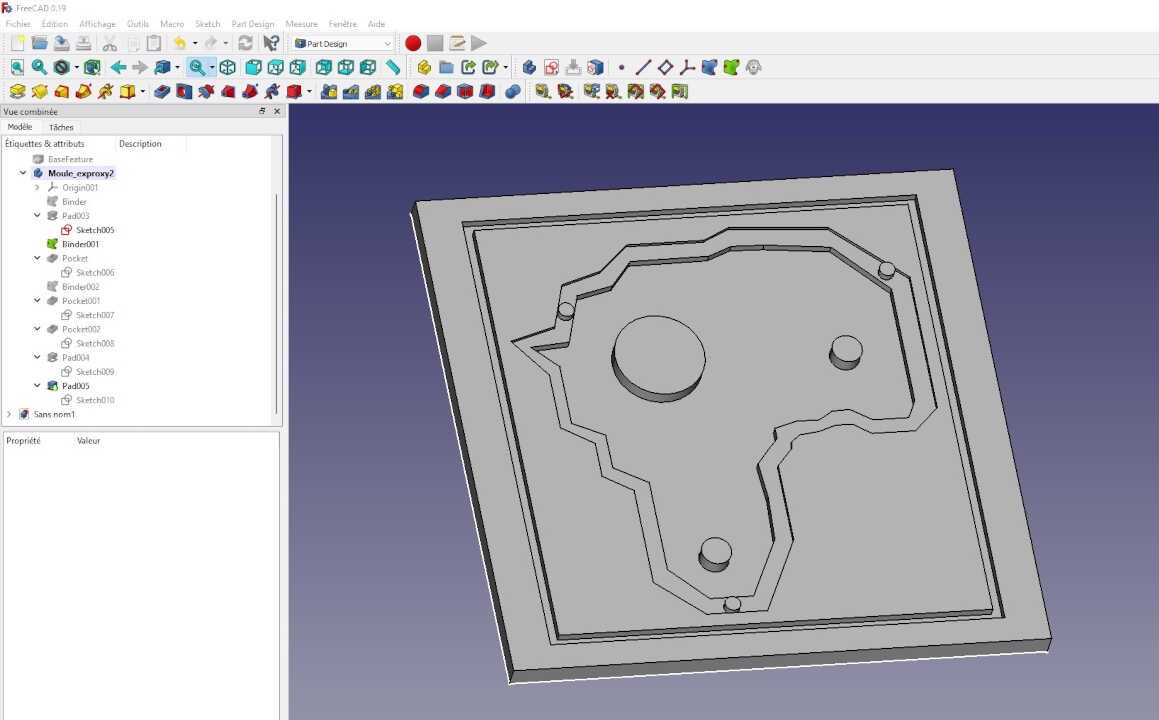
To start with I imported the file of my electronic design in .step to open it in Freecad.
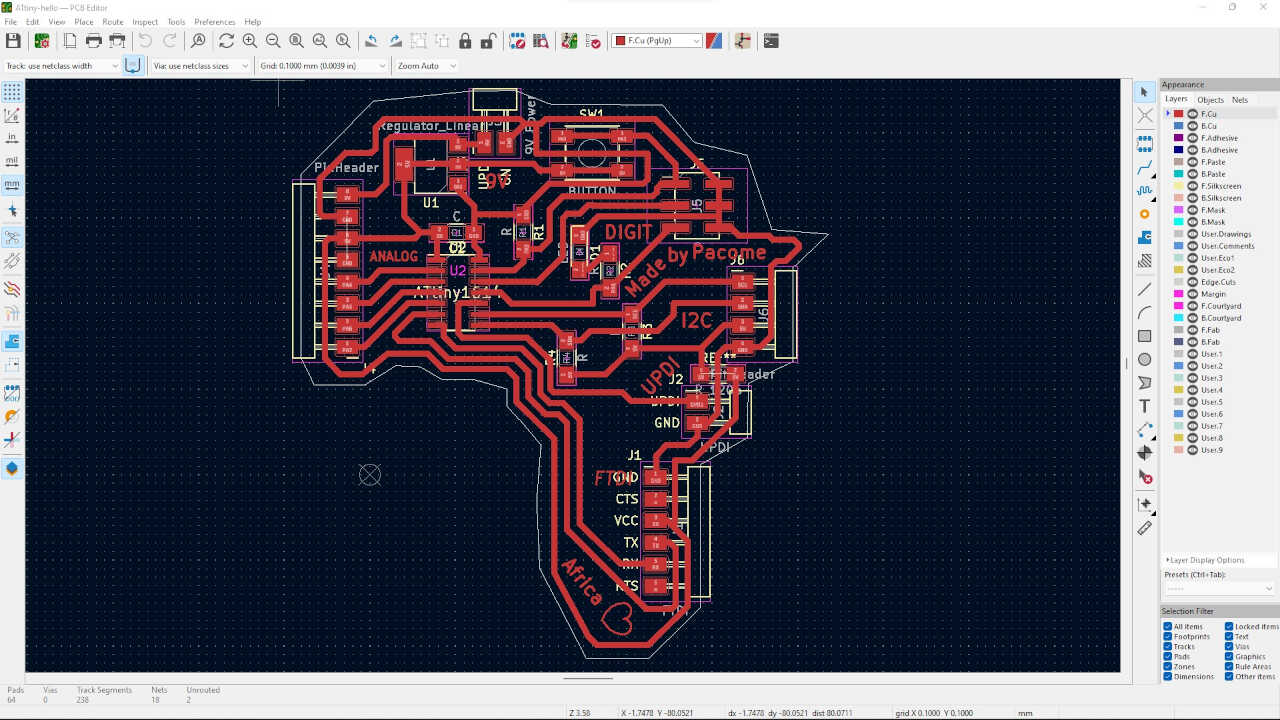
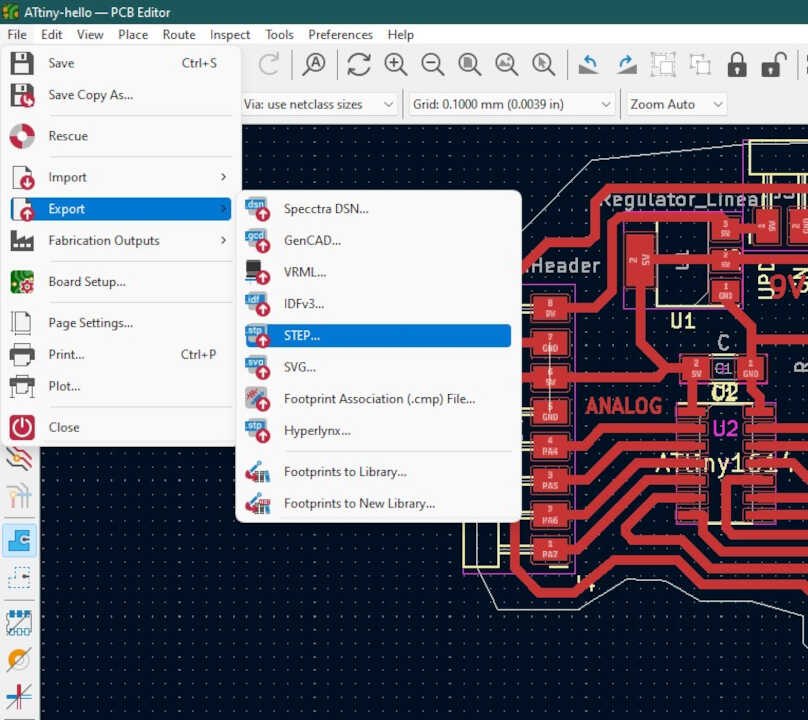
In Freecad I import the .step file and it gives me the following result
What should I do next?
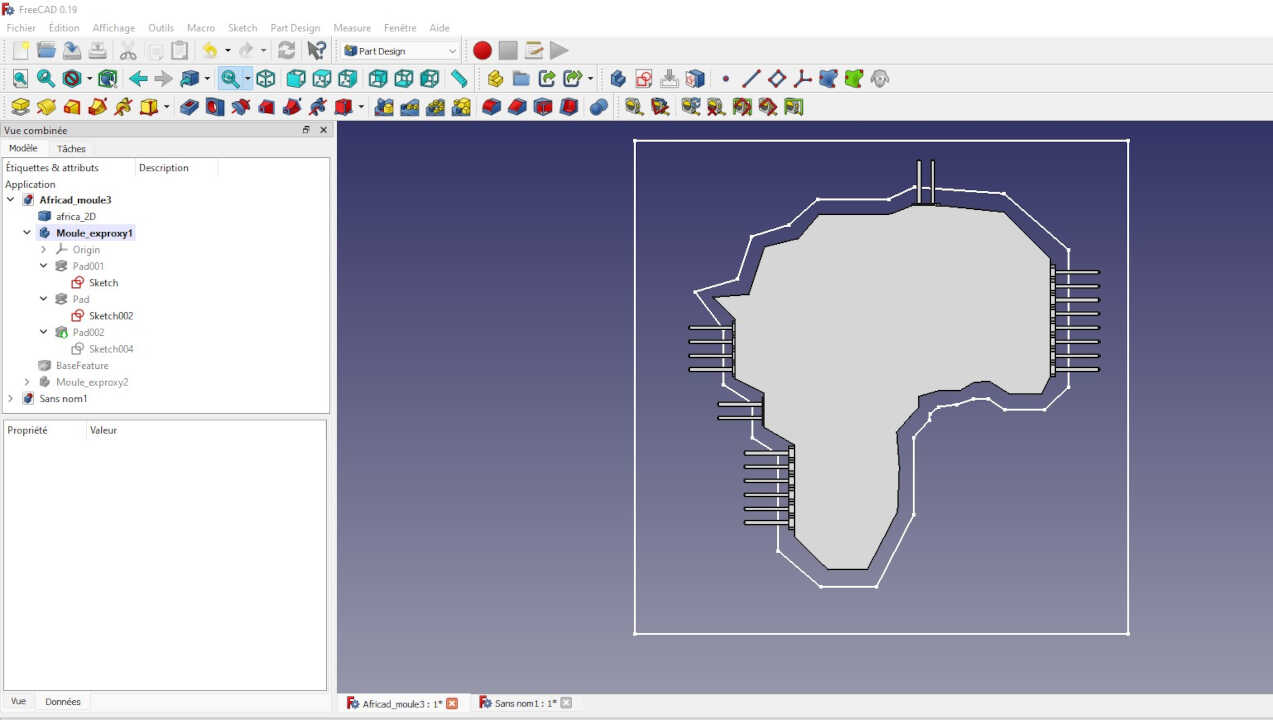
As I said before, I want to make a protective case for my electronic card. The material I want to use is silicone which will be molded by an eproxy mold composed in two parts.
So the question is how to make these two exproxy molds?
To do this I have to create two other molds with the wax to make the eproxy mold. From the basic model, I create the sketch of the first mold for the wax.
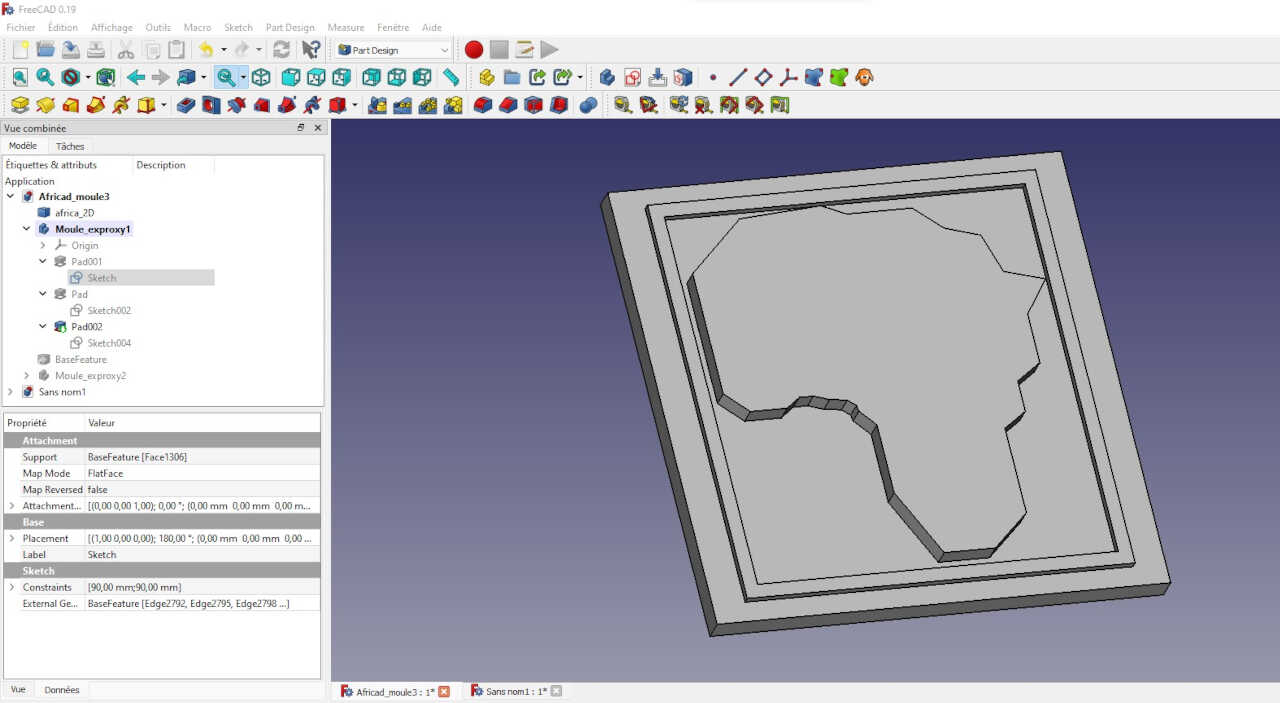
After finishing the modeling of the first wax mold, I move on to the second
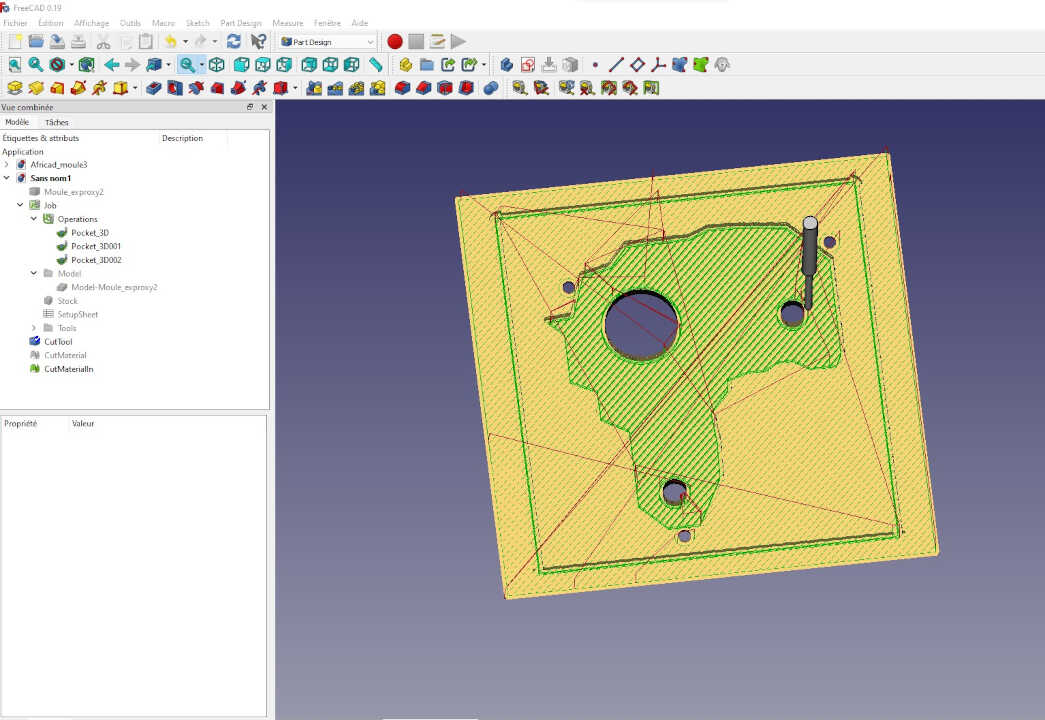
After finishing the modeling of the two wax molds, I create the tool path for the cnc which will then be saved as a .nc file.
The process to create the toolpath is the same as the one done for the past assignment concerning the computer controlled machine

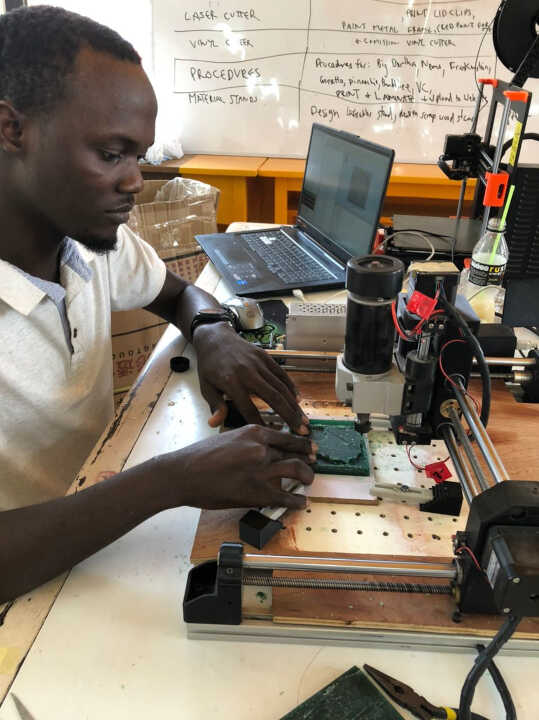
After creating the .nc file, I open it in the software Universal-G-code

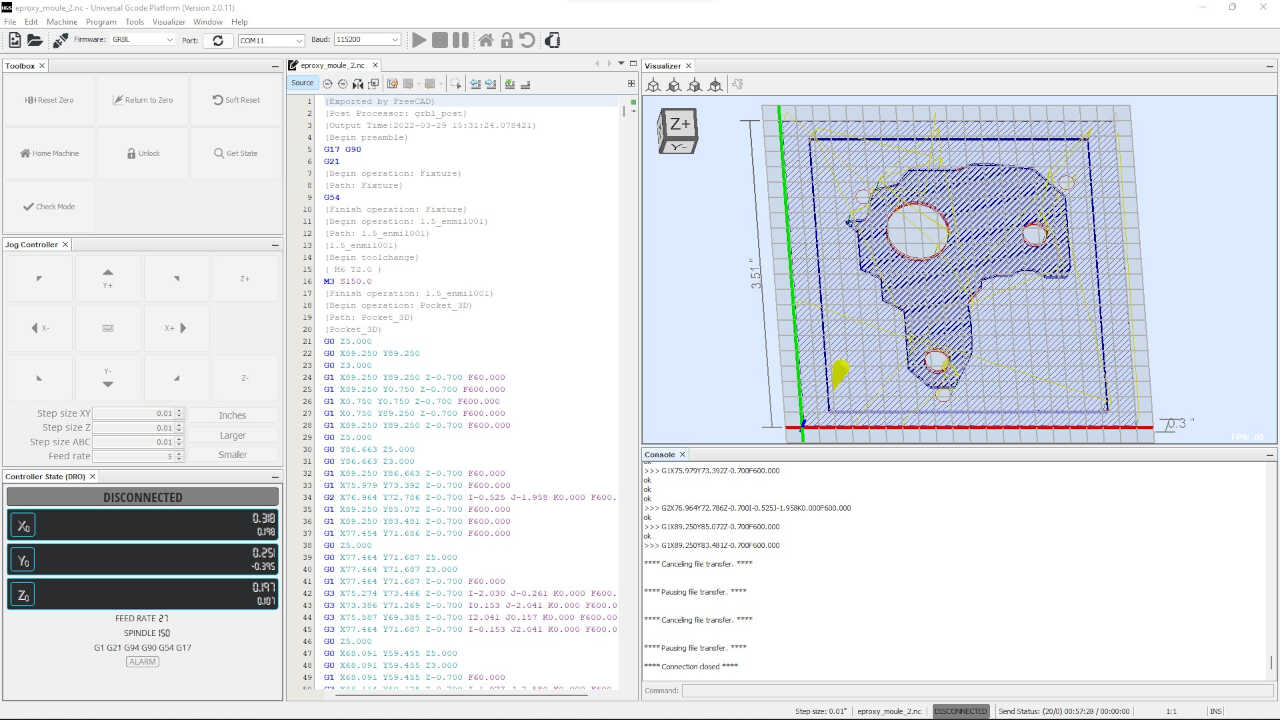
The software controls the cnc below
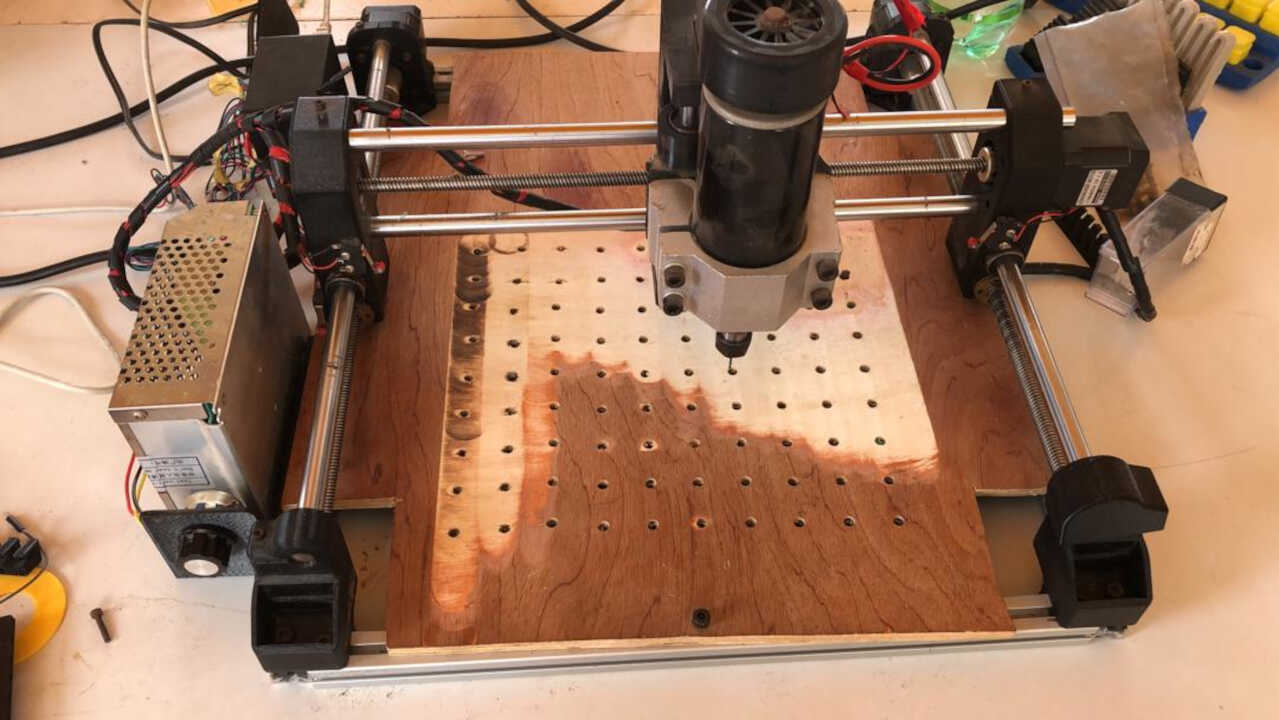
After placing my wax block on the plate and setting it to zero, we can now start milling.
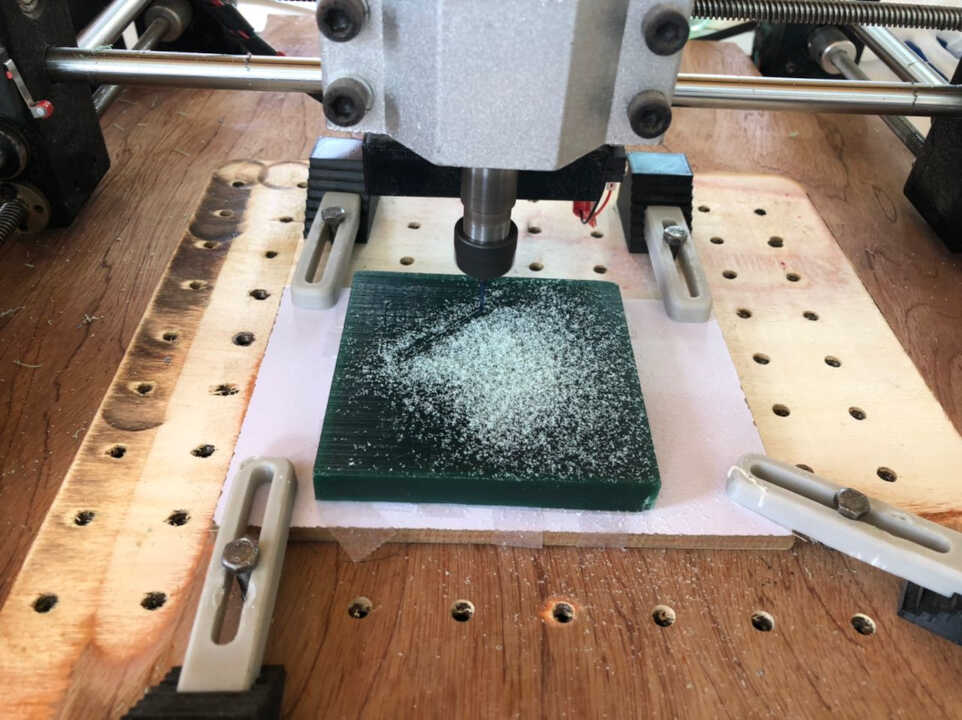
After the milling, the result gives us this.
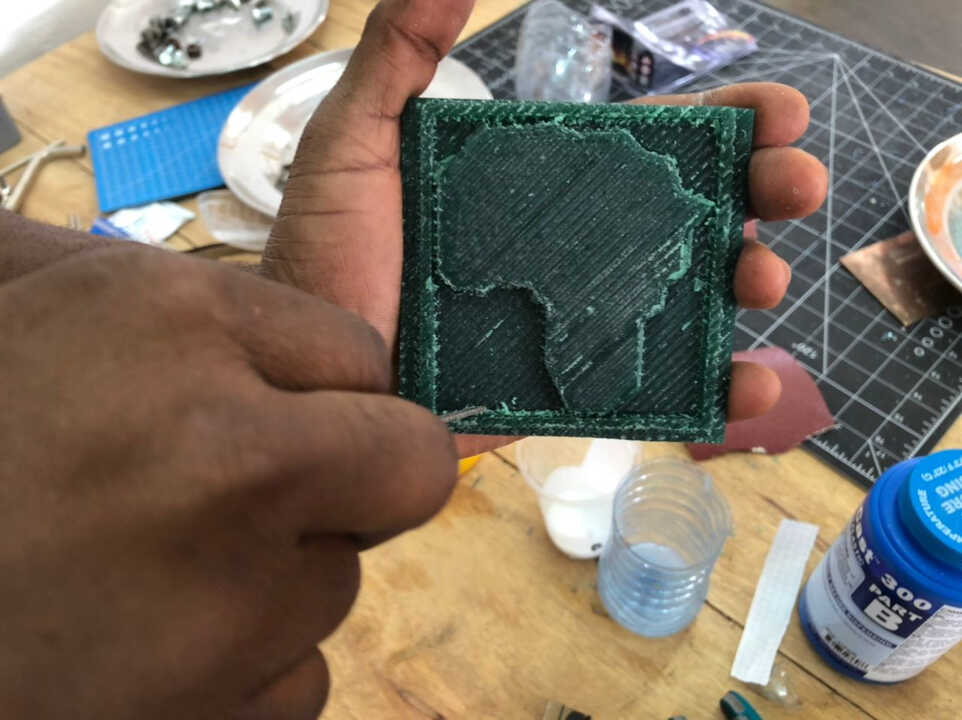
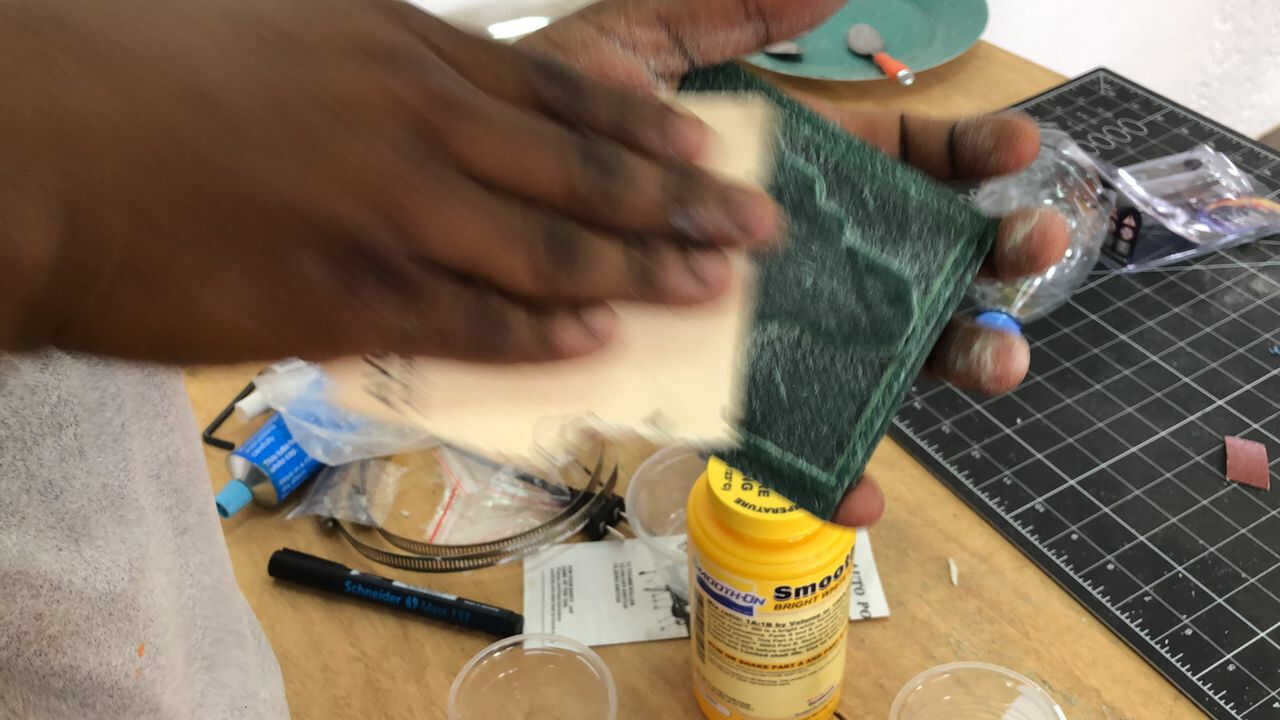
Before casting the eproxy I will try to make the surface smooth and do the same for the second block of wax.
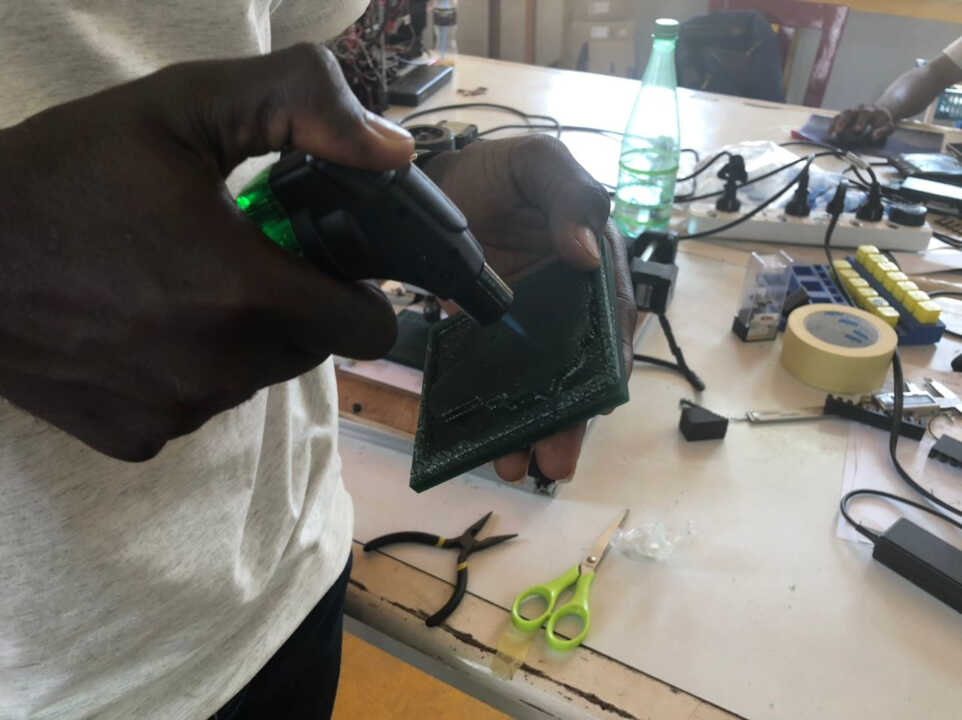
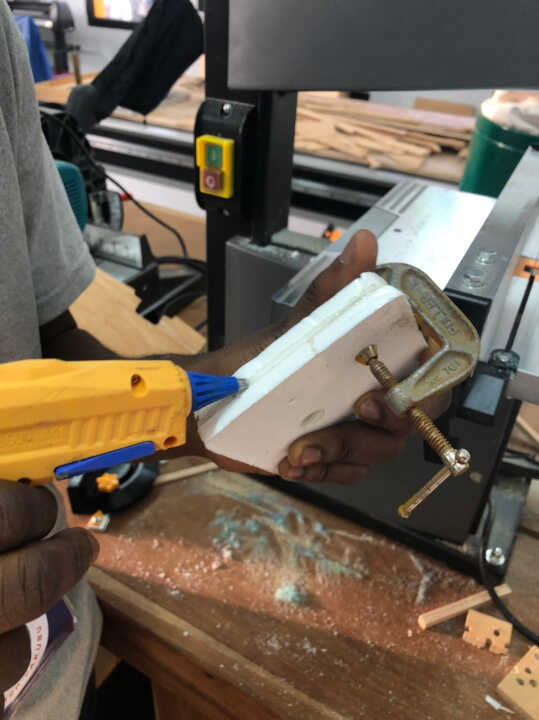
To cast the eproxy we must put walls to contain it
Now we can measure and mix the epoxy and cast it on the wax block
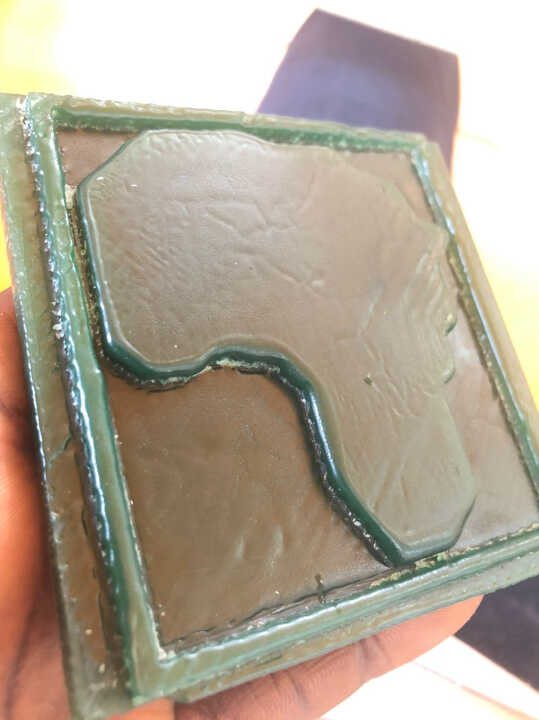
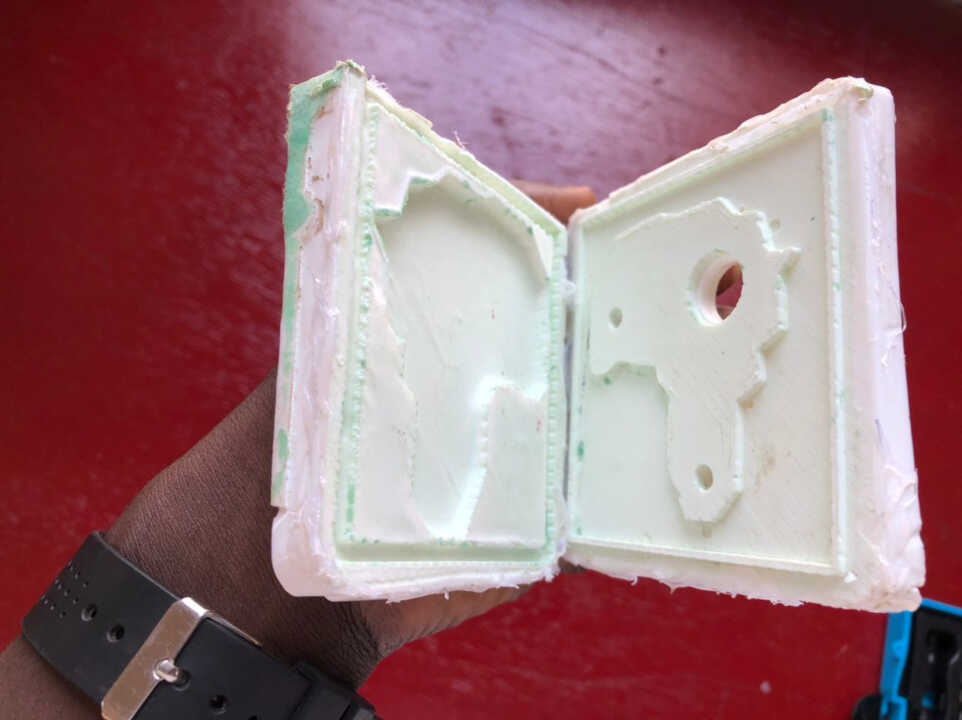
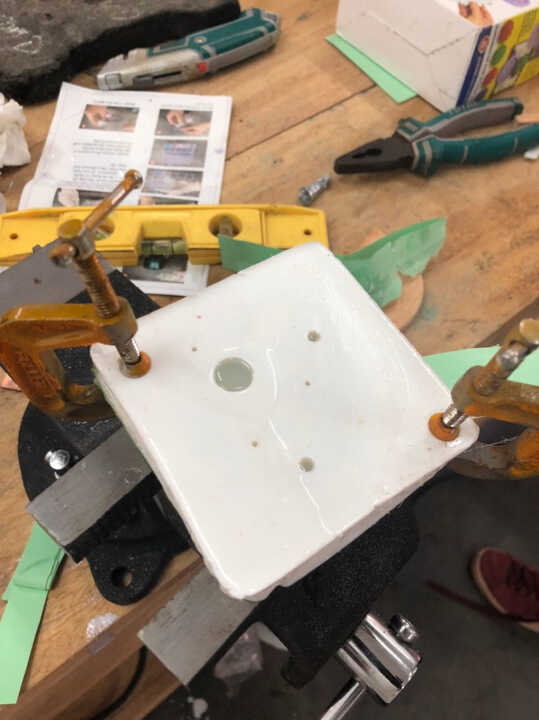
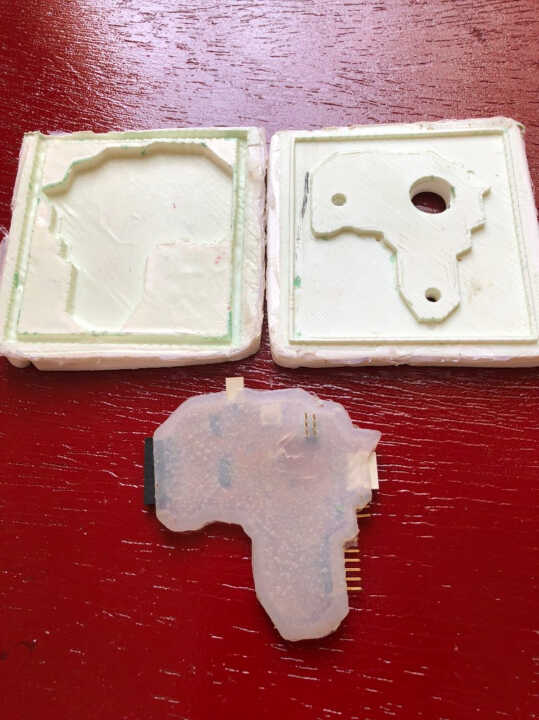
After casting, here is the result
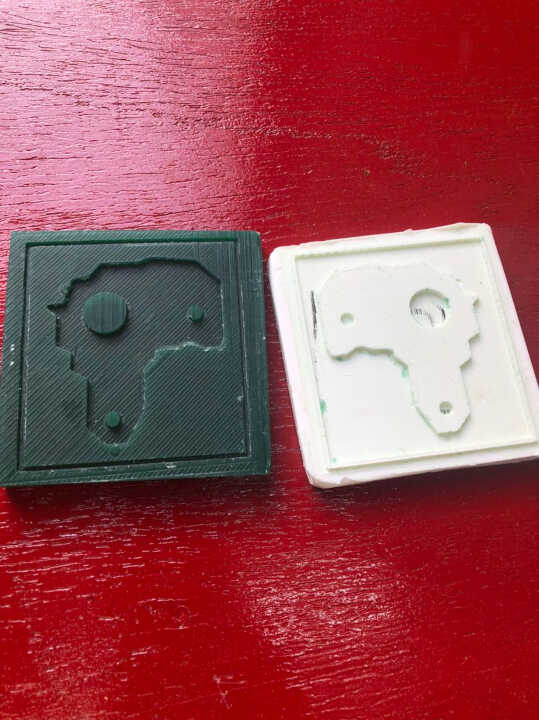
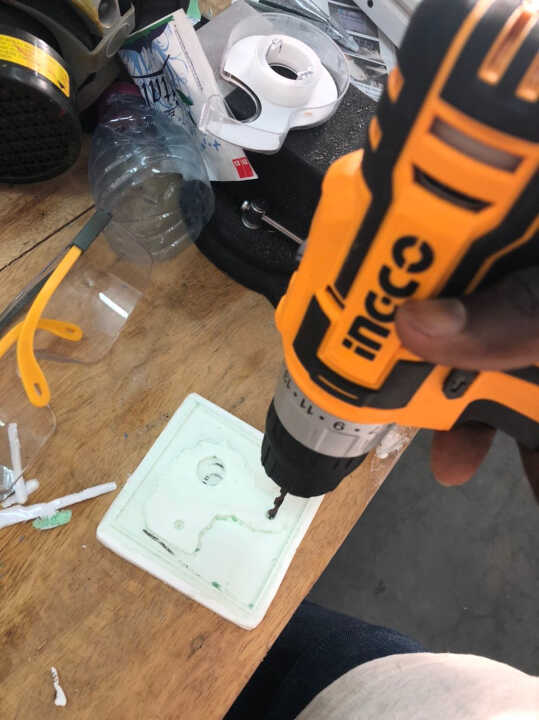
Next we need to pour the silicone into the epoxy mold. To do this, with the help of a drill, I create a large hole for the casting and small holes for the evacuation of air.
We can now make the mixture of the two silicone bottles and then pour it into the epoxy mold.

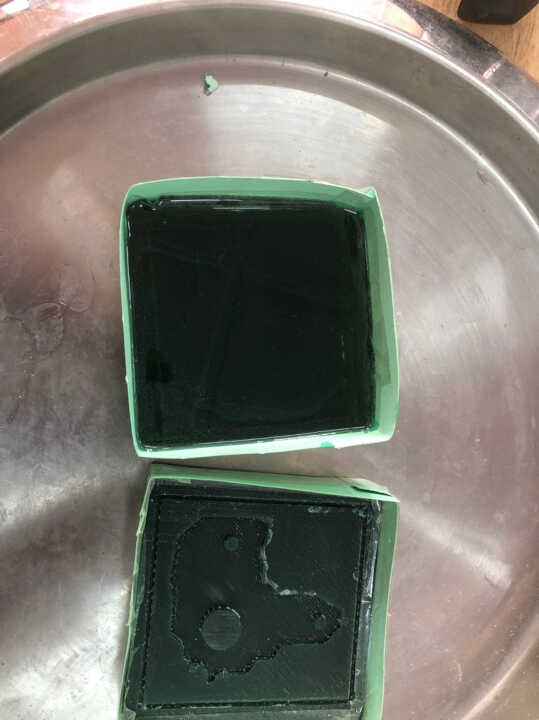
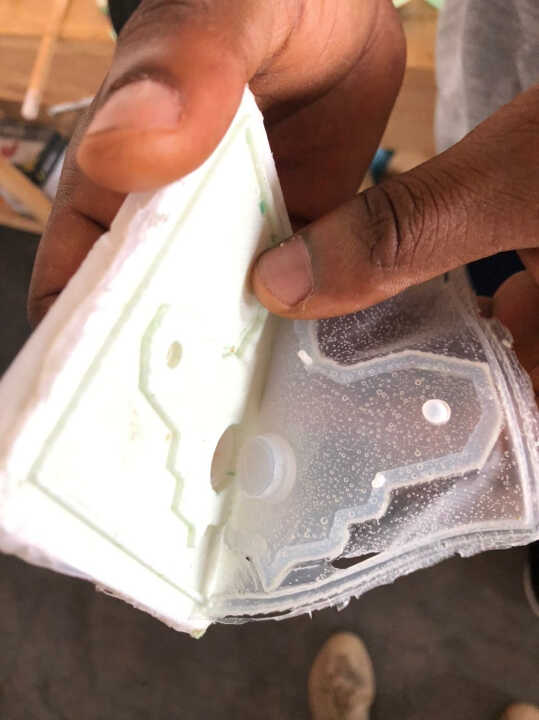
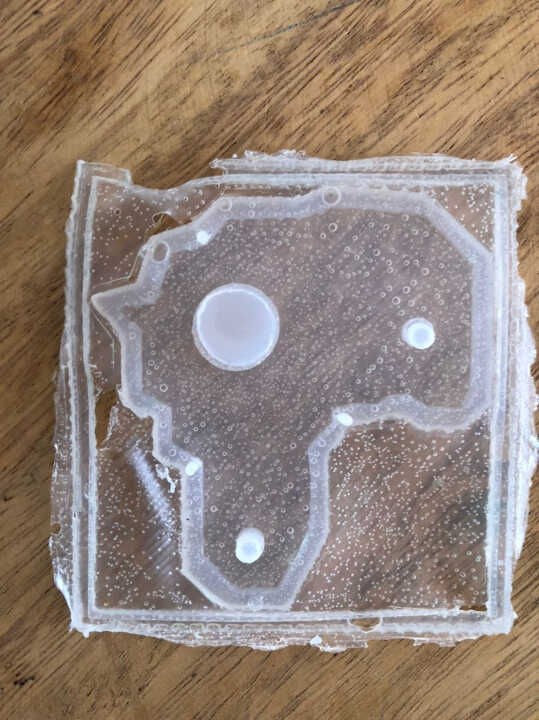
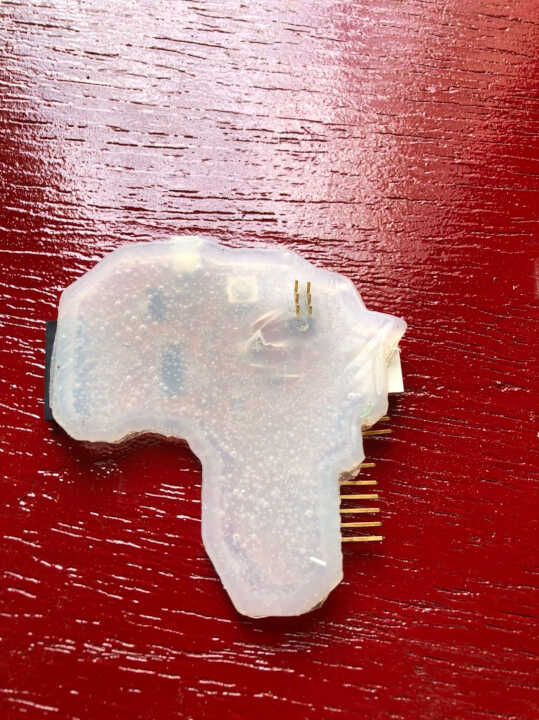
After a long time of patience we can now see the result
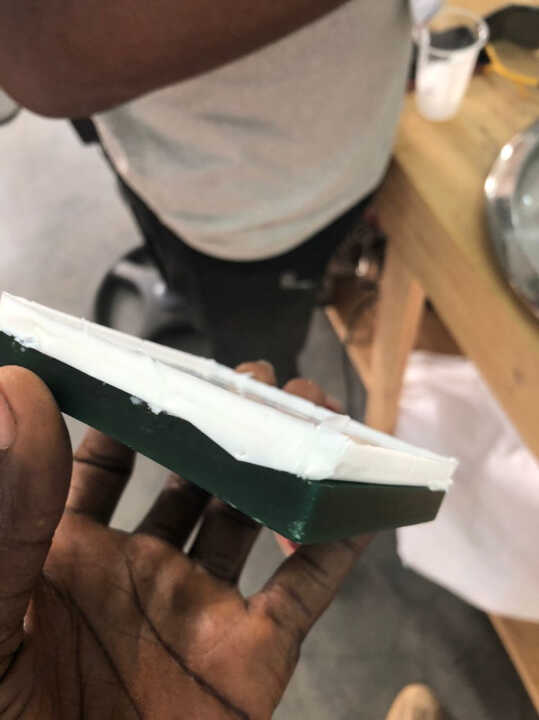
With a blade I cut the undesirable parts.
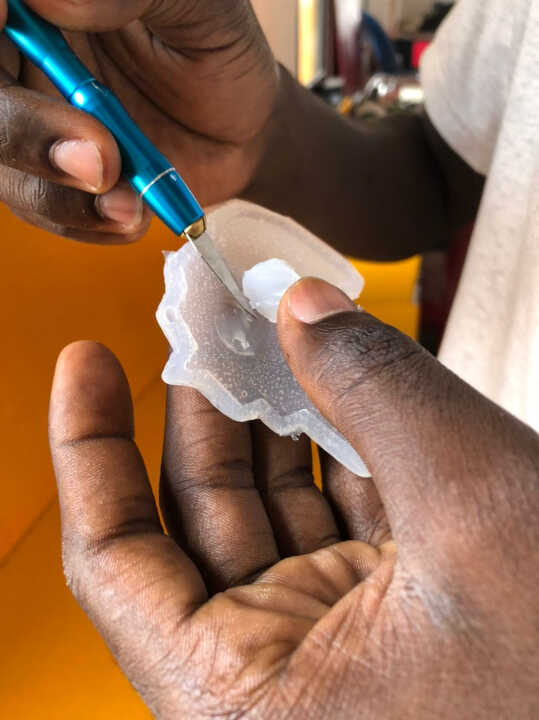
Finally we have our case
File
What went wrong/What went wel
For this assignment, everything went well overall. It just took me a little while at first to understand the concept of negative and positive.
What didn’t work well was the attachment of the wax to the cnc plate. Because the base of the wax was not perfectly flat, the attachment with the double sided tape did not hold very well during the milling process. I had to keep my hand on it to secure it to the plate.
For next time, it would be better to attach the wax block to the plate by surrounding it with pieces of wood on each side, to be secured with screws.