16. Wildcard Week
Assignment Overview
Design and produce something with a digital fabrication process (incorporating computer-aided design and manufacturing) not covered in another assignment, documenting the requirements that your assignment meets, and including everything necessary to reproduce it. Possibilities include but are not limited to wildcard week examples.
Workflow
For this week’s assignment we decided to make the aluminum casting using “Zorro”, the cnc foam cutter we designed in assignment 12 Mechanical Design, Machine Design in addition to other additional equipment. For this fact here are the steps of the work:
- Drawing of the shape to be cut and configuration for the gcode
- Foam cutting
- Molding and casting
- finishing of the mold
Drawing of the shape to be cut and configuration for the gcode
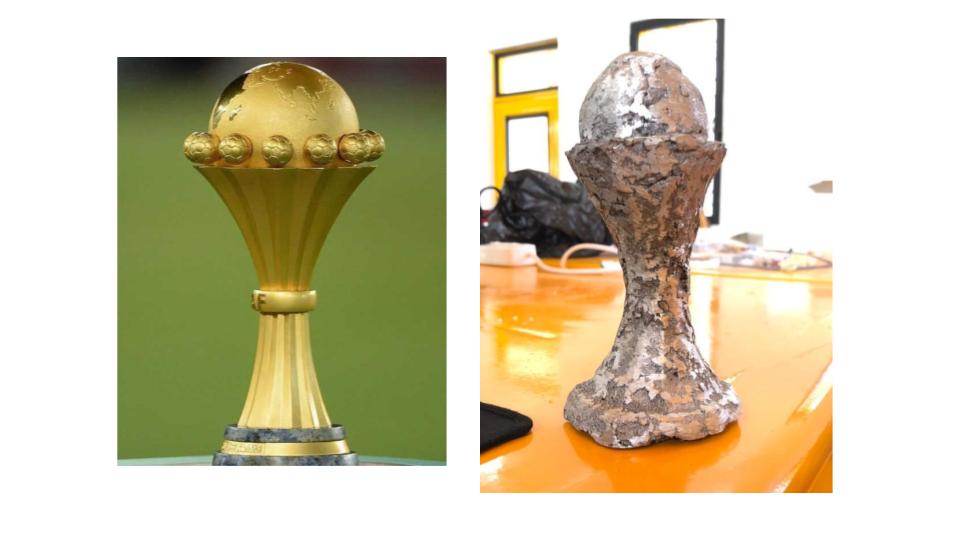
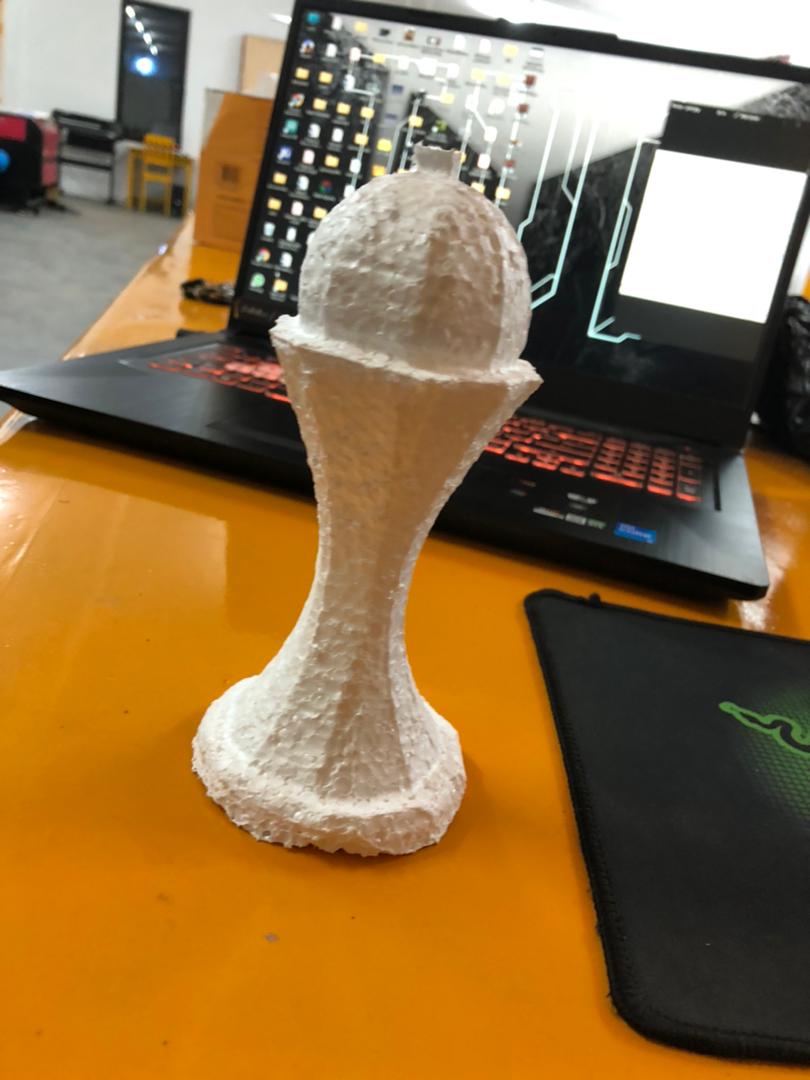
For the modeling I was inspired by the African Cup of Nations (CAN)

Frecad
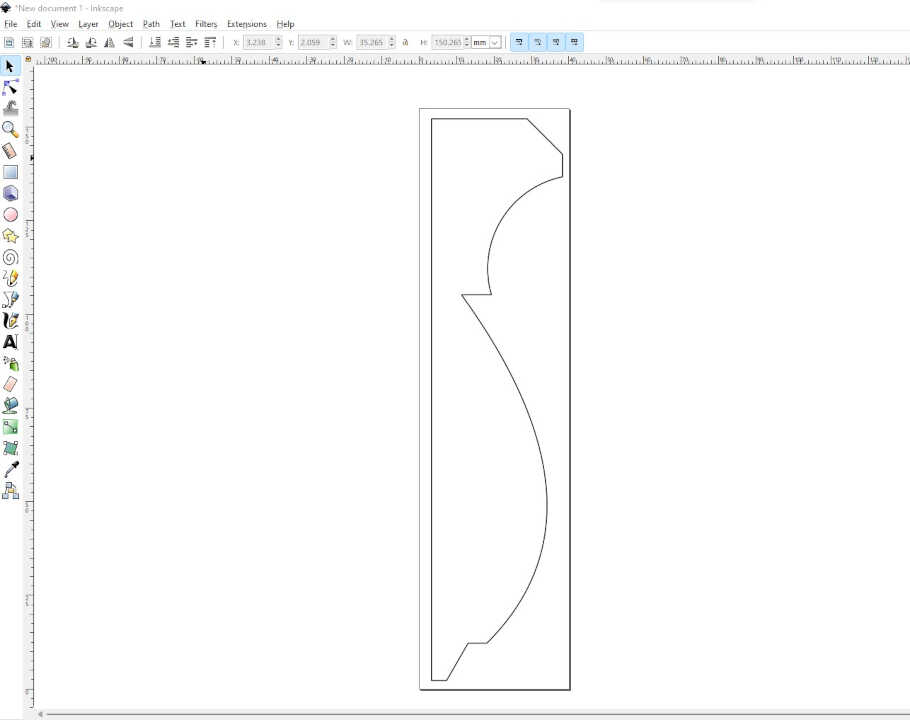
So on Freecad I made the drawing of the 2D sketch of the cut but only half as it’s just what we need for the next step
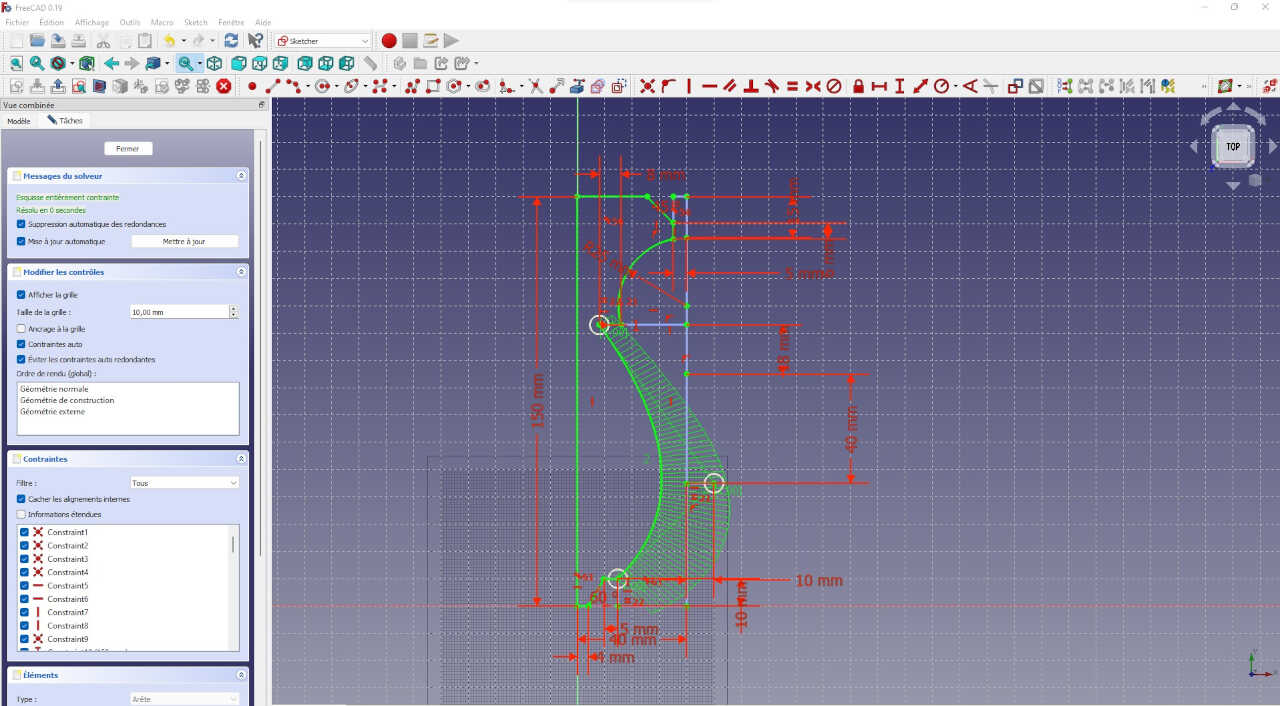
after making the sketch on freecad we export it in dxf file in inkscape
Inkscape
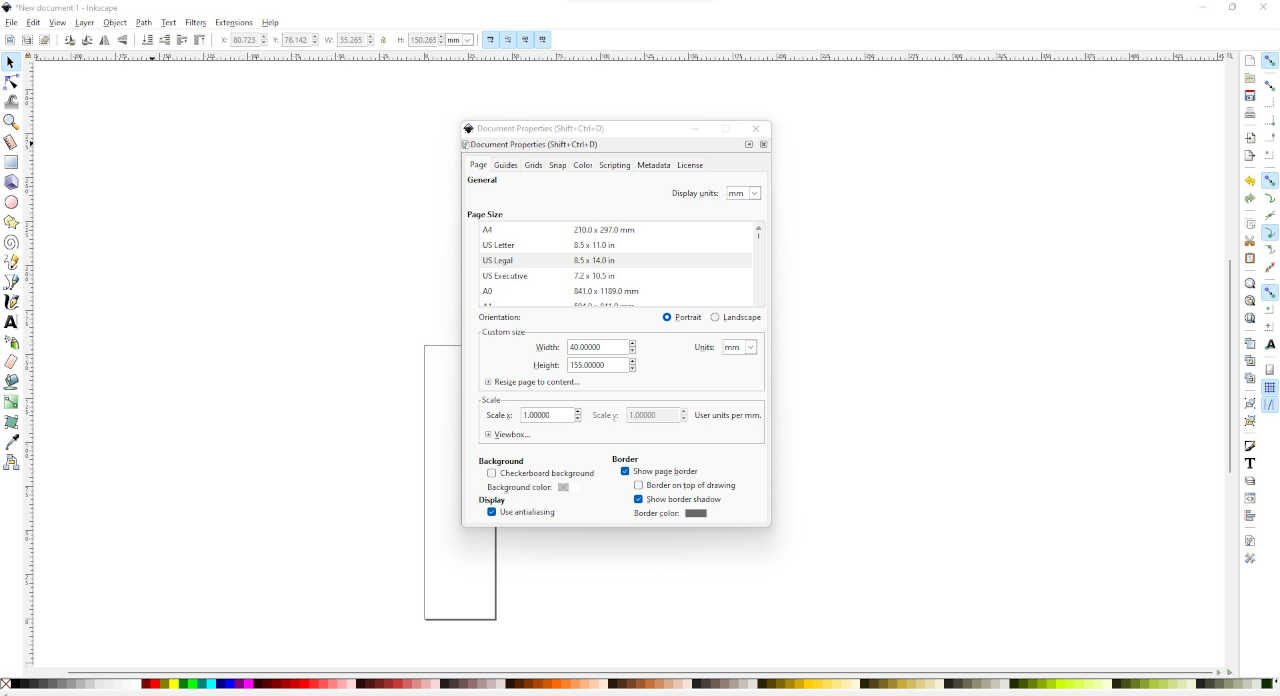
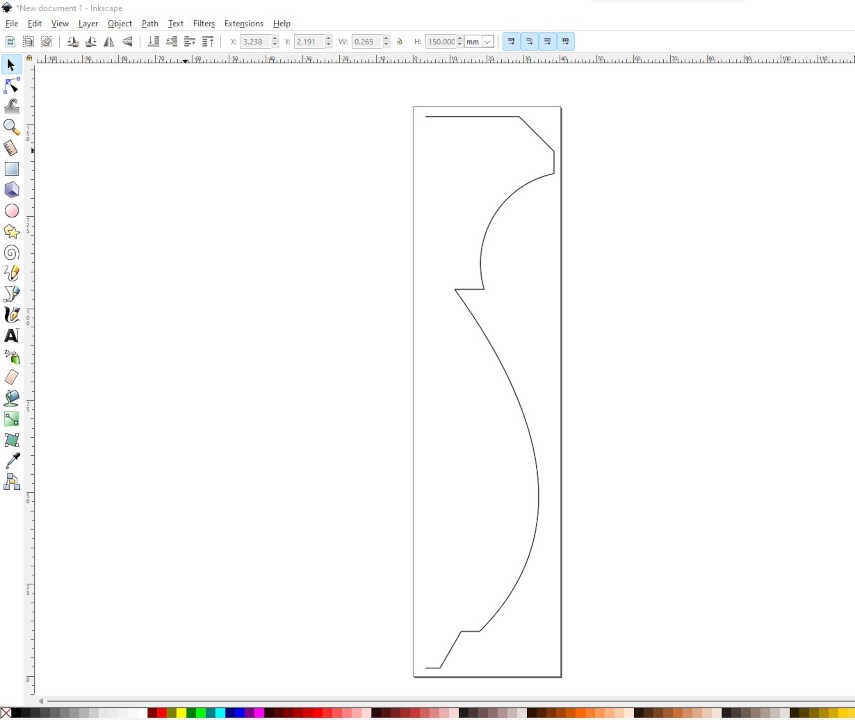
After importing the dxf file created by freecad, we will first resize the worksheet To do this we open the Document Properties window with the keyboard shortcut (Shift+Ctrl+D) or in file>Document Properties. In this window we resize the working page.
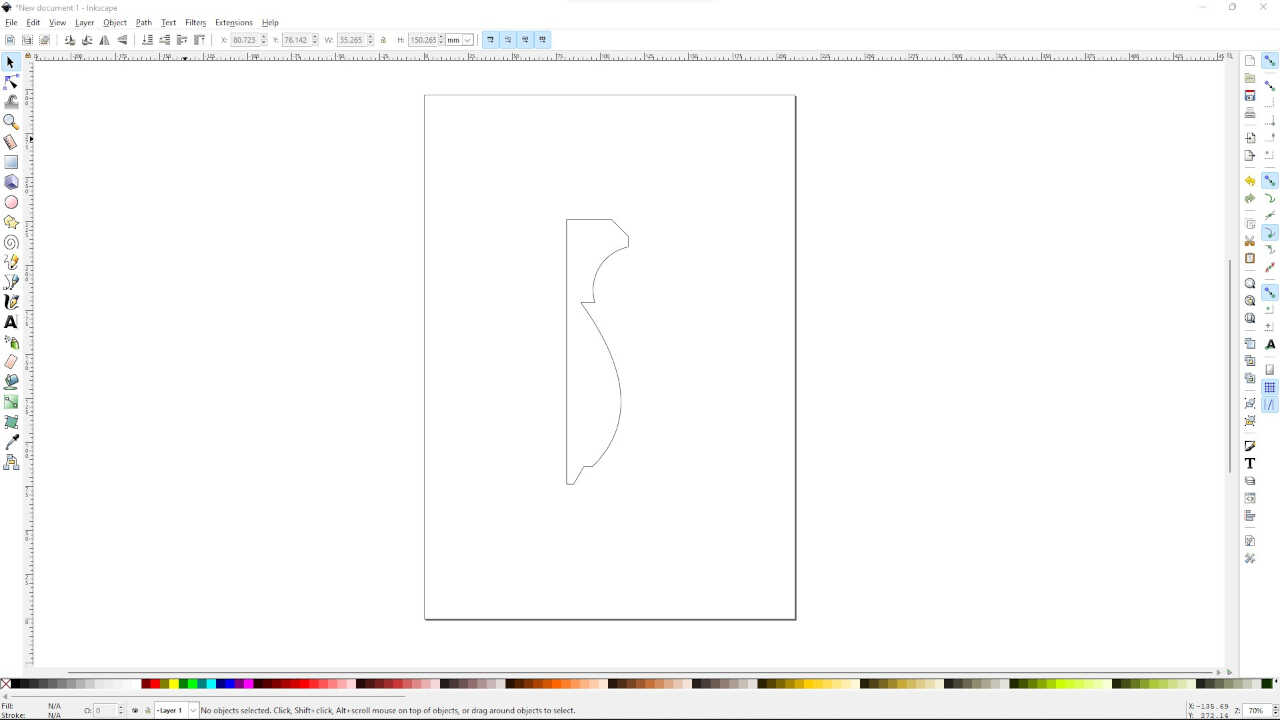
Let’s remove the left vertical bar which will not be useful
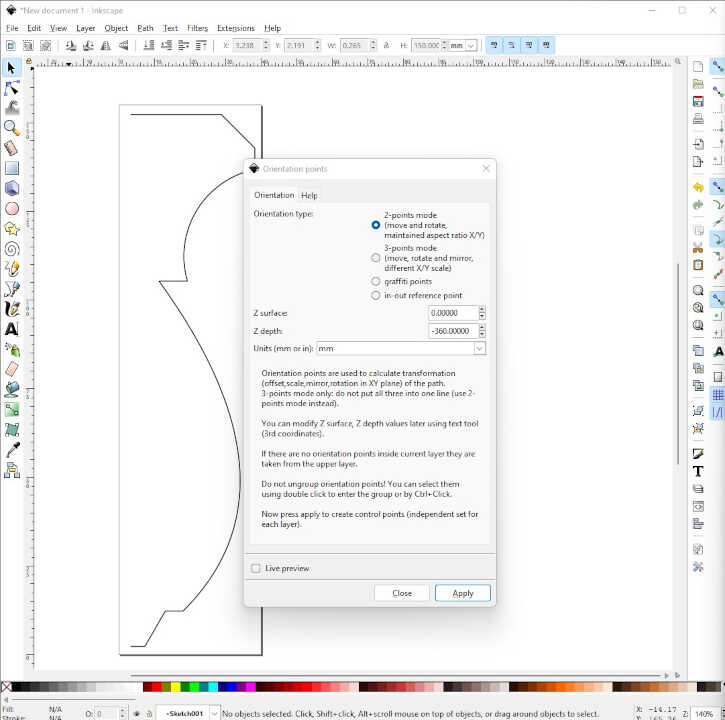
Now we go to the Extensions>Gcodetools>Orientationpoints window and change the Z depth to -360 and press Apply.
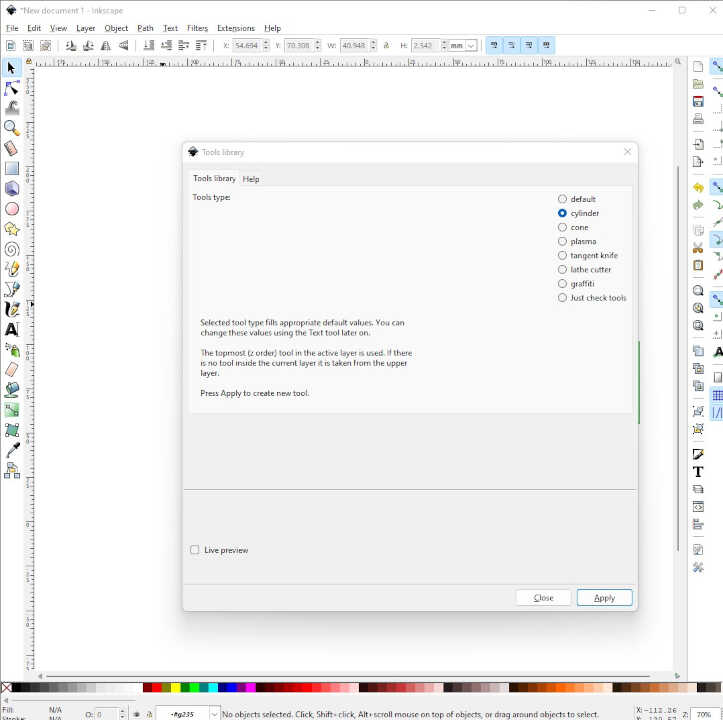
After that we go to the Extensions>Gcodetools>Tools library window and we select cylinder in Tools type and we validate.
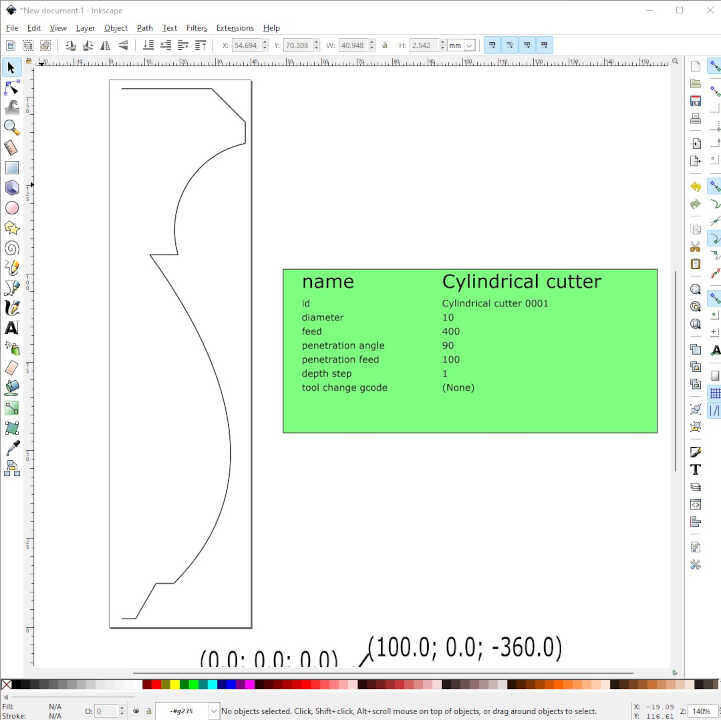
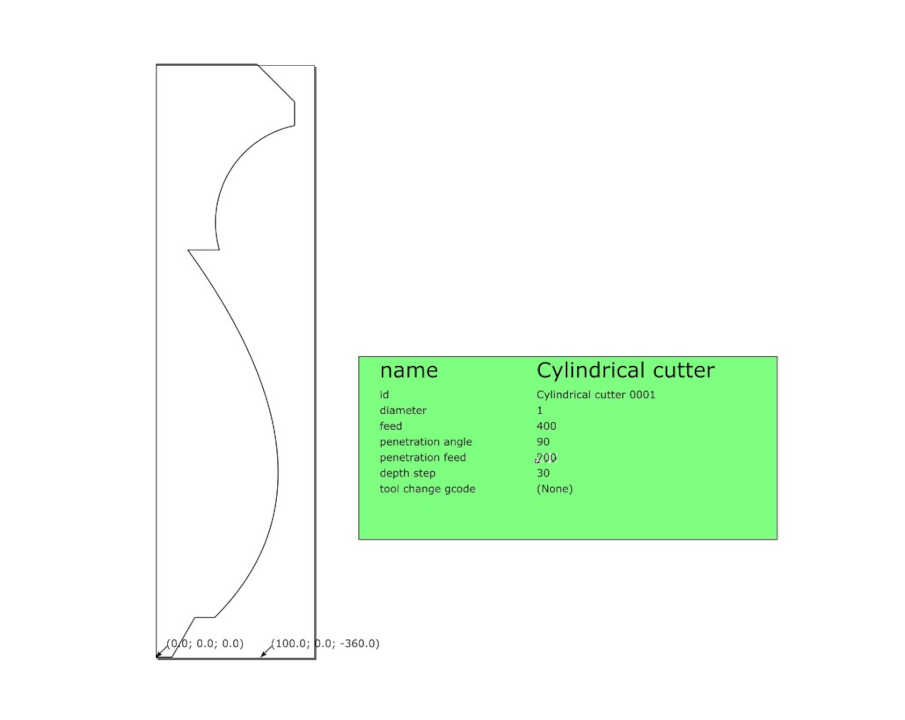
we notice a green rectangle on the page. we modify the parameters inside putting the depth step to 30, penetration feed to 700, penetration angle to 90, feed to 400 and the diameter to 2
After that we go to the Extensions>Gcodetools>Path window to Gcode, we go to the preferences tab to indicate the name and location of the final file and before validating it will be necessary to return to the Path to Gcode tab otherwise the file will not be created.
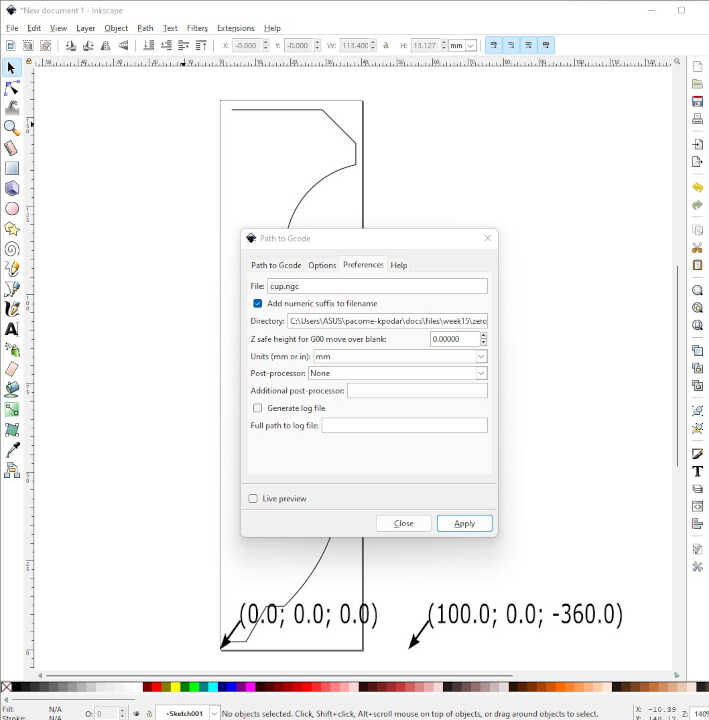
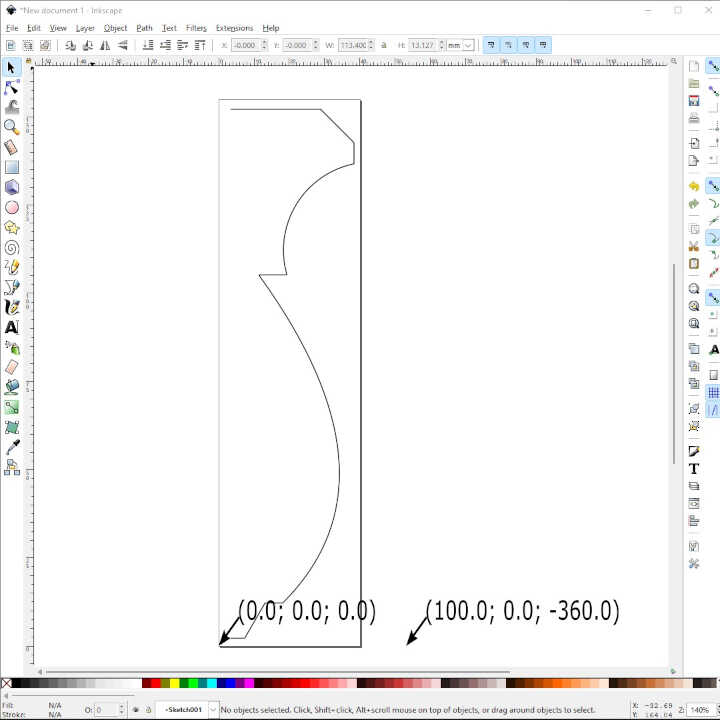
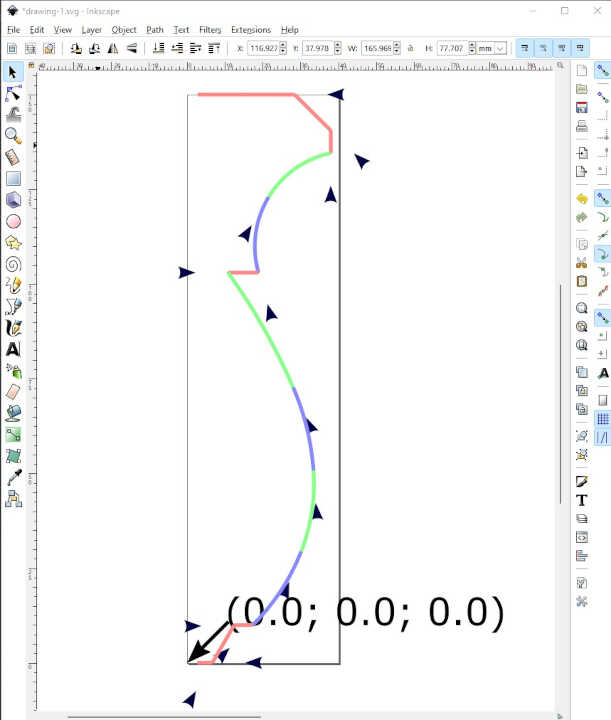
The black arrows show us the tool path. We notice a problem in this path because the arrows do not all go in the same direction.
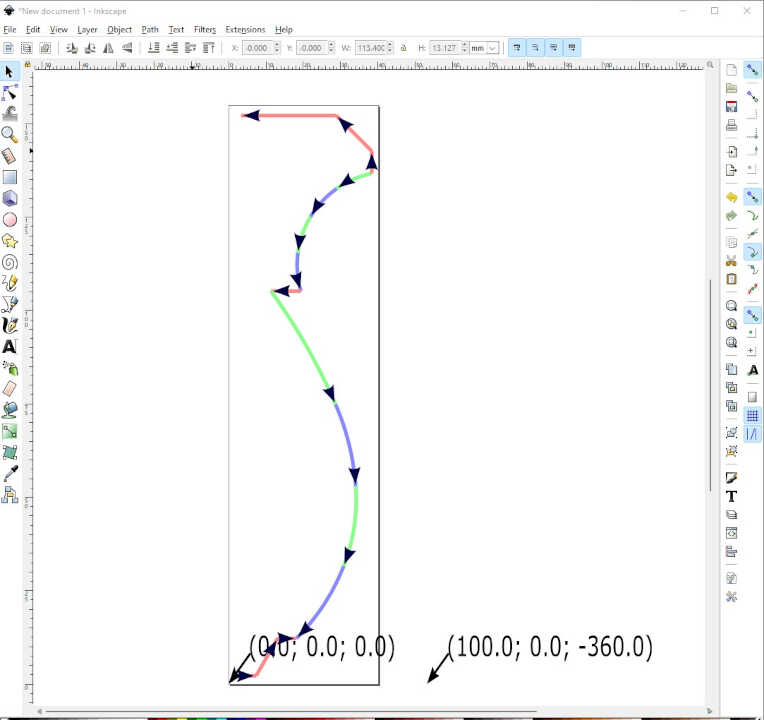
Through a lot of research and thanks to my instructor, we realized that the problem was that all the lines in my skecth were not really joined so they were not forming a continuous line. By following this tutorial I learned how to reline the lines of my skecth and then by following the steps above we notice that the course of tools is done in one direction
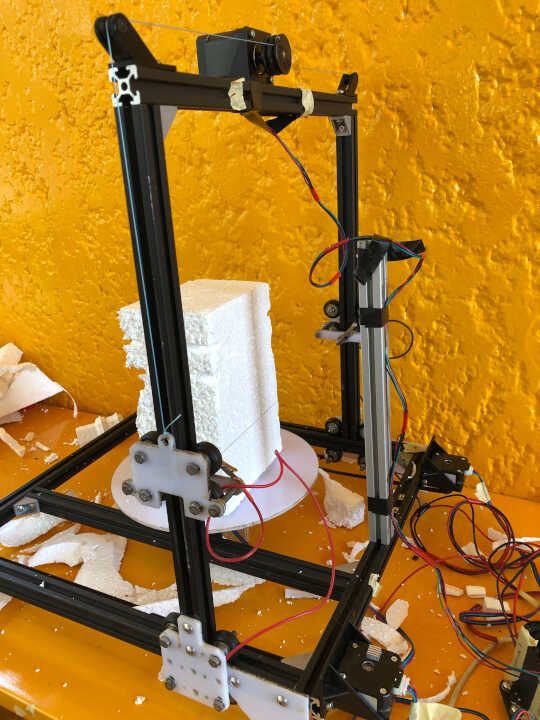
cutting of the foam
Univerval gcode sender and Zooro
We open the Universal gcode sender software and import the final file generated on inkscape.
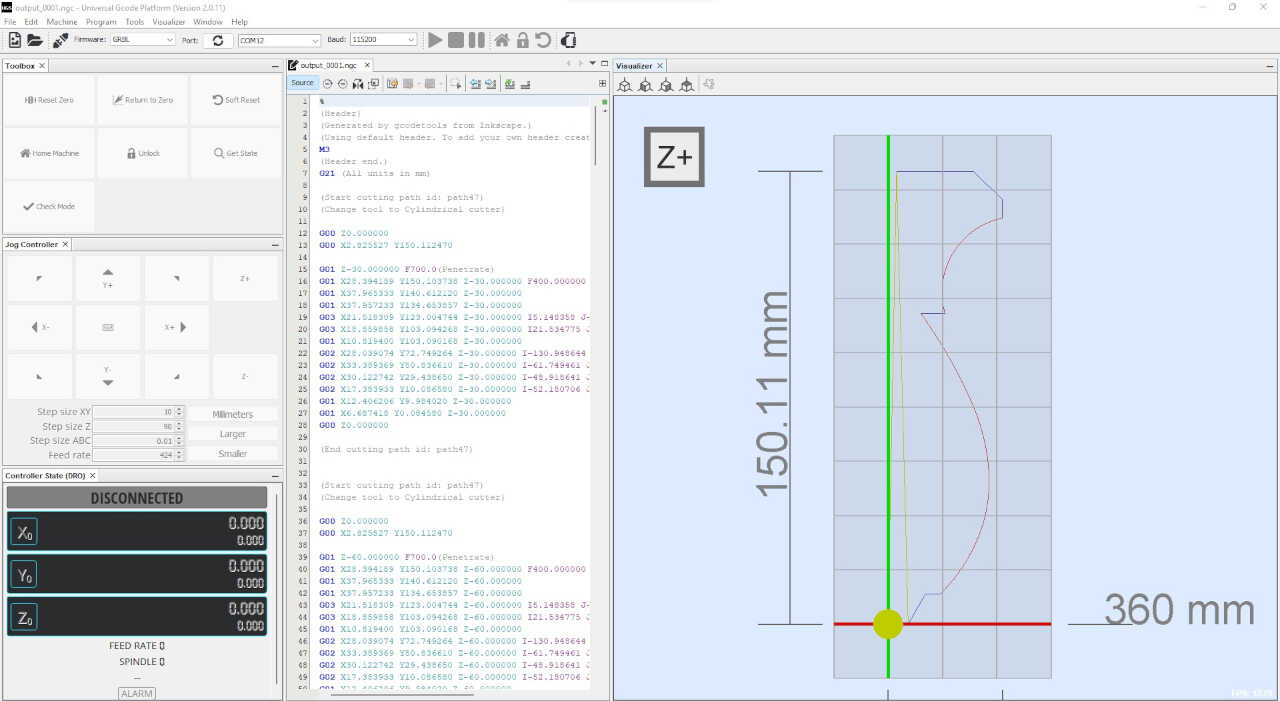
After that we connect to Zooro, we place the foam and we launch the cutting
Melt and casting
necessary equipment
To melt the aluminum, we need tools and materials such as a furnace, an air blower, two lids, a large spoon, a grabber, two pliers, protective gloves, clay, sand, motor oil, two water, two iron buckets, a sieve, charcoal, and empty beverage cans.
SAFETY
To work with molten metal or try casting you need to do the following: - you need to wear double gloves to protect you from the heat of the furnance
-
you need to have eye protection, wear sefety glasses
-
You will need a resperator to help with the fumes from the melting aluminum cans
-
you need to have leather shoes on to help incase there is a spillage of molten metal
-
Idealy you need a leather apron to protect your body, but you can use workshop overalls.
-
Have a fire exstinguisher
-
work in a well ventilated space or in an open space.
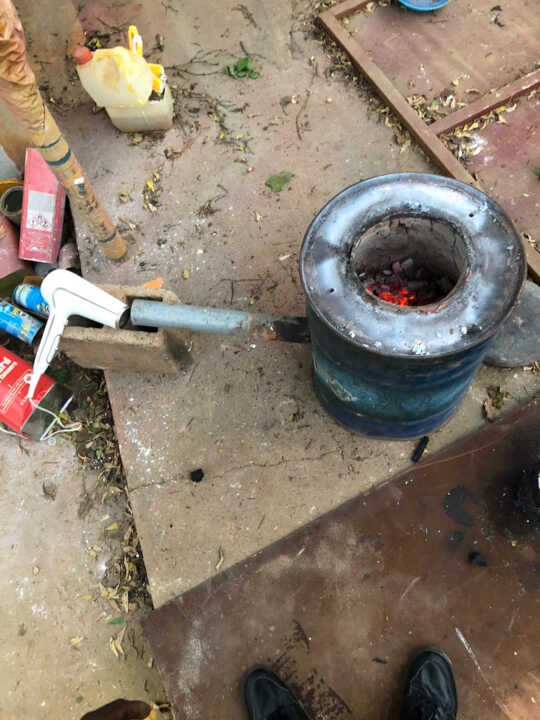
aluminum foundry
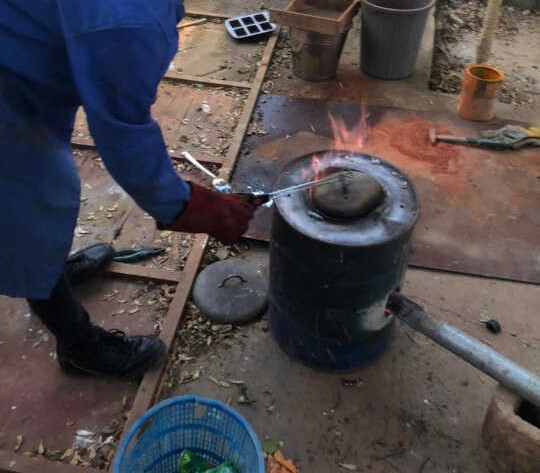
To begin we put the coal in the oven and we make a fire. To feed the fire we used a hair dryer as an air blower. When the oven reaches a high temperature, we put inside an iron bowl filled with cans. We enclosed the whole thing with two lids. After about twenty minutes, we open the lids to remove the residue of aluminum cans and we close the oven and prepare the mold to proceed to gluing.
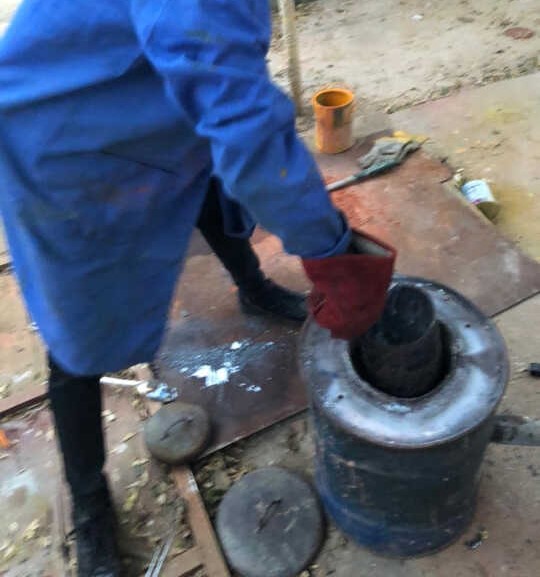
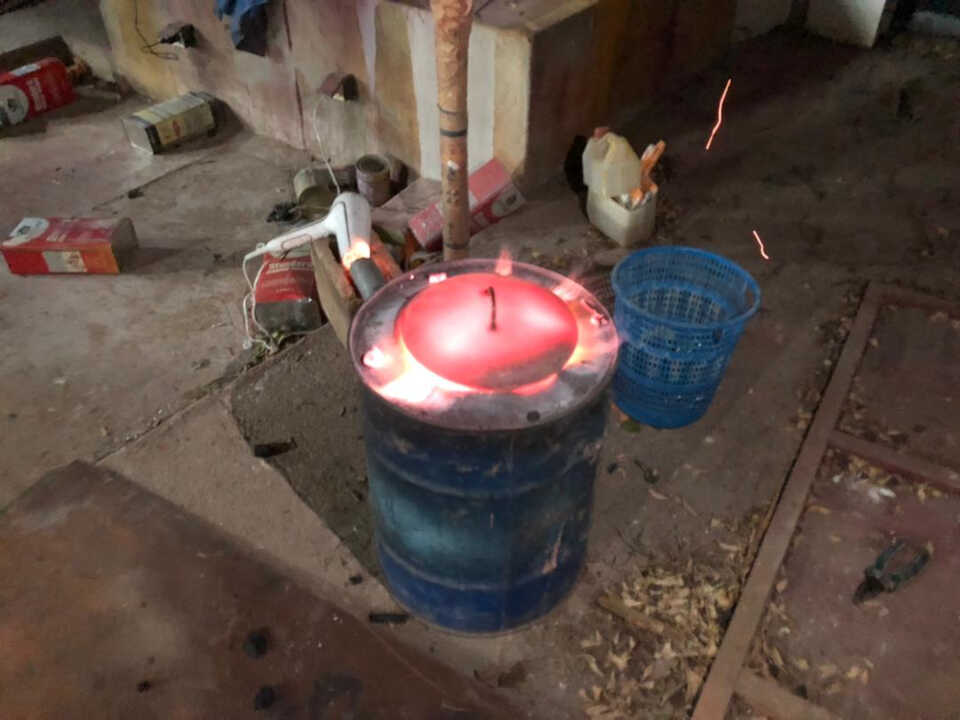
Aluminum cans have a melting piont of 660.32 degrees celcius. so in our charcoal furnance we pre-heated it to approximately 400 degrees celcius and then gradually added more charcoal to get the temperature to the melting point range. In all I used 65 aluminum cans. I crashed them to compact them so that I could add alot of them in the cruciable.
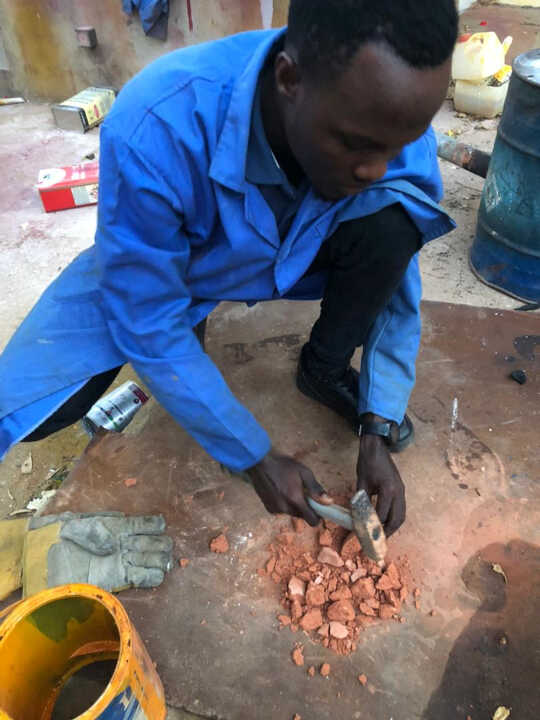
mould preparation
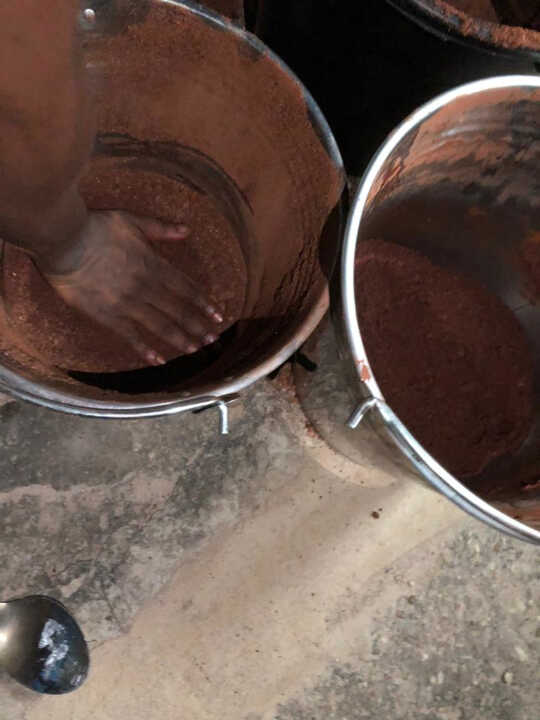
To prepare the mold we start by crushing our ball of clay.

We sift the crushed clay and sand into two different buckets
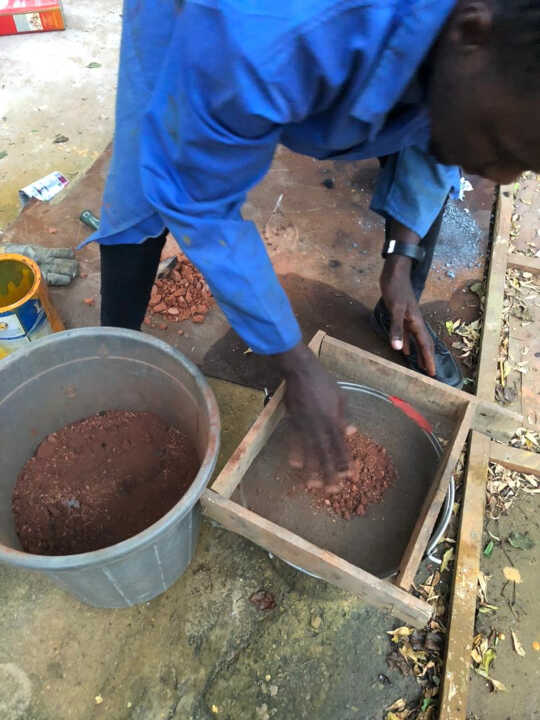
After that we mixed the agile with a little sand in addition to the motor oil and at the end a little water to allow this mixture to attach well to our foam object.
the other part of the sand that has not been mixed with the clay is just mixed with a little water

After doing all this, we take an empty bucket in which we put a first layer of wet sand
then we place inside our object that we cover silently with the sand-clay mixture.
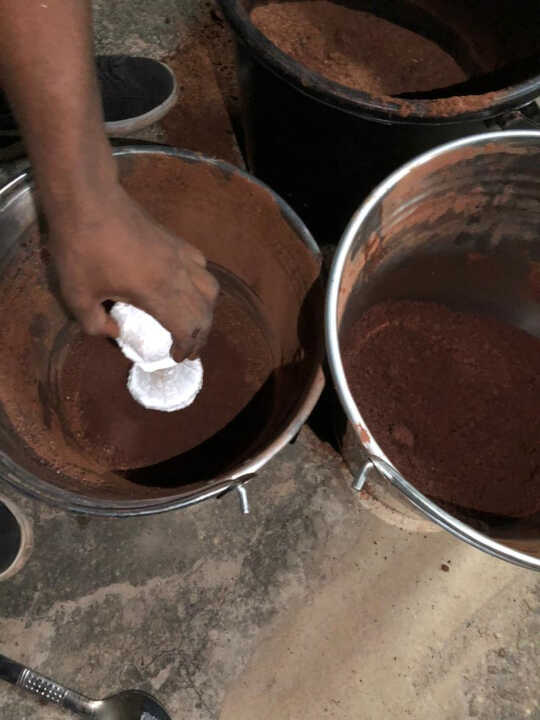
all around the sand-clay cover we can add layers of sand to the top of the object.
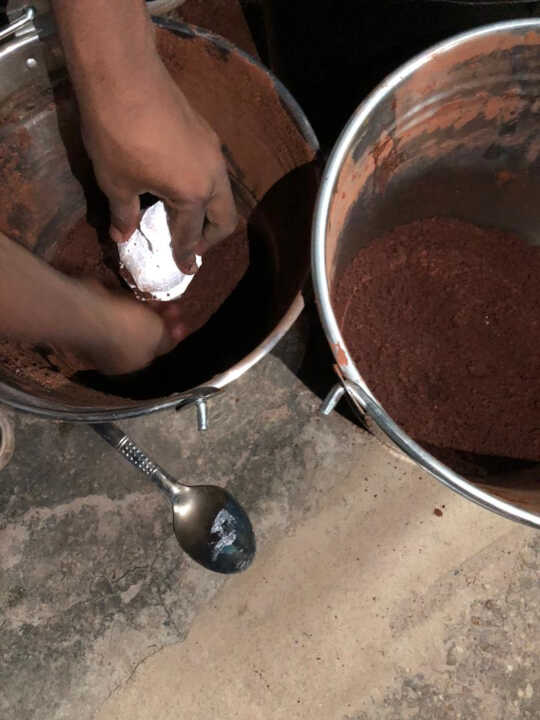
the top of the object is not fully curved to allow the alluminum to pass through.

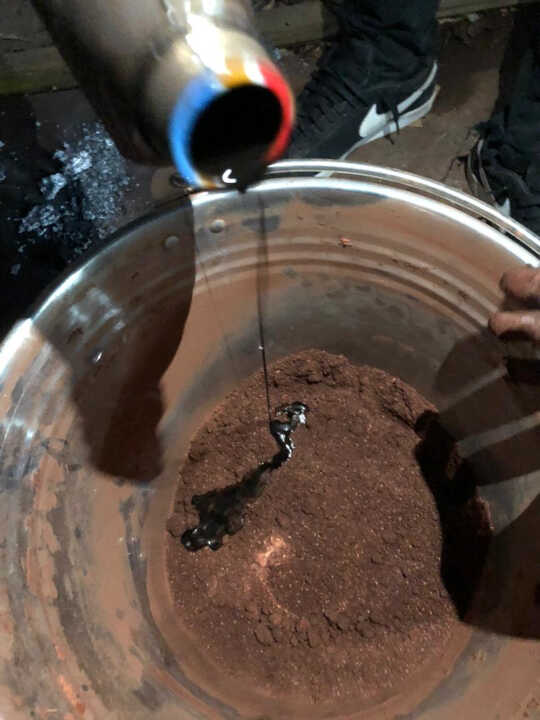
Casting of the aluminum in the mold
After finishing the mold we move on to gluing. We open the oven and remove the bowl filled with liquid aluminum that we pour back into the mold with precaution.
SO the molten aluminum is poured into the mold, it melts the styrofoam in the mold and takes the shape of the mold. so I cooled the whole metal bucket down by placing it in a larger bucket of cold water for 30mins and the tipped the bucket to the side and used a metal spatula to scoop out the mold soil to expose the cast.
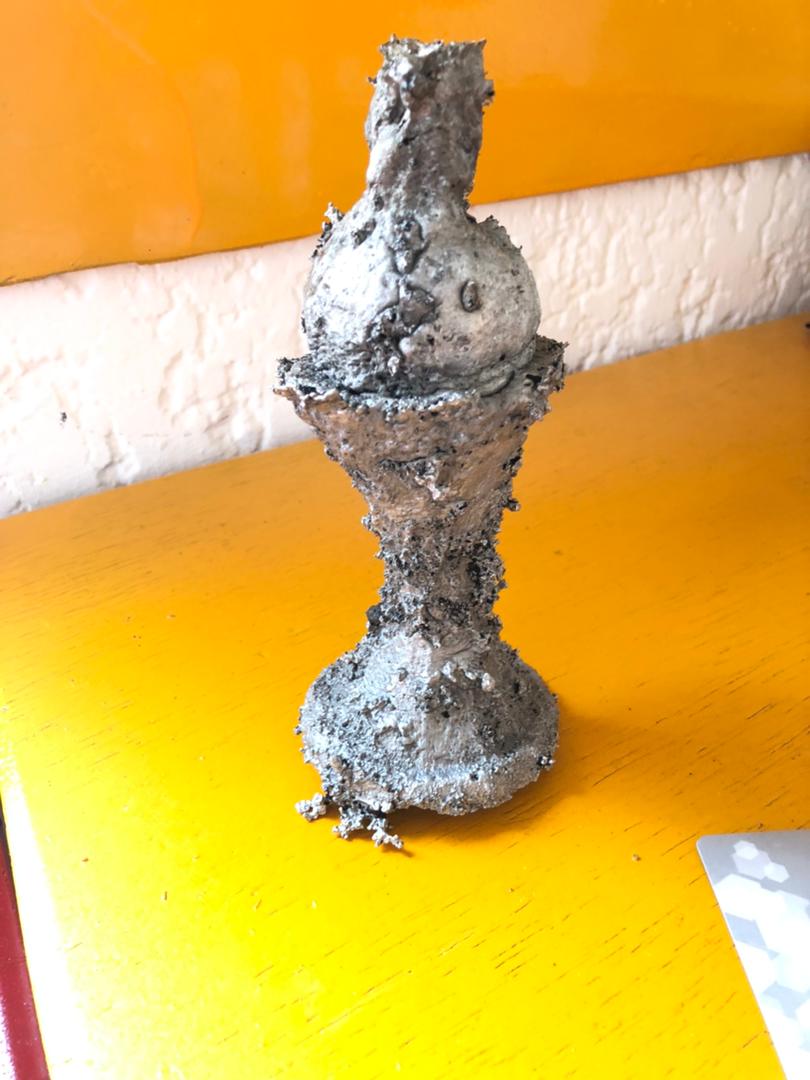
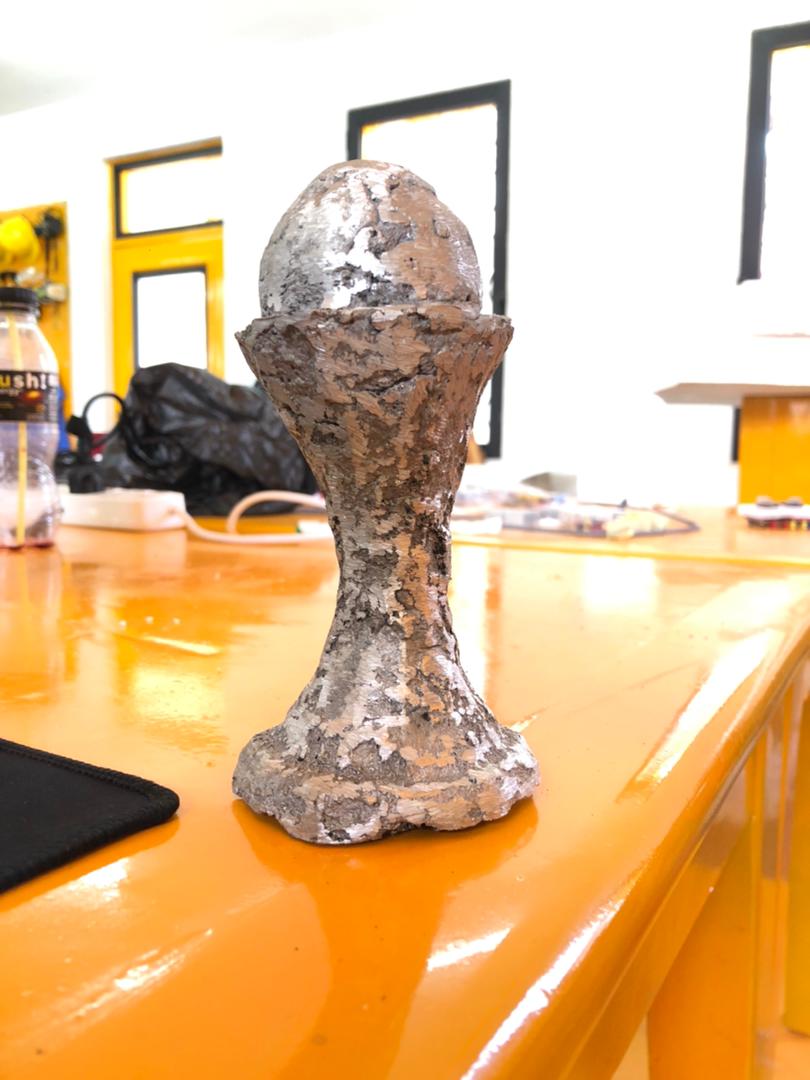
After the aluminum has reformed and solidified, this is the result.
finishing of the mold
We use a bench grinder to polish our cup to a perfect finish
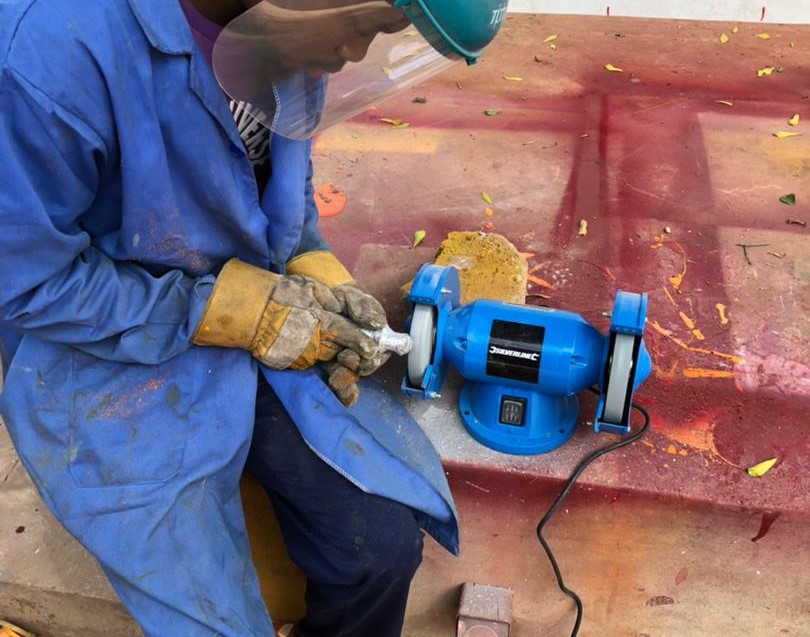
Here is the final result after polishing
File
What went wrong/What went well
This week was a very exciting experience, especially filled with emotion when we saw that the casting went well. The only thing that was not easy in this process was when we introduced the can of molten alumina into the furnace. Because of the high temperature of the furnace, we could feel the heat even with the protective gloves on.
Summary
Now what I’ve learnt in this week’s assignment is:
-
you need to wear double gloves to protect you from the heat of the furnance
-
molten aluminum hardens fastest
-
The special mixture of clay, sand, motor oil and water. The clay and water helps the sand to bond together and then the motor oil prevents the sand/impuritites get stuch to the surface of the aluminum.