2. Project management
This week, I worked on defining a potential final project idea and started reviewing the content of the class:
So I followed this Git tutorial for the installation and configuration of my Git repository. I used VS code as a code editor to modify the markdown code used in my website.
Step 1
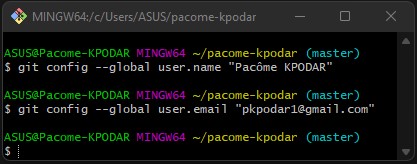
The first thing you need to do when you install Git is to set your username and email address. This is important because every Git commit uses this information, and it is immutably embedded in the commits you start creating:
- $ git config –global user.name “Pacome KPODAR”
- $ git config –global user.email “pkpodar1@gmail.com”
Step 2
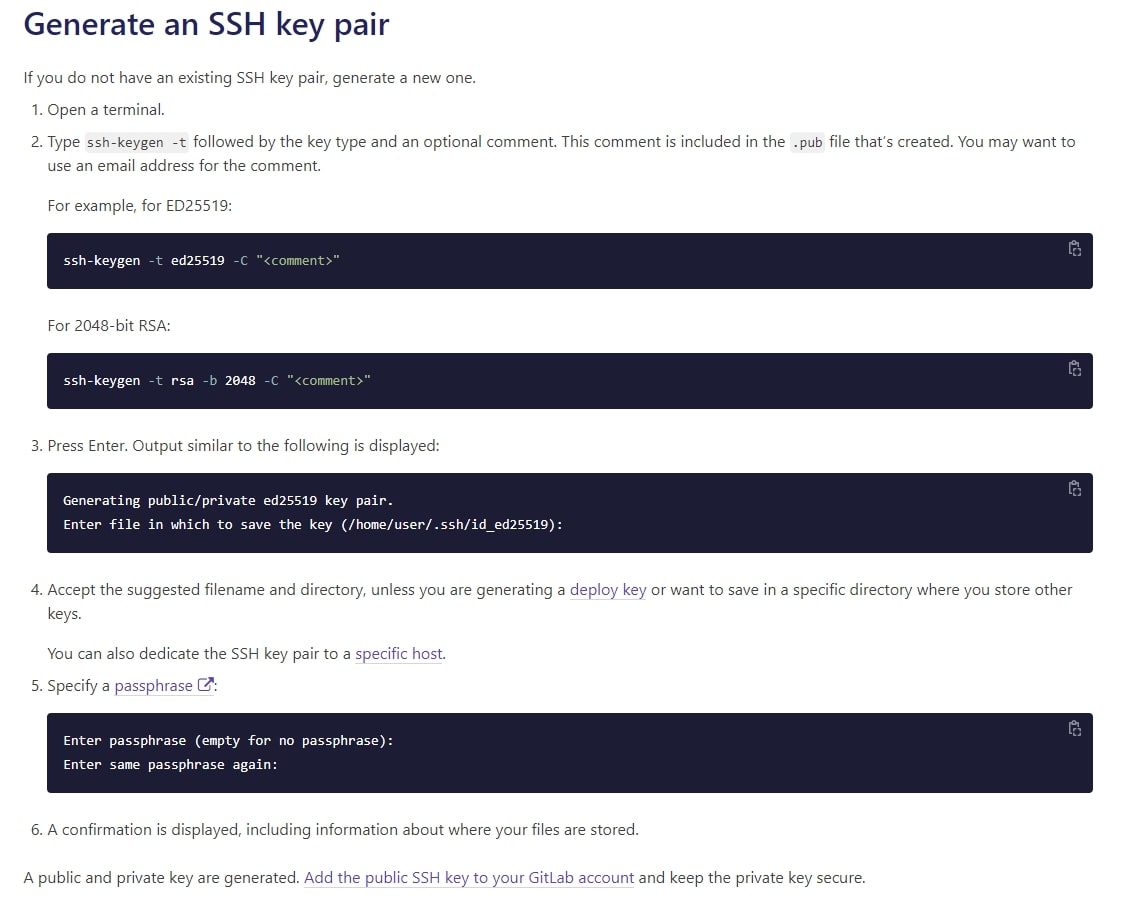
Generate an SHH key on Git. follow this tutorial
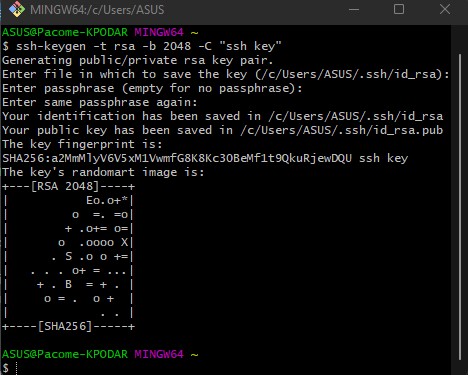
After generating my SSH key:
-
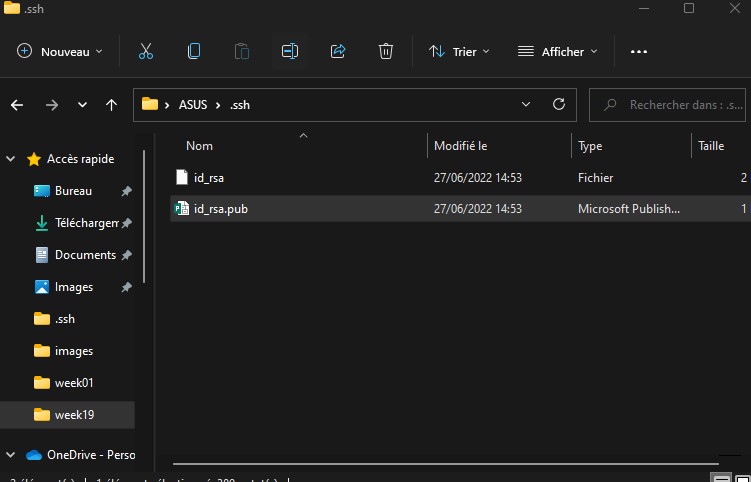
I navigated to the directory it was saved
-
I opened the file with note pad
-
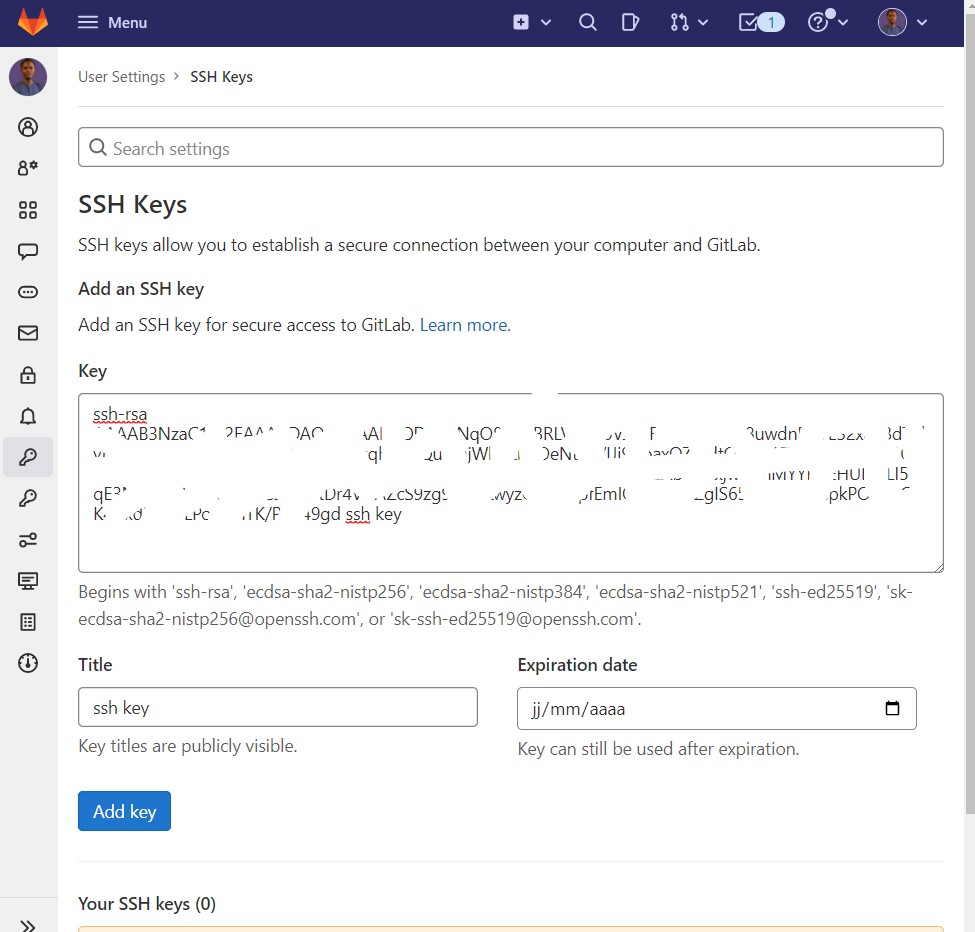
Copied the key and then when in to my Gitlab page
-
Navigated to the page(that is the SSH keys page under your user preferences page) where I can add my SSH keys
-
Pasted it there and then clicked on add keys
Step 3
At this step I clone my gitlab repository on my computer. To do this we must first go to our repository on gitlab.

On this page we can easily see a blue “Clone” button.
By clicking on the button, we have two options (copy ssh clone url and copy https clone url). In my case I chose “copy ssh clone url”.
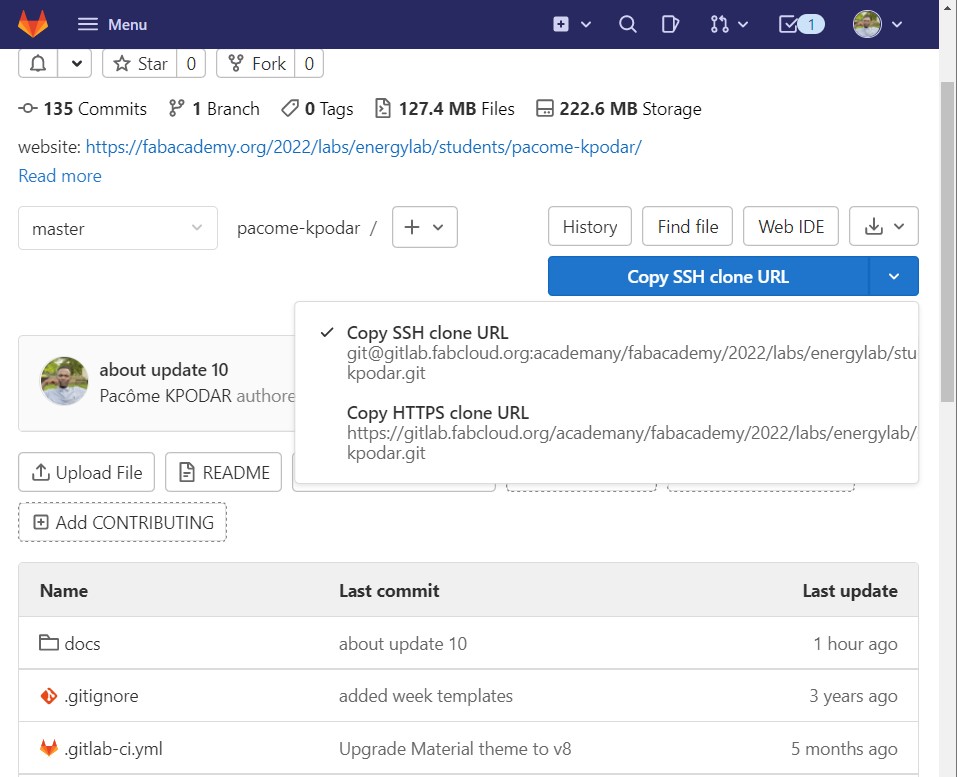
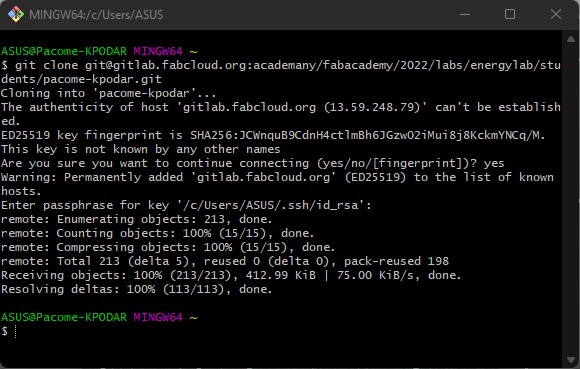
After copying the url we open git Bash and run the following command:
git clone git@gitlab.fabcloud.org:your/project/path.git
Step 4
Install MkDocs on your computer.
To do this, we open git bash and run the following command to install MKDocs:
pip install mkdocs
Step 5
After installing mkdocs, we can now start our site locally. But before we do that, we need to make sure we are in our cloned gitlab repository on our PC first.
The image below shows how on git bash I access my cloned folder.
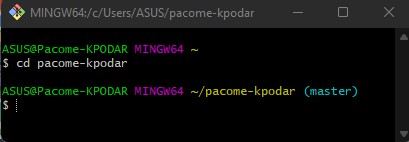
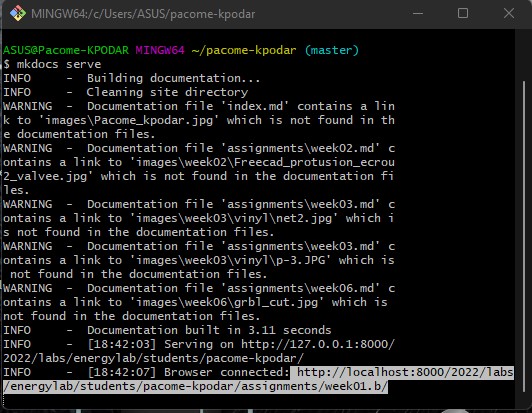
Now that we are in the right folder, we just need to enter the following command to start our site locally:
mkdocs serve
After validating the order you can access the local site page from the link highlighted in the image below.
Step 6
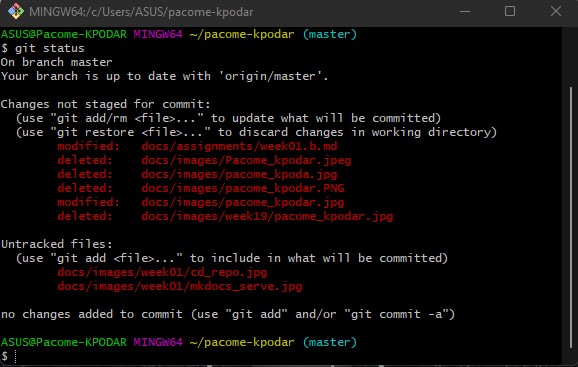
Once you are happy with your changes and have saved them, go back to your terminal window and type git status and hit return to execute the command.The output of git status shows the modified files. To keep track of this change to this file, you must add the changes, then commit the changes.
Step 7
Add and commit changes
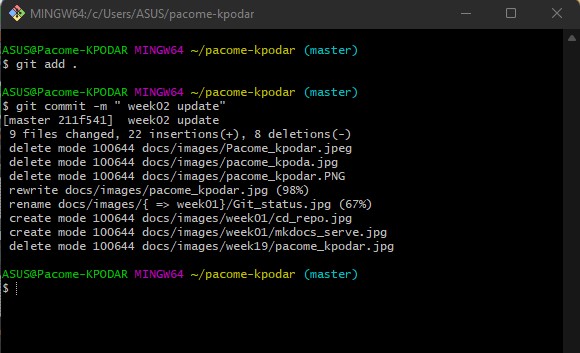
You will use the add and commit functions to add and commit changes that you make to git.
-
git add . takes a modified file in your working directory and places the modified version in a staging area.
-
git commit -m “comment” takes everything from the staging area and makes a permanent snapshot of the current state of your repository that is associated with a unique identifier.
Step 8
Push changes to GitHub
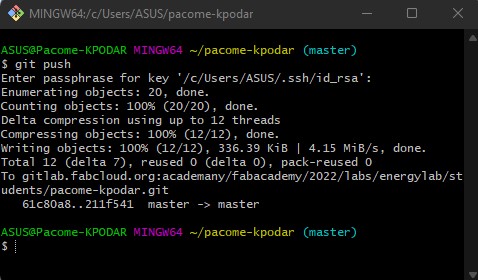
So far we have only modified our local copy of the repository. To add the changes to your git repo files on your computer to the version of your repository on Gitlab, you need to push them Gitlab.
You can push your changes to Gitlab with: git push
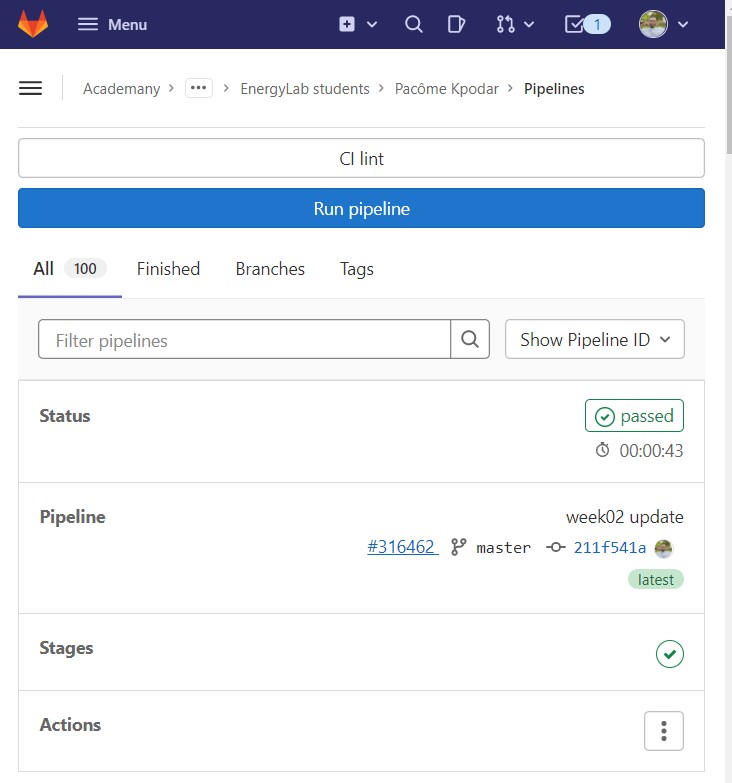
Gitlad_Last_update
validating the order, you can access the local site page from the link highlighted in the image below.
What went wrong/What went wel
What went well
For this week’s assignment everything went well overall. It was my first time using gitLab, git-bash and makodcs, so it was rewarding to discover these tools and create a site easily.
What went wrong
What didn’t work was when I tried to start the site locally with the mkdocs serve command on git bash. I got two errors when starting the mdocs server that aborted the process.
the first error was due to the fact that I had not downloaded the material theme which was proposed on the template of fabacademy sites. So I installed the theme from this command:
pip install mkdocs-material
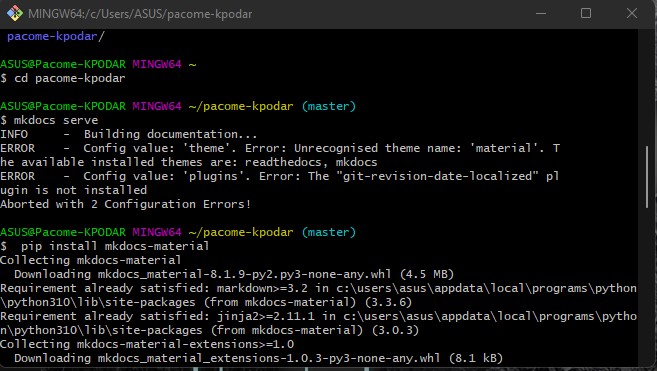
The second error was due to the fact that the plugin that allows to see the last update of each page of the site was not installed. To install it I ran this command :
pip install mkdocs-git-revision-date-localized-plugin