Molding and casting
For this week we have to :
- Link to the group assignement page and reflected what you have learned
- Reviewed the safety datasheets for each of your molding and casting materials, then made and compared test case
- Documented how you designed your 3D mould and created your rough and finish toolpaths for machining, including machine settings
- Shown problems and how you fixed them
- Included your design files and ‘hero shot’ of the mould and the final object
Test the modeling process and make some part out of resin or castable material. We tested the old material we had in the lab, because our order isn’t arrived already
So here is the process we use : - 3D print original model - Mixing the silicone - Get rid of the bubbles - Cast the mold out silicone mix - Wait for the mold dry - Wearing PPE - Mixing the resin - Pouring the resin into the mold - Waiting for the resin to solidify
Group Assignment
First ! Safety ! We took a pair of hermetic gloves and goggles, and we wear a gas filtering mask. It was uncomfortable but safe :)

The resin has’t any datasheet online. But the bottle was very clear :
- Do not eat
- Do not breath
- Do not touch without gloves
- Don’t throw in nature or in the trash. Bring it to a recycling company.
- The resine may warm while solidify, don’t put the resin near flammable materials
To clean the place after the assignement, we need :
- Clean the equipment before the mixed material is hardened
- Use non flammable cleaning agent
- To remove hardened material, please soak the material in a solvent for 10 or more hours
Pot life : Can least one year if closed in a dry environment arround 20°C
With used an old silicone, and we let it to long in the mixing pot. As a result it was too viscous to poor efficiently onto our part…
We successfully achieve to create silicone !!

3D printed Mold
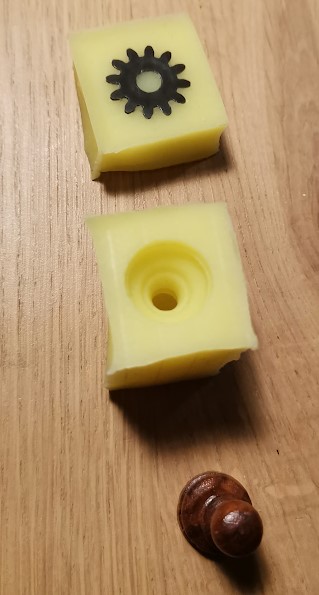
I use an old model I had from my robotic team. It is a bottle opener using our logo ! I sliced the part using cura, and print it using my own 3D printer in PLA (Creality Ender 3)
Here is the resulting part !
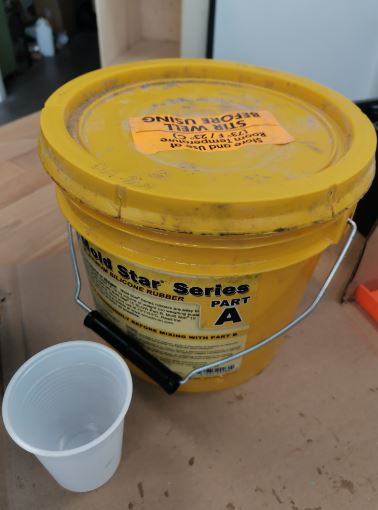
Now let’s create the silicon mold… We found an old rest of silicon pot, which was surprisingly great !
Here is the part A
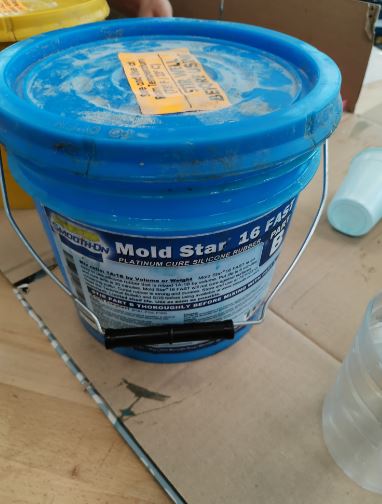
And the B
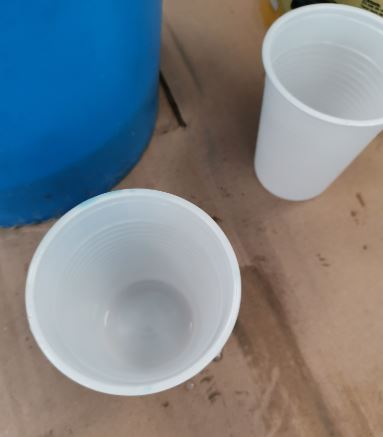
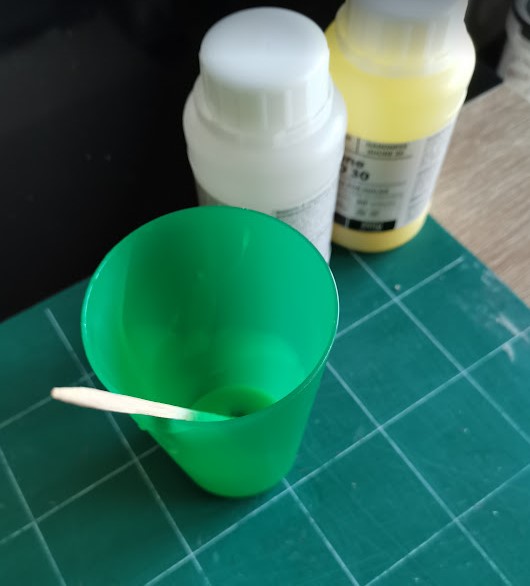
We used plastics cup to mix the silicone
This material require an equal amount of part A and B, but this is not always the case ! Check the datasheet !
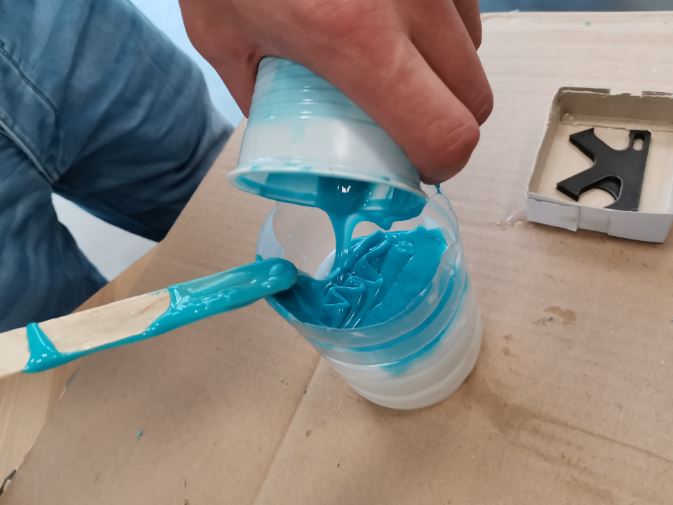
We mix gently the mixture while avoiding bubble using a wooded coffee spoon
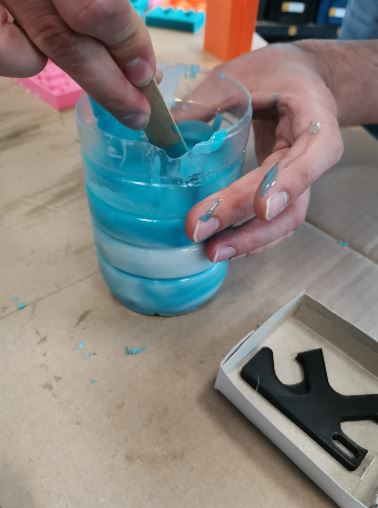
After the mixing process we tapped the mix to let bubble escape.
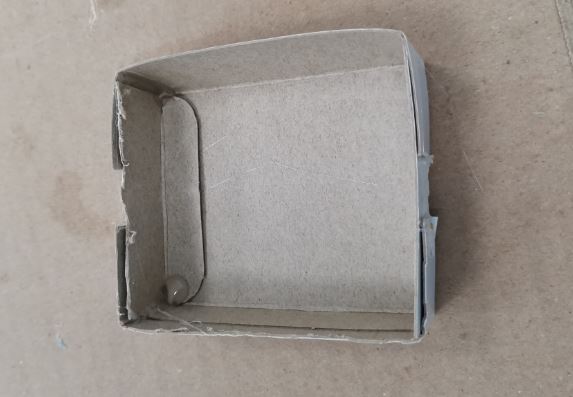
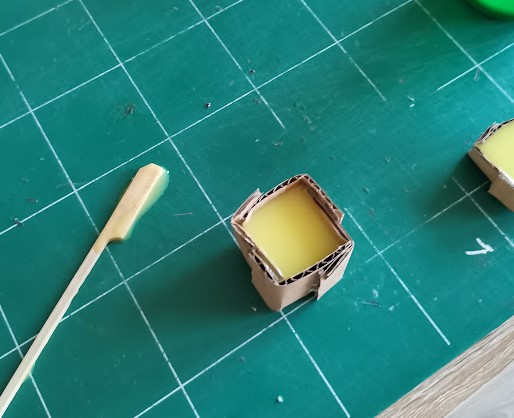
When the mixture is homogenous, we pour the liquid silicone into the cardboard box, very carefully. We poured the mixture into a corner and let the silicone cover the part. Do not cover the part from the center because you won’t let bubble escape the part.
Here is the result ! We wait 30 min for the silicon to take and wow ! It works very well !
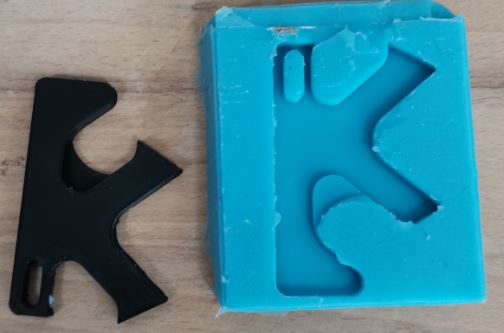
We tested the resin on an existing mold. It worked, but the mold wasn’t very good, the joint between the two part wasn’t very smart and is difficult to remove when solid…
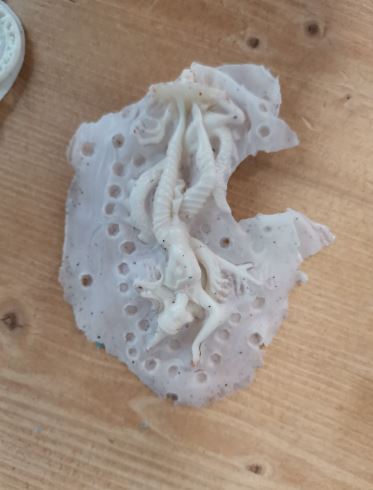
I poured the mixed resin into my mold. After the recommended time, the old resin remain squishy… We supposed it is due to the low temperature outside. But it solidifies when we warm up the parts inside the lab.
Here is the final result !!

DIY Wax at home
Before going to Agrilab, I tried to create my own wax using parafin and LDPE. Here is a pretty good tutorial to do it : Tutorial
I bought some parafin at the local everything store.
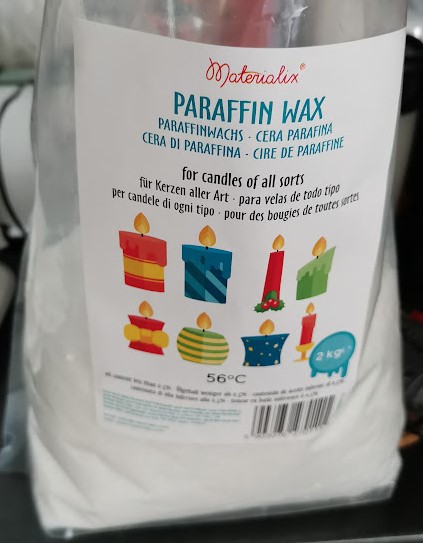
I need 75% of parafine and 25% of LDPE so to make thing simpler, I’ll make 100g of wax.
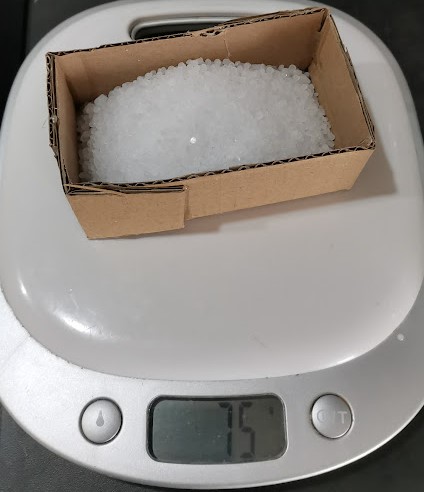
LDPE can easily be found since lots of plastics bag are made from that material. For a long time, plastic bag in food store where made out of LDPE. So you can recycle them to make CNC machining ! But now those bag are forbidden in food store to fight againt climate change. But some trash bag are still made of LDPE. You can easily guess if a plastic is made out of LDPE because when if burn, it smells like candle smoke.
I but the right ammount of LDPE and started to melt the parafine.
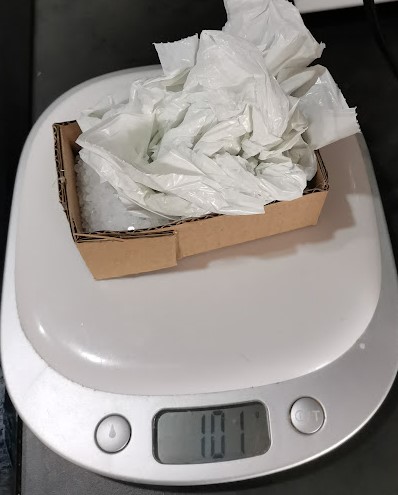
Then I cutted little piece of LDPE to facilitate the melting.
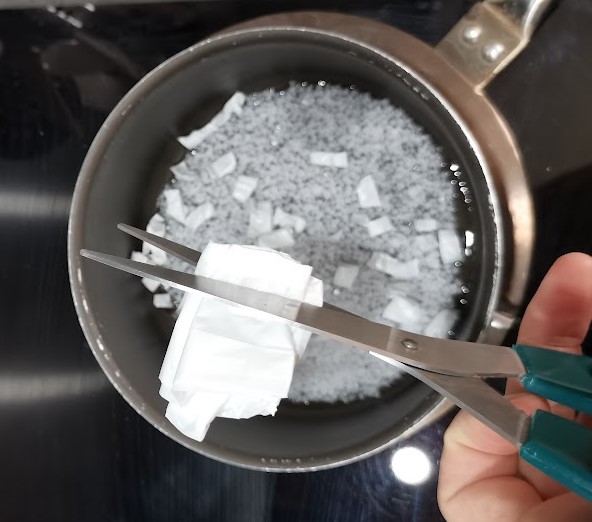
Never leave this setup alone ! Parafine ignite arround 245°C ! So use a thermometer to control the melting process.
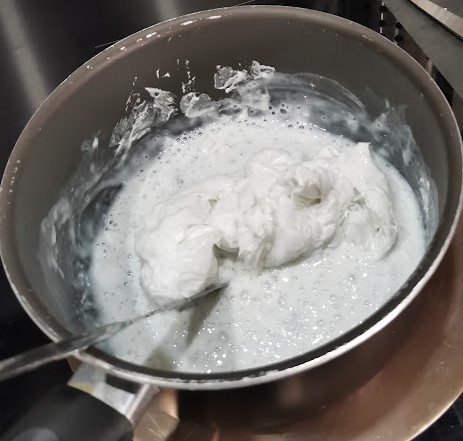
After an hour, everything was melted. I casted the mixture in a cardboard box and cooled down everything. Here is the result !
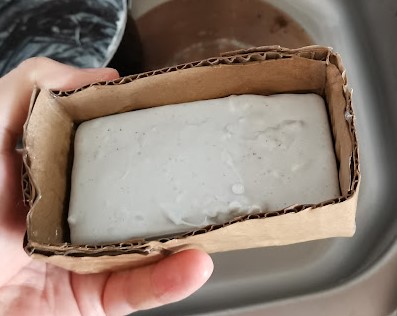
Unfortunately has I don’t have any vacuum chamber, the wax is full of bubble.. So machining it is impossible, the model will always have randoms holes in it…
CNC machined mold
For another project, I need some custom lens. Lens are very expensive and I don’t realy know how I can prototype without them. So crafting lens may be a good way to test a design before ordering the final glass one. I’ve been suprised how clear the resin I have at home can be. So I wonder if I can managed to craft an epoxy lens to focus a laser.
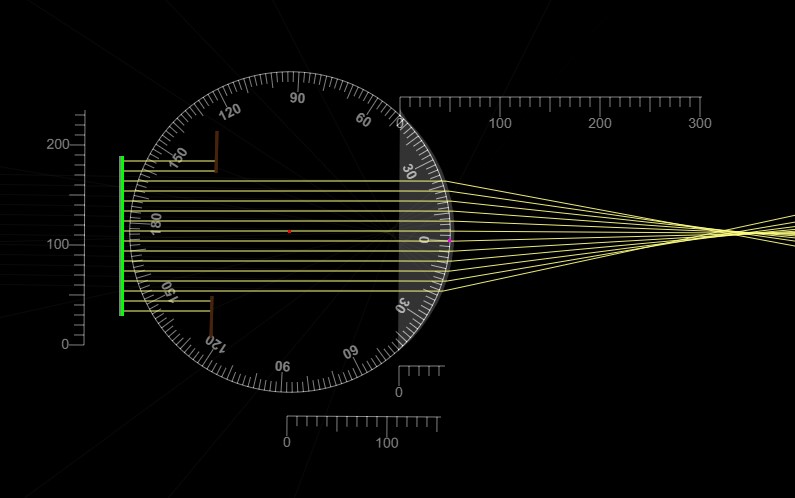
I used Fusion360 to design the lens. I also used this optics simulator to test everything before milling.
I began by placing a laser and a ruler to know where is the focus point. I need the laser to converge 3cm away from my lens. So I created this simulation.
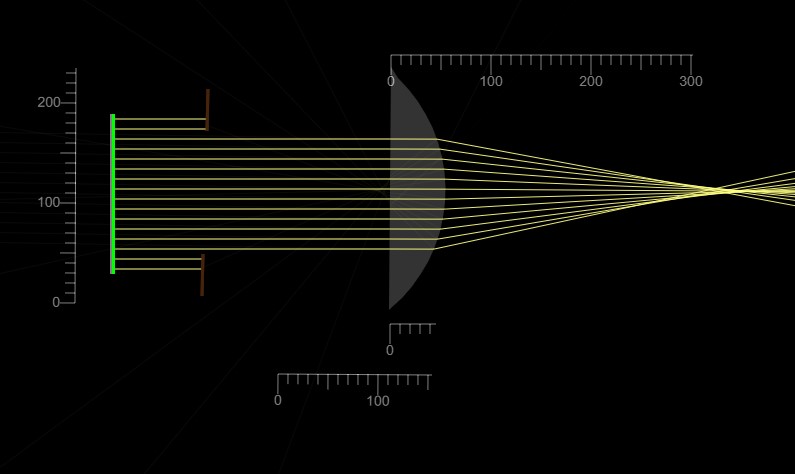
I used the measure tools to check if my values where correct.
Then I started to created the 3D lens in fusion 360.
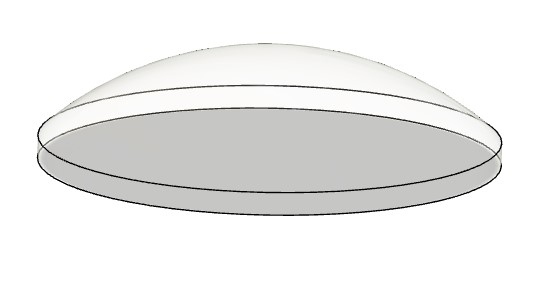
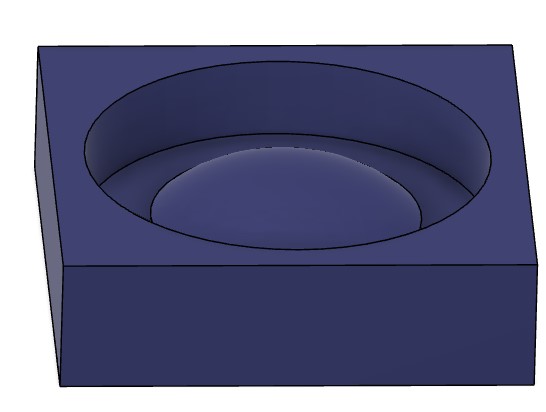
From that shape, I created a mold using a boolean operation.
I moved to Agrilab to get some wax. I tried to make wax at home but it was a total failure… If you are interested please check how I did it.
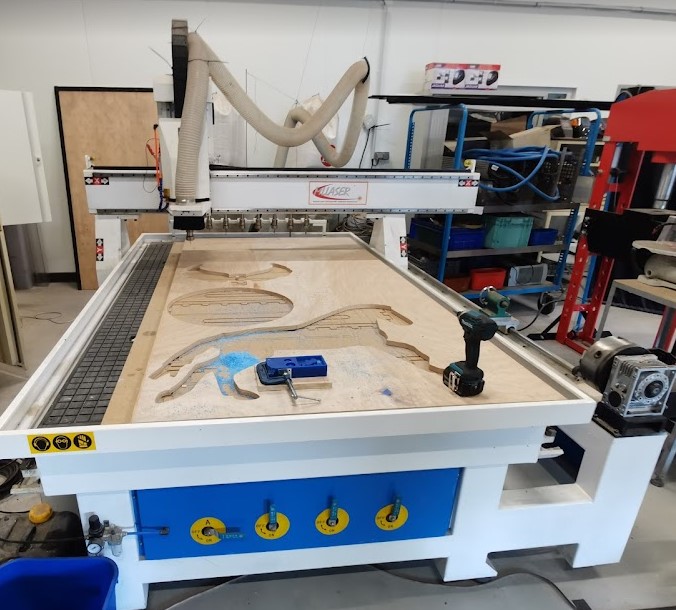
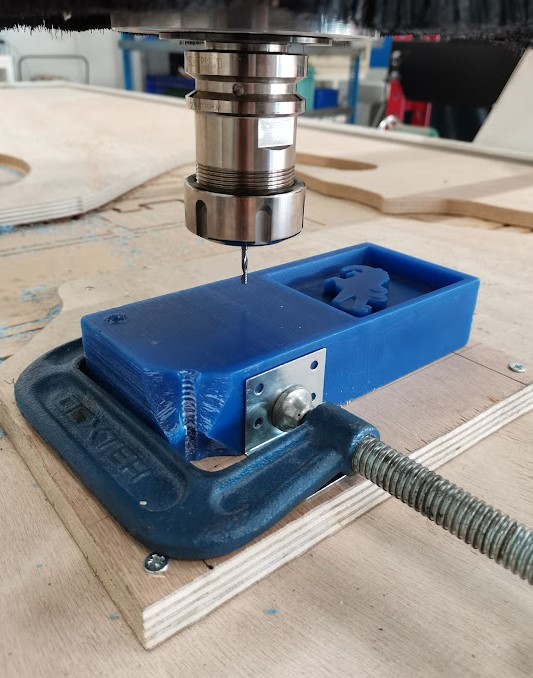
Agrilab have a very bug CNC. Obviously this machine is overkill for the small lens I have to mill. But still I wanted to try this monster. I may need it for aluminium project later. I’d better to train on wax before.
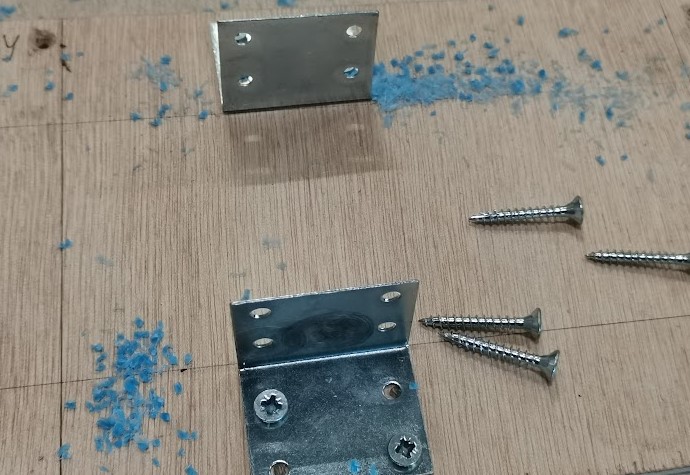
Last year, Theo have made a little wax holder. I also used this piece of High tech planck to hold everything in place.
Everything is in place, I can start to create the program !
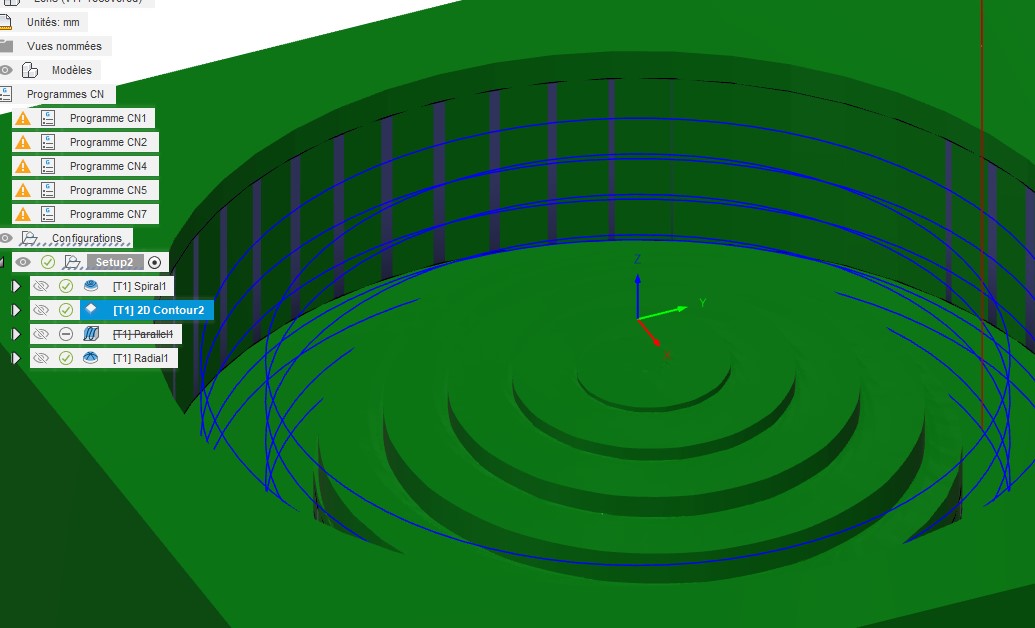
To prepare the toolpath, I need a strategy to have the smoothest surface I can have. I began by removing a bit of wax using a spiral operation without a 0.5mm offset form the surface of the lens.
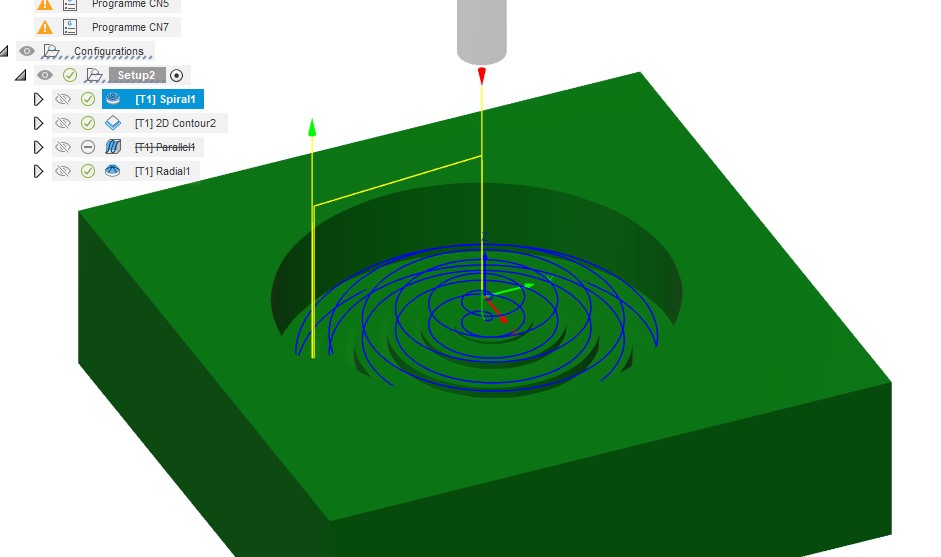
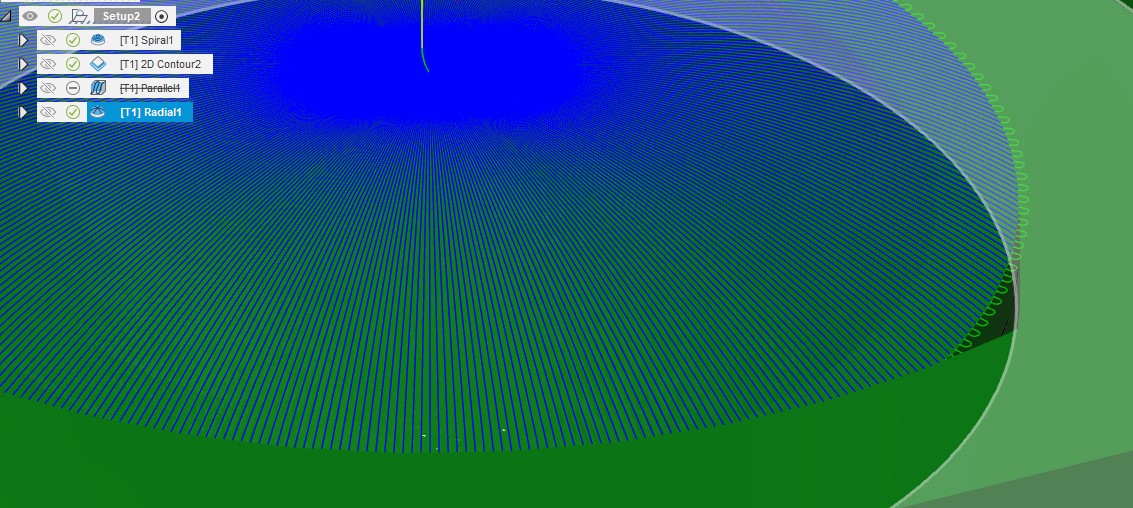
Then I created a radial operation to create the actual lens surface.
To finish the mold, I’m making a countour around. This is only needed to make the silicon mold but won’t affect the lens.
For the toolpath parameters, I created a tool profile in Fusion 360. I’ve been using a 3mm flat endmil for this project. Here are my settings :
| Settings | Value |
|---|---|
| Spindle speed | 10 000 RPM |
| Cutting speed | 94 m/min |
| Feedrate | 4000 mm/min |
| Lead-In feedrate | 2000 mm/min |
| Lead-Out feedrate | 2000 mm/min |
| Plunging feedrate | 500 mm/min |
| Pass depth | 1.5 mm |
I updated my calculator with those settings :
I filled the operation parameters using the calculation sheets and saved the program using the Shoptbot post-processor (Not Shopbot ISO). Before starting the machines, I made a to-do list to be sure to not forget any operation.
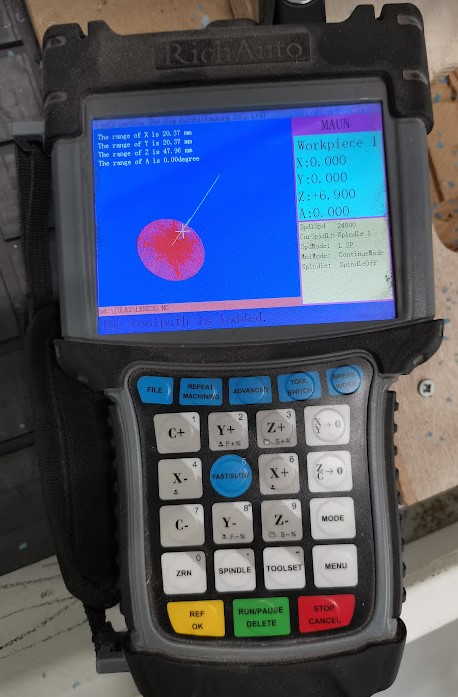
Then using the cnc controller, I navigate to the .nc file and started it. I didn’t notice but the controller was displaying only one operation, the spiral. When I exported the program in FUsion360 I think I forgot to select them all. I had to reimport everything in the cnc to make it work.
Milling wax was pretty easy. No problem for this huge CNC machine.
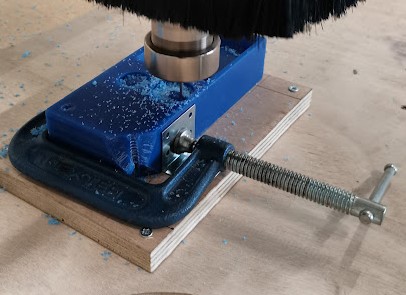
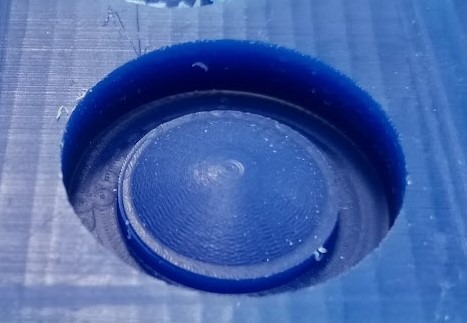
And finally, here is the mold I got. Thank’s Agrilab !
Back at home, I began to prepared the silicon. This Silicon for mold from Resshimica is easy to use. It is basically a 1:1 ratio and dry in about 4h.
I used it before to clone broken/lost parts from games and toys.
I mixed the two part of the silicon and used my vacuum cleaner to remove as much bubbles as possible.
Then, I poured all the silicon in the wax mold I’ve made. As I had too much silicon for the mold I also covered the little crocodile from another students. I hope his design was free of charge !
I let the silicon for the night and the next day, I prepared the resin part.
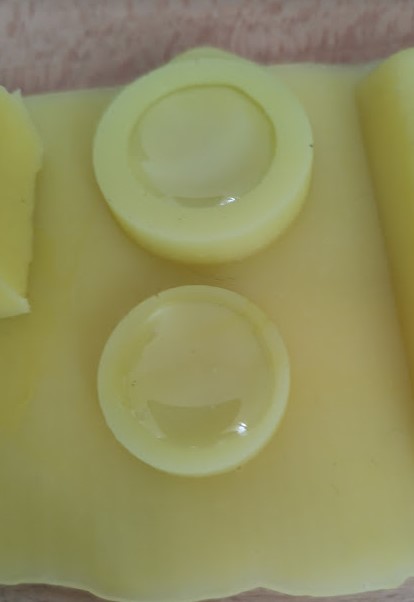
I used a very cheap epoxy resin I had at home. This resin named Crystal clear epoxy resin supplyed by FansArriche can be used for several DIY project. It is non toxic and clear. However, the datasheet isn’t very clear with the time required to solidify. The bottle says 40min but mine needed 10h to be solid. It was squishy otherwise
![]()
I finnaly got my two lenses. We cannot see clearly on the photo but there is lots of defect in the resin. First, the mold wasn’t perfectly flat so the bumped surface of the lens is crapy. The flat face isn’t totally flat. It seem there is too much epoxy in the mold. I’ll need to remove the excess manually and polish everything.
I think this lens is good enough to focus my laser. I’m now waiting for the laser…
Bonus
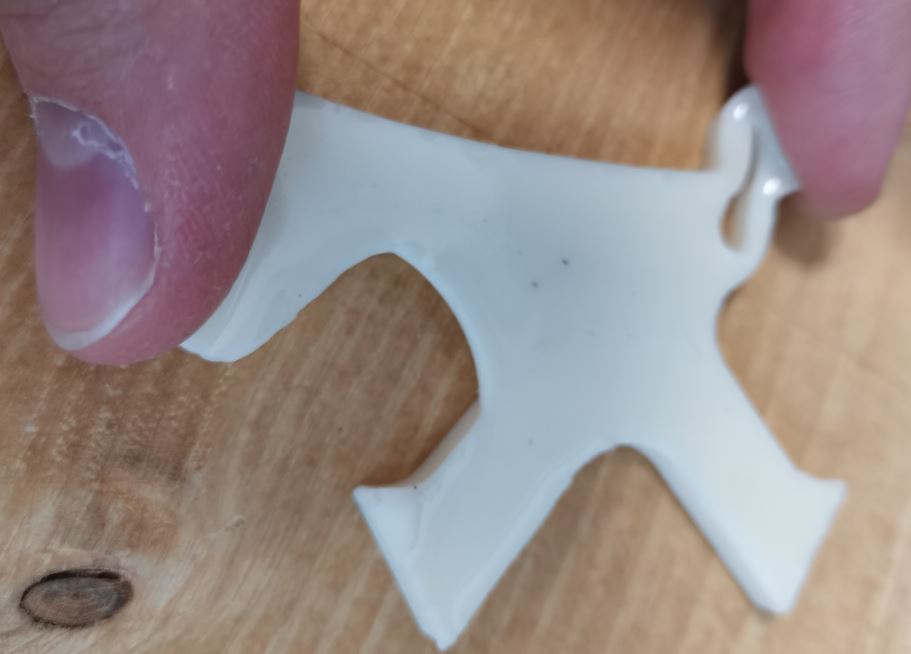
As you may see on the pictures above, the wax block I used wasn’t new. Another student used it before to make a really nice crocodile. Has I had too much resin, and silicon. I’ve made a key holder with it !
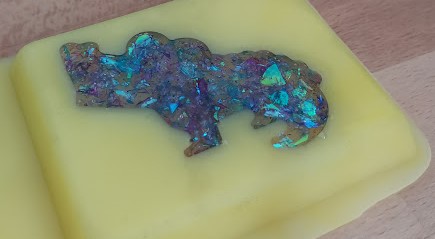
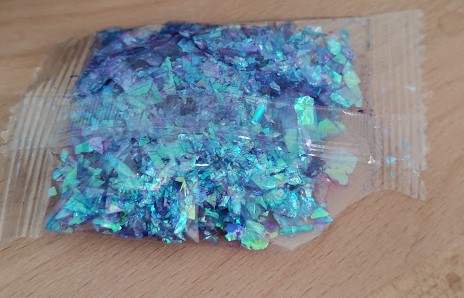
I had some sparks particle left from another project. I mixed some piece with the resin and cast everythin to the silicon mold.
Here is the result :
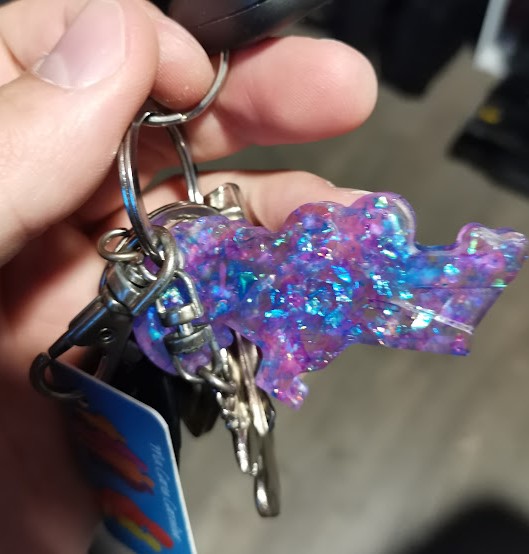
Thank you elina !