Gimp
Gimp is a very popular Image editor. It is both opensource and cross-platform which might explain why it is so advanced. With a very strong community behind it, Gimp can suit to Designer, photographer, illustrator or even scientist for free !
You can download and install Gimp for free on Windows, OSX and linux. Fortunately the Gimp documentation is available in 15 languages.
Introduction
Gimp is a very cool open source project created to make image edition accessible for free. Gimp is cross-platform and support tons of files format. I wanted to test something for a while now. 3D printer are great to print 3D stuff. But did you now that you can also print picture using 3D printer ?
This process is called lithophany. Originally, lithopahny is an engraving method which material thickness to create shade onto a sheet.

At this time, this kind of image was make by hand by engraving stone with a chisel or scrapper.
Now, engraving isn’t needed since we have the opportunity to print directly the 2D-3D part from a digital file. However, lithopahy require preparation. To start I’ll use a picture that I want to transform.
Gimp presentation
Before jumping on lithophanes, a few words about Gimp. Gimp is a raster software which mean it is very powerful for manipulating pixels. This tool can be use for pixelart or even for photo retouch. Scientist, photographer, illustrator are using it for several purposes. Forget Microsoft paint, photoshop et al., Gimp is free, opensource and very powerful.

Let’s create something with Gimp. Fortunately I have a graphic tablet. So I installed Gimp on my Surface Pro and started to draw with my pen. To enable pressure and inclination sensitivity (for natural drawing feeling) I needed to install the wintab driver available here
If your interested in gimp, please check this series of tutorials.
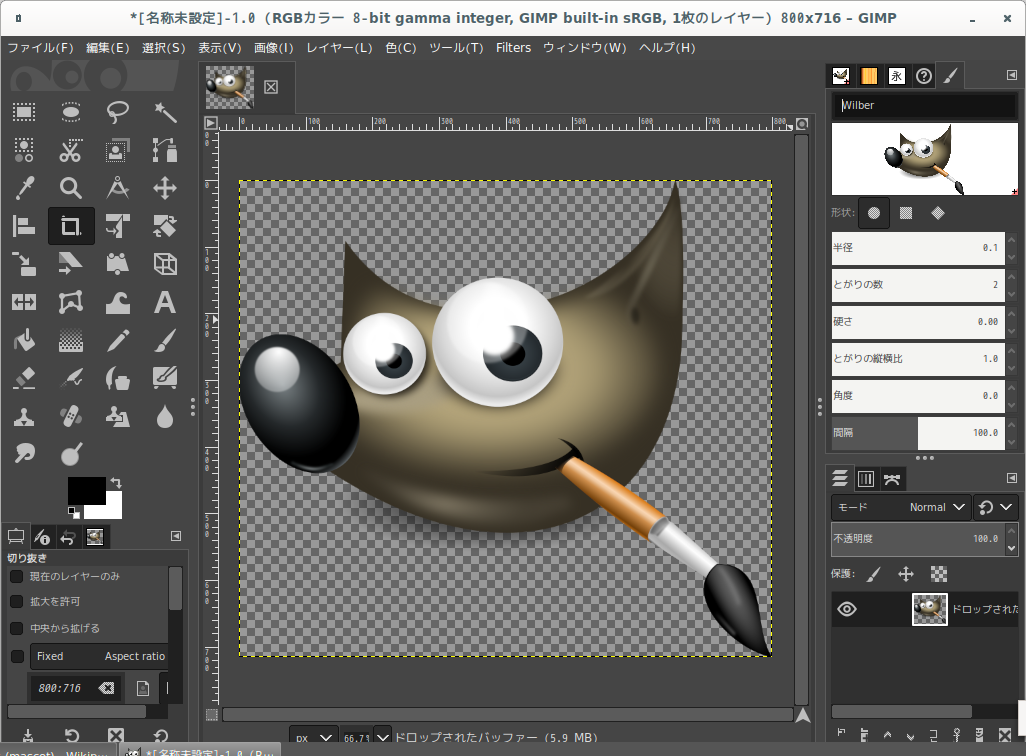
Here is my first drawing with gimp. Unlike Inkscape, gimp create raster image which mean you cannot zoom infinitely on a feature. Raster image are composed of pixels instead of vectors. Those images are basically a matrix of color describing the final image. And as every matrix, you can transform them easily. That’s exactly what gimp does.

As I said above, you can also apply color transform to the whole image. Just as Instagram does to “improve” pictures. Here I’m manipulating color using the HUE slider. This change the tint of the whole image. The second slider Chroma is raising the color contrast to
Preparing a picture for litophanes
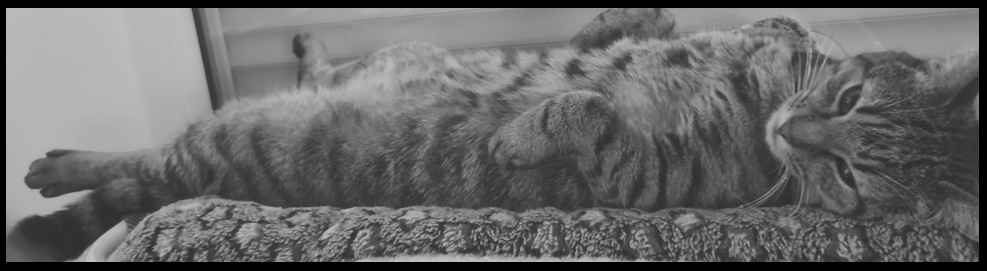
For sample, I’ll use this picture from my cat : Merlin
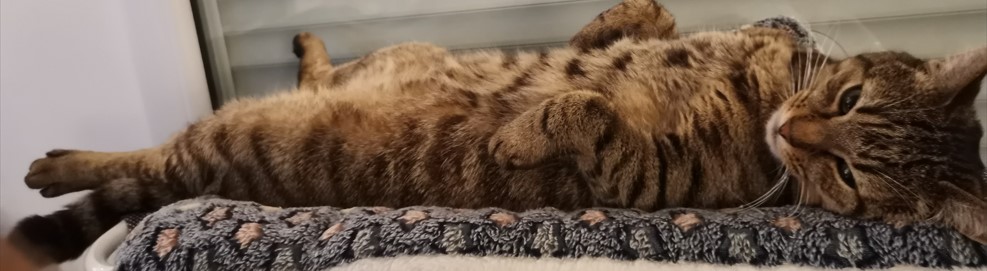
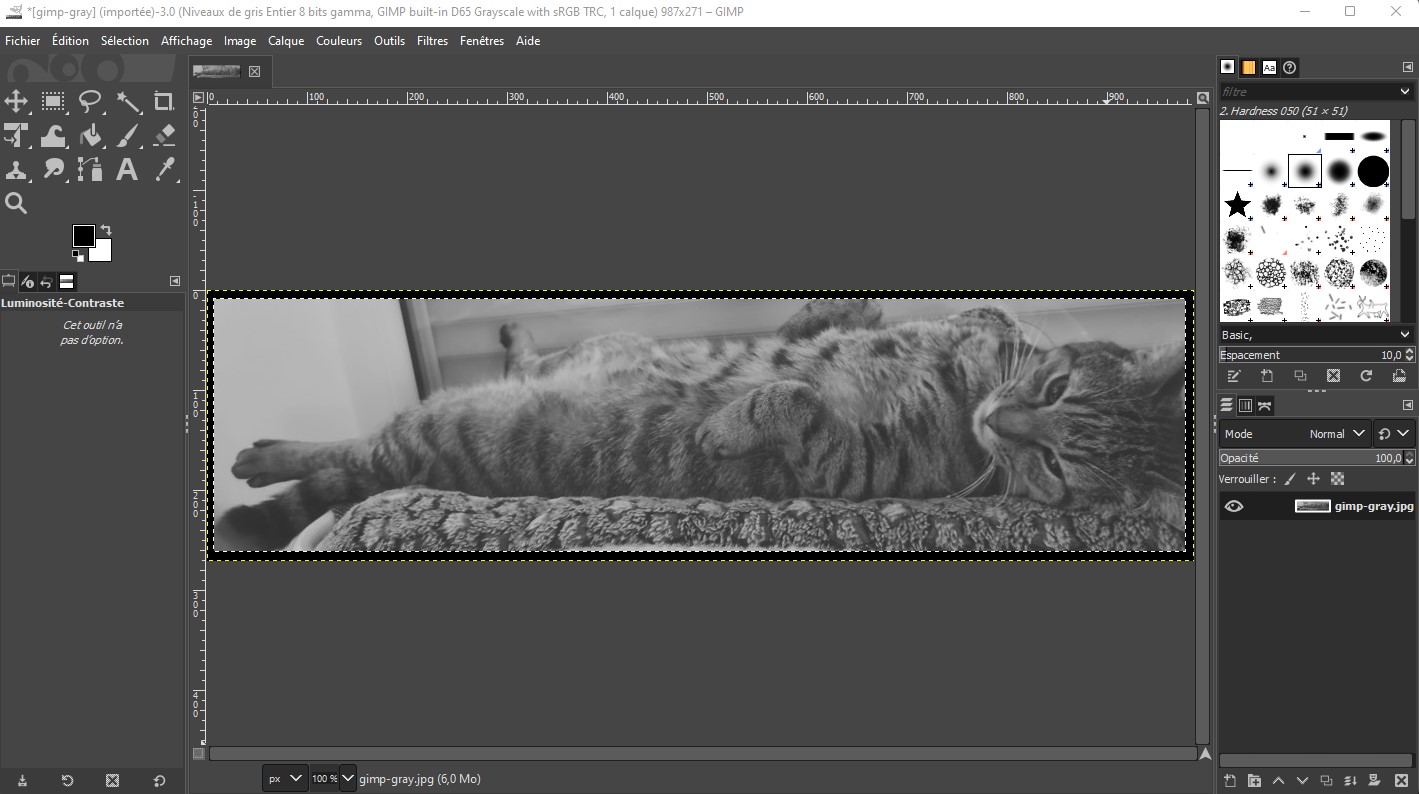
First we need to convert our colorful picture of Merlin to a grayscale format.
Then, I added a black border to the Image using the selection tools of Gimp, I selected a rectangle which will be be inside the border. Then I inverted the selection to select the outer border.
Using the Filling tool, I painted it to full black.

After that step, I adjusted the contrast to limit the depth of the image, unless the print may fail. I used the Constrast/Brigthness tool to do so.
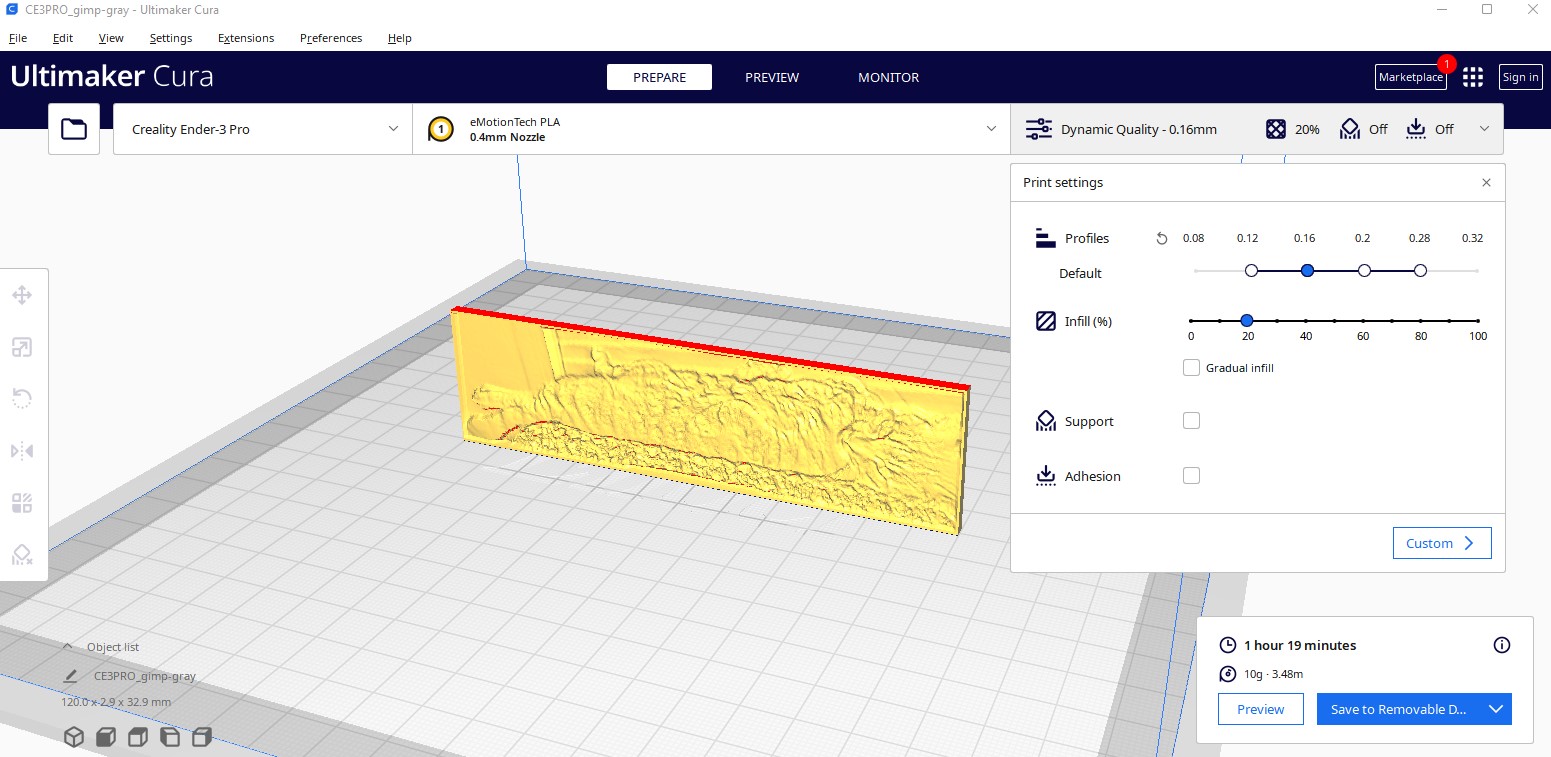
Then the file is ready. I just need to export this picture and import it in cura. Here is the final image :
I placed the part vertically to maximize the quality. On a 3D printer, the Z axis as always a bad resolution due to slicing. To improve the overral quality, placing it is advantageous because XY axis have a greater resolution.
I printed this part using white ABS. I hope it will let light go through to let us see the shadows and by chance my cat !
Here is the final part :
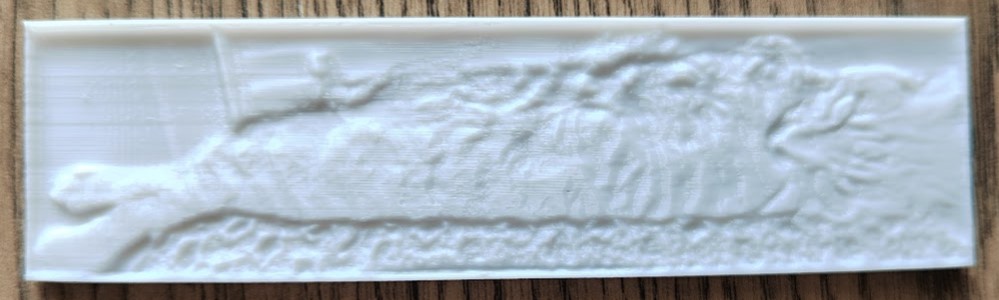
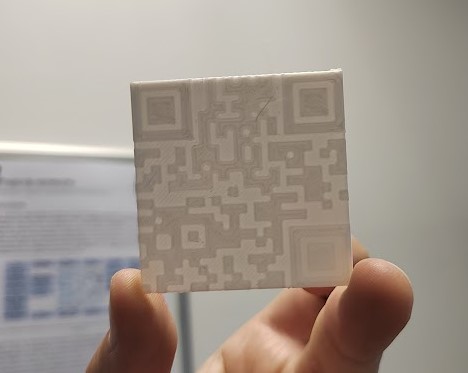
Not very impressive right ? But now look again with a light passing through !
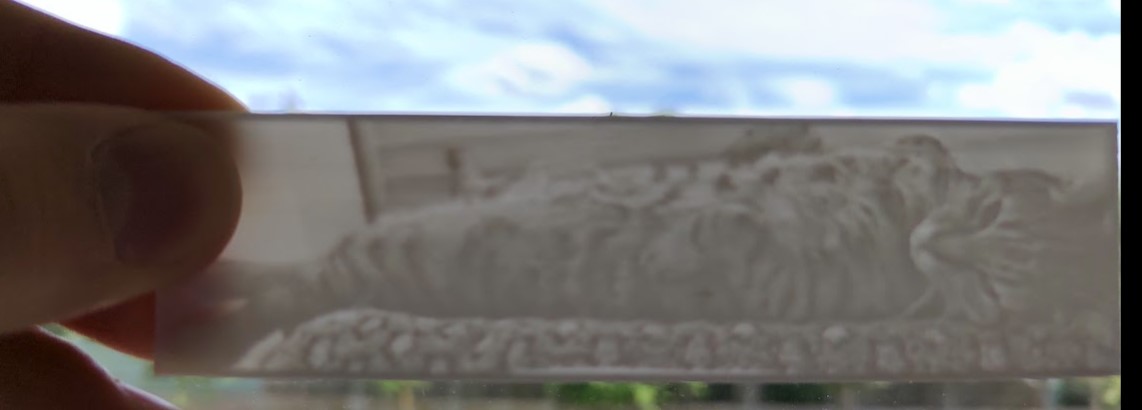
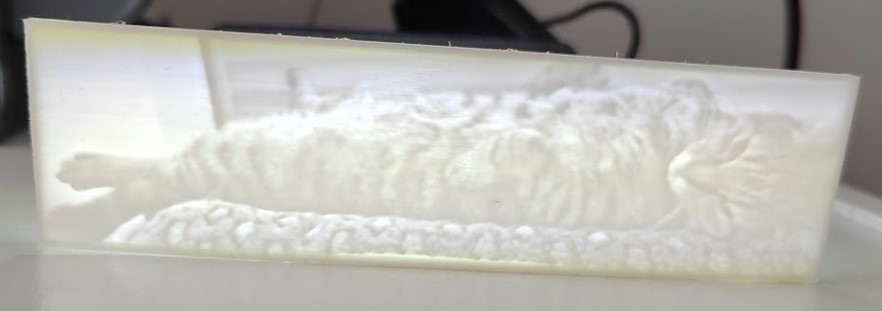
It works with the sunlight, or with a warm artificial light (Make me think about vintage sepia photos)
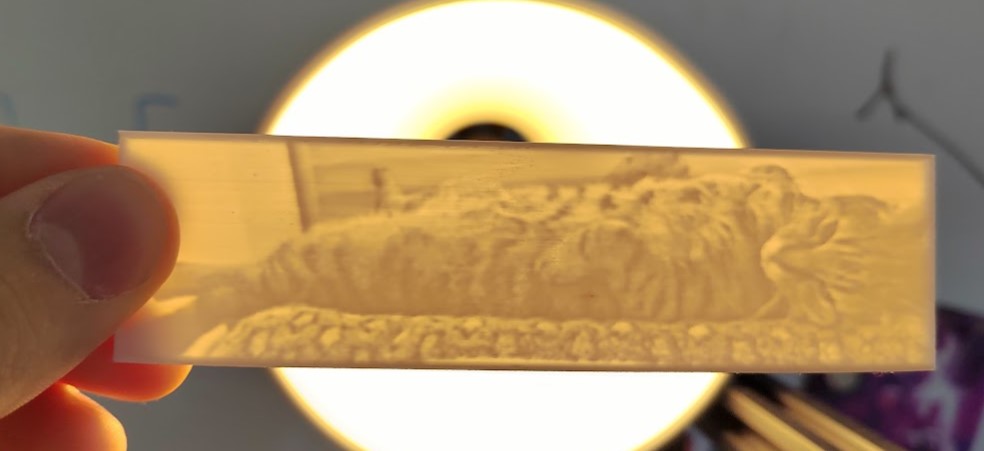
I used an old LED project to light it up :
I also had an idea to make an hidder QRCode using the same principle :