Setup on Windows
Warning
First, I need to warn you about something… Working on a PC equipped with Windows may be very frustrating ! Quantum physics seems more predictable.
The project template supplied by fabacademy is based on mkdocs. Mkdocs is a website generator, it is based on python which is both a programming language and a software translating code to computer operation in real-time (It’s called an interpreted language)
Mkdocs is highly configurable. We will deal with the installation process, and then, I’ll try to explain how I customized it.
Package management
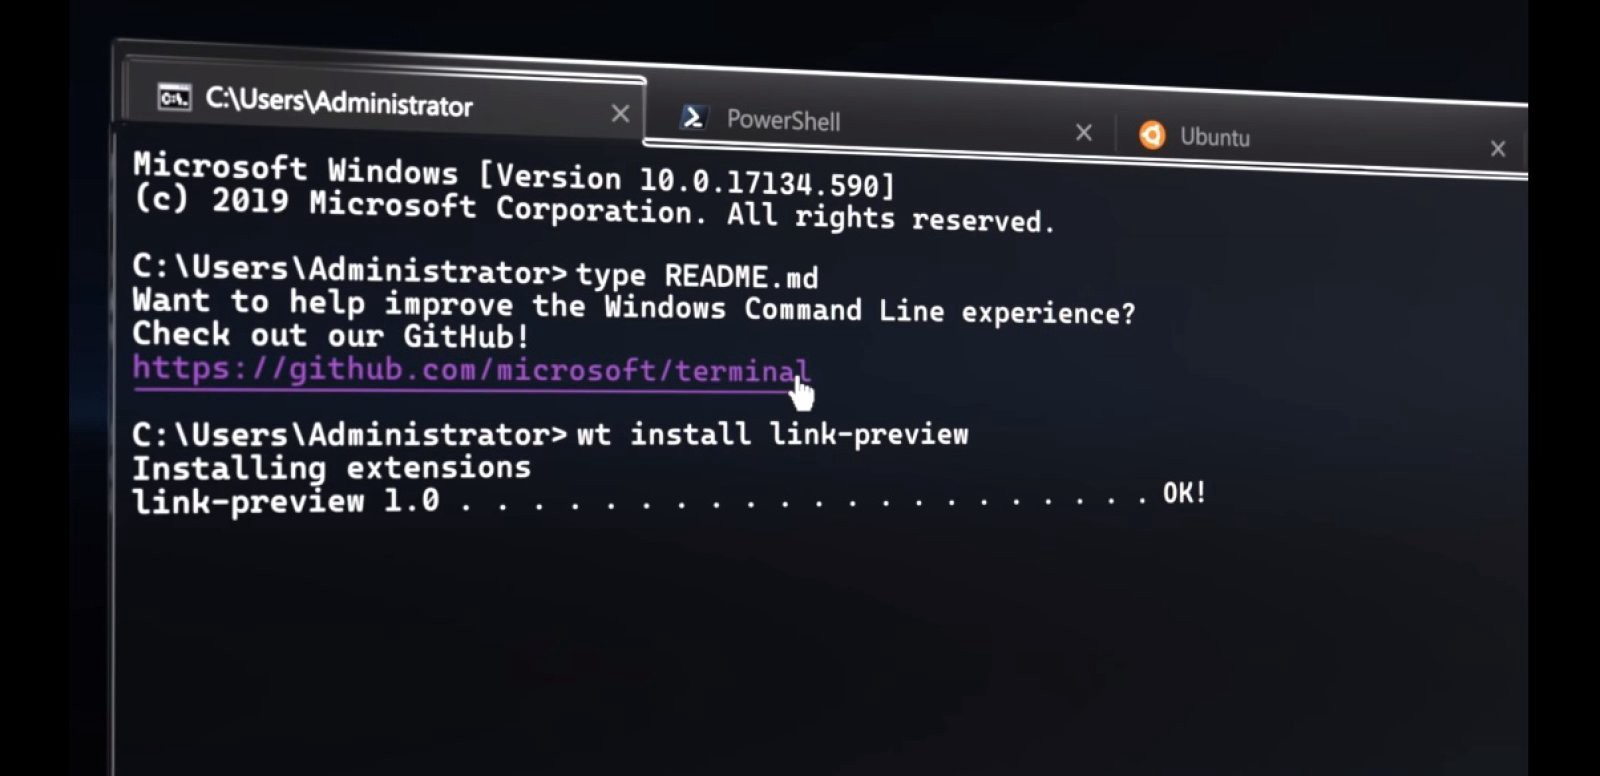
Installing software manually is only for newbie, real fabacademist used to install software by typing commands into a terminal. On Windows, it is possible using a package manager.
For instance, it is possible to deal with package using terminal by using a piece of software named chocolatey. Chocolatey is a powerful package manager for windows. However, I already installed mkdocs a few months ago. To my mind, Chocolatey don’t help this much. But you may find it useful to install several versions of python or to set up automatic installation script.
Pre-requisite
Before installing mkdocs. We need to install python and pip (Python package manager).
Python installation
First, download the python installer here and choose the Windows version. I executed the installer and complete the installation process. Before installing a software on Windows, consider these tips :
- Windows install software in
C:/Users/username/Appdatawhen you choose “install for this user only” - Windows install software in
C:/ProgramFileswhen you choose “install for all users” - Windows is not very clever at managing environment Path… Adding useful directory to path manually is often required
When you run the python installer, select custom installation. Then check these options :
__Check python installation : __
To check if everything is installed properly, open a terminal and type python --version
Here is the expected result :
$ python --version
Python 3.9.1
Success
Your python installation is complete, and you successfully added the folder to the environment variable. If the terminal give you an error, check the error box below.
Error
If the terminal give you an error, check if you installed python properly. If python seems to be installed, it is possible that you forgot check the “add to PATH” checkbox. Don’t worry ! To add it manually, there is a very good tutorial here.
Useful tips
You can open terminal using the file explorer, in the filepath bar, type cmd and hit enter
This is very convenient for opening terminal in your current working directory.
Pip installation
Now python installer include pip. Thus, you should have pip installed already. However, we may check if it is installed by typing :
$ pip --version
Error
If you don’t have this result, don’t panic (I did), It may be the PATH variable messing with you once again. In your python installation folder, you should have a directory named “Scripts”. Make sure this directory is also in your PATH variable.
In other words, you should have these two lines :
C:\Program Files\Python39\
C:\Program Files\Python39\Scripts\
Success
$ pip --version
pip 20.2.3 from c:\program files\python39\lib\site-packages\pip (python 3.9)
Pip is now installed. To upgrade pip, consider using pip install --upgrade pip in you preferred terminal.
Git Installation
I’m not an expert in version control, but I have good overview of what git & GitLab help to do. I have a mechanical engineering background, but I develop programs for a while now. For some reason, I never heard about Git at school… (French) Mechanical engineering teacher seems to be afraid of whatever headless computer program you use ! I was probably one the few students of my degree to host CAD files on git to optimize the development process. Git isn’t only useful for code version control but also for everything related to collaborative engineering. Git is the philosophy of keeping the whole history in a single place accessible for every collaborator.
Anyway, I love git, and it’s way more convenient than whatever other version control methods I tryed ! Note that we will be using Git as a local software but the platform hosting our files online is named GitLab.
To install Git on Windows, I downloaded git installer from here
Here is the installation process :
To check if git is installed successfully type git --version in a terminal.
Success
$ git --version
git version 2.30.0.windows.2
Error
Once again mind your PATH variable ! Adding git to your PATH should be easy now.
Once you have git installed, you’re able to download your distant project ! To download your documentation site project we will clone it.
Setup SSH authentication
When working on documentation. I must log in GitLab very often (each time I want to bring my changes online). It is possible to use git only using standard passwors / login methods… or you can use SSH !
Ssh-key security is a very good way to connect so distant machine (Server, Raspberry Pi, GitLab). Ssh-key are based on asymmetric cryptography. Which mean that when you generate a key, the program gives you a public key which can be shared with every one, and a private one which shouldn’t. When a website want to check your identity it can send a bunch of data encrypted using your public key, then to decrypt the data, the private key is needed, in theory only your computer should be able to decrypt the data and authenticate.
To generate your own SSH key open a terminal and type this command :
ssh-keygen
This will generate your keys in the default folder. Feel free to supply a destination folder. It is recommended to use a passphrase to increase the complexity of the key (but it is not mandatory). On Windows you can access to your public key at this location :
%userprofile%/.ssh/id_rsa.pub
Copy the whole content of the public key and add it to your GitLab account. Go to your settings > SSH key and paste the content of the key.
Then you should be able to connect to GitLab without typing your password ! Seems obvious but don’t share your private key to anyone !
Website setup
The project template supplied by the facabademy staff is actually a fully functional mkdocs website. This website will be hosted on GitLab using the GitLab pages services.
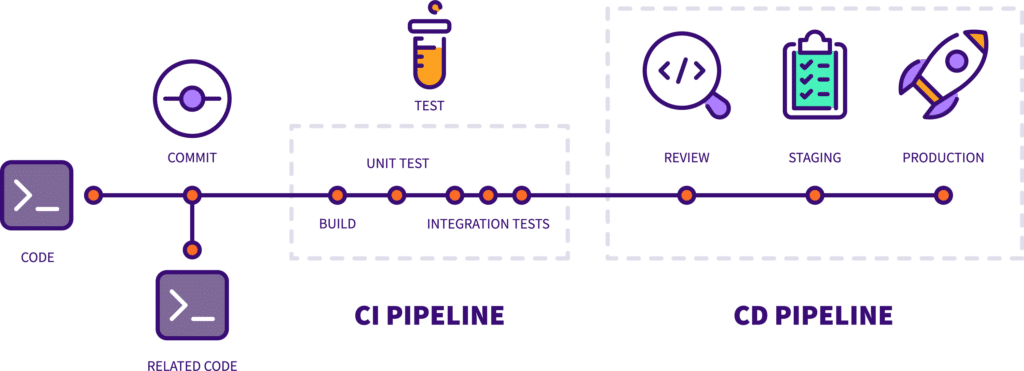
A few words about GitLab. As his big brother Git, GitLab is a platform hosting projects. As Git, it can keep trace of all the changes you have brought to your project. Additionally, GitLab can run scripts on its server. You can set up something called a pipeline to execute automatically, test, packaging, compilation online. The GitLab pipeline is basically a series of scripts running on a virtual computer where your project is available. Developers often use Gitlab to automate the development process. When someone publishes its work, a series of tests will check if they have done right and if the solution can be sent to the client.
But GitLab, doesn’t stop here. It also integrates your documentation. It is possible to host a website on GitLab. And that’s exactly what we will be doing. If you have your access to GitLab, you may be able to edit your website in the browser. However, each time you will submit a change, the whole pipeline will be executed… The pipeline can run during a minute or two before the result appear on your website URL… What if you can see the result of your changes instantly ? It is possible by running mkdocs to serve your website locally
Clonning your repository
Clonning means download a distant version of a repository. To clone the latest version of your repository, browse to the project destination and type this command below:
$ git clone git@gitlab.fabcloud.org:academany/fabacademy/2021/labs/lamachinerie/students/jules-topart.git
Cloning into 'jules-topart'...
remote: Enumerating objects: 150, done.
remote: Counting objects: 100% (150/150), done.
remote: Compressing objects: 100% (113/113), done.
remote: Total 1044 (delta 65), reused 96 (delta 35), pack-reused 894
Receiving objects: 100% (1044/1044), 40.77 MiB | 4.46 MiB/s, done.
Resolving deltas: 100% (456/456), done.
This will create a folder containing all your documentation site.
Info
The git clone command can be use trough ssh or https depending on the URL you use. I cloned over SSH however the port 22 in sometimes blocked in university. You can use HTTPS as well but, your password will be required… (You can use port 443 instead or port 22 using the alternative ssh port of Gitlab)
Your project is now cloned on your local machine. More than a simple download, cloning allows Git to check if you edited the local files and gives you the possibility to send back your modification. The process of sending files to the distant repository is call a git push. We will see how to push later. For now you are able to edit locally your website and that’s enough.
Installing Mkdocs
Installing Mkdocs is very easy thanks to pip. Pip is the python package provider. It is in charge of installing everything you need automatically (And it is very good at it). From here, you have two options, installing everything manually with pip, or using the requirements.txt inside your documentation site supplied by fabacademy.
To install mkdocs, just type :
pip install mkdocs
I never had problems running this command. If you do, please check the official mkdocs issue tracker here.
To run our documentation site locally with the theme from the material-mkdocs project, we will need a few more package. Make sure to install mkdocs-material and mkdocs-git-revision-date-localized-plugin.
Please run these commands :
pip install mkdocs-material
pip install mkdocs-git-revision-date-localized-plugin
To install everything automatically, you can supply a requirement file to pip. It will automatically install everything contained in the file. Please run this command inside your project folder :
pip install -r ./requirements.txt
The whole installation can take a while ! A cup of tea is mandatory at this stage !
Mkdocs should be installed now.
To check if everything is ok, type mkdocs --version in your favorite terminal.