electronics production

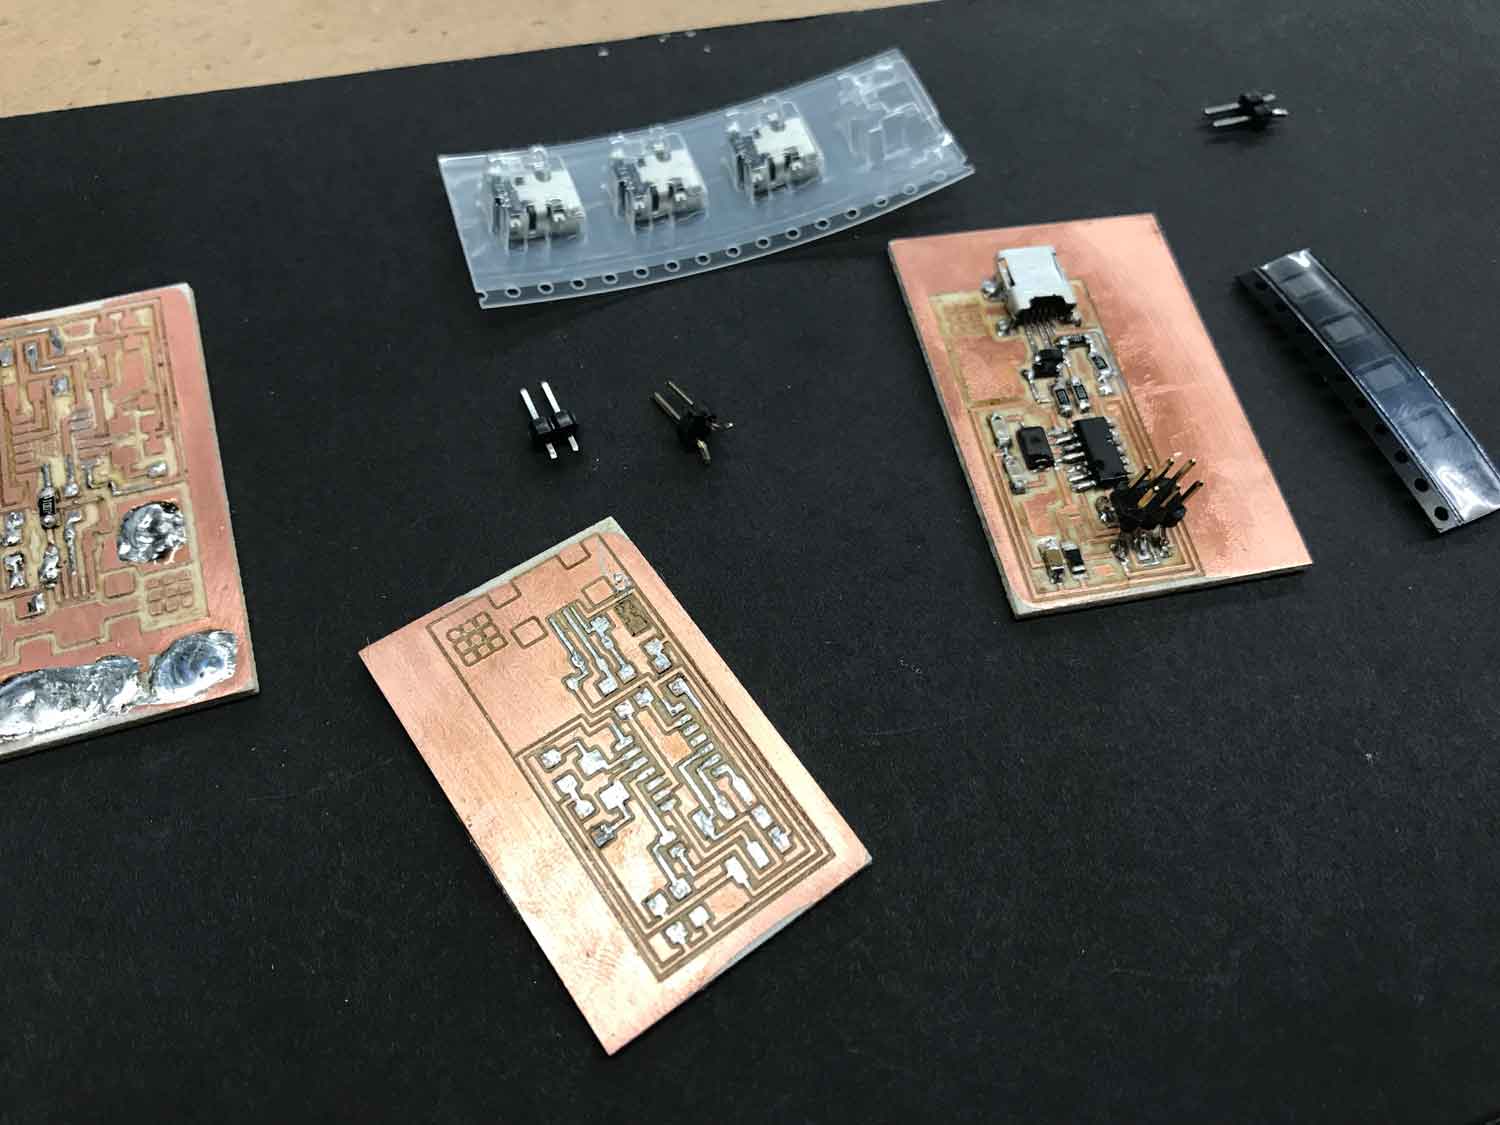
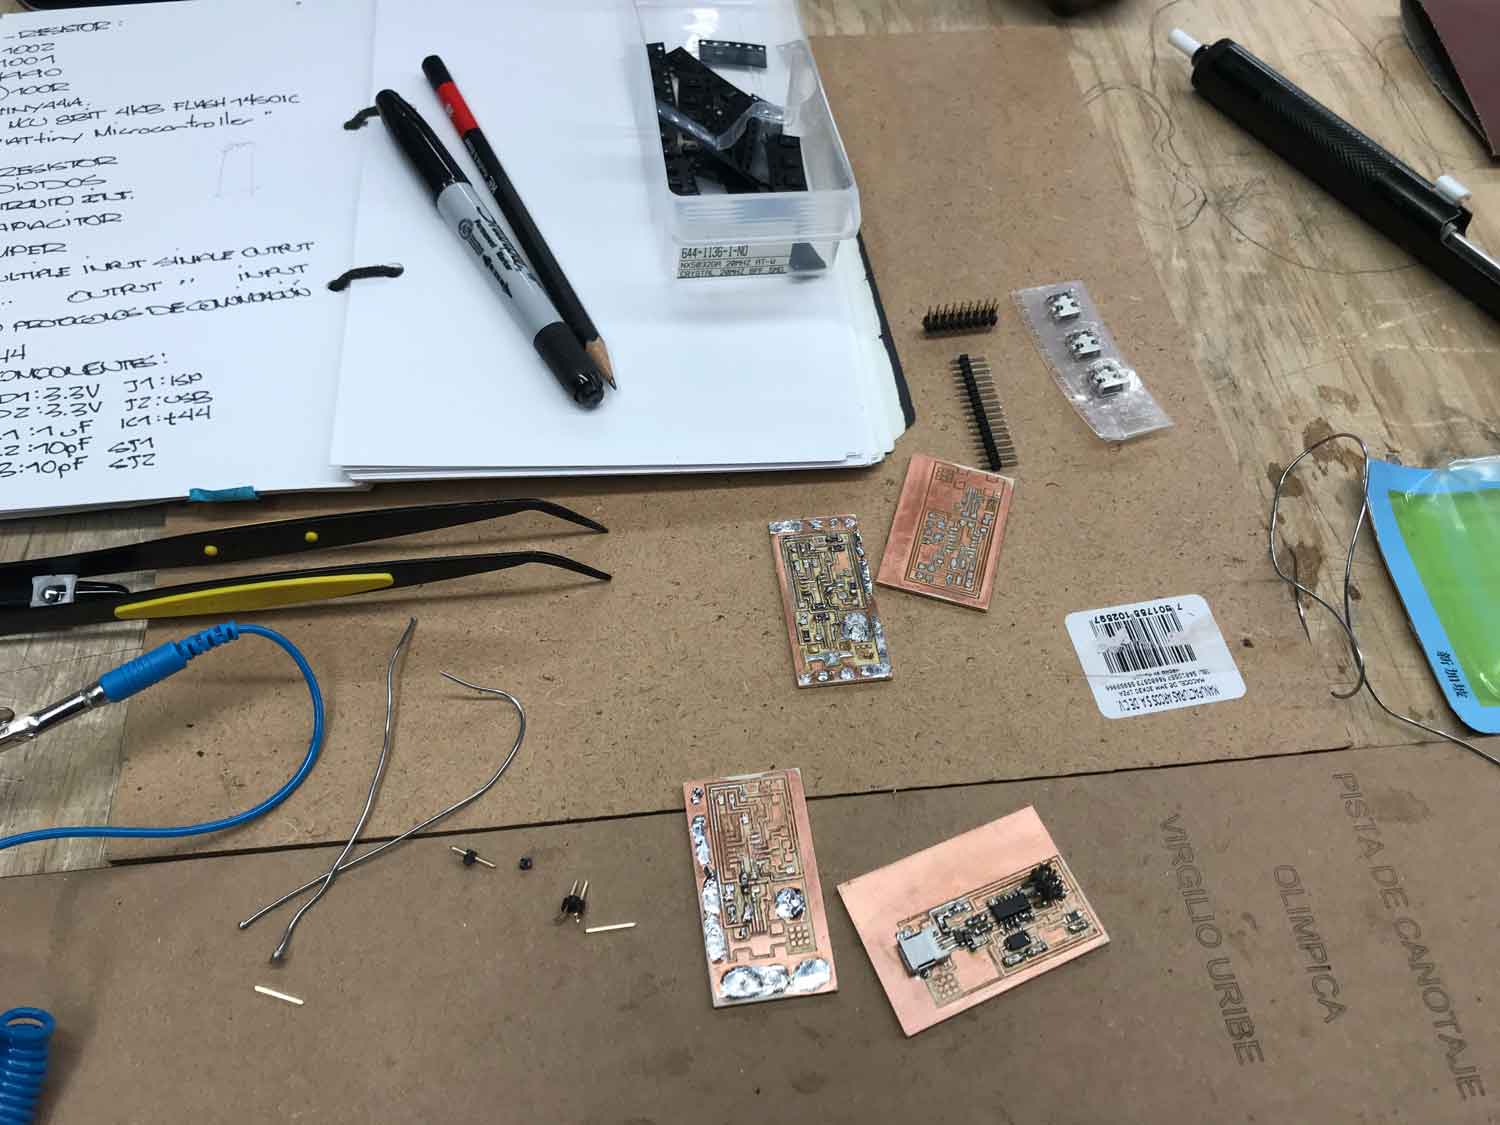
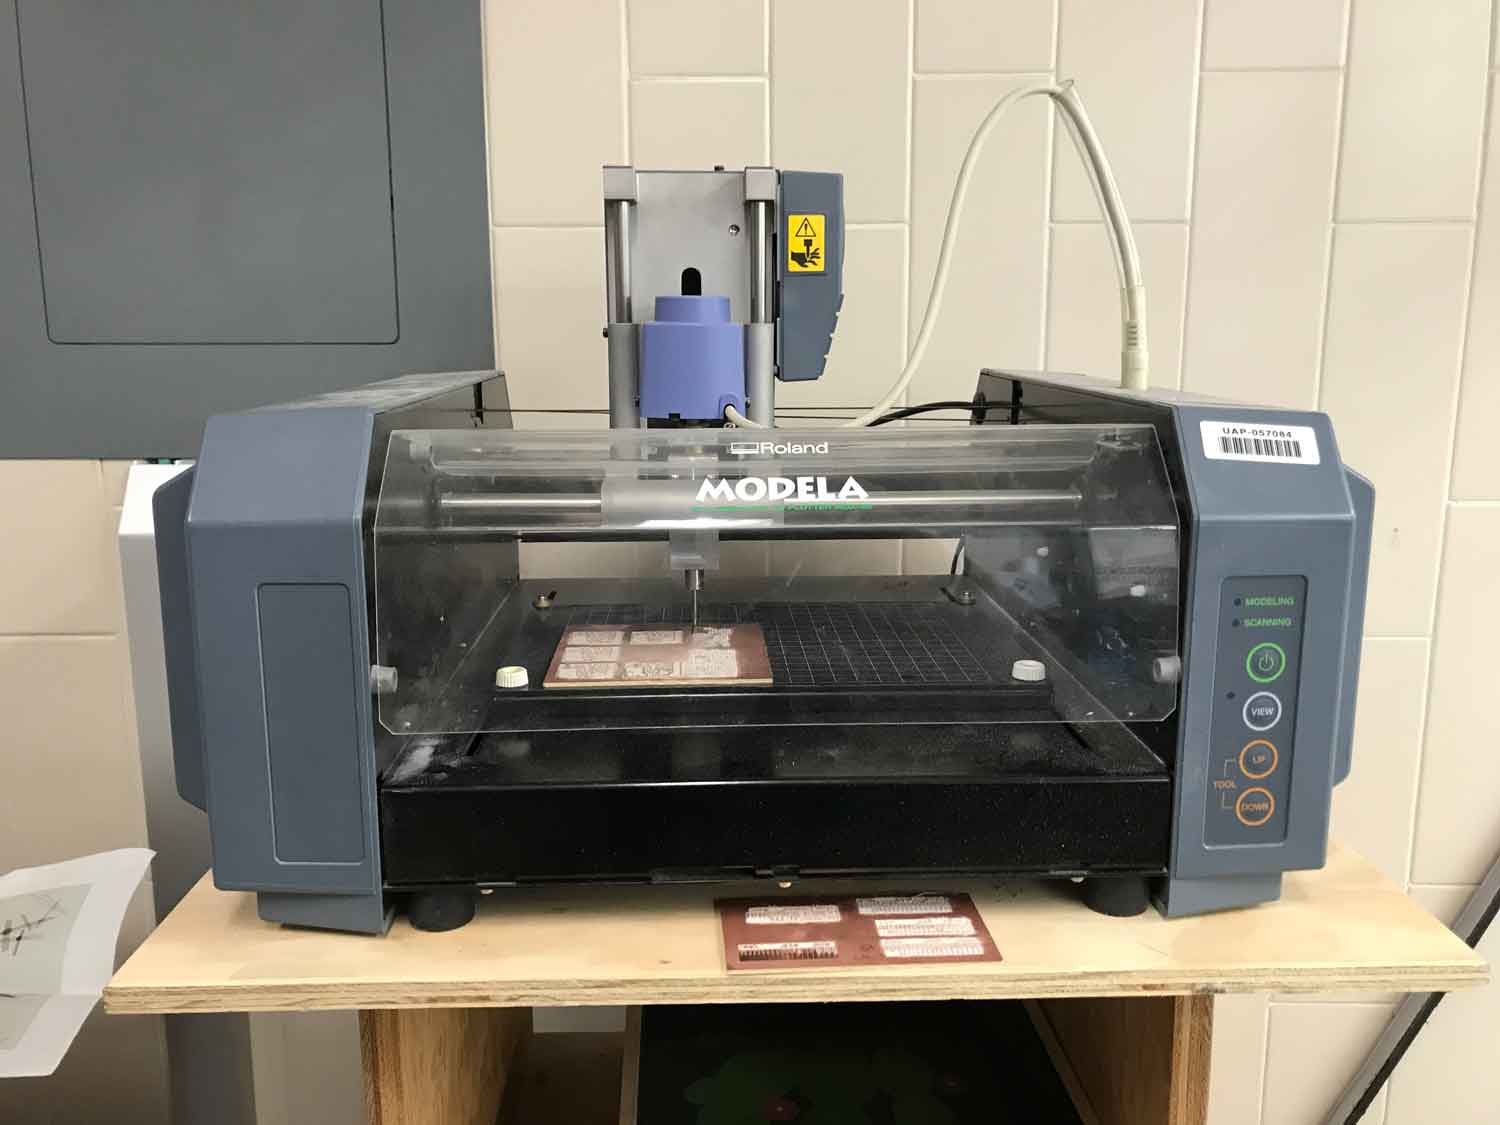
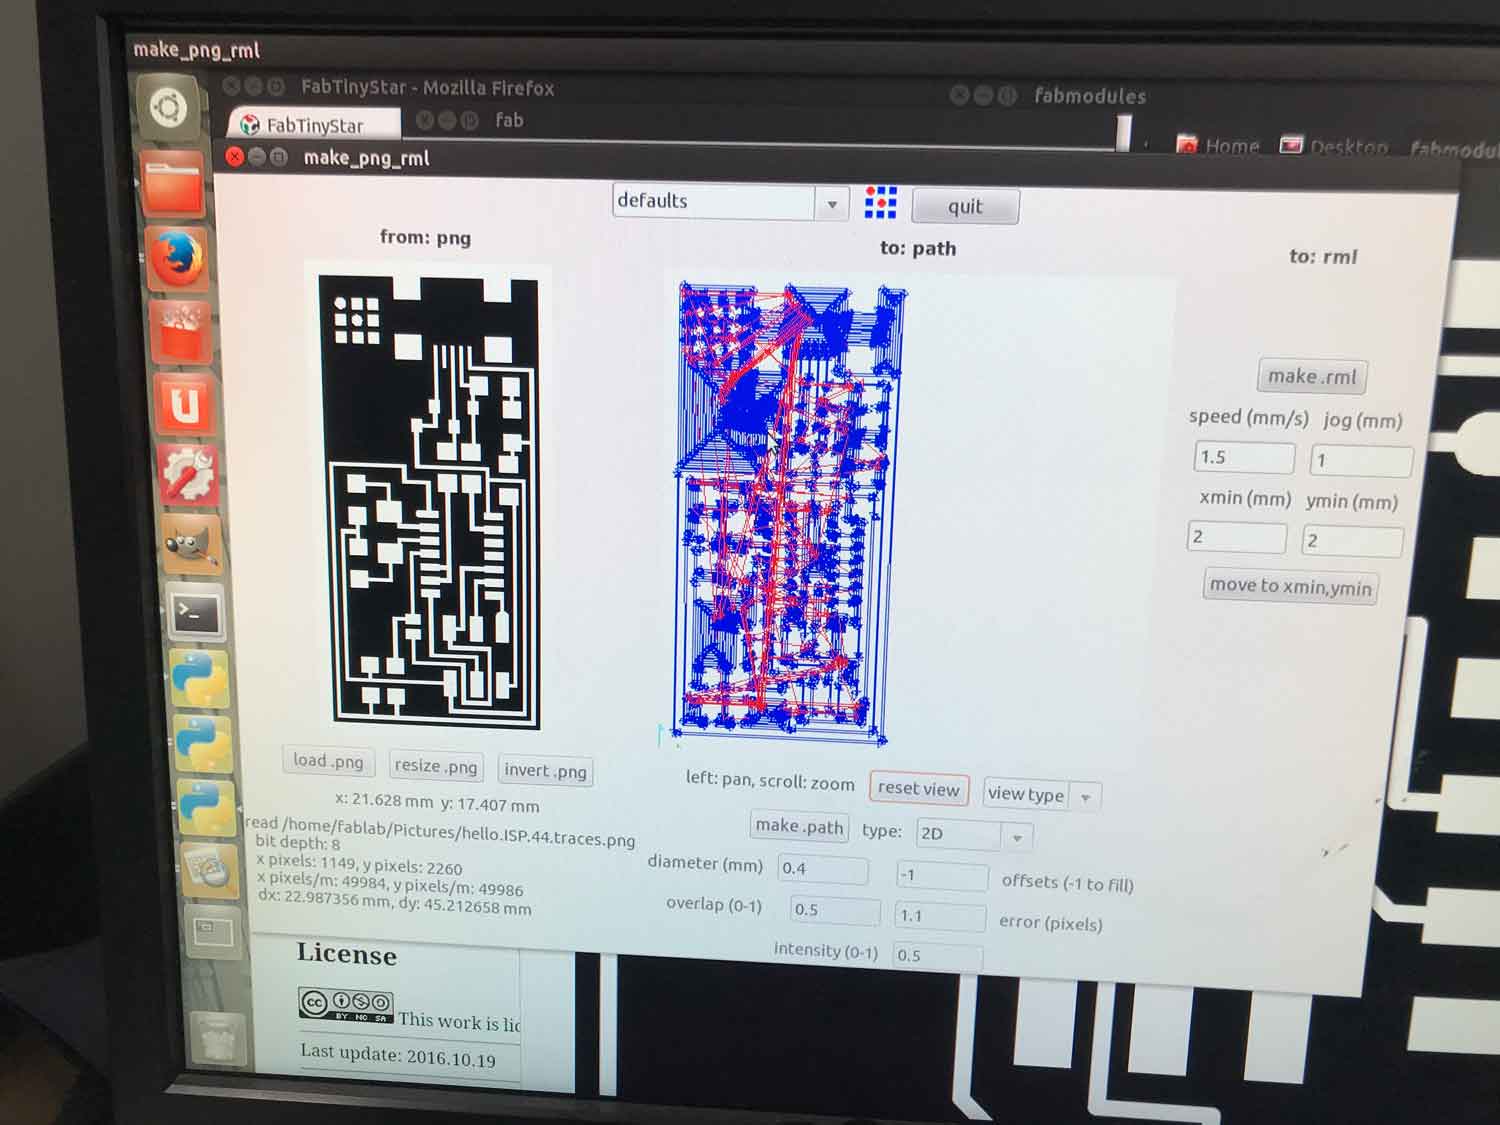
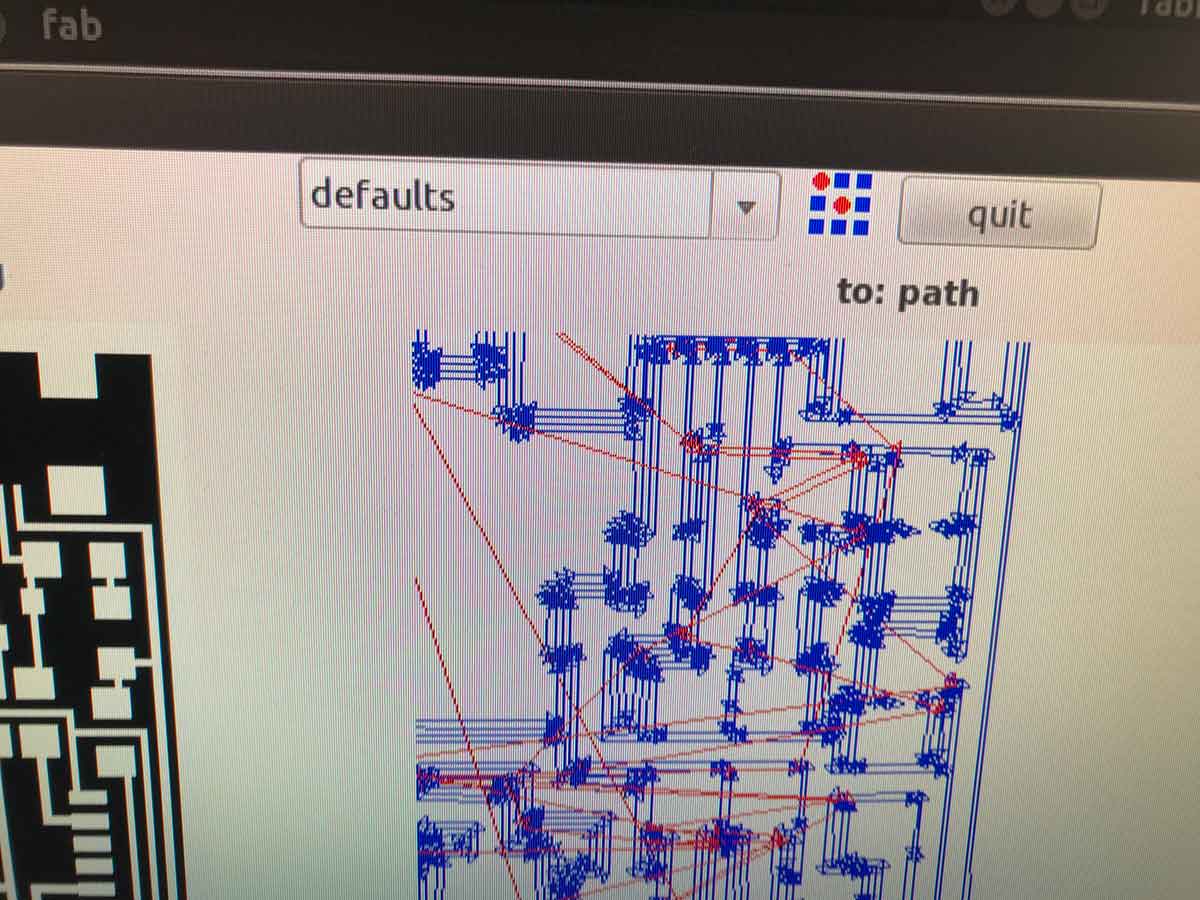
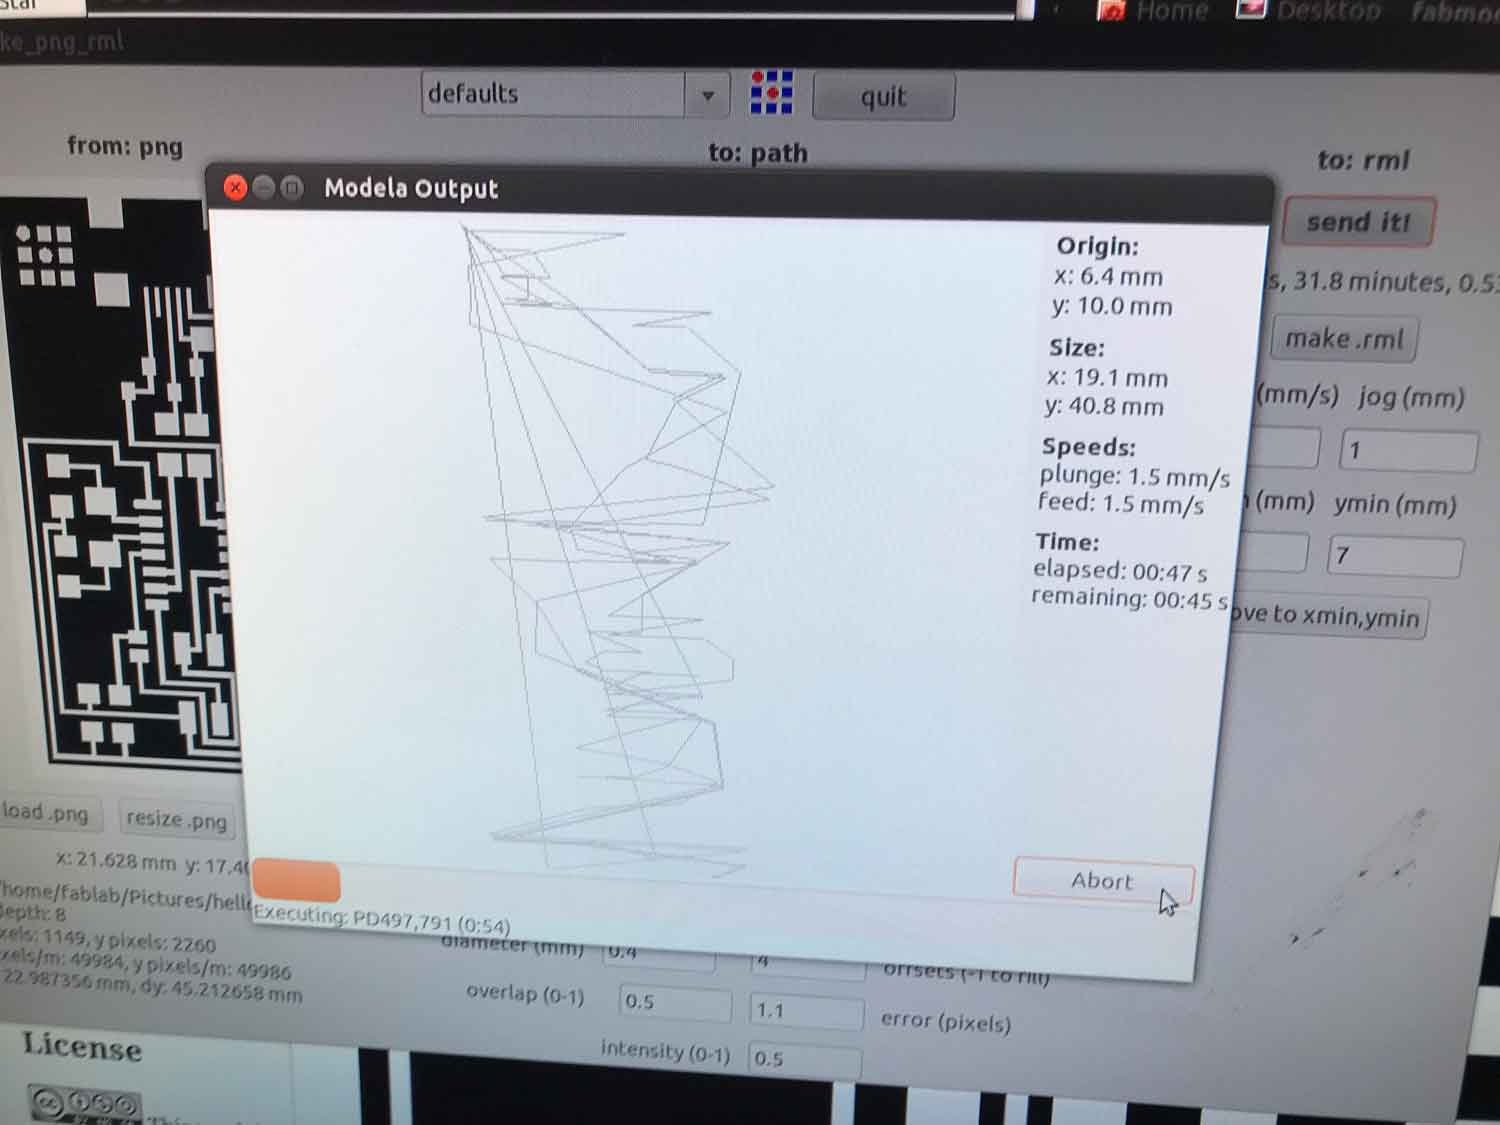
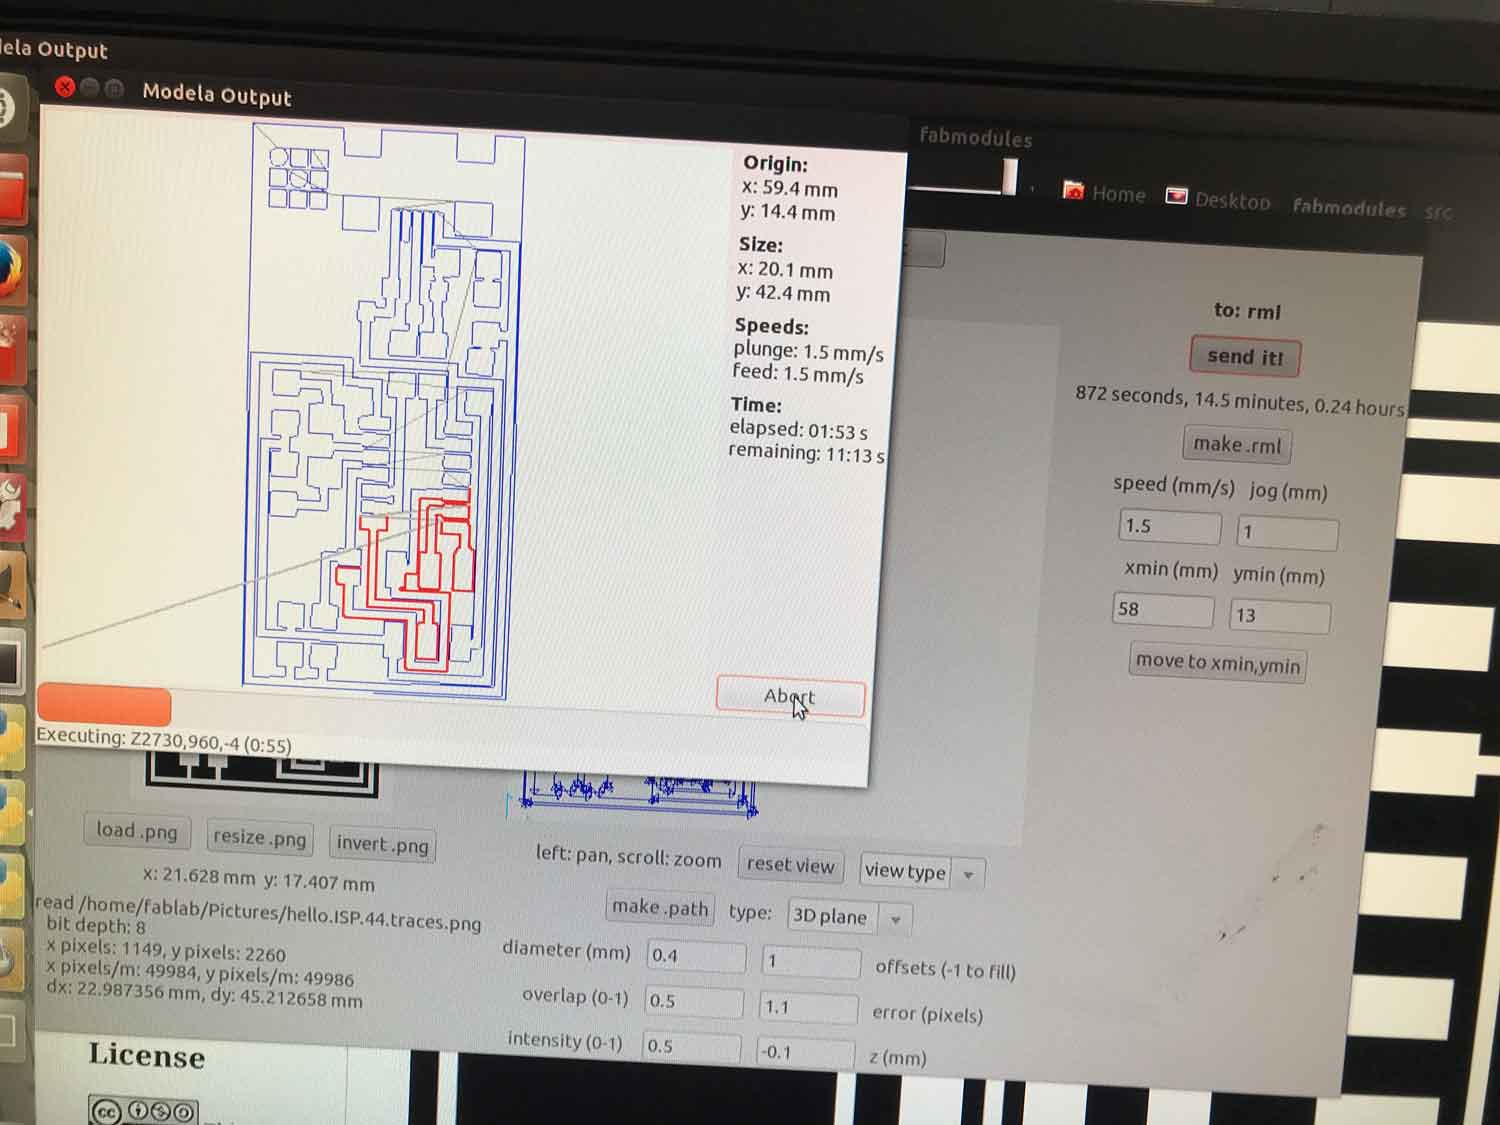
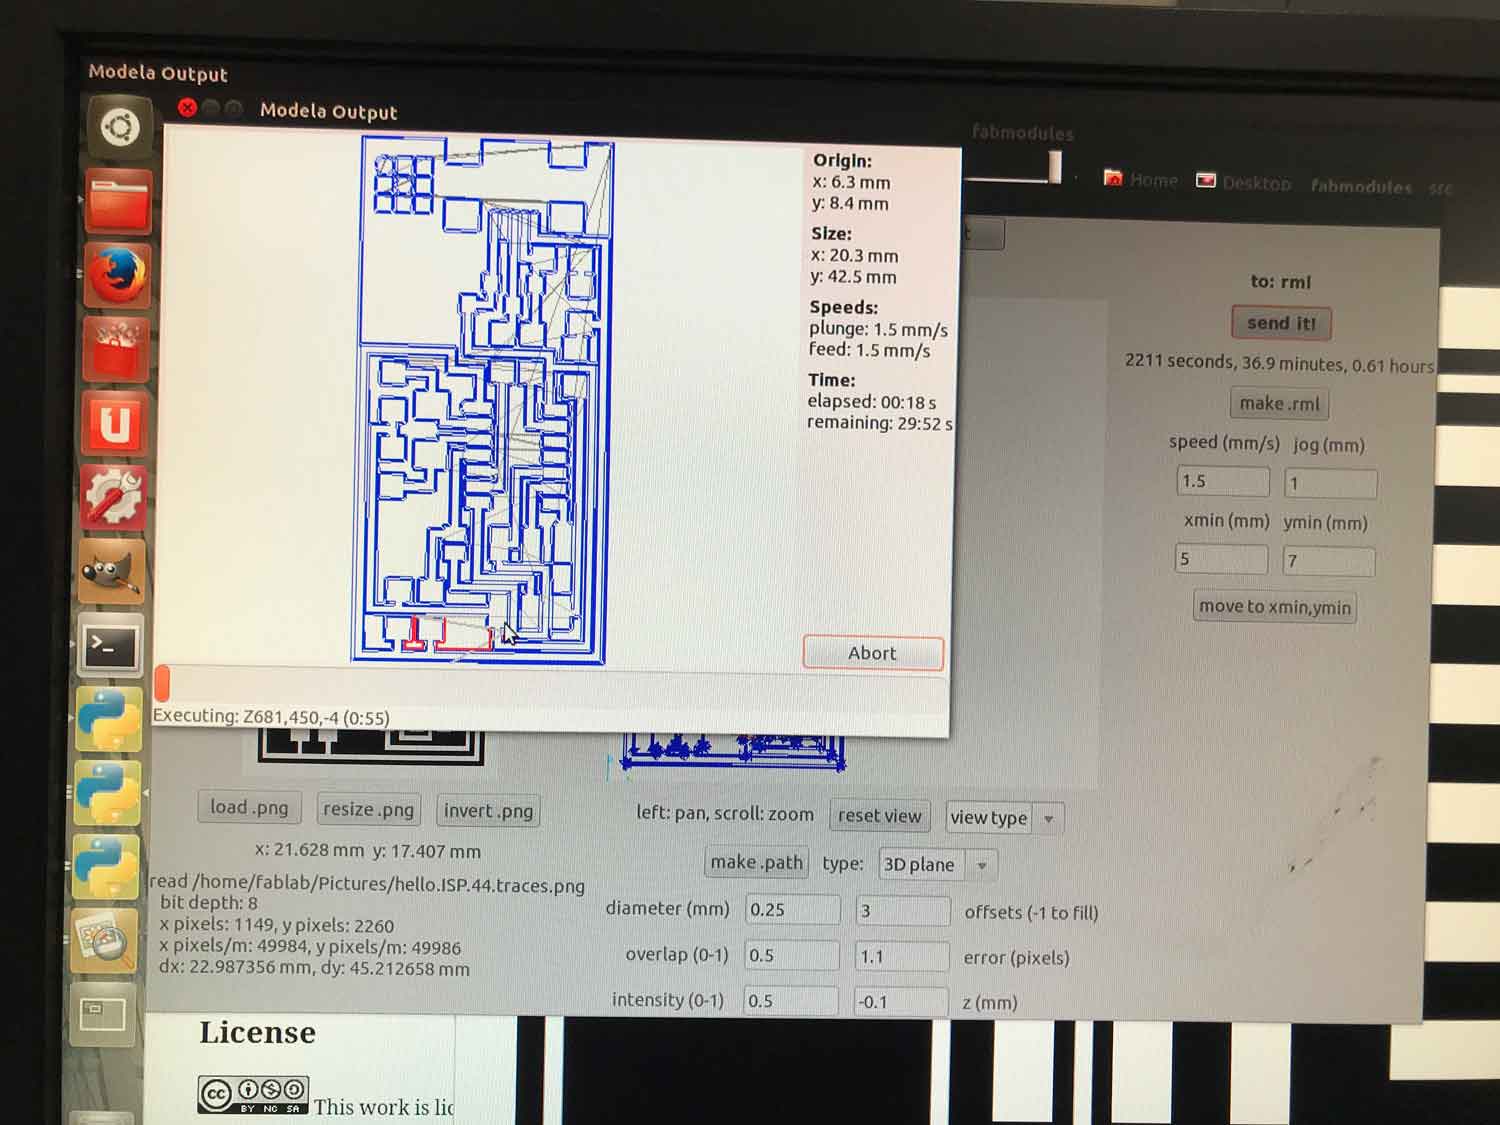
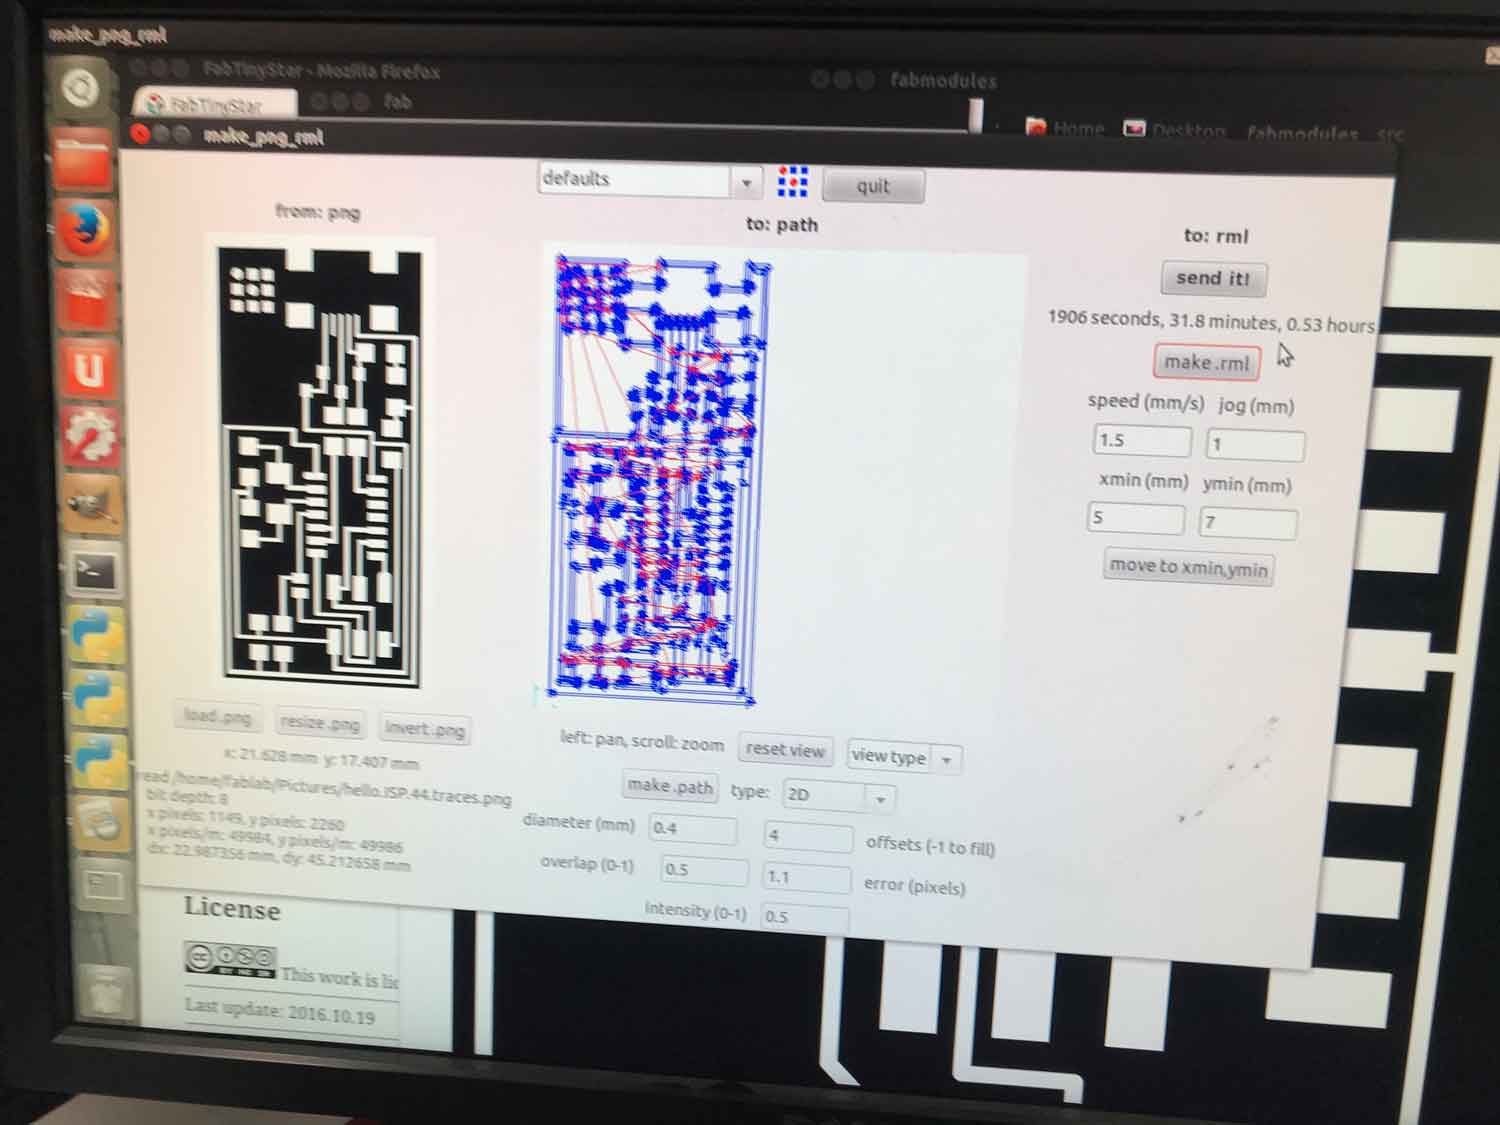
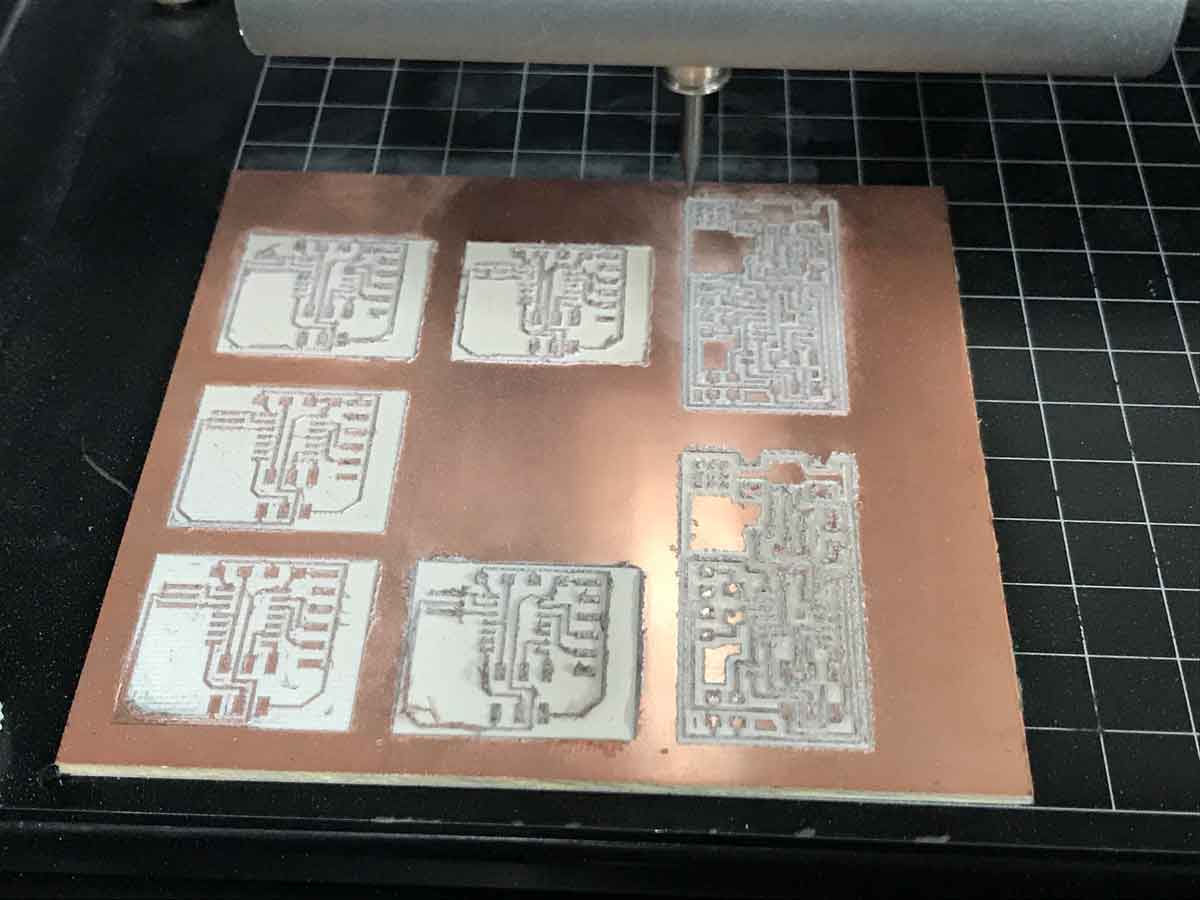
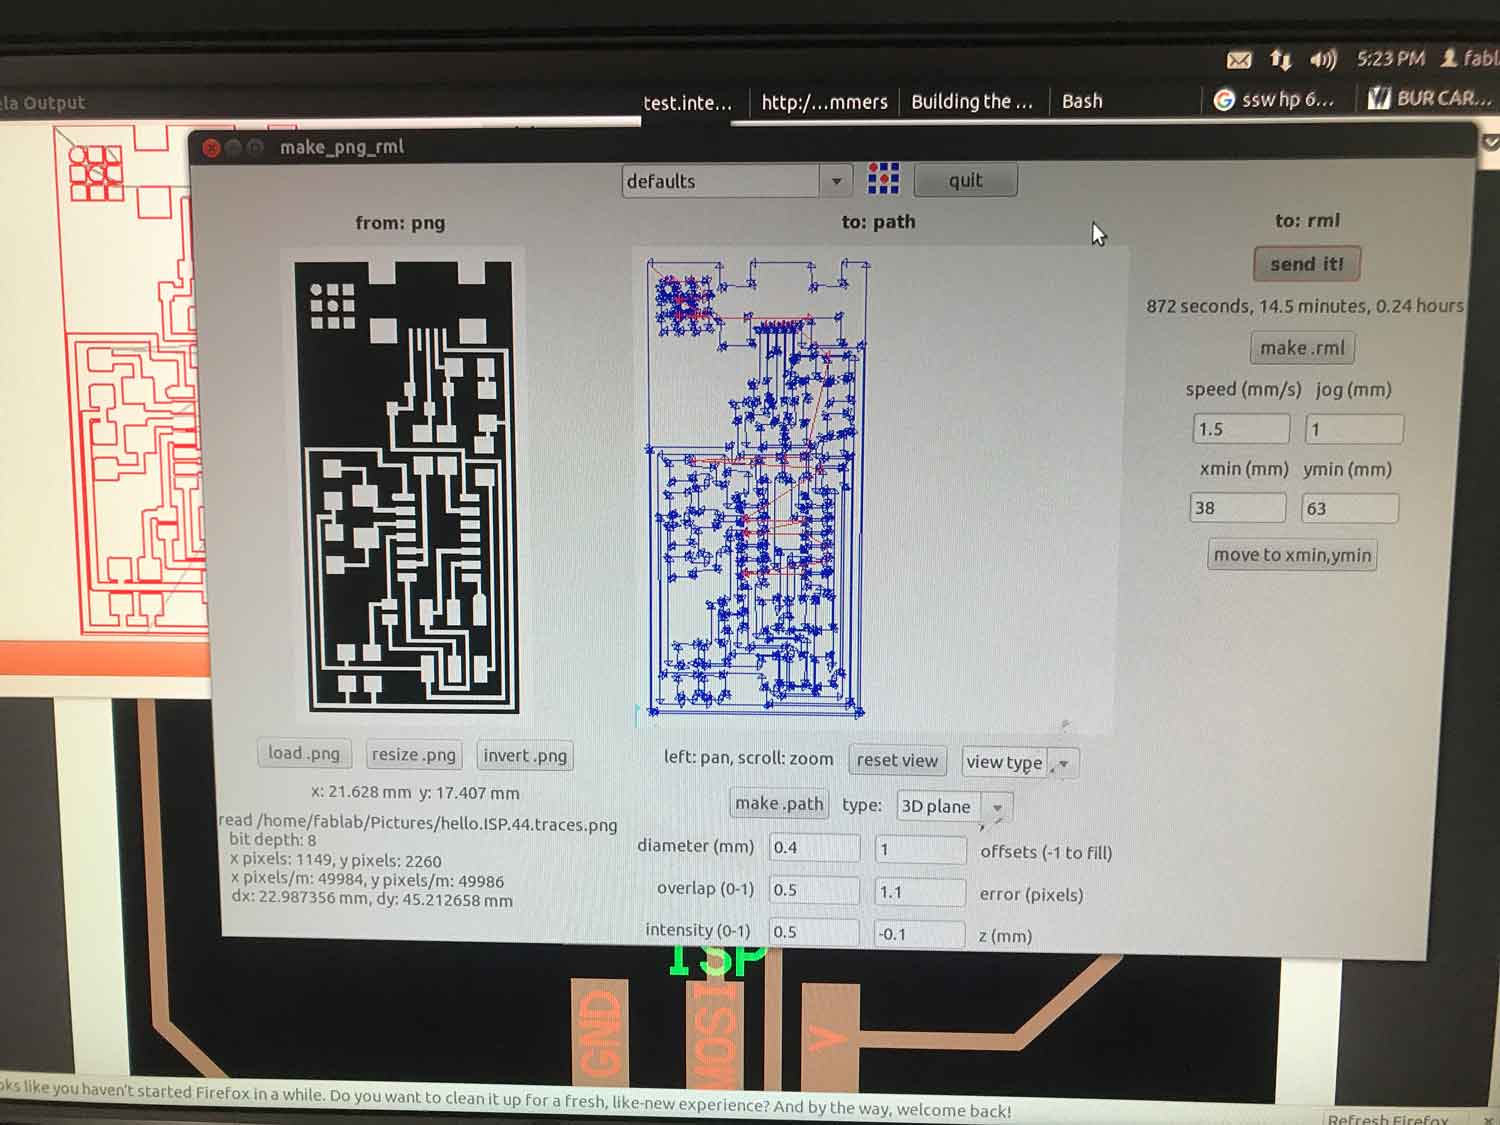
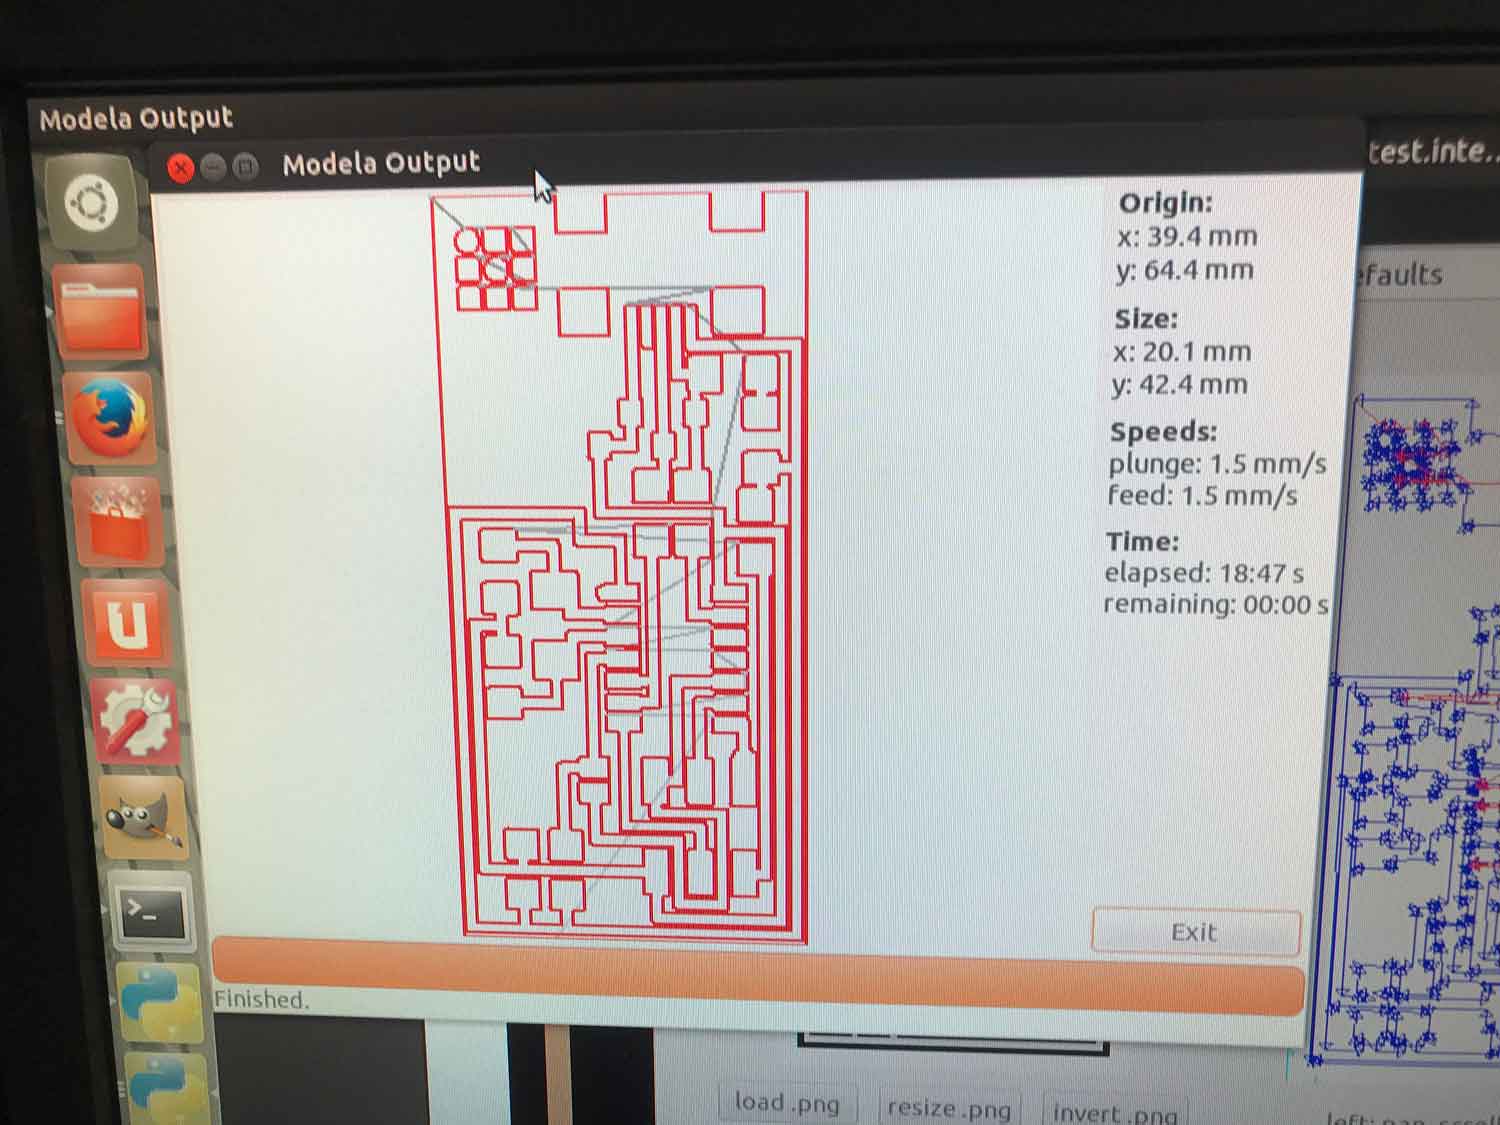
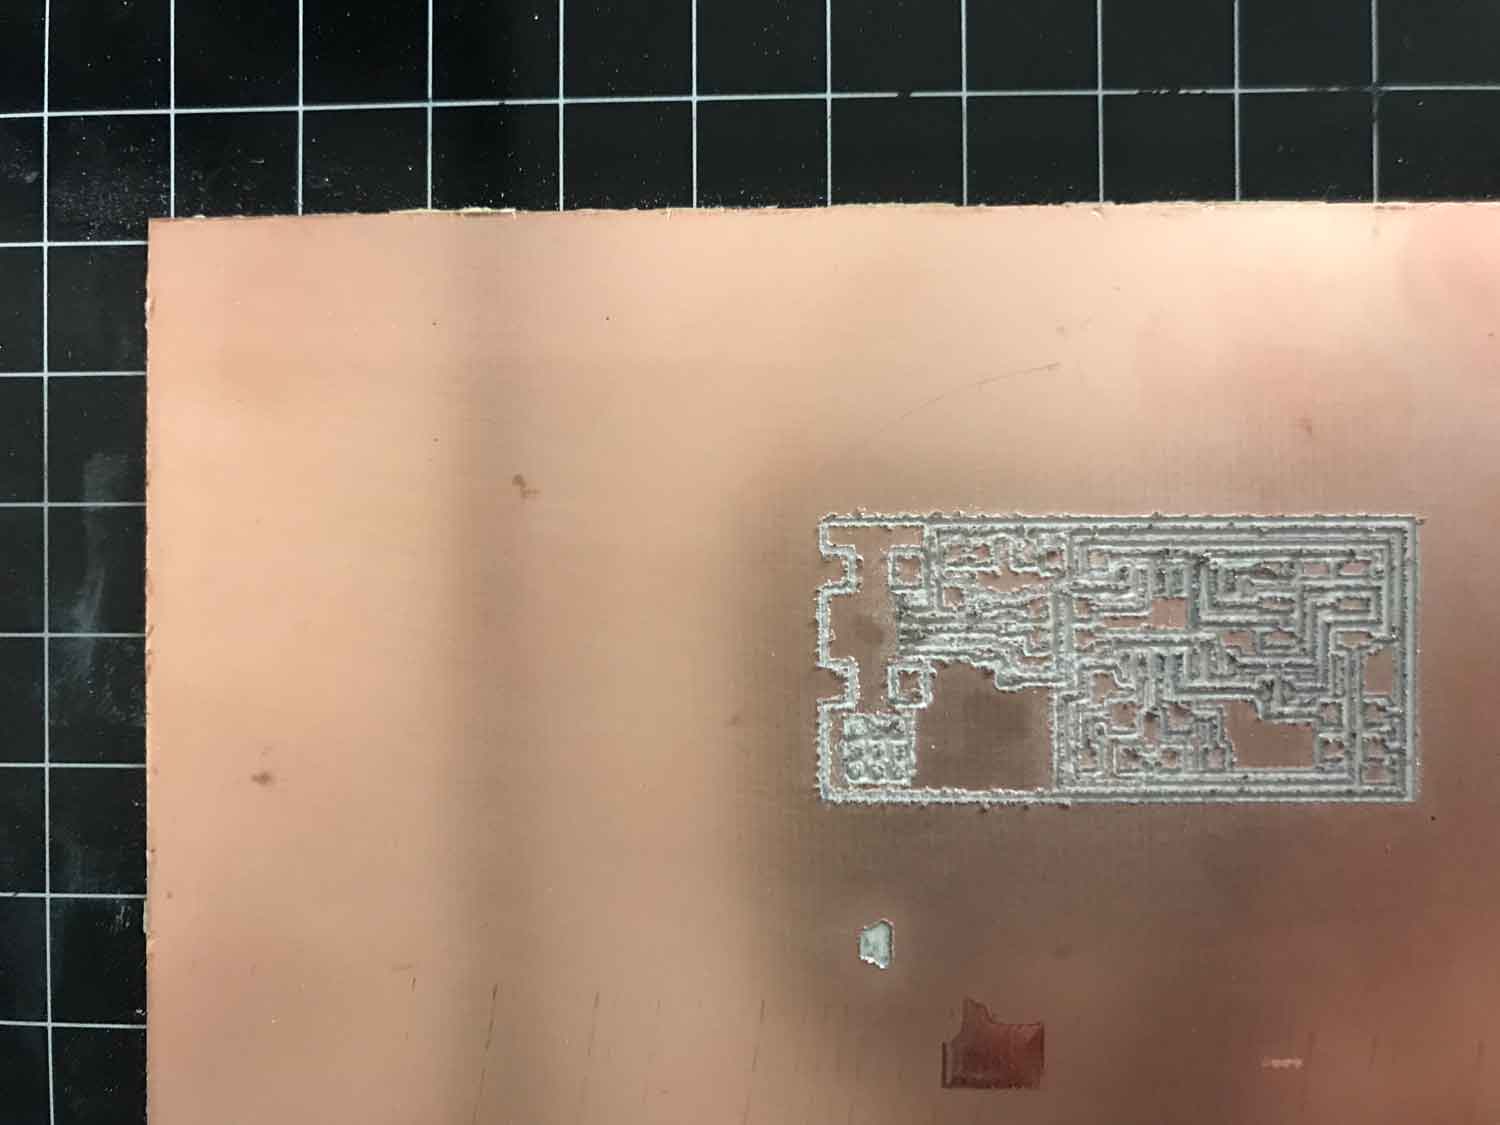
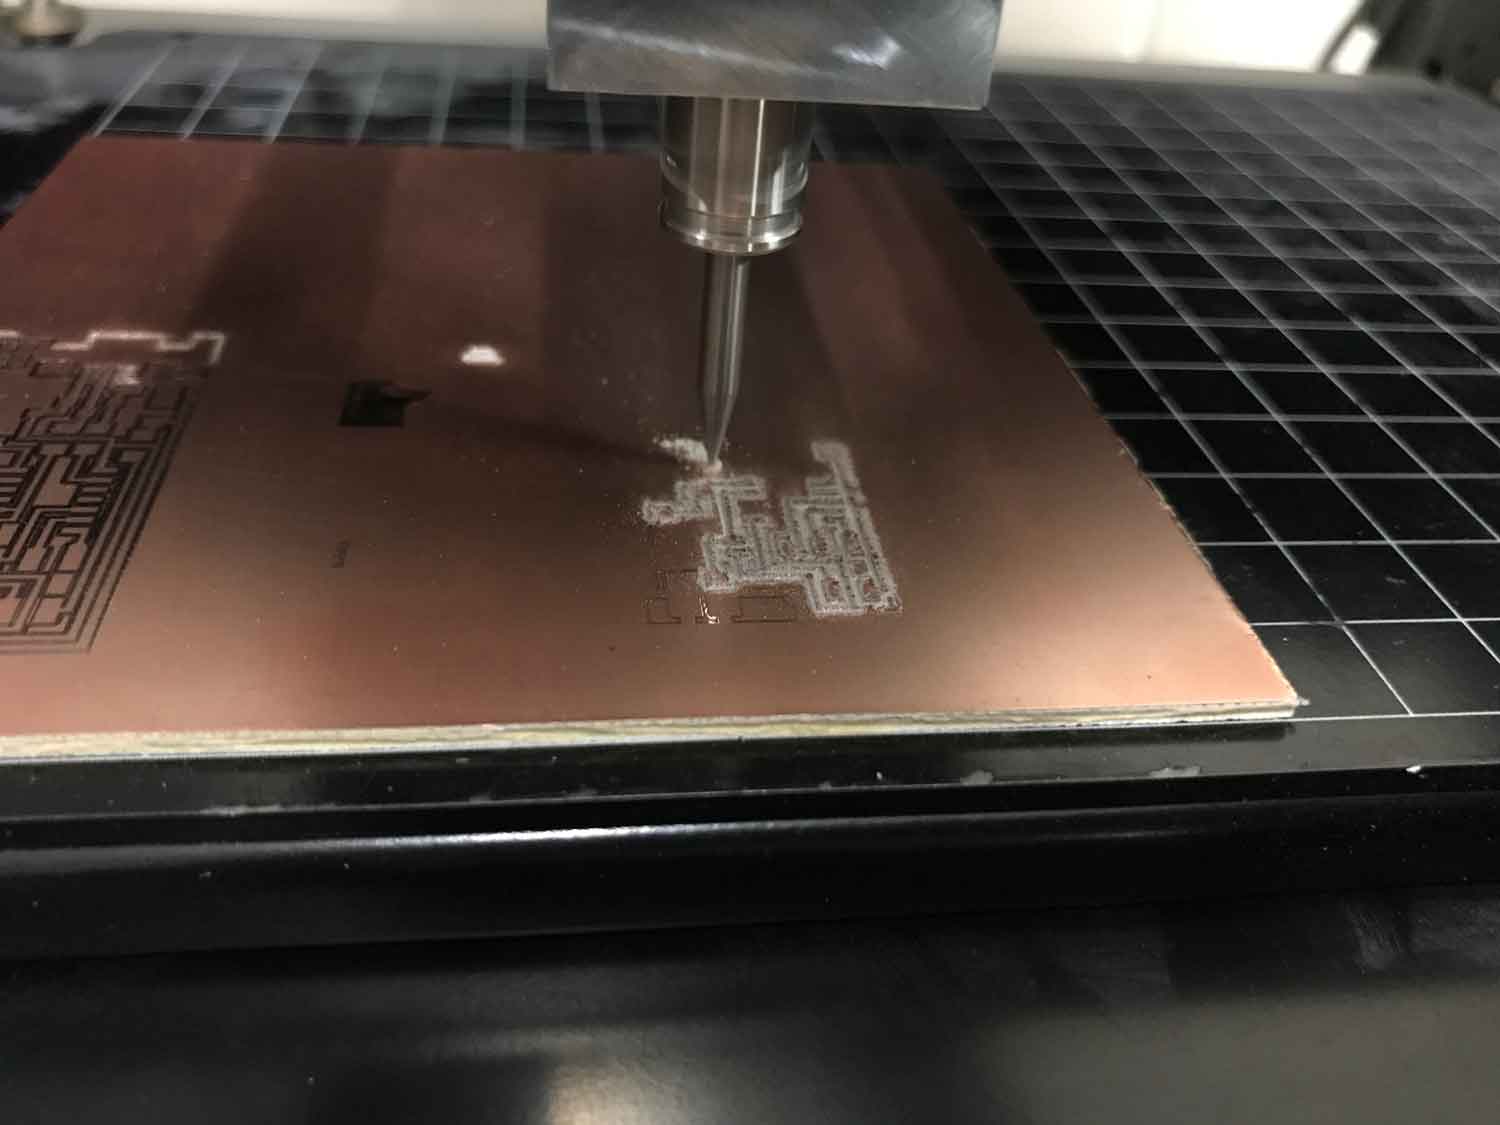
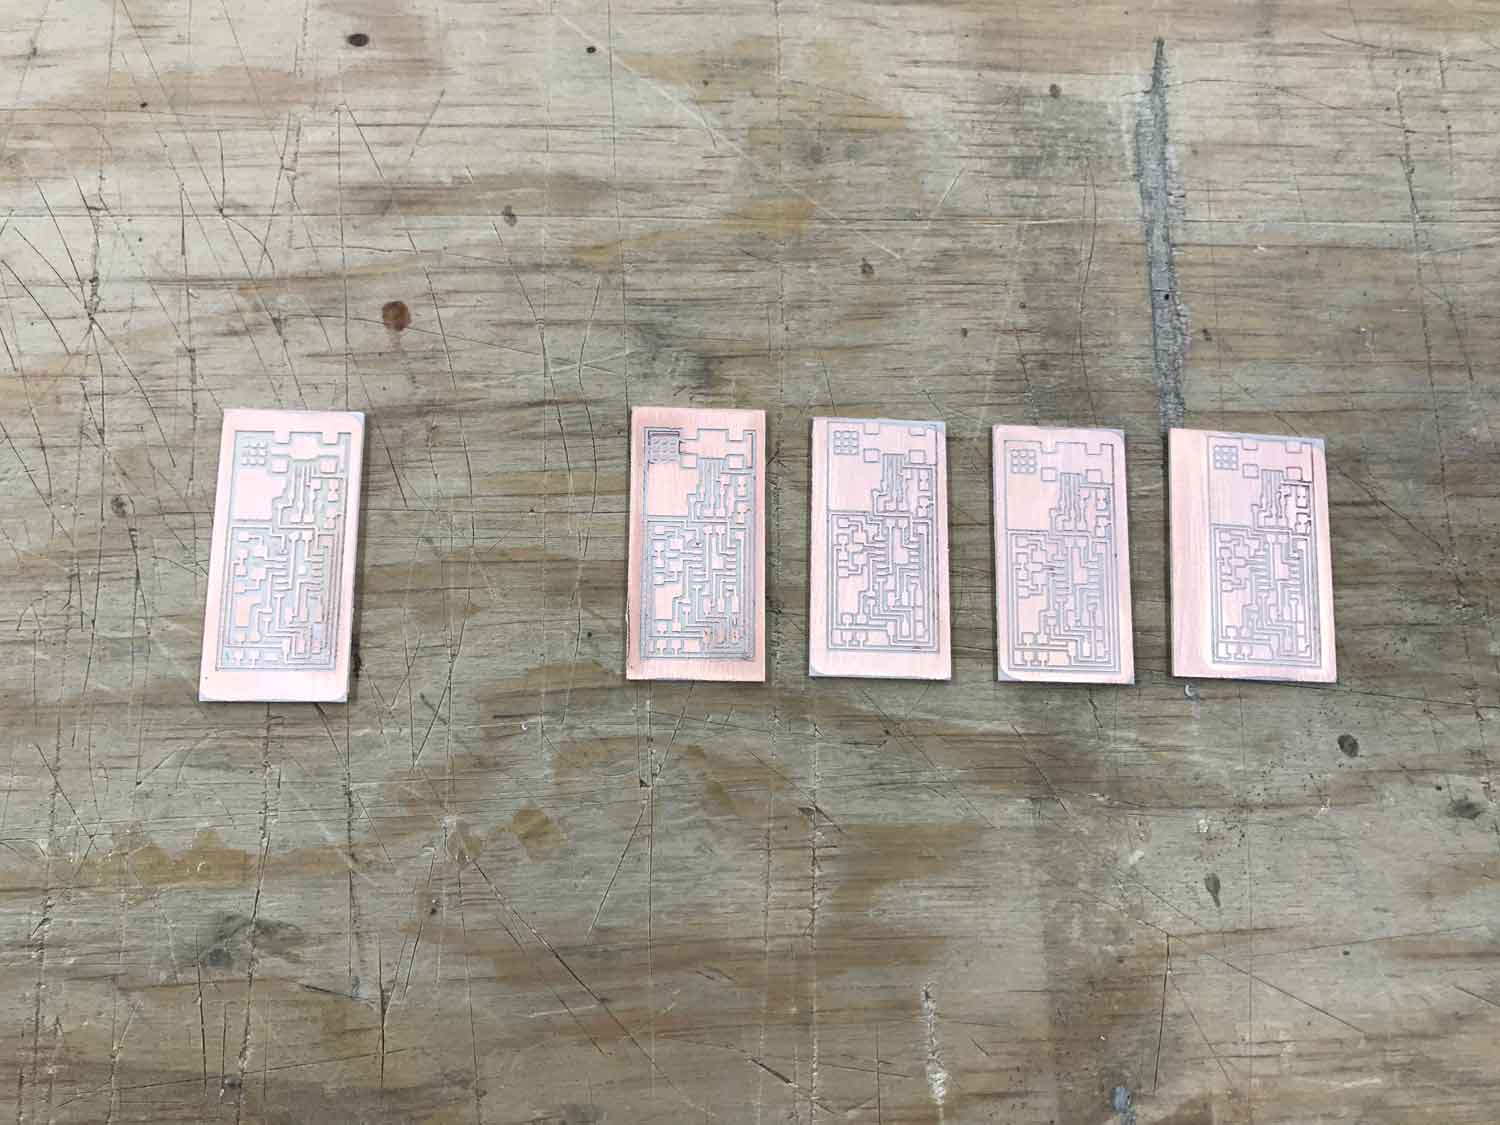
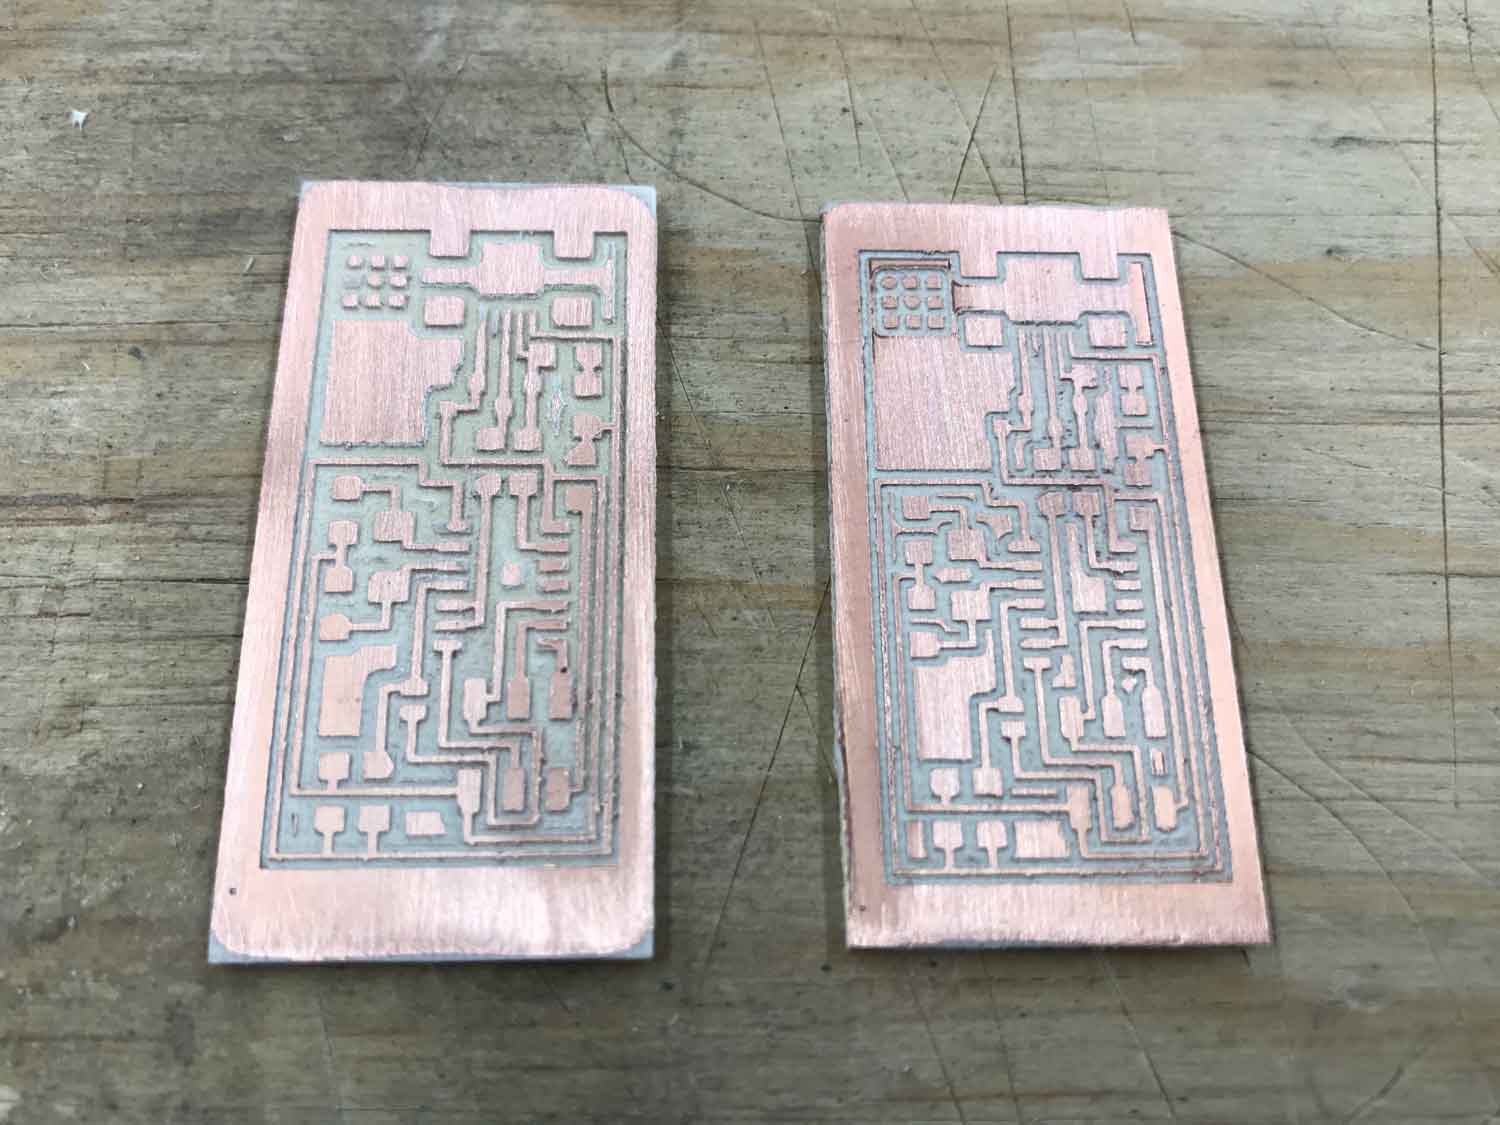
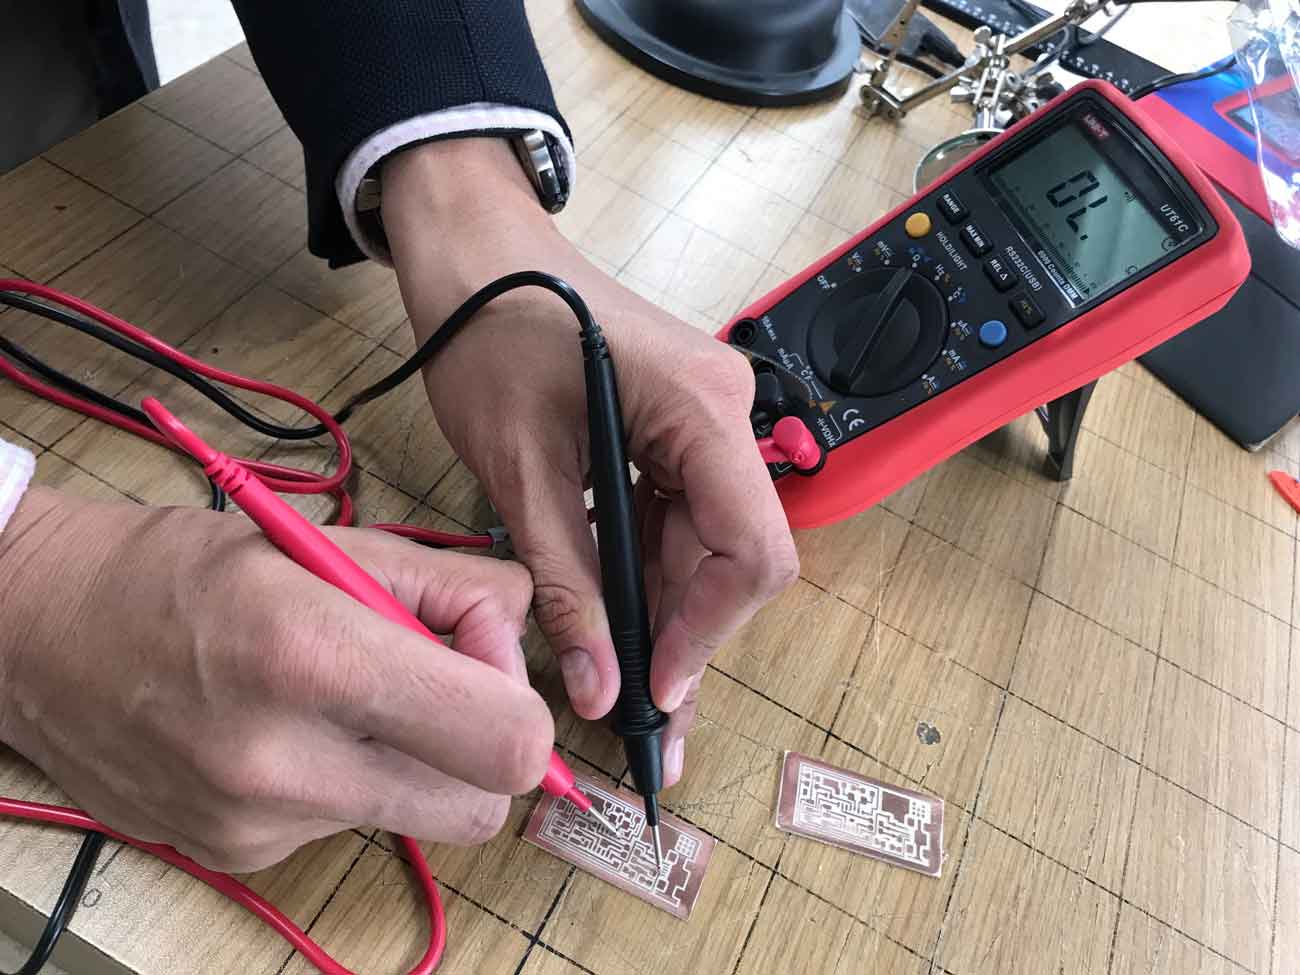
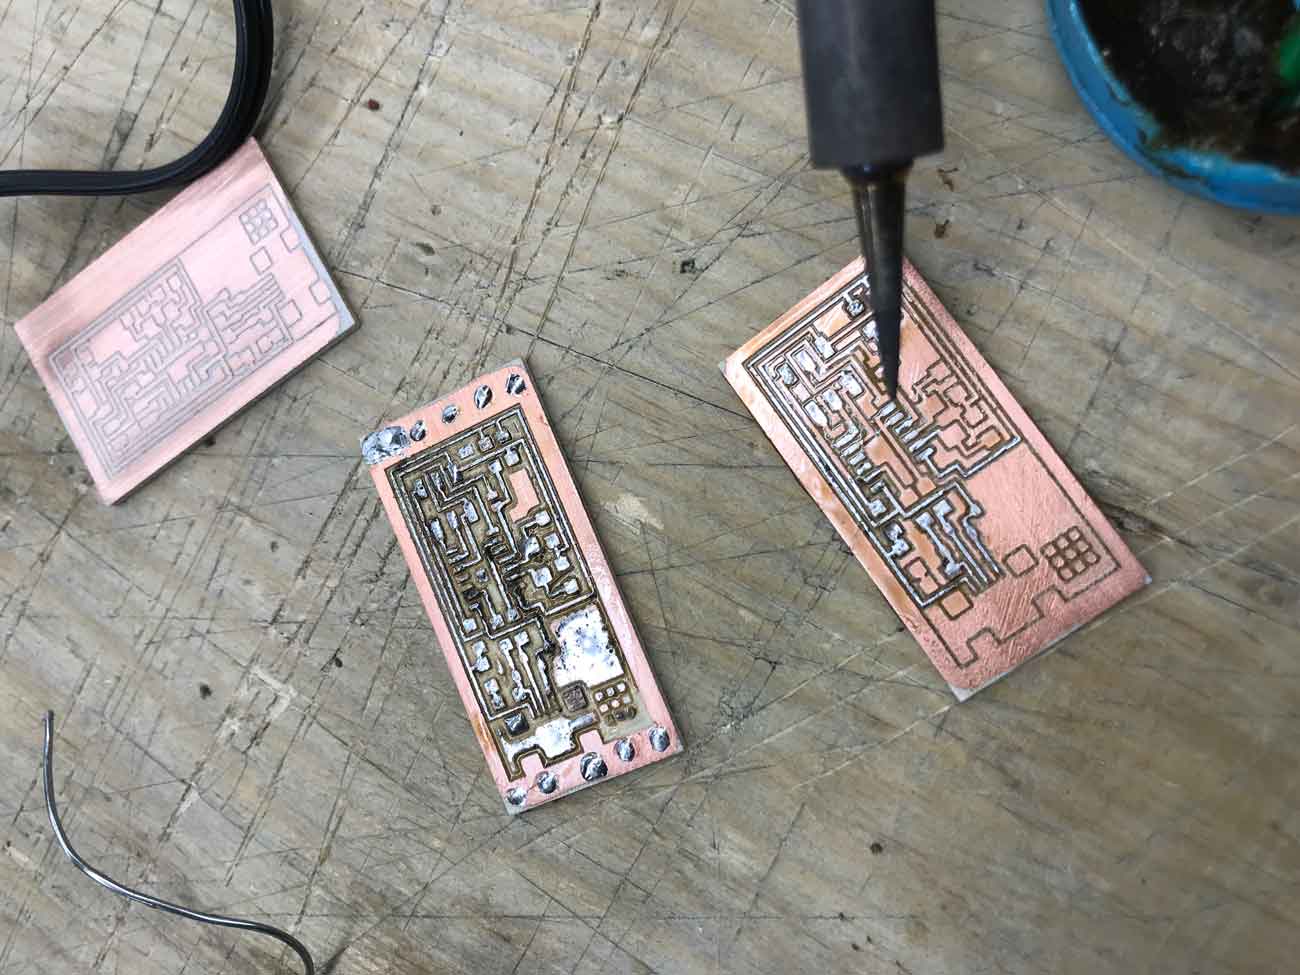
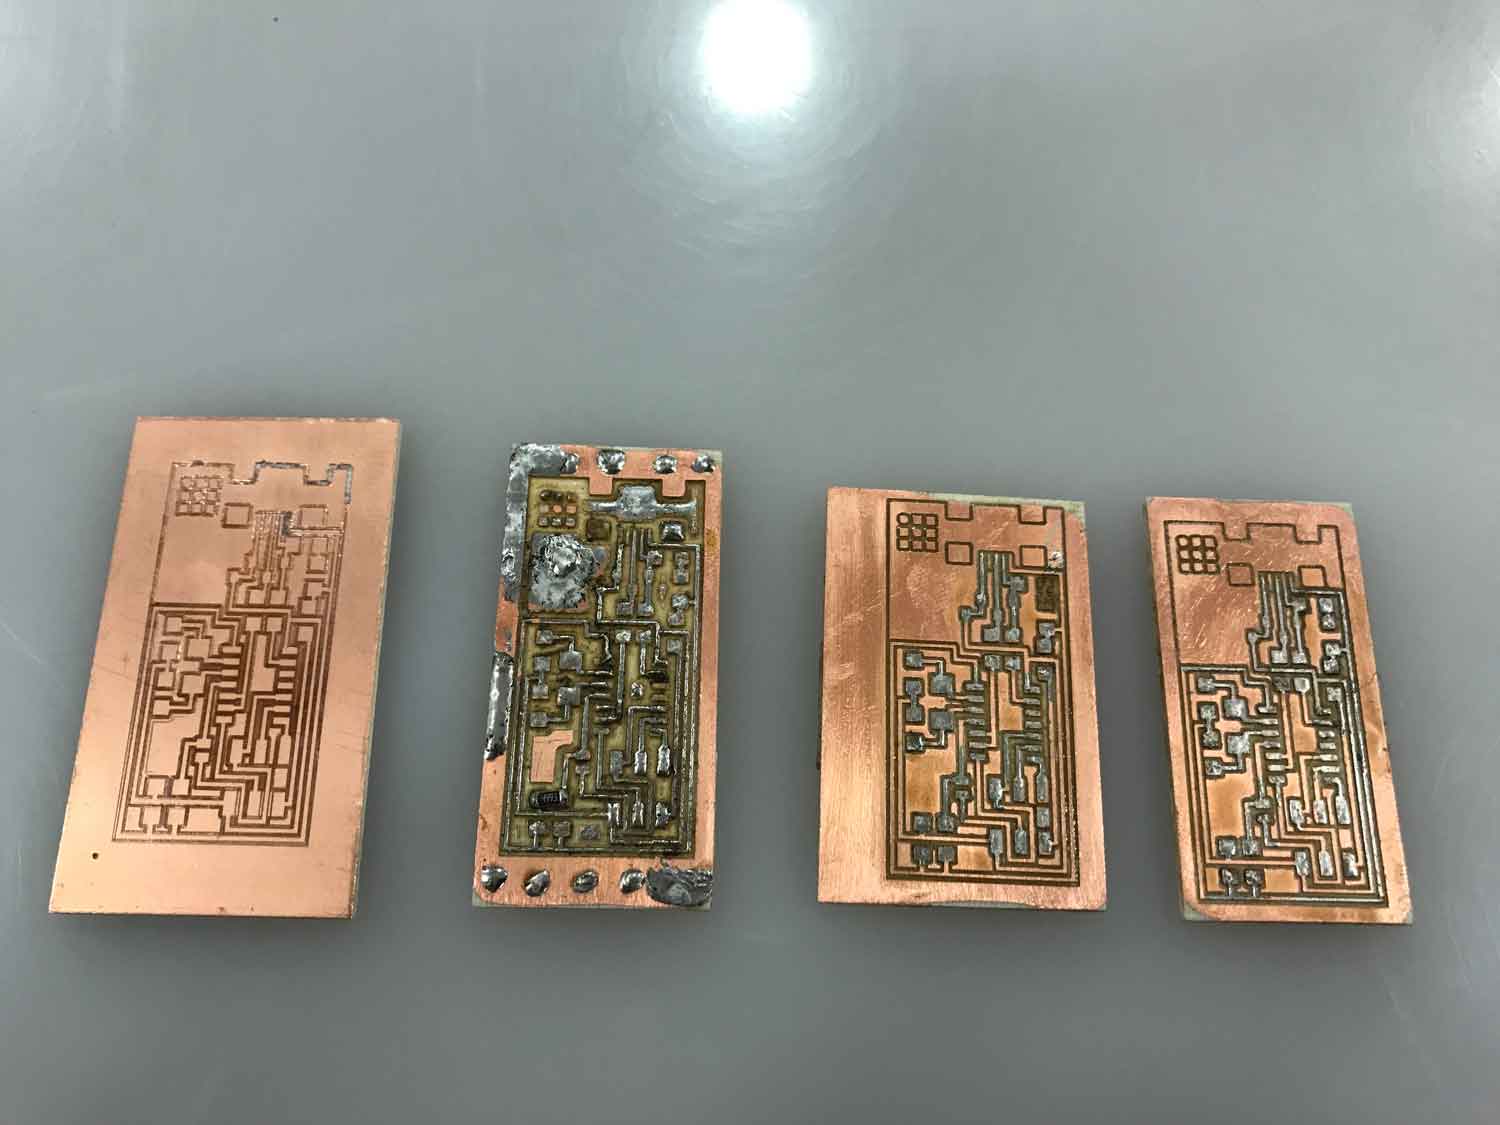
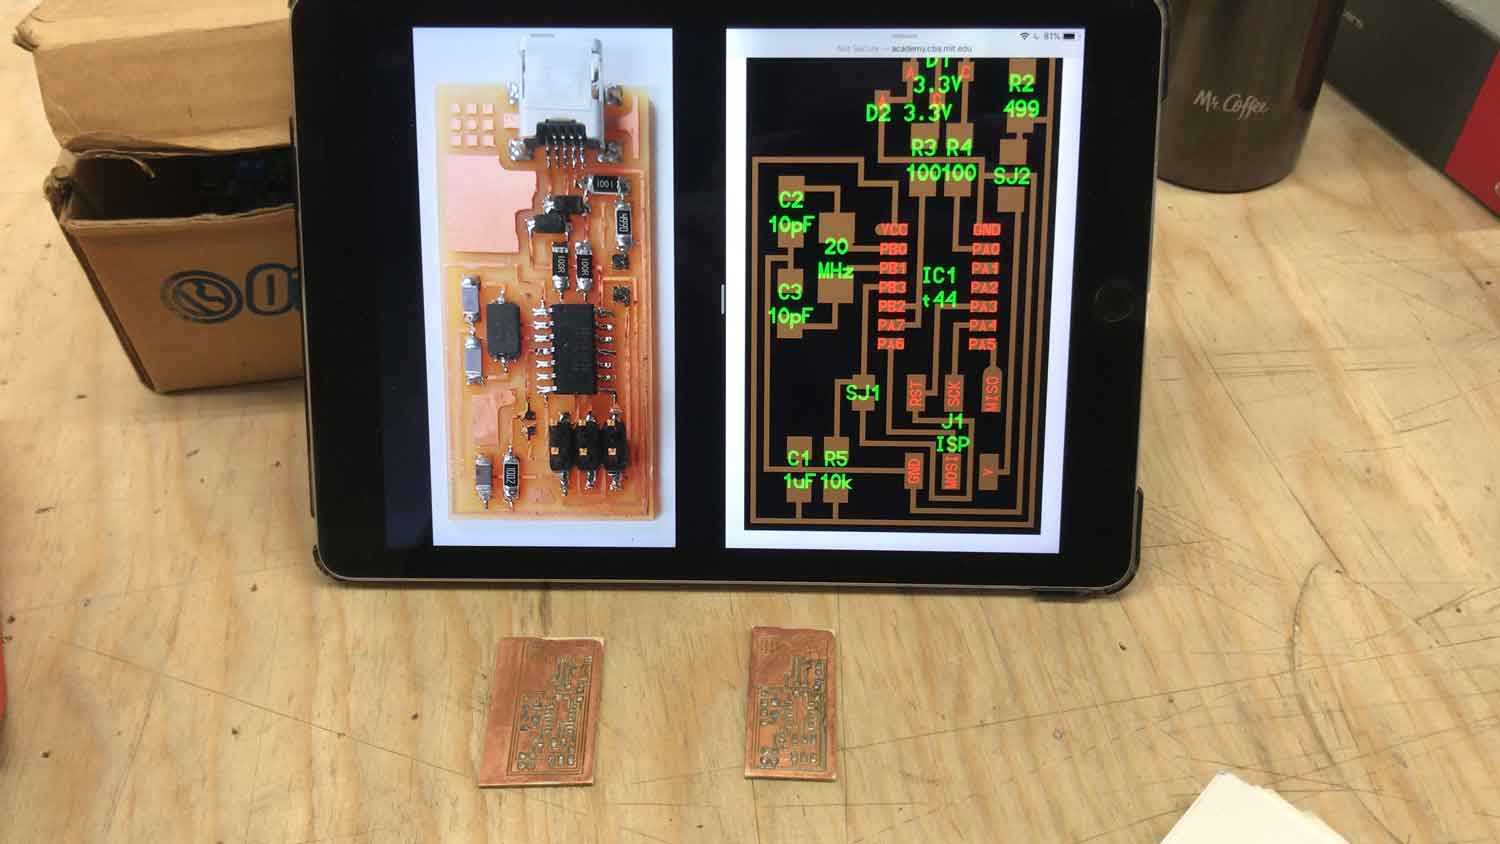
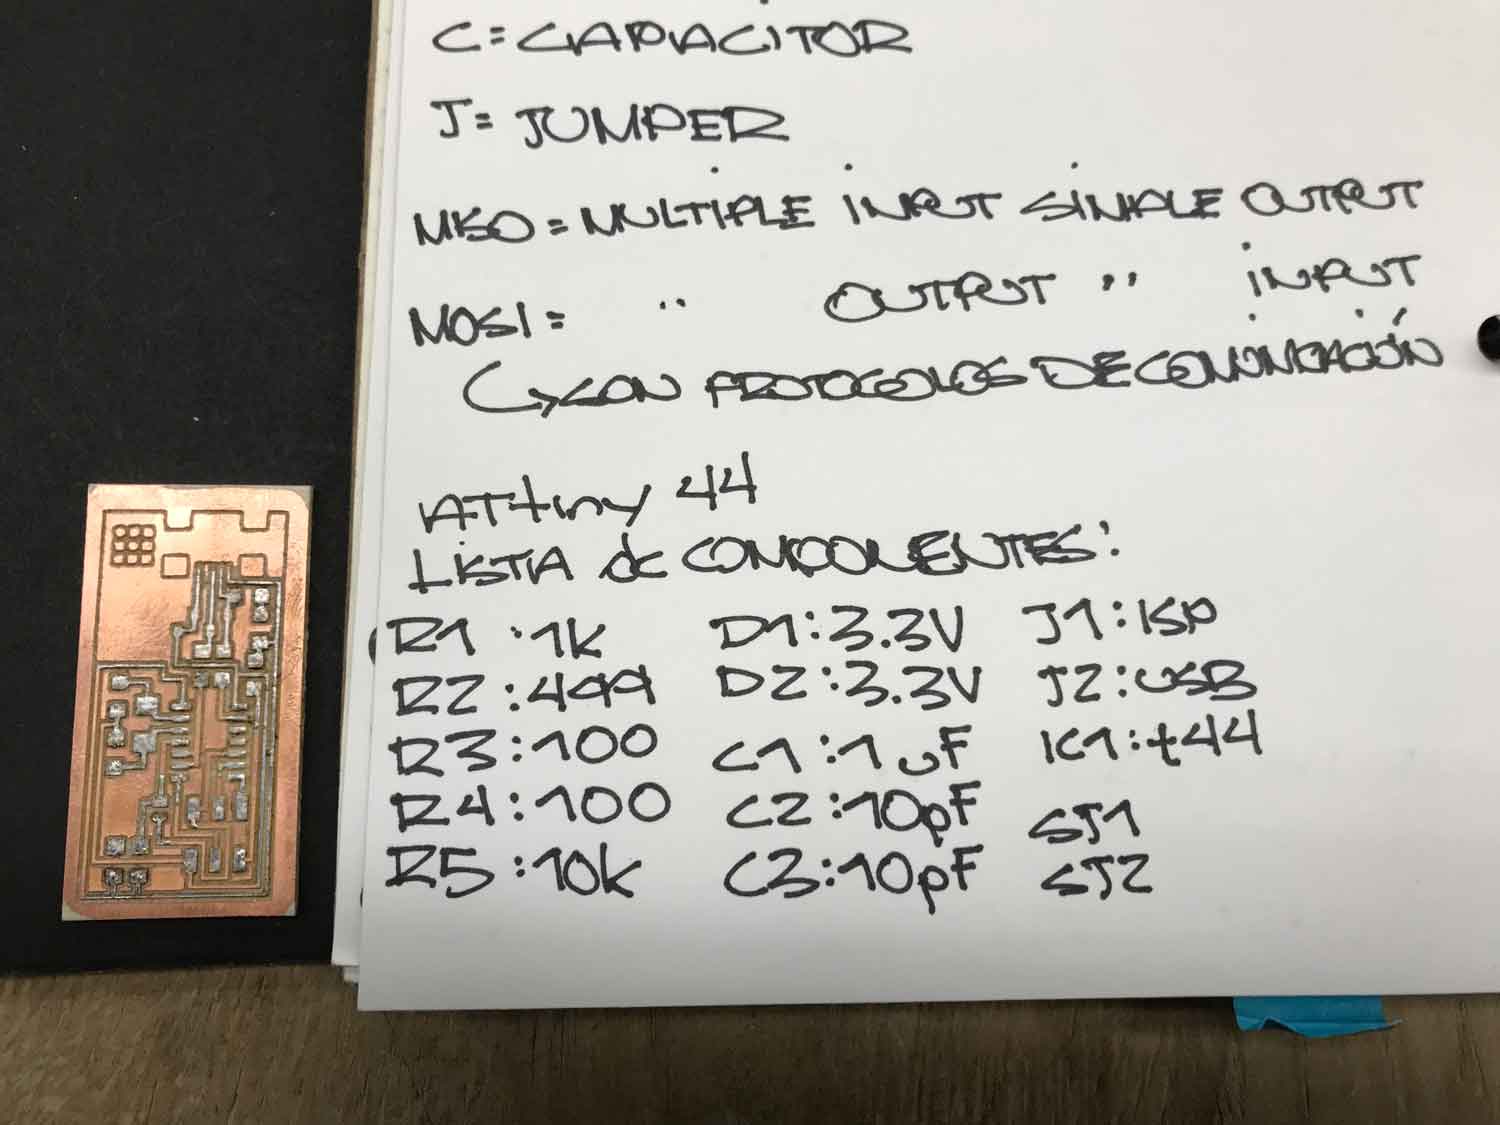
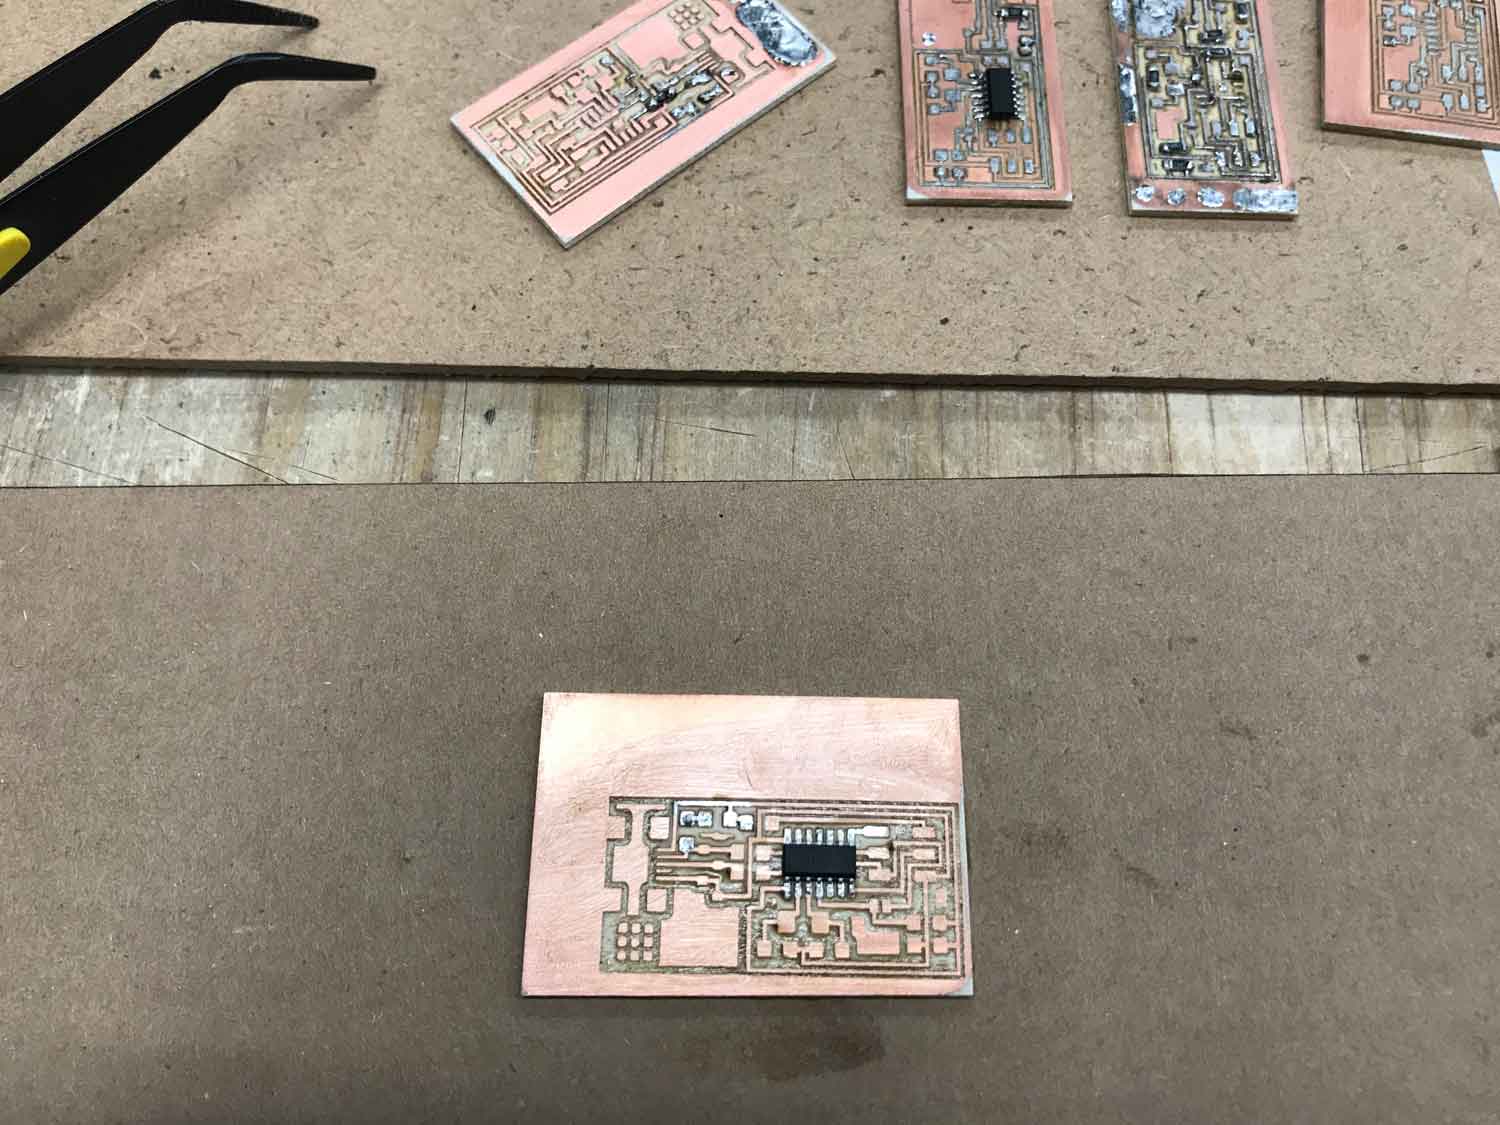
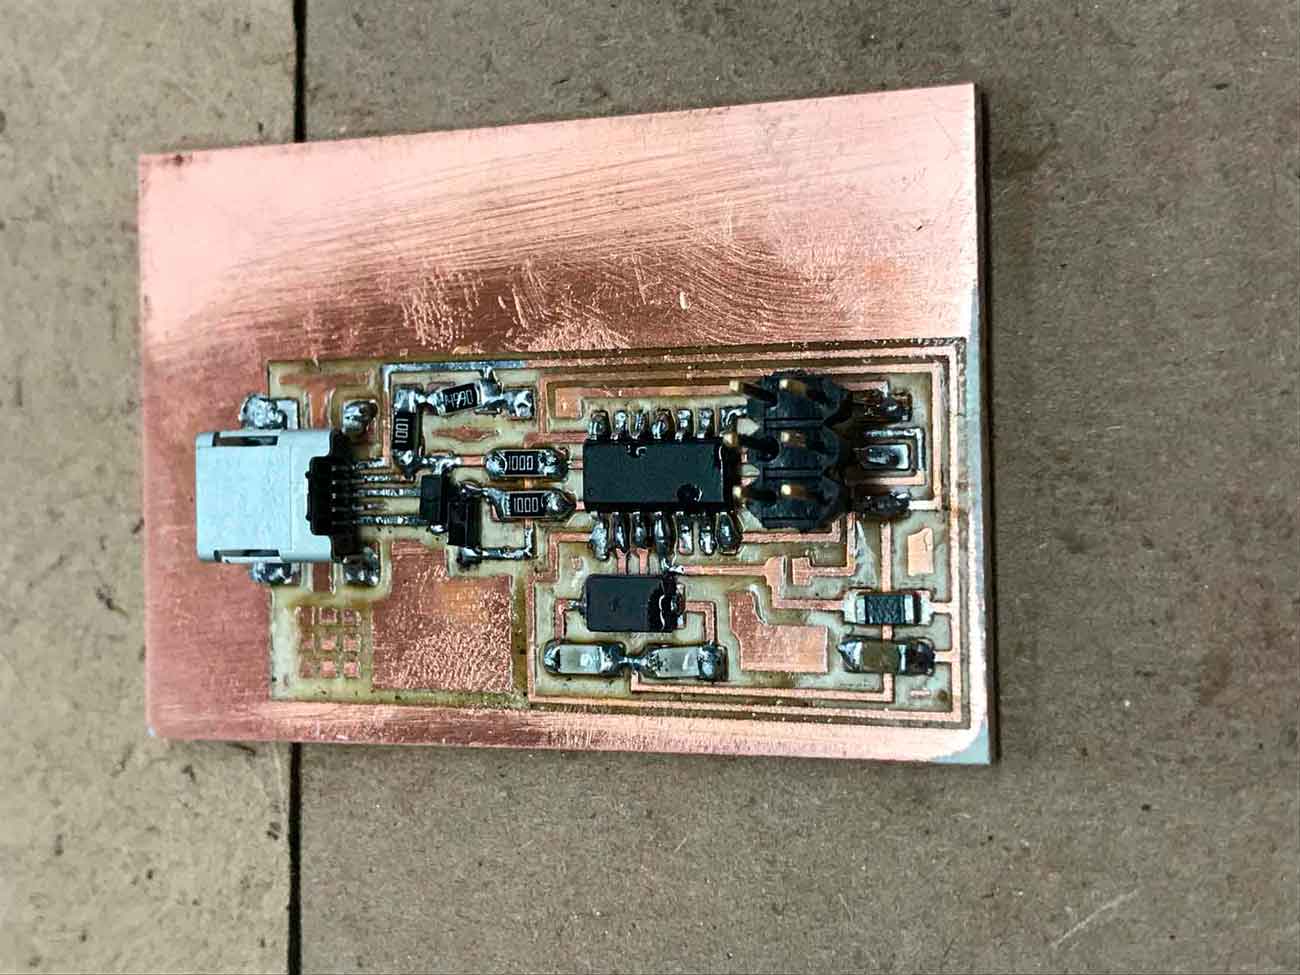
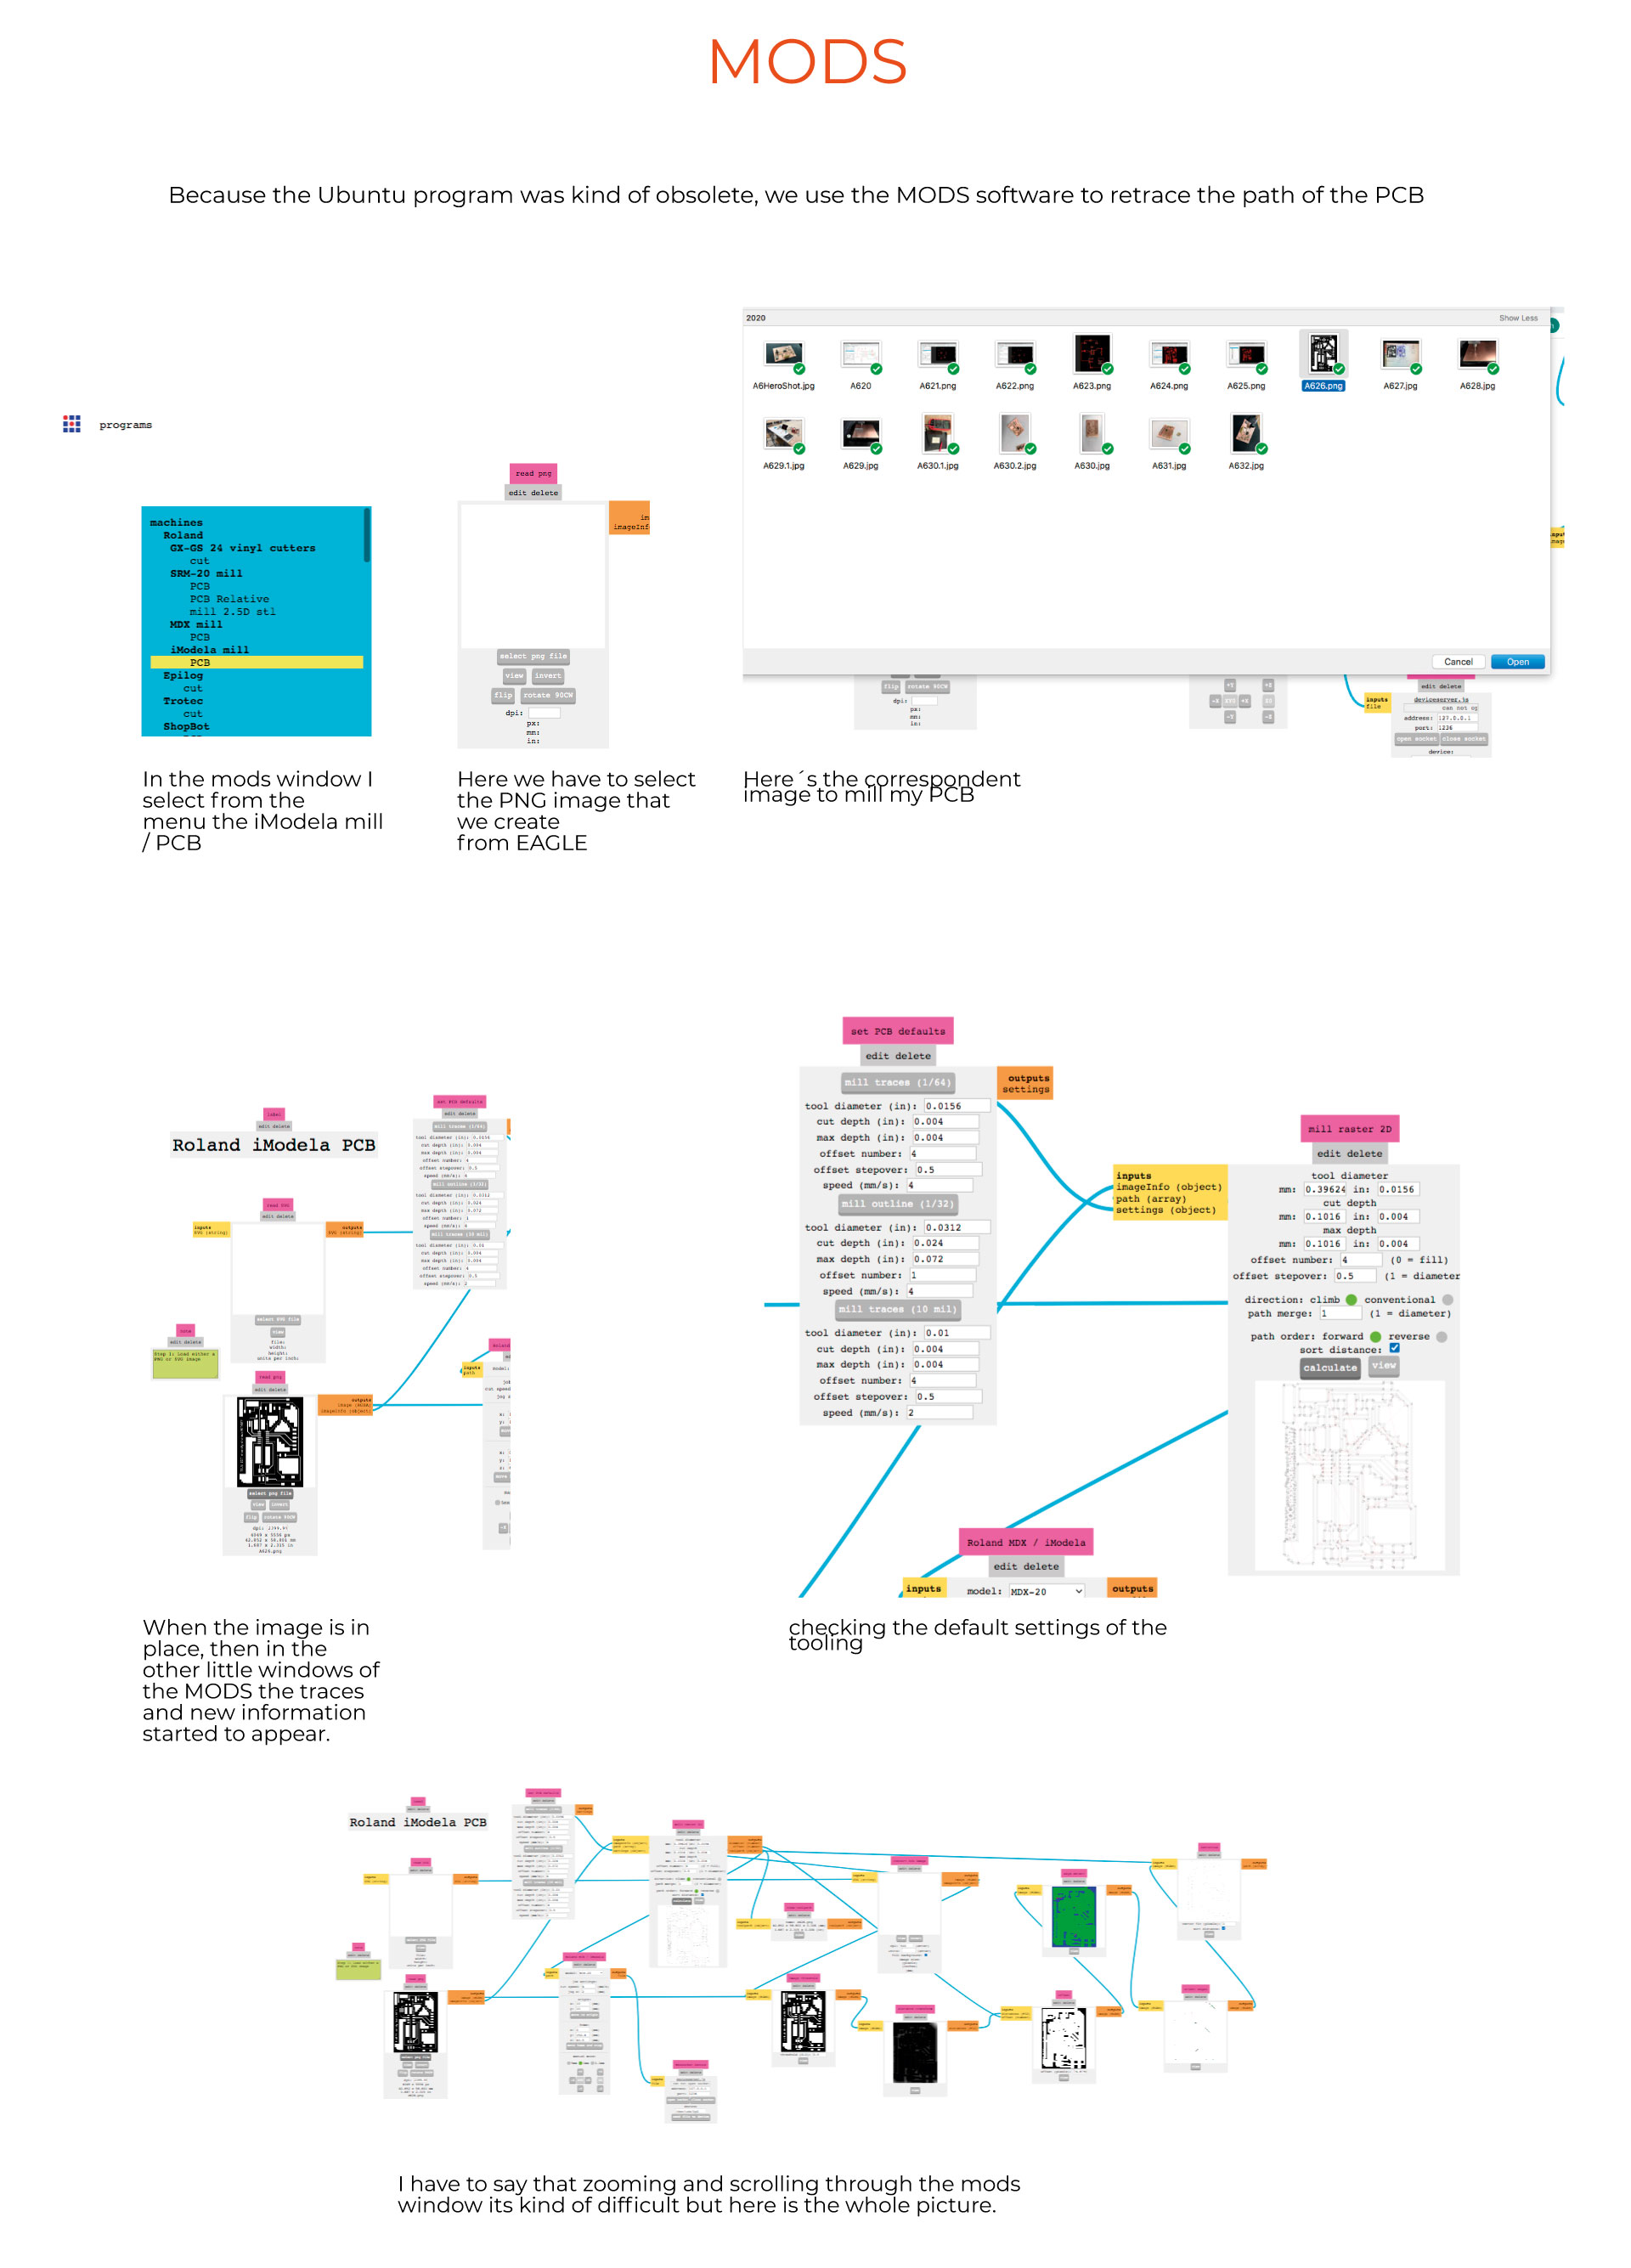
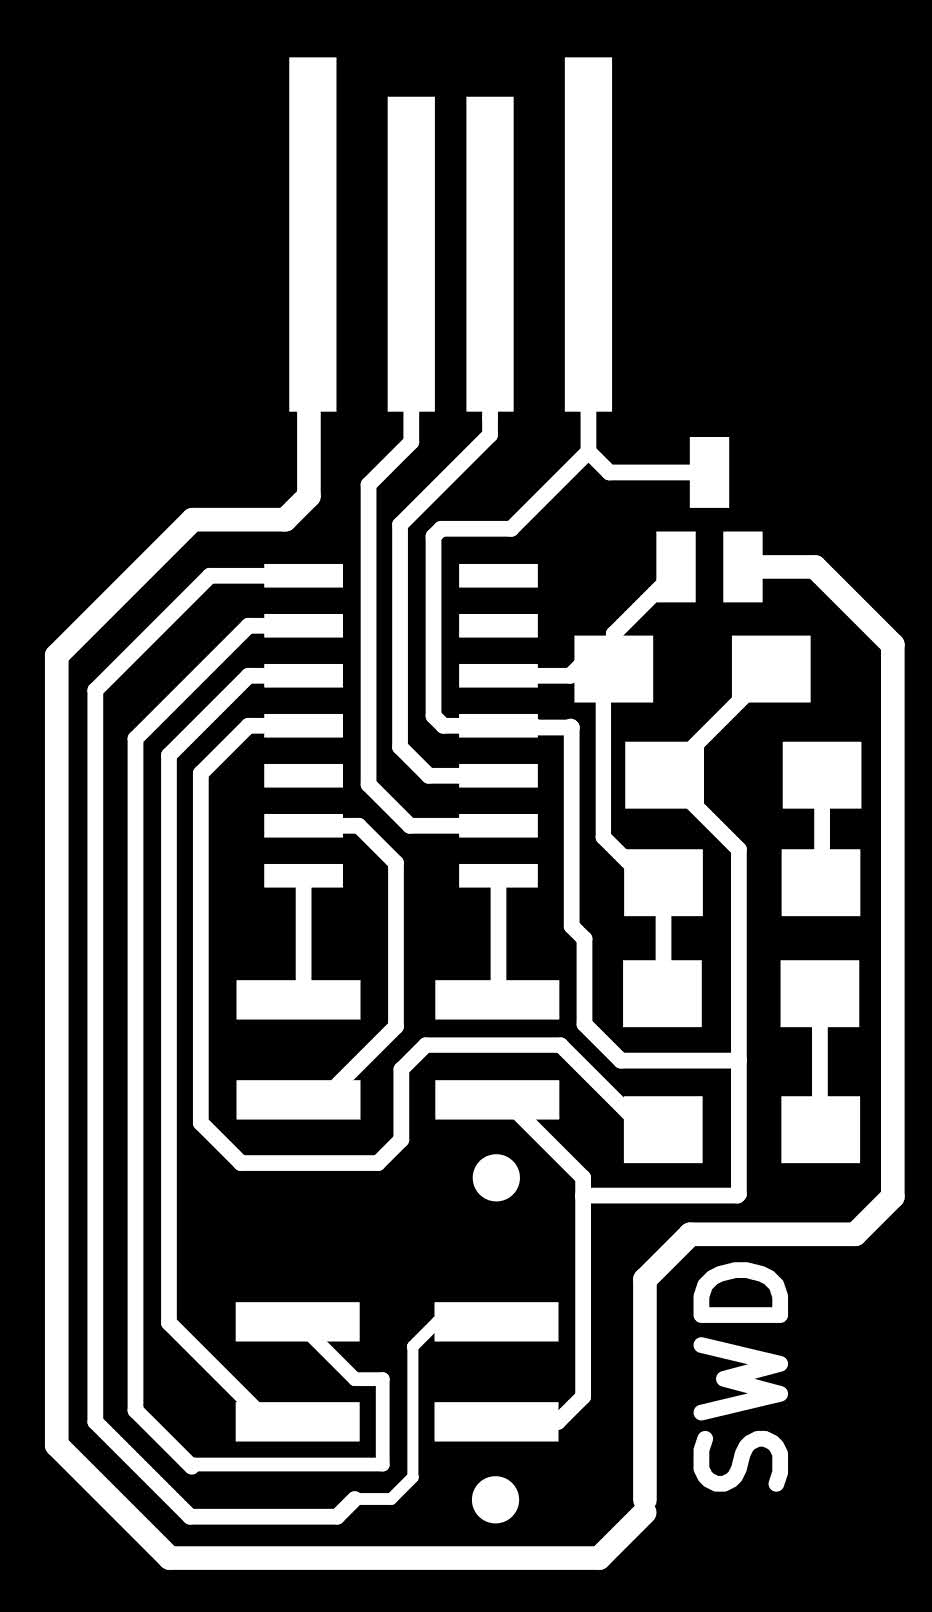
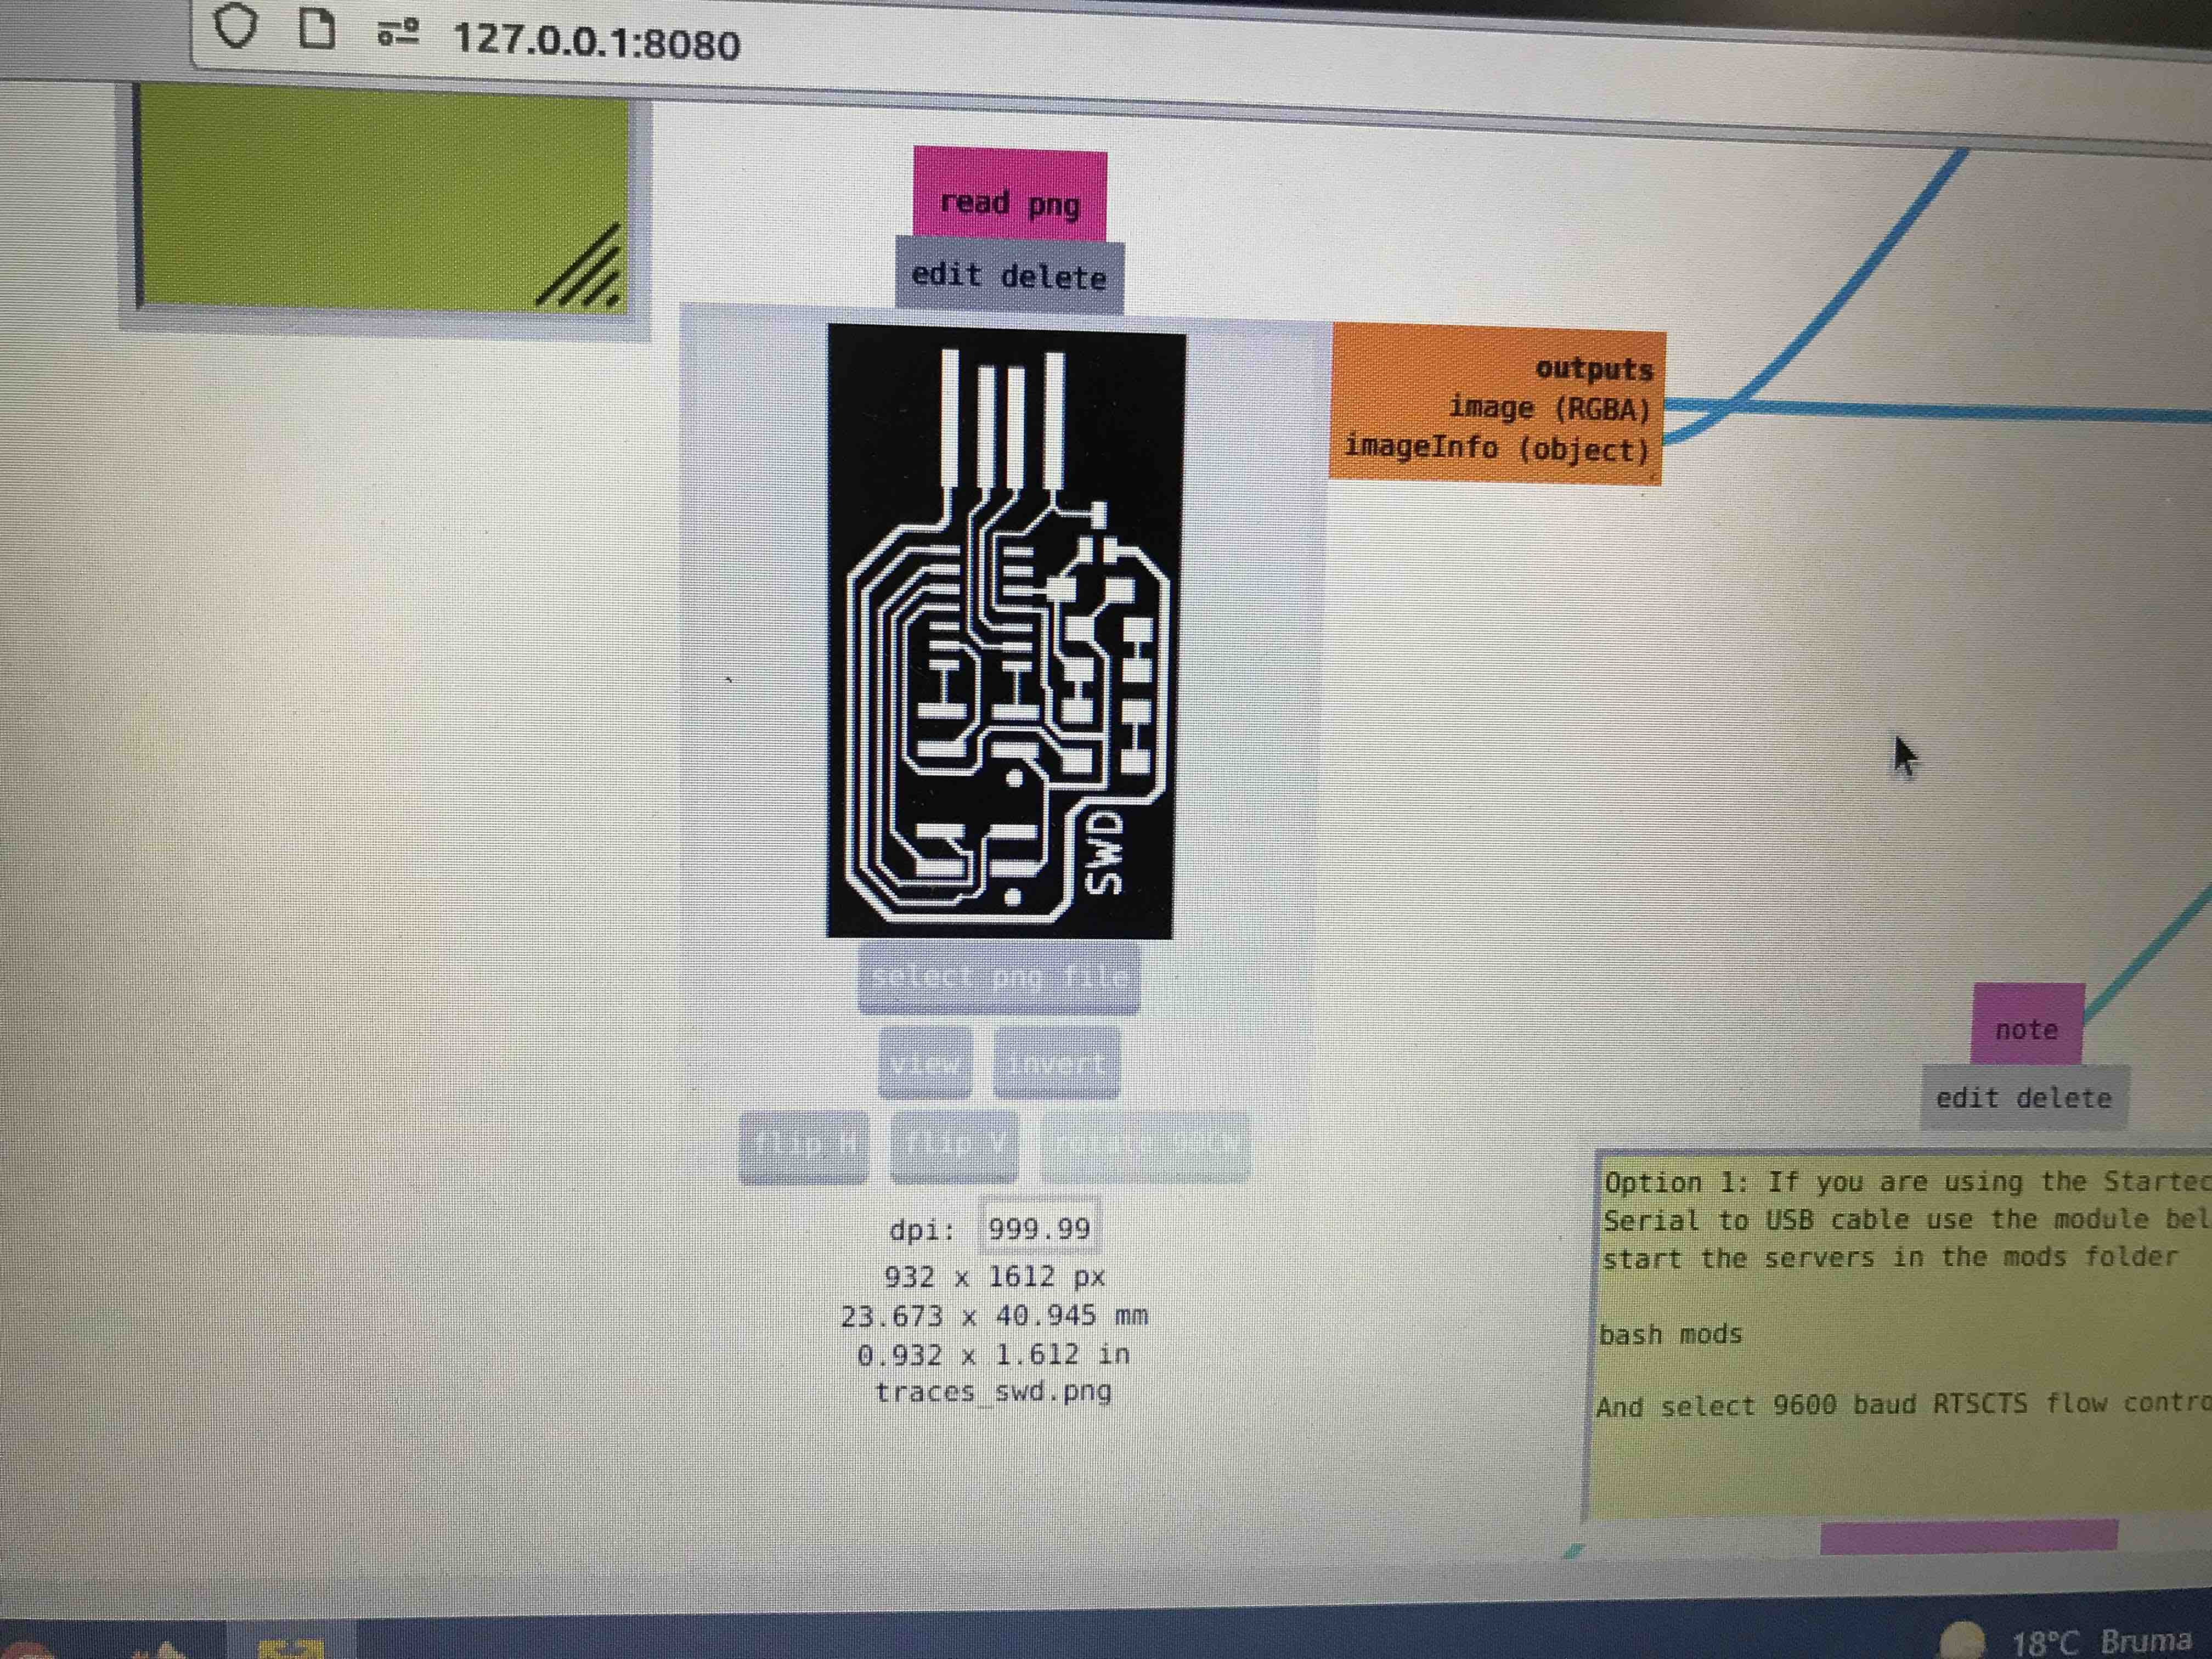
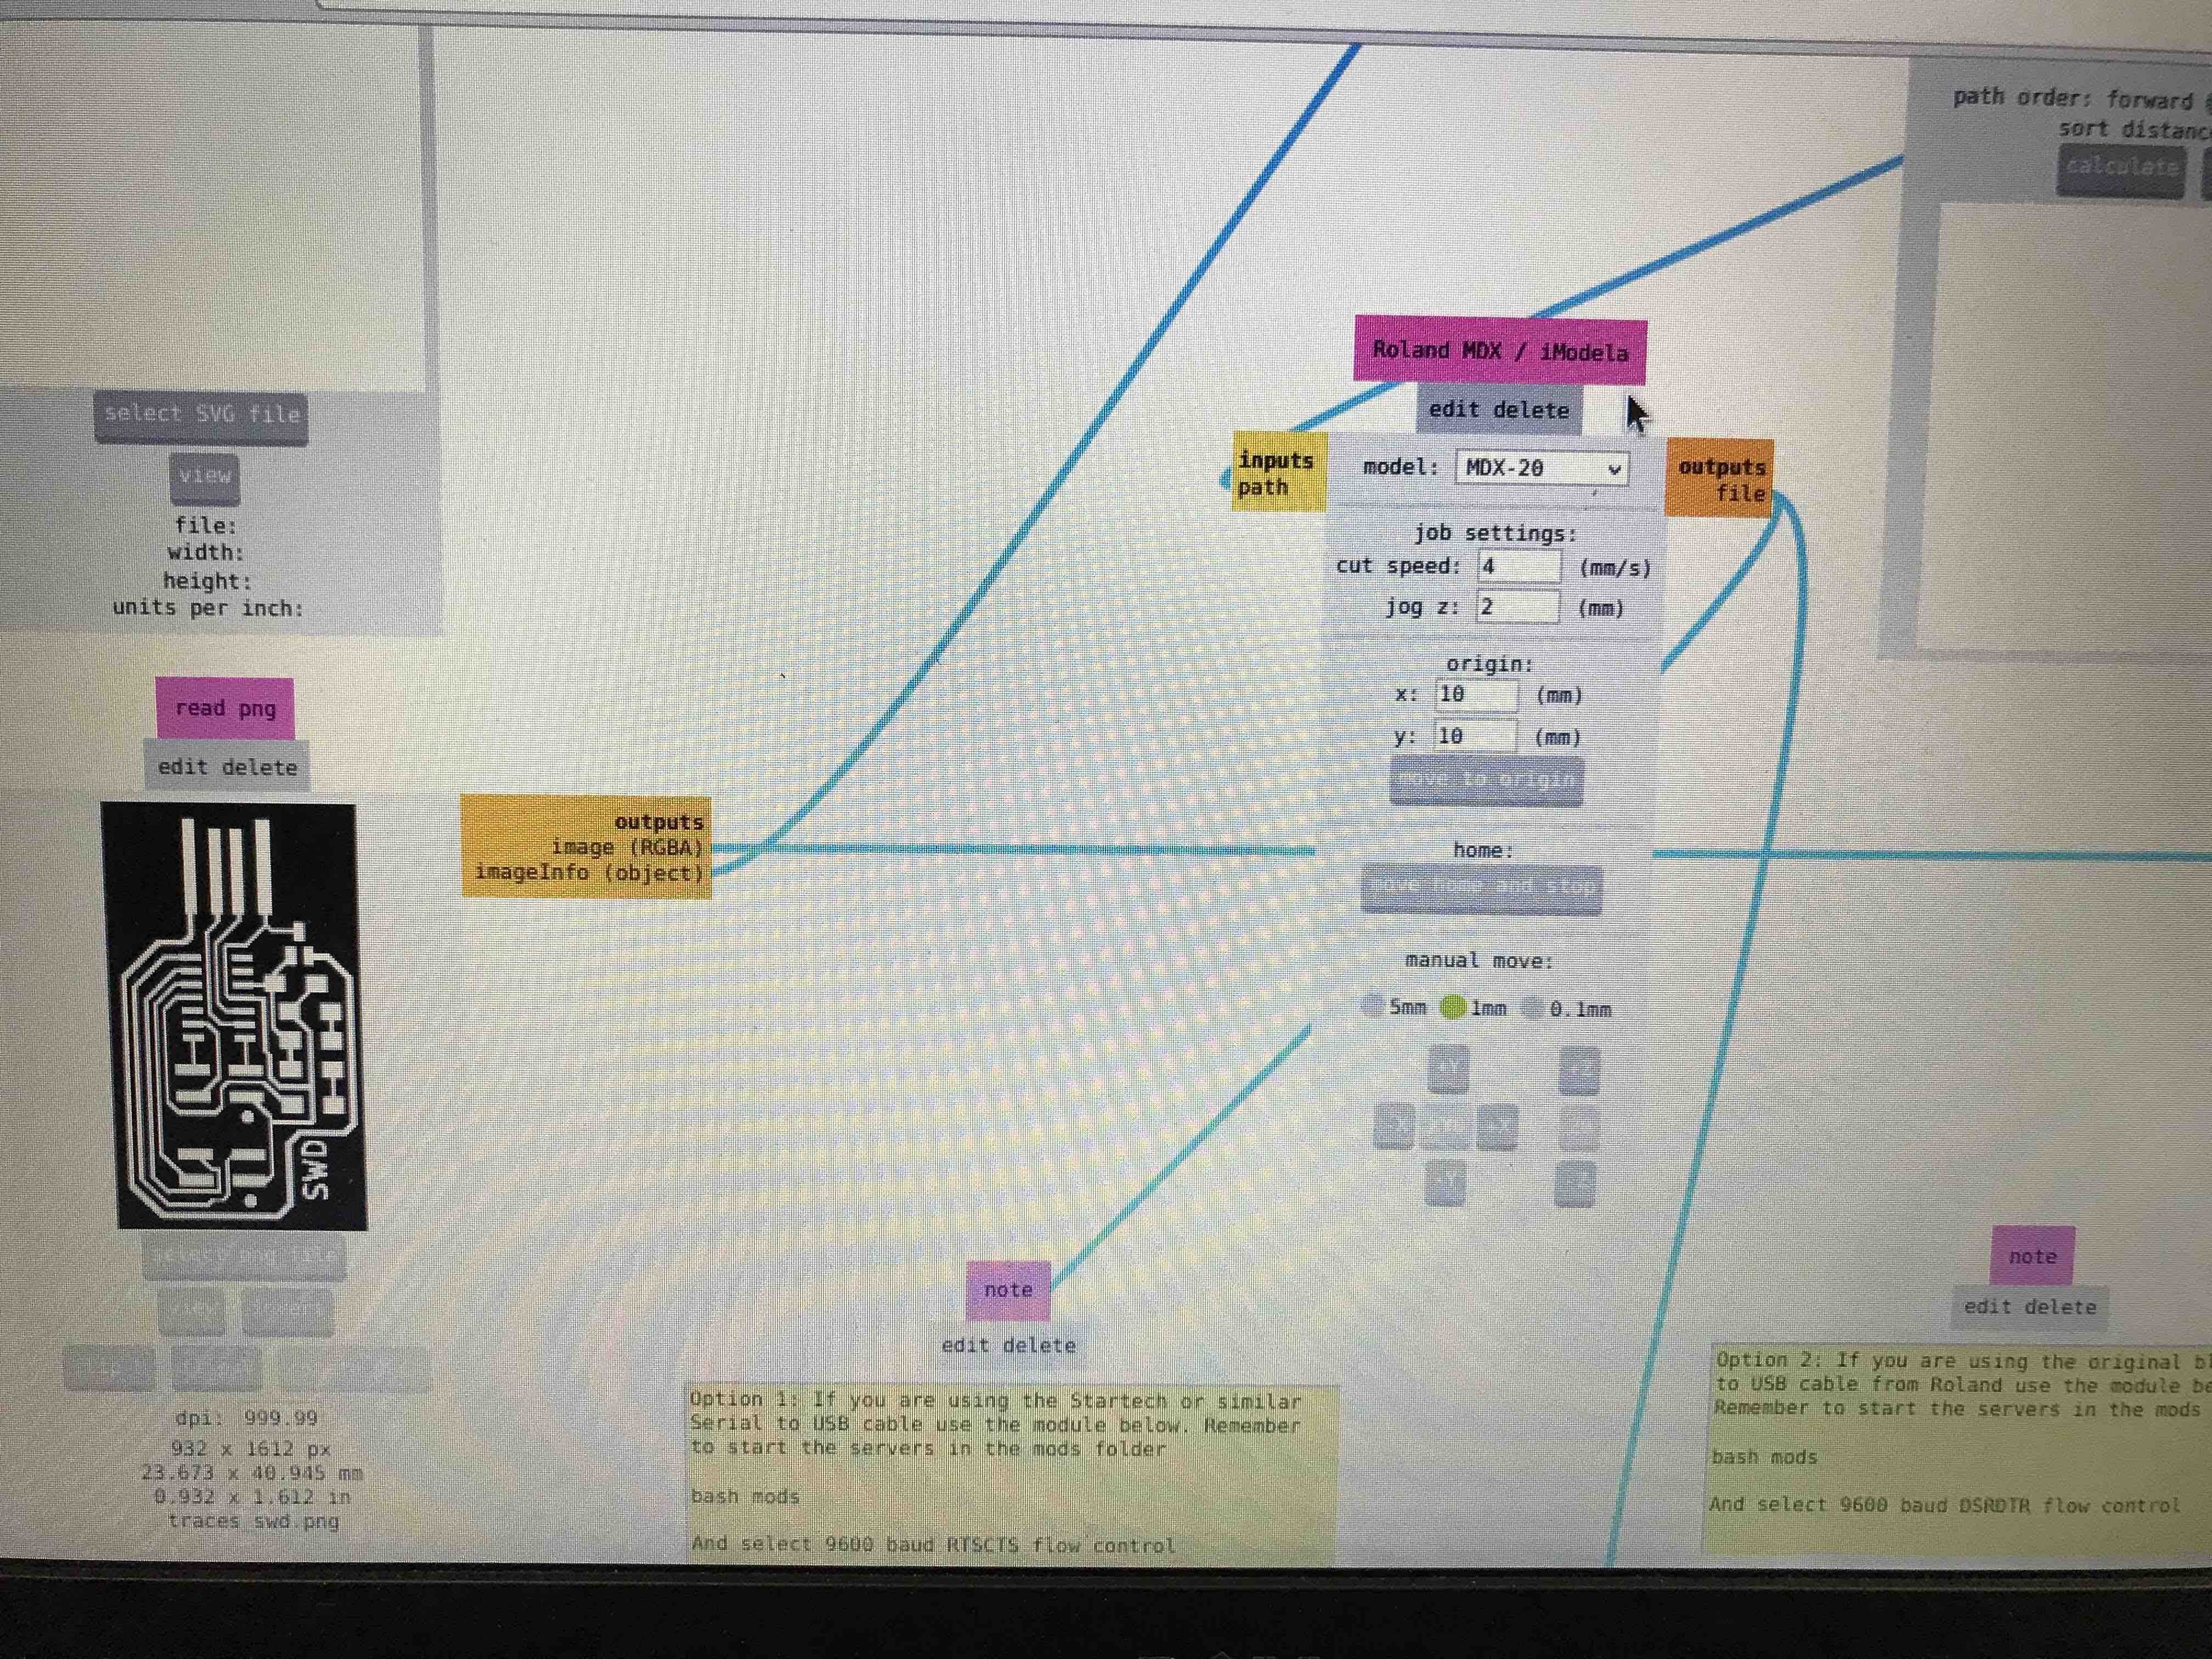
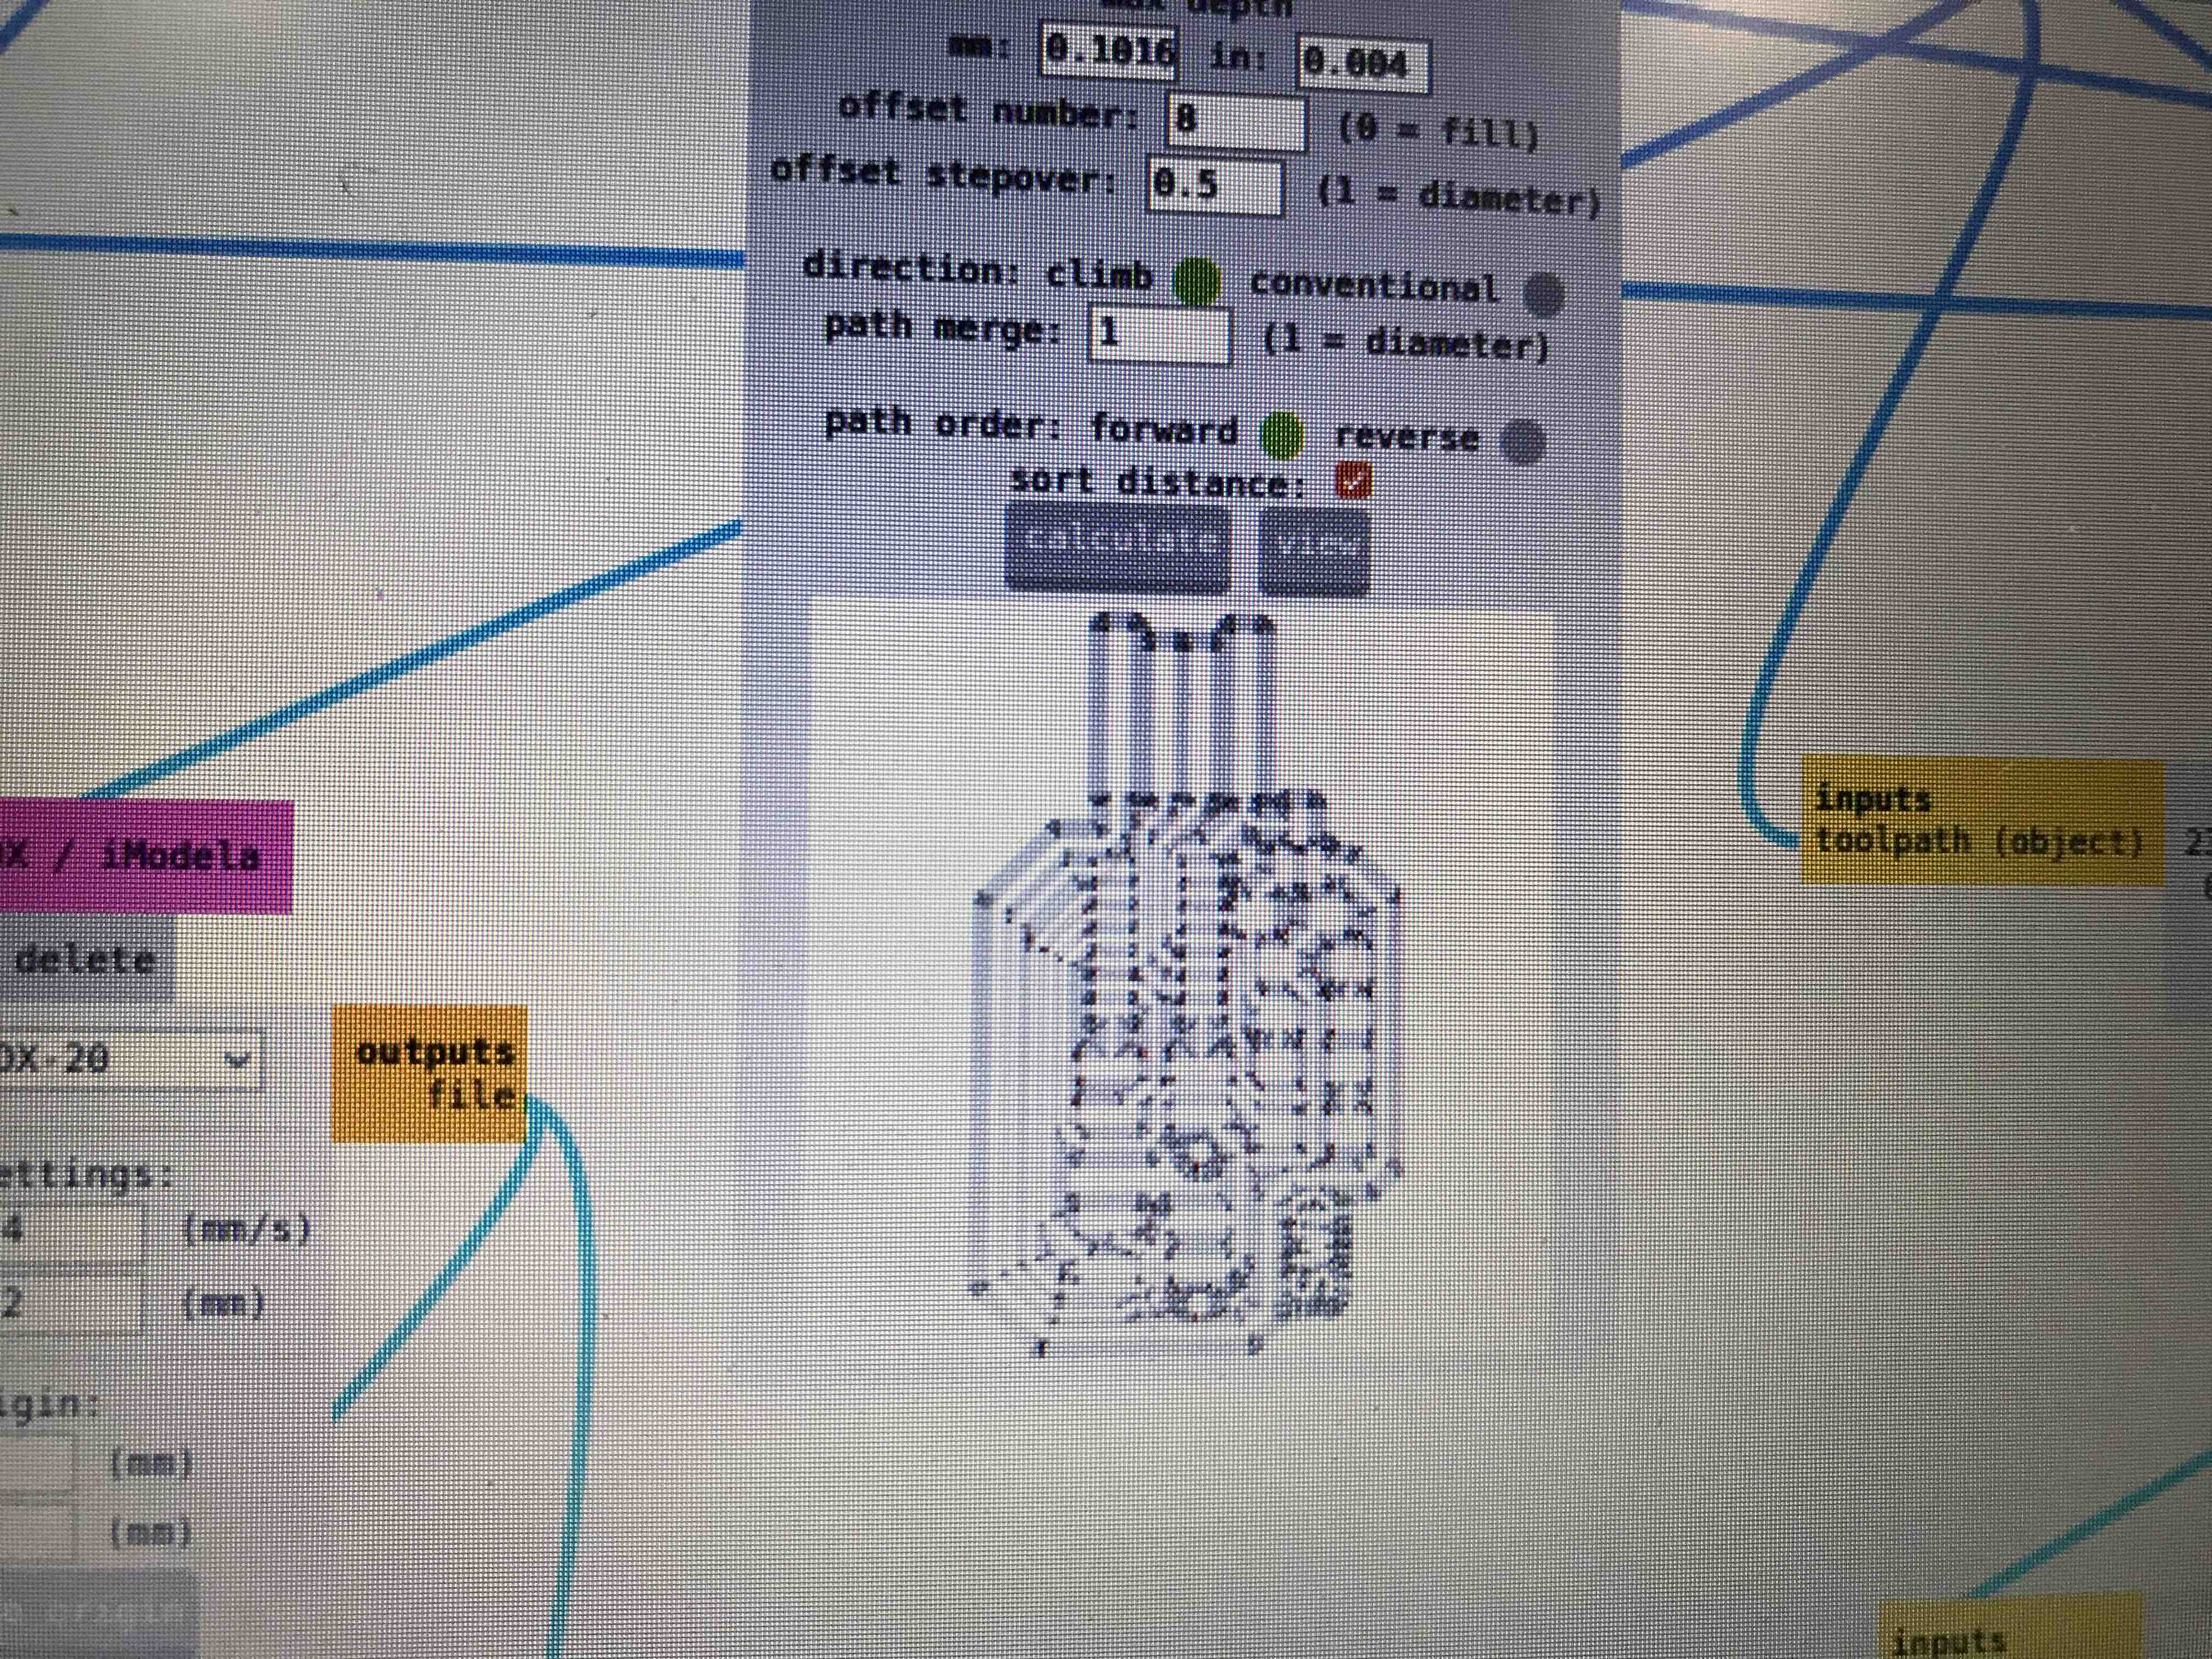
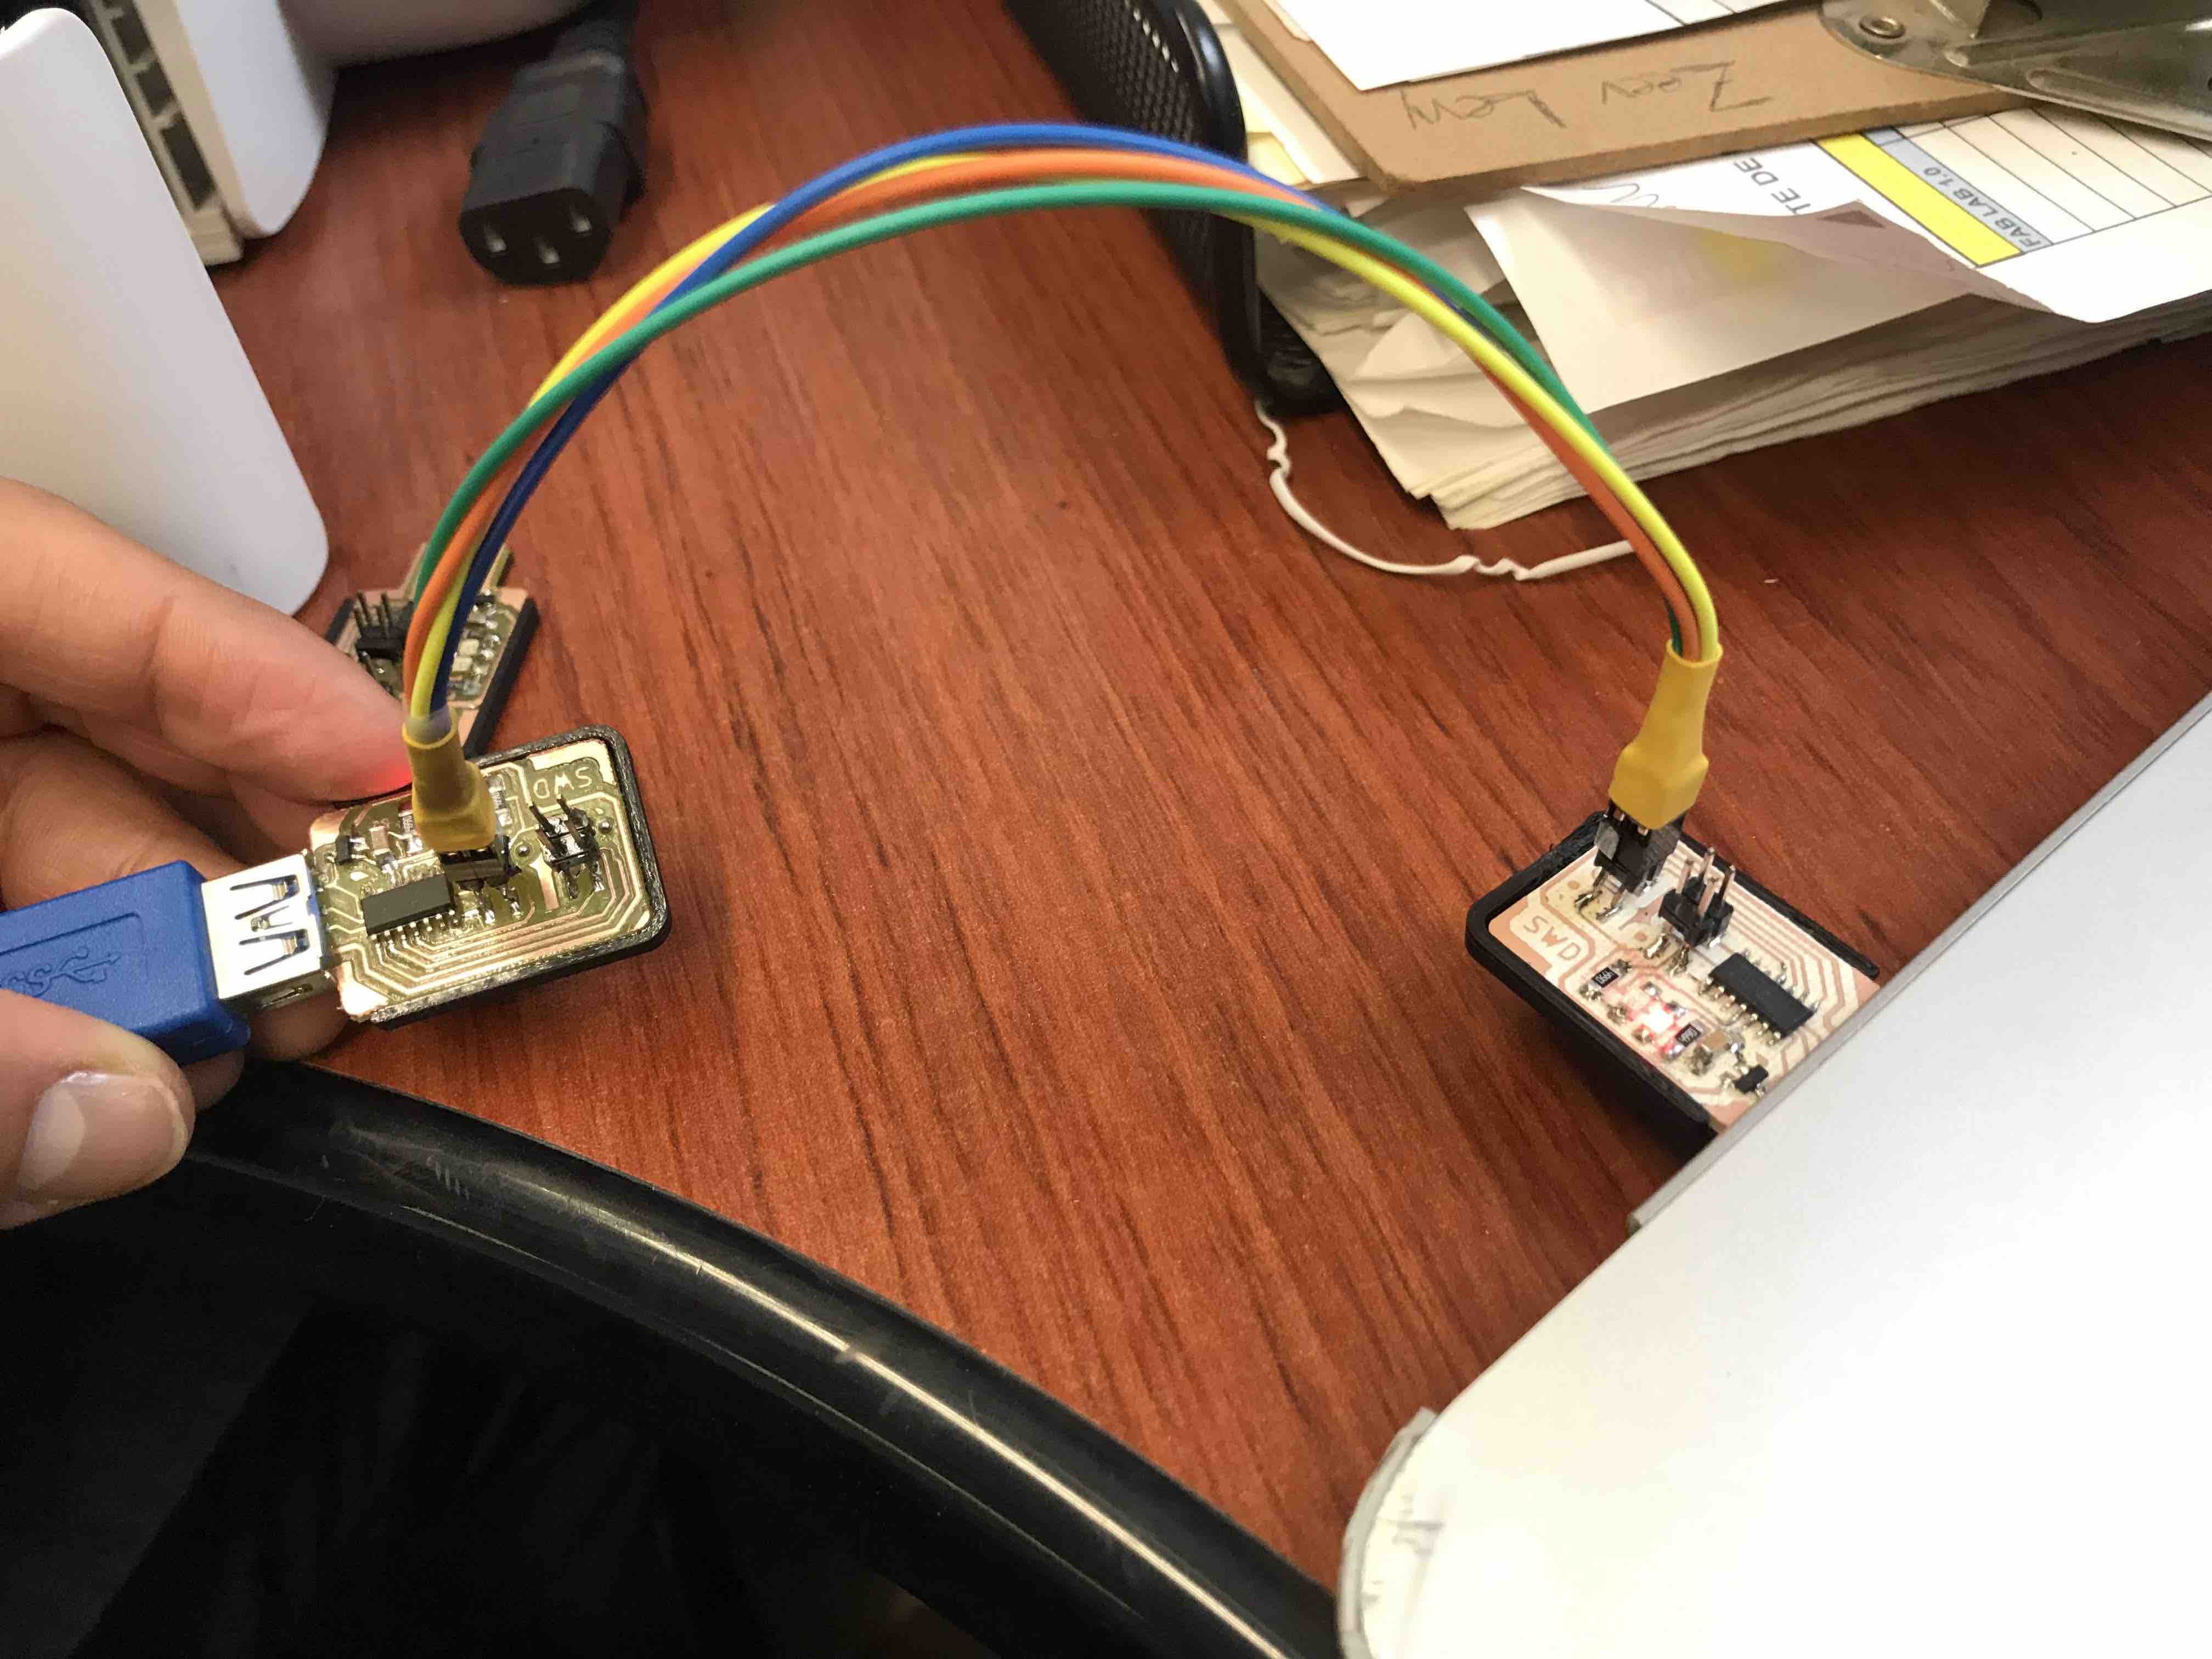
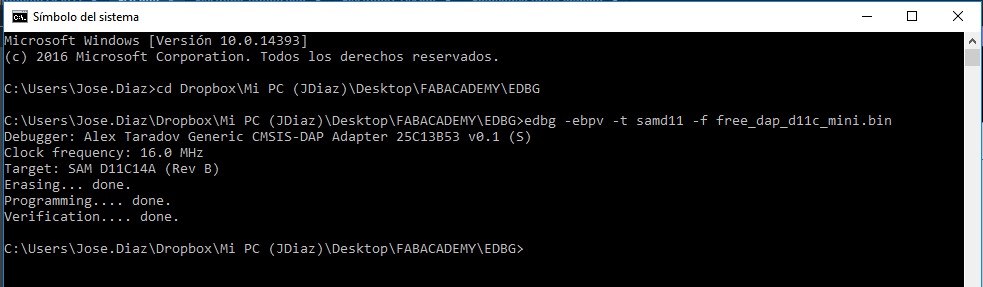
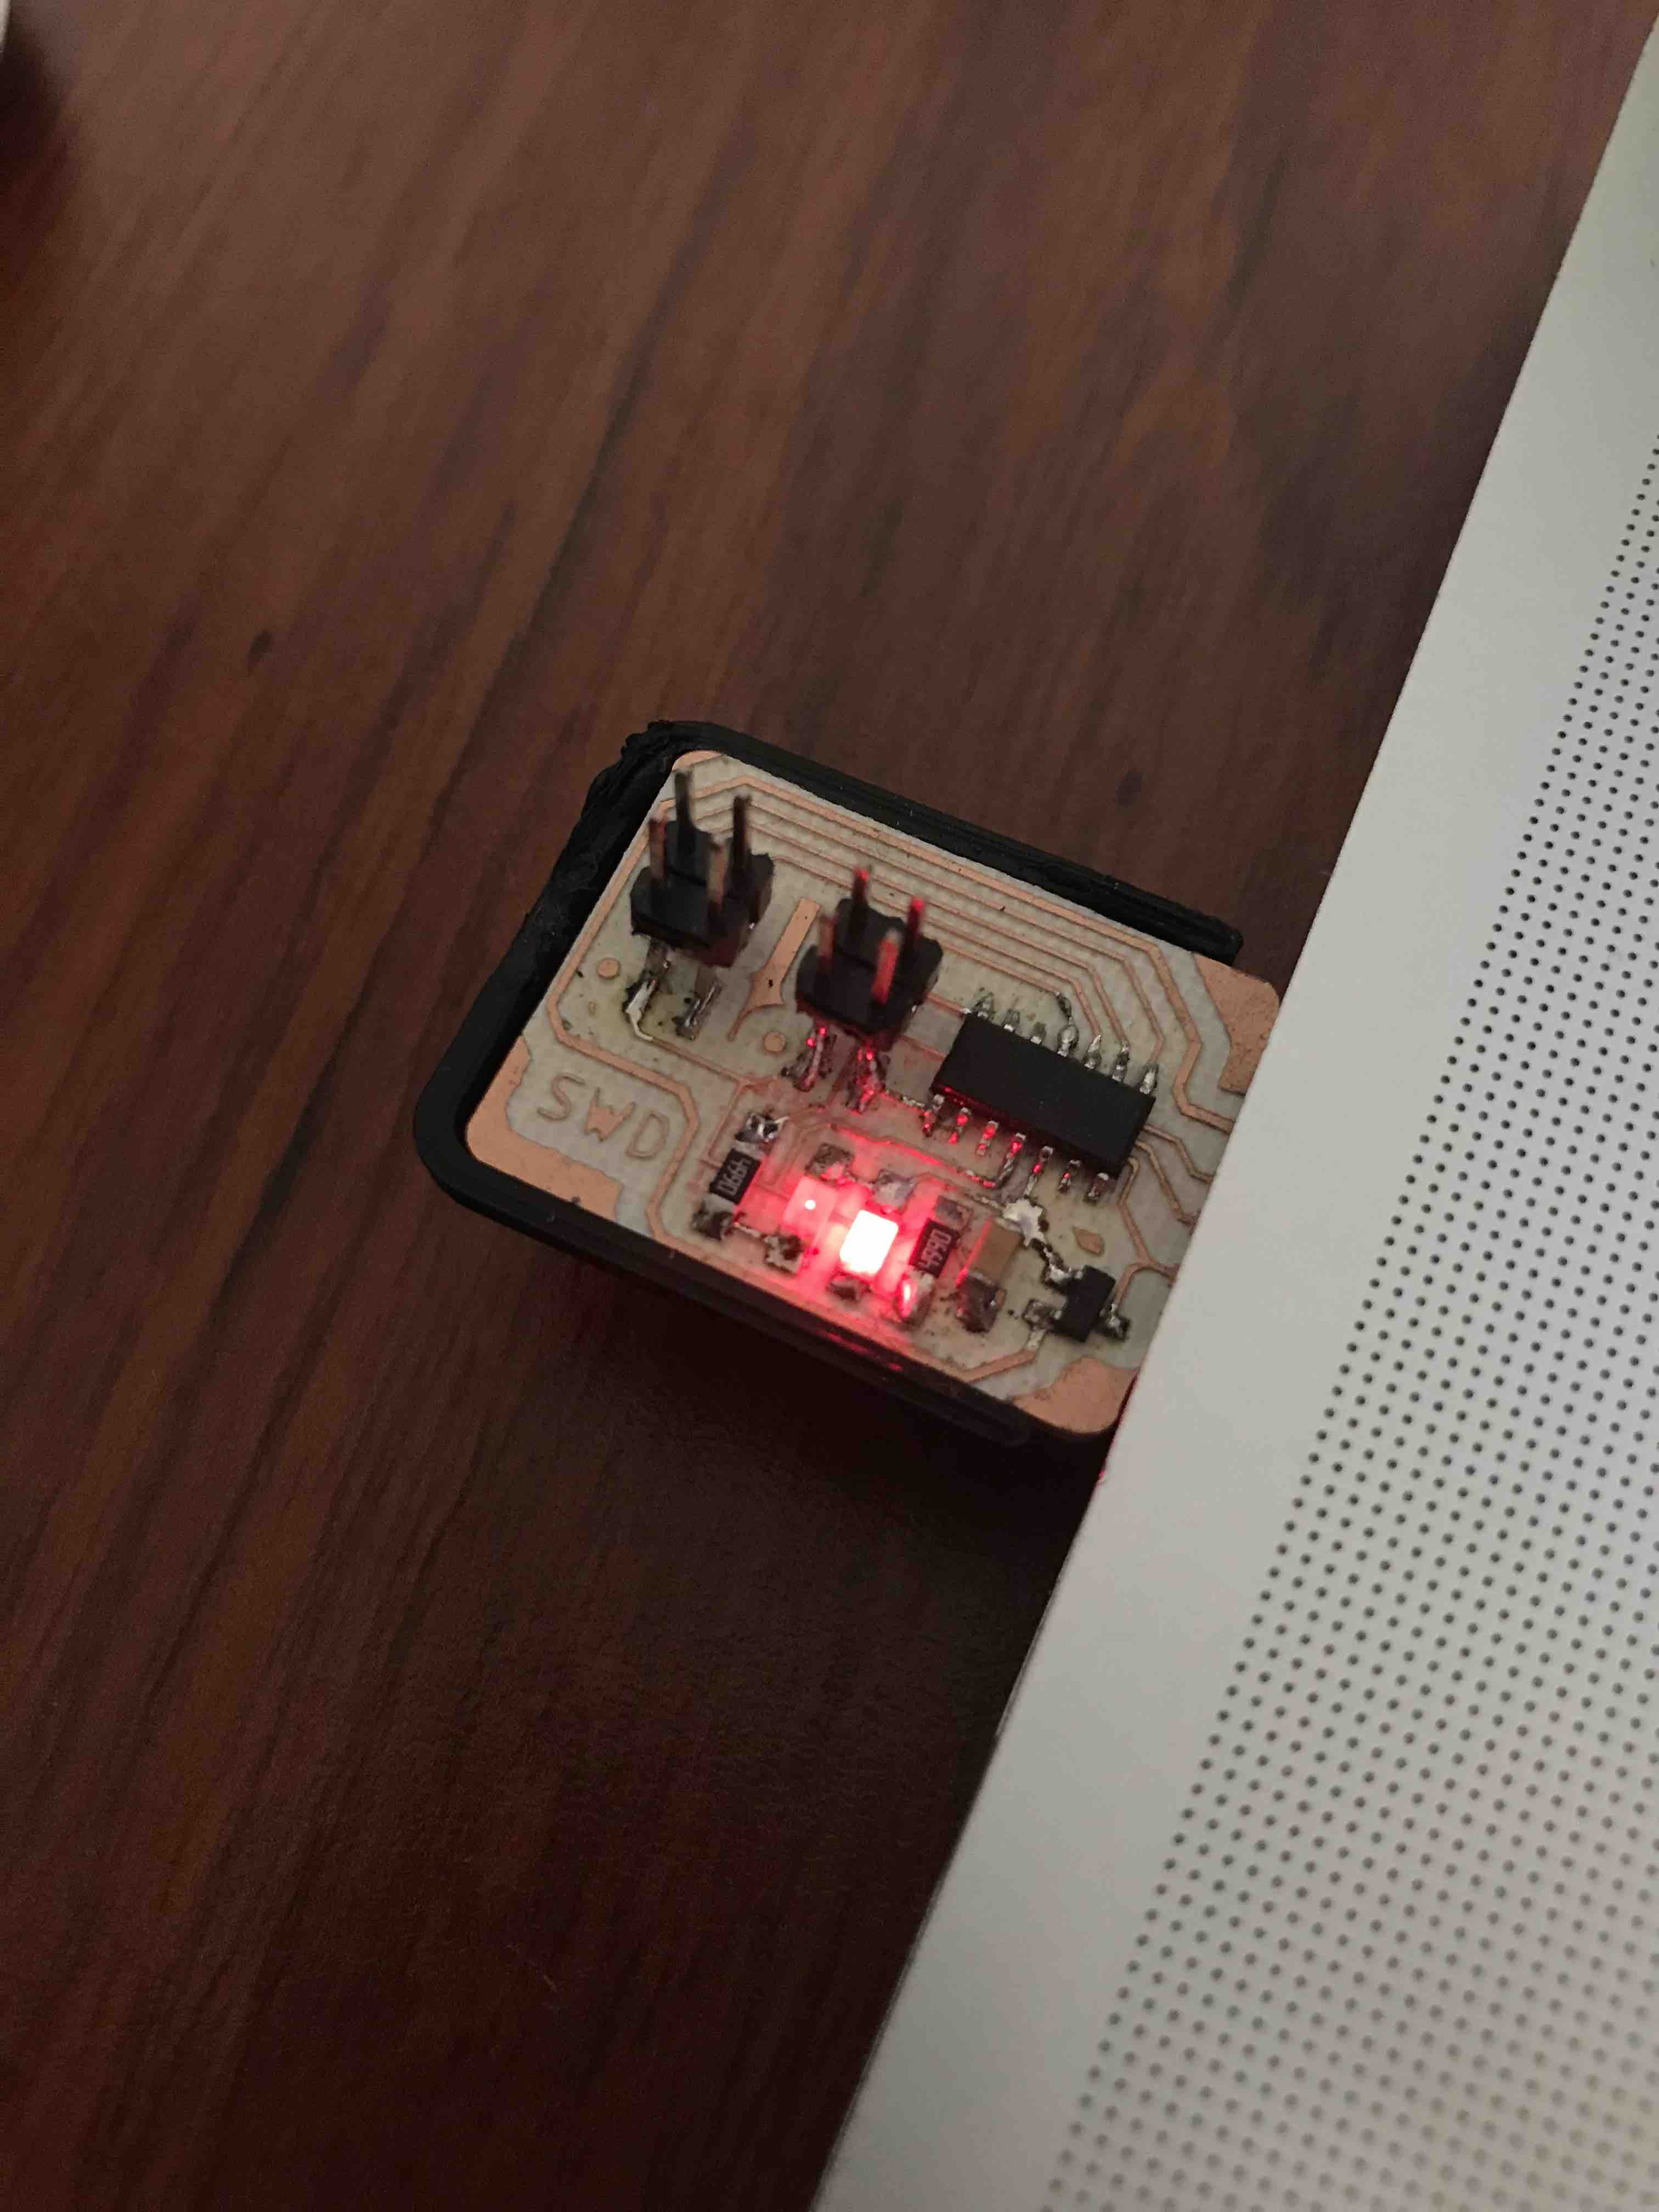
make an in-circuit programmer by milling and stuffing the PCB, test it, then optionally try otherPCB processes.


.
Roland MODELA machine. Here we mill the copper plates to obtain our PCBs
First we test some settings in order to see the correct parameters for milling our PCBs, like diameter, offsets, X, Y and Z settings mainly.
Here we can see the path that the milling drill is going to do
The most complicate setting is the Z axys because it can barely scratch the surface or if you go to deep the copper could felt off in the welding process.
More testing, we use the 1/64" endmill point
In this window we can see the path of the milling drill but here´s something wrong because the drill just scratch the surface of the plate.
Here we can see the path that the endmill is going to take
more testing settings
Almost there.....
Here are more detail PCBs
Finally we came with the right settings
Right path
This was the last testing PCB that I done in order to start processing my PCBs
The MODULA working
Some ATtiny 44 PCBs
I´m going to start with this two plates.


welding

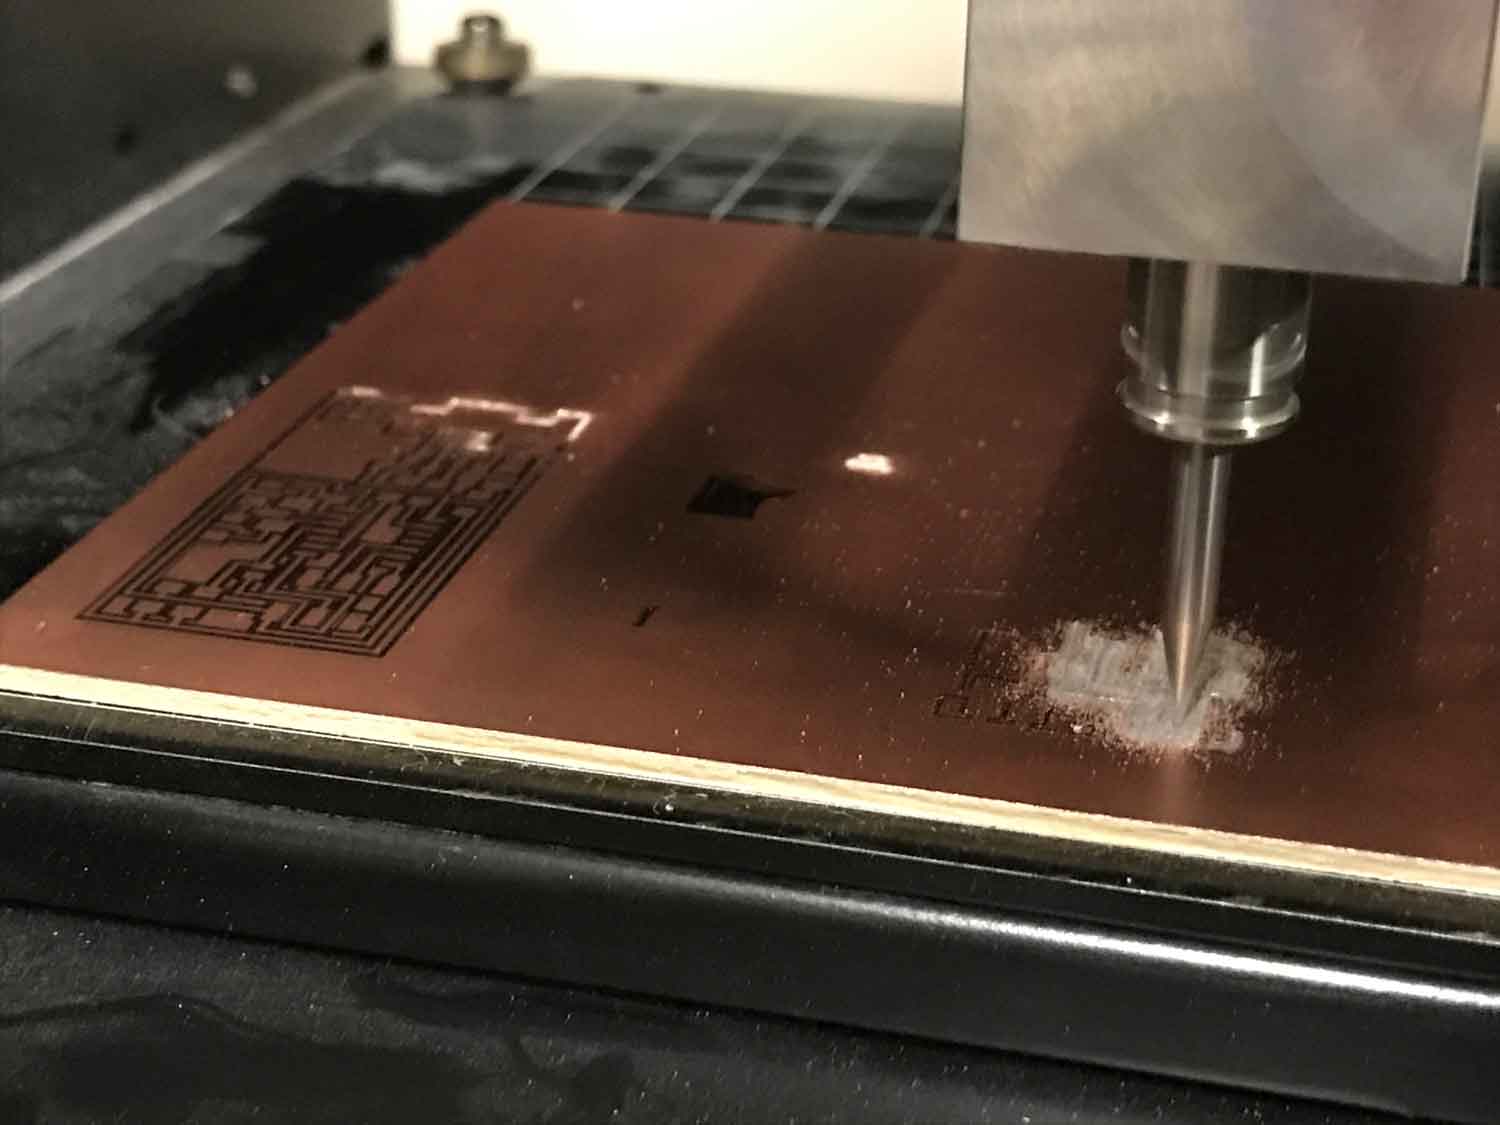
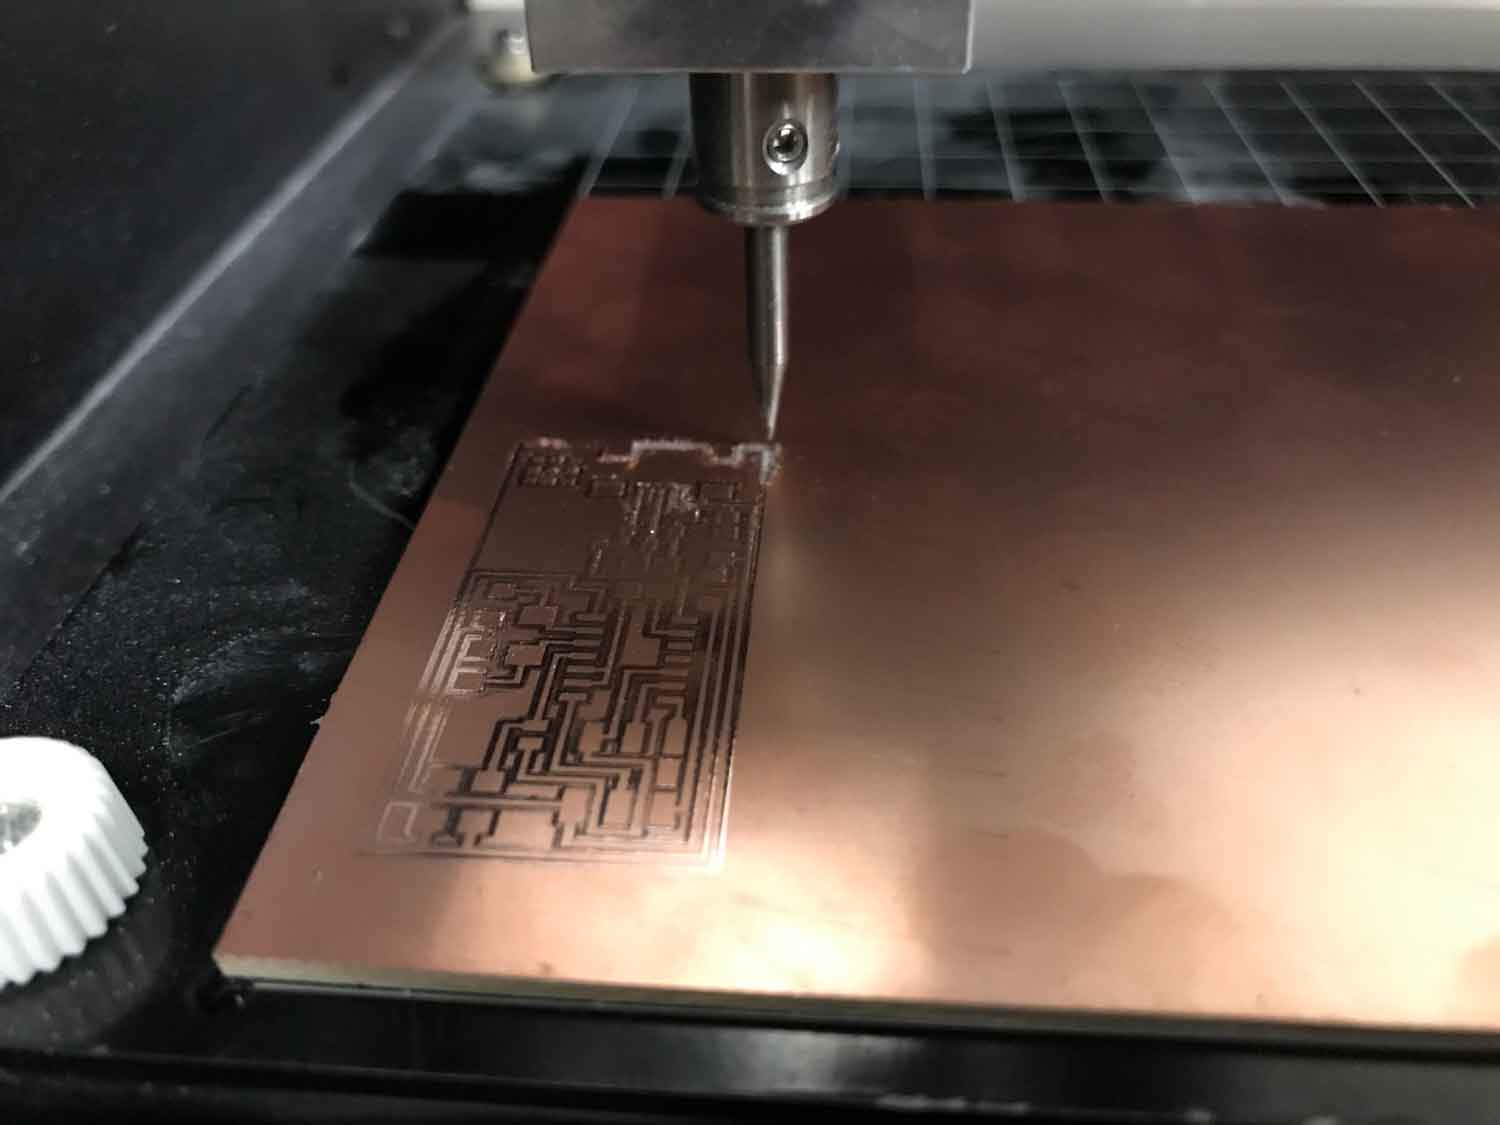
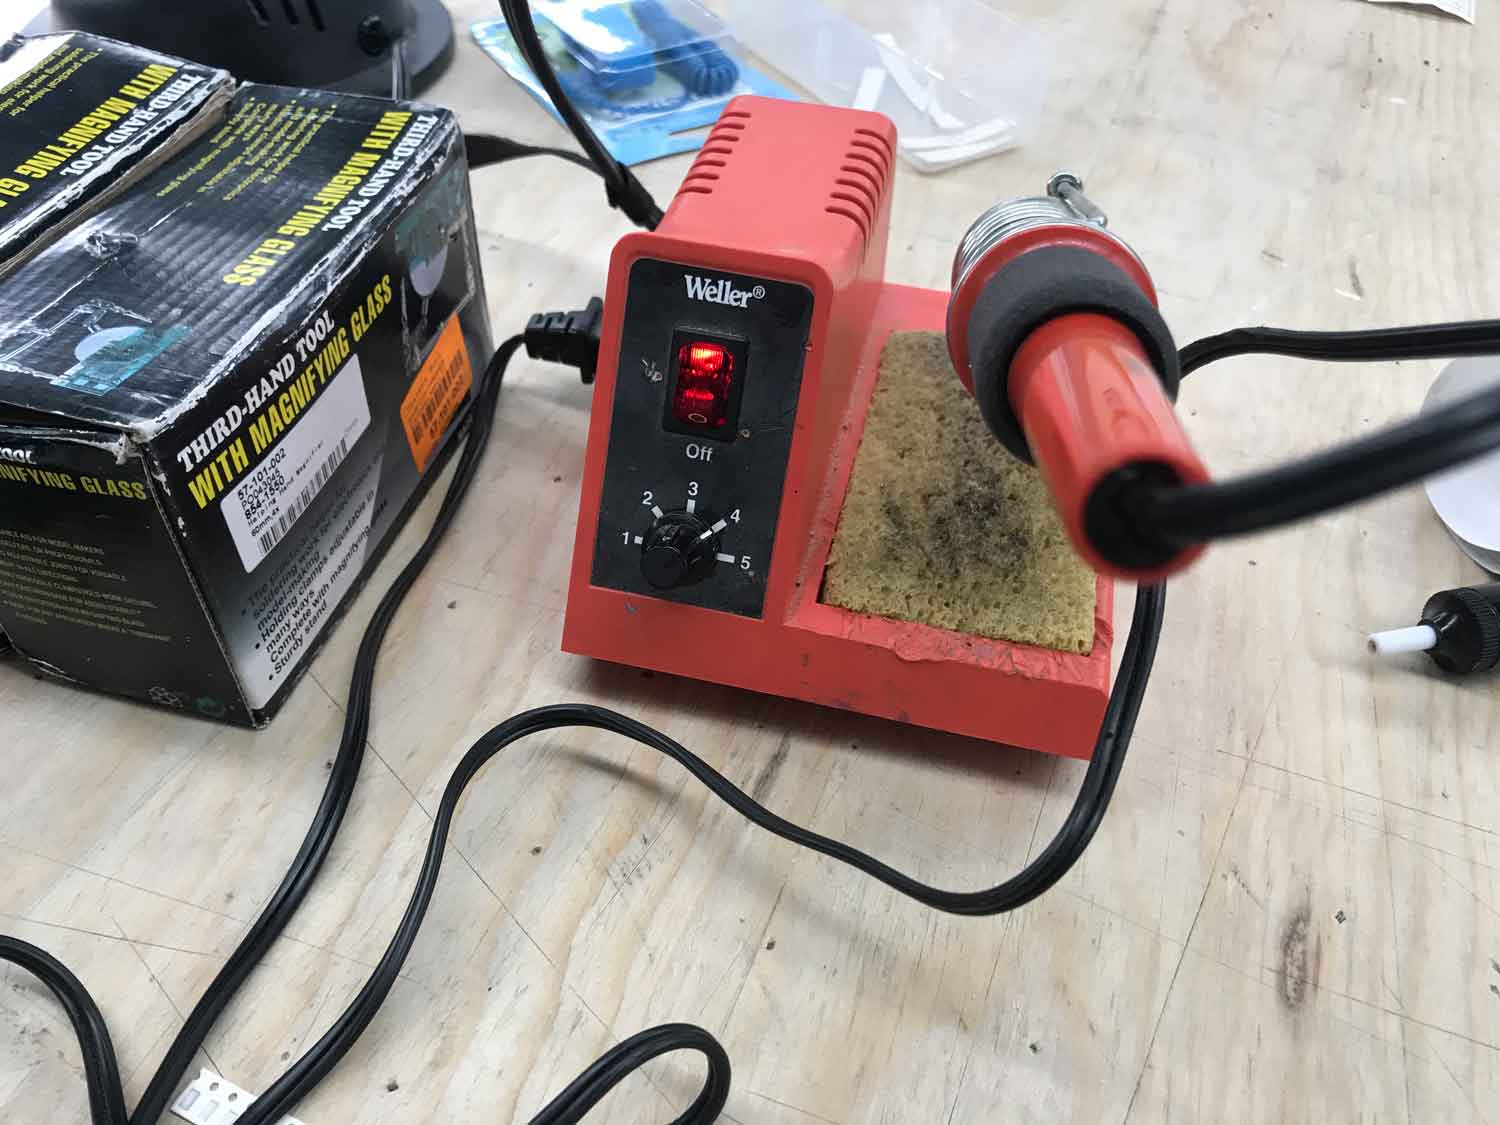
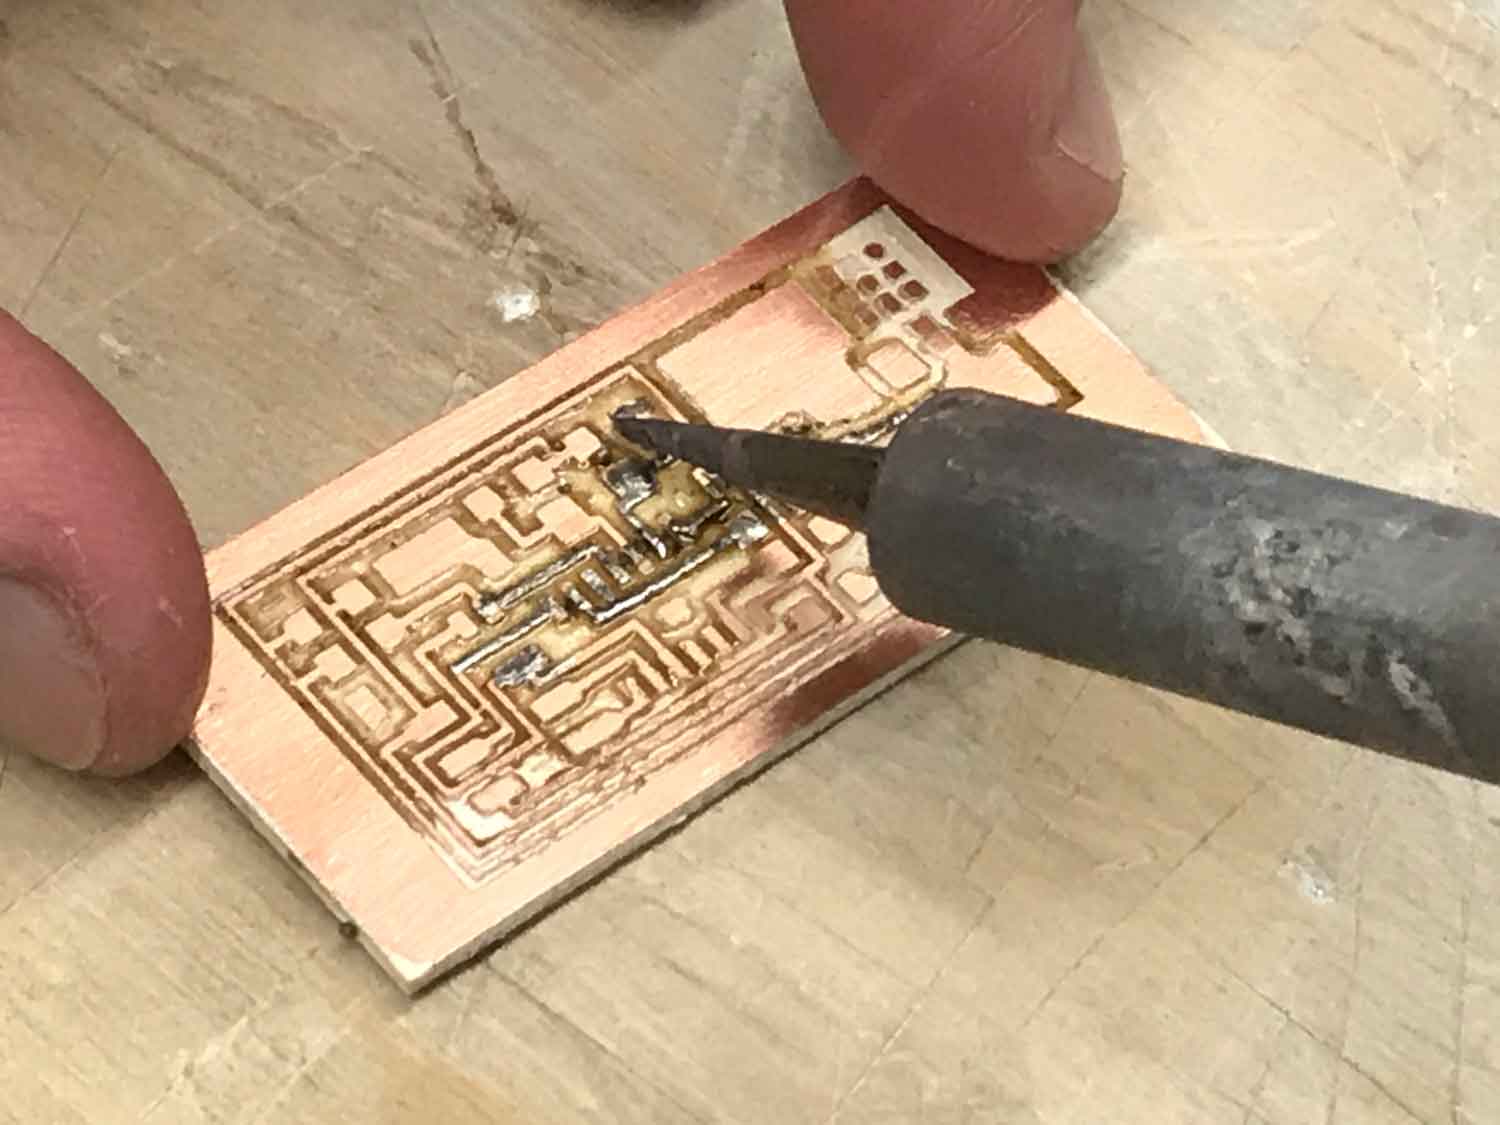
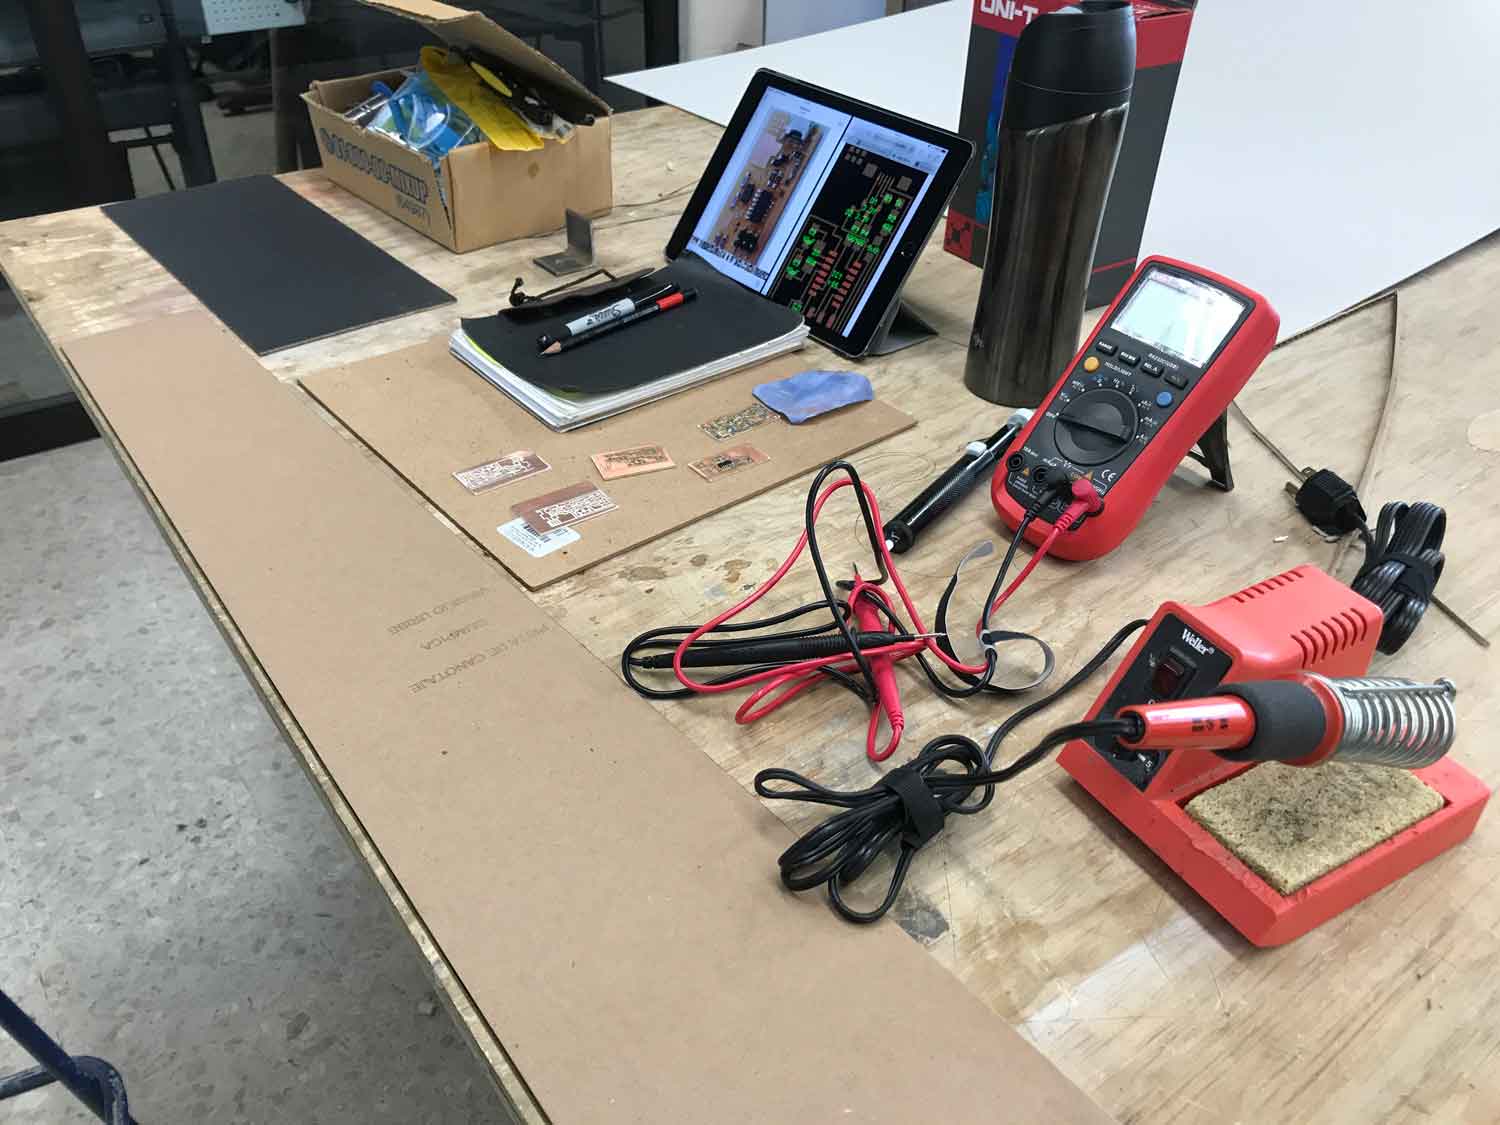
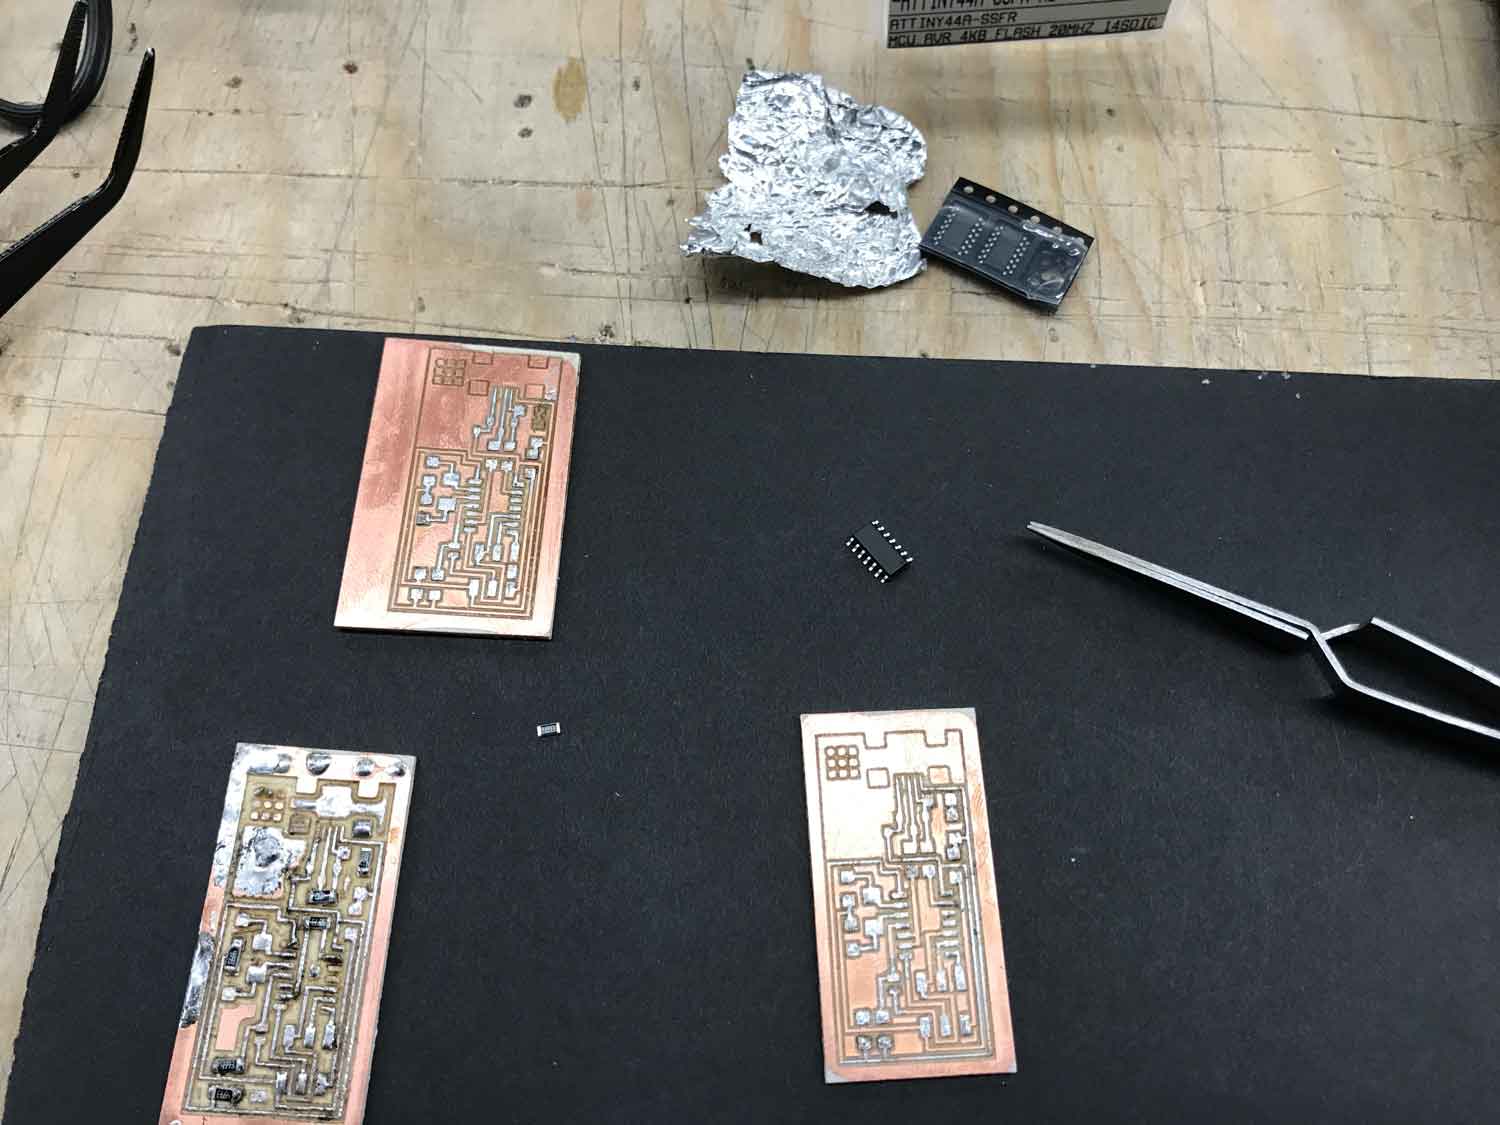
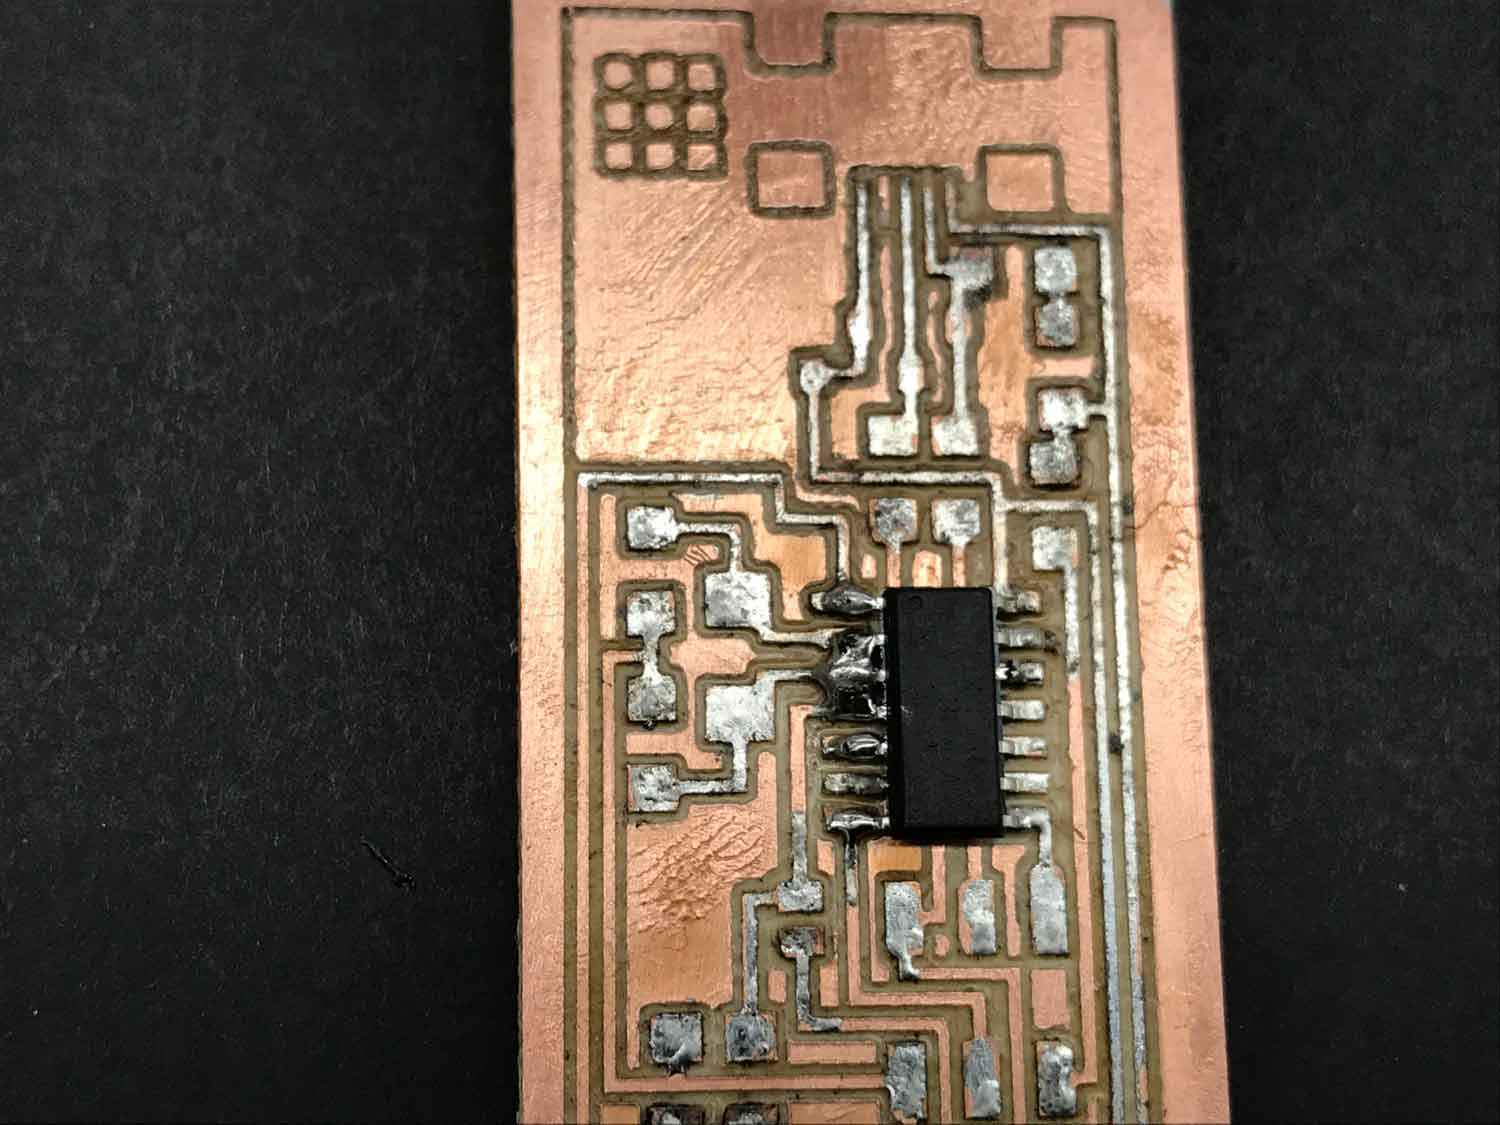
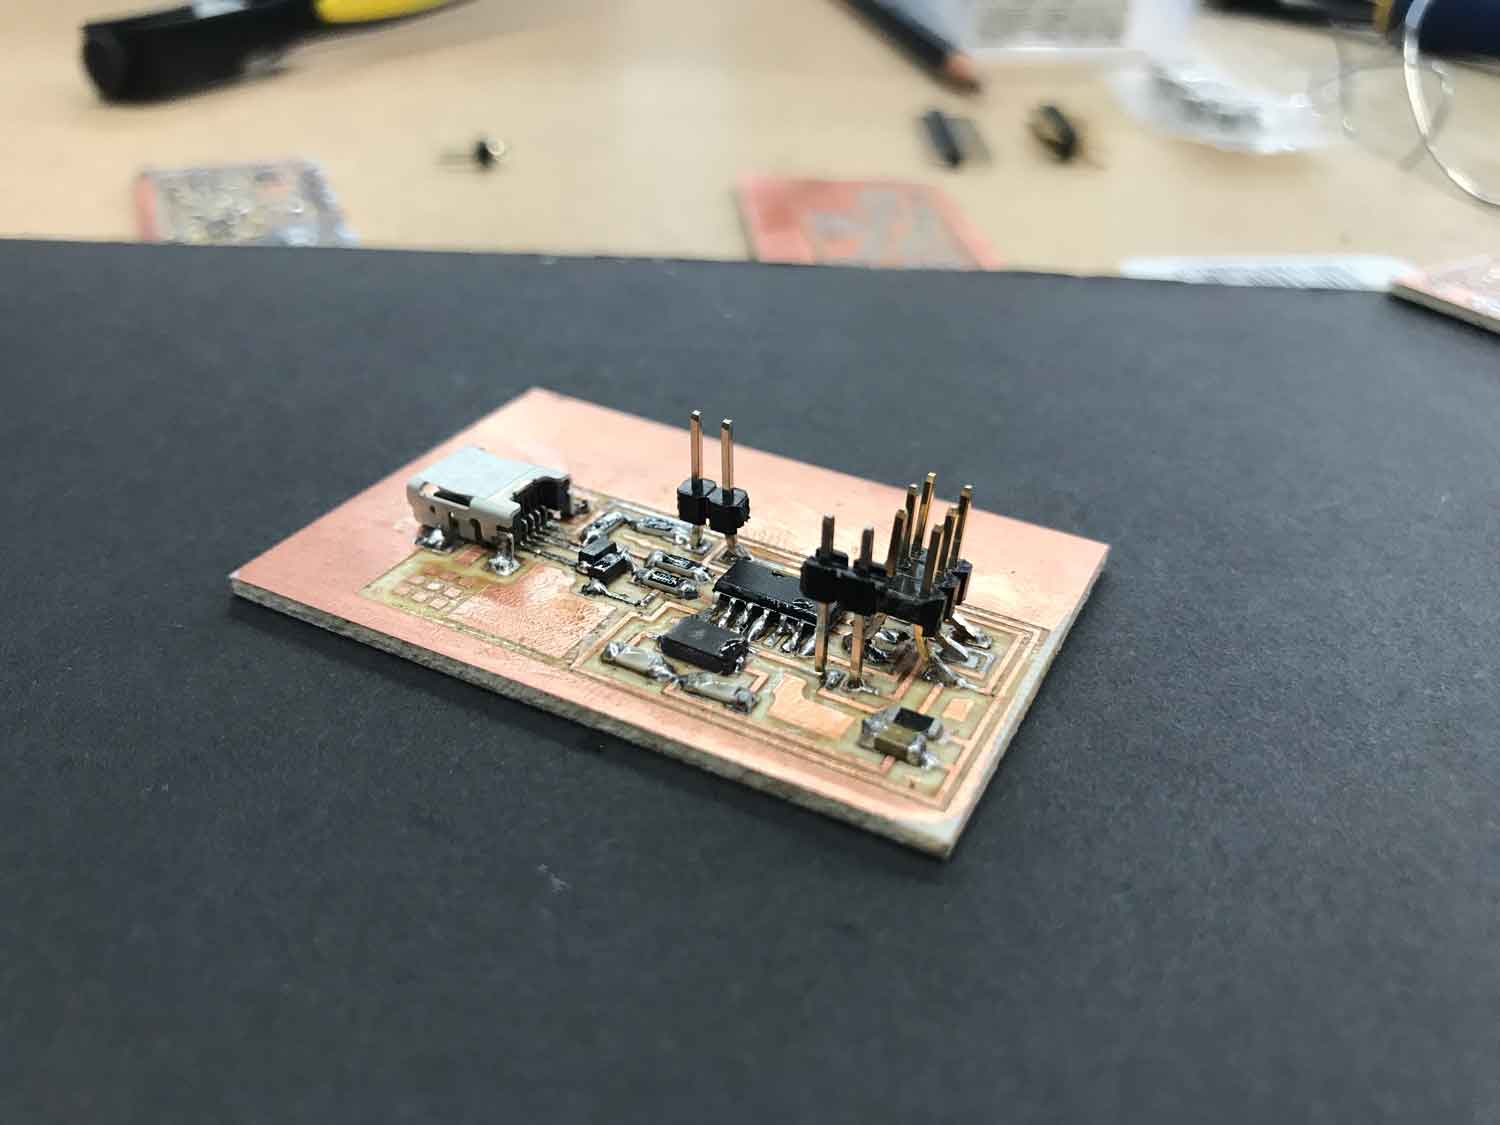
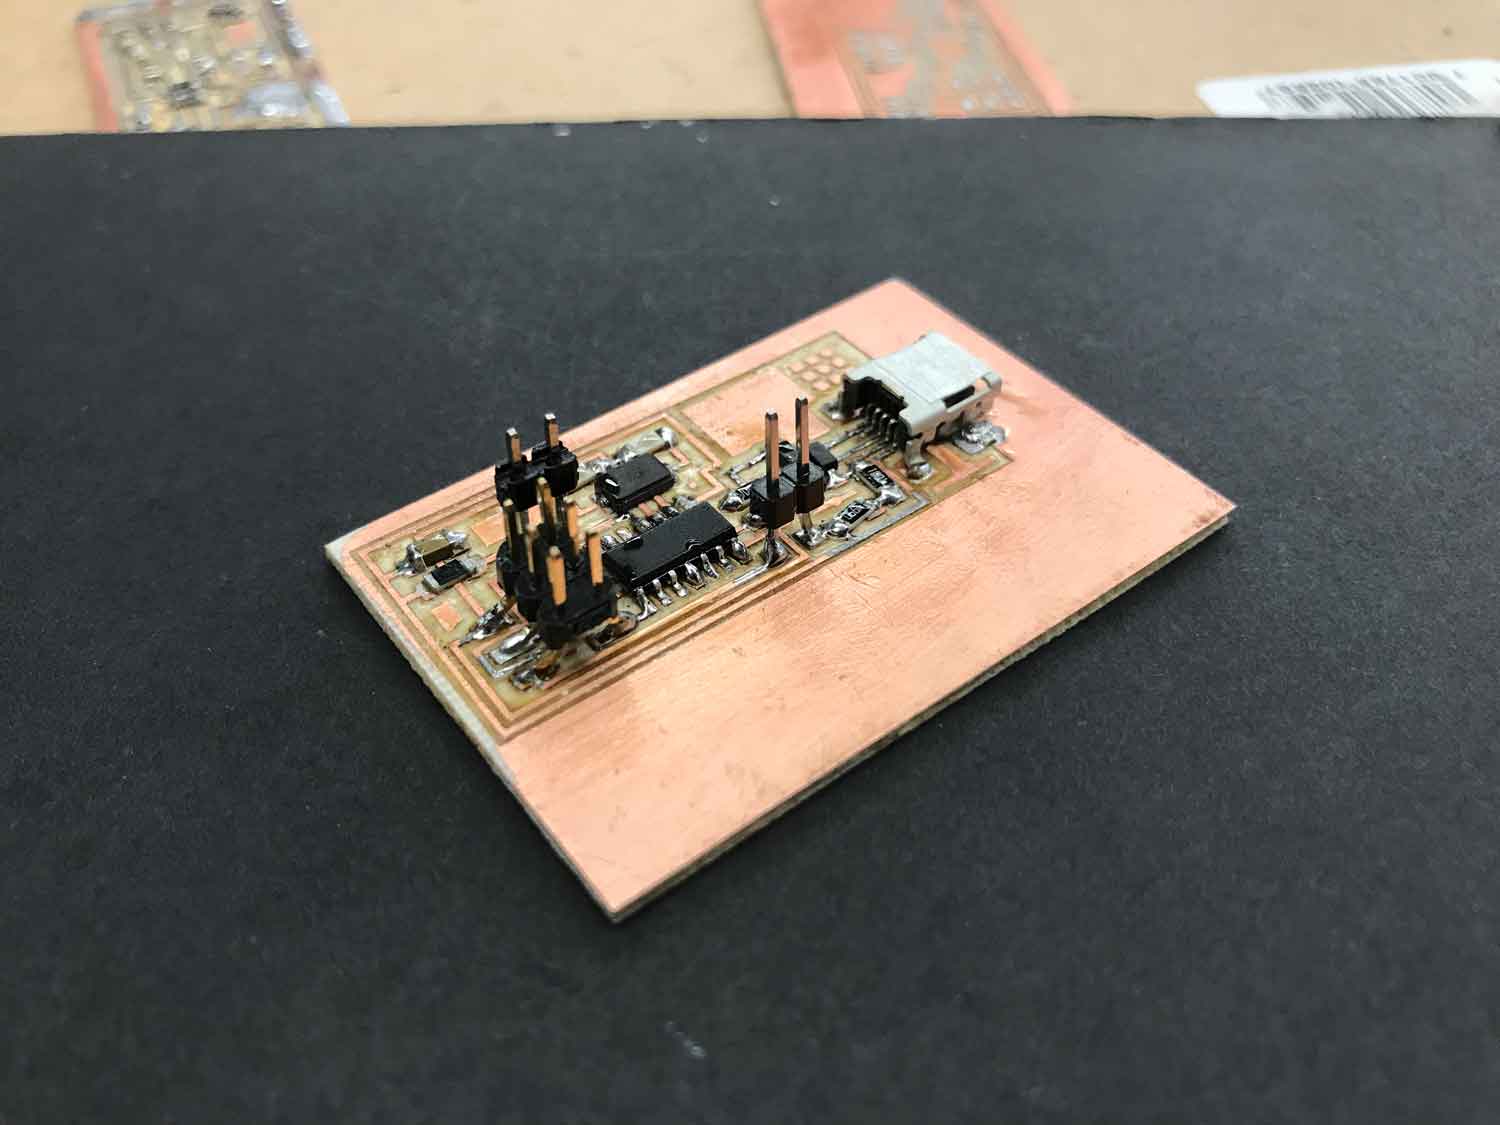
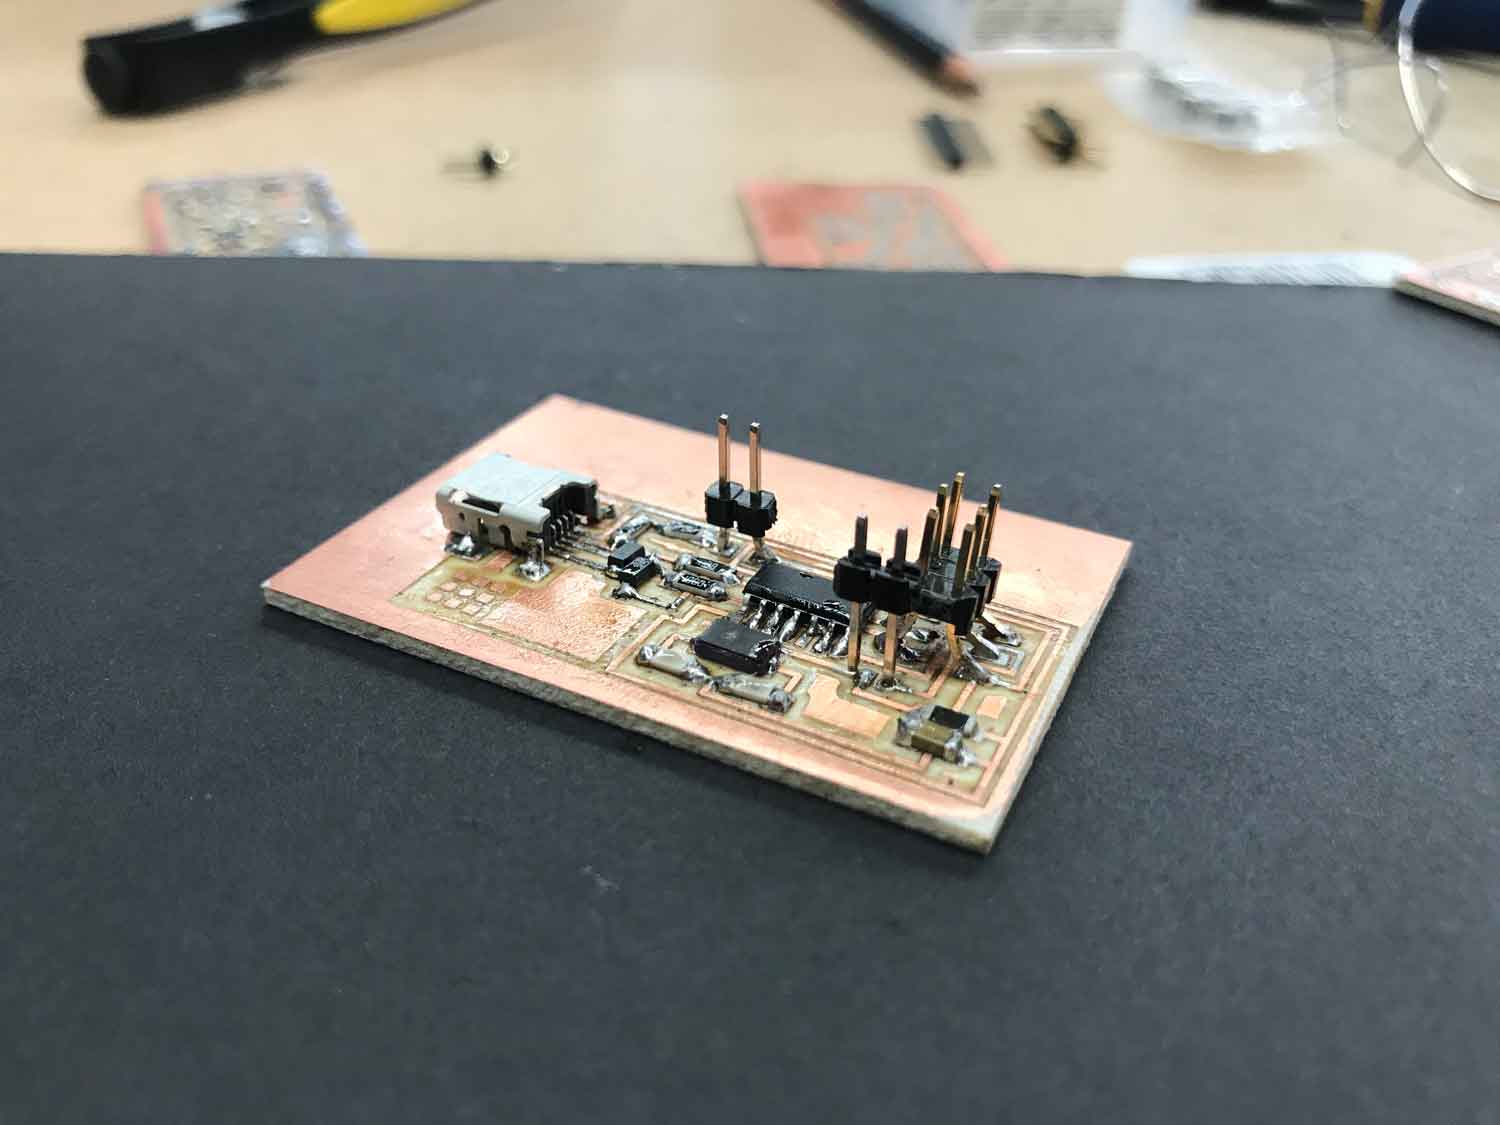
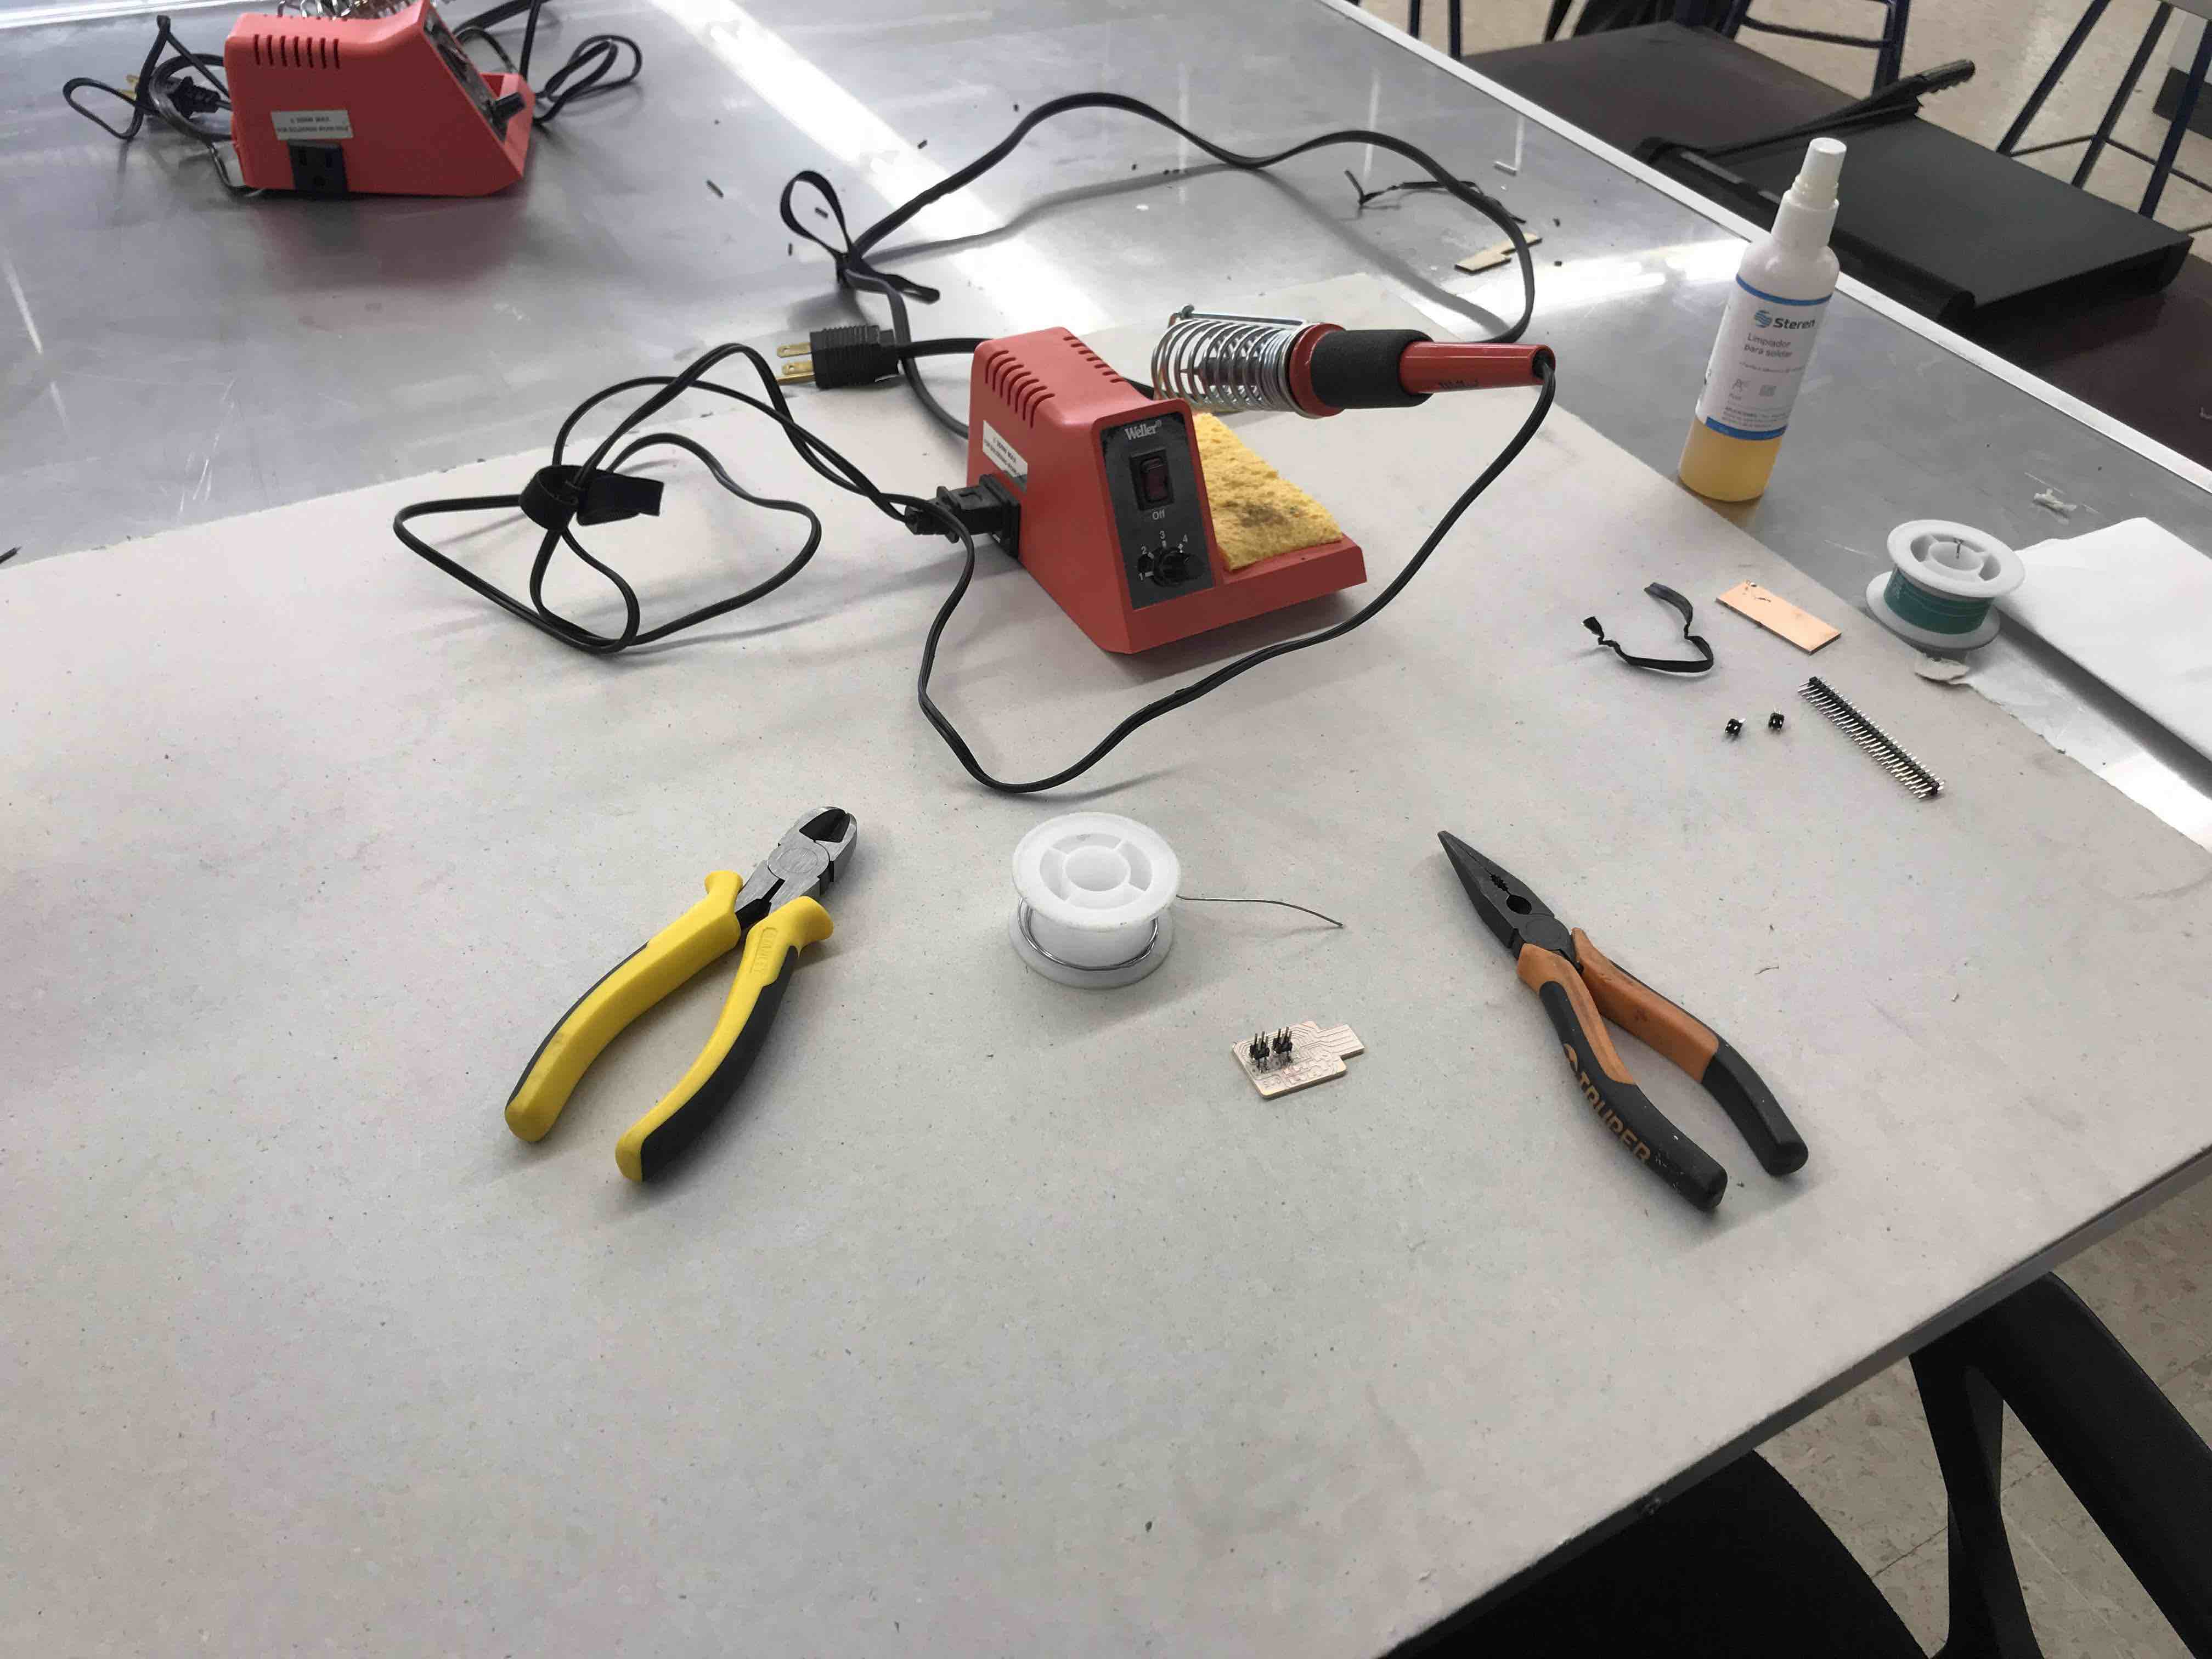
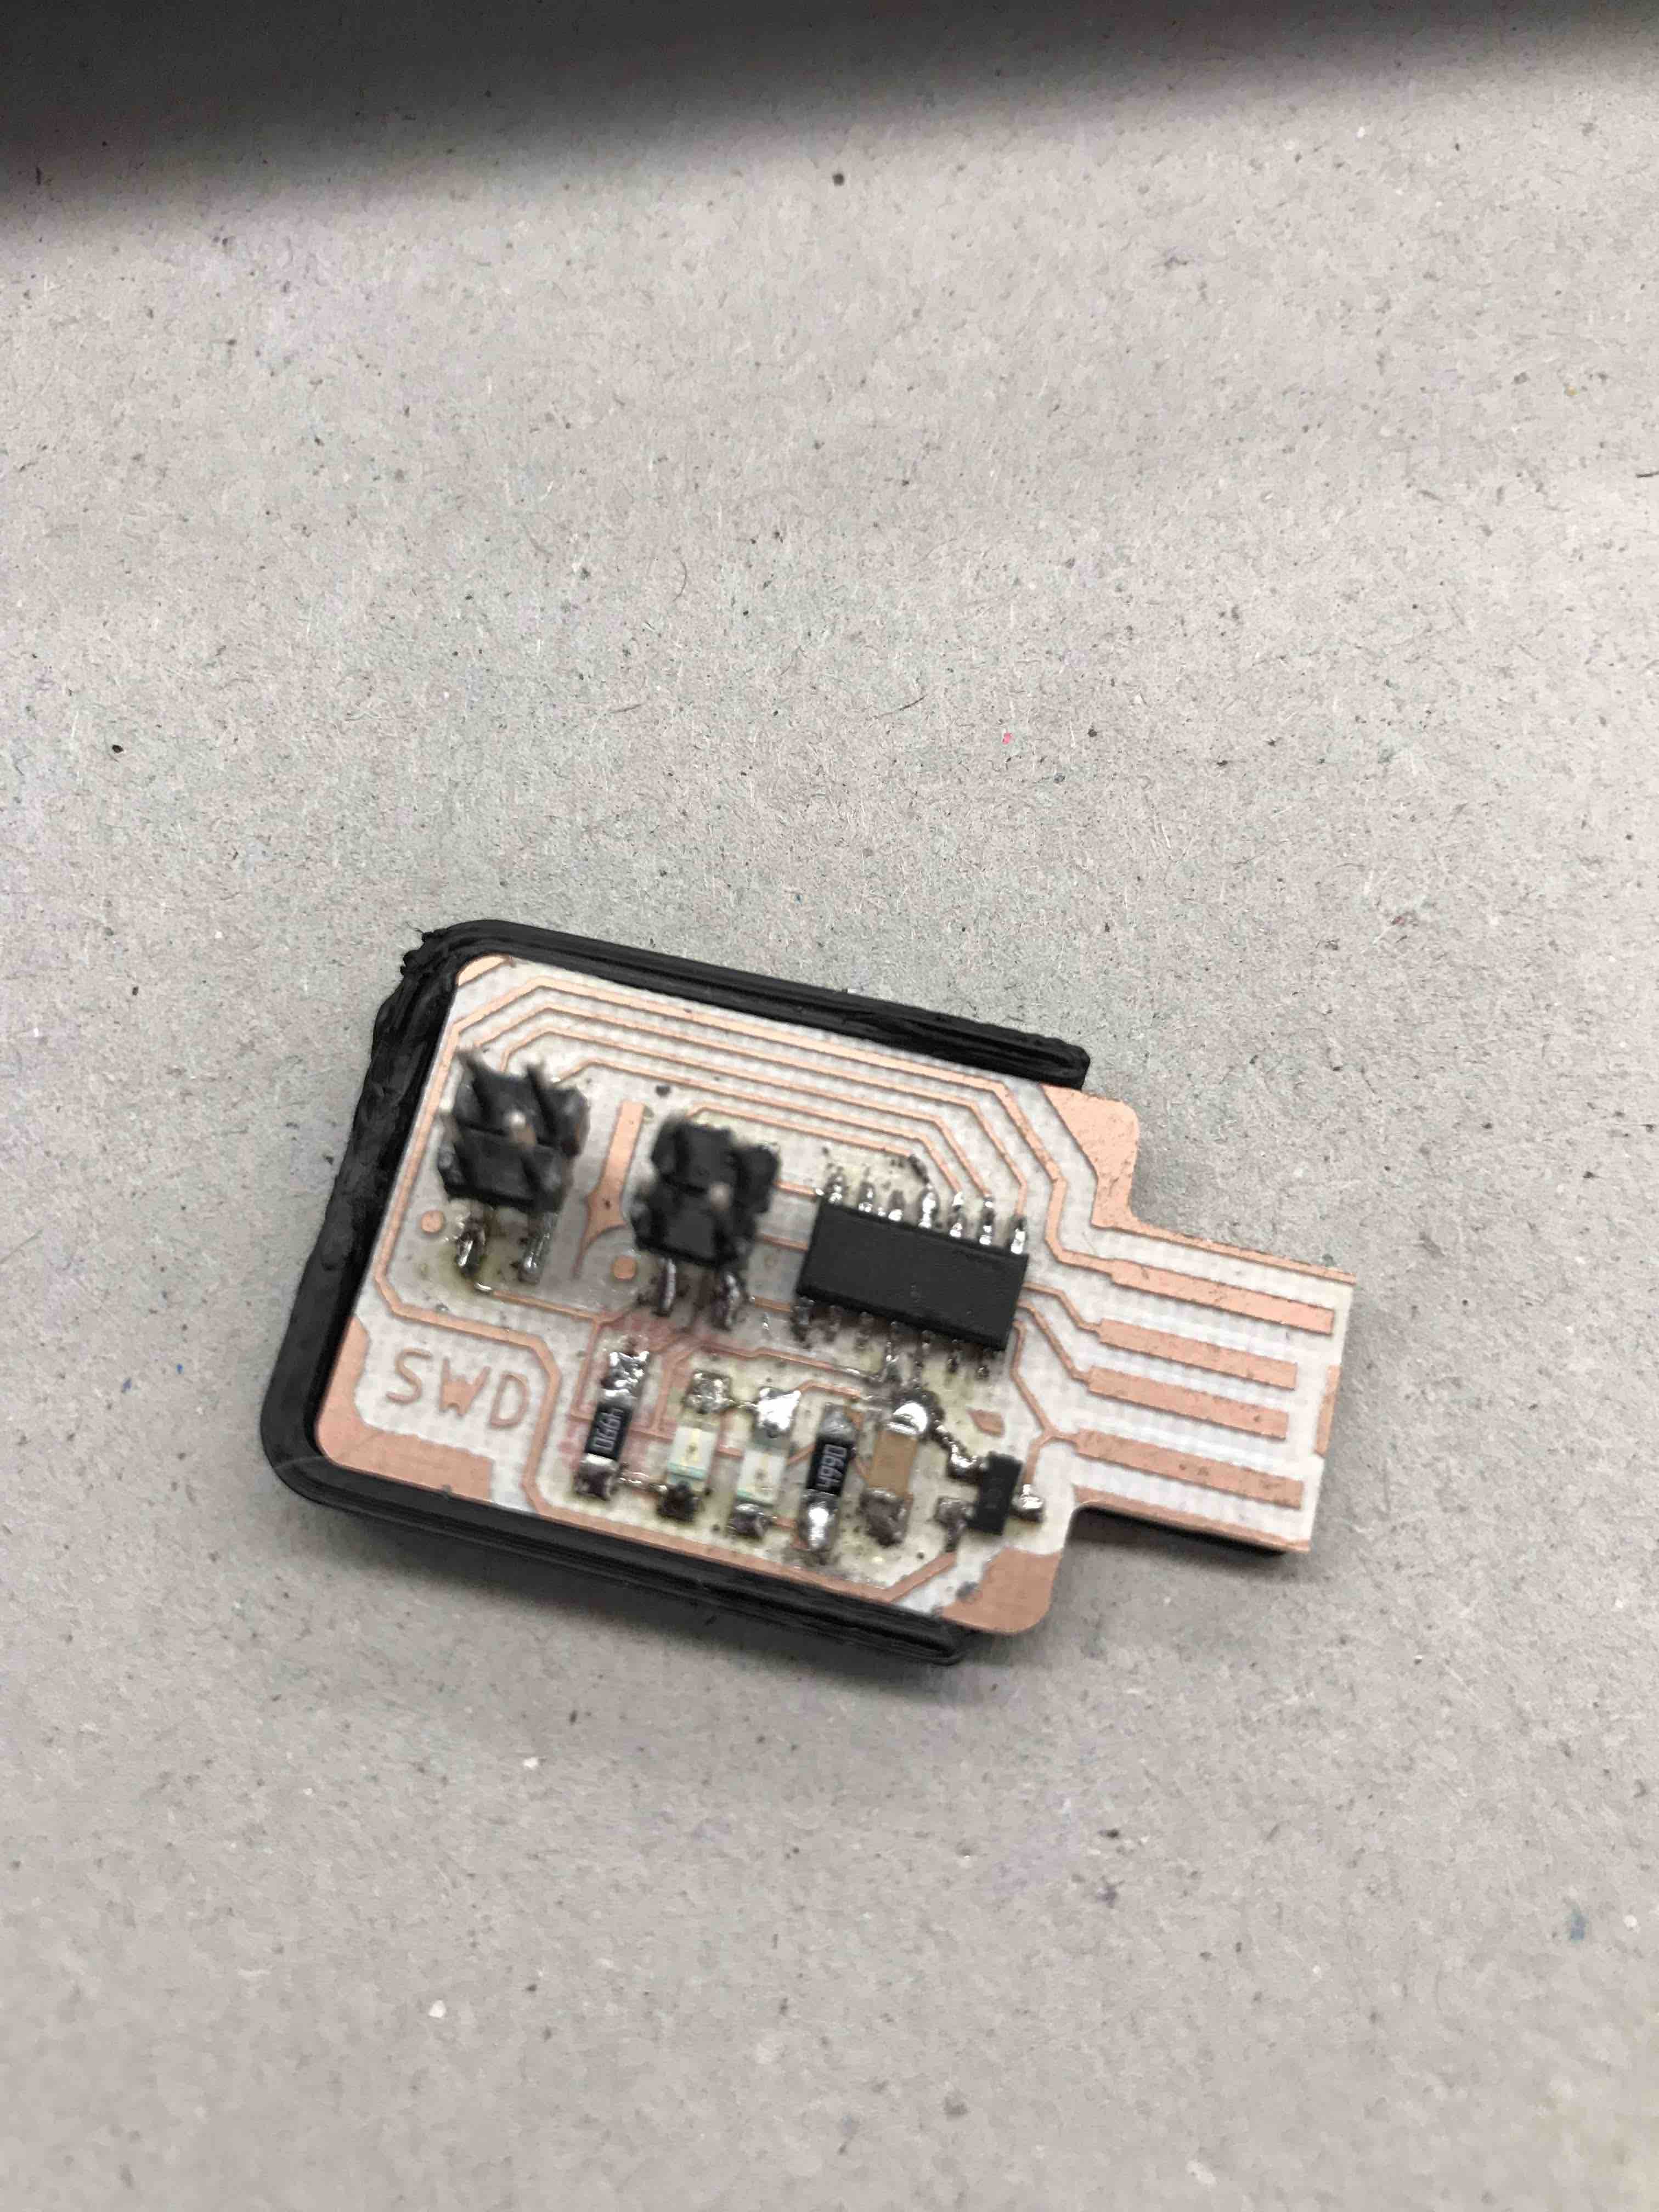
Preparing everything to start welding the components.

and the link to the group assignment is: FabLabCDMX.


Before start,  I test that the electric current is ok in the GND and in the VCC trace
I use this Weller Brand soldering iron
  First I practice to apply some tin on the traces
More practice
Finally I think I´m ready to start welding my final PCB
Here´s an image of the Board and the Components that I select in the link of our Assigment that is a Model:
ATiny 44A / IC MCU 8BIT 4KB FLASH 14SOIC
This is my list of components according to both images.
preparing the workspace
First I will start with the IC
Here you can see the tiny IC component. There´s is a very little mark in the surface of the IC that indicates the position of the IC in the PCB that in this case is a circle.
I was going well but I put more tin than I need and I join two "legs" of the IC
I desolder the excess of tin using a vacuum tool that proves to be very useful
Almost done
Looks like a Star Wars miniature
Another view of my ATtiny 44A
My HERO shot of the PCB

The .PNG image of my SWD board.

Importing the .PNG image to configure MODS to start milling my board

I download the original code from the page of Adrián..... and then I change some lines to adapt it to my needs

A detail view of the "calculate" window in MODS

My SWD board just before milling the outline

Here with all thestuff and components need it to weld my SWD board

A closer look to my SWD board


Connecting two SWD to bring to "live" mine so I can program my HUGODINO

Everything good, Verification done, it´s ready to program.

Hero shot of my SWD with both leds ON


The green spot

a place to re-connect