For this assignment
I vacuum form the cover of one of my Final Project proposal. For
this assignment I made the 3D design of the cover, then I glue
together some 15mm natural MDF pieces tht would be CNC machining
into the mold, RhinoCAM to setup the tooling and the CNC
settings for this project, a band saw for cutting the perimeter
of the mold, cal.40 polystyrene and a vacuum form machine
Vectorworks,
Rhino CAM, CNC router, band saw, vacuum machine.
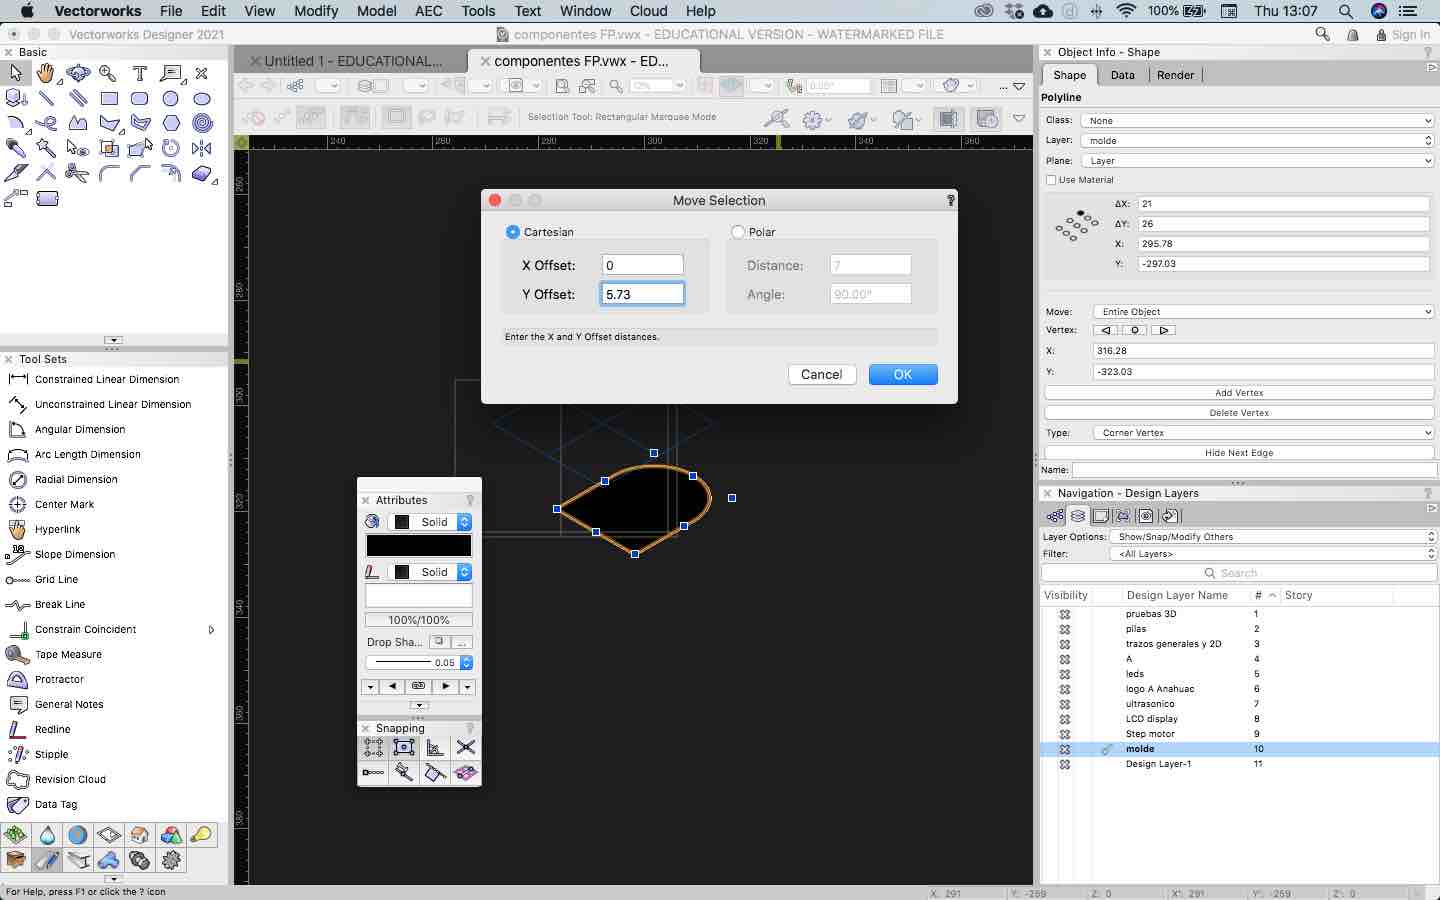


Before continuing, some
important information to consider about the mold angle so we can
de-mold easily.


In our case, I´m making
a "male" mould
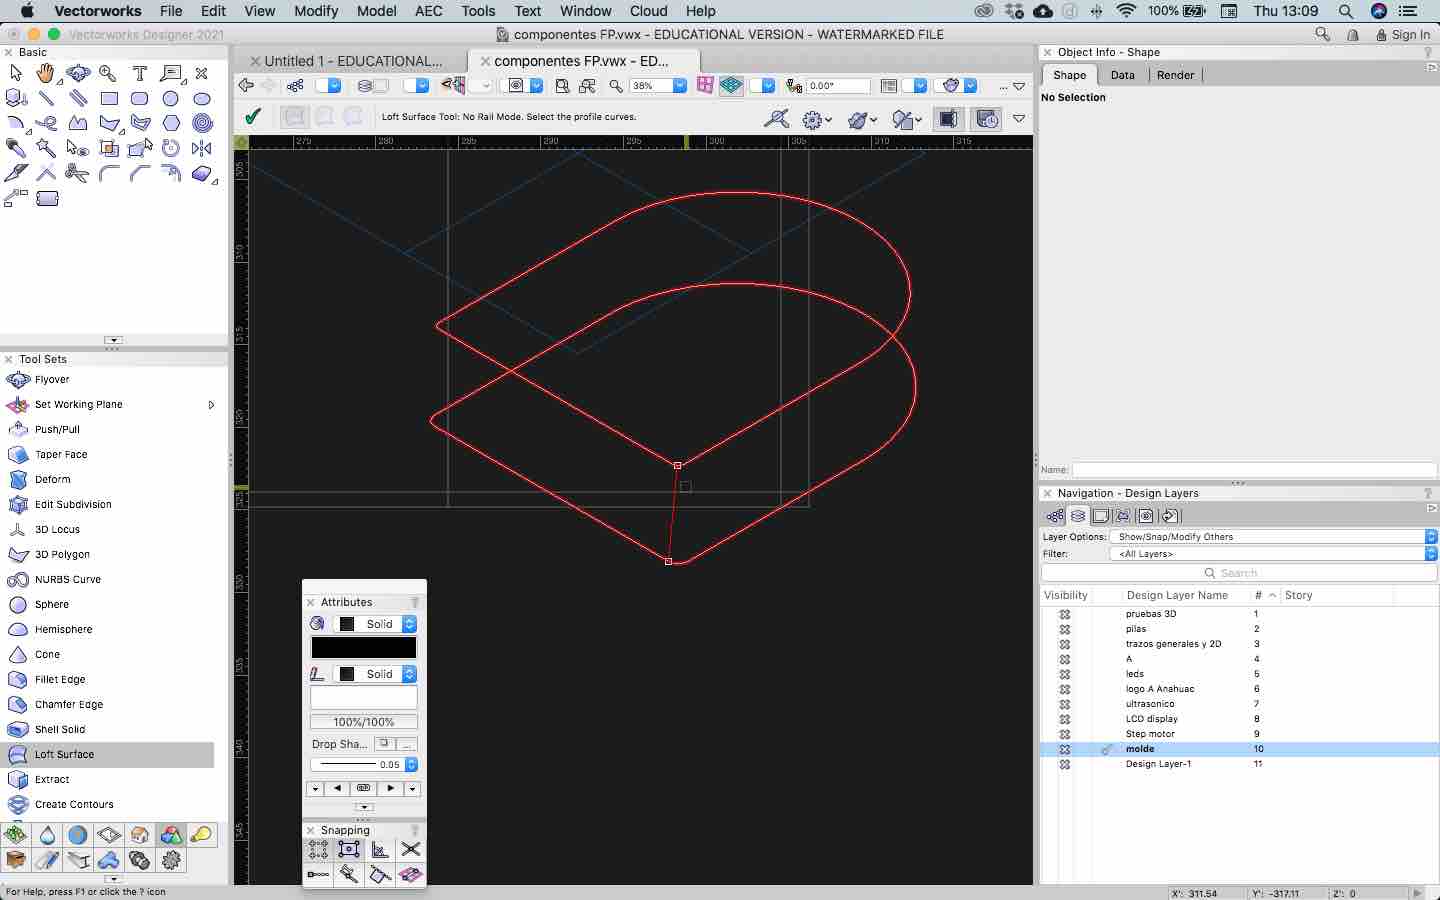
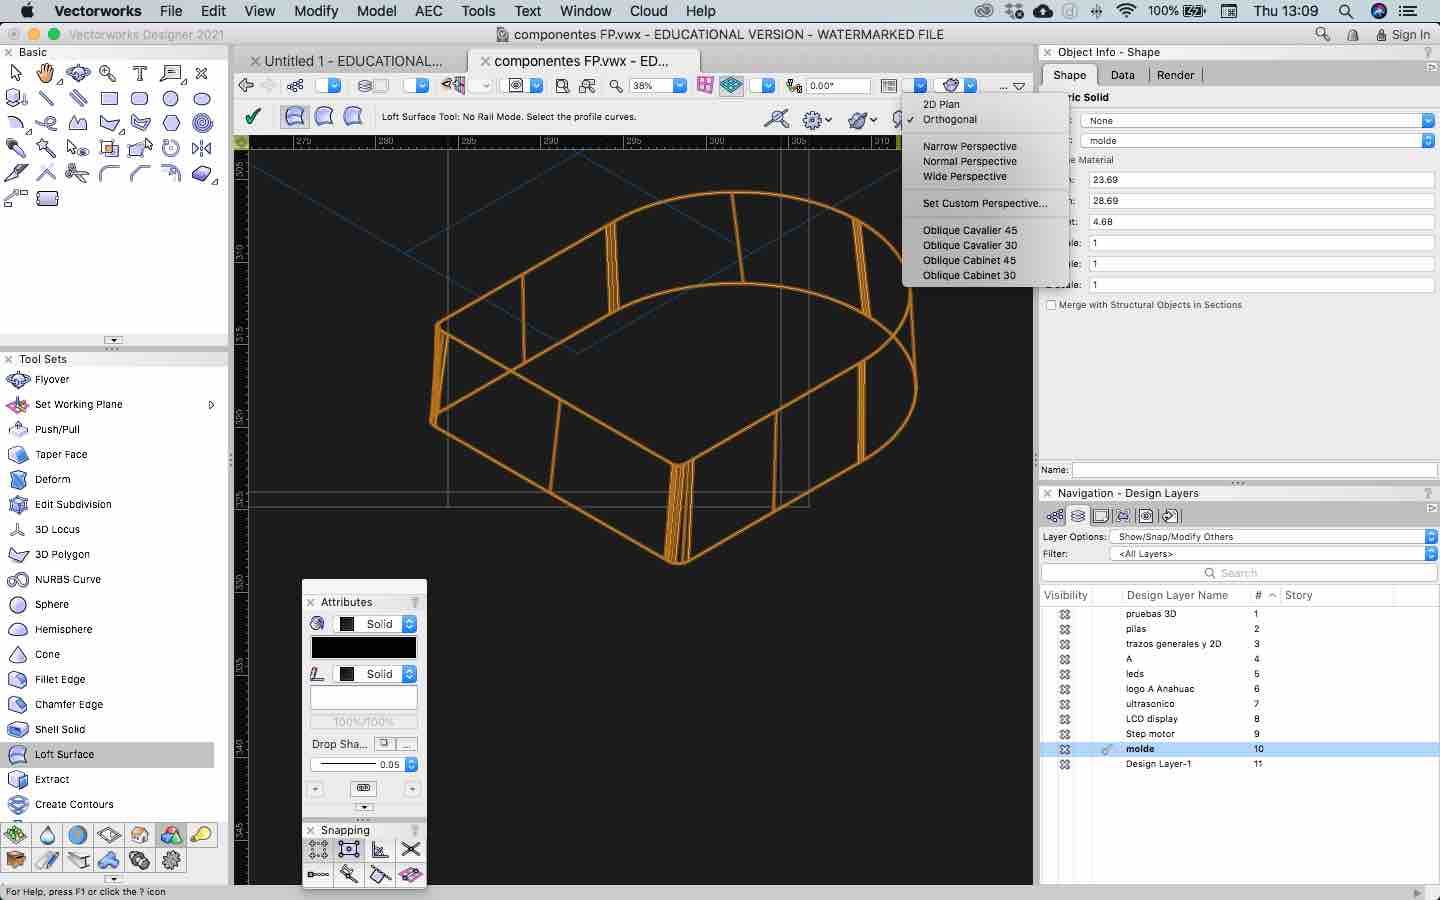
Now I´m ready to use
the LOFT tool
I always conserve the
original basic shapes like kind of time line doing, so if I want to
change something it´s more easy.
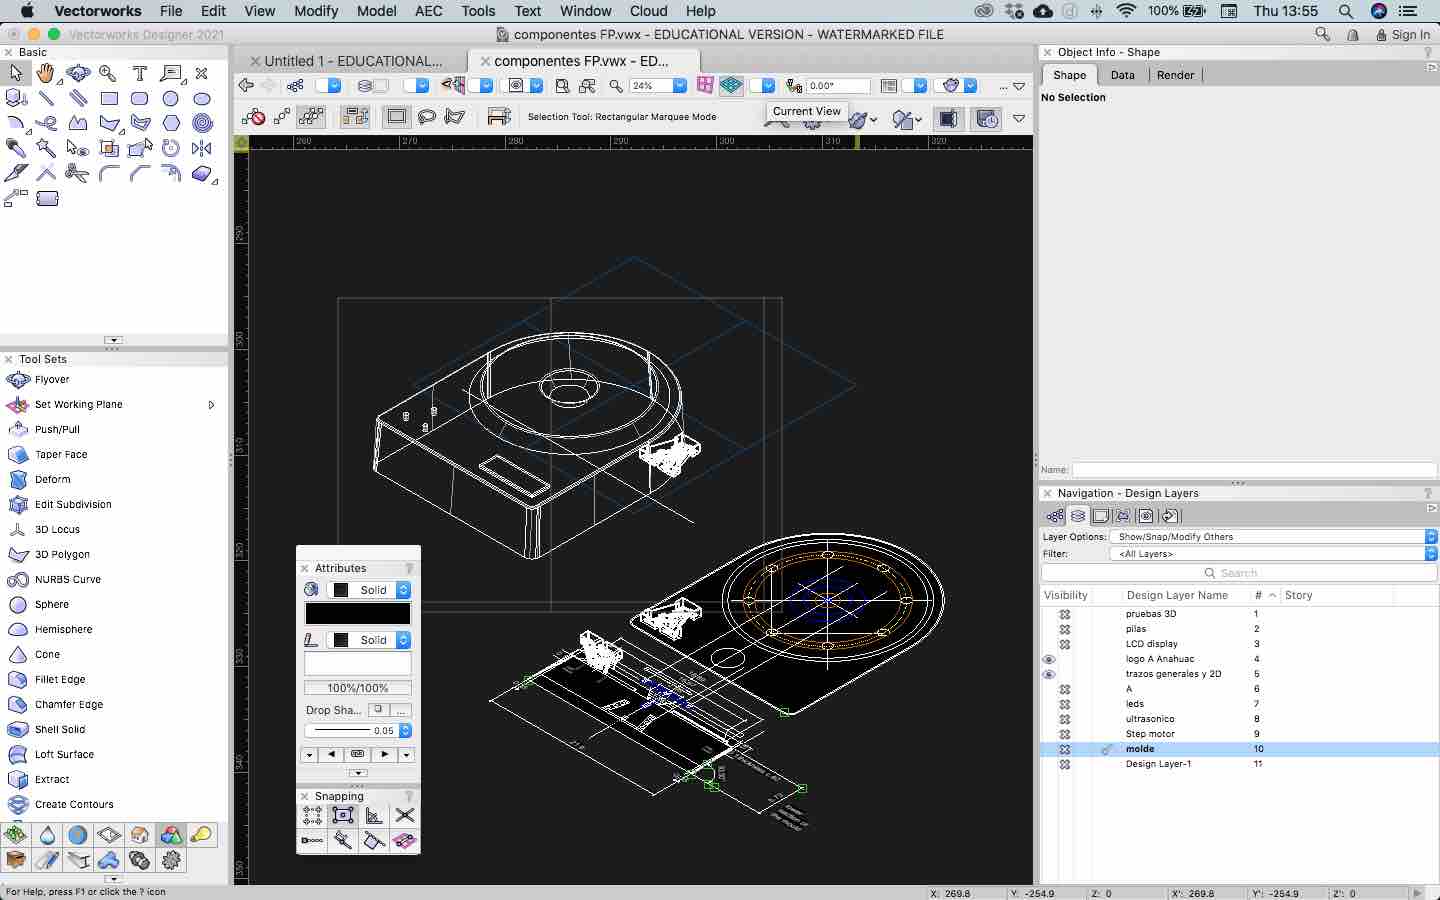
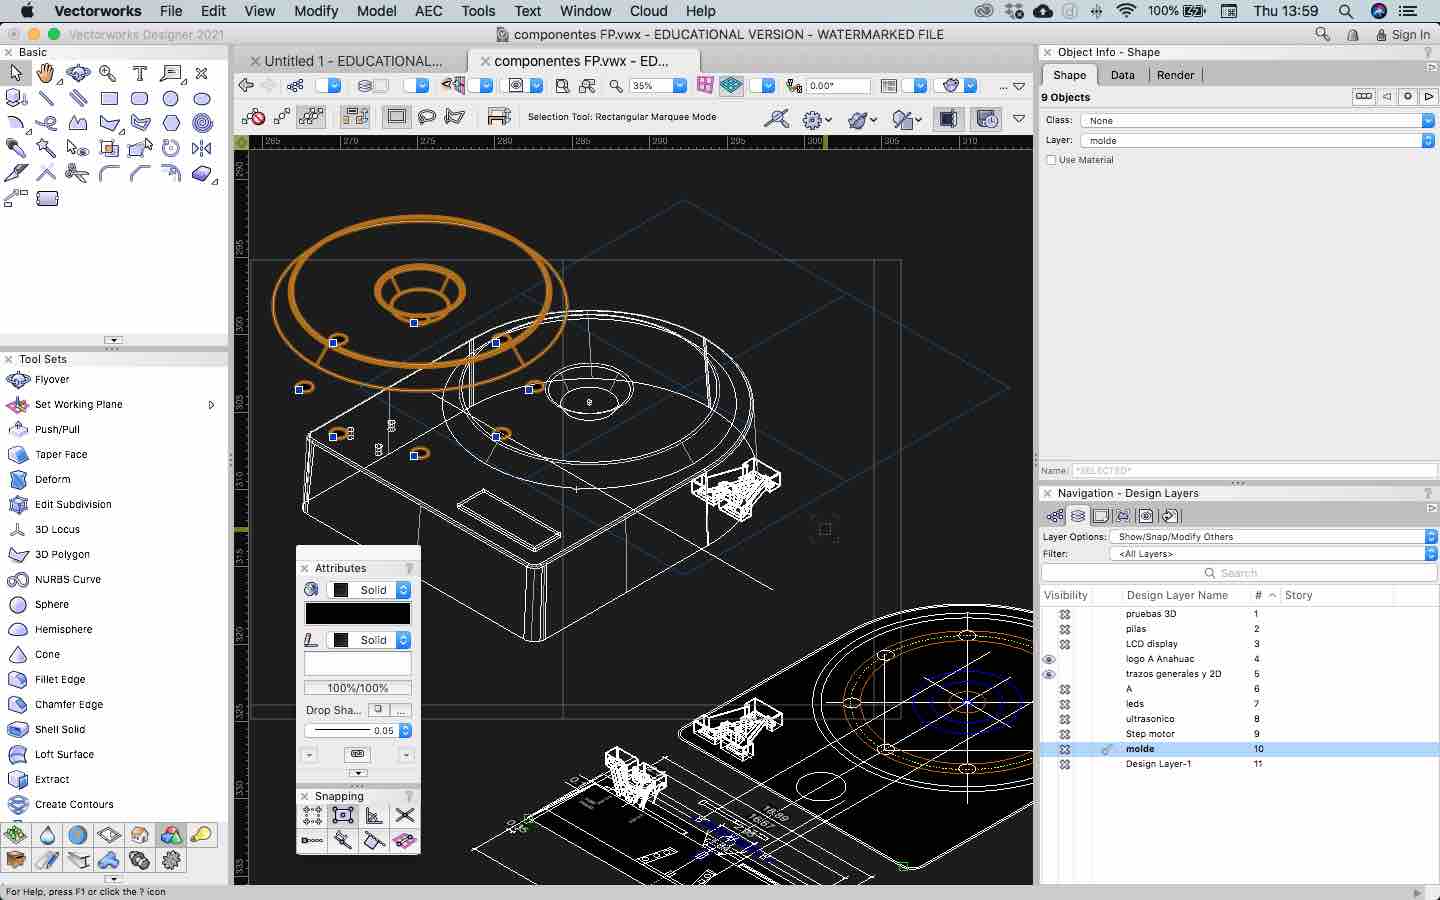
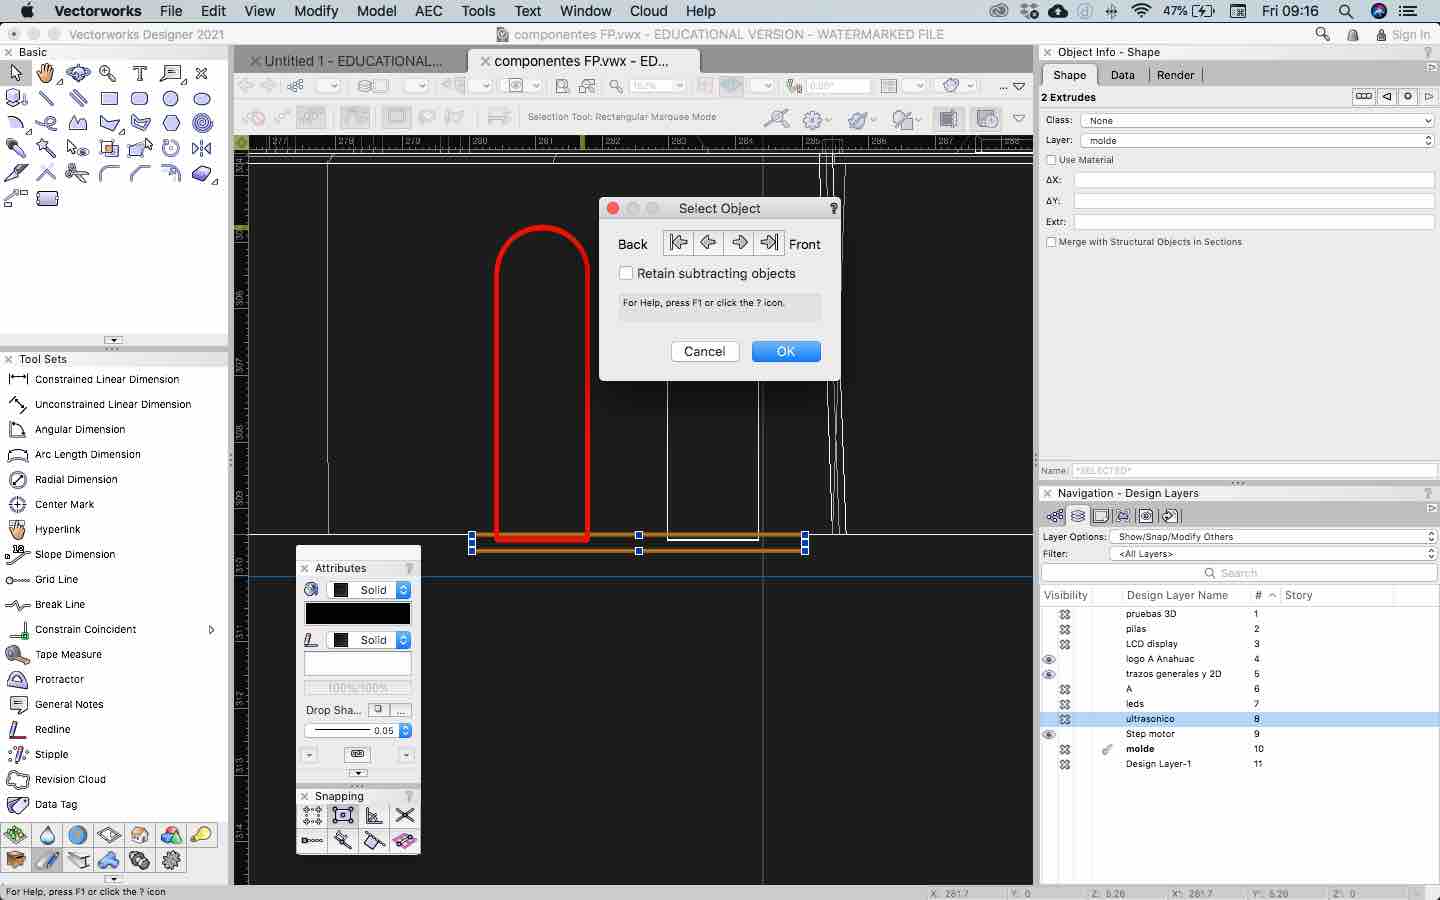
Here you can see that I
atached to the basic geometry the LCD rectangle, the pins of the A
logo and the part who will receive the "lazy susan" piece.
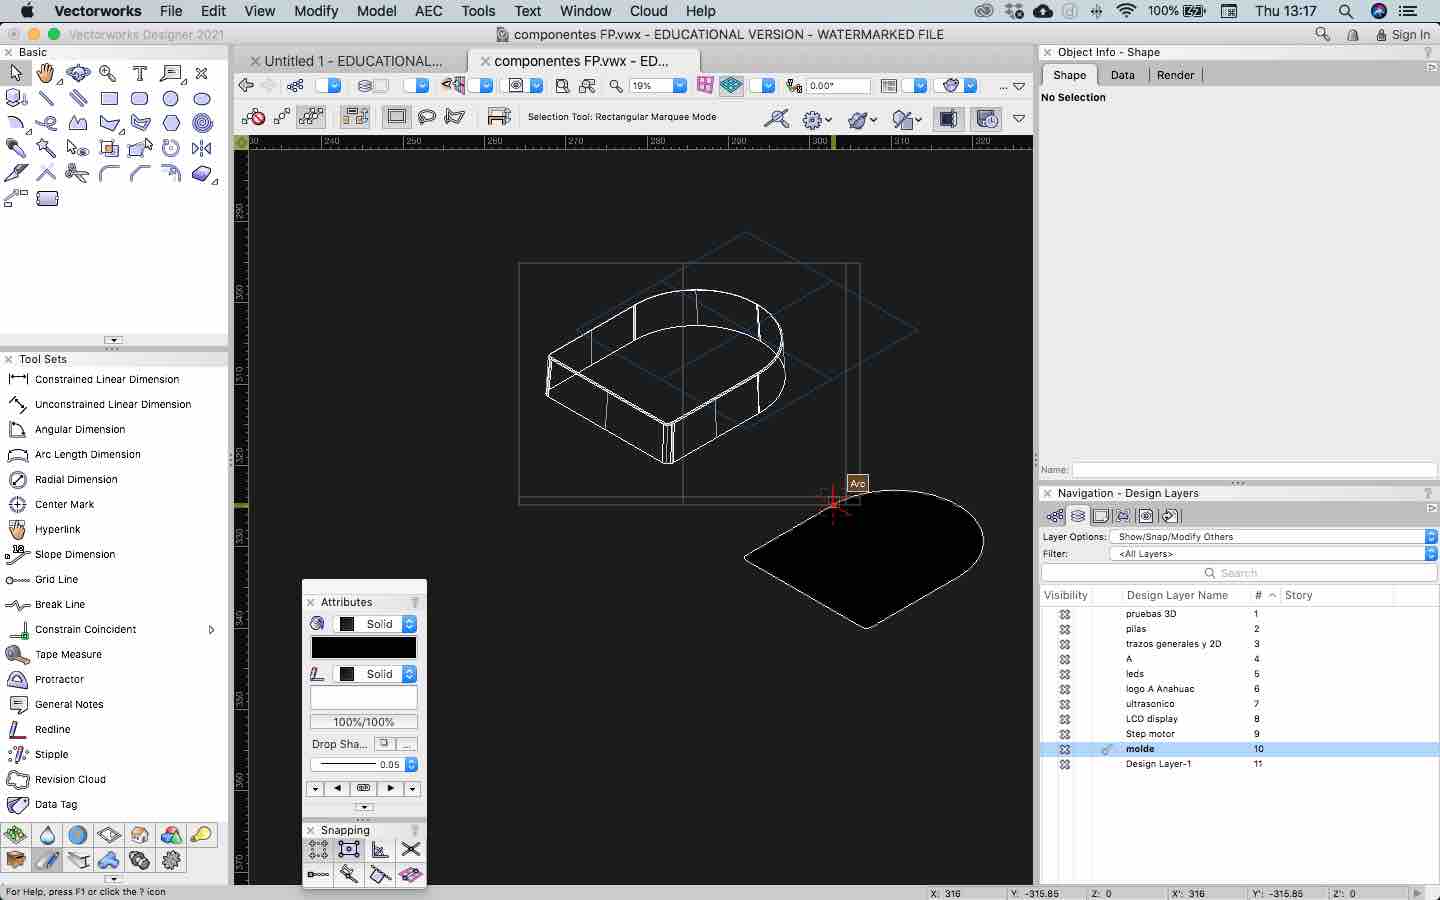
Top and front view of
the mould and construction drawings
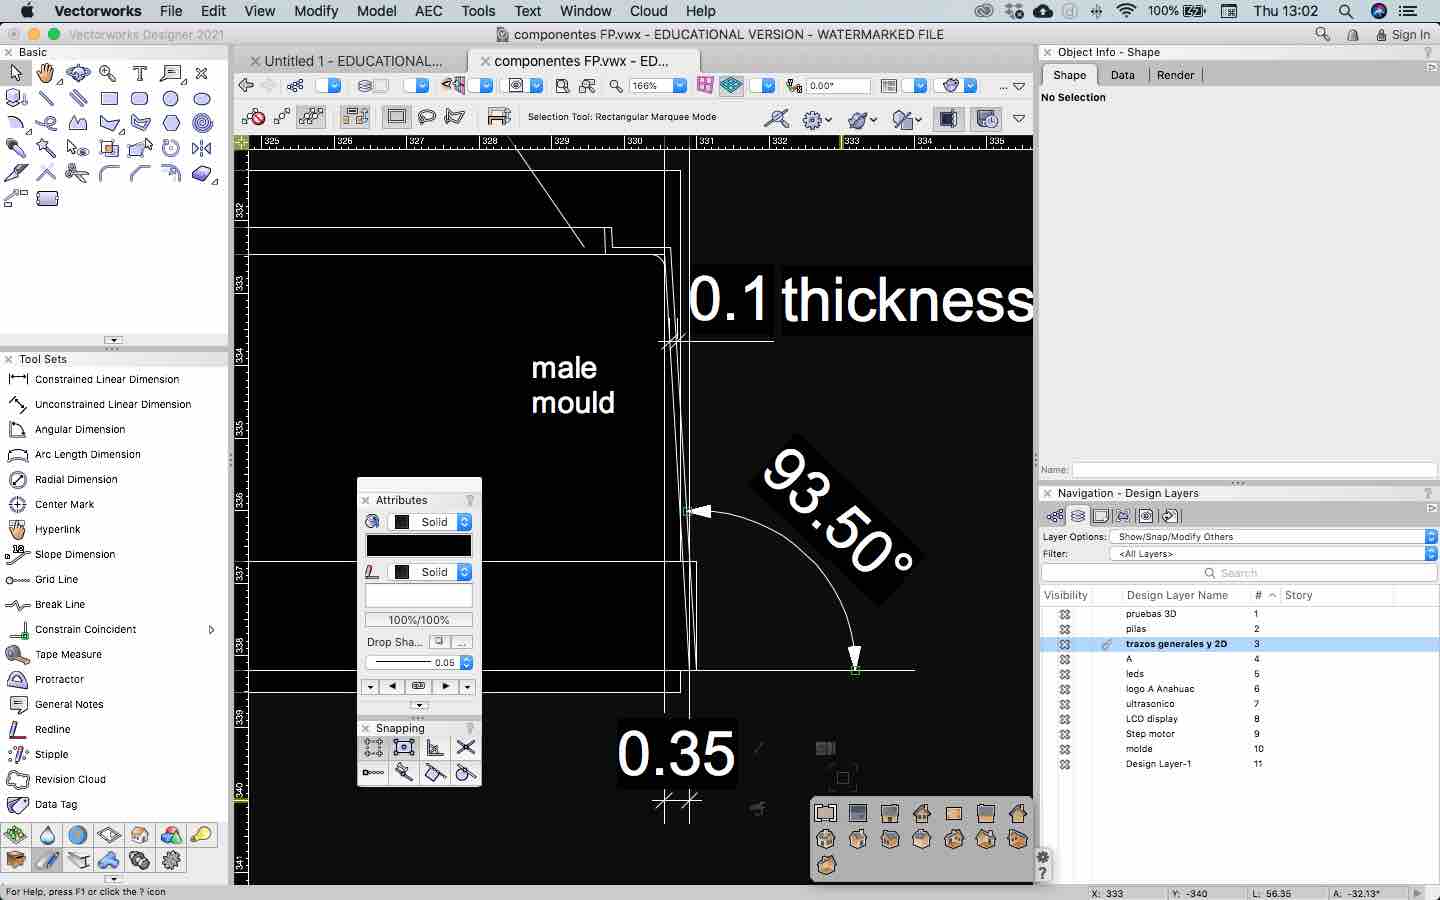
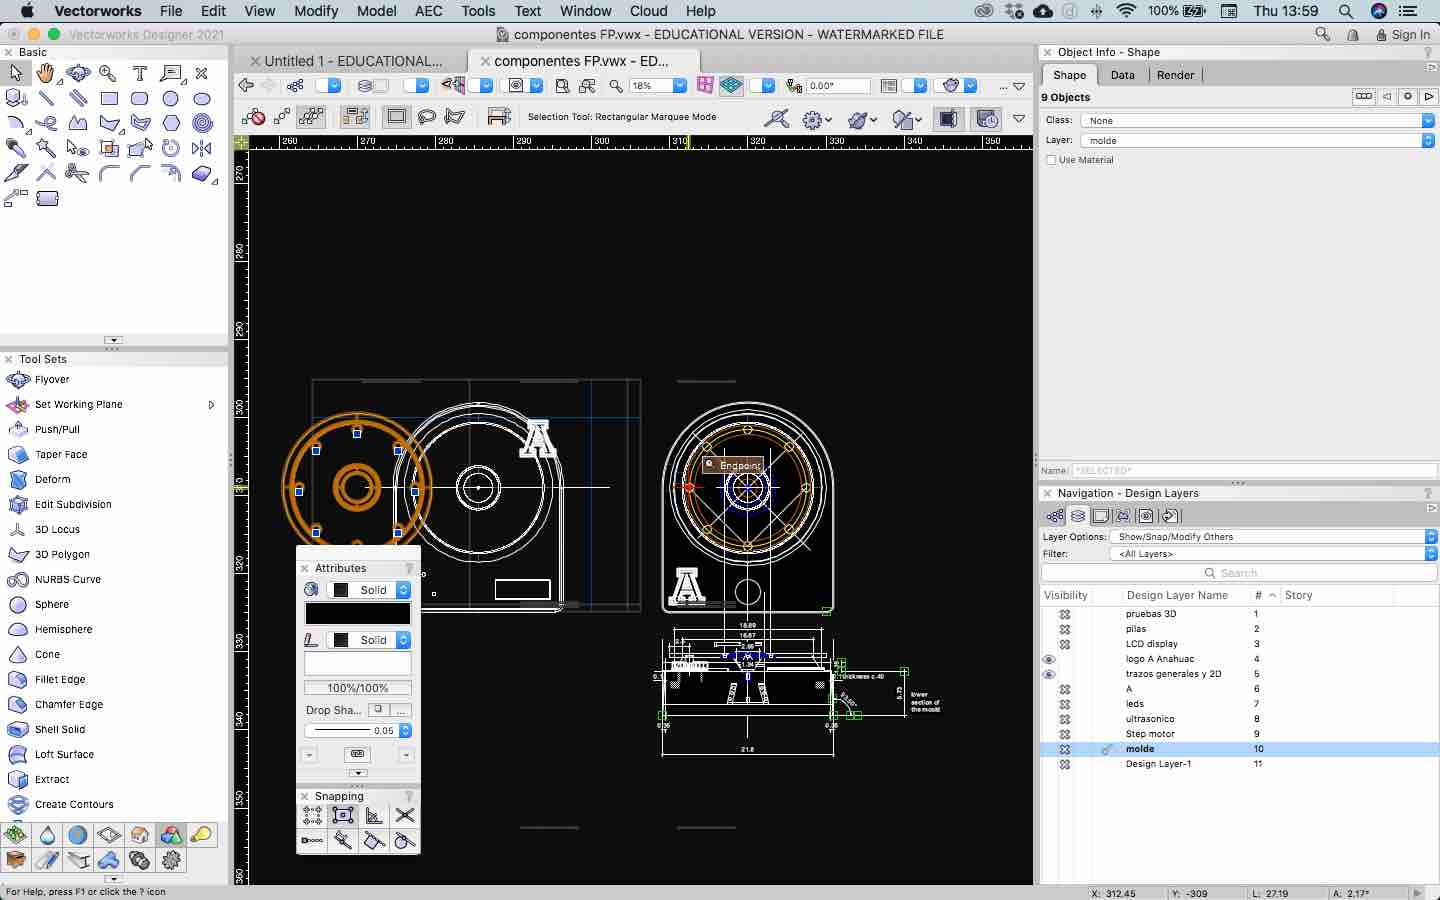
Detail of the mould
angle and material thickness : 1mm polystyrene

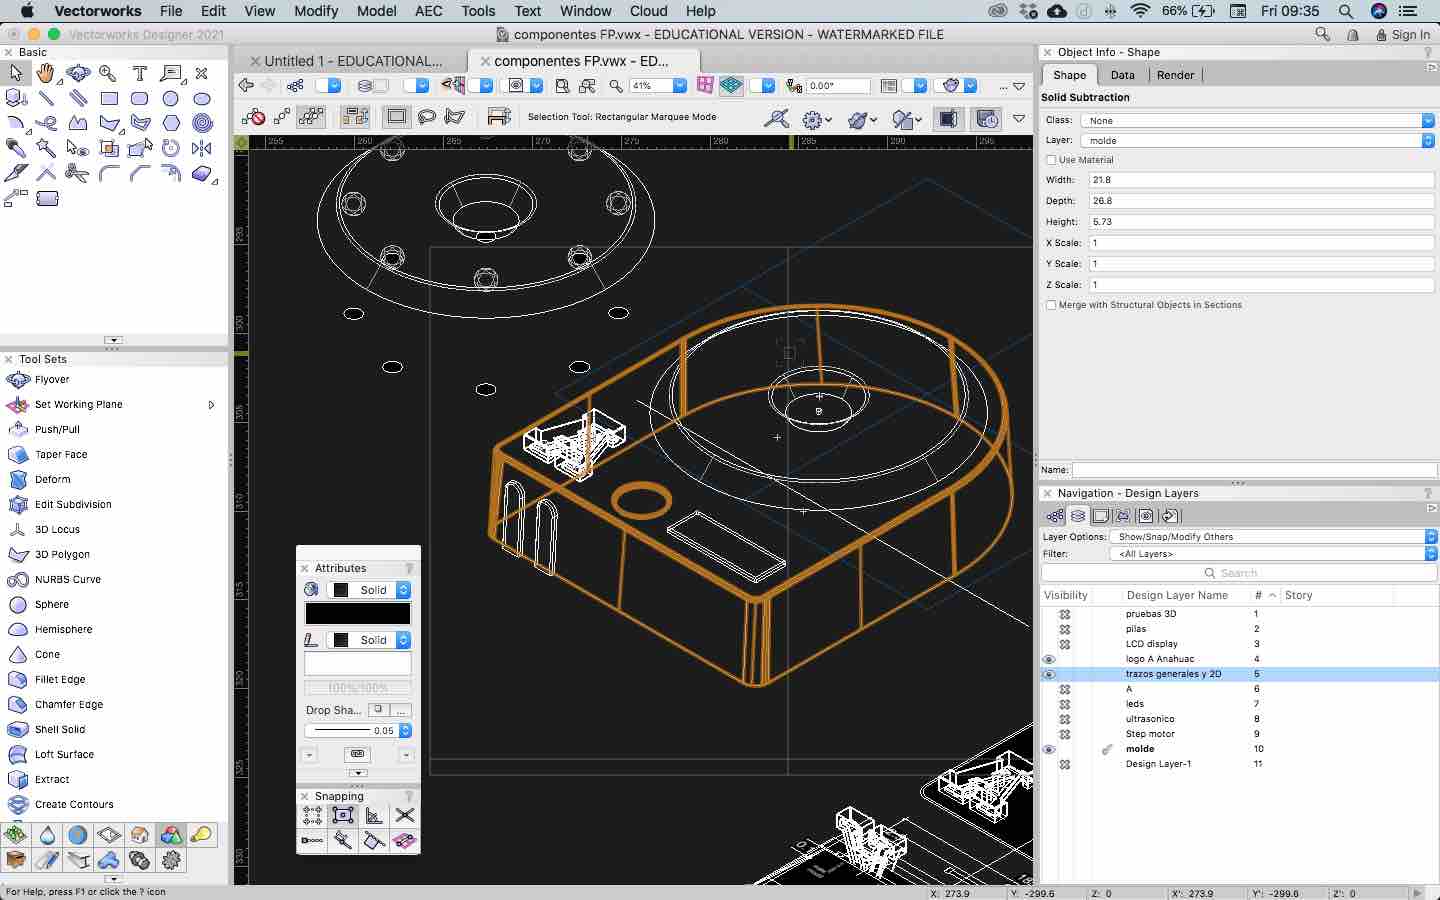
Detail of the
concavities that will receive the ball-bearings for the "lazy susan"
to turn around and help it to support the weight of the pieces
exhibit on it.
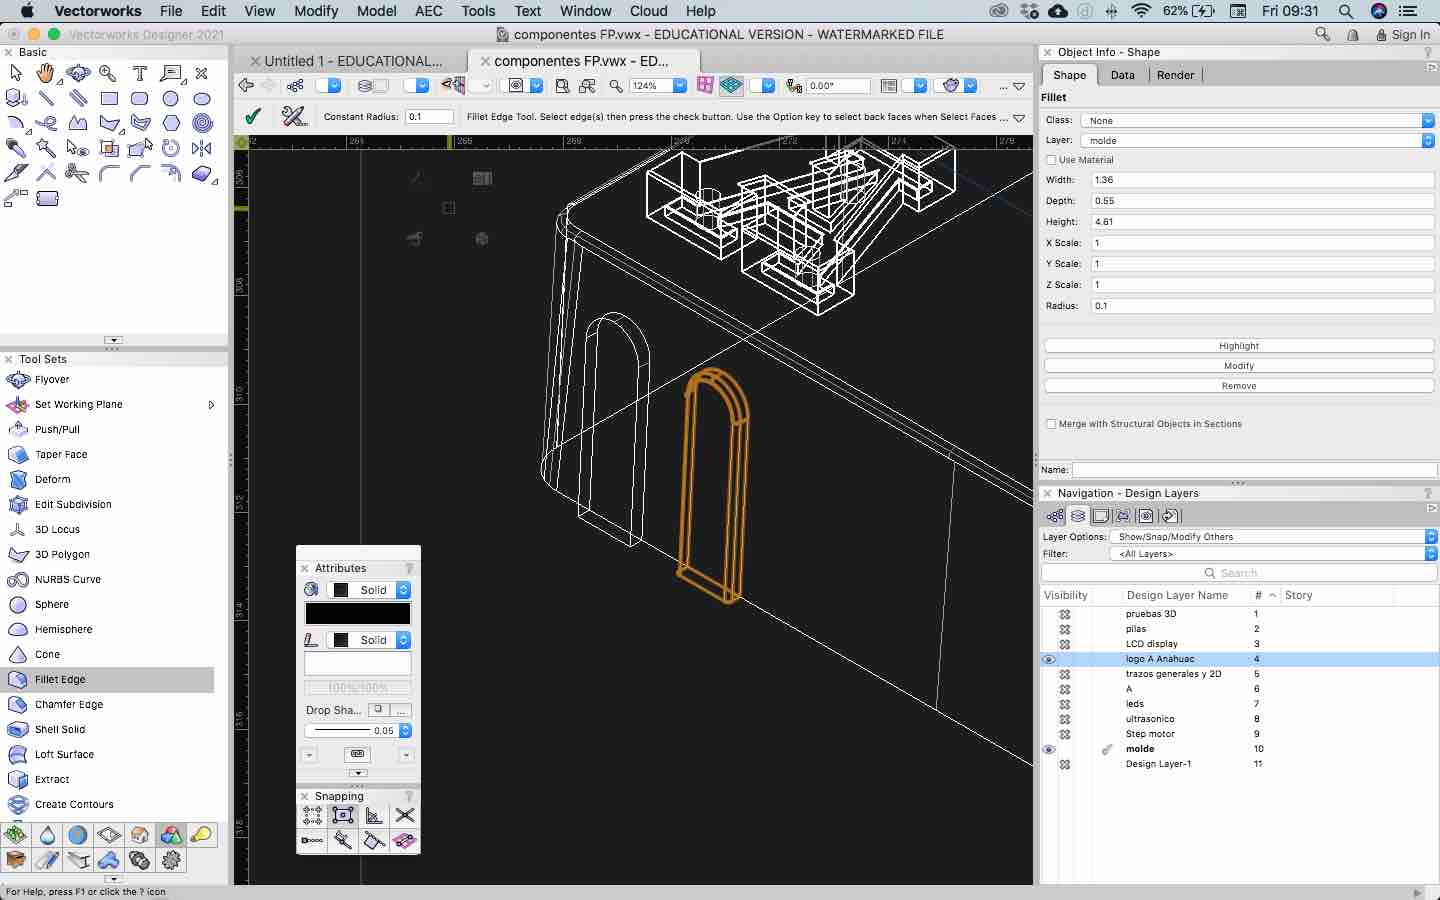
This are the shapes
that would be the place where the proximity sensor will be fixed.
Almost done.

Here we can see the
Stepmotor inside the cover to check the distance between the step
axis and the top cover.
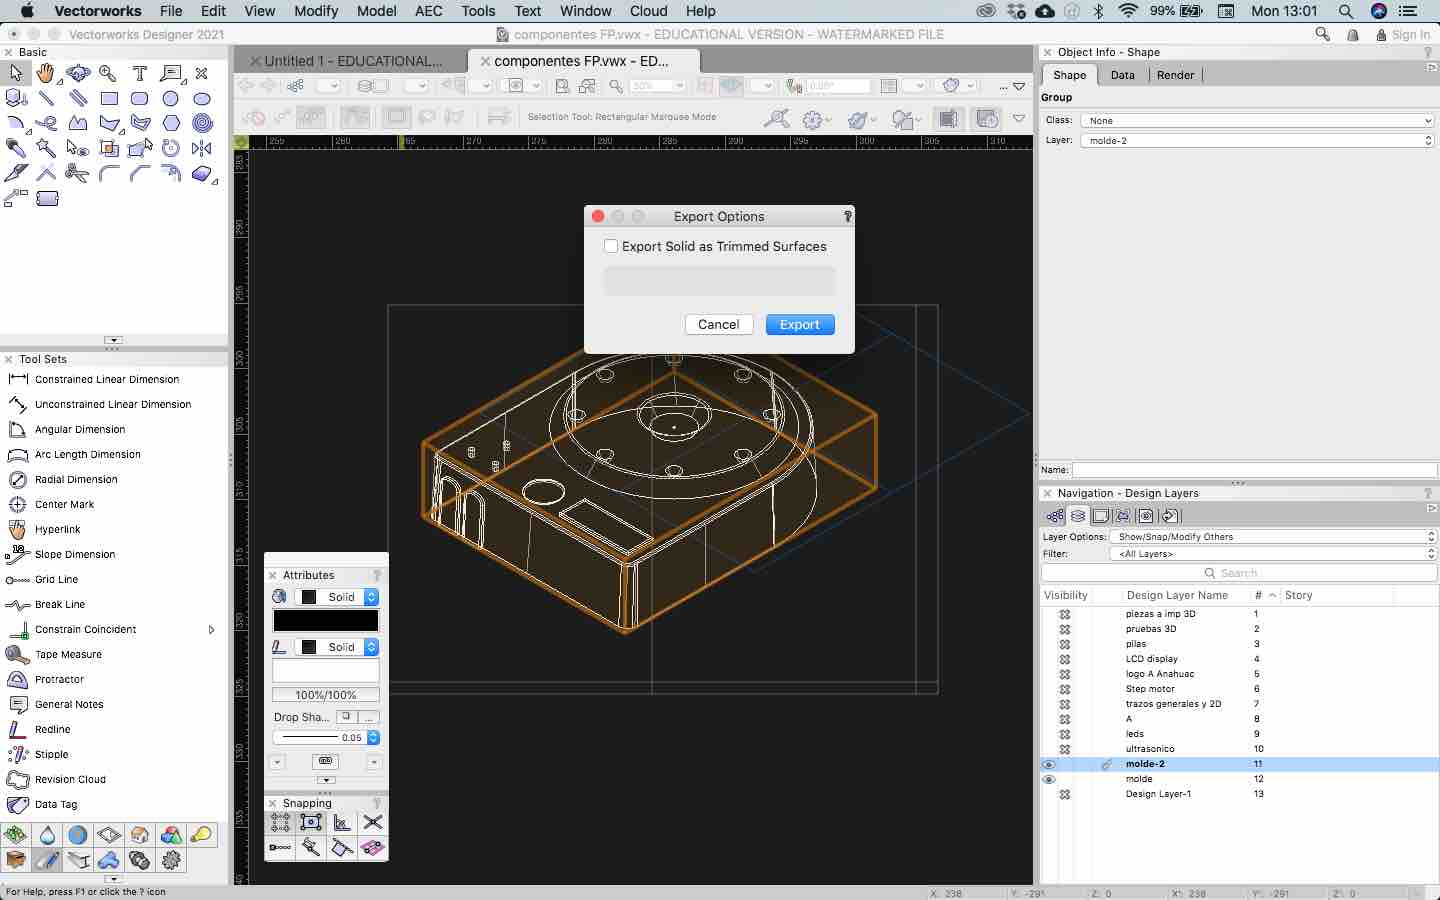
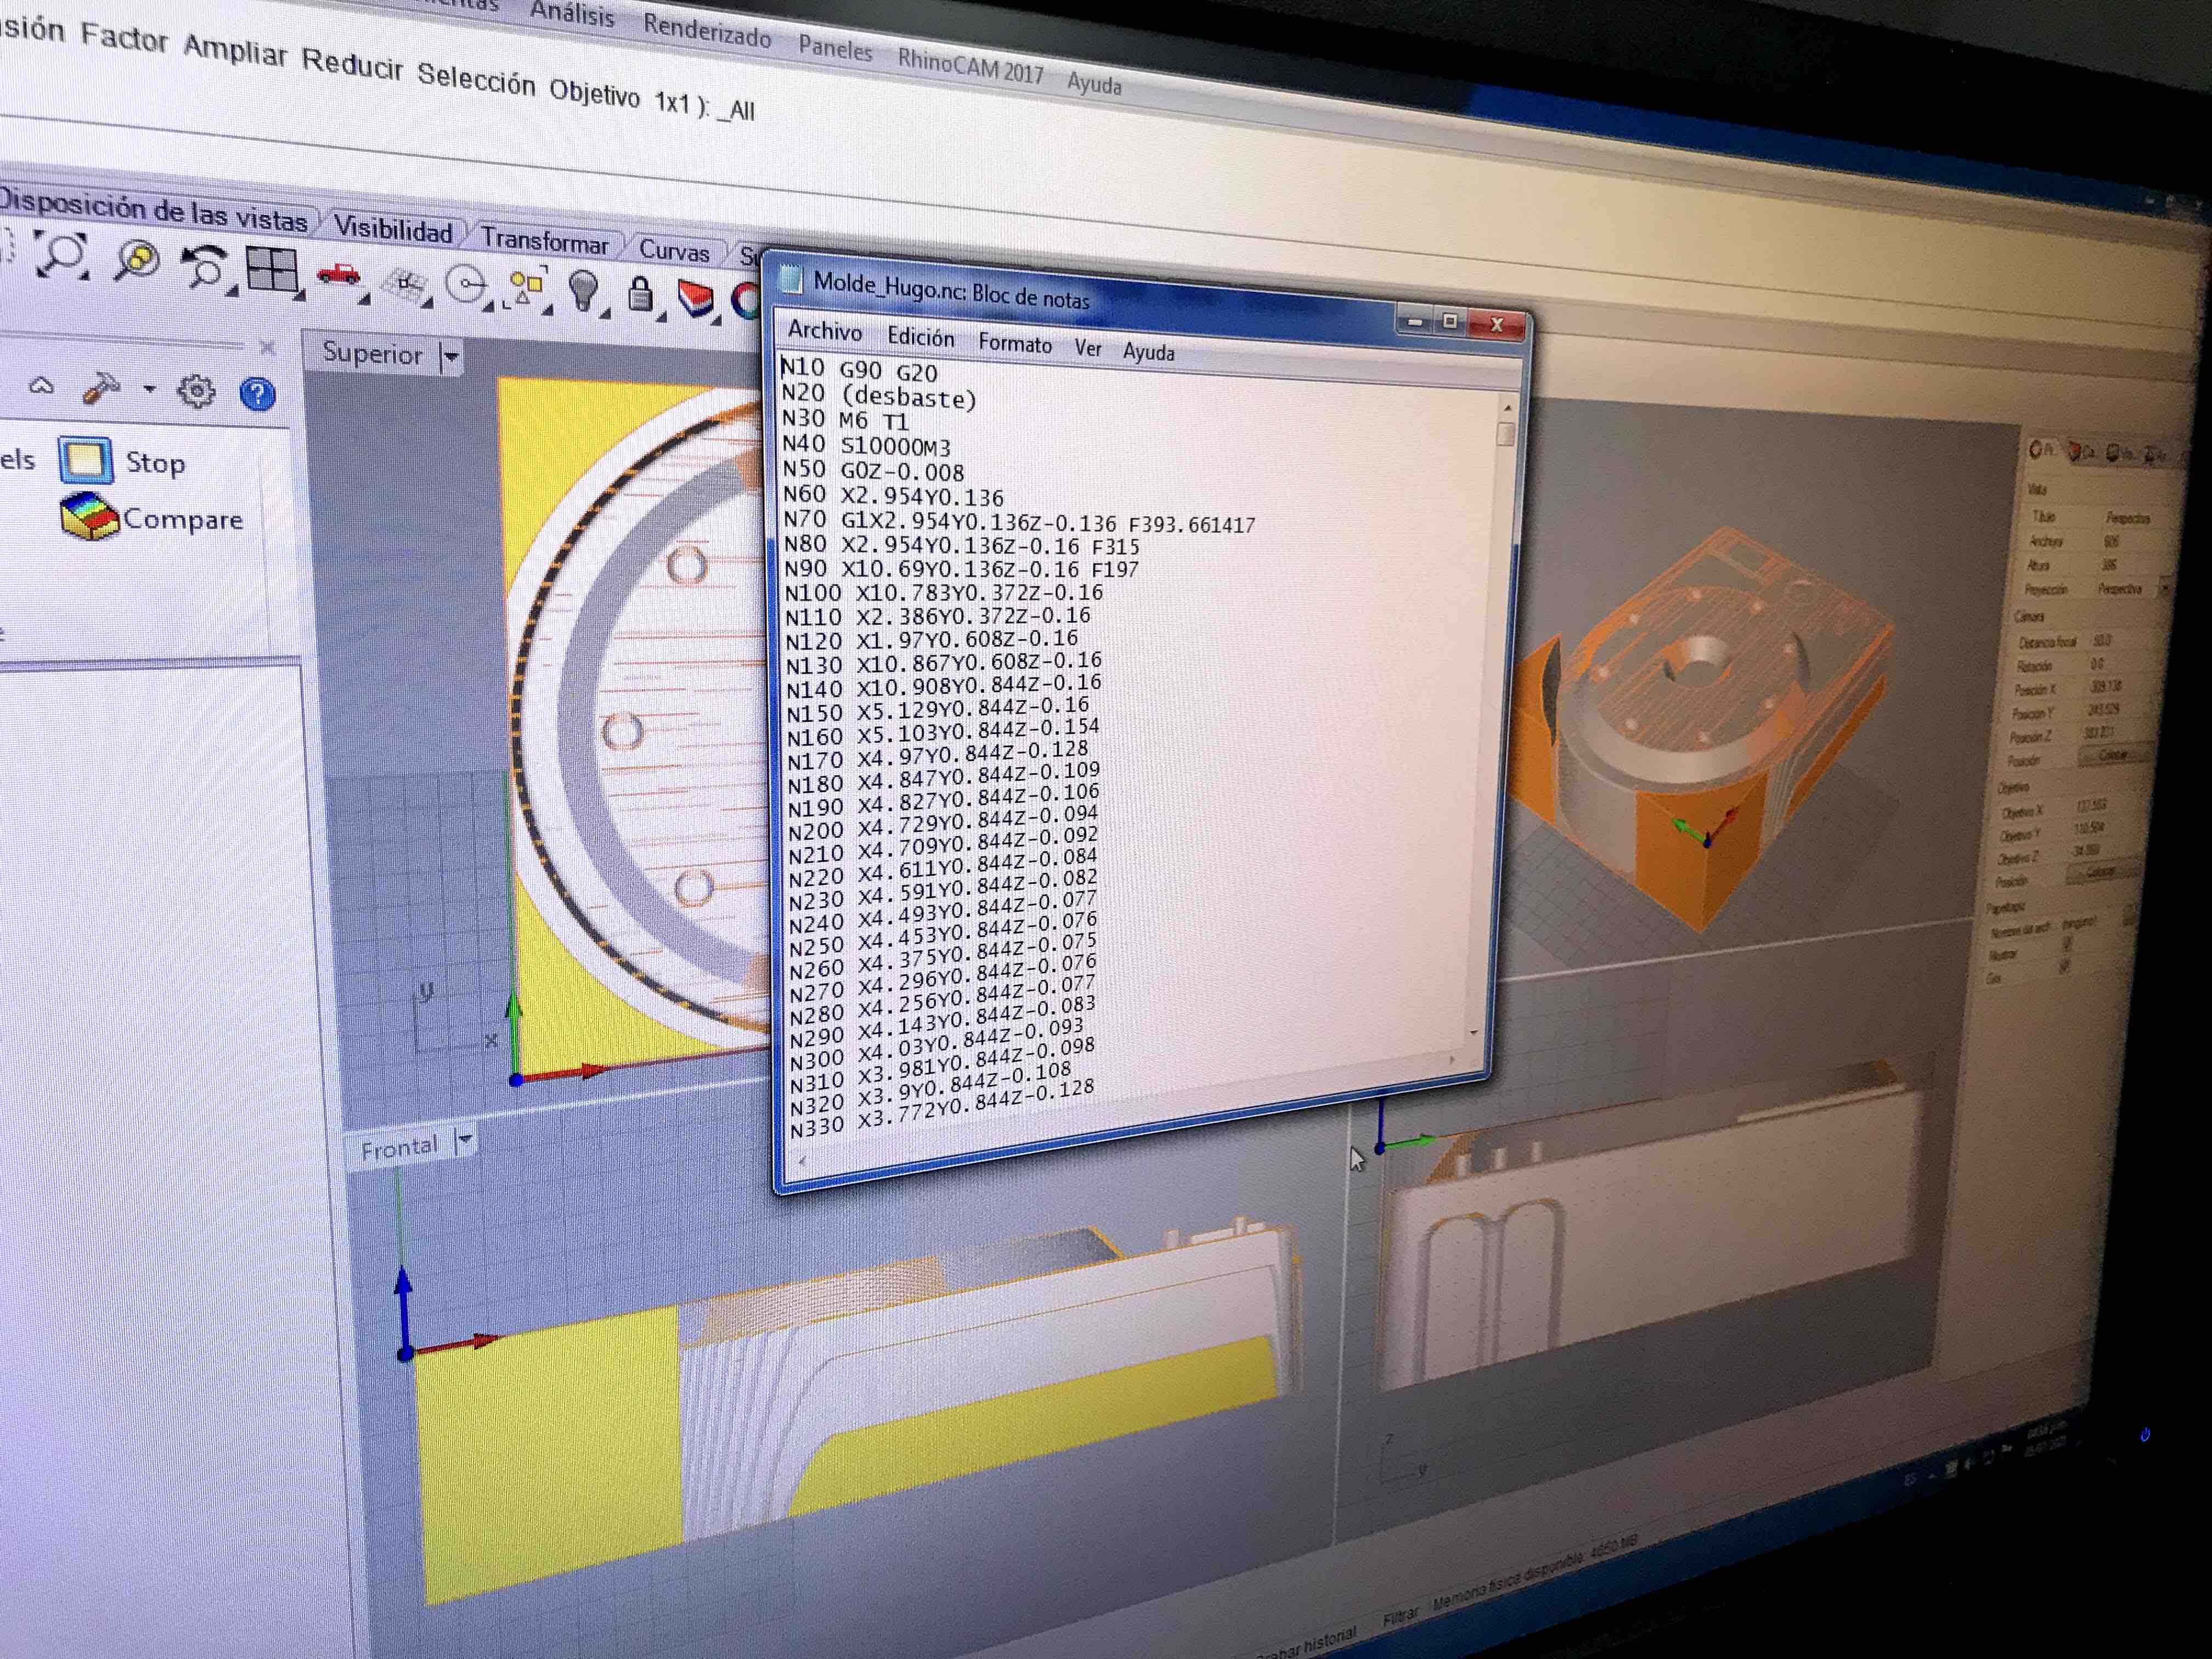
Export the final 3D
into a .OBJ archive
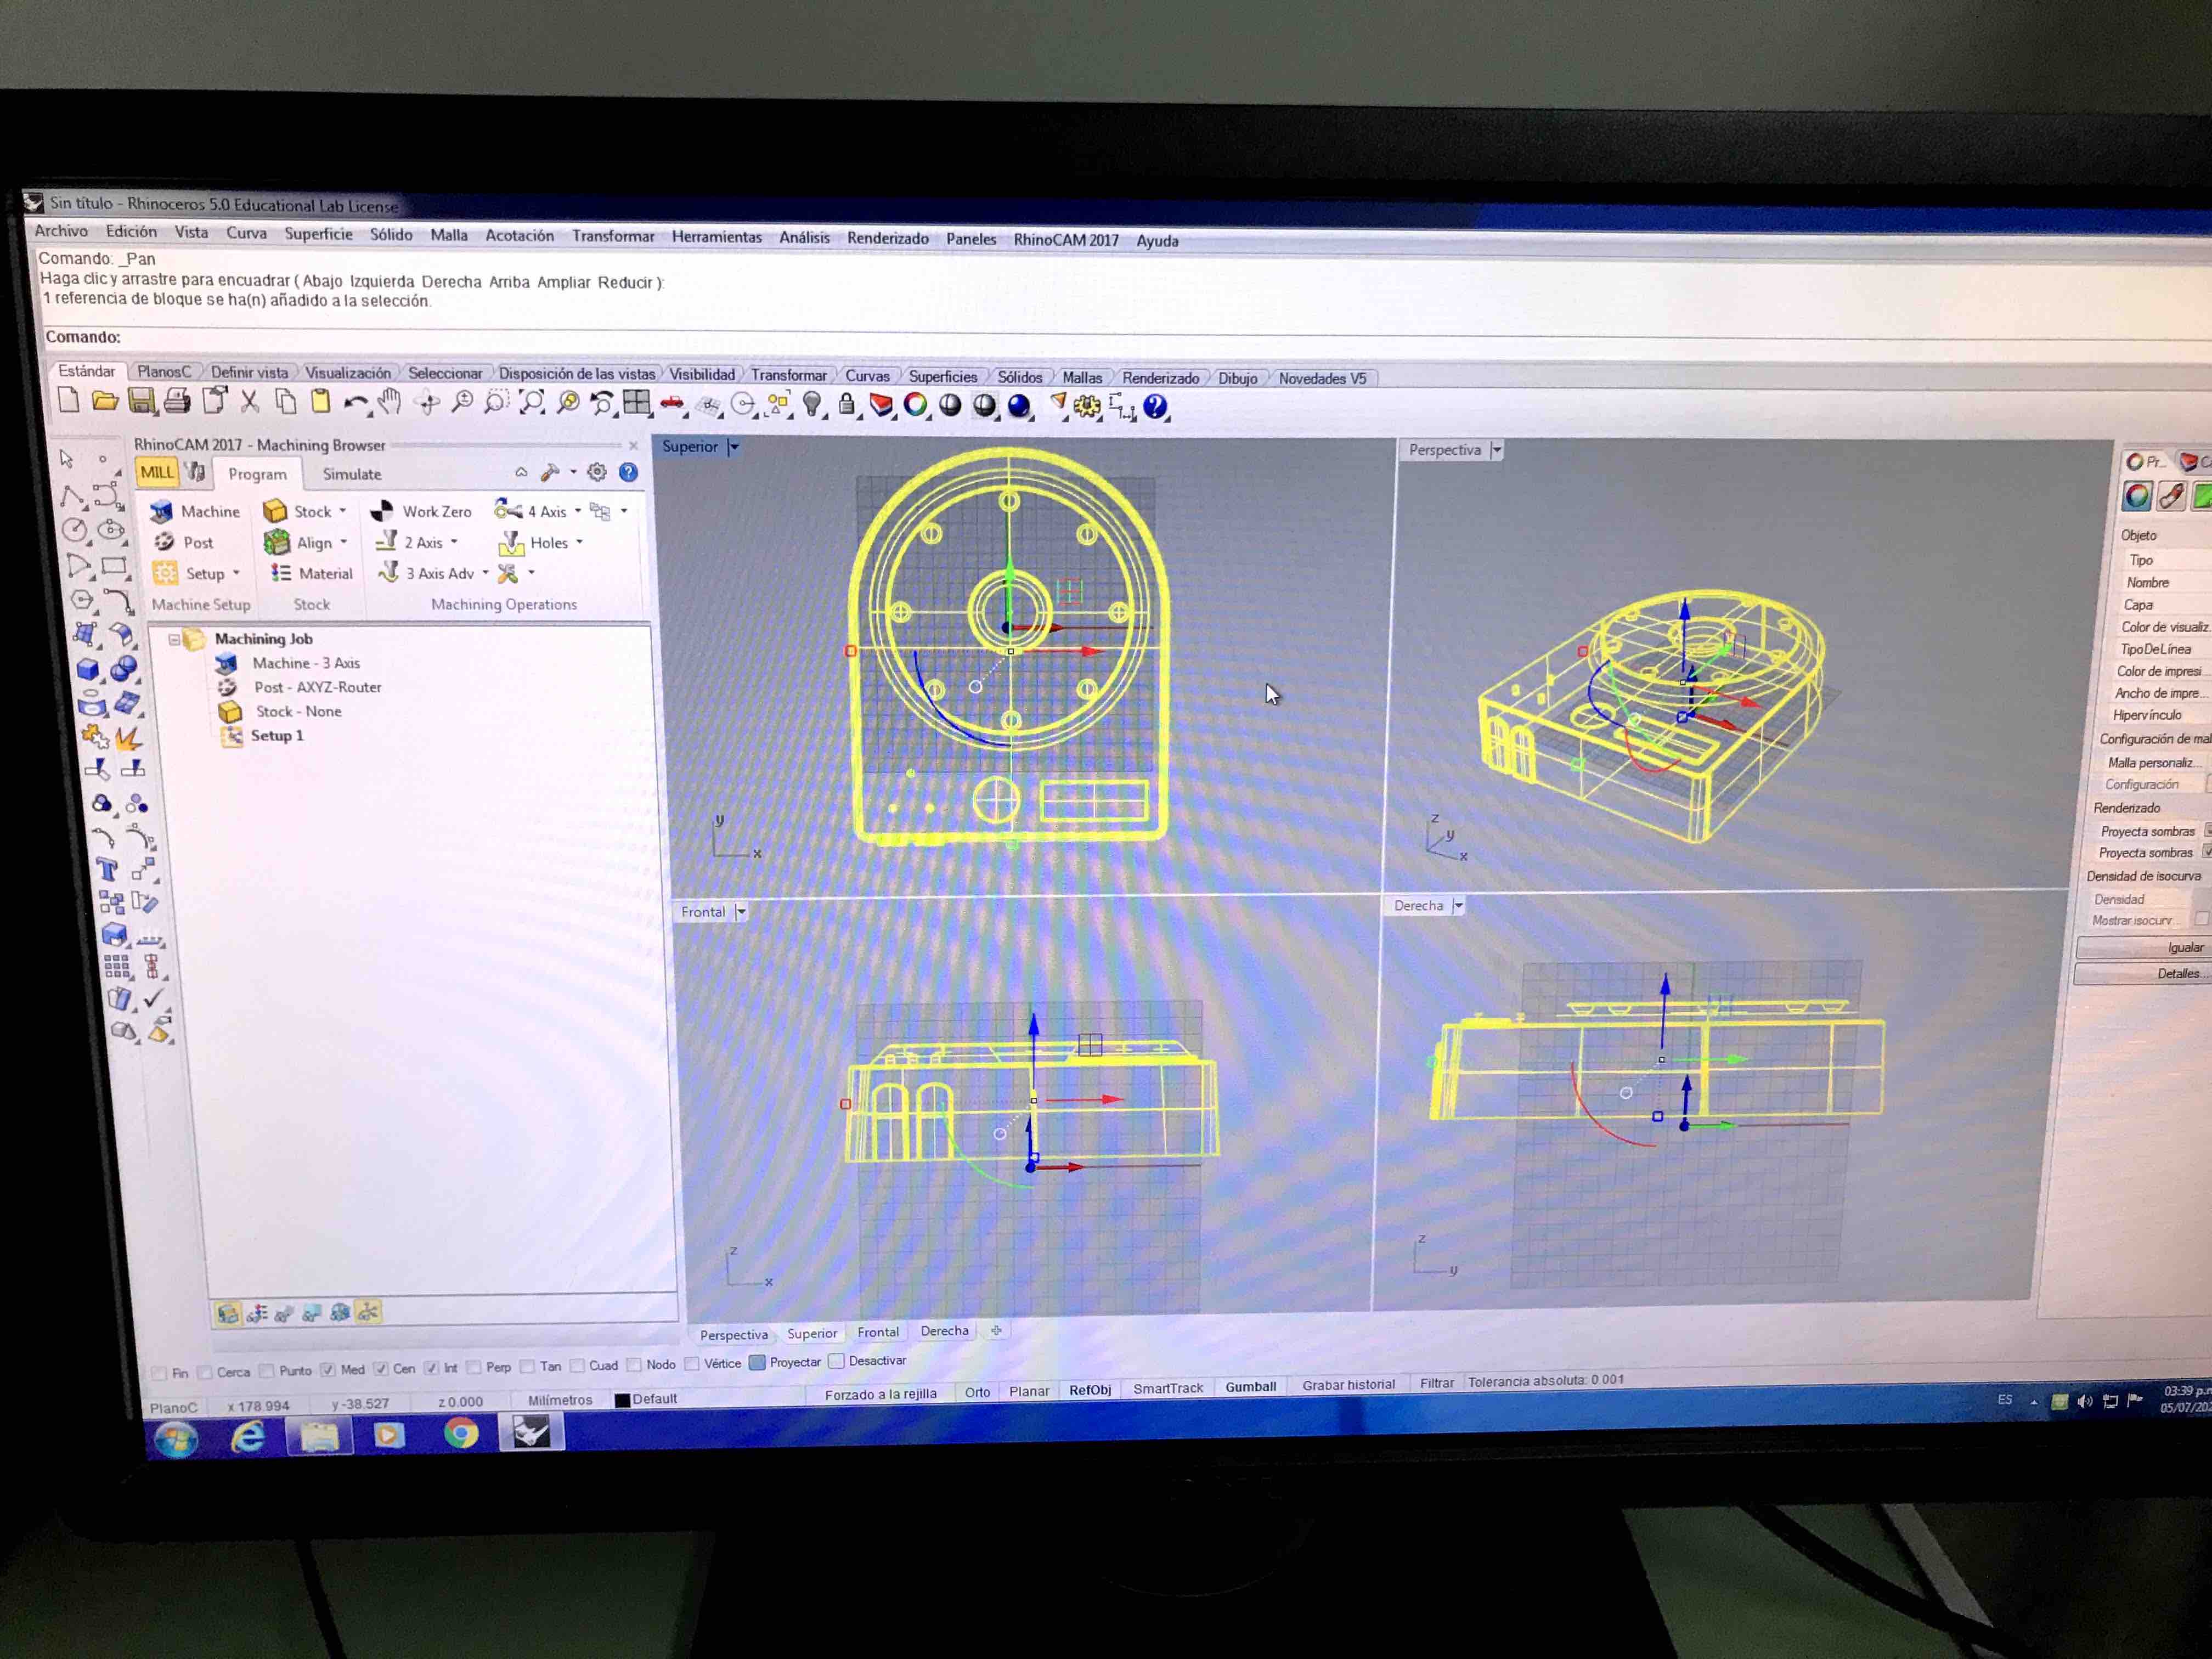
Here is the archive
imported into Rhino CAM
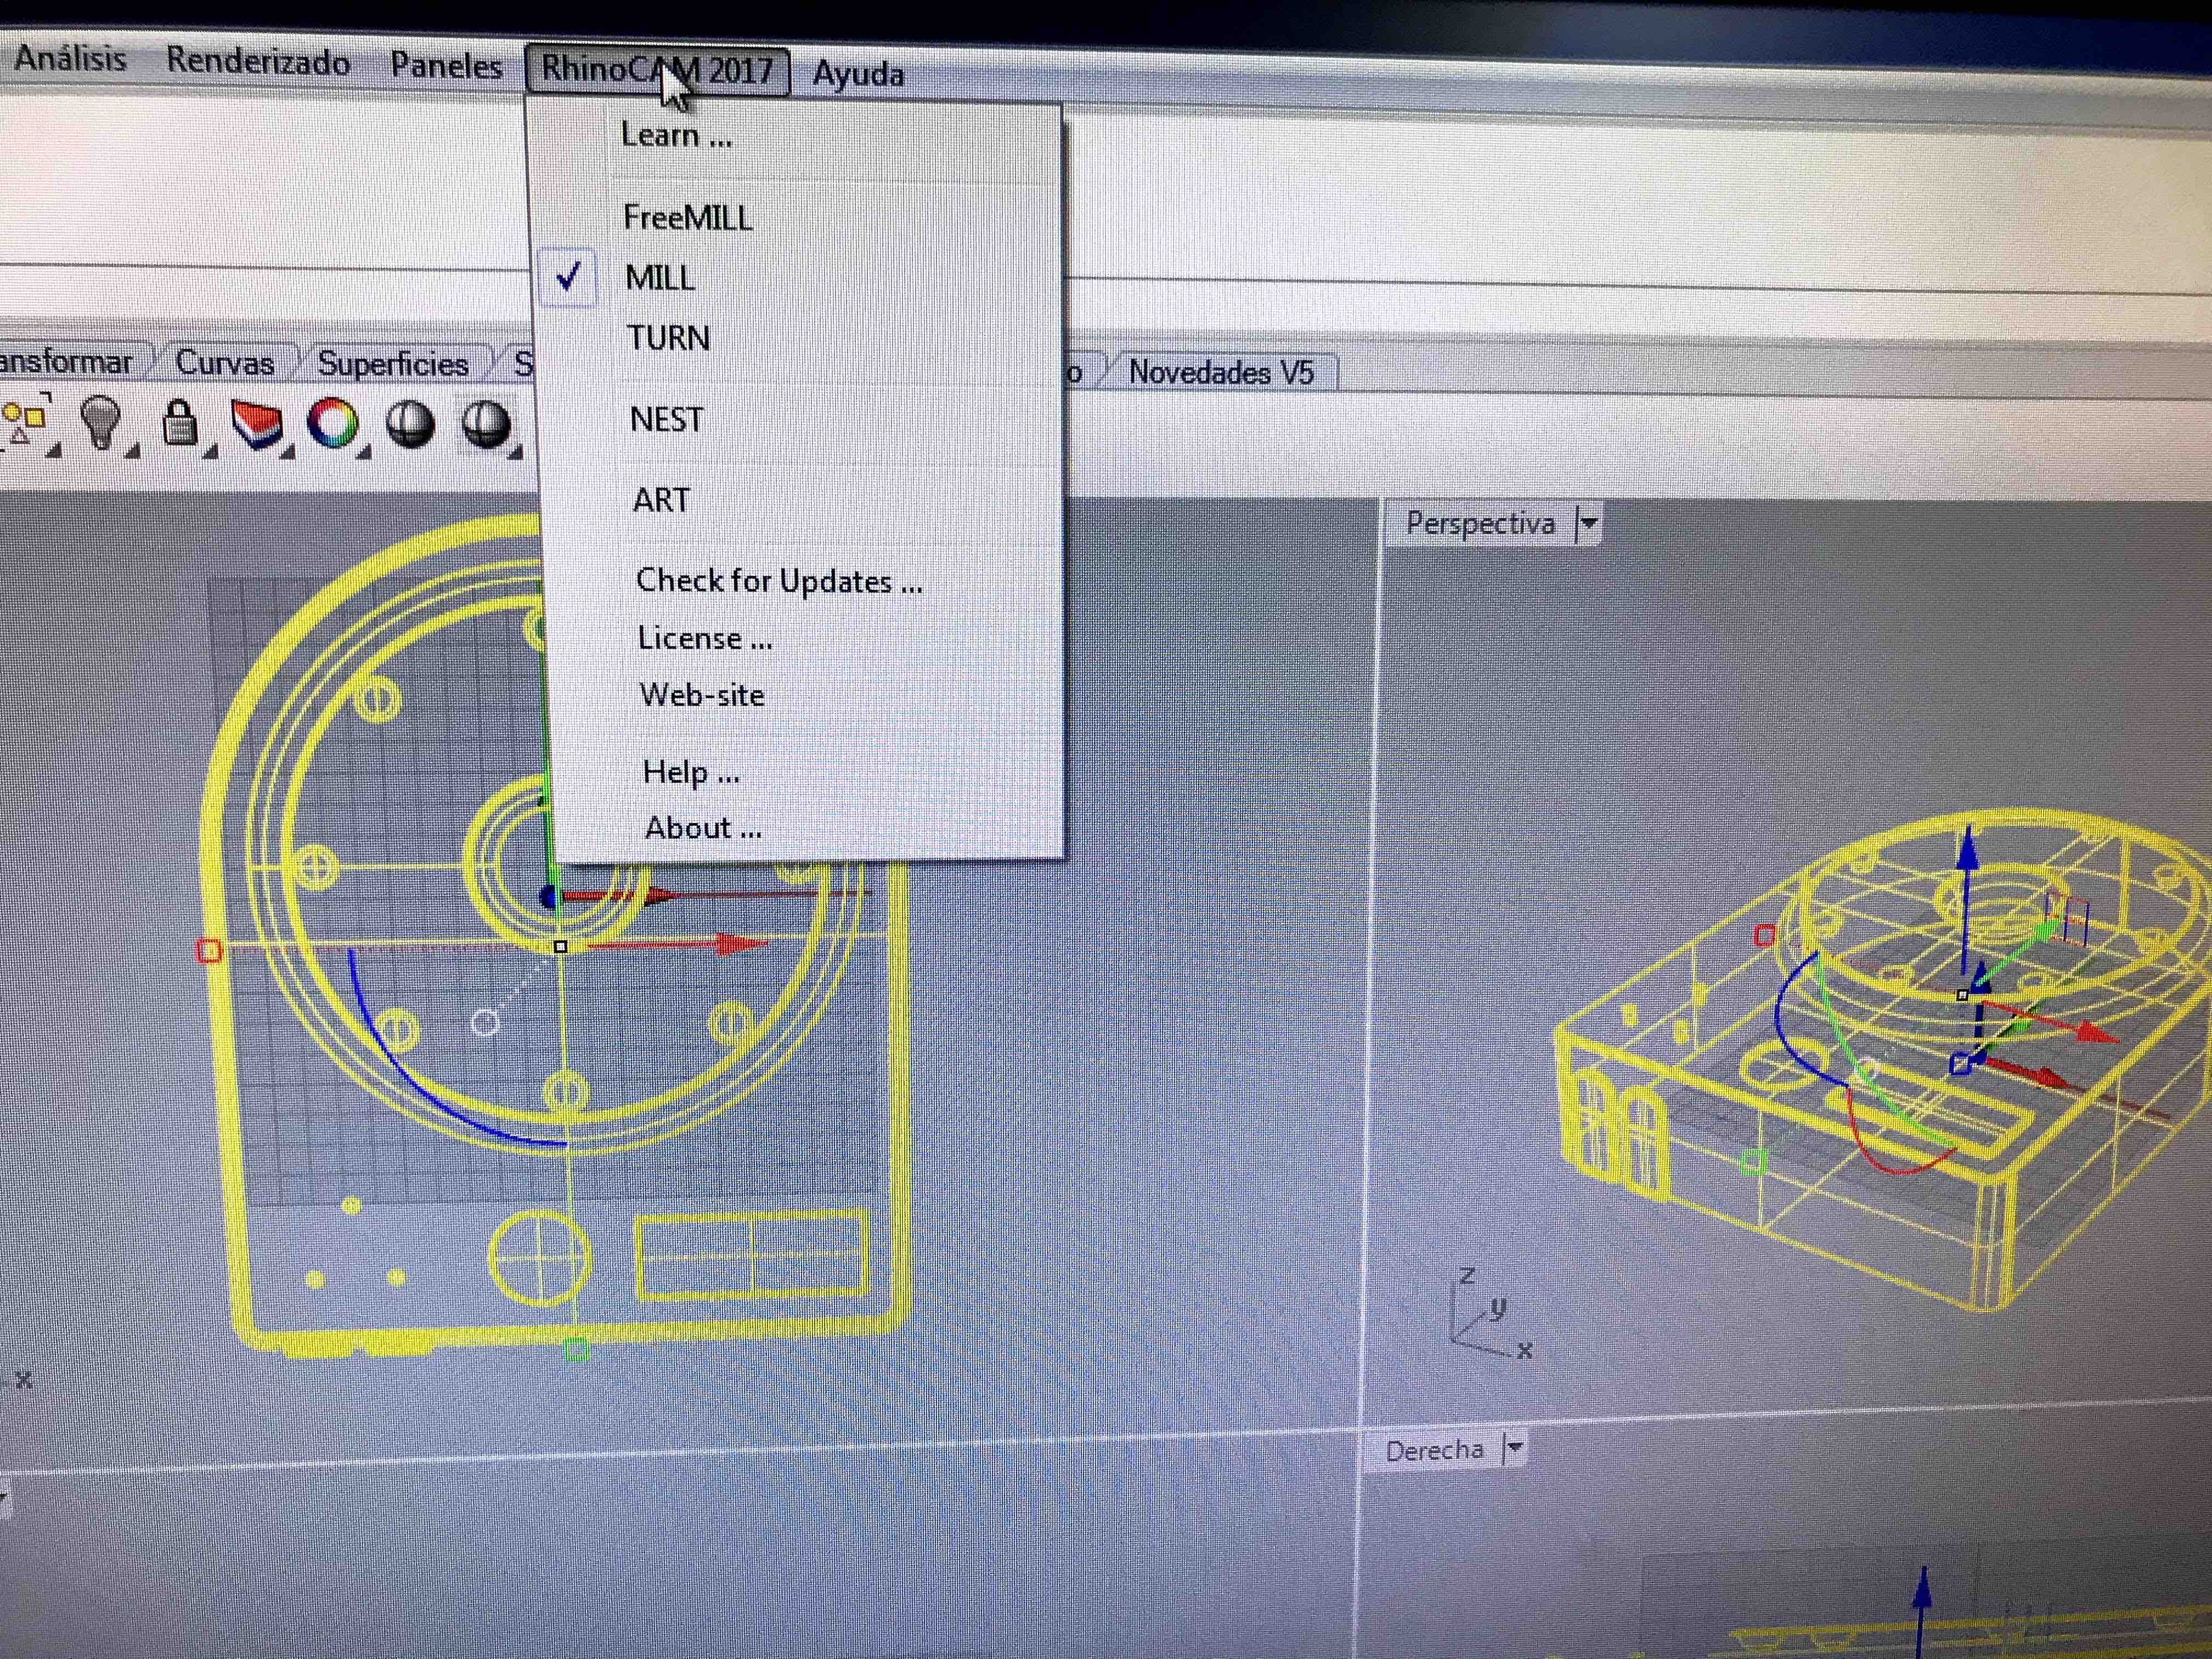
Select MILL from the
upper menu
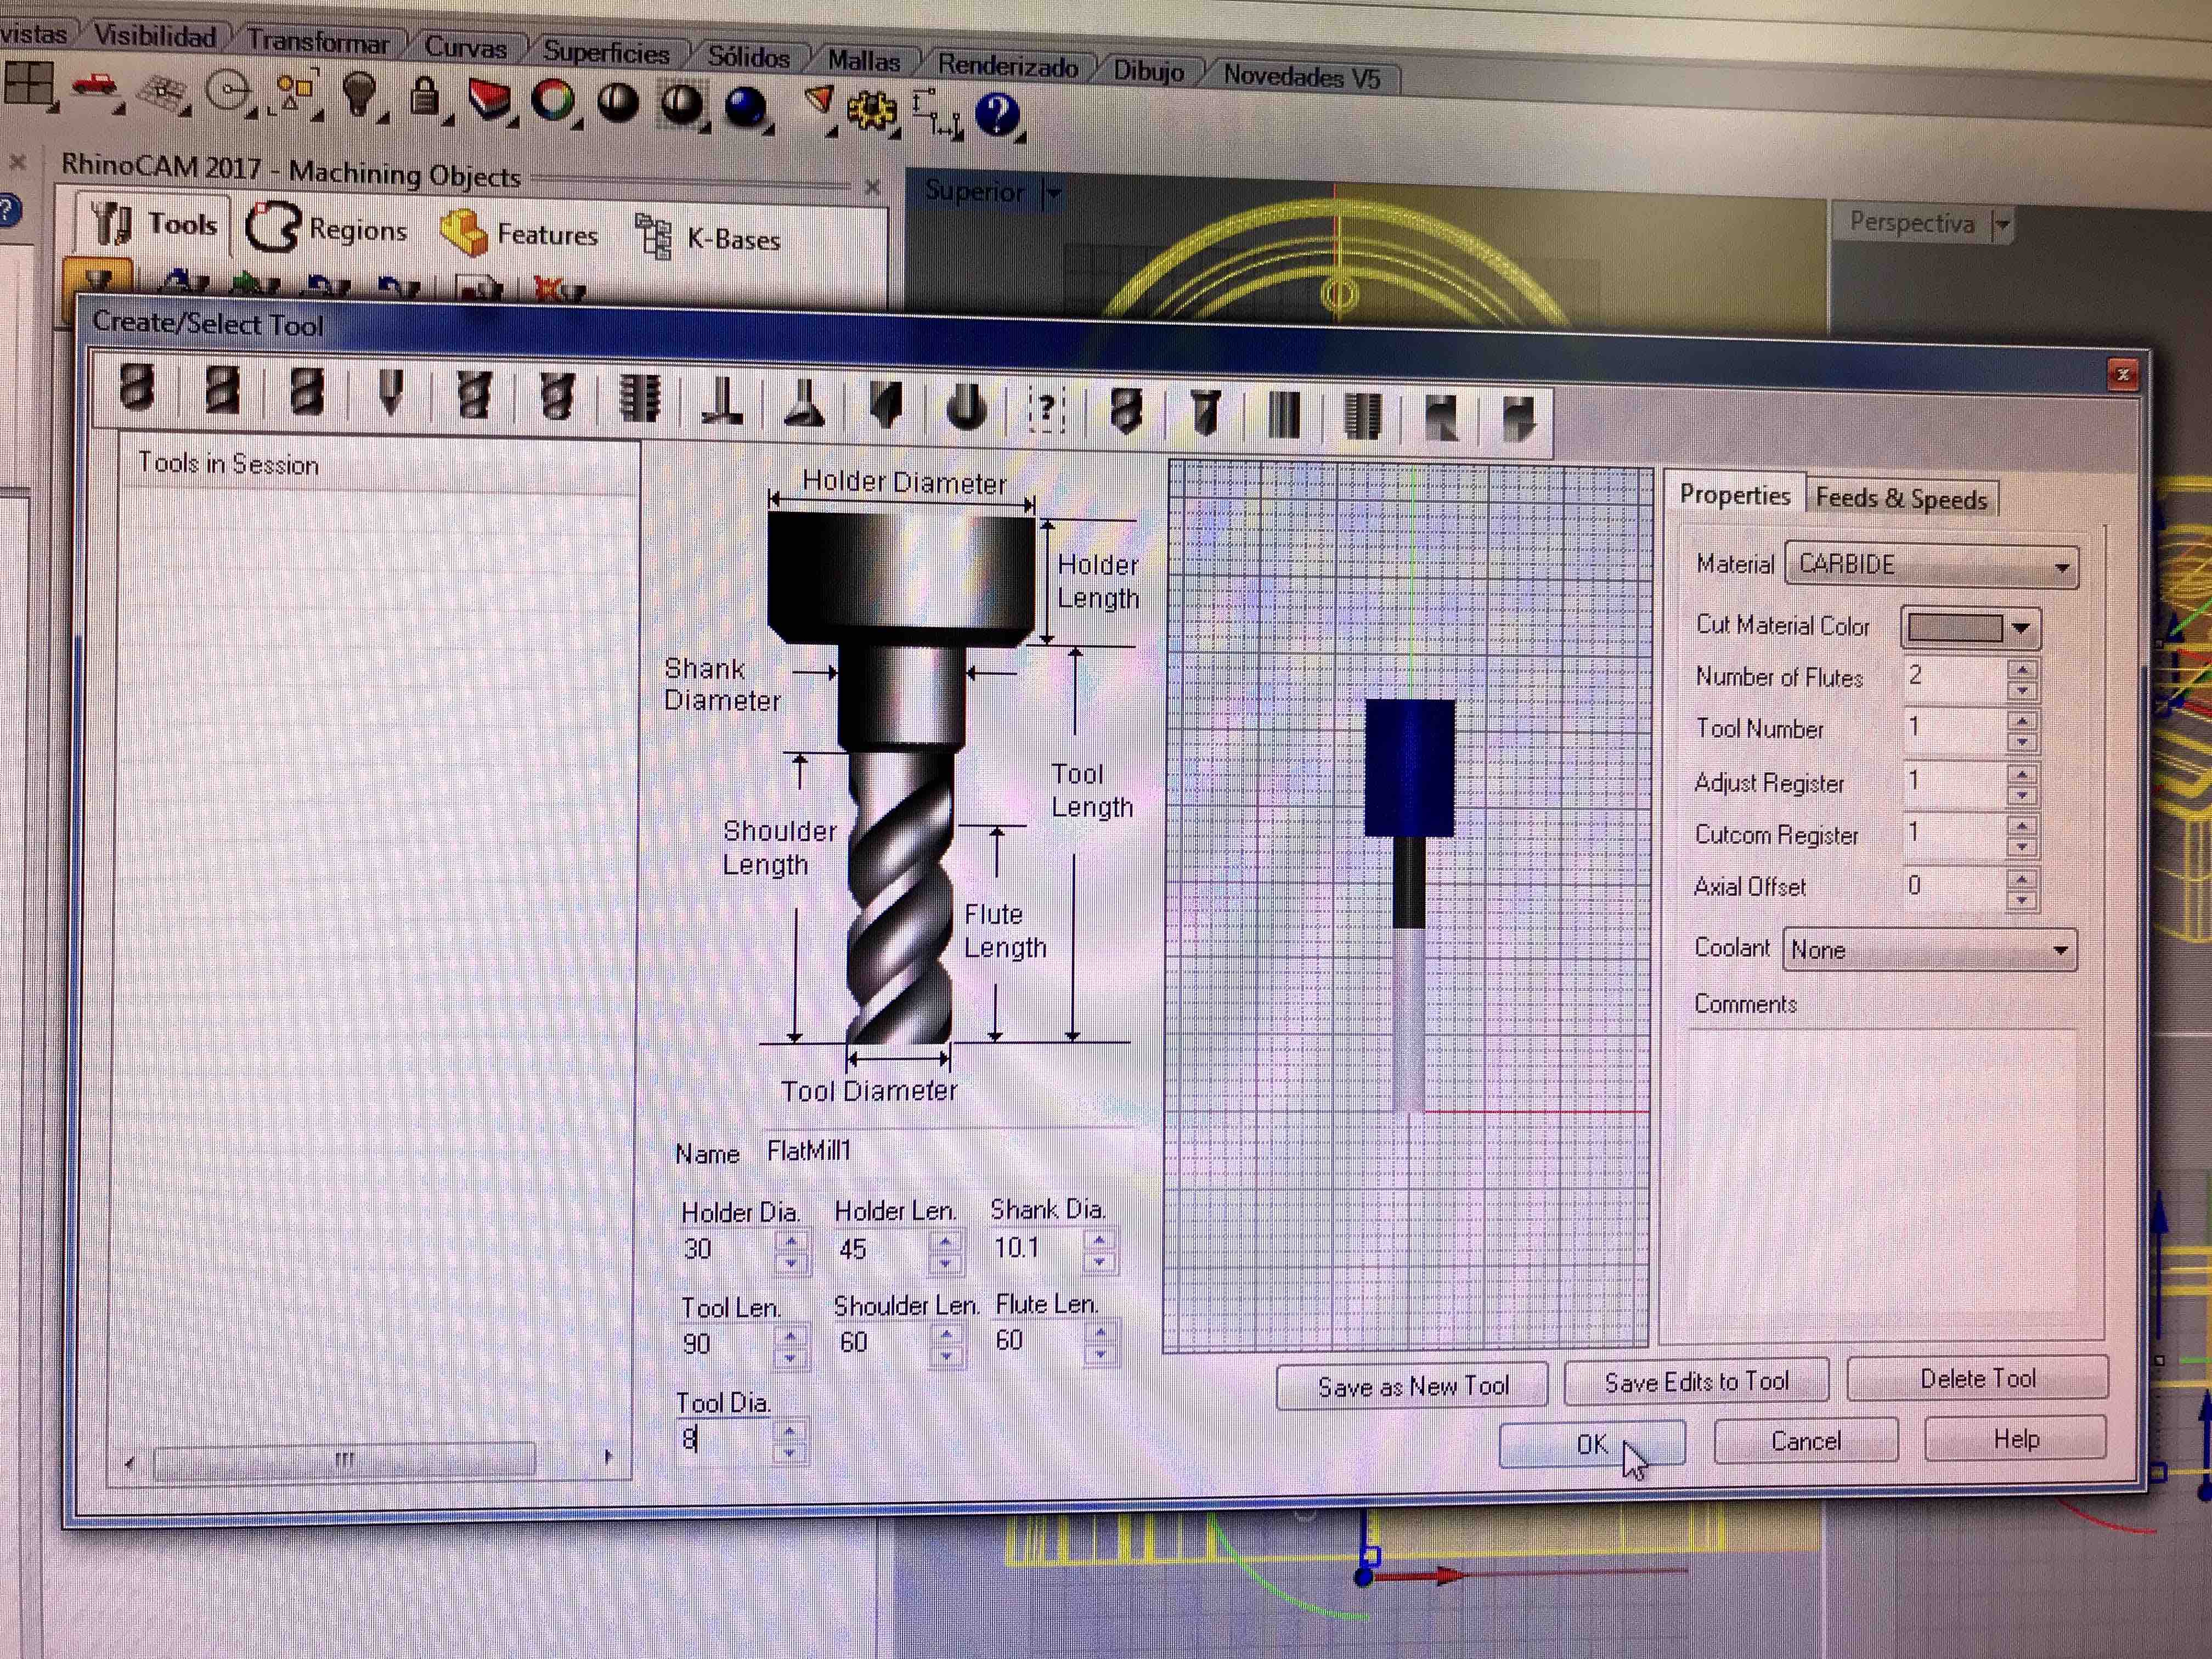
Here are the settings
of the tooling: straight 2 flute, 8mm dia.
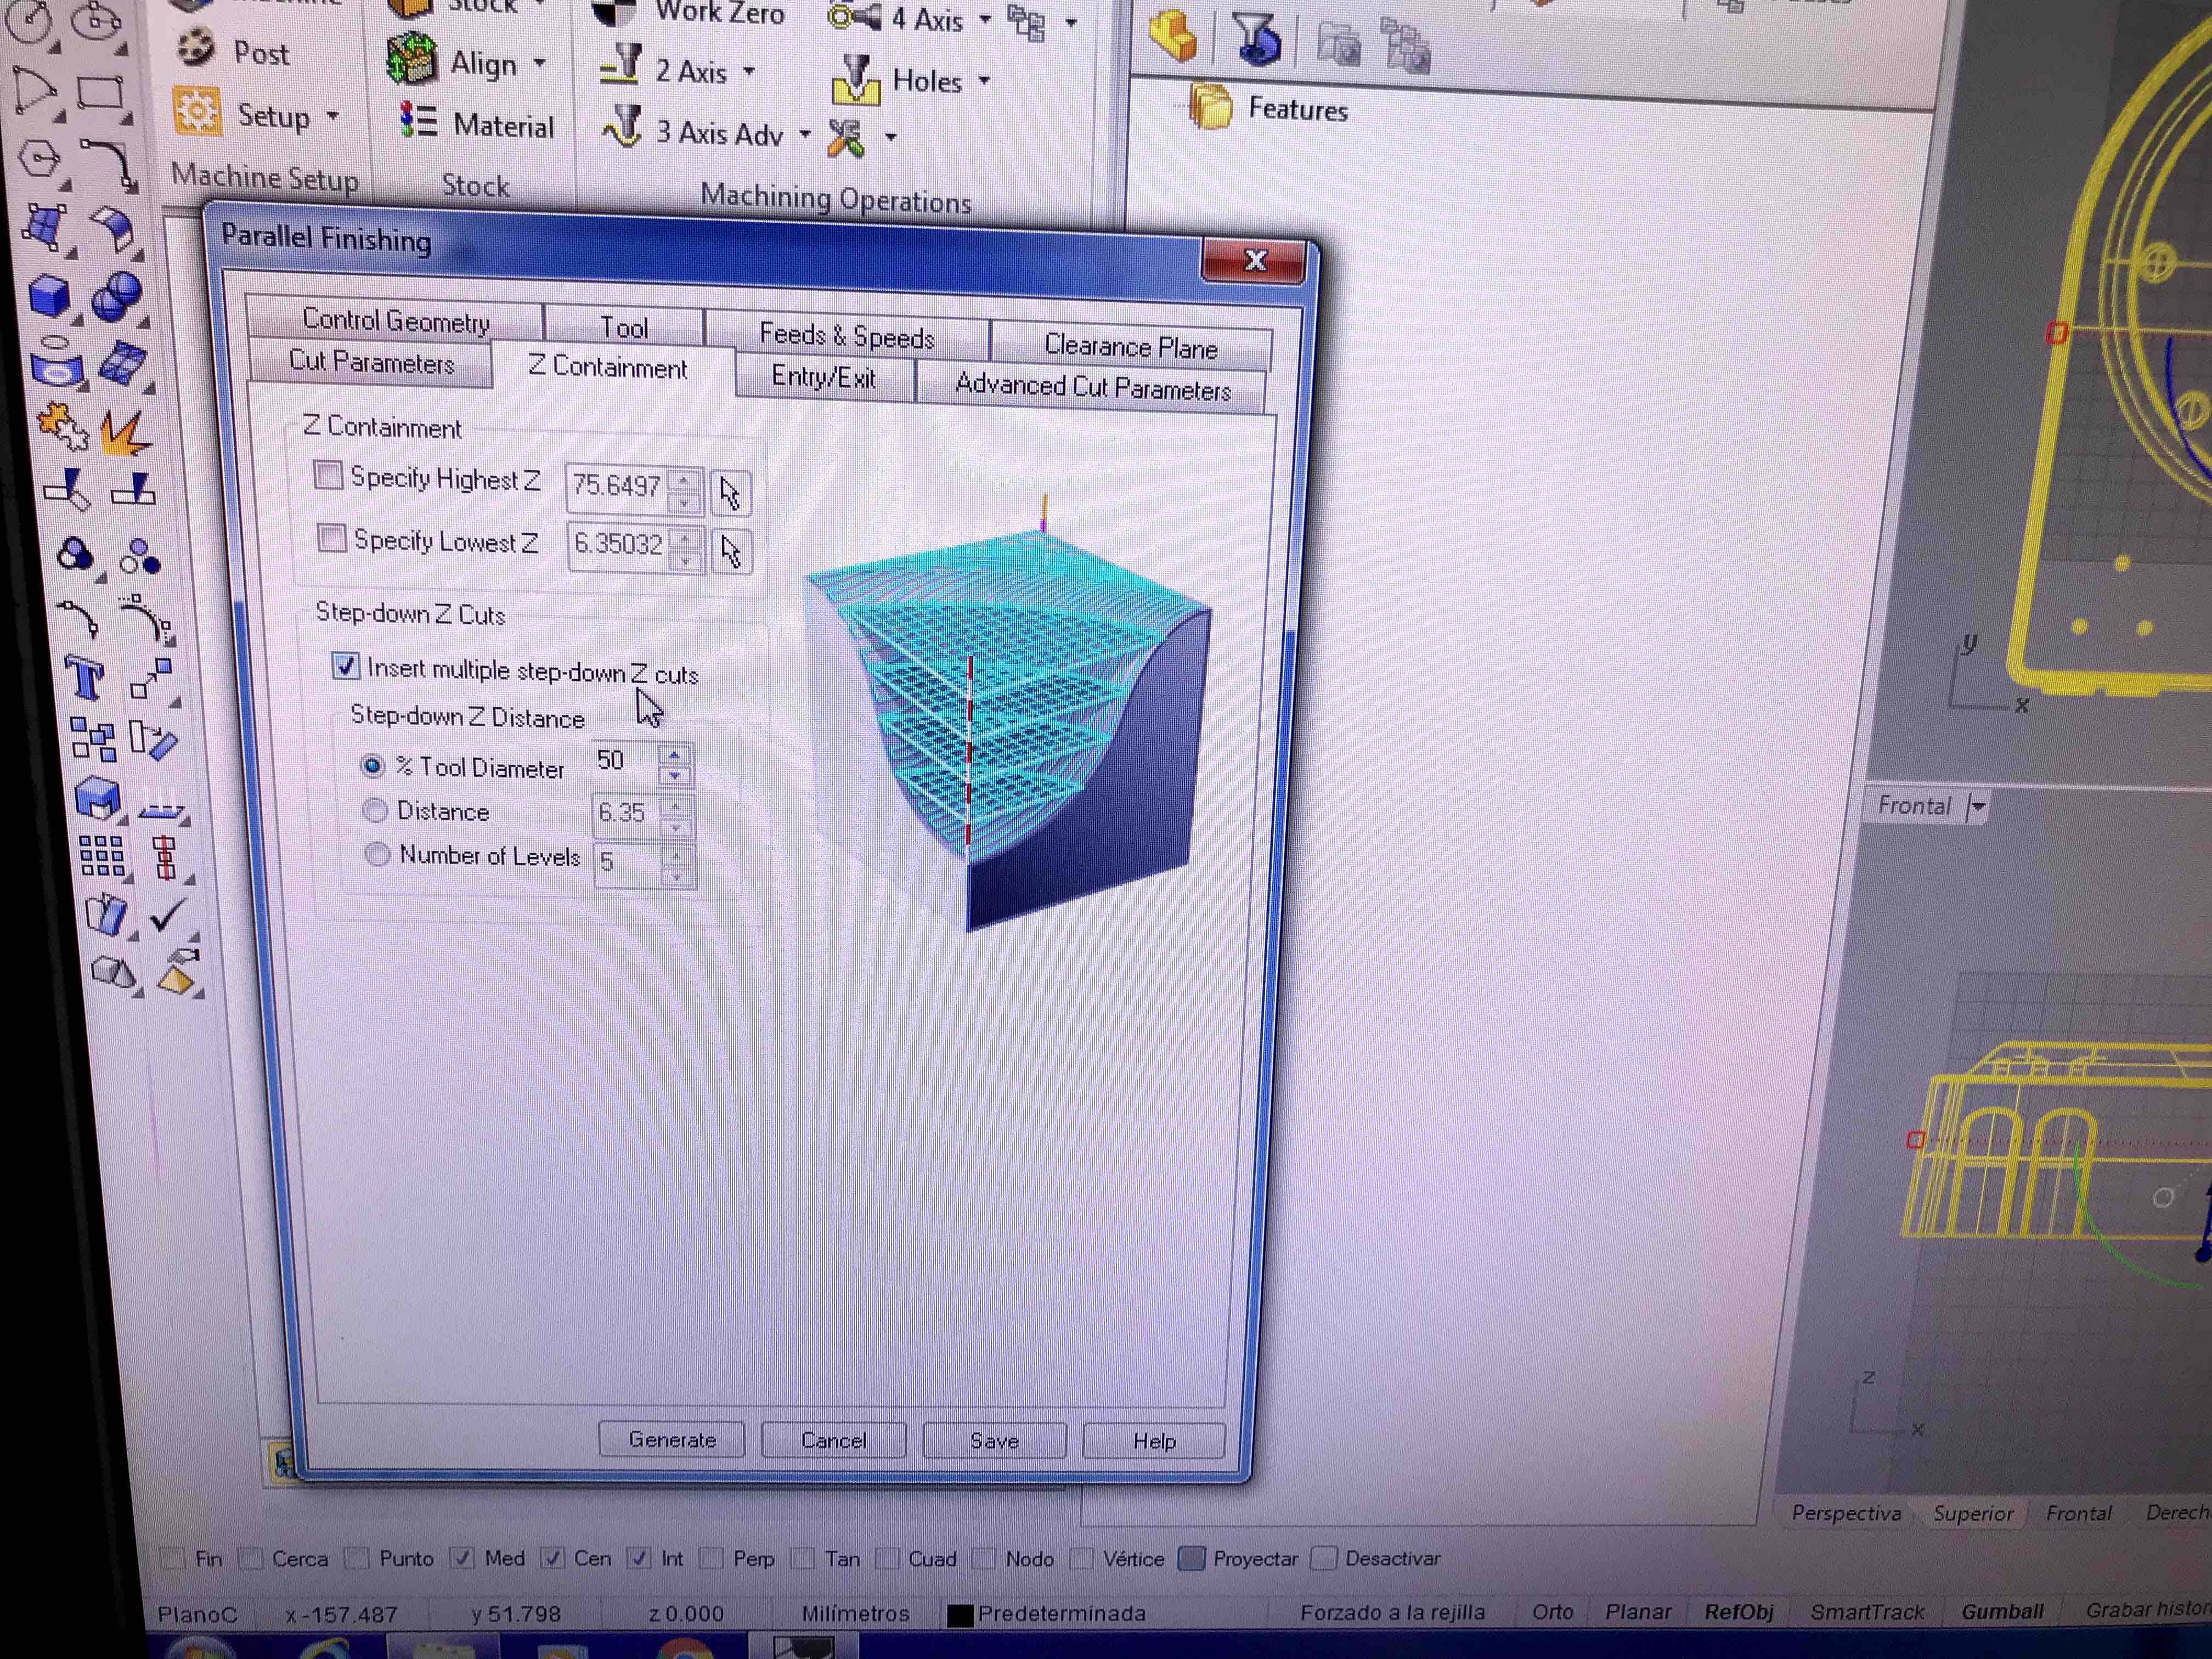
Here we are setting the
deep of the Z distance that would be 50% of the tooling dia.
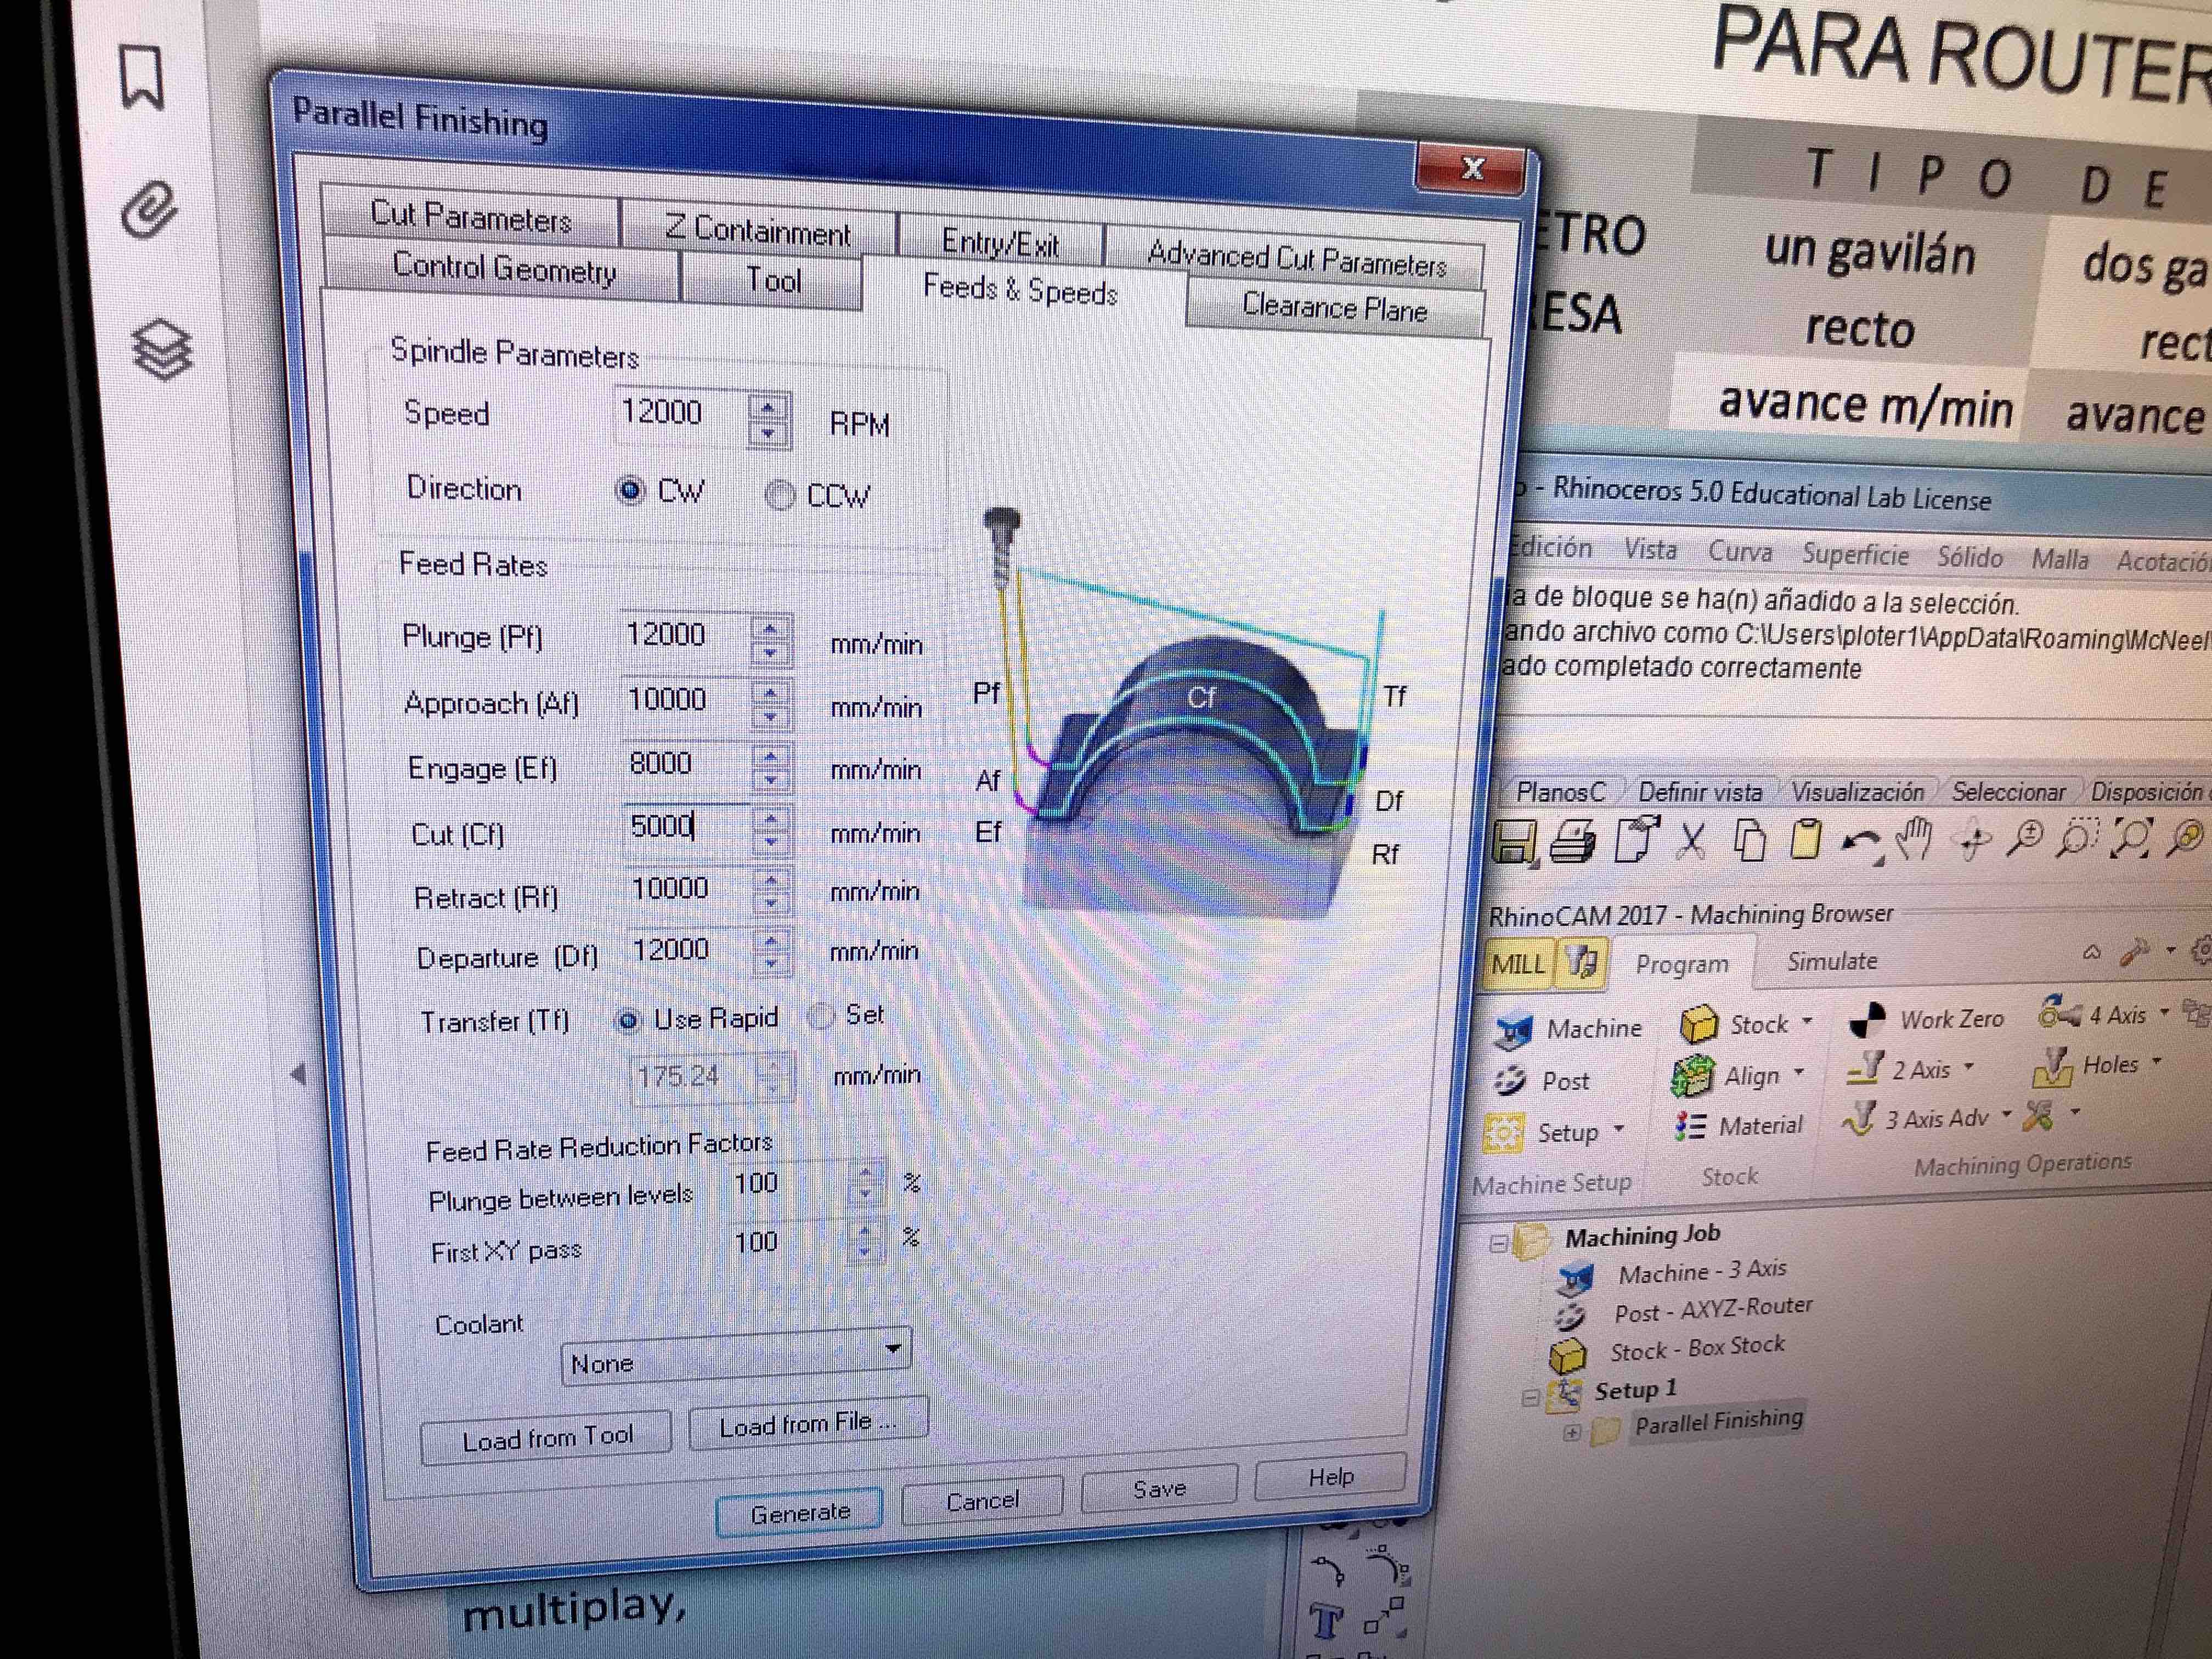
Then the rotation
speed at 1200RPM and the cut at 5000mm/min

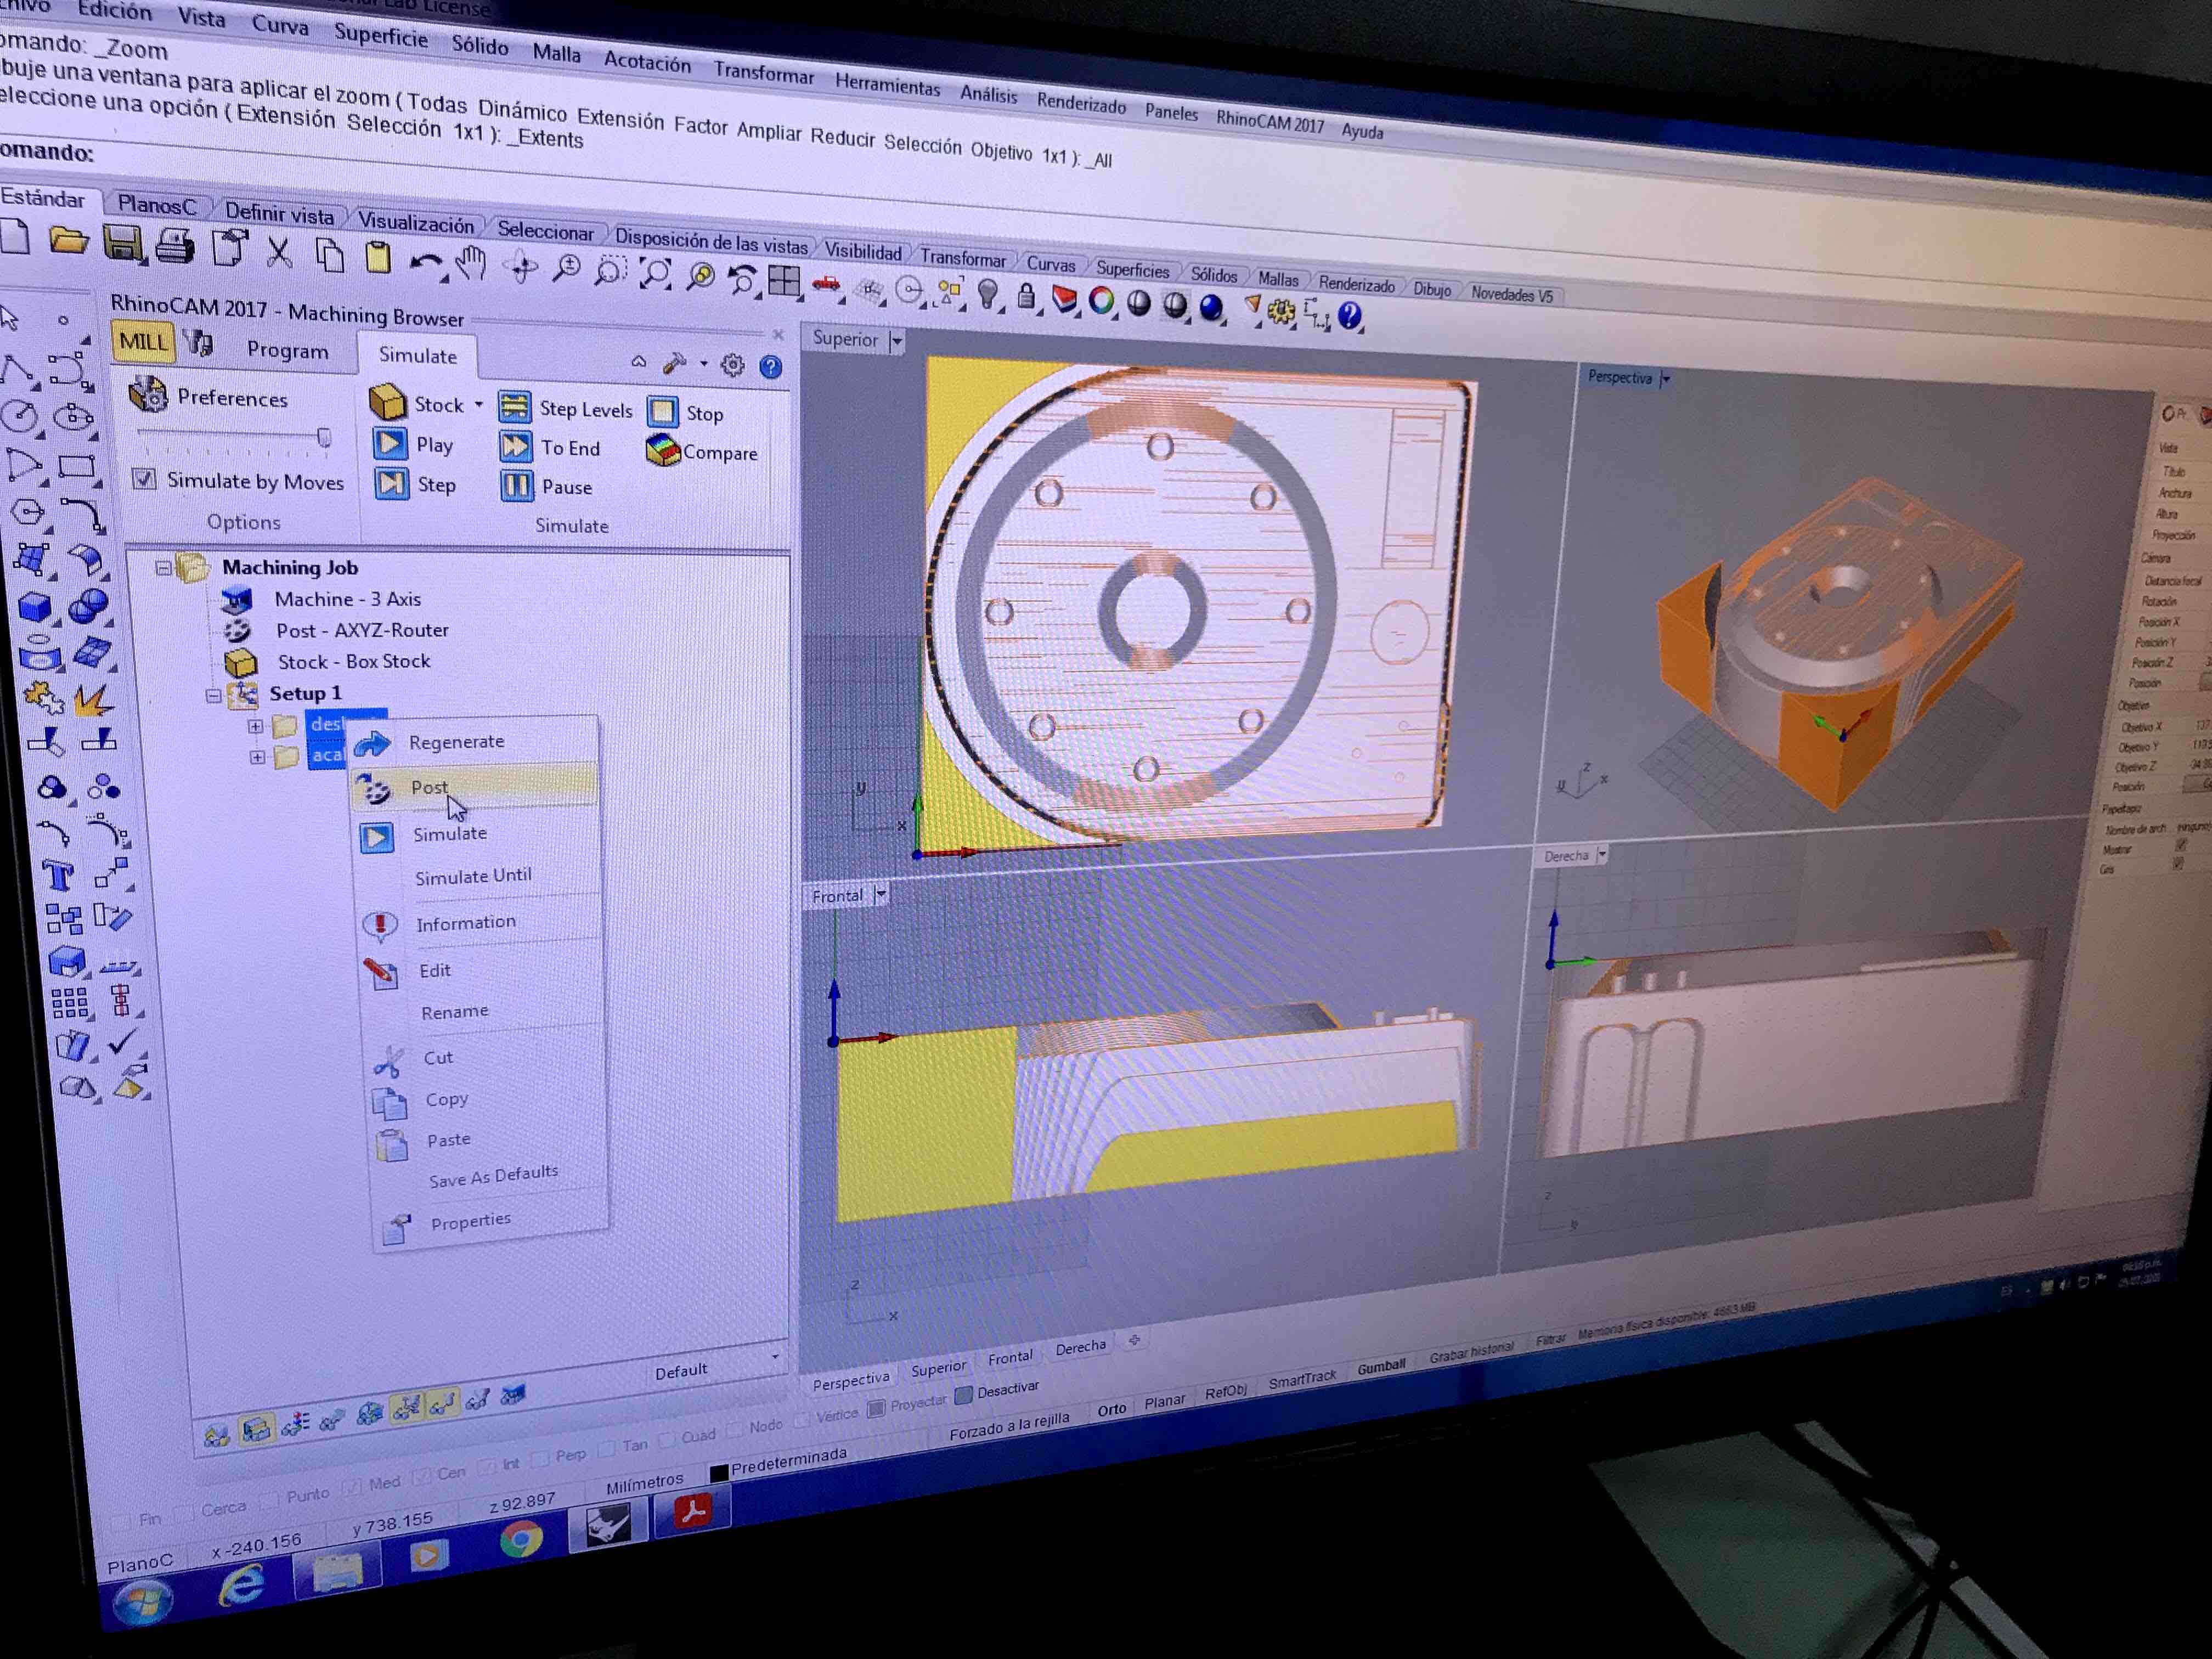
We can see here how
it´s going to be our finish mould.
if everything is fine,
the we need to generate the G code

Here is the origin
setting that we are going to use; G57 Origin B
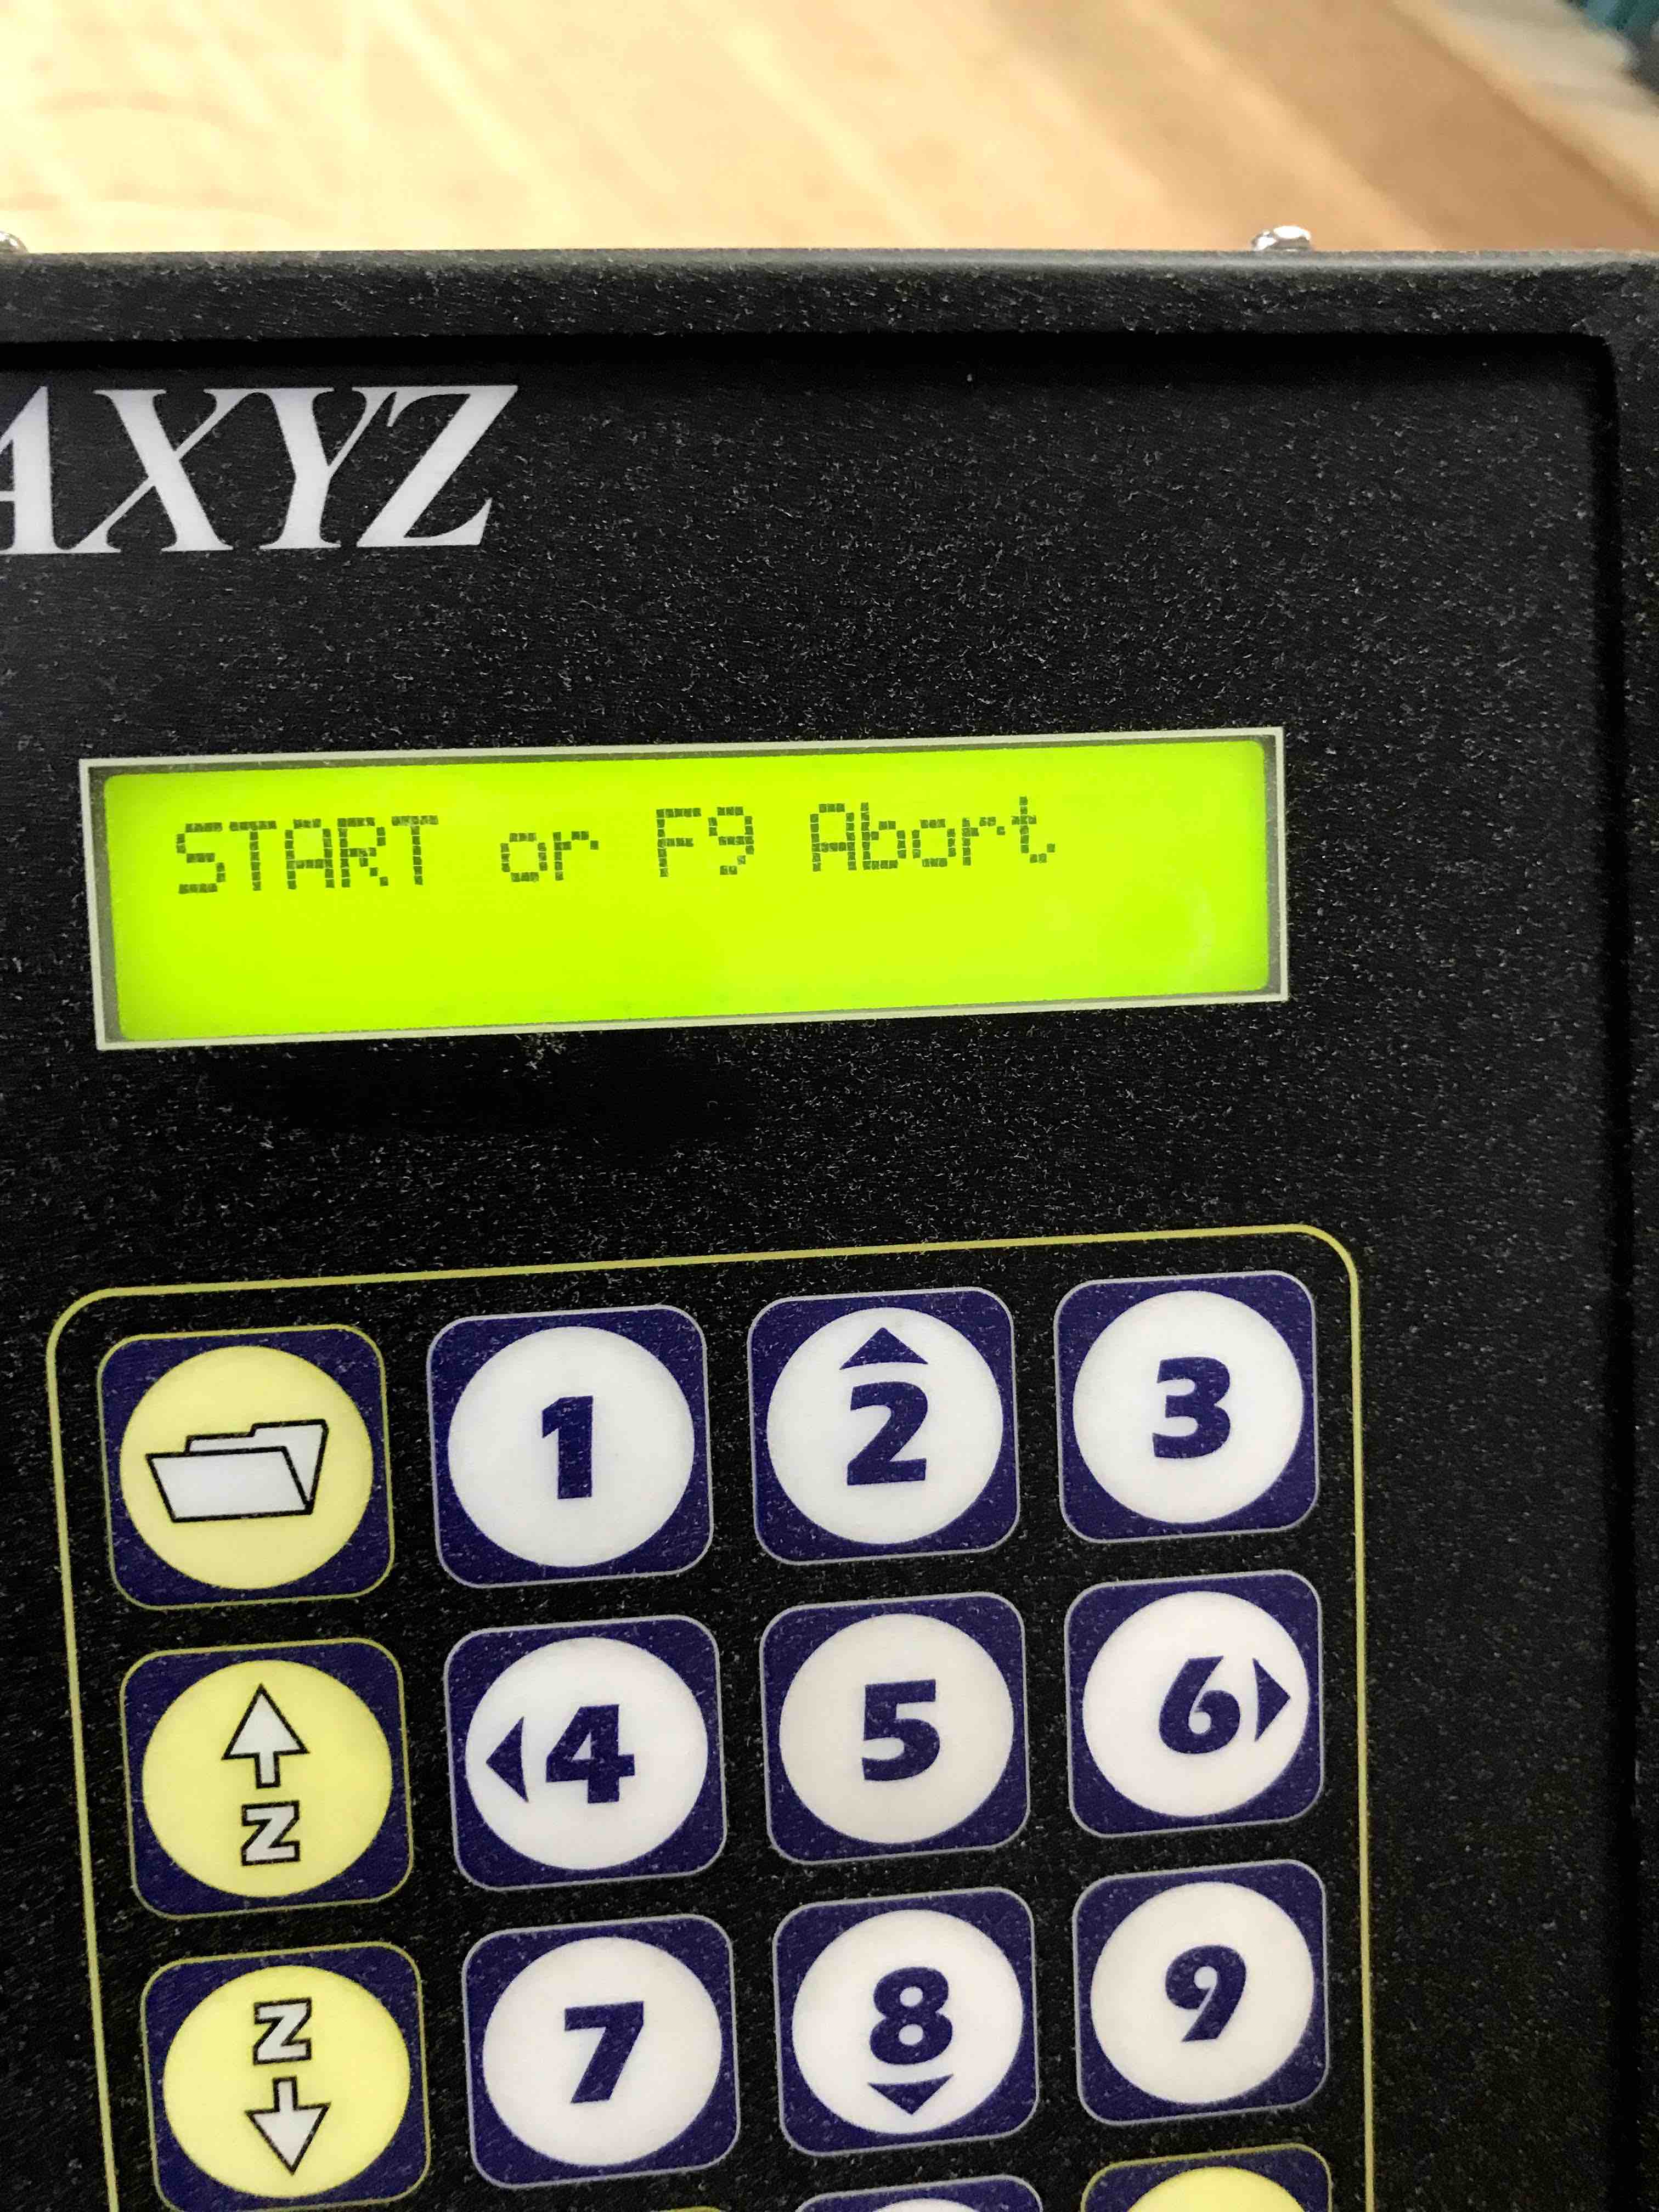
Ready to push play
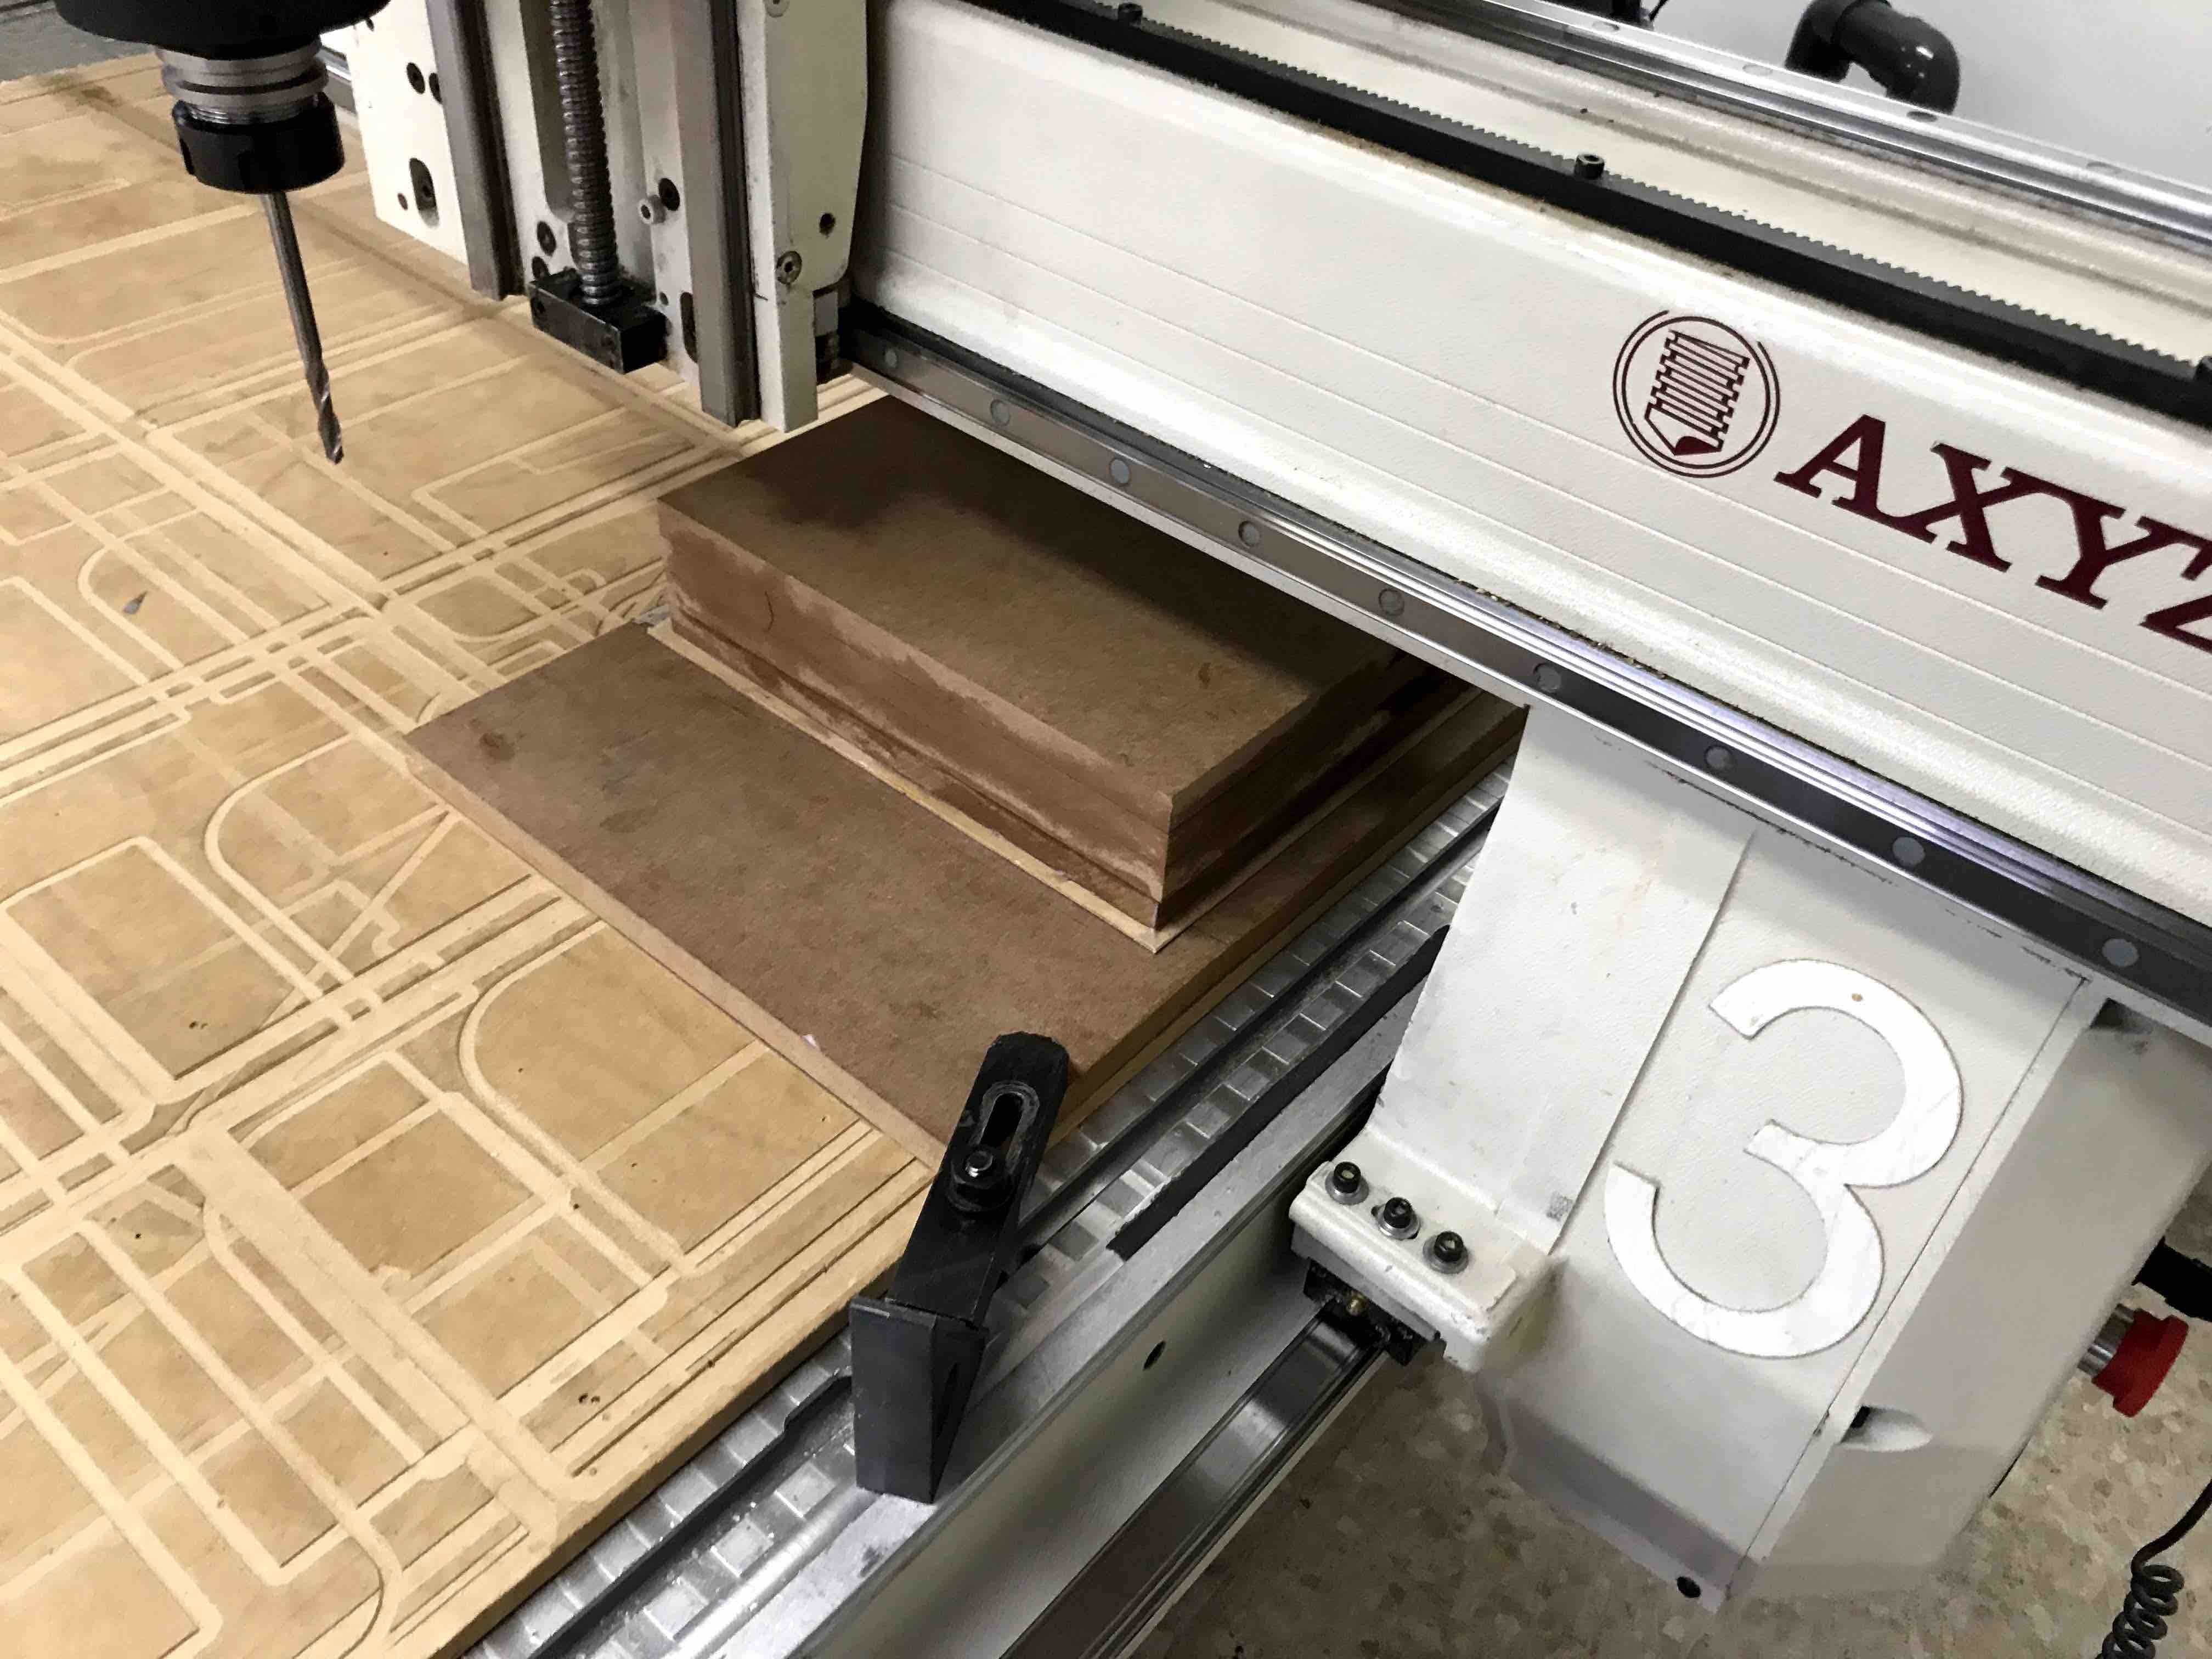
A detail view of the
MDF in the CNC router
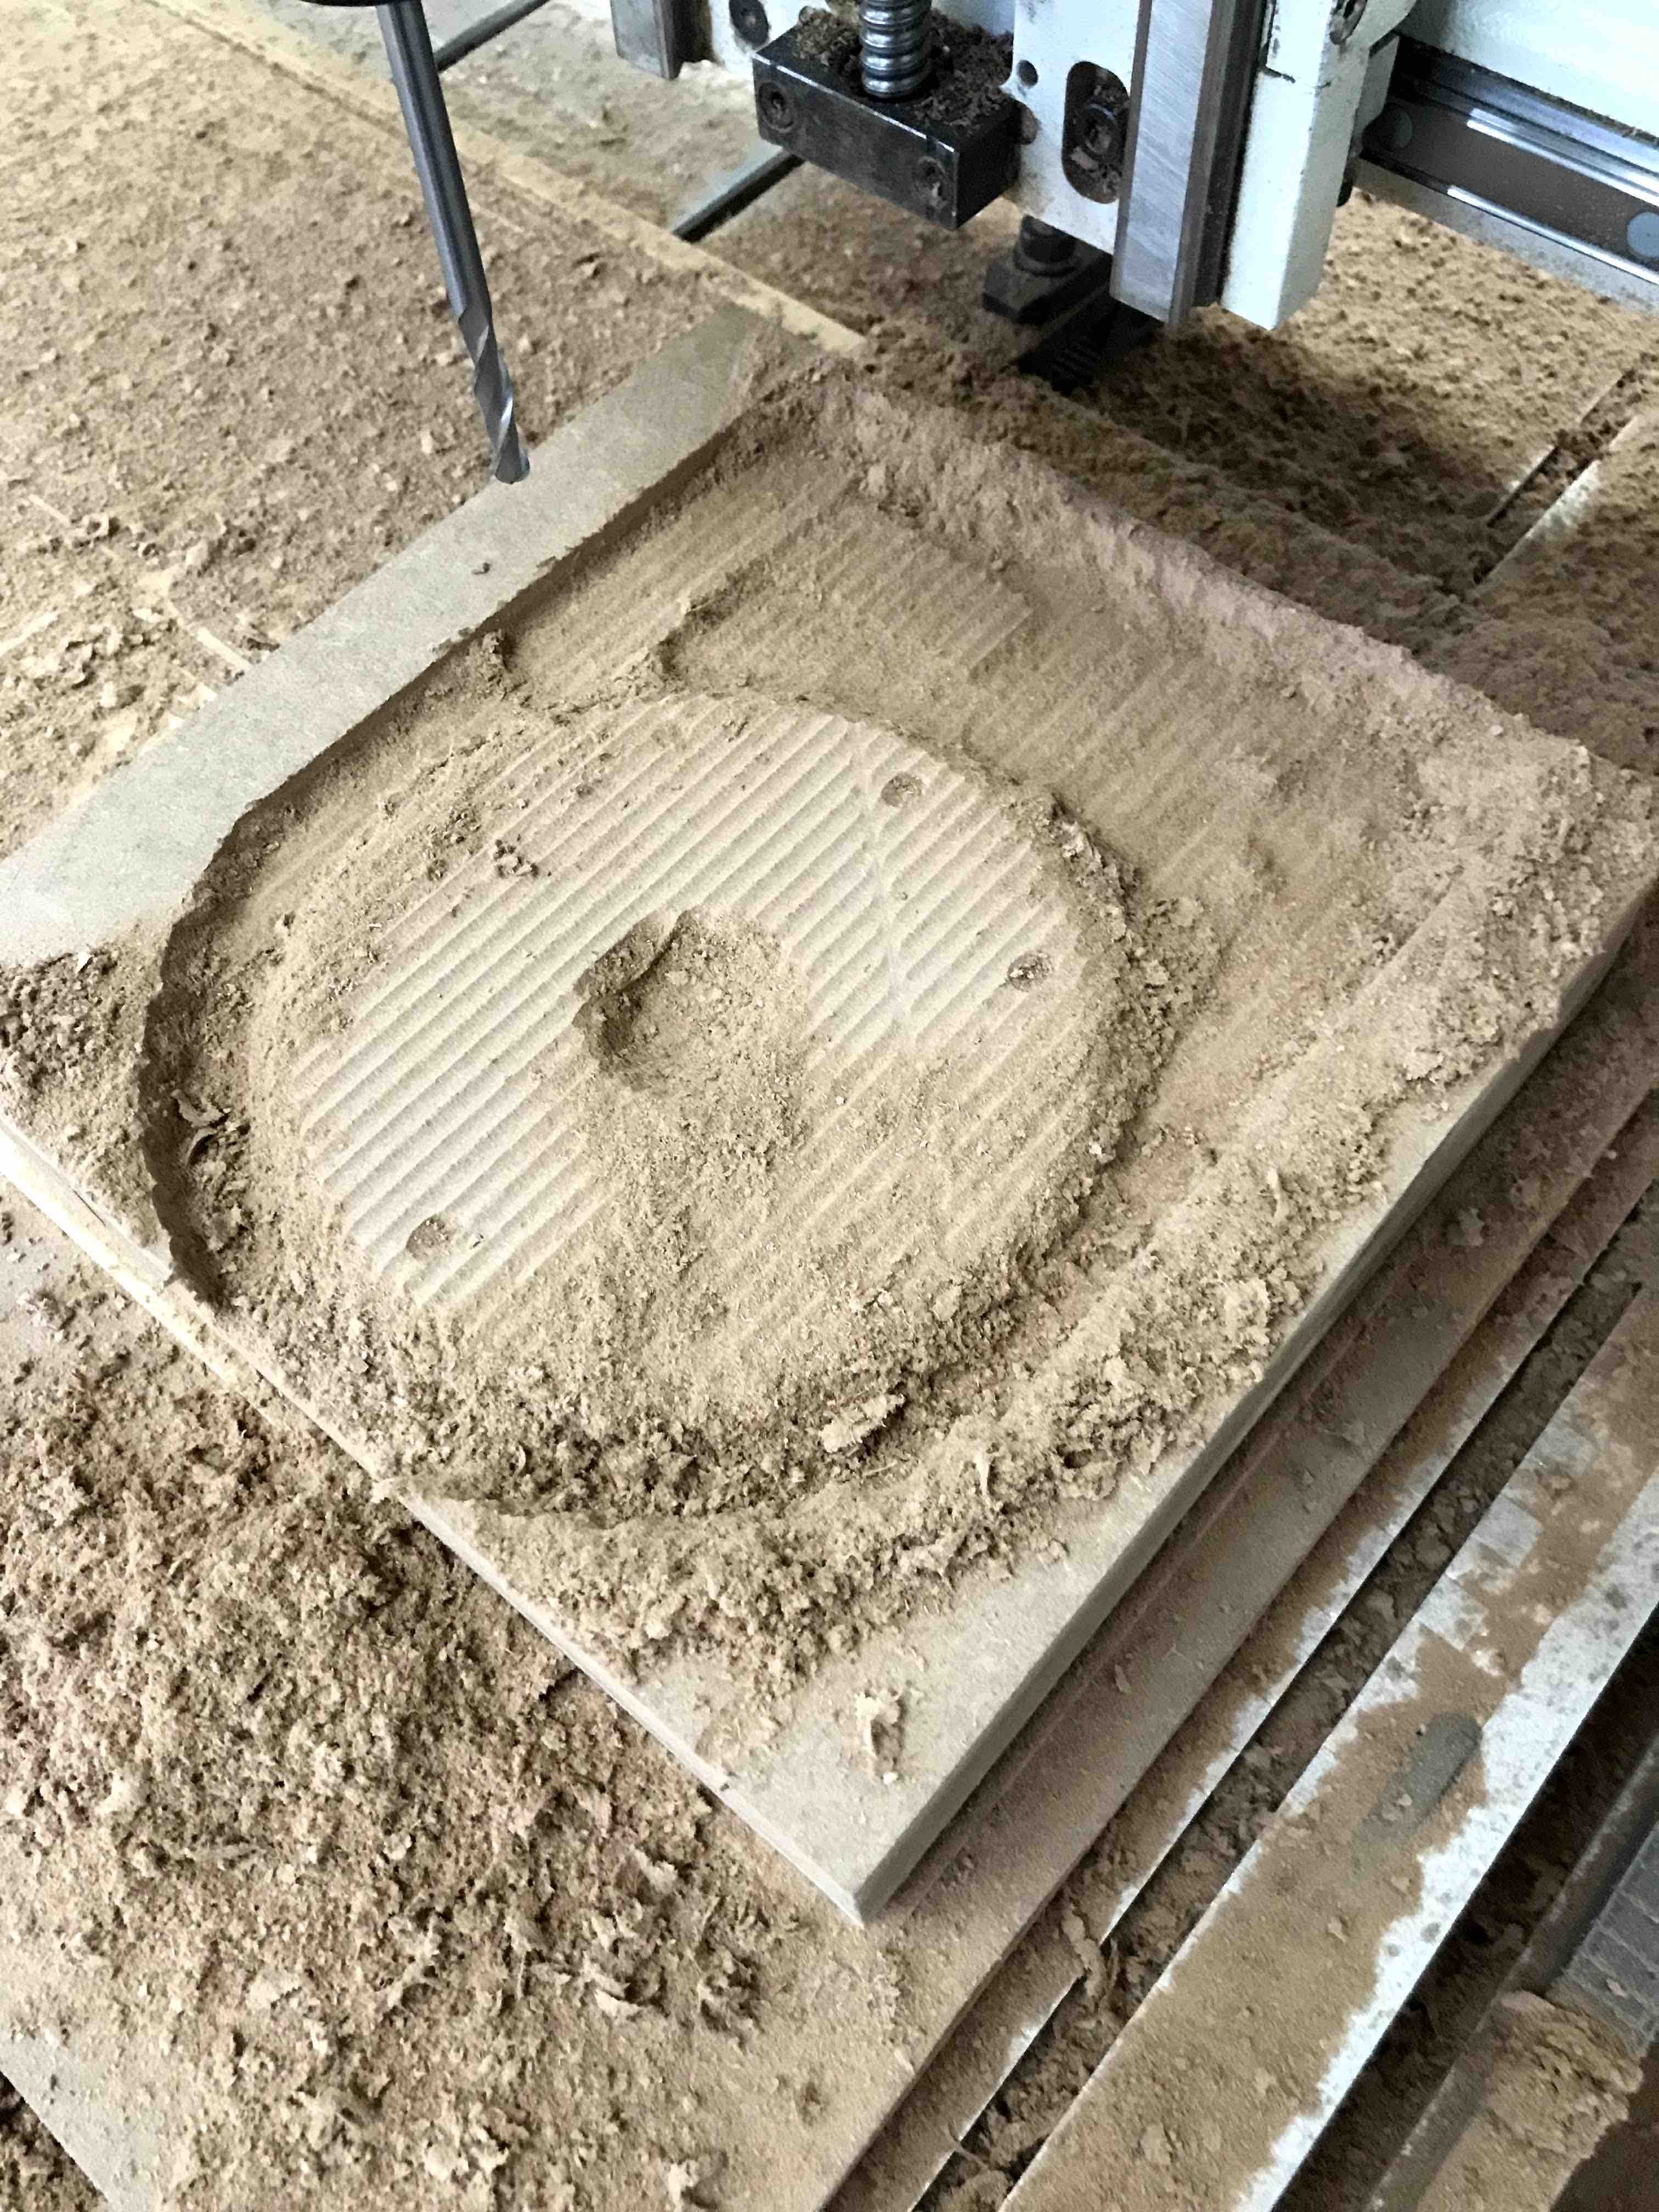
The mould getting
shape.
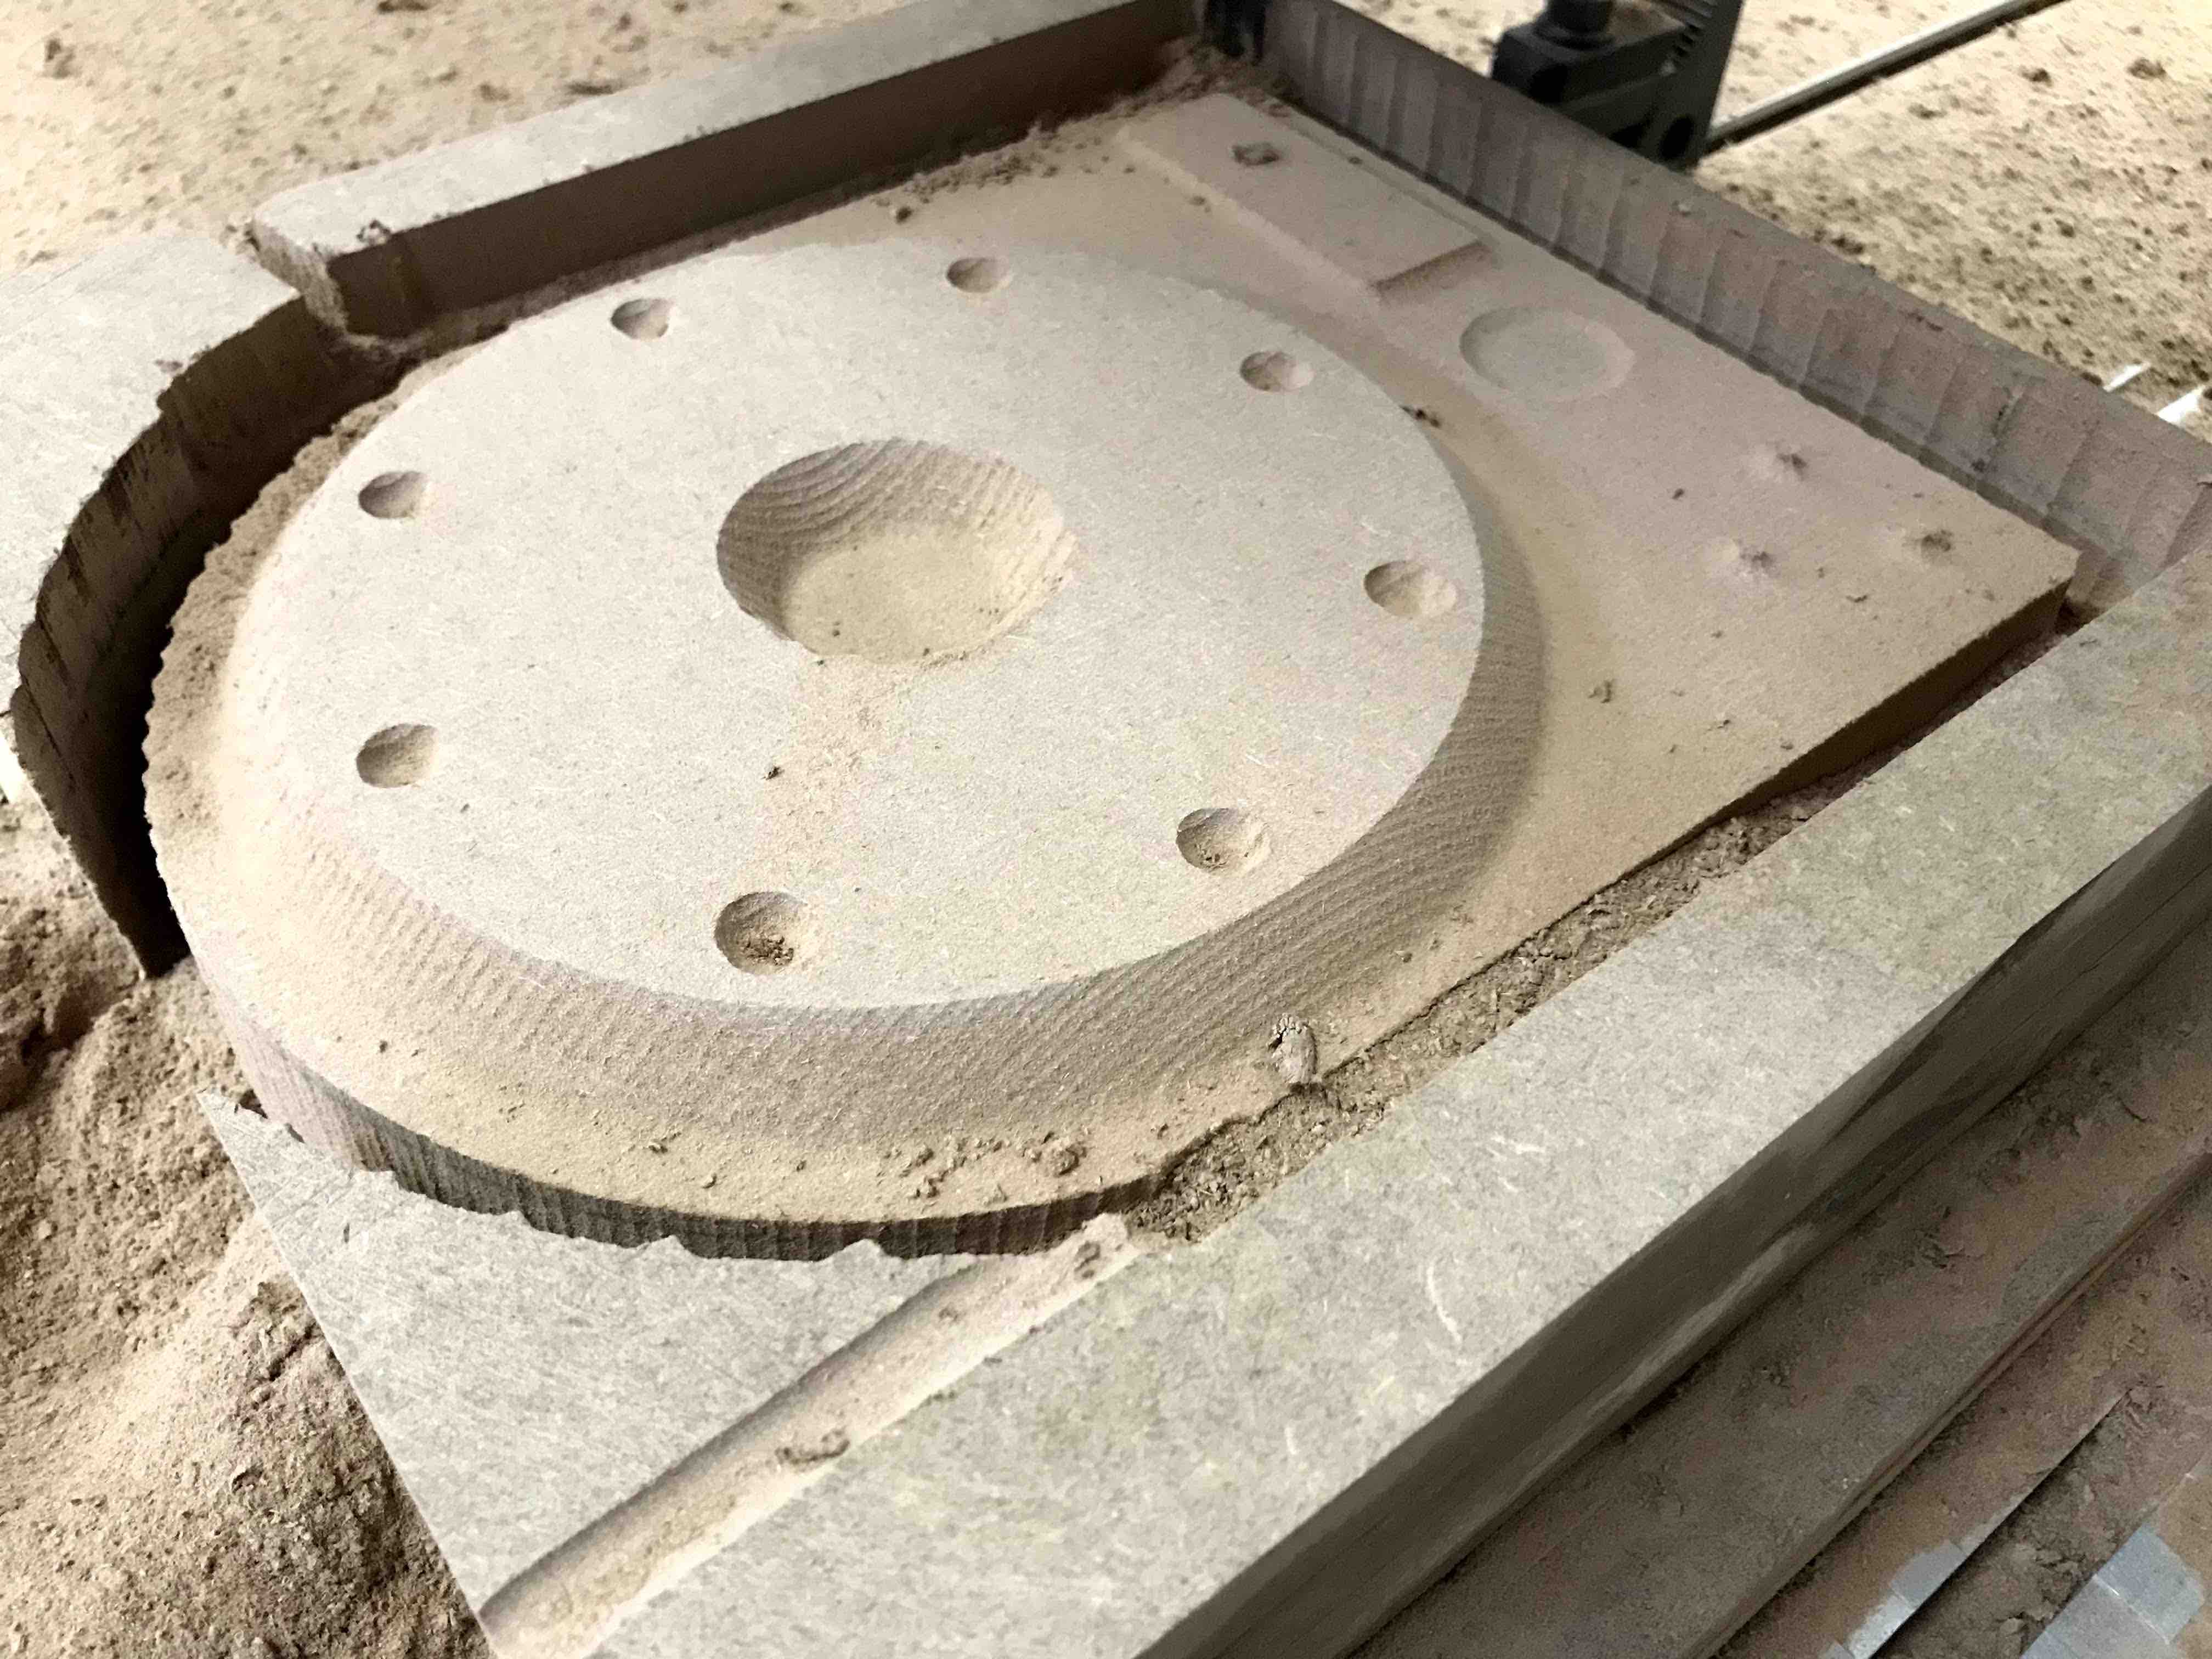
The mould finished
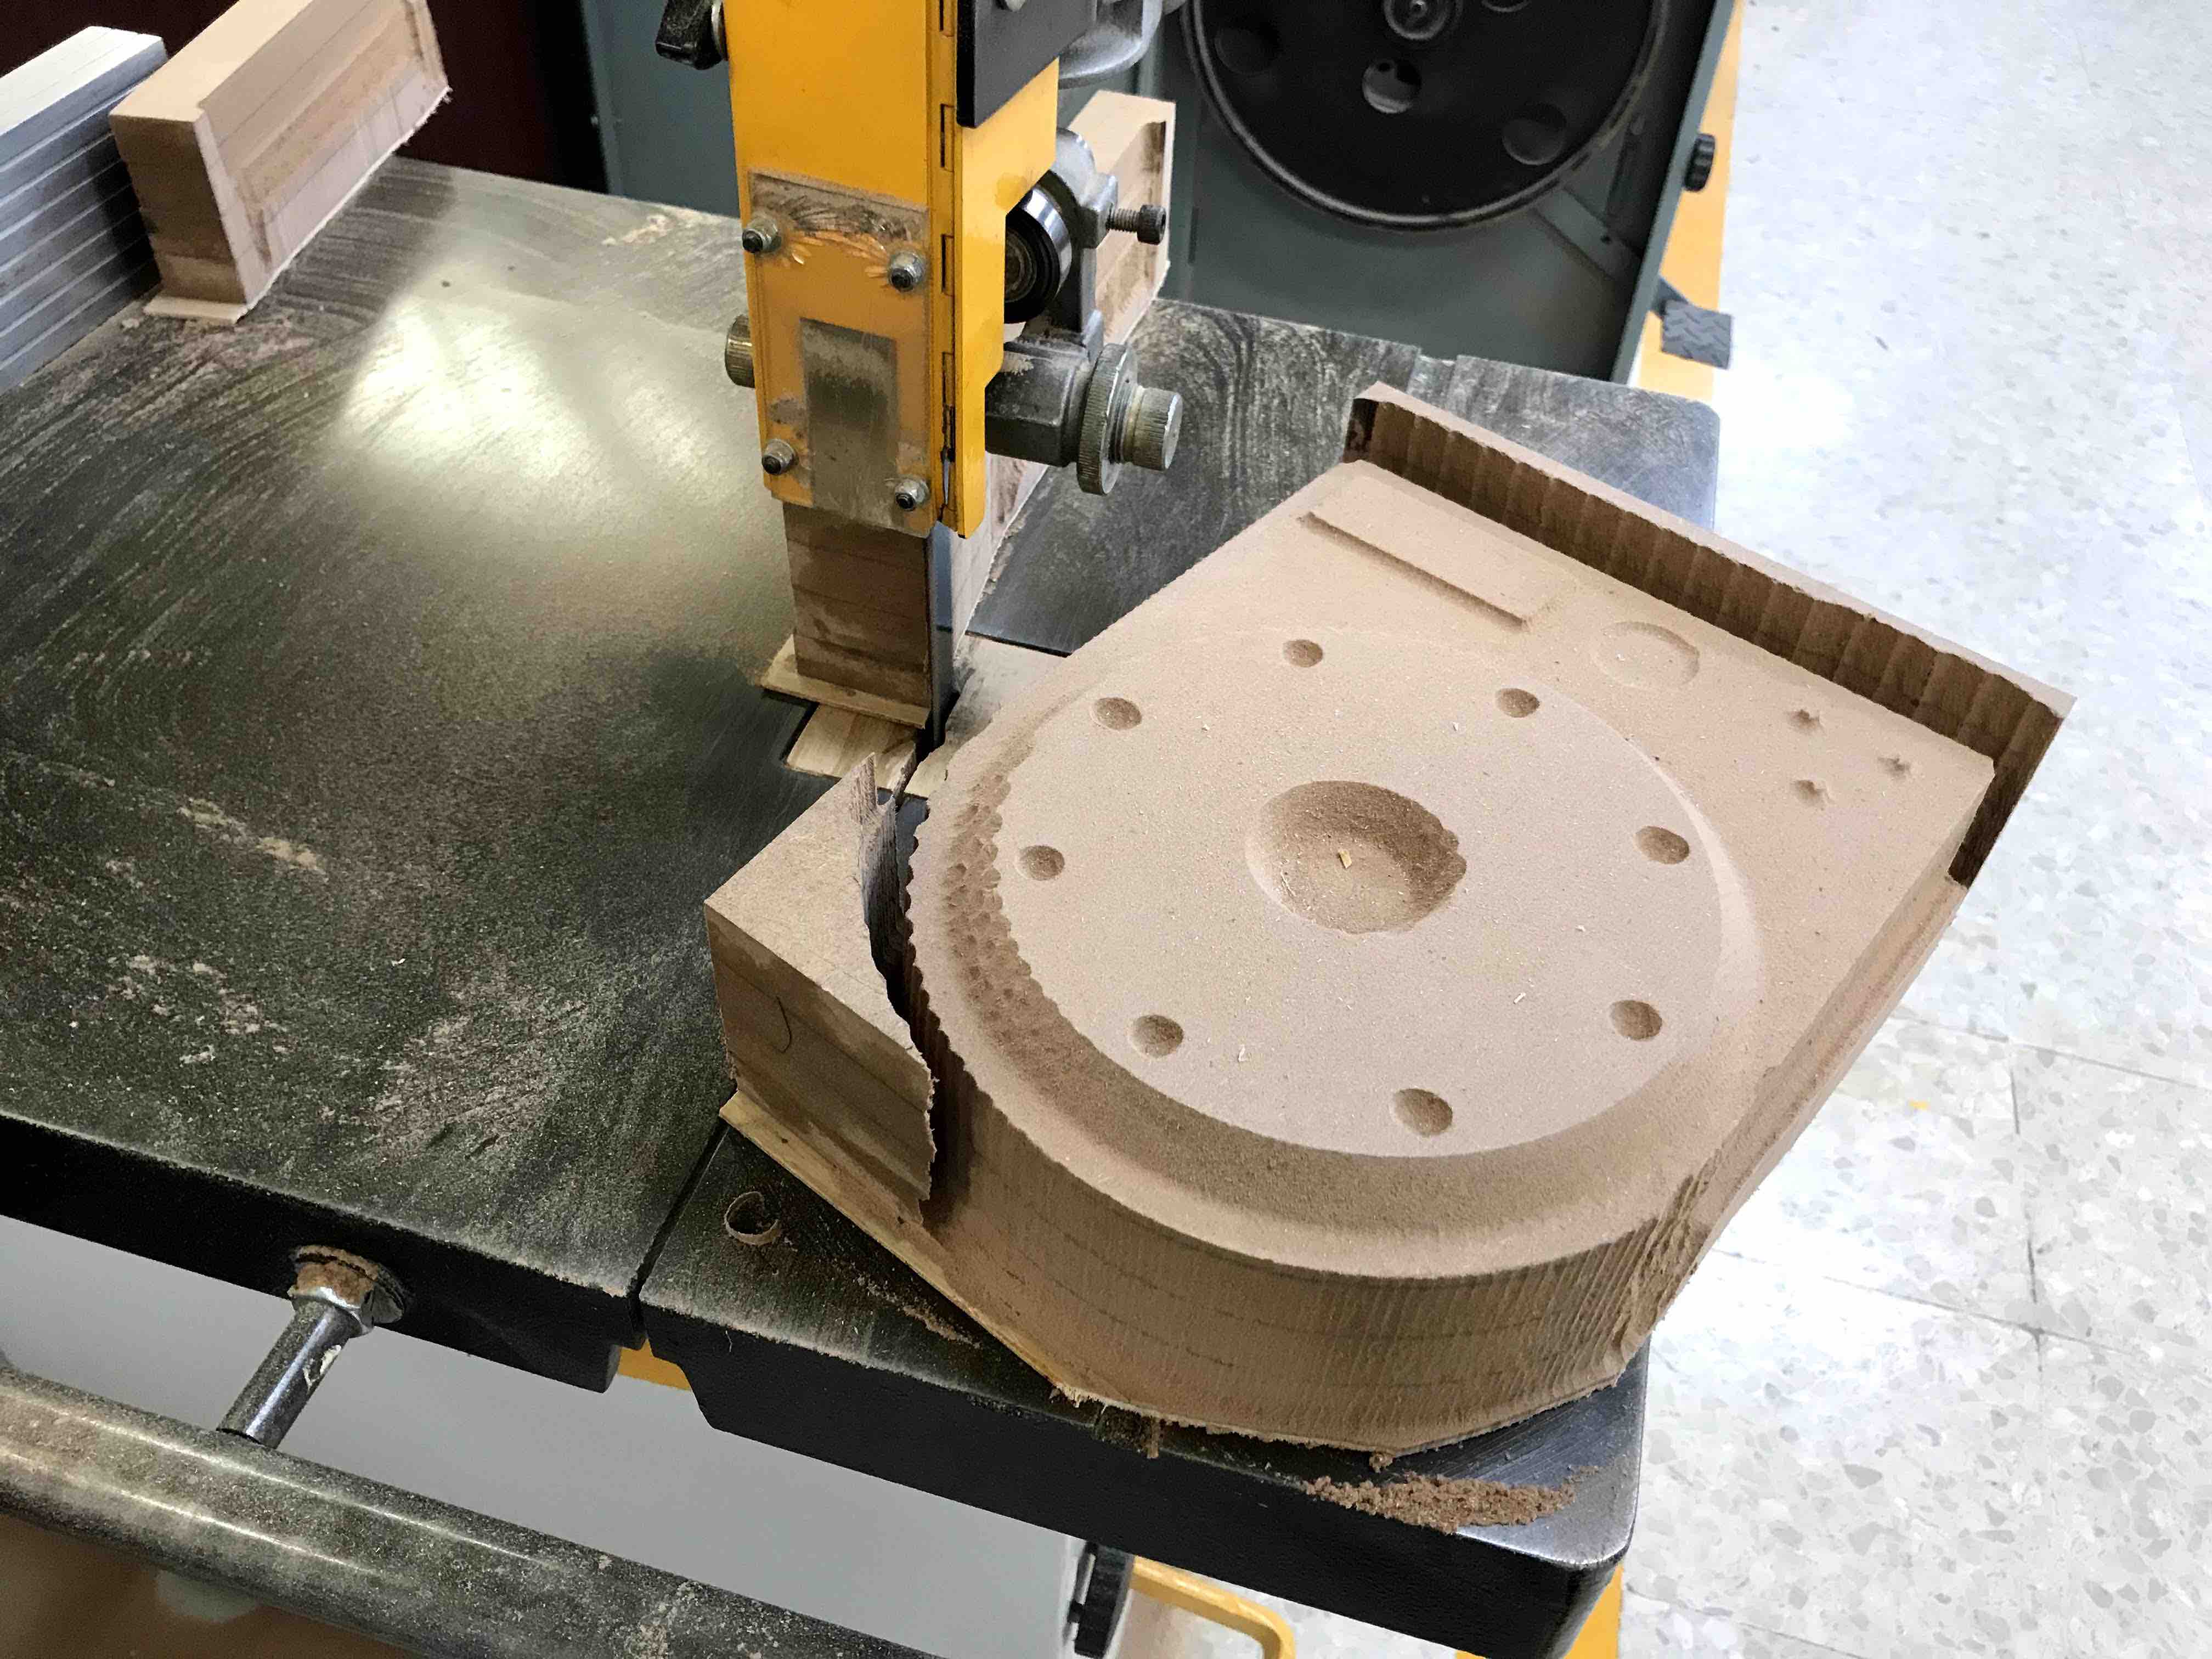
I´m using a band saw to
cut the extra material of the perimeter.
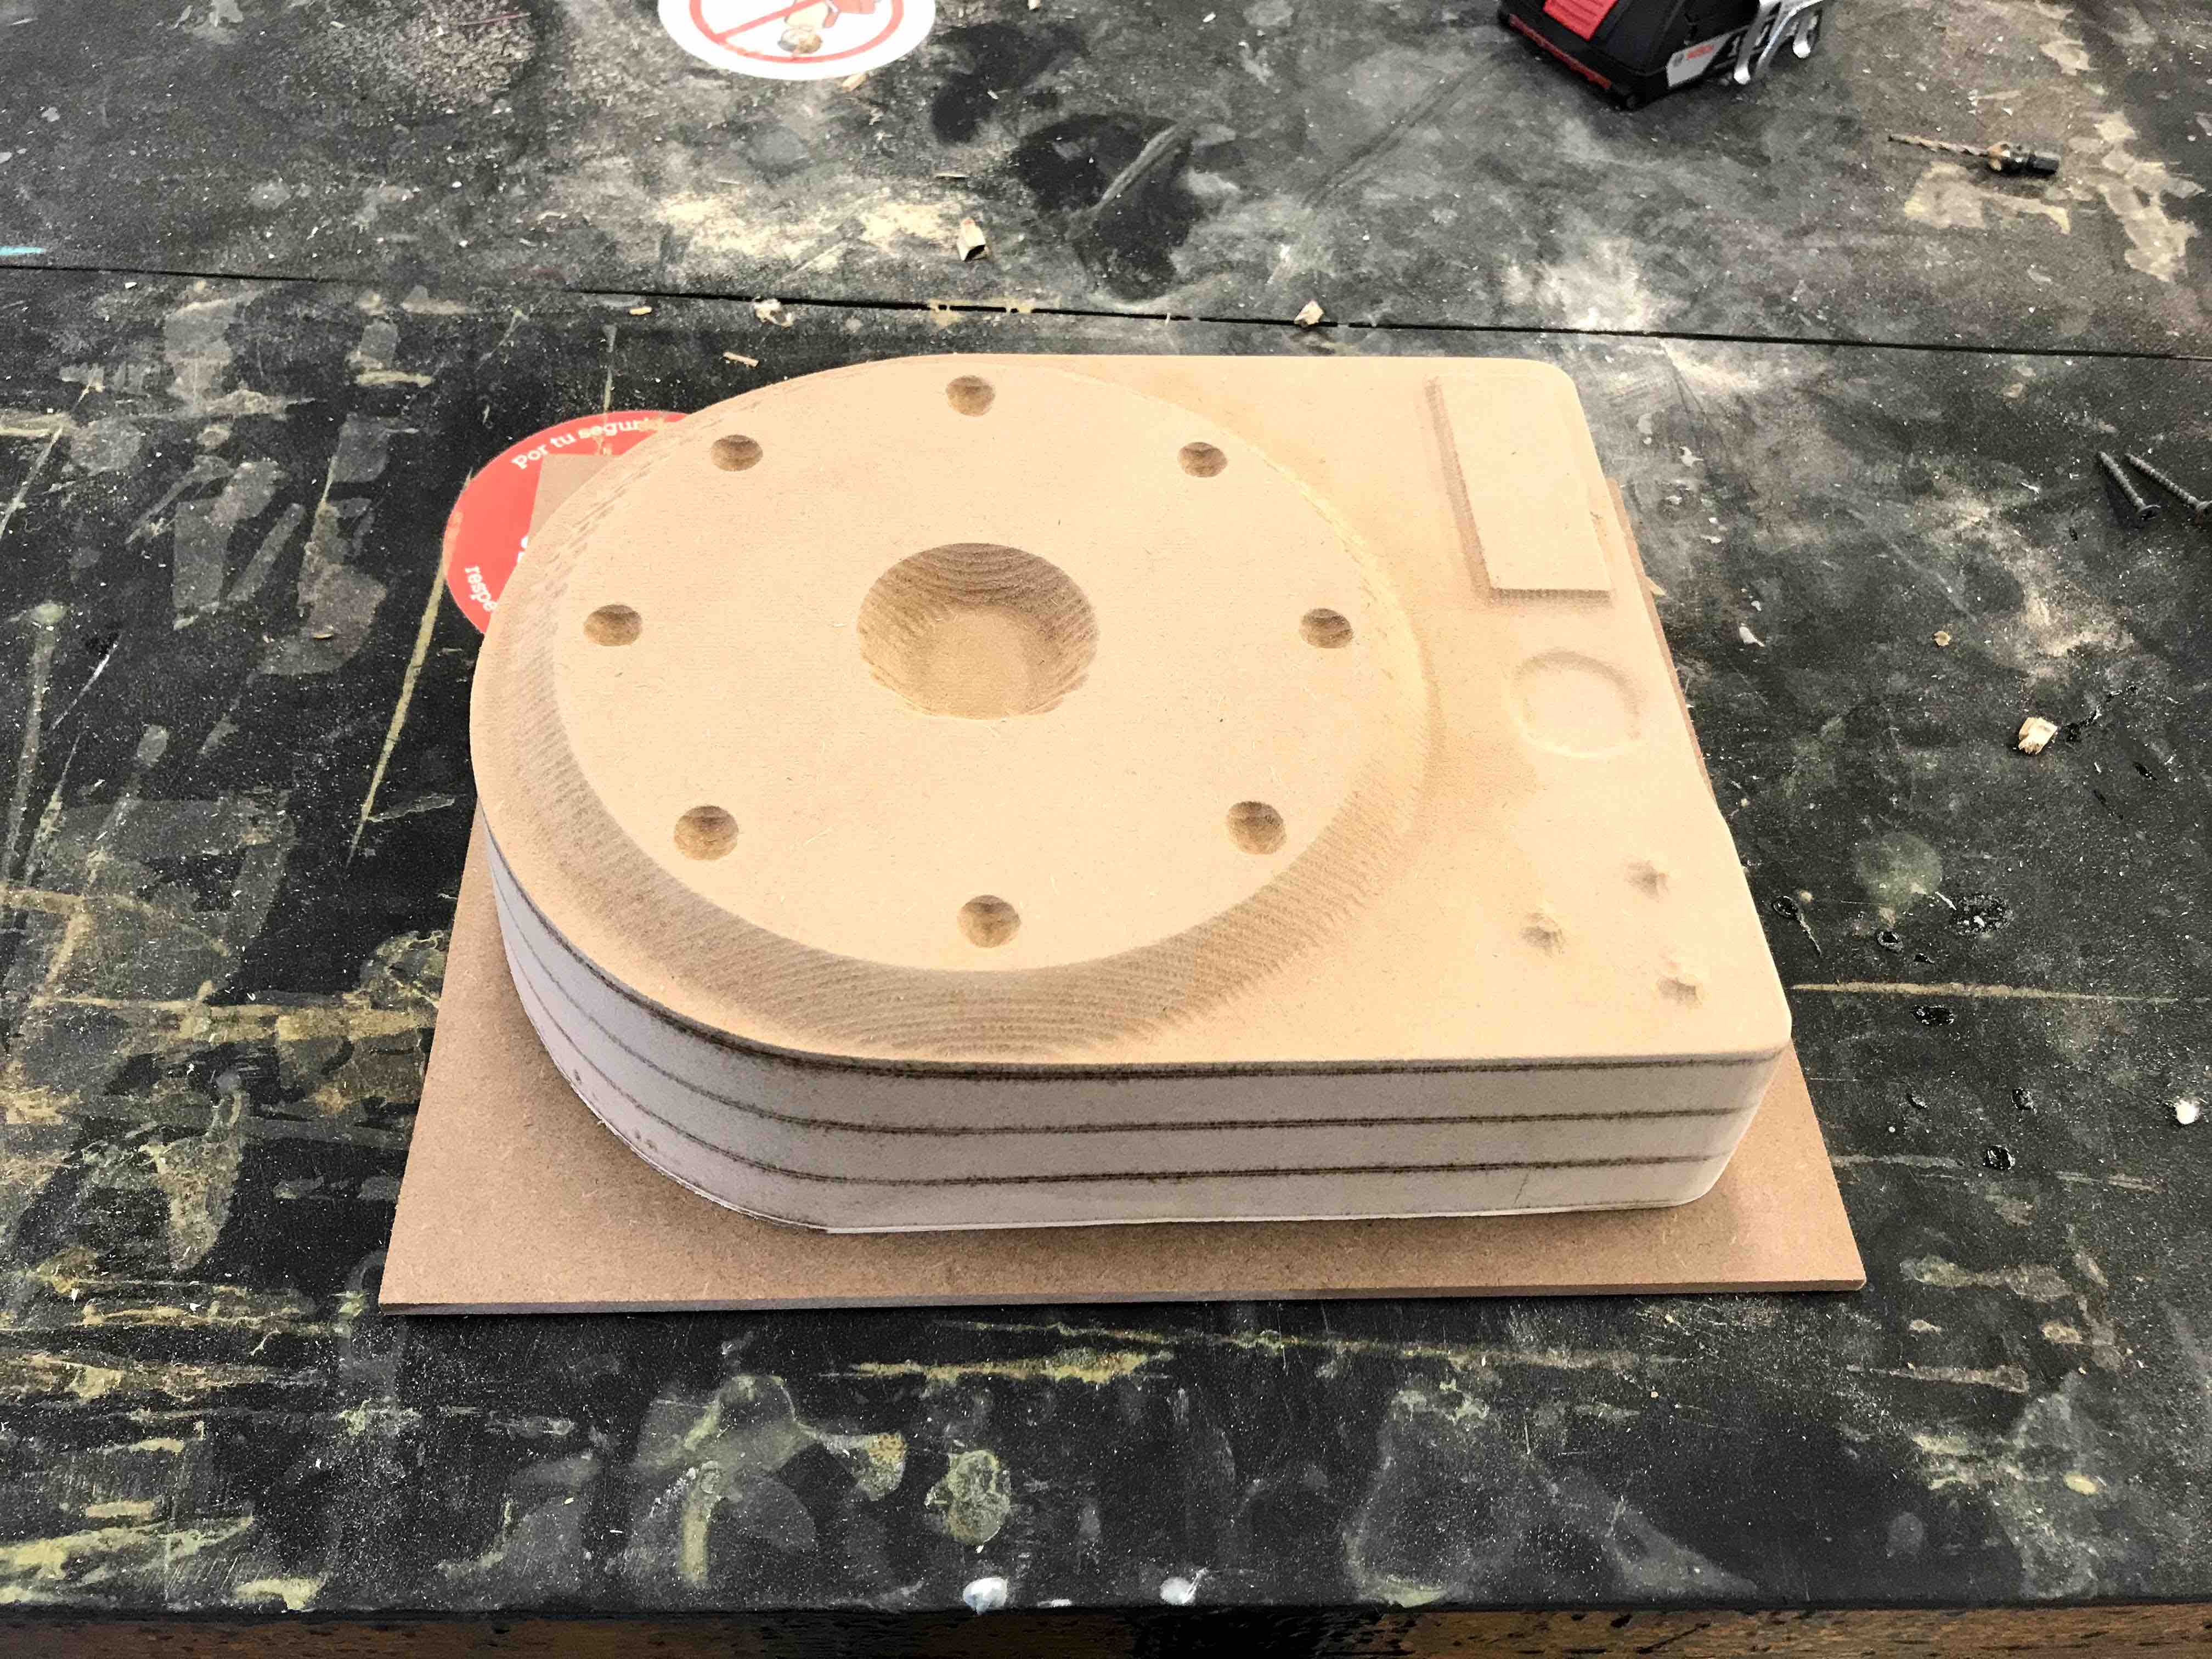
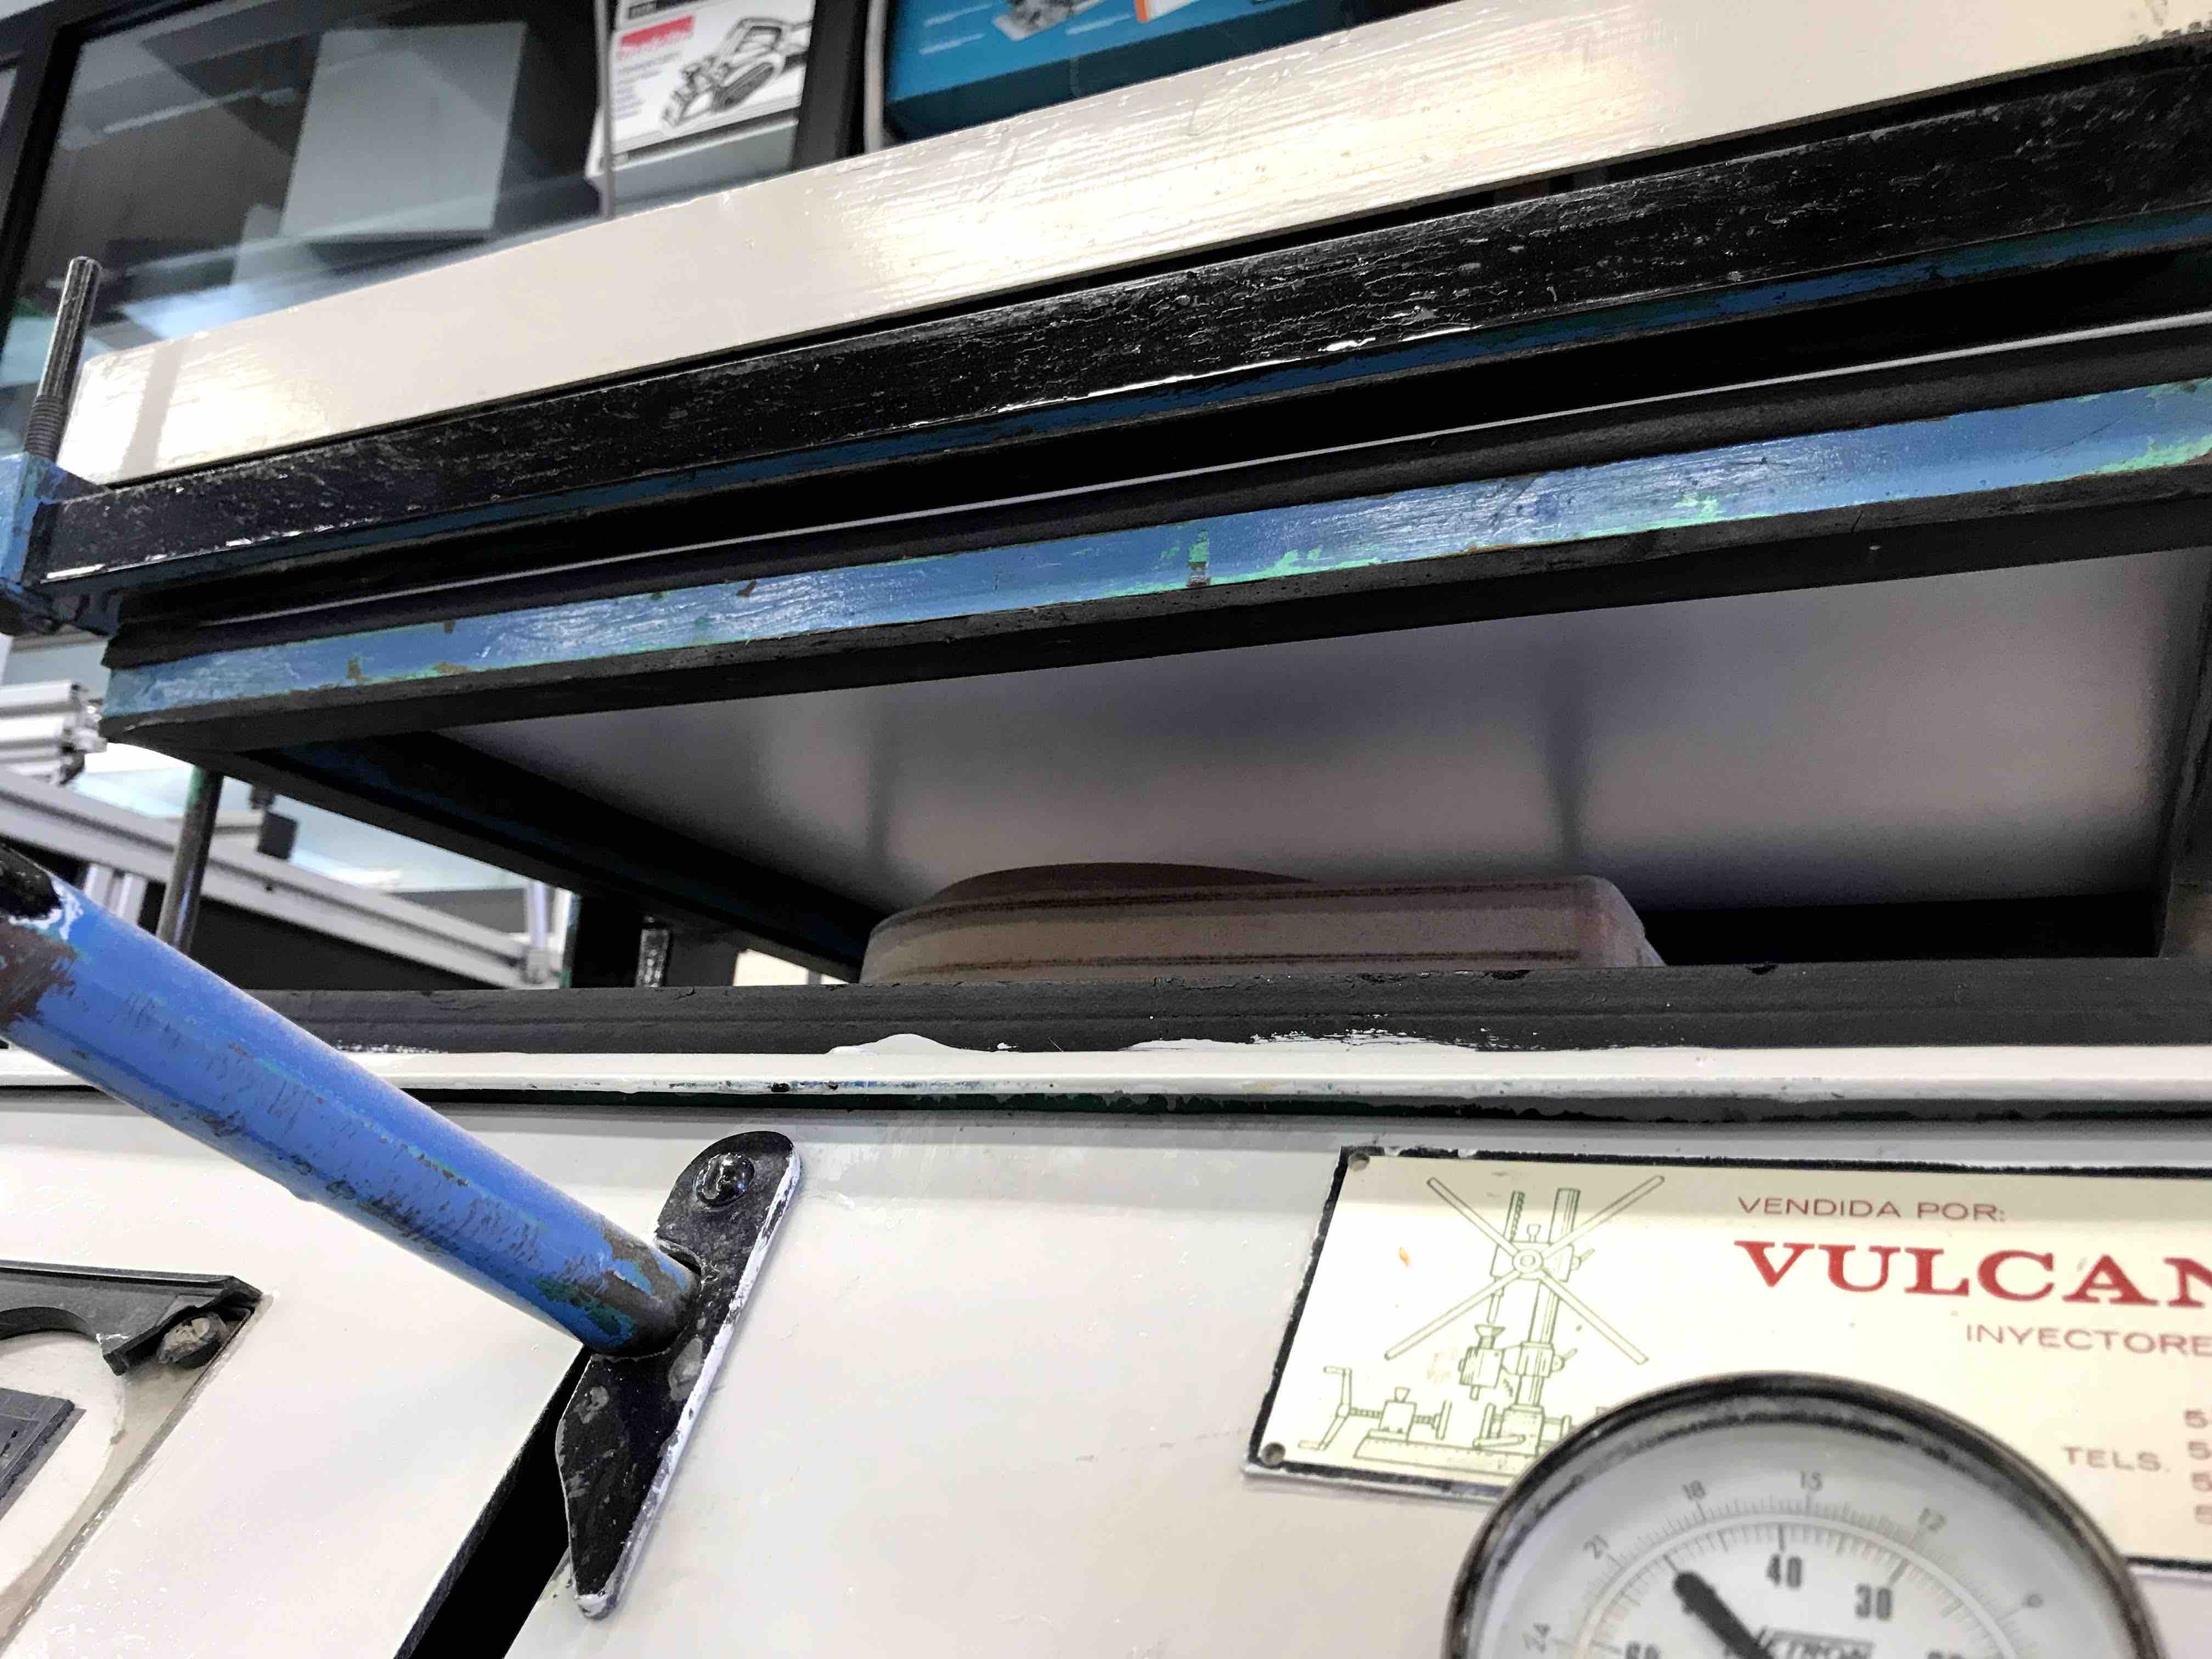
Here is the finished
mould, then I attached a base of 3mmMDF, this will help me to cut
the perimeter of the vacuum formed polysteryne.
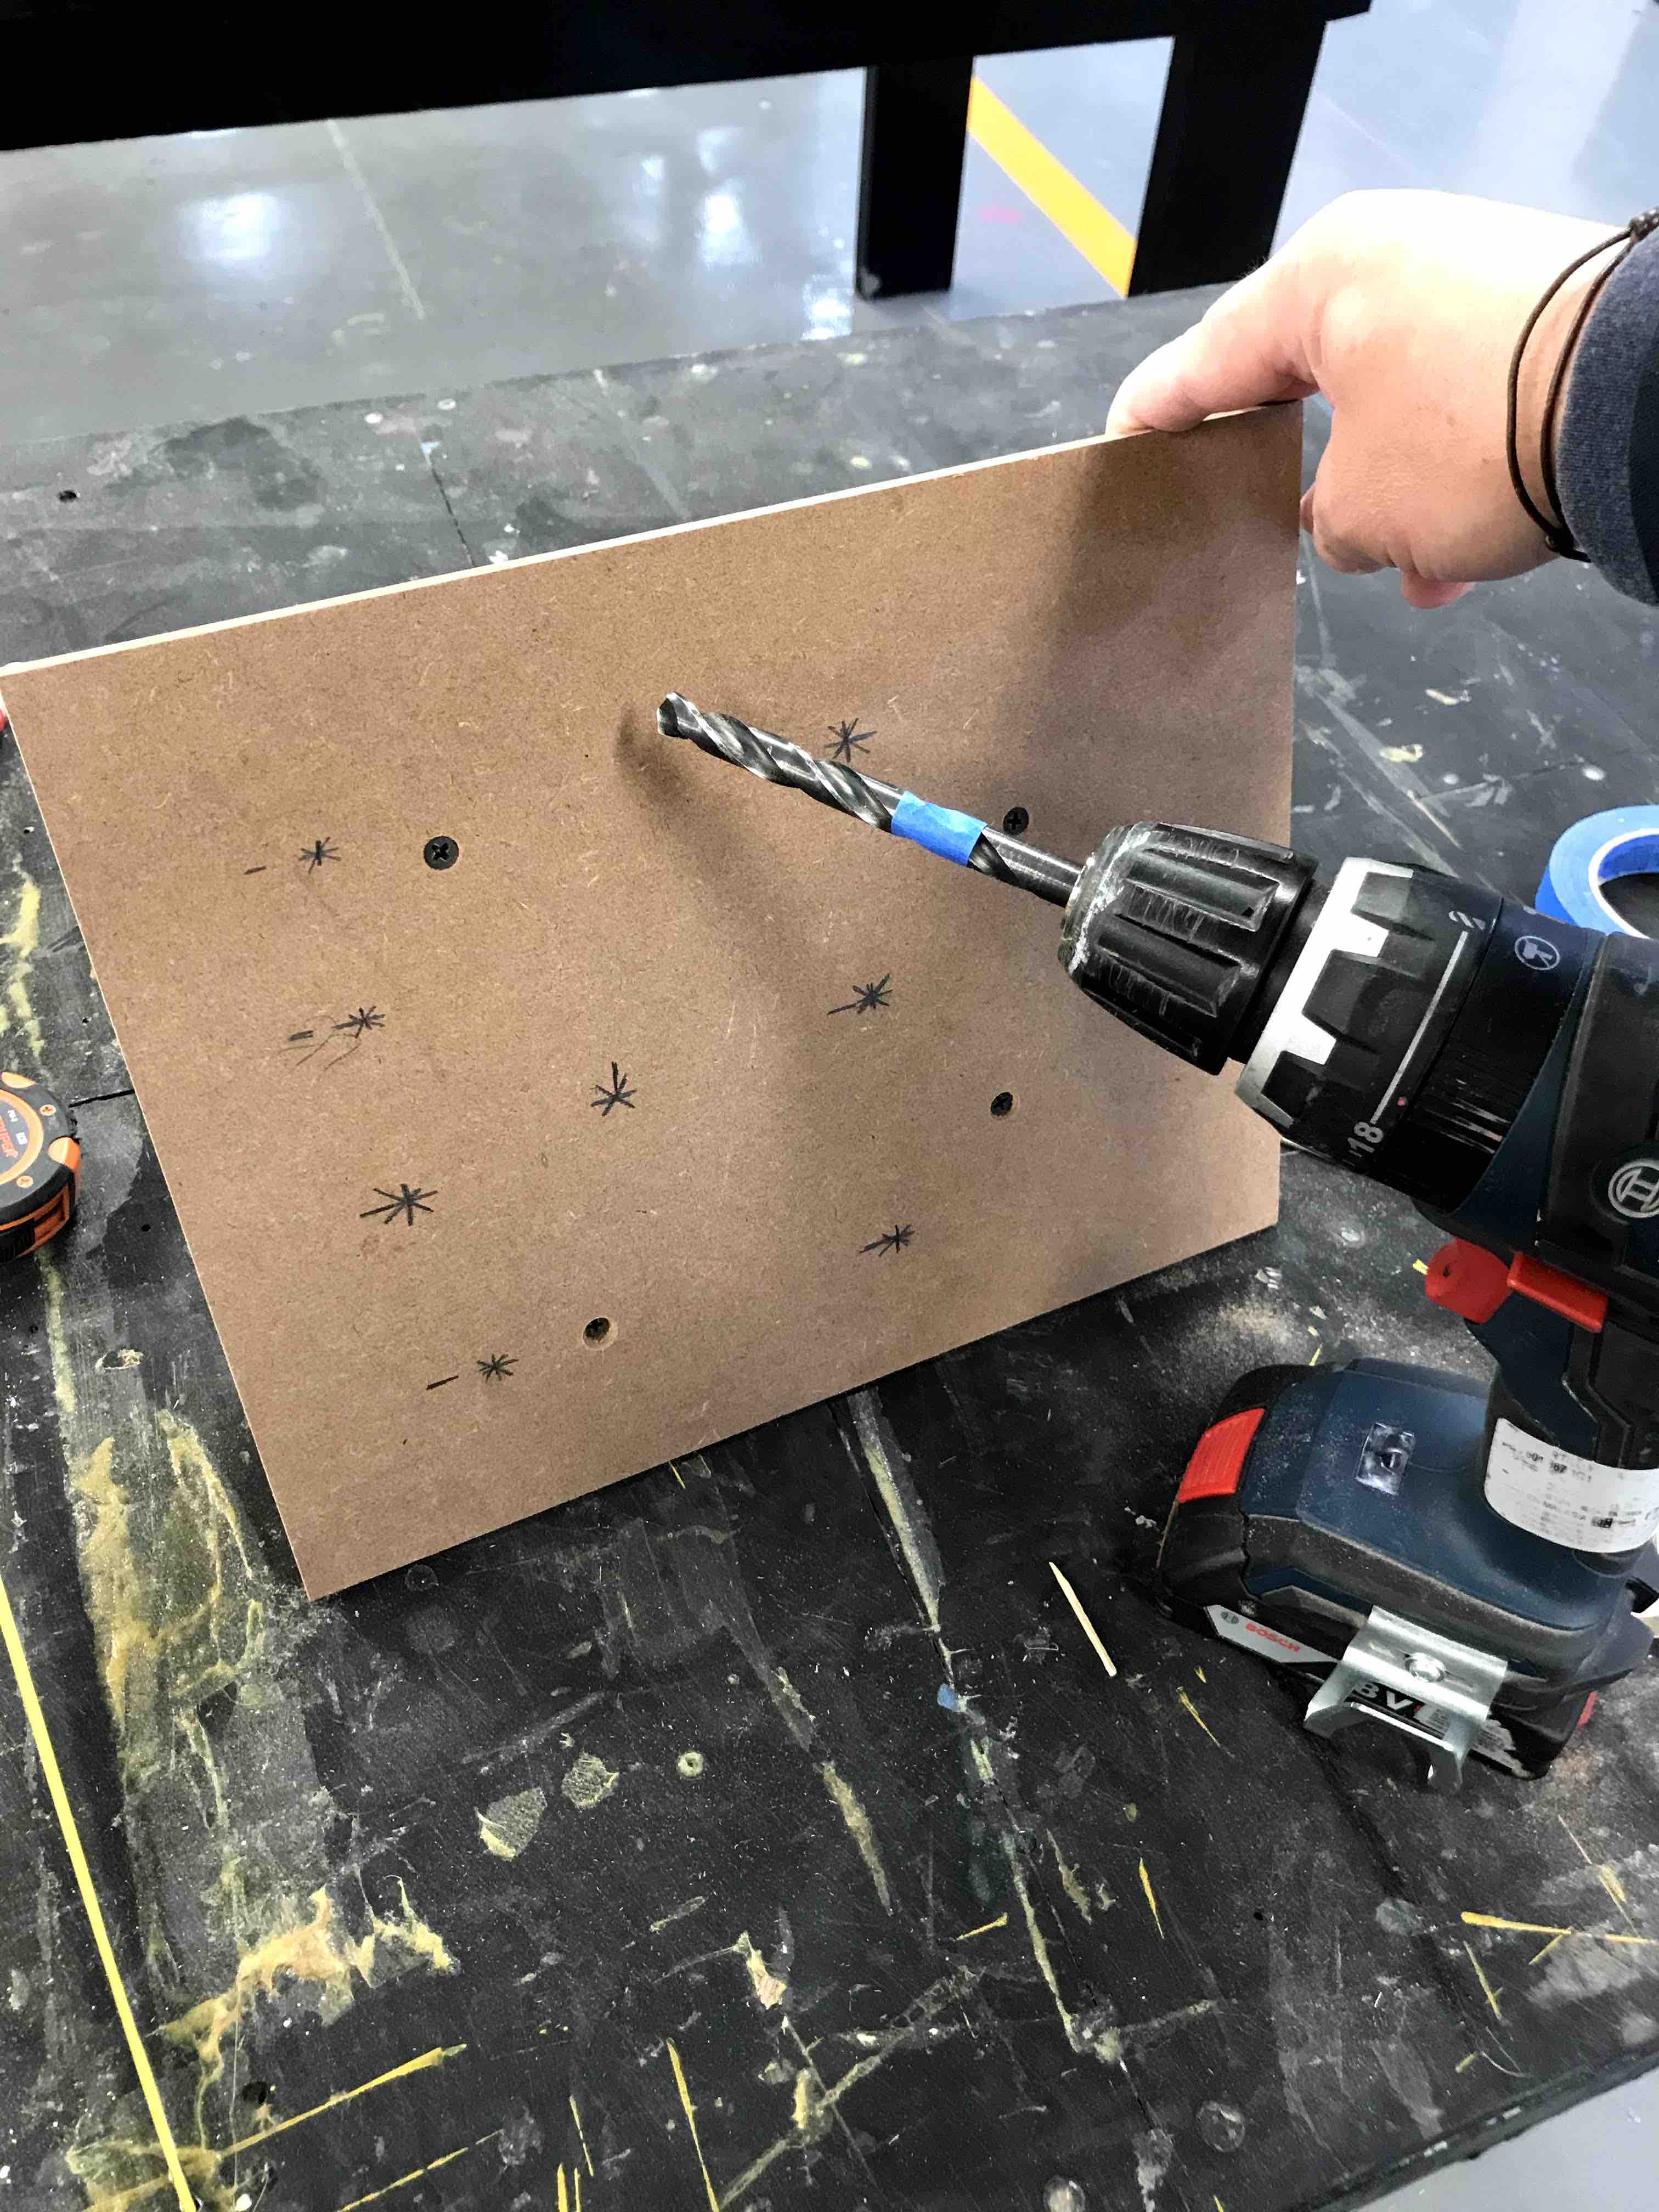
It is recommended to
make some holes in the bottom of the mould so the vacuum could be
more effective
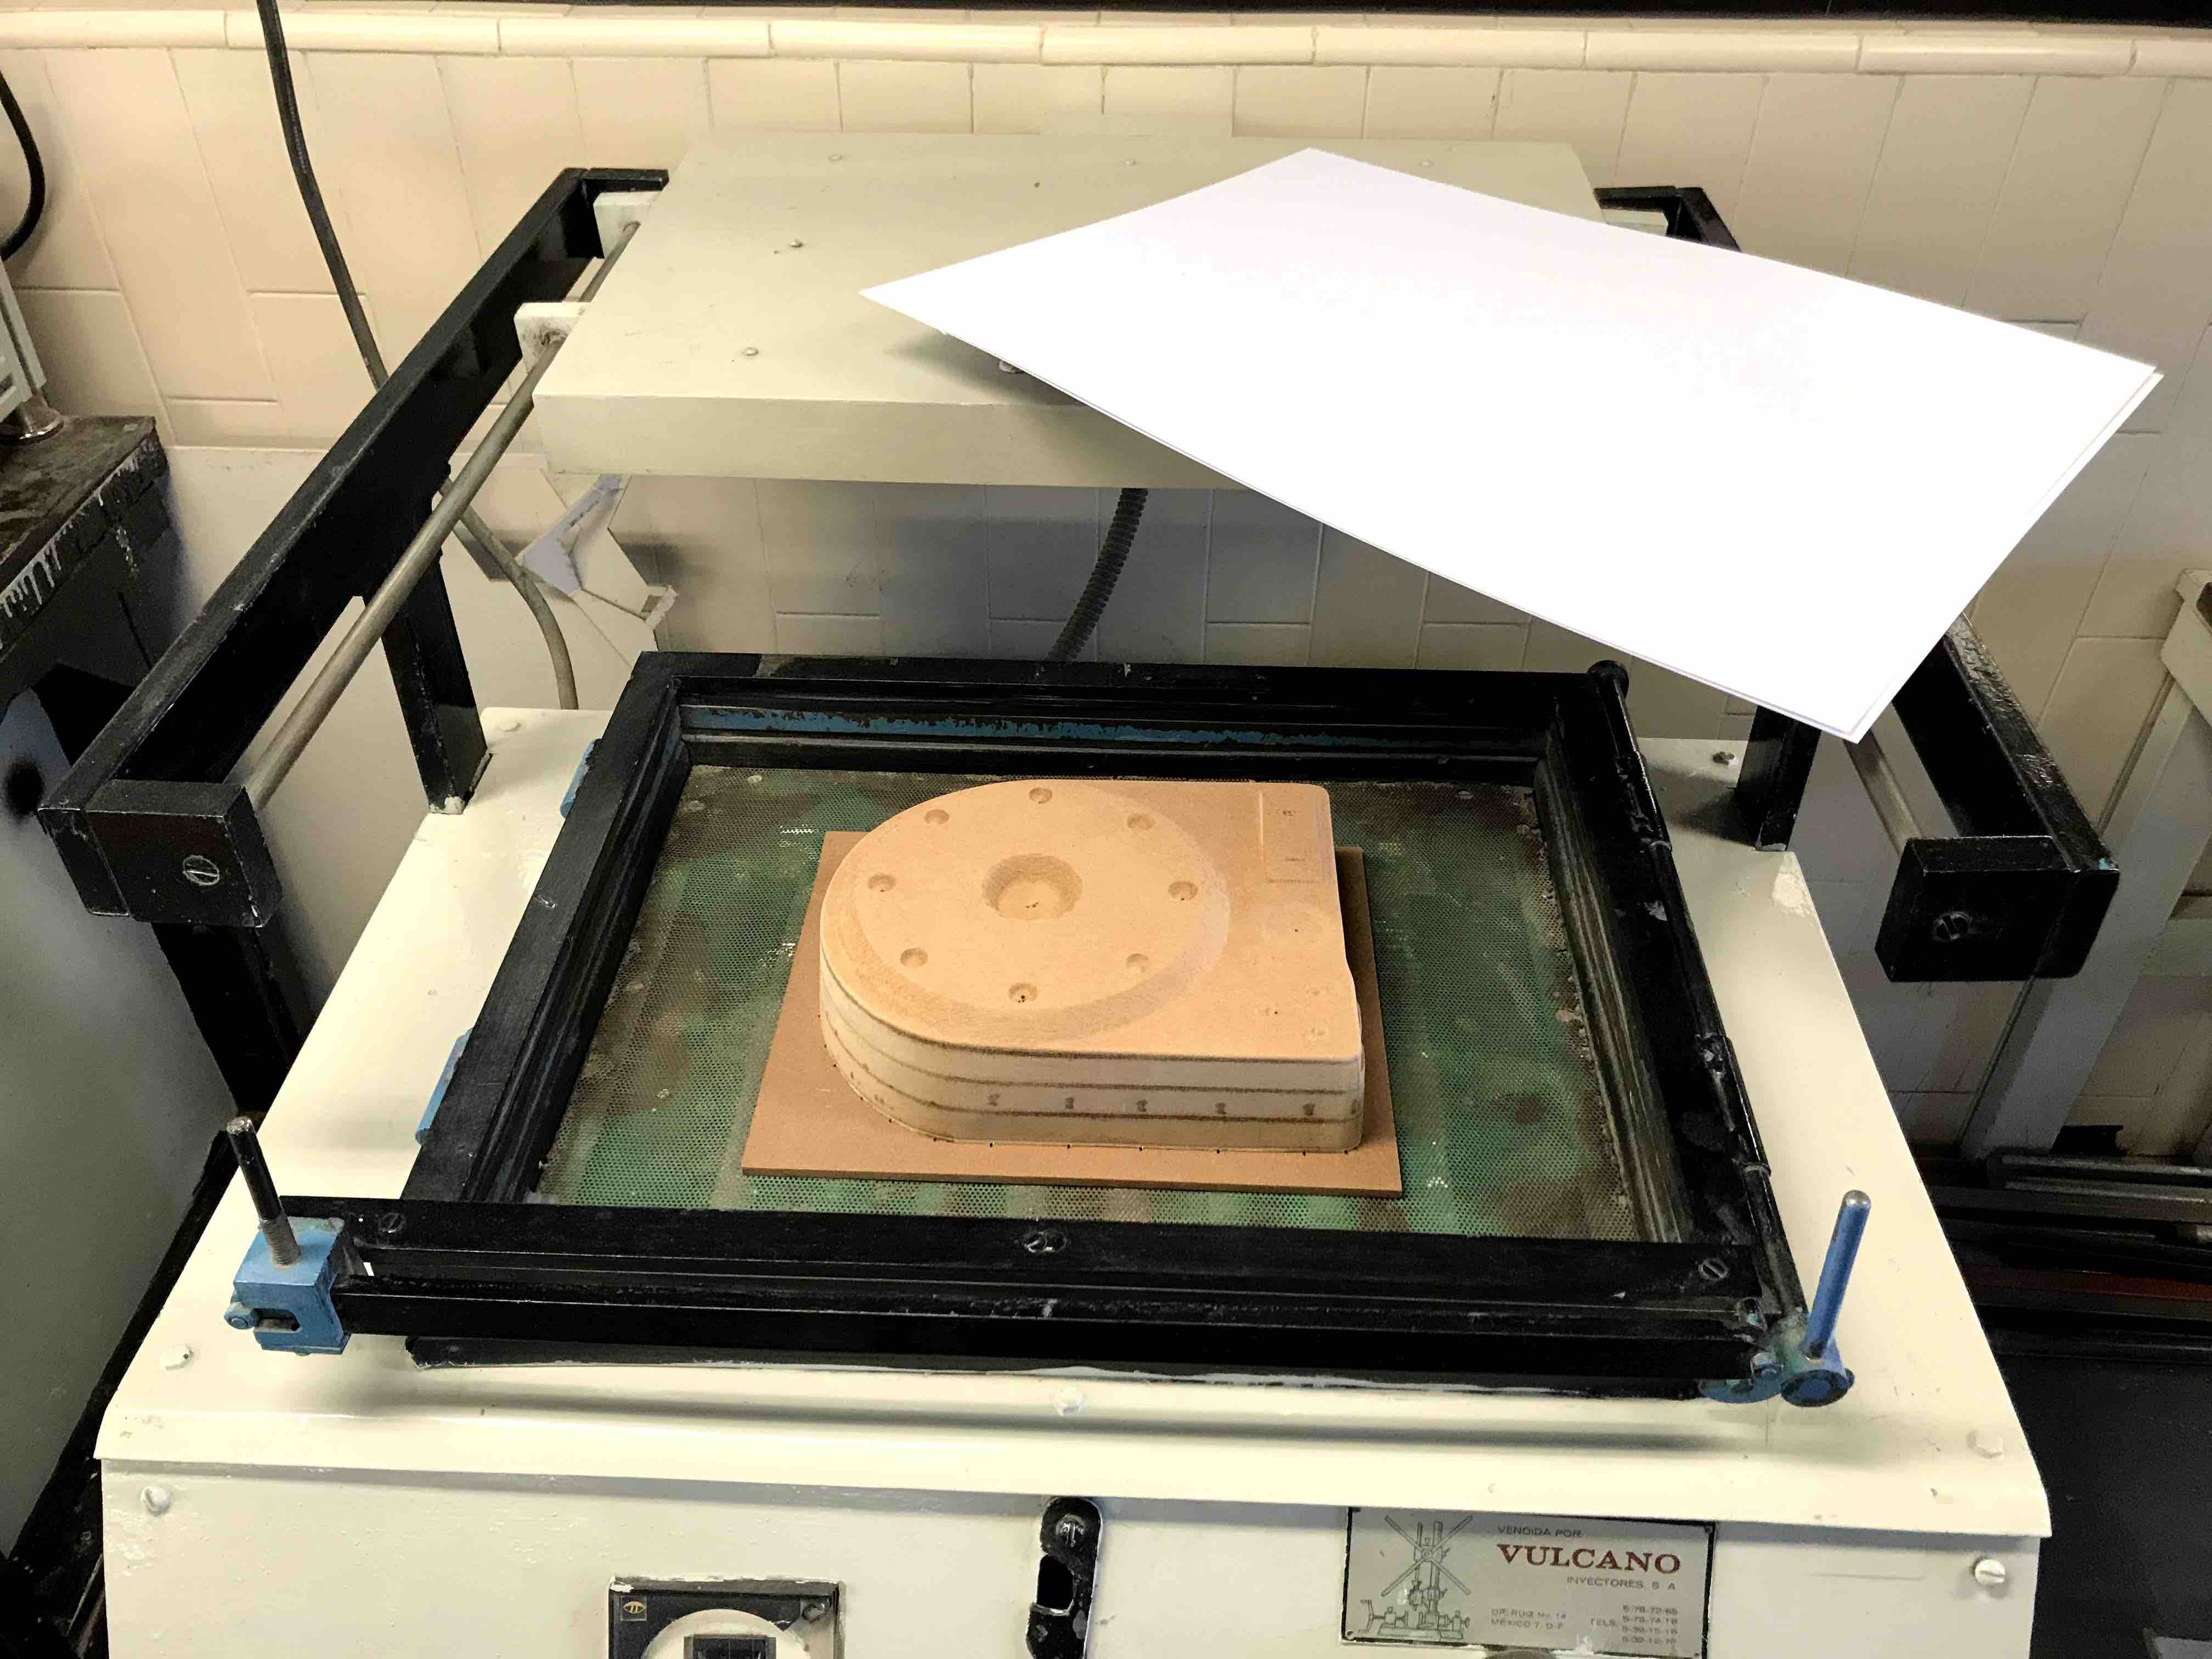
The mould in the vacuum
form machine and the styrene before fix it in to it
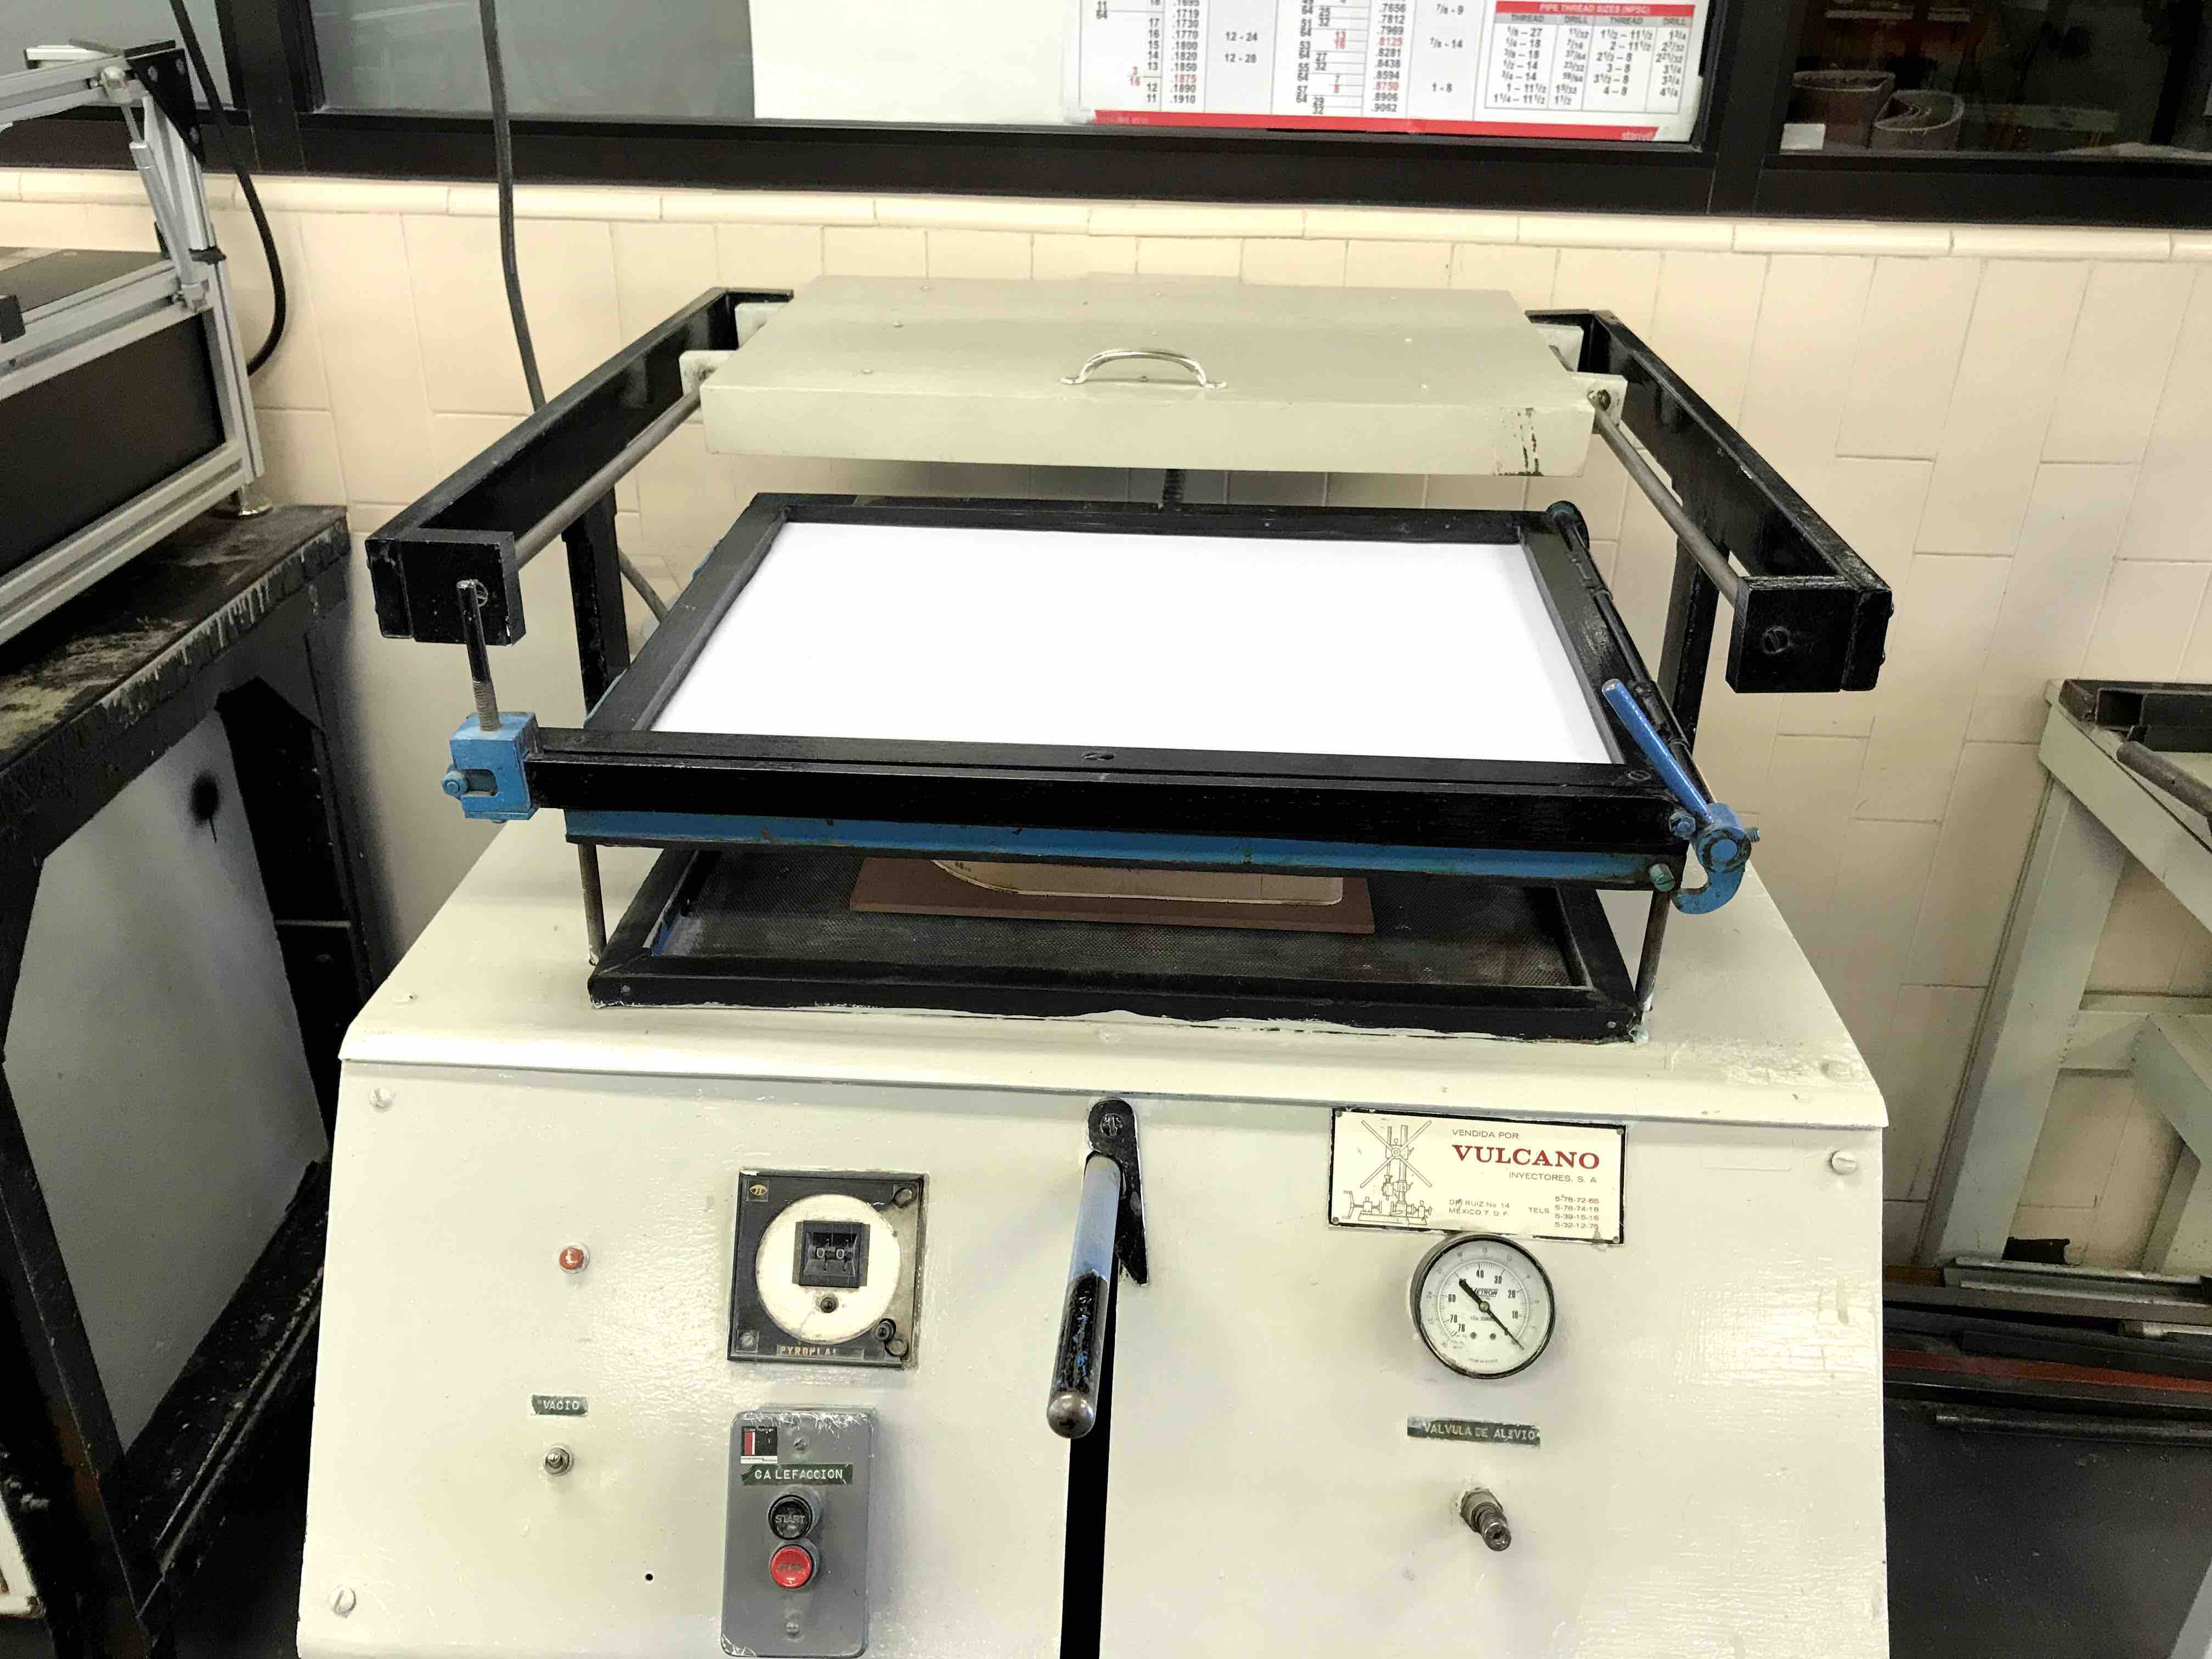
The styrene is fixed in
the machine just below the heat resistance.
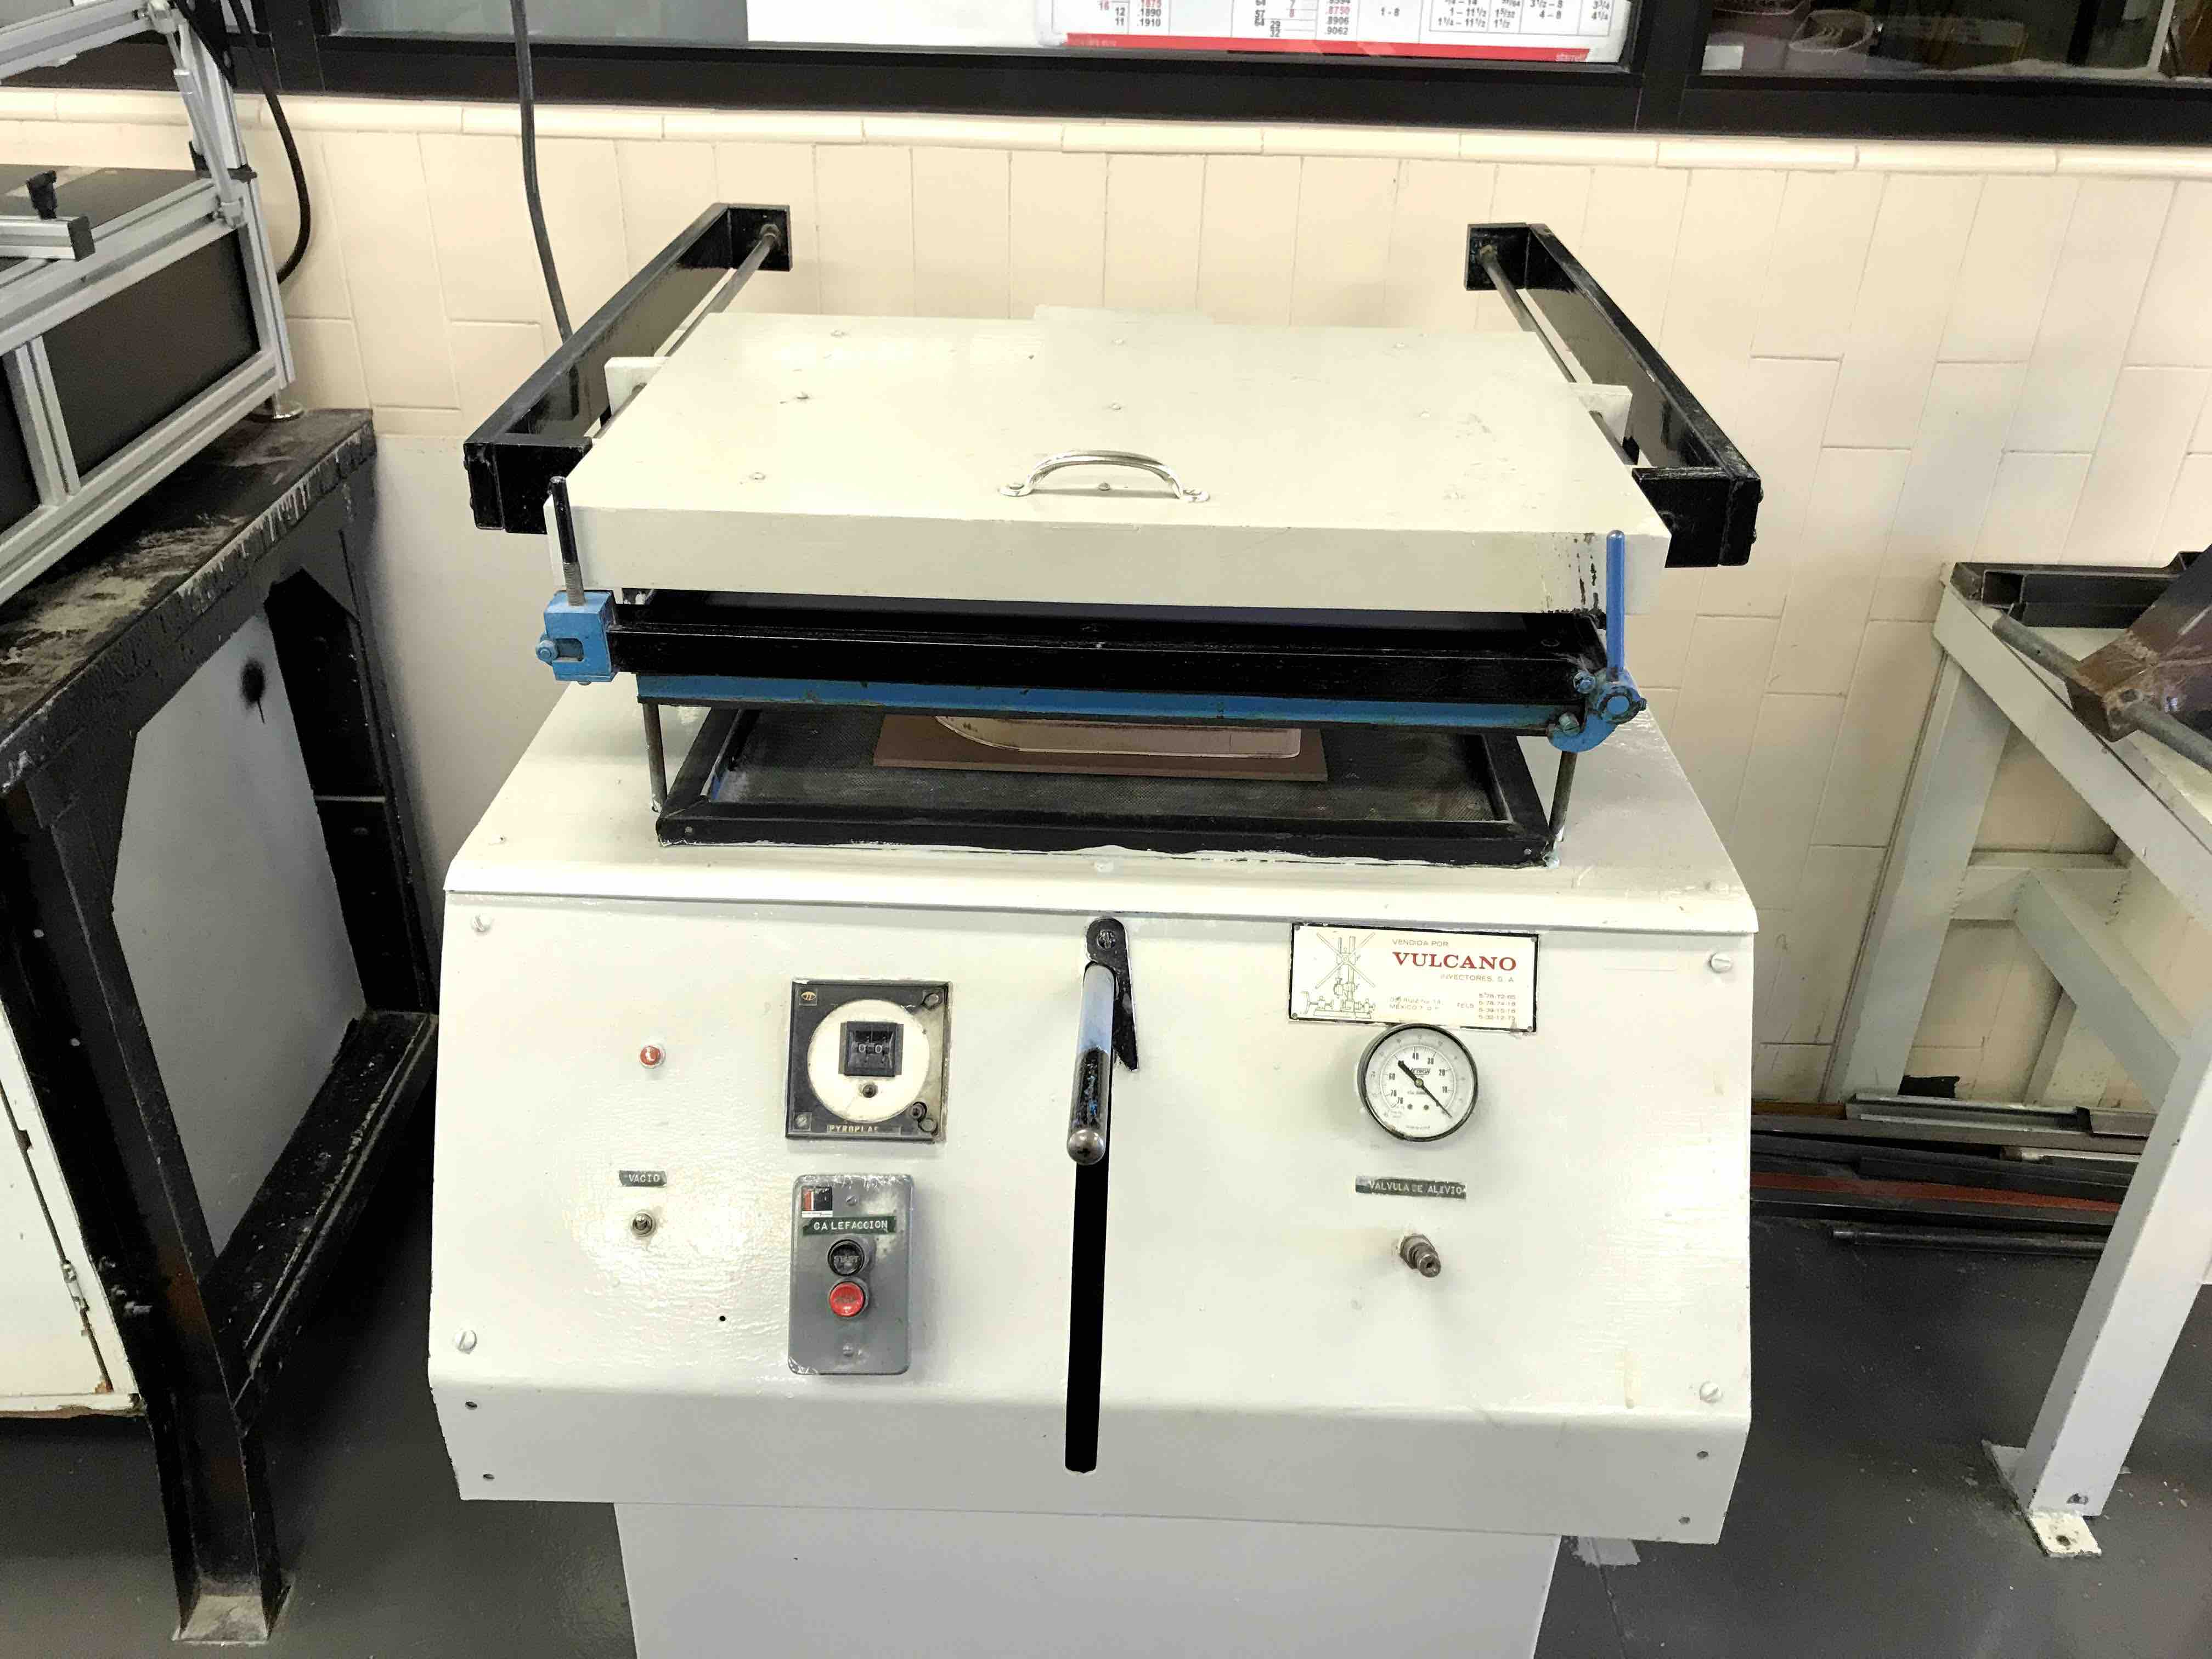
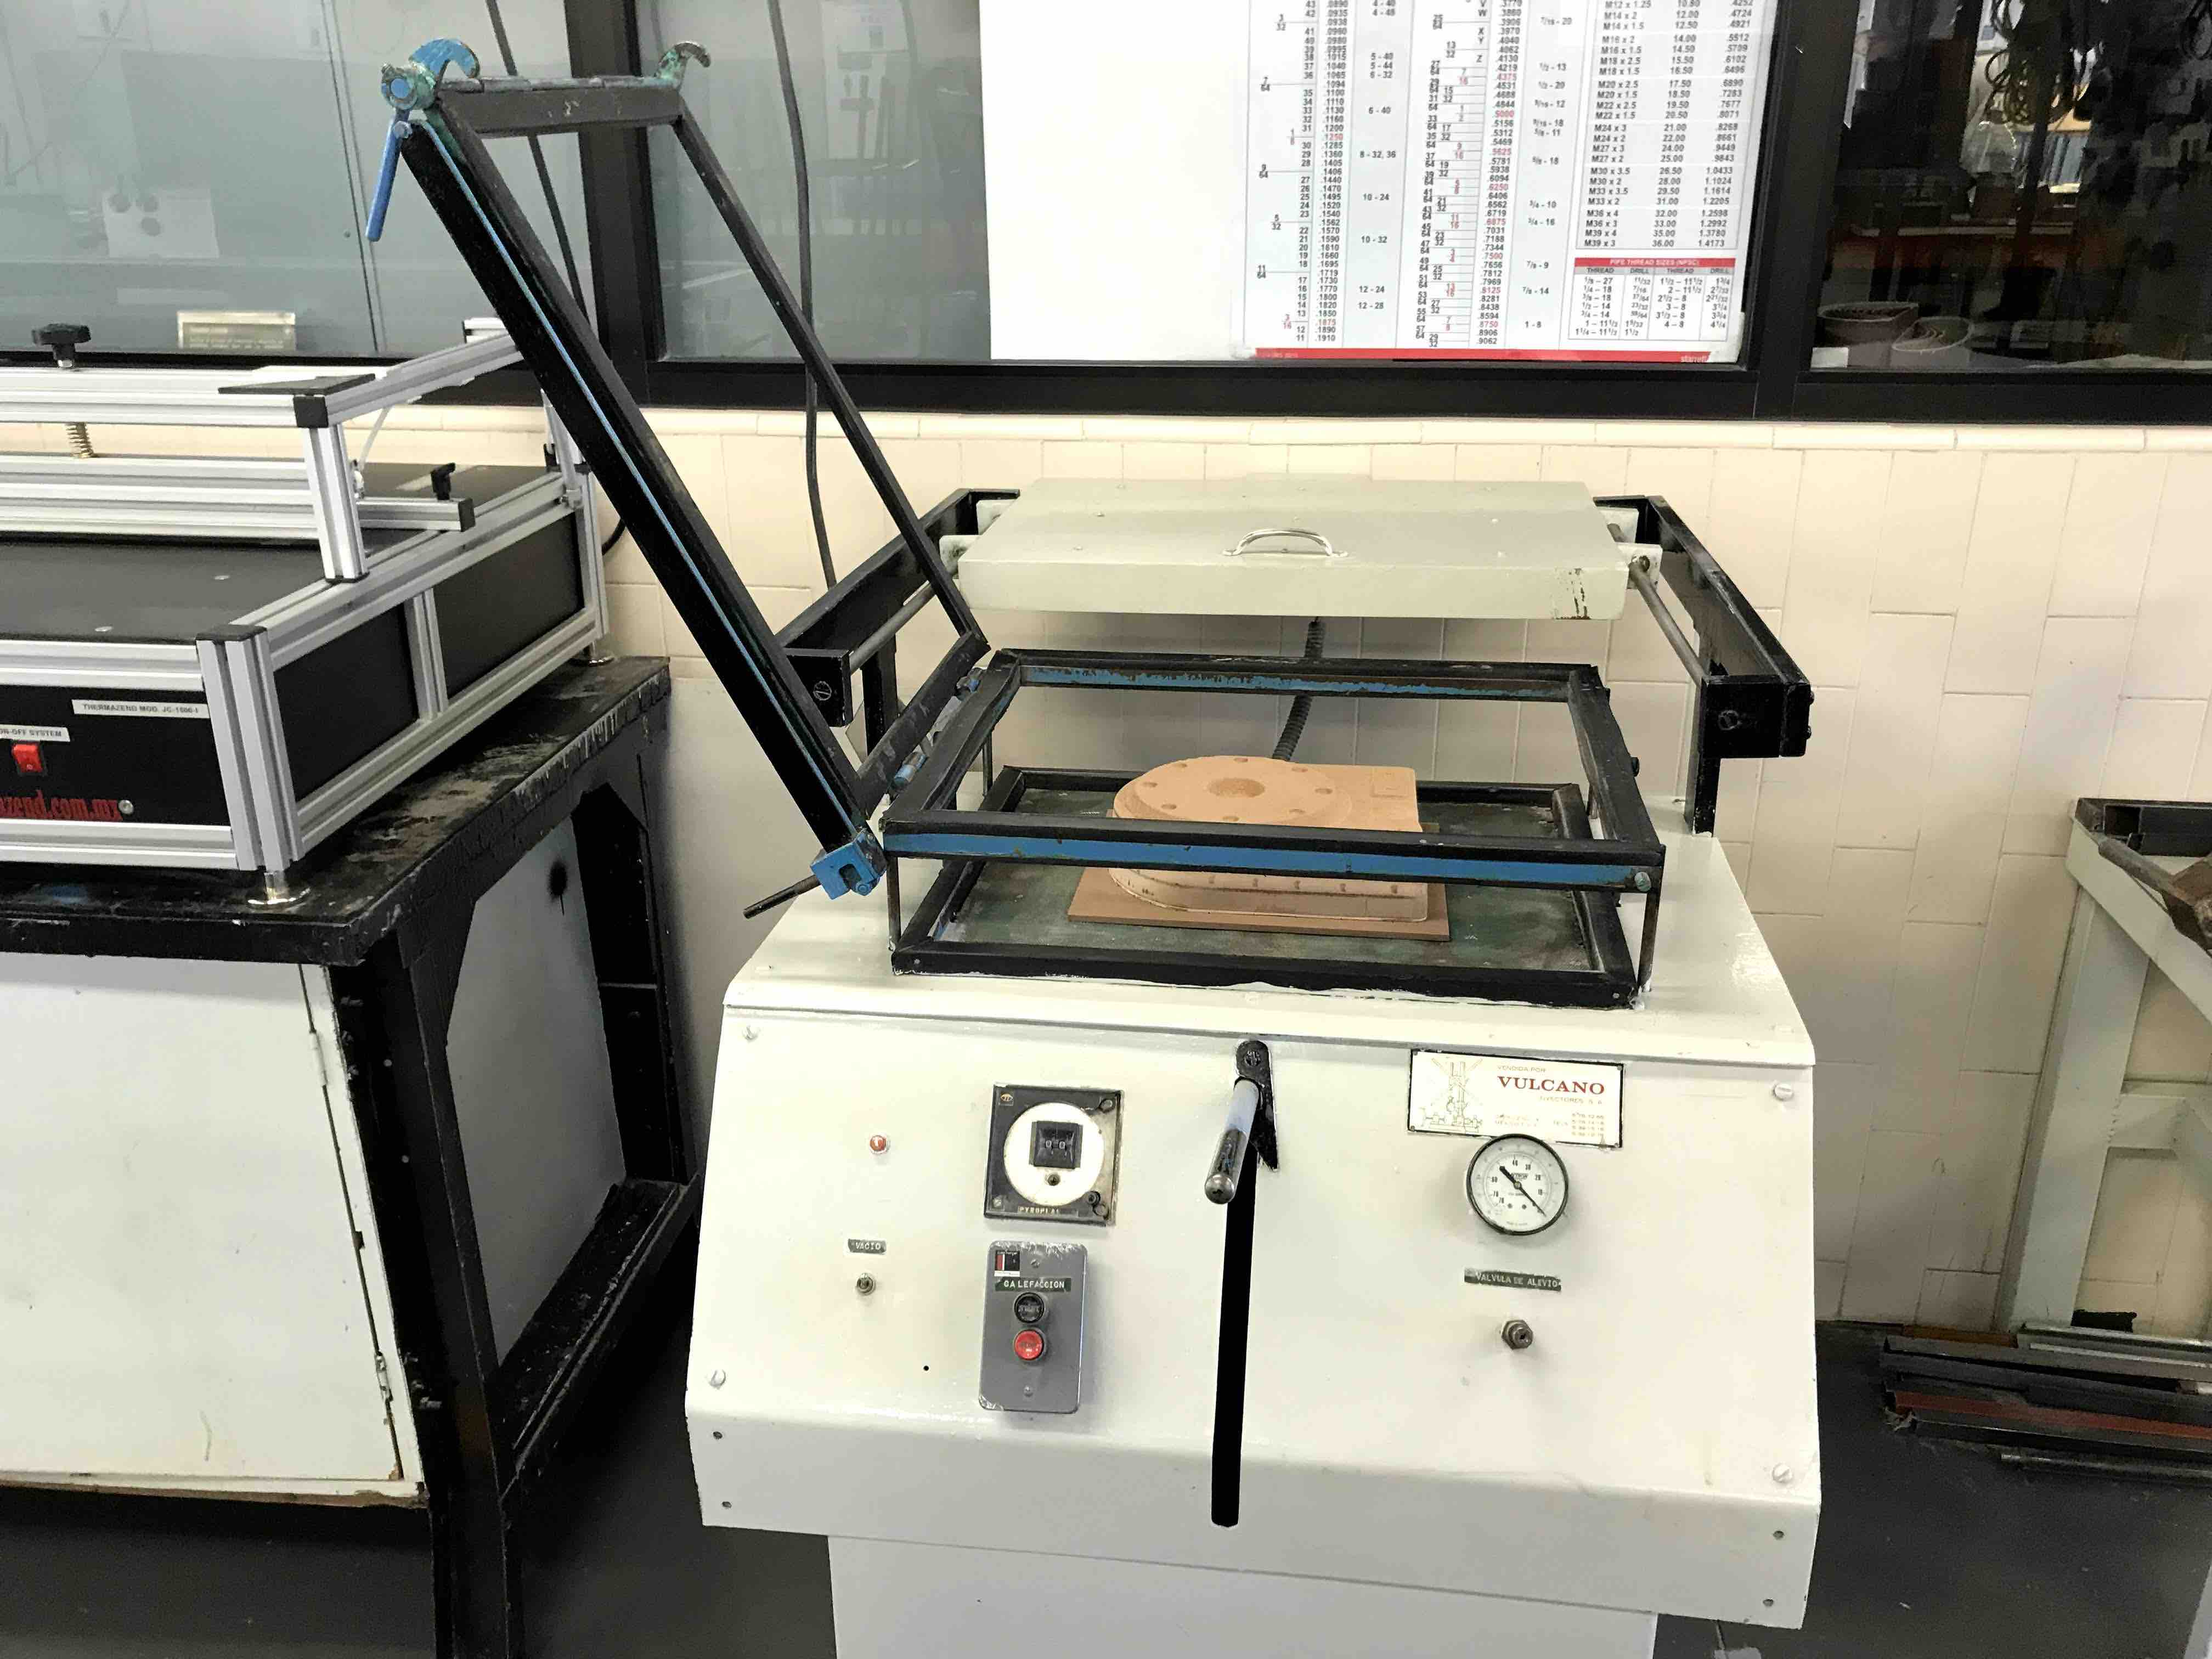
The resistence are
heating the styrene
When the styrene is
ready to be vacuum form, we need to low down the styrene and then
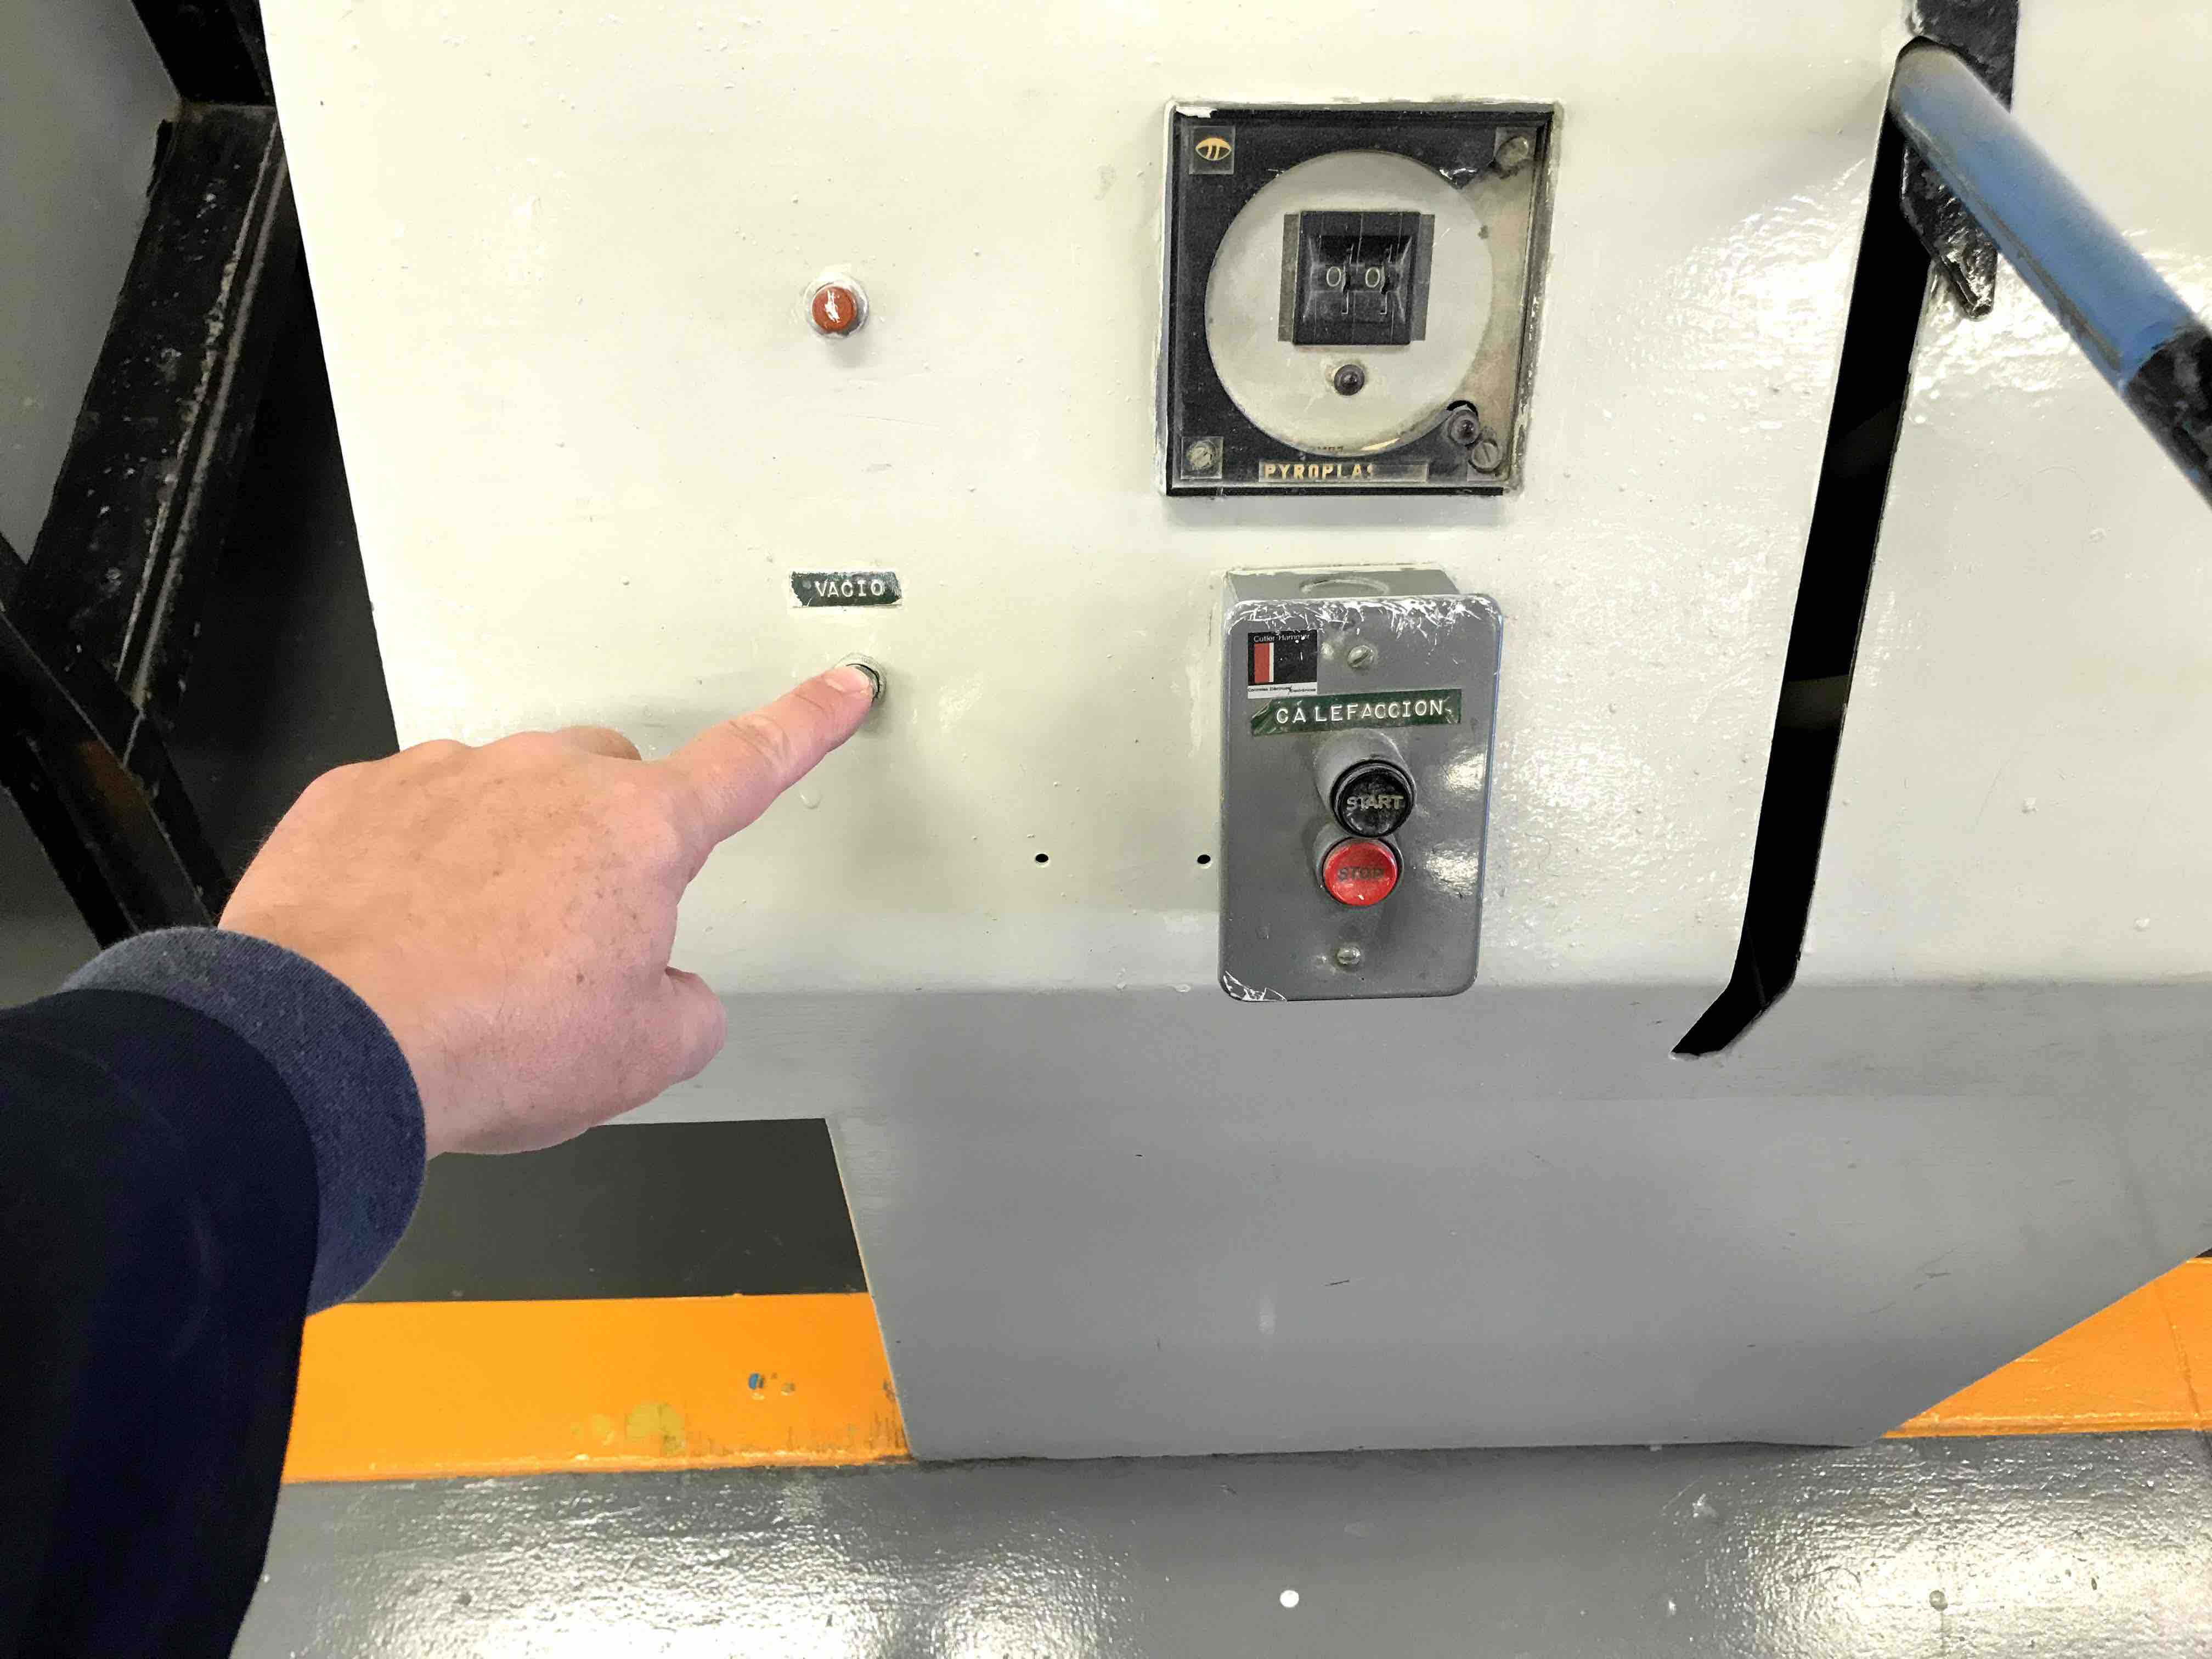
push the "vacuum" button.
When the styrene looks
like is loosing shape that´s the moment to vacuum form.
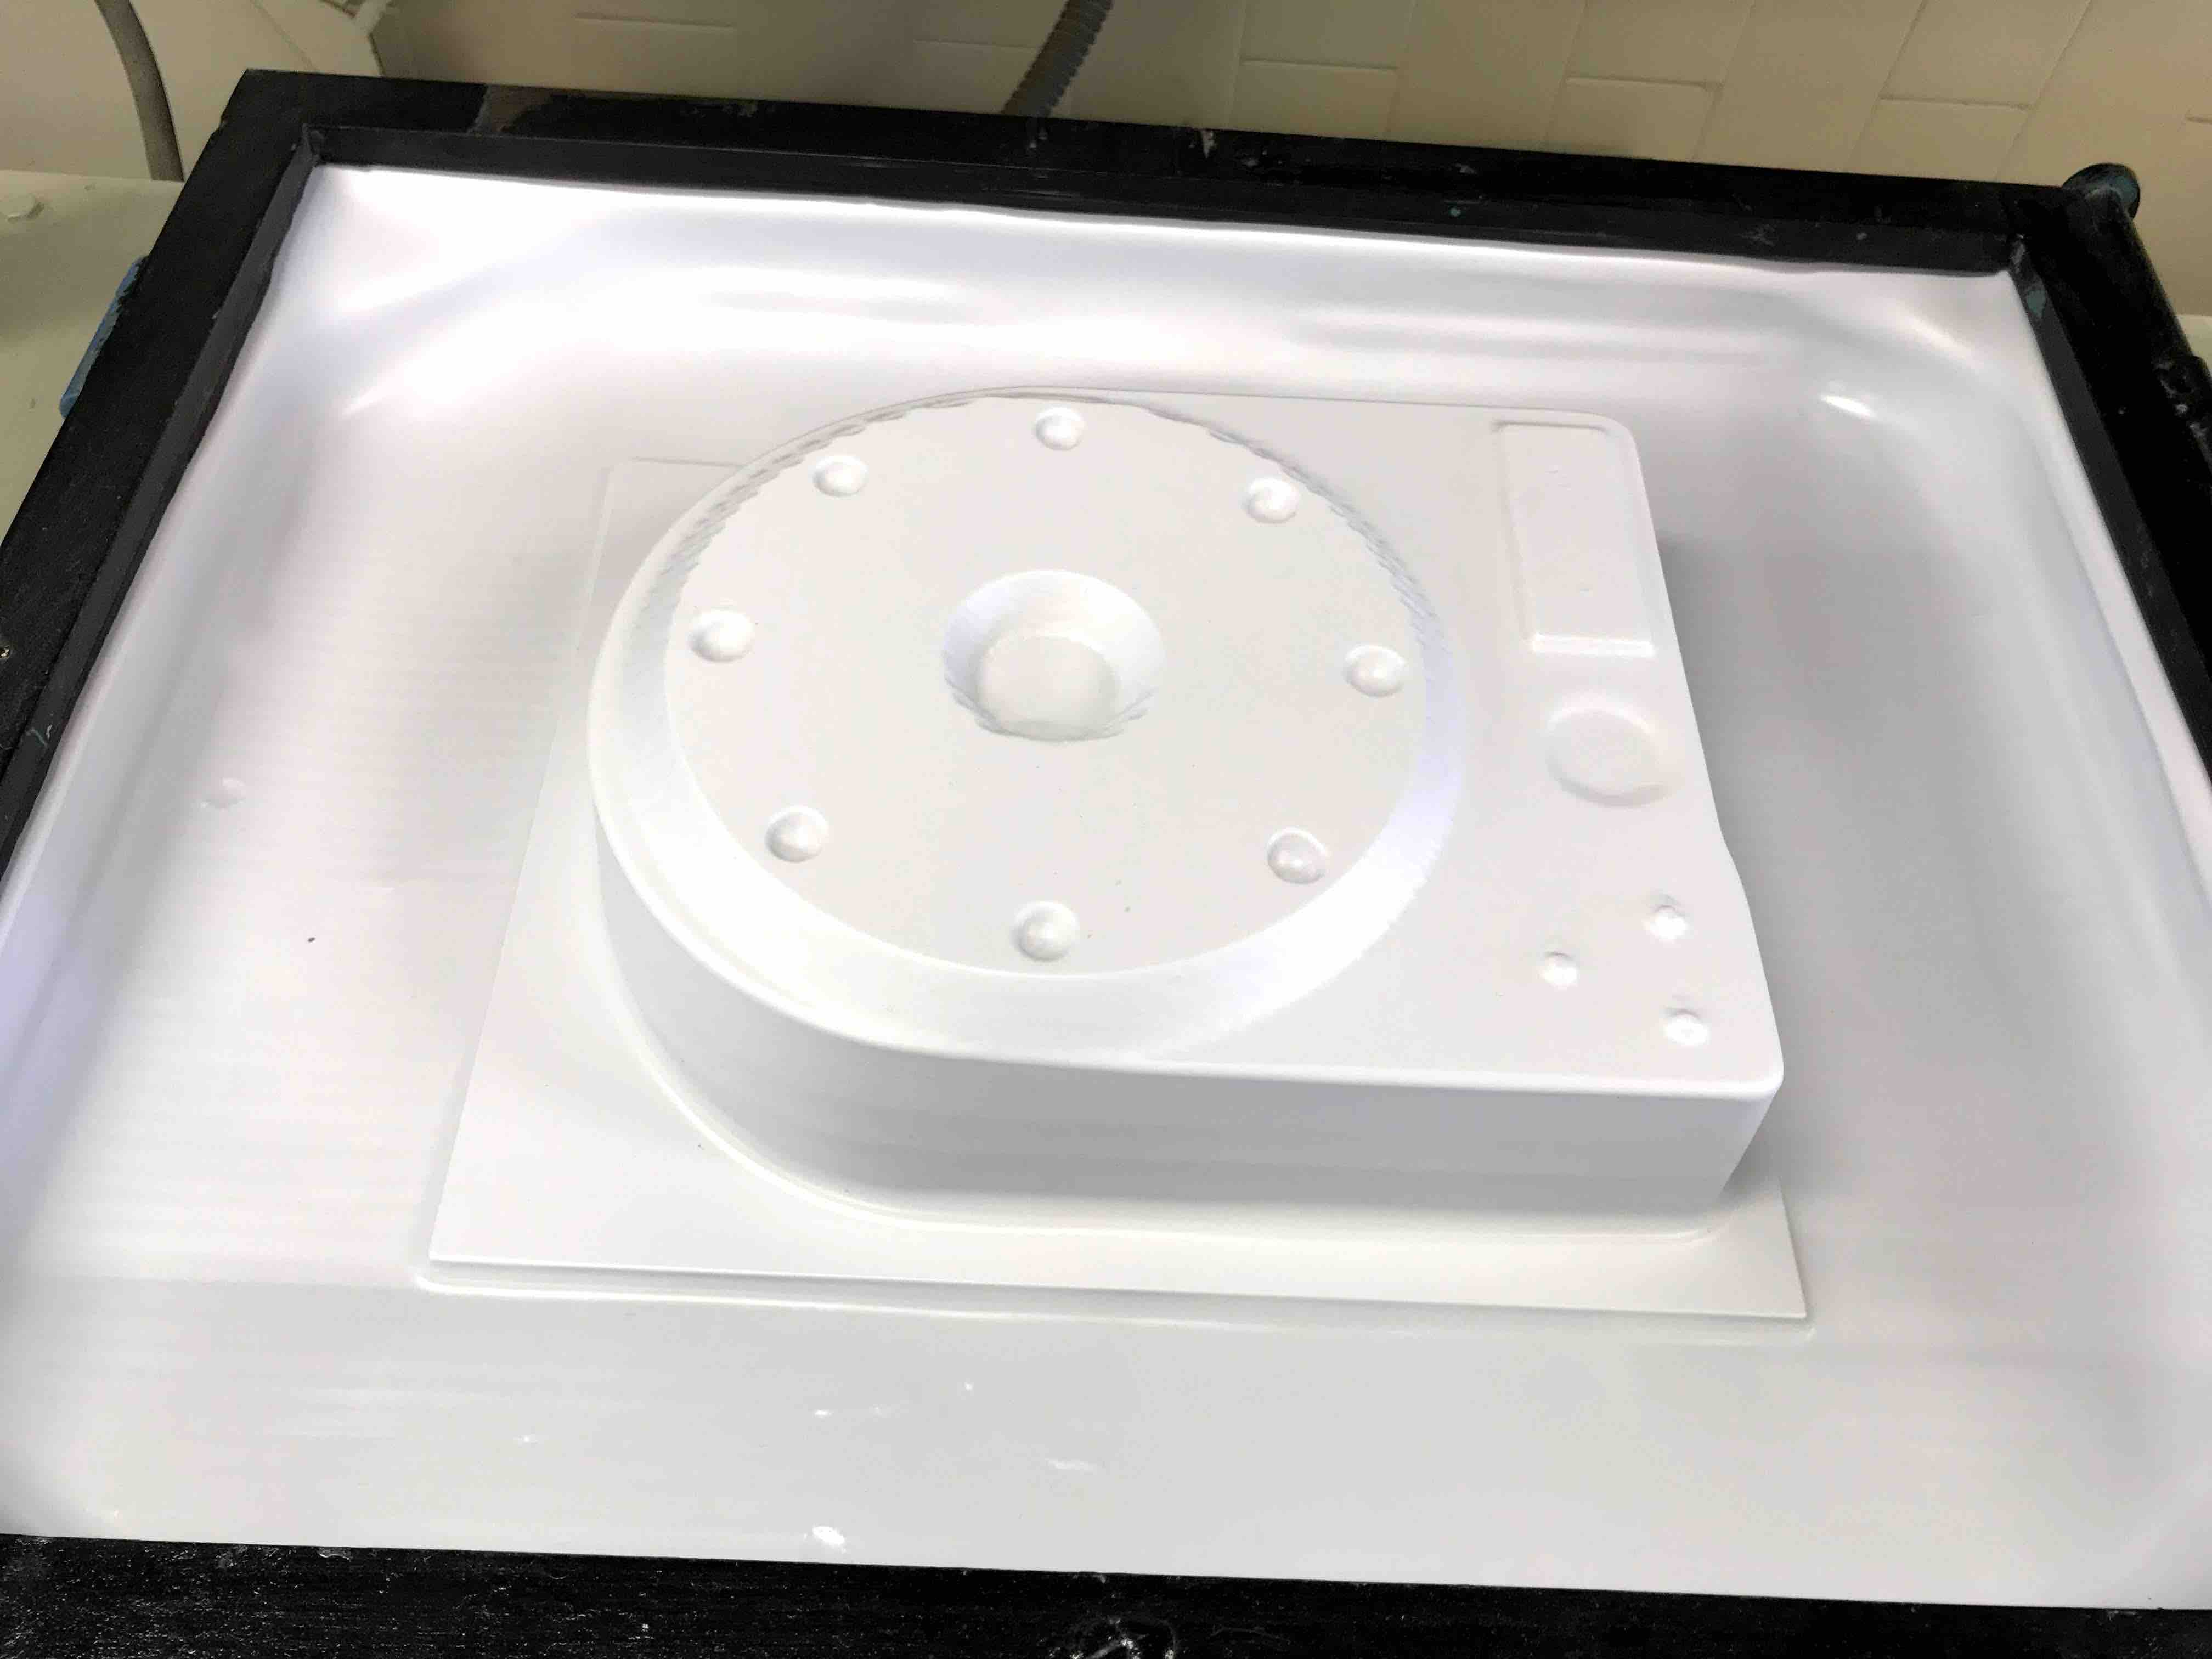 Ready,
thestyrene just vacuum formed overthe mould
Ready,
thestyrene just vacuum formed overthe mould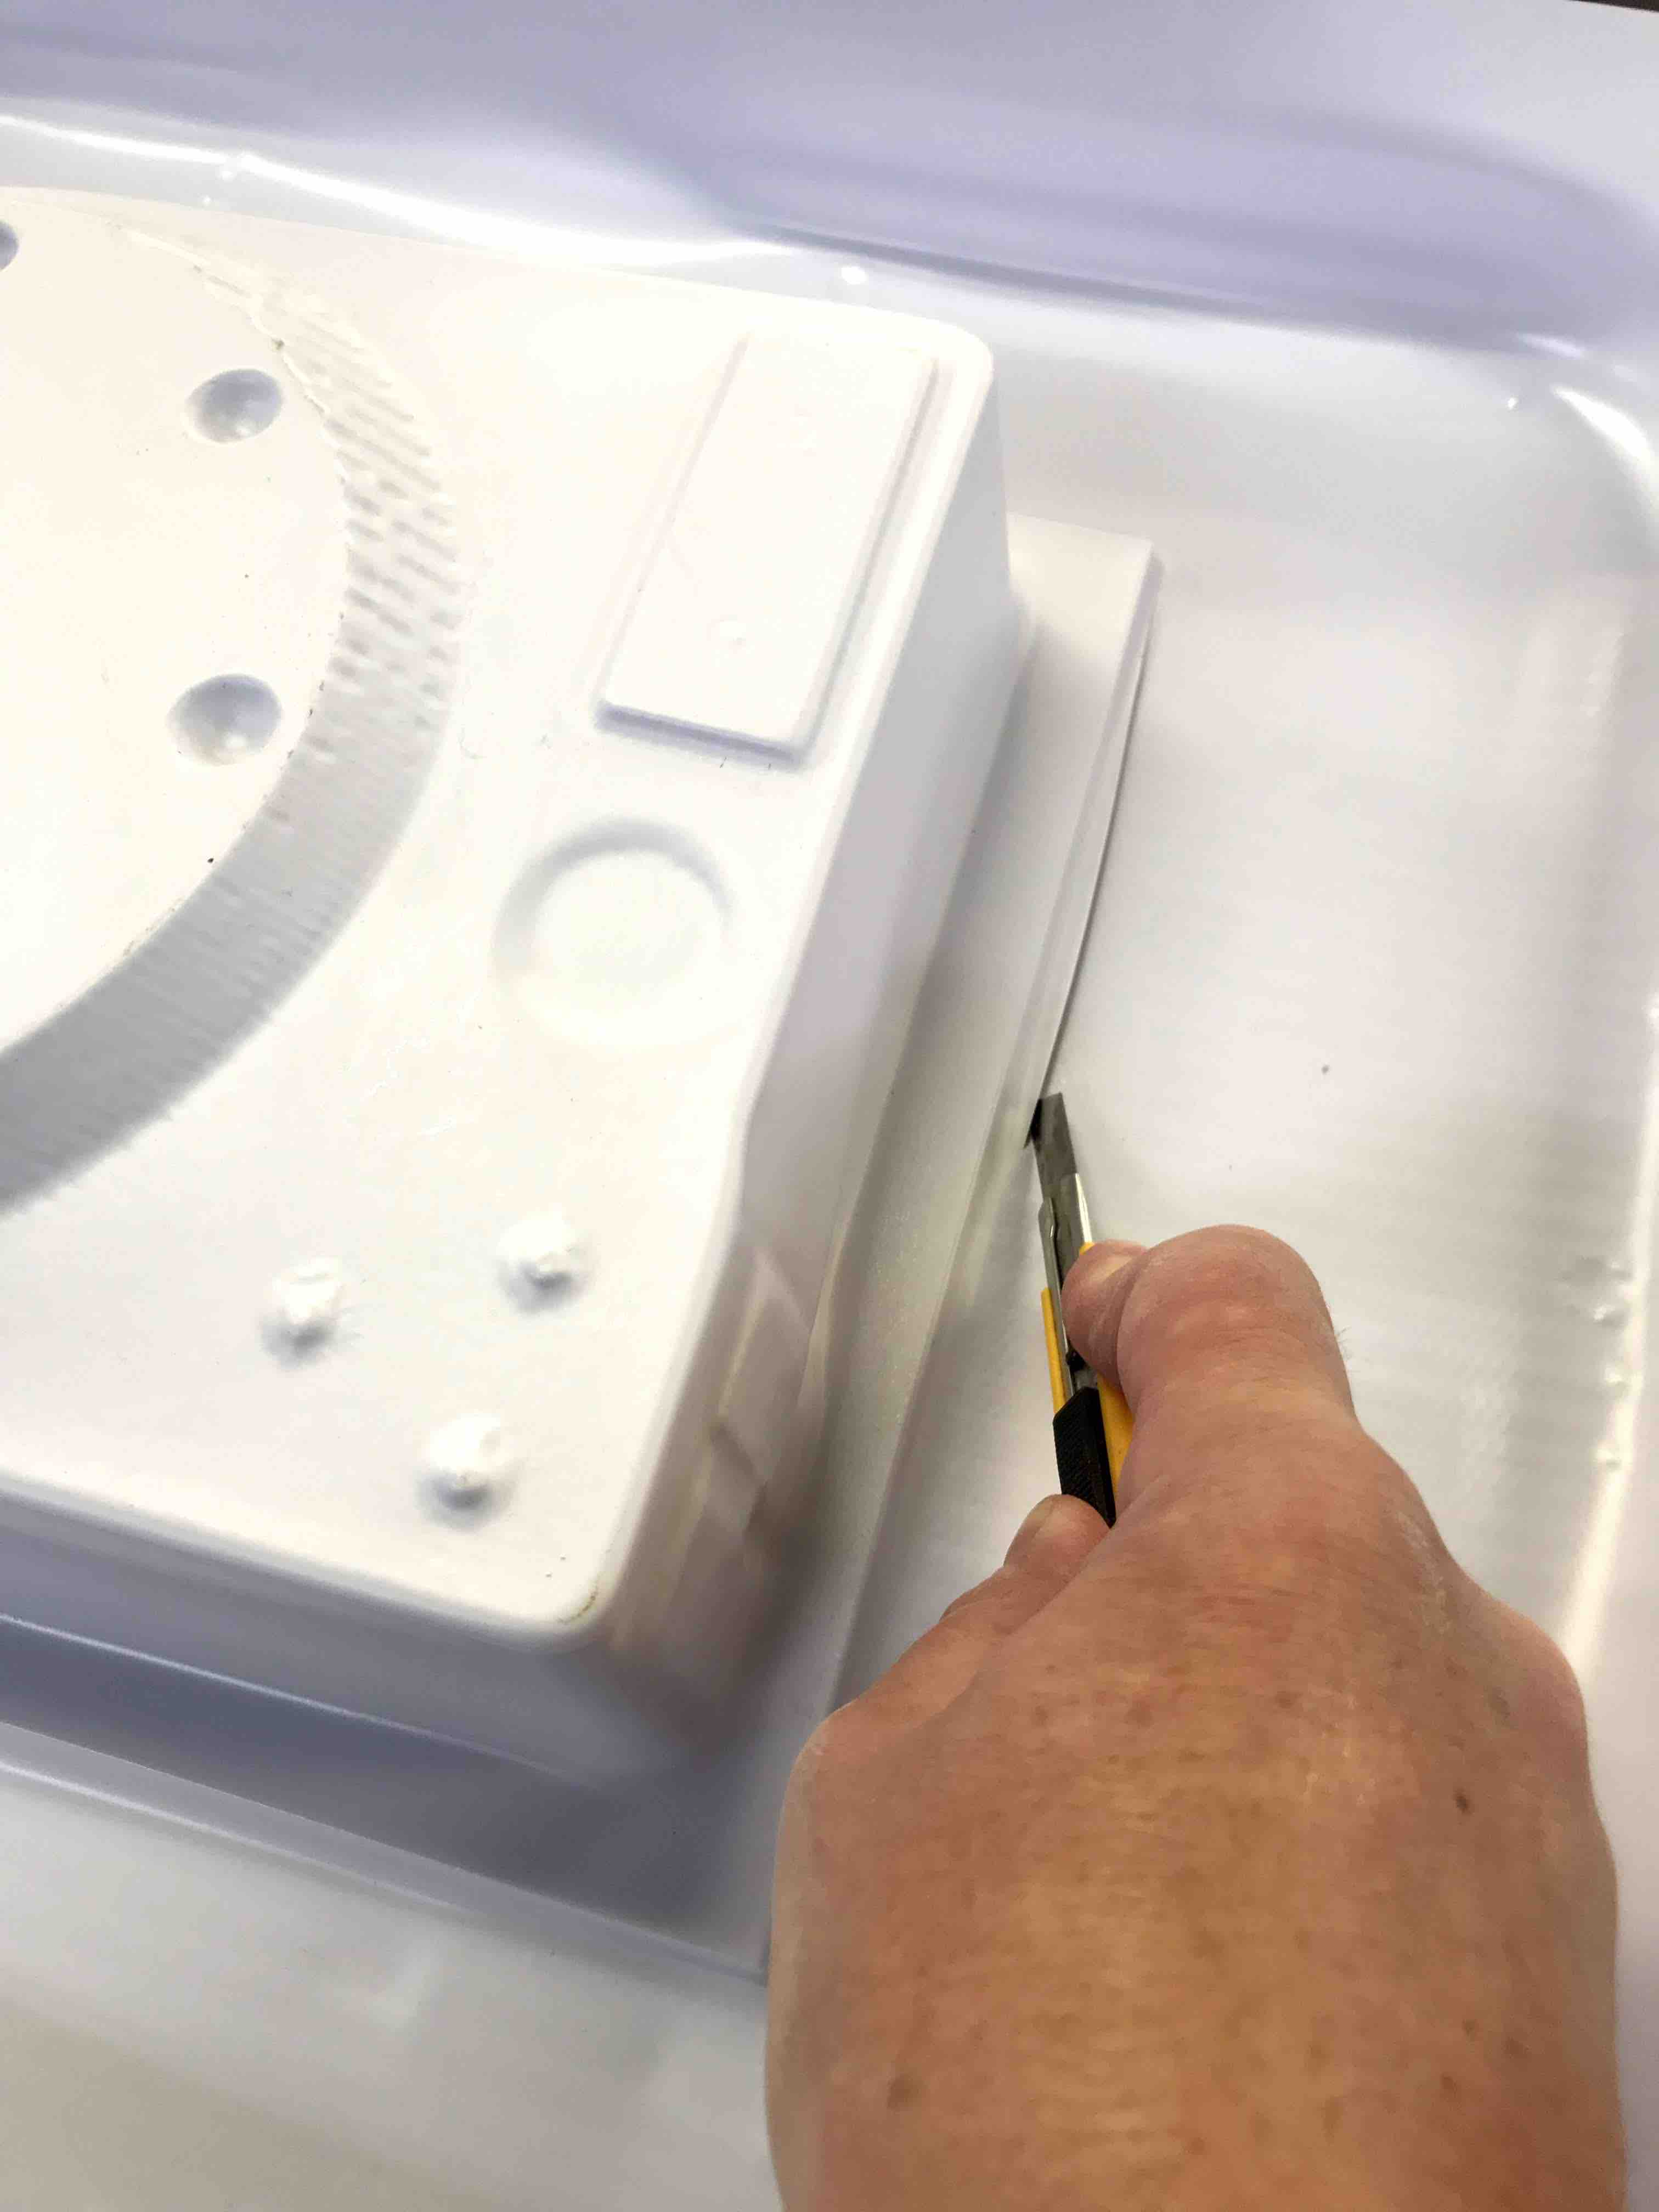
Then i cut the
perimeter with a cutter by hand following the contour.
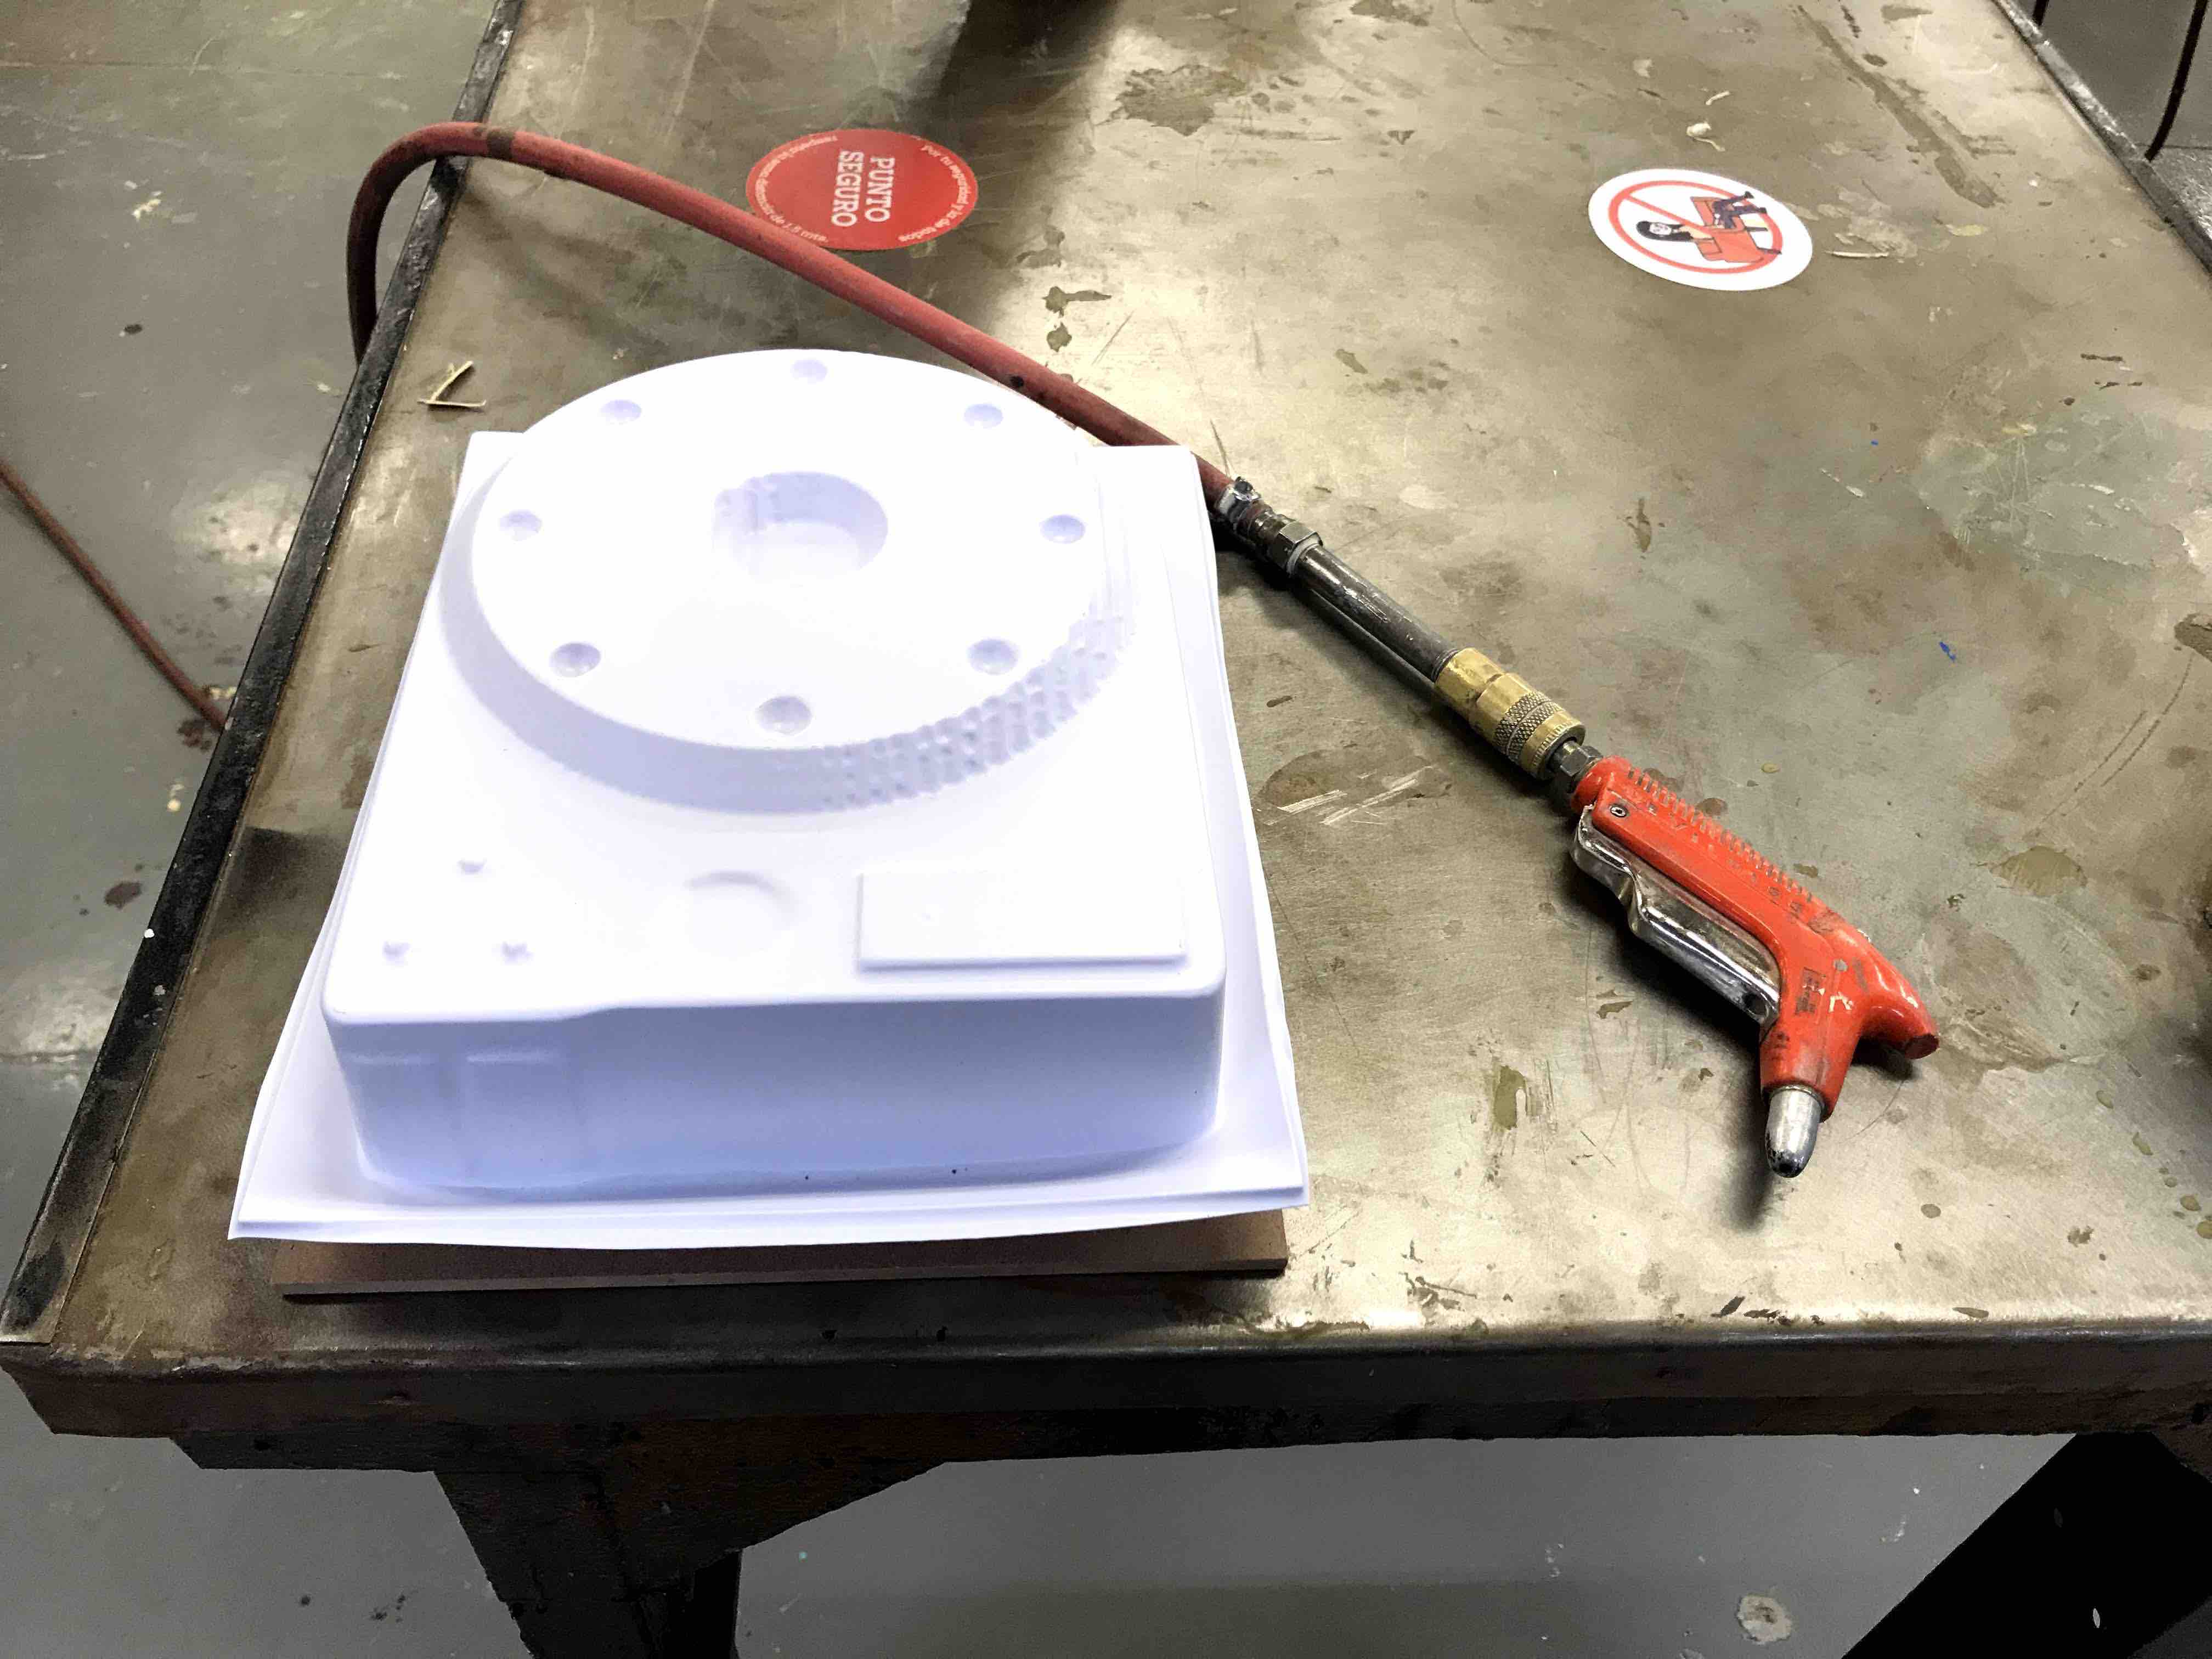
To demold I push some
air into the rear holes so the styrene could demold.
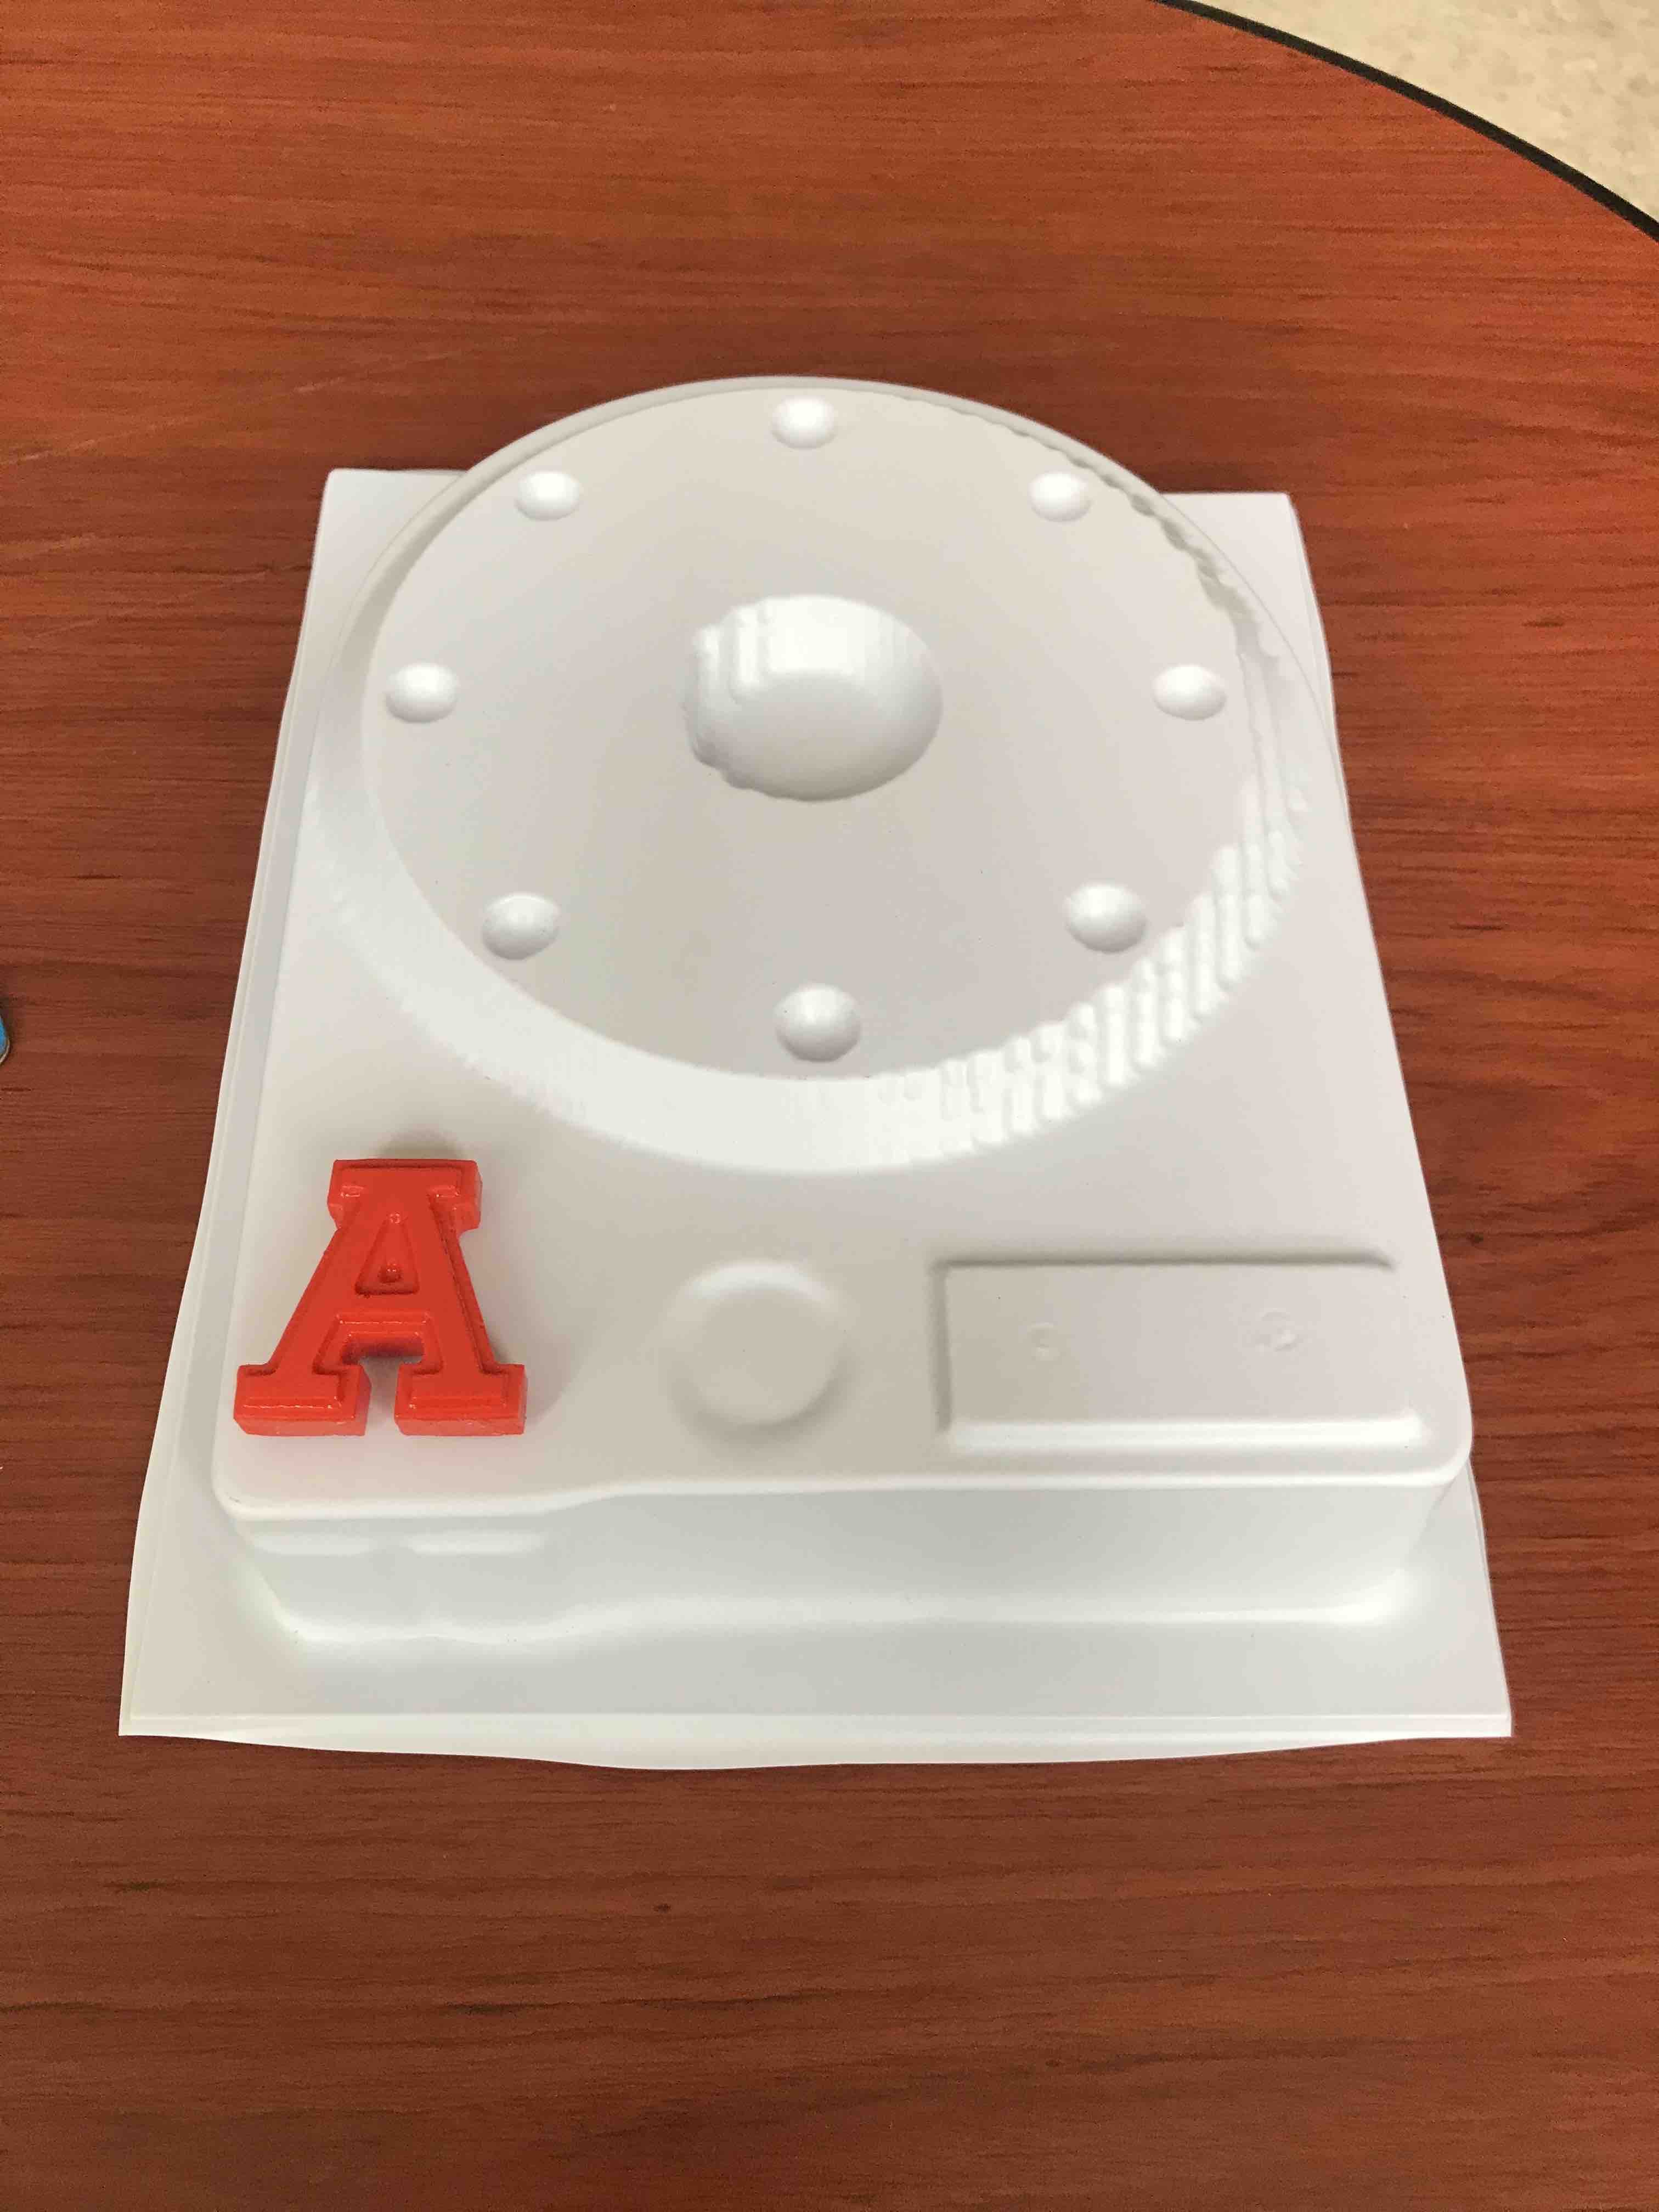
The cover with the A
logo tha I made in the Moulding and Casting assignment.