For my Webpage I
decide to use a free template, in this case I choose the
template "TRANSItIVE" from templated.com . I
download and opened it with the software BlueGriffon
, here you can change the content of it; the images, text, the
videos in the header, etc then you need to push it to
your GitLab, you can do this directly from the Terminal
of your computer, in my case a Mac, but there´s a more easy way
to push: use GITHUB DESKTOP. Eery change you did in BlueGrifon
automatically GitHub desktop detect it and you
just need to click the Commit to Master and
then the Push Origin button and that´s it, so
easy, but be careful , don´t push more than 10mb at
once because the link to your repository could break and if this
happened you would need to clone again your repository.
BlueGriffon,
GitHub Desktop, Terminal of your computer, a folder to save your
images you want to use for upload, a folder that you clone from
your repository (don´t put here nothing else, only the strictly
neccesary) that has the images and video that you would push to
your repository through bluegriffon, remember: don´t push more
than 10mb at once, it´s a best practice to push frequently.
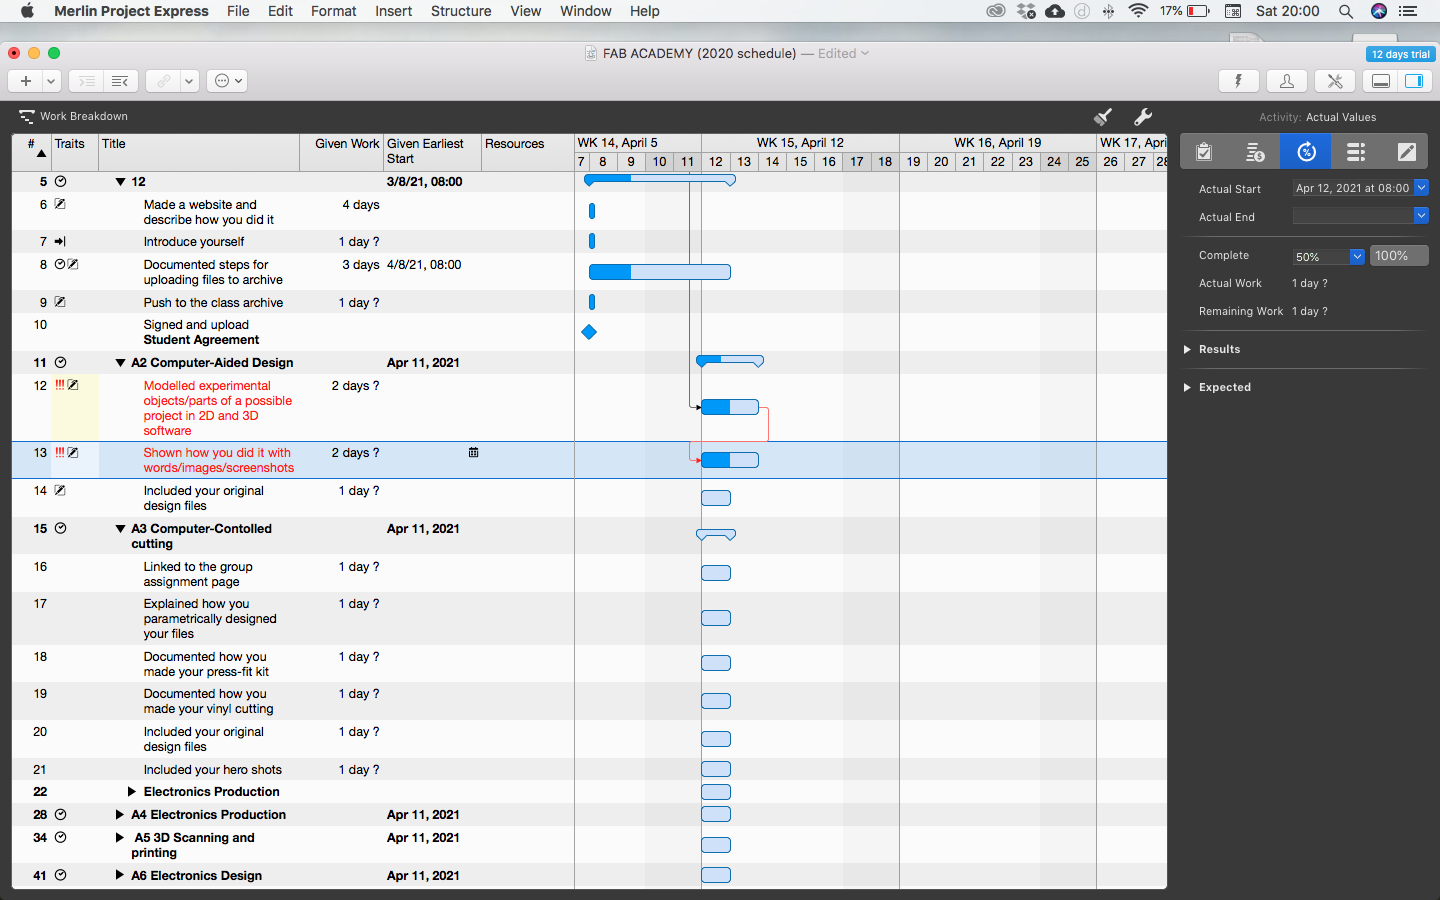
To take track of
the activities that´s had to be done in each assignment I
use a Gantt Chart. I creat it with Merlin software. Here a
re-write the Nueval checklist for each assignment and then I
printed it so I can make notes , links, change info. etc
Merlin
Project Express
Final Project Proposal:
Since 2020 I change
my Final Project project like 4 times but at hte end the project
is "the green spot". I want to propose to the Social
Responsibility comittee a place where the students, who love to
rest in the grass of the Campus, a place where they can rest,
study, talk, etc and not just over the grass, this spot would be
like a flower; a lirium , a biomimicry design project that
originally was a design by a former student of one of my
clases, but it was design like a bed side table lamp
scale, and now we need to re-design it for a much much
bigger scale, so I talked to Paulina Russ and ask her if she
wanted to participated with this project and she agree, so,
thats it, the beggining of the design of my Final project that
would have solar panels to recharge the batteries who will give
power to a motor and to the led lights that this "flower like"
project would have to iluminate the campus in the night.
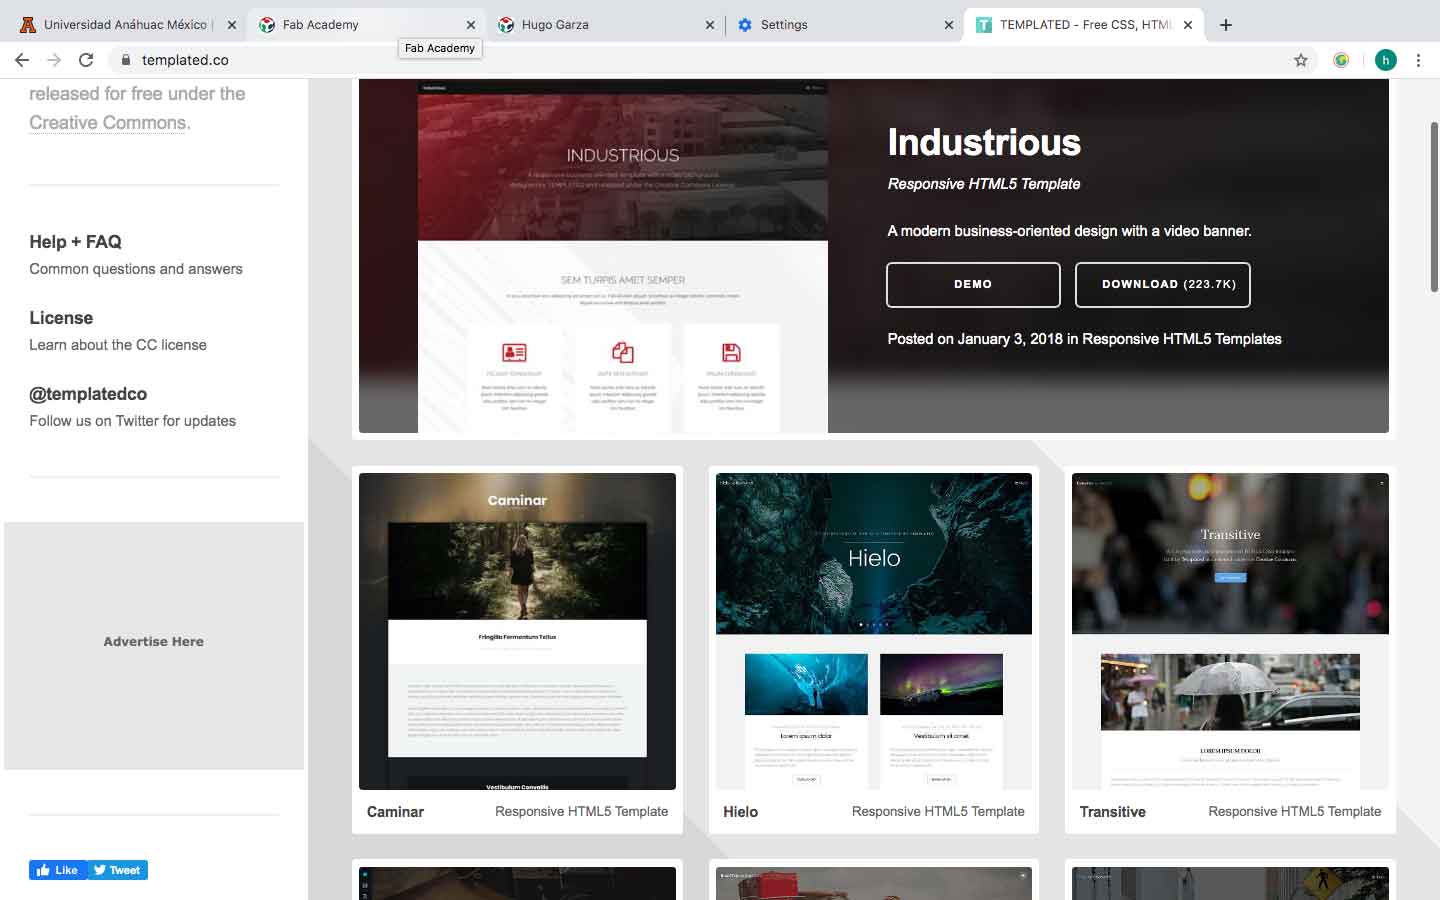
Here I choose and download the "transitive" free template from templated.com webpage to make my Fab Academy webpage.
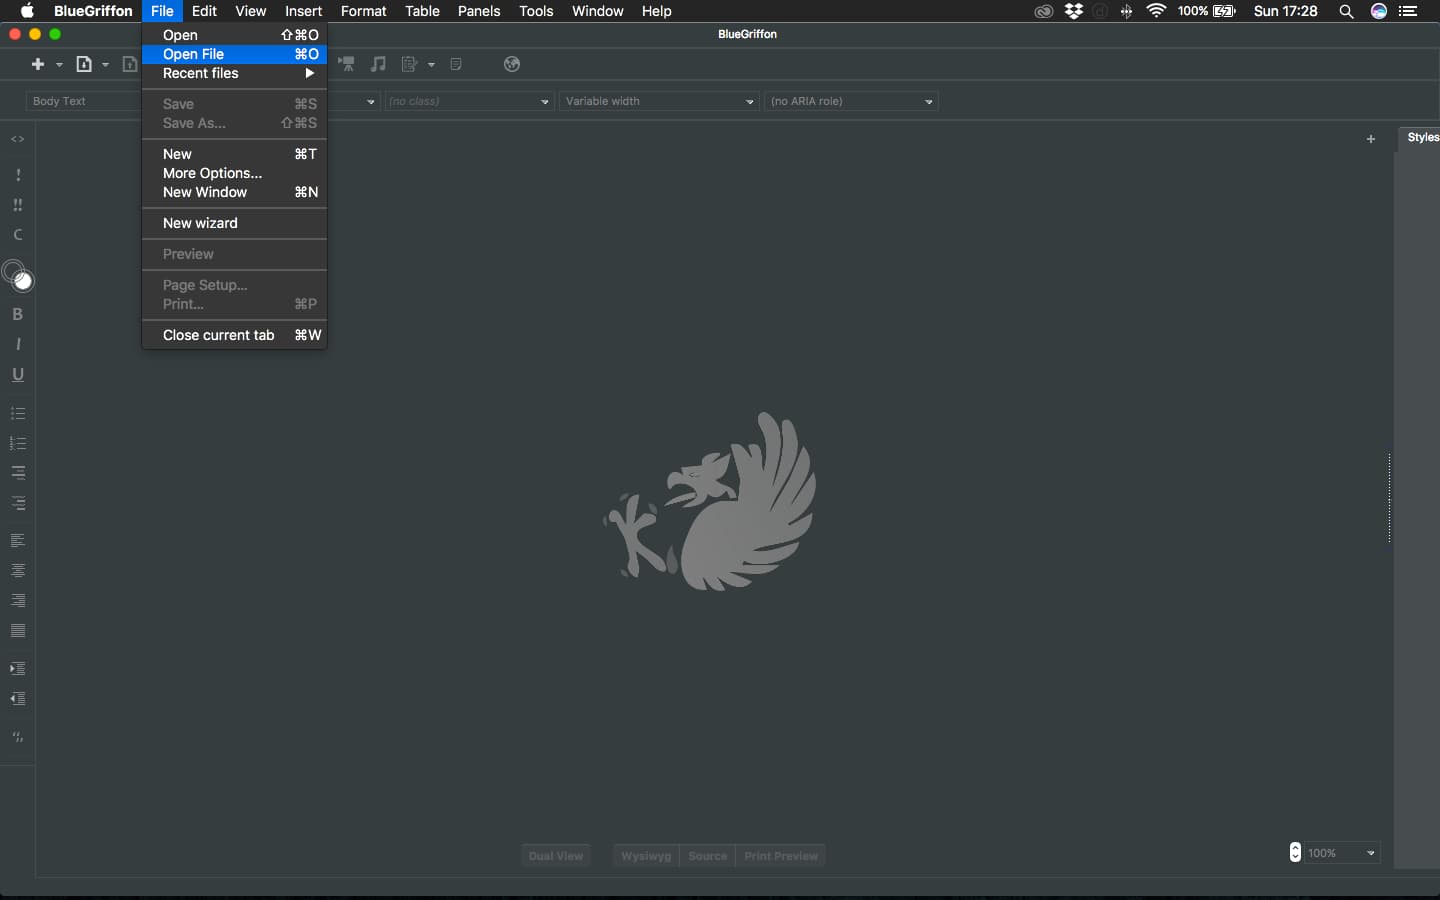
Open it in Blue
Griffon
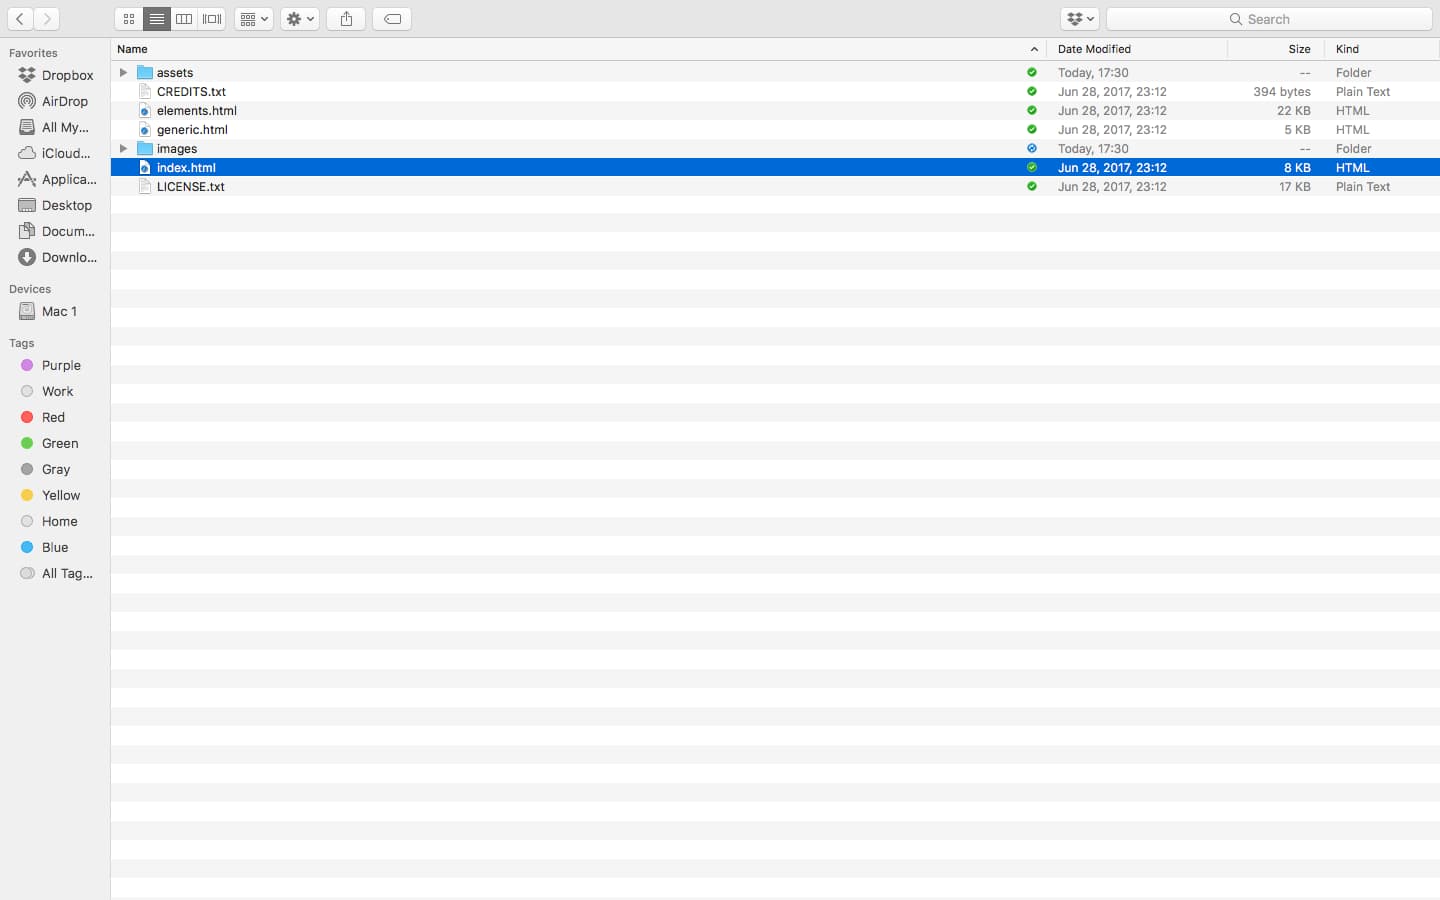
Choose the index.html
file from the template you just download to start making your
web page.
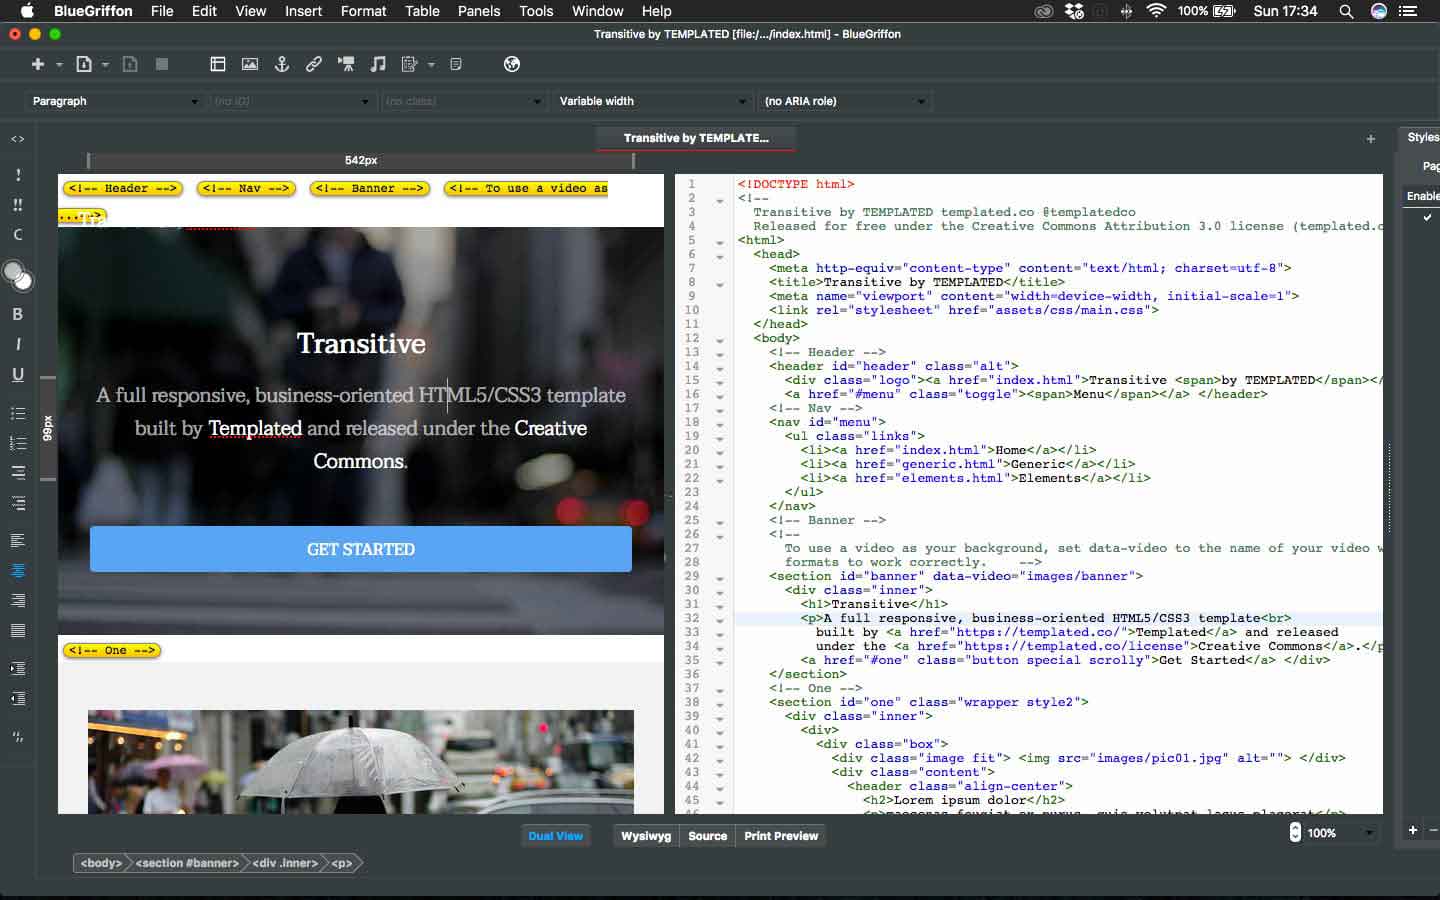
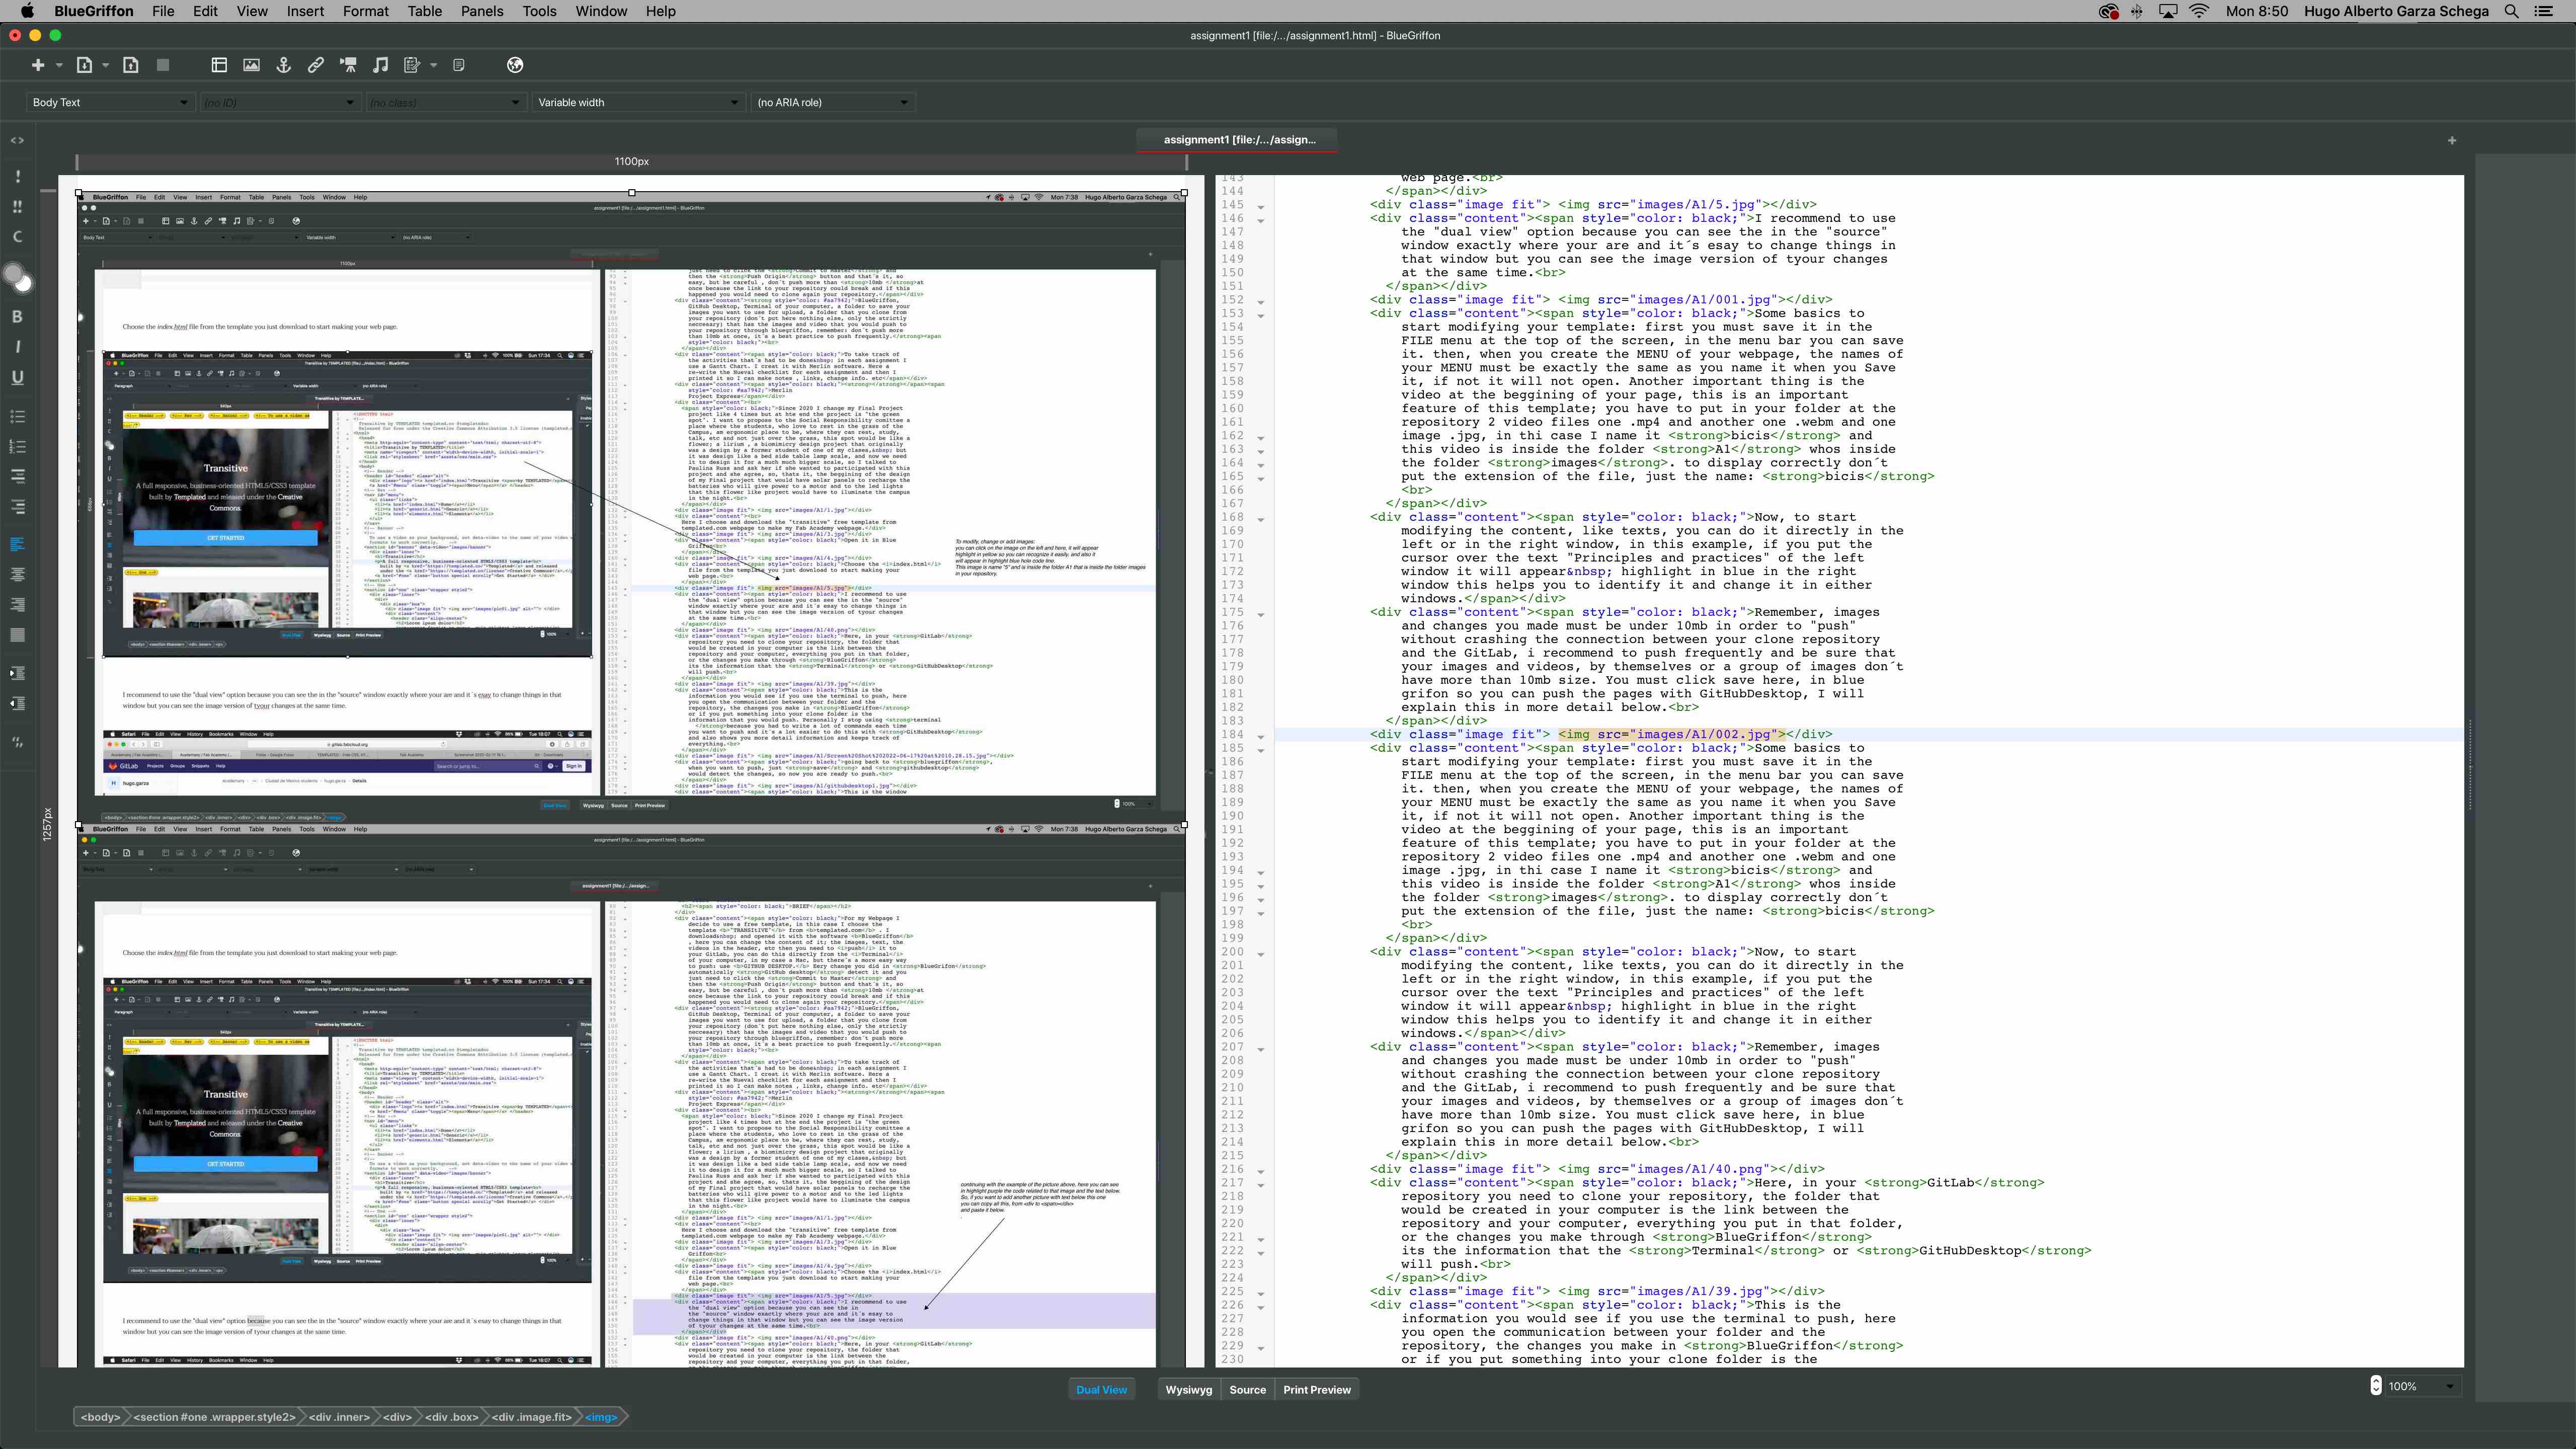
I recommend to use
the "dual view" option because you can see the in the "source"
window exactly where your are and it´s esay to change things in
that window but you can see the image version of tyour changes
at the same time.
Some basics to
start modifying your template: first you must save it in the
FILE menu at the top of the screen, in the menu bar you can save
it. then, when you create the MENU of your webpage, the names of
your MENU must be exactly the same as you name it when you Save
it, if not it will not open. Another important thing is the
video at the beggining of your page, this is an important
feature of this template; you have to put in your folder at the
repository 2 video files one .mp4 and another one .webm and one
image .jpg, in thi case I name it bicis and
this video is inside the folder A1 whos inside
the folder images. to display correctly don´t
put the extension of the file, just the name: bicis
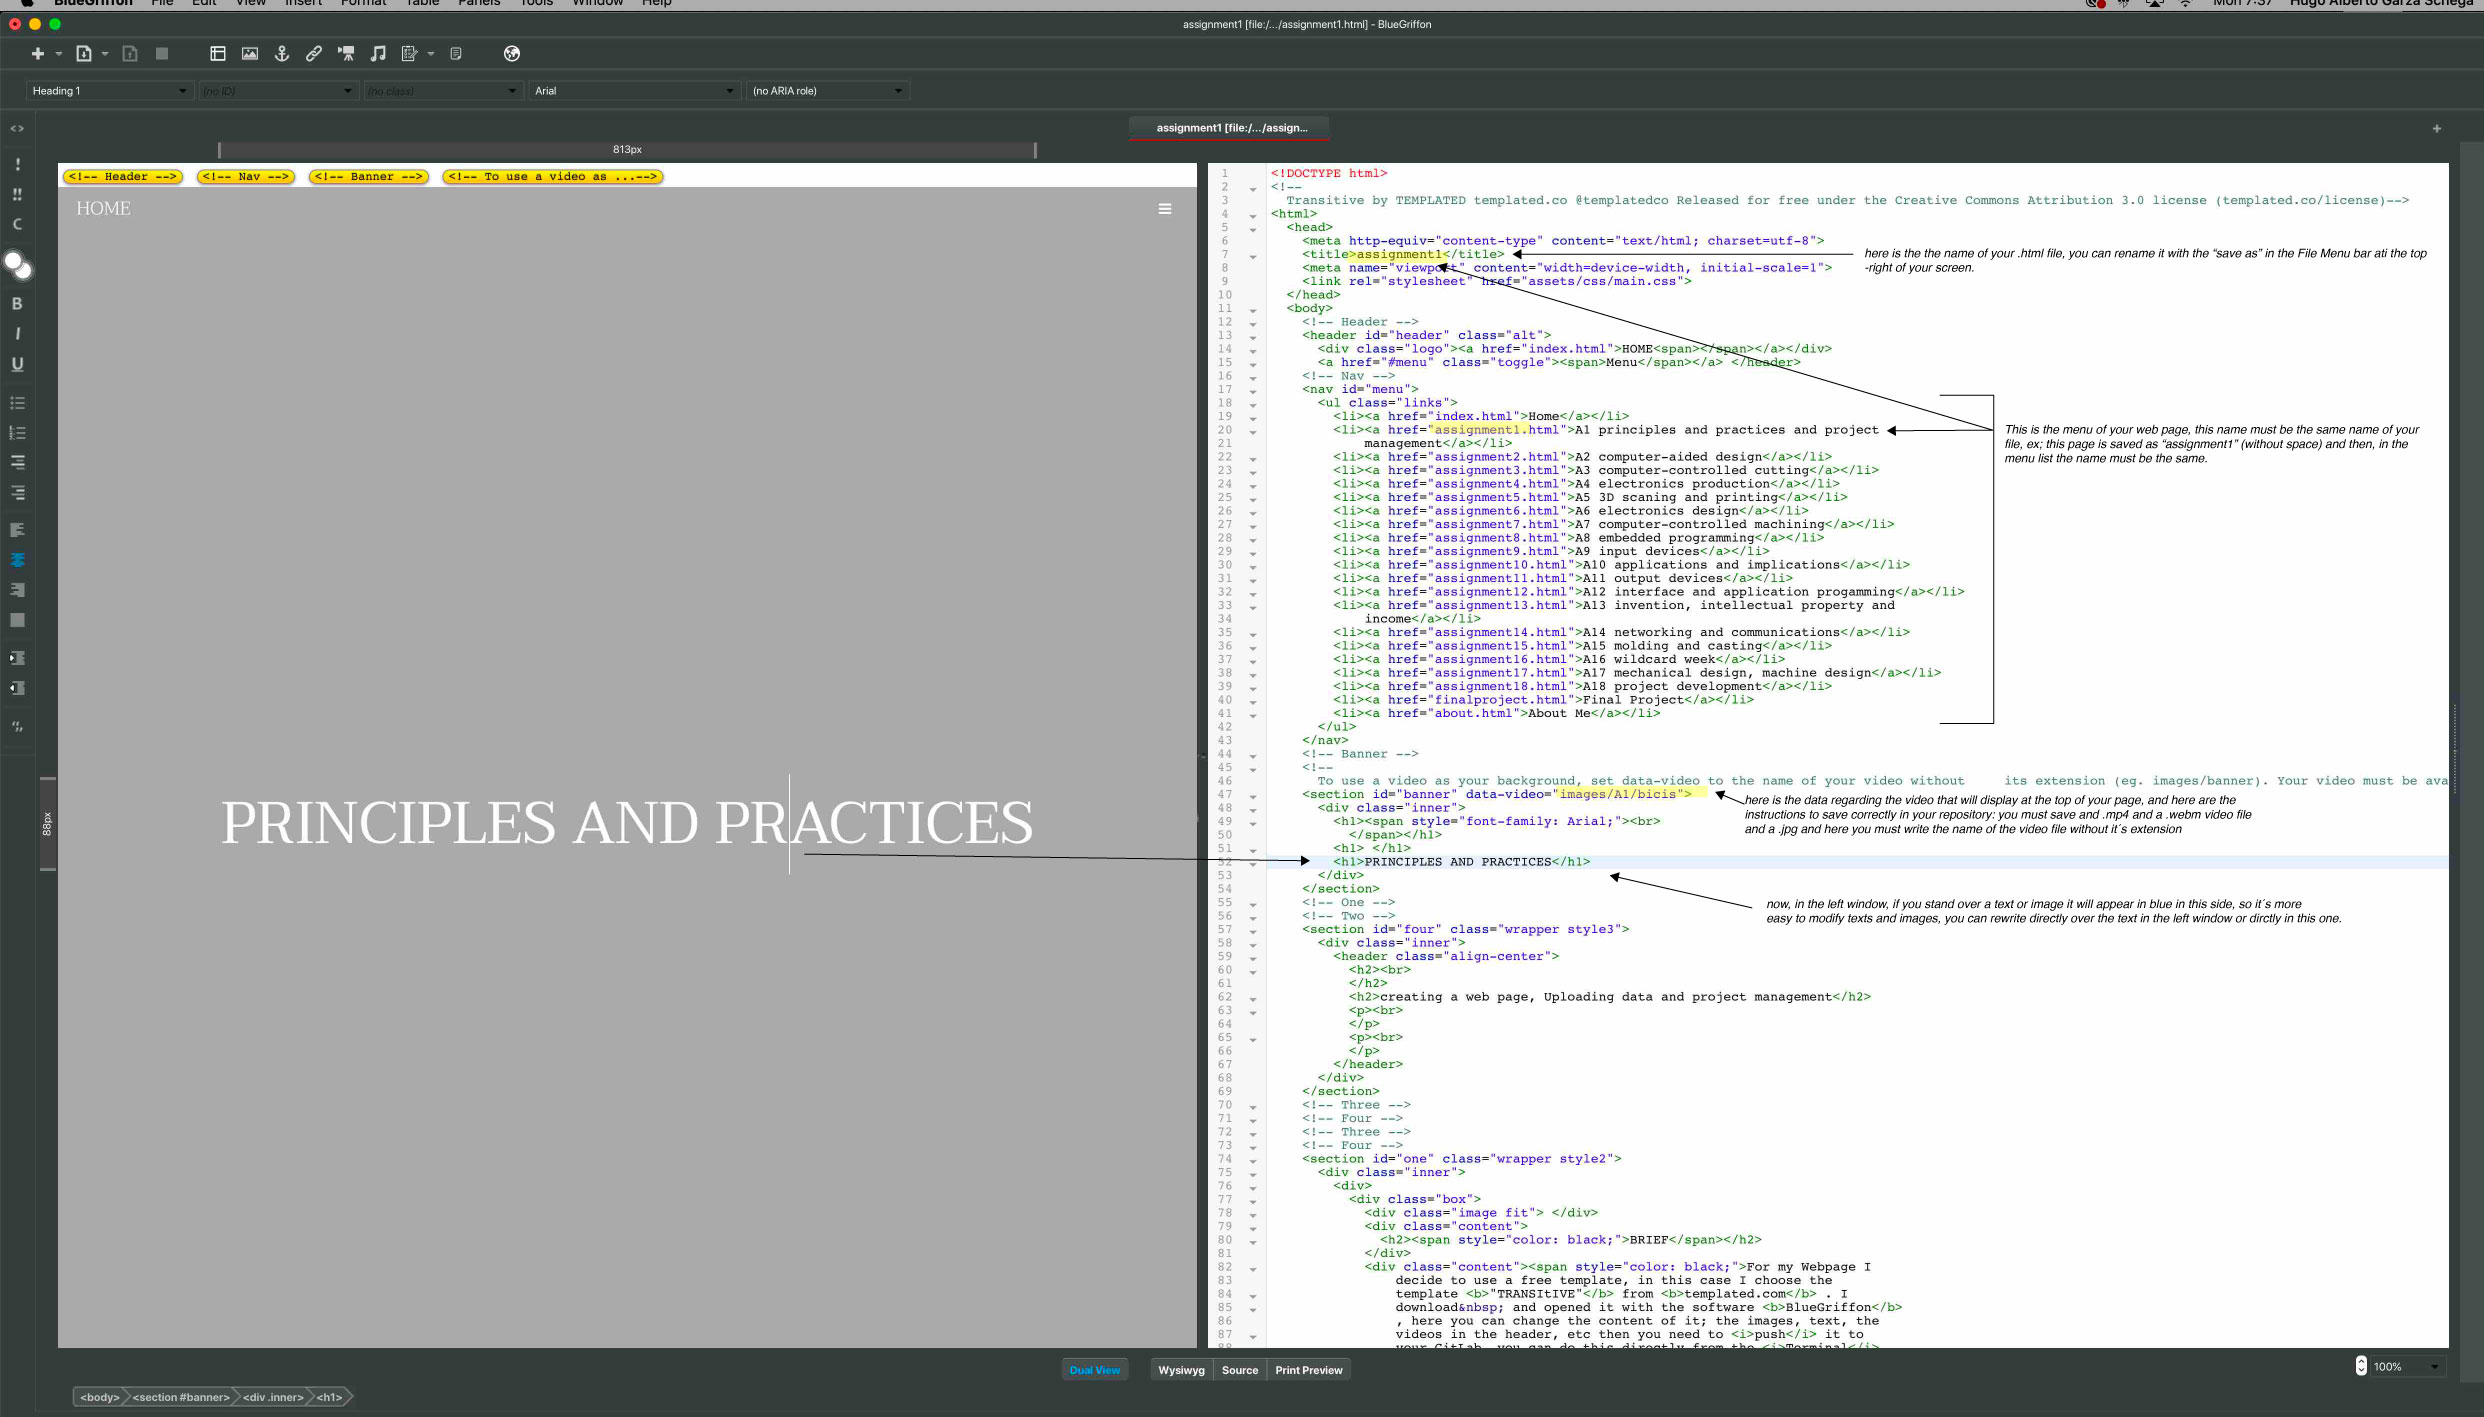
Now, to start
modifying the content, like texts, you can do it directly in the
left or in the right window, in this example, if you put the
cursor over the text "Principles and practices" of the left
window it will appear highlight in blue in the right
window this helps you to identify it and change it in either
windows.
Remember, images
and changes you made must be under 10mb in order to "push"
without crashing the connection between your clone repository
and the GitLab, i recommend to push frequently and be sure that
your images and videos, by themselves or a group of images don´t
have more than 10mb size. You must click save here, in blue
grifon so you can push the pages with GitHubDesktop, I will
explain this in more detail below.
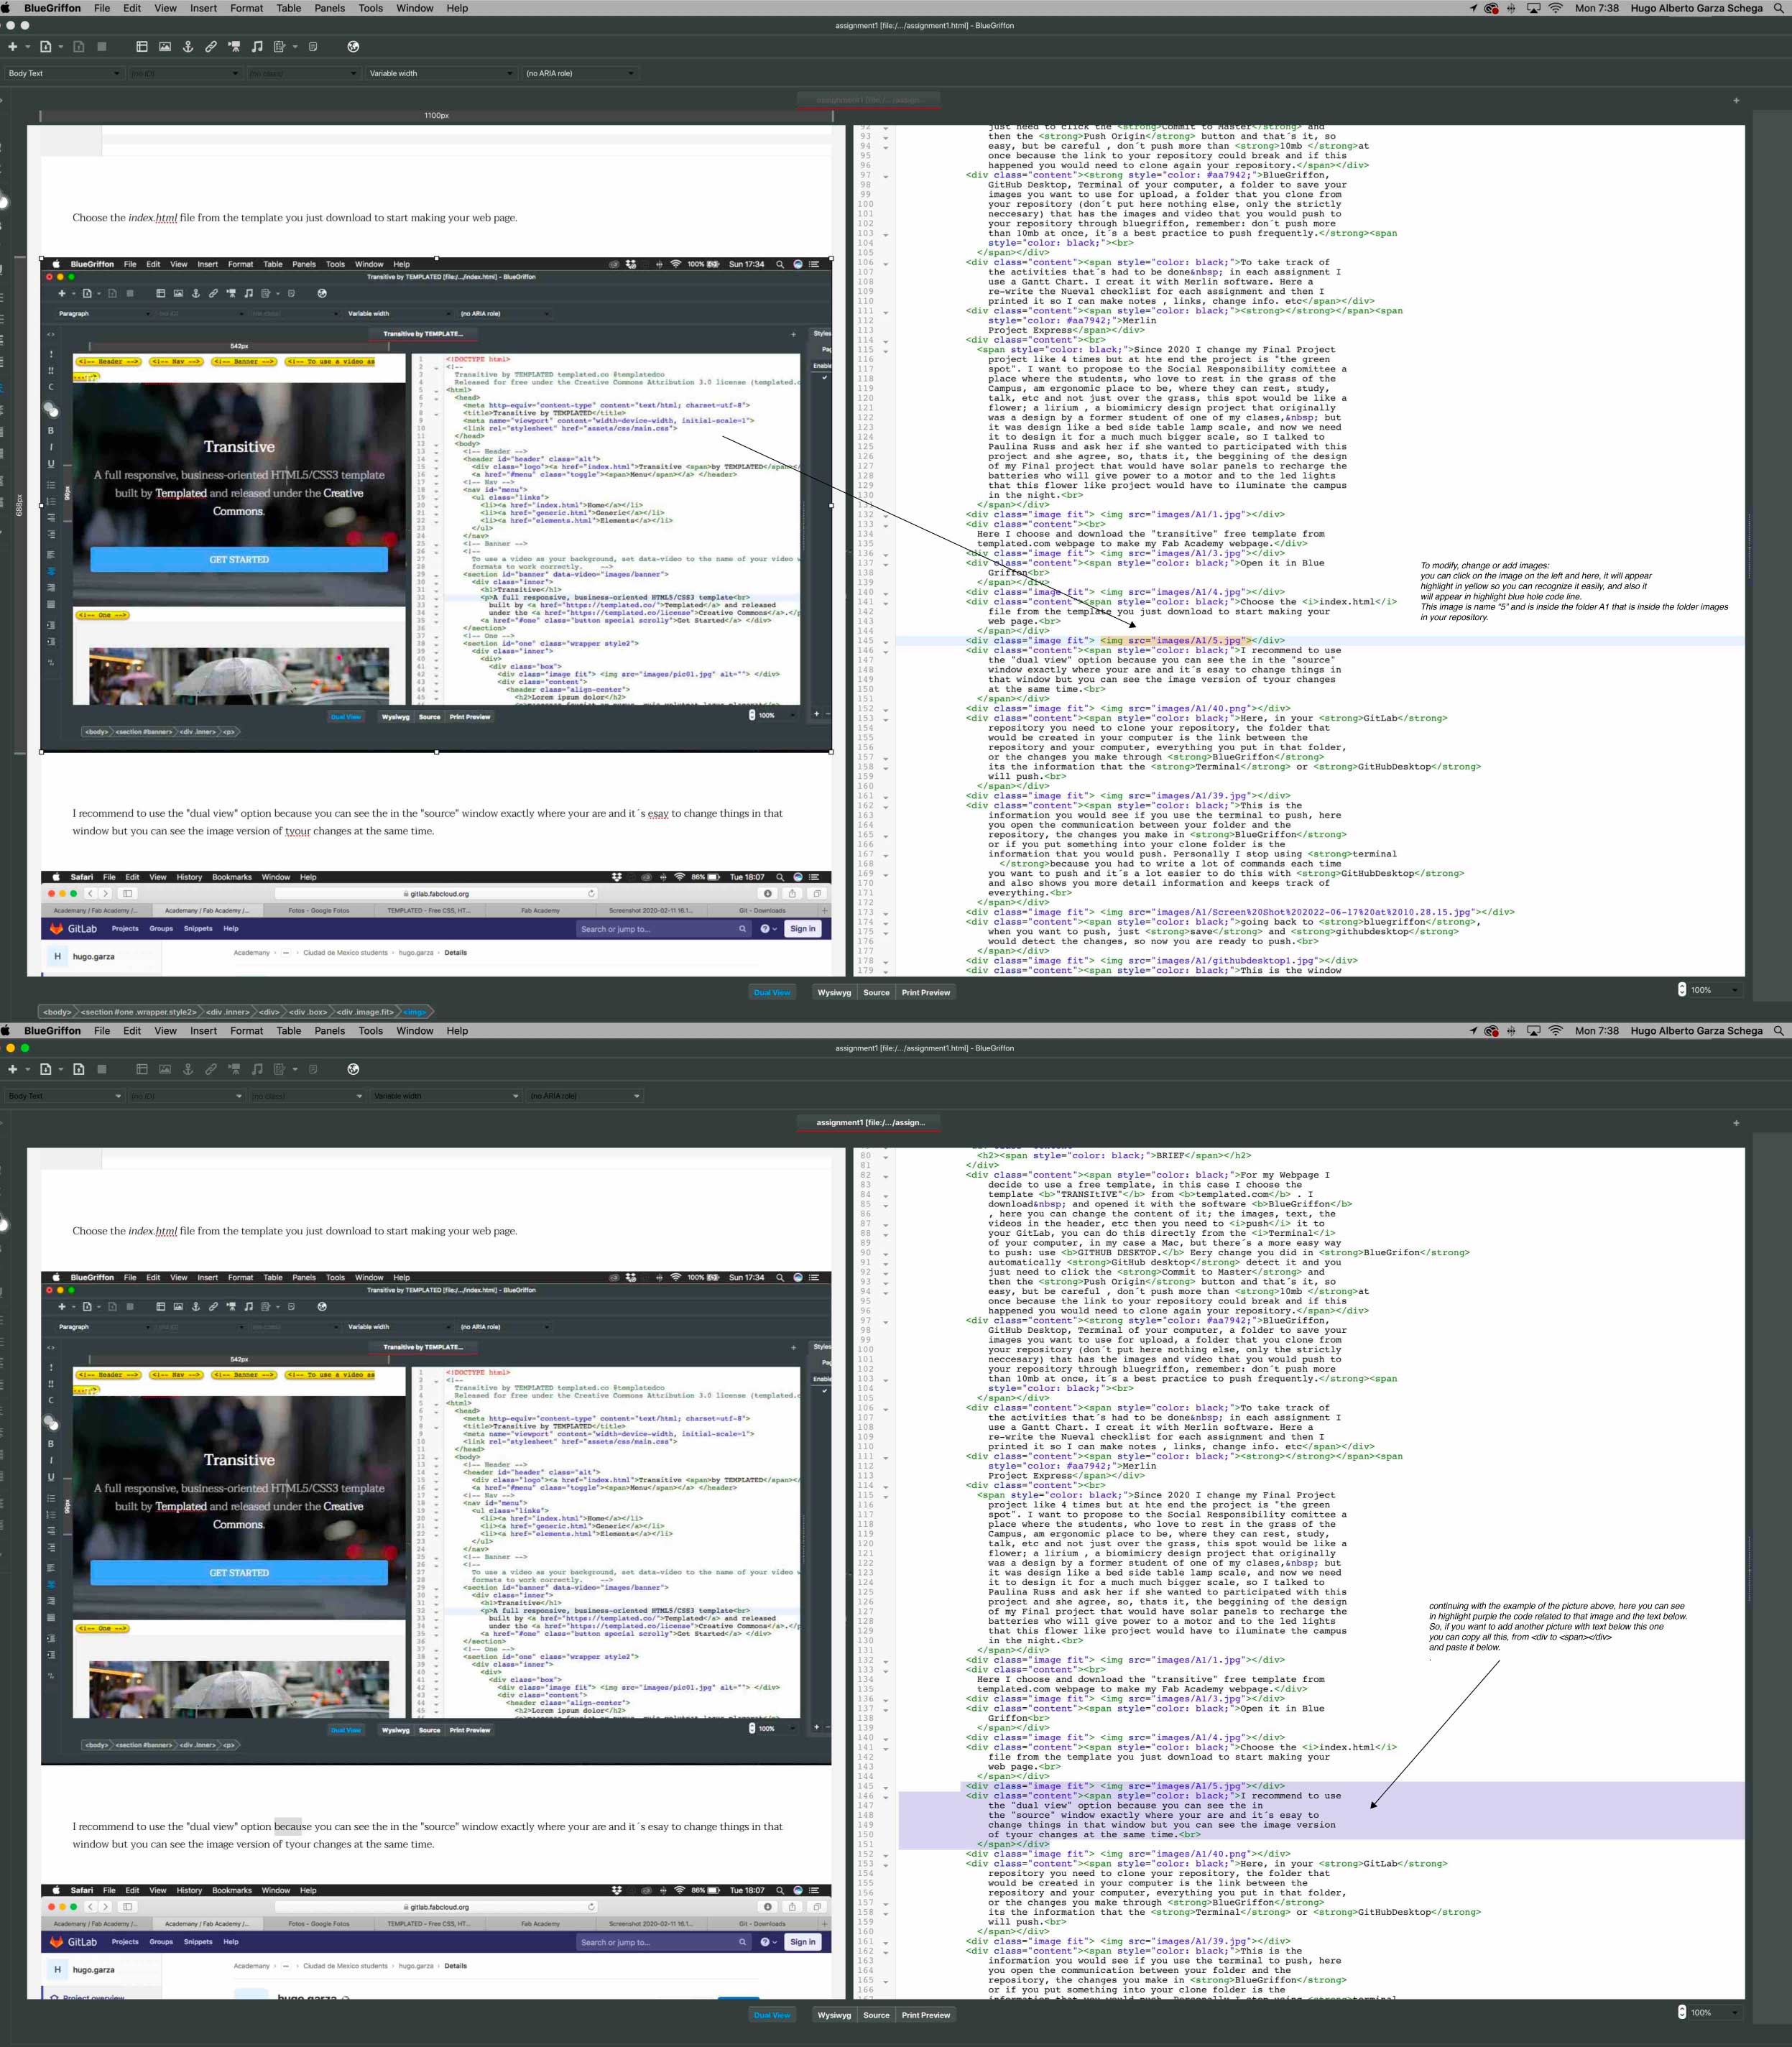
To ad a new image
with text you can click on the image at the left window and it
will appear highlight in the right one with the line code in
light blue, so once you identify the image in the right window
you can select the beggining of the line code all through the
end of the text, in the image above is highlight in purple, so
with the command copy you can paste a new group of image with
text just below </span<>/div>
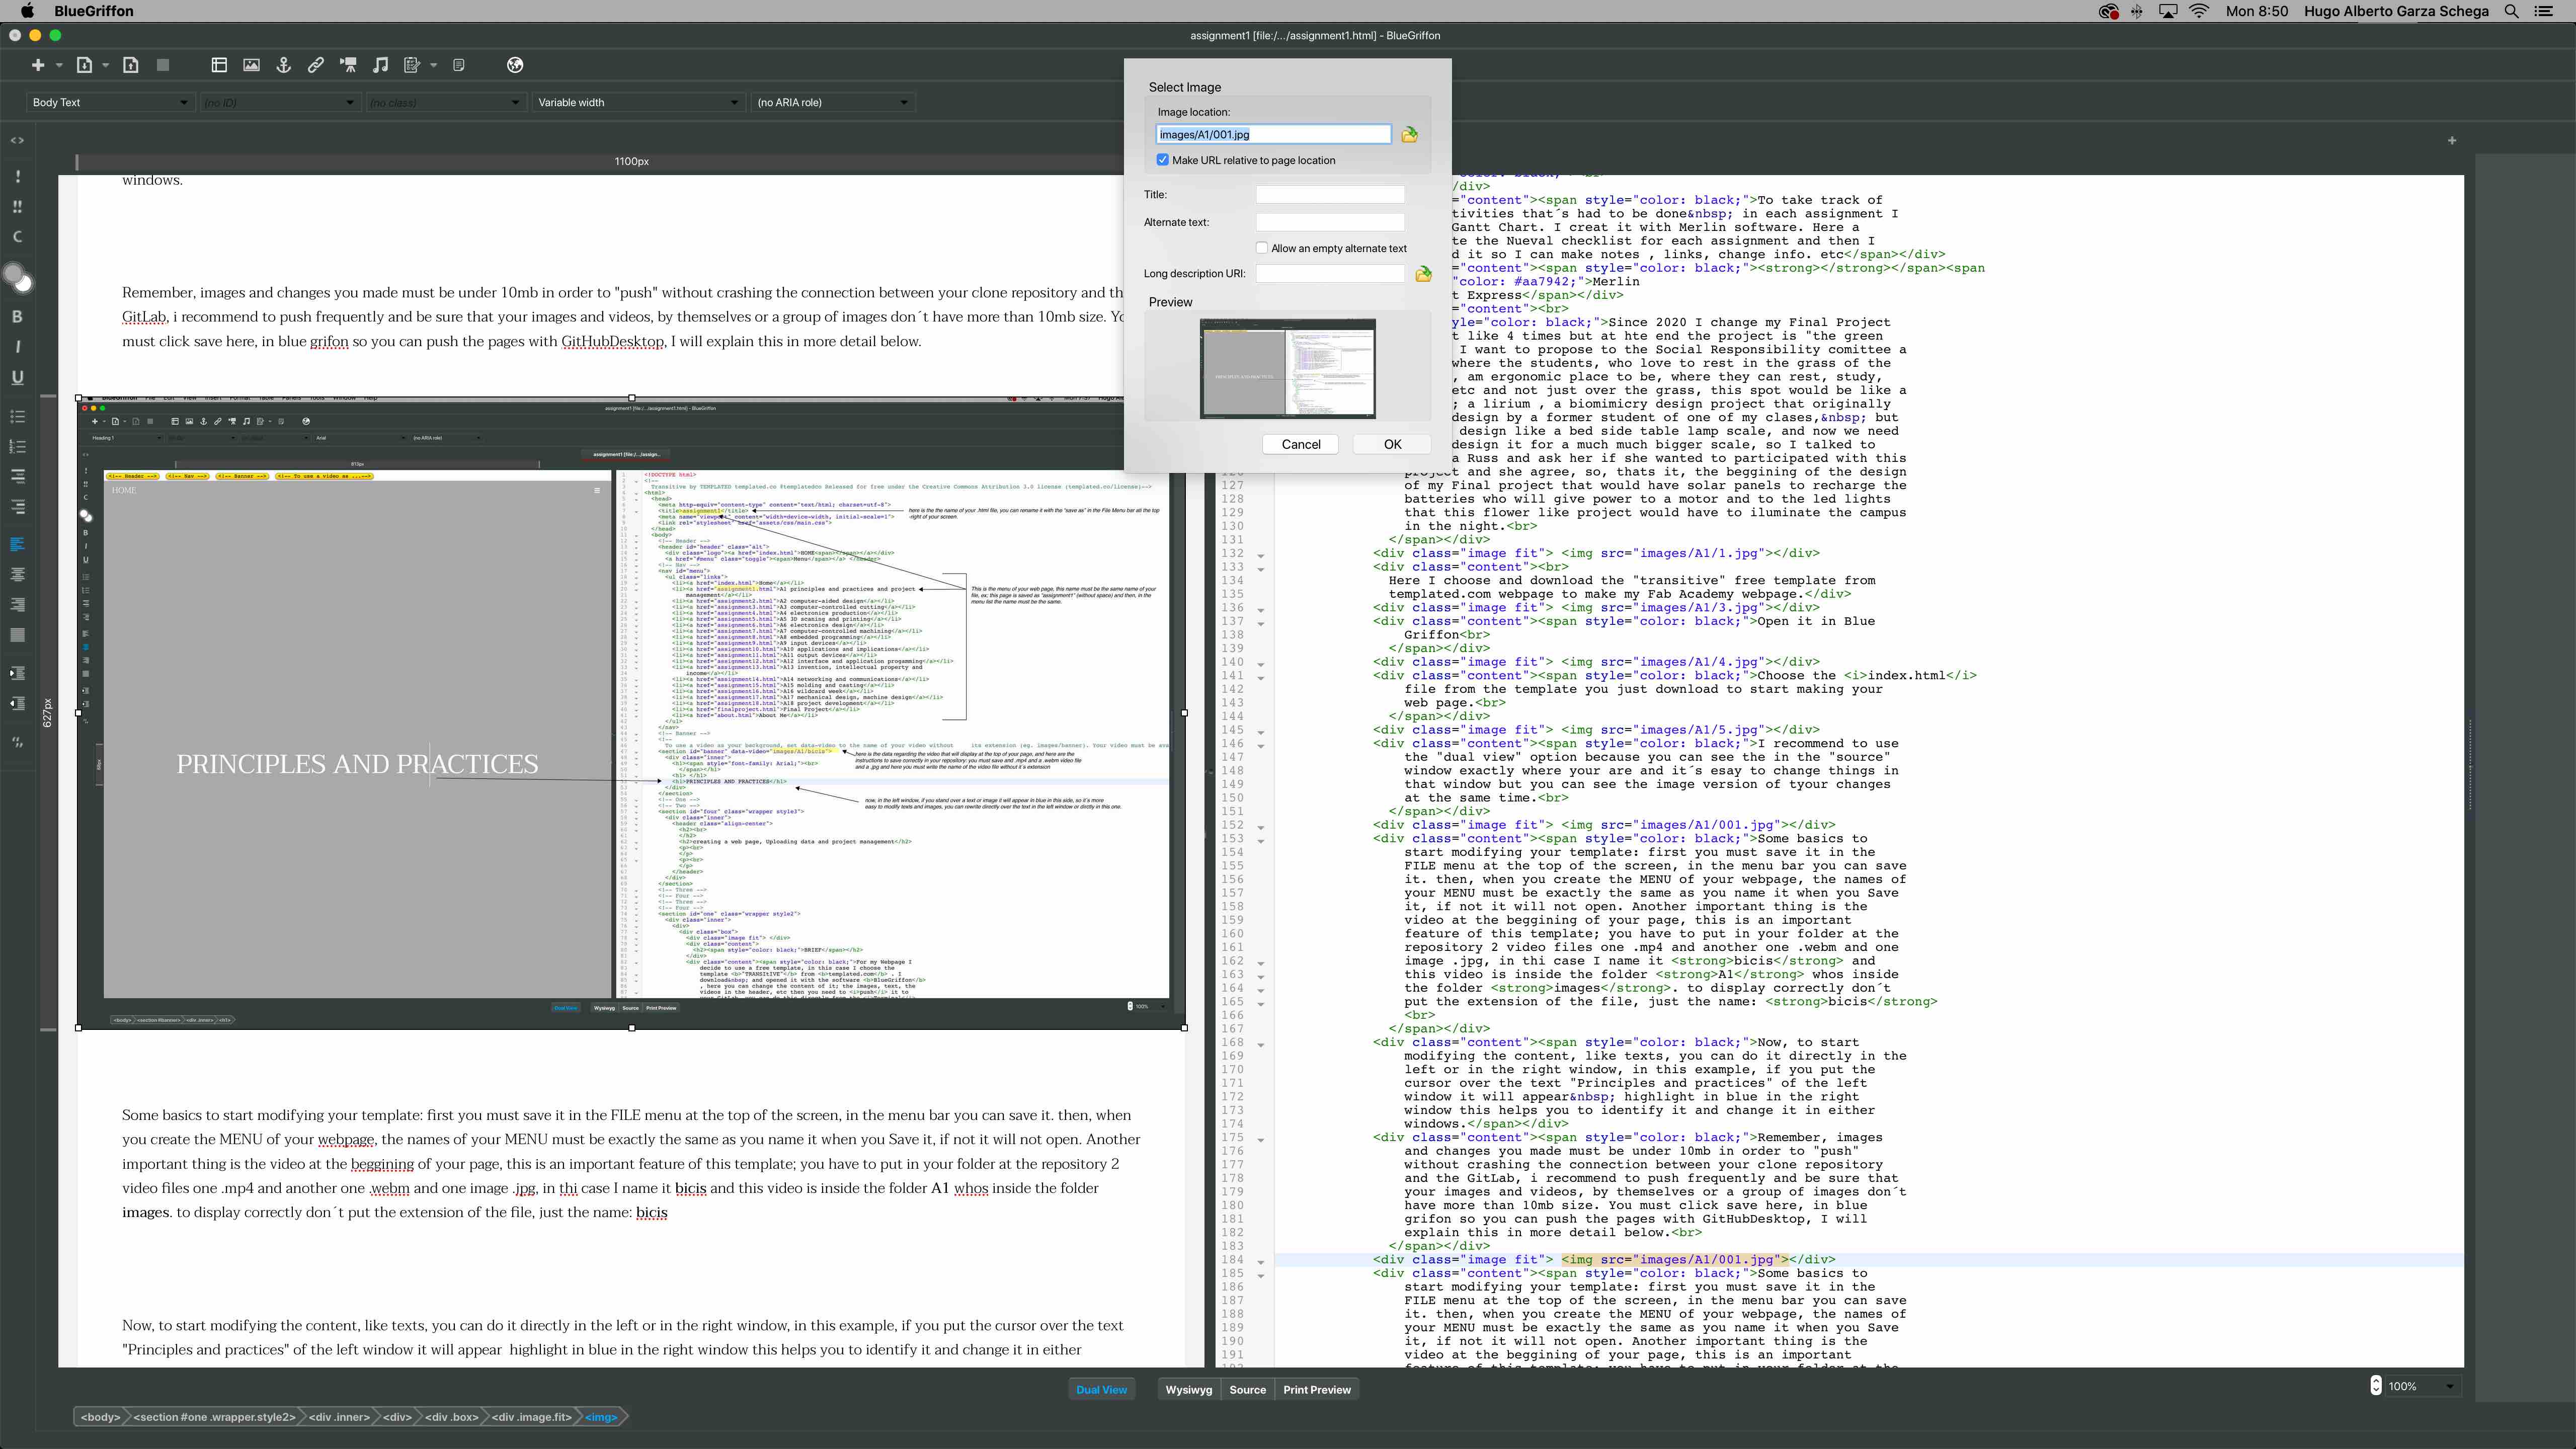
To change an image:
double click on the image and it will appear a little window,
click in the icon folder just at the right of the name of the
image.
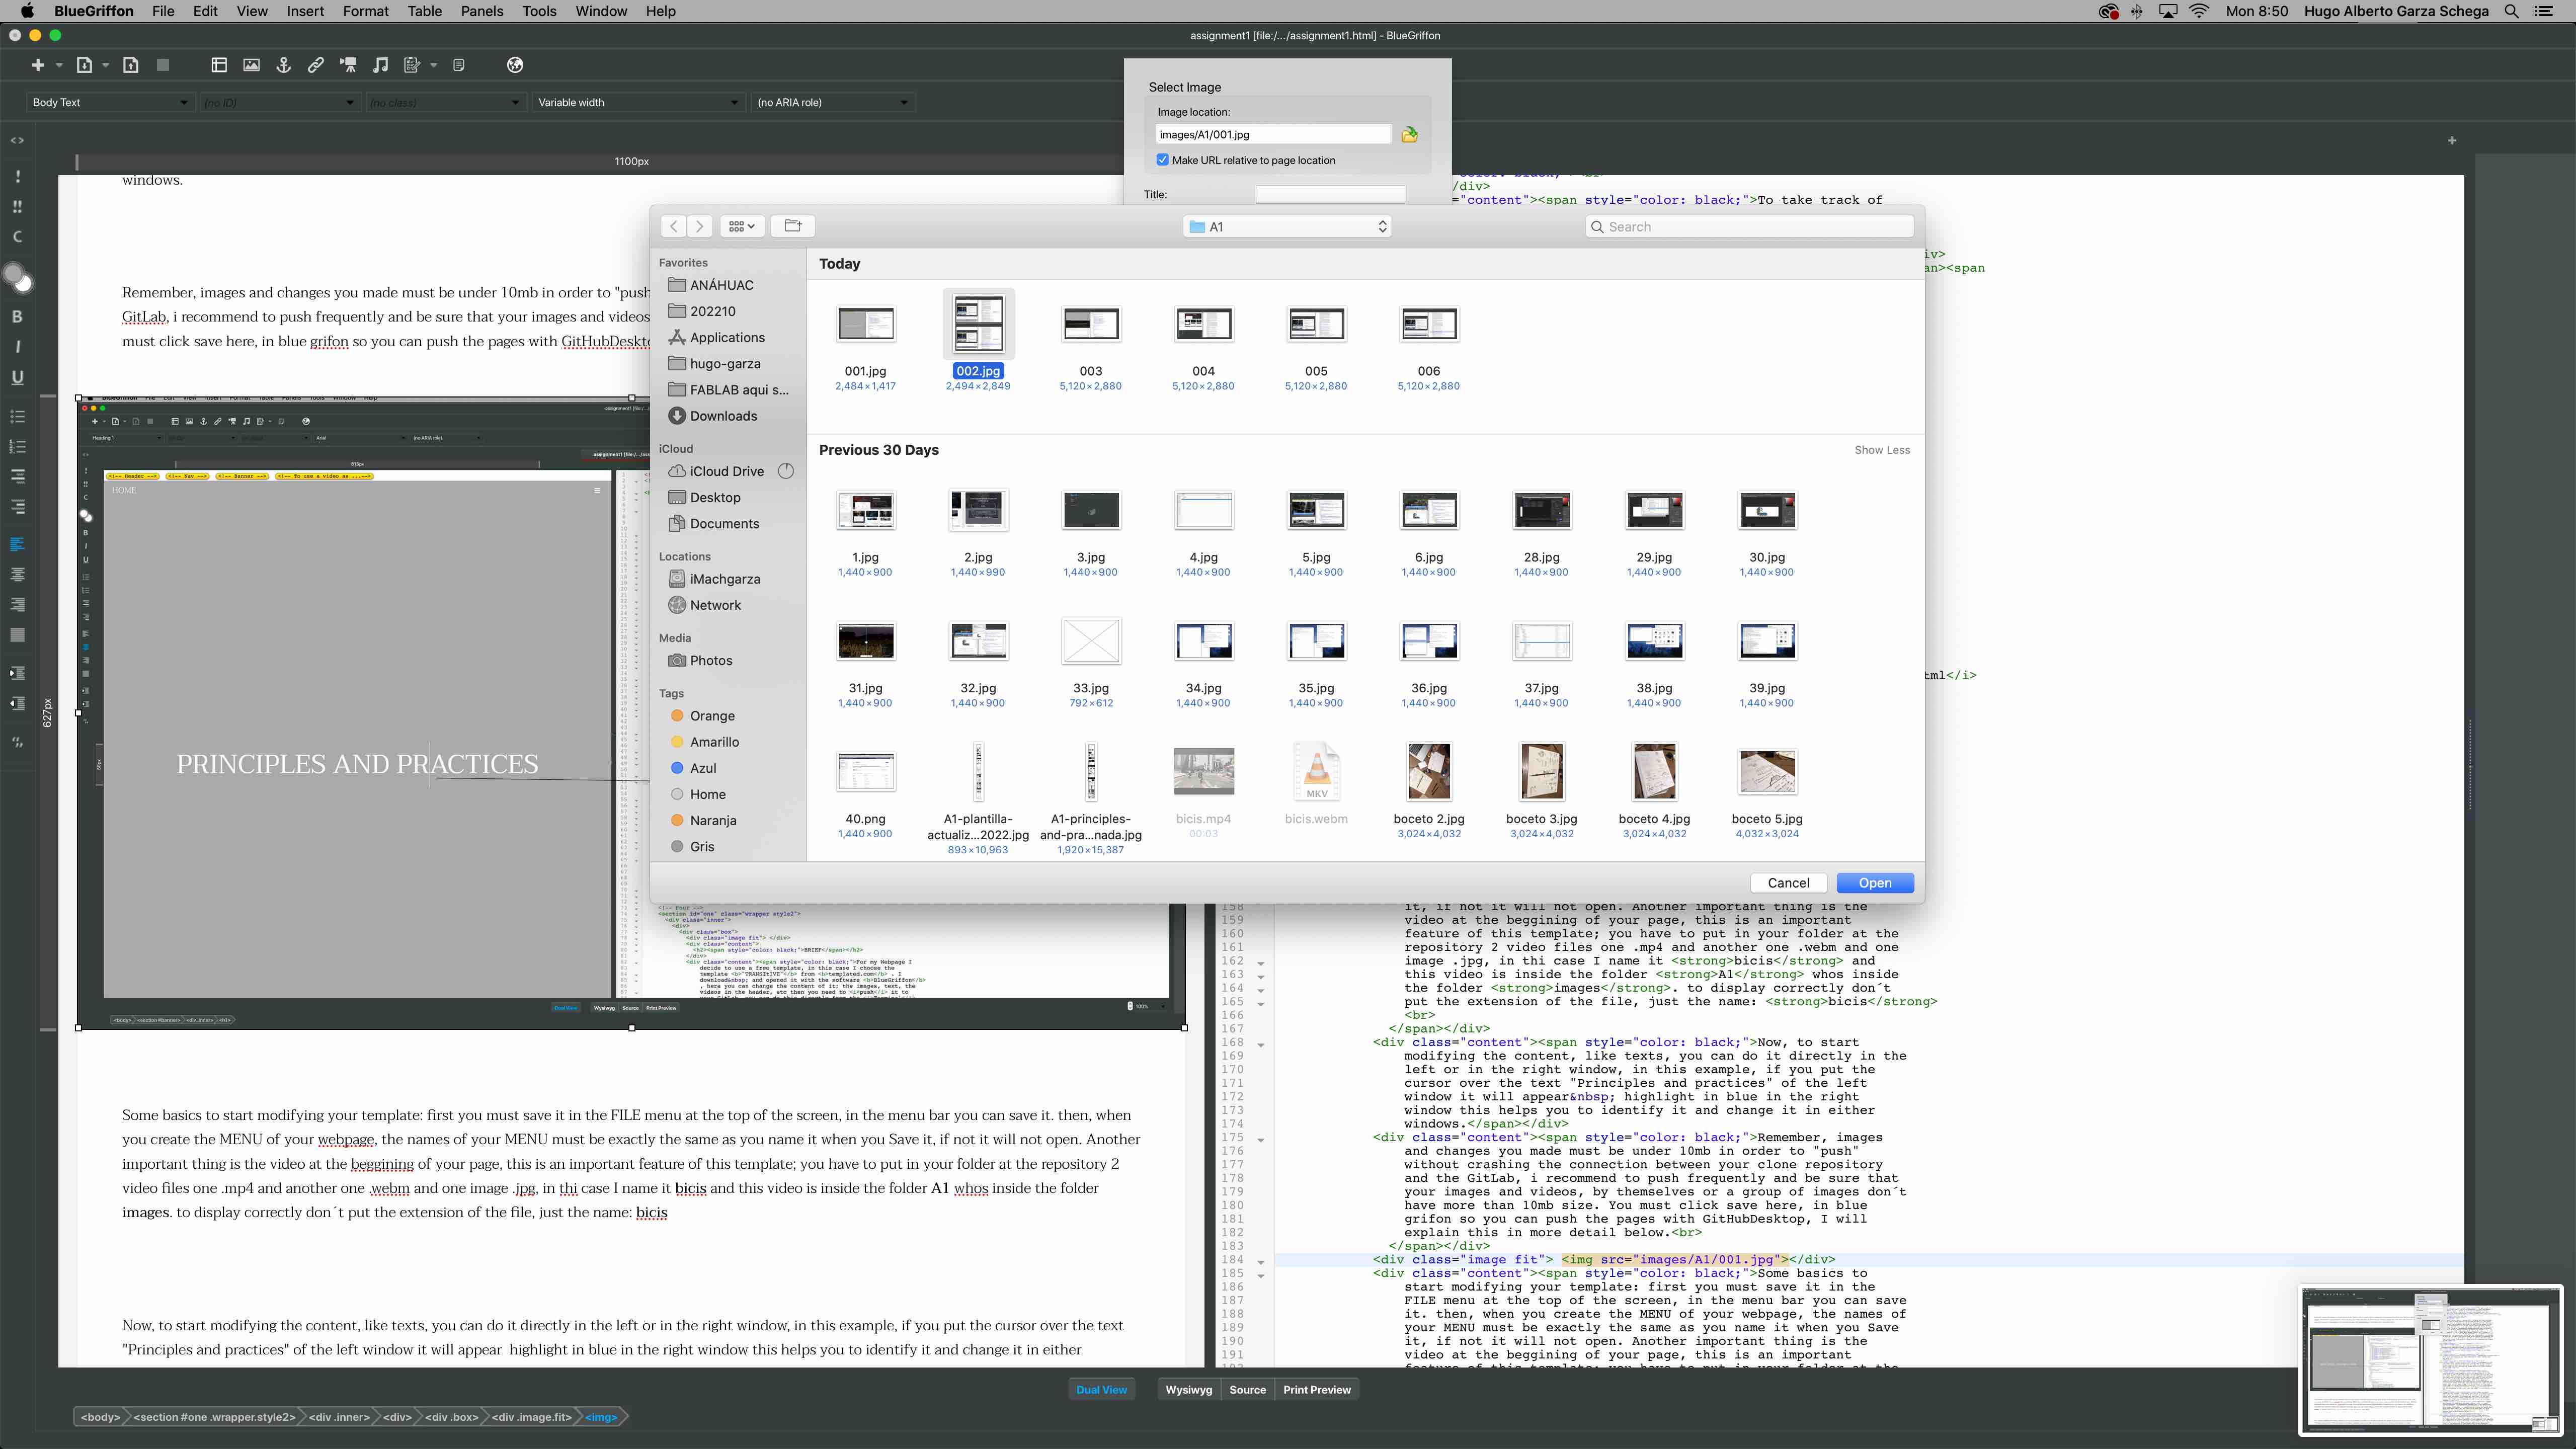
Choose the image
you want to upload, remember, this image must be already in your
repository.
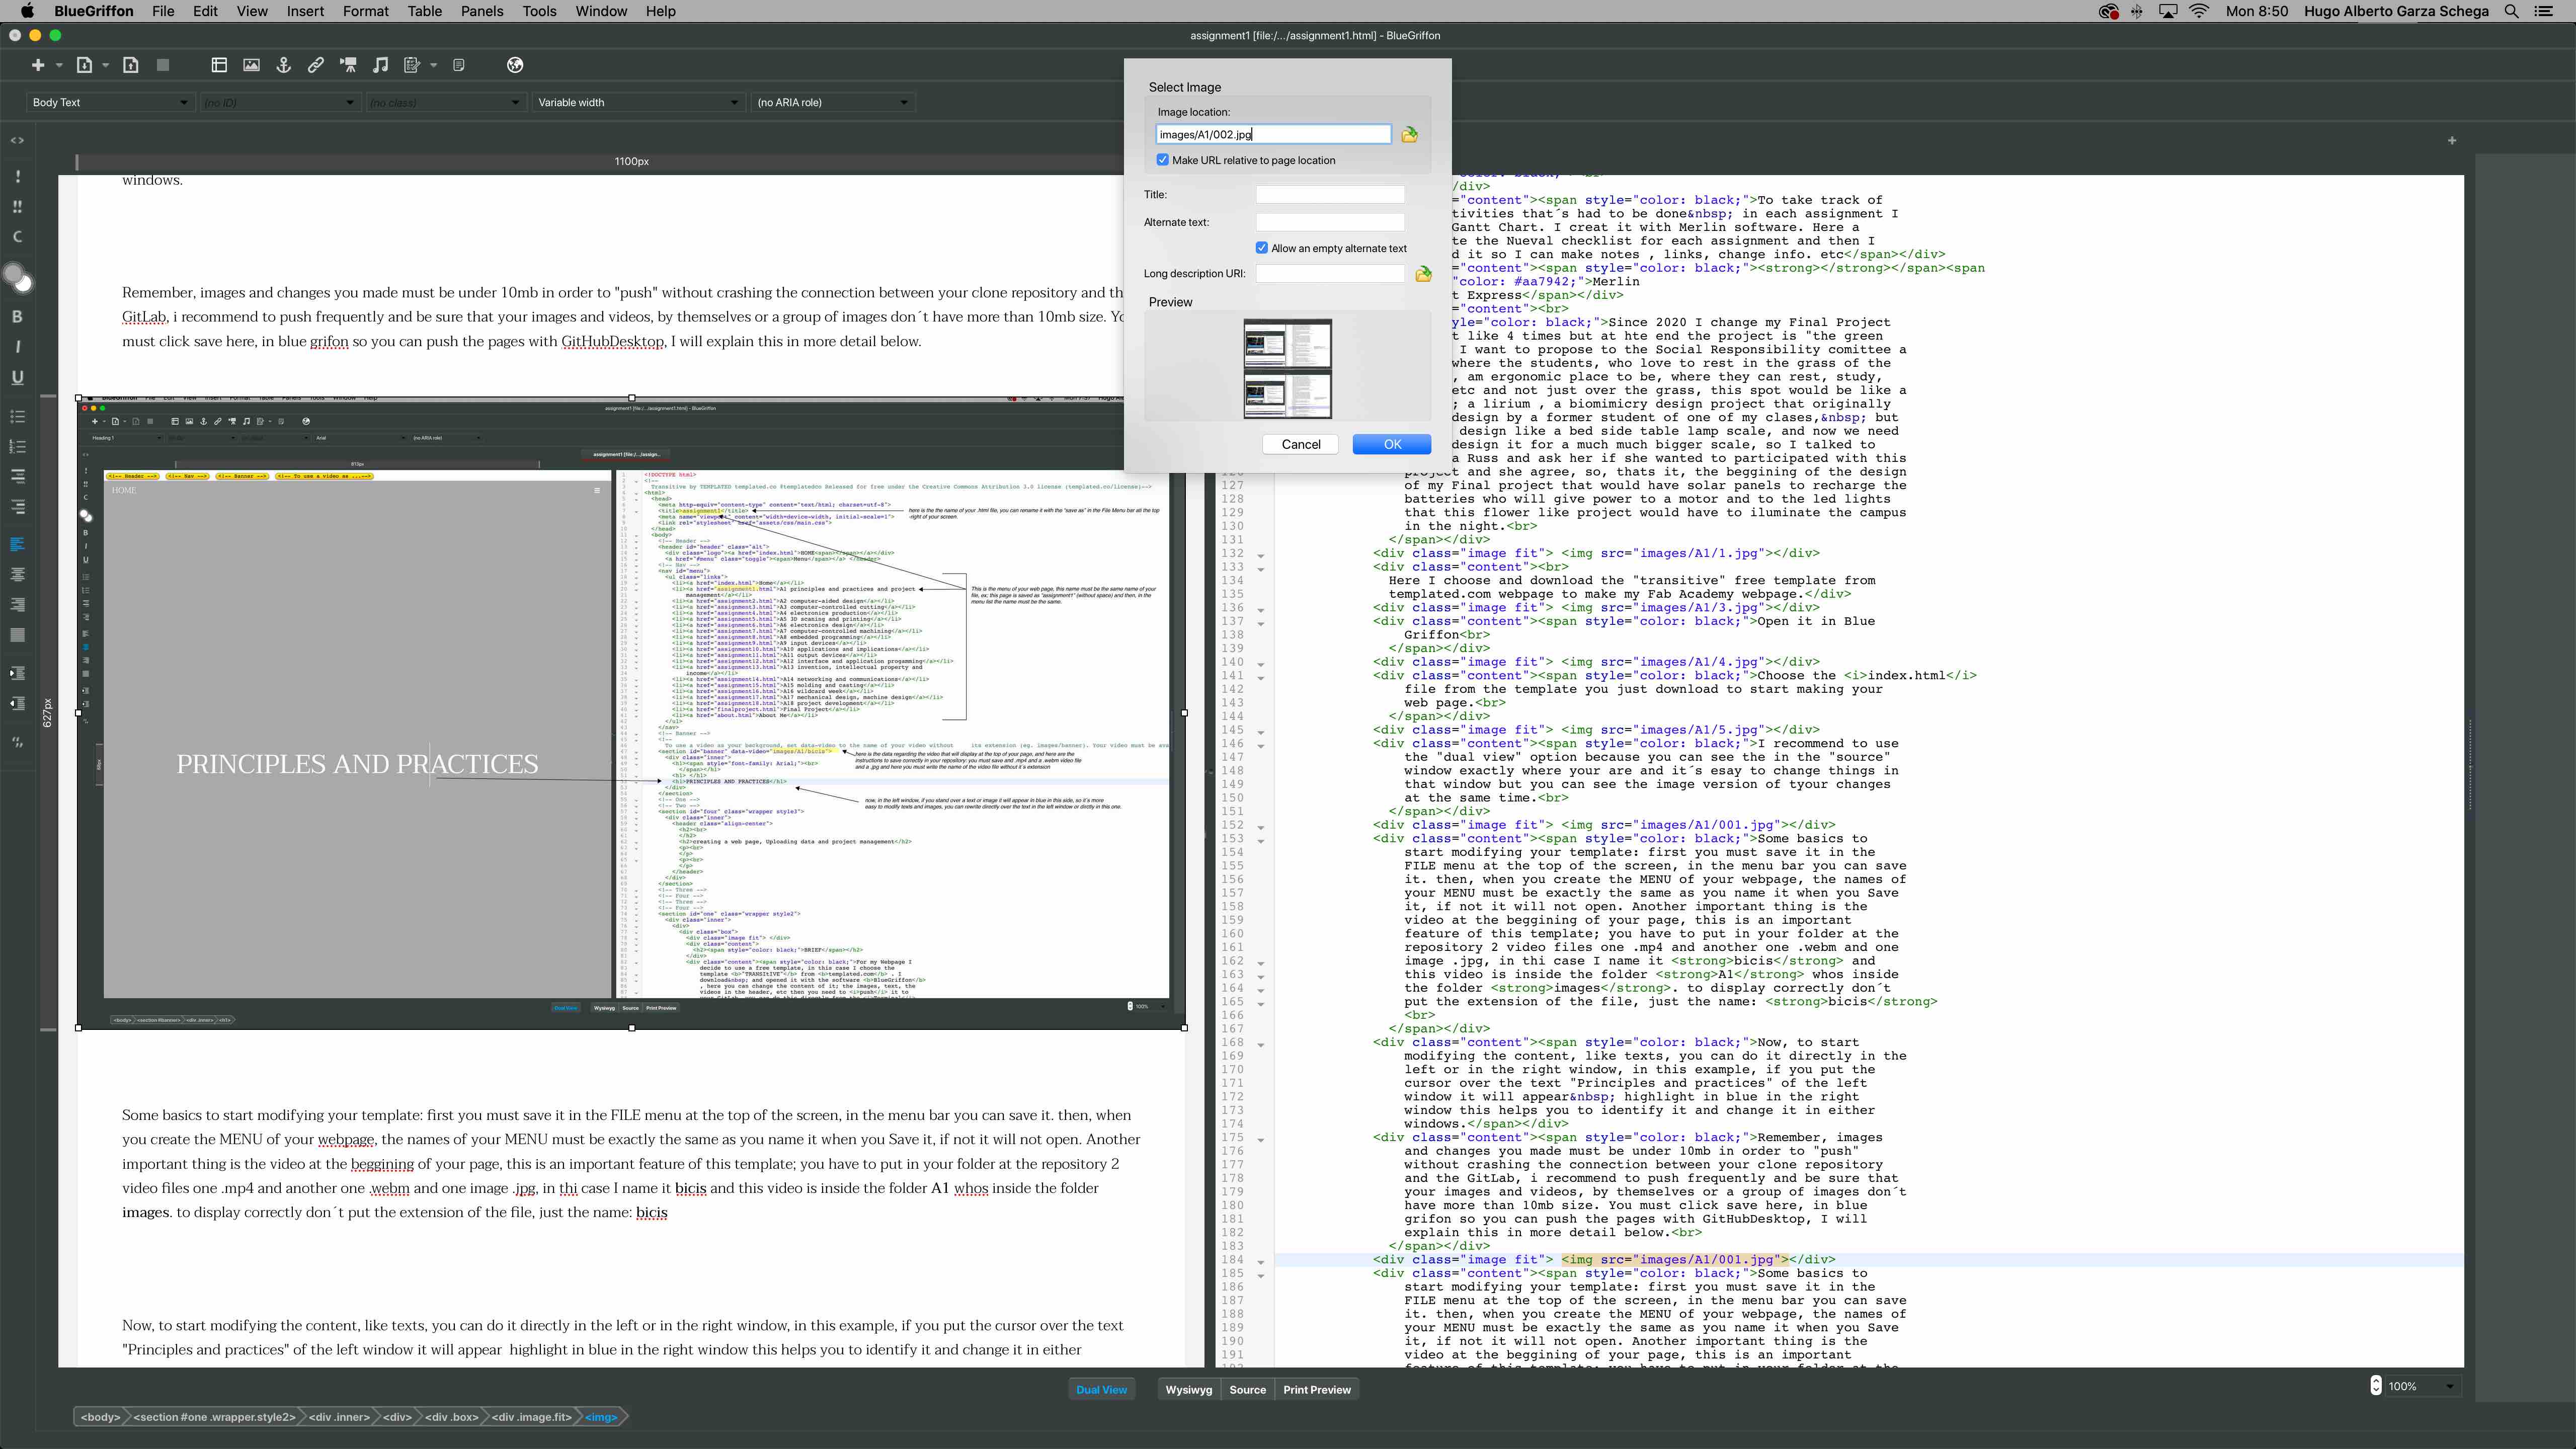
In this case I
select the image "2", now check the box that says "allow an
empty alternate text" so the OK button turn blue and you can
click it
And now you have a
new picture in your page, it is highlight in the right window so
you can identify the text that belongs to that image and chenge
it if neccesary.
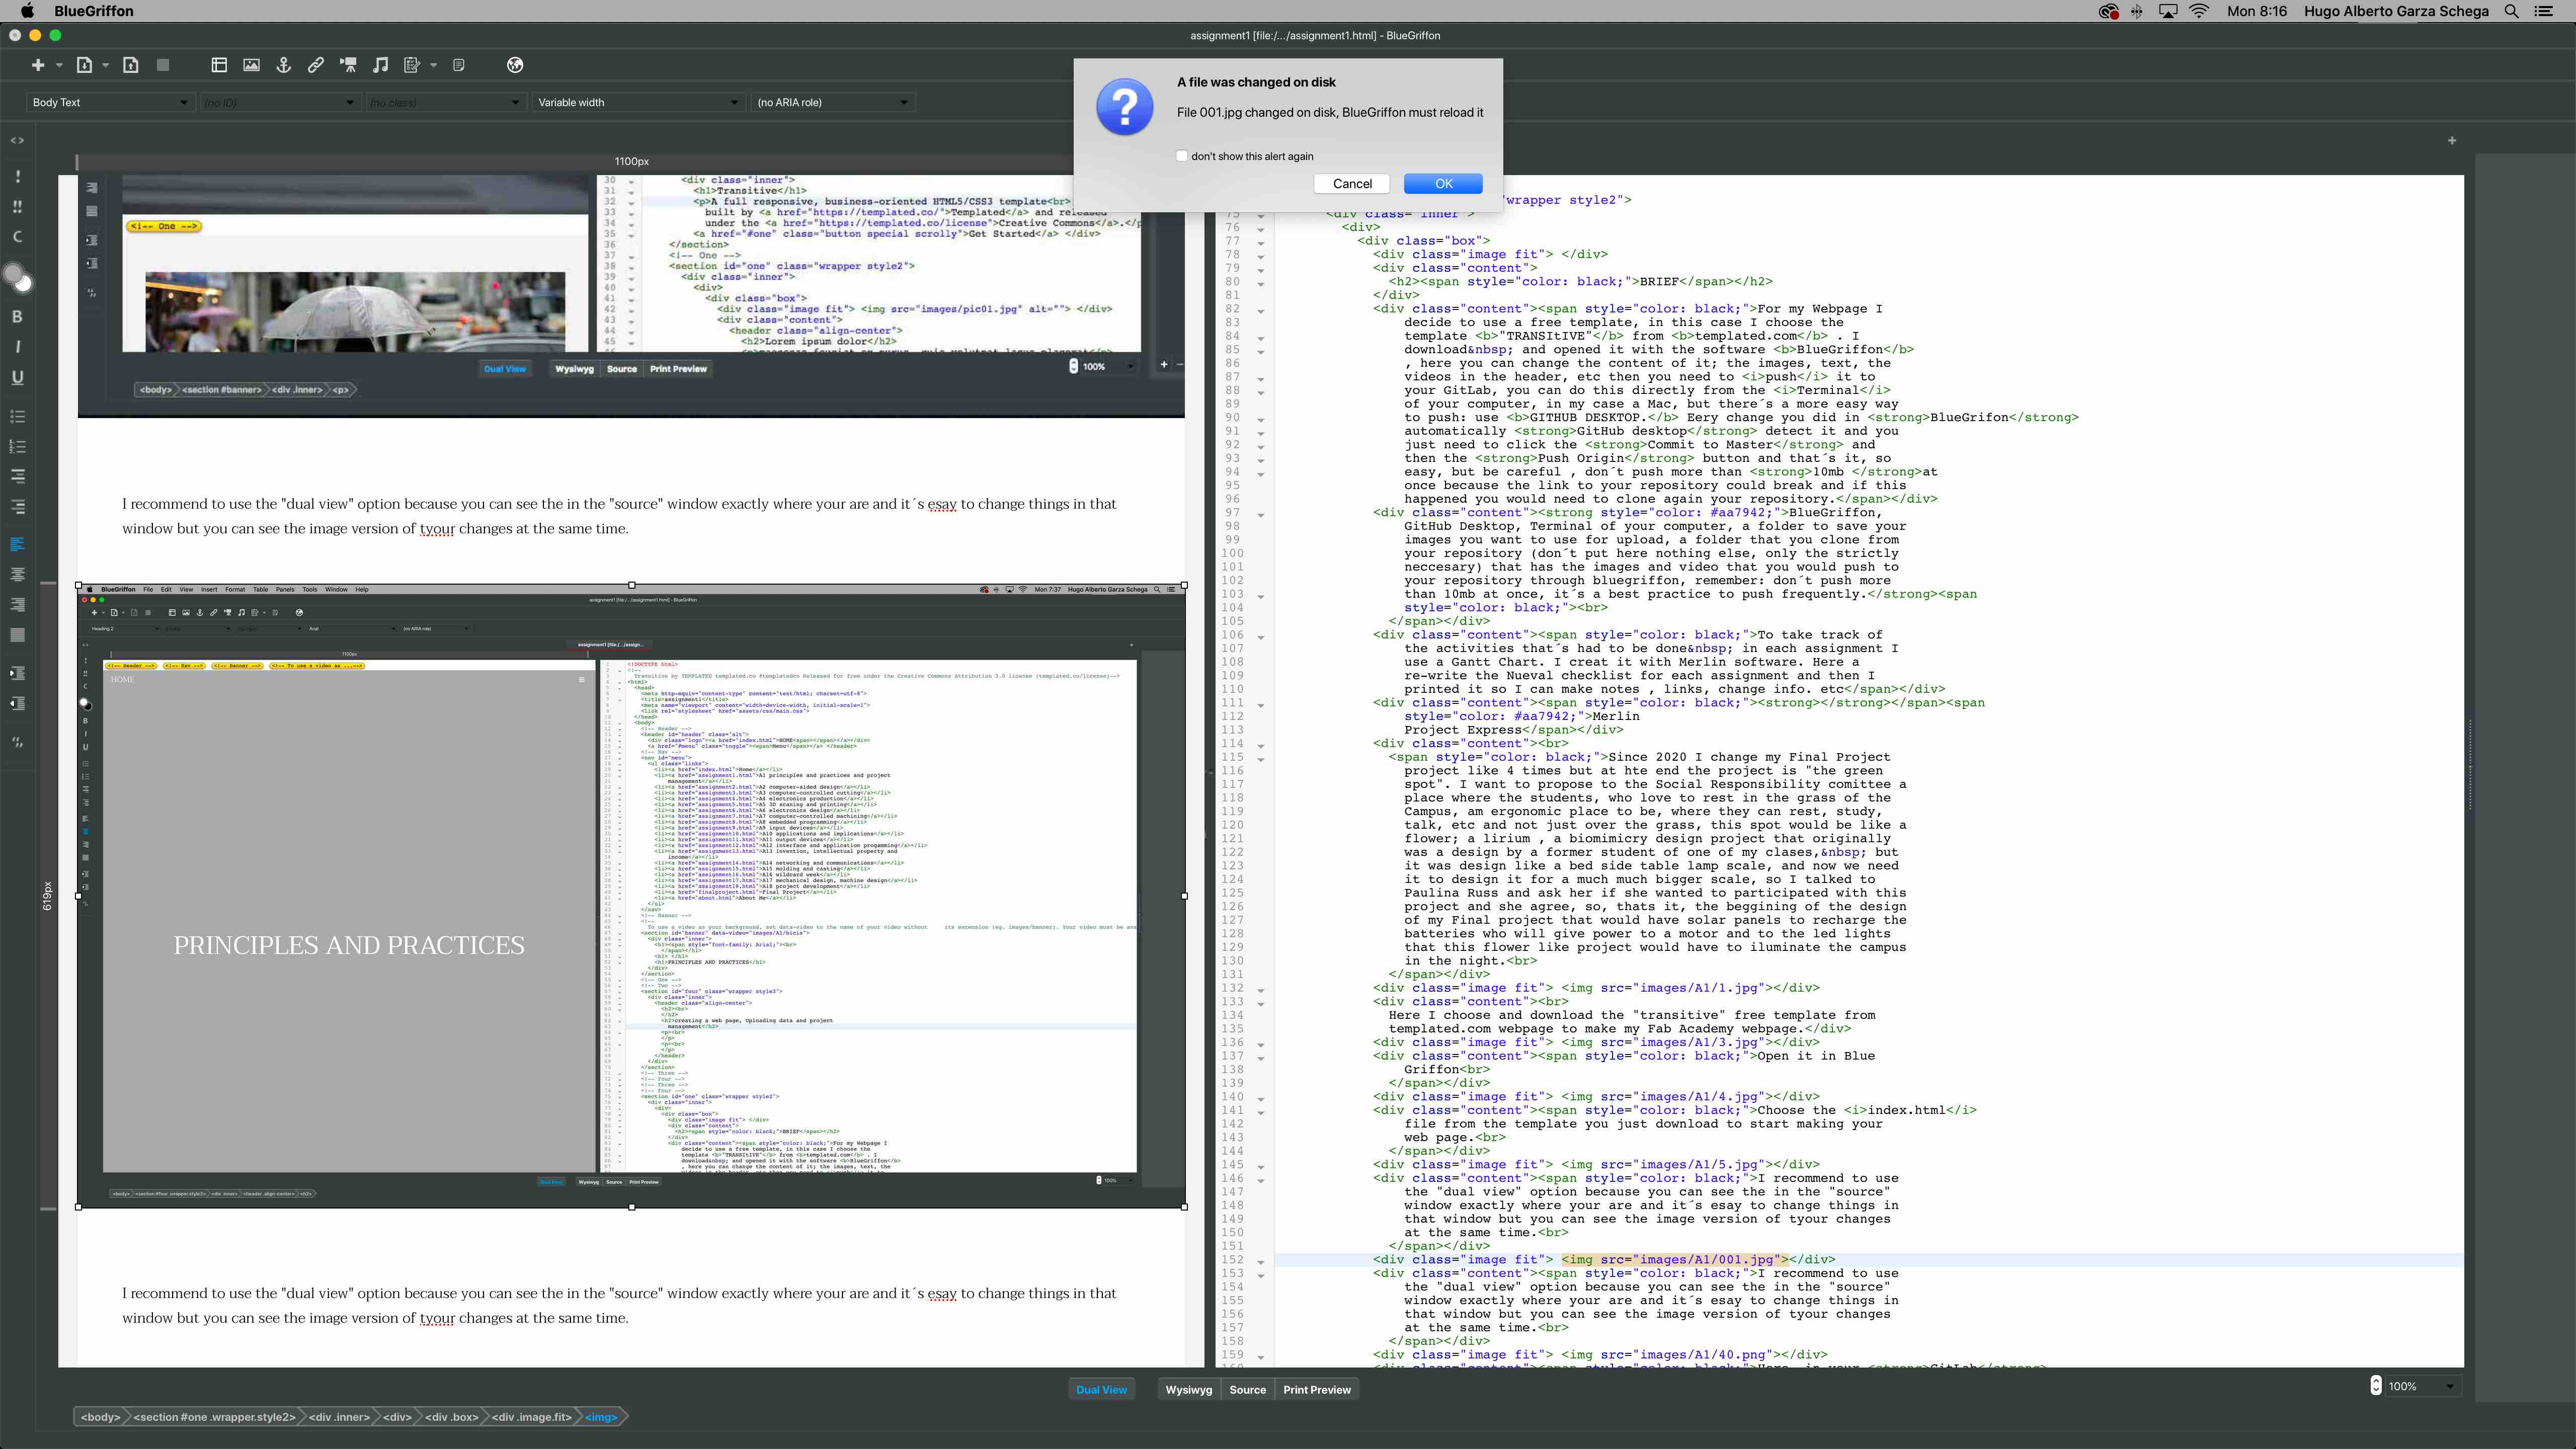
One thing that is
really good is that, if you modifiy the image and save it
in the repository, with the same name as the original,
automatically bluegrifon detect the change and give you an
alert, then by clicking OK, the new image will appear instead
the original.
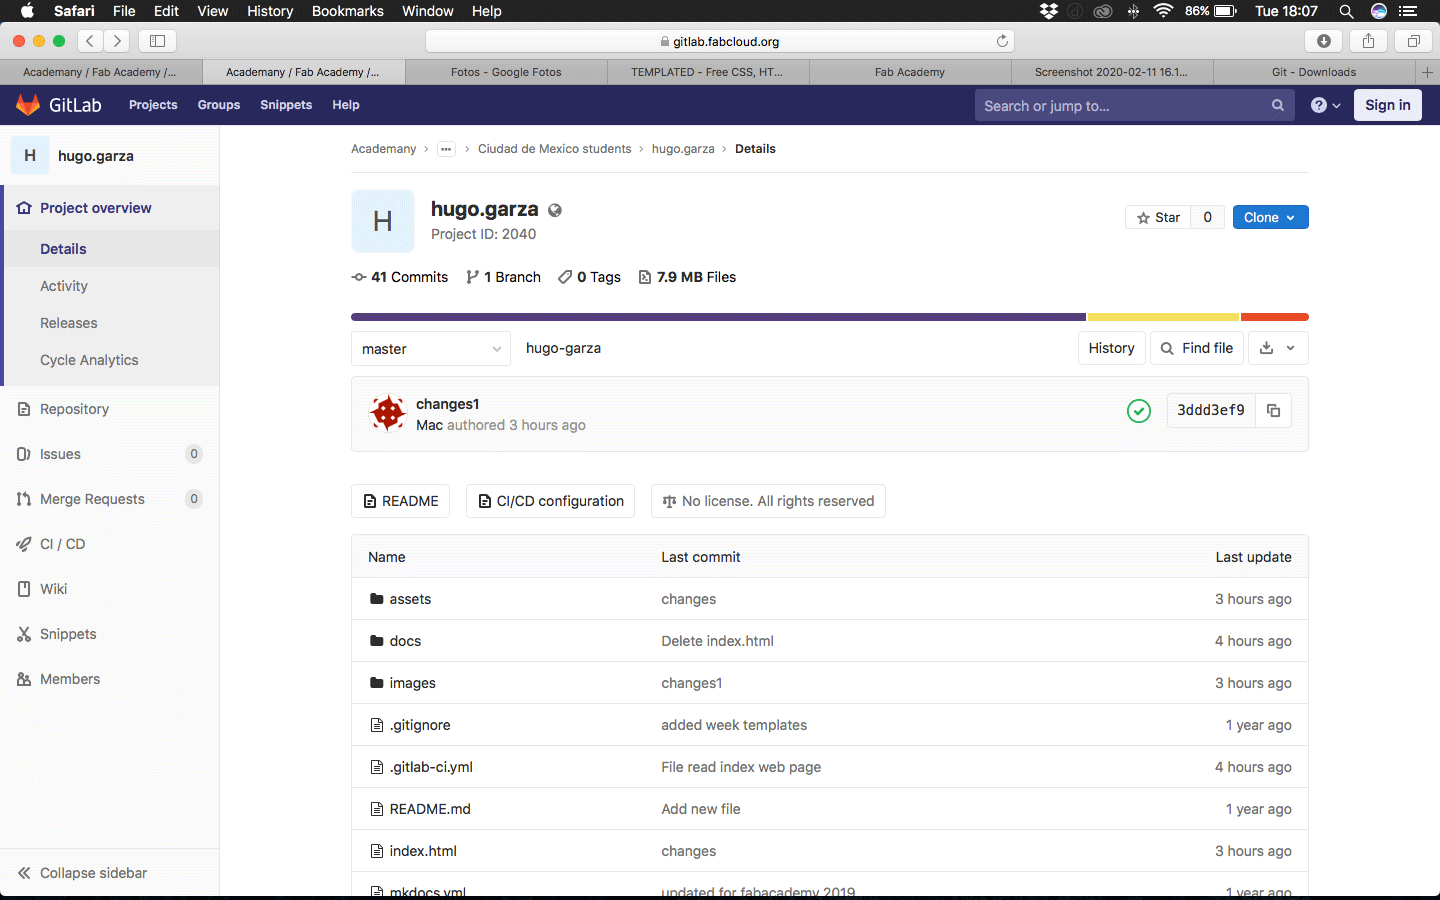
Here, in your GitLab
repository you need to clone your repository, the folder that
would be created in your computer is the link between the
repository and your computer, everything you put in that folder,
or the changes you make through BlueGriffon its
the information that the Terminal or GitHubDesktop
will push.

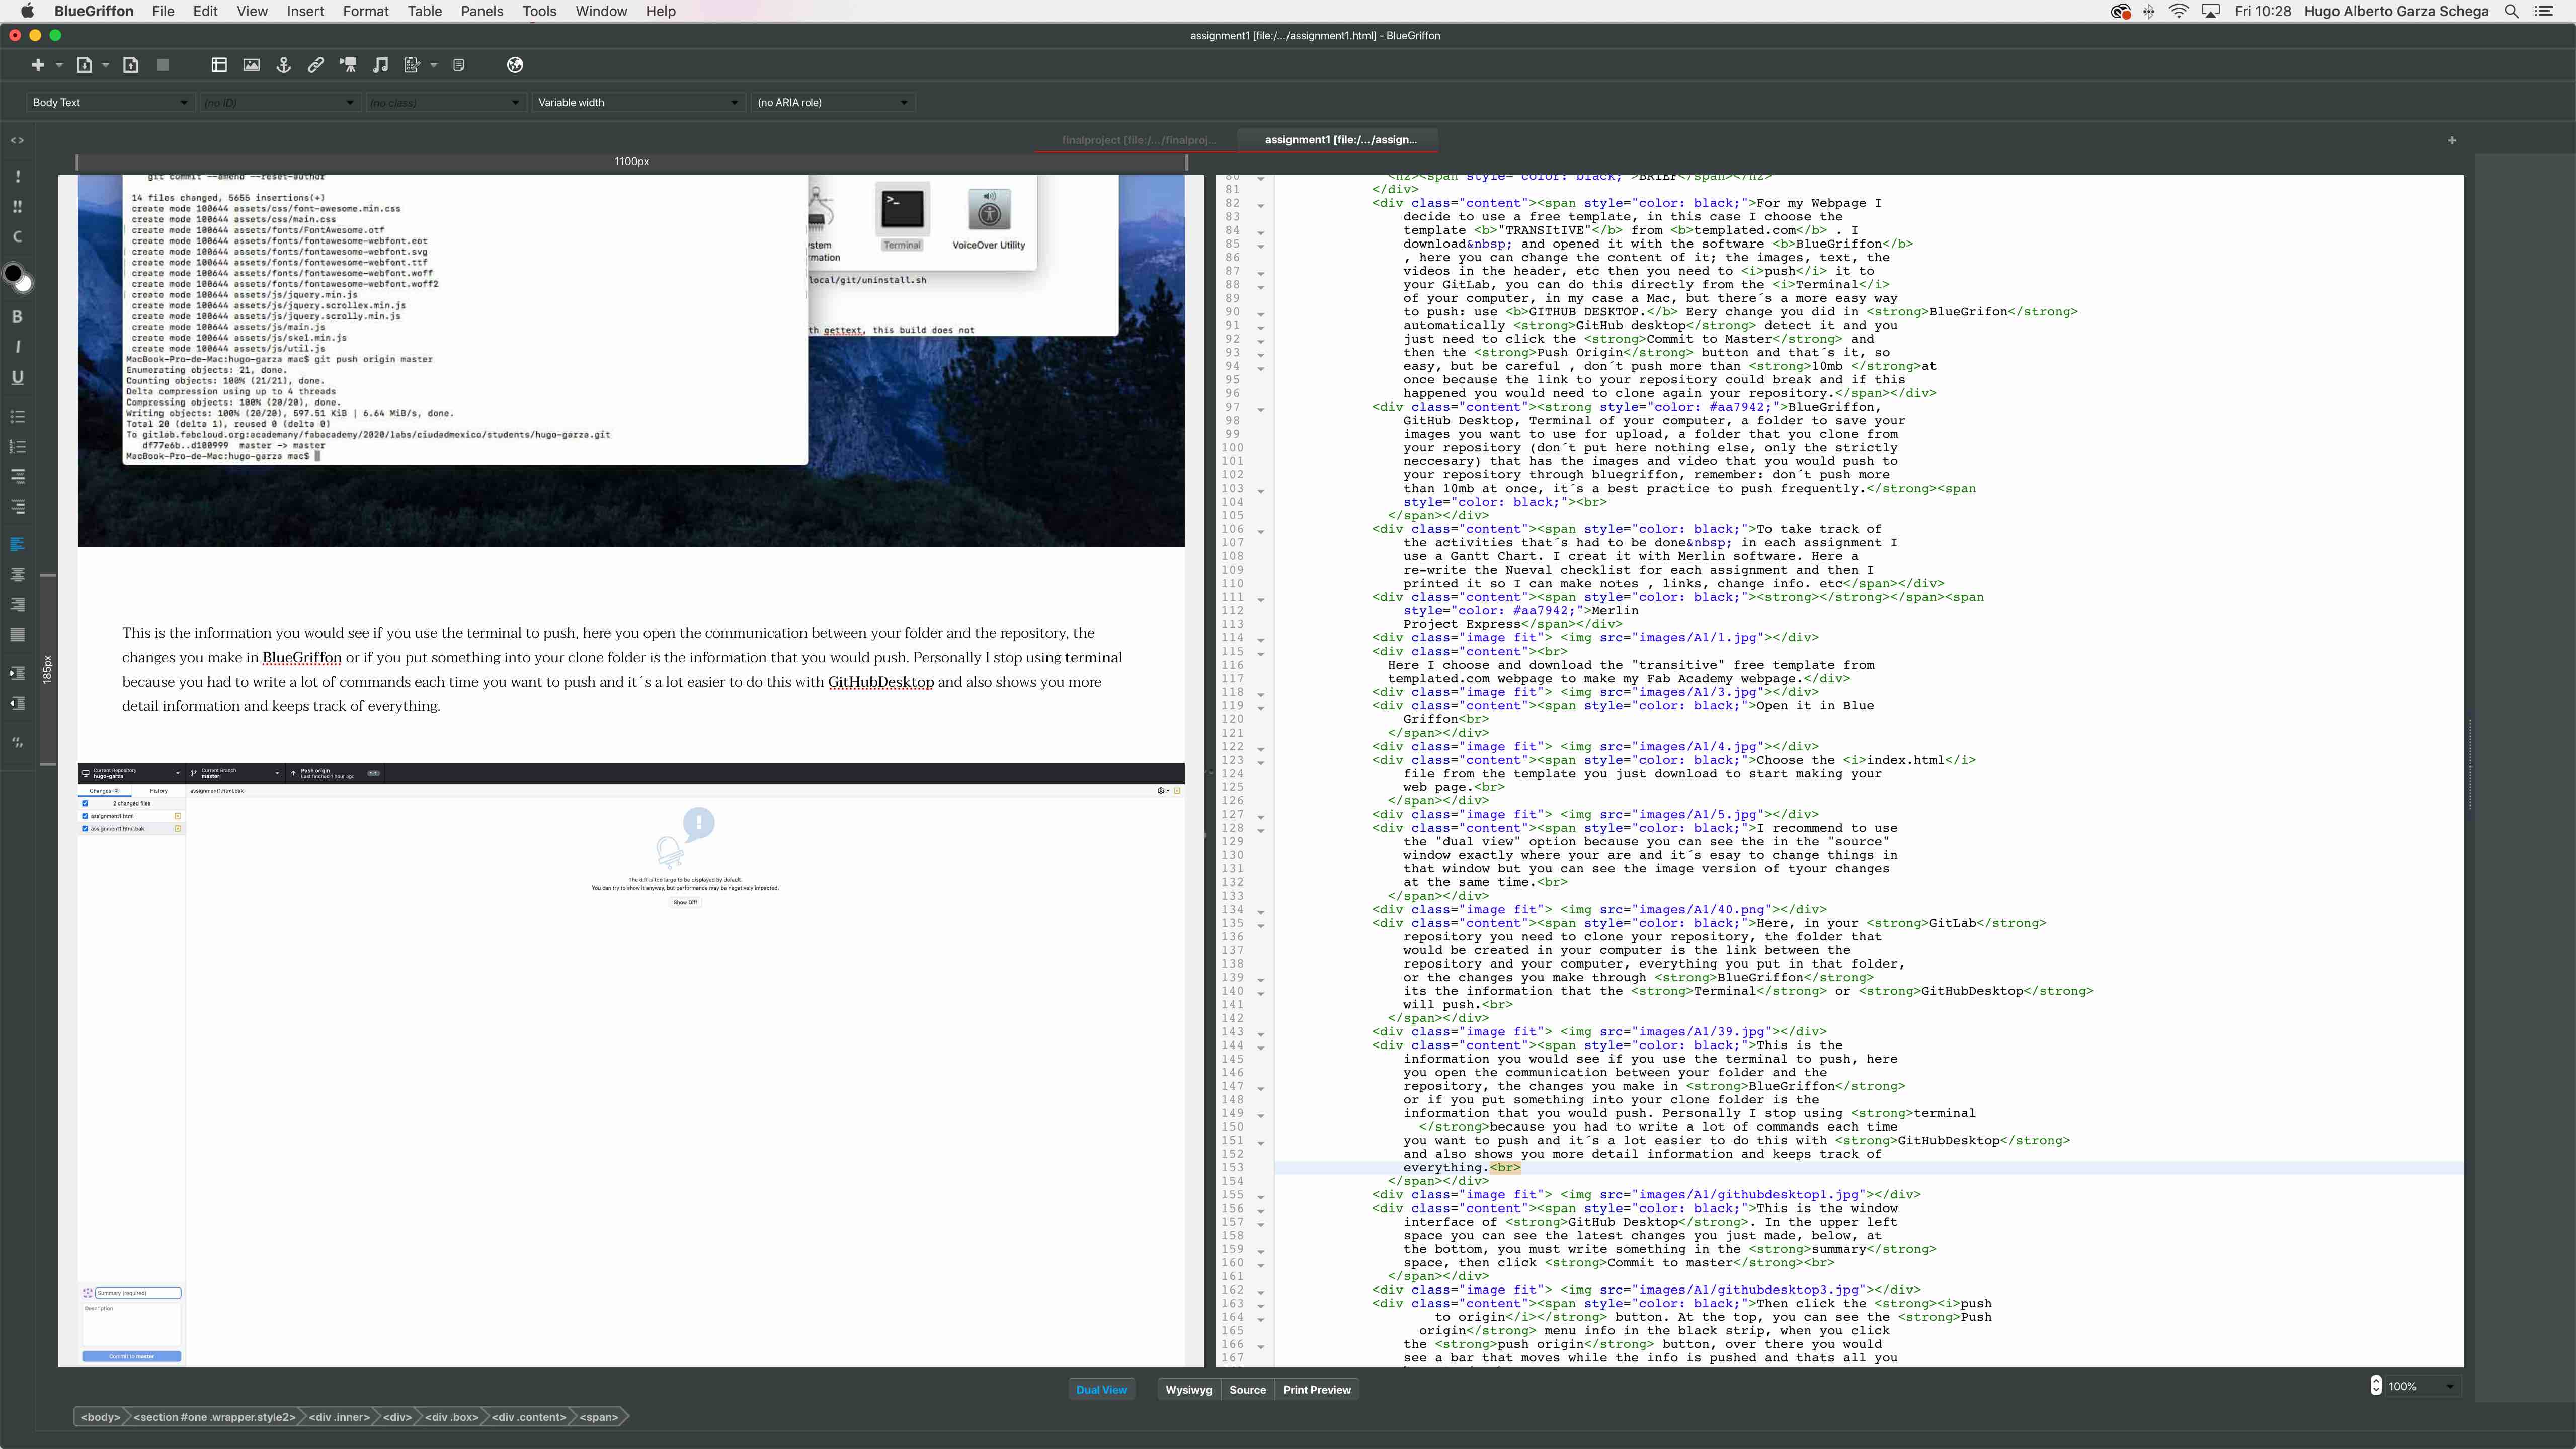
This is the
information you would see if you use the terminal to push, here
you open the communication between your folder and the repository,
the changes you make in BlueGriffon or if you
put something into your clone folder is the information that you
would push. Personally I stop using terminal because
you had to write a lot of commands each time you want to push and
it´s a lot easier to do this with GitHubDesktop
and also shows you more detail information and keeps track of
everything.
going back to bluegriffon,
when you want to push, just save and githubdesktop
would detect the changes, so now you are ready to push.
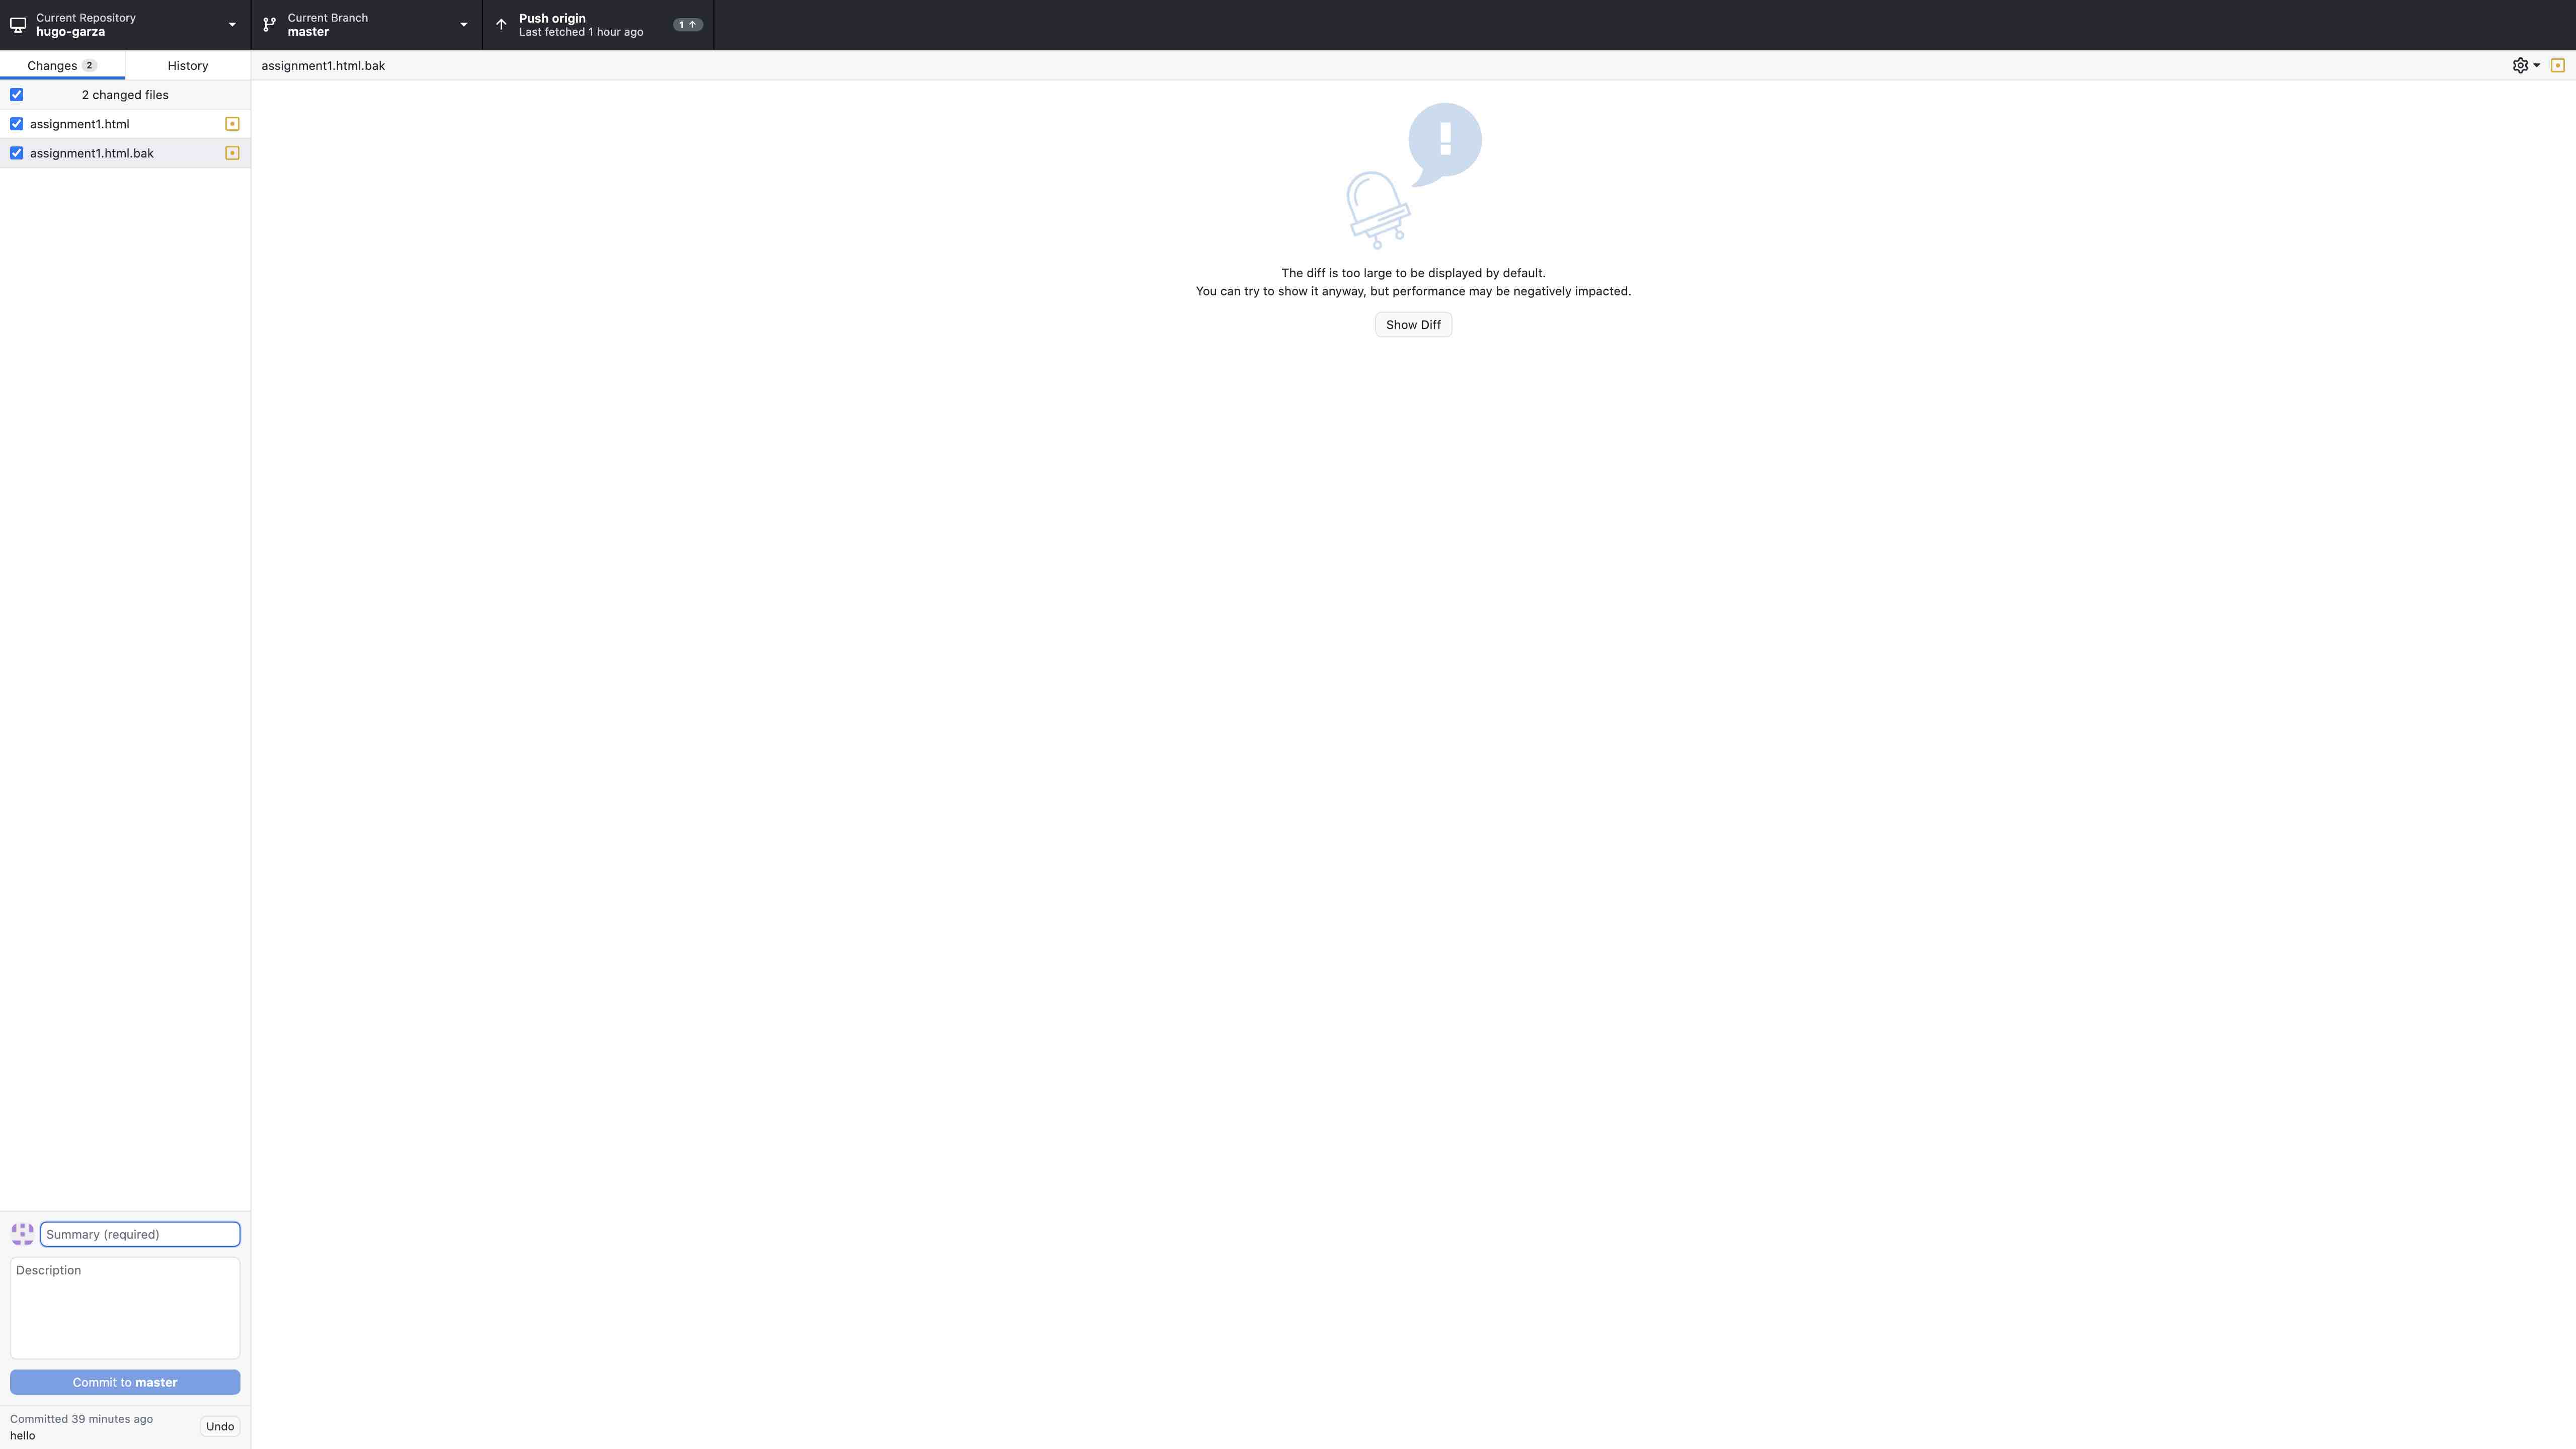
This is the window
interface of GitHub Desktop. In the upper left
space you can see the latest changes you just made, below, at the
bottom, you must write something in the summary
space, then click Commit to master
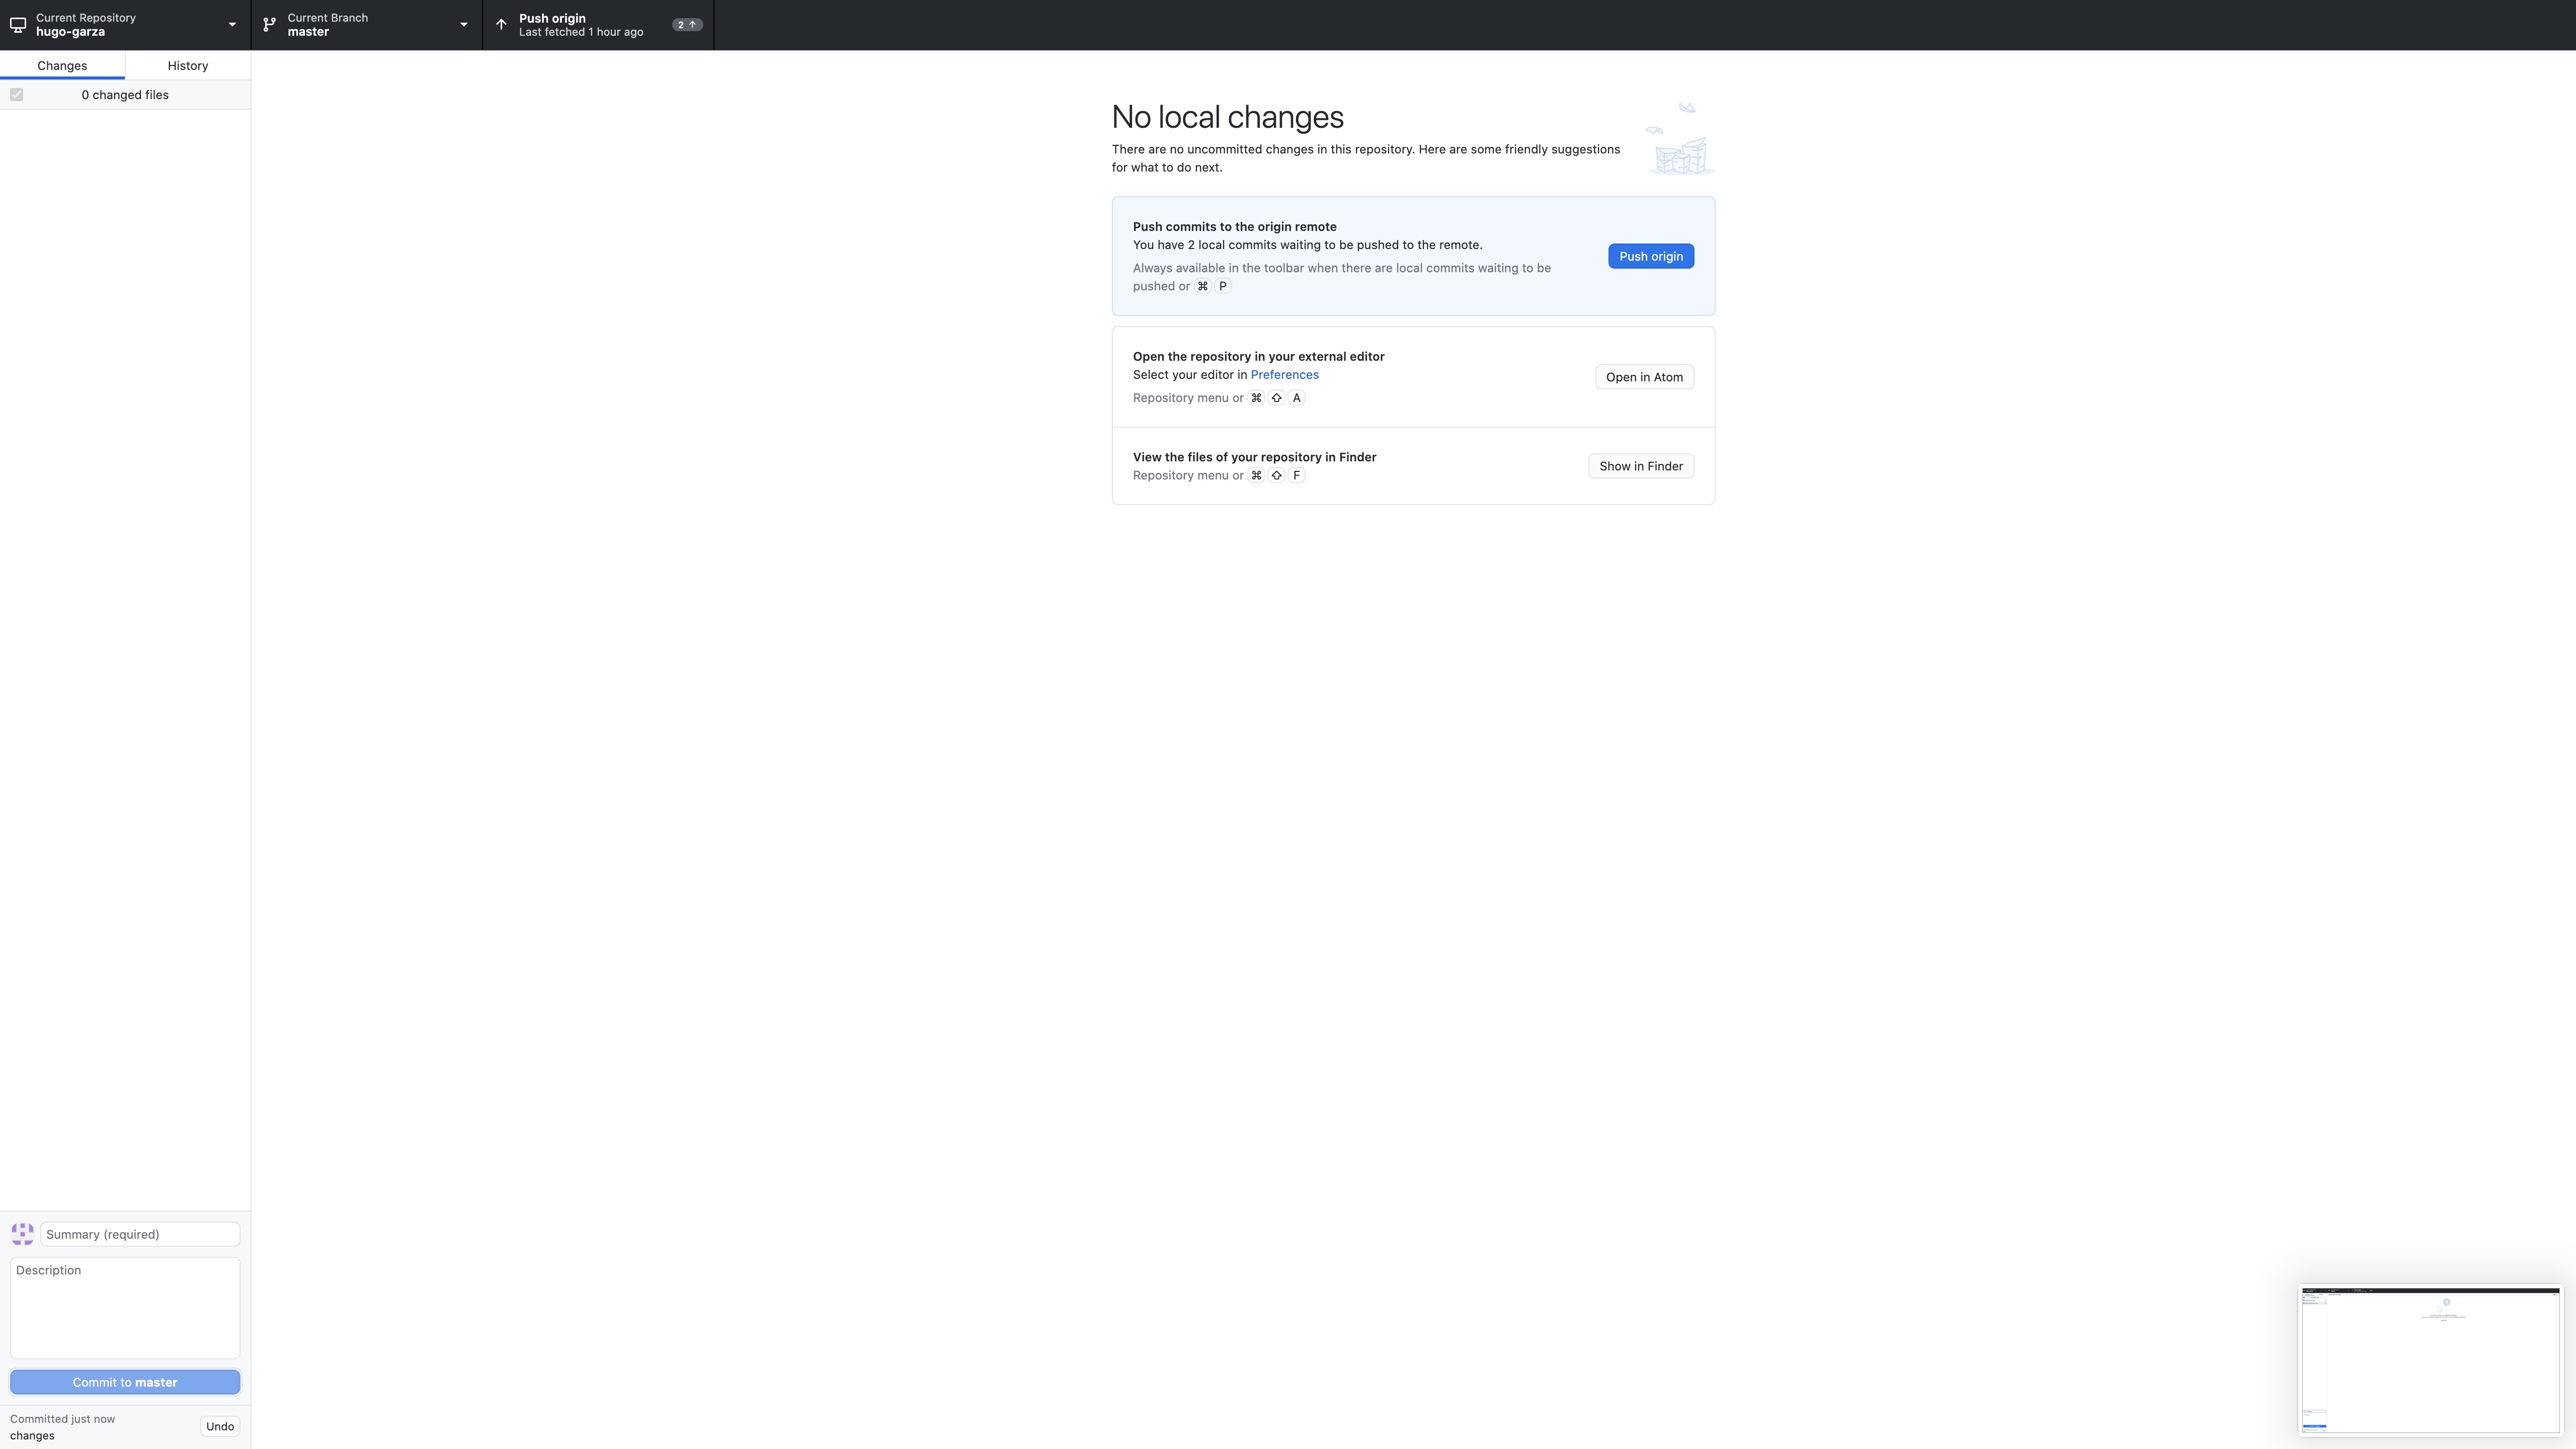
Then click the push
to origin button. At the top, you can see the Push
origin menu info in the black strip, when you click the
push origin button, over there you would see a
bar that moves while the info is pushed and thats all you have to
do.
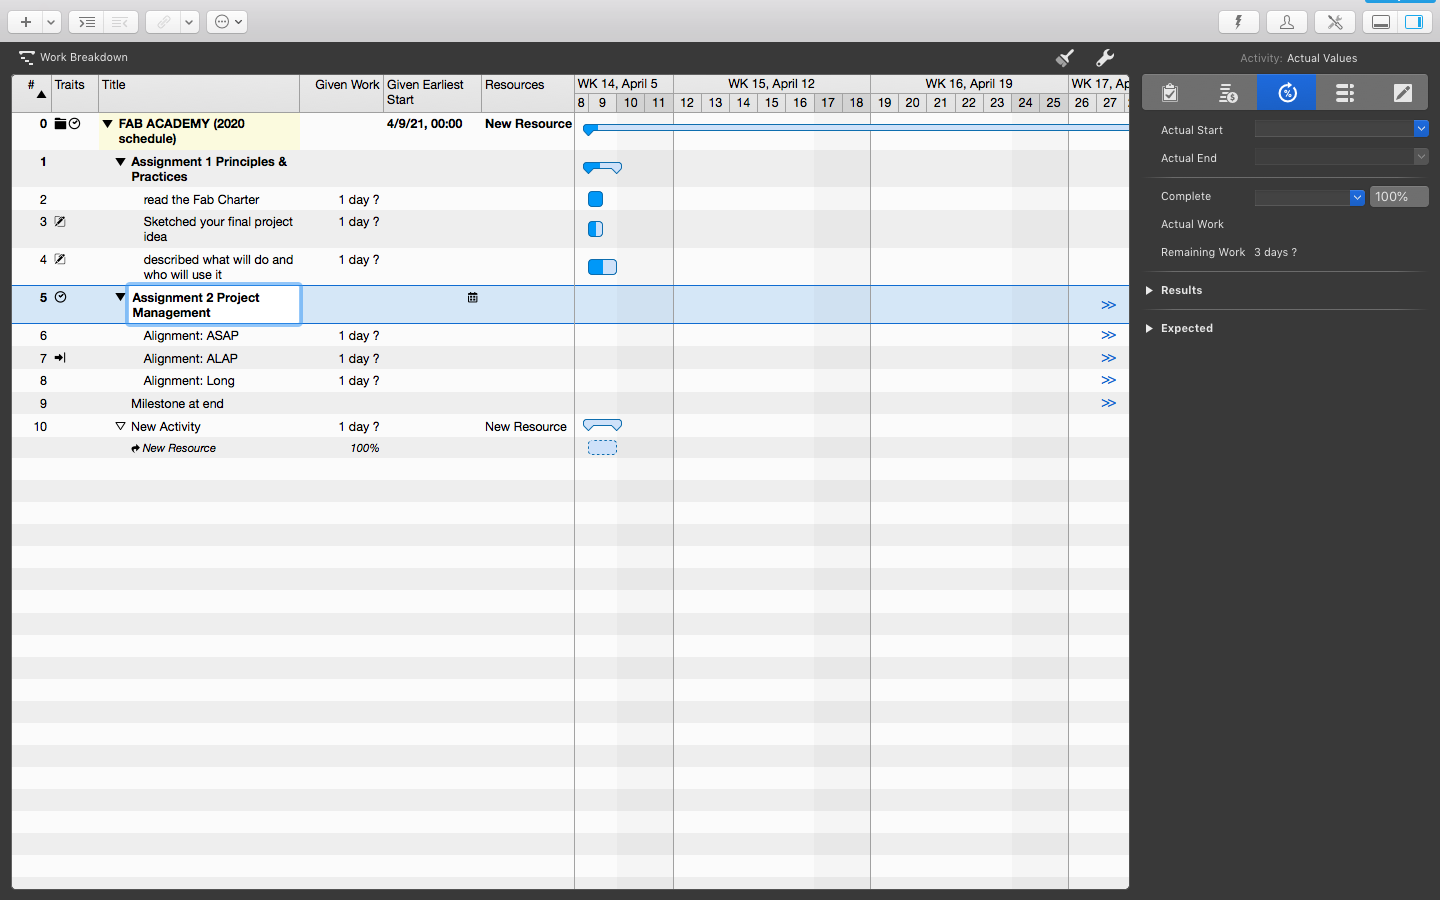
project management
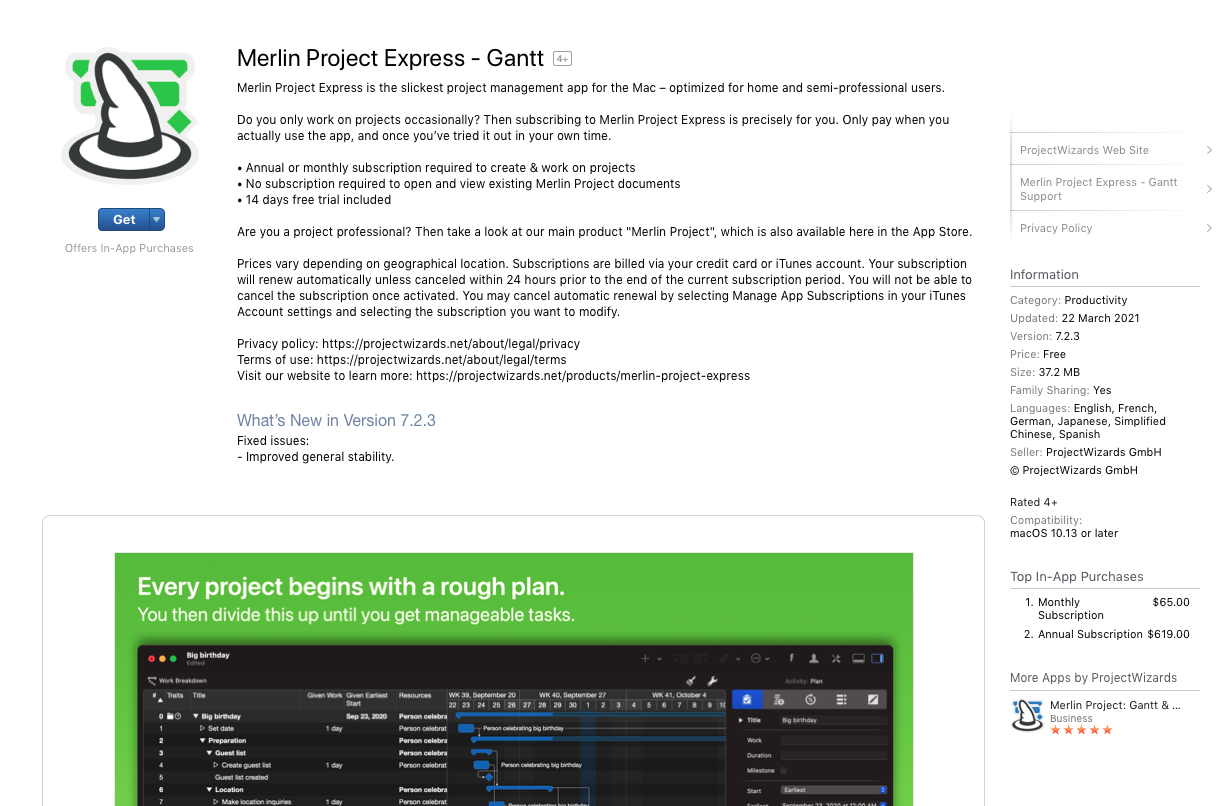
I decide to do a Gantt
chart to organize the activities, schedule, etc and this software look
good and easy to use.

I open a template that
Merlin already has to start making my own Fab Academy Gantt chart
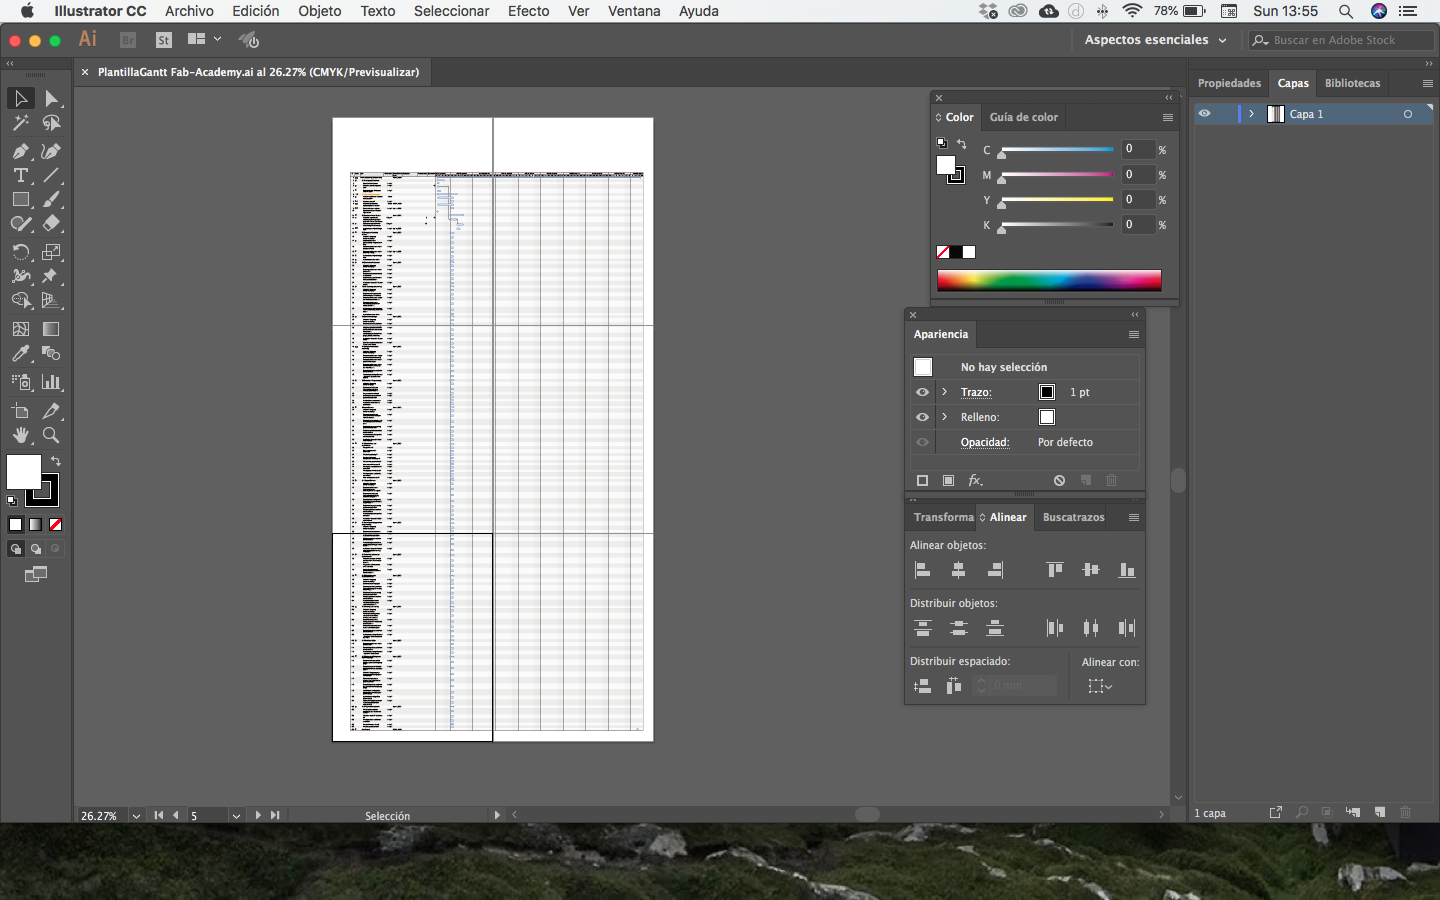
When finished, I
export a PDF format, then I opened it in Illustrator so I can
print this Giantt chart in 6 pages.
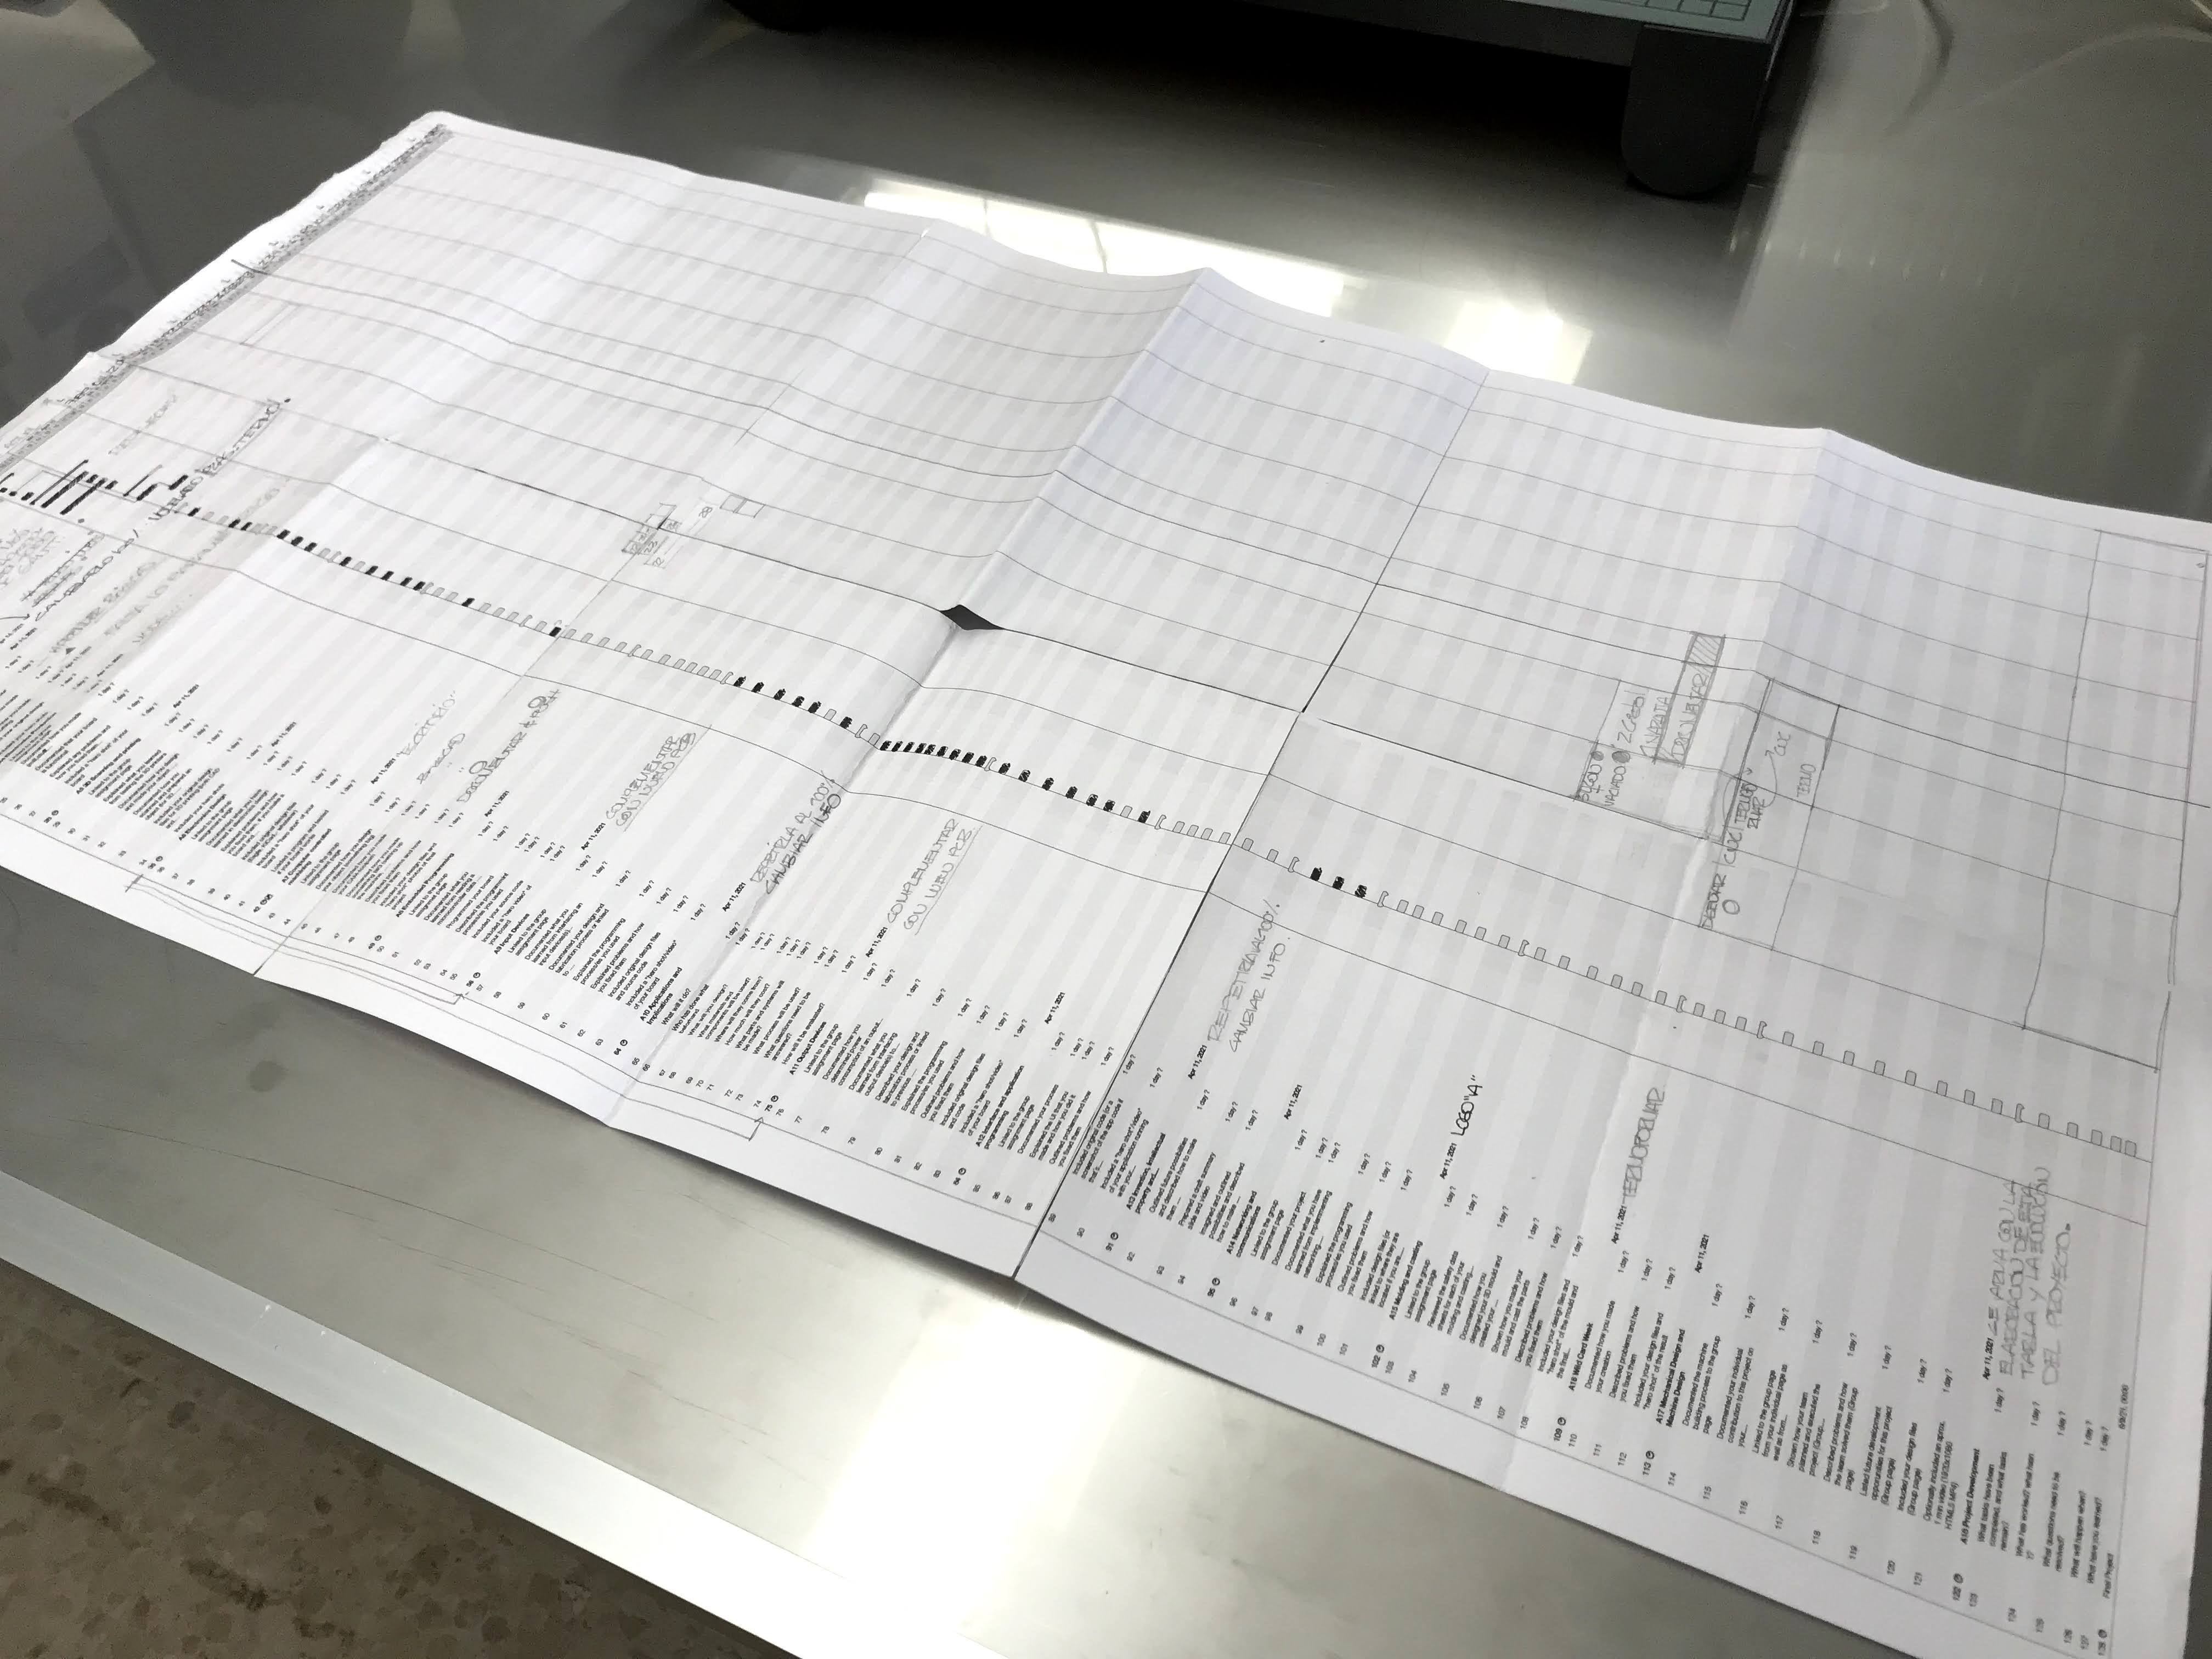
Here I can keep track of
the assignment activities more easily.
Final Project proposal
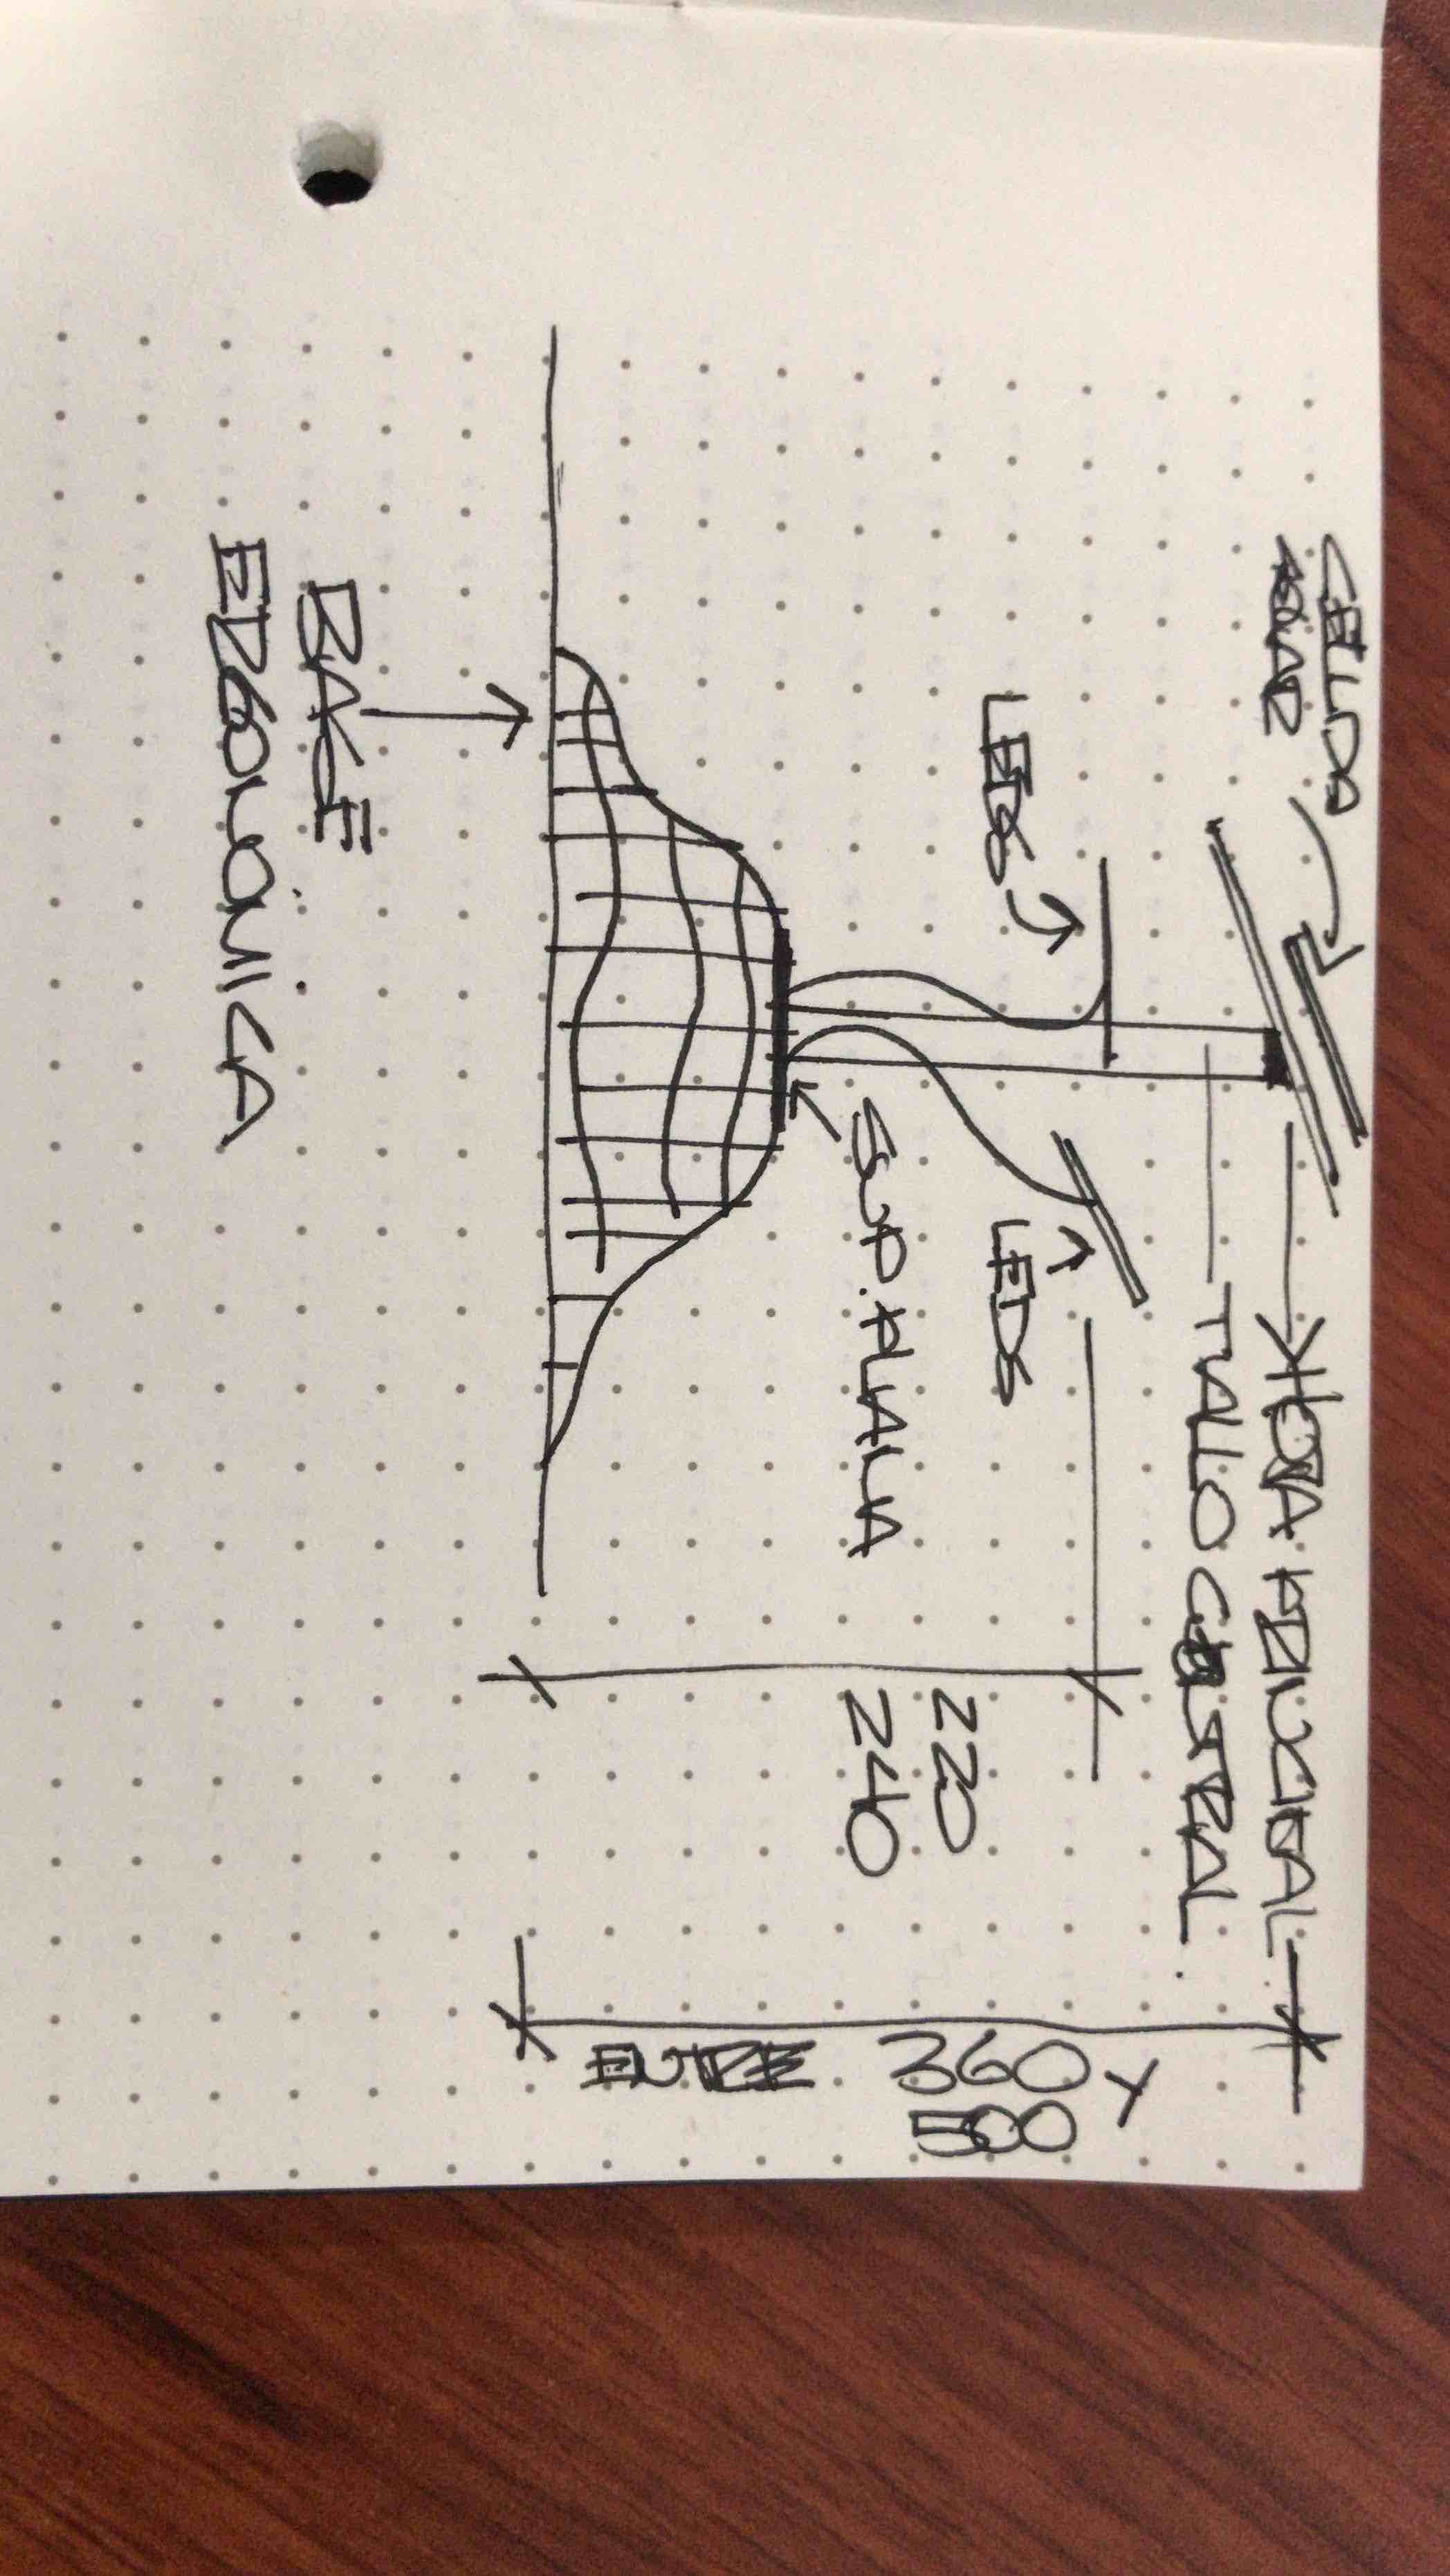
As I mentioned in the
BRIEF section at the begginng of the page, I need to redesign the
original design of Paulina, starting with some measures, and aditional
important objects like the base, also we already know that we need to
modify the structure of the central leaf to give support to the solar
cells and also to put inside the rotating system.
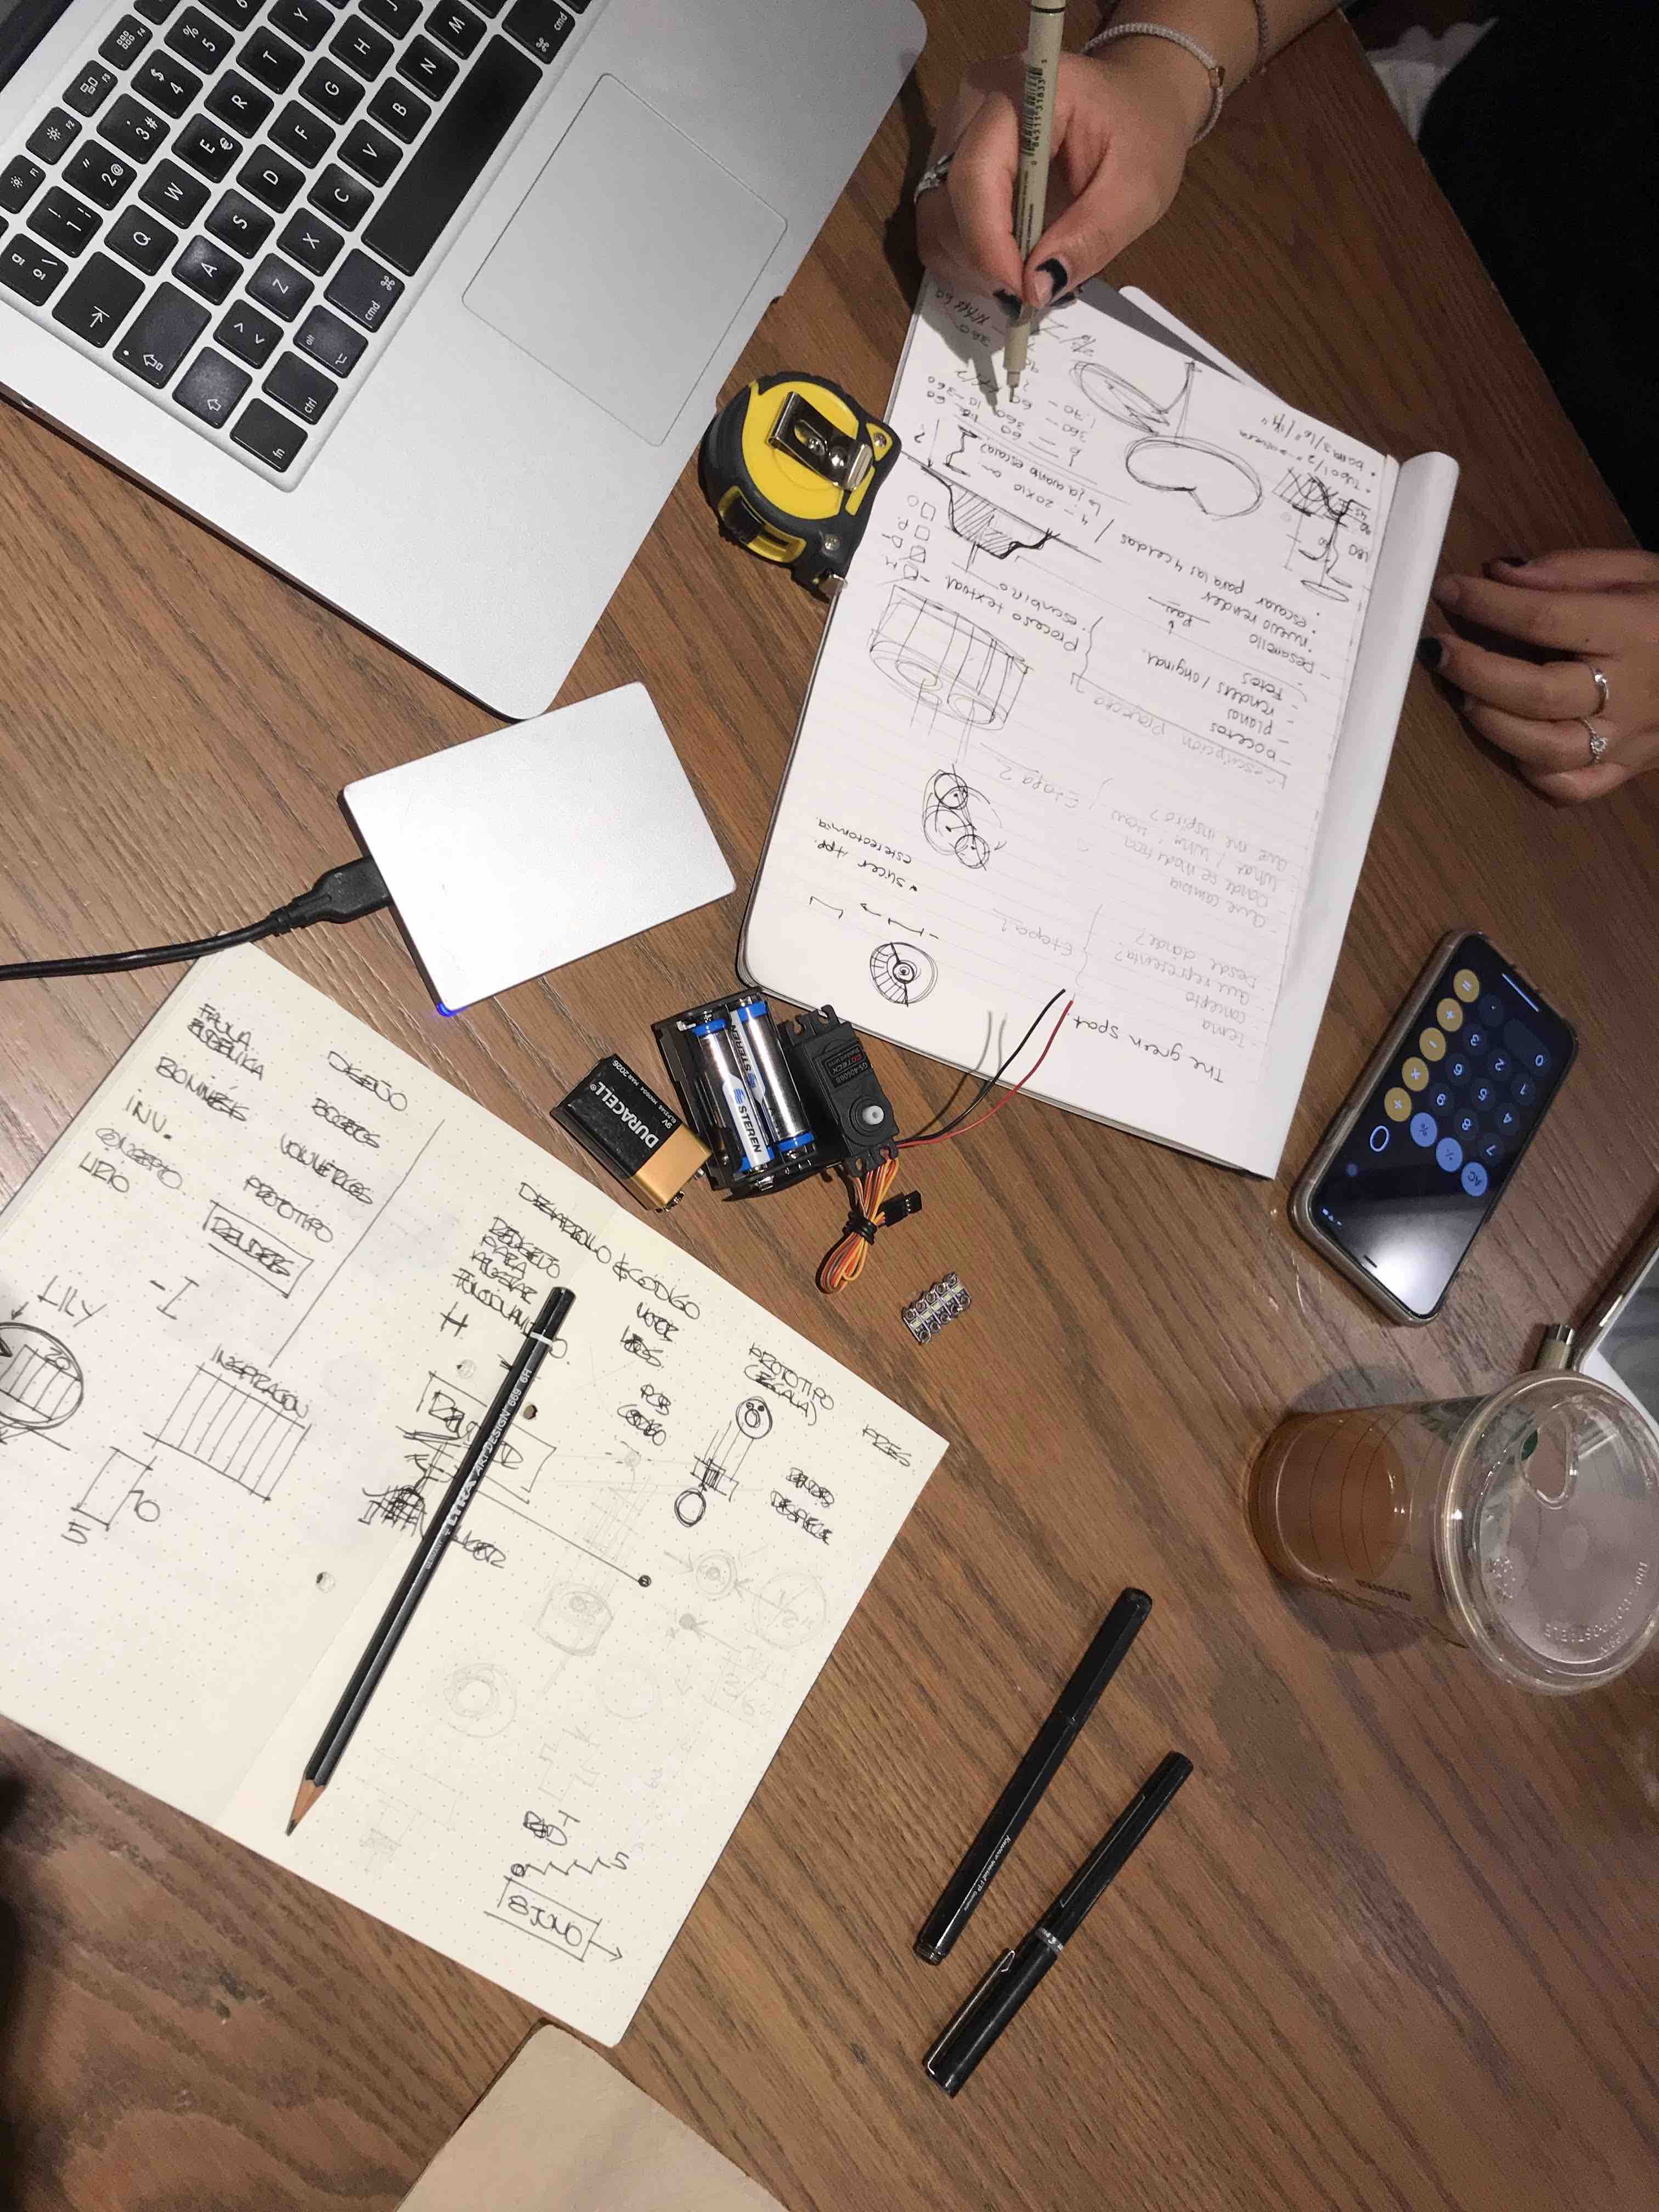
I already have some
components like the pack of batteries, the leds and the servo I will
use in my project. With this, we start making some notes to determine
the size of the base to fit inside the already mentioned components
with the PCB, the materials we can use as the rotation system, the new
shape of the central support, the general overview of the new design,
etc