- Read a microcontroller data sheet, program your board to do something, with as many different programming languages and programming environments as possible
- Compare the performance and development workflows for other architectures
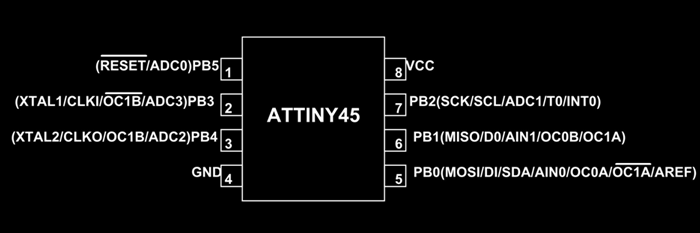
When programming, it is always good to understand how the microcontroller you are using works. There is a lot of information on its datasheet, but what I found to be most useful is its pinout configuration. Knowing what pins to use for what purpose, helps you program input and output data within your program. This way, the program is able to communicate with the microcontroller and the microcontroller executes the program accordingly.
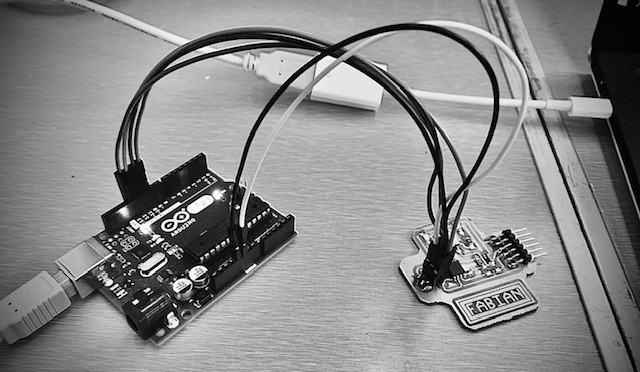
First, I needed to set everything up to be able to program my board. As I had tons of difficulty programming my ISP programmer, and although at the end it was indeed successfully programmed, I will first use an arduino to program my echo board and then try it with my programmer. The first thing to do is to connect everything up. I connected the arduino to the computer. Then using a series of male to female cables, I connected the 5V VCC to the VCC pin on my ISP and then connected all the other pins to the corresponding pins to be able to program.
PCB Header’s MISO to Arduino pin 12.
PCB Header’s SCK to Arduino pin 13.
PCB Header’s RESET to Arduino pin 10.
PCB Header’s VCC to Arduino pin 5V.
PCB Header’s MOSI to Arduino pin 11.
PCB Header’s GND to Arduino pin GND.
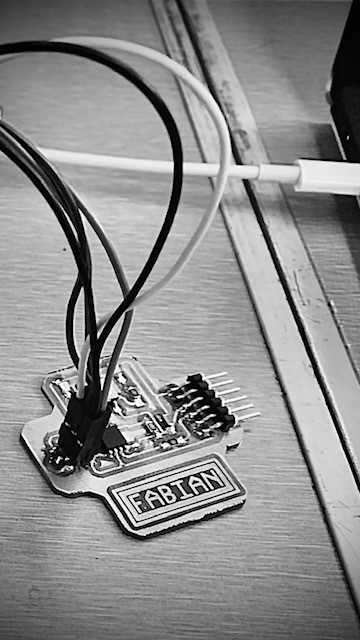
I also made sure that the board works by pressing my button. The green LED lights up, so I'm good!
Next thing to do is to open up the Arduino IDE, (or download it if you haven't before) and add the board support for your ATtiny. I found this tutorial on how to do it. You don't have to do anything after the FTDI (serial to usb) section. Just download it. Once that's done, you need to set up your arduino as an ISP. I've written down the steps here to do it.
1 - Open the Arduino IDE, any document works.
2 - Click on tools, and make sure that
a - The Board is set to Arduino UNO
b - The Programmer is set to Arduino as ISP
c - You are using the correct port
3 - Click on File, then hover on examples, and click on ArduinoISP. It will open a new sketch. Run this sketch and close the window. Leave your original window open.
4 - Click on tools, and make sure that
a - The Board is set to ATtiny25/45/85
b - The Processor is set to ATtiny45
c - The Clock is set to Internal 8MGz
d - You are using the correct port
5 - Open File, go to Examples, then to Basics, and select Blink.
6 - Edit the code so that you are using the correct ports, then run the code by going to Sketch, then Upload using Programmer, or use the shortcut CMD SHIFT U. If it's not blinking on 1 second intervals, go to tools, then click on Burn Bootloader.
7 - Program your board!
After running the example test blink program successfully, you can start programming your own creative programs onto the board. I started with a simple blink code, that blinks the red LED on and off indefinitely. You need to change the code so that the pin is correct and corresponds. It worked well, so I began the next step which is making the LED blink when I push the button. I didn't know how to program on C++ so I had to search for a tutorial, I found an arduino programming one that was really good. Here it is. The same person also has a really long in depth series about using an arduino, which you can scroll through if you need any help. Using these tutorials I started writing some code, which would be awaiting for when the electricity enters in PB3 pin and then blinking the red LED 5 times if any does.
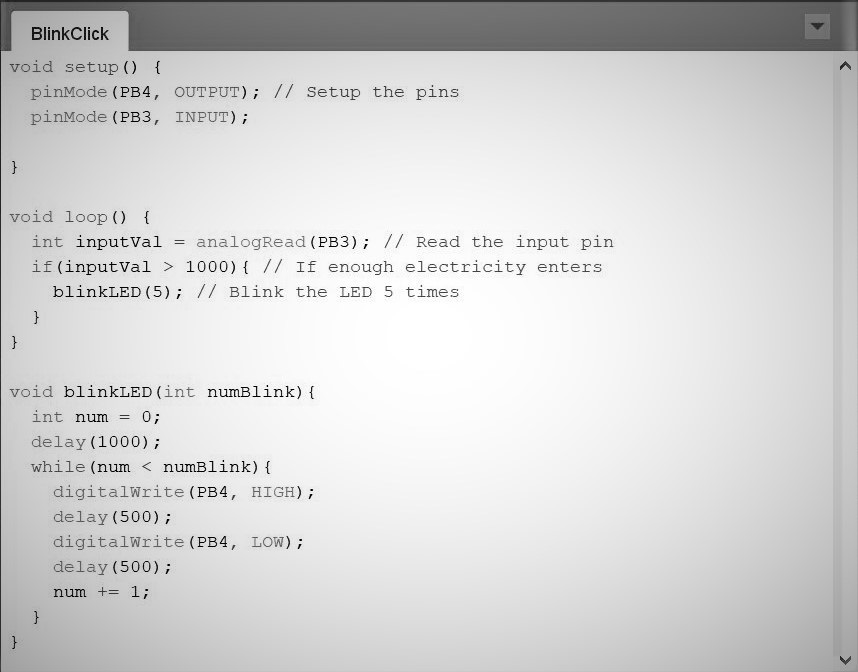
I uploaded the code using CMD SHIFT U and clicked the button, and it works!!!