- Cut something on the vinylcutter. Design, lasercut, and document a parametric construction kit, accounting for the lasercutter kerf, which can be assembled in multiple ways, and for extra credit include elements that aren't flat.
- Characterize your lasercutter's focus, power, speed, rate, kerf, joint clearance and types.
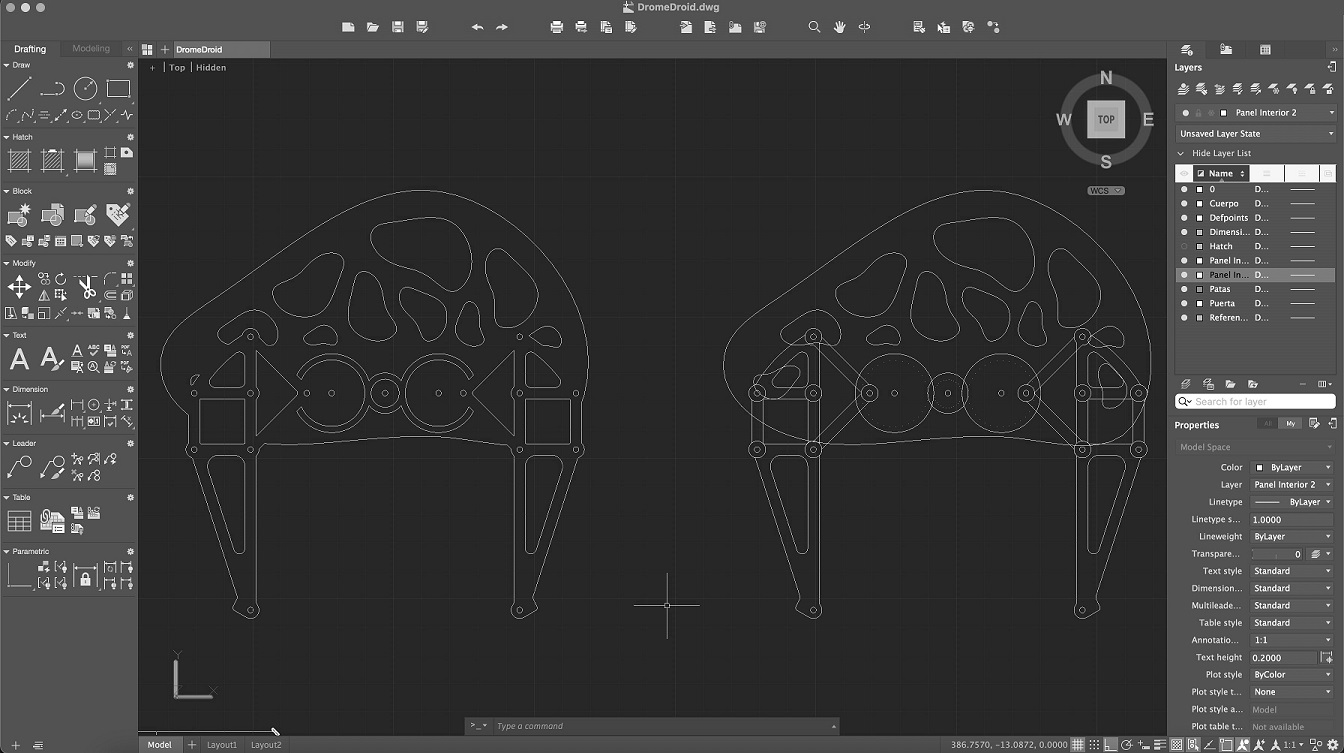
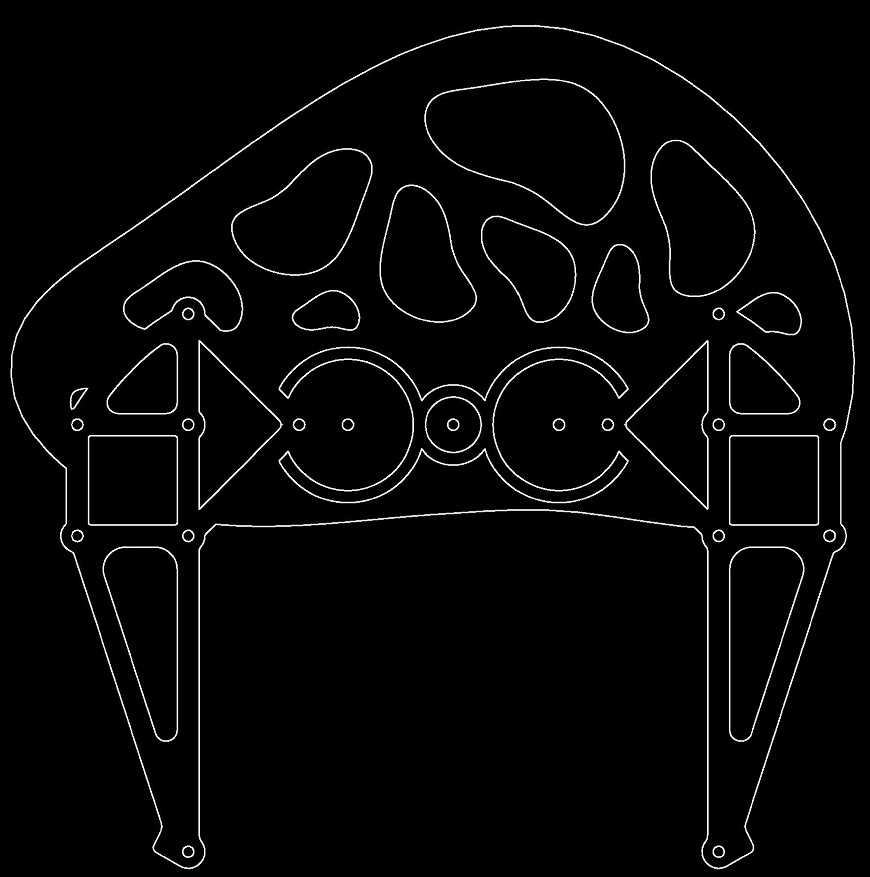
This week, I started by designing what I would cut in the vinyl cutter first. Using my final project's AutoCAD file I edited the sideview of my DromeDroid and got rid of any interfering lines, minimizing the design to make a simple logo for my DromeDroid.
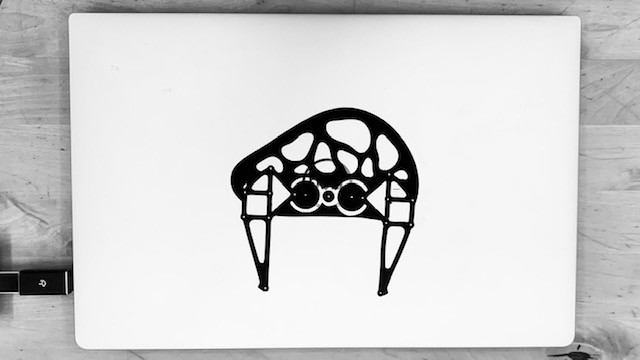
It looked pretty nice, so I opened the file in Illustrator for further edits and to create a vector file. I made two files, one that was filled in so to visualize how the final design would look like and a second file with just the cut lines to be used with the vinyl cutter. I fixed some issues with extra lines and some weird borders that were generated when opening the .dwg file in Illustrator. At the end, a vector image ready to be cut in the vinyl cutter was generated. I want to use it to create a sticker for my computer and forever celebrate FabAcademy!
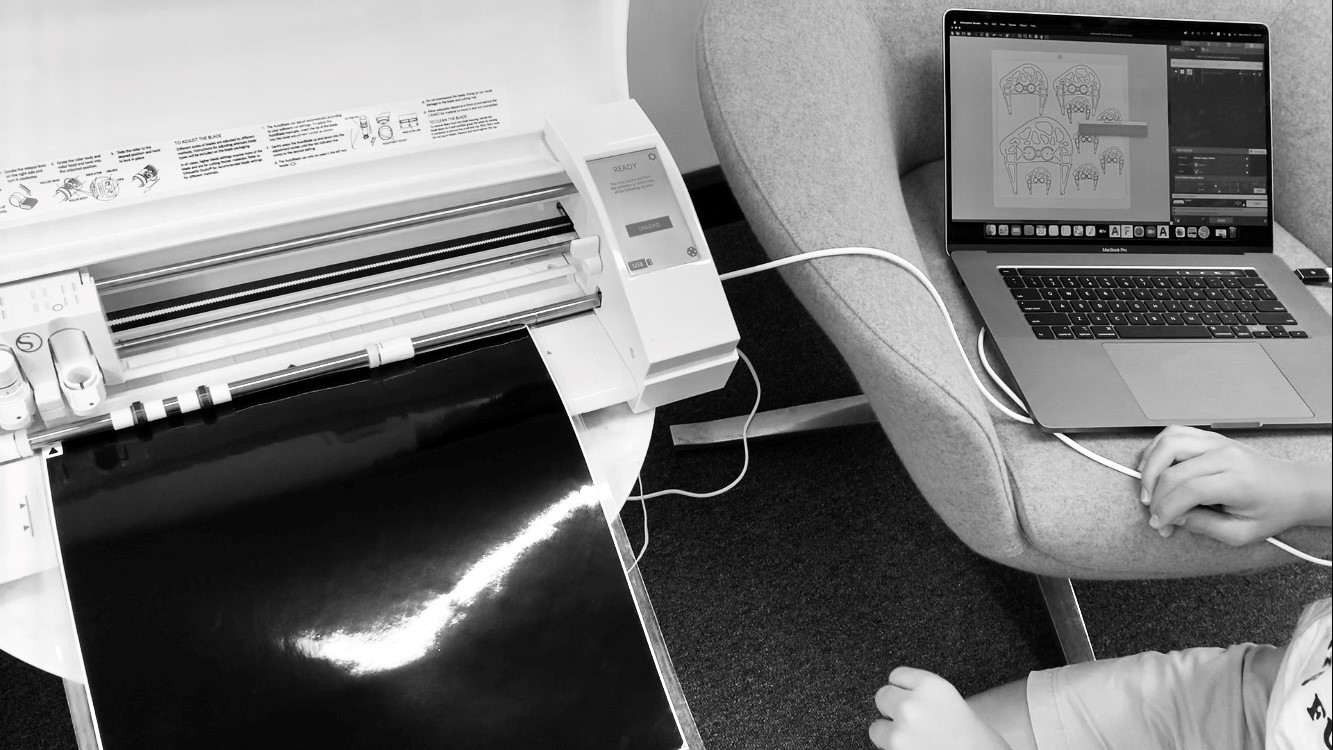
To cut with the vinyl cutter you need a specific program, that works with your cutter, mine was a Silhouette Cameo so I downloaded the software off their webpage. Once you have your program running and your cut lines defined, you need to load up the vinyl in the machine. To do so, you stick the vinyl on the sacrificial layer (so that the machine does not cut itself up) and insert it where the arrows on the cutter indicate. When you click "load" on the Silhouette cameo, it sucks the vinyl right up.
If not using bluetooth, connect the vinyl cutter and your computer with a USB cable. The software inmediately regognizes the cutter. Before cutting my file I clicked "test", and voila the settings were just perfect and I am able to proceed with my cut. Everything worked fine in the test. I didn't need to mess around with the settings. I proceeded to open my image logo file, by dropping it into the software. But it did not regognize the cutting lines. I had to trace over it using the "trace image" command to be able to get it to work. This time the software did regognize it and started cutting!
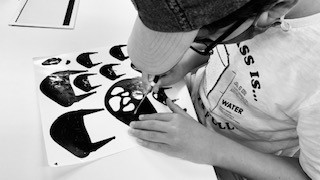
Since I had a fairly large workspace on the vinyl, I decided to put different copies of the same file in different sizes. The smaller images didn't turn out as well. They were too small, and the knife was not able to cut the smaller shapes. Fortunetaly I only needed the medium sized one. I then started weeding. Weeding is getting rid of everything you don't want. I peeled off the back layer, and using my fingernails and the tip of a screwdriver got rid of all the unwanted bits.
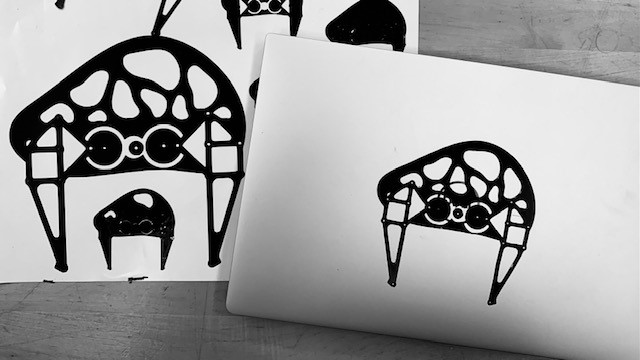
Voila! My stickers were ready to be peeled. I pulled them off and carefully laid them on my computer. I ruined one after stretching it a bit too much when pulling it off (watch out for that!) but finally got another one on perfectly! Here is the final result:
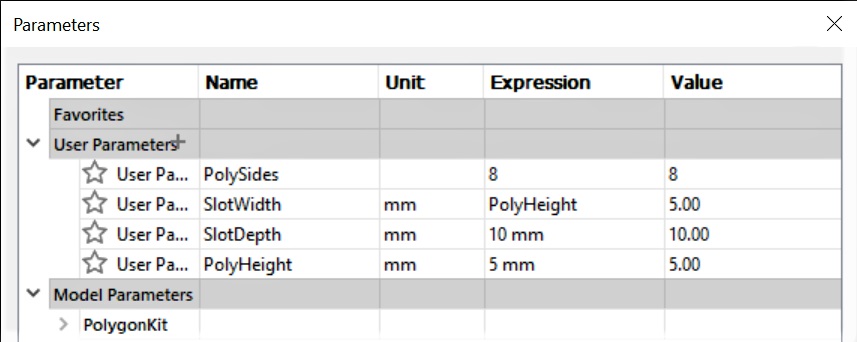
Next, I had to build a construciton kit. I decided to go with a simple polygon with slots on the side. This was pretty easy in Fusion360. First I opened the user parameters to make my own. I learned a cool tip while doing this. Hit "S" on the keyboard and start typing the name of the command, it's an easy shortcut to open things quickly, I found it really useful. I added my parameters using the plus key, and made everything I could think of, sides of the polygon, slot width and depth, and the thickness of the material.
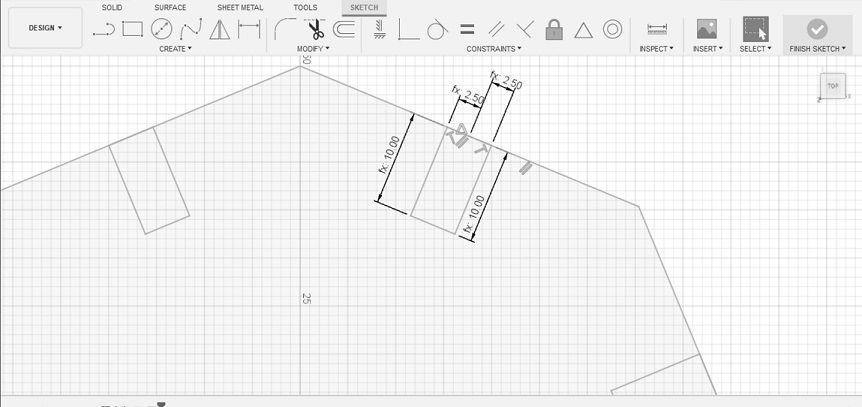
Now I had to draw the desired shape, this was simple, I just used the sketch tool to make the polygon, and used the parameters whenever possible. Everything should reference the parameters you set for the project. I took one of the sides of the polygon, and halfway across made a line half the width of the slot. Then I finished up the slot, and the sketch was complete. I then tested all of the parameters to make sure it worked. Depth and width worked well, but apparently I couldn't change the amount of sides, so I was stuck with an octagon. I tried other options but sadly that was the only way. But the sketch was complete.
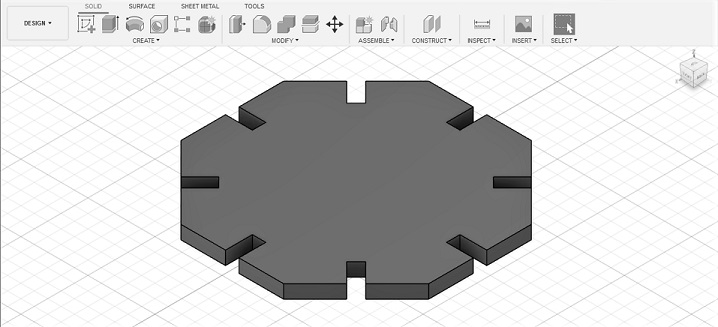
After drawing my polygon in 2D I simply extruded it, and the kit was complete! Since I need a few of these, I copied the octagon over a few times until I had 16 pieces, more than enough for the test. But to make it ready for the laser cutter I had to have it in a different file format. I checked on the internet and found a useful tutorial. To save a Fusion360 in a different format, click on the top right "file" button, then on "new drawing from design". I selected how big I wanted it, made sure the aspect ratio was good then clicked okay. Then on the drawing, I deleted the text around it and any extra lines, then saved it as a .dxf file and opened it up in Inkscape. From Inkscape I saved it as an .svg file and sent it over to the computer connected to the lasercutter for cutting!
Now I had some files to cut, so I need to cut 'em! But first I need to get to know the laser cutter in the lab. This is called Laser Characterization. I had to test a bunch of things I planned to do on my final project, such as flexible joints and finger joints and determine the best settings given my material type and thickness towards the perfect press fit. So I prepared a quick test file on AutoCAD and sent it to the laser cutter. However, the laser cutter at the lab is set up using Illustrator to print and Illustrator is not that great on reading .dwg nor .dxf files, Autocad's preferred file formats! Nevertheless, you can open a .dwg but need to clean up the drawing file before printing. I fixed the pressing issues like line thickness and random lines generated. I then proceeded determining the cut settings using reccomendations from my instructor. Now I had to focus the laser. Using the focus attachment I moved the cutting surface down until it matched the distance specified by the attachment.
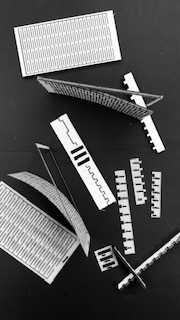
When it did cut, it cut every line twice! I found some other unwanted artifacts on the file from the coversion from AutoCAD. But eventually it worked and I had my characterization test for a 5mm cardboard, 1mm cardboard and 4mm plywood. My characterization test was mostly flex joints with ranges of finger joints. I wrote down what worked well given the two materials I plan to use on my project, and I'll use it as a guide in the future.
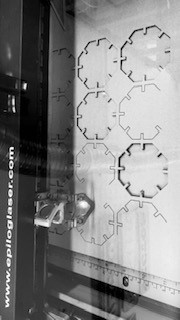
I had my final project prototype ready to cut but everything from AutoCAD (which was most of it) would not transfer perfectly. I would have to fix every little artifact so I decided to wait for when I had a solution to this issue. But I got the parametric kit ready in a .svg file ready and started cutting. This went all well, and I also wrote down the settings for the cardboard.
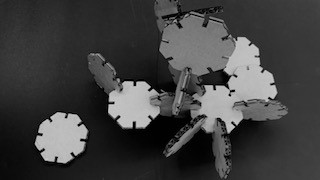
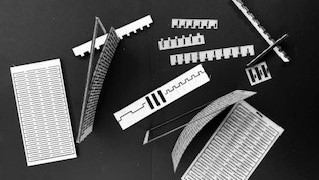
Once it was cut it was a little bit too big, but it did work. I just have to measure carefully and edit the file for further perfection. After a bit of sqeezing my parametric kit was ready to play with. I built a small sculpture with it, enjoy the art! ;)