
- Work through a GIT Tutorial, build a personal website in the class archive describing you and your final project.
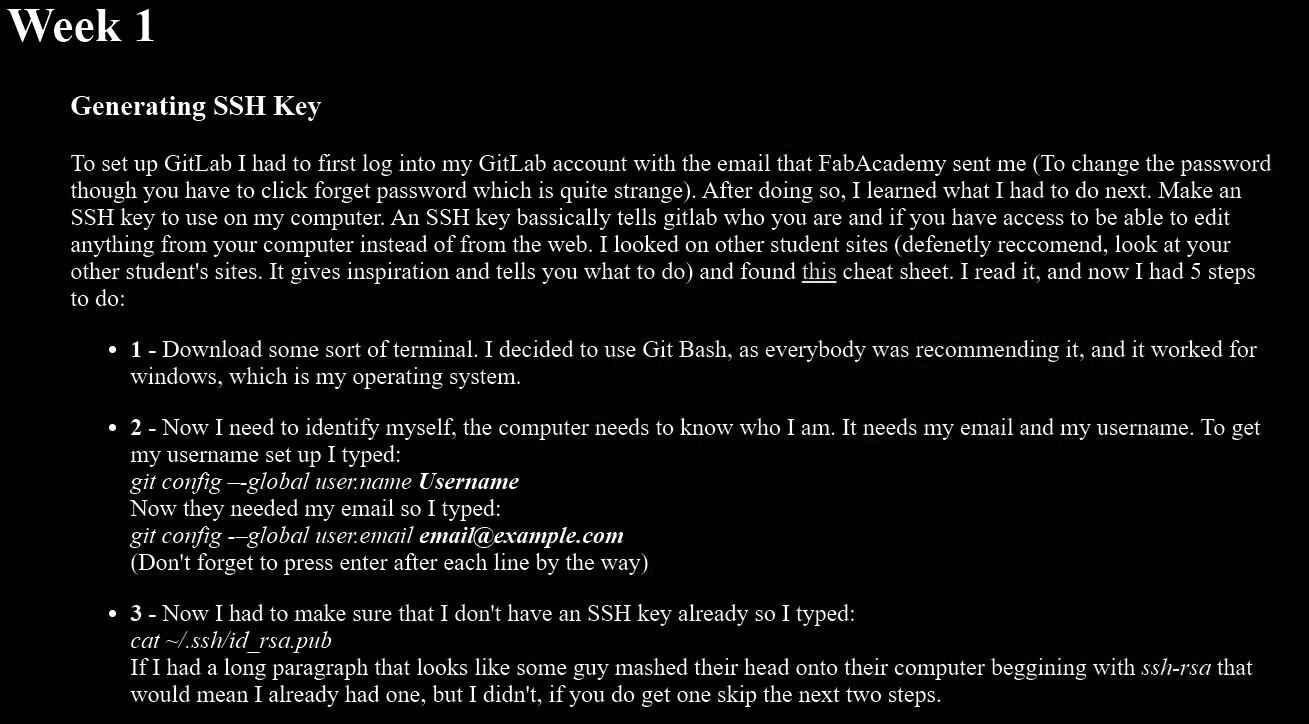
To set up GitLab I had to first log into my GitLab account with the email that FabAcademy sent me (To change the password though you have to click forget password and follow the instructions). After doing so, I learned what I had to do next. Make an SSH key to use on my computer. An SSH key bassically tells gitlab who you are and if you have access to be able to edit anything from your computer instead of from the web. I looked on previous student sites (definitely reccomended, it provides inspiration and explains what to do and what problems you might encounter) and found this cheat sheet. After reading it, I understood the 5 steps to do:
1 - Download some sort of terminal. I decided to use Git Bash, as everybody was recommending it, and it worked for windows, which is my operating system. This is the download page if you need it.
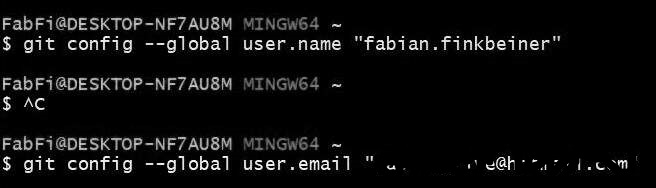
2 - Second, I needed to identify myself, the computer needs to know who I am. It needs my email and my username. To get my username set up I typed:
git config –-global user.name Username
After which they needed my email so I typed:
git config -–global user.email email@example.com
(Don't forget to press enter after each line by the way)
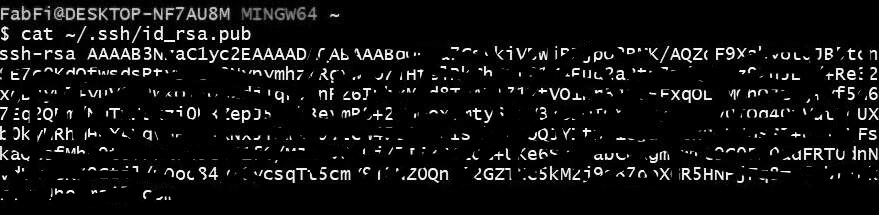
3 - Now I had to make sure that I didn't have an already existing SSH key, so I typed:
cat ~/.ssh/id_rsa.pub
If I have had a long paragraph that looks like some guy mashed their head onto their computer beggining with ssh-rsa that would mean I already had one, but I didn't, if you do get one skip the next two steps.
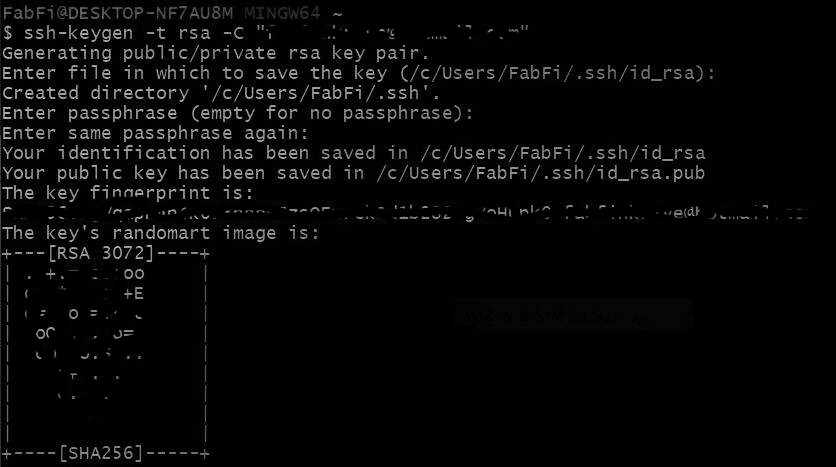
4 - After that I need to generate my personal key. To do this you have to type
ssh-keygen -t rsa -C email@example.com
Then, a random image will pop up and your key is generated.
But where is it? Well, we use the same command we used to check if we had a key:
cat ~/.ssh/id_rsa.pub
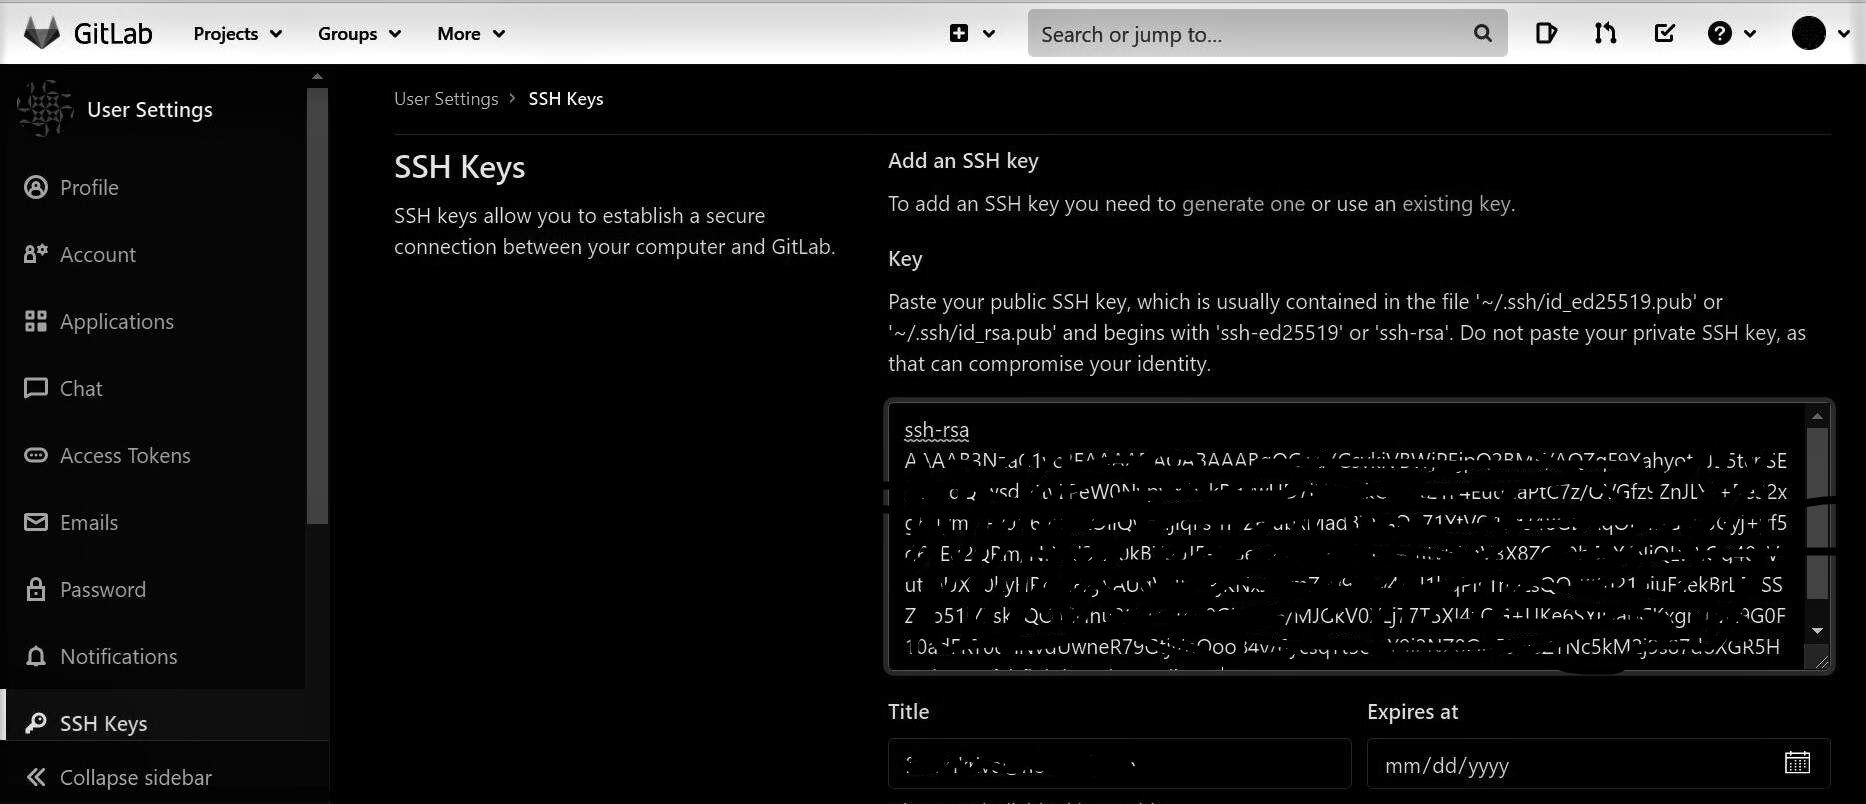
5 - Now, you need to copy paste the key and paste it into GitLab. Click on your profile, then on the left and bottom, click SSH Keys and paste it in the box, then submit. Bam! Your key has been generated.
That was it! It's relativly straightforward, and I had no issues, but ask others if you need any help!
The next step is to clone your repository onto your computer. This allows you to edit your work on your computer offline. For this, you have to do the following. Again, I have broken this down into a few steps using the same tutorial as above but since scrolling up is really hard, it's here as well. So, here are the three steps:
1 - Using GitBash navigate to the folder you want to store your files in, you could use a series of commands like this:
cd Desktop
cd Fabacademy
cd 2021
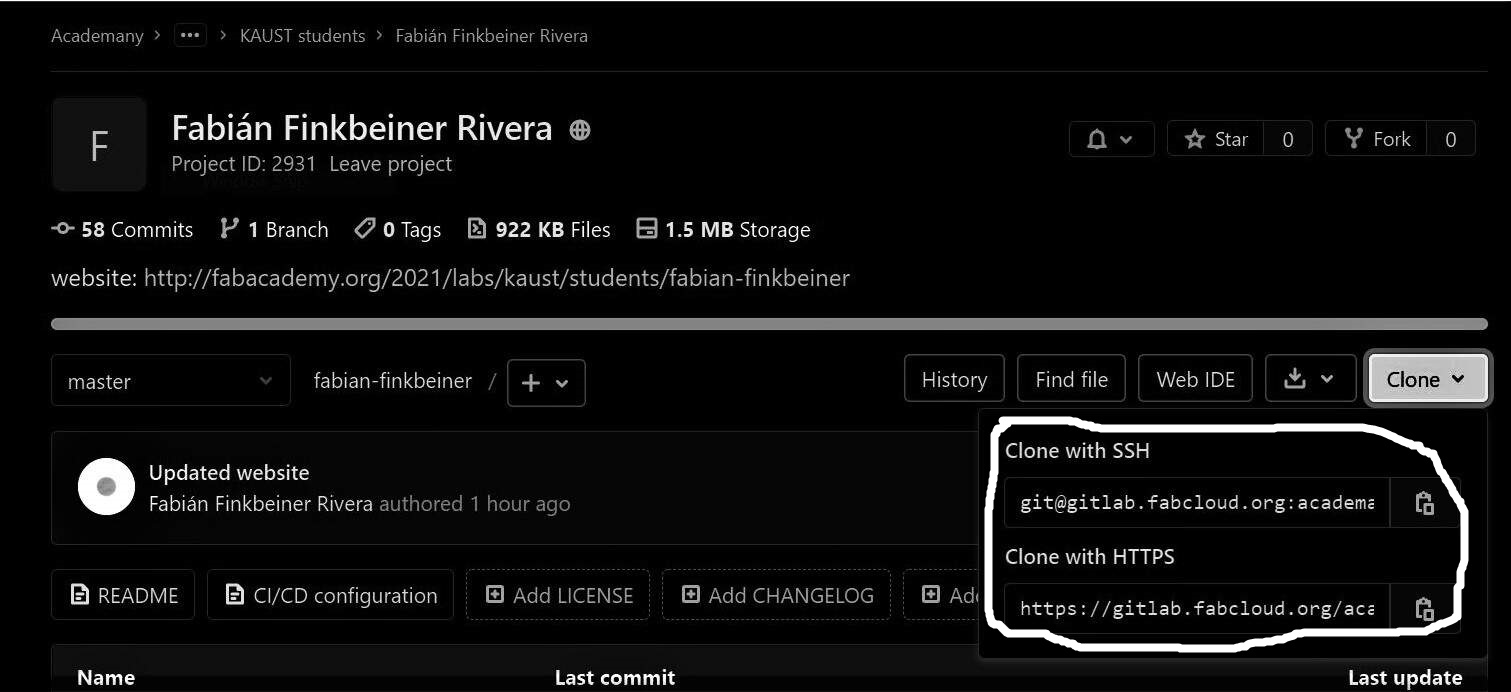
2 - Then, copy the link to clone the repository. Go to your repository's home page on GitLab and click clone on the top right corner. Copy one of the links and go to the next step.
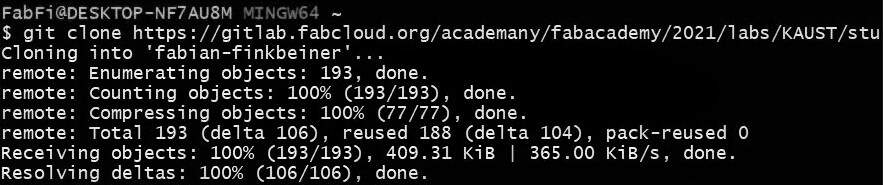
3 - Next, type the following command:
git clone link
And click enter. Your repository will be downloaded in the folder you chose!
The following step is how to push and commit the changes of your files. We will do this in only 7 steps!
1 - Open GitBash, and navigate to the folder you cloned. You know the drill:
cd Desktop
cd Fabacademy
cd firstname-lastname
2 - Pull new changes:
git pull
This will make sure you are up to date, it's very important to do this step.
3 - Now, write the folllowing commands:
git status
It will show you what has changed.
4 - Then, write:
git add .
It will add every change you've made to the next commit, instead of doing everything one by one.
5 - Again write:
git status
You should see that the changes are in green, or added.
6 - Next type:
git commit -m "commit message"
This will commit your changes locally and prepare for a push. Make sure your message is short but specific.
7 - Finnaly push it:
git push
This will send it to the repository.
The website template provided uses markdown, a default template that you can easily use. You can customize it a bit, but not enough for my needs! When first playing around in markdown, I couldn't find what I liked, I wanted a black background with white text, and even after checking other people's websites, I didn't know how to do it. Eventually I ended up on the official website, and I couldn't change the background! I messed around a bit trying out different things, but didn't like it. I wanted to use HTML! All the cool websites use it, and even though I had zero experience, I jumped right in!
First I downloaded brackets which was apparently the go-to begginers HTML editor. It's great! I love it, it's simple, clean and efficient. Now I needed a template, that's what everybody else did. So I spent an hour scrolling around the internet not finding what I wanted. What I did find was a handy website called w3schools it was full of helpful tutorials. But one thing caught my eye. If you follow this tutorial it talks about something called w3.CSS. Up until now I just saw that HTML can make really simple things, which is not what I am looking for. Apparently this CSS can spruce it up a bit. Normaly making your own CSS is very time consuming, which is why everyone told me to use the template. But this w3.CSS is amazing! Seriously, check it out! This is a tutorial on how to use it. It's how I made this website and all it's features!
Let me explain how I've designed my website. Using w3schools and brackets I typed up my CSS following along a few of their tutorials. Using what I typed up on my HTML I saved it in a file called 'index.html'. I also used the brackets' live preview, to see what I was doing. If bracket live preview does not work for you, just select your html file, and click to open with browser this happened to me, and was really frustrating until I found this work around. Reload every time you update, and make sure to save your file regulary as well in Brackets. Once you finish your homepage, I recommend making another sample page to use as a template for each weekly assignment. Just make a simple template for now, then copy and paste this template for the next weekly assignments. To do this you need to delete every single markdown file and replace it with a HTML one. (Make sure to save your repository somewhere on you computer before you do that though)
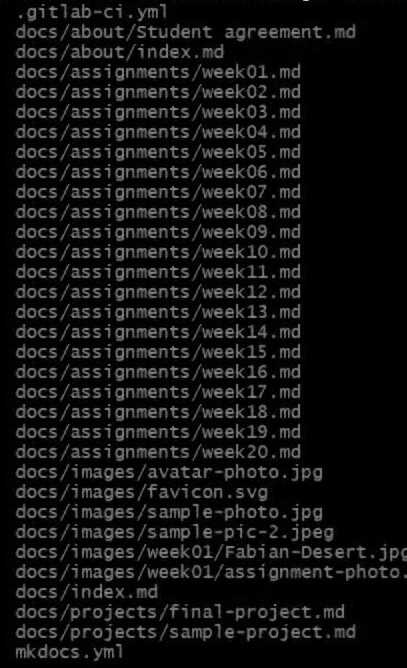
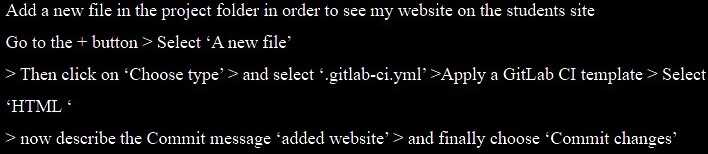
After you've develop your html file, you have to push it and commit it. Remember that you need to make an HTML file for every week and the about you section. This is relativly simple. As previously stated, I recommend making a template for the weekly assignment so that they follow a similar format. I also recommend not making every HTML page untill you need it. That way if you have to change something like the navbar, you only change a few pages not every single one. Now you have to make a new yml file so that your HTML is regognizable by the repository. My regional mentor, Duaa Alaali, helped me with this and sent me the intructions on how to make a new yml file.
And that was it! All that was left was to type up is the website content.
**Fab Academy Student Agreement**
*The Fab Academy is responsible for:*
- Teaching principles and practices of digital fabrication
- Arranging lectures, recitations, meetings, and events for the class
- Evaluating and providing feedback on student work
- Offering clear standards for completing assignments
- Certifying and archiving student progress
- Supervising class preparation
- Reviewing prospective students, instructors, and labs
- Providing central staff and infrastructure for students, instructors, and labs
- Fund-raising for costs not covered by student tuition
- Managing and reporting on the program's finances, results, and impacts
- Publicizing the program
- Promoting a respectful environment free of harassment and discrimination
*I am a Fab Academy student, responsible for:*
- Attending class lectures and participating in reviews
- Developing and documenting projects assigned to introduce and demonstrate skills
- Honestly reporting on my work, and appropriately attributing the work of others
- Working safely
- Leaving workspaces in the same (or better) condition than I found them
- Participating in the upkeep of my lab
- Ensuring that my tuition to cover local and central class costs is covered
- Promoting a respectful environment free of harassment and discrimination
Signed by committing this file in my repository,
Fabian Finkbeiner Rivera