- Model (raster, vector, 2D, 3D, render, animate, simulate, ...) a possible final project, compress your images and videos, and post it on your class page.
For this week we have to upload files, videos, and images to the website. I have done all three here! (Video above, images all around and a file at the bottom in a hidden accordion.) First about images, I have been compressing them since week 1, using ImageMagik to modify my images, making their file size smaller and also to invert the colors since I am using a retro black and white style. I've also used Adobe Illustrator to enhance my images and to compress them. For the videos, I've used IMovie to edit my videos, and ActivePresenter to record them. From my experience, I don't reccomend ActivePresenter since it wasn't intuitive at all or at least I wasn't able to understand it thoroughly. So I've recorded the videos thus far using an Apple computer. Afterwards, I place the videos into a new video file on my repository, and used my good old friend w3Schools as a resource for how to do things. Additionally, I found a nice tutorial to embed videos in a website. Finding how to embed the file took a bit of time, but after researching I found another tutorial by Product Design online. He is very helpful! I understood it and voila, the second part of my assignment was done.
I have decided to use 3 different programs to design and render my final project, the DromeDroid.
xDesign - I've never used solidworks and loved the fact that it was a website, and not an application.
Fusion 360 - I have used Fusion 360 before, and knew how to use the basics, and was comfortable with it.
AutoCAD - I already knew a bit of AutoCAD as well and liked it, my instructor is also an expert in it. So it would be easy to use and easy to resolve problems.
I had three different experiences with these programs ranging from being able to using them well to not working at all.
This was my worst experience by far, I wasn't even able to make a simple cube! My internet connection was not very helpful during this trial, which is probably why it didn't work for me. I was also not able to find any tutorials or help. Unfortunetaly, I was not really able to understand the user interface. When it finally worked, I couldn't understand it without spending lots of time, so since it wasn't working easily for me, I decided to move on and use Fusion 360 to be able to design things in 3D.
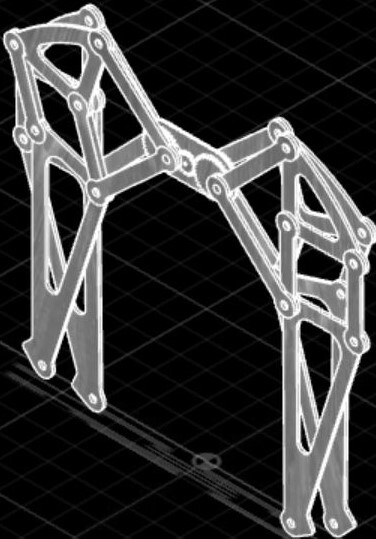
Fusion 360 resulted in a better experience. I was able to design some working legs and make them move pretty well. This was very succesful and I was able to make a nice model of my final project. Although I had some previous experience using the program, I still had to reference many tutorials online in order to achieve the animation of the legs. At the end, I was able to make my model move. A great channel full of really good tutorials was Product Design Online it was intuative and simple, and I was able to make my entire model with his help.
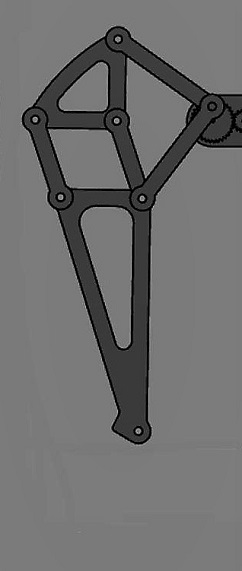
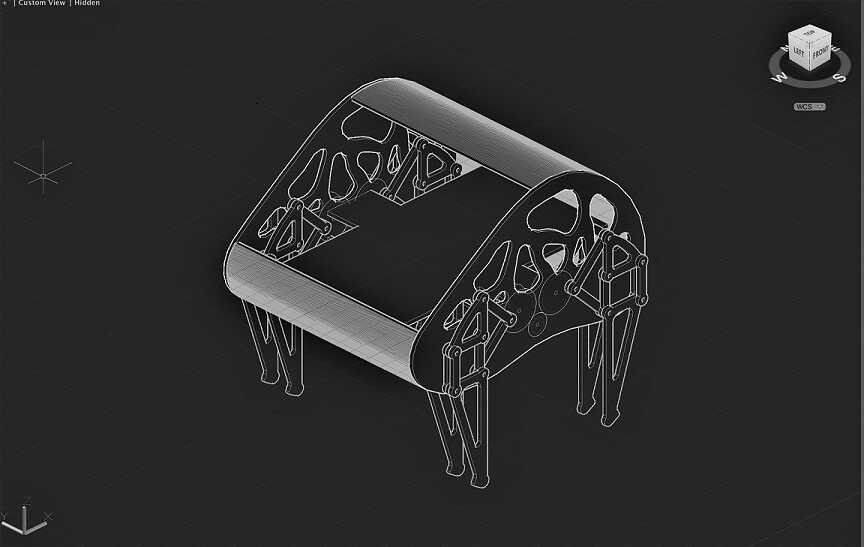
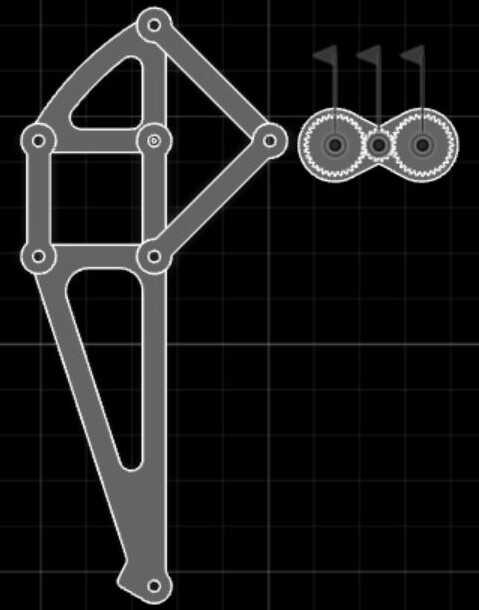
AutoCAD was the program I'm most familiar with, along with my instructors help I was able to design the body and the legs jzz{Z']of my DromeDroid. I also made some cool holes in its body, so to make the body as light as possible, yet still look nice.

Using AutoCad I made the model in 2D and then extruded to 3D. I designed its body enclosure, legs, gears and more. Although very time consuming, thankfully my instructor was able to help me a lot with the complicated curves and visualization of how its pieces come together. Then I exported the model to Fusion360 using a .dwg file. Once in Fusion360, I noticed an issue. Nothing was labeled. All the tutorials told me to label everything. So, I began the long proccess of renaming and organizing everything in components. Once done, I began making the legs. I started by assembling one leg, and then tried to move it. I had no experience with joints in Fusion360, and since I grounded the central piece, I expected it to work. Of course, it did not. Making joints was a long and hard proccess, with many hours spent online searching through tutorials. Eventually, my brain grasped the concept. I could now move one leg using my mouse. I then used another tutorial which explained gear construction for designing the gears, Product Design Online, 3D printed gears. Afterwards, I designed a little knob, and connected it to the leg. I added joints, and voila, my first leg was working! Awesome!

I was pretty happy, but I still had 7 to go. So I made a base for the gears (Which I did not make equal to the thickness of the walls of the Droid, big mistake. Make sure everything matches!) and mirrored the leg over. I expected it to work flawlessly, but I had to redo all the joints, and ground everything all over again! I also had to move the leg to a different position. (Which ensures one leg is always on the ground. That's pretty neccesary when walking.) I mirrored it again and added all the joints. Then I connected both sides and got my first set of working legs! Afterwards, I rendered it to look like wood.

Now I had to connect the legs to the body. This is where the issue comes up that I mentioned earlier. I had to move both sides away from each other, keep the gears, and make it all work coordinated. Well, it didn't work well. I tried moving it, but because my legs used the base for relations, it did not work, I could have just ungrounded it, and move everything to the wall, but since my base wasn't the same thickness, I couldn't do it. So I used the move/copy tool, this time enabling copying. I tried moving it by hand, but of course I couldn't get it right, it had to be perfectly on the wall. This is when I used the point to point section of the move/copy tool, which enabled me to move things precisely. Highly recommeded, you should really use it! I then copy/pasted the other legs on, and re-created all the joints back that didn't copy. For some reason some joints would copy and others would not, I think it has to do with if the joints are in your component that you are copying. Anyways, I copied them all, then made all the joints again and spun it around. Every leg was working perfectly- except one (of course) for some reason the gears didn't want to turn all the way. So I deleted all the joints and added them back again (kind of like turning your computer off and turning on again if there is an issue to fix it) and it worked! Why? I don't know. Maybe the computer just wanted to make me frustrated, eventually orchestrating it's hostile takeover of the earth, or maybe something was not working well with the joints. (I prefer the first explanation though) But then it worked! Yes the model will only animate going backwards, and yes it has some interfering parts, but it works! Wooohoooo!
But remember, it sounds really simple here, but rooting out all the problems that arise and designing the whole thing takes time if you haven't done it before schedule a lot of time to work on that. You won't regret it, what you will regret is thinking you can do it in a day or two.
And here is the model ready for you to explore!