The mechanical design of the DromeDroid consists primarily of its strandbeest legs and its humped body with its two compartments. One compartment for its electronics and the bigger compartment to carry things. The entirety of its body is fabricated by additive and subtractive fabricating methods. Computer controlled cutting with a laser cutter and 3D printing for the additive process. Of course, in order to build the body I had to first computer aided design it using Autocad and Fusion 360 softwares.
I have two primary components that I want to 3Dprint, the leg connectors and the gears.
I want to design the leg connectors in an easy snap fit way, so that it can hold together well. I designed the 2 parts of each connector in Fusion360 and sent them to print.
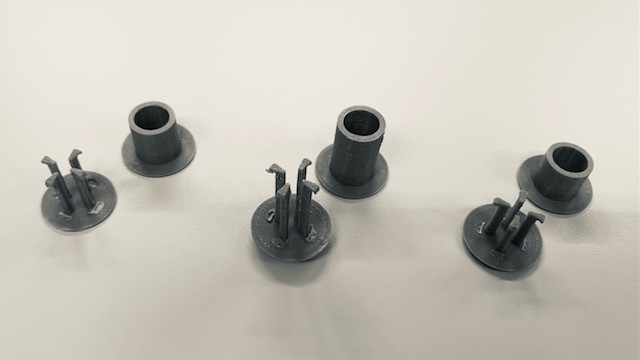
However for some reason, my Fusion files were scaled differently in comparison to the DromeDroid's body. My first print ended up being too big, approximetaly double the required size. Unfortunetaly, when trying to snap the two components together the snaping mechanism broke because of the rigidity of the PLA material I was using. Although I had noticed this problem, I decided to print another scaled version of it by scaling it in Cura hoping the scaling would improve its flexibilty when snapping.
The simple scaling I had done was not correct because I had to scale only the x and y axis but not their height. I modified the dimensions again and printed the new taller versions. I tried to print as many as possible overnight, so to have a good stockpile.
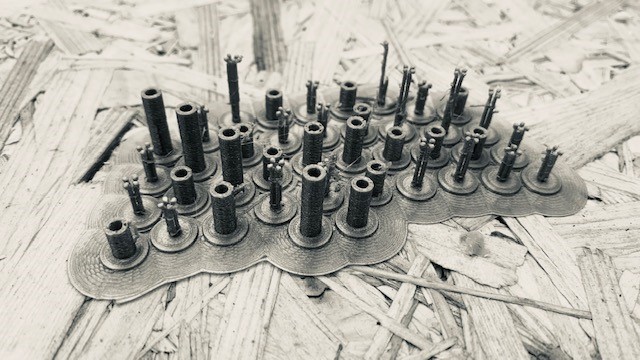
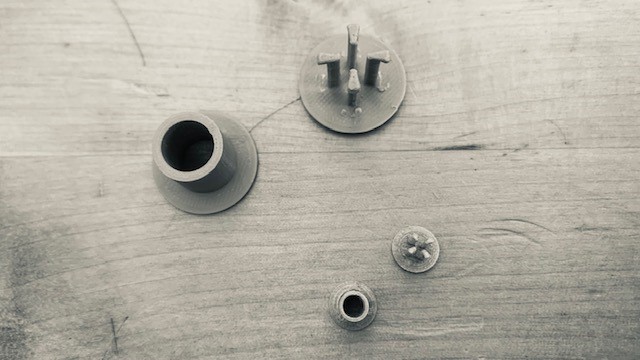
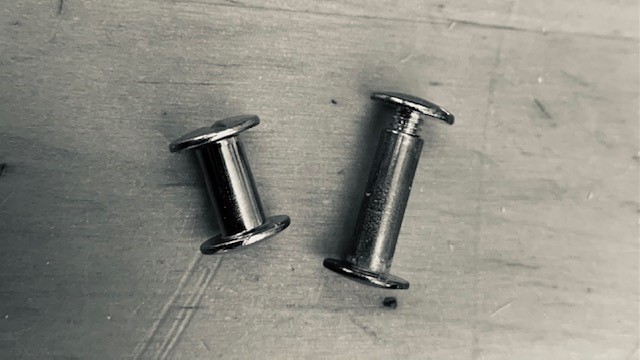
Although this time the height was correct, the snap fit pieces were still too rigid and broke easily. The printer's resolution was not precise enough and didn't print very well at this small scale. I needed an alternative to how to connect the leg components. Thankfully, I found from an older project some socket screws which would be perfect as axles for the leg connections. Unfortunetaly, I didn't have enough for all leg connections...
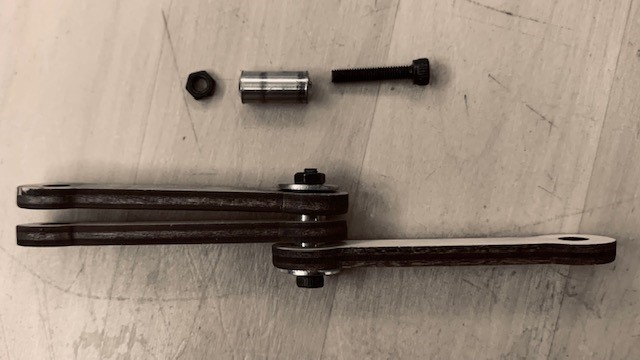
When assemblying the legs, I used how many socket screws I had and decided to use a screw and nut for the rest of the leg connectors. This solution proved to be the primary cause why the DromeDroid did not function properly at the end. Because of the opposing rotation of the gears, one portion of the legs would un-screw the connector screws and the other side of the leg would tighten the screws increasing the friction that the gear motors had to overcome.
After much thought on how to solve this problem, and because of the lack of readily available resources where I reside, I had to think of alternative solutions. Speaking to the lab manager he suggested using a hollow stainless steel tube which could act as the axle and inside place the screw and nut to tightening in place. I have only a 6mm tube available which I need to hand cut for each connector. Additionally, I need to increase the connector hole sizes on each leg component from 5mm to 6mm to be able to fit the new axle/tube.
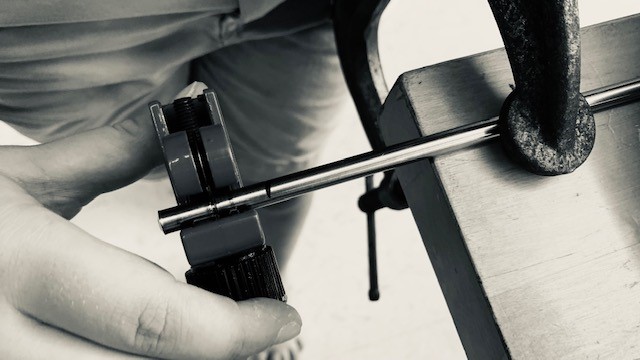
Although I now need to re-do the legs and hand cut 52 little axles, it seems that this solution will improve the DromeDroid's performance and reduce friction.
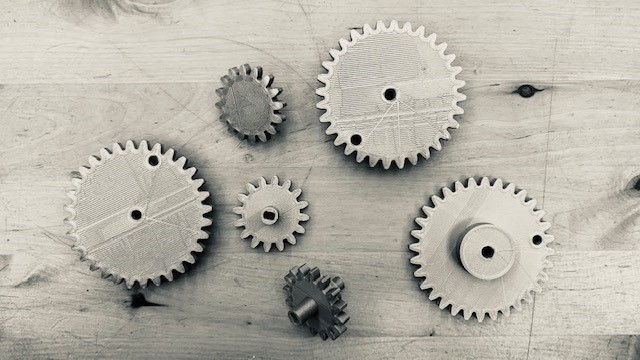
I then printed (4) three gears sets with the right offsets to the wall by adding a small extrusion. I used the Mcmastercarr plugin in Fusion360 to make them to the right scale. This was a straight forward design which printed perfectly.
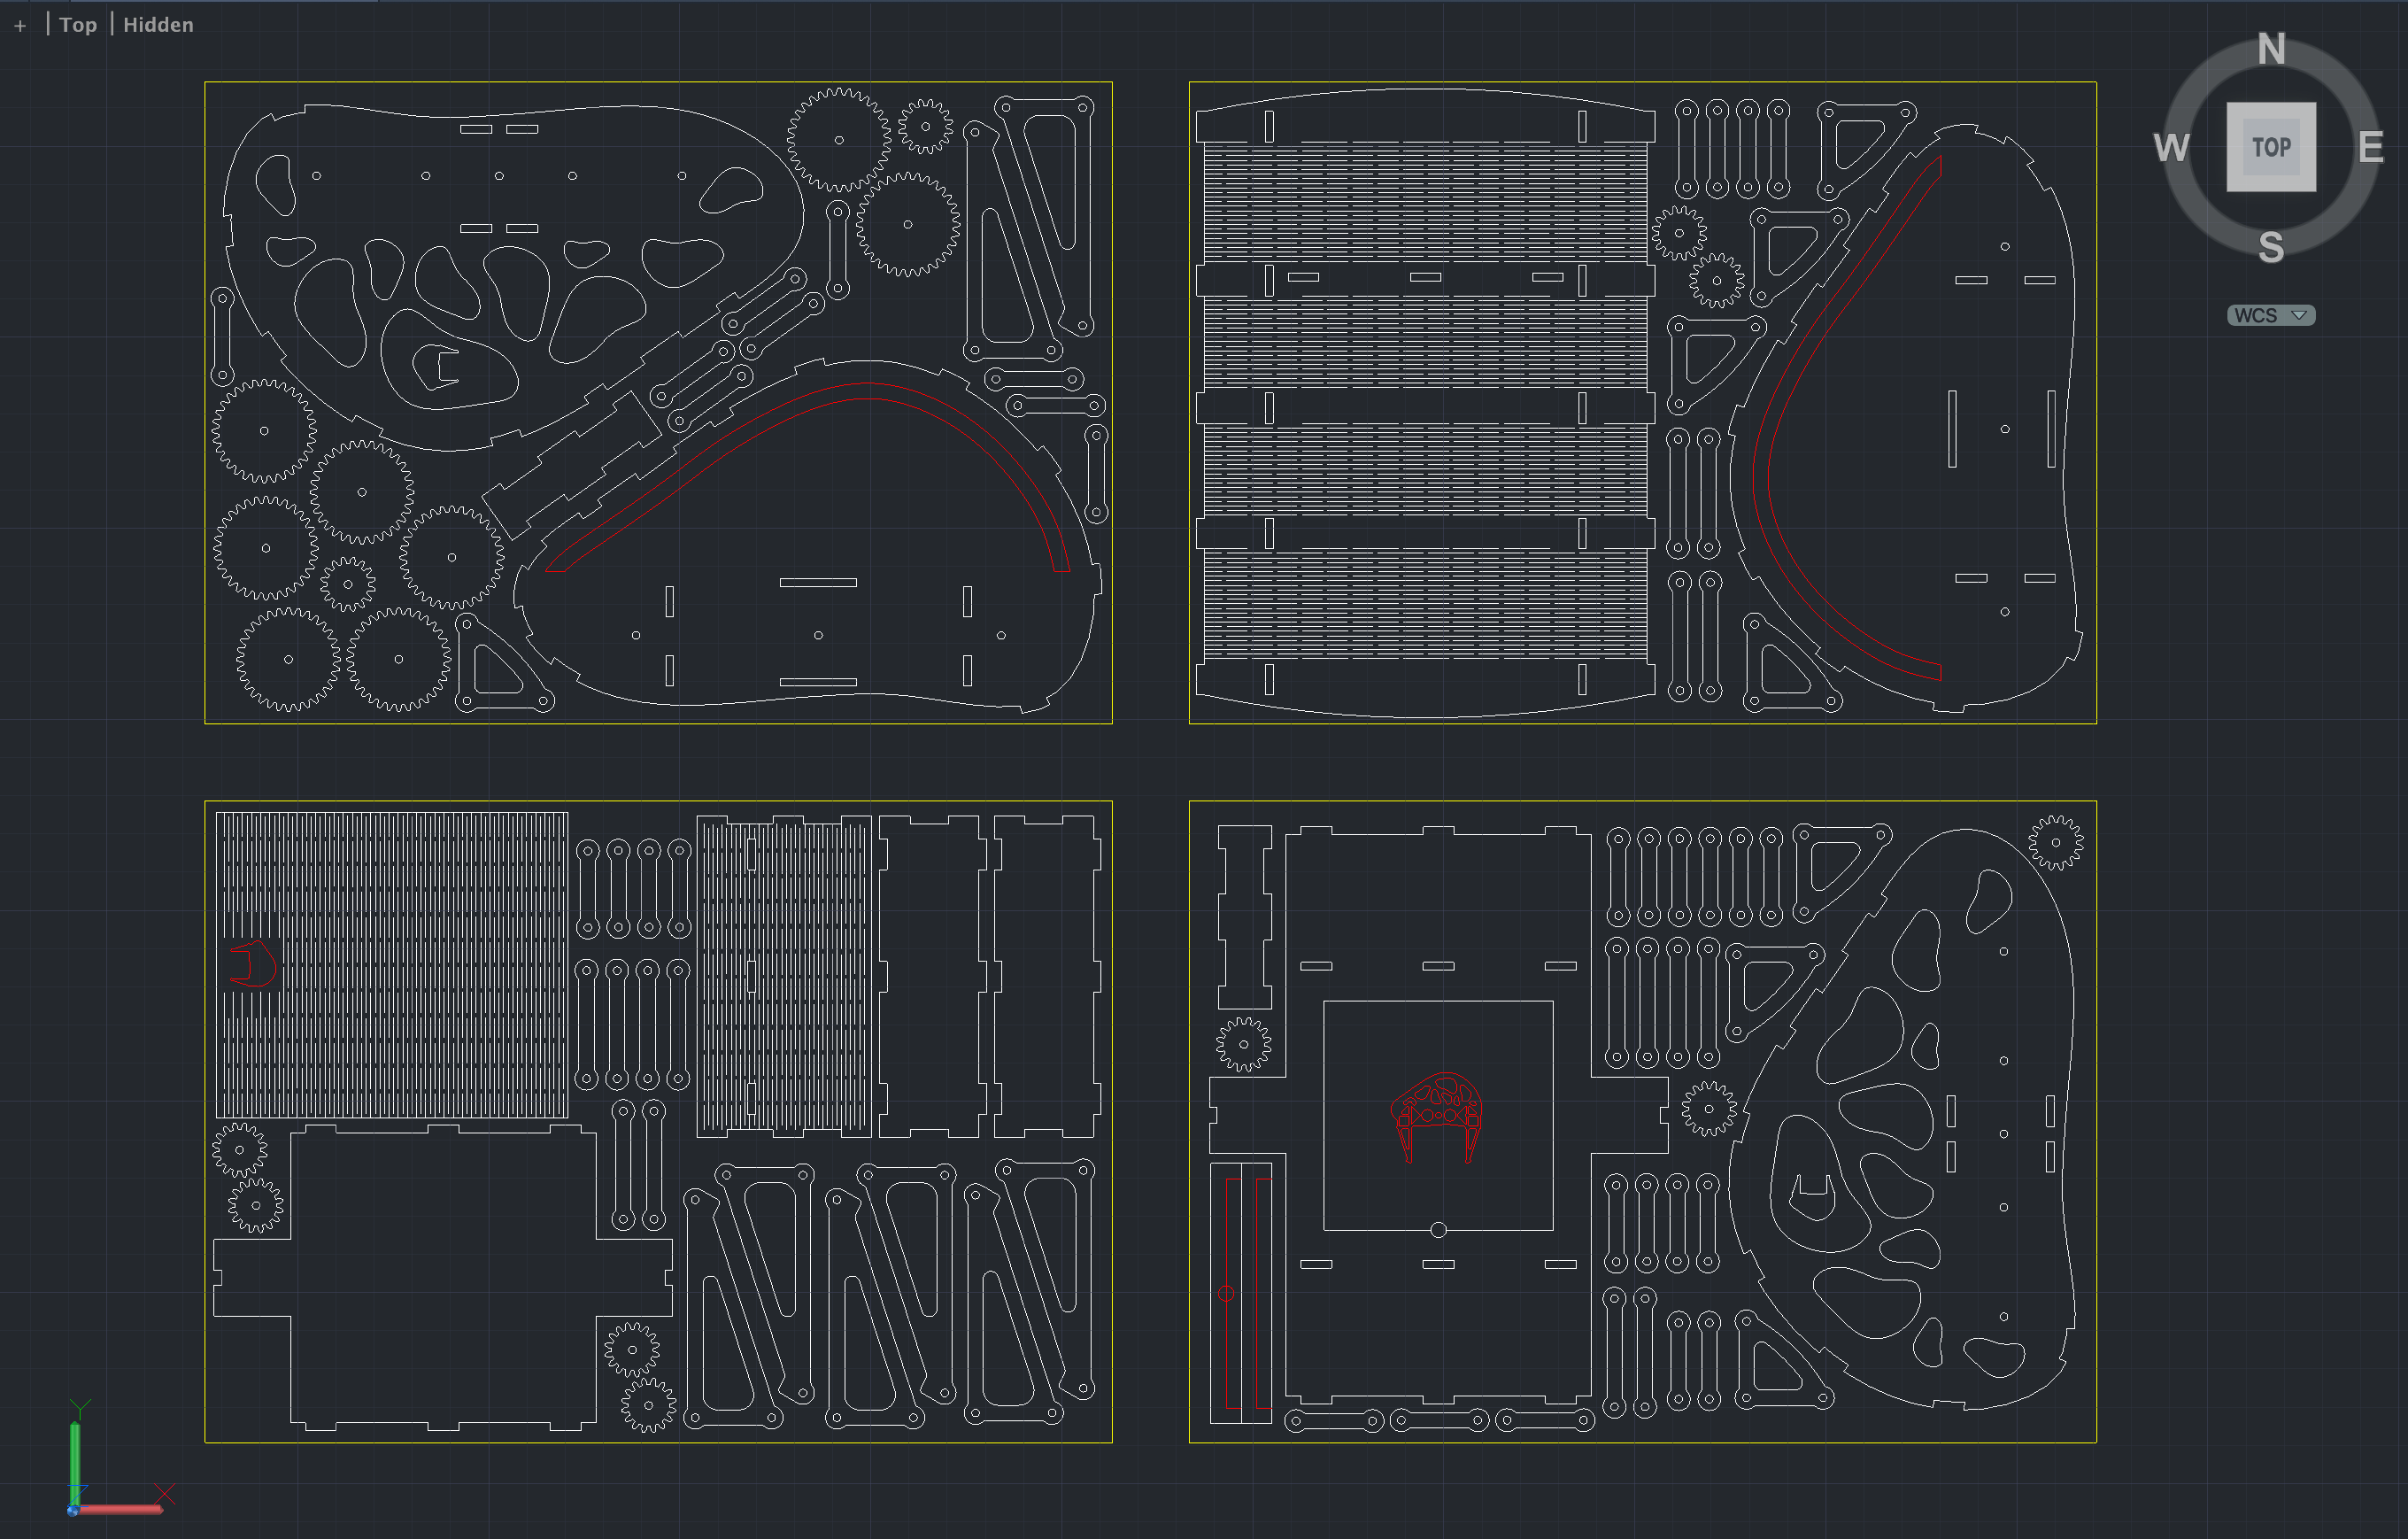
Much of the design for the body of the DromeDroid was done on the computer aided design week. I now only needed to laser cut the four panels. Once I did laser cut them, I only had to tweek a bit the design for a better assembly. Thankfully, it was pretty good and most parts press fitted together with only a bit of sanding here and there.
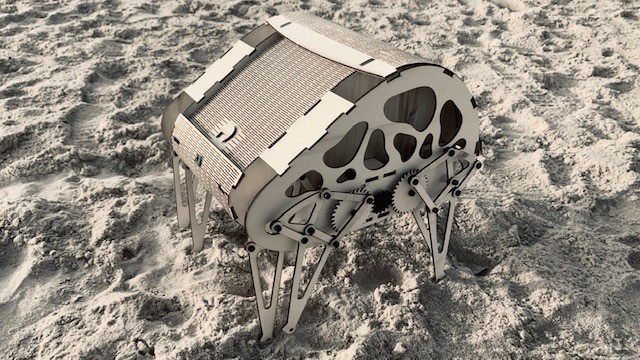
After printing and cutting all the parts, I laid them out and started assembling my "big" puzzle. It was fun!
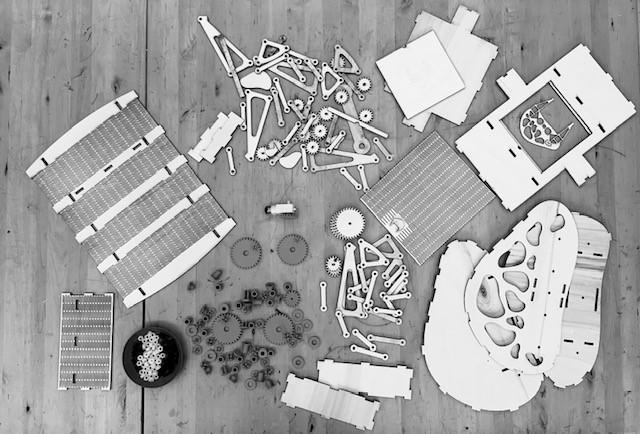
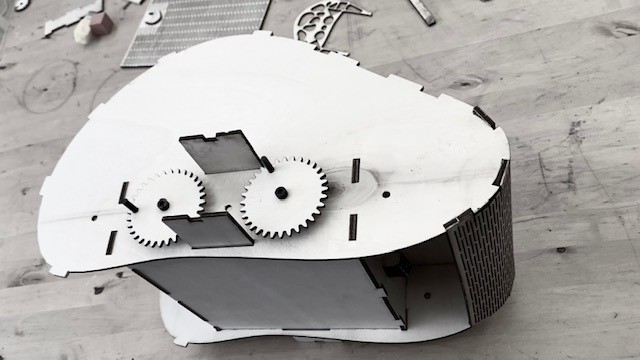
It assembled nicely, and looked like a perfect future companion!