Wildcard Week

  • assignment: design and produce something with a digital fabrication process (incorporating computer-aided design and manufacturing) not covered in another assignment, documenting the requirements that your assignment meets, and including everything necessary to reproduce it. Possibilities include (but are not limited to) composites, textiles, biotechnology, robotics, folding, and cooking.

    #Vinyl cutting #Laser cutting #Sandblasting #Glass cutting

Image design and Vinyl cutting


Dedicated to "Breaking bad" series fans.

I took a nice credit image and modified it in Inkscape in a same way as I did on a Week 3. I vectorized the raster image and added the iconic quote to the image "LET'S COOK". Then I followed the same steps from Week 3 to cut the vinyl using Roland GS24 Vinyl Cutter. The only issue I faced was that the cutting process didn't work correctly via Inkscape, therefore I used CutStudio interface.

...

Fig 1. Transferring vinyl mask onto the backside of the mirror

Sandbalsting


In our Fablab we have a HBM sandblasting machine. Sandbalsting procedure is simple:

  • Load the object into the machine. I made the mistake by putting the mirror glass side down, sand particles sctrached the mirror in the process. It is better to cover the surface with some paper by sticking it with a tape, for instance. Lift the front lid of the machine and load the mirror inside, then close the lid securely with two red snaps.
  • ...

  • Start the the machine. First switch is on the right side of the machine, then, on the left, ventilation valve should be opened and machine can be started with a switch.
  • ...

  • Sandlasting. Wear the gloves and try to find a weapon:) inside the chamber. There are few issues should be taken into account for the better final outcome of sandblasting:
    • The process is barely visible through a window, I had to open the lid few times during the process to check what I'm doing. I tried to memorize the location of the blasting area.
    • ...

      Fig 2. This is pretty much all I could see

    • Blasting gun should be directed perpendicularly to the blasting area to prevent the ripping of the vinyl from the surface.
    • Sometimes I got unpleasant electric shocks in the forearm area, which are the result of the sand flowing through the system and generationg static electricity.
    • The pipe connected to the gun was bending sometimes causing the blockage of the sand flow. I wrapped this area of the pipe with a tape to prevent the bending.
    • When opening a lid, the sand from the machine.
    • The pedal under the machine is used to control the pressure of the air flow with sand. It can be used to achieve deeper engraving.

  • After finishing sandblasting I washed the mirror from dust and removed the mask.
...

Laser cutting


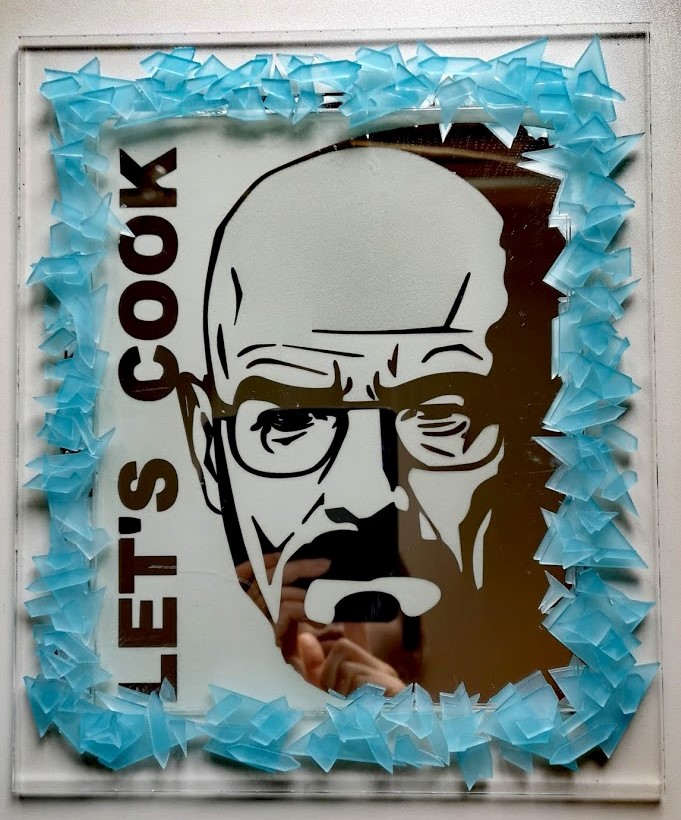
I decided to add one more attribute of the Breaking Bad - the crystal blue meth (amphetamine). LET'S COOK!

The best choice in our Fablab was acrylic material. Unfortunately, there was no suitable color for that, but luckily the plastic cover on the acrylic was blue, so I tried to not unstick it after laser cutting.

I made simple sketch resembling the broken glass for laser cutting, and cut the acrylic the same way as I did on Week 3.
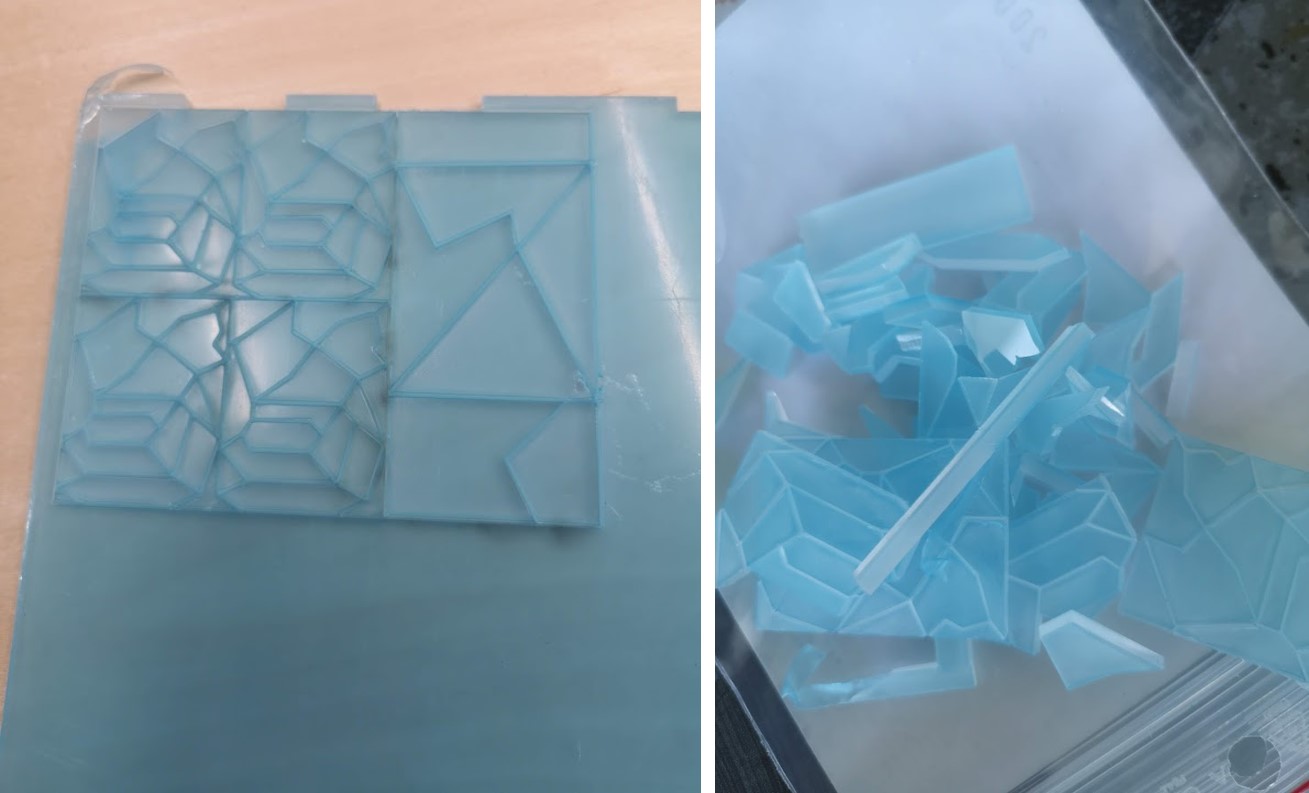
...

Fig 3. Acrylic meth

...

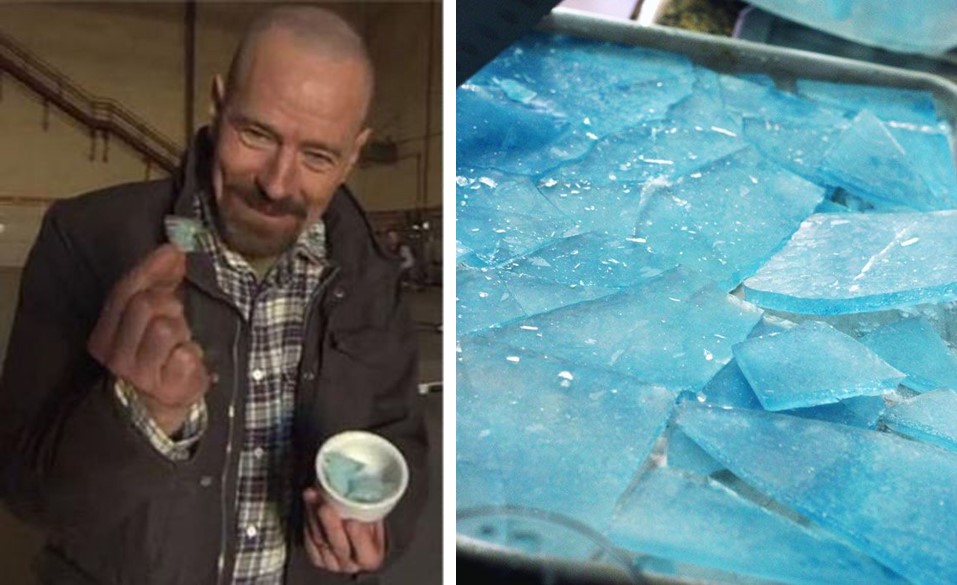
Fig 4. Meth from the series

Assembling


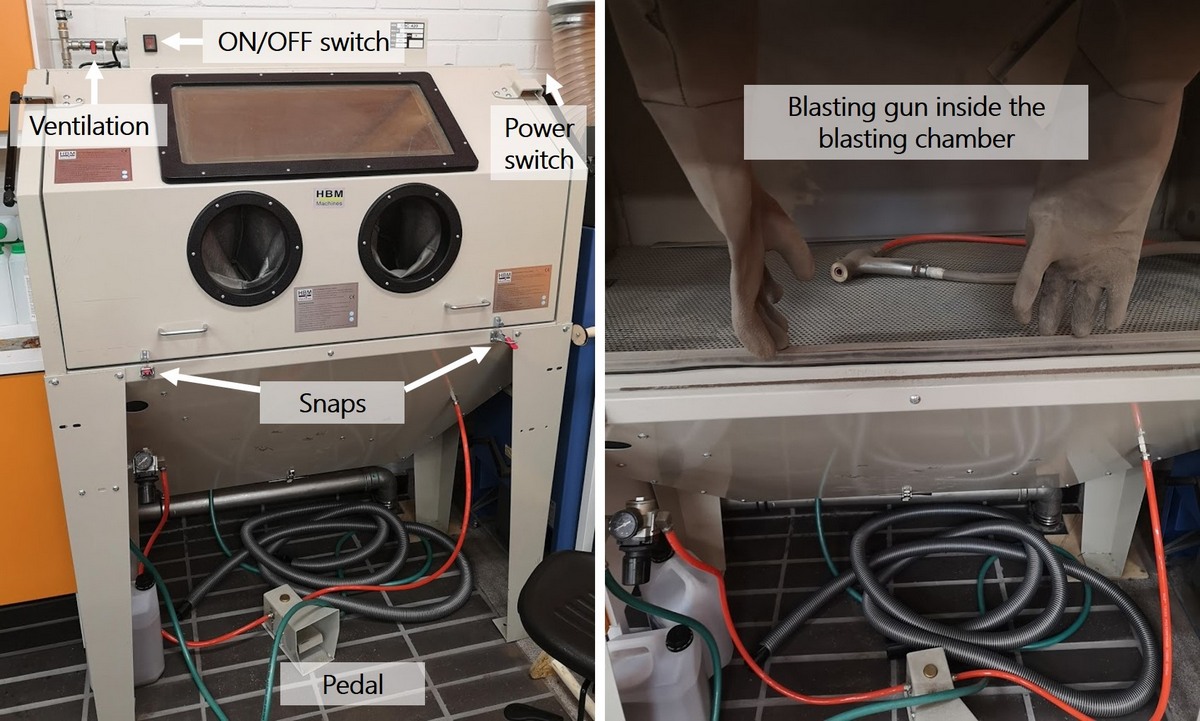
I couldn't find any glass cutting knife in Fablab to cut the engraved piece from the rest of the mirror. I was considering to cut the mirror with a laser cutter, however didn't risk it, since the mirror was around 4 mm thick, old and made of glass, and not the plexiglass.

I got the diamond knife, pair of protective gloves (extra important), and watched a few youtube videos.

  • The mirror should be placed on the flat surface, preferrably table. I put the tablecloth underneath the mirror.
  • I defined the lined, there the cut should be.
  • It is adviced to use the ruler to make the cut straight. I skipped this step, so the cut wasn't straight.
  • When cutting along the lines, some authors adviced, that the slight cracking noise should be, while others said it is not neccessary. Anyway, I cut the glass slowly with slight cracking sound, and the slight white line appeared on the mirror.
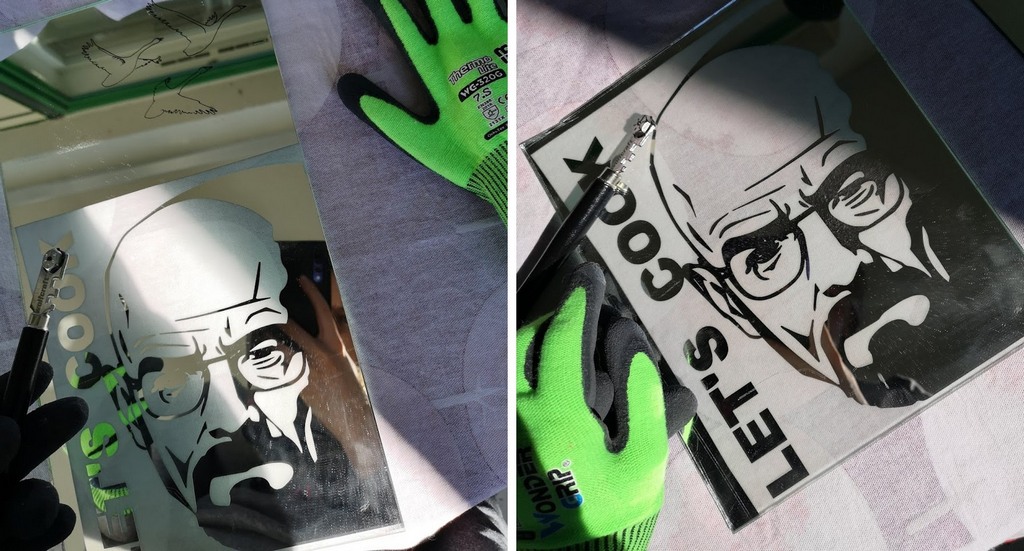
  • The last step is to break the glass along the cut. I placed the mirror in a way, that cut will be on the edge on the table, and then carefully, but with fast and strong move broke the glass.
...

Fig 5. Cutting the mirror with a diamond knife.

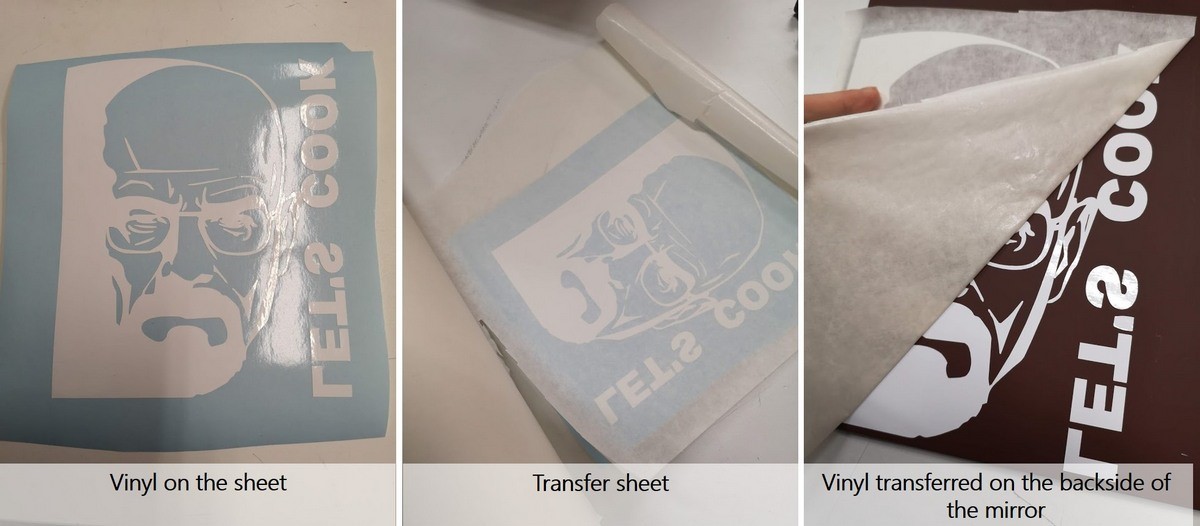
I cut the acrylic frame for the portrait and glued it on the mirror. Finally, I glued the "meth" pieces on to the frame with standard superglue.

...

KIDS, METH IS BAD!


FILES:

Reflection

Great week, pleasure to work! If there was more time I'd try something else.