Wild card week
For the wildcard, i had to try carbon fibre composites!!!
Designing The mold
I decided to make a basic mold for exploration purposes,
From my research i understoof that petg is the best material for this application considering the epoxy that we will be using
Also i decided to do a straiht from 3d print mold intead of a mother mold from 3d print, finishing it creating a mold anf then next step.
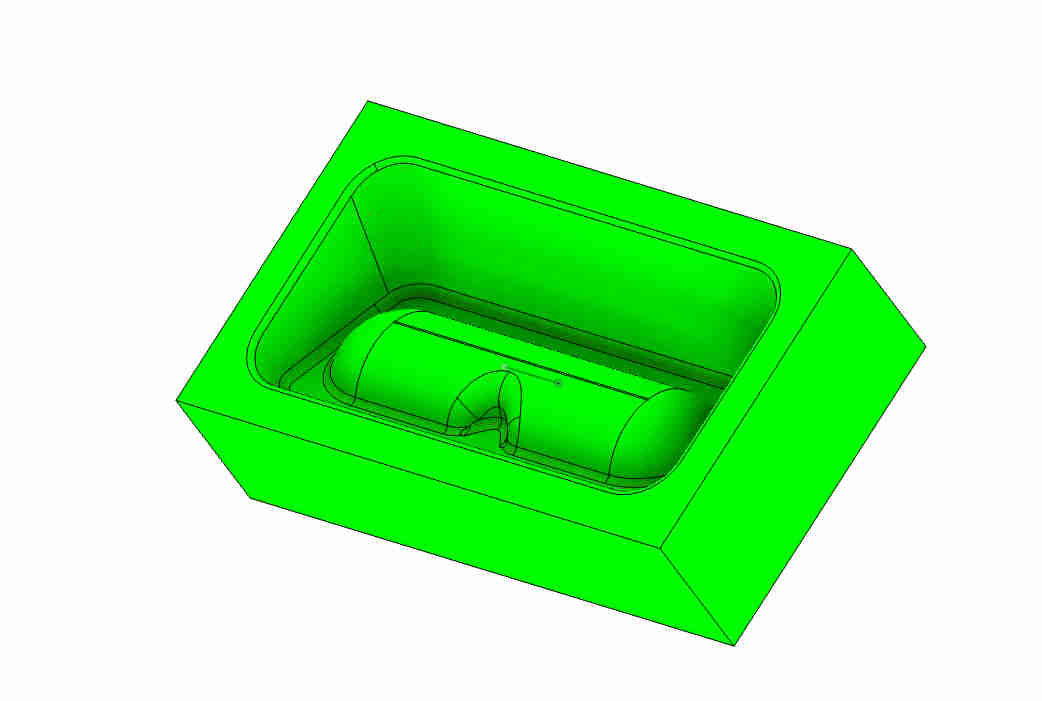
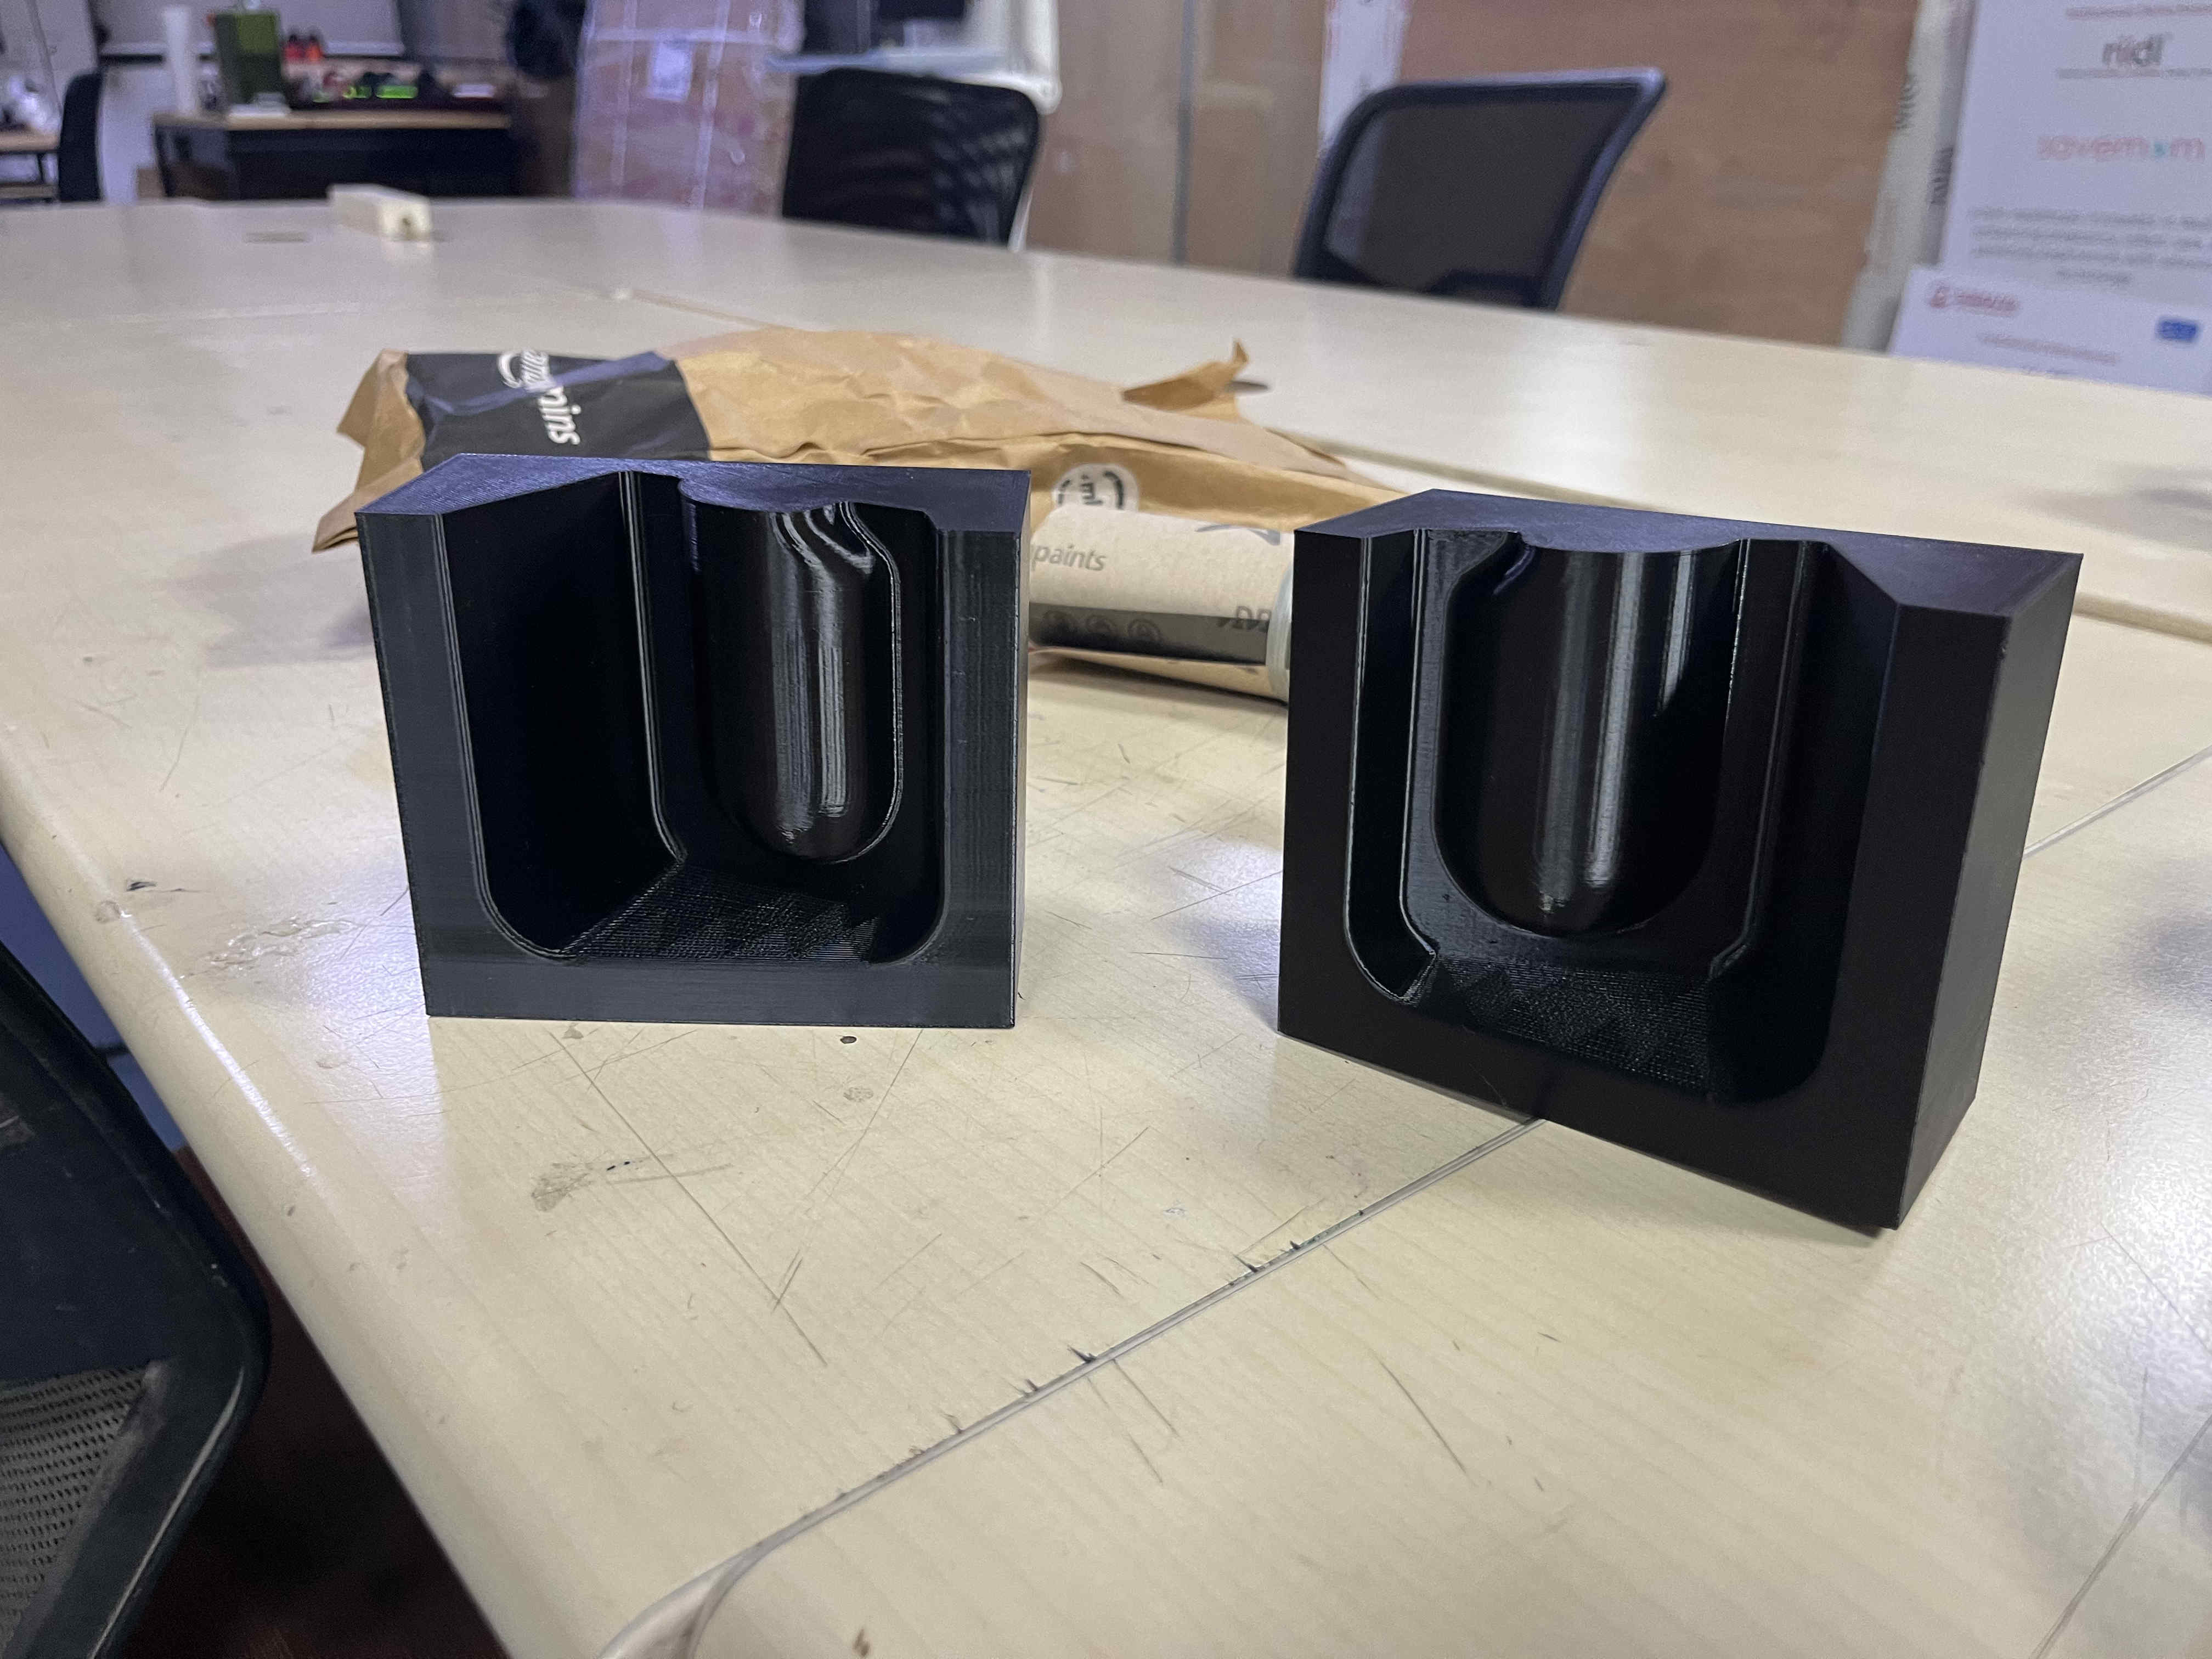
This is the basic design I made for the mold, its essentially a spectacle holder
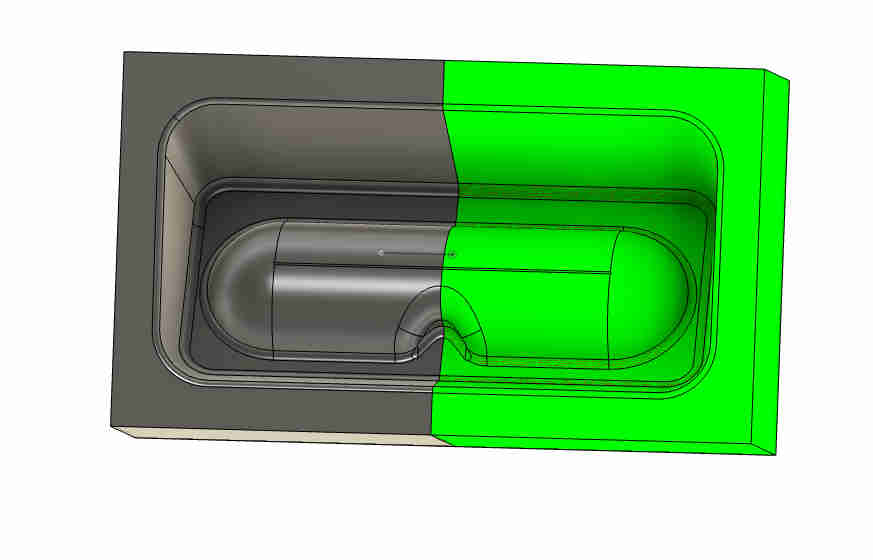
I later split the mold in two whihc ill exlain soon why i did so
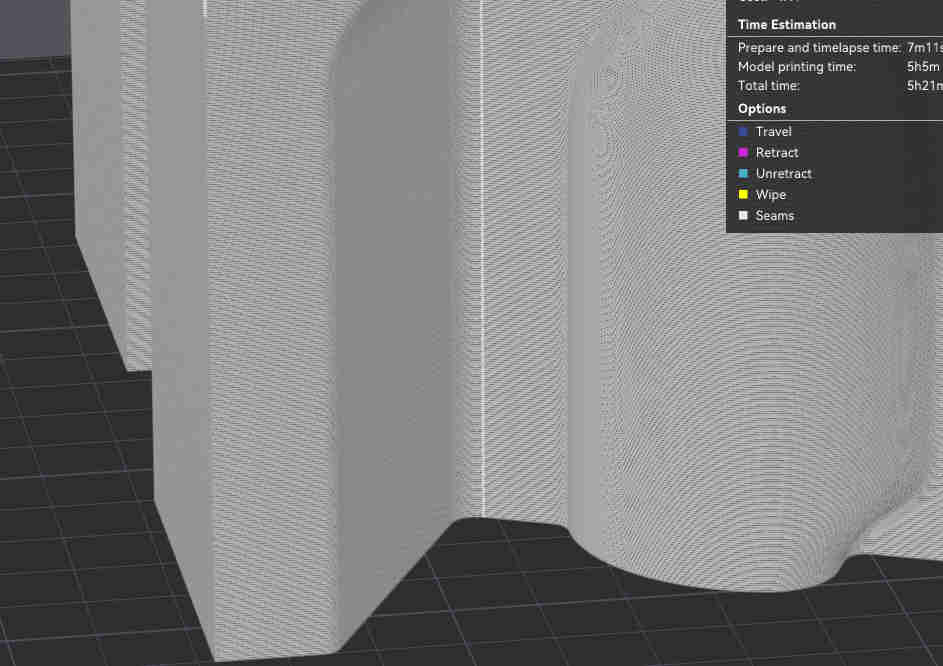
This is how i laid out my part on the print plate.
Now why this matters is because of Layer lines
Consider this explanation
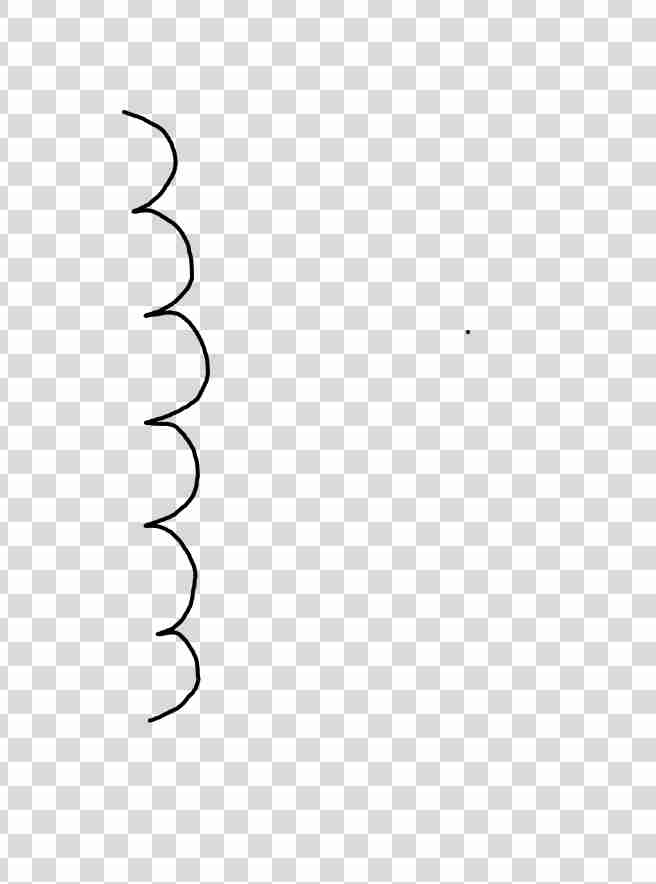
Assume this is a hyper magnified view of fine .28 mm layer lines as seen on the black line, and blue lines are the resin being poured into the mold
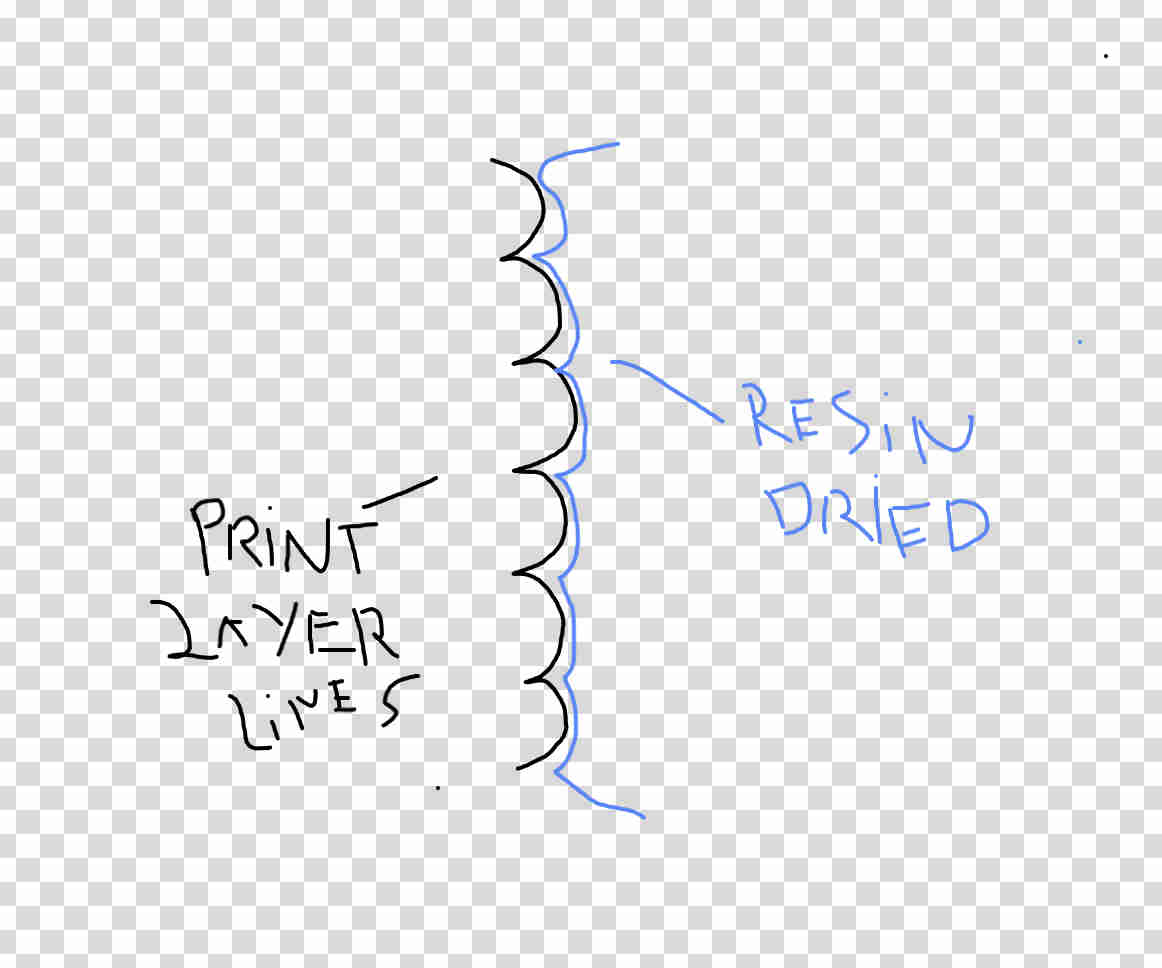
Once the resin comes to the wall and dries, it will conform to these layer lines.

Making demolding very difficult. it creates a mechanical lock
Thus orienting the print as such, eliminates the problem as the layer lines are now parallel to the demolding axis.
Prepping the mold
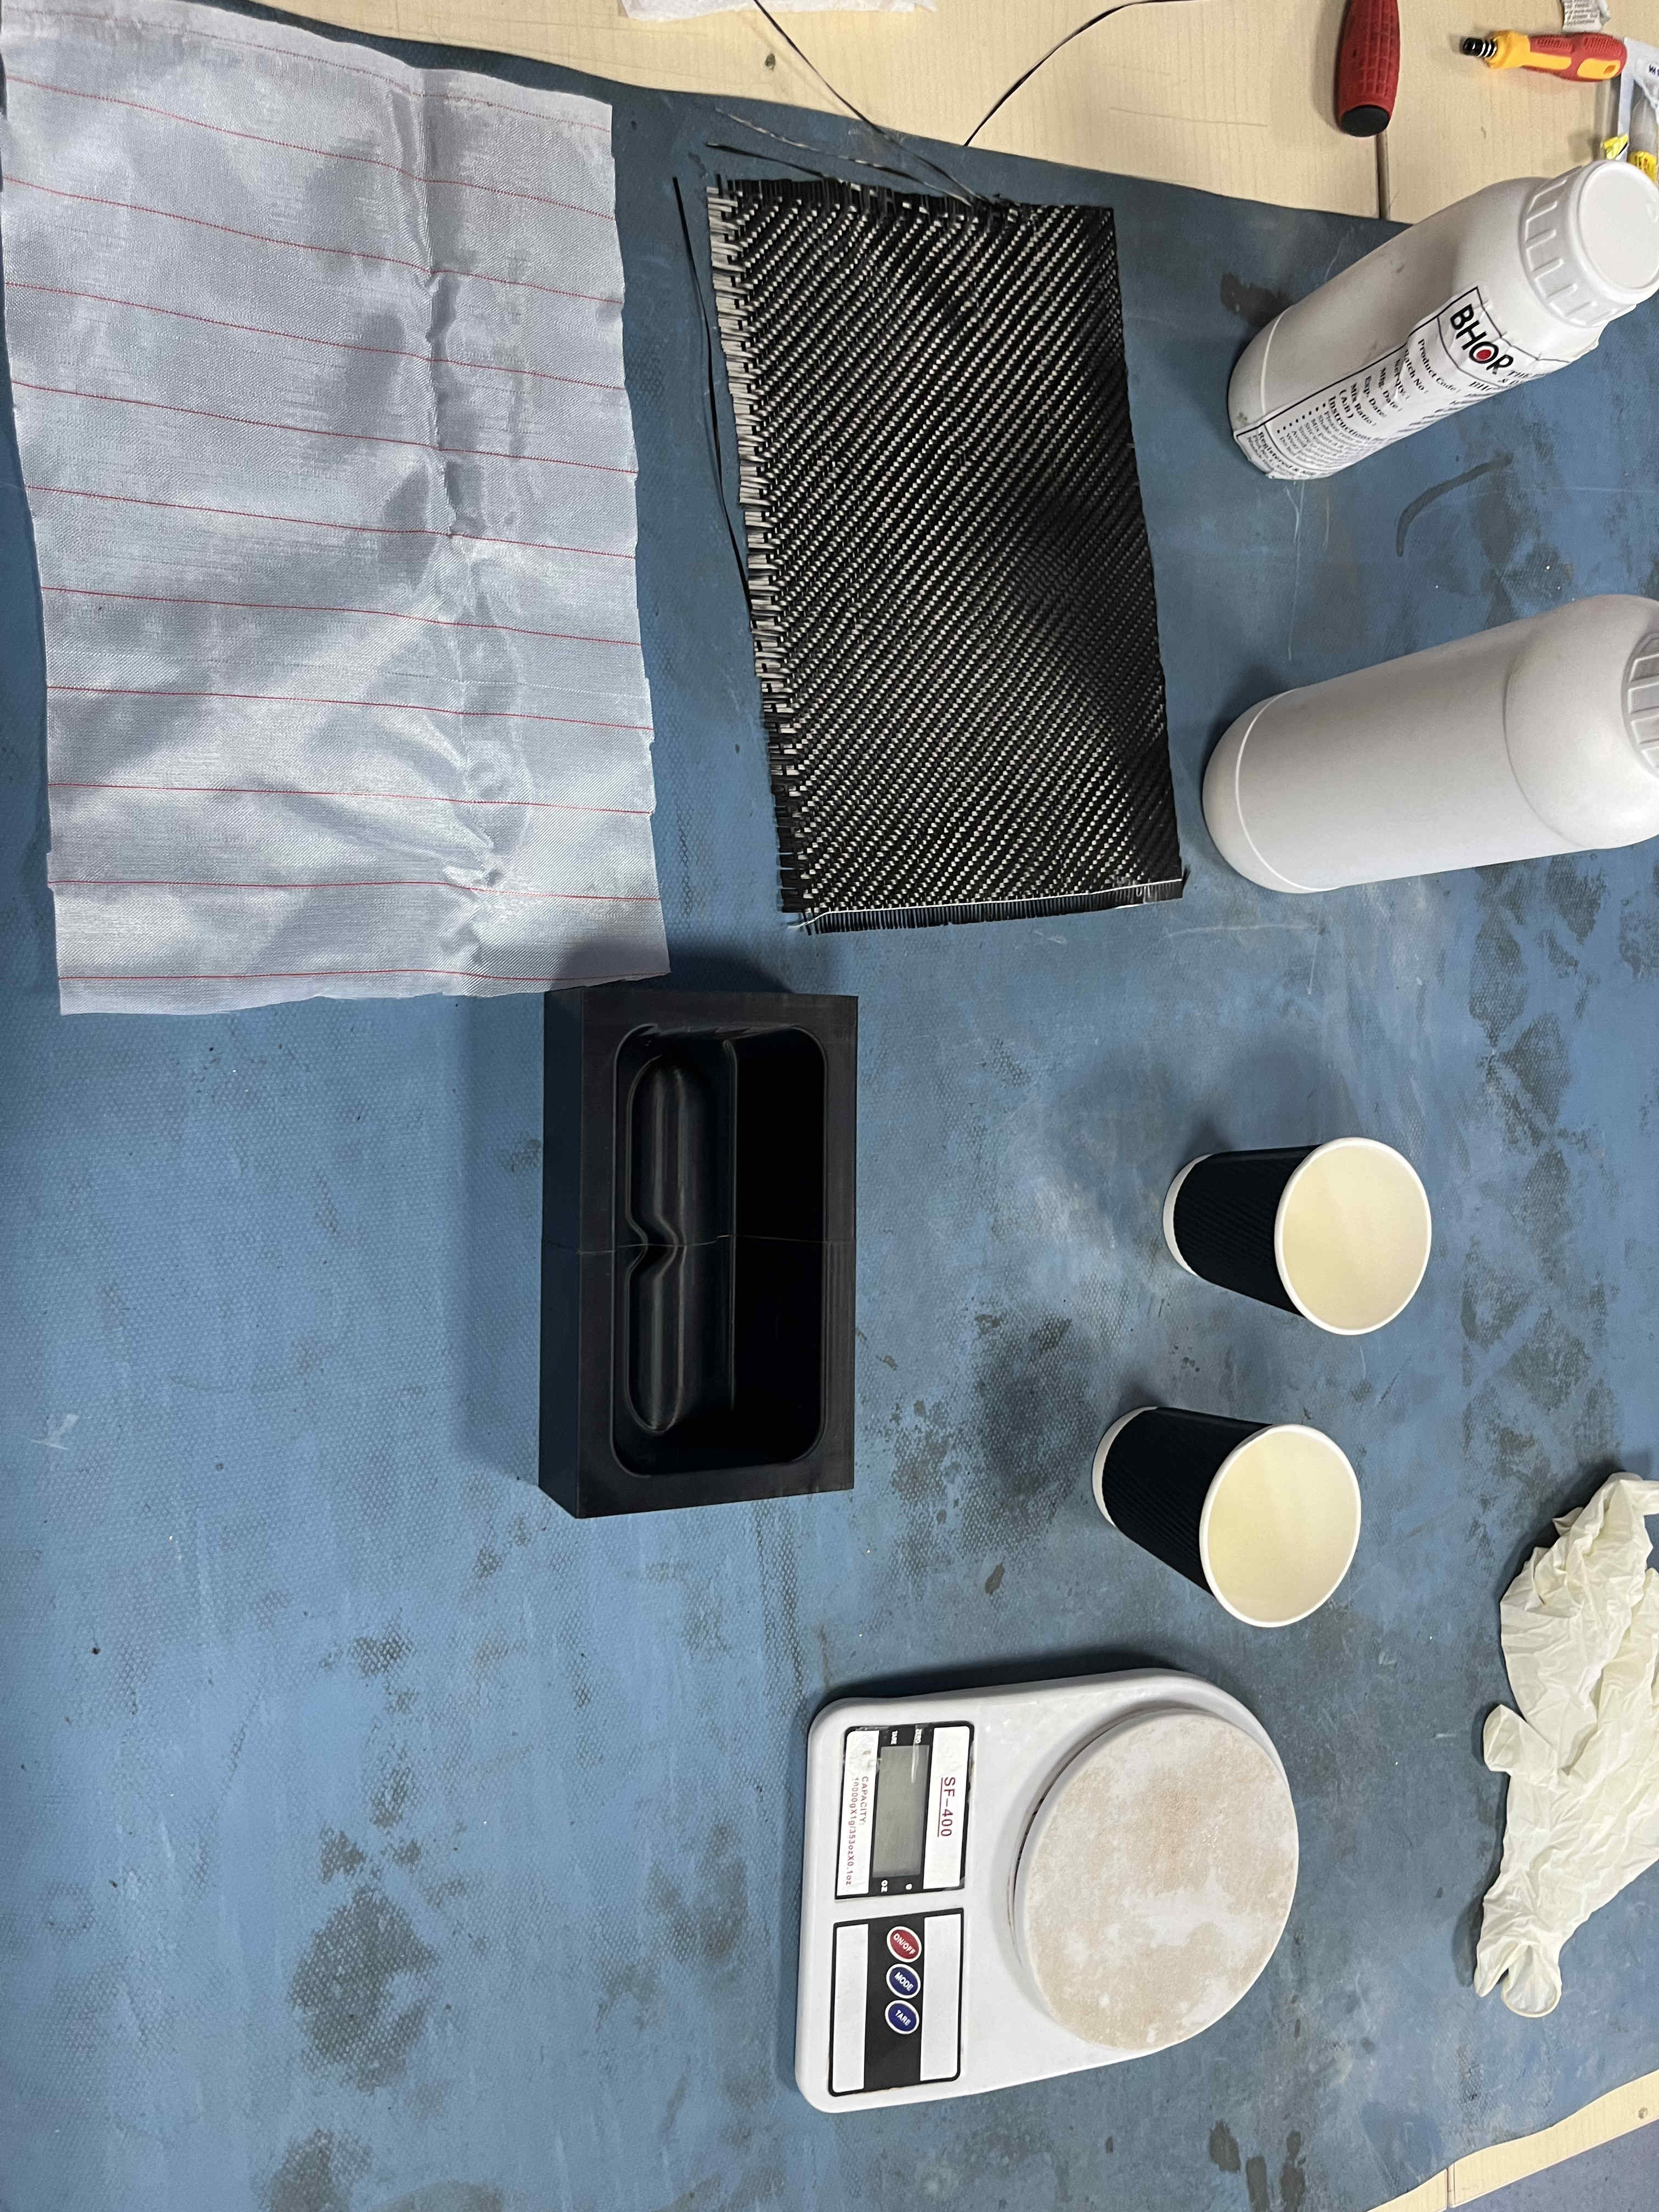
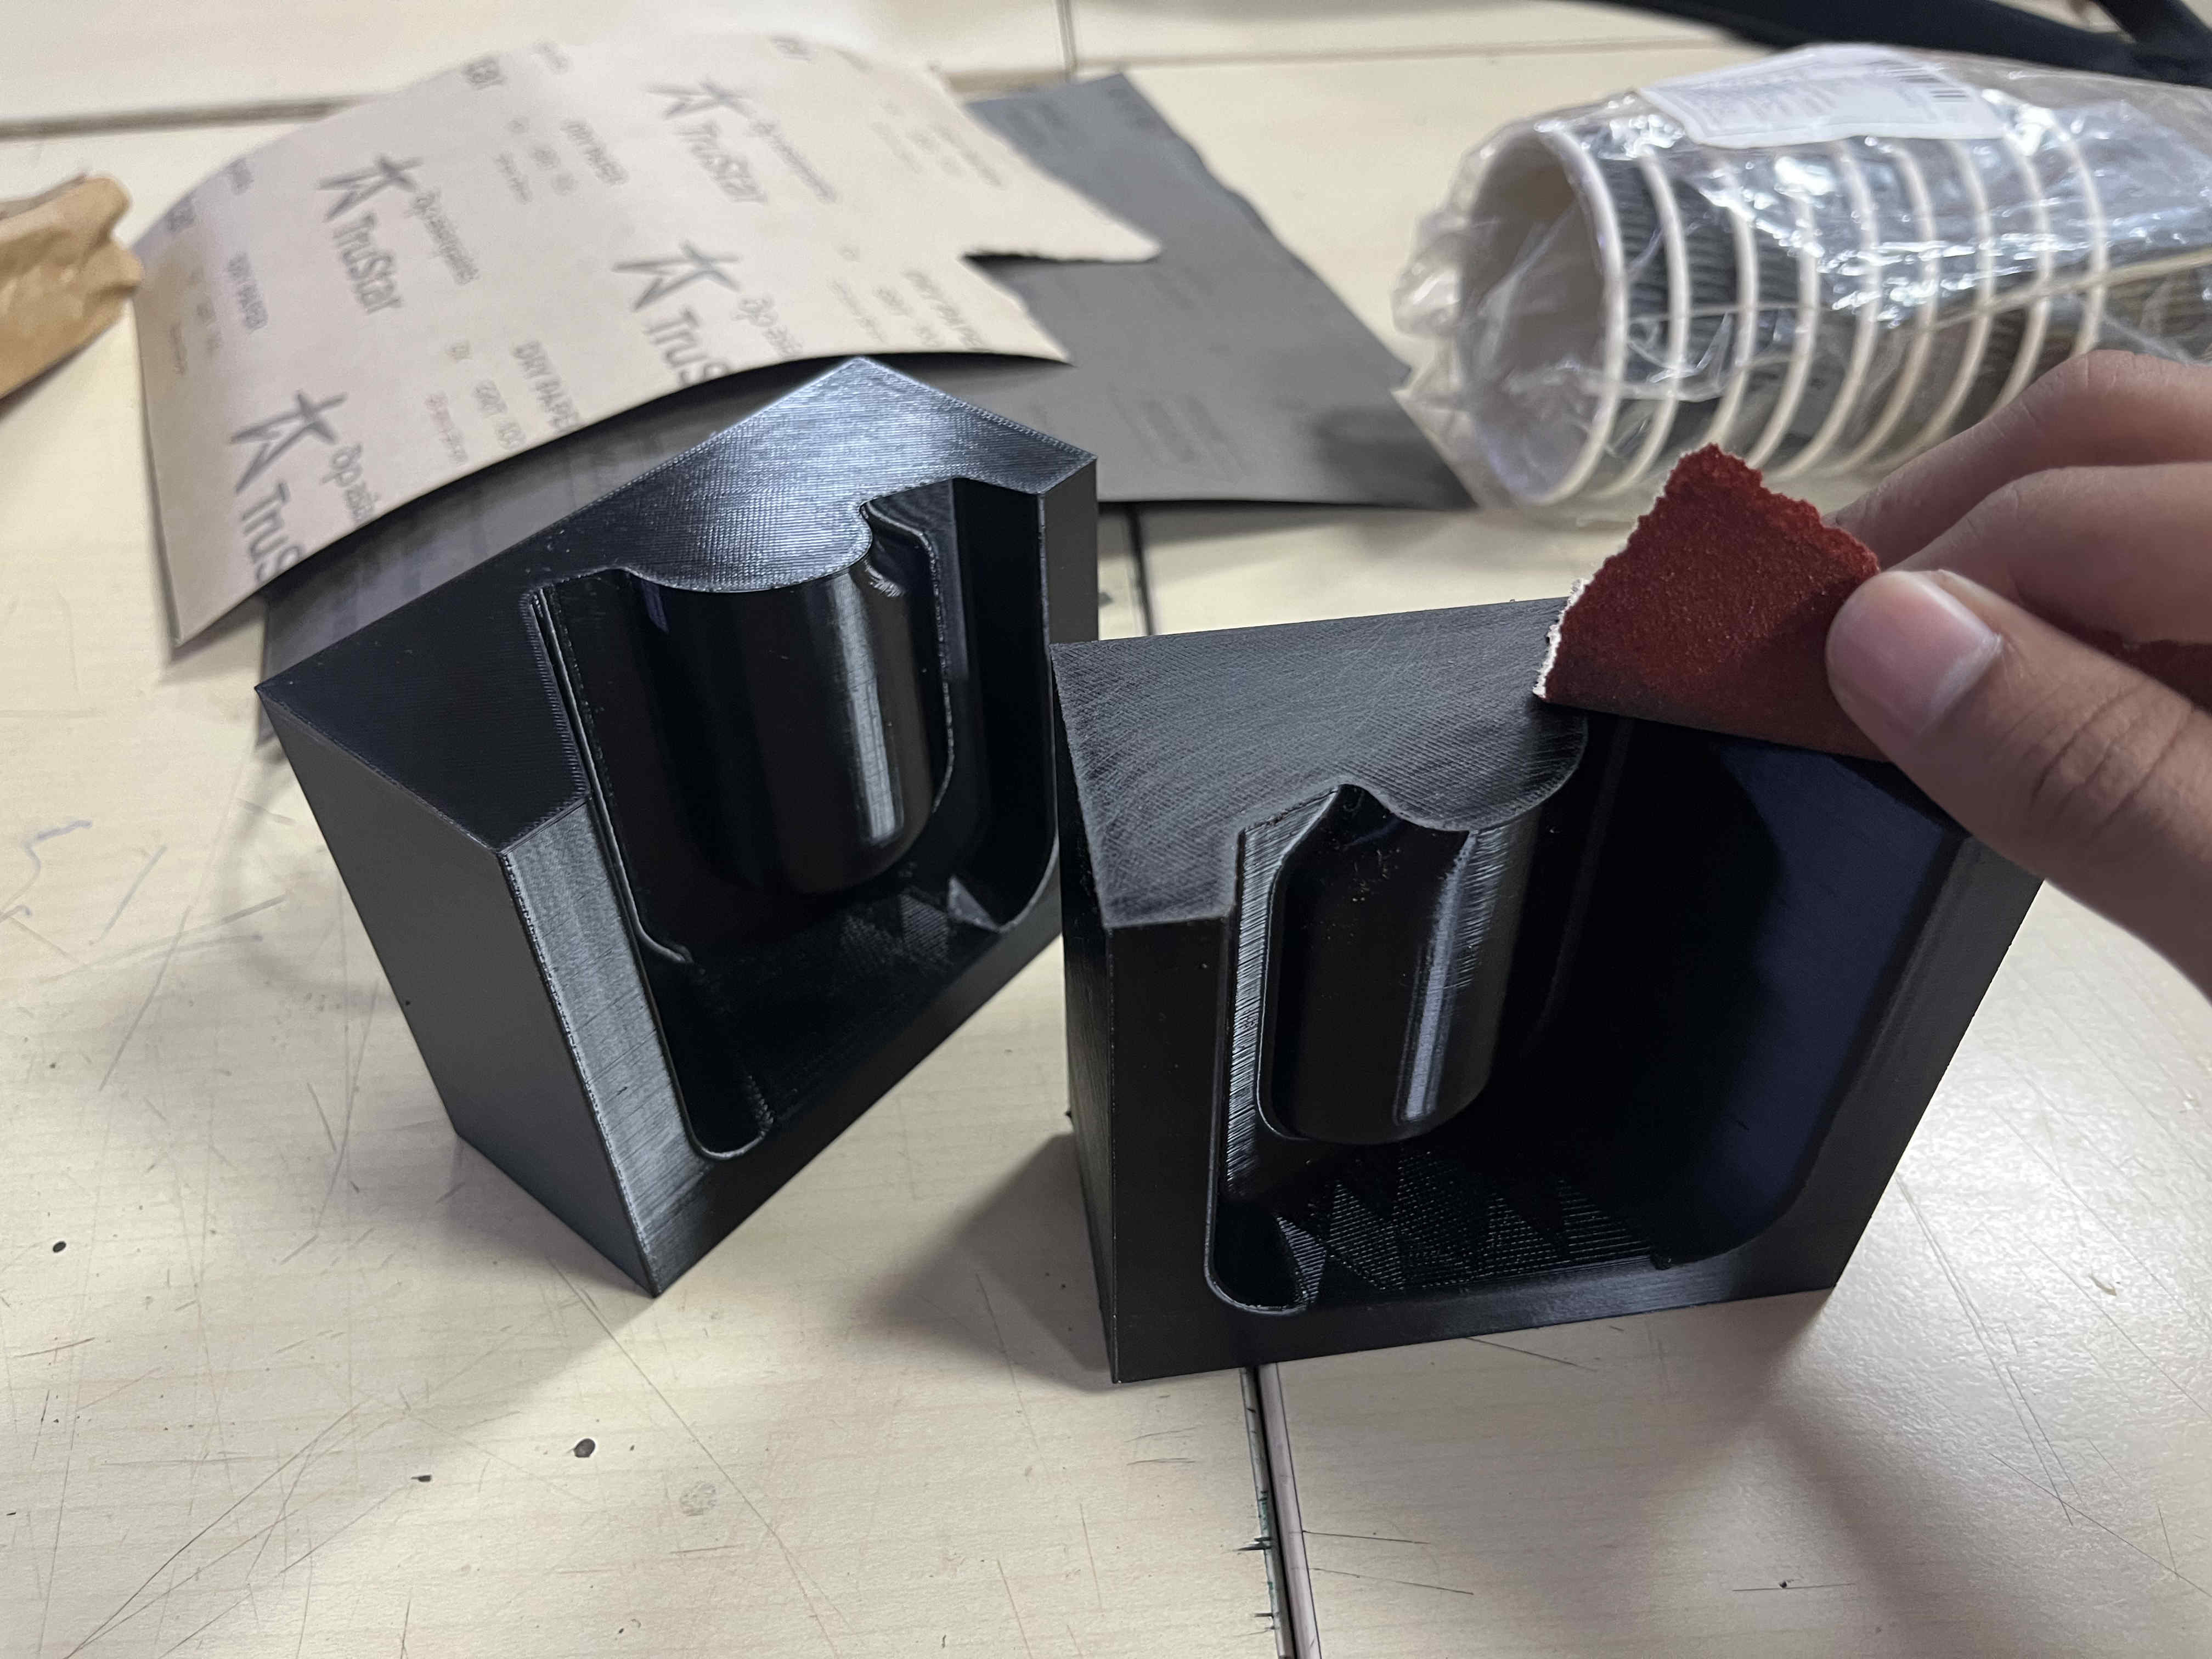
Thus slightly abraising the surface with 120 grit sand paper and then sticking with super glue works great, creating a mechanical lock
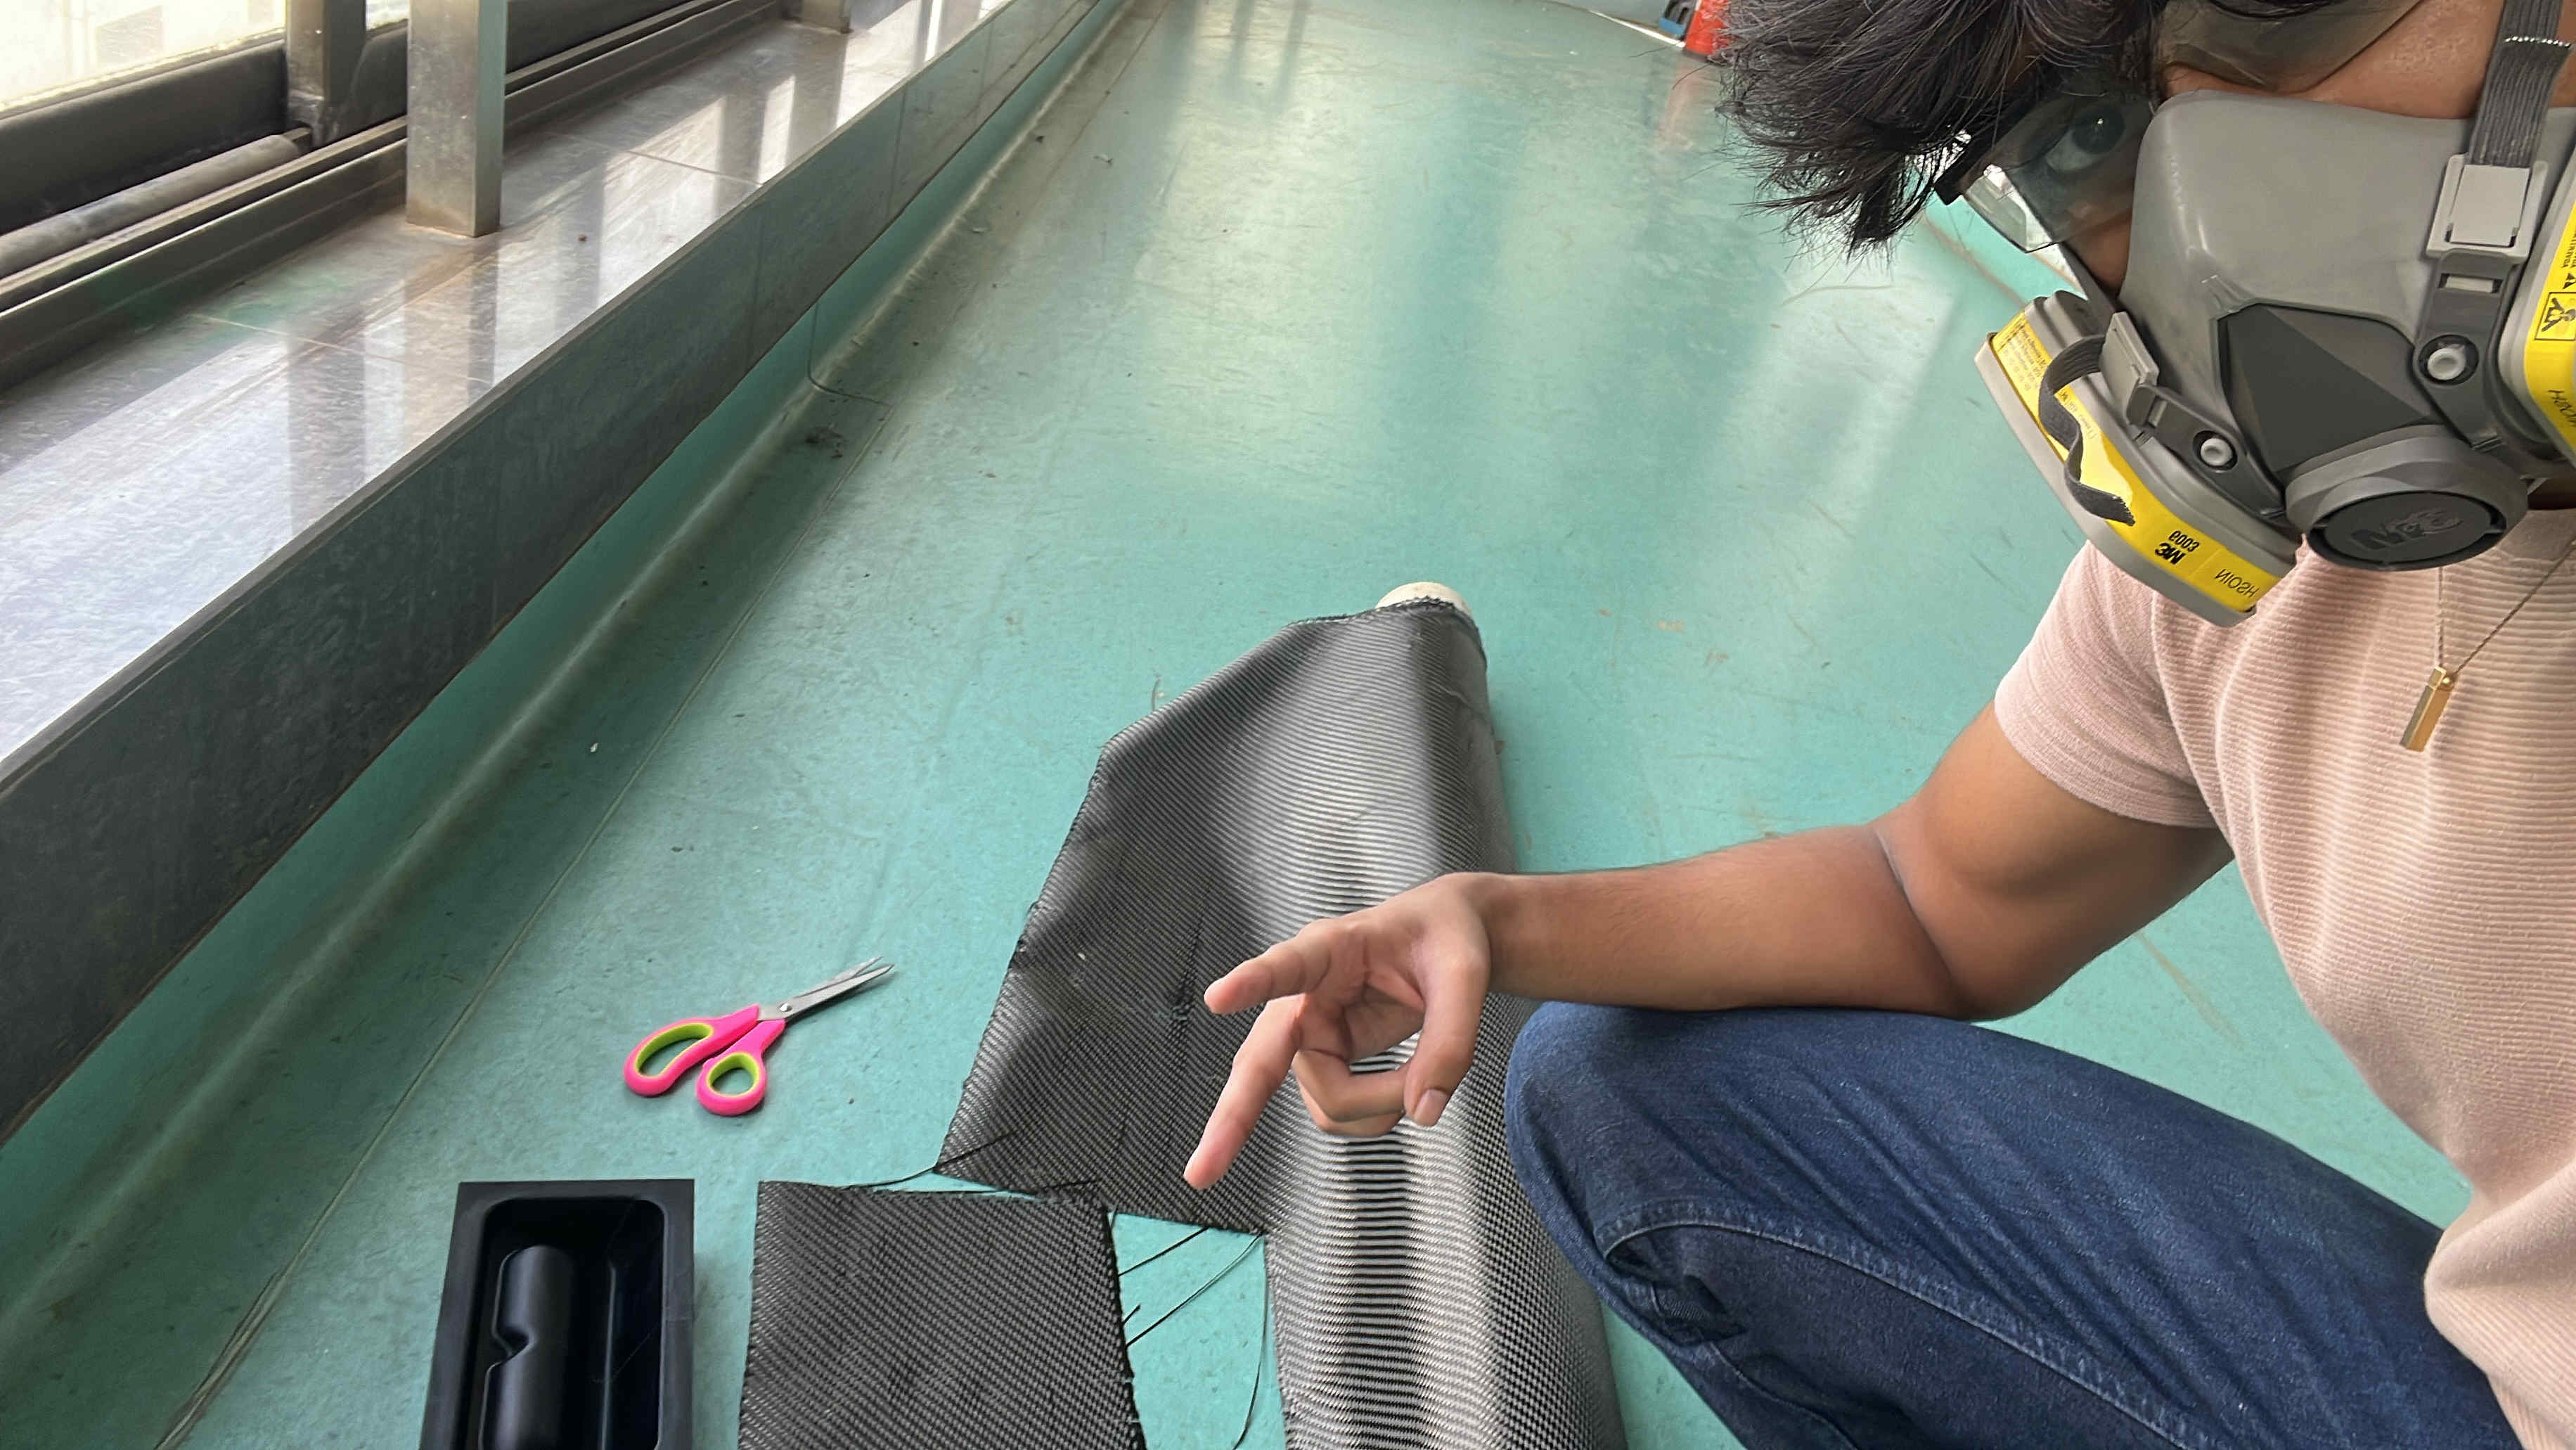
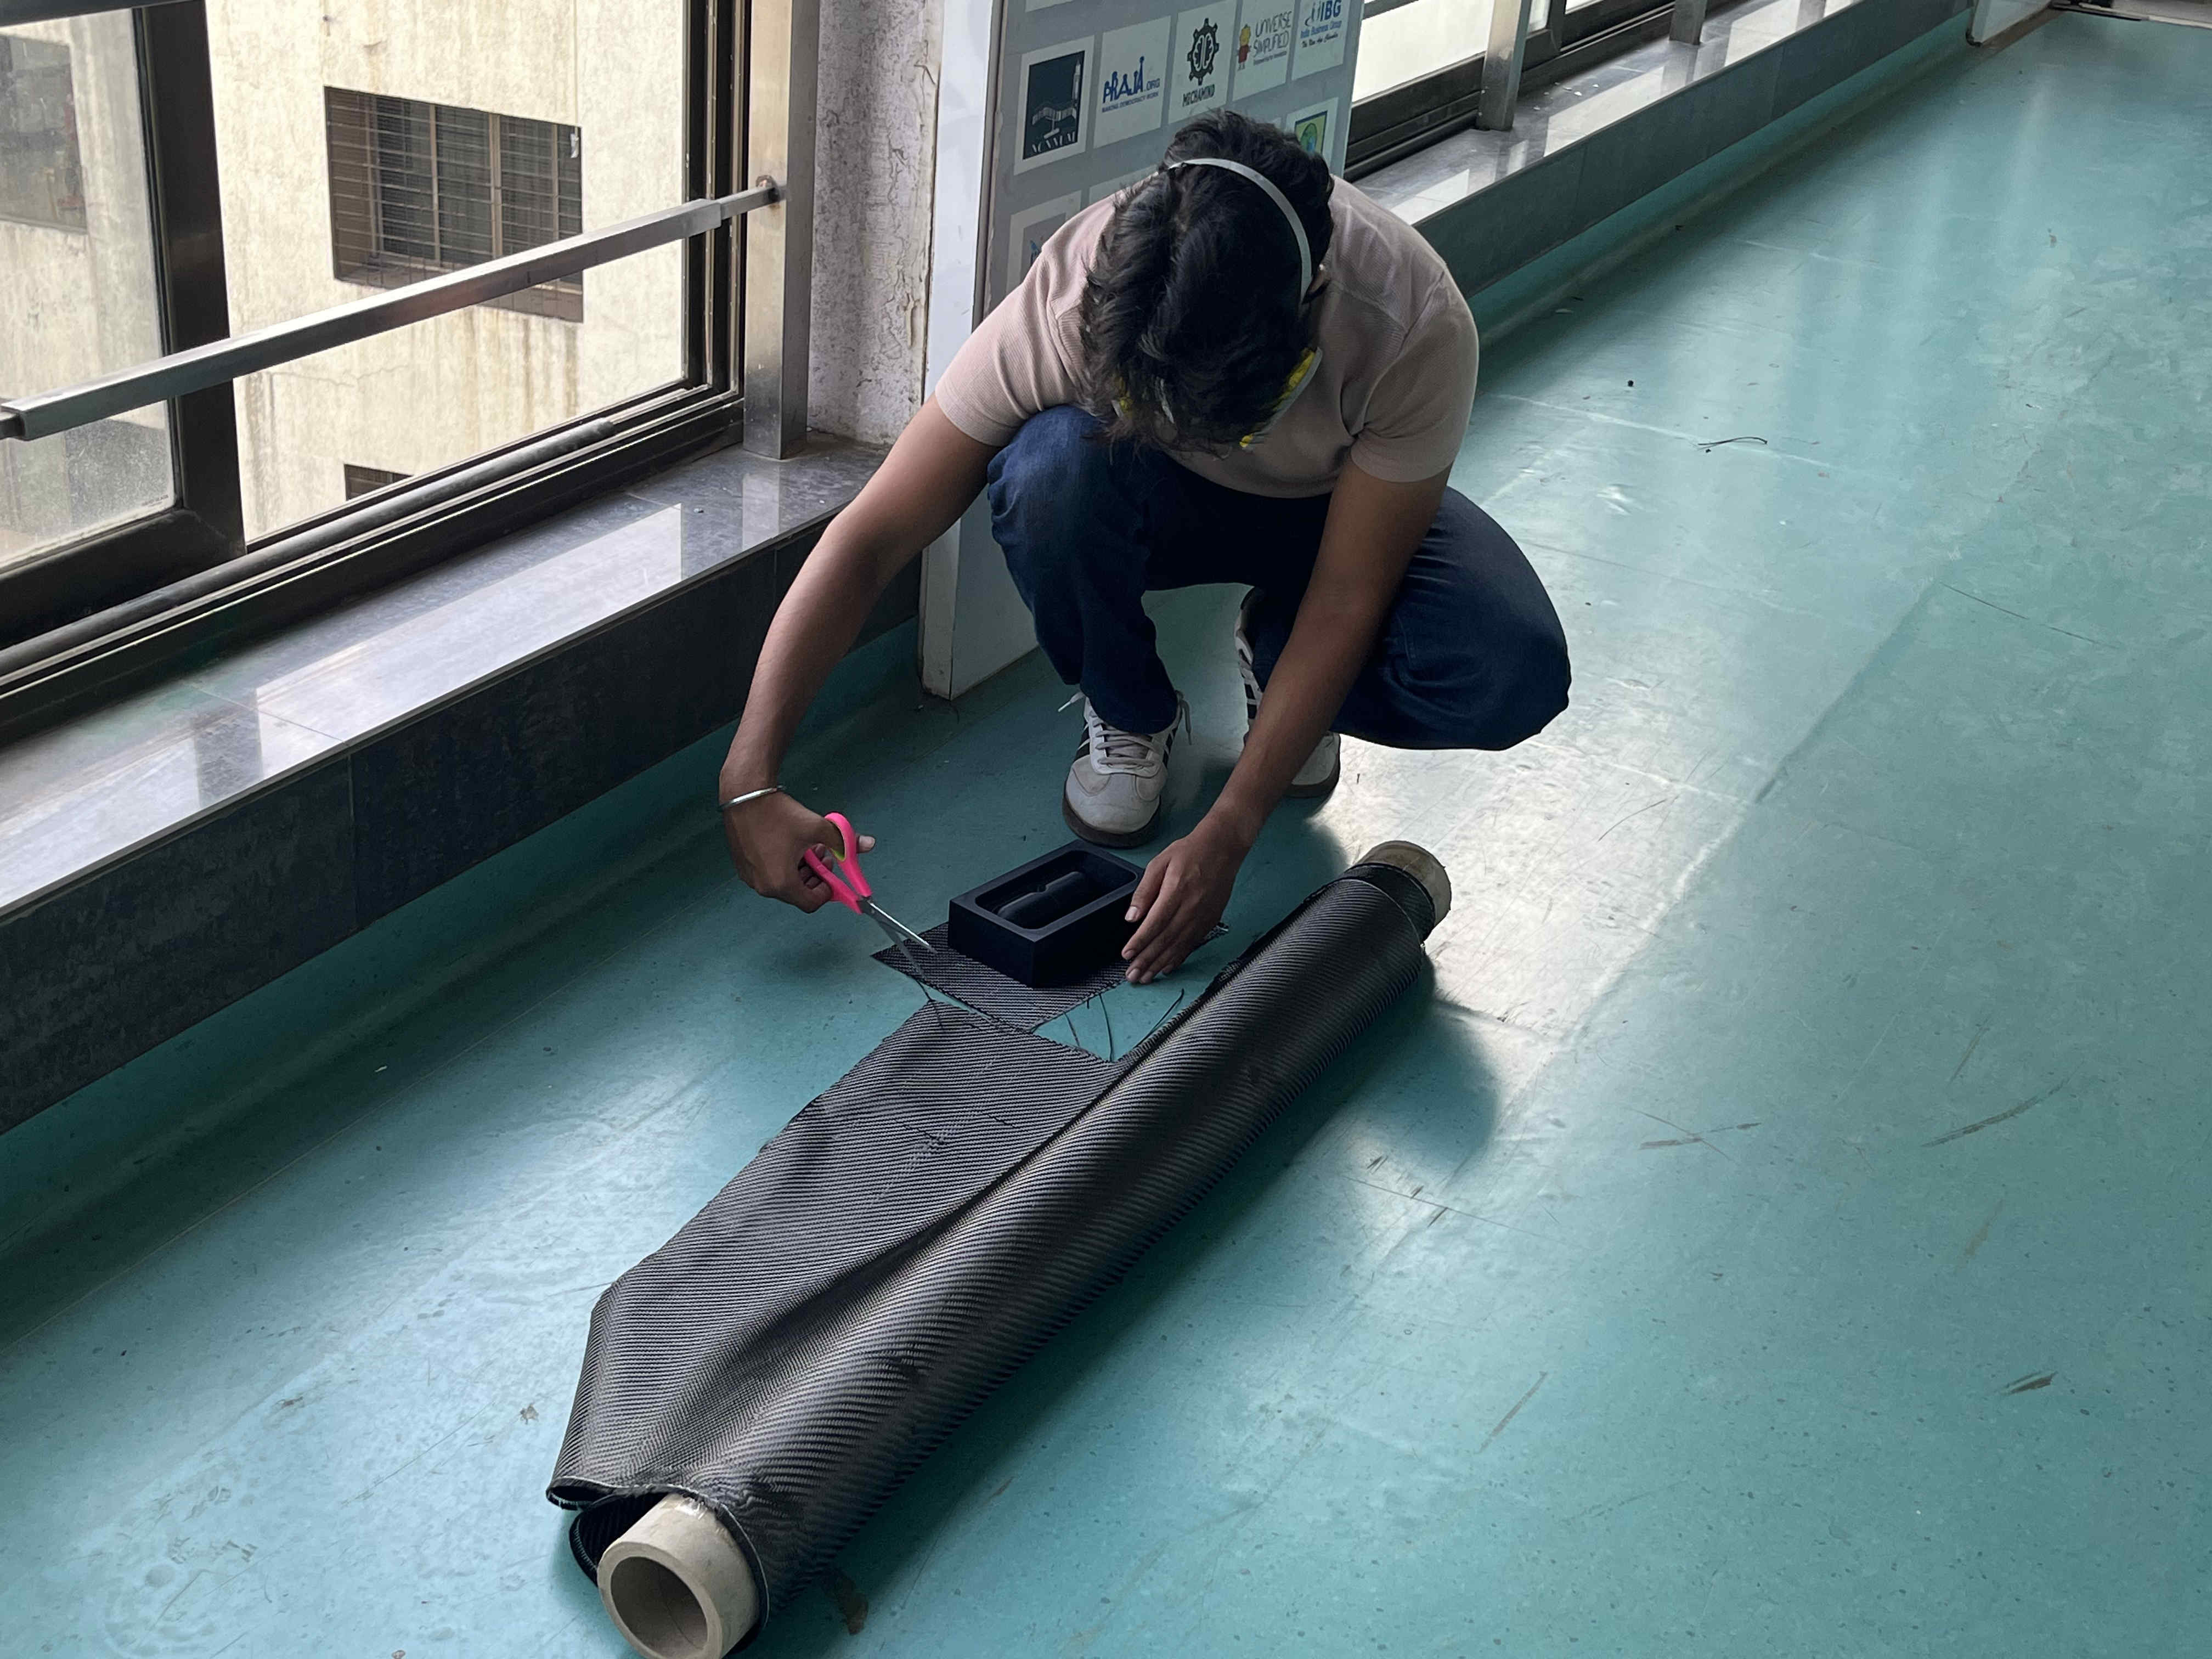
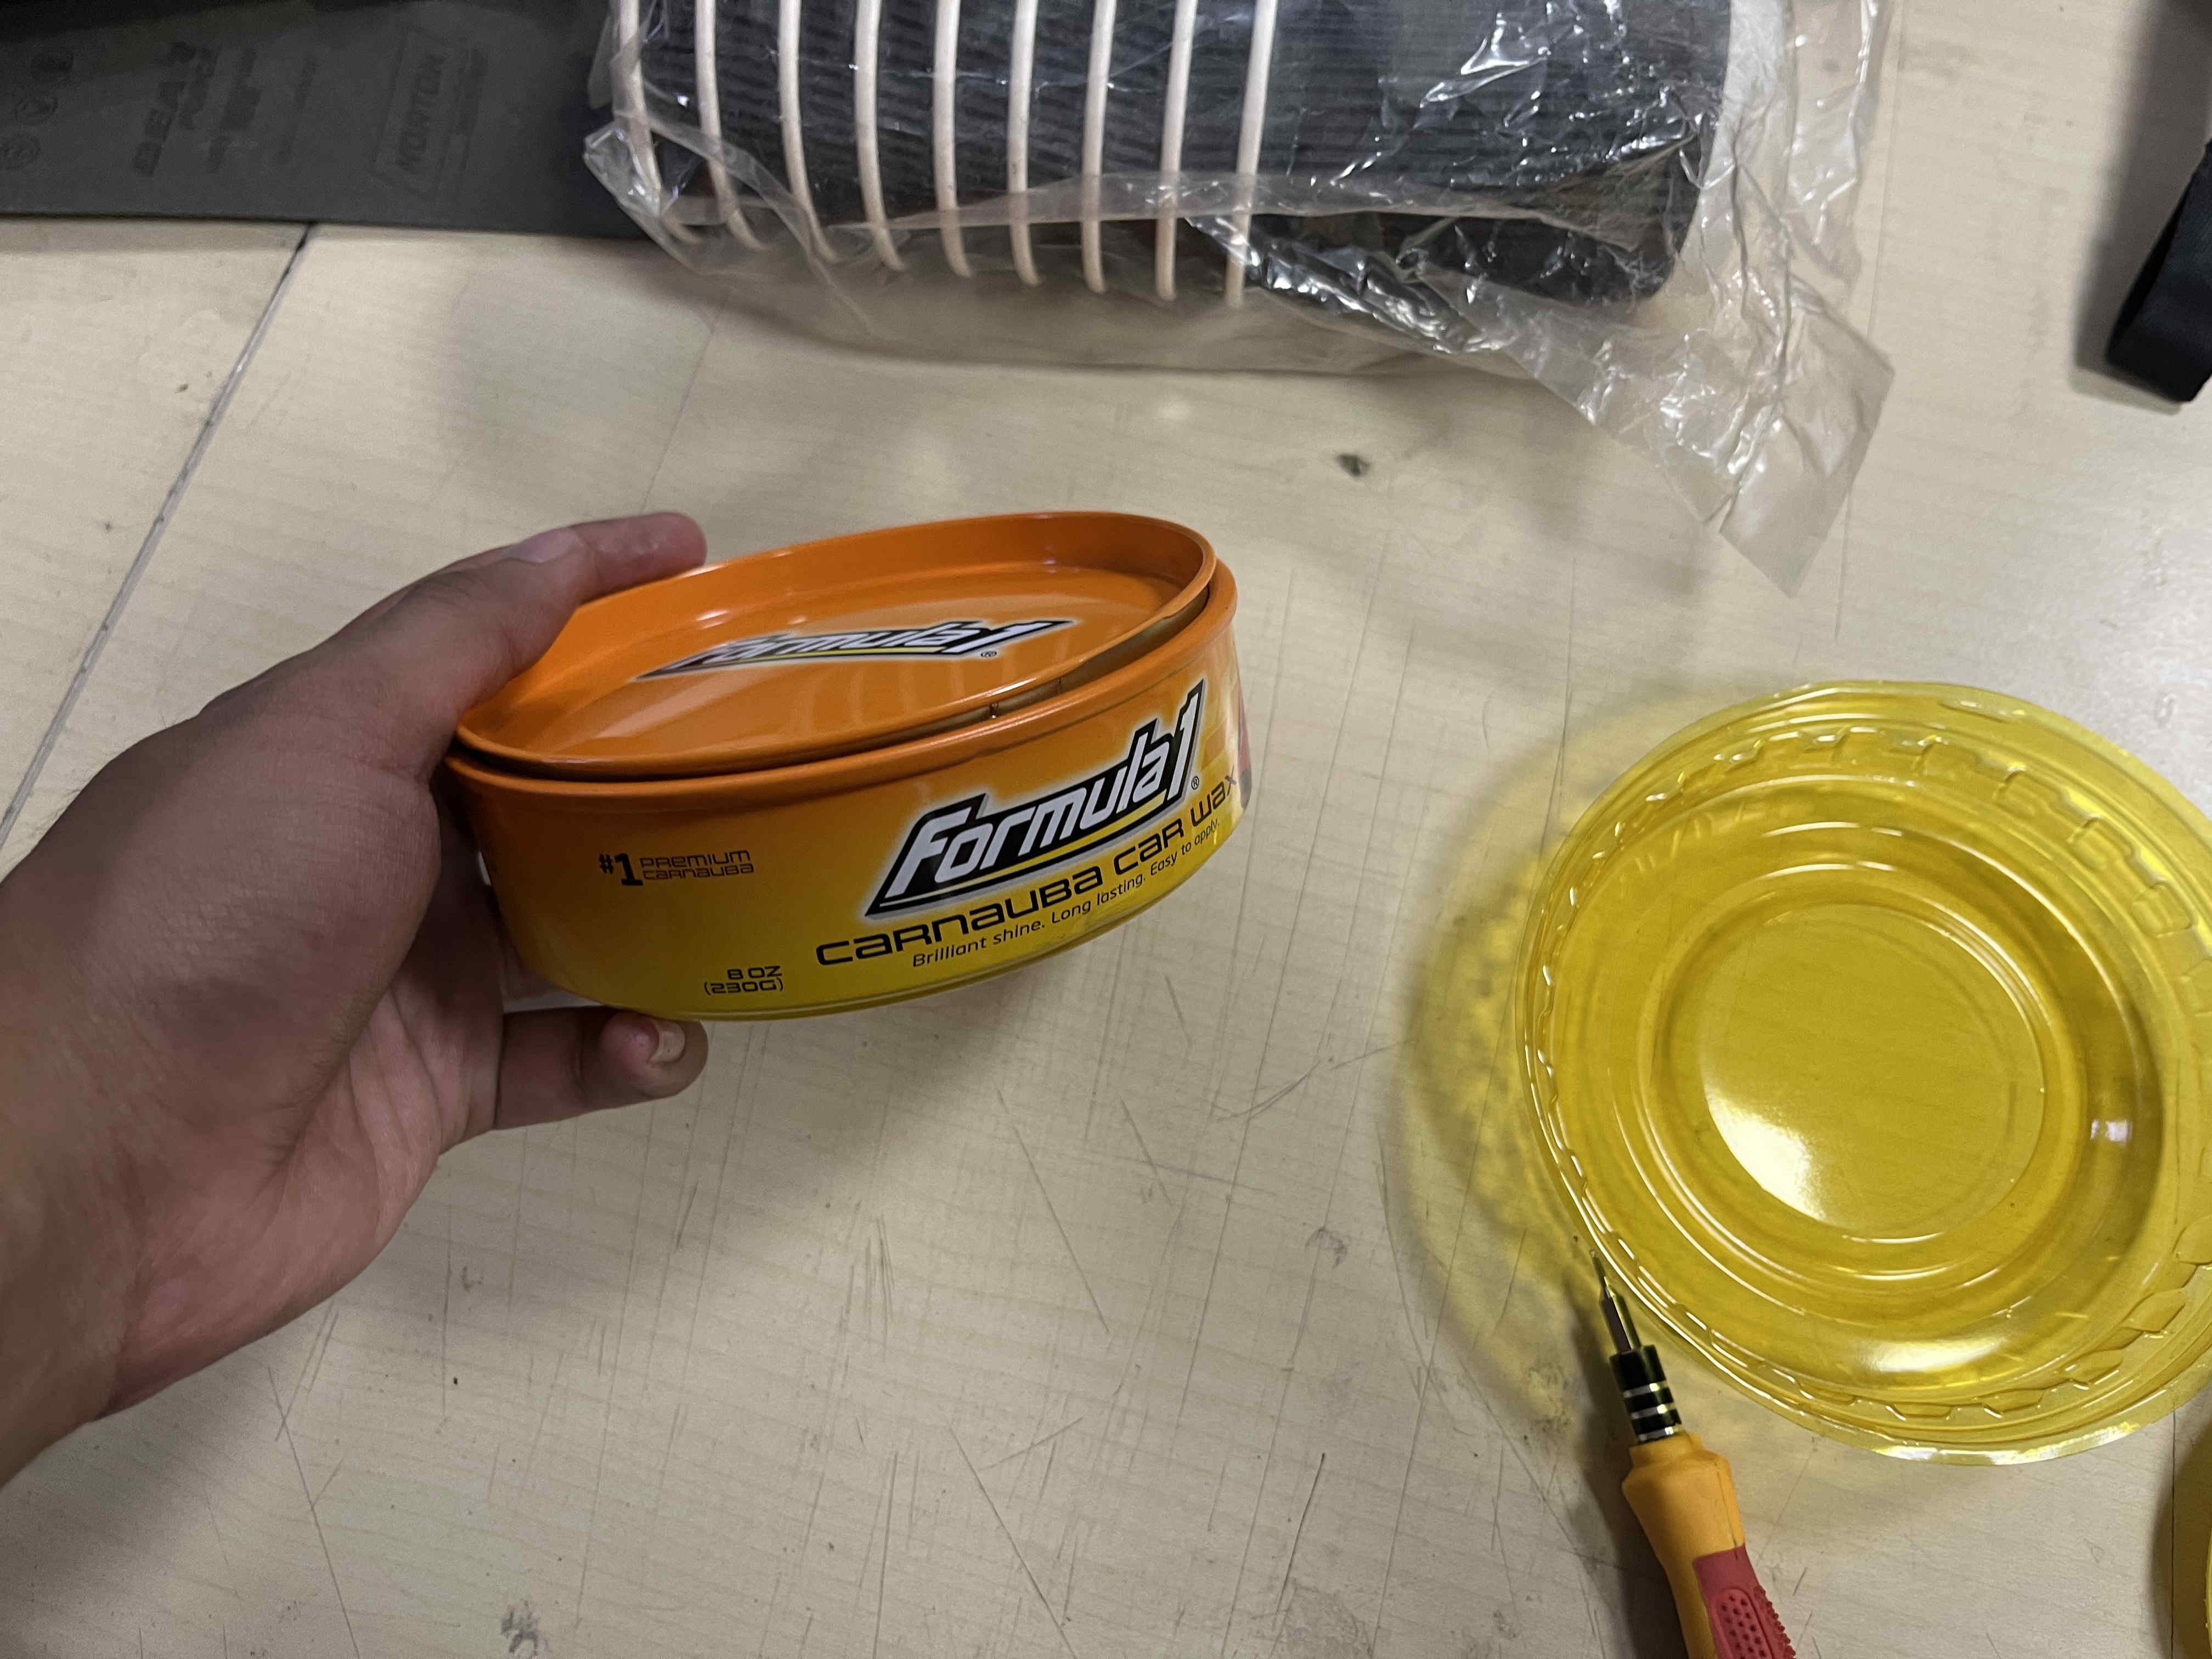
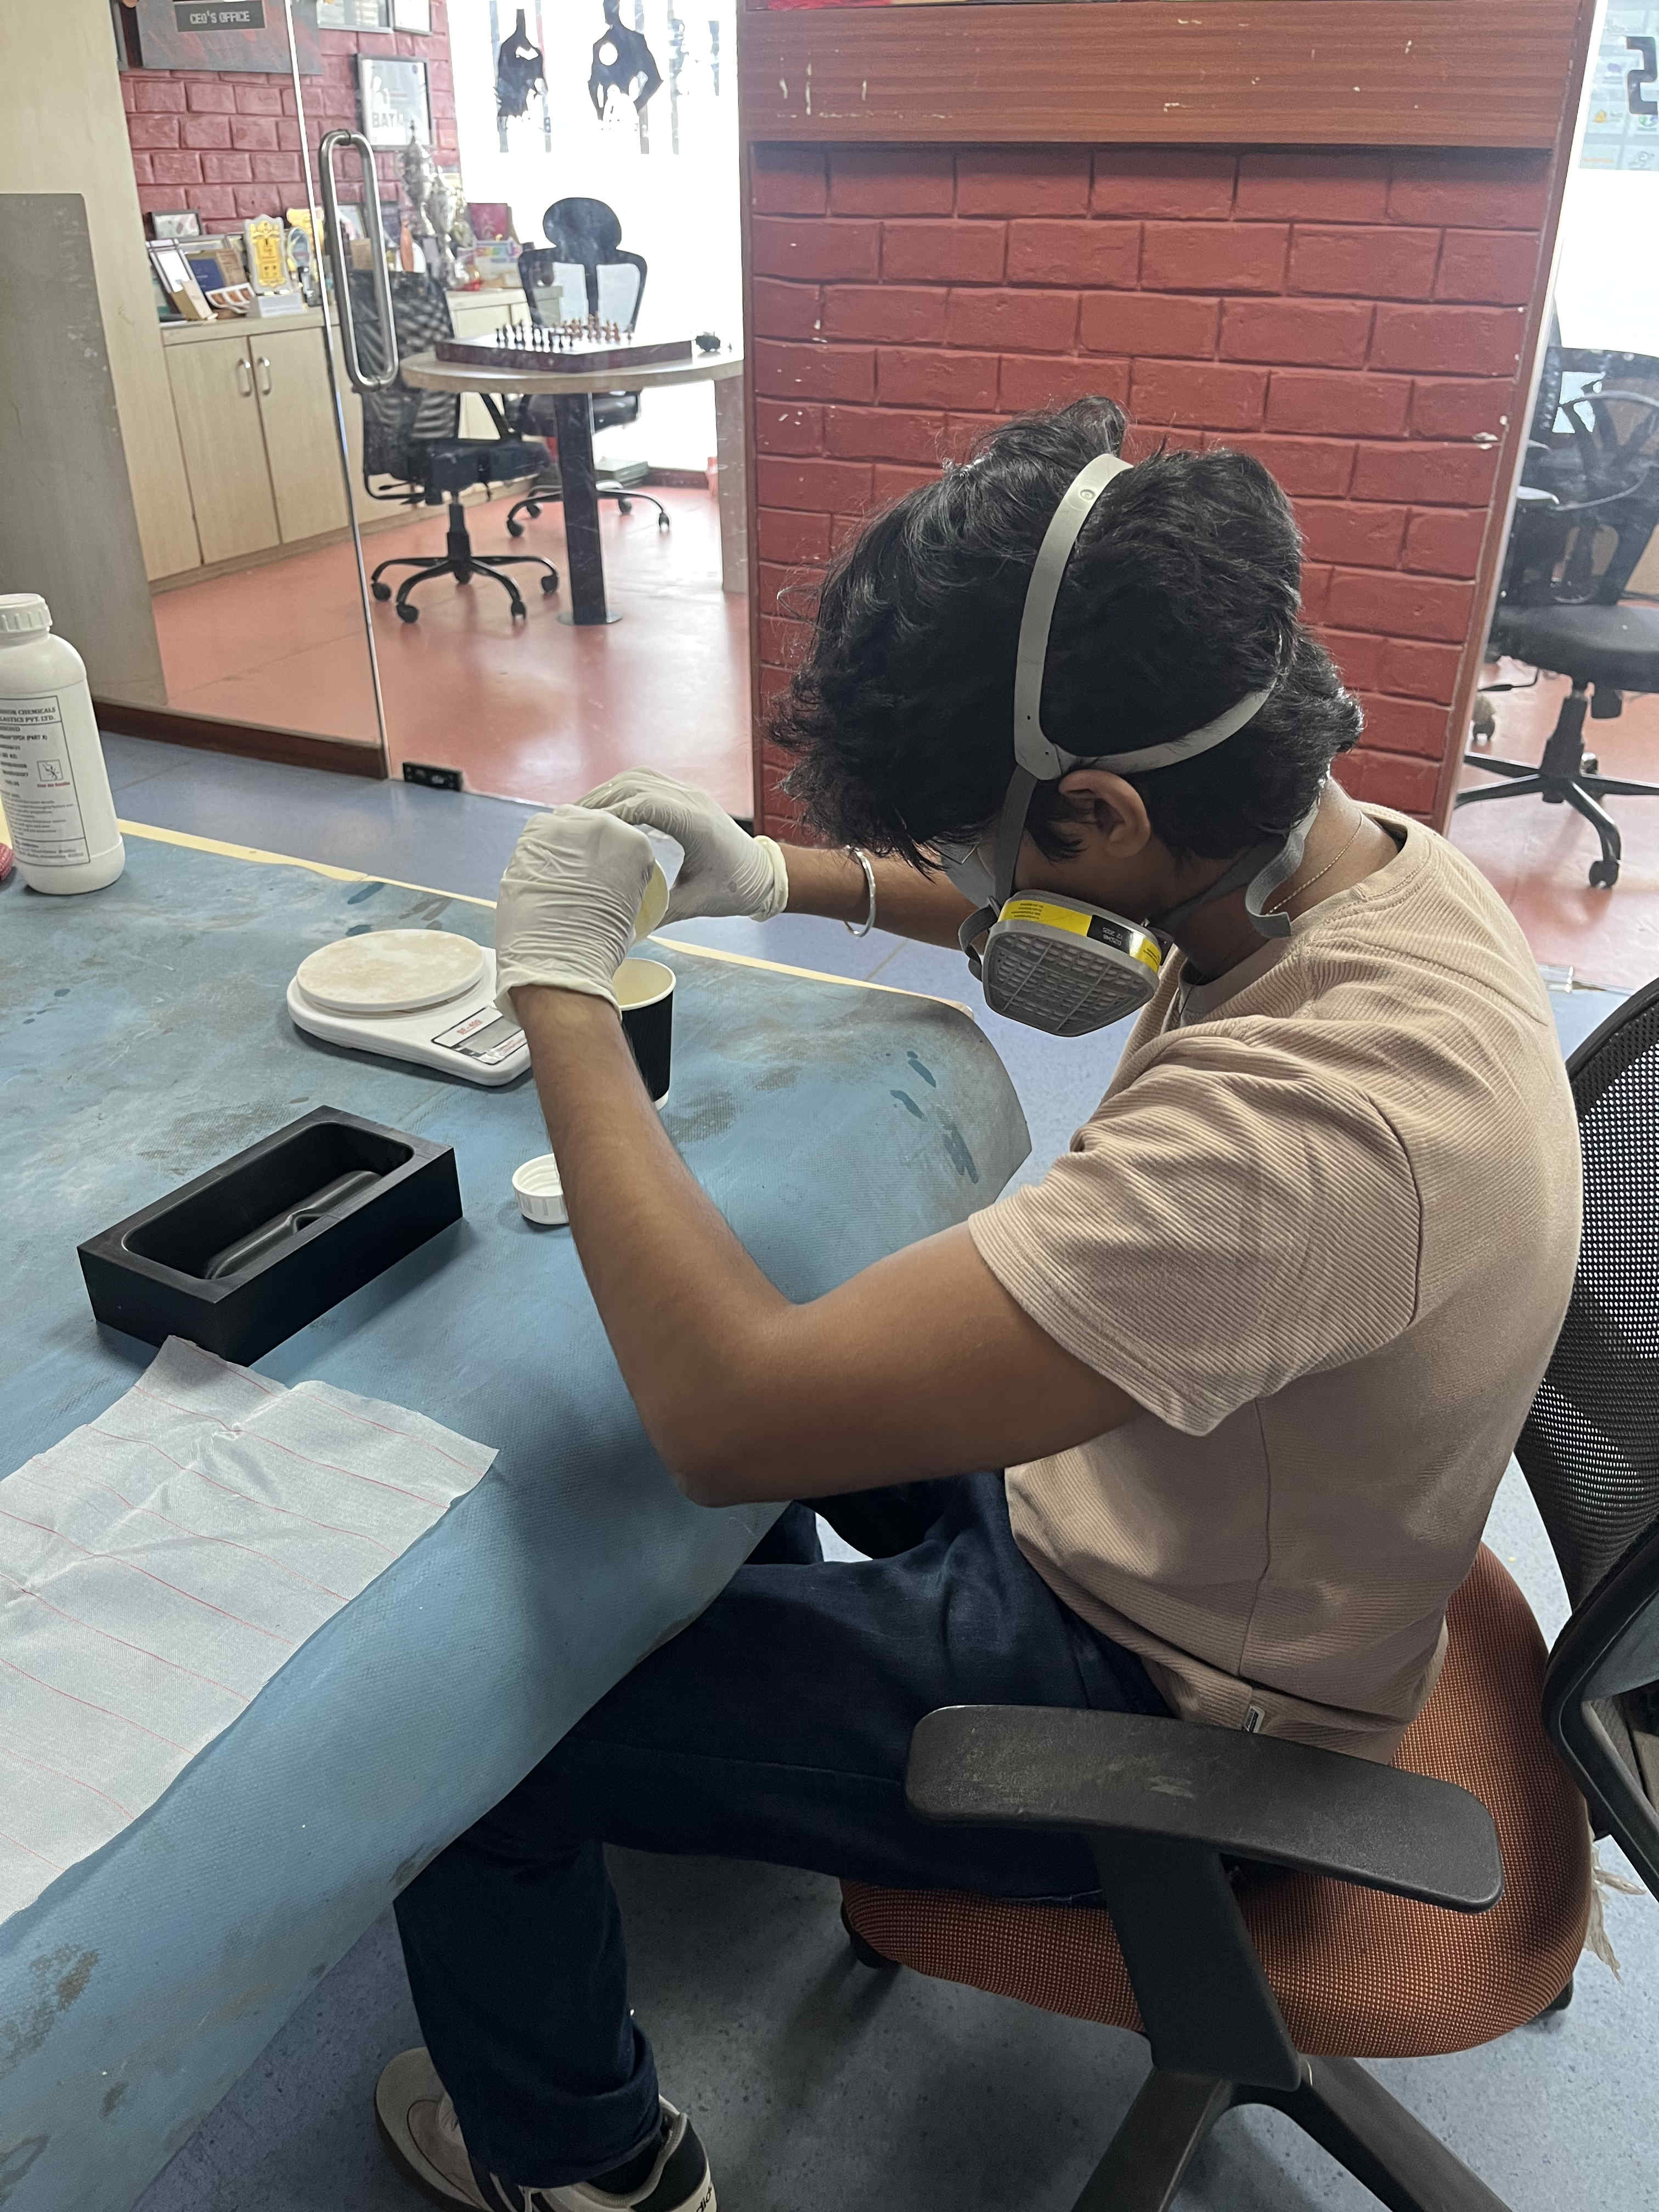
pouring the el2 mixture in the right proportion
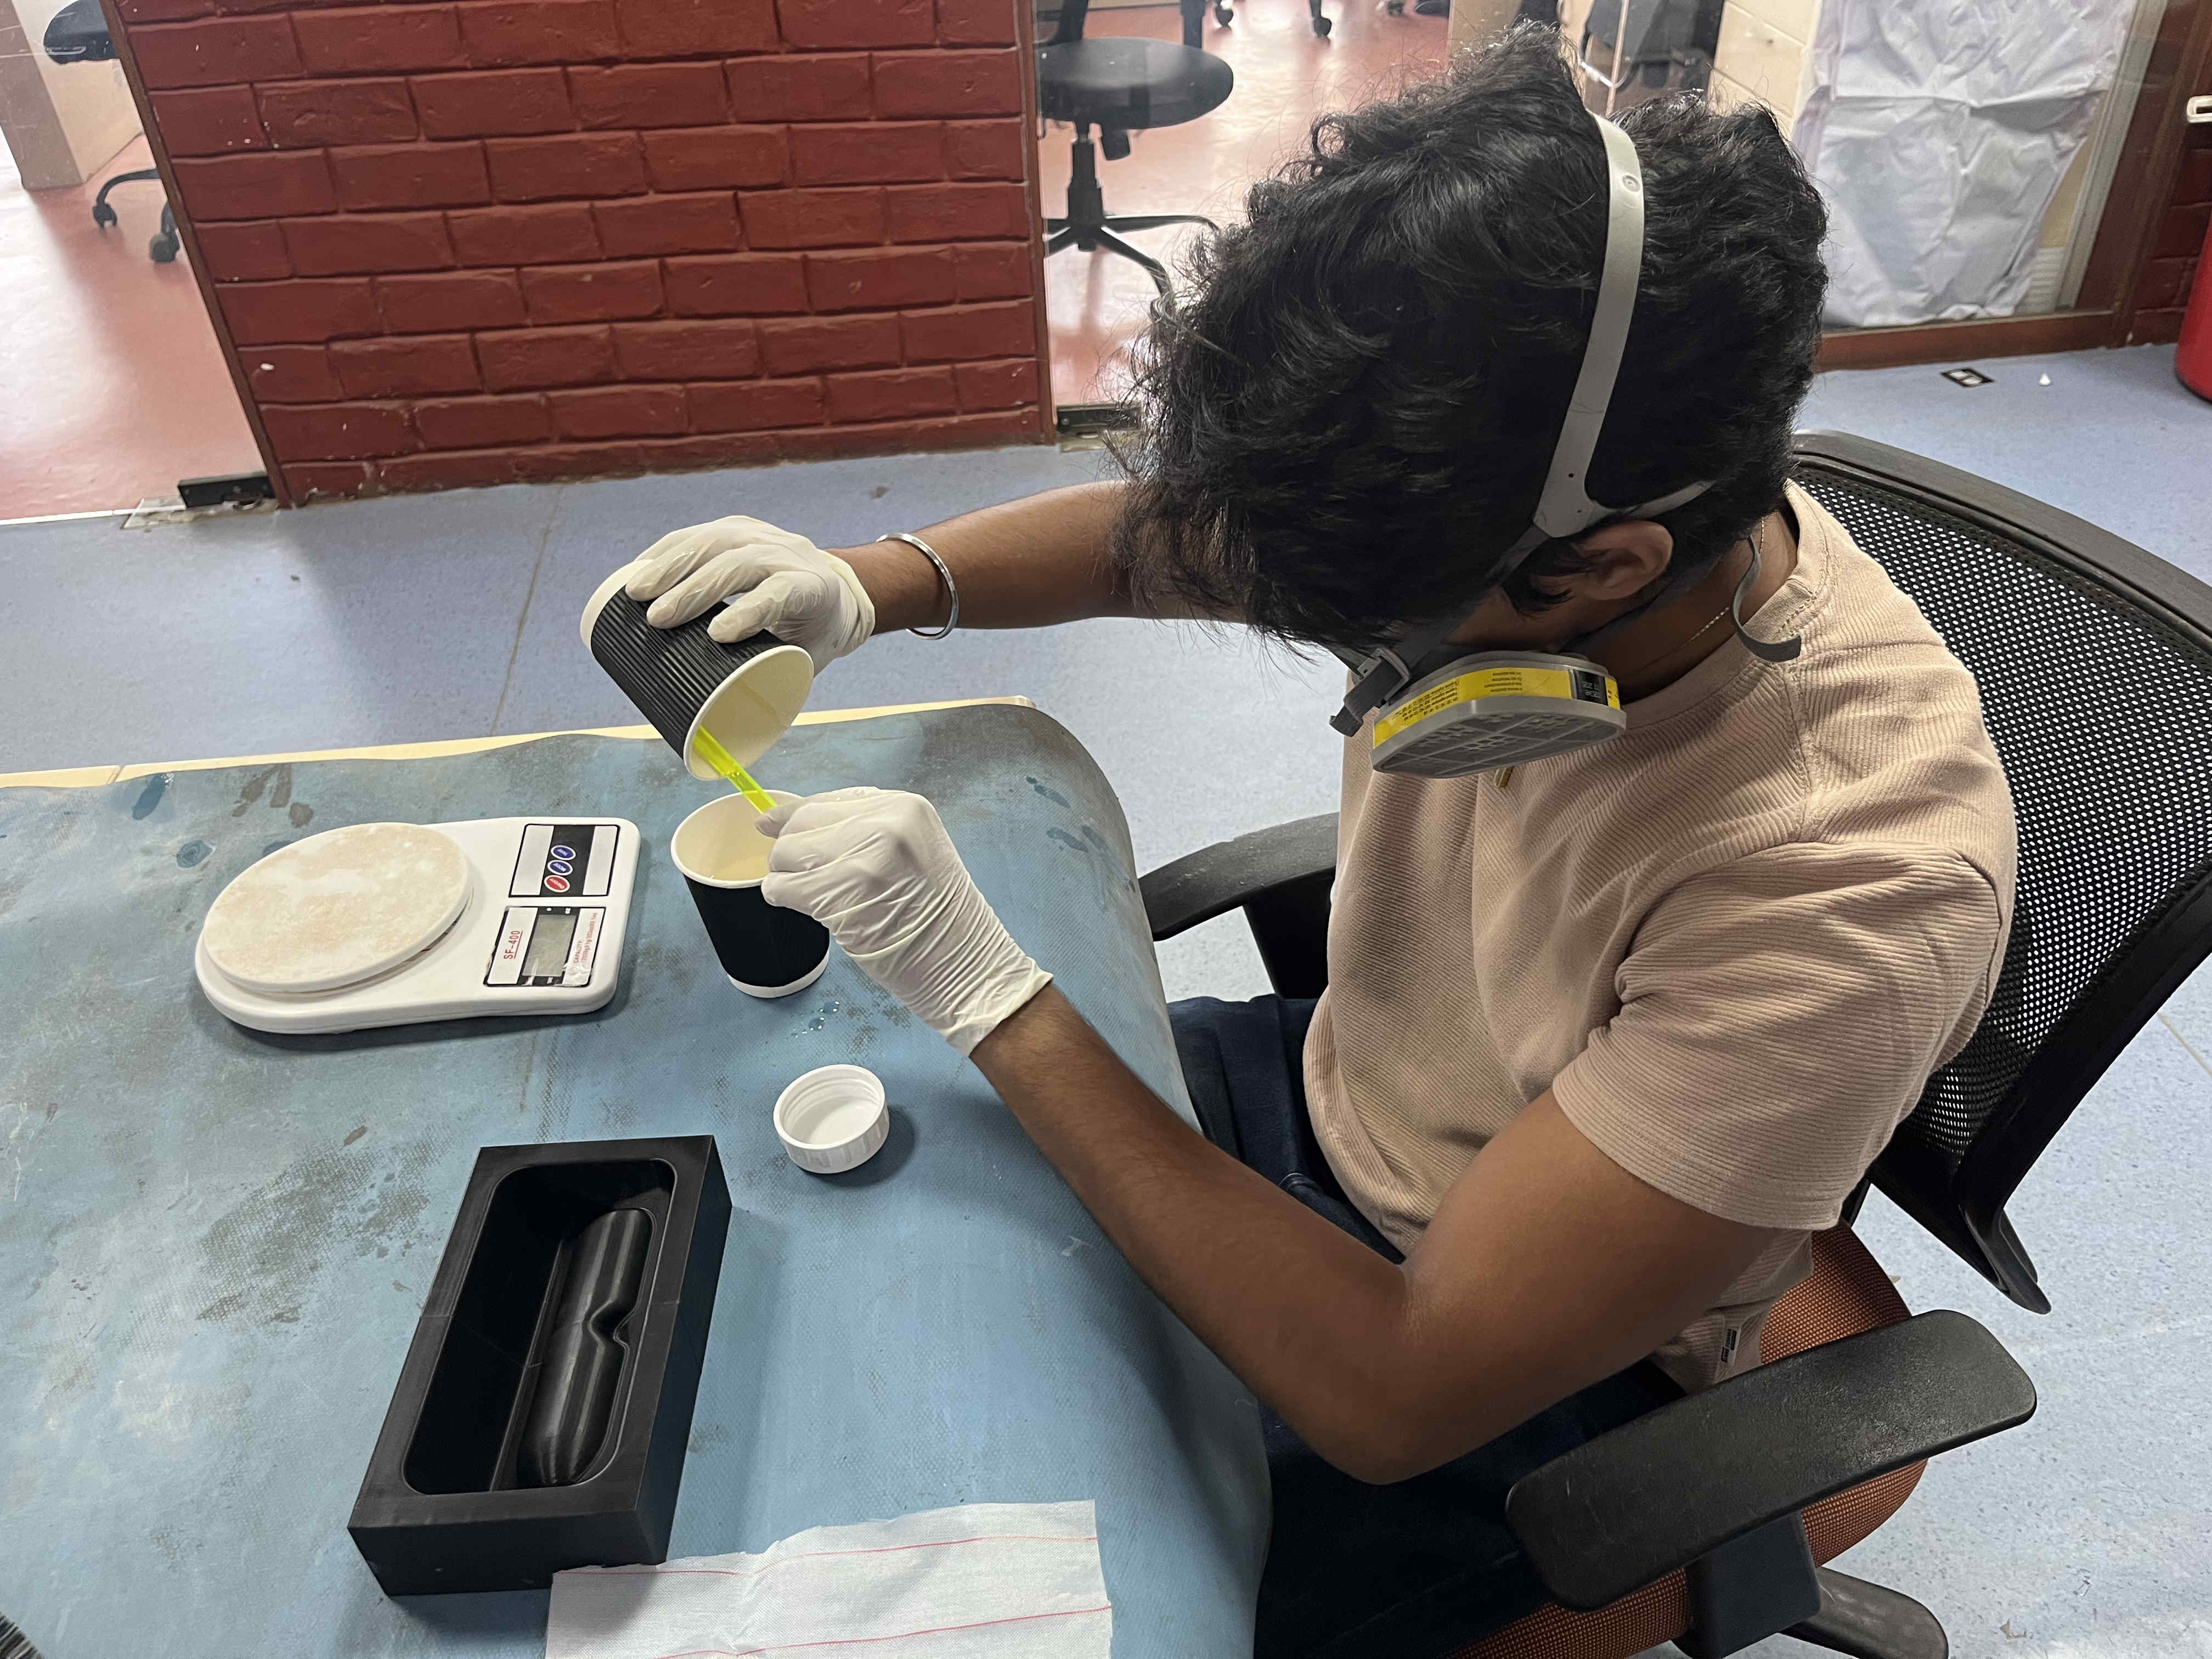
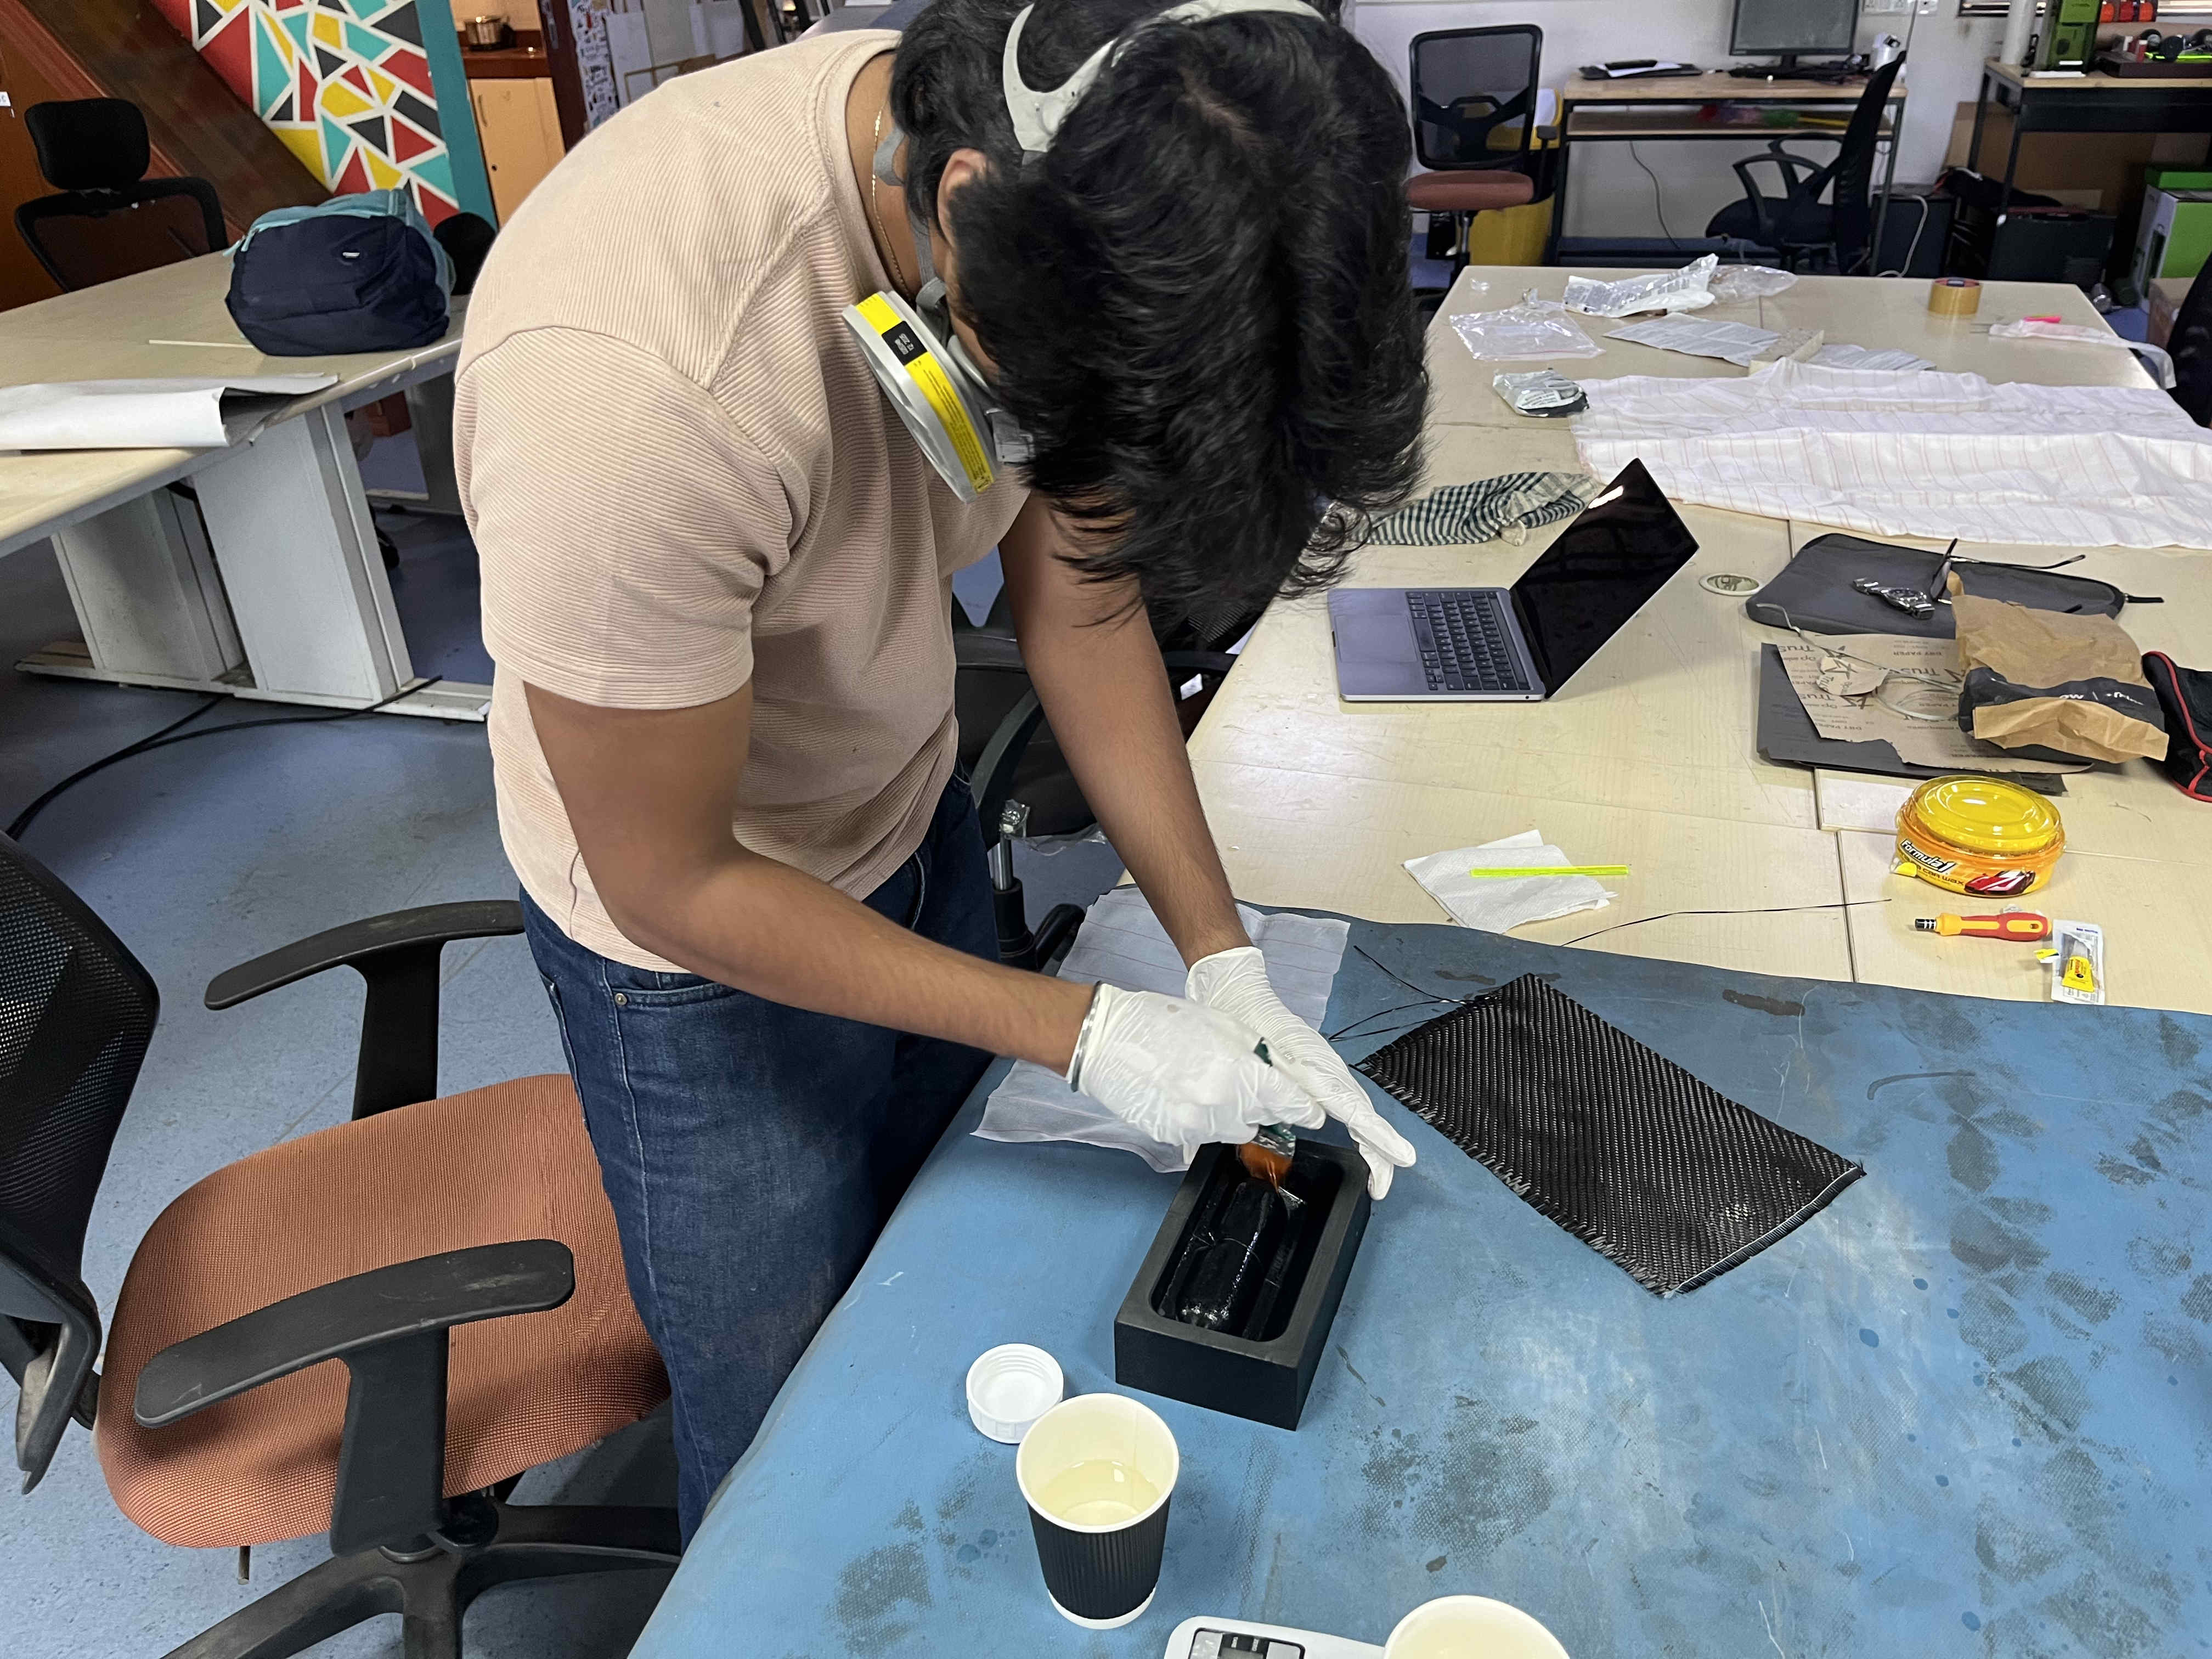
applying a thin coat of resin on the the entire mold first, using a brush but brush creates streaks so be gentle.
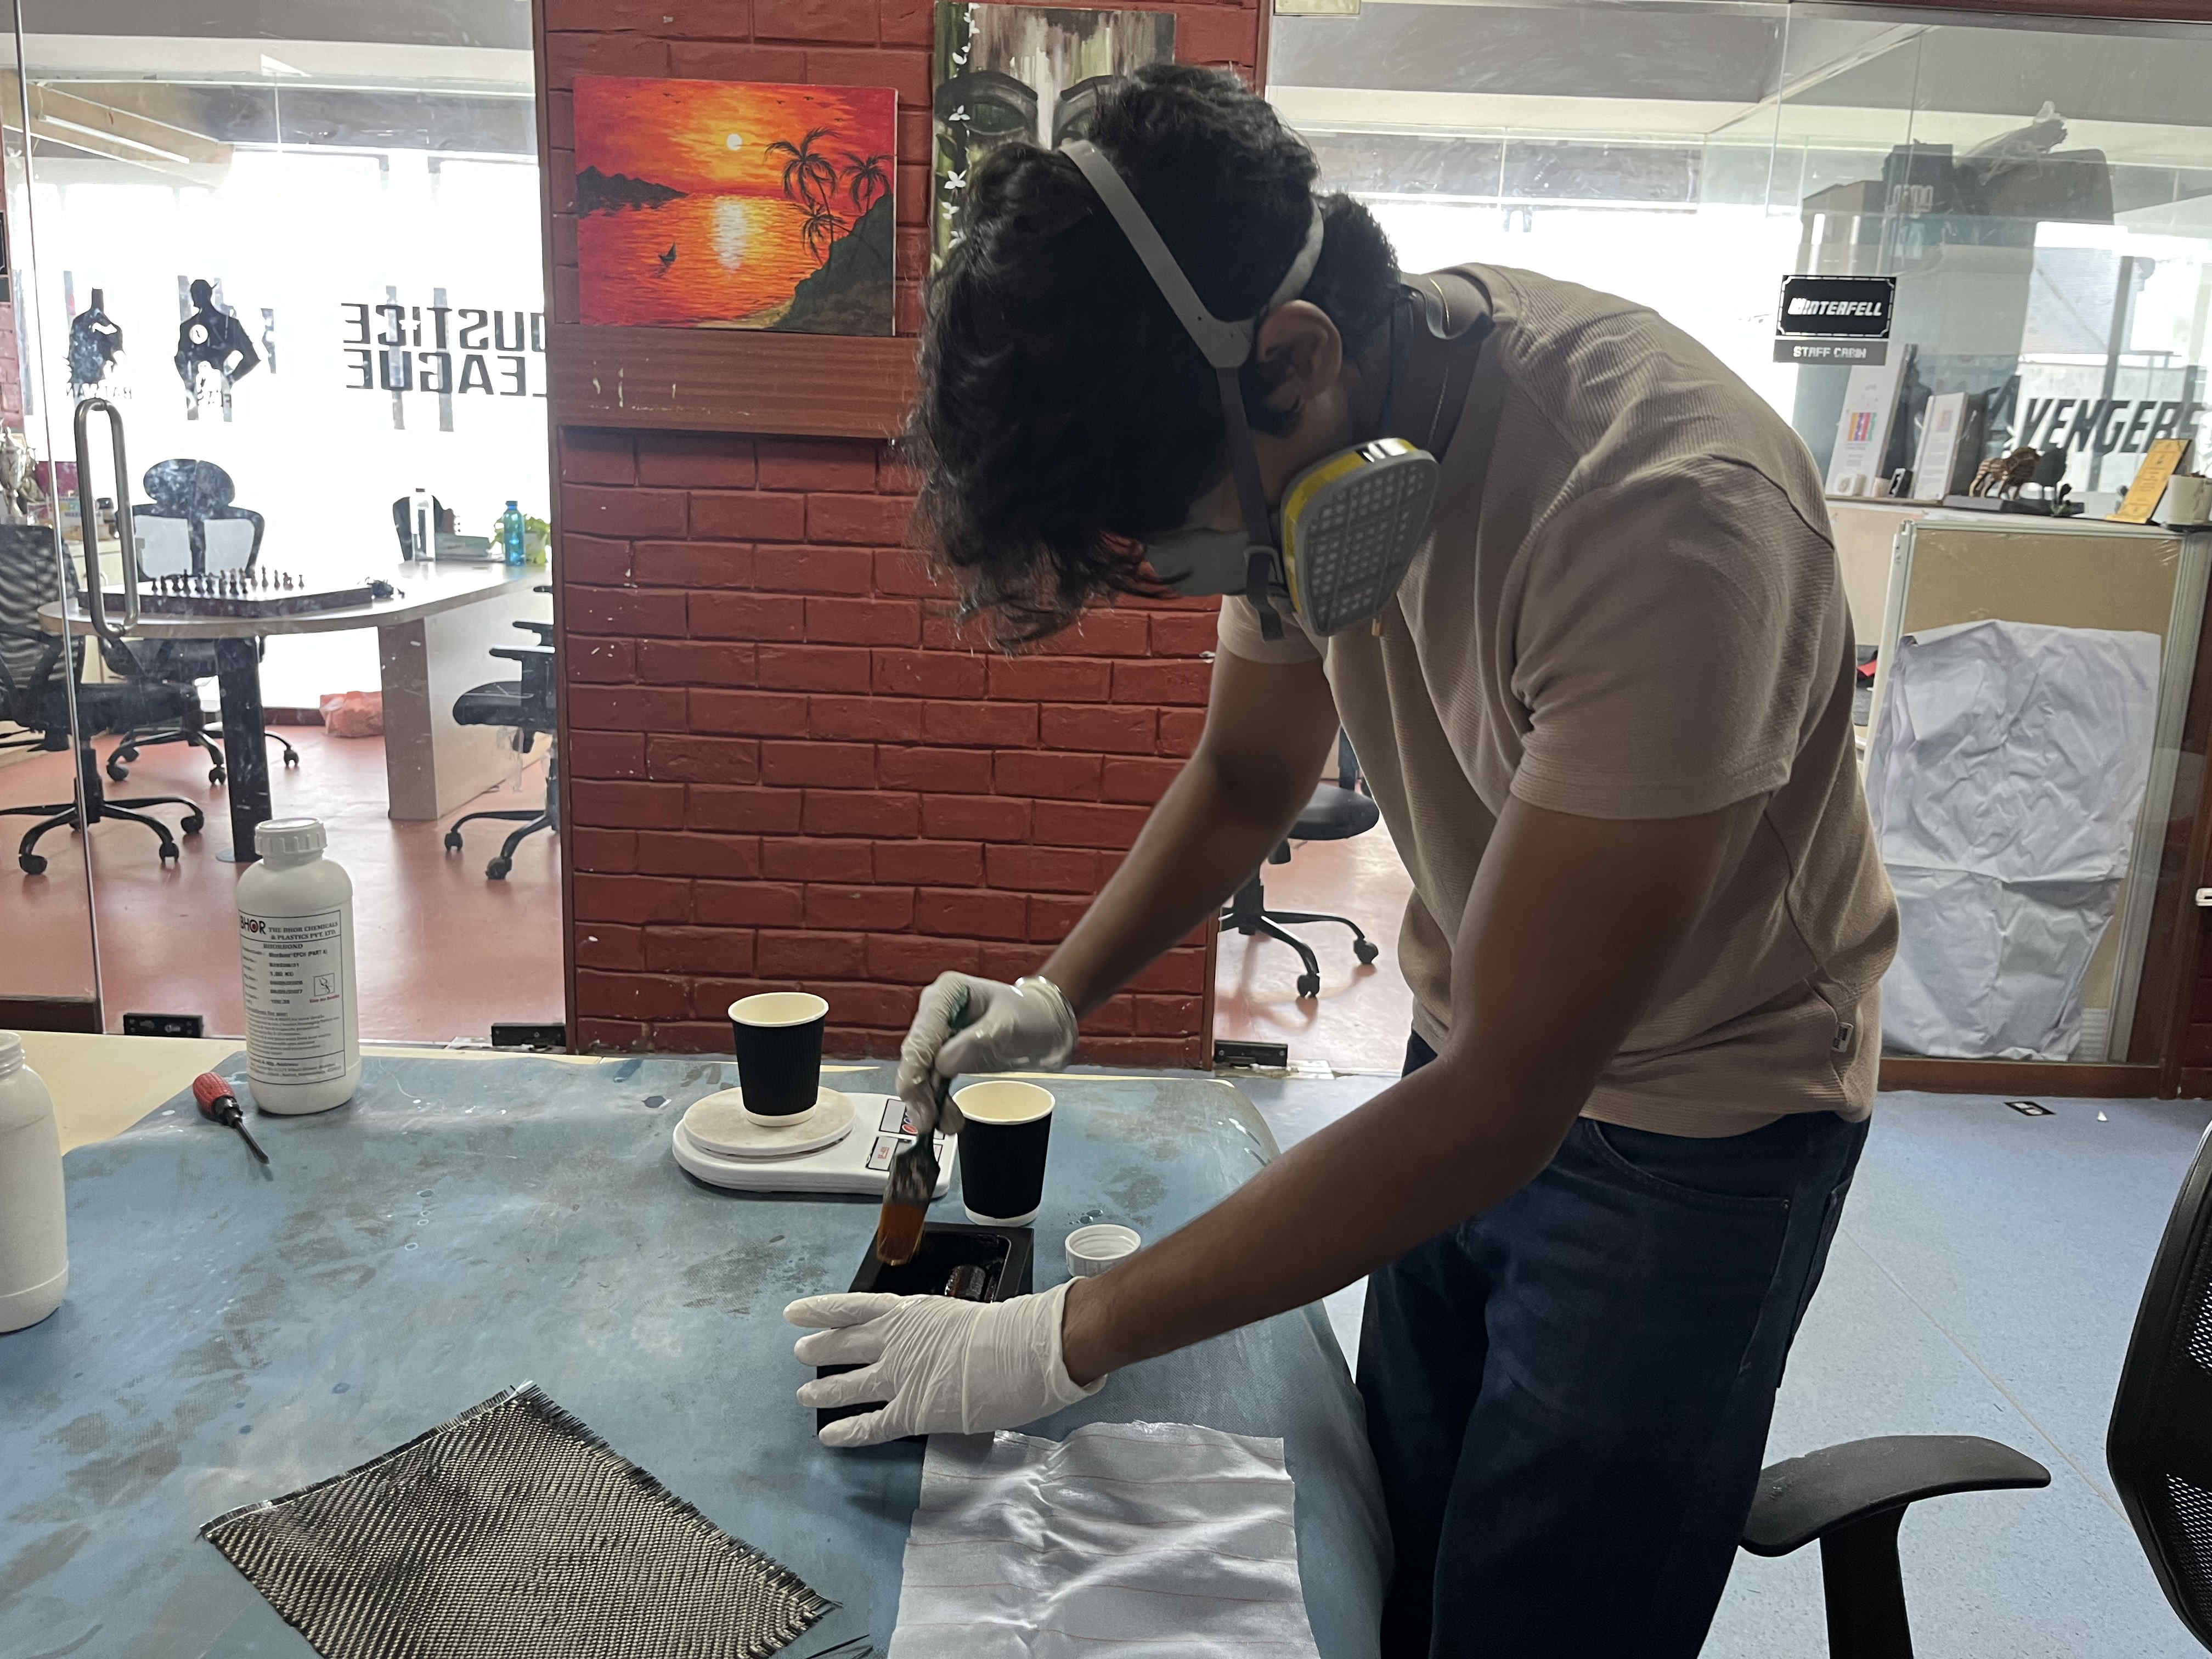
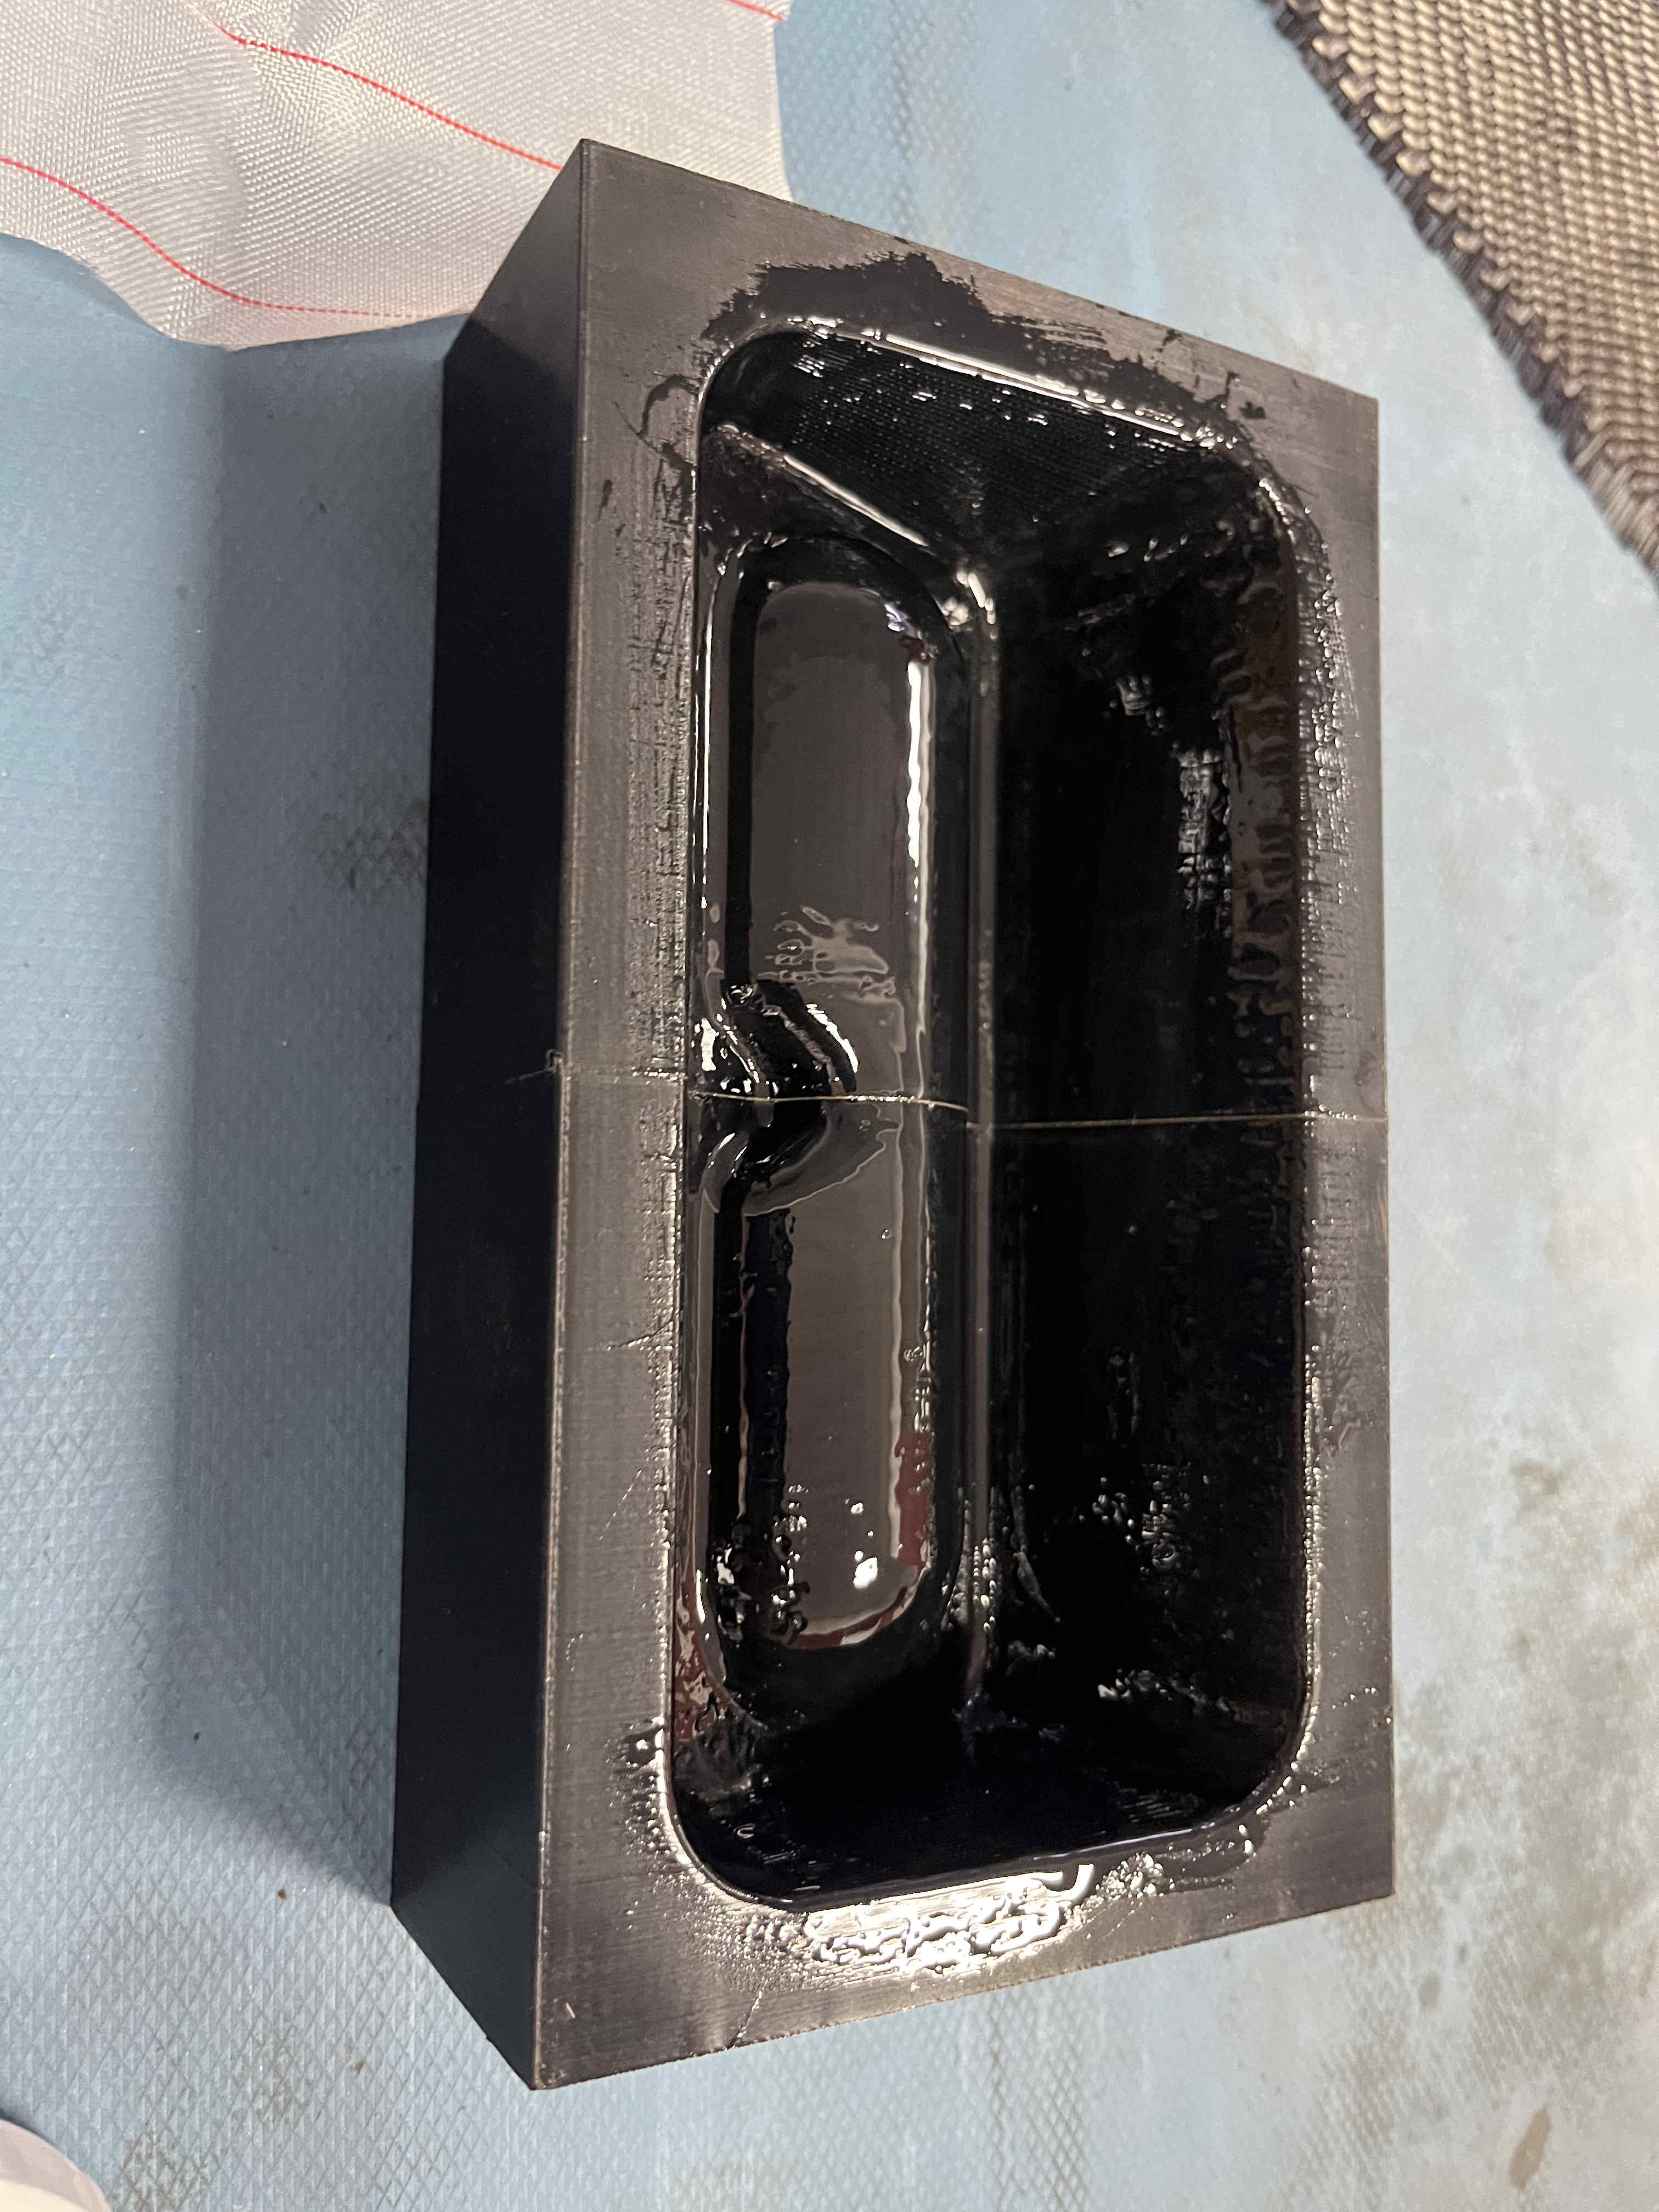
the coats should be a lot more even than this which is where i was mistaken.
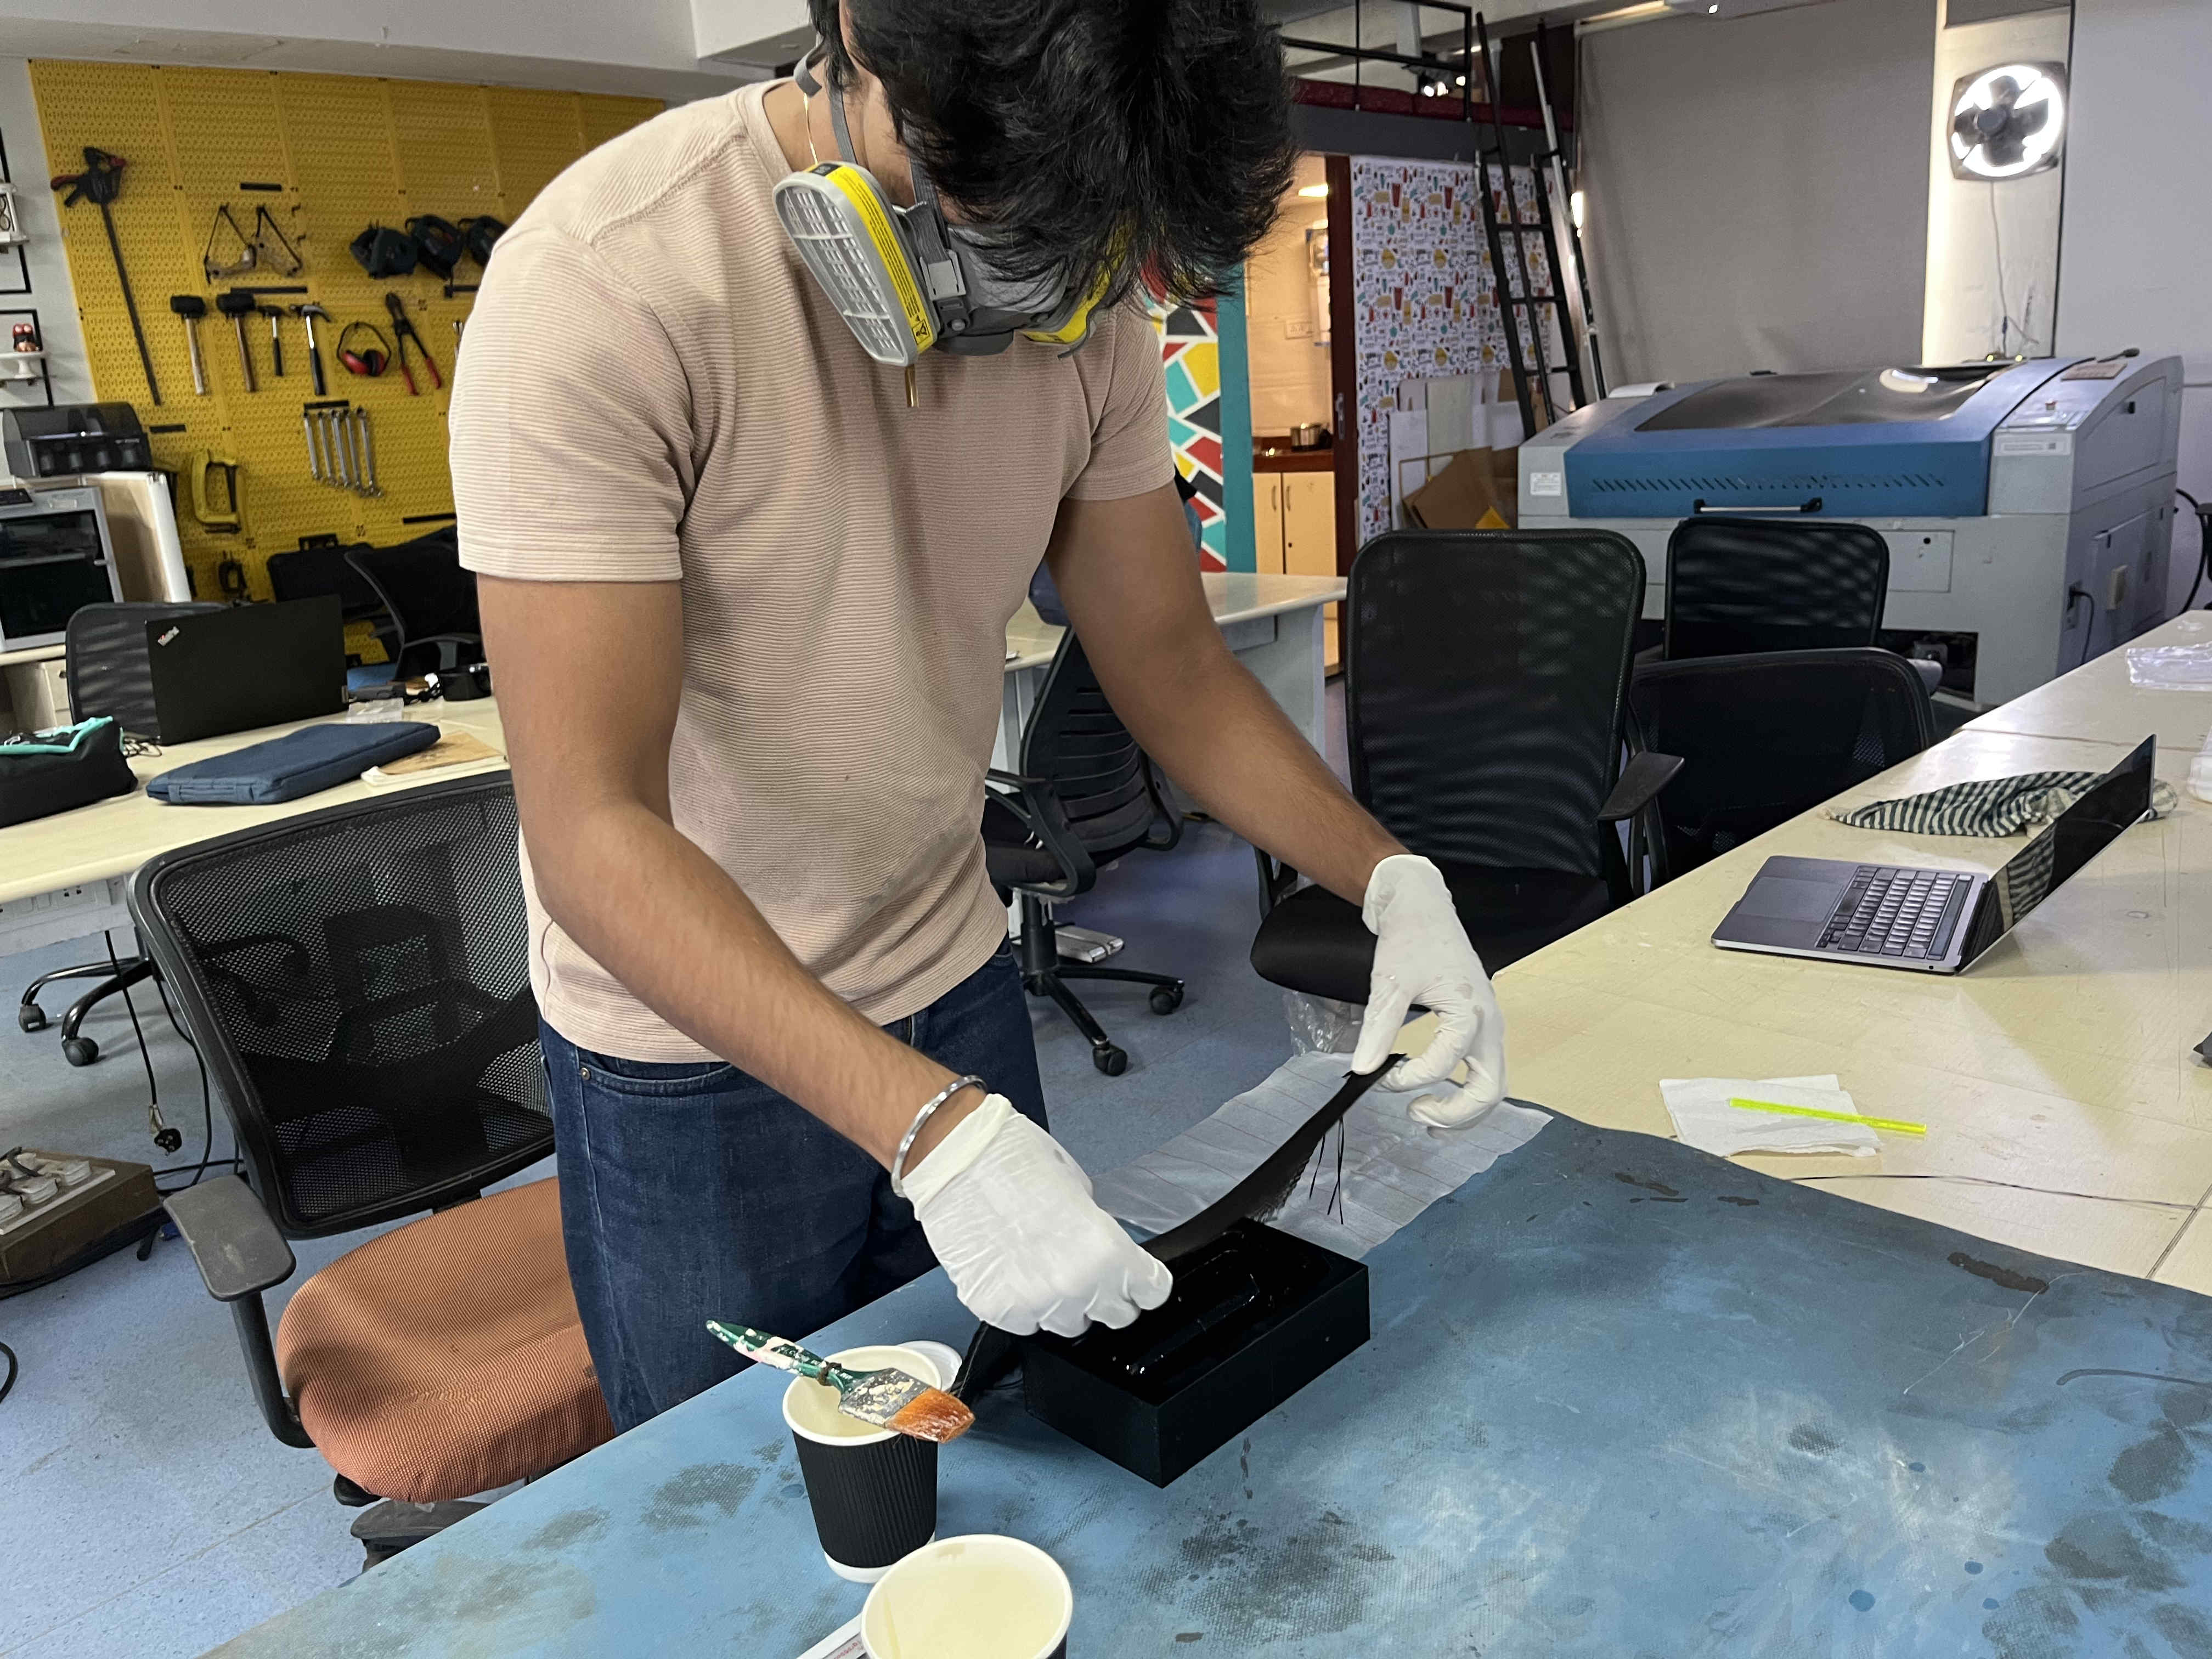
Laying down the cf sheet into the mold.
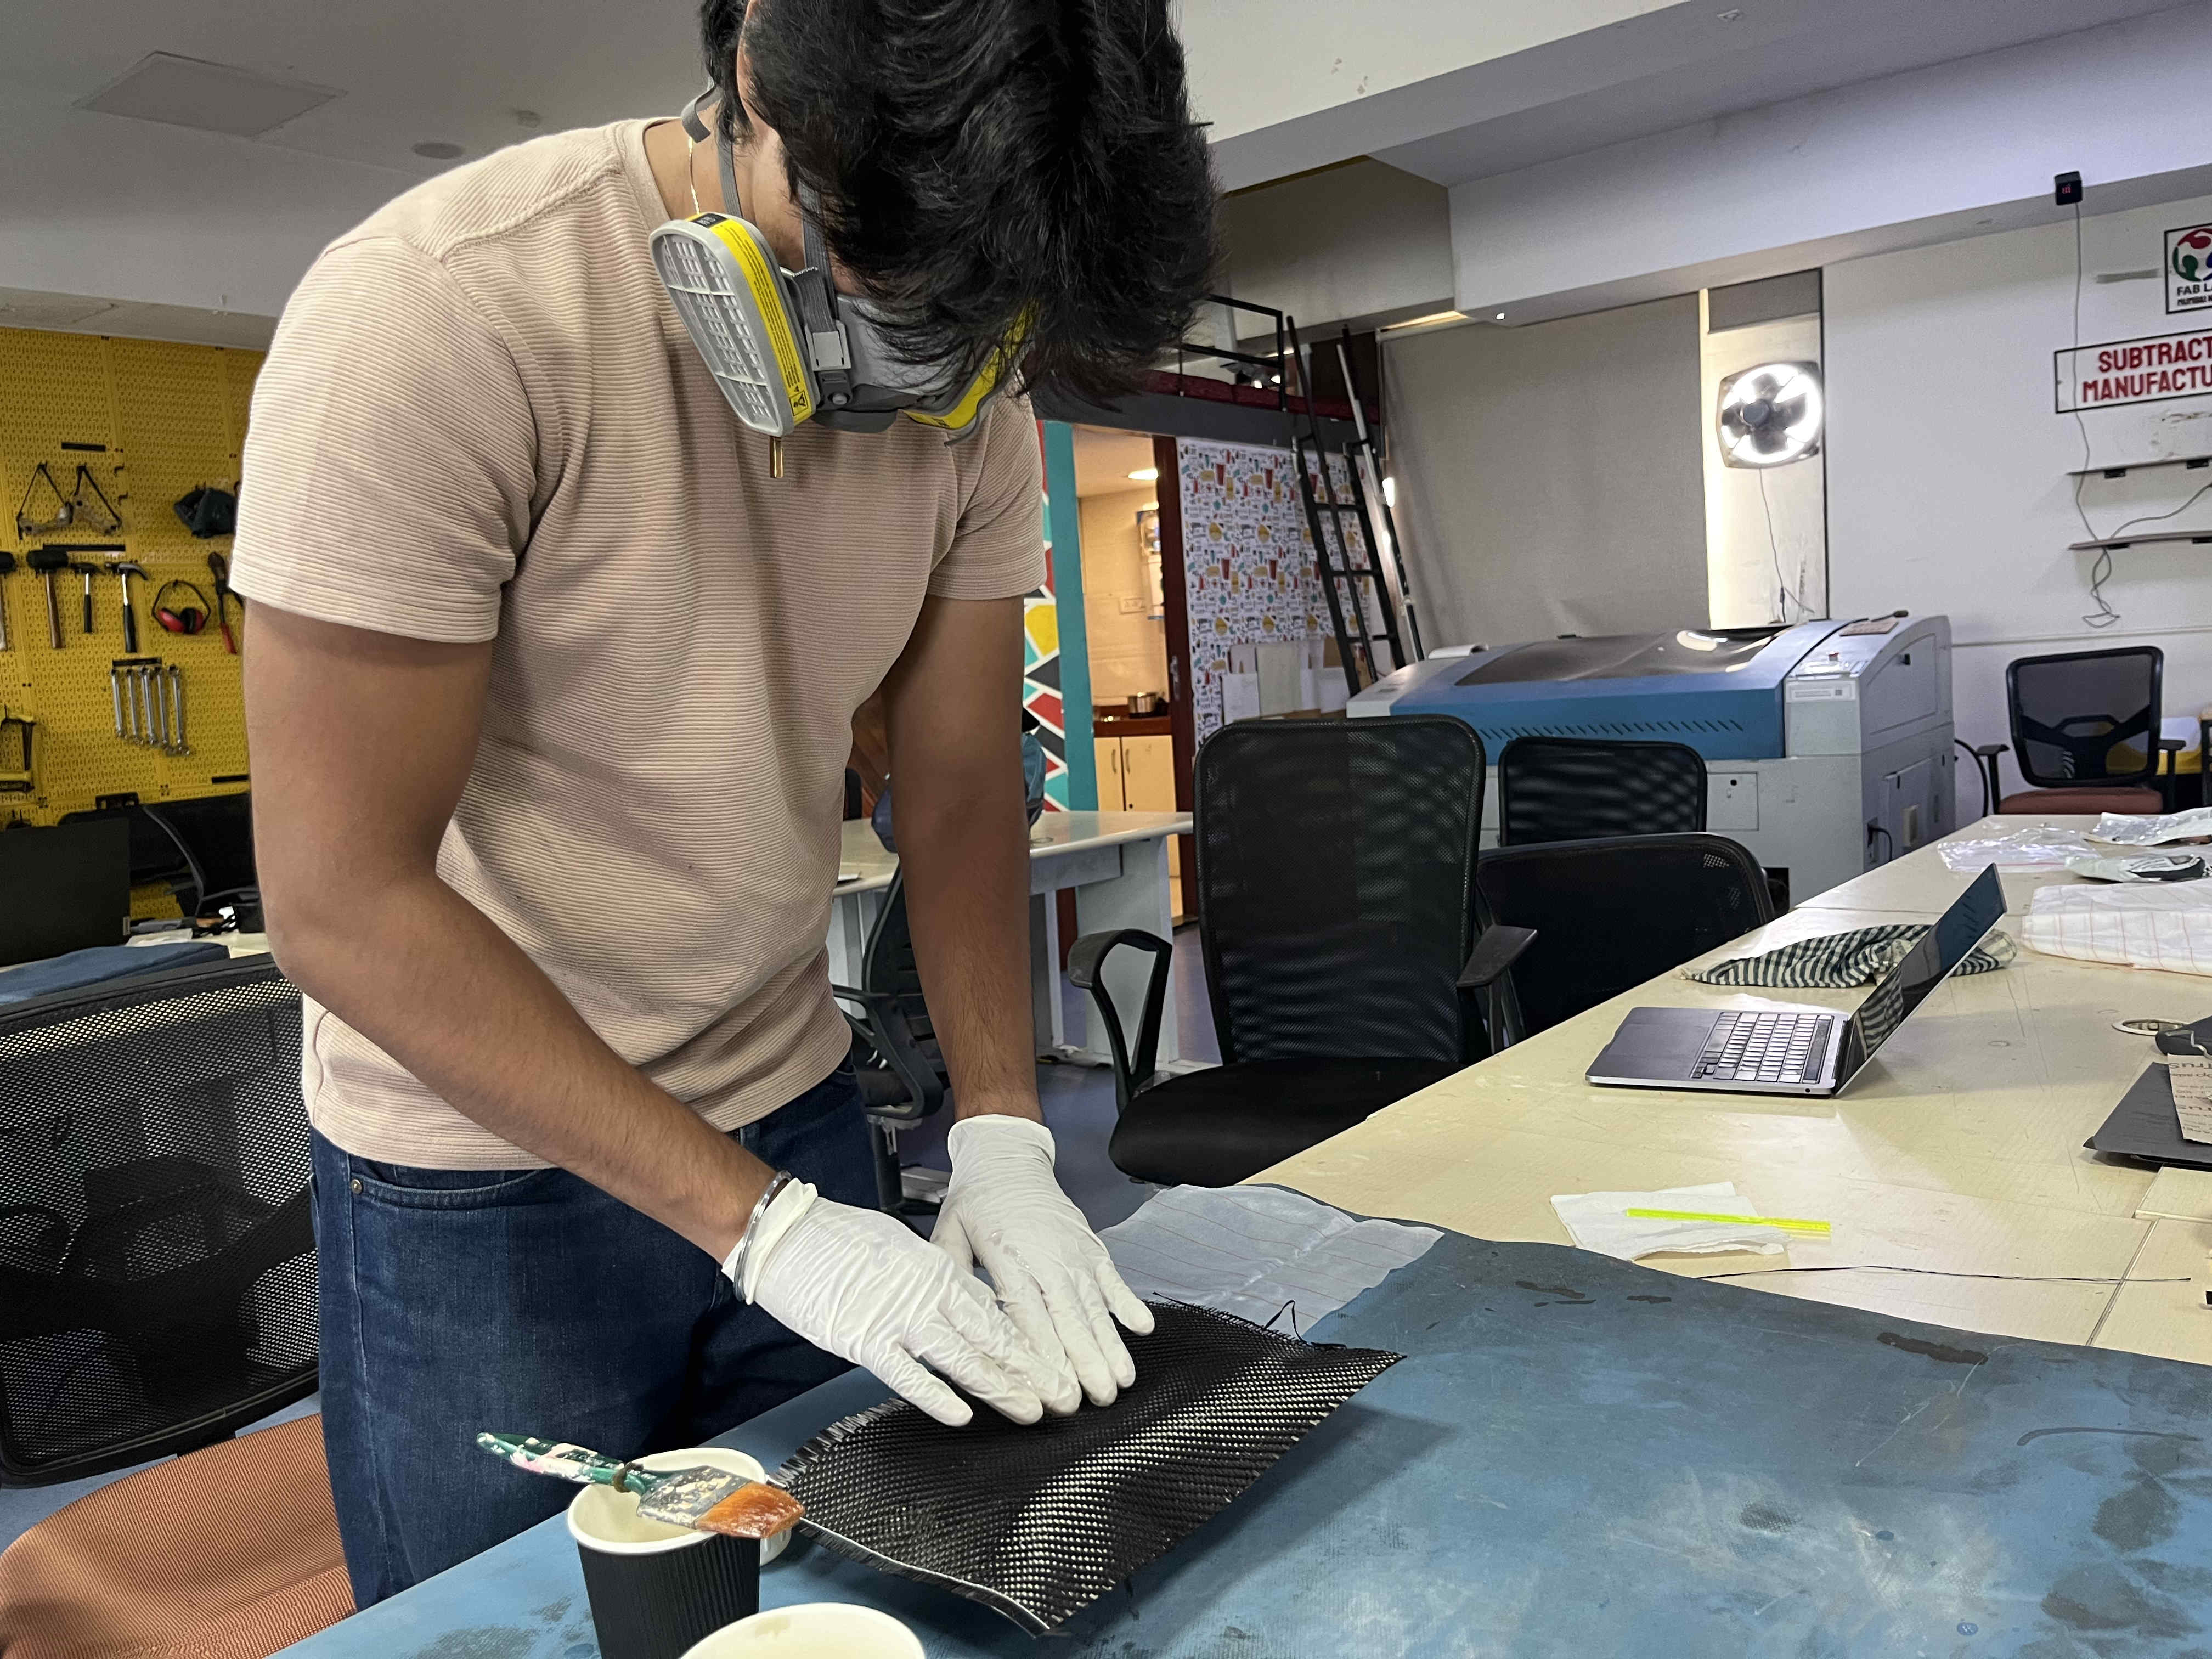
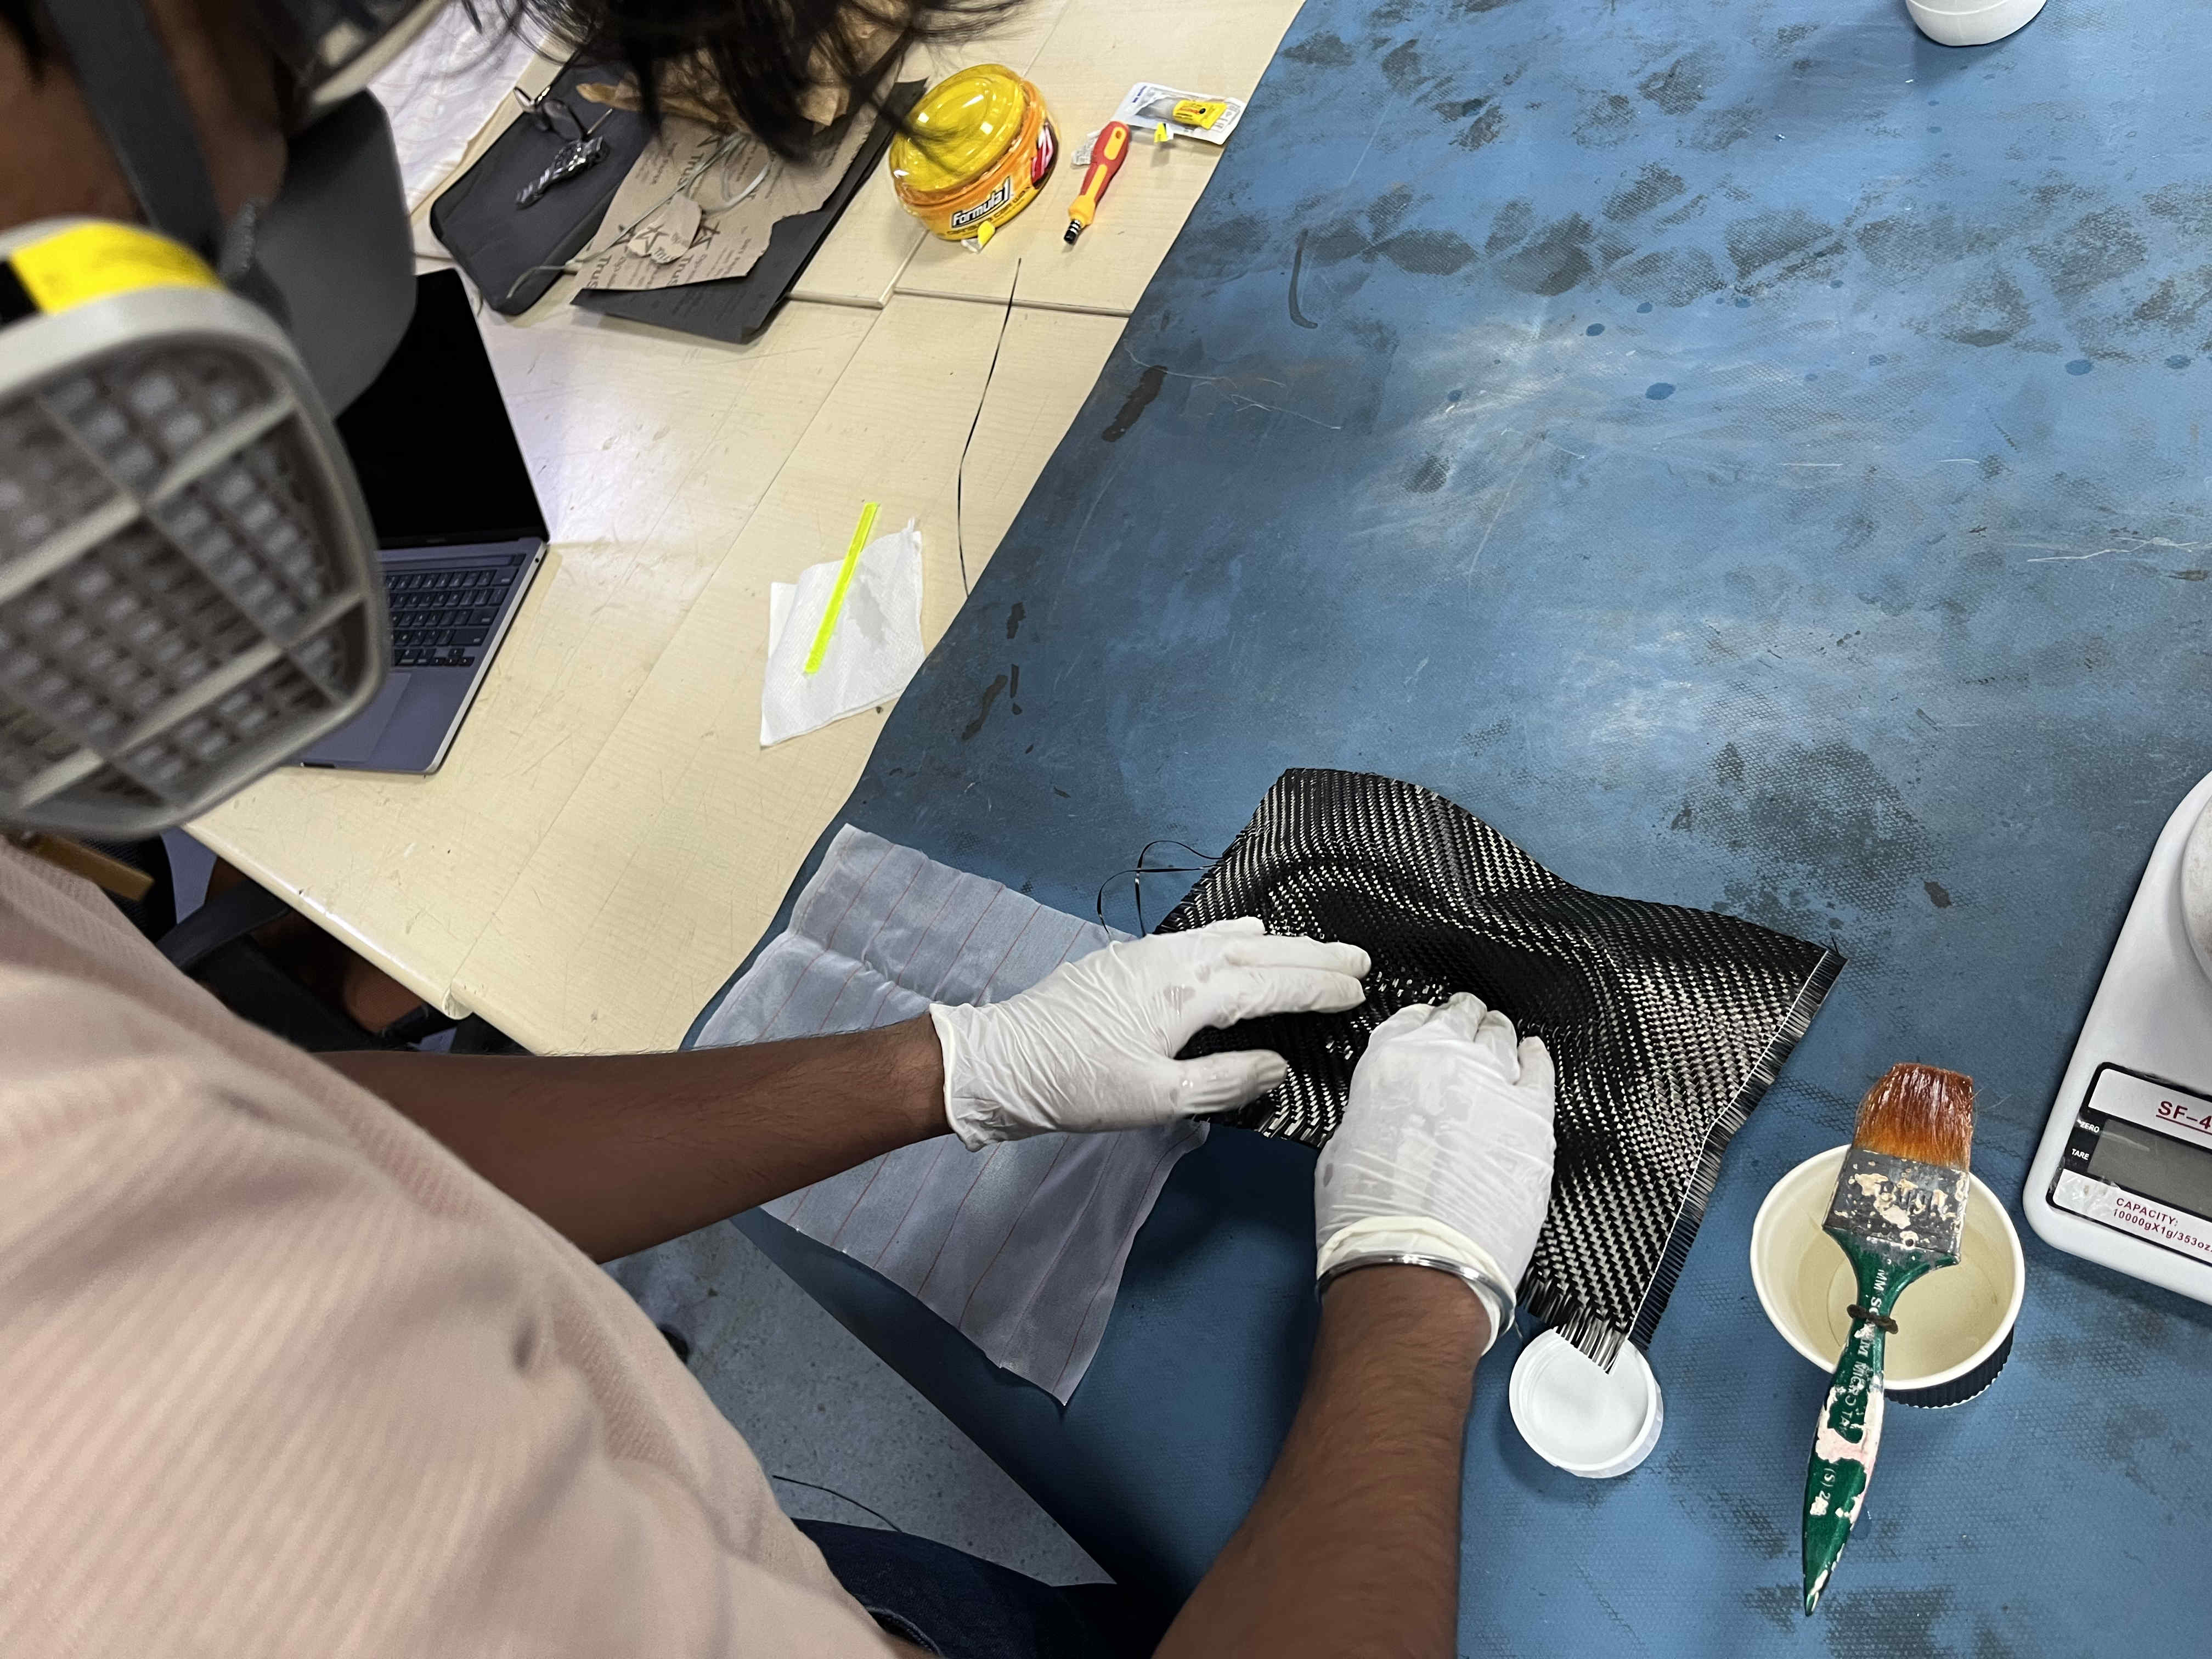
Gently press downward and slowly move outward from the centre.
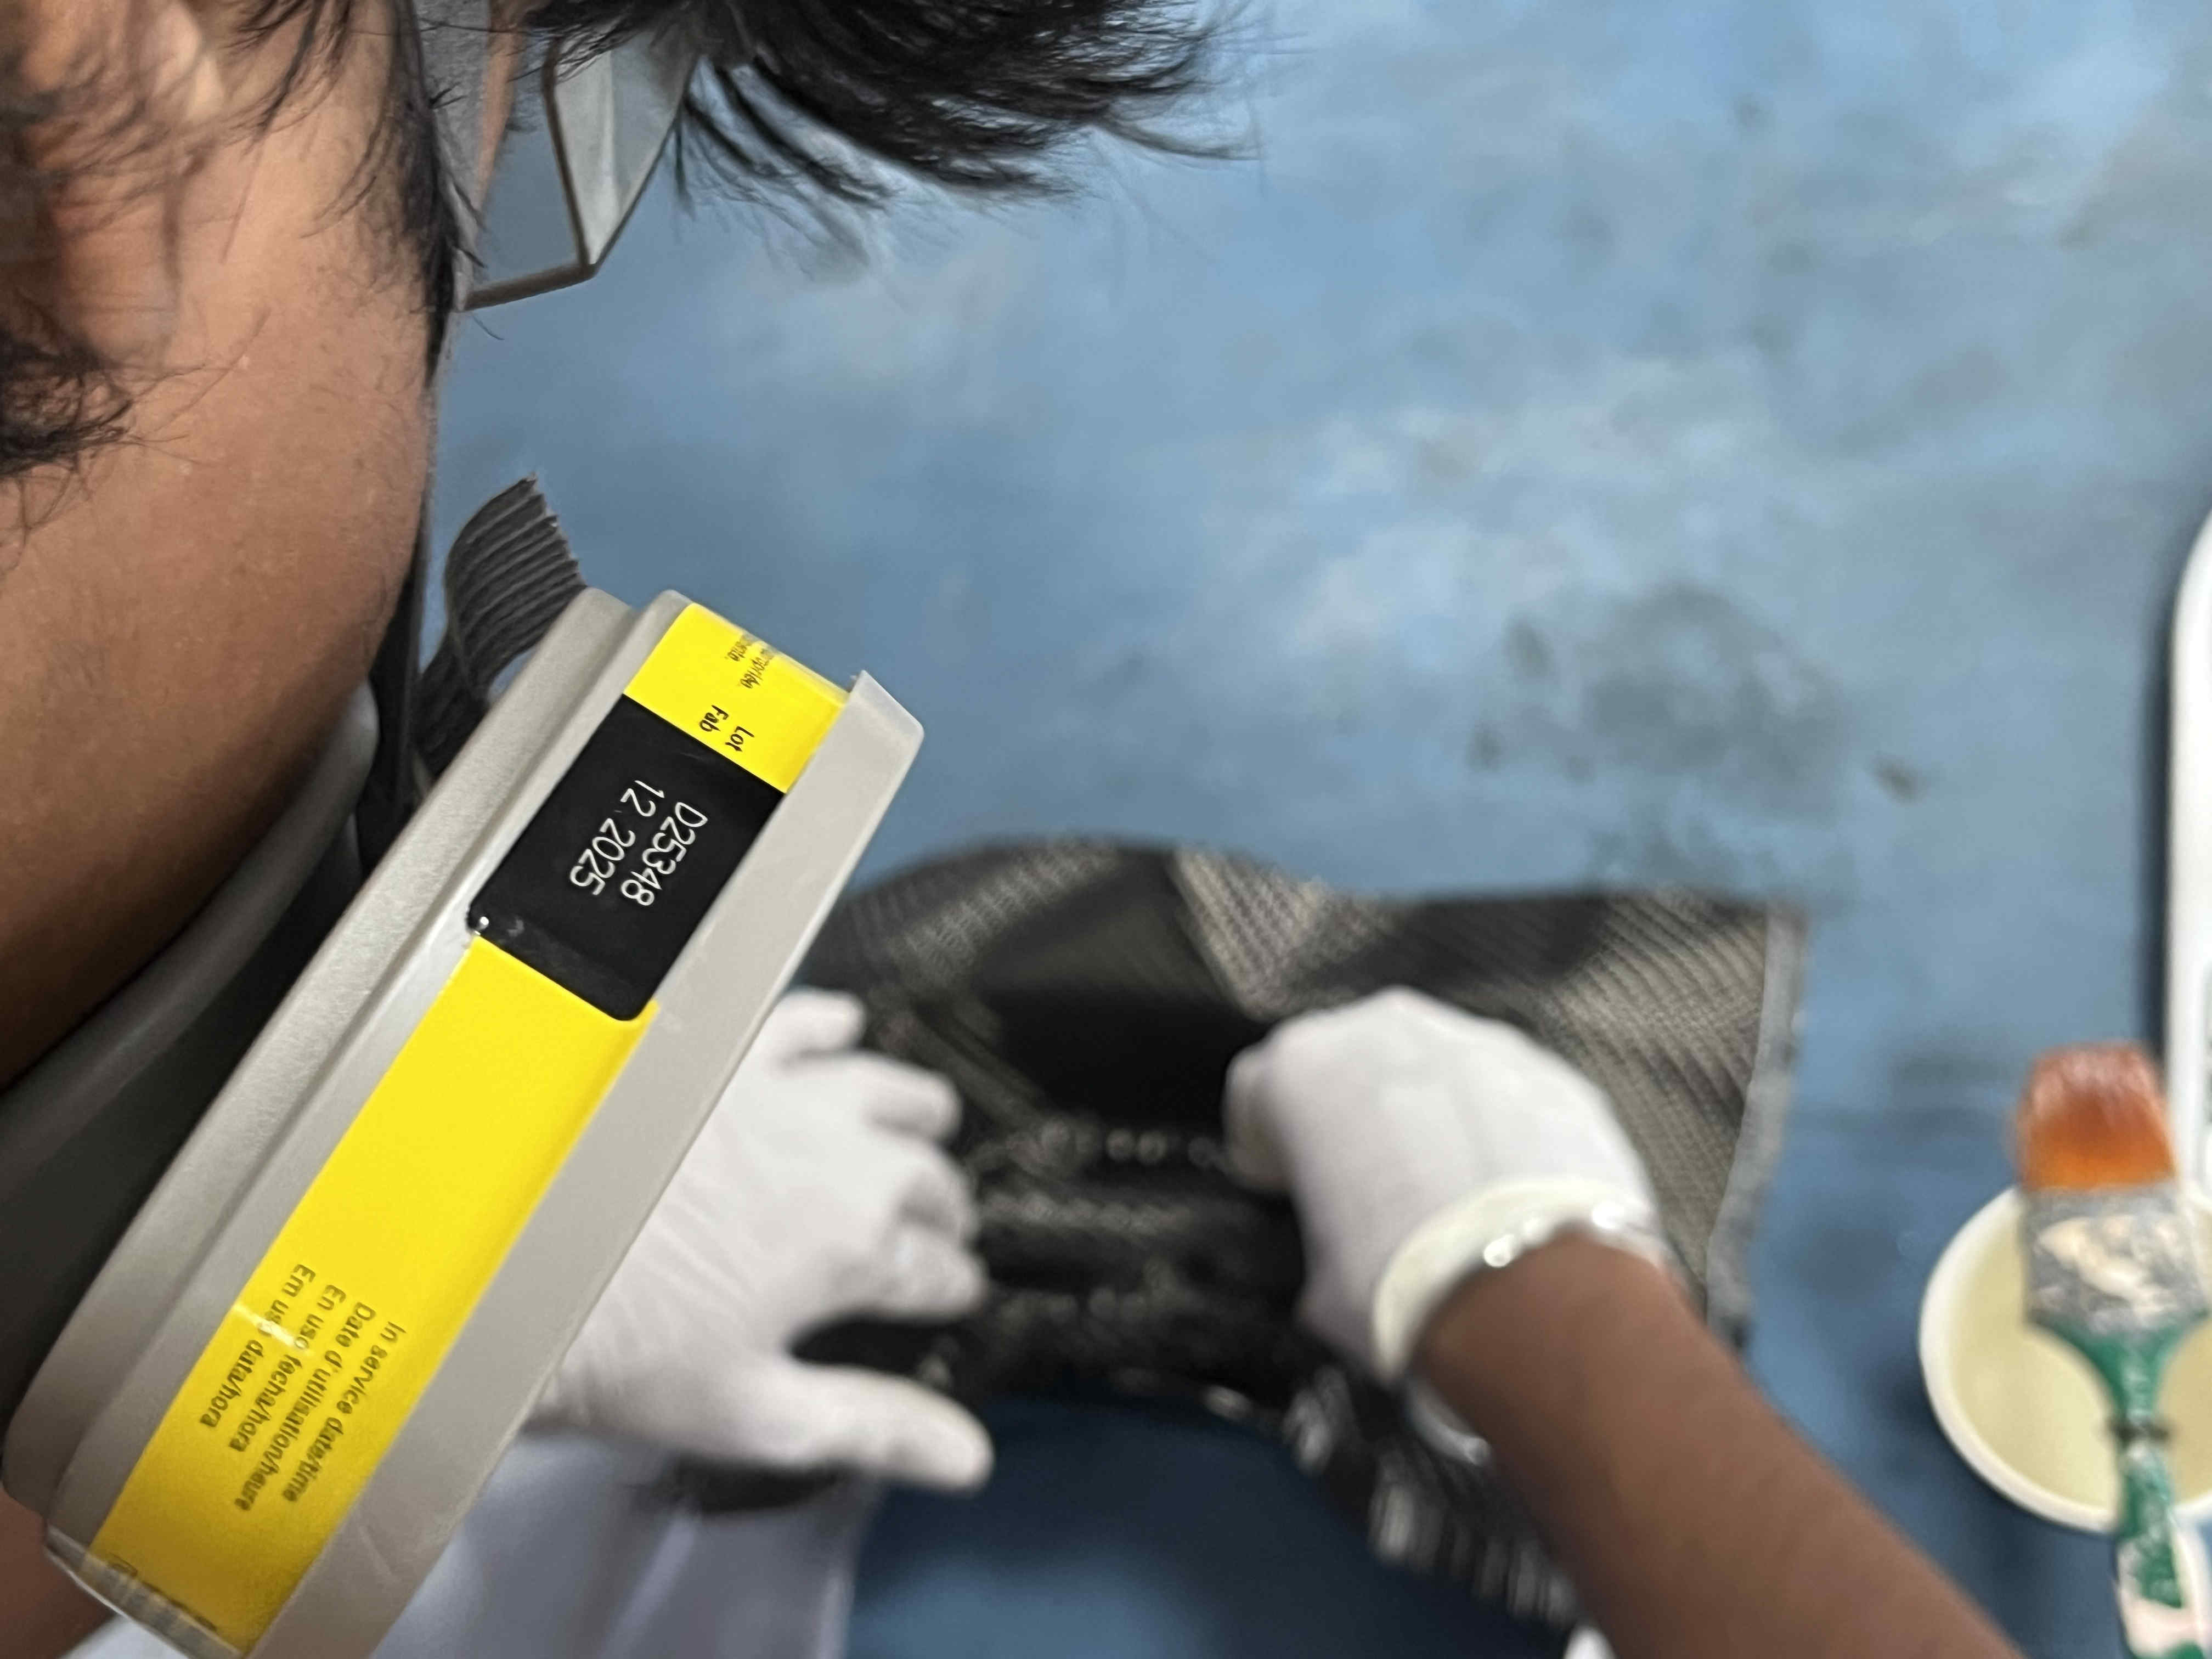
brush another coat of reisn, again do not brush the mold, only dab and move outward.
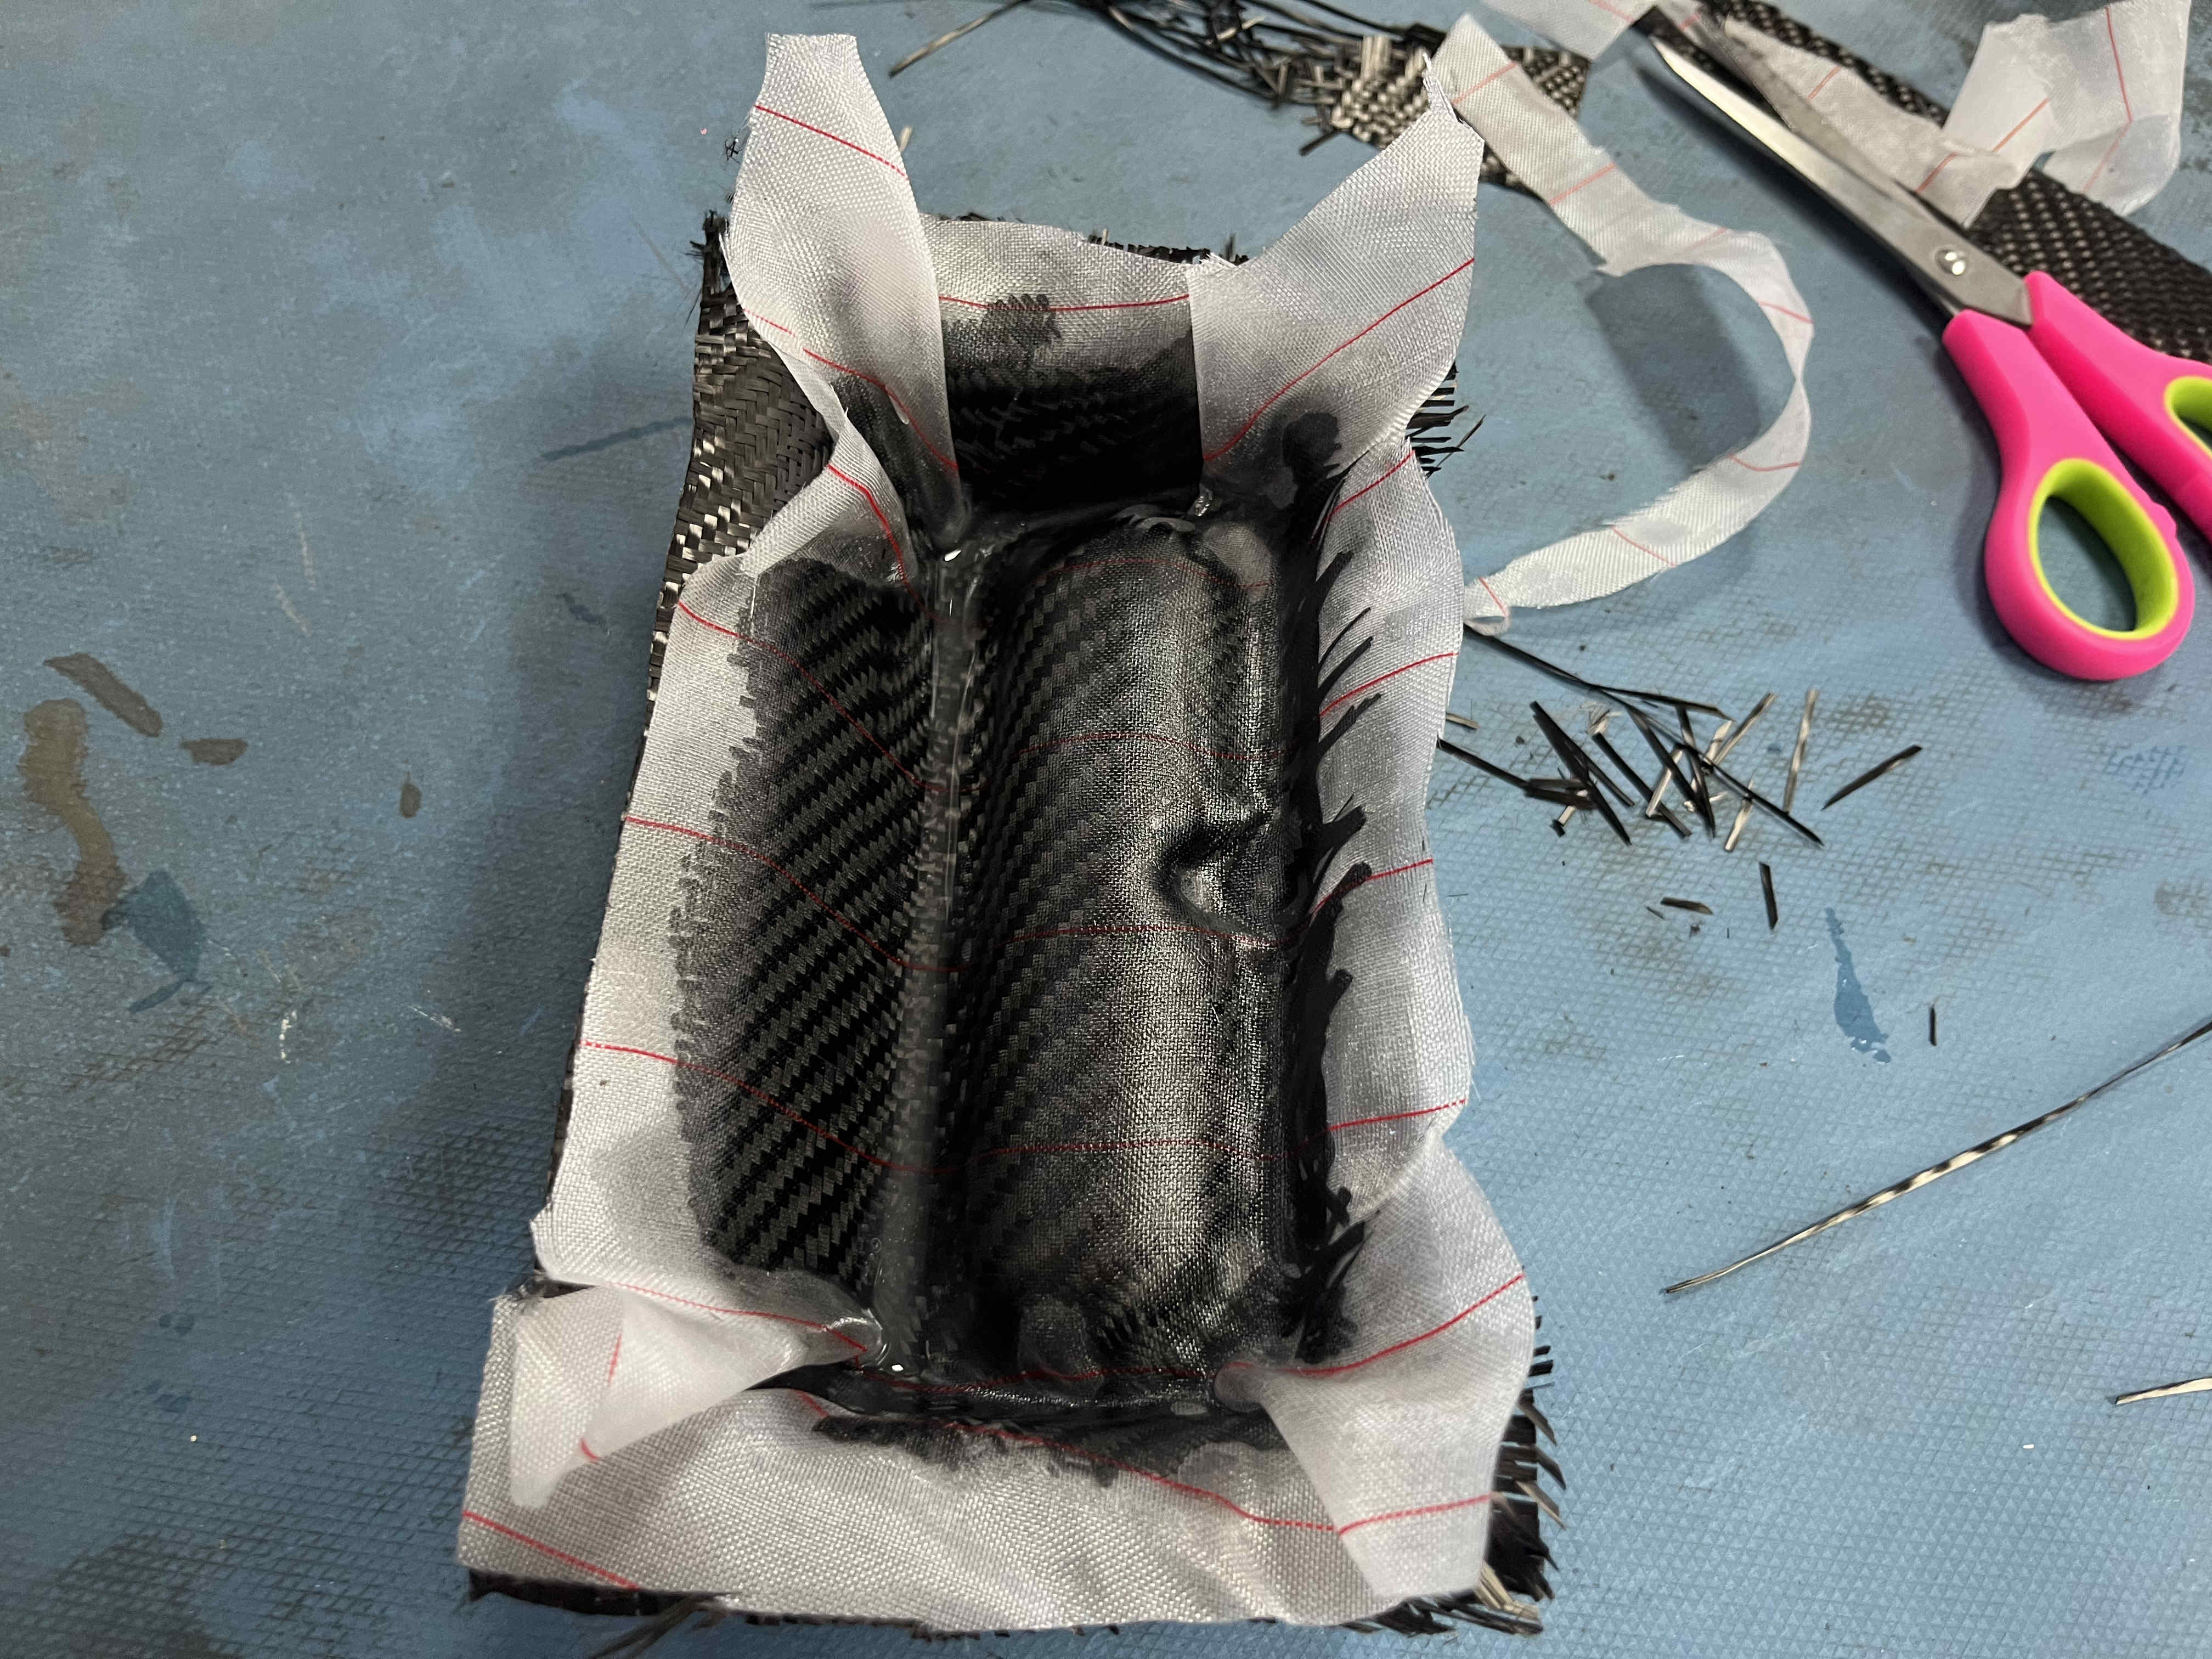
after all is set also put a layer of nylon peel ply and anotehr resin layer. for teh finishing touches and let dry for 24 hours
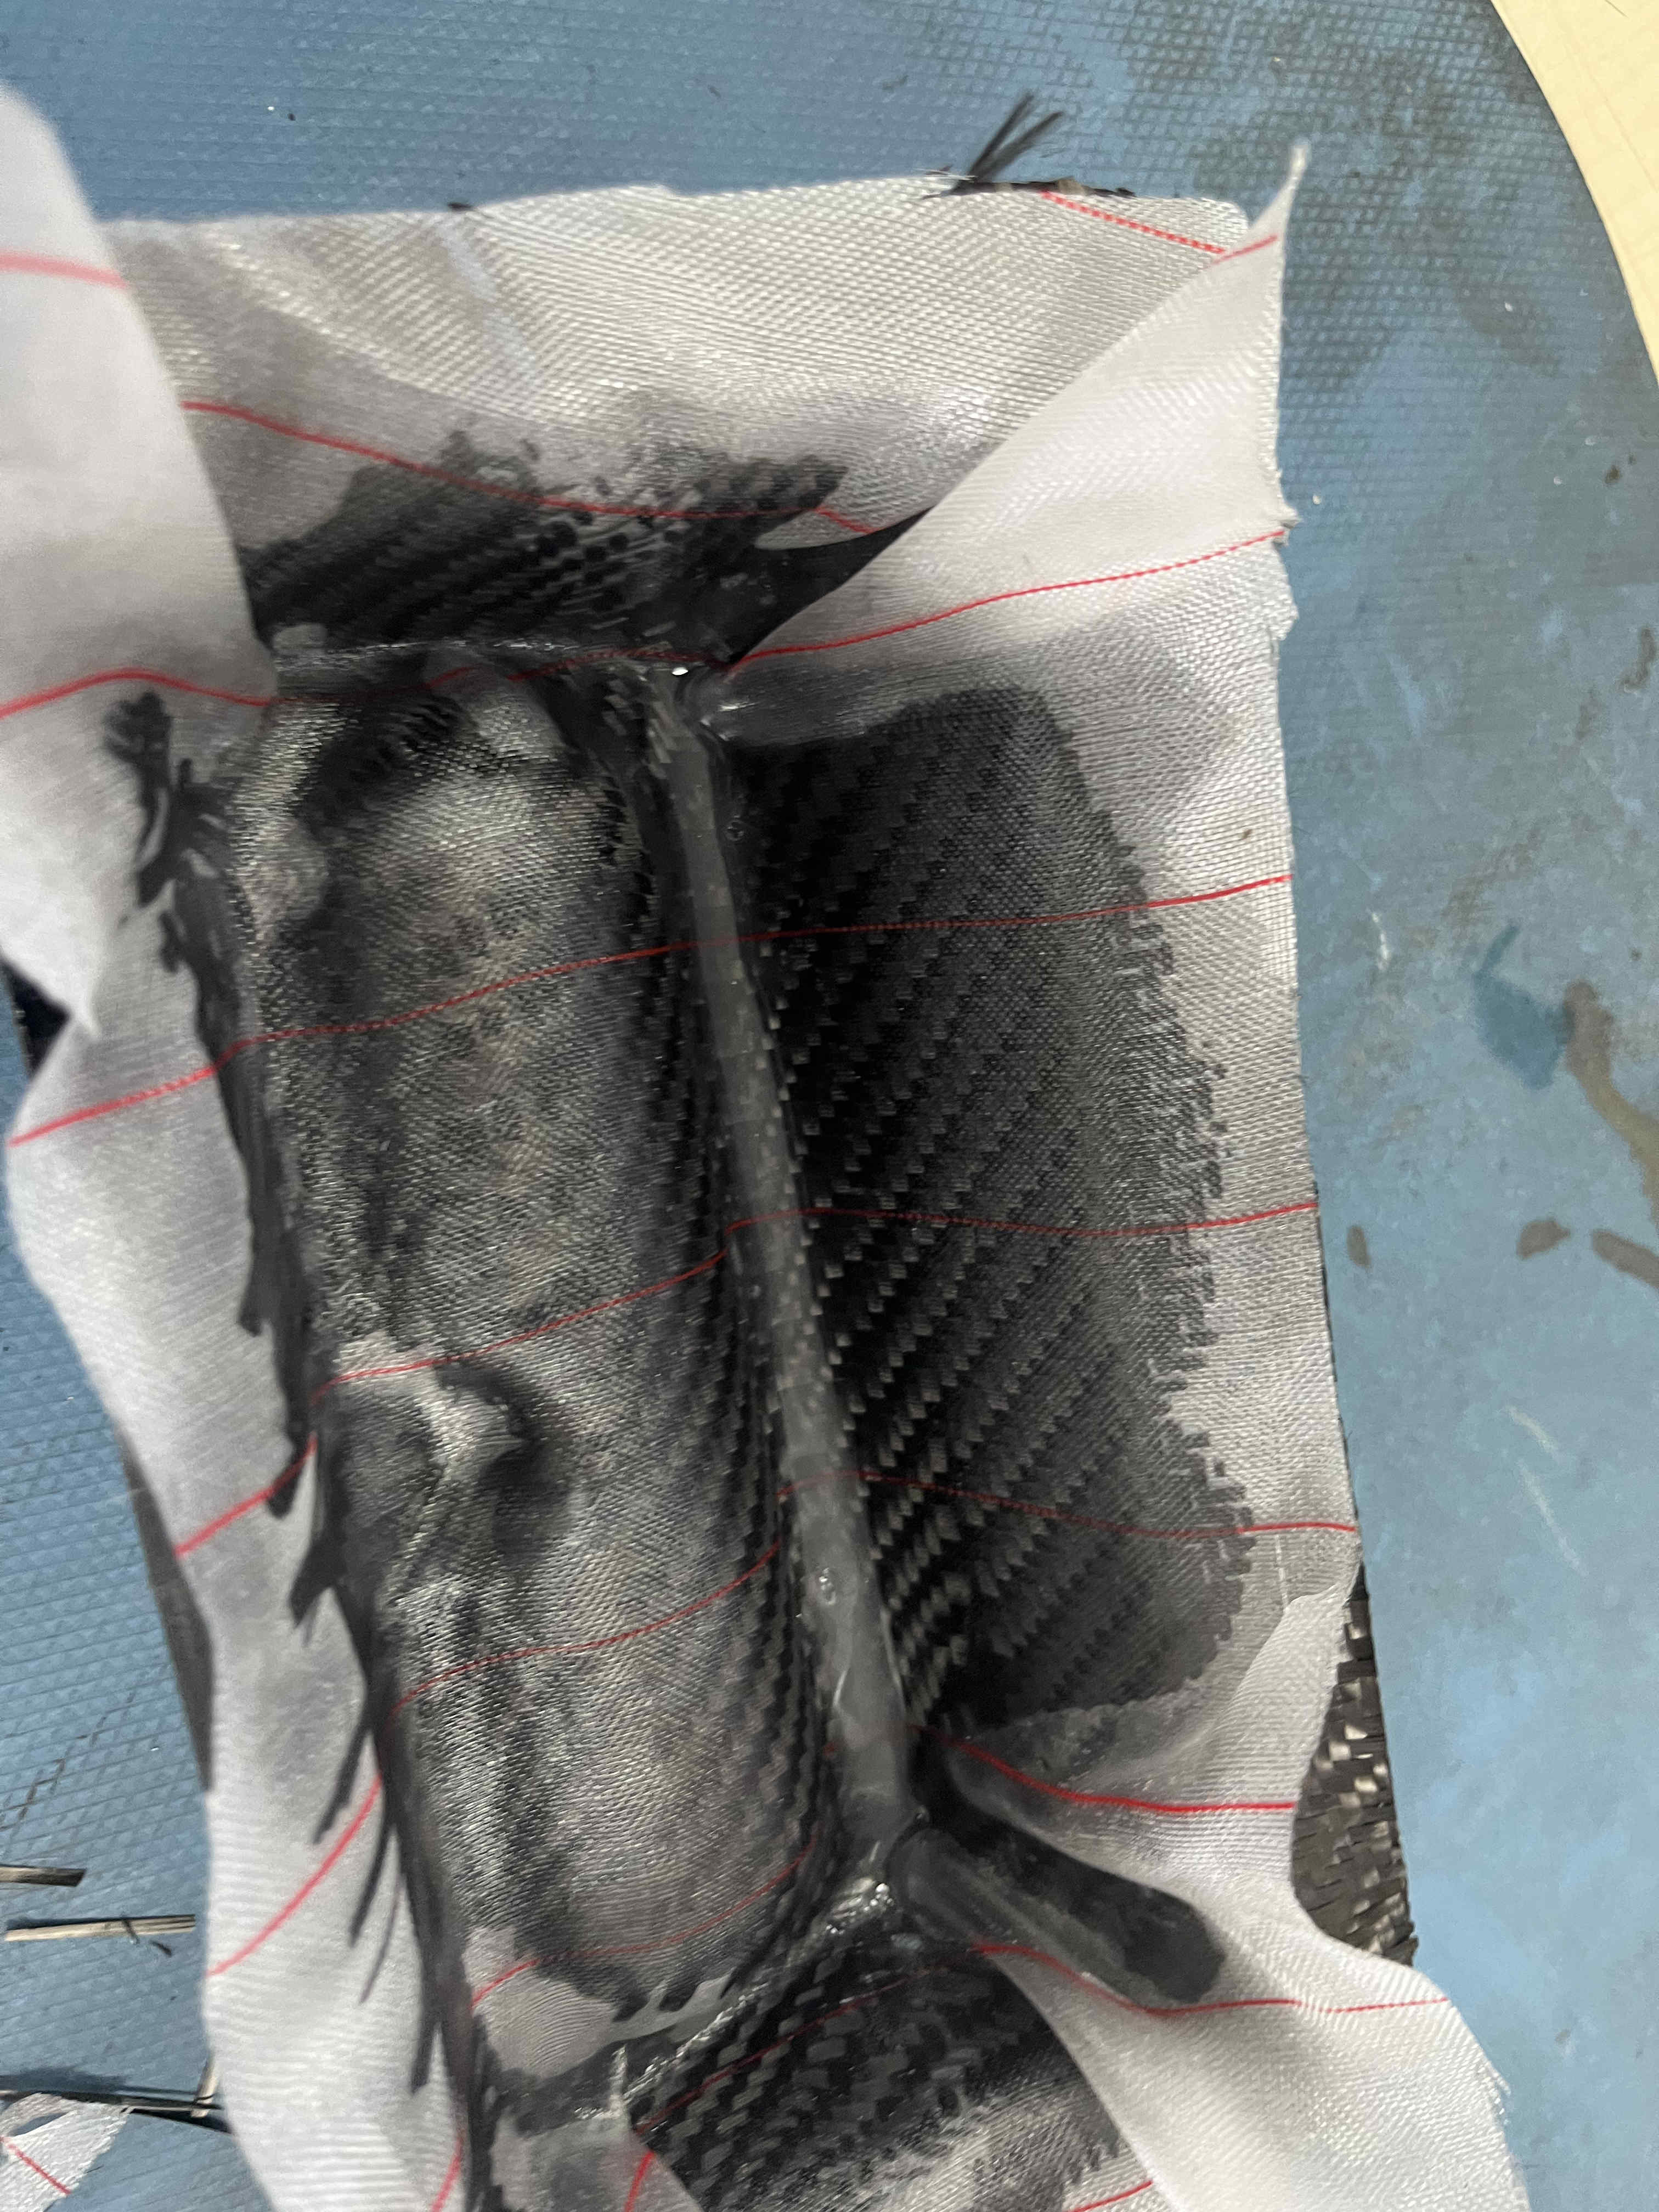
this is what the mold looks after drying.
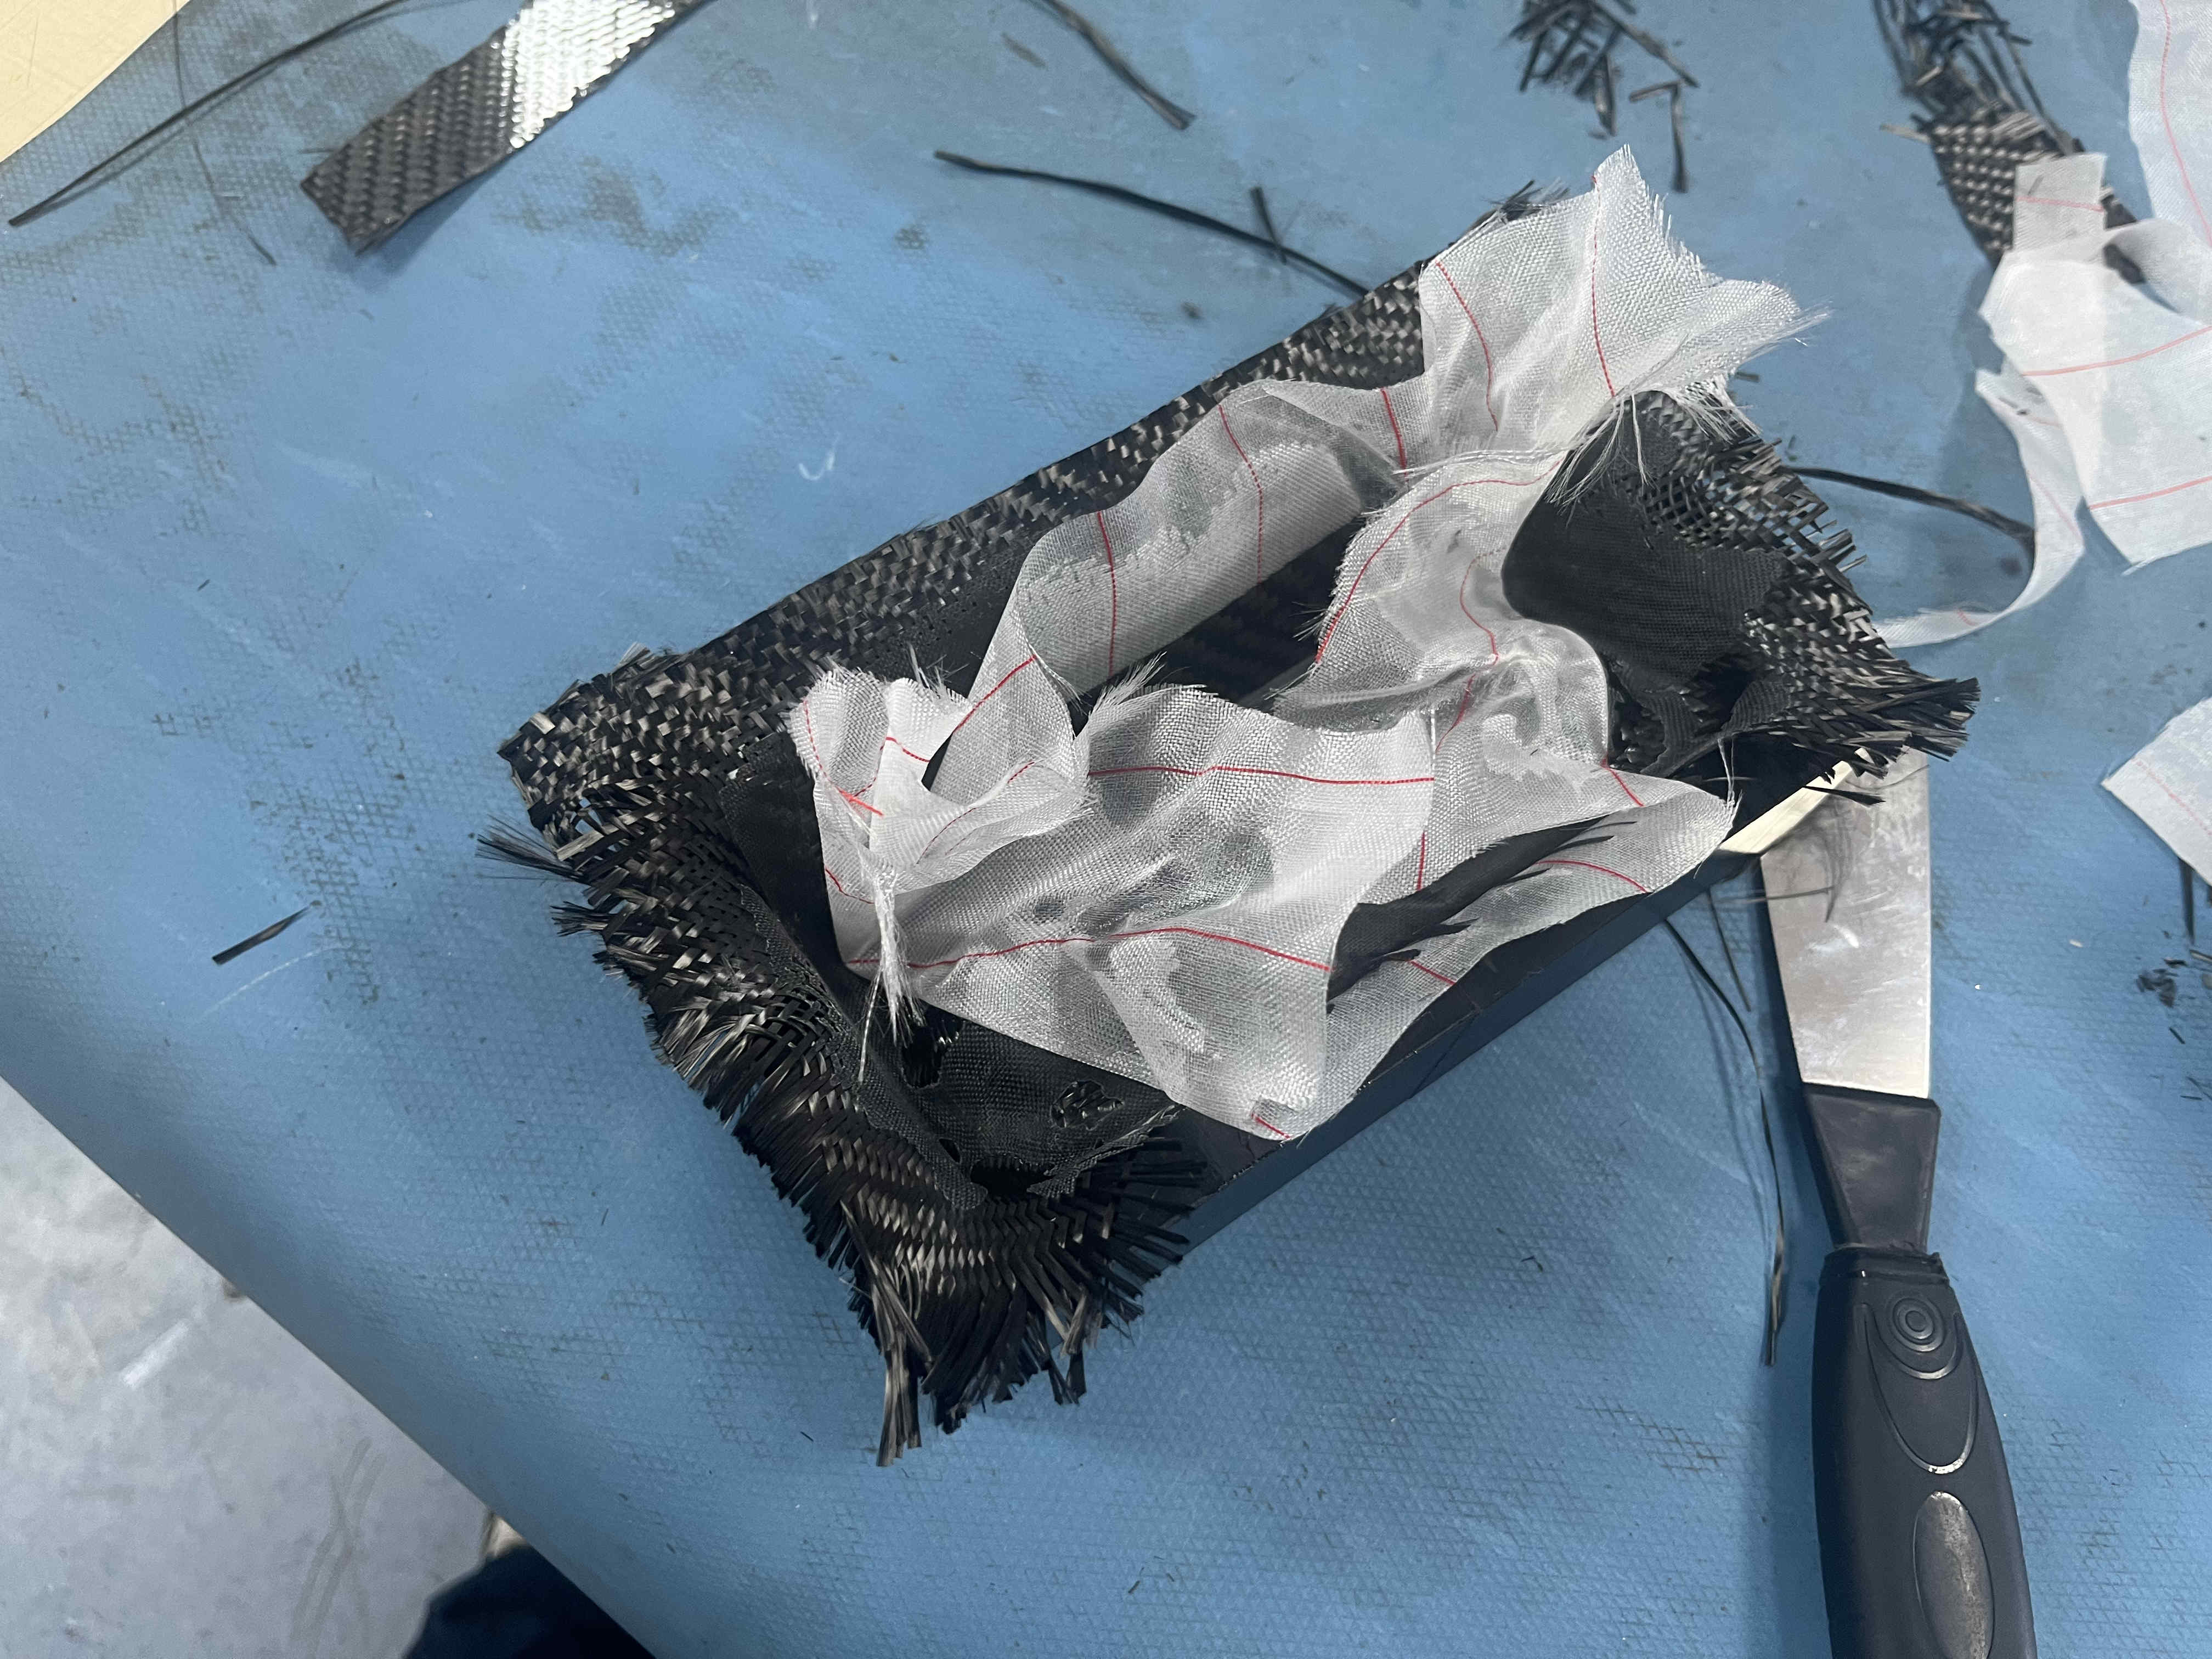
peel off the peel ply
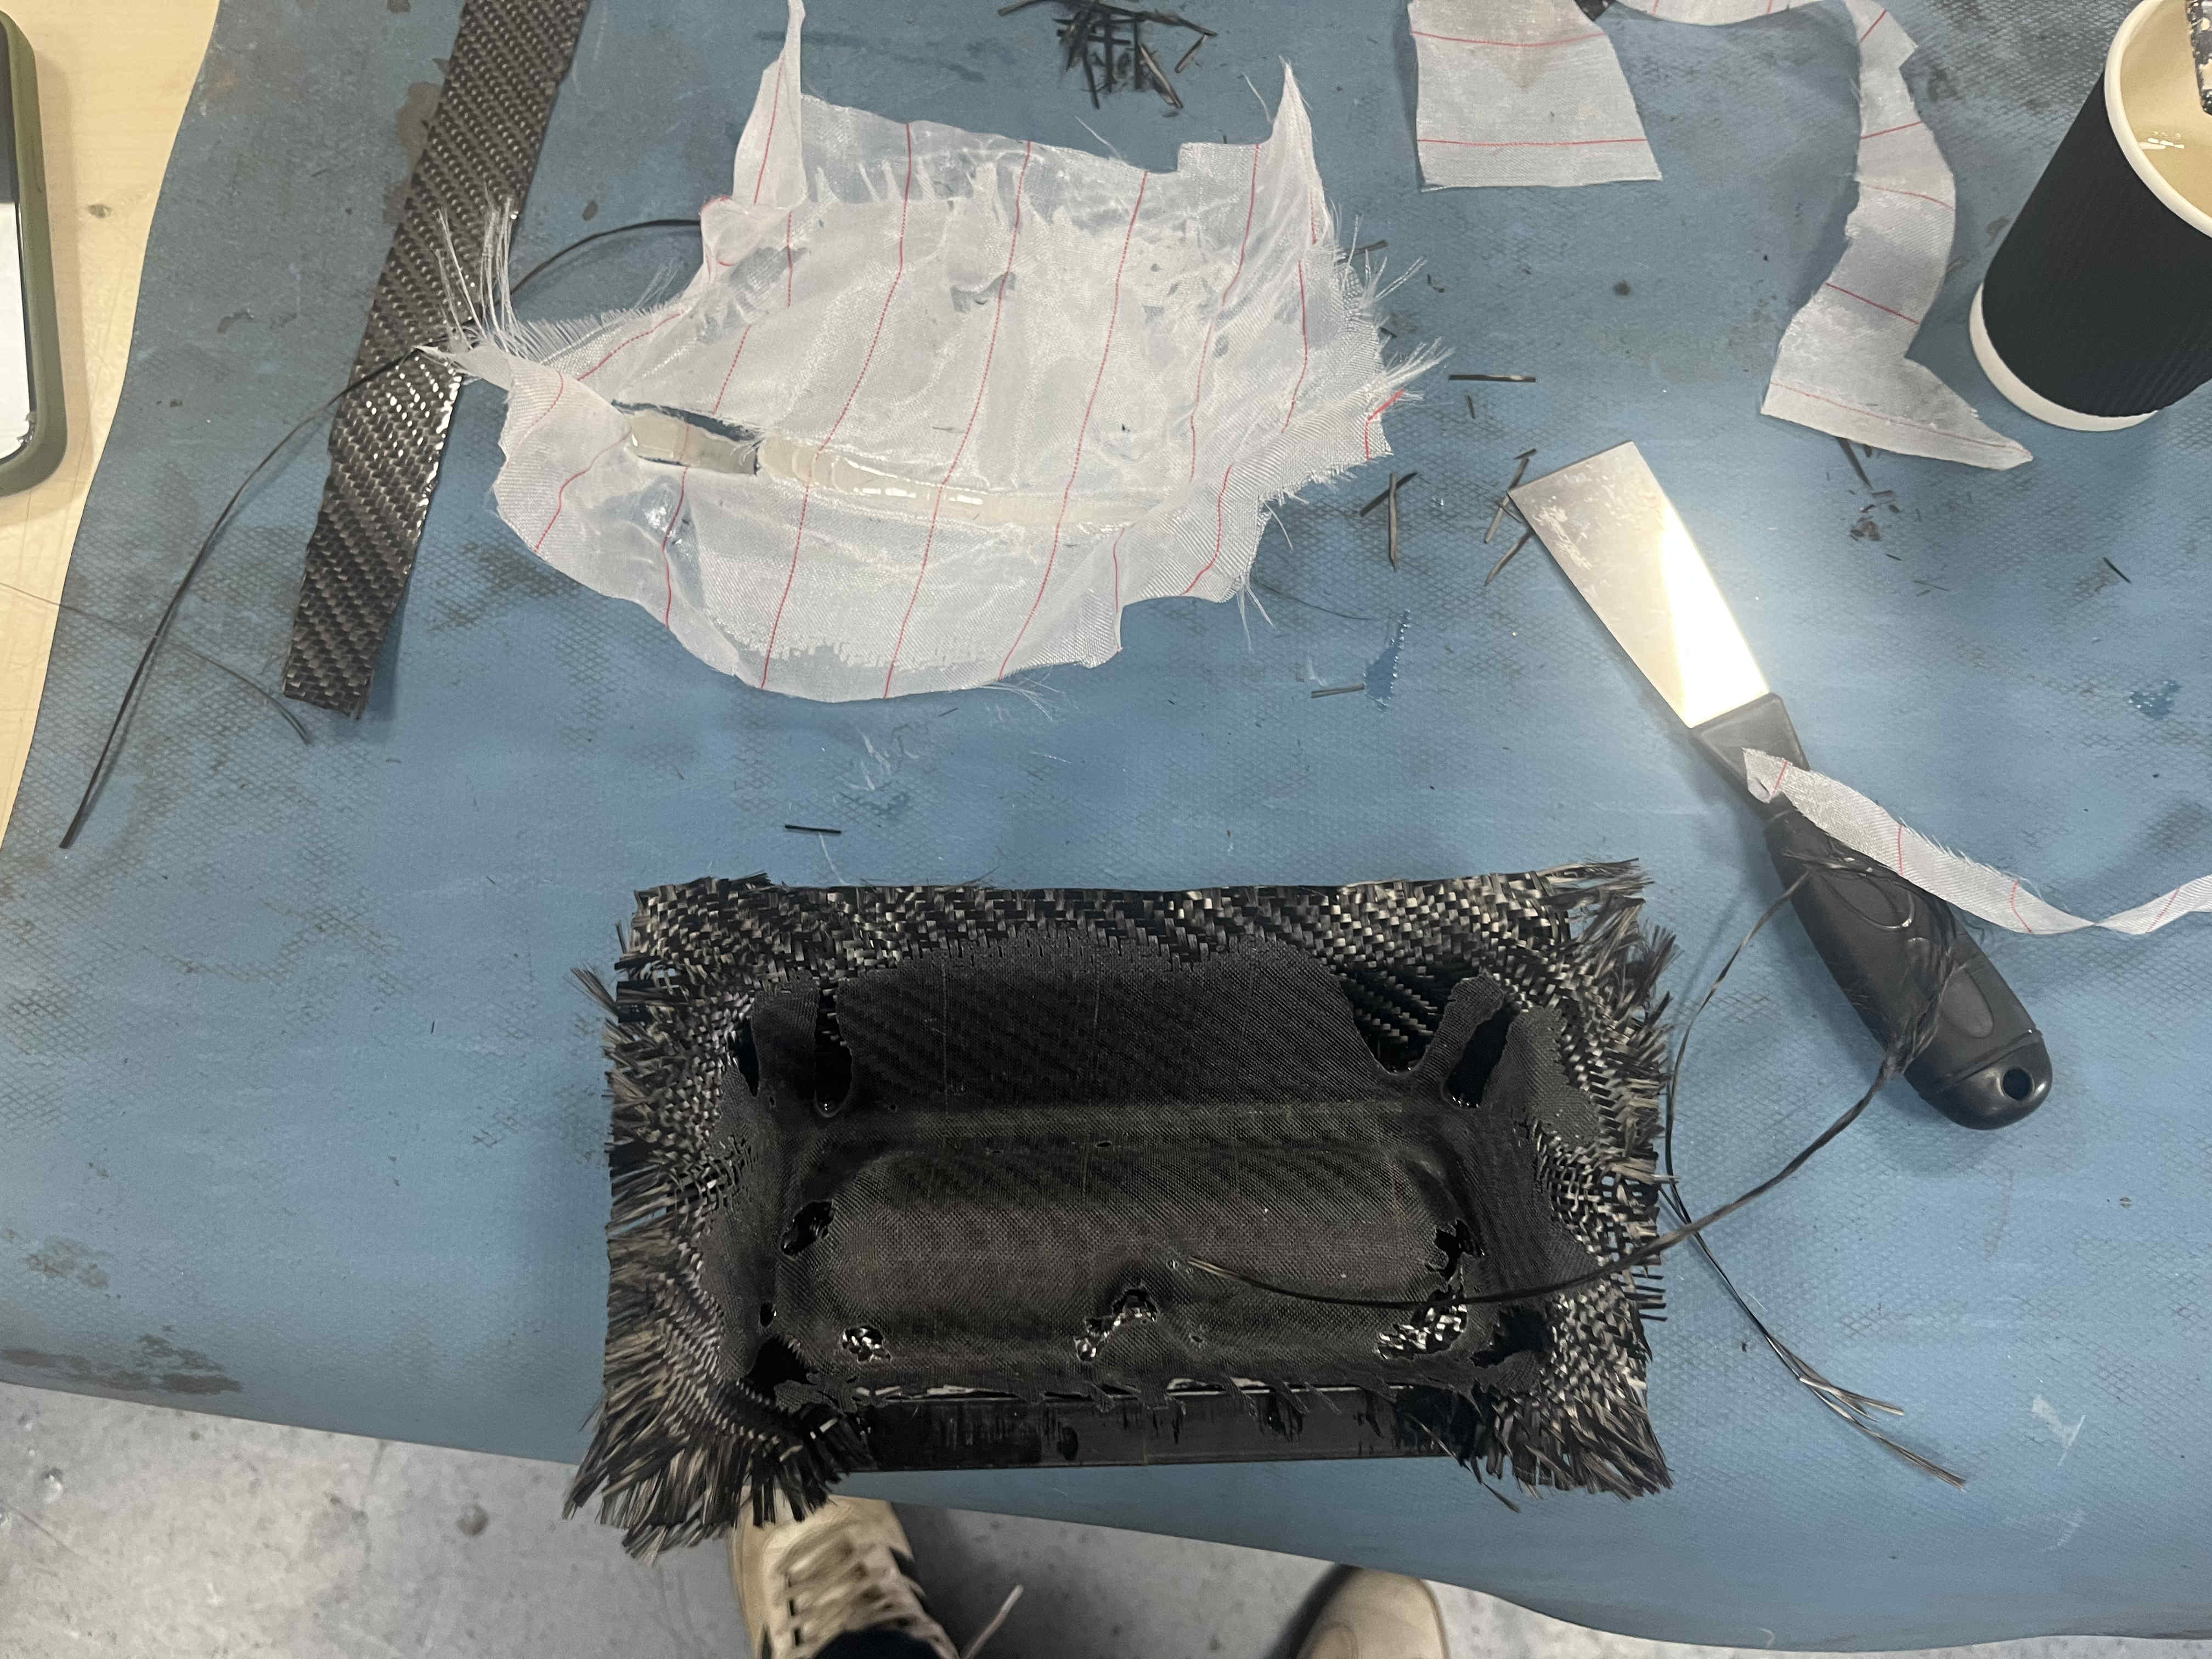
The mold did not demold, however i was super intrigued wirh the enitre process and will definiltly try to execute the same again soon.
this wild card is to be continued......